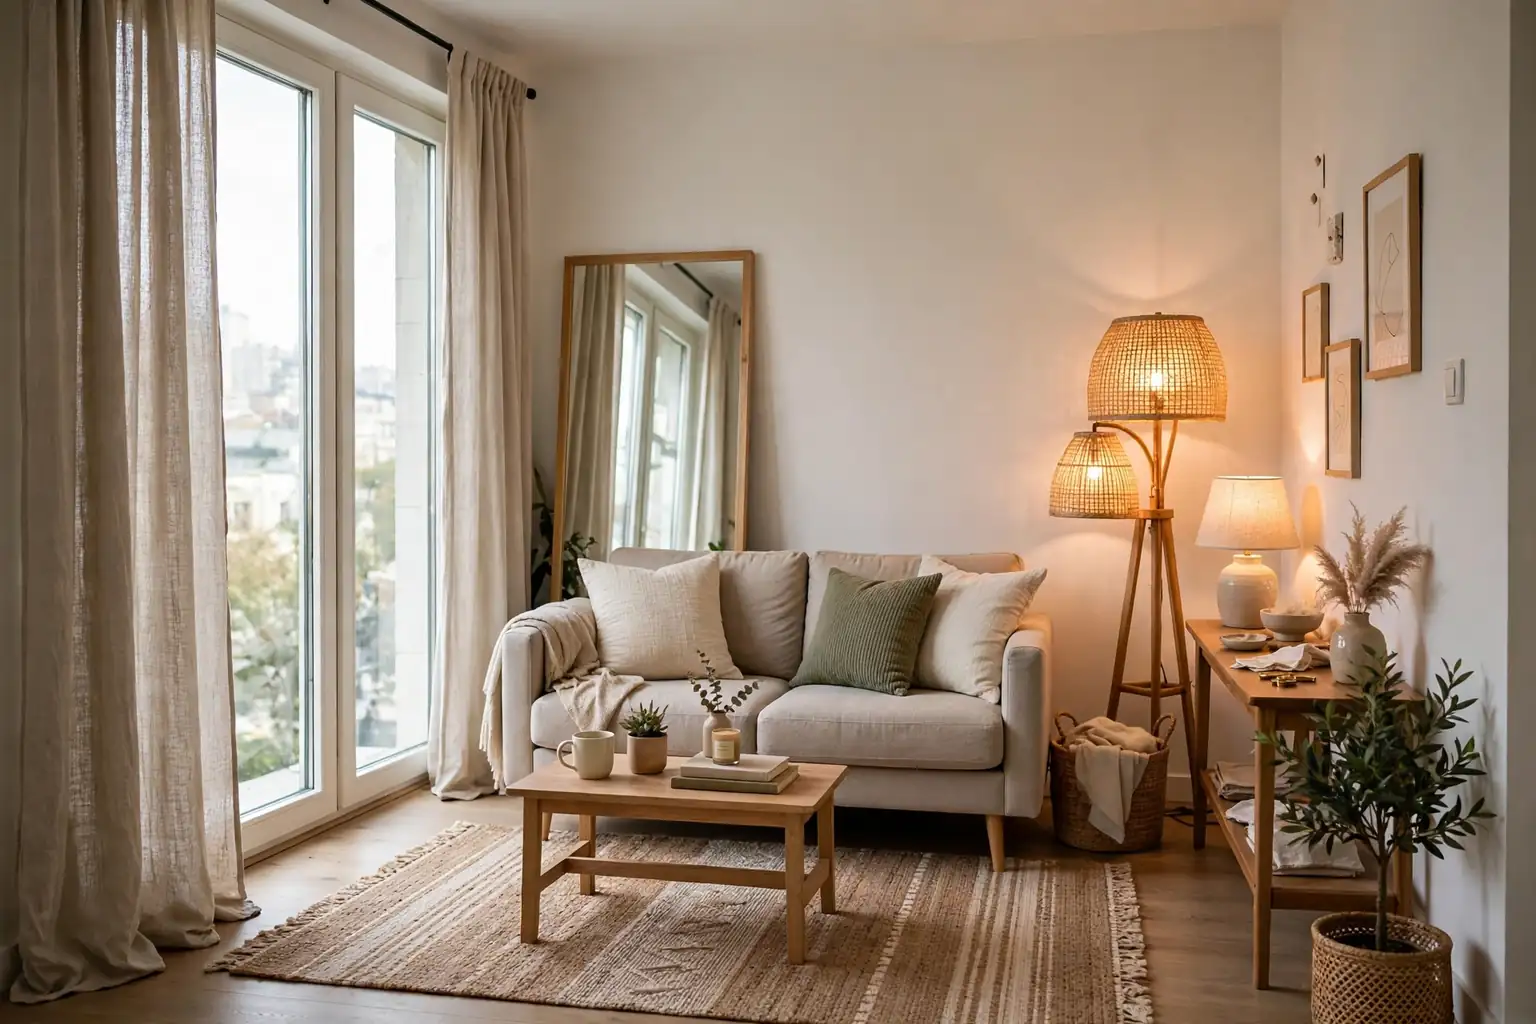
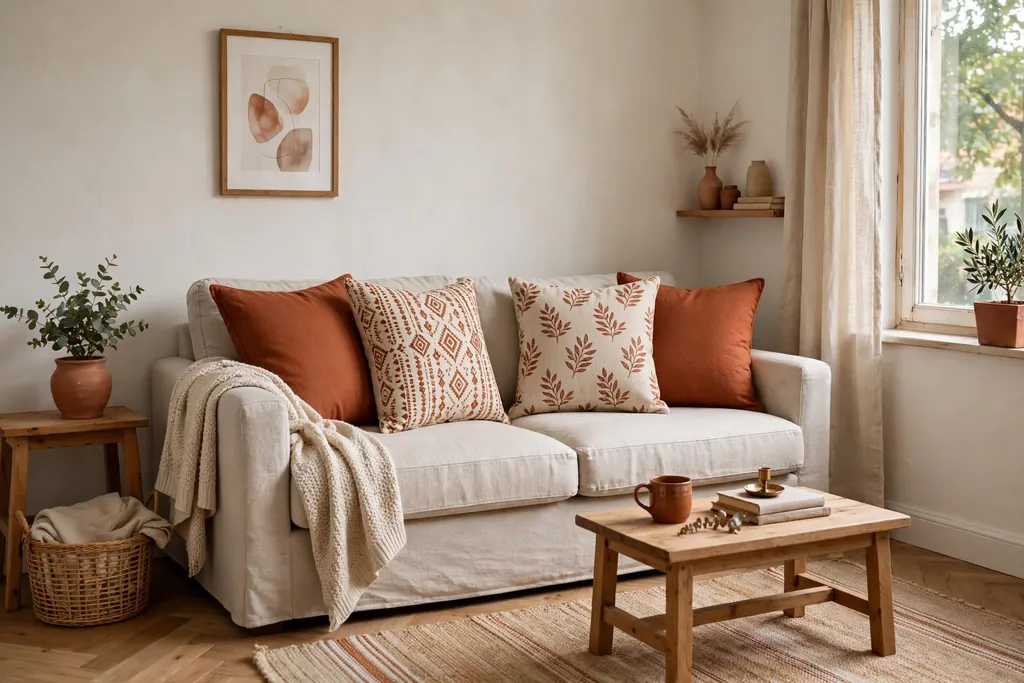
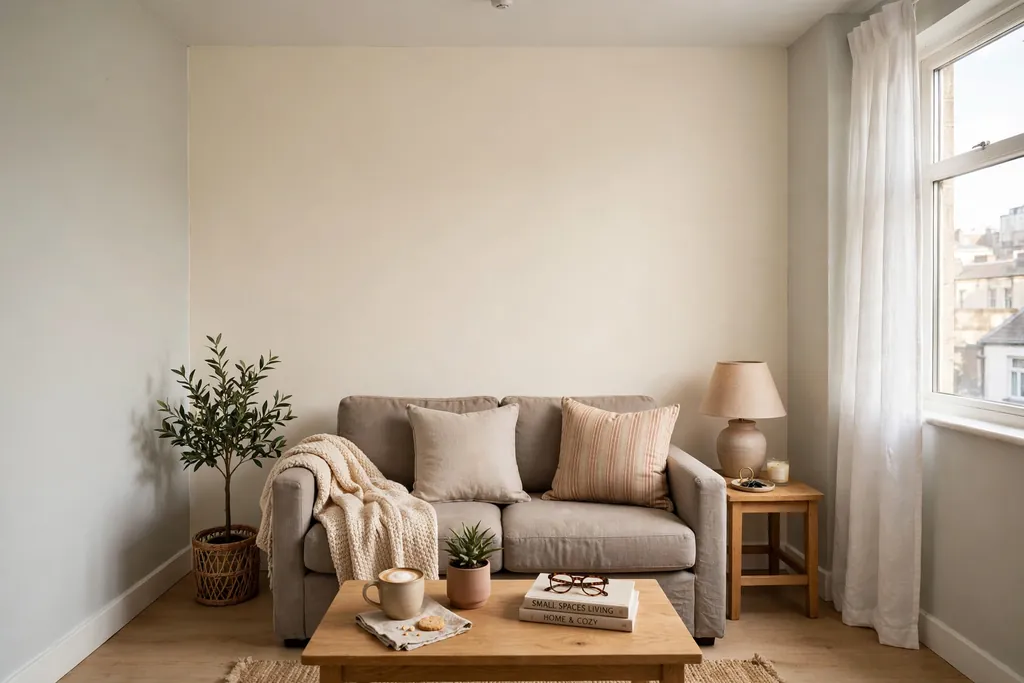
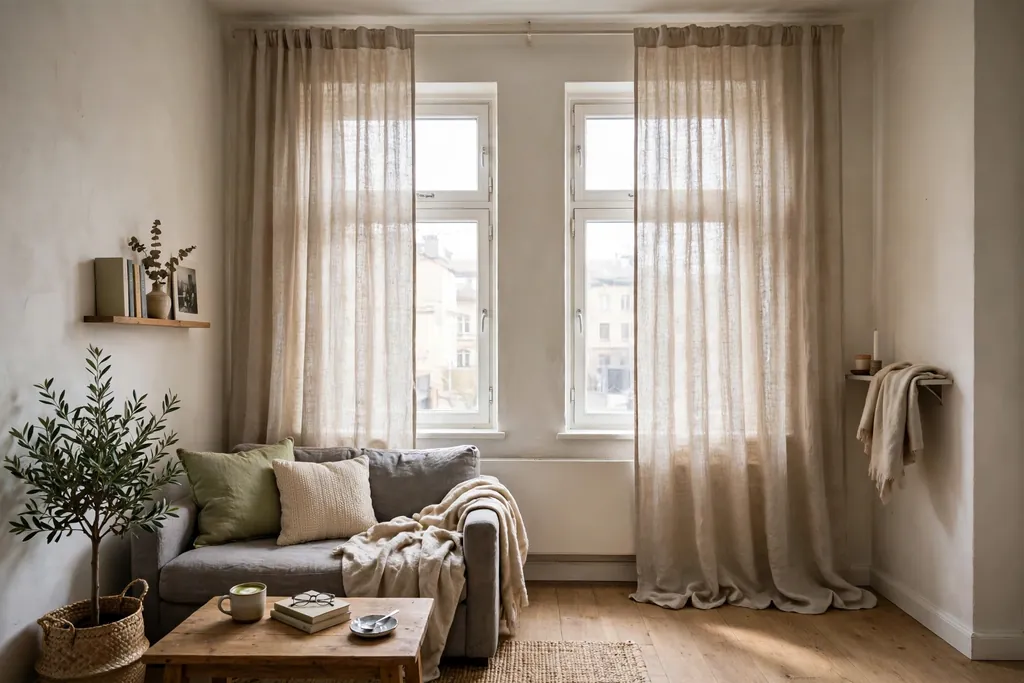
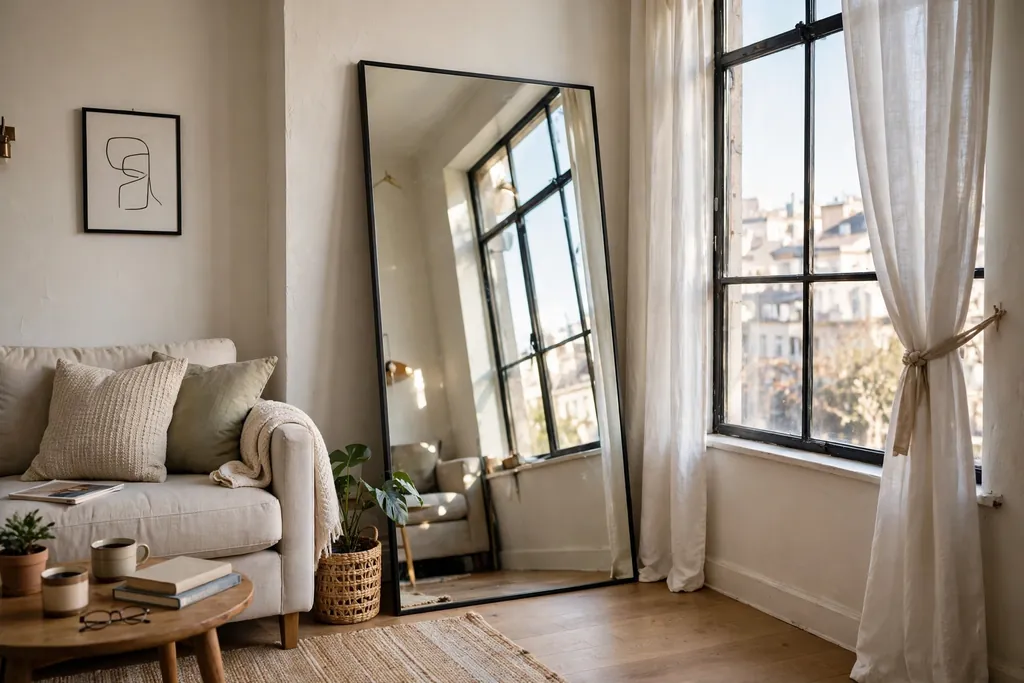
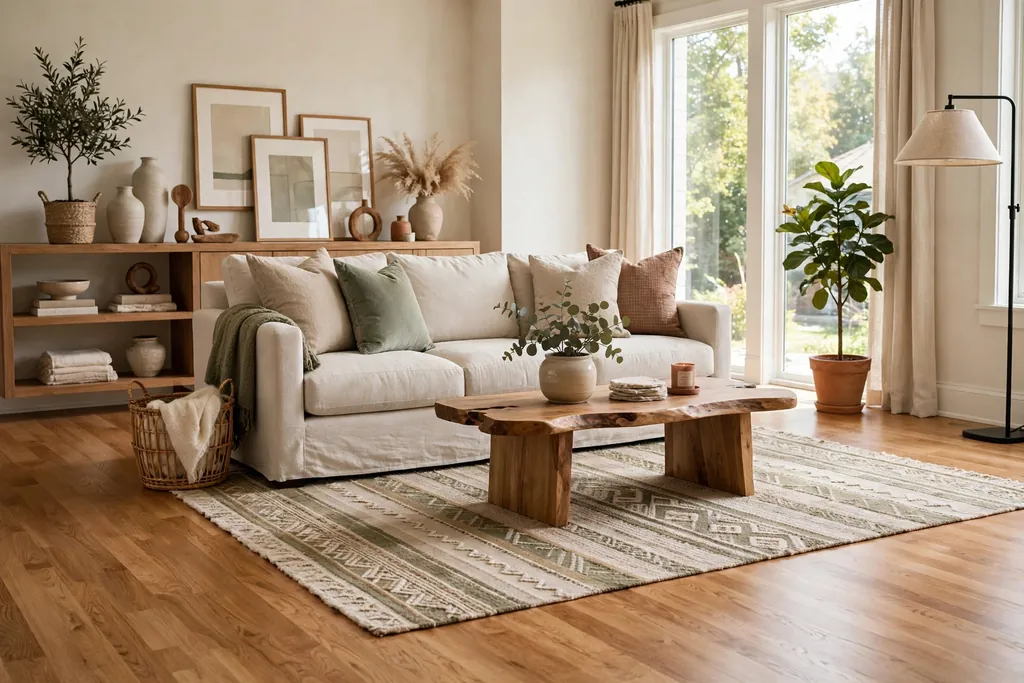
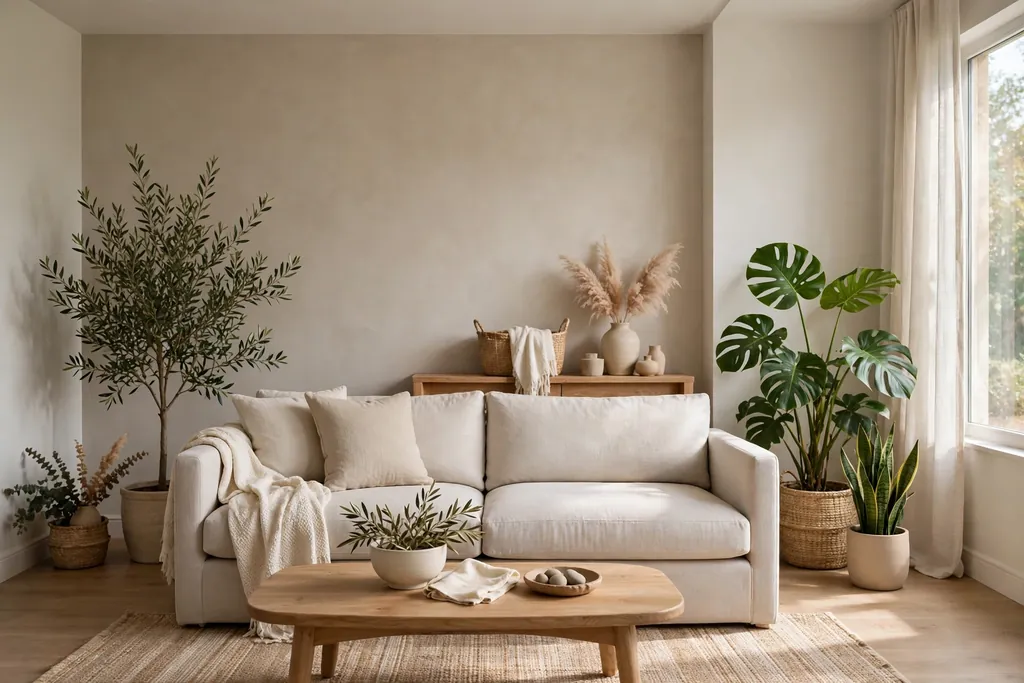
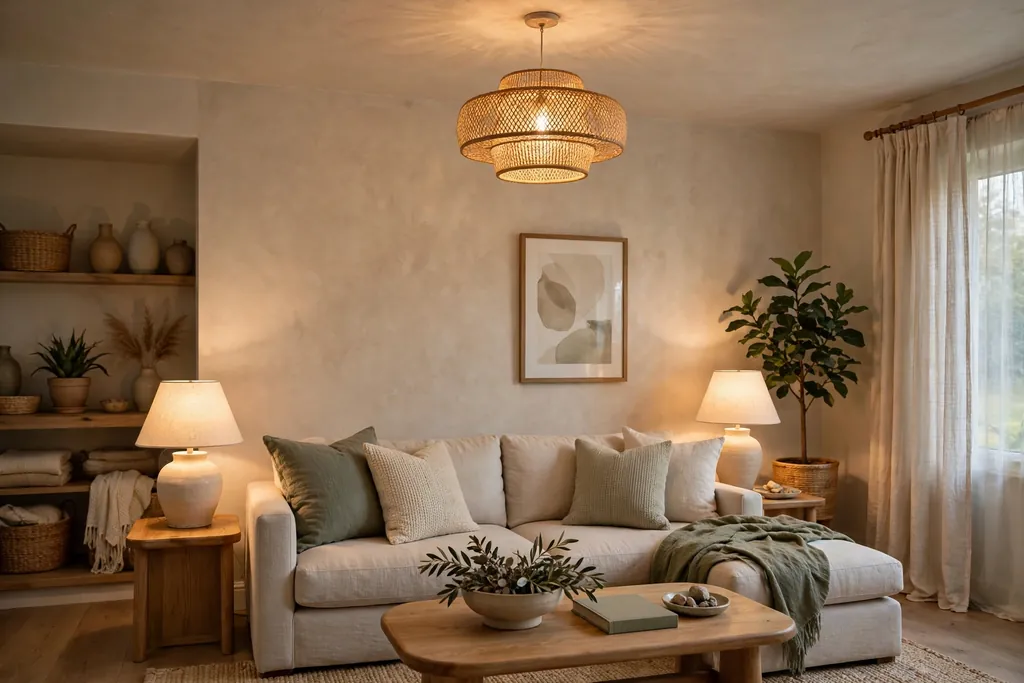
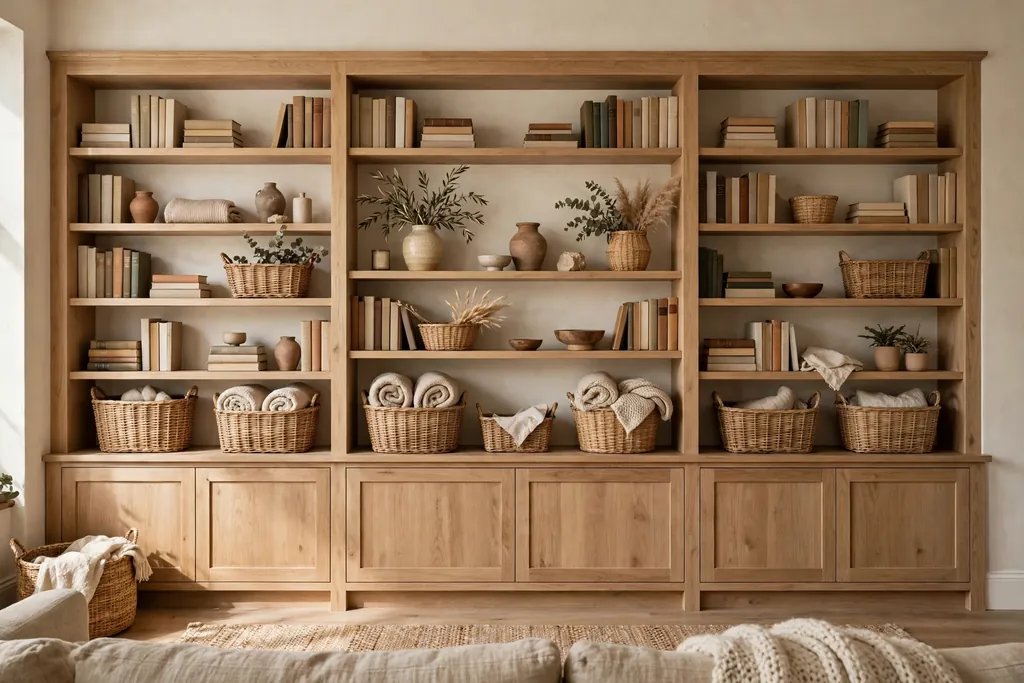
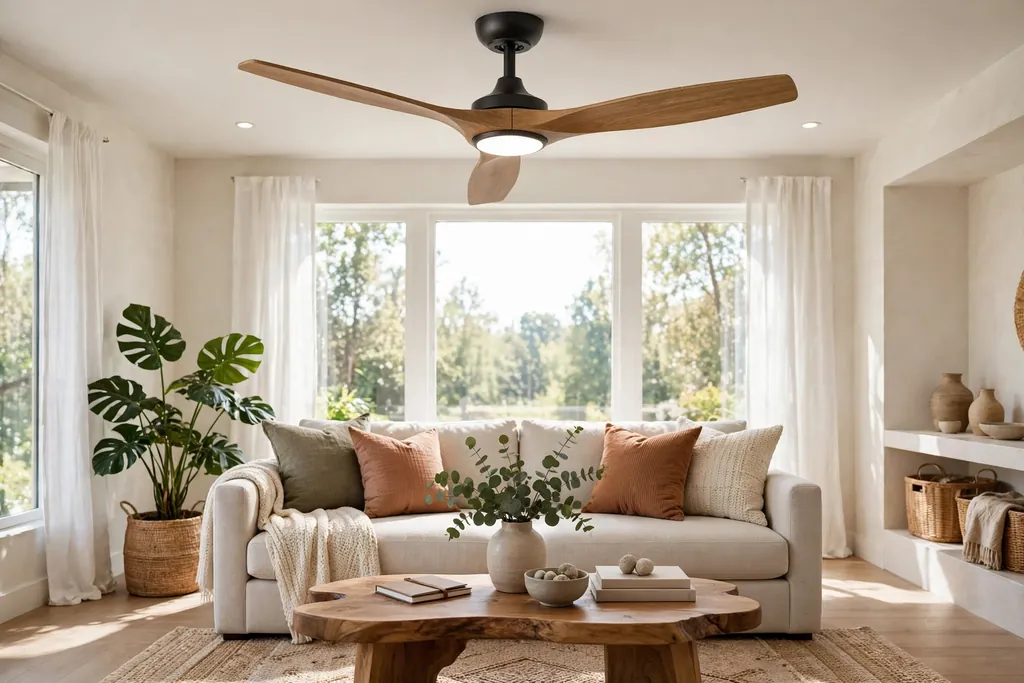
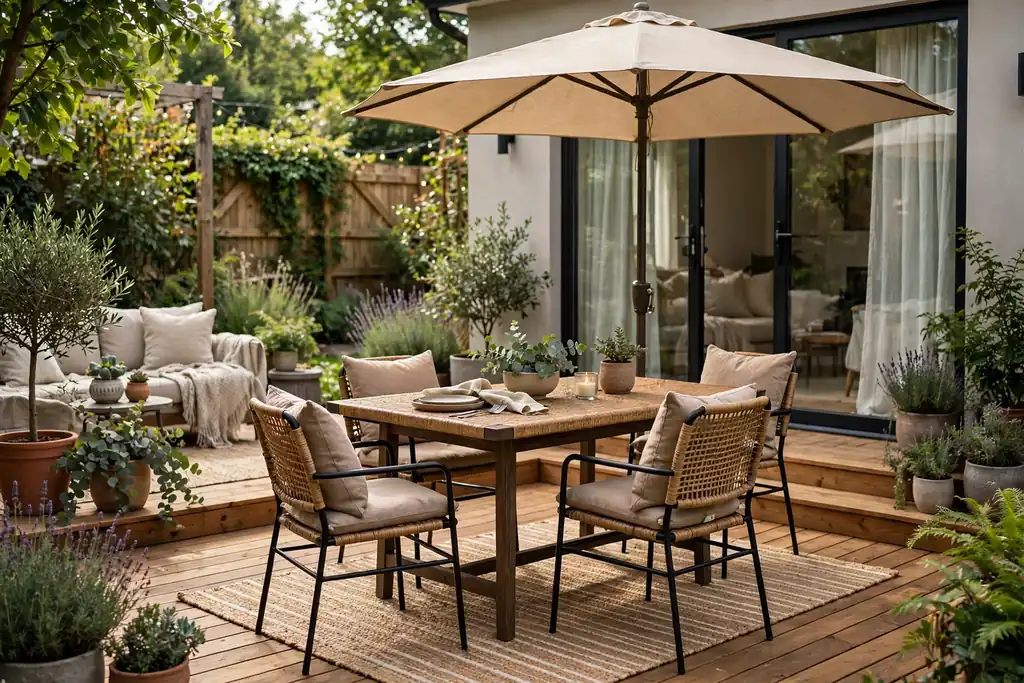
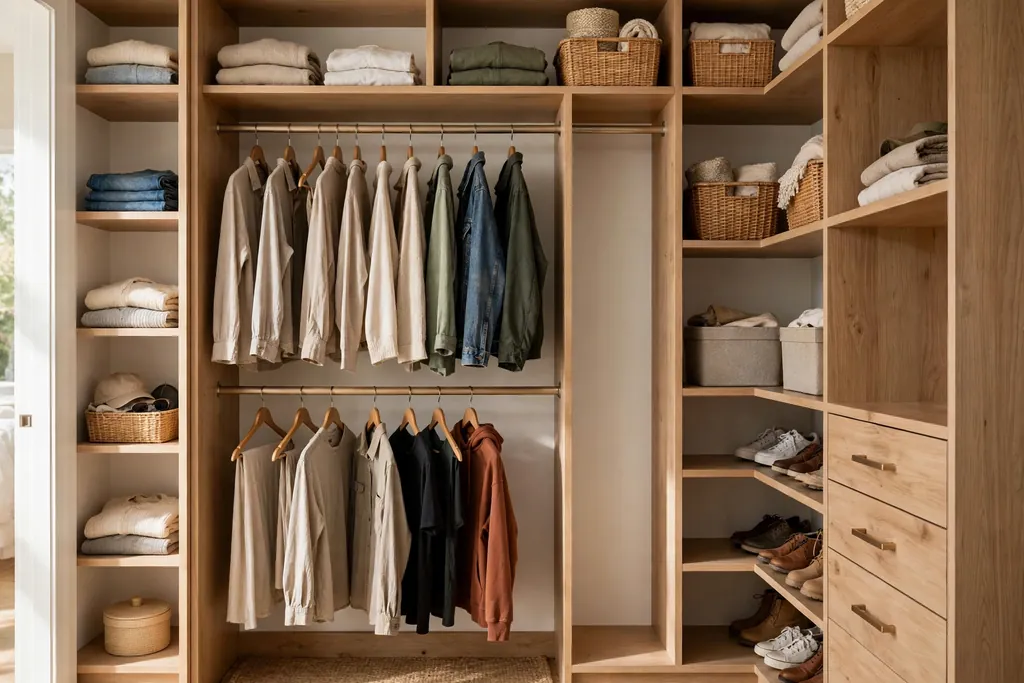
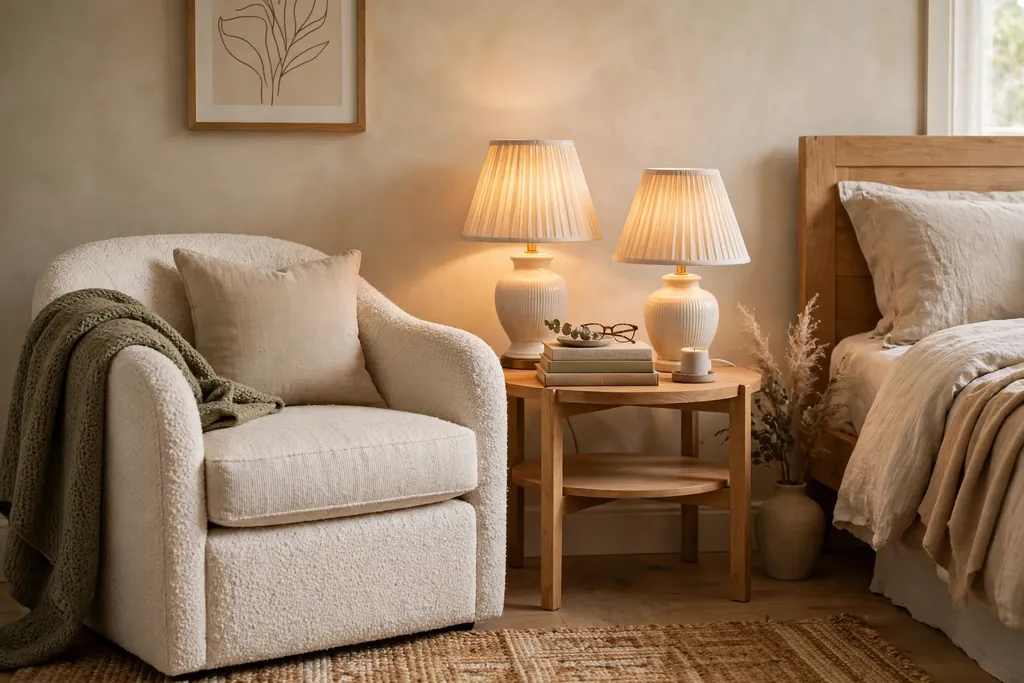
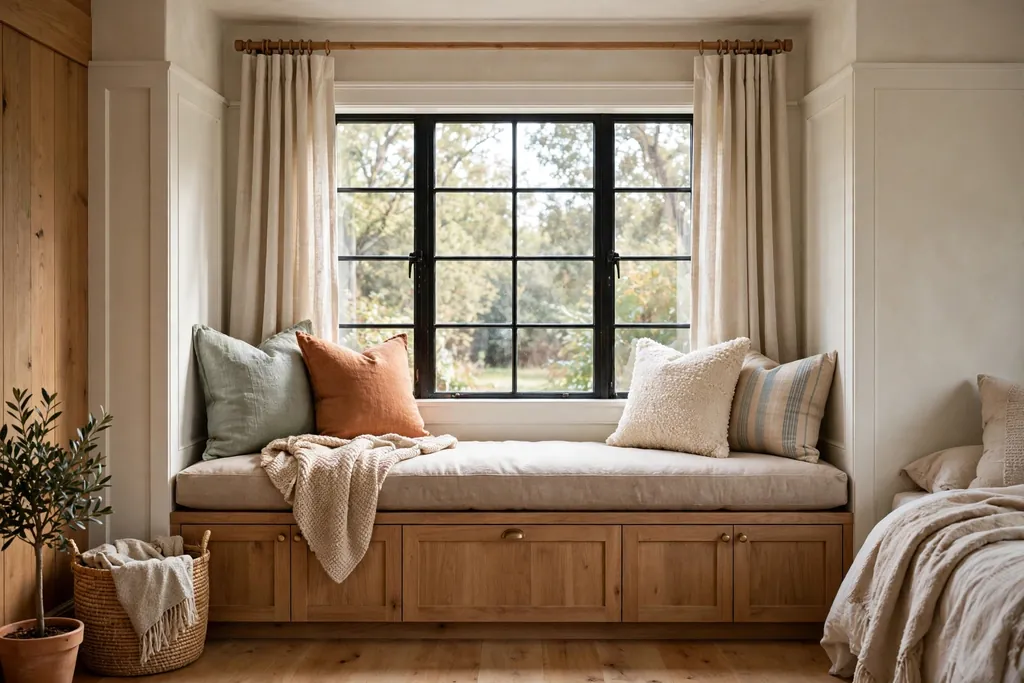
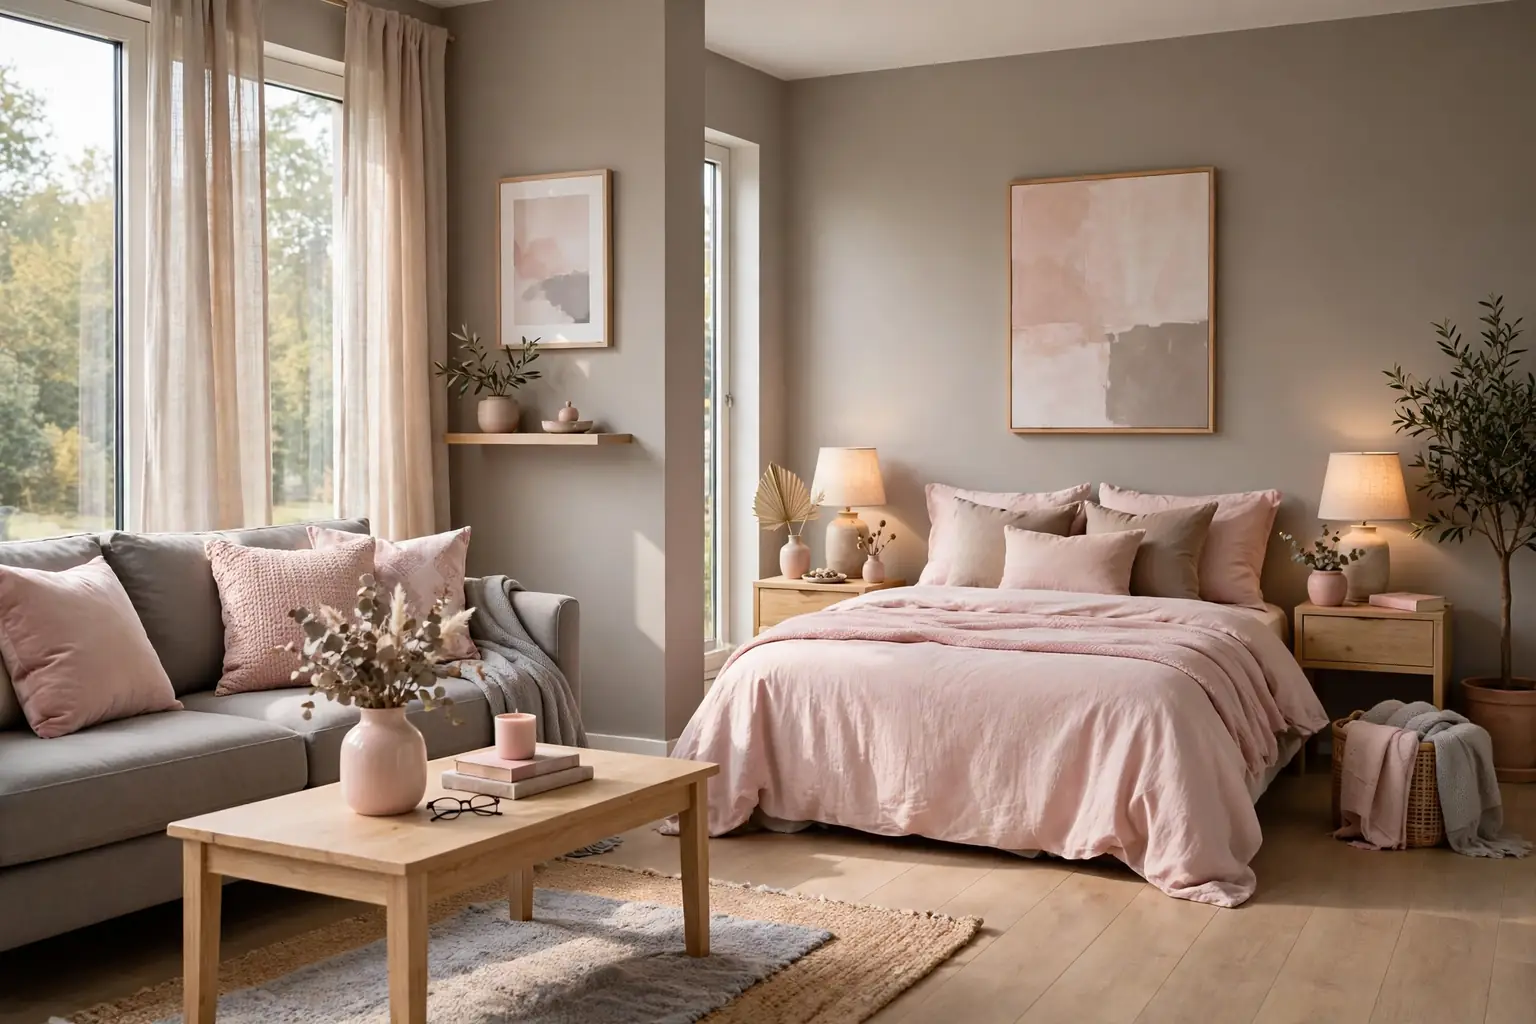
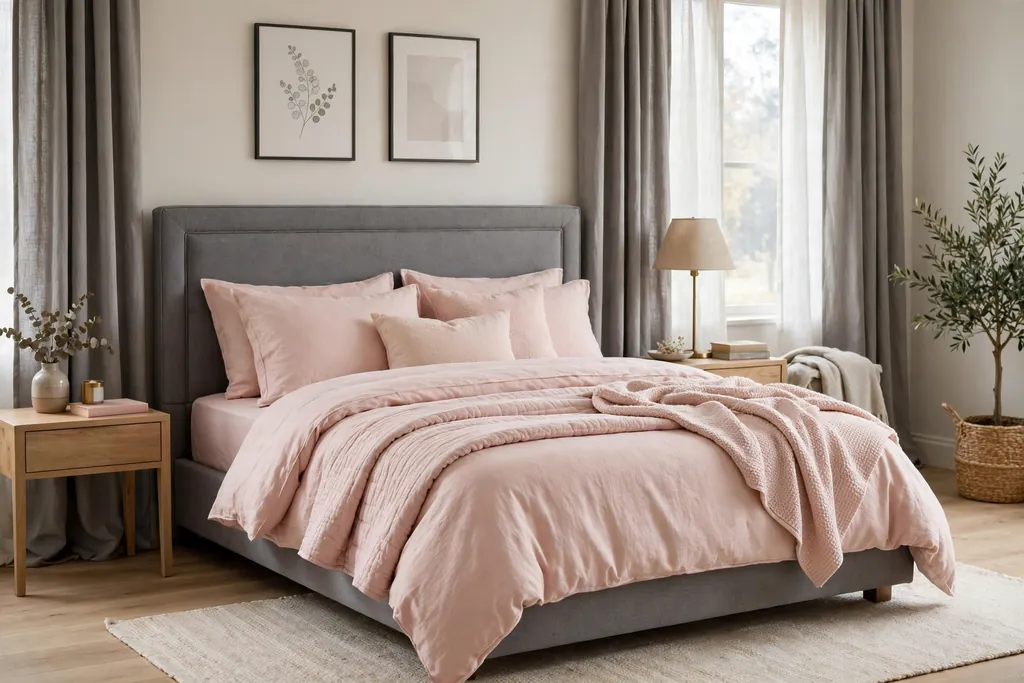
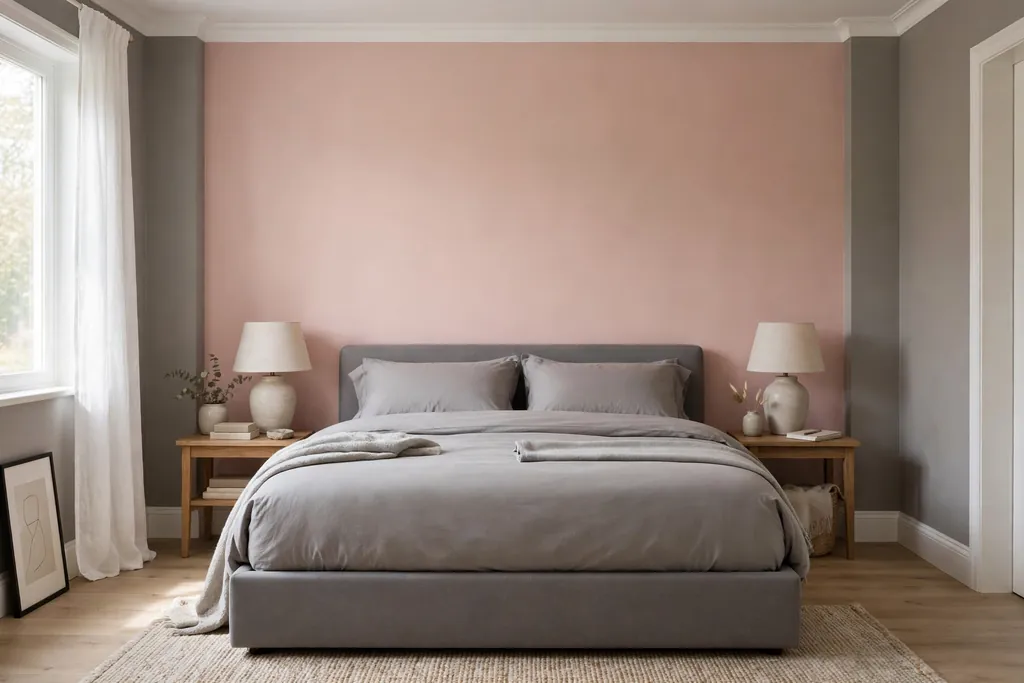
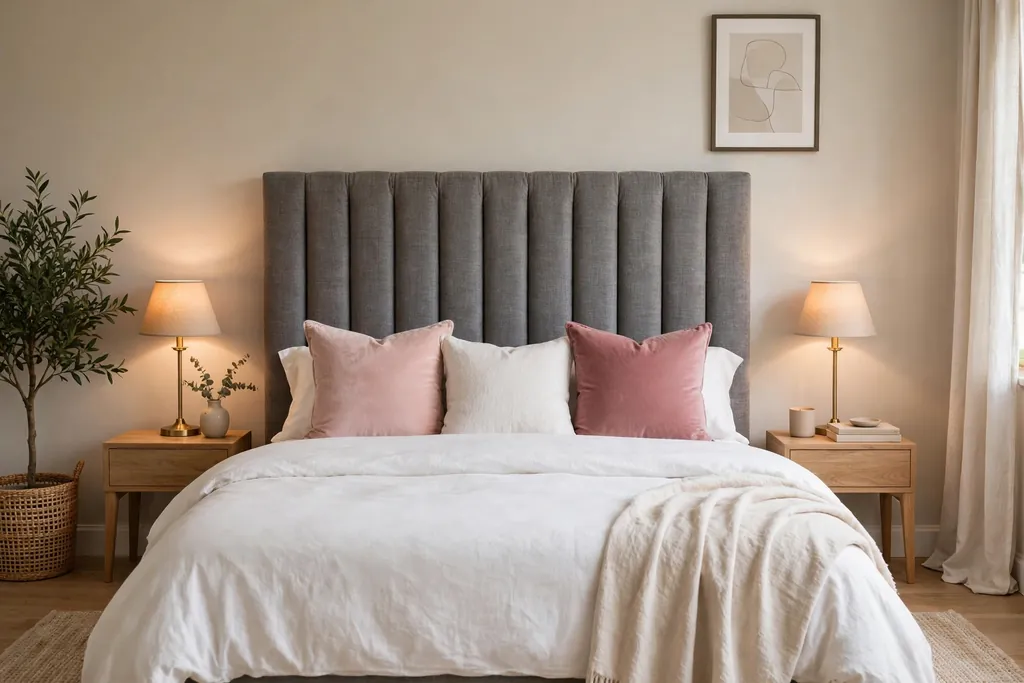
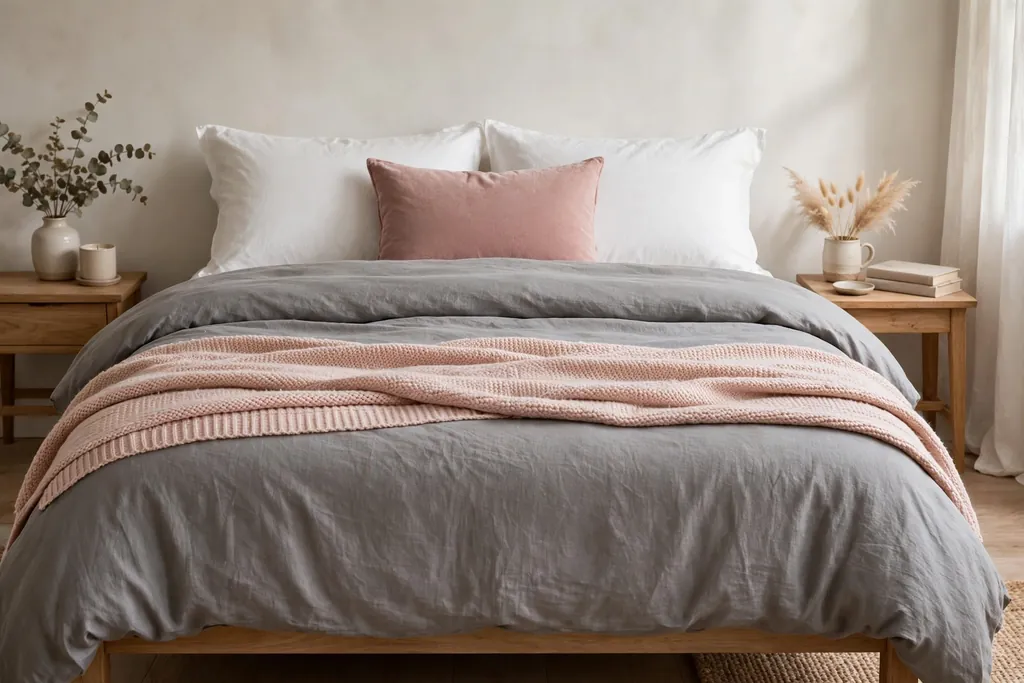
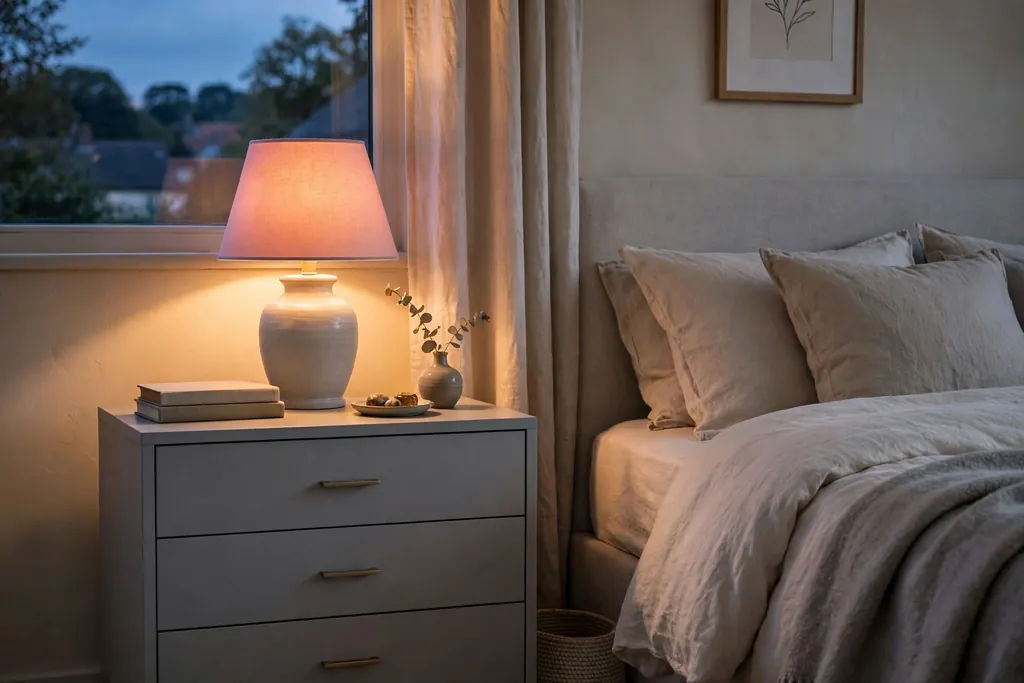
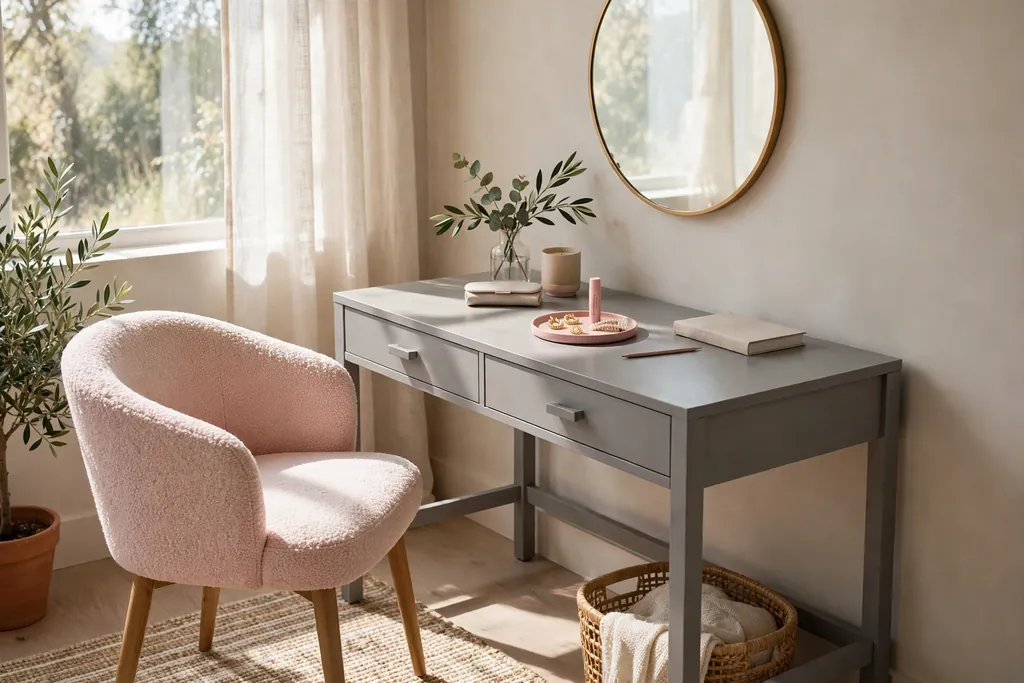
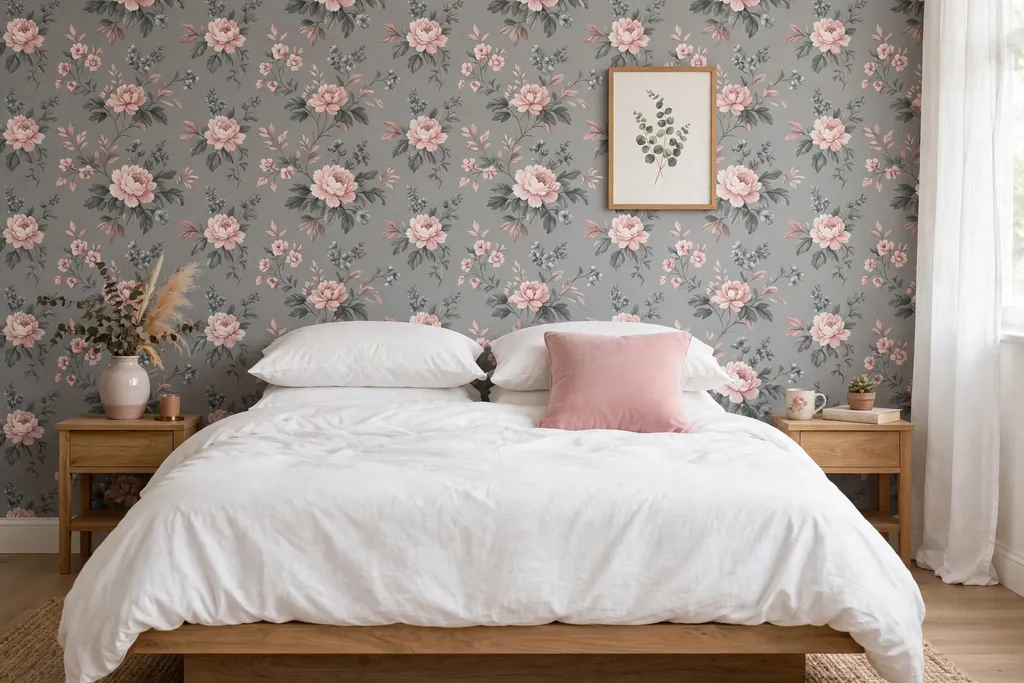
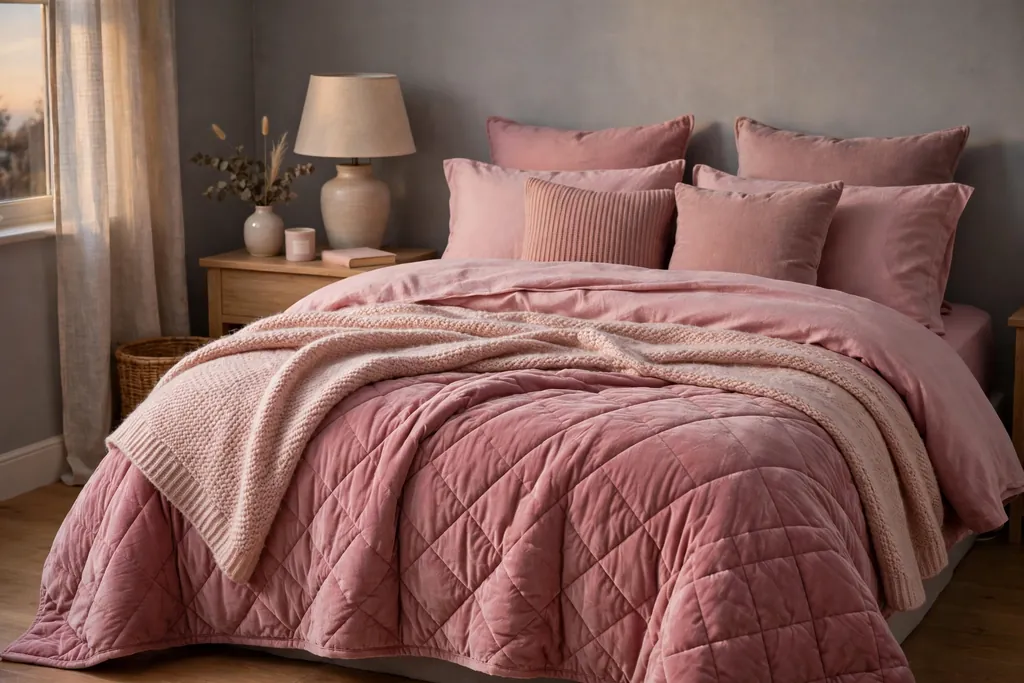
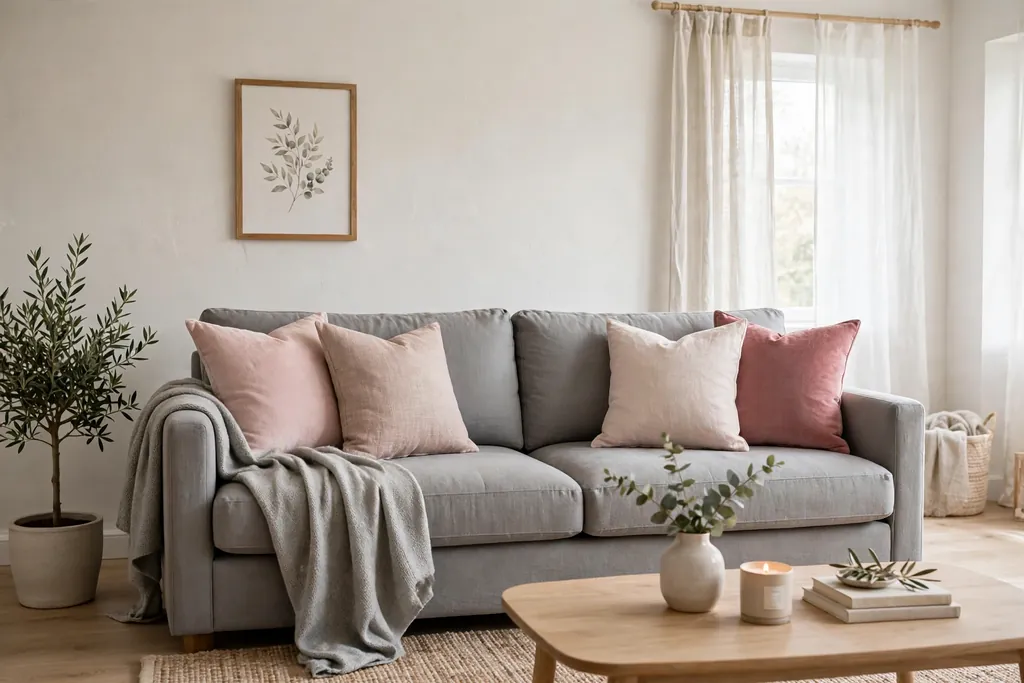
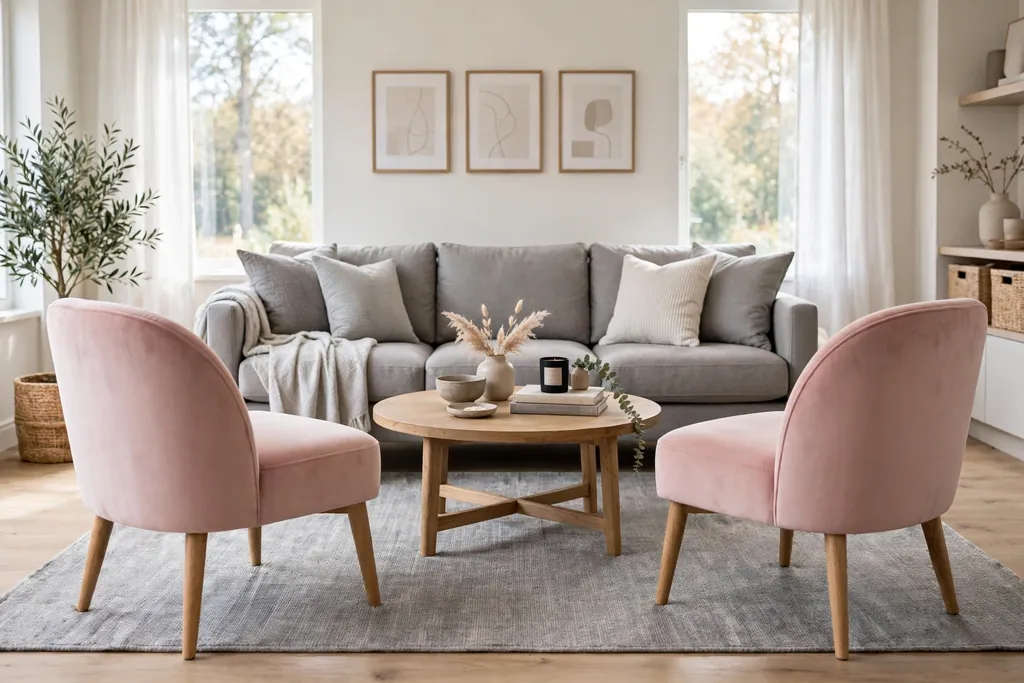
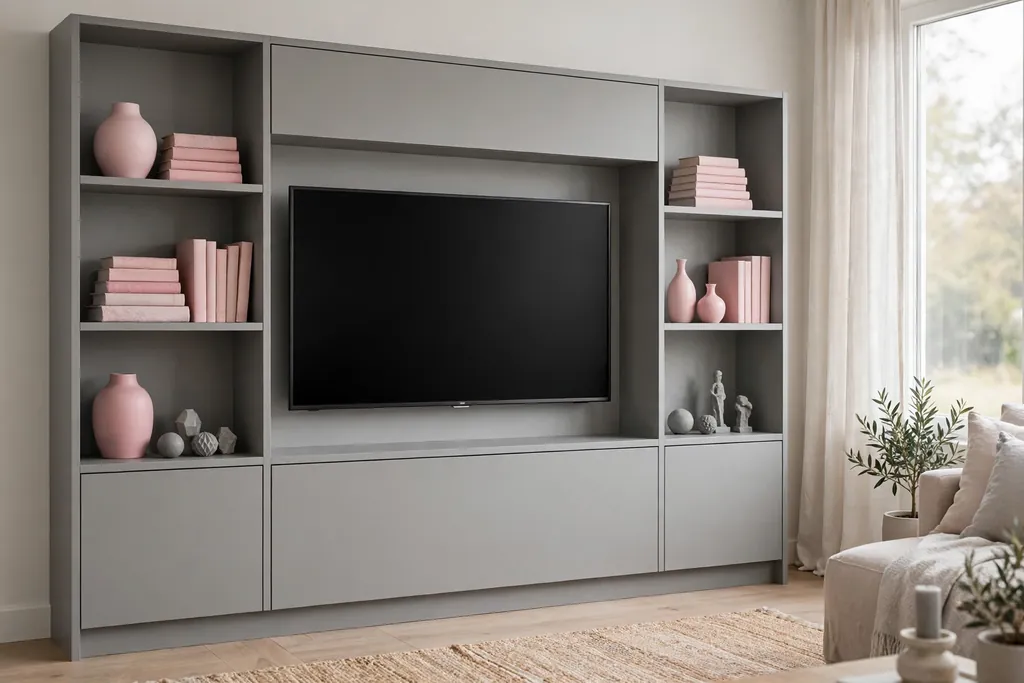
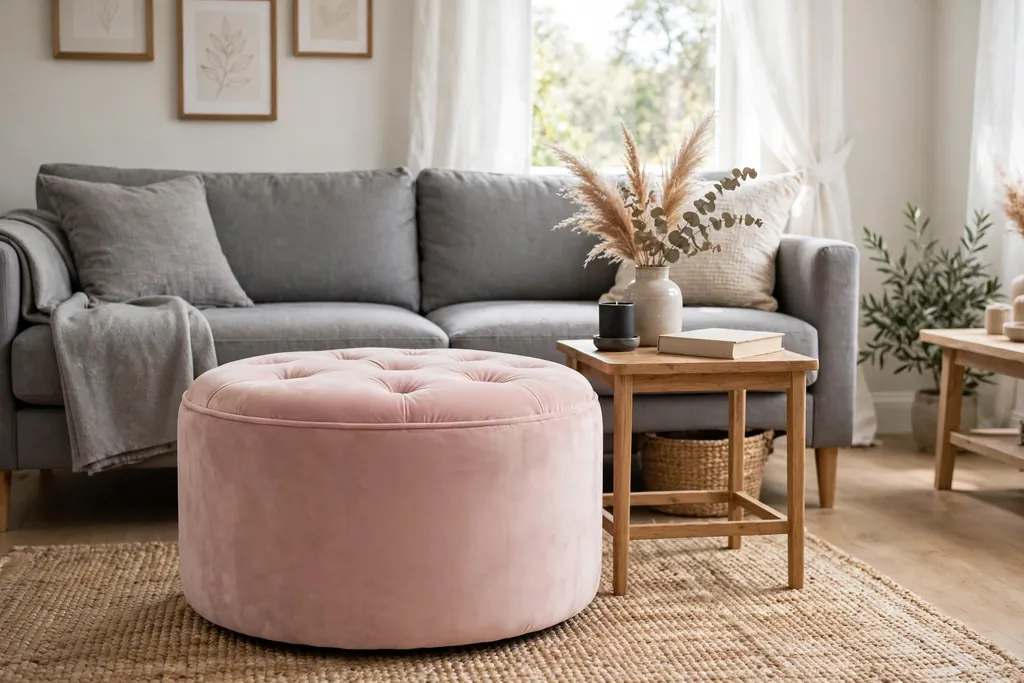
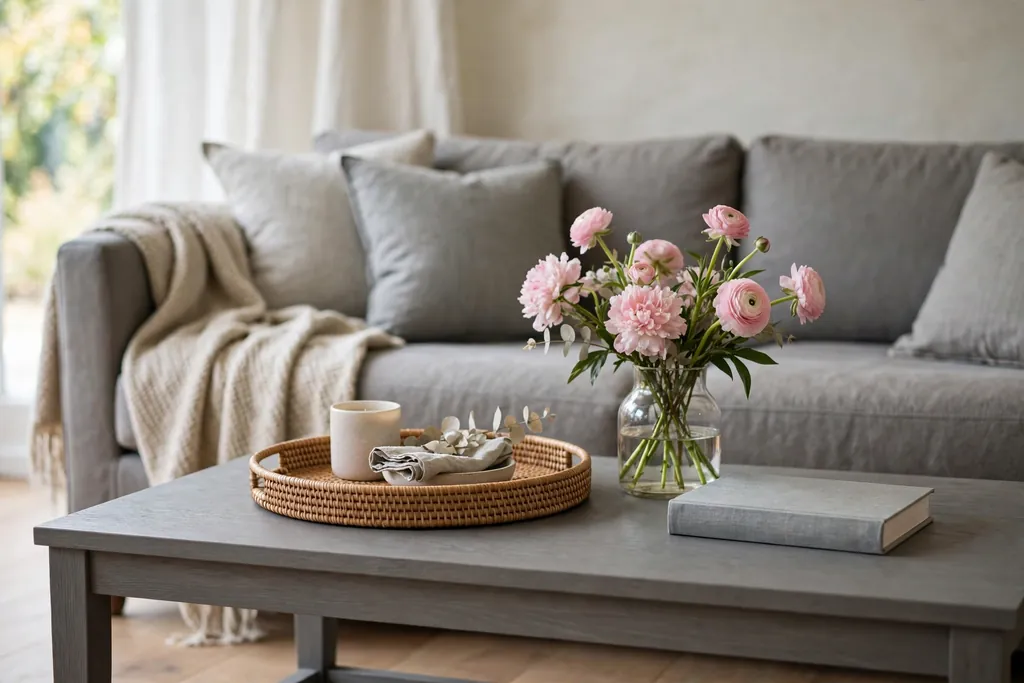
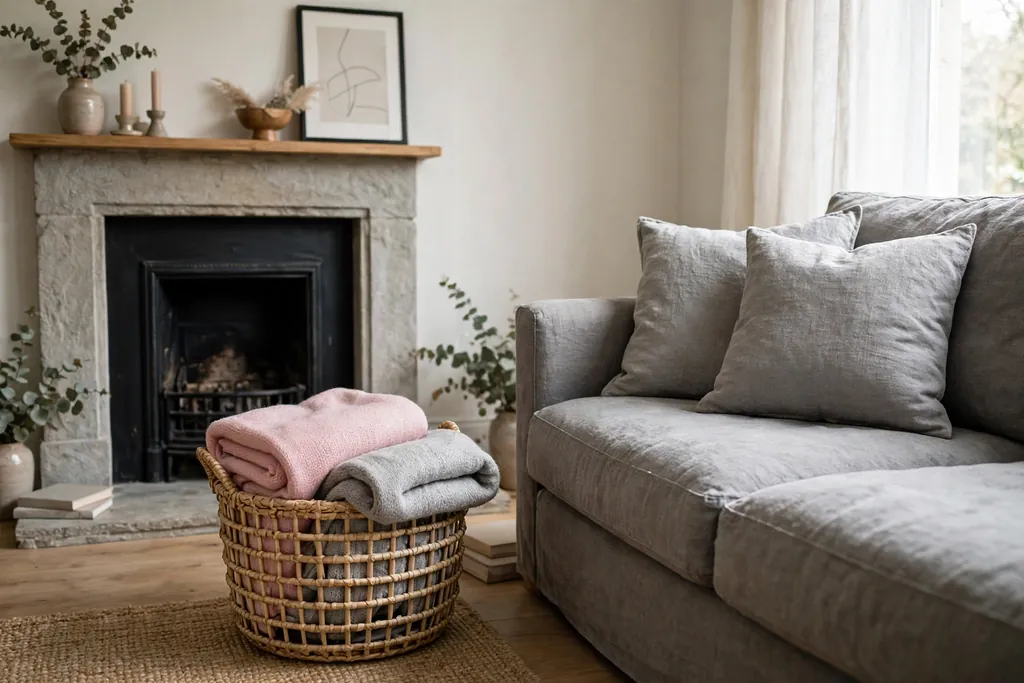
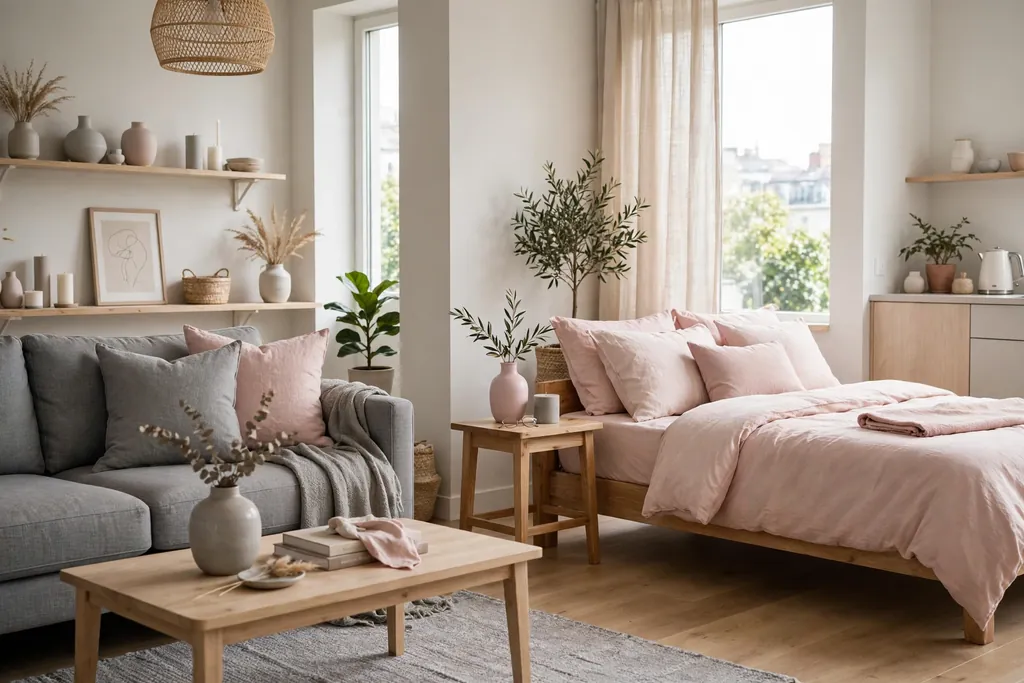
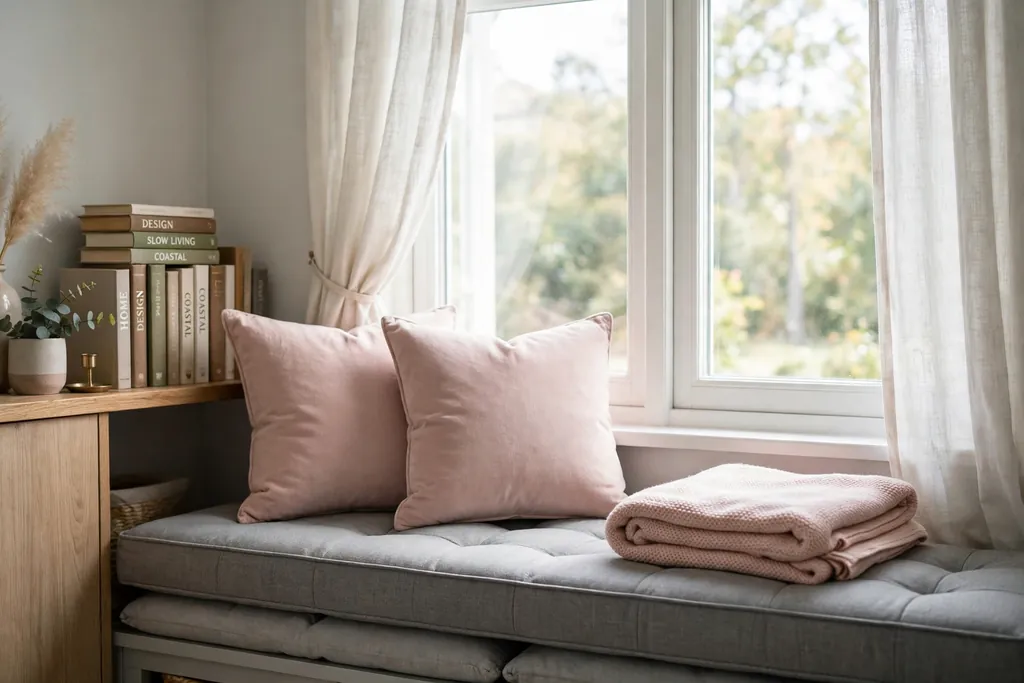
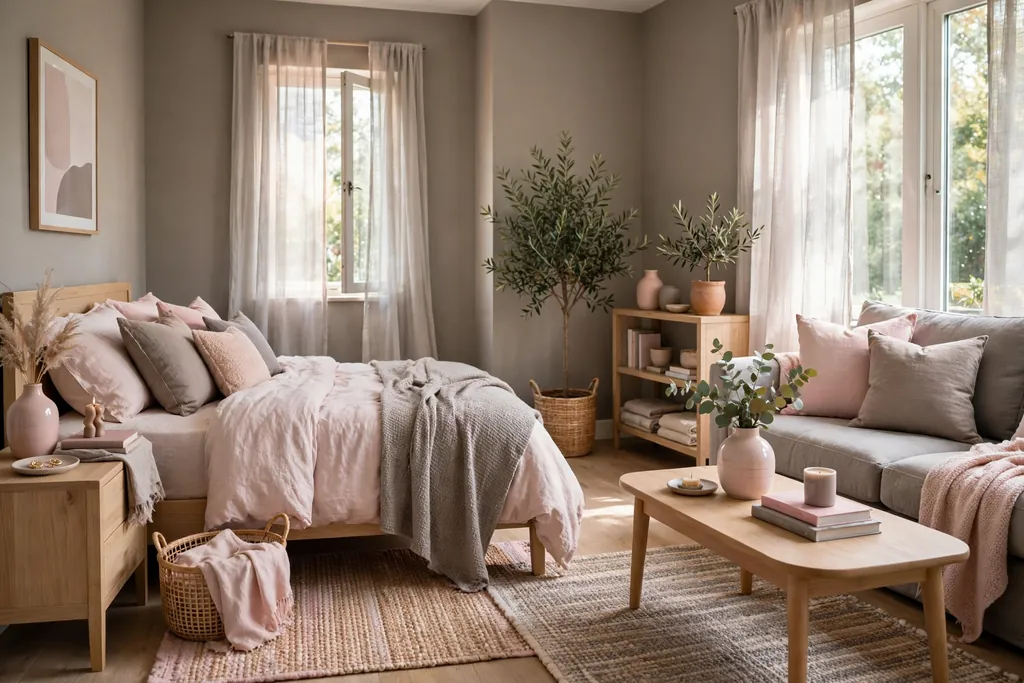
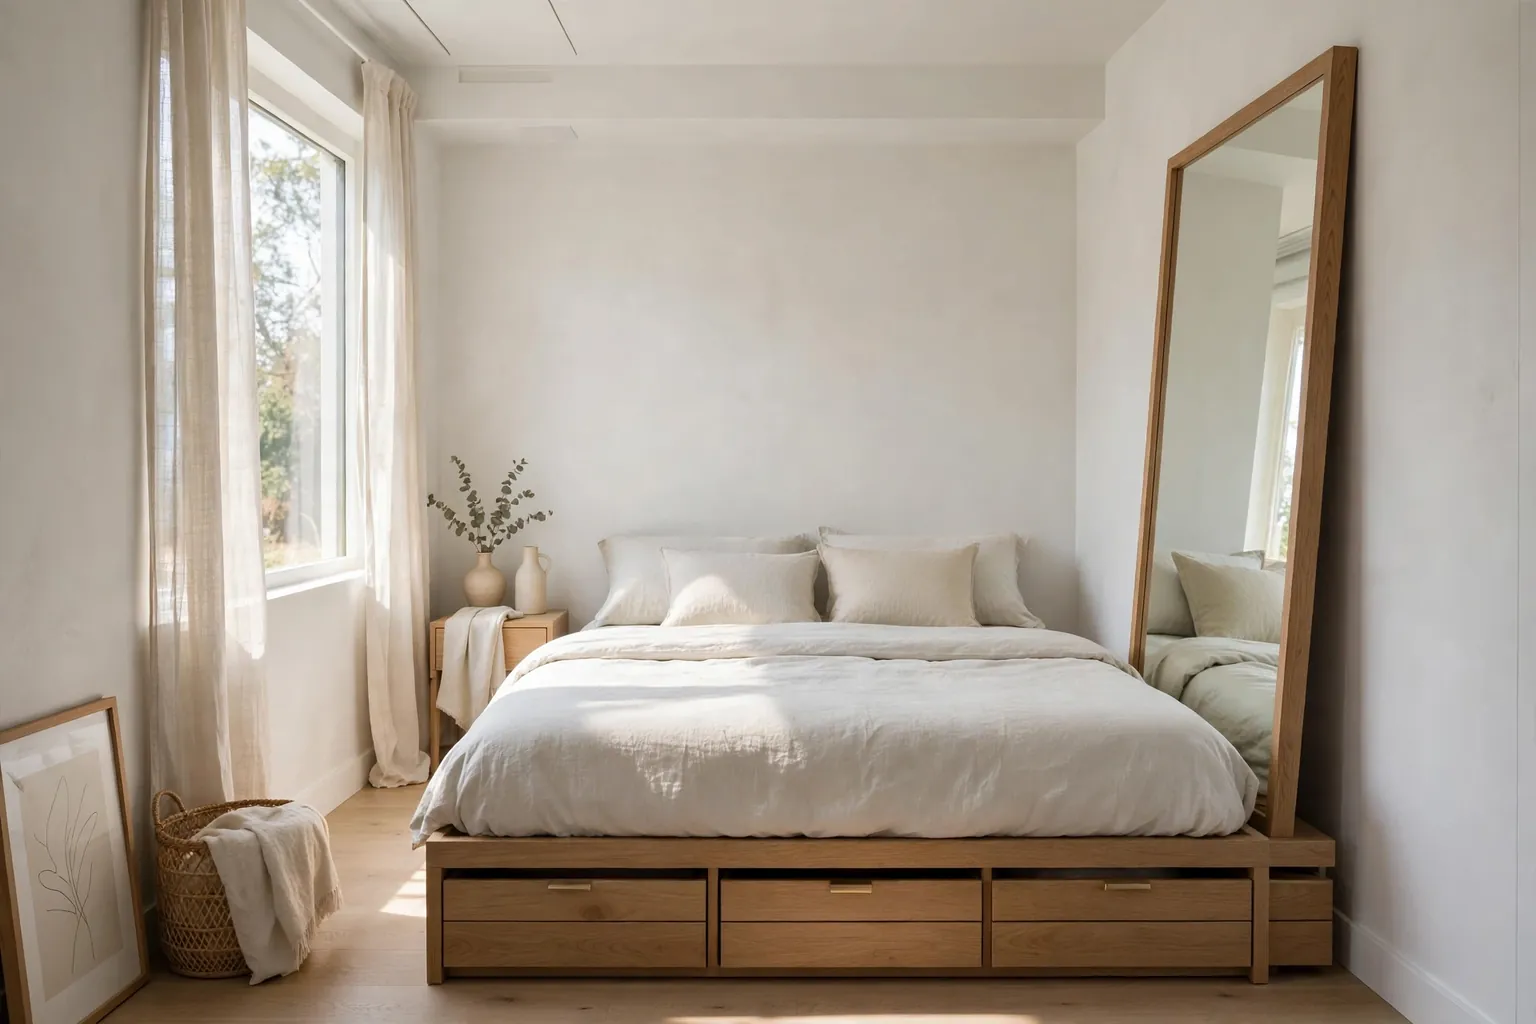
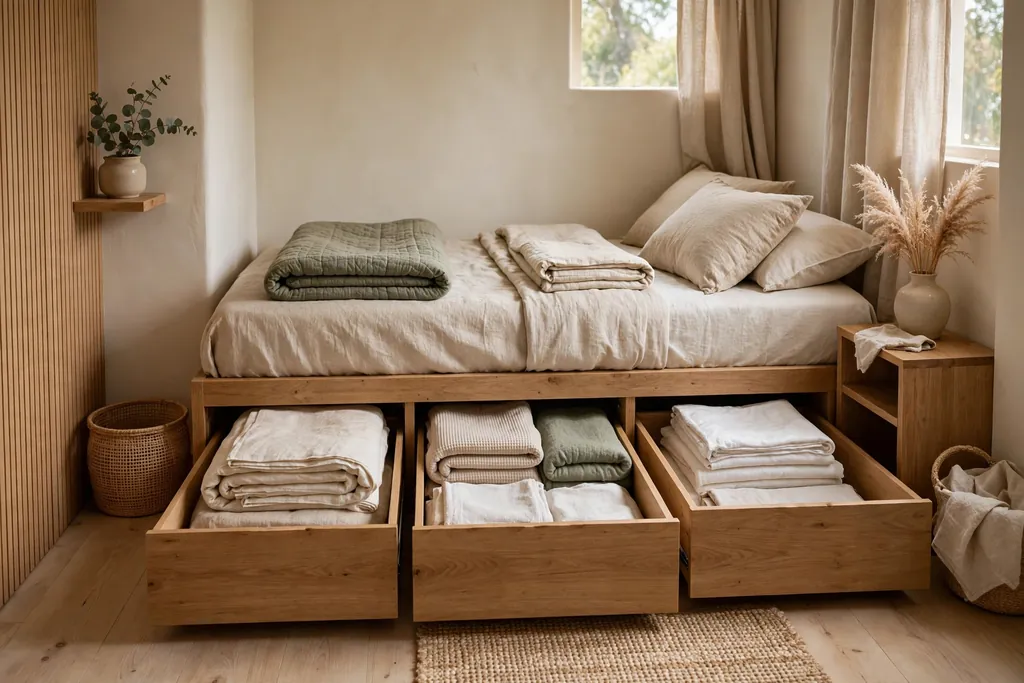
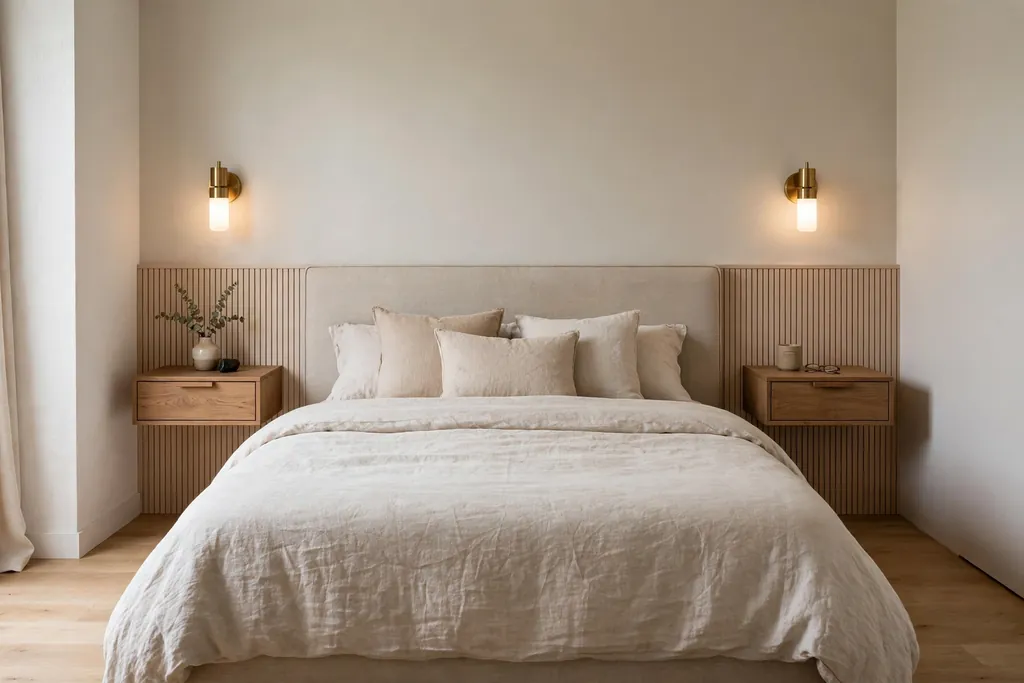
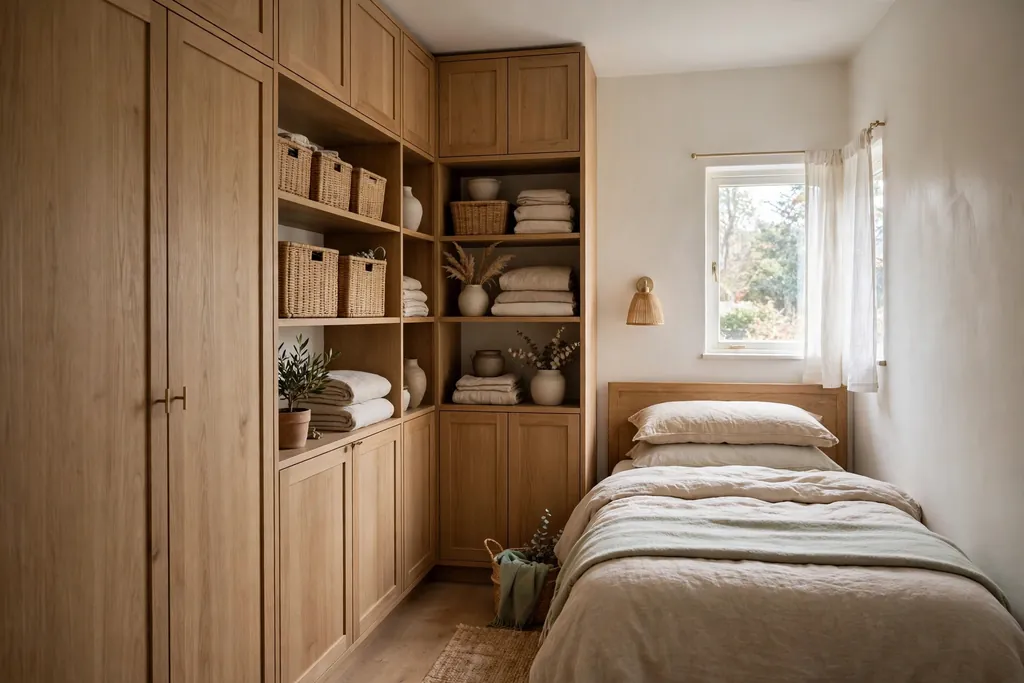
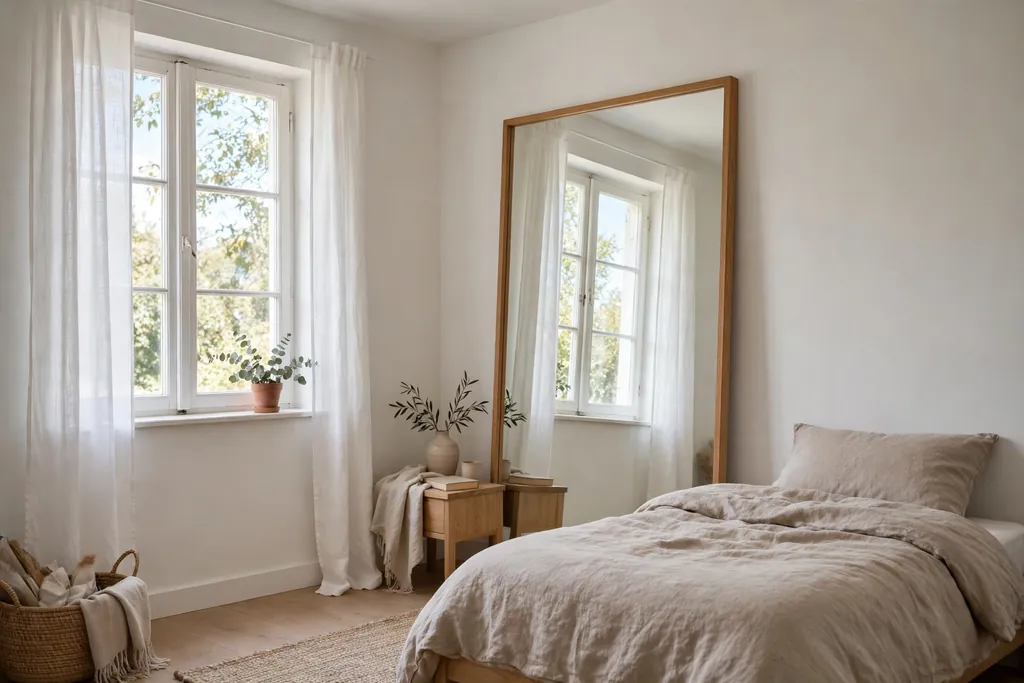
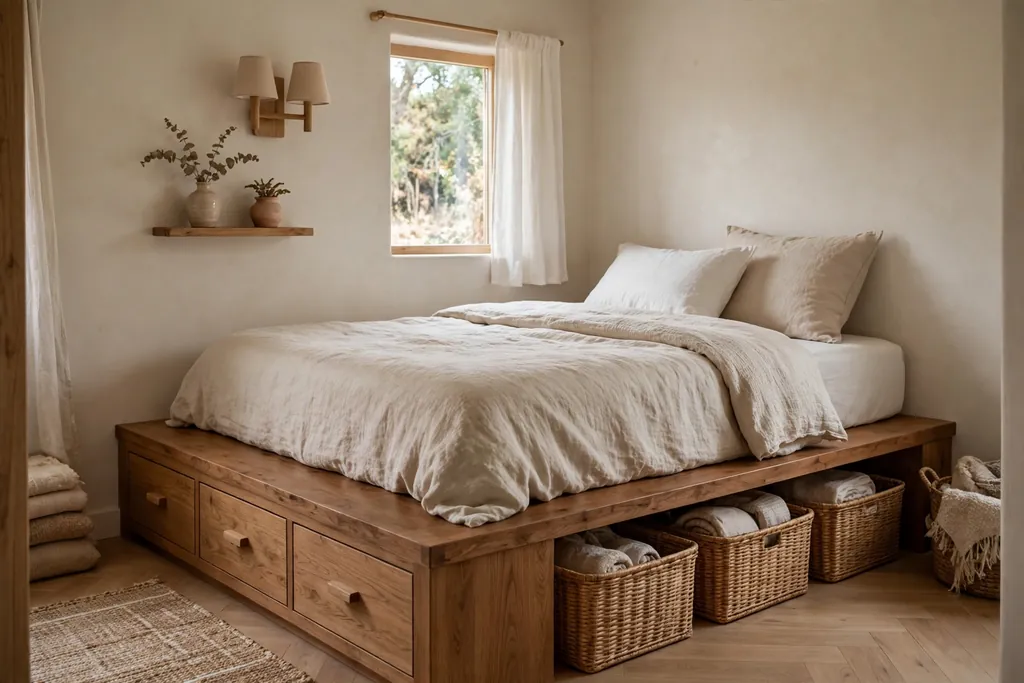
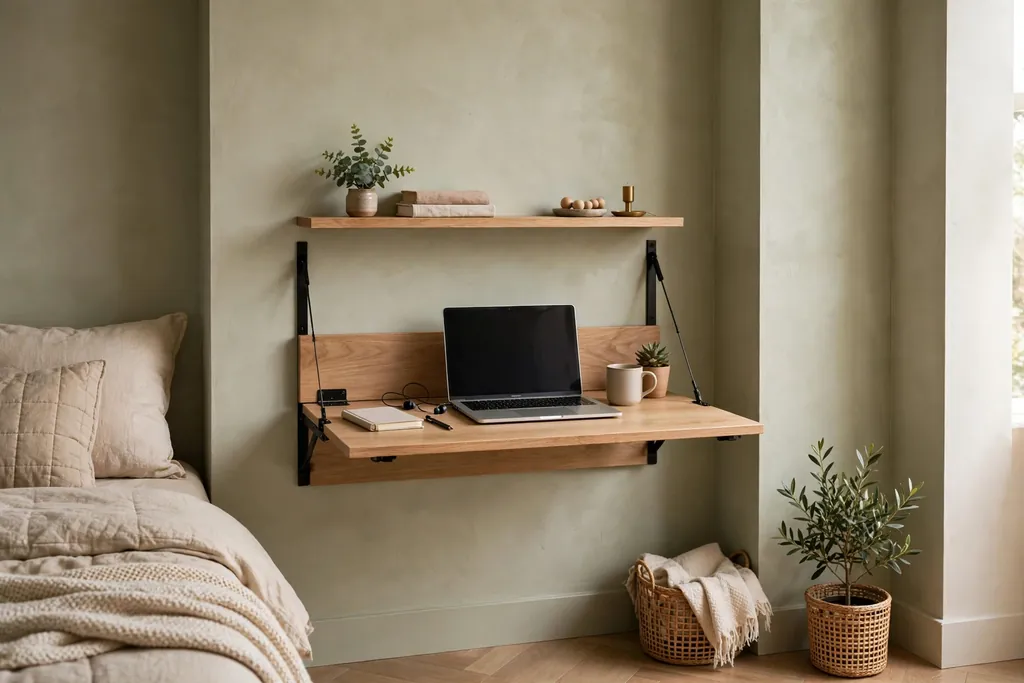
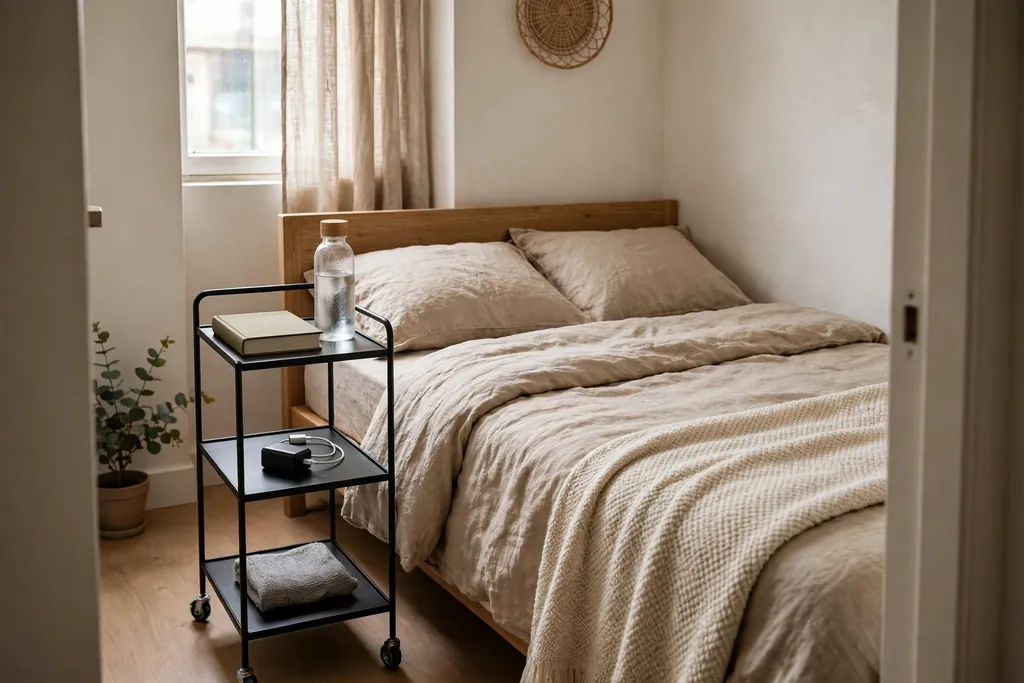
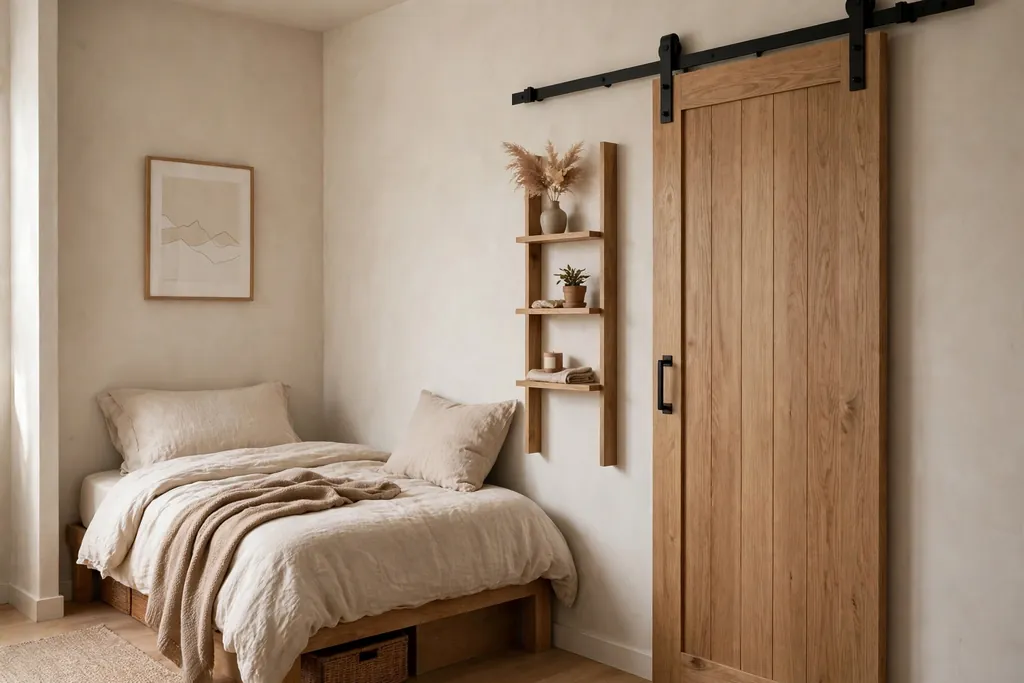
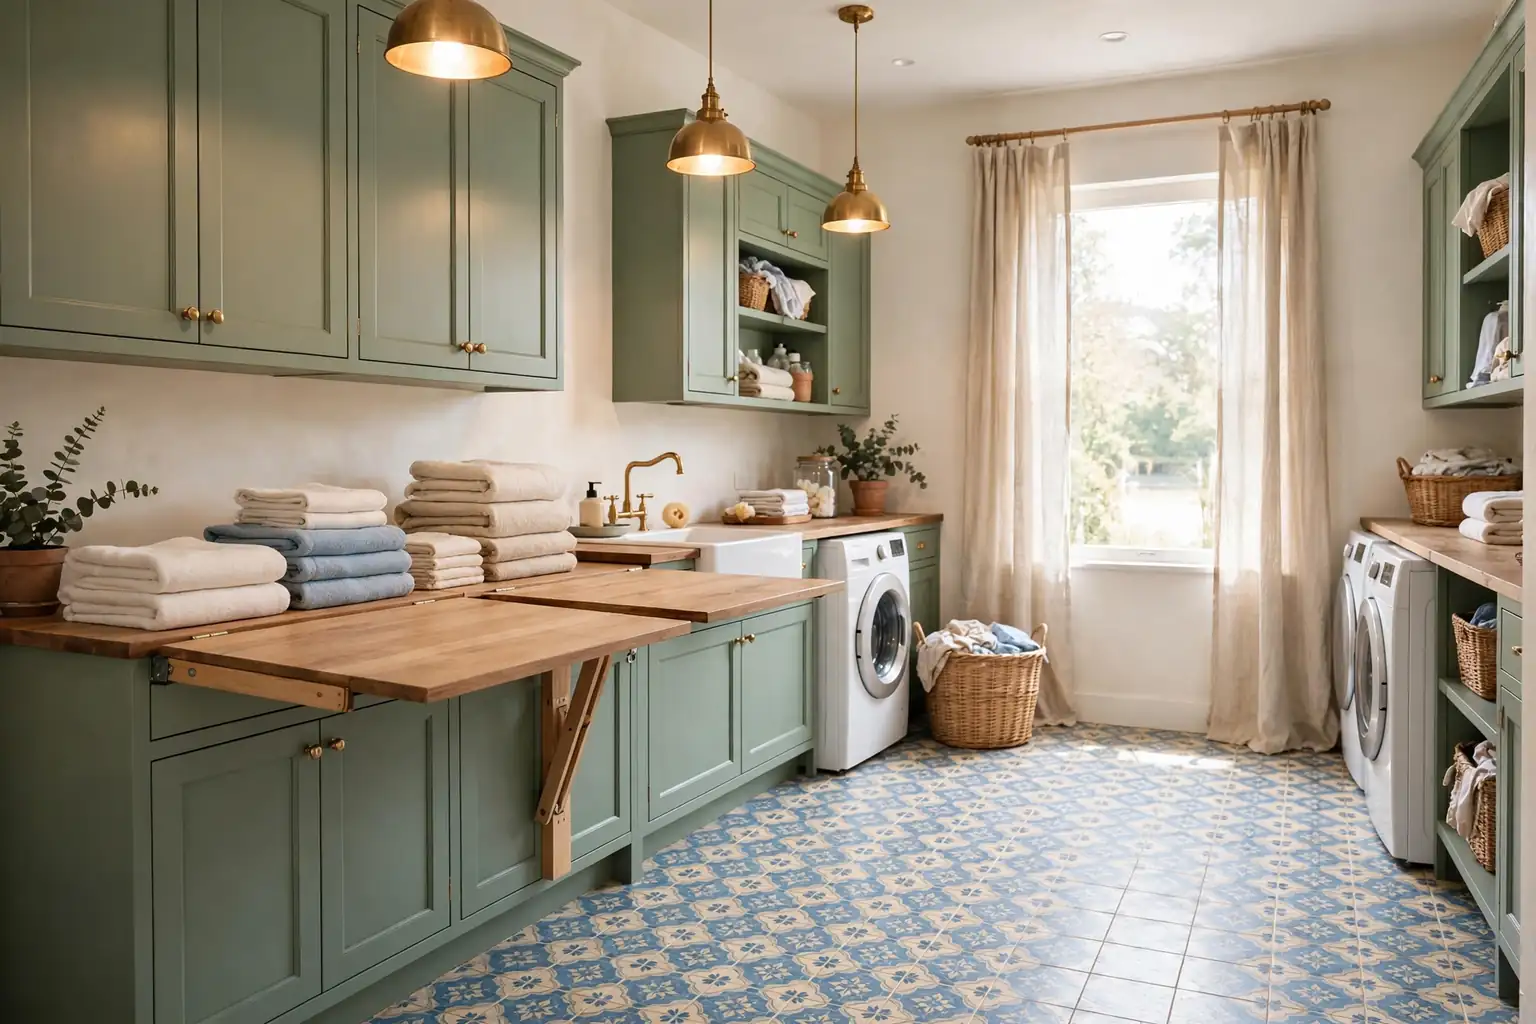
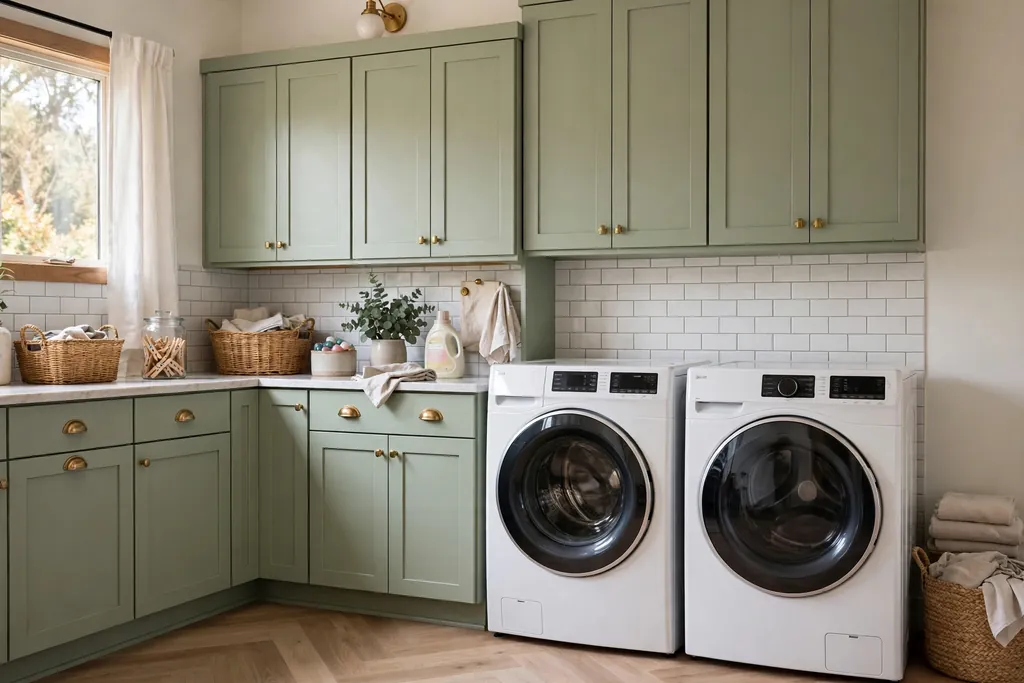
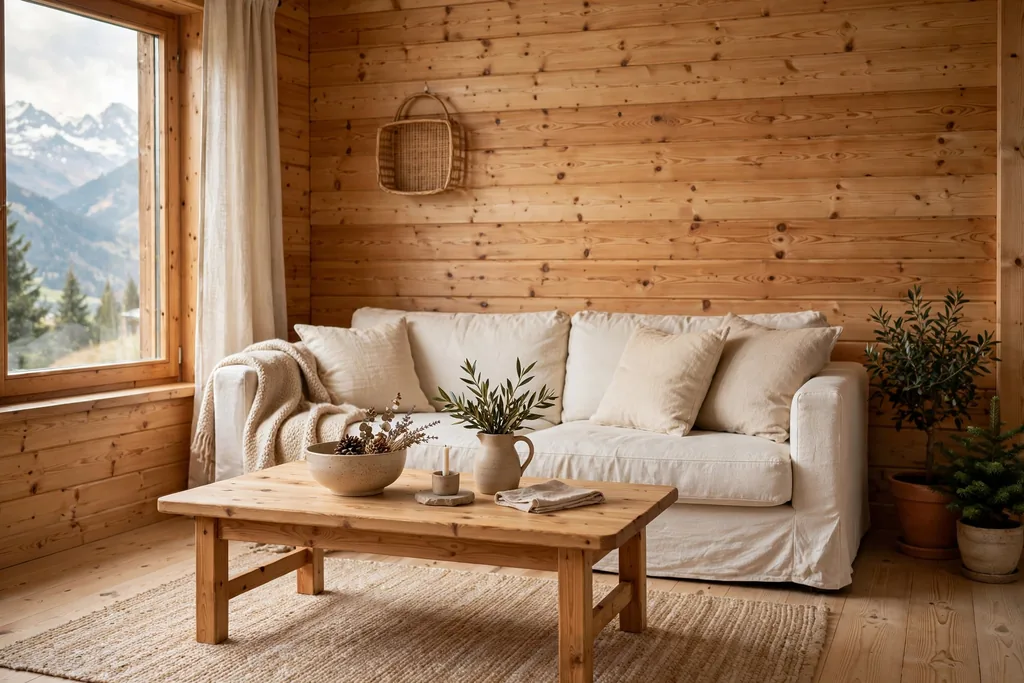
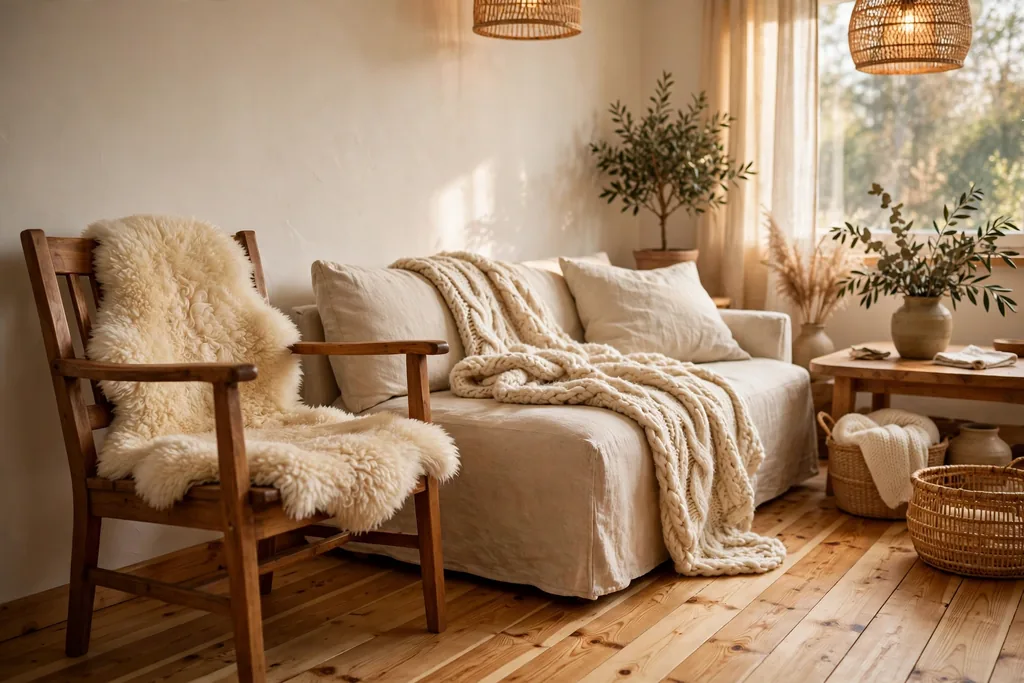
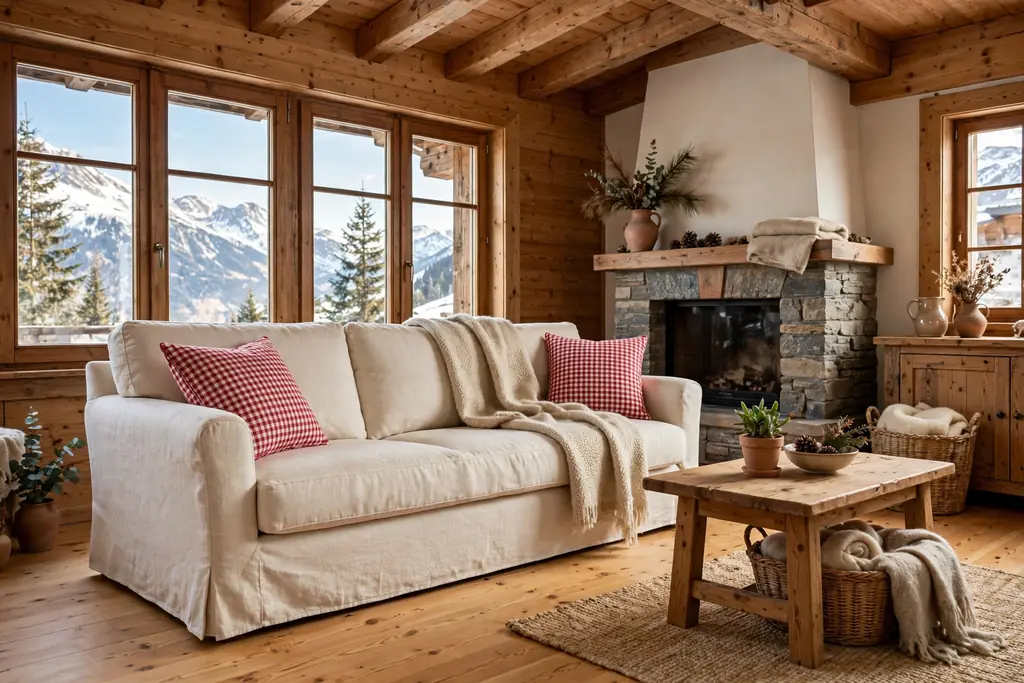
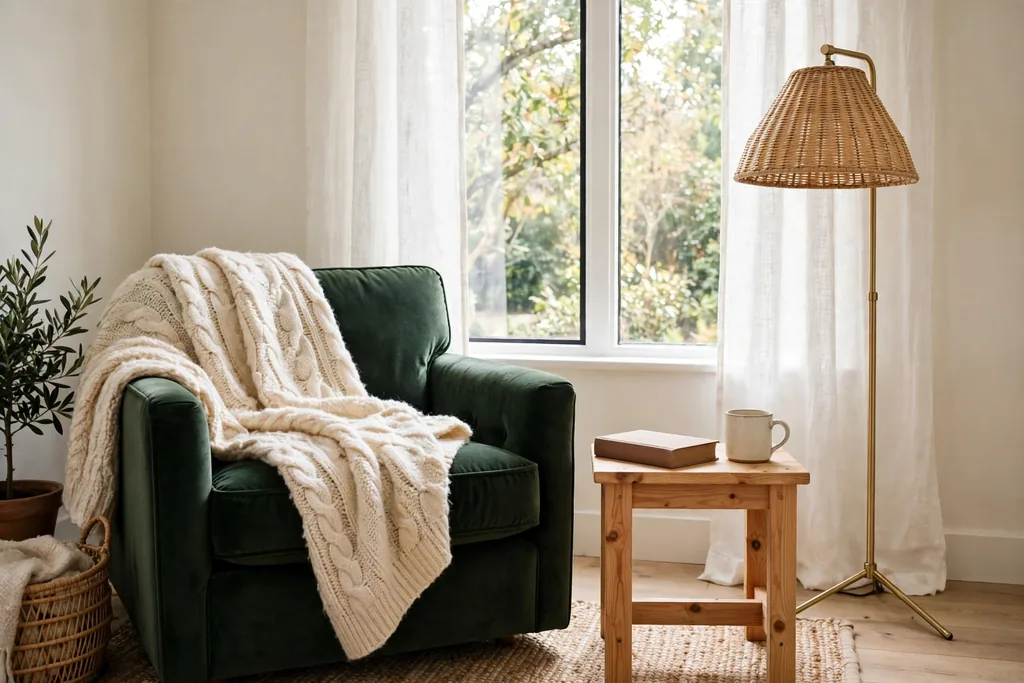
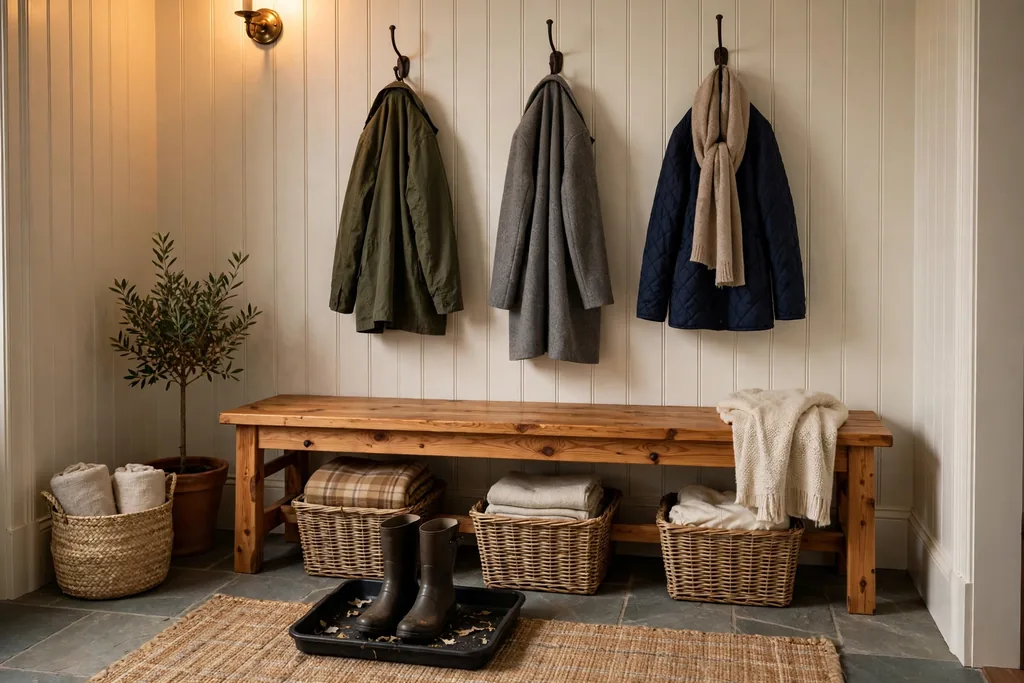
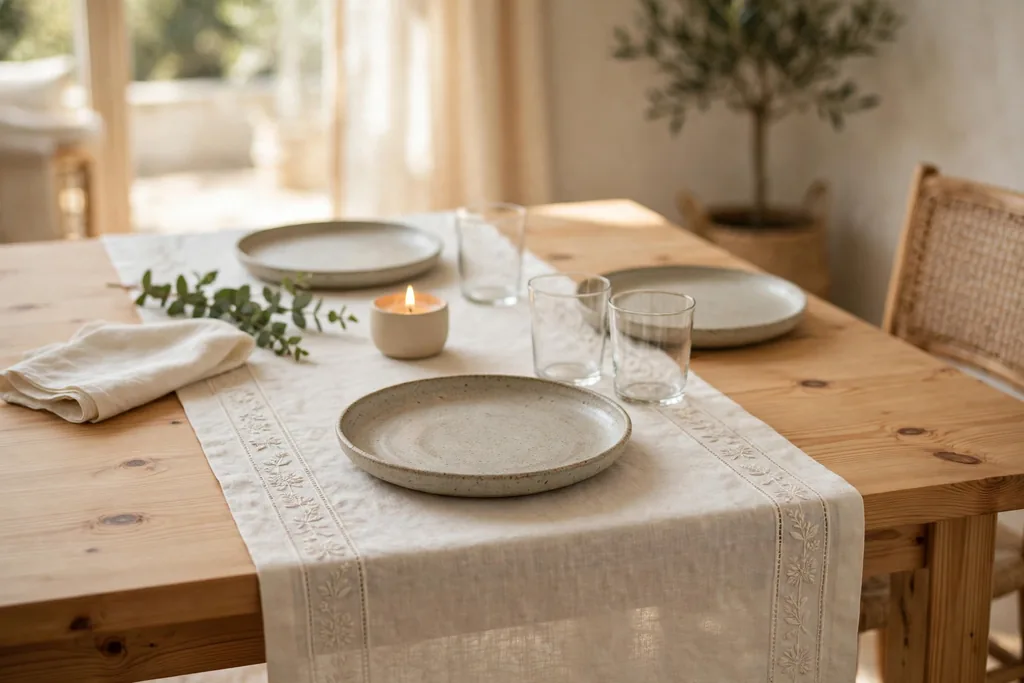
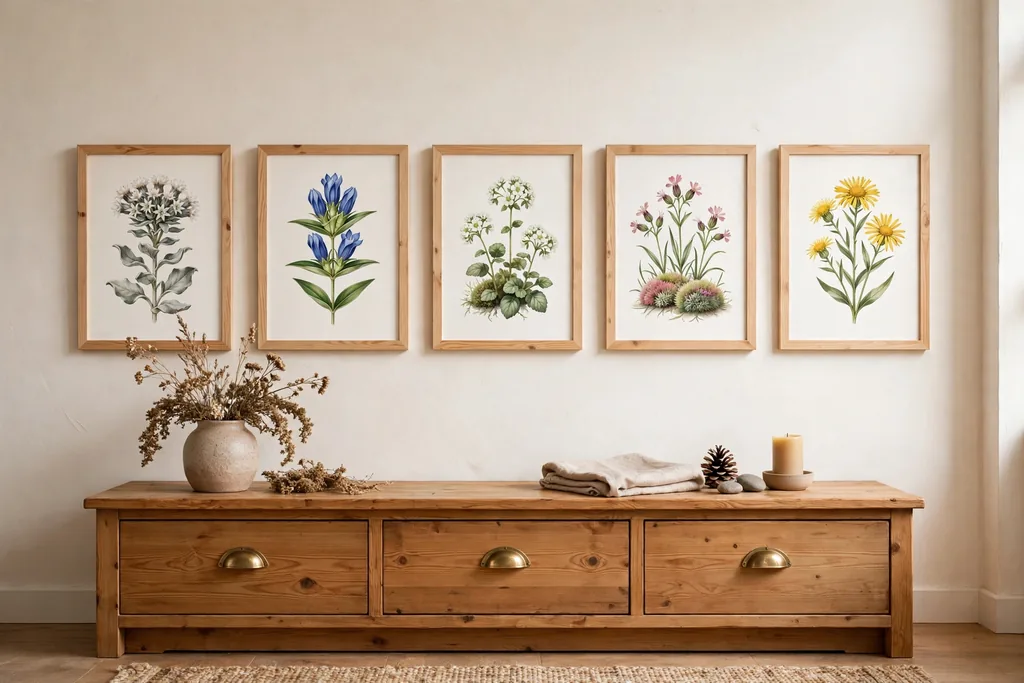
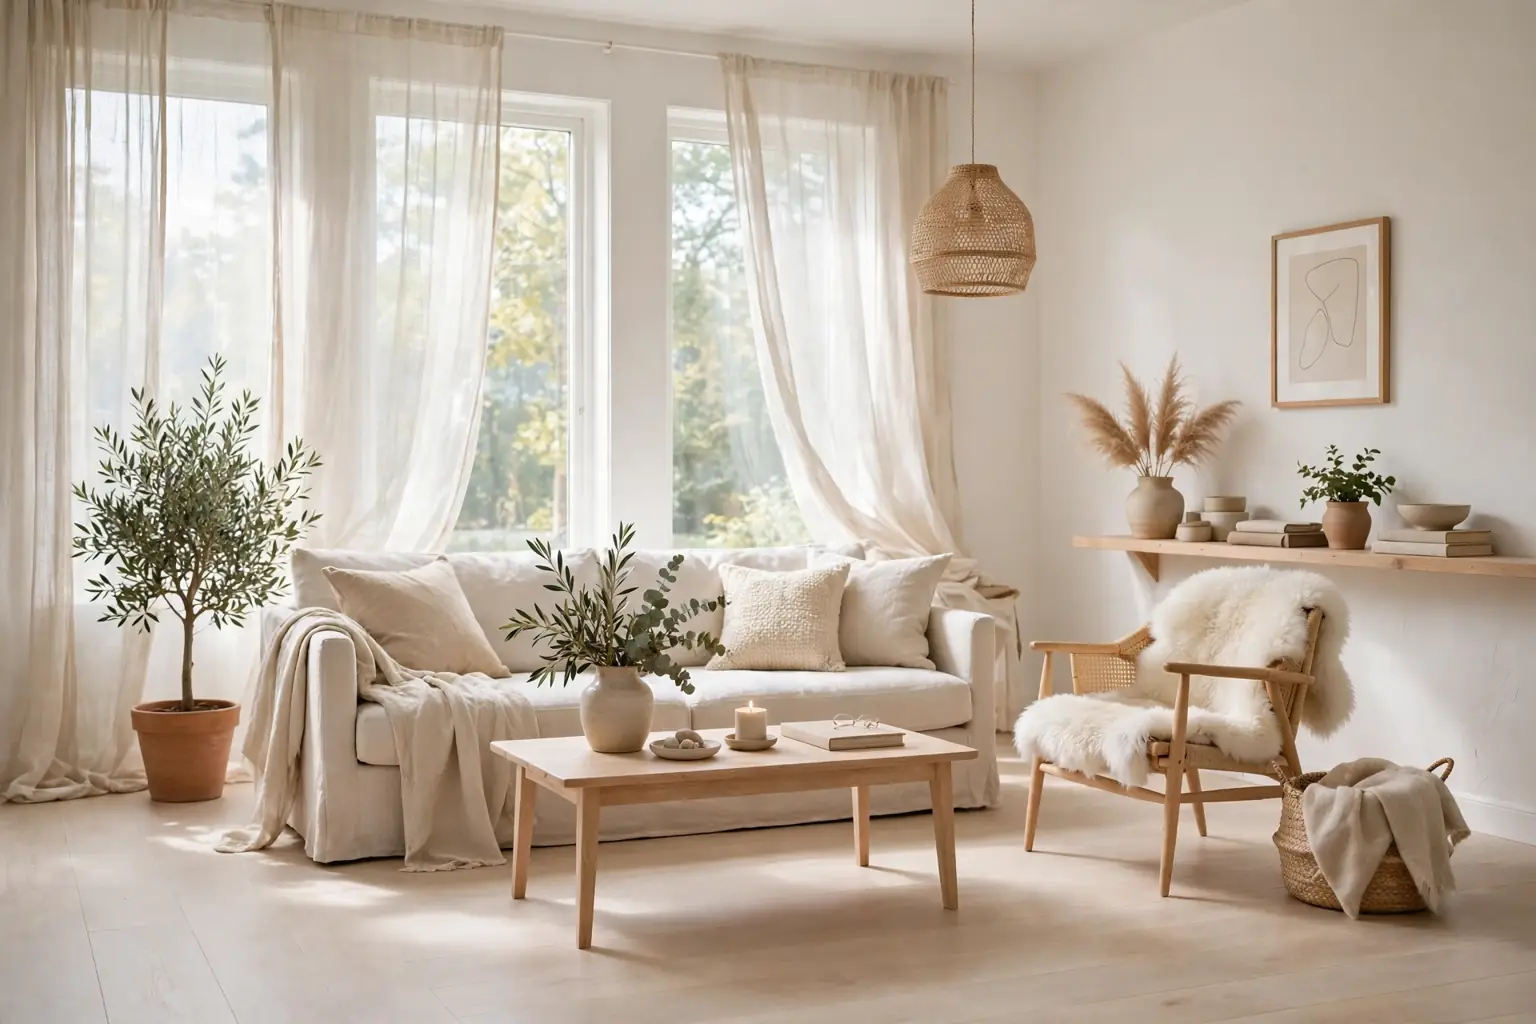
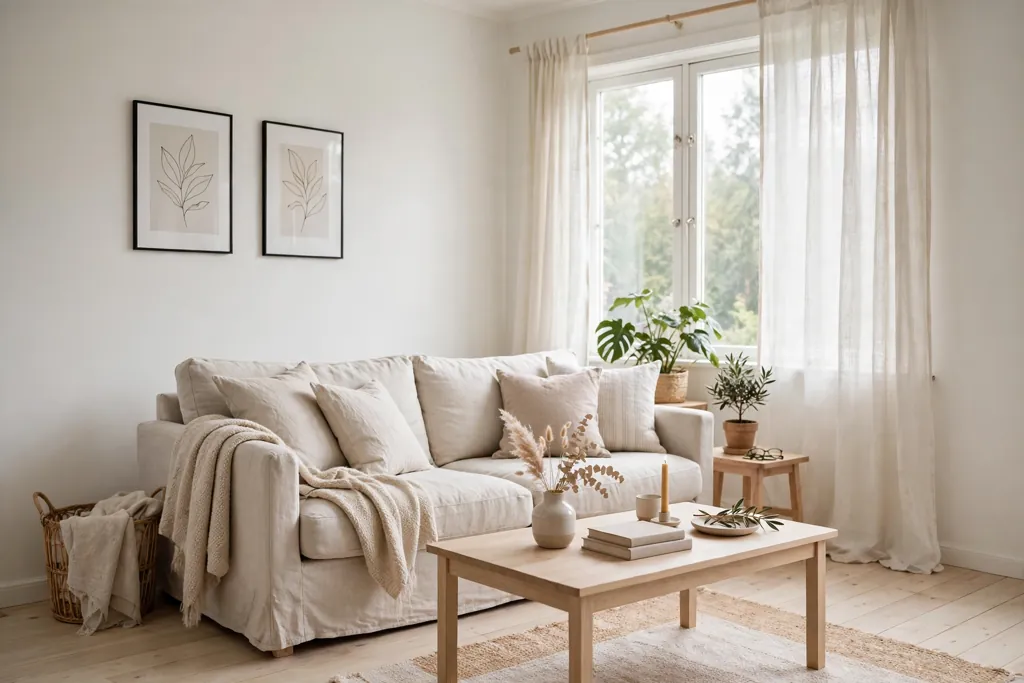
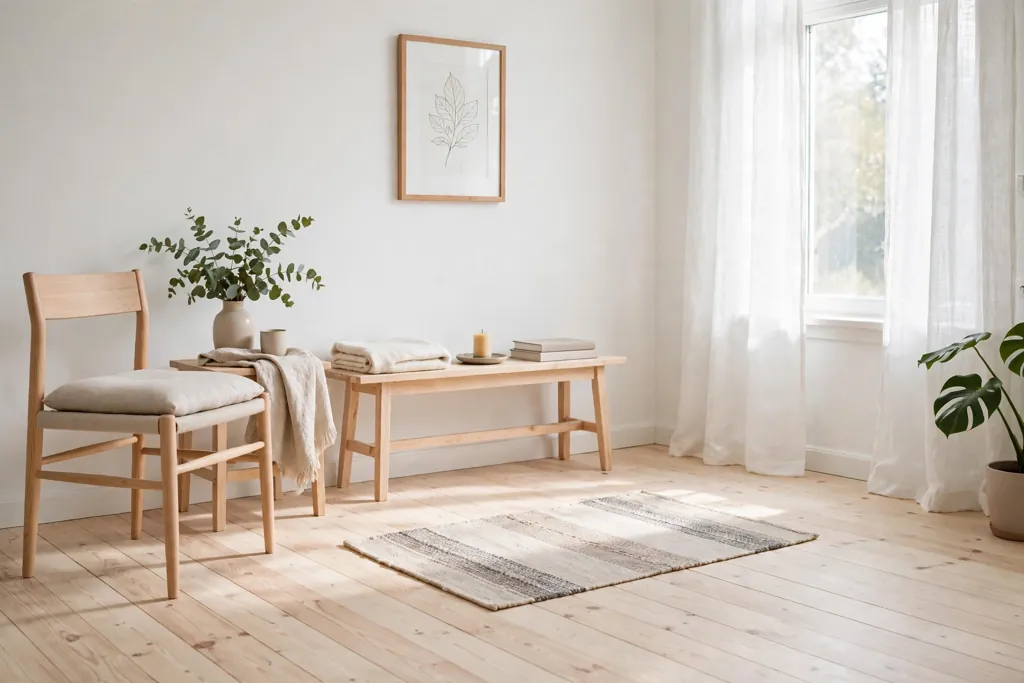
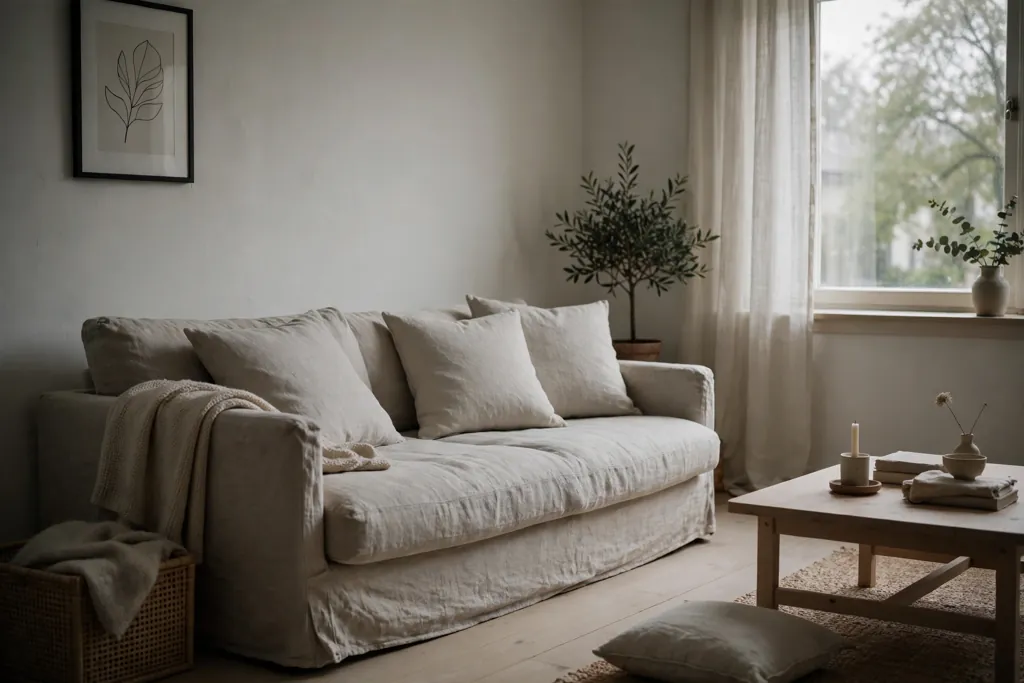
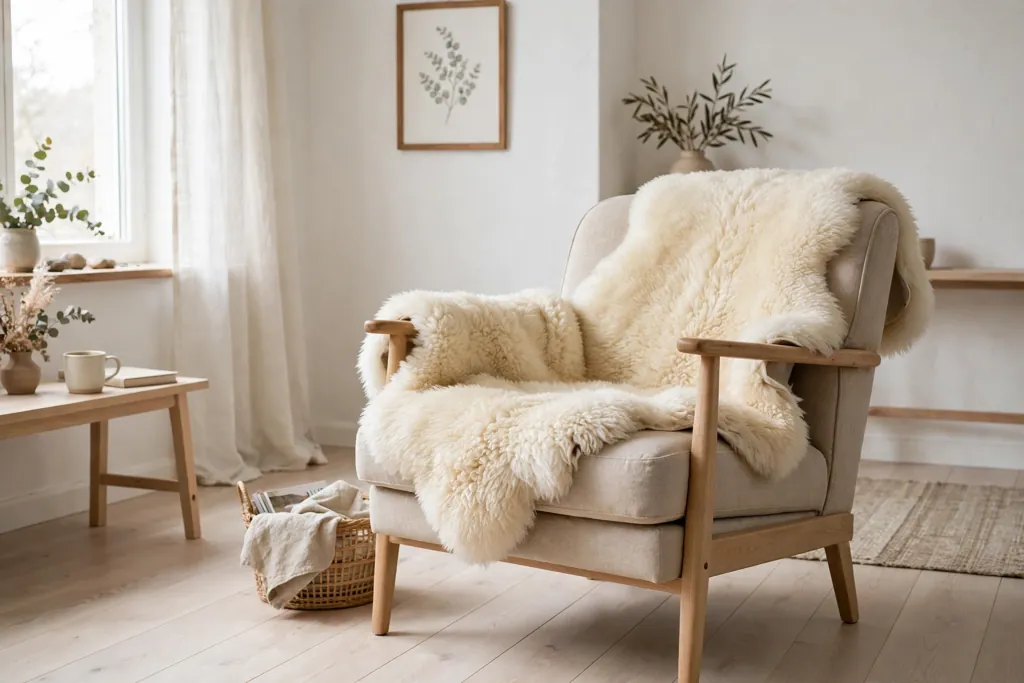
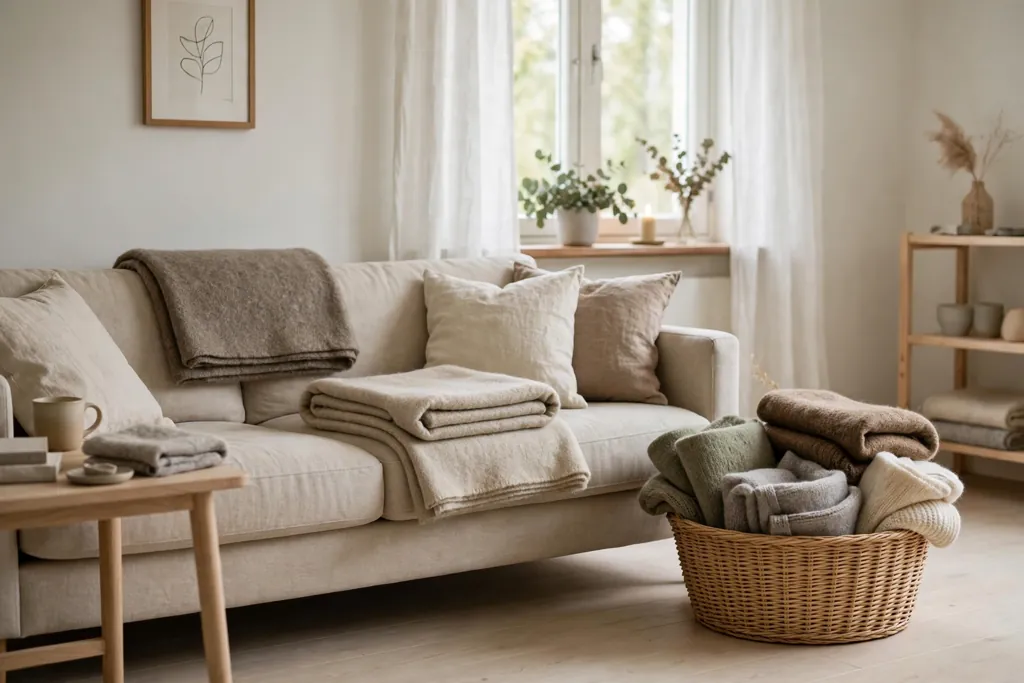
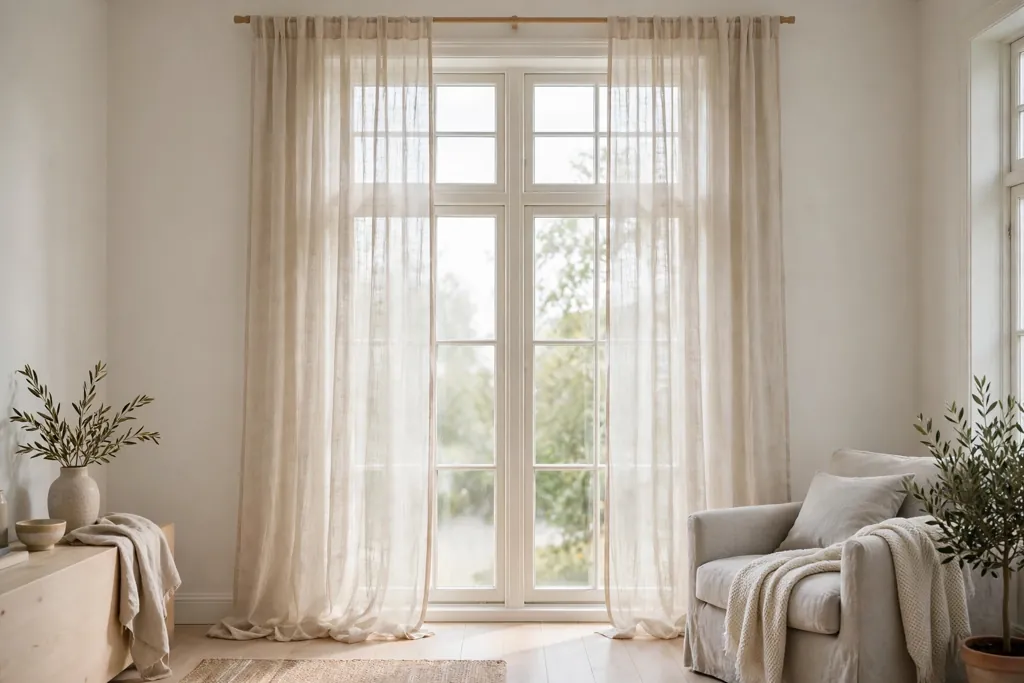
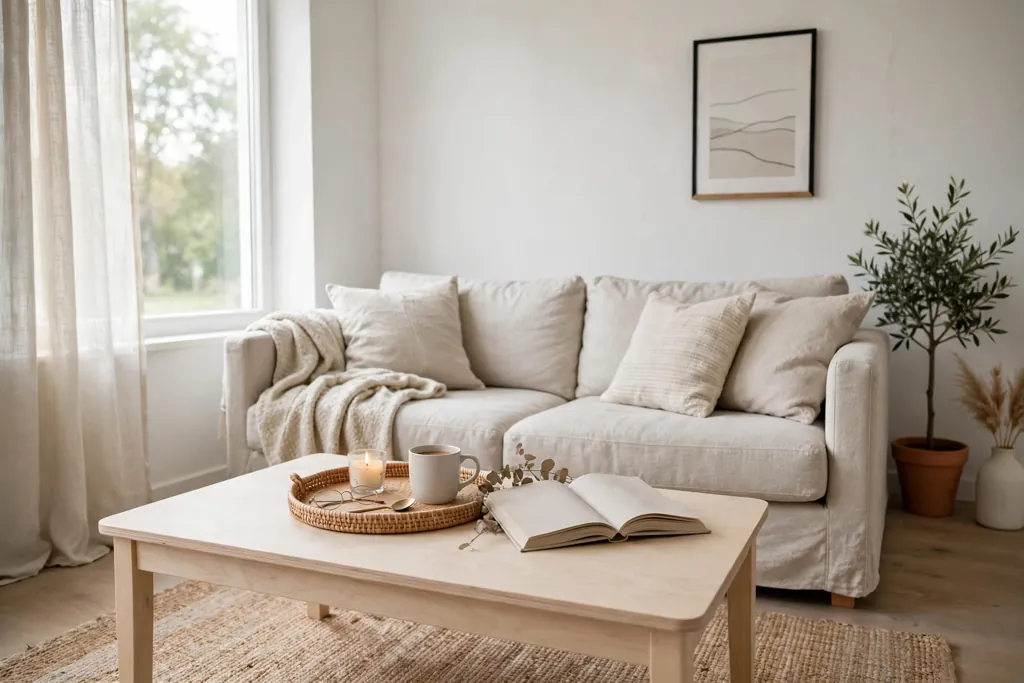
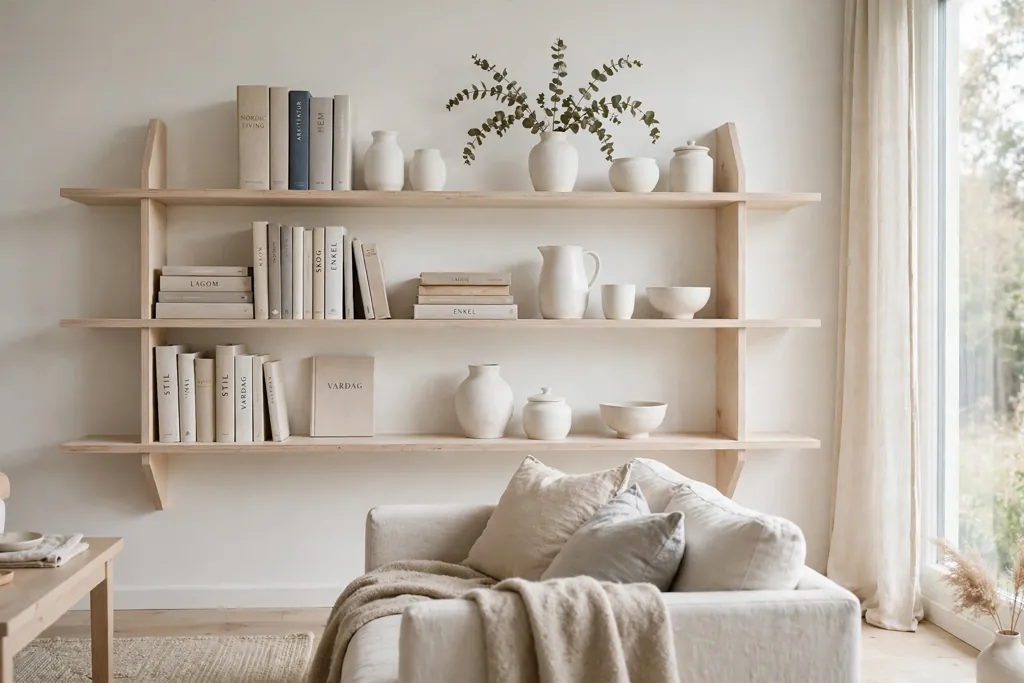
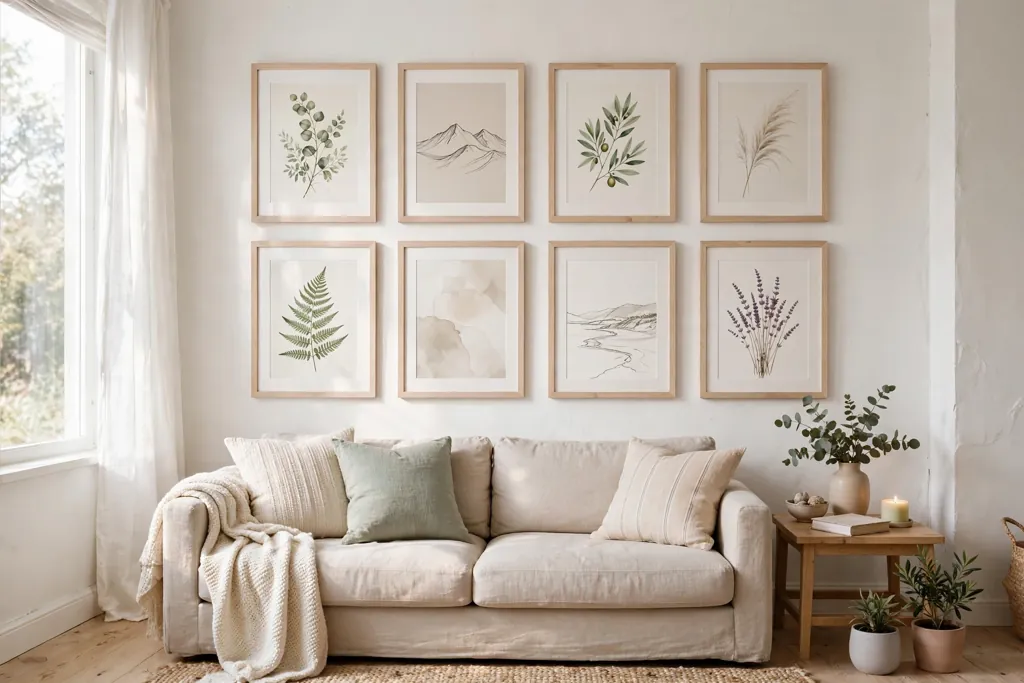
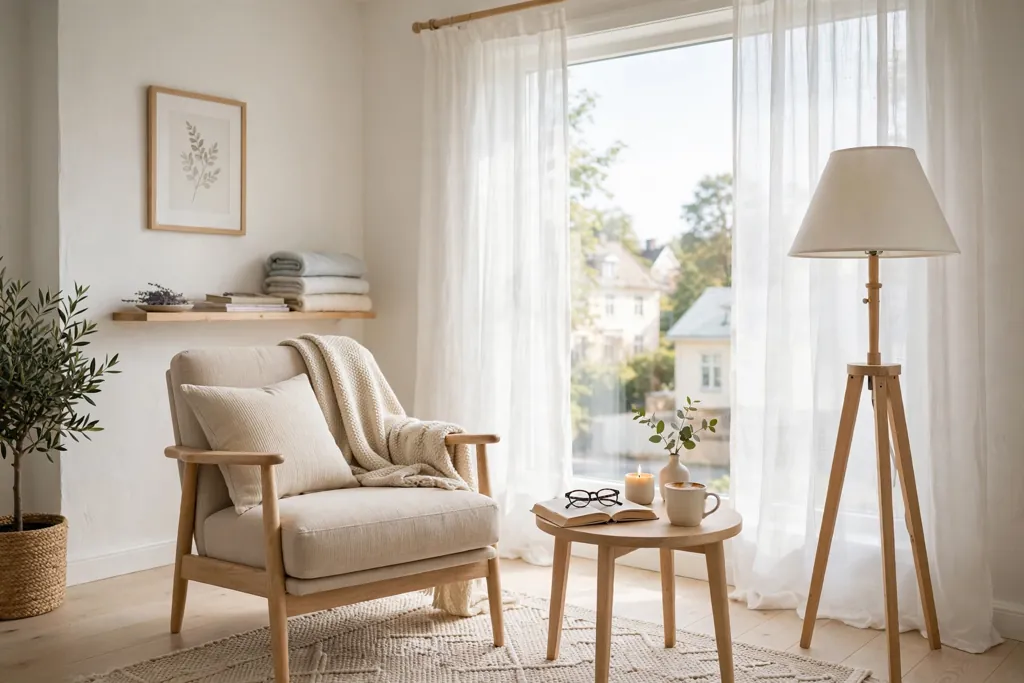
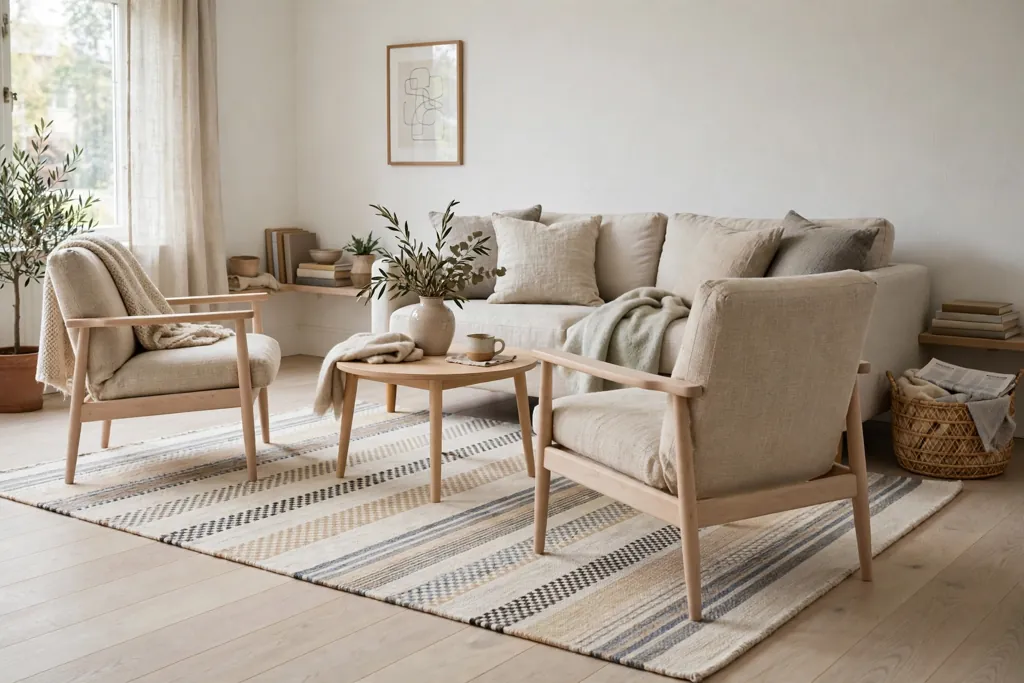
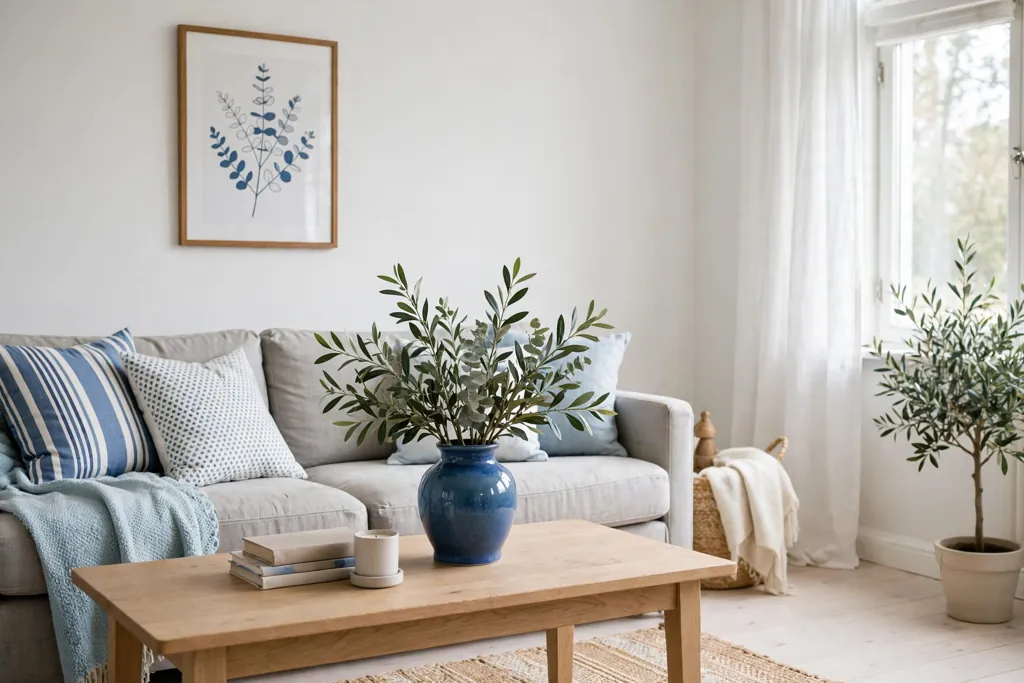
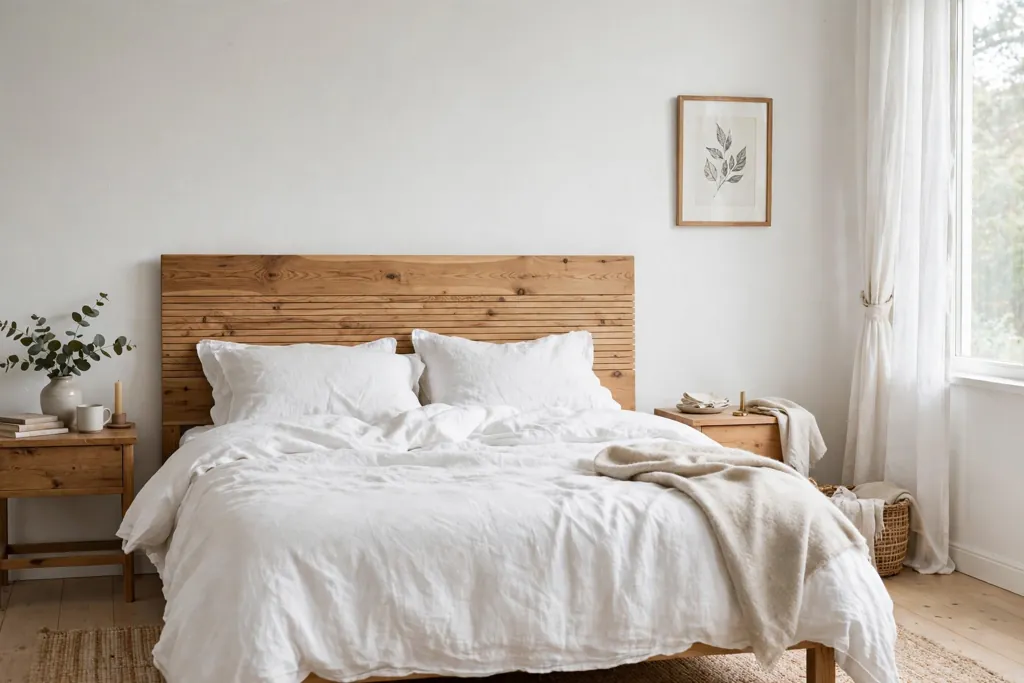
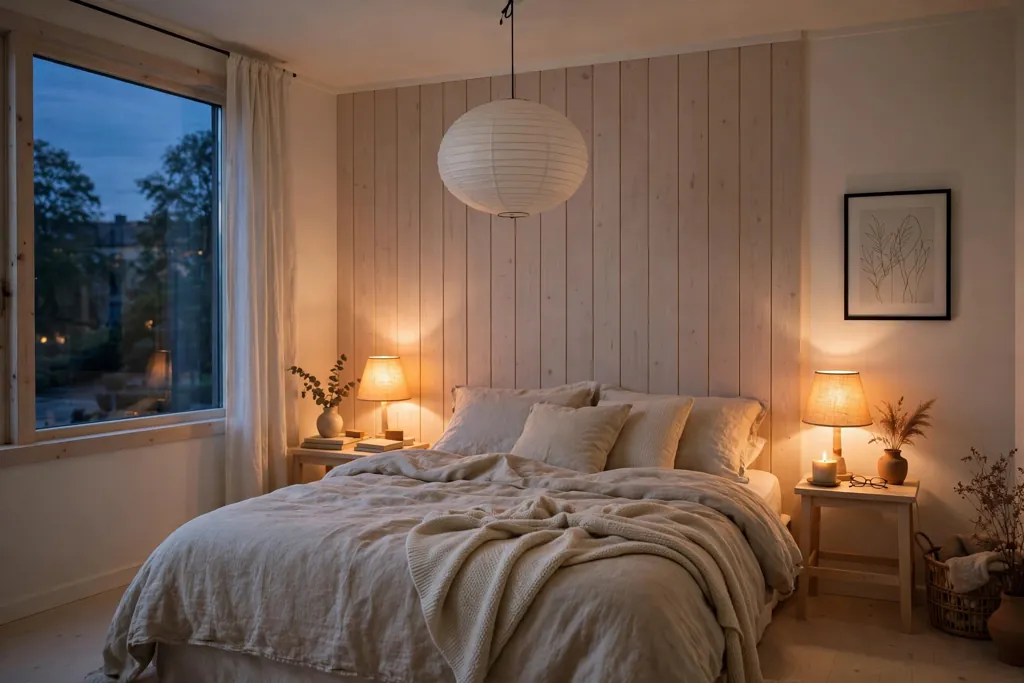
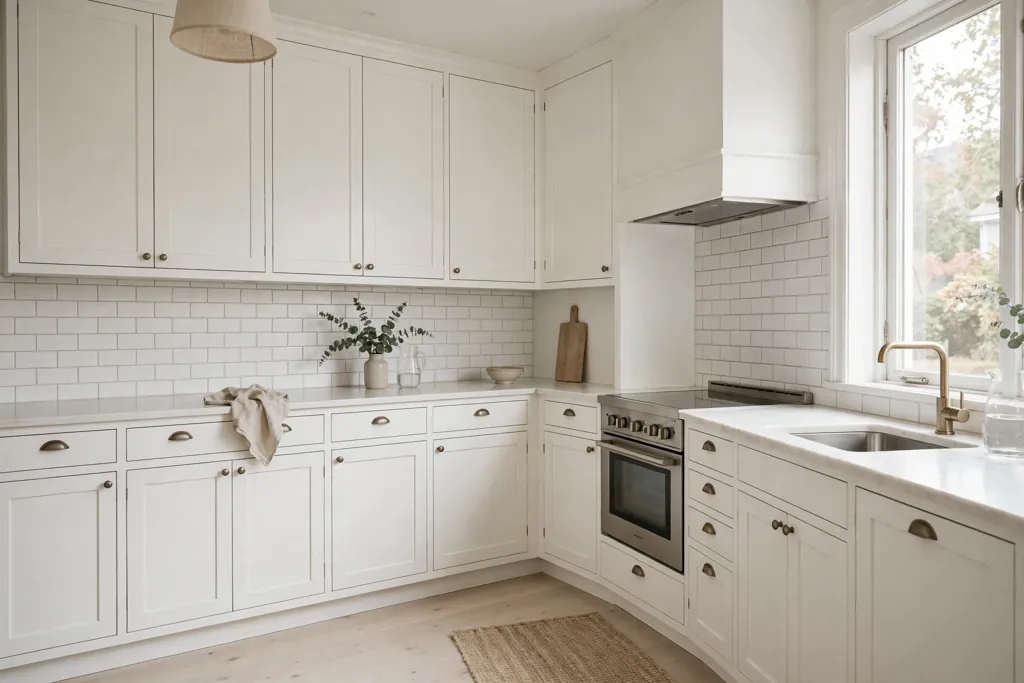
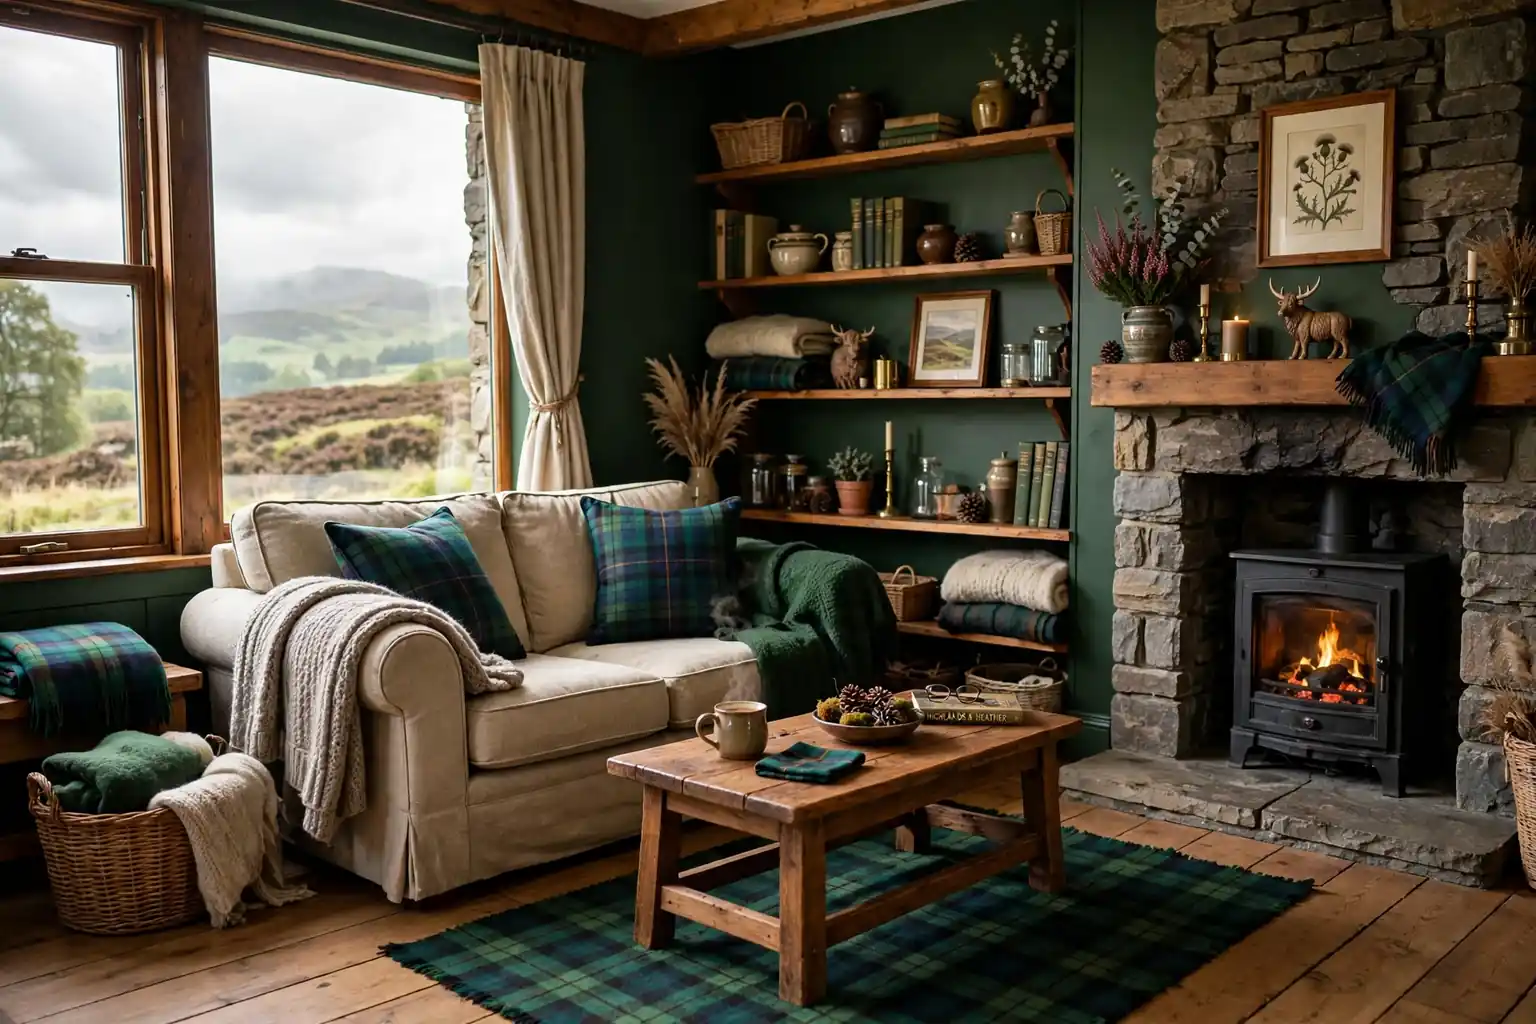
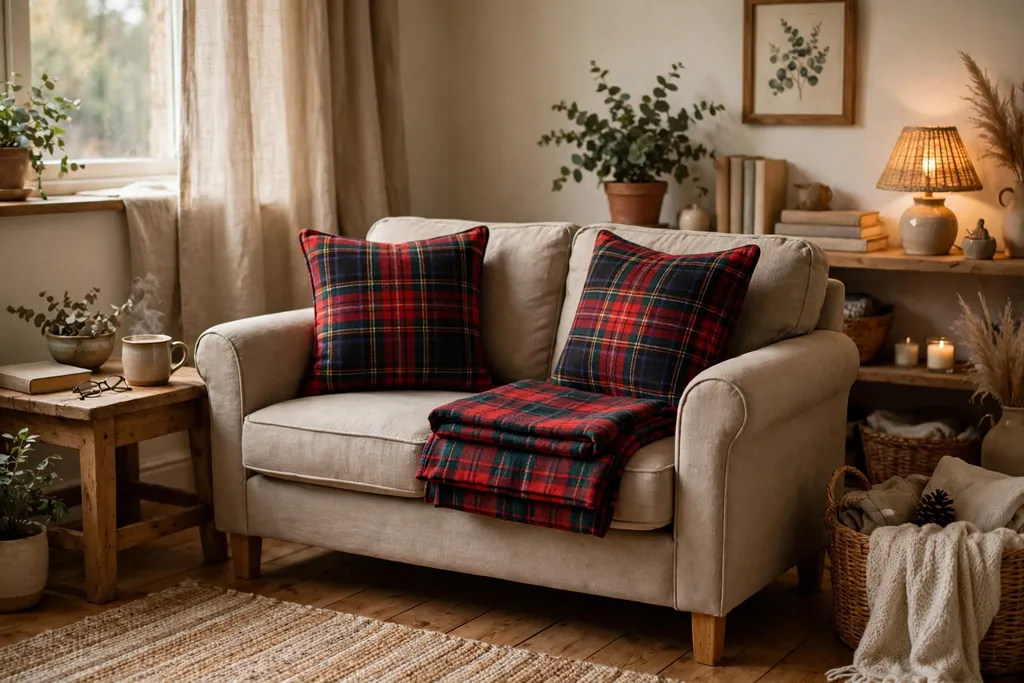
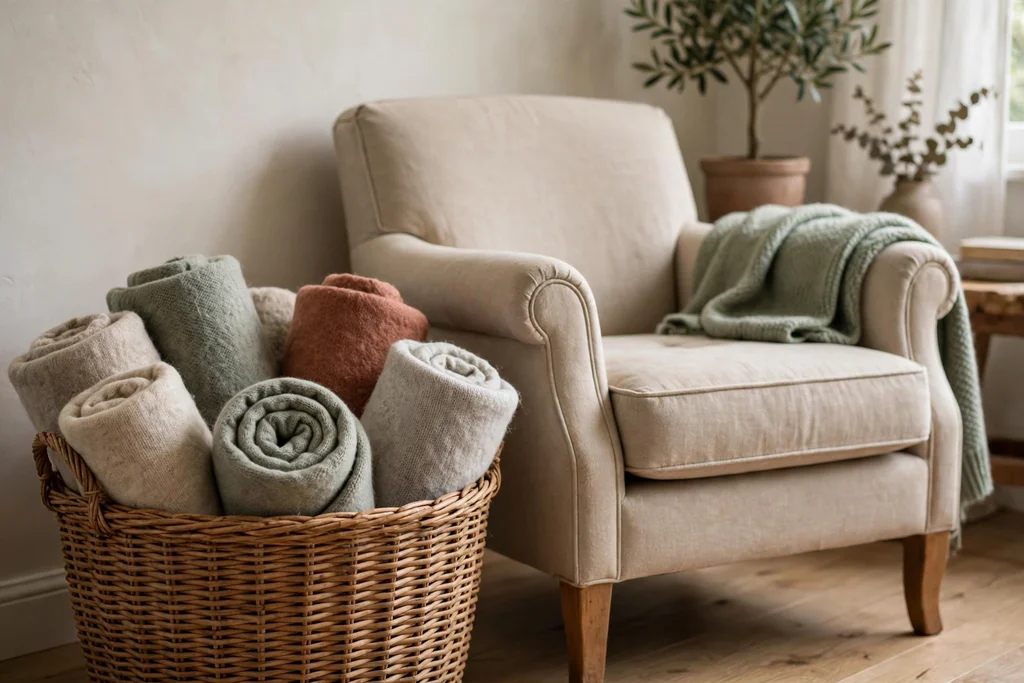
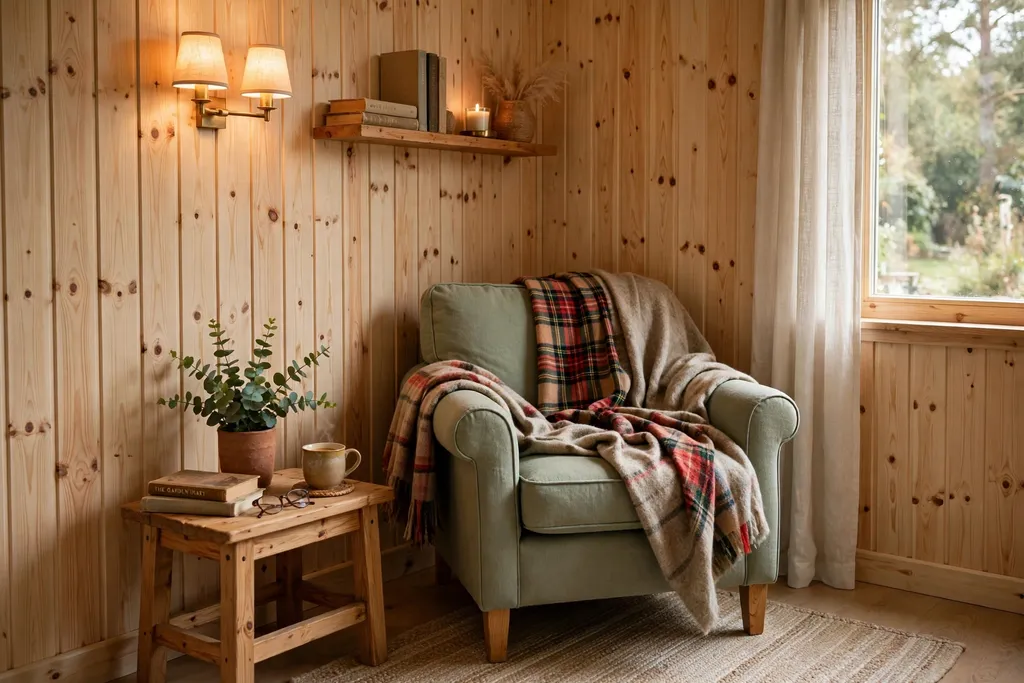
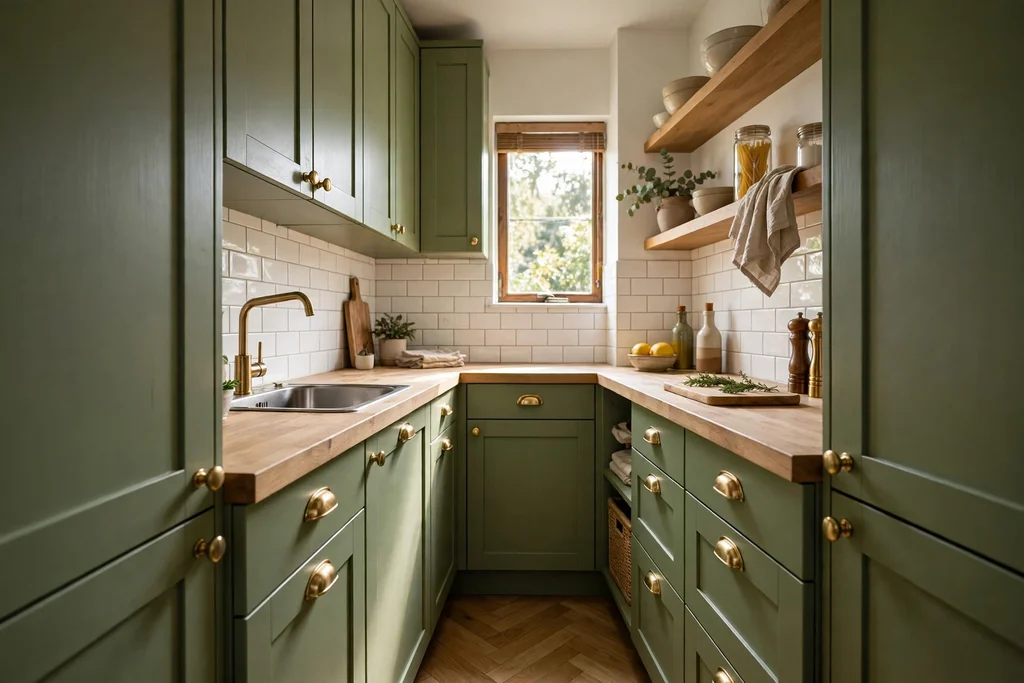
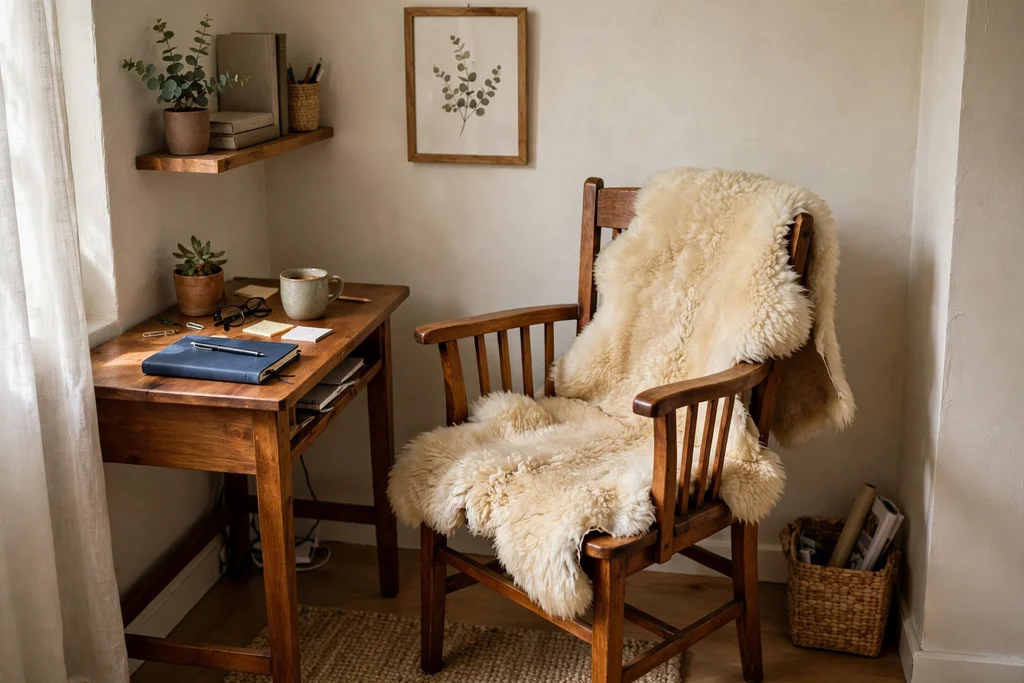
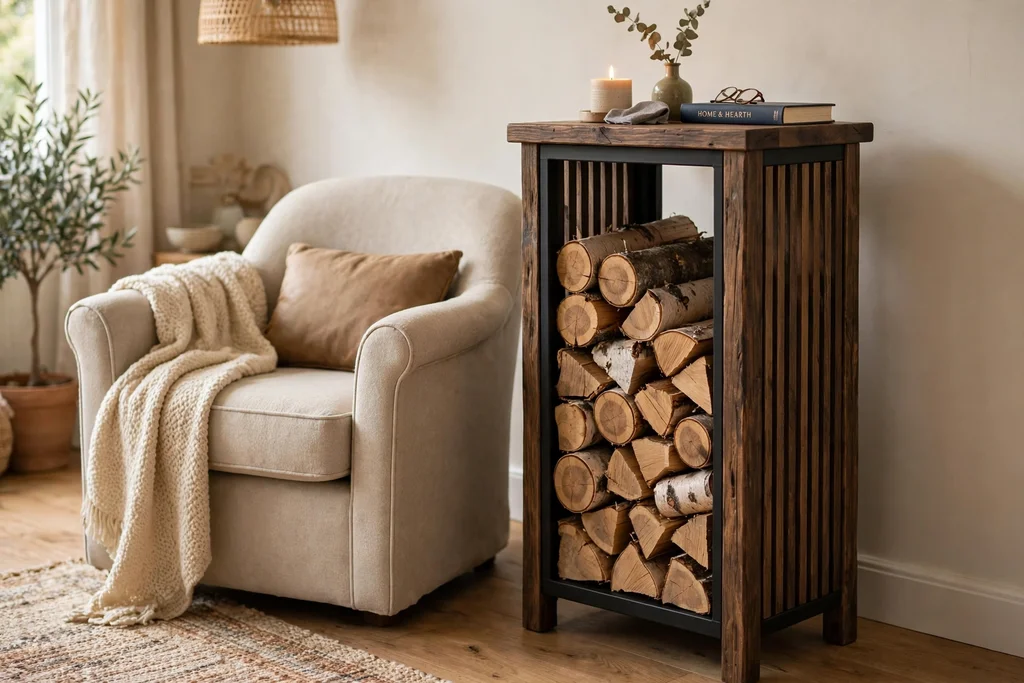
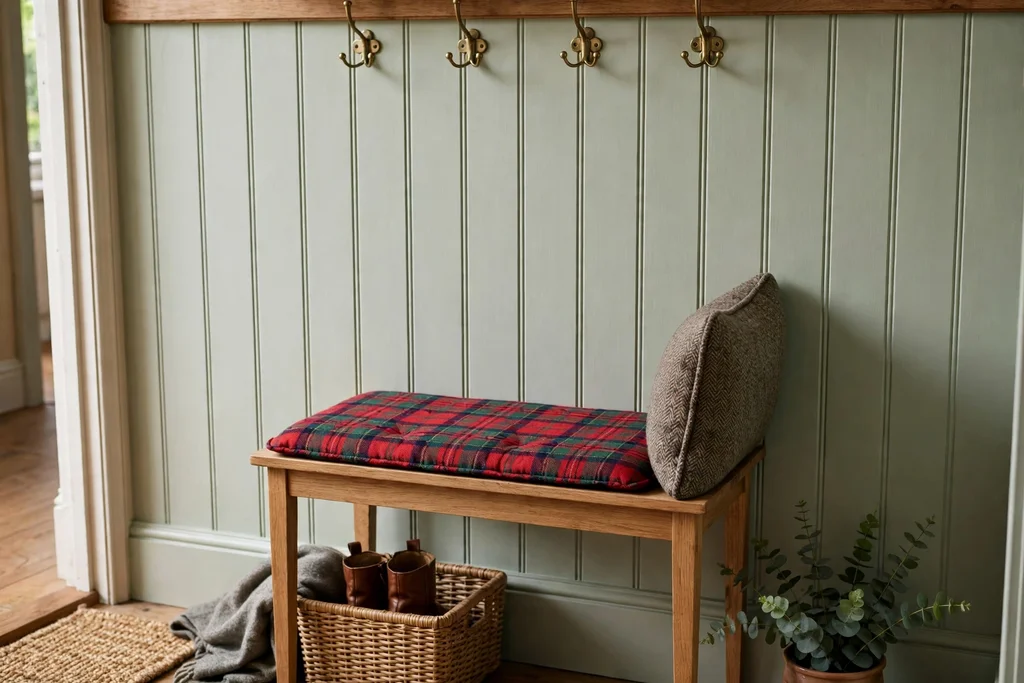
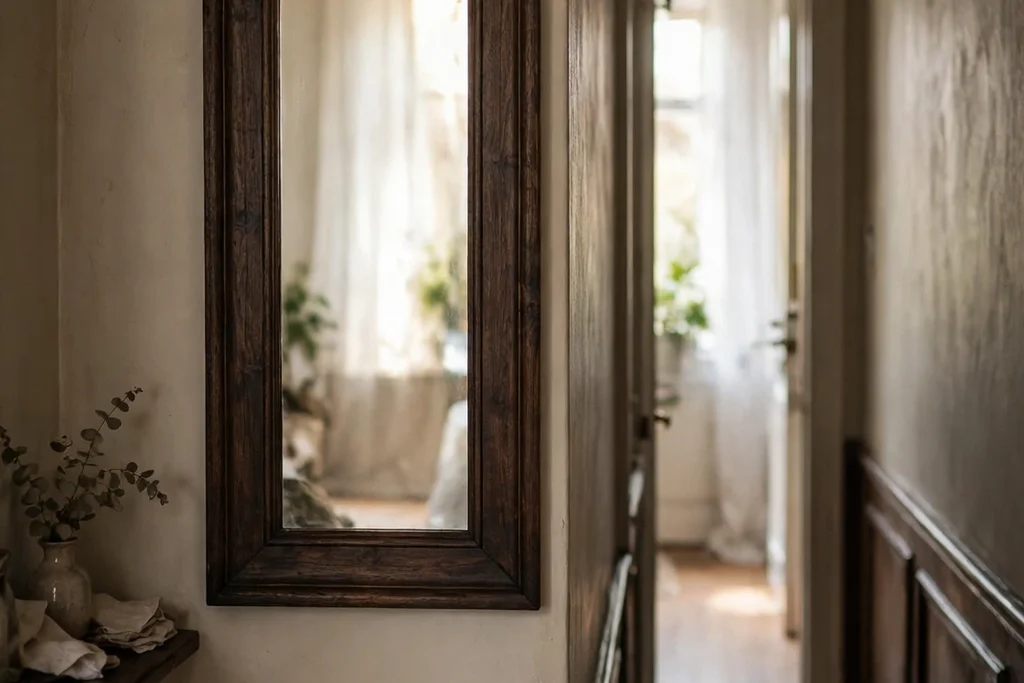
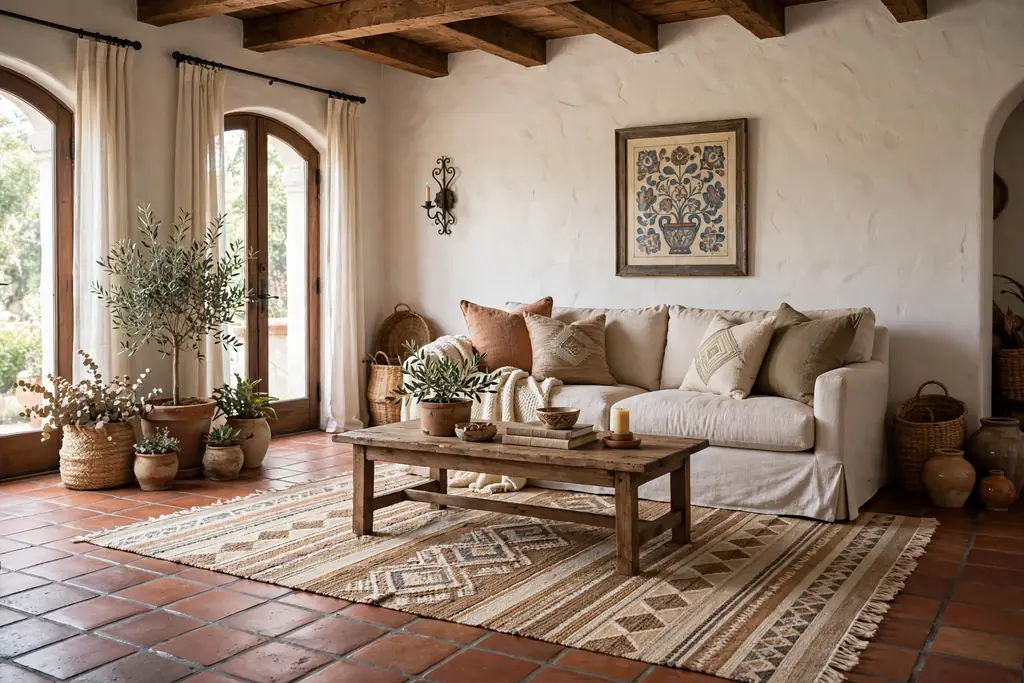
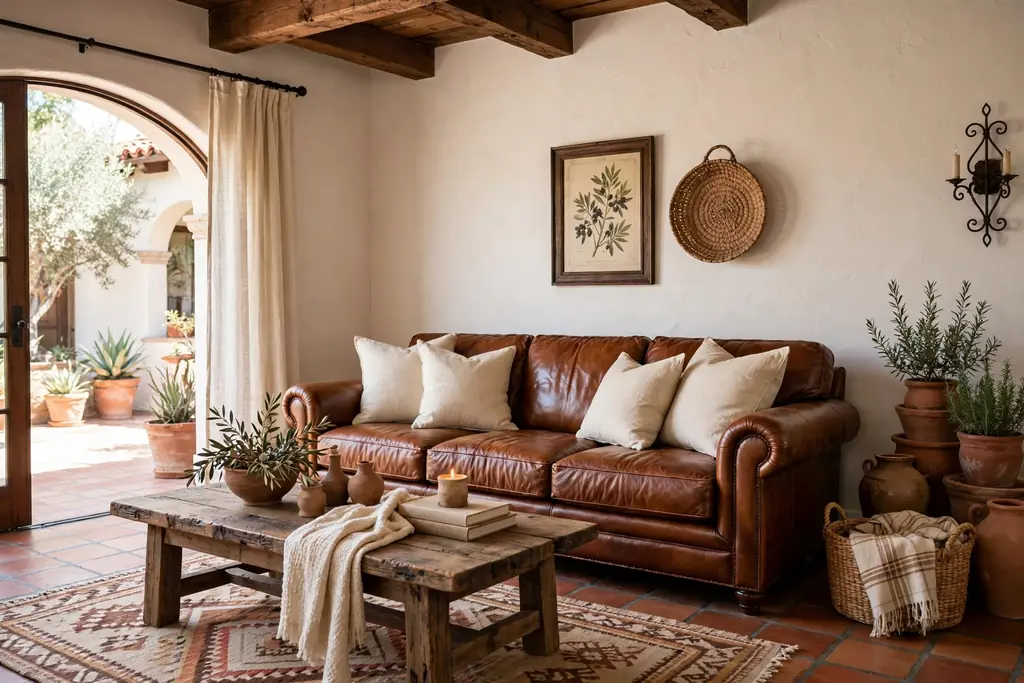
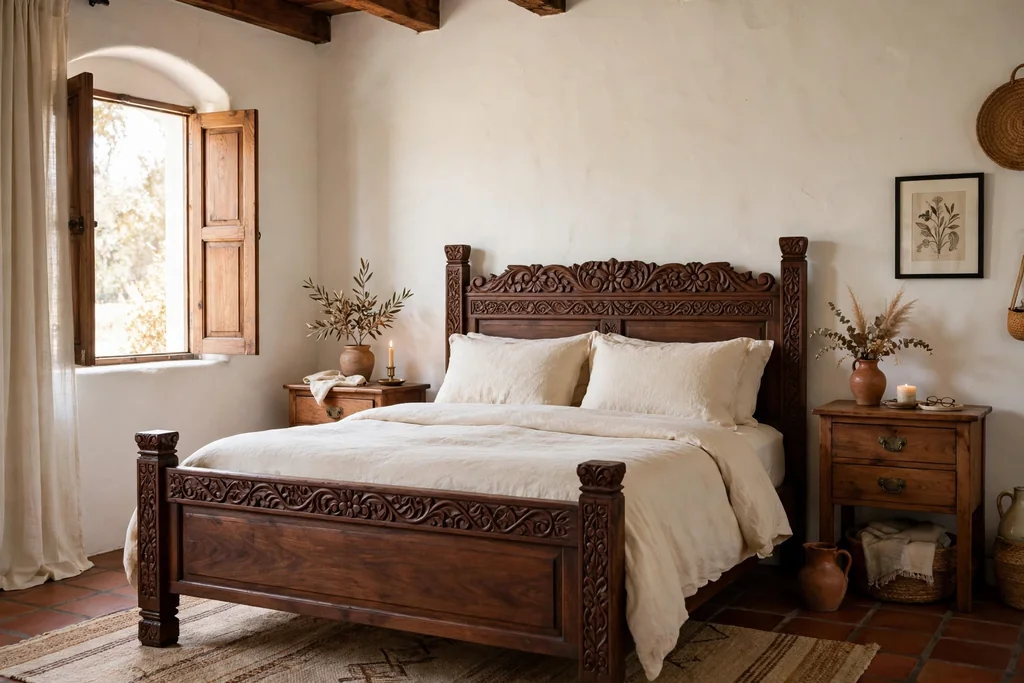
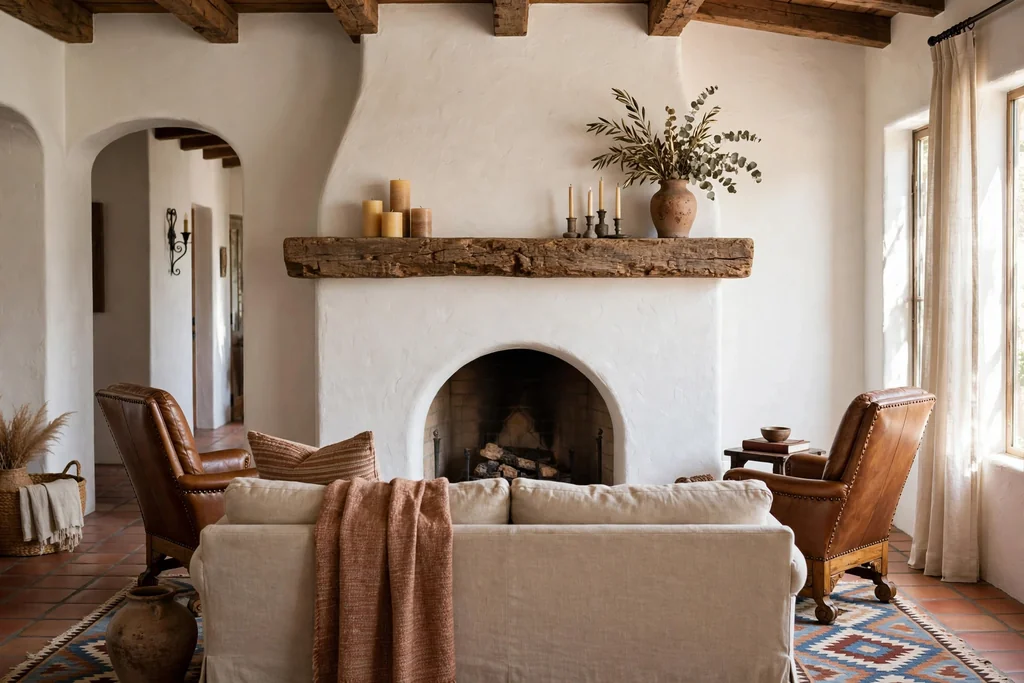
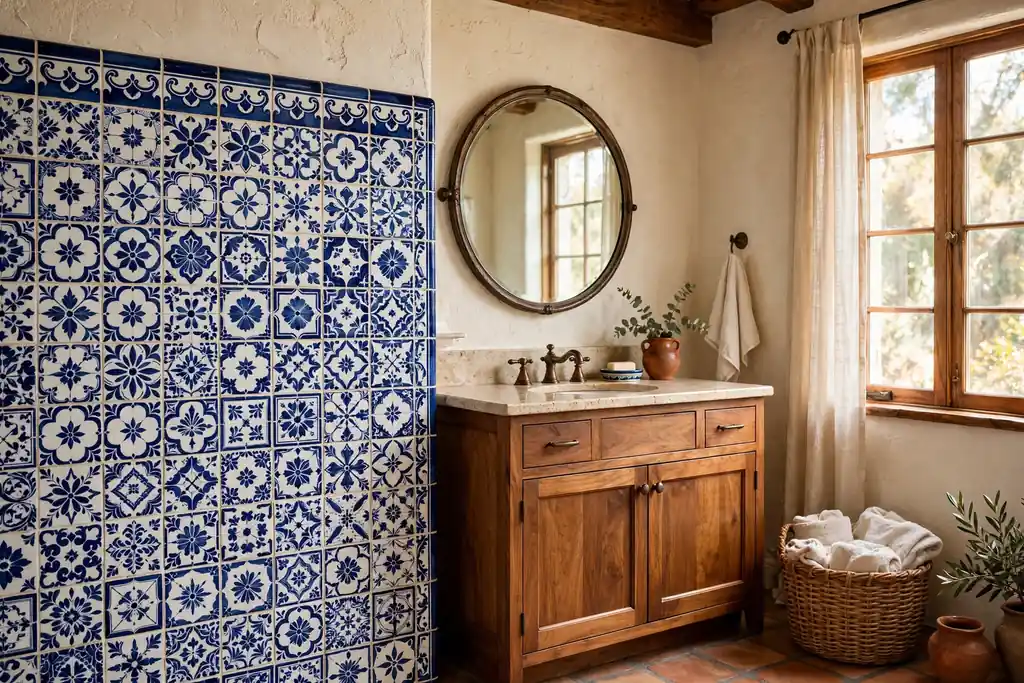
A small apartment living room has to do a lot on a small budget. It is where you relax, welcome friends, and read, and it has to do all of that without feeling crowded. Most of the change comes from choices that cost little or nothing: a better layout, a rug that fits, curtains hung well, light at more than one height, and storage that hides daily clutter. These 11 budget apartment living room ideas focus on that kind of change. Start with the idea that solves your biggest daily frustration, live with it for a week, and add the next one only if the room still asks for it.
Key Takeaways
Spend nothing until the layout is settled: tape the seating footprint on the floor and test it for a few days before you buy anything.
Change the biggest surfaces first: layout, rug, paint, curtains, and lighting give more change than small ornaments.
Use fabric for fast, low cost change: a slipcover, cushion covers, and curtains can refresh a room without new furniture.
Buy secondhand where it counts: mirrors, lamps, frames, and baskets are easy to find used and simple to clean up.
Give clutter a closed home, such as a lidded basket or a storage ottoman, so styling on show stays calm.
Repeat one calm base color and one accent in three places, so budget pieces look planned rather than random.
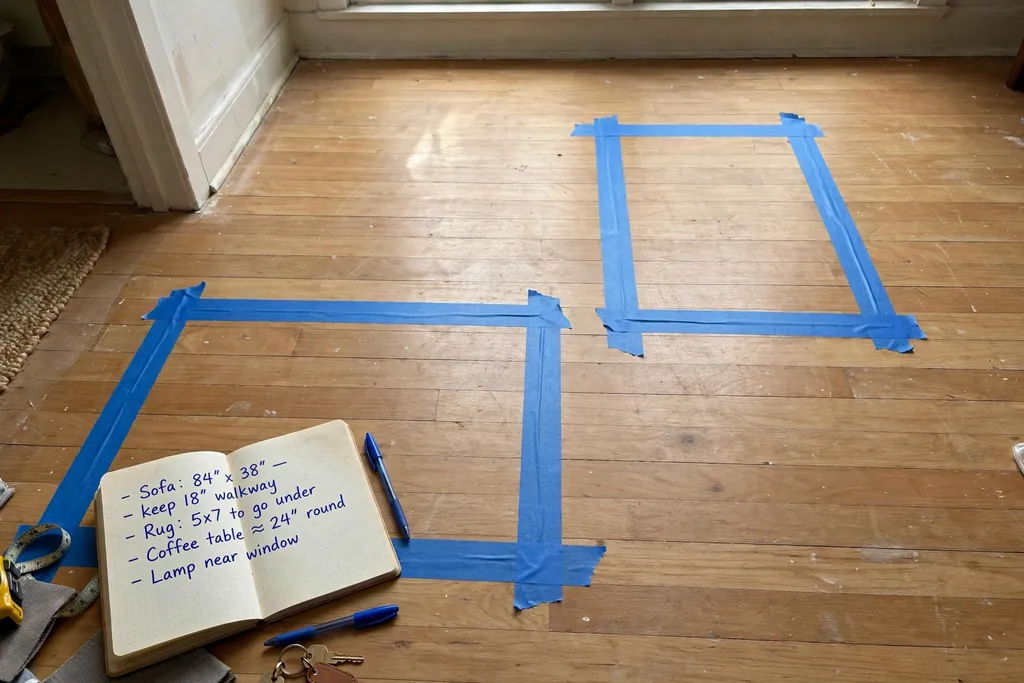
1. Tape the Layout and Write a Small Spend Plan
Taping the layout costs nothing, and it stops the most common budget mistake: buying a piece that almost fits. Mark the sofa, rug, and table footprints on the floor with painter tape, then walk the routes you use every day, open doors and drawers, and sit in the marked seating spot. If you have to turn sideways to pass the sofa, or the table blocks the route to the window, move the tape before you move any furniture. Live with the taped layout for a few days, since a room often feels odd for a day simply because it is different, not because the layout is wrong.
Write a short spend plan beside the taped layout, with one line per fix and a rough limit beside each. Start with free fixes, such as layout and decluttering, then move to low cost fabric and paint, and leave furniture until last. If a fix needs more than your limit, break it into steps, such as painting one wall now and the rest later. Keep receipts and return anything that does not earn its place after a week in the room.
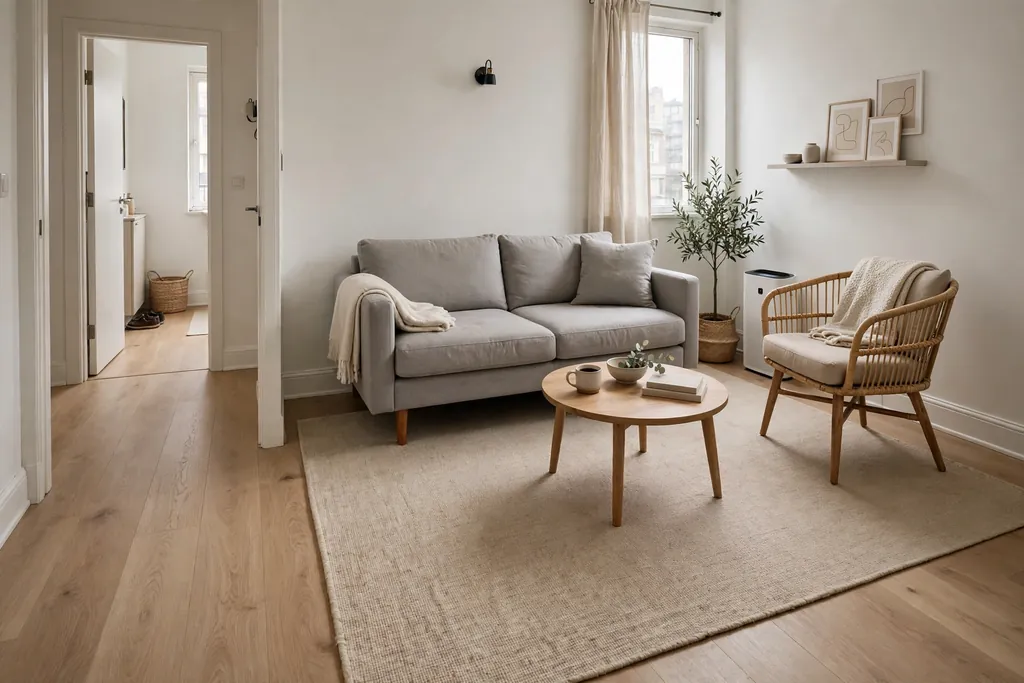
2. Float the Seating on One Large Flatweave Rug
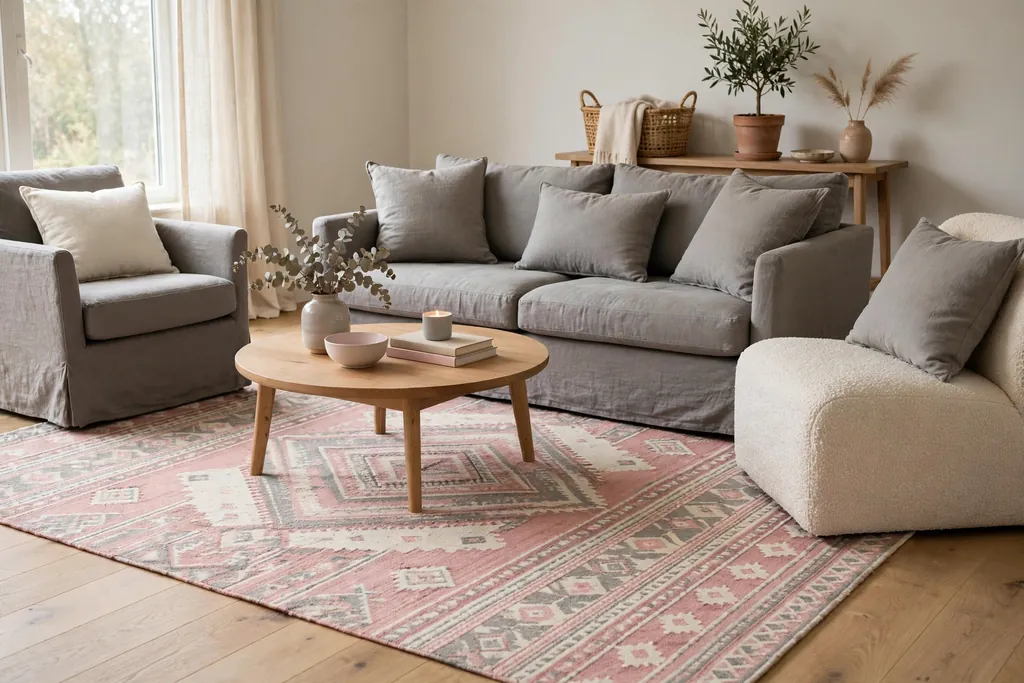
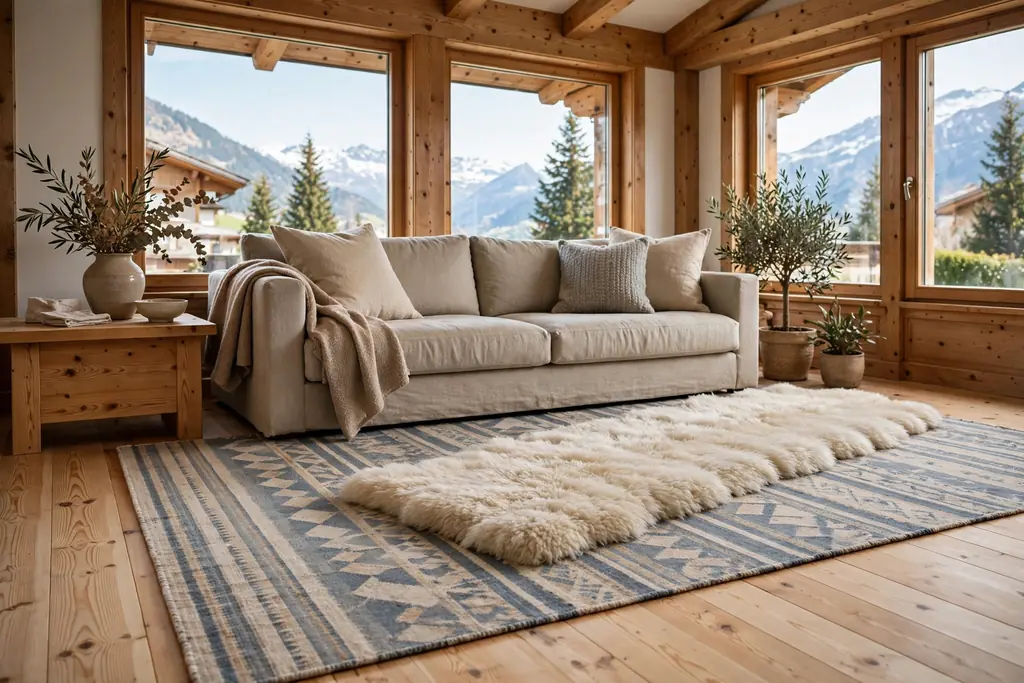
A rug that fits the seating group makes a small living room feel finished, and a flatweave rug is often the most budget friendly way to get the right size. Choose a rug large enough for the front legs of the sofa and chairs to rest on it, and keep the pattern simple if the cushions are already patterned. A flatweave rug is light, easy to move for cleaning, and suits rooms with pets and kids. Pull the sofa a few inches off the wall and set the seating group on the rug, so the rug marks the living zone instead of leaving an empty middle.
For rug size and placement advice, see these living room decor ideas on a budget. Tape the rug footprint on the floor before you buy, which avoids the most common sizing error: a rug that is too small. Add a thin rug pad under the rug if it slides on a hard floor, and vacuum both sides now and then so grit does not wear the back. If the budget only allows one rug, buy the largest plain one the seating group needs, and add pattern later through cushions.
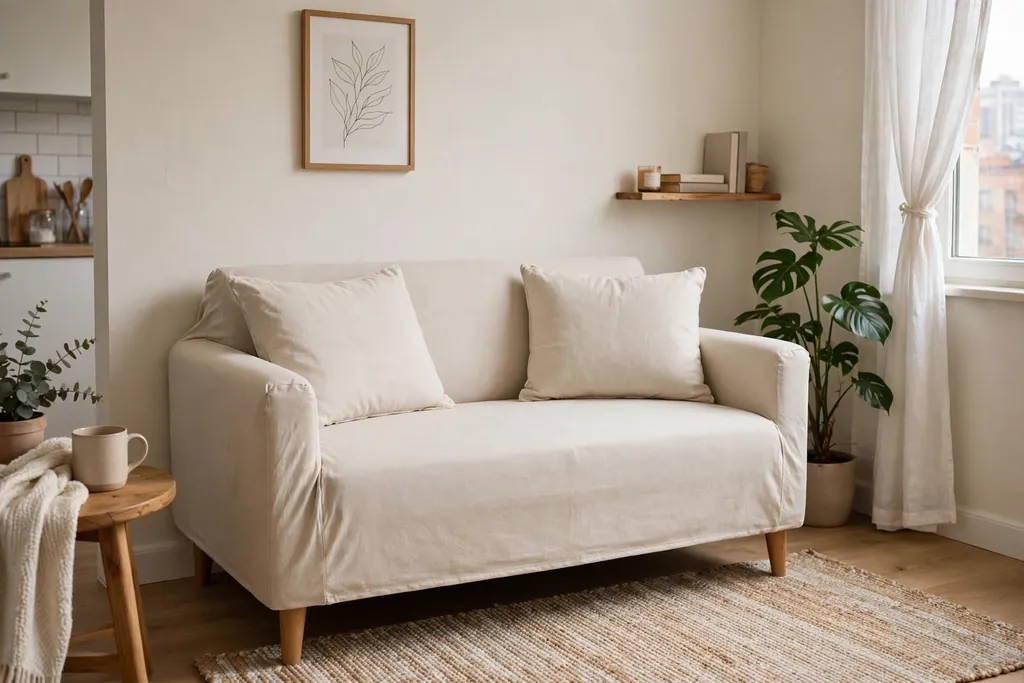
3. Cover a Tired Sofa With a Washable Slipcover
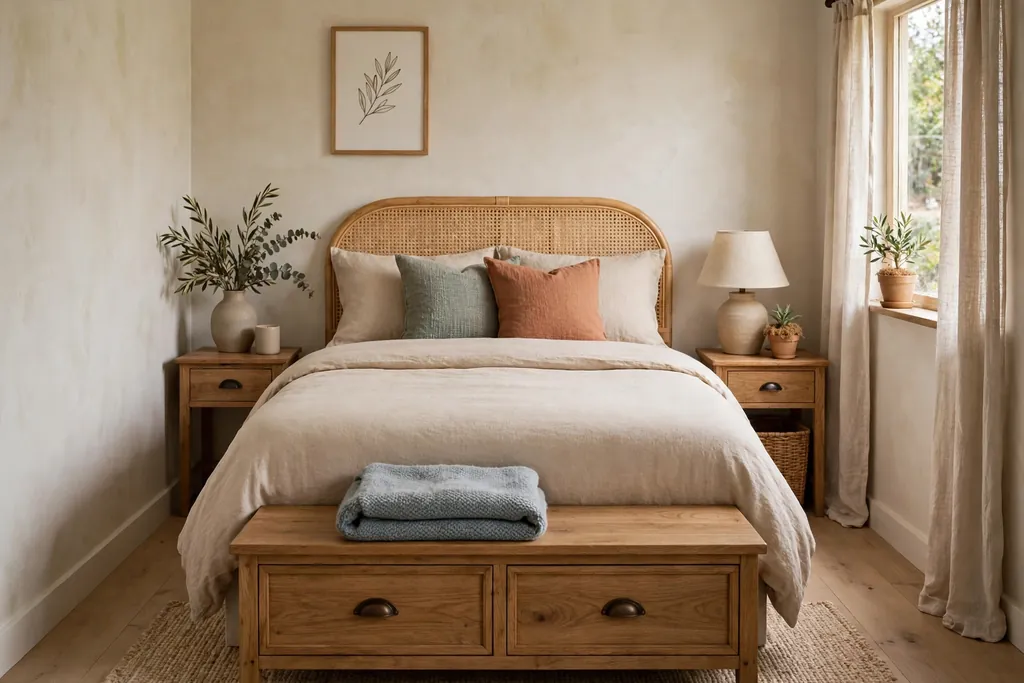
A washable slipcover can give a stained or dated sofa a second life for far less than reupholstery or a replacement. Measure the sofa carefully, including arm height and seat depth, and choose a stretch cover in a plain color that suits your rug and curtains. Tuck the fabric into the seat and back creases, and use foam rollers or a rolled towel in the gaps if the cover slips. A plain cover also gives you a calm base, so cushions and throws can carry the color.
Wash the cover on its own before first use, so you know how it handles laundry, and keep a spare set of cushion covers if the sofa gets daily use from pets or kids. A slipcover works best when the sofa frame is still sound. If the springs sag or the frame wobbles, fix the frame first, since no cover will hide a broken seat. Choose a washable fabric in a busy room, so the cover stays practical as well as fresh.
4. Swap Cushion Covers and Keep the Inserts
New cushion covers cost far less than new cushions, and they change the color story of a whole seating group in minutes. Keep your existing inserts if they are still plump, and buy covers one size smaller than the insert so they sit full rather than flat. Choose two plain covers and one patterned cover, all sharing one color, so the group looks collected rather than random. This is one of the fastest budget changes in the whole list, since a cover swap takes minutes and needs no tools.
Use washable covers in a busy room, and store out of season covers in a labeled bag so the swap stays quick. If a cushion insert has gone flat, replace only that insert, not the whole set. Rotate cushions weekly so one seat does not wear faster than the others, and fluff them after washing so they keep their shape. When you tire of a color, changing three small covers in an afternoon is far easier than changing a sofa or a rug.
5. Paint One Wall With a Single Tin of Paint
One tin of paint can change the whole mood of a small living room, especially on the wall behind the sofa or the wall you see first when you walk in. Choose a warm white, soft greige, or pale sage that suits your sofa and your daylight, and test a small patch in both daylight and lamplight before you commit. Paint the chosen wall properly, with edges taped and two thin coats, rather than rushing one thick coat that shows brush marks. If you rent, check your lease first, and keep the original paint details so you can repaint before you move out.
If the budget is very tight, paint only that one focal wall and leave the other walls as they are. Keep the leftover paint for touch ups, and use a washable finish near doorways and seating where scuffs show fastest. A freshly painted wall also makes older furniture look more intentional, since the background is calm and clean. Paint is one of the few budget changes that touches the whole room at once, so take time over color and finish.
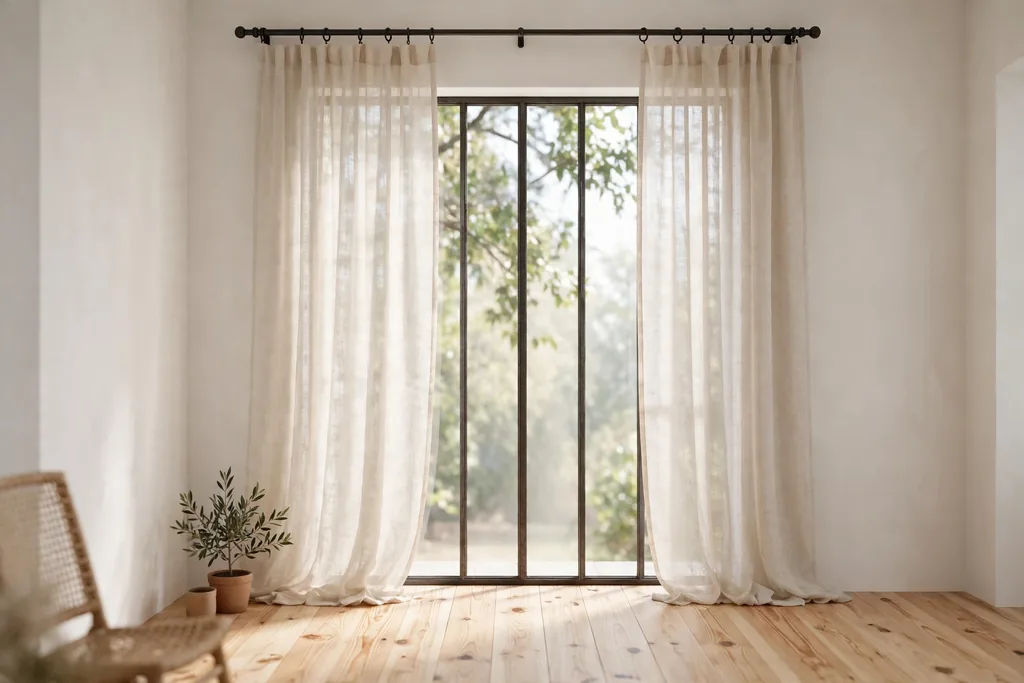
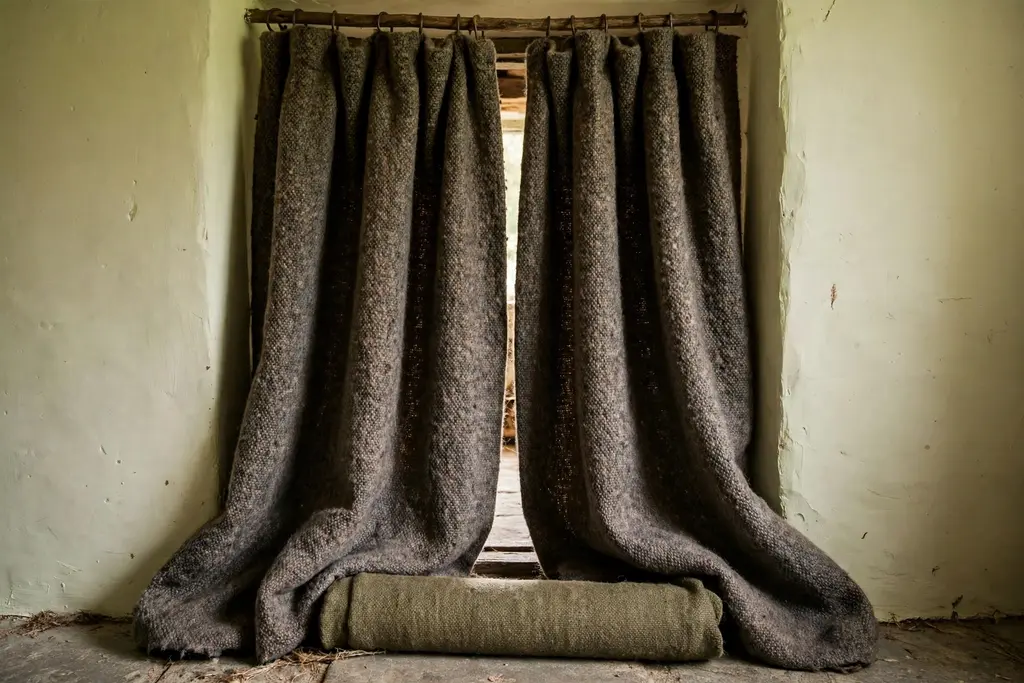
6. Hang Curtains High and Wide in a Budget Linen Look
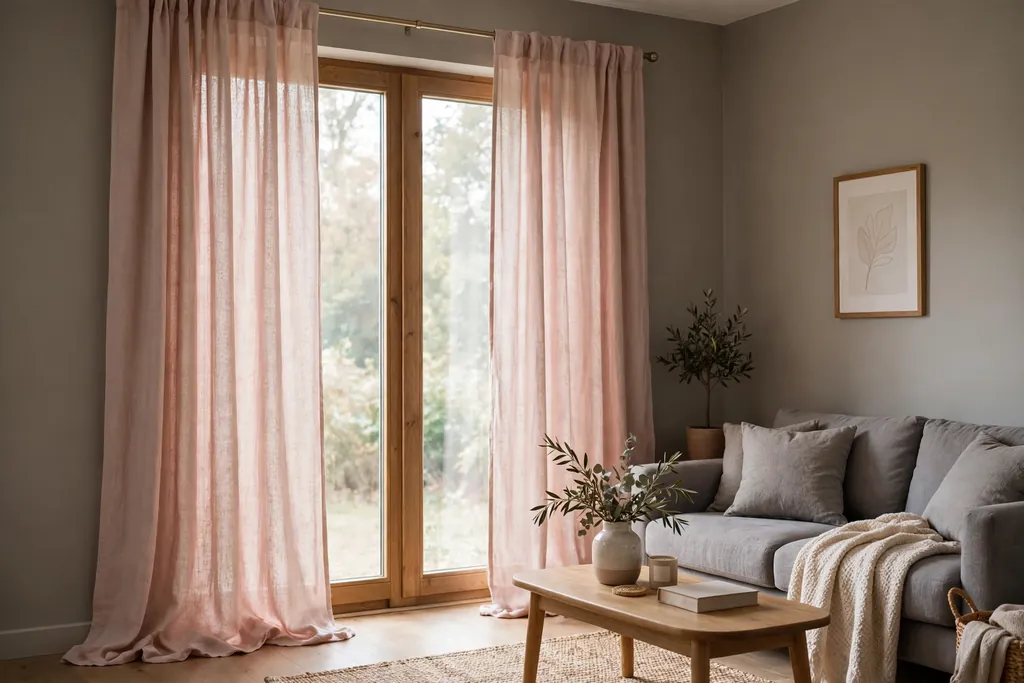
Curtains hung close to the ceiling and wider than the window frame make windows look taller and the room feel larger, even when the fabric itself is a budget linen look. Choose a plain color a shade lighter than the wall or the sofa, and let the curtains fall to the floor, just brushing it, so the line stays clean. A rod that extends past the frame lets curtains stack clear of the glass in the daytime, so light still enters. This one change can make a small apartment window feel like a feature, not an afterthought.
Wash or steam the curtains before hanging, since creases show on plain fabric. If the budget only allows one pair, dress the largest window first and use a simple blind on smaller windows in the same tone. Keep curtain fabric clear of radiators and open fires, and choose washable fabric in a room used daily. A slim tension rod inside the frame also suits renters who cannot drill, and it keeps the same high, wide line if the rod sits near the ceiling.
7. Lean a Large Secondhand Mirror Opposite the Window
A large mirror placed opposite or beside a window reflects daylight deeper into the room and makes a small living room feel wider. Lean a full length mirror against the wall in a corner, or hang a framed mirror above a console, and check that it reflects something pleasant, such as the window view or a plant, rather than clutter. Fix a leaning mirror to the wall with a discreet anchor if kids or pets use the room, so it cannot tip. Secondhand mirrors are often cheap, since people sell them when they move, and a painted frame can update an old mirror to match the room.
Check for glare at different times of day before you settle on a final position, and keep the mirror clean, since dust dulls the reflection. One large mirror usually works better than several small ones scattered across the room, since a single reflection reads as a clear focal point. Size the mirror to about two thirds of the furniture below it when it hangs above a console, so the pairing looks balanced rather than top heavy.
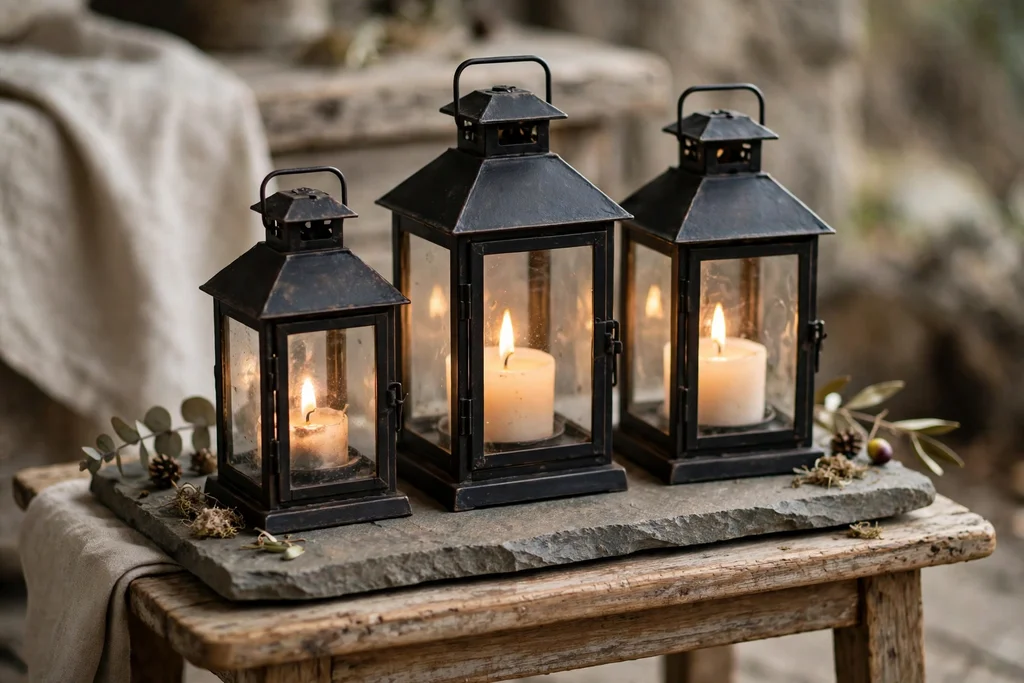
8. Light the Room at Three Levels With Secondhand Lamps
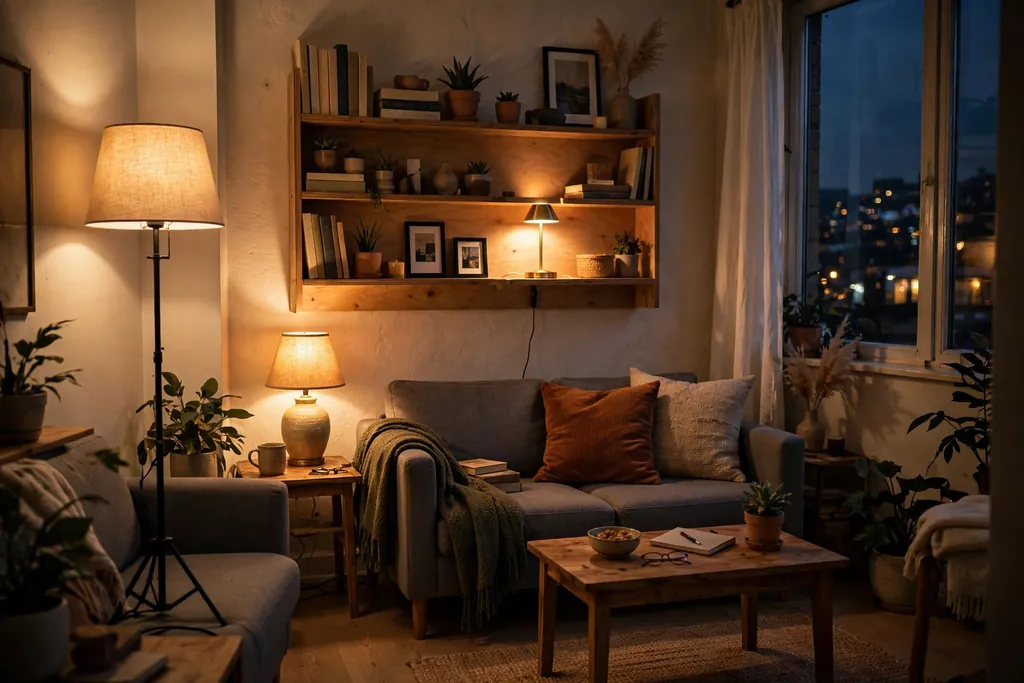
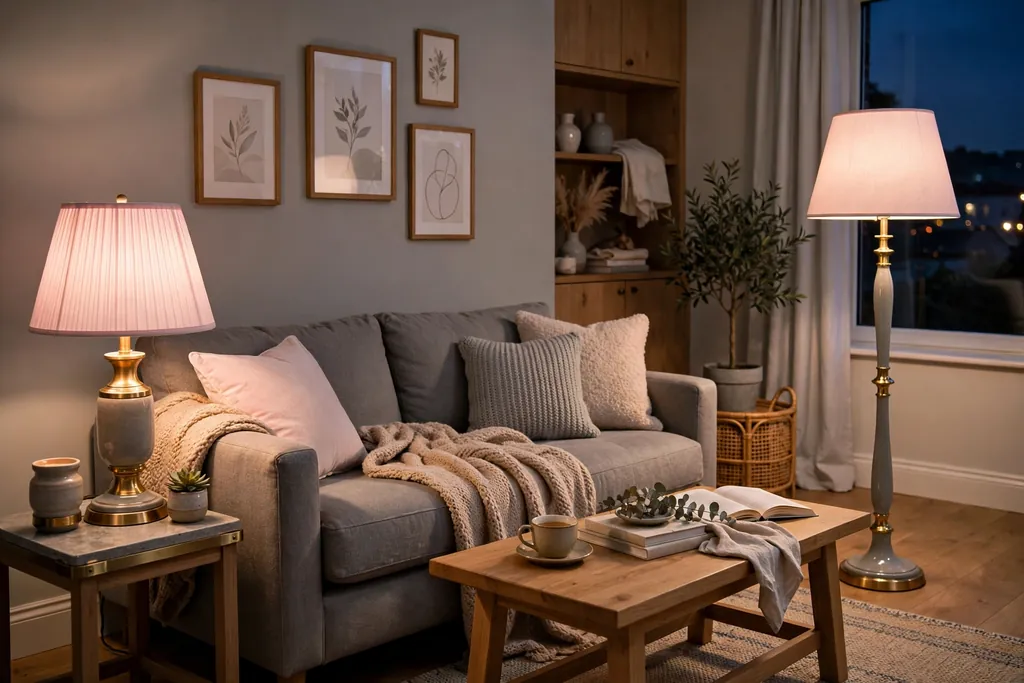
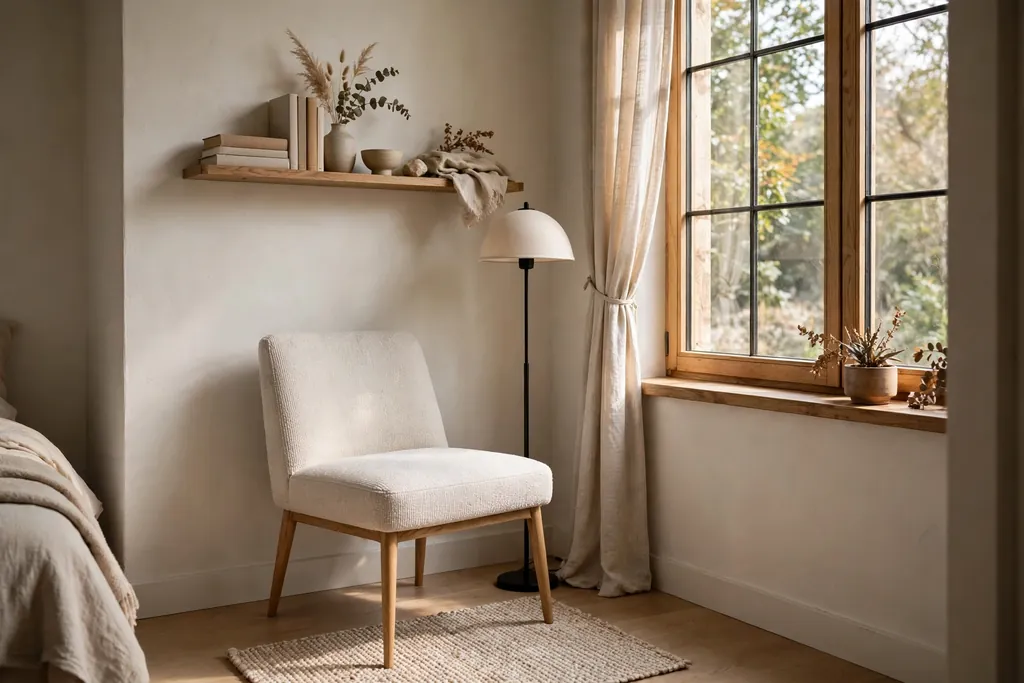
One ceiling light flattens a small room in the evening, while three levels of light make it feel warm and lived in. Add a floor lamp behind the seating for ambient light, a table lamp beside the sofa for reading, and a small lamp on a shelf for a low evening glow. Secondhand lamps are easy to find, and a new shade or a warm bulb can update an old base for very little. Choose warm white bulbs for the evening, and keep the brightest light where you read or work.
Dimmable bulbs or a simple plug dimmer let you shift from bright daytime light to a calm evening mood without rewiring, which matters in a rental where electrical changes are limited. Check secondhand lamp wiring and plugs before use, and replace any frayed cord rather than using it. Keep lamp bases small so they do not crowd the side table, and place a floor lamp behind the sofa shoulder so light falls on the page, not into your eyes.
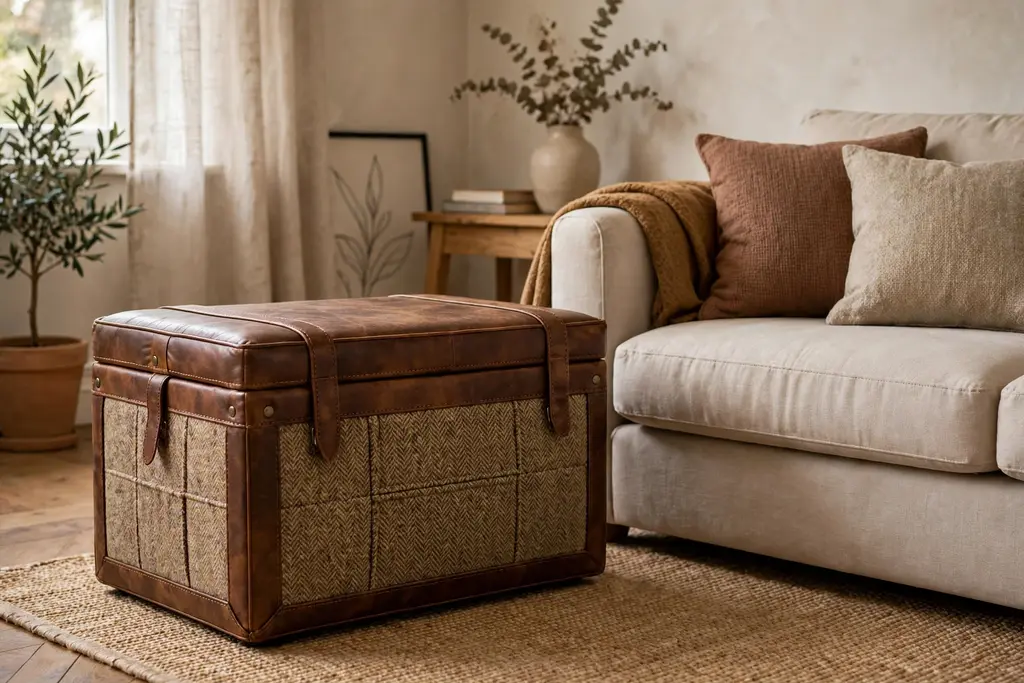
9. Use a Storage Ottoman as Table, Seat, and Blanket Box
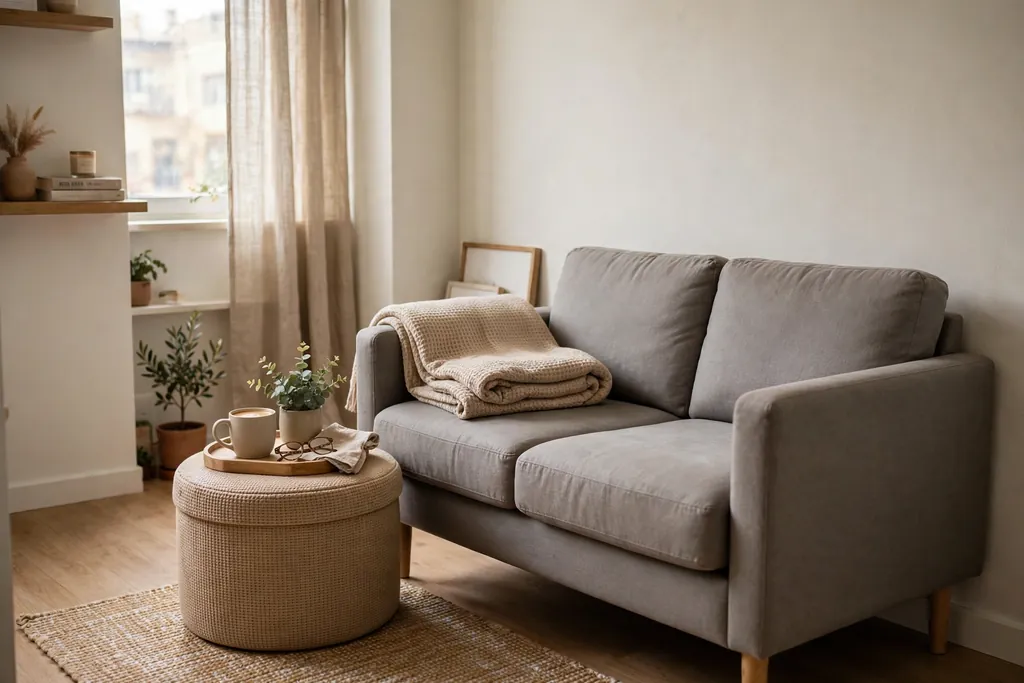
A storage ottoman holds blankets and serves as a coffee table or an extra seat, so it earns its floor space three times over. Choose a firm, flat top if you plan to set drinks on it, and add a tray to give glasses a stable surface. Check the lid action before you buy, since an ottoman that is hard to open will not get used for storage. Keep it close to the sofa, where blankets are actually needed, and store only the items you reach for often, such as throws and remote controls.
When guests visit, move the ottoman to the side as an extra seat and use nesting tables or a side table for drinks. One piece doing three jobs well beats three pieces that each do one job poorly and crowd the floor. If the ottoman top is soft, keep the tray on it at all times, so drinks never sit straight on fabric. A lidded ottoman also hides the daily clutter that makes a small room feel busy, which keeps the styling on show calm.
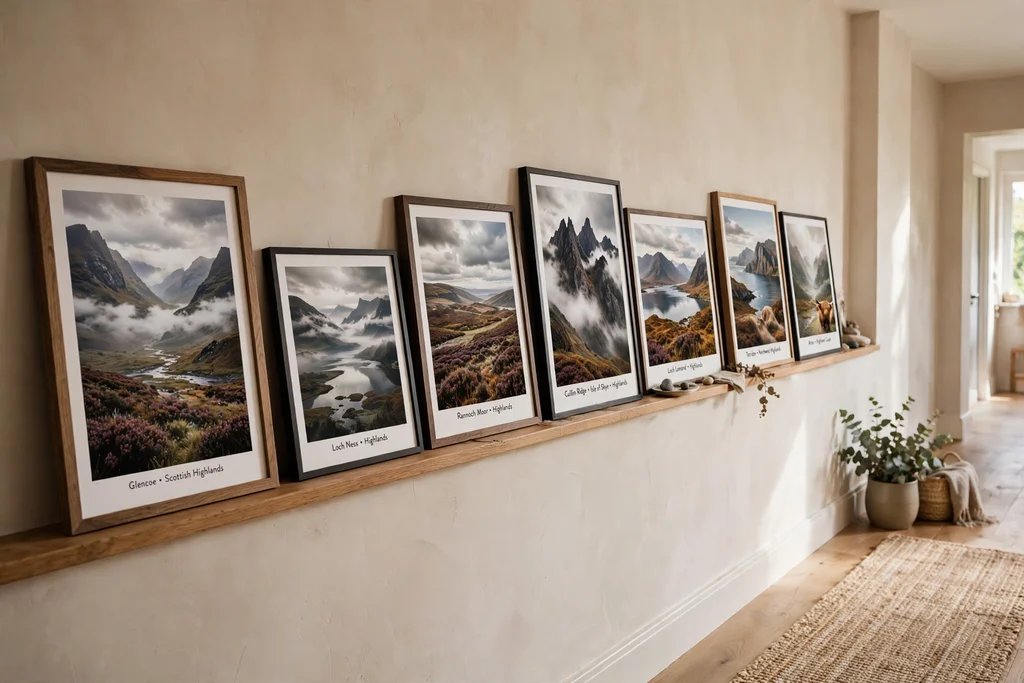
10. Build a Gallery Wall From Home Printed Art and Thrifted Frames
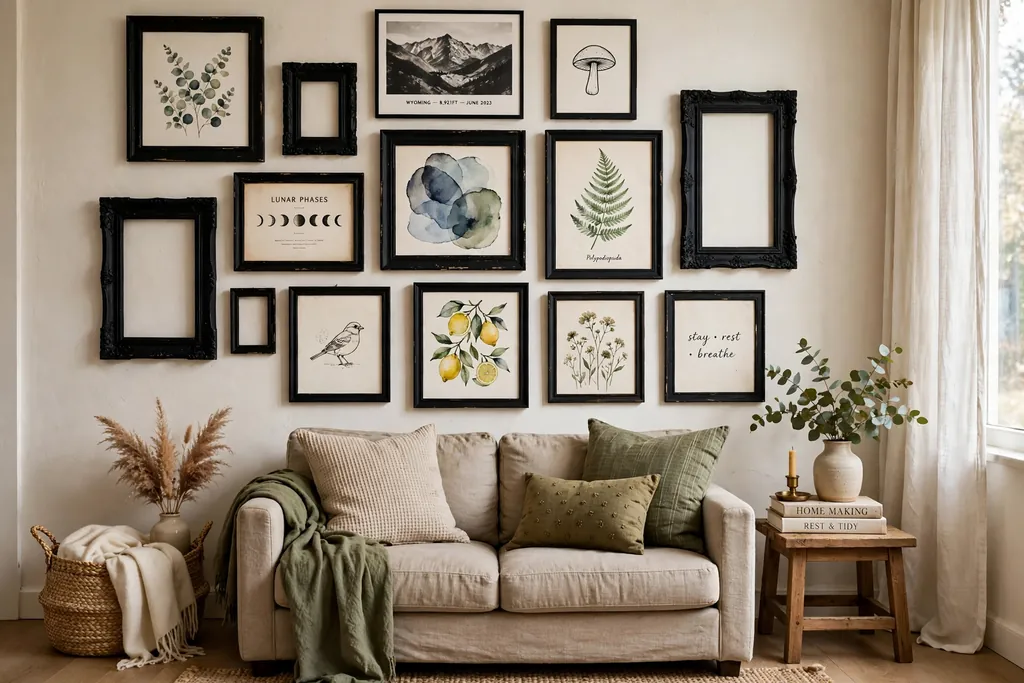
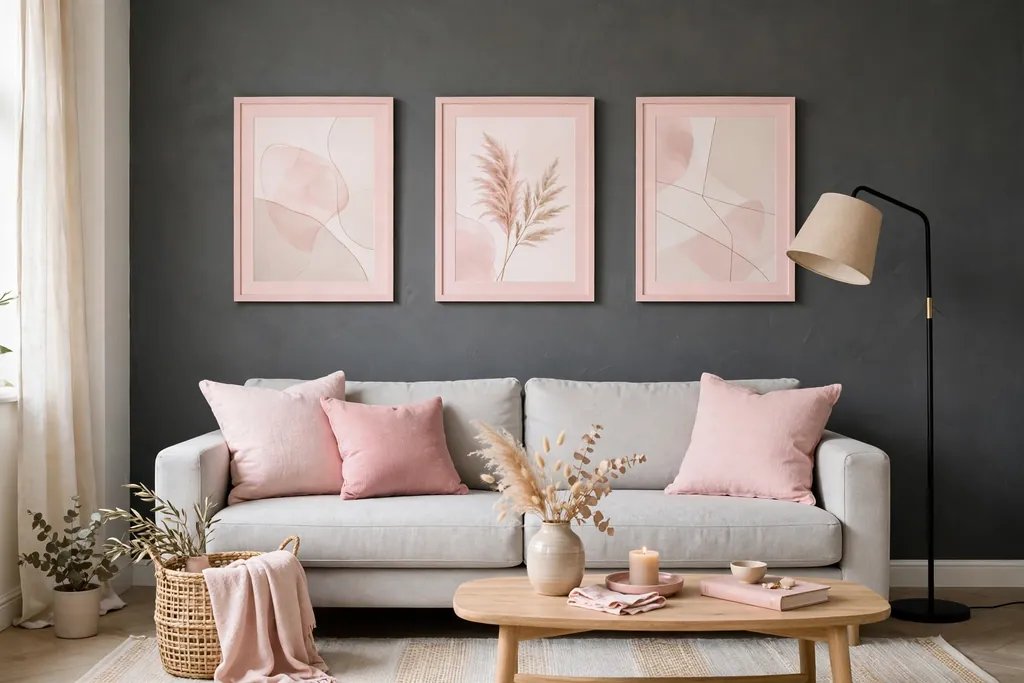
A gallery wall does not need costly art. Print photos, simple line drawings, or pages from old books and calendars at home, and hang them in frames you already own or find secondhand. Plan the arrangement on the floor first, keep the center of the group at eye level when seated, and keep the outer edges inside the width of the sofa so the wall does not look wider than the seating. Mix frame sizes but repeat one frame color through the group, so the wall looks planned.
If the frames come in mixed finishes, one coat of paint in a single color can unite them. Paint the frames outside or in a well aired space, let each coat dry fully before the next, and keep the glass out until the paint is dry. Use picture hanging strips rated for the frame weight if you rent, and leave one gap in the arrangement so you can add a new print later without starting again. A gallery wall works best above a sofa or a console, where it gives the eye a clear focal point.
11. Lift Storage Off the Floor With Wall Shelves and Lidded Baskets
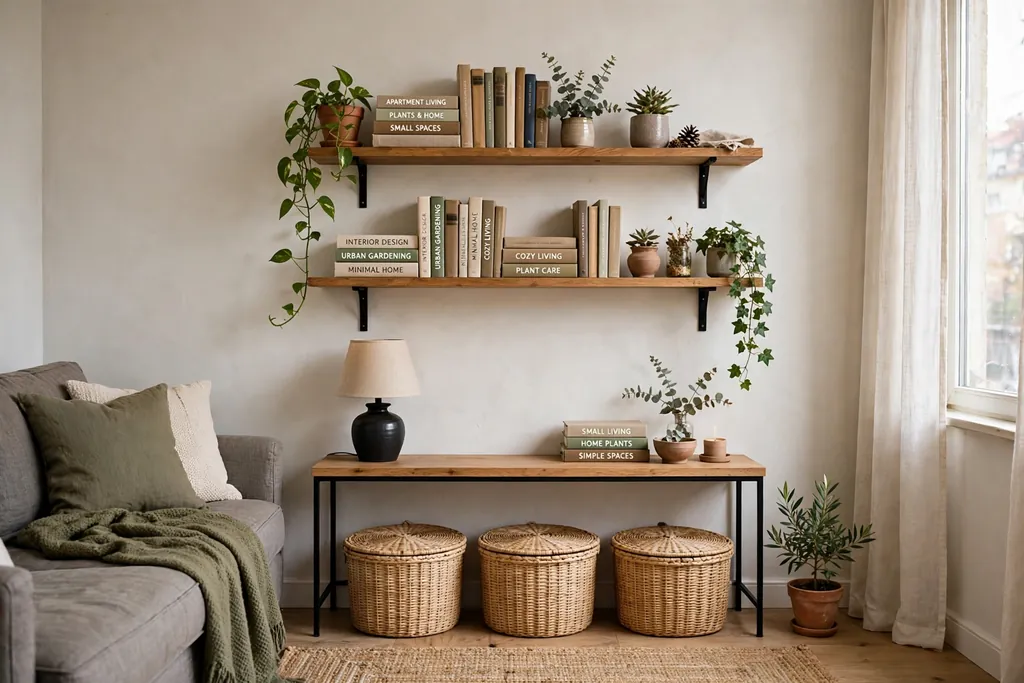
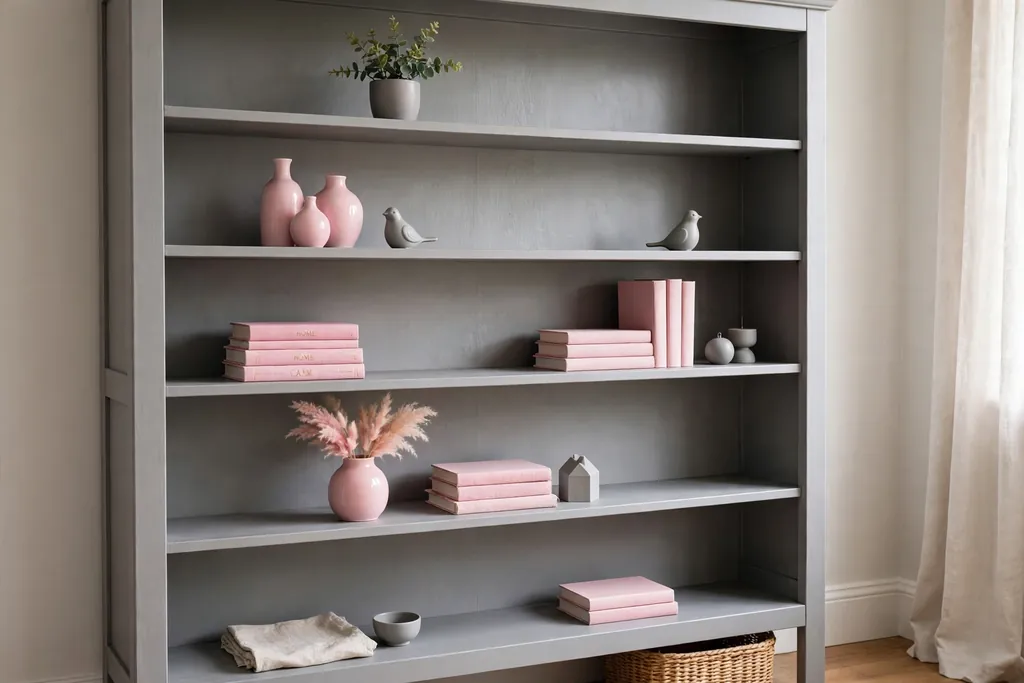
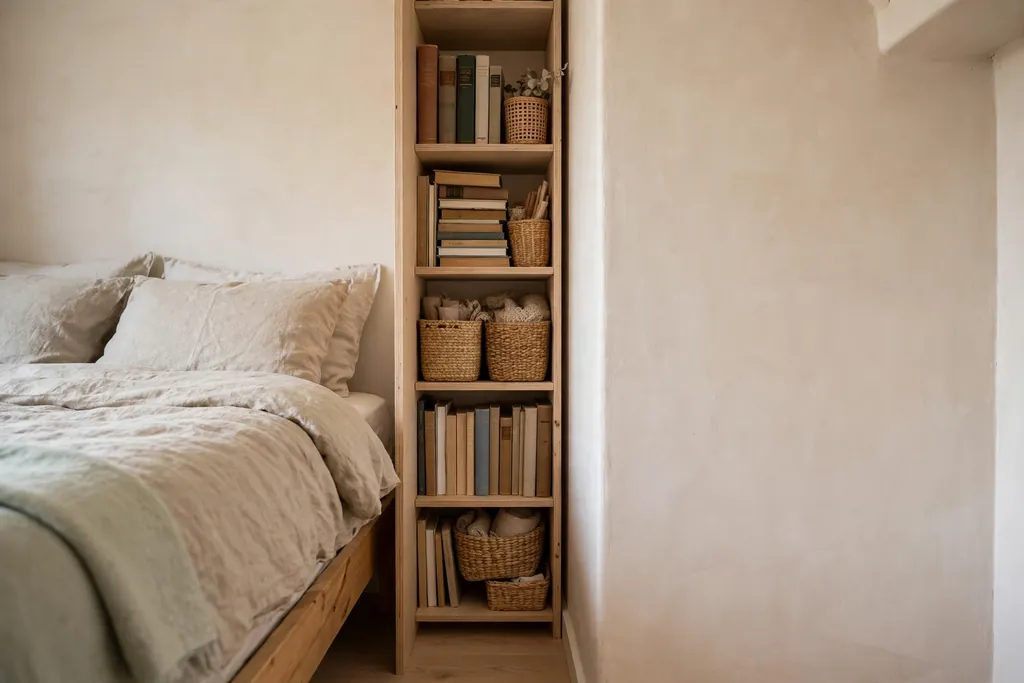
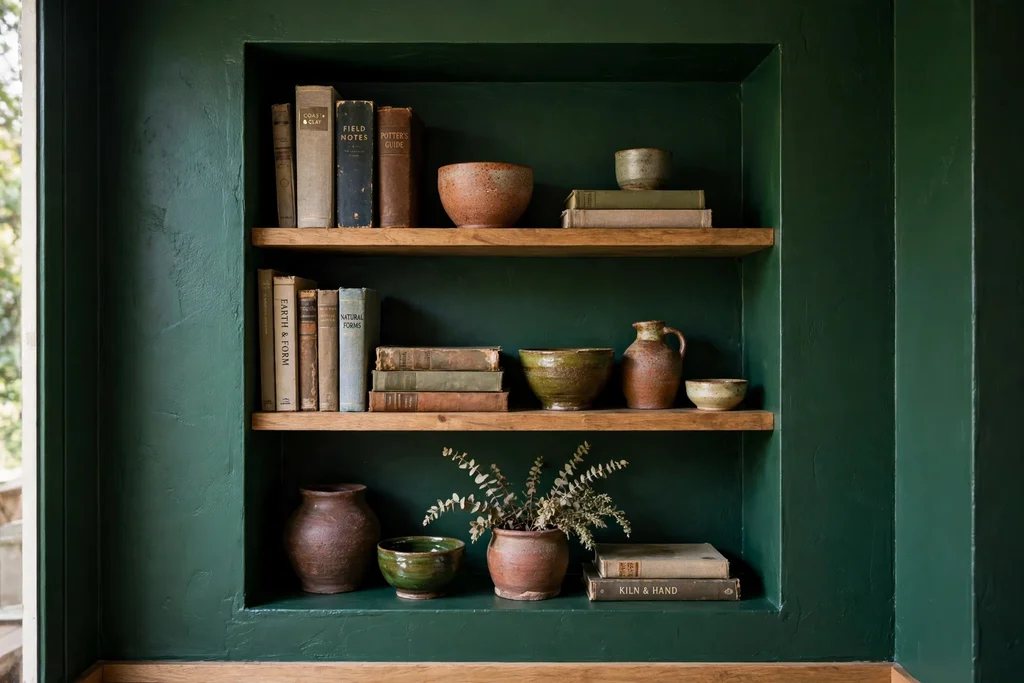
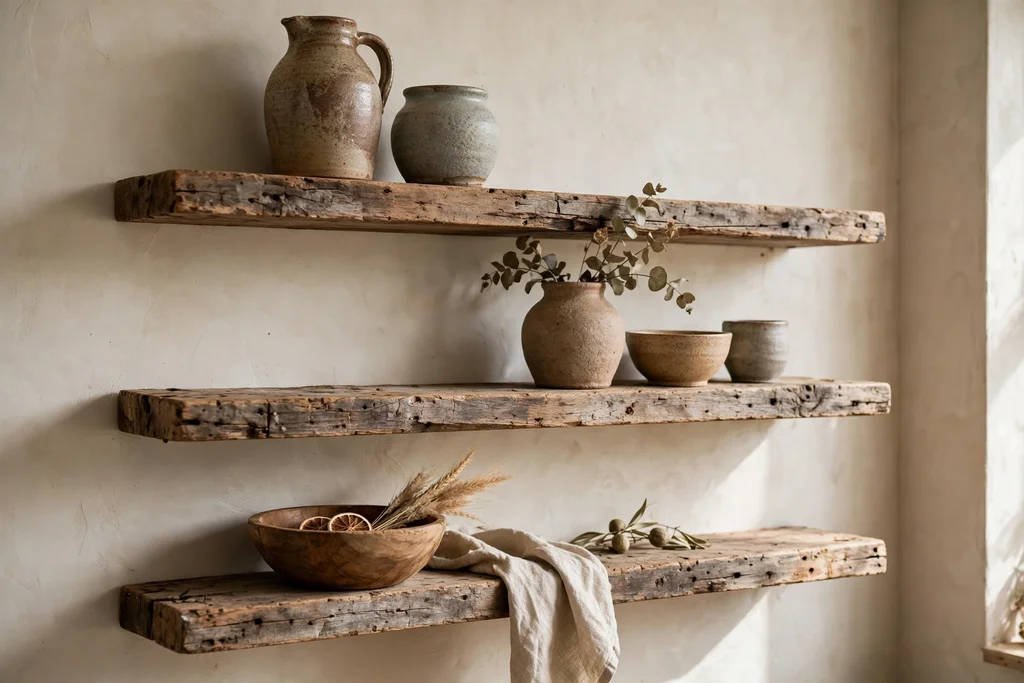
Floor space is scarce in an apartment, but wall space above head height is often empty. One or two shelves on a single wall can hold books, plants, and everyday items without spreading storage across the room, and a slim console behind the sofa can hold a lamp and a basket below. Keep heavy items low, everyday items at hand height, and lighter display pieces up high, and anchor tall furniture to the wall following the maker instructions. One shelved wall usually works better than shelves on every wall, which can make a small room feel boxed in.
Give the remaining clutter a closed home, such as lidded baskets for toys, cables, and spare throws, so only the tidy styling stays on show. For more small apartment zoning and storage ideas, see these stylish living room ideas for a small apartment. Keep one basket near the seating for the daily reset, and return items to their basket each evening. A small room shows clutter faster than a large one, so a short reset routine at the end of the day matters as much as any purchase.
Conclusion
A budget apartment living room does not need new furniture to feel finished. It needs a layout that fits the room, a rug that anchors the seating, fabric that refreshes what you already own, light at three levels, and storage that hides the daily clutter. Start with the free fixes, tape the layout, and write a small spend plan before you buy anything. Then add one idea at a time, starting with the change that solves your biggest daily frustration. When every piece earns its floor space, a small room stops feeling like a compromise and starts feeling like a room that was planned. Save this list, pick one idea for this weekend, and build from there.
FAQs
How much should I budget for a small apartment living room refresh?
Start with free fixes, such as layout, decluttering, and shopping your own home for throws and art, then set a small limit per change, such as one rug, one tin of paint, or one pair of curtains. Spend on the biggest surfaces first, since layout, rug, paint, curtains, and lighting give more change than small ornaments. Keep receipts, and return anything that does not earn its place after a week in the room, so the budget stays tied to real improvements.
What size rug suits a small apartment living room?
Choose a rug large enough for the front legs of the sofa and chairs to rest on it, and tape the footprint on the floor before you buy. A rug that is too small makes the seating group look scattered, while a rug that fits anchors the whole zone. A large plain flatweave rug is often the most budget friendly way to get the right size, and you can add pattern later through cushions and throws.
How can I make a rented living room feel personal without drilling?
Use leaning mirrors, picture ledges or hanging strips rated for the frame weight, tension rods for curtains, and freestanding shelves or a console behind the sofa. Removable hooks and strips suit renters, and a gallery wall planned on the floor first can hang with far fewer holes than a grid of separate frames. Check your lease before painting, and keep original paint details so you can repaint before you move out.
What is the cheapest way to refresh a tired sofa?
A washable slipcover in a plain color is usually the cheapest full refresh, followed by swapping cushion covers while keeping the existing inserts. A cover swap takes minutes, costs far less than new cushions, and gives you a calm base for new color through throws. A slipcover only works well when the sofa frame is still sound, so fix sagging springs or a wobbling frame first.
How do I keep a small living room from feeling cluttered?
Give every group of items one closed home, such as a lidded basket for toys and cables or a storage ottoman for throws and remotes, and keep only tidy styling on show. Use wall shelves on one wall rather than storage on every wall, and finish with a short reset each evening, returning items to their basket. A small room shows clutter faster than a large one, so a daily reset matters as much as any purchase.
Can one accent color really make a budget room look planned?
Yes, if the color is repeated in three places, such as a cushion, a throw, and a framed print, so it looks deliberate rather than random. Keep the rest of the room calm, with a warm neutral base on the walls and the largest furniture, so the accent has room to stand out. If you tire of the accent, changing three small items in an afternoon is far easier than changing a sofa or a rug.
A home that feels cared for, easy to use, and simple to maintain tends to appeal to buyers, and it is also more pleasant to live in while you stay. The upgrades in this list cover the rooms buyers notice first, such as the kitchen and bathroom, plus the quieter fixes that make daily life smoother, such as better storage, brighter light, and a tidy entry. You do not need to do all 31. Pick the upgrade that fixes your biggest daily frustration first, then add the next one when time and budget allow. Small, well finished changes often read better than one large job left half done.
Key Takeaways
Start with the kitchen and bathroom, since buyers spend the most time judging those rooms, and small refreshes there often make a big visual difference.
Fix what is worn or broken before adding anything new, so fresh paint, clean floors, and working fixtures set a good base.
Choose calm, neutral finishes for large surfaces, and save bold color for items that are easy to change.
Add storage where daily clutter gathers, such as entries, closets, kitchens, and garages, so rooms stay tidy without extra furniture.
Improve light, airflow, and energy use together, since bright rooms that feel comfortable cost less to run.
Finish each upgrade fully, including trim, hardware, and cleaning, so the work reads as cared for rather than rushed.
1. Repaint Kitchen Cabinets and Swap the Hardware
Worn cabinet doors and dated handles can make a whole kitchen feel tired, even when the layout works well. A fresh coat of paint in a calm, light color, plus new knobs and pulls, gives the room a cleaner look for far less work than a full cabinet replacement. This suits kitchens where the cabinet boxes are solid and the doors close well, but the finish has chipped or yellowed.
Remove doors and hardware before painting, clean and sand the surfaces lightly, and use a paint made for cabinets so the finish stands up to daily wiping. Keep one metal finish across knobs, pulls, and the faucet where possible, so the kitchen reads as planned. Label each door as you remove it, so hinges go back in the same place and doors hang straight when the job is done.
2. Add a Kitchen Island With Seating
A kitchen island adds counter space, storage, and a place to sit, which makes the kitchen work better for cooking and for gathering. Even a modest island can change how the room is used, since it gives you a second work surface and a casual spot for breakfast or homework. This suits kitchens with enough floor space to keep walkways clear on every side that people use.
Measure walkways before you buy or build, and leave room for drawers, stools, and appliance doors to open fully. Choose seating that slides under the overhang when not in use, and keep the island top clear of tall items that block sightlines across the room. For island shapes, seating heights, and storage layouts, see these kitchen island ideas for options that fit different room sizes.
3. Upgrade to a Durable Kitchen Countertop
A countertop takes daily heat, spills, and knife work, so a worn or stained surface stands out fast. A durable replacement in a light, calm tone can freshen the whole kitchen and make food prep easier, since the surface wipes clean and resists marks. This suits kitchens where the cabinets are in good shape but the old countertop is stained, chipped, or hard to clean.
Choose a material that suits how you cook, and ask about sealing and care before you commit, since some stones need regular sealing while others need less upkeep. Keep the edge profile simple, and repeat the countertop tone once more in the room, such as in a backsplash or a shelf, so the new surface feels part of the kitchen. Clear the counters fully before fitting, and check that the sink and faucet still sit well with the new thickness.
4. Replace the Kitchen Faucet and Sink
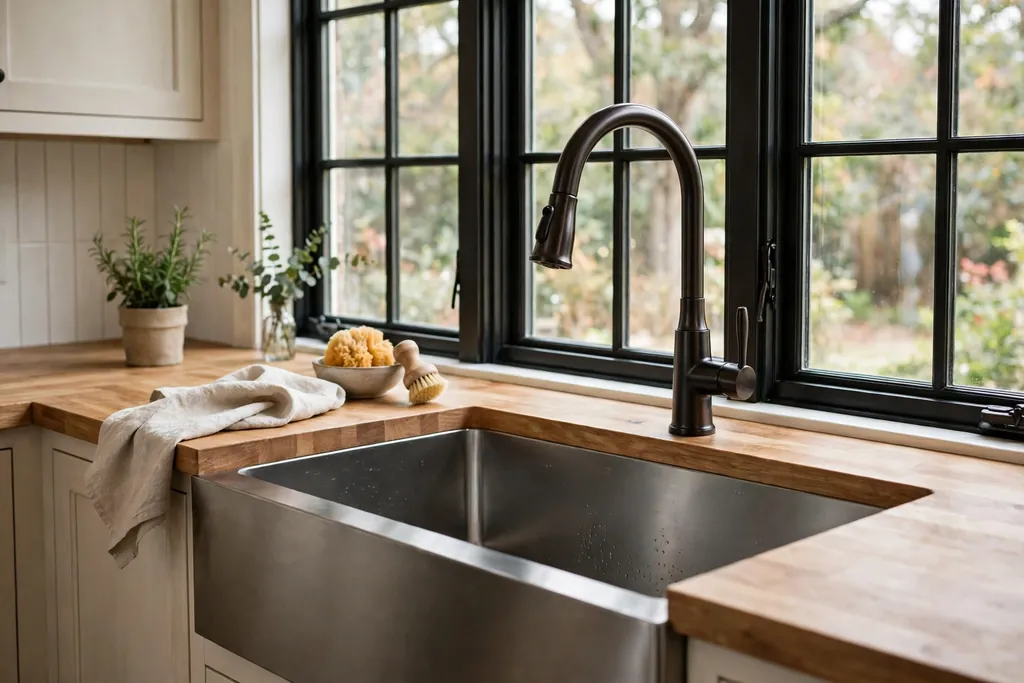
A dripping faucet or a stained sink can make a kitchen feel neglected, even when everything else is clean. A new faucet with a smooth spray function and a deeper sink makes daily washing, rinsing, and filling pots easier, and the pair gives the sink area a finished look. This suits kitchens where the countertop is sound but the faucet finish has worn or the sink is too shallow for large pans.
Match the new faucet finish to the cabinet hardware where you can, and check the number of holes in your sink or countertop before ordering. A single lever faucet is easy to use with wet hands, while a pull-down spray helps with rinsing the sink itself. Run the water and check for leaks at every joint after fitting, and wipe the new finish dry after use in the first weeks so water marks do not build up.
5. Add Under-Cabinet Lighting in the Kitchen
Dark counters make cooking harder and make a kitchen feel smaller, even when the room itself is bright. Under-cabinet lights put light exactly where you chop, read recipes, and wash up, which makes the work surface safer and the kitchen feel more welcoming in the evening. This suits kitchens with wall cabinets over the main counter run and a dark corner that overhead lights never reach.
Choose warm white lights for a relaxed kitchen glow, and place strips or pucks near the front of the cabinet so light falls on the counter, not on the backsplash alone. If wiring is a problem, battery or plug-in strips give a similar effect with less work, and a dimmer lets you soften the light after cooking. Keep cords tidy and out of the work area, and wipe the light covers now and then, since cooking steam leaves a film that dims the glow.
6. Fit Pull-Out Shelves in Kitchen Cabinets
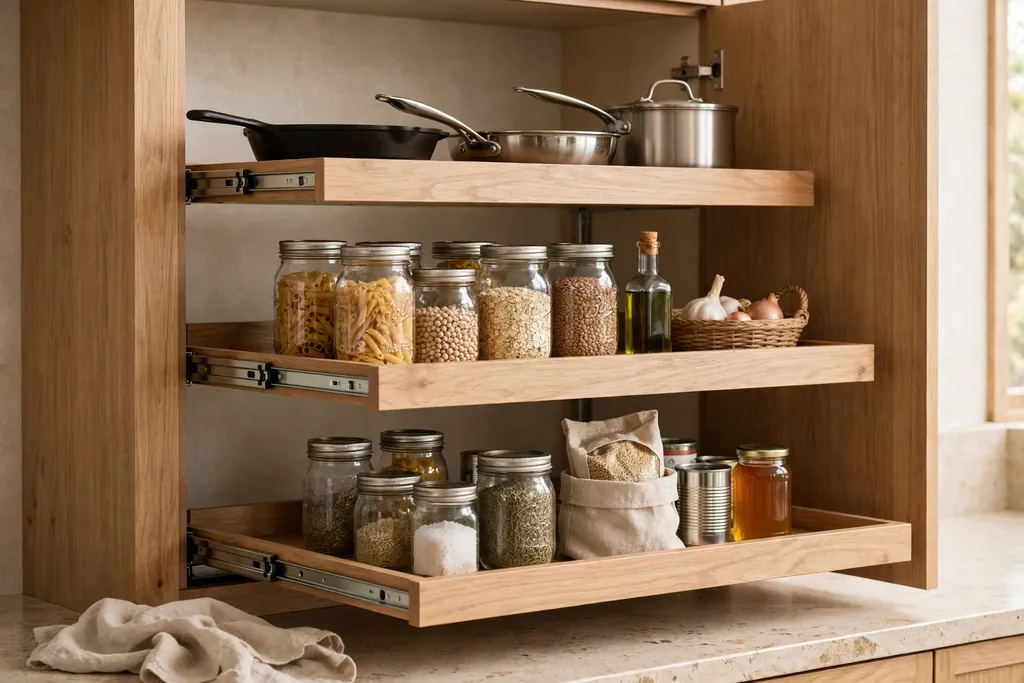
Deep kitchen cabinets hide items at the back, so pans, packets, and small appliances get forgotten or stacked in unstable piles. Pull-out shelves bring the whole cabinet out to you, which makes it easier to find what you need and to keep the cabinet tidy. This suits kitchens with deep base cabinets, corner cabinets, or tall pantry units that are hard to reach into.
Measure the cabinet width, depth, and door opening before ordering, since pull-outs need clearance to slide fully. Put heavy pans low and lighter items higher, and group one category per shelf, such as baking trays together and everyday pans together. Keep the shelf runners clean and free of crumbs, so they slide smoothly, and leave one shelf partly empty so new items have a place without a full reorganization.
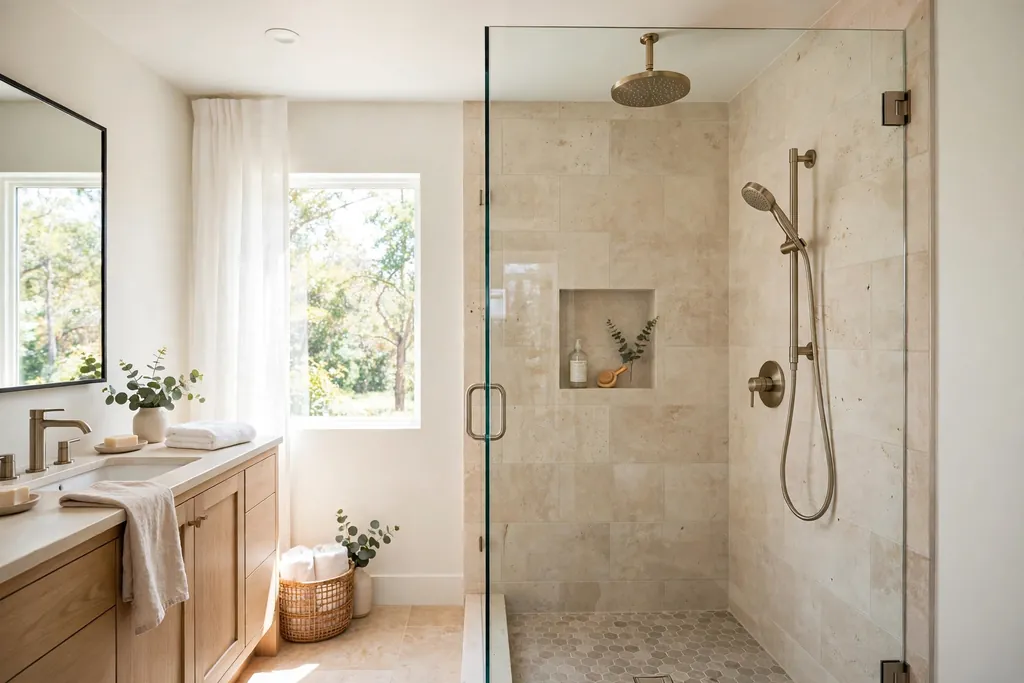
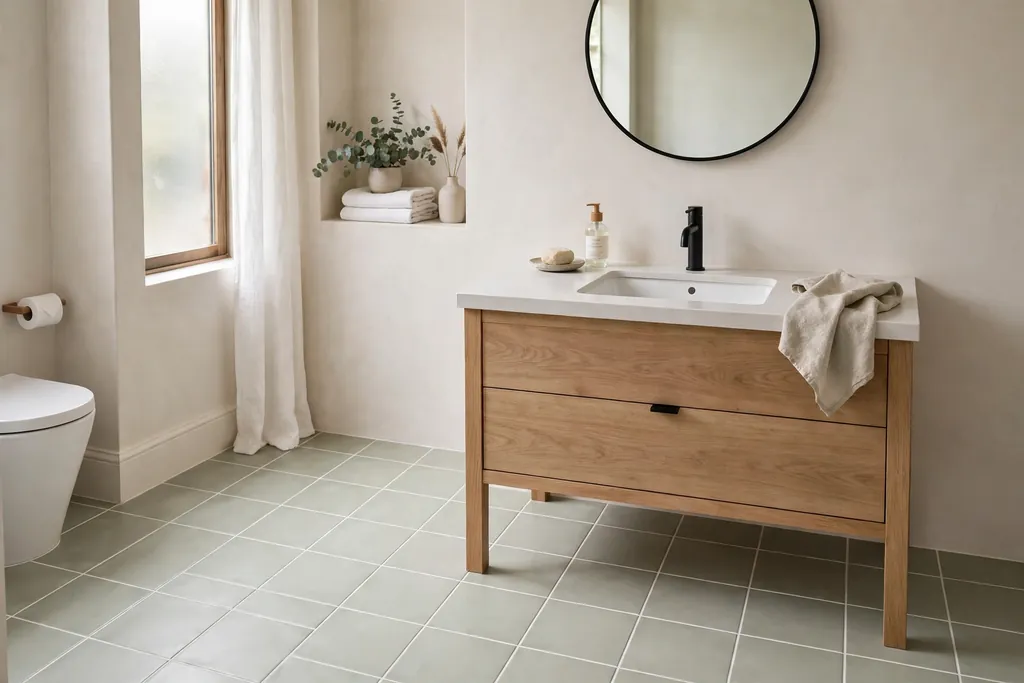
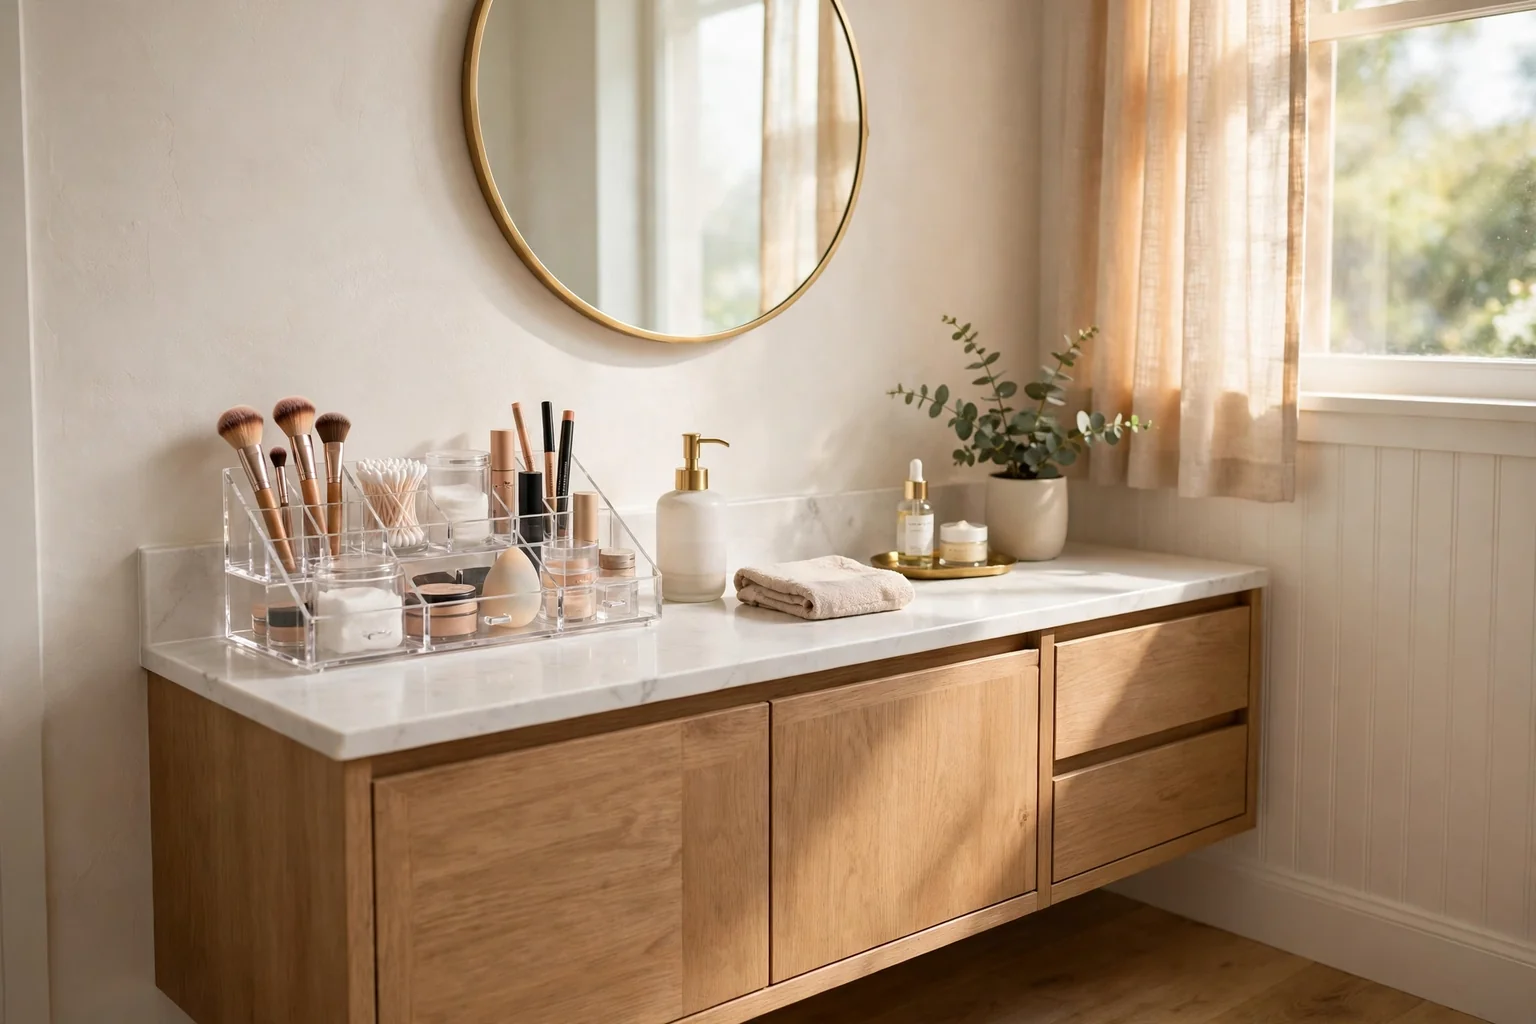
7. Replace the Bathroom Vanity and Mirror
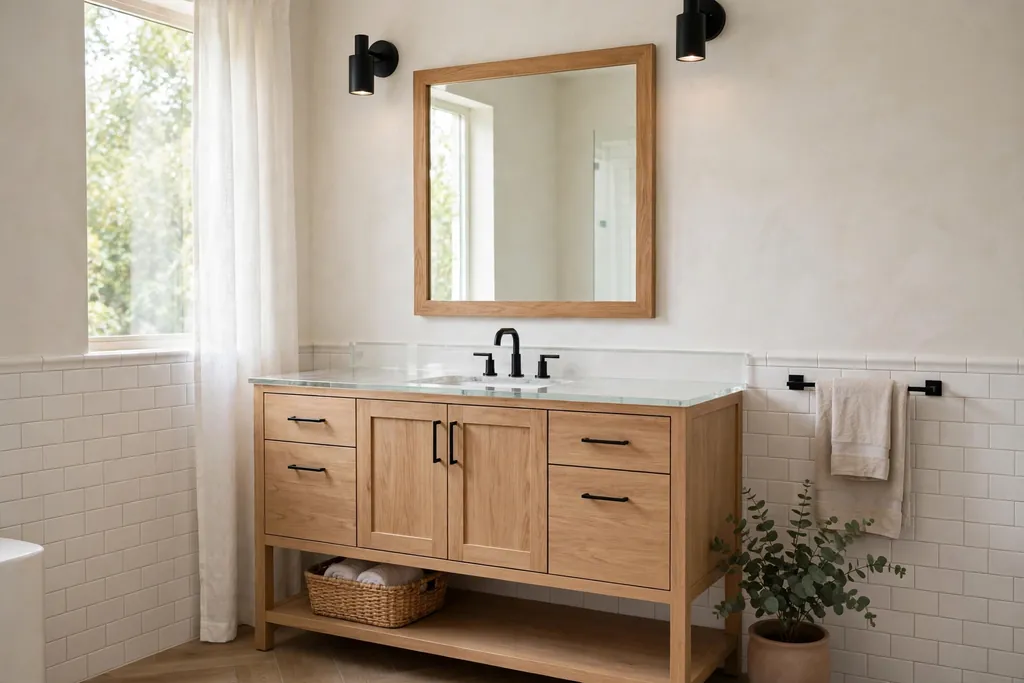
A bathroom vanity is used every morning, so a stained top, a wobbly door, or a plain builder mirror can drag the whole room down. A new vanity with a clear counter, a working drawer, and a mirror that suits the room width gives the bathroom a fresh, hotel-like feel without moving any walls. This suits bathrooms where the plumbing position works well but the vanity itself is worn or short on storage.
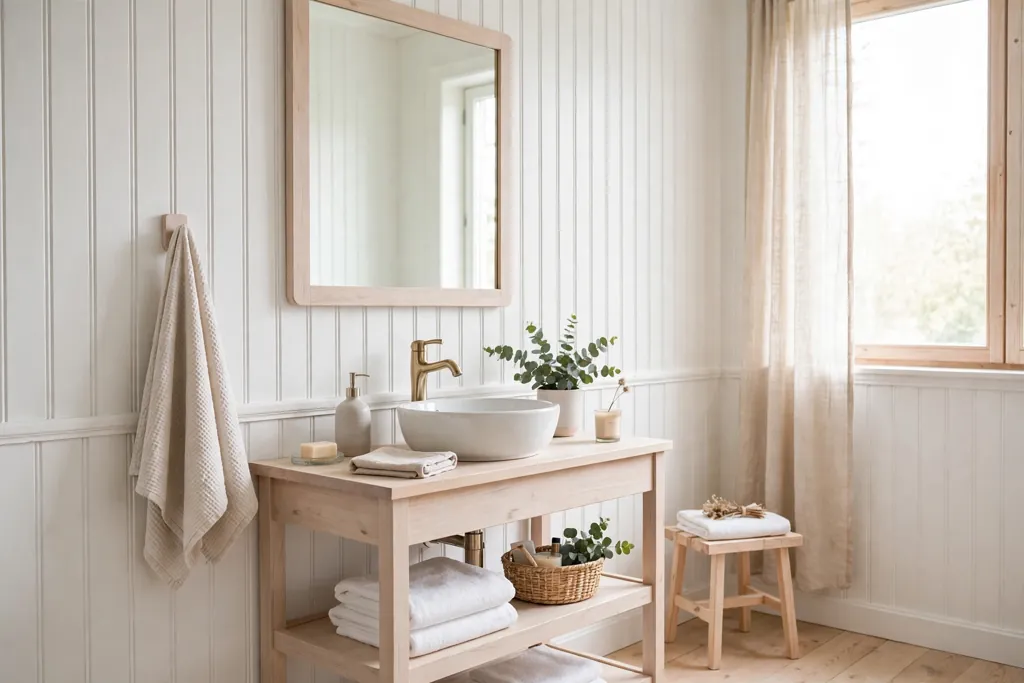
Measure the wall width, the door swing, and the plumbing position before you choose, since a vanity that is too wide crowds the toilet or the shower door. Keep the counter to daily items only, and use a drawer organizer inside so small items do not drift into a pile. For vanity styling, mirror shapes, and lighting pairs, see these bathroom vanity decor ideas for looks that suit small and large bathrooms alike.
8. Upgrade the Showerhead and Shower Enclosure
A weak showerhead and a cloudy shower curtain can make a good bathroom feel dated. A new showerhead with a steady spray, plus a clean glass screen or a fresh curtain, makes the shower feel brighter and easier to keep clean. This suits bathrooms where the shower itself works well but the fittings and screen have stained or the spray has weakened over time.
Choose a showerhead that suits your water pressure, and check the fitting type before you buy, since some heads need an adapter. A glass screen opens the room visually, but it needs regular wiping to stay clear, while a washable curtain is a lower cost swap that still freshens the space. Seal the screen edges well, and keep a small squeegee nearby so the glass stays clear with a quick daily wipe.
9. Retile a Tired Bathroom Floor
A cracked, stained, or dated bathroom floor can undo an otherwise clean room, since the floor covers a large area and catches the eye at once. New floor tiles in a calm tone, with clean grout lines, give the bathroom a solid, finished base and make the room easier to mop. This suits bathrooms where the layout works but the floor has worn, cracked, or clashed with the rest of the room for years.
Choose tiles rated for bathroom floors, since they need grip when wet, and keep the grout color close to the tile tone so small marks show less. Check the floor level and the door clearance before tiling, since a new tile layer can raise the floor slightly. Seal the grout after fitting, and wipe spills promptly in the first weeks, so the new grout stays clean while it cures.
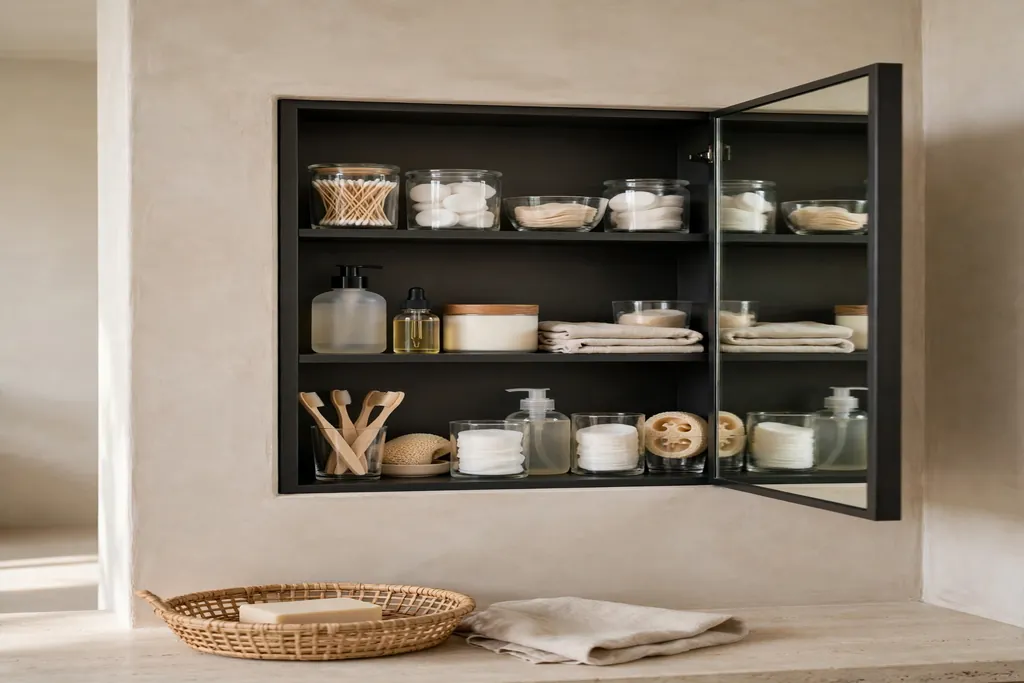
10. Add Recessed Bathroom Storage
Bathroom counters collect bottles fast when there is nowhere else to put them. A recessed cabinet or niche in the wall gives toiletries a home without taking floor space, which keeps the counter clear and the room easier to clean. This suits bathrooms with a blank wall near the vanity or a shower wall that can hold a small niche for shampoo and soap.
Check what sits inside the wall before cutting, since pipes and wiring limit where a recess can go, and use a cabinet with a mirror front near the vanity so storage and a mirror share one spot. Keep daily items at eye level and backups lower, and group one category per shelf so you always know where each item lives. Wipe the inside of the cabinet often, since bathroom humidity leaves a film on shelves that sit untouched.
11. Refinish or Replace Worn Hardwood Floors
Floors cover every room, so scratched, dull, or squeaky boards shape how the whole home feels underfoot. Refinishing solid hardwood can bring back its color and smooth finish, while replacing boards that are beyond repair gives a worn room a clean, even base. This suits homes where the floor structure is sound but the surface has dulled, scratched, or stained over years of use.
Sand and finish one room at a time if you live in the home during the work, and keep dust out of other rooms with closed doors and covers. Choose a finish that suits your household, since a matte finish hides small marks better than a high gloss one in a busy home. Move furniture fully out of the room before sanding, and let the finish cure as the maker directs before you bring rugs and heavy pieces back in.
12. Paint Main Rooms in a Calm Neutral Palette
Bold or mismatched wall colors can make rooms feel smaller and harder for buyers to picture as their own. A calm neutral palette across the main rooms links the spaces together, brightens dark corners, and gives furniture and art a quiet backdrop. This suits homes where each room was painted a different strong color, or where the paint has faded, marked, or yellowed.
Test paint patches in daylight and at night before you commit, since the same color can read warm in one room and grey in another. Keep ceilings and trim pale, and use a washable finish in hallways and living areas that take daily knocks. Paint one room fully, including trim touch-ups, before moving to the next, so each space feels finished rather than half done.
13. Swap Dated Light Fixtures for Layered Lighting
A single harsh ceiling light can flatten a room and leave corners dark, even when the furniture and paint are good. Layered lighting, with a main fixture plus lamps or wall lights, lets you brighten a room for tasks and soften it for evenings, which makes the space feel larger and more comfortable. This suits living rooms and bedrooms where one overhead light does all the work and the room feels flat after dark.
Start with the main fixture, then add one lamp near the seating area and one near a reading spot, so light comes from more than one height. Use warm white bulbs for living areas, and put the main light on a dimmer where wiring allows, so one room can shift from bright to calm. Keep shade styles simple and consistent in one room, so the mix of lights reads as planned rather than random.
14. Add Built-In Shelving to a Living Room Wall
A blank living room wall can feel unfinished, while a freestanding bookcase can crowd the floor. Built-in shelving uses the wall itself for books, baskets, and display items, which adds storage without taking floor space and gives the room a fitted, crafted feel. This suits living rooms with one long blank wall, an awkward alcove, or a fireplace wall that needs balance on each side.
Build shelves to fit the wall exactly, and leave one shelf partly empty so the display stays calm. Anchor the unit firmly to the wall, and put heavier books low and lighter items higher, so the shelves stay steady and easy to use. Group items by type, such as books together and baskets for small items together, and keep cords from lamps or media gear tucked behind the unit so the front stays tidy.
15. Add a Ceiling Fan to Main Living Spaces
A ceiling fan moves air in summer and, when run in reverse, can help warm air circulate in winter, which makes a room feel more comfortable without changing the heating or cooling system. A fan also gives a room a clear center overhead, which suits living rooms and bedrooms where the ceiling feels bare. This suits rooms with enough ceiling height for a fan to hang clear of heads and door swings.
Choose a fan size that suits the room, since a small fan in a large room moves little air, and a large fan in a small room can feel overpowering. Check the ceiling wiring and support before fitting, since a fan needs a brace rated for its weight and movement. Keep the blades clean, since dust on blades shows from below, and use the fan with a light kit only if the room still needs overhead light after lamps are added.
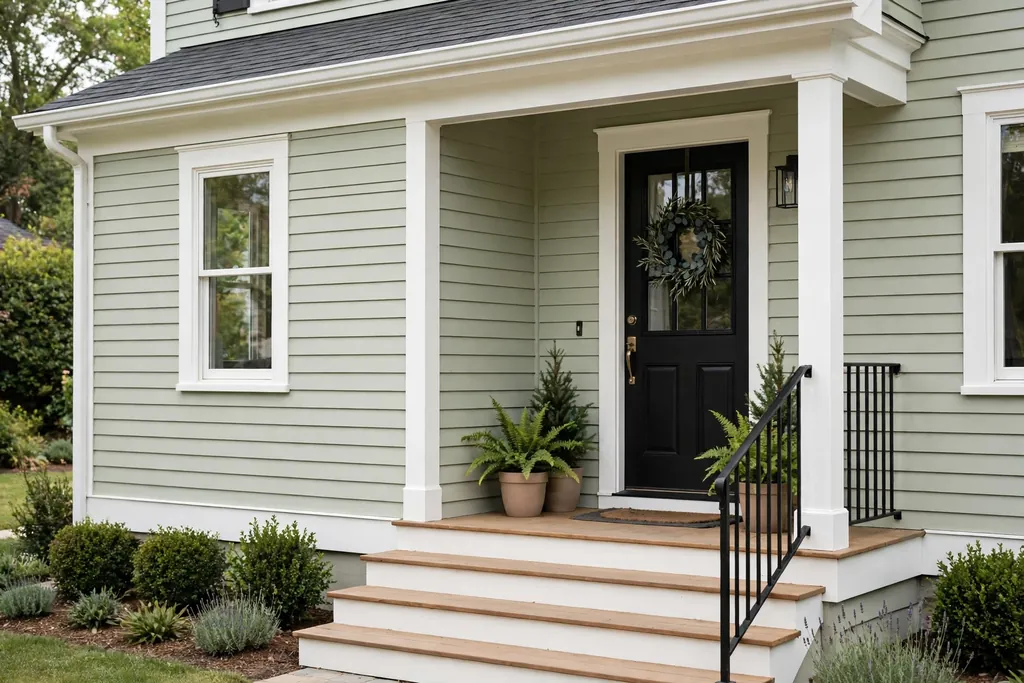
16. Improve the Front Door and Entry Hardware
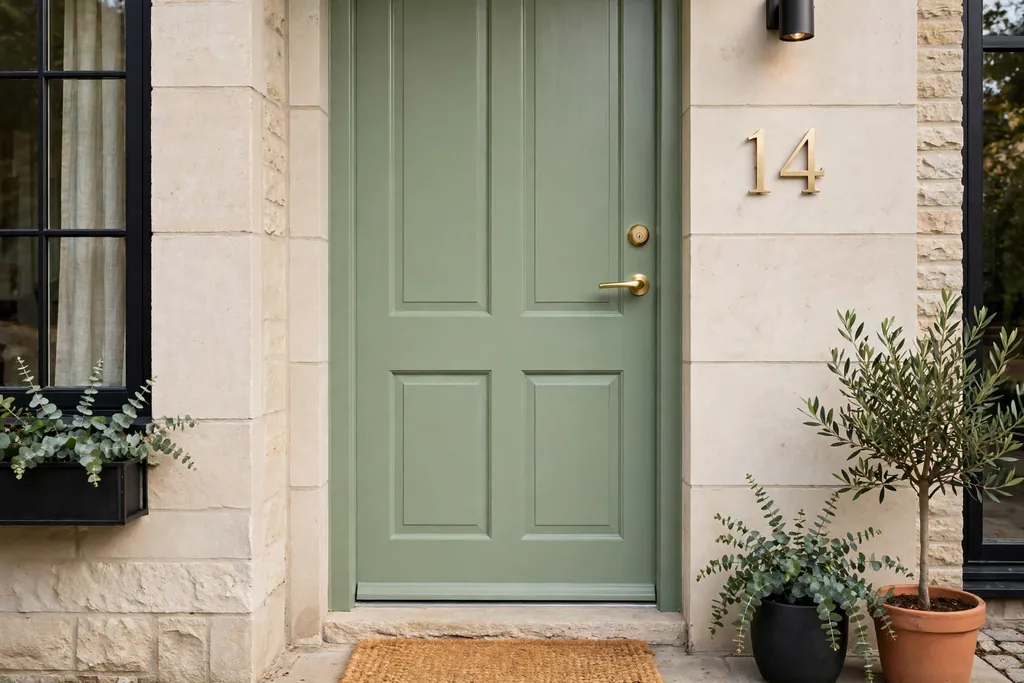
The front door is the first thing a visitor or buyer touches, so a faded door, a loose handle, or a squeaky hinge can set a poor first impression. A clean, freshly painted door with solid hardware, a working lock, and a clear house number gives the entry a cared-for feel before anyone steps inside. This suits homes where the door itself is solid but the paint has faded or the hardware has worn.
Paint the door in a color that works with the house exterior and the entry inside, and use a paint made for doors so it stands up to weather and daily use. Replace the handle, lock, and hinges as a matched set where you can, so the door reads as one planned piece. Check the weather seal around the door too, since a tight seal keeps drafts out and helps the door close with a solid feel.
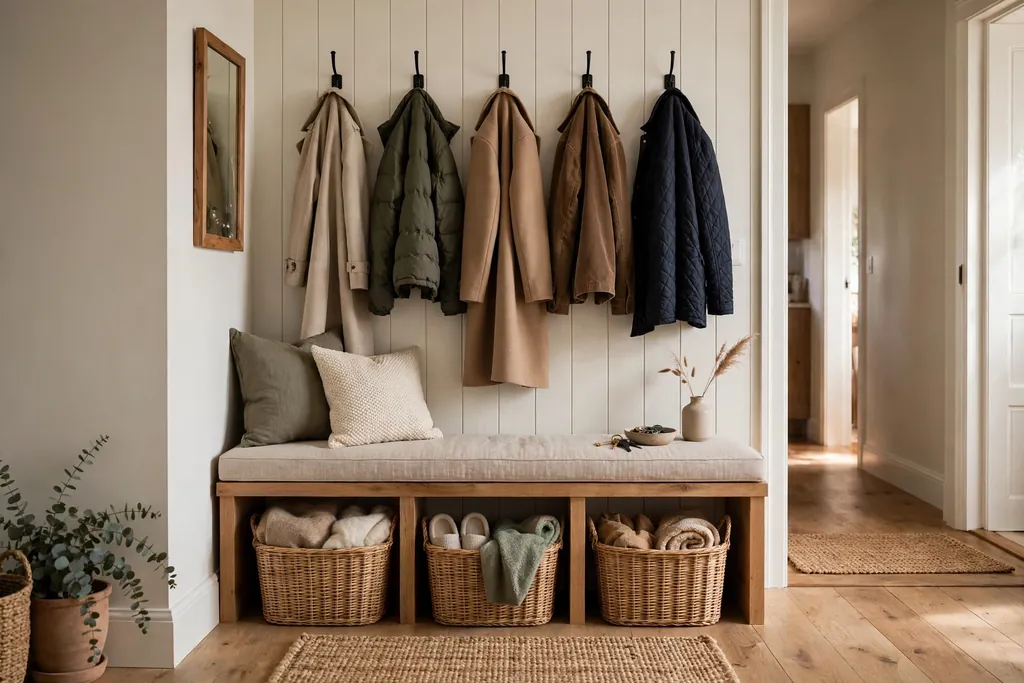
17. Build an Entry Storage Bench and Hooks
Shoes, coats, and bags by the front door can make an entry feel crowded within minutes of coming home. A storage bench with hooks above it gives every daily item one fixed home, so the entry stays clear and the rest of the home stays tidier too. This suits entries with a blank wall near the door and enough width for a shallow bench plus a clear walkway past it.
Keep the bench shallow, and limit the shoes below to one pair per person, so the storage never overflows into the walkway. Fix hooks into studs so they hold a wet coat and a heavy bag without pulling loose, and keep one hook free for guests. For bench styles, hook layouts, and small entry layouts, see these DIY entryway makeover ideas for projects that fit narrow and wide entries alike.
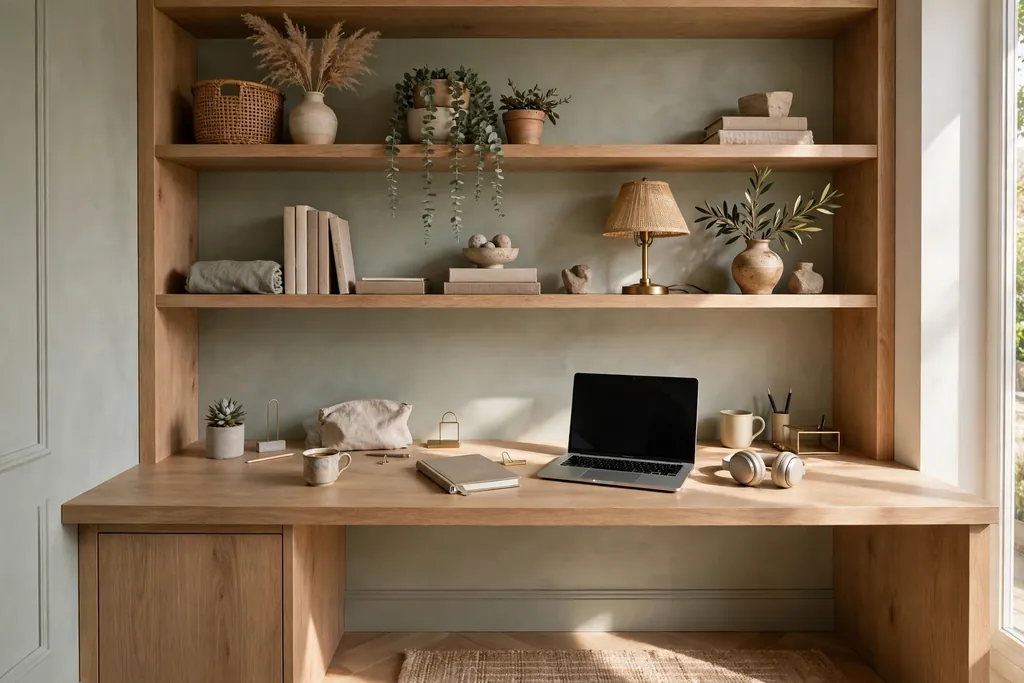
18. Add a Home Office Nook With a Built-In Desk
A home office nook turns an unused corner, alcove, or spare wall into a proper work spot, which matters more now that many people work from home at least part of the week. A built-in desk with shelves above it keeps work gear in one place, so laptops and papers do not spread across the dining table. This suits homes with a quiet corner, a wide hallway, or a spare bedroom corner that currently holds little more than a chair.
Place the desk near daylight where you can, and add a light that suits evening work without glaring on a screen. Keep cables tidy with clips or a small channel, and give the nook one closed drawer or basket for papers, so work can be put away at the end of the day. Choose a chair that tucks fully under the desk, so the nook reads as part of the room when it is not in use.
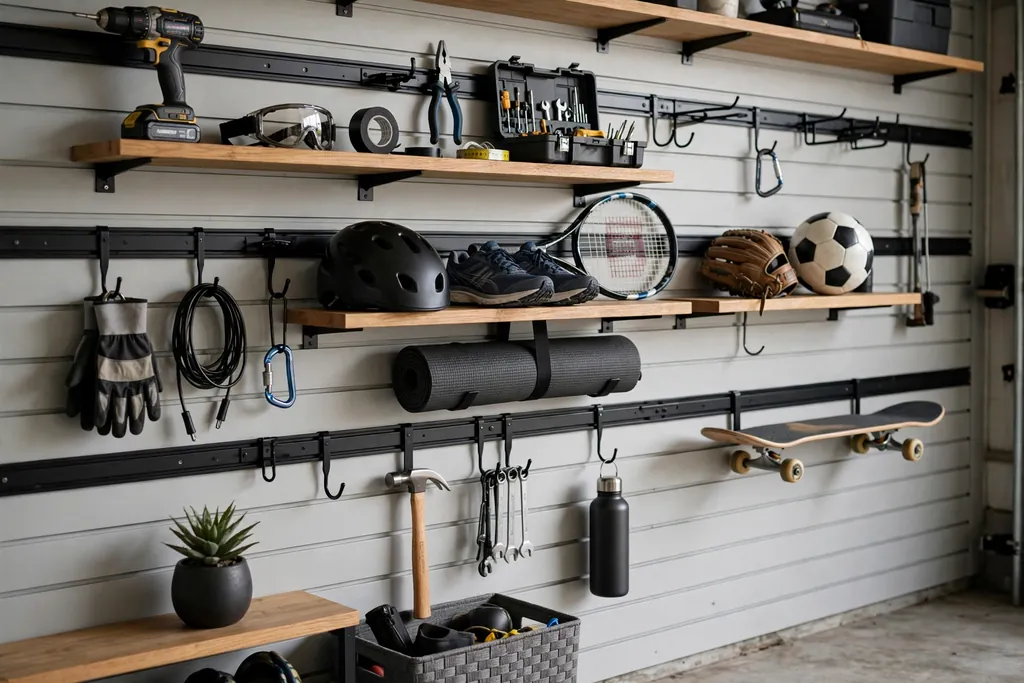
19. Organize the Garage With Wall Storage
A garage full of boxes, tools, and sports gear can make the whole home feel short on storage, even when the rooms inside are tidy. Wall storage, such as rails, hooks, and shelves, lifts items off the floor, which frees space for a car, a workbench, or a clear path to the door. This suits garages where floor space is taken by items that could hang, stack, or sit on a shelf instead.
Start by clearing one wall fully, then group items by use, such as tools together and sports gear together, before you fix anything. Fix rails and shelves into studs or masonry as the wall type requires, since garage items get heavy fast. Keep daily items at easy reach and seasonal items higher, and leave one bay of floor space clear, so the garage still works for its main job.
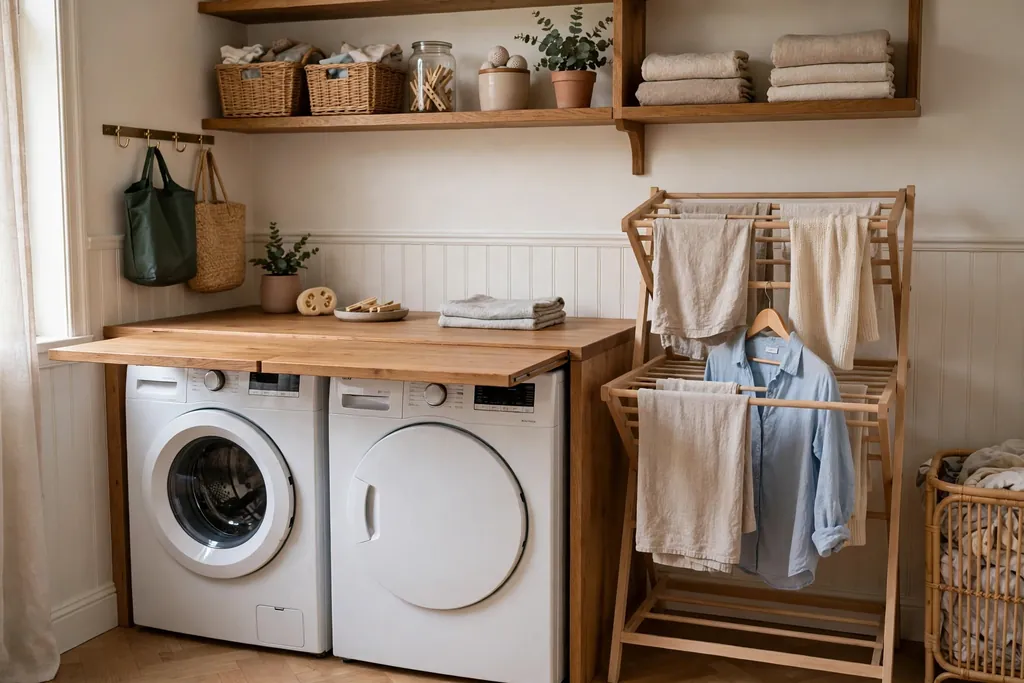
20. Upgrade the Laundry Room With a Folding Counter
A laundry room without a work surface turns clean clothes into piles on top of the washer or dryer. A folding counter over the machines, plus a drying rack and a sorting basket, gives laundry a clear workflow, which makes the job faster and keeps the room tidy. This suits laundry rooms with front-loading machines, a blank wall, or a corner that currently holds only a basket.
Fit the counter at a comfortable standing height, and leave clearance to open machine doors and lids fully. Add a wall-mounted drying rack that folds flat when not in use, so small items dry without taking floor space. Keep detergents in one basket or on one shelf, and wipe the counter after each load, since lint and detergent marks build up fast in a small laundry room.
21. Seal Drafts and Add Insulation Where Needed
Drafts around doors, windows, and attic hatches make rooms feel cold even when the heating is on, and they can push energy use up. Sealing gaps with weather strips and caulk, plus topping up insulation where it is thin, makes rooms feel more even in temperature and quieter too. This suits older homes, rooms that always feel colder than the rest of the house, and homes where doors rattle in wind.
Check doors and windows on a windy day, and feel for air movement around frames, letterboxes, and attic hatches. Replace worn weather strips first, since that is often the fastest fix, and seal gaps with a product made for the surface and gap size. Keep ventilation in mind, especially in kitchens and bathrooms, so sealing drafts does not trap moisture in rooms that need airflow.
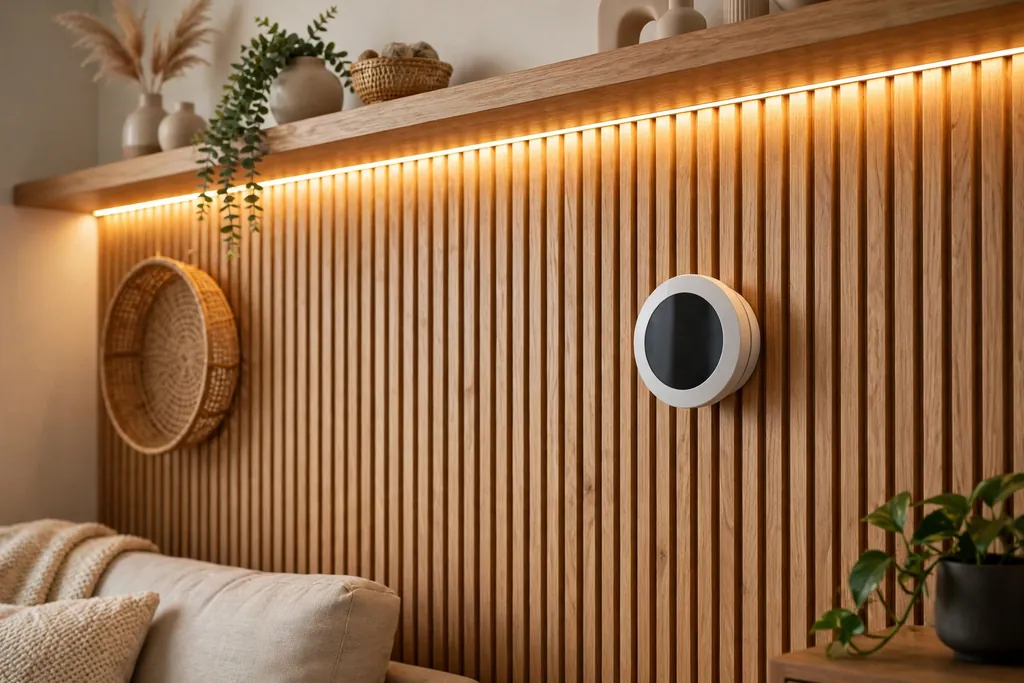
22. Add a Smart Thermostat and LED Lighting Throughout
A smart thermostat lets you set heating and cooling around your daily routine, so rooms are warm when you need them and use less energy when you do not. Swapping old bulbs for LEDs across the home cuts the cost of lighting and means bulbs last longer, which also cuts the chore of replacing them. This suits homes with an older thermostat, mixed bulb types, or rooms where lights stay on for long stretches.
Check that a smart thermostat suits your heating system before you buy, and follow the maker wiring guide or ask a qualified installer if the wiring is unclear. Swap bulbs room by room, and keep the same warm white tone across one room so the light feels consistent. Set thermostat schedules around real routines, such as wake-up and bedtime, and review them after a few weeks, since a schedule that matches life works better than one set once and forgotten.
23. Upgrade Exterior and Path Lighting
A dark front path, porch, or garden can make a home feel unwelcoming after dark and harder to use safely. Well placed exterior lights along paths, at the door, and in the garden make the home easier to approach at night and show off planting and architecture that daylight hides. This suits homes with a long path, steps to the door, or a garden that is only used in daylight.
Place lights low along paths so they mark the walking line without glaring into eyes, and add a clear, warm light at the front door for keys and visitors. Use lights rated for outdoor use, and keep fixtures simple so they suit the house style. Put exterior lights on a timer or a sensor where you can, so they switch on at dusk without daily effort, and wipe the covers now and then, since dirt dims outdoor lights fast.
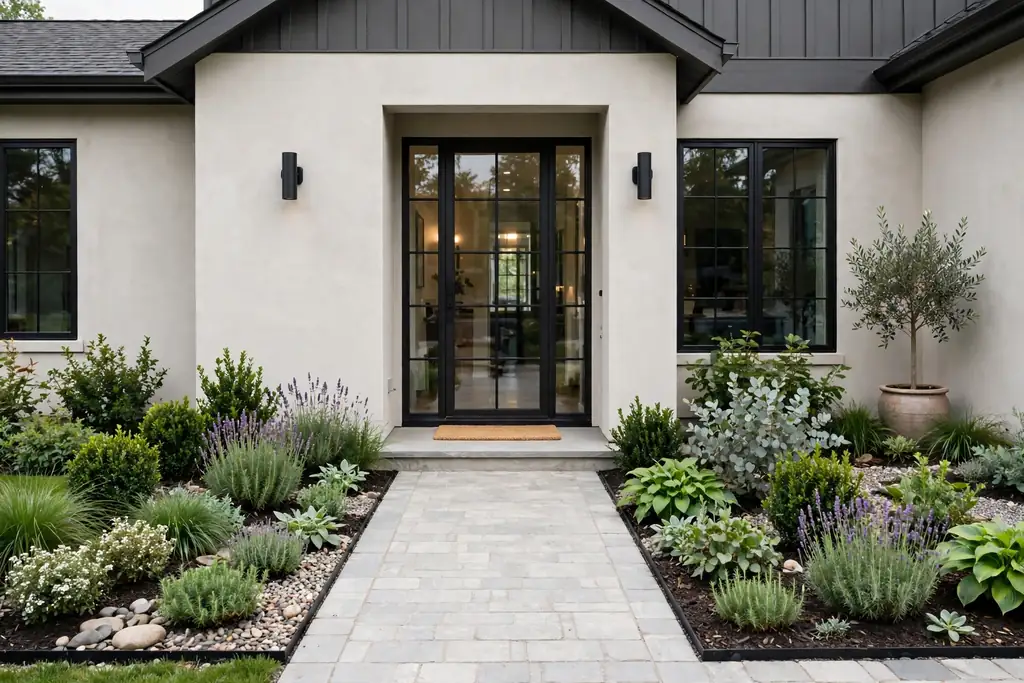
24. Refresh Curb Appeal With Planting and a Clean Path
The front of a home shapes a first impression in seconds, before anyone sees a room inside. Tidy planting, a clean path, and a clear view of the front door make the home feel cared for, which matters to visitors and to buyers alike. This suits homes where the garden has overgrown, the path has stained, or the front door is hidden behind shrubs.
Start by clearing the path and trimming plants that block the door or windows, so daylight reaches the entry. Add planting in layers, with low plants near the path and taller ones behind, and keep one or two pots by the door for color that is easy to change with the seasons. Edge lawn borders and sweep the path after planting, so the whole front reads as finished rather than half tended.
25. Pressure Wash and Repaint Exterior Trim
Dirty siding, stained paths, and peeling trim can make a sound home look neglected from the street. Pressure washing paths, siding, and driveways, plus repainting trim where paint has peeled, gives the exterior a fresh, clean look without changing the structure. This suits homes where the paint is sound on most walls but trim, steps, and paths have dulled or stained.
Wash from the top down where you can, and use a pressure setting that suits the surface, since too much pressure can damage wood and soft render. Repaint trim in the same color as before unless the whole exterior is changing, and prepare the surface well, since paint over peeling paint peels again fast. Clear gutters and downpipes at the same time, so clean walls are not marked by overflow at the next rain.
26. Build a Simple Deck or Patio Seating Area
Outdoor living space gives a home an extra room in good weather, which buyers often value and households use daily in summer. A simple deck or patio with seating, shade, and a clear path from the house makes the garden easier to enjoy and easier to picture as a place to gather. This suits homes with a flat garden area near a back door, or a yard that is currently only lawn with nowhere to sit.
Choose a level spot close to the house, and keep the seating area large enough for a table and chairs plus a clear path around them. Add shade with an umbrella or a simple pergola where sun is strong, and use outdoor furniture that can stay out in rain or be stored easily. Keep the edge between the patio and the lawn tidy, and add one or two pots near the seating area, so the new space feels like part of the garden rather than a bare slab.
27. Upgrade Bedroom Closets With Built-In Organizers
A bedroom closet without dividers, shelves, or a second rod wastes height and hides clothes in deep piles. Built-in organizers, such as double hanging rods, shelves, and drawer units, use the full closet height and make every item visible, which makes mornings faster and the bedroom feel calmer. This suits bedrooms where the closet has one long rod, a single high shelf, and empty air below short clothes.
Hang a second rod below the first for shirts and short items, and keep longer coats on the main rod so they still fit. Add shelves for folded items and one drawer or basket for small accessories, and group clothes by type rather than by color alone, so you find what you need without searching. Use slim hangers on both rods to fit more pieces, and keep one shelf free, so new clothes have a place without crowding the rods.
28. Add Layered Lighting and a Reading Corner in the Bedroom
A bedroom with only one overhead light can feel flat and hard to relax in, even when the bed and bedding are good. Layered lighting, with bedside lamps plus a soft main light, plus a small reading corner with a chair, gives the room a calm evening mood and a place to unwind that is not the bed. This suits bedrooms with a quiet corner, a window seat area, or space beside a wardrobe for one chair and a lamp.
Place bedside lamps at a height that lights a book without glaring across the bed, and use warm bulbs for evening light. Add a chair with a small side table and a lamp in the corner, and keep the corner to those three pieces, so it reads as a deliberate spot rather than a pile of extra furniture. Keep cords tucked behind furniture, and choose lamp shades that spread light softly rather than throwing a hard spot on the wall.
29. Add a Window Seat With Storage in the Bedroom
A window seat turns a bedroom window into a place to sit, read, and look outside, while the base below it adds storage for bedding, books, or off-season clothes. This suits bedrooms with a wide window, a bay window, or a blank wall under a window where a low bench would fit without blocking the radiator or the door swing.
Build the seat at a comfortable sitting height, and add a cushion in a washable cover plus one or two small pillows for back support. Use the base for items you need weekly or seasonally, and keep daily clothes in the closet, so the seat storage does not become a daily rummage spot. Keep the window area clear of tall items, so daylight still reaches the room and the seat stays inviting.
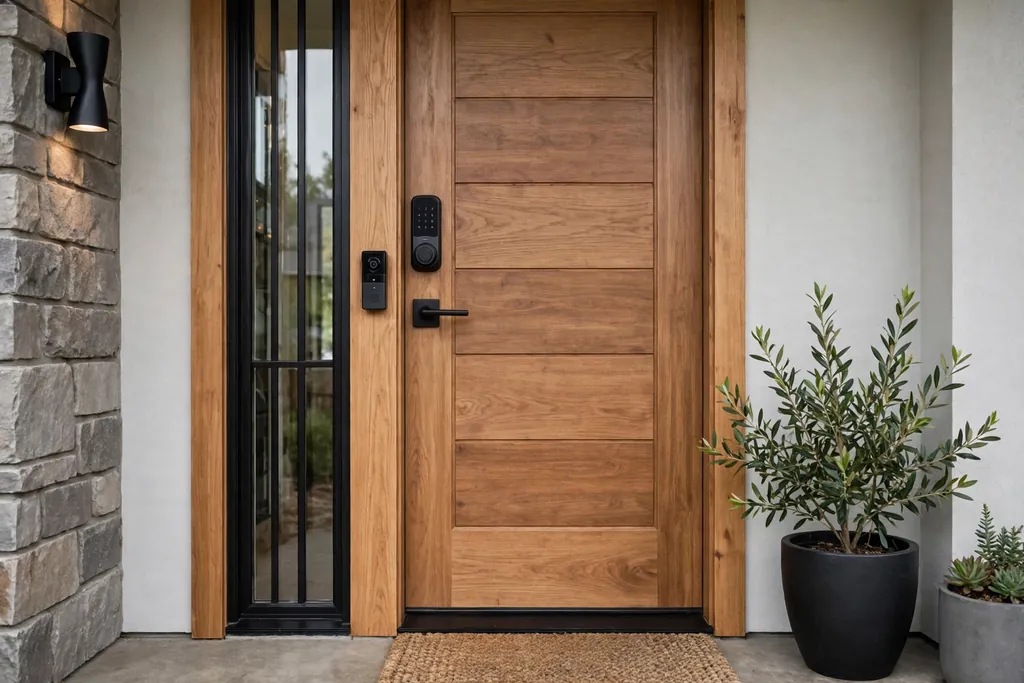
30. Add Smart Locks and a Video Doorbell
A smart lock lets you open and secure the front door with a code or a phone, which helps when hands are full, guests arrive, or a key goes missing. A video doorbell adds a view of visitors and deliveries at the door, which can make the entry feel safer and more convenient day to day. This suits homes where keys are often lost, guests need entry while you are out, or deliveries are left at the door.
Choose a lock that fits your existing door and latch, and check battery life and backup entry options before you rely on it fully. Place the doorbell where it sees the path and the porch clearly, and keep the lens clean, since dirt and rain marks blur the view fast. Set notifications to a level that suits your household, so alerts stay useful rather than constant, and keep a spare key in a safe place as a backup.
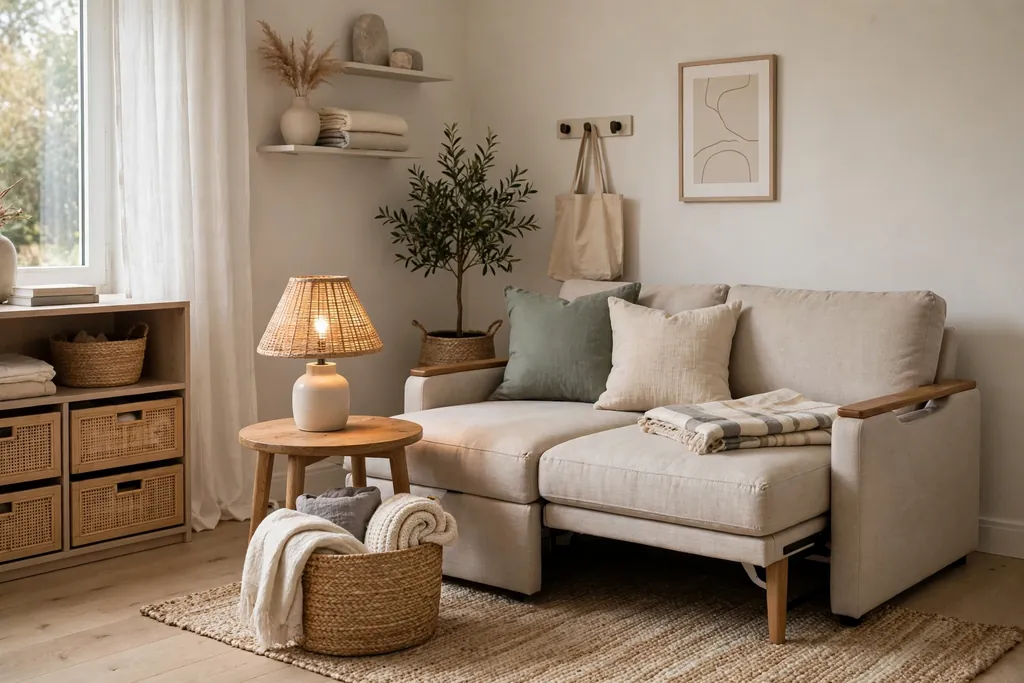
31. Create a Flexible Guest Space With a Sofa Bed and Storage
A spare room that only holds a bed can sit unused for most of the year, while a flexible guest space works as a reading room, office, or hobby room between visits. A good sofa bed, plus closed storage for guest bedding and a small table, lets the room switch roles without a full rearrangement each time. This suits homes with a spare bedroom, a large landing, or a living room corner that could host guests now and then.
Choose a sofa bed with a mattress you would sleep on yourself, since an uncomfortable guest bed is rarely used twice. Keep guest bedding in one closed basket or drawer in the same room, so setting up the bed takes minutes, not a search through other rooms. Add a small lamp, a clear surface for a phone and a glass of water, and a hook or rail for guest clothes, so the room feels welcoming even when it also serves another job daily.
Conclusion
Home upgrades that add value share a simple pattern: they fix what is worn, they make daily life easier, and they finish cleanly. Start with the kitchen and bathroom, give the entry and exterior the same care, and add storage, light, and energy-saving fixes where they solve a real problem in your home. You do not need to finish all 31 to see a difference. One well finished upgrade, then the next, adds up to a home that feels cared for, comfortable to live in, and easy for a future buyer to picture as their own.
If an idea here fits your home, save this post on Pinterest so you can find it again when you are ready to start. Pin the upgrade you plan first, whether it is a kitchen refresh, a bathroom vanity swap, or a front door repaint, and use it as a guide for your next weekend project.
FAQs
Which home upgrades usually appeal most to buyers?
Kitchen and bathroom refreshes, fresh neutral paint, good lighting, and tidy storage tend to appeal widely, since buyers judge those areas first and use them daily. Curb appeal matters too, since the exterior shapes a first impression before anyone steps inside. The best upgrade for a given home is the one that fixes its most visible wear or its biggest daily frustration, rather than the largest job on the list.
Should I remodel fully or refresh a kitchen and bathroom?
A refresh often suits a kitchen or bathroom where the layout works and the structure is sound, since paint, hardware, countertops, and fixtures can change the look without moving walls or plumbing. A full remodel makes more sense when the layout blocks daily use, storage is missing entirely, or fittings are damaged beyond repair. Start with the worn surfaces and fittings, and only plan larger work once you know the layout truly fails.
Do small upgrades really help a home’s value?
Small upgrades help most when they fix visible wear, improve daily use, and present the home as cared for. Fresh paint, working fixtures, clear storage, and a tidy entry can change how a home feels at a viewing, even though no single small change guarantees a set return. Value also depends on the home, the area, and the market, so treat upgrades as improvements to living quality first and resale appeal second.
What is the best first upgrade on a tight budget?
Start with cleaning, paint, and hardware, since those three change how rooms look for relatively little cost. Wash exterior paths, repaint the front door and main rooms in a calm neutral tone, and swap worn handles and light fixtures. Then add one storage fix, such as an entry bench or pull-out shelves, so the home stays tidy after the cosmetic work is done.
How do I choose upgrades that suit my home’s style?
Match new finishes to what is already in the home, such as the same wood tone, metal finish, and paint palette across rooms. Keep large surfaces calm and neutral, and save bold color for items that are easy to change, such as cushions, towels, or pots by the door. If a home has a clear style, such as a cottage or a modern flat, choose upgrades that fit that style rather than mixing many looks at once.
When should I hire a professional instead of doing it myself?
Hire a qualified professional for work that involves wiring, plumbing, gas, structural changes, or cutting into walls where pipes and cables may hide. DIY suits paint, hardware swaps, shelving, and storage that needs only basic tools and fixings. If a job needs a permit, a specialist tool, or a safety check, get advice before you start, since a well finished professional job lasts longer than a rushed DIY fix.
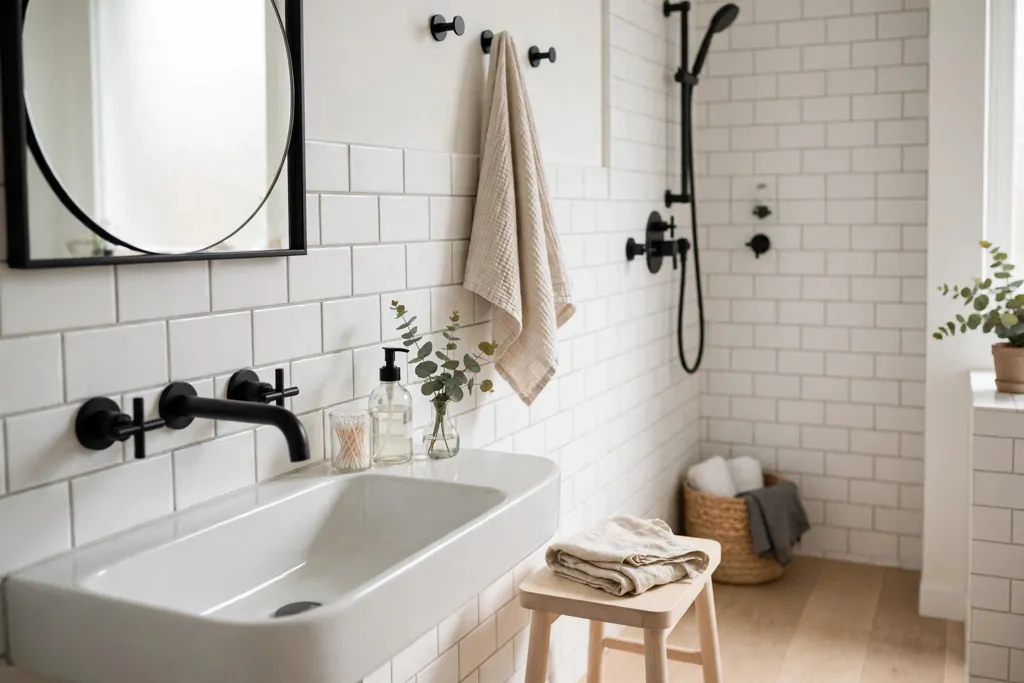
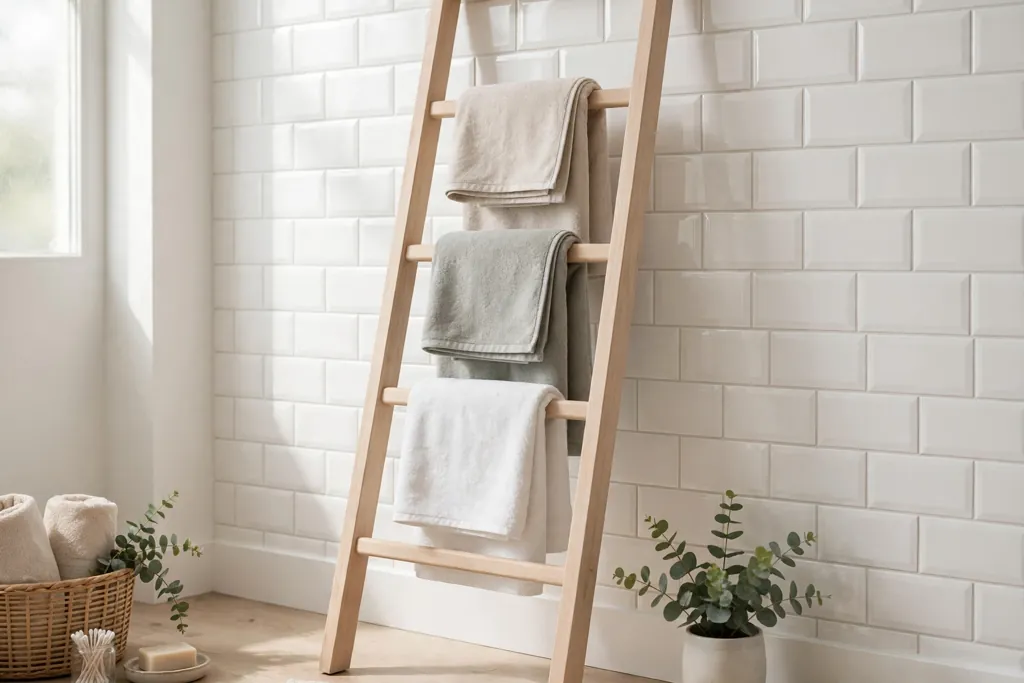
A small bathroom counter fills fast. A few palettes, a brush cup, and a row of bottles can leave no room to rest a hand, let alone do makeup in the morning. The fix is rarely a bigger vanity. It is giving each group of makeup a clear home: daily items close at hand, backups stored out of the way, and tools kept where they can dry and stay clean. These 22 makeup storage ideas for a small bathroom use drawers, doors, walls, and narrow gaps, so the counter can stay mostly clear. Start by grouping what you own, then pick the ideas that fit your vanity, your door, and the wall space you actually have. For the cabinet below the sink, these under sink organization ideas for bathroom show how to work around pipes and keep bottles in order.
Key Takeaways
Group makeup by use first: daily items, weekly items, and backup stock, then give each group its own spot.
Keep the counter for daily items only, and move everything else into a drawer, a cabinet, or onto a door or wall.
Use clear containers where you need to see stock at a glance, and closed bins where you want a calm look.
Measure the drawer, cabinet, gap, and door before buying any organizer, since a few inches decide whether it fits.
Put brushes where they can dry upright with air around them, and keep powders and palettes away from direct splashes.
Do a short weekly reset: return stray items, wipe one tray or drawer, and move out anything empty or unused.
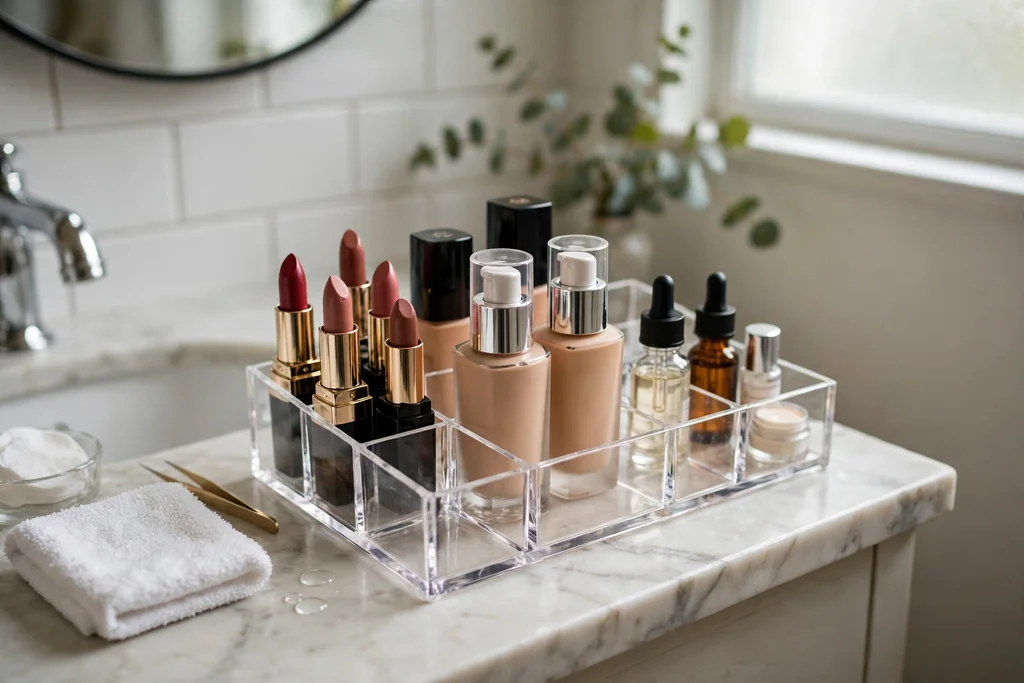
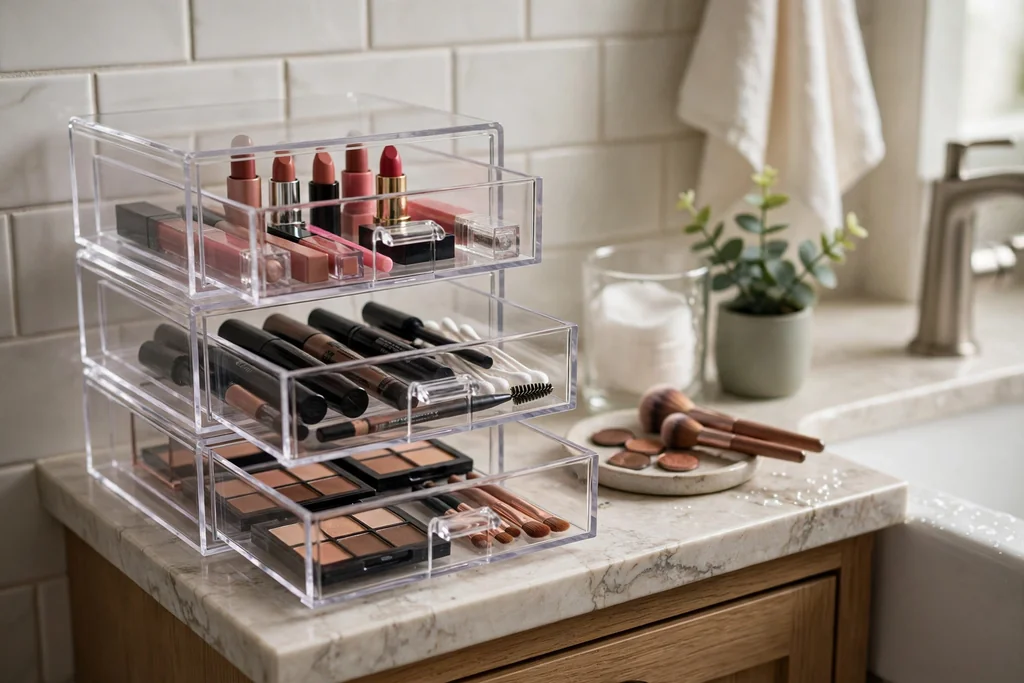
1. Clear Acrylic Countertop Organizer
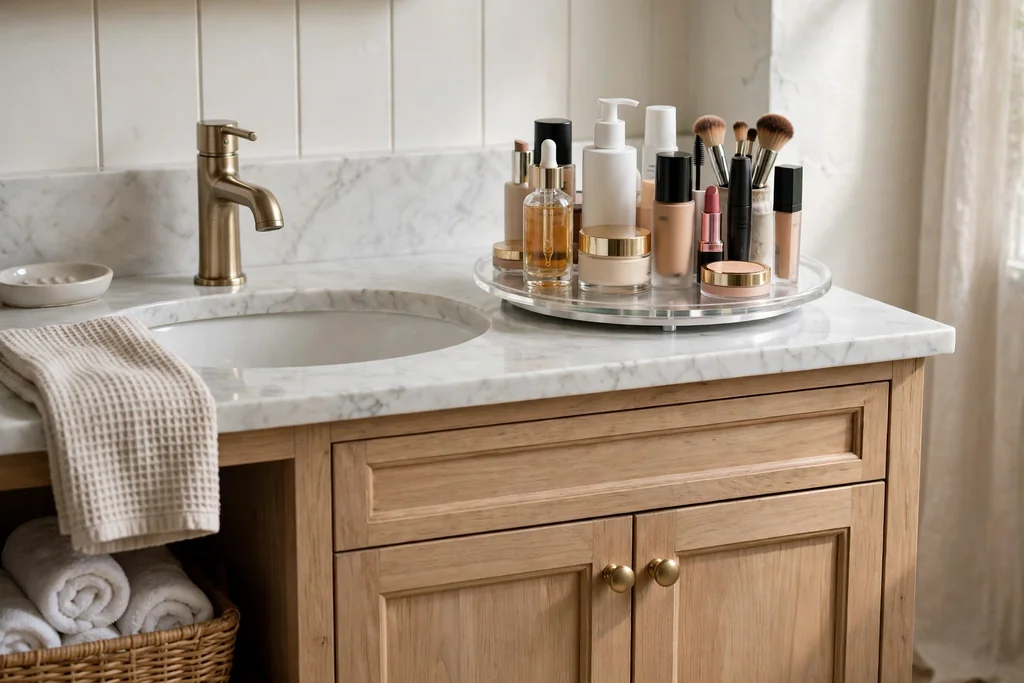
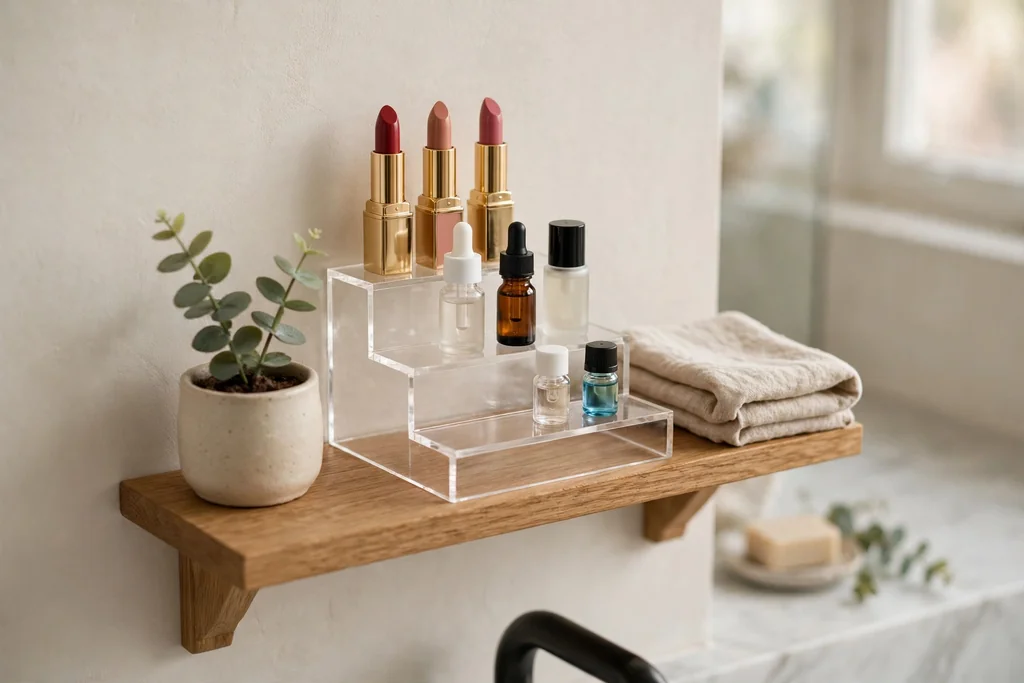
Set one clear acrylic organizer on the counter for the makeup you reach for every day. Compartments of different heights hold lipsticks upright, keep foundations from rolling, and give small items like concealers a slot of their own. Because the sides are clear, you can see what is running low without pulling everything out.
Keep the organizer to one unit, not three, so it does not spread across the whole counter. Place it on the side away from the faucet splash zone, and wipe it weekly, since makeup dust and water spots show fast on clear acrylic. If the counter is very narrow, choose a tall, slim organizer rather than a wide one.
2. Drawer Dividers for a Vanity Drawer
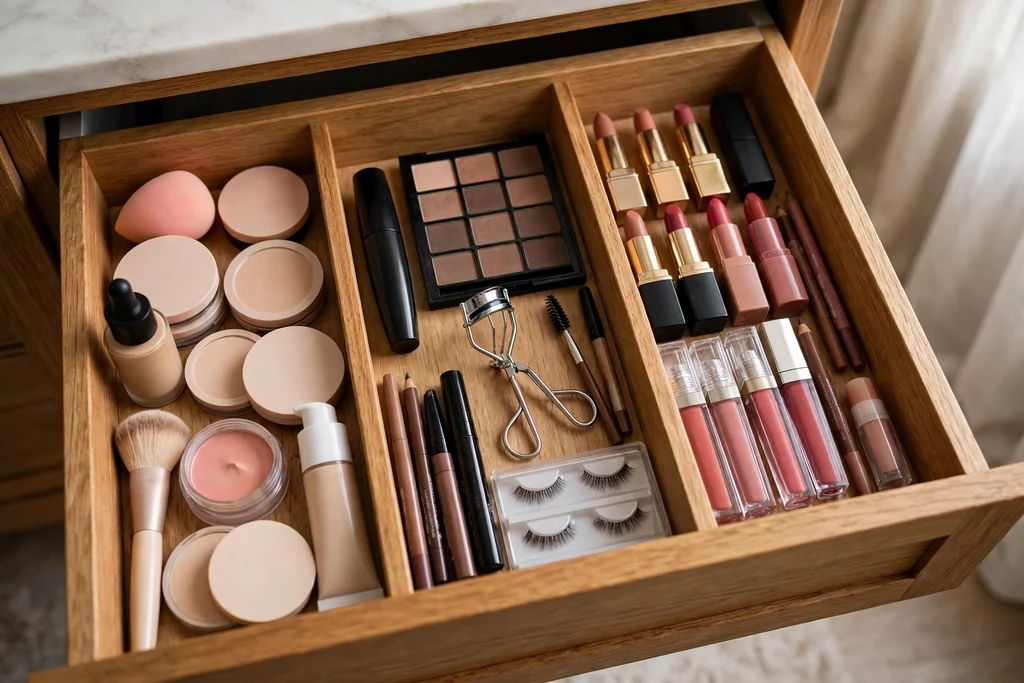
Fit adjustable dividers into a vanity drawer so makeup stops sliding into one pile every time the drawer opens. Give each group its own section: face products in one, eye products in another, and lip products in a third. Dividers also stop bottles from tipping and leaking onto each other.
Measure the drawer depth and the height of your tallest bottle before choosing dividers, since a divider taller than the drawer will stop it closing. Keep daily items at the front of the drawer and backups at the back. Line the drawer base with a wipeable liner, so a spill can be cleaned without staining the wood.
3. Rotating Turntable Inside the Vanity Cabinet
Place a small turntable inside the vanity cabinet for bottles that hide at the back. One spin brings the back row forward, so you stop buying a second bottle of something you already own. A low turntable with a rim suits a cabinet floor, while a two tier version suits a taller cabinet.
Group similar items on each turntable, such as skin care on one and makeup on another, and avoid stacking bottles, since a tall stack topples when it spins. Keep the turntable away from pipes so it turns freely. If the cabinet is very narrow, a small rectangular turntable fits better than a round one.
4. Magnetic Board on the Inside of a Cabinet Door
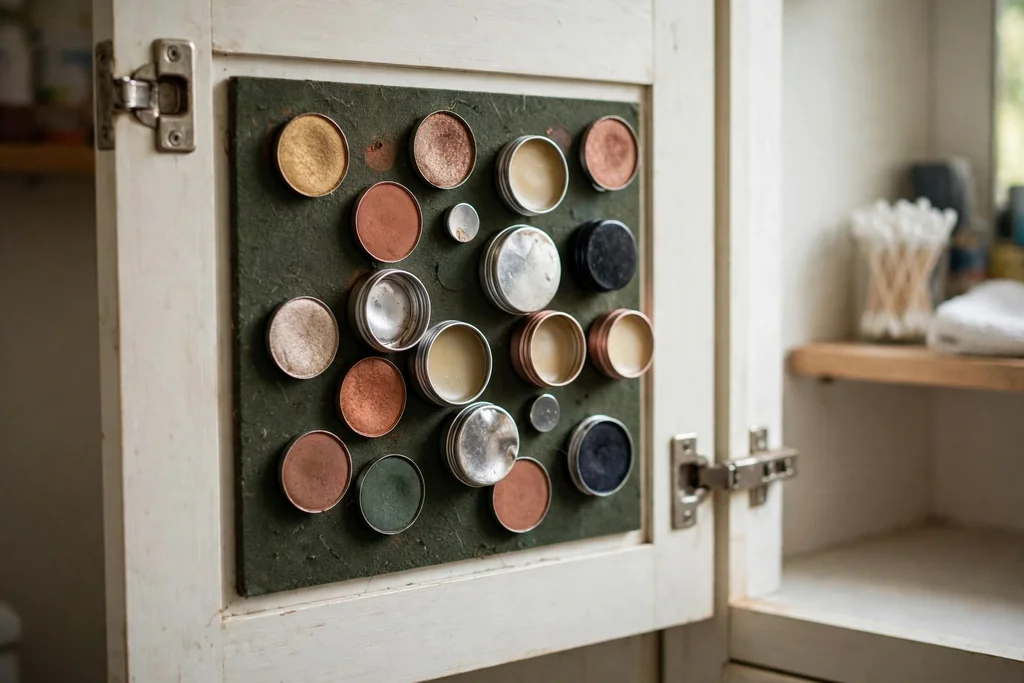
Fix a small magnetic board to the inside of a cabinet door and attach metal makeup pans, small tins, and magnetic strips to it. The door is unused space in most bathrooms, and a board there holds palettes and pans flat and visible without taking a single inch of shelf. This works well for depotted shadows and blush pans.
Keep the board shallow enough that the door still closes without pressing on bottles inside, and put heavier items low on the door so it swings freely. Label each row by color family if you have many pans, so you can find a shade at a glance. If you rent, a board with adhesive backing needs no drilling, but test the hold before loading it fully.
5. Over-the-Door Clear Pocket Organizer
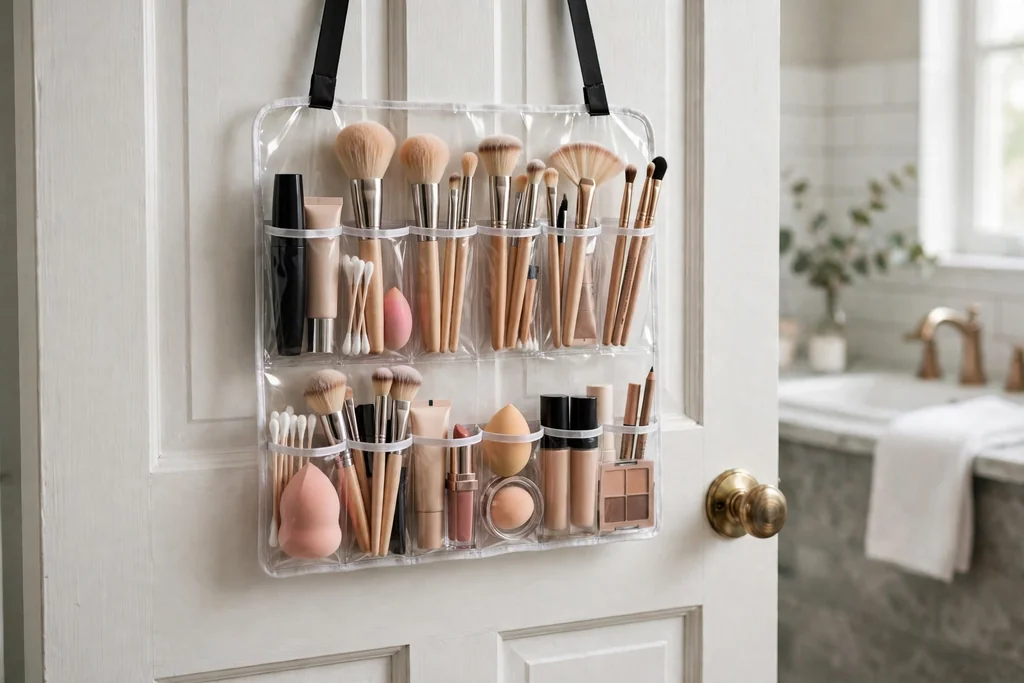
Hang a clear pocket organizer over the bathroom door for makeup, brushes, and small tools. Each pocket holds one category, and the clear fronts let you see everything without opening a drawer. This is one of the quickest ways to add storage, since it needs no drilling and uses space that otherwise stays empty.
Keep heavy bottles low so the door still swings freely, and keep the organizer shallow so it does not hit the vanity or toilet when the door opens. Hang it on the inside face of the door so the pockets do not show from the hall. Use the top pockets for backup stock and the middle pockets, at hand height, for daily items.
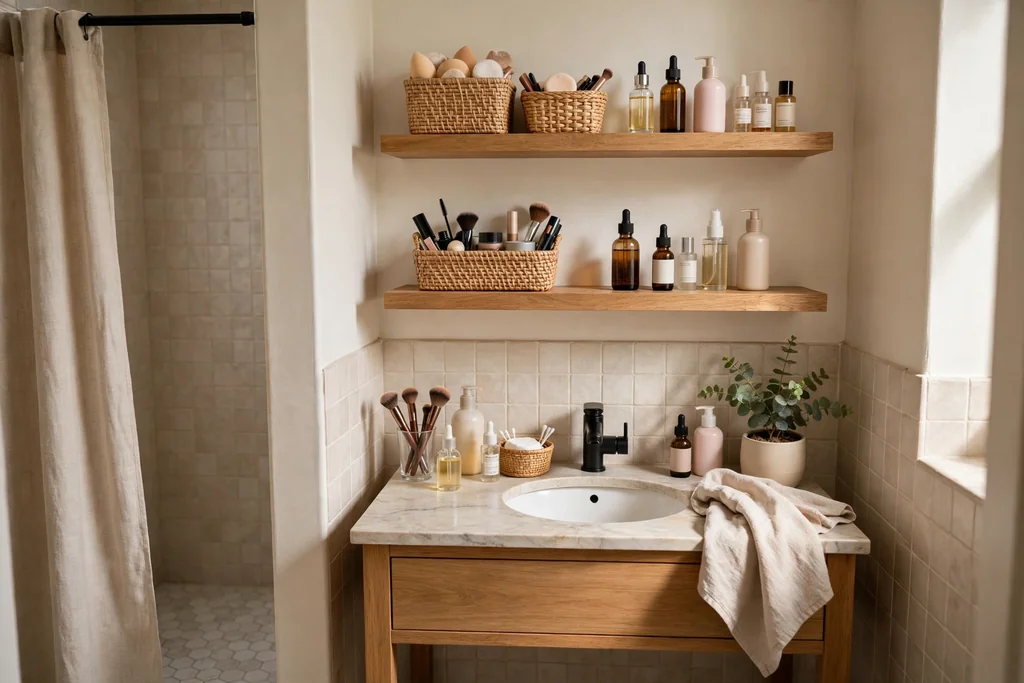
6. Floating Shelves Above the Vanity
Add one or two floating shelves above the vanity for makeup you want visible but off the counter. A shelf lifts bottles and small baskets off the work surface, which frees space for doing makeup, and it fills a blank stretch of wall without a bulky cabinet. It suits narrow vanities where counter space is tight.
Fix each shelf at a height you can reach without stretching, and keep it to light items so it does not feel top heavy. Use small baskets or one tray per shelf to group items, so the shelves read as tidy rather than crowded. For styling the vanity around the new shelves, these bathroom vanity decor ideas show tray, mirror, and lighting combinations that keep a small vanity calm.
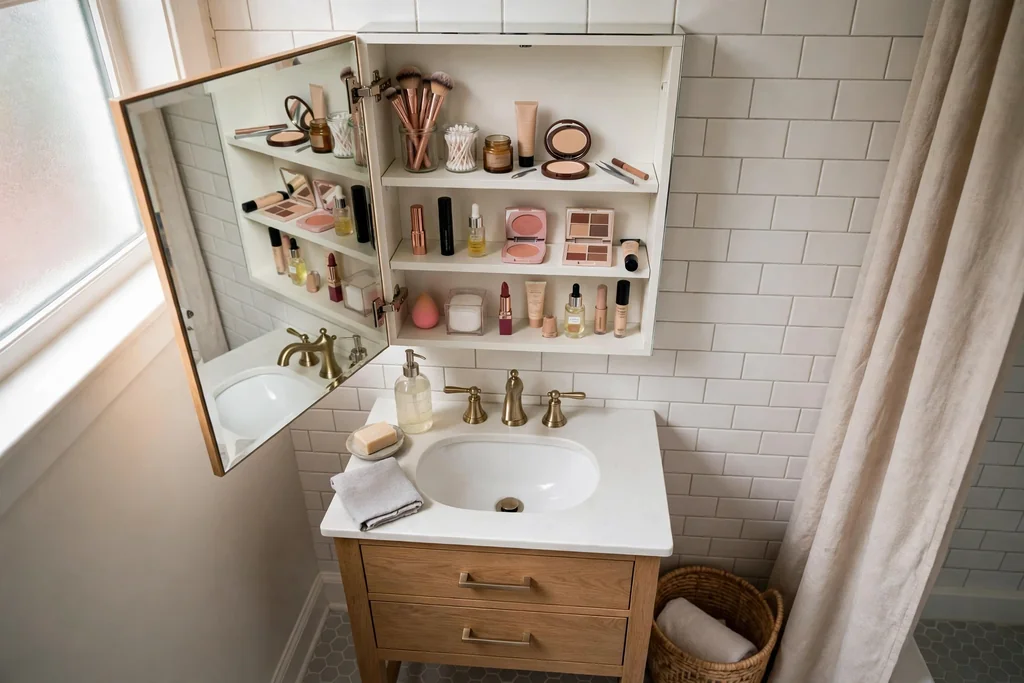
7. Mirrored Medicine Cabinet with Adjustable Shelves
Replace a flat mirror with a mirrored medicine cabinet, and set the shelves to match your makeup heights. The cabinet hides small bottles behind glass, while the mirror itself does the same job as before, so the wall gains storage without losing function. Choose a cabinet depth that does not crowd the faucet.
Store daily items at the front of each shelf so nothing hides behind a tall bottle, and put tall foundations on a shelf with extra height. If a cabinet will not fit, a large plain mirror plus a small wall shelf beside the sink gives most of the same benefit. Clean the mirror often, since smudges show fast in a small, bright room.
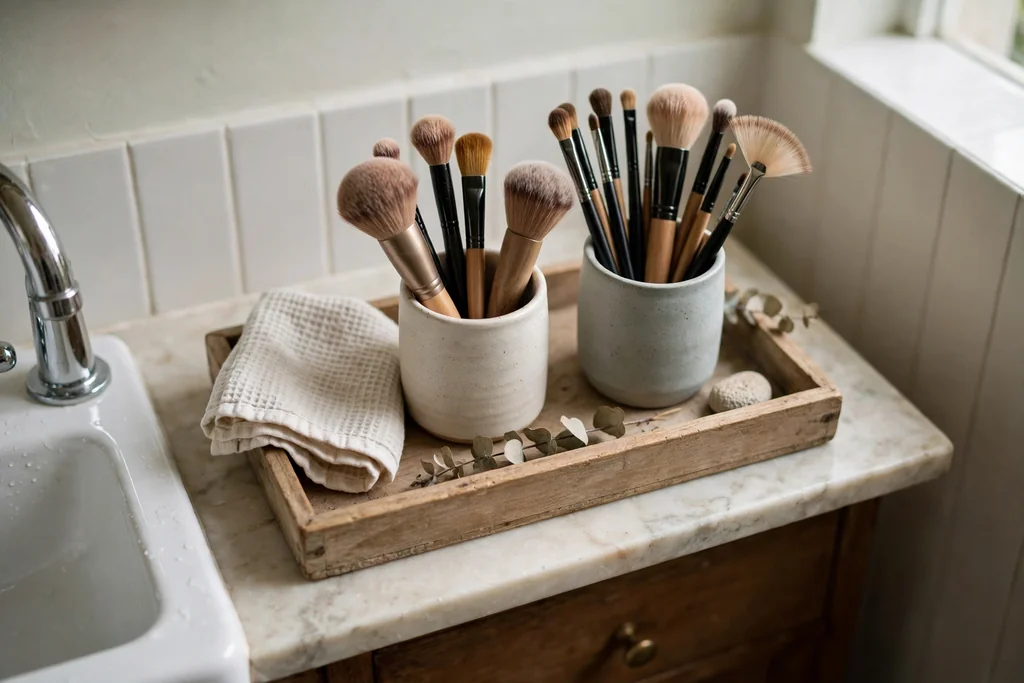
8. Upright Brush Cups in a Small Tray
Stand brushes upright in two or three small cups set inside a shallow tray. Upright storage keeps bristles from bending, lets brushes dry with air around them, and stops them rolling across the counter. Grouping the cups in a tray means you can lift the whole set to clean the counter in seconds.
Sort brushes by job, such as face brushes in one cup and eye brushes in another, so you are not hunting through one crowded cup each morning. Keep the cups away from direct splashes, and wash brushes on a regular schedule, since dirty brushes hold product and dust. A cup with a weighted base tips less when you pull a brush out.
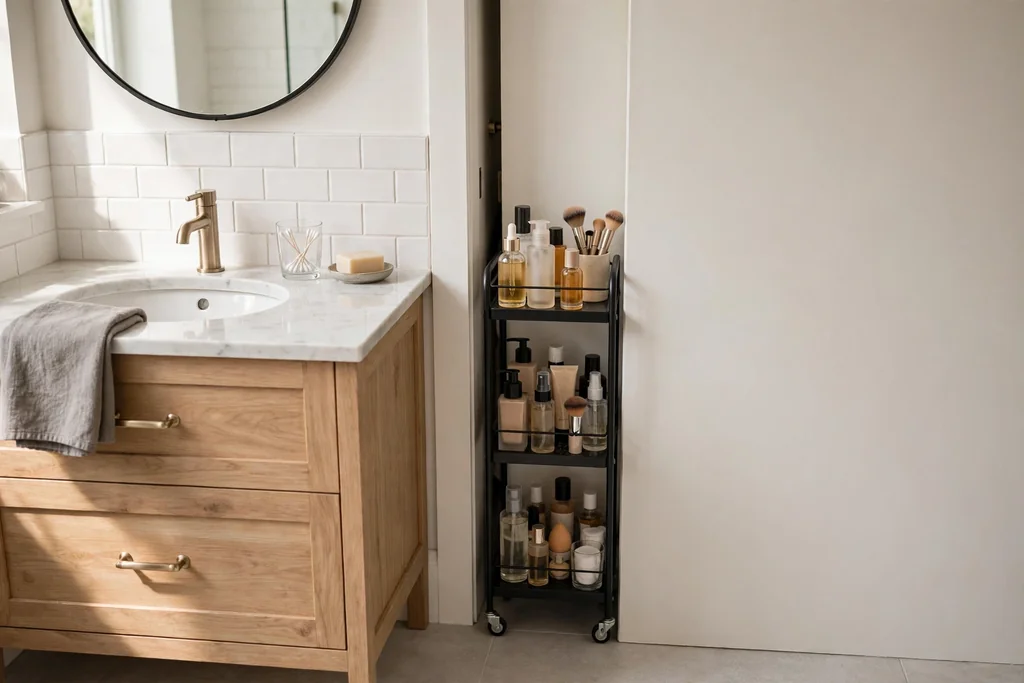
9. Slim Rolling Cart in a Narrow Gap
Slide a slim rolling cart into the narrow gap beside the vanity or between the vanity and the wall. Gaps of a few inches often sit empty in a small bathroom, and a cart on wheels turns that gap into three or four shelves of makeup storage. Pull the cart out to reach the back shelves, then slide it back flush when done.
Choose a cart narrower than the gap, with a handle at the front and shelves that hold bottles upright. Keep tall bottles on the lowest shelf so the cart stays stable when pulled out. This idea works for backup stock and for items you use weekly rather than daily, and the cart can move to another gap if you rearrange the room later.
10. Stackable Clear Mini Drawers
Stack two or three clear mini drawers on the counter or inside a cabinet for small makeup that vanishes in a big bin. Each drawer holds one category, such as lip products in one and eye products in another, and you can open one without disturbing the rest. Clear sides let you check stock without opening every drawer.
Keep the stack low enough that you can pull the top drawer out safely, and put heavy items in the bottom drawer. Label the front of each drawer if the contents look alike from the outside. If the stack sits on the counter, keep it to the side away from the faucet, so splashes do not reach the drawers.
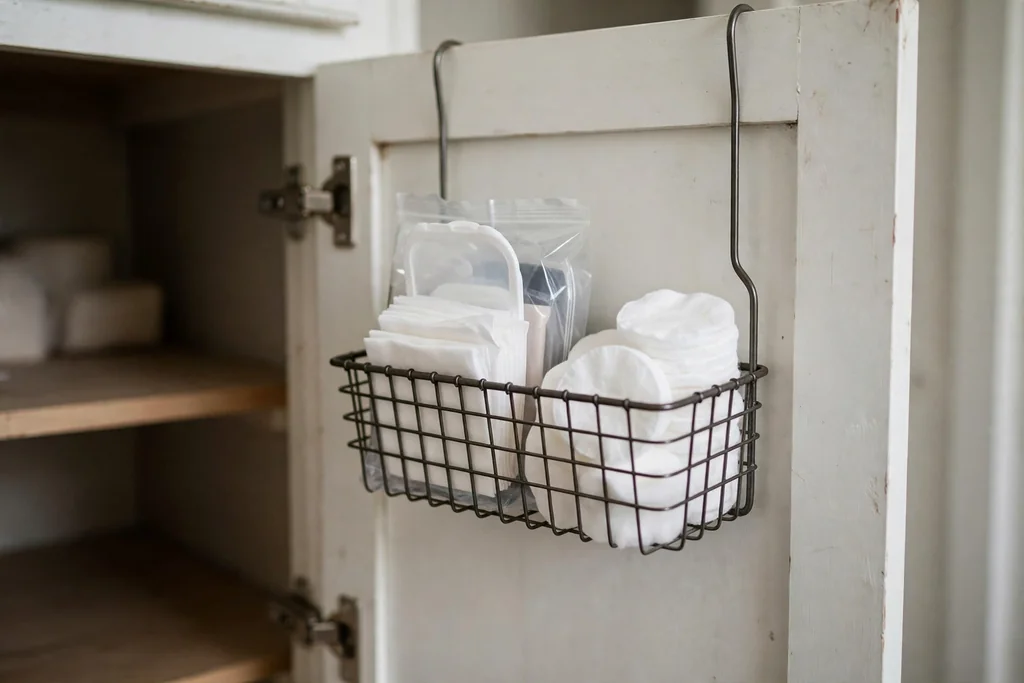
11. Hook-On Basket Inside a Cabinet Door
Hang a slim wire basket over the inside of a cabinet door for flat items such as makeup wipes, cotton pads, and small tubes. The door is unused space in most cabinets, and a flat basket adds storage without taking shelf room. Wire baskets suit damp bathrooms, since air moves around them and they dry fast.
Keep the basket shallow enough that the door still closes without pressing on bottles inside. Sort by use, such as wipes in one basket and spare sponges in another. If you rent, a basket that hooks over the door needs no drilling, but check that it does not stop the door closing flush.
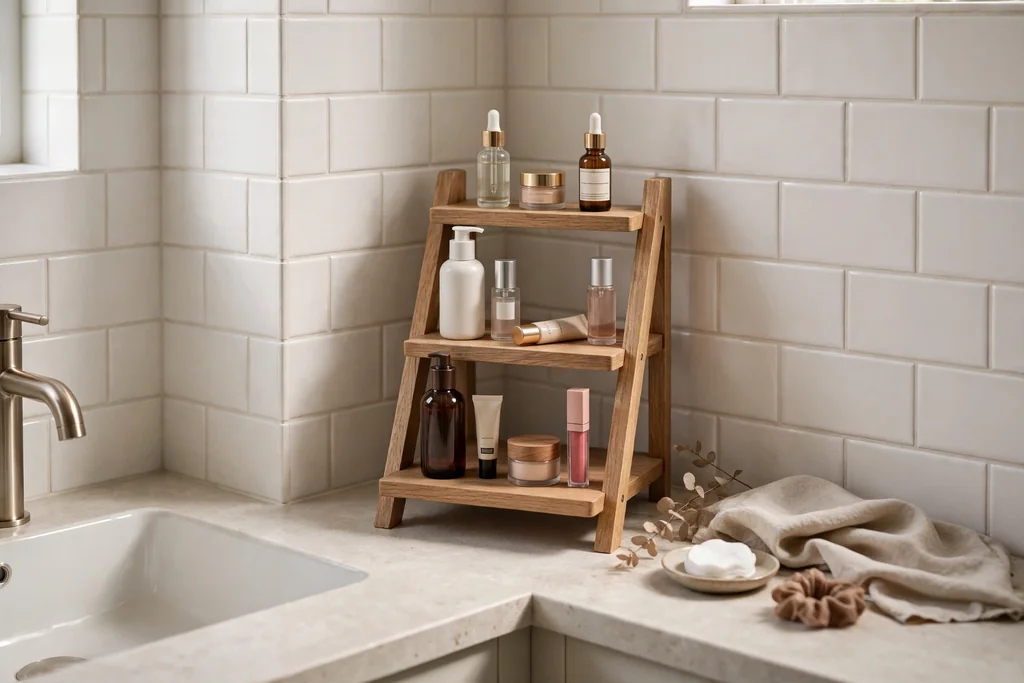
12. Tiered Corner Shelf for the Counter
Set a tiered corner shelf on the counter where two walls meet, so a dead corner holds makeup in steps. Steps lift the back row above the front row, so you can see every label without pulling bottles forward. This suits counters where tall bottles hide short items behind them.
Put the tallest bottles on the highest step and the shortest at the front, and keep the steps shallow enough that bottles do not tip forward. Wipe the steps when you clean, since drips and powder run down onto the step below. If the corner is very tight, a quarter round shelf fits better than a square one.
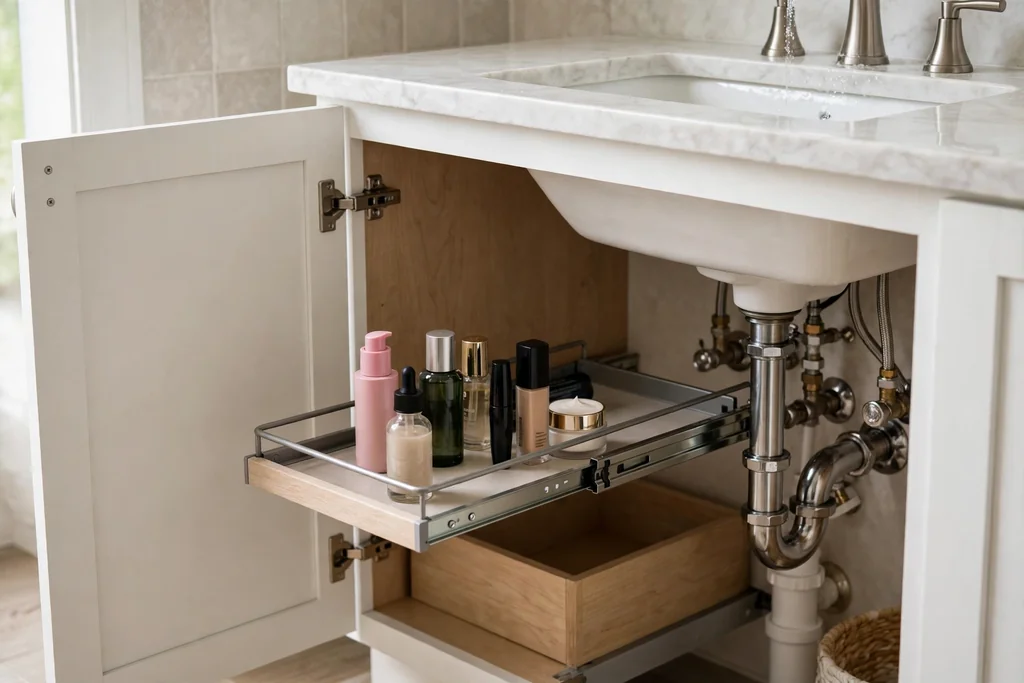
13. Pull-Out Tray Under the Sink
Fit a pull-out tray or basket on rails under the sink so the back of the cabinet comes to you. Deep cabinets hide makeup at the back, and a sliding tray stops the habit of pulling everything out to find one bottle. A single low tray suits most cabinets, while a double tier version suits a tall cabinet with room to spare.
Check that the tray clears the pipes when it slides, and keep heavy bottles at the front of the tray so it runs smoothly. Sort the tray by task, such as daily makeup in one section and backup stock in another. For more layout ideas that pair with under sink storage, these small bathroom space saving design ideas cover vanities, doors, and wall storage for compact rooms.
14. Stepped Riser for Lipsticks and Small Bottles
Use a small stepped riser, like miniature steps, for lipsticks, glosses, and small bottles on a shelf or in a drawer. Steps lift the back row above the front row, so every shade stays visible and you stop reaching past three lipsticks to find one. This works best for items of similar size.
Keep each step to one color family or one product type, so the riser reads as a display rather than a pile. Avoid stacking items on a riser, since a tall stack topples when you pull one out. If the riser sits inside a drawer, measure the drawer height first, since a riser plus a tall lipstick can stop the drawer closing.
15. Daily Kit in One Small Zip Pouch
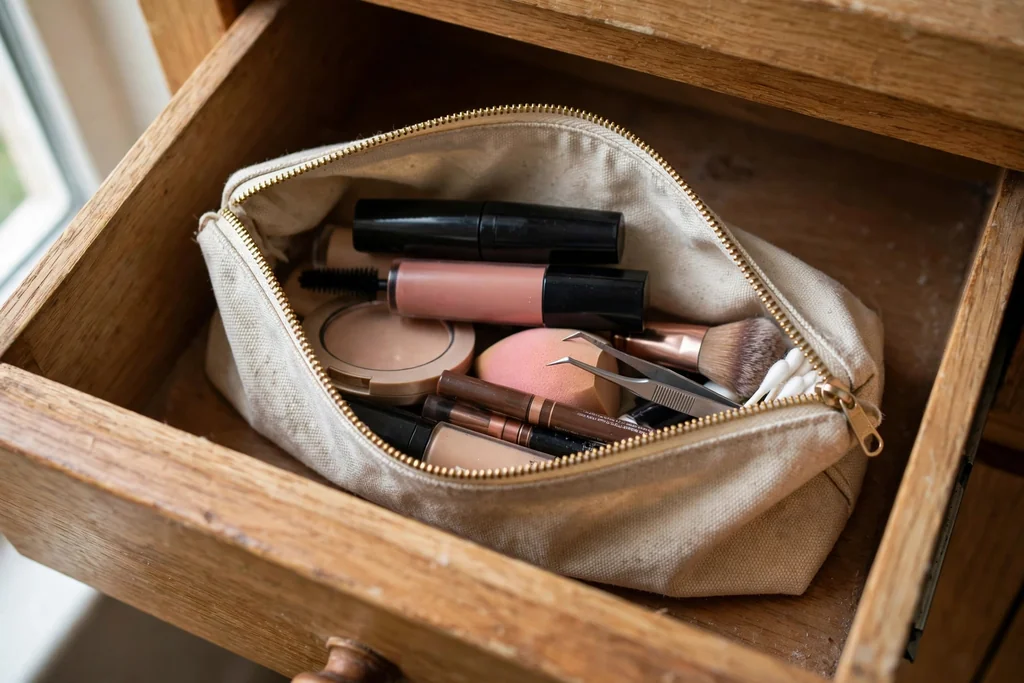
Keep your daily makeup in one small zip pouch that lives in a drawer or hangs on a hook. A pouch holds the handful of items you actually use each morning, so the rest of your collection can stay stored elsewhere without slowing you down. It also makes the morning routine portable, since the pouch can move to another room or into a bag.
Choose a pouch with a wipeable lining and one inside pocket for small items like a sharpener or clips. Review the pouch weekly and swap items in and out as your routine changes, so it never grows into a second full collection. Keep backup stock out of the pouch, so it stays light and easy to carry.
16. Wall-Mounted Acrylic Racks for Small Bottles
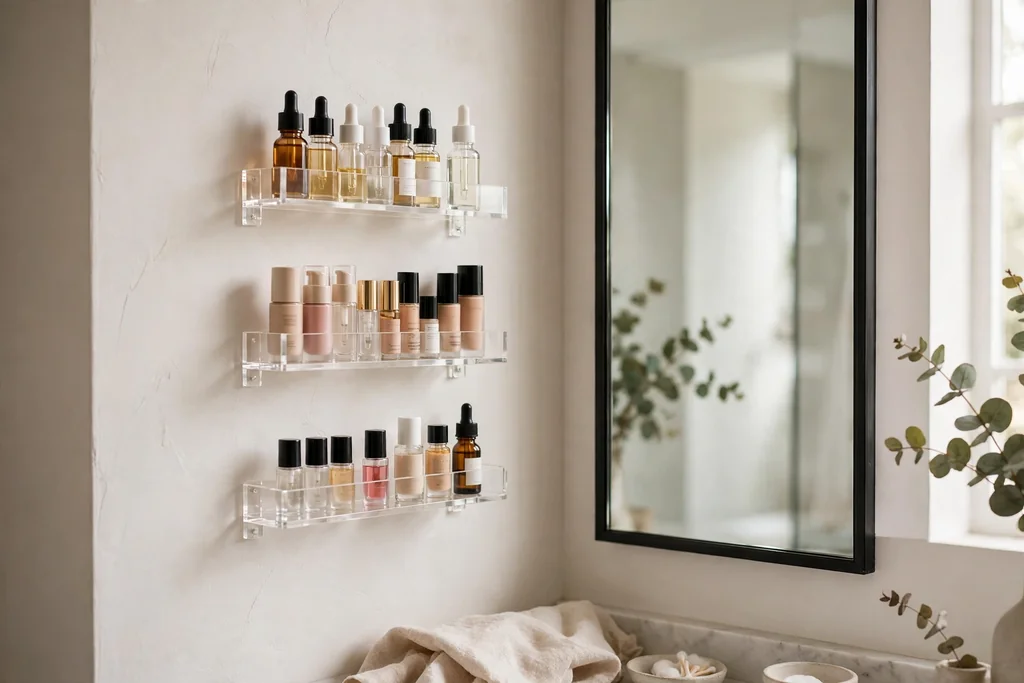
Fix slim acrylic racks to the wall beside the mirror for nail polish, small bottles, and sprays. Wall racks use vertical space that otherwise stays empty, and the clear fronts keep every label visible. They suit renters when fixed with adhesive strips rated for the weight, and they suit owners when screwed into studs or solid anchors.
Space the racks so tall bottles on one rack do not block the rack above, and keep the lowest rack at hand height for daily items. Put heavier glass bottles on the lowest rack, so a fall, if one happens, is short. Wipe the racks when you clean, since makeup dust settles on clear acrylic fast.
17. Standing Palette Files Like Books on a Shelf
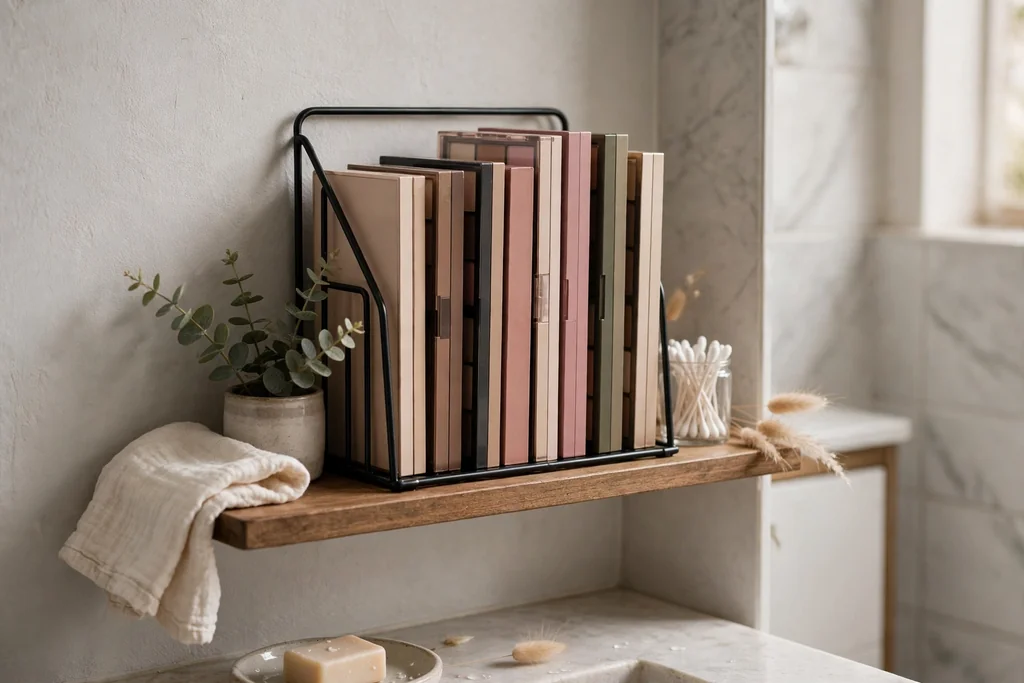
Stand palettes upright in a file holder or a narrow bookend, like books on a shelf, so you can pull one out without moving the rest. Palettes stacked flat hide the ones at the bottom, and they slide when you lift the top one. Standing them upright keeps each cover visible and each palette easy to grab.
Keep each holder to one category, so eye palettes do not mix with face palettes, and choose holders with a firm base so they do not tip when a palette is removed. Label the front of the holder if several people share the bathroom. If a holder slides on the shelf, a small non slip mat under it holds it steady.
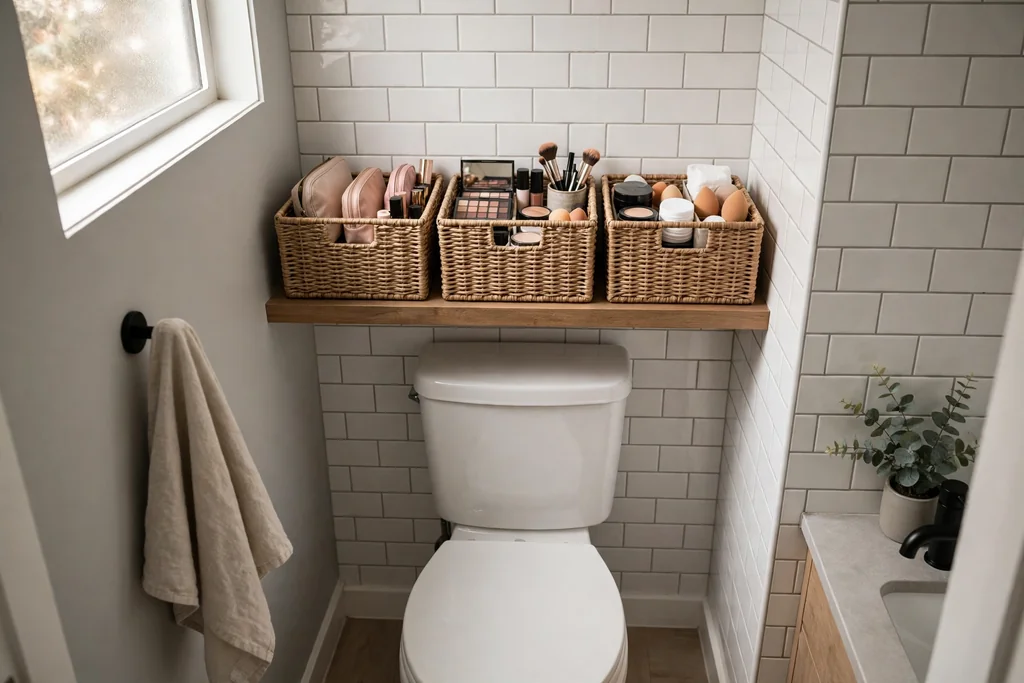
18. Labeled Bins on an Over-Toilet Shelf
Use the wall above the toilet, often the only free wall in a small bathroom, for a shallow shelf with labeled bins for backup makeup. That space holds spare foundations, unopened skin care, and stock items within reach, and it costs no floor space. Mount the shelf high enough that no one bumps their head when standing.
Use closed bins on the shelf for anything you would rather not see, and keep the display tidy with matching containers. Label each bin on the side that faces out, such as face, eyes, and lips, so you can find backup stock without opening every bin. Keep daily items off this shelf, since it suits weekly stock better than morning use.
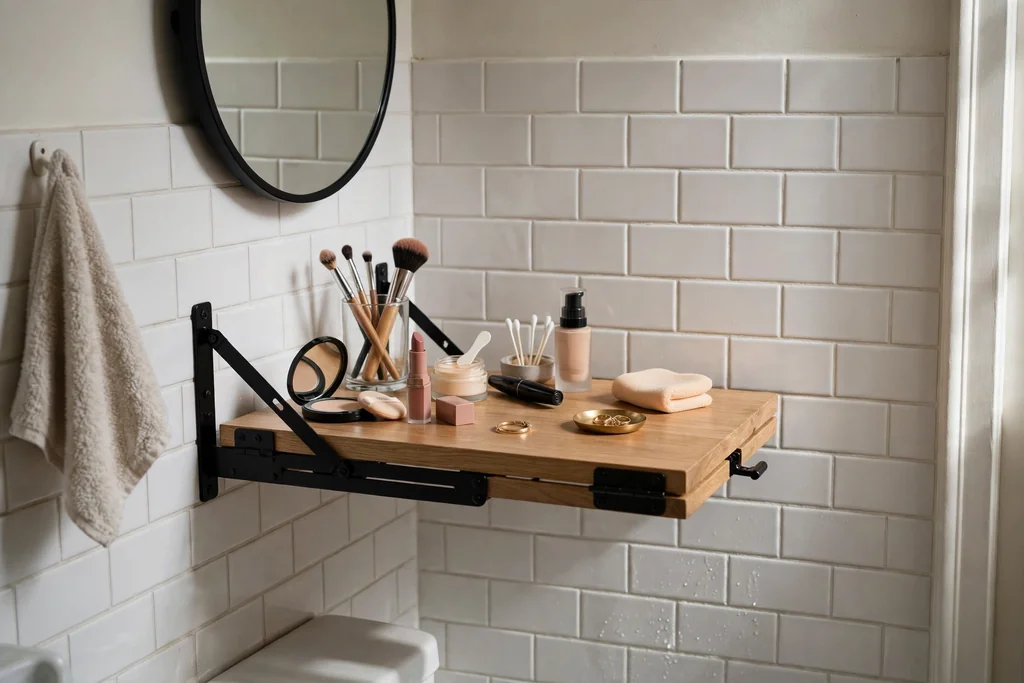
19. Fold-Down Wall Shelf as a Mini Vanity
Fix a fold-down wall shelf beside the sink or in a corner that folds flat when not in use. Lowered, it gives a makeup surface with room for a small mirror and a tray; folded up, it leaves the wall clear and the floor free. A fold-down shelf suits a bathroom that needs a makeup surface only at certain times of day.
Use sturdy hinges and a support arm rated for the load, and fix the shelf into studs or solid wall anchors. Keep the shelf depth shallow enough that it does not block the walkway when lowered, and store only light items on it. Pair it with a small mirror above so the lowered shelf becomes a compact dressing spot.
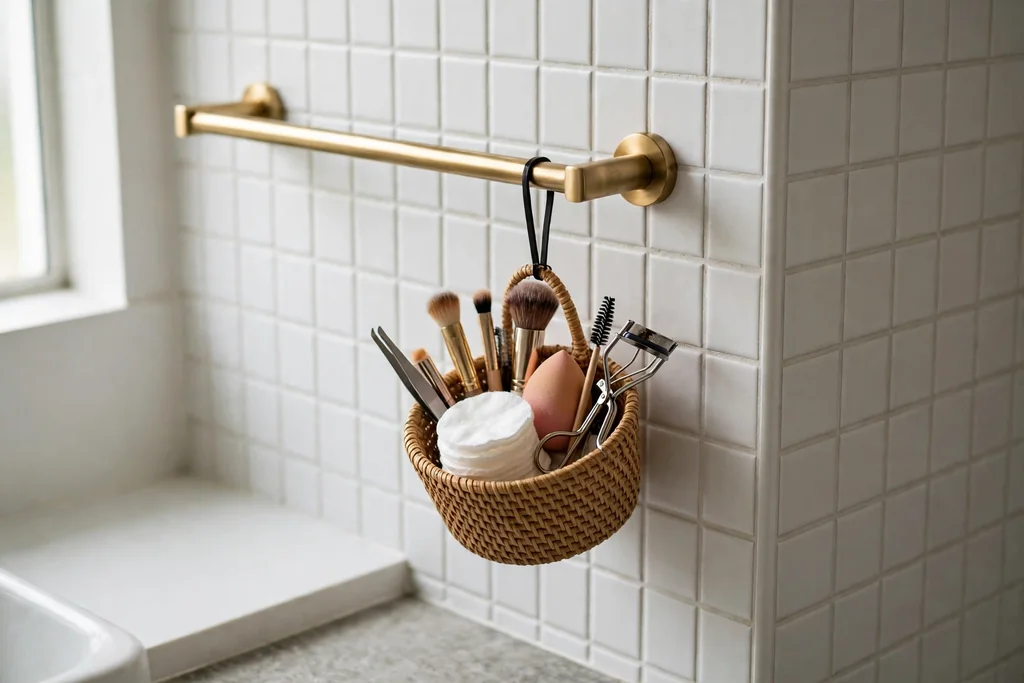
20. Hanging Basket from a Towel Bar
Hang a small basket from a towel bar or a wall rail for makeup tools, cotton pads, and small bottles. The basket uses the air below the bar, which otherwise stays empty, and it keeps a group of items together where you can grab them without opening a cabinet. This works well for items you use after washing your face.
Keep the basket shallow, so it does not block towels hanging beside it, and sort each basket by task. Wipe the basket when you clean the bathroom, since hanging baskets collect dust on their rims. If the bar is thin, test one basket with a full load before hanging several, so the bar does not bend.
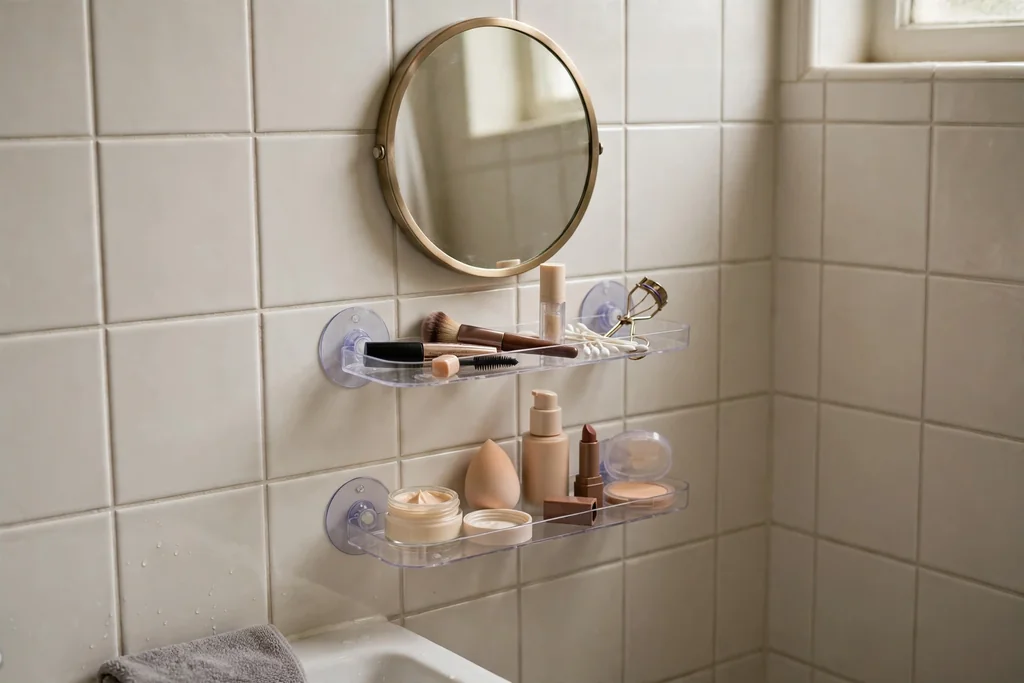
21. Suction Cup Shelves on the Mirror or Tile
Stick suction cup shelves to the mirror edge or to smooth tile for a few daily makeup items. Suction shelves need no drilling, so they suit rented homes, and they place items at eye level right where you use them. They work best on smooth, clean surfaces, since textured tile gives a weak hold.
Clean and dry the surface before fixing a shelf, and press the cups firmly until they hold. Keep the load light, since damp air can weaken suction over time, and check the hold weekly. If a shelf fails, move it to a drier spot or swap it for an adhesive shelf rated for bathroom use.
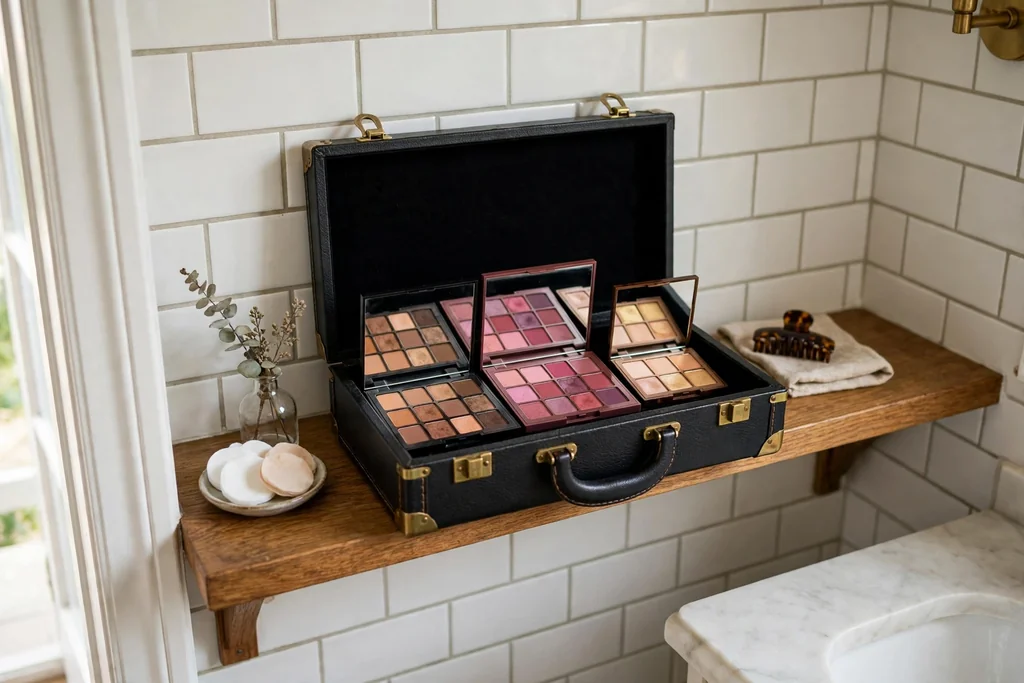
22. Lidded Train Case on a Shelf for Occasion Makeup
Keep occasion makeup, such as bold palettes and false lashes, in a lidded train case stored on a shelf or in a closet. A case with compartments keeps occasion items together and out of the daily rotation, so the counter and the daily drawer stay focused. The lid keeps dust and damp off the contents between uses.
Sort the case by occasion, with one tray for evening looks and one for special events, and add small dividers inside so items stay sorted. Leave a little air above the top tray so the lid closes without pressing on tall bottles. If shelf space is tight, a train case that stands upright like a small bag fits a narrow shelf better than a wide one.
Conclusion
A small bathroom does not need a bigger counter to hold makeup well. It needs a clear split between daily items, weekly items, and backup stock, and a home for each group that fits the drawer, door, wall, or gap you already have. Start with the spot that bothers you most, whether it is a crowded counter or a drawer that will not close, and use one idea well before adding another. Over time, a few of these changes add up to a morning routine that is faster, calmer, and easier to clean up, even when the room itself stays exactly the same.
If you found an idea here that suits your bathroom, save this post on Pinterest so you can find it again when you are ready to start. Pin the look you like most, whether it is a drawer divider setup, a rolling cart in a narrow gap, or a fold-down mini vanity, and use it as a guide for your next weekend tidy-up.
FAQs
How do I start organizing makeup in a very small bathroom?
Start with the counter, since it causes the most daily friction. Take everything off it, group what is left into daily, weekly, and backup piles, and return only the daily pile to the counter in one organizer. Move the weekly pile into a drawer or cabinet, and put backup stock on a higher shelf or in a closet bin, so the counter stays at the size you planned.
What is the best makeup storage for a rented small bathroom?
Choose storage that needs no drilling: over-door pocket organizers, suction cup shelves, rolling carts, stackable drawers, and hook-on baskets. These add real capacity without holes in the walls, and they move with you to the next home. If you do drill, keep it to one or two well-placed shelves, and check your lease and wall type first.
How do I keep makeup brushes clean in a small bathroom?
Store brushes upright in cups with air around them, away from direct splashes, and wash them on a regular schedule with a gentle cleanser, then let them dry bristle down or flat with air flow. Keep a separate cup for dirty brushes waiting to be washed, so clean and used brushes do not mix. Replace a brush when bristles shed often or lose their shape.
Where should I store backup makeup so it does not crowd the counter?
Put backup stock on an over-toilet shelf in labeled bins, in a linen closet bin, or on a high shelf, since backup items are needed weekly rather than daily. Keep one bin per category, such as face, eyes, and lips, and check the bin when you restock, so you do not buy a second bottle of something you already own. Keep backup stock away from heat and damp where you can.
How do I stop a makeup drawer from becoming messy again?
Use dividers or small inserts that fit the drawer snugly, so items cannot slide when the drawer opens and closes. Give each section one category, keep daily items at the front, and do a short weekly reset: return stray items, wipe the drawer base, and move out anything empty or unused. When a section is full, remove one item before adding another.
Can I store makeup in the bathroom if the room gets steamy?
Yes, with care. Keep powders and palettes in closed drawers or lidded cases away from the shower, since steam can change powder texture over time. Store brushes where they can dry fully, wipe containers when you clean, and move items that react badly to damp, such as cardboard palettes, to a drier room or a lidded case. Good ventilation after showers helps every storage idea in this list last longer.
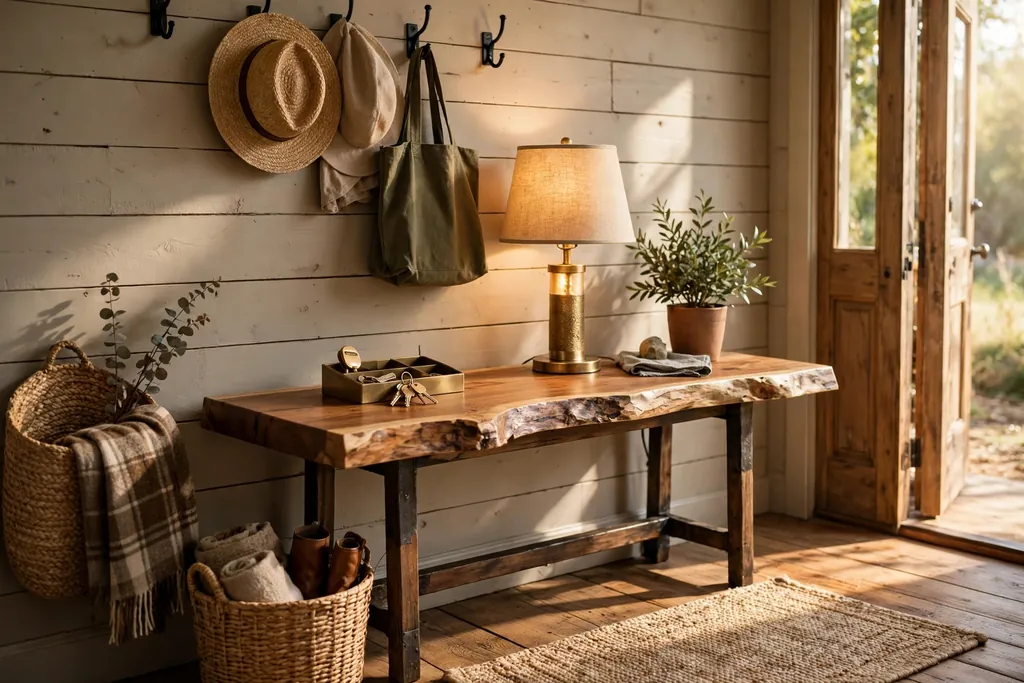
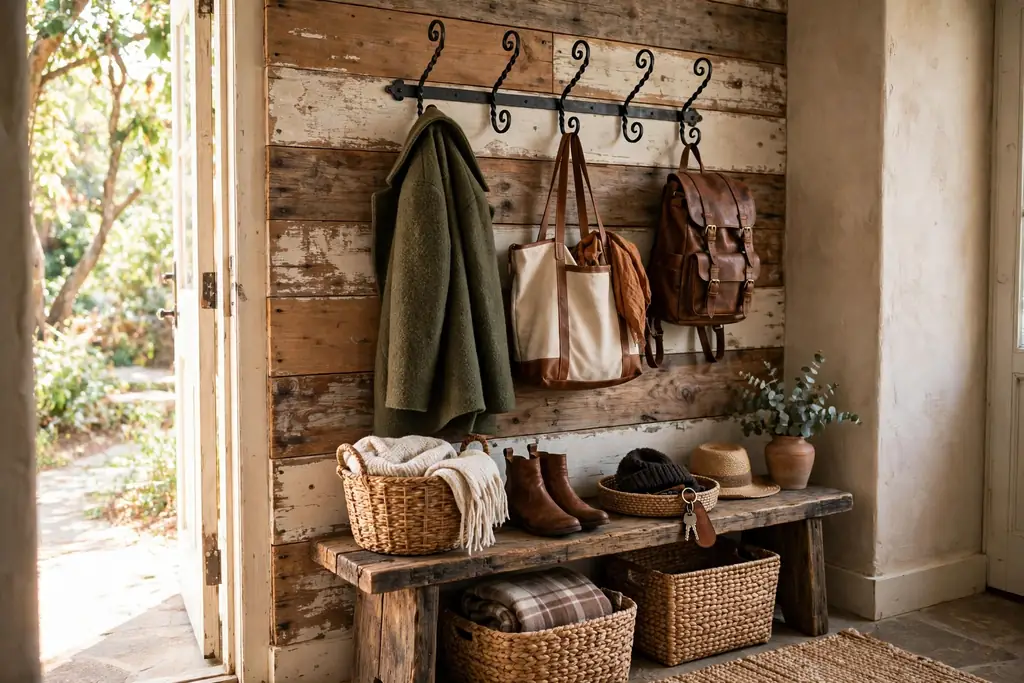
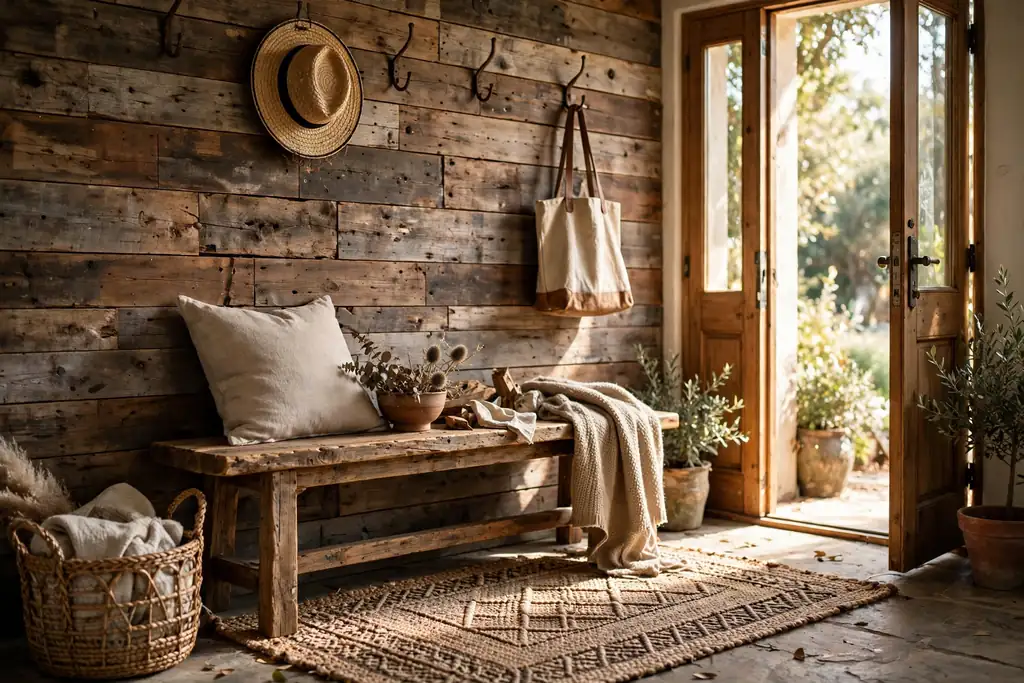
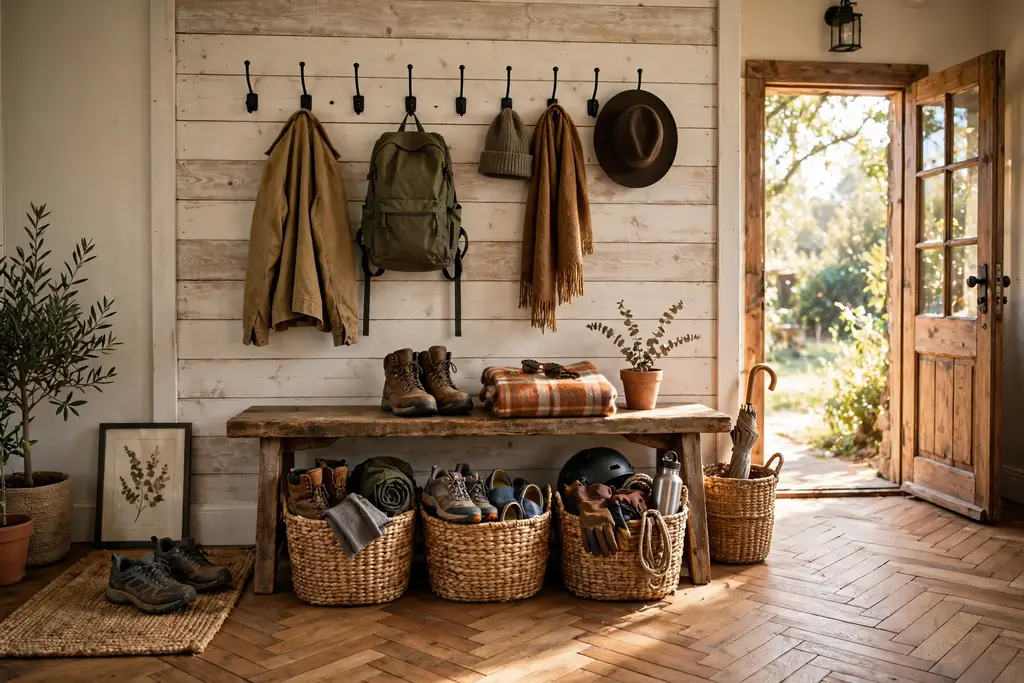
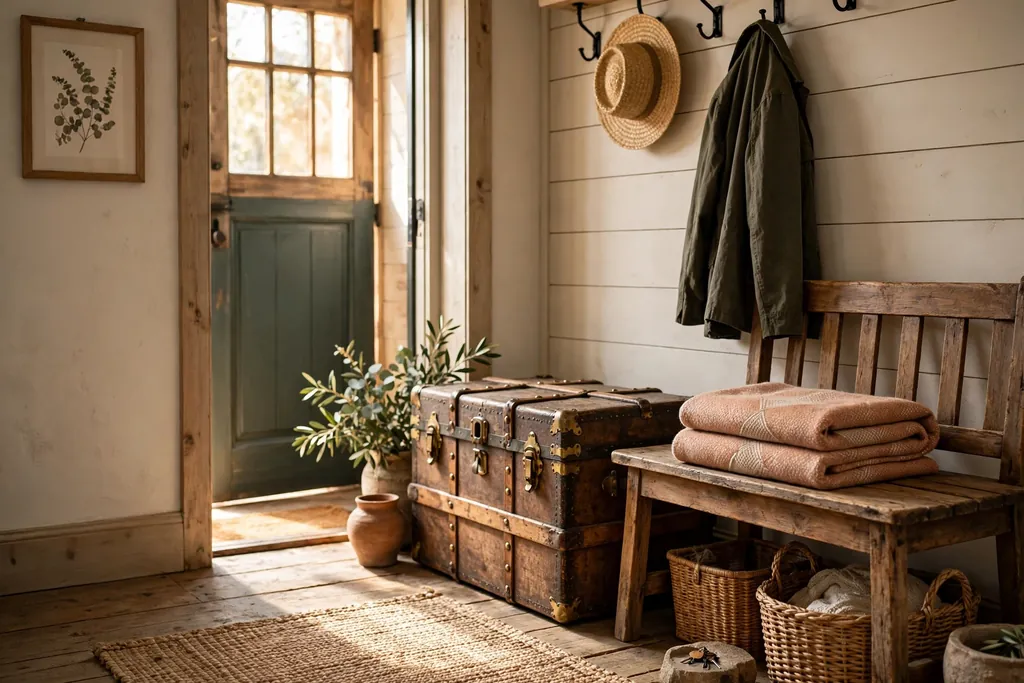
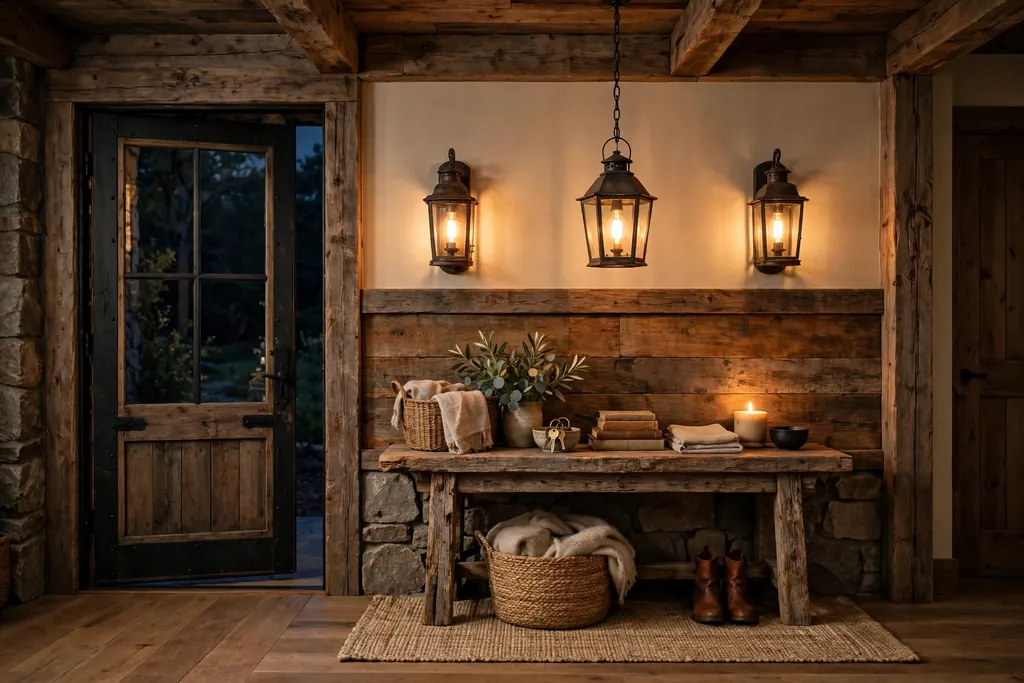
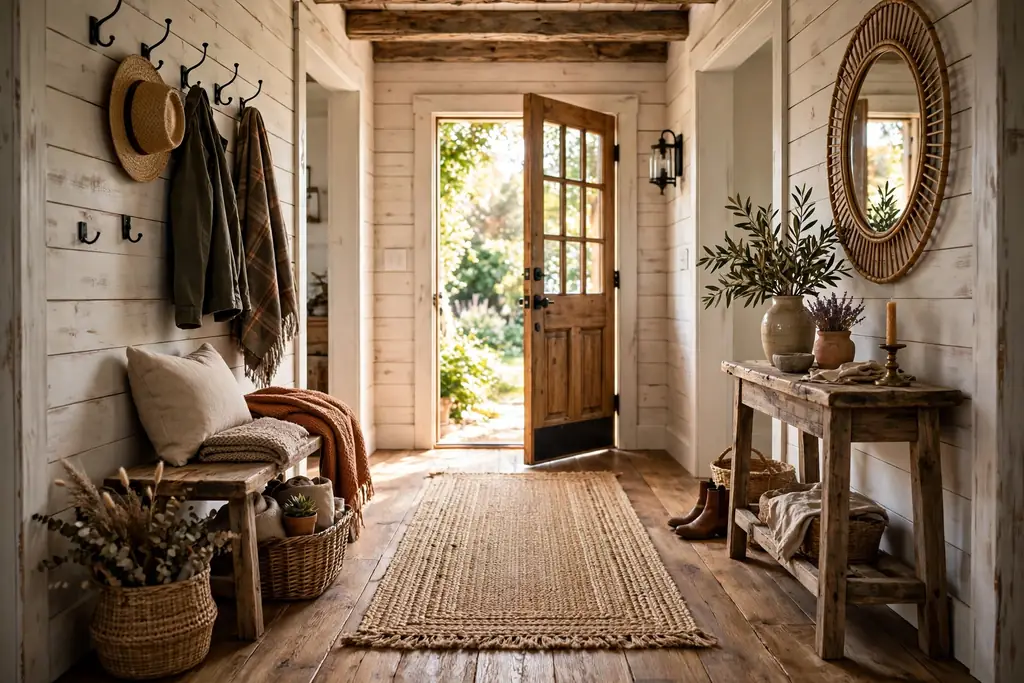
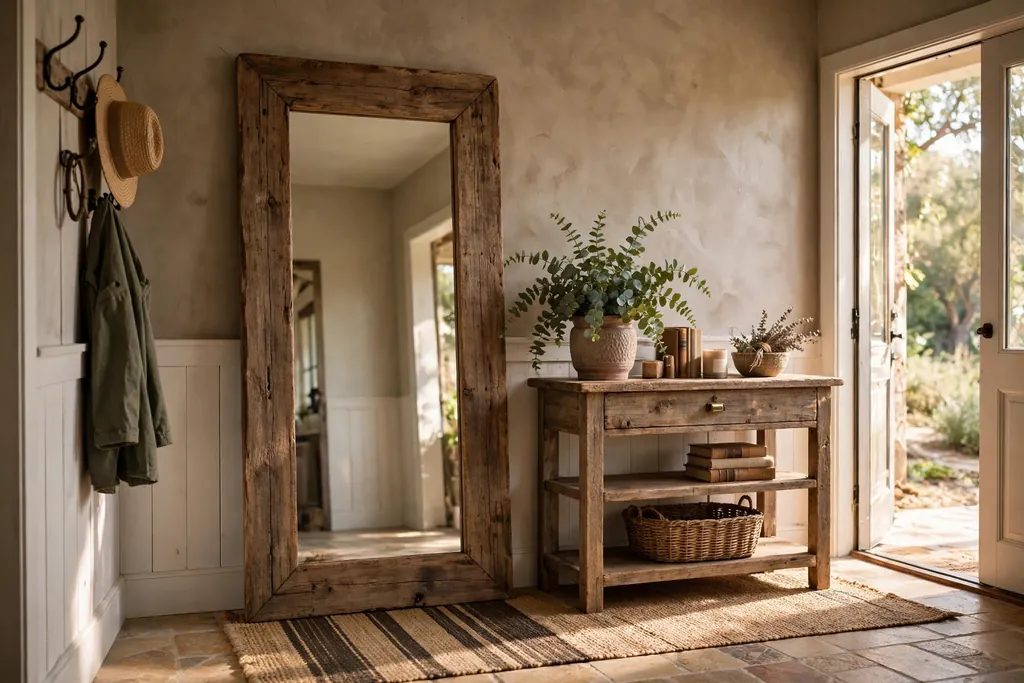
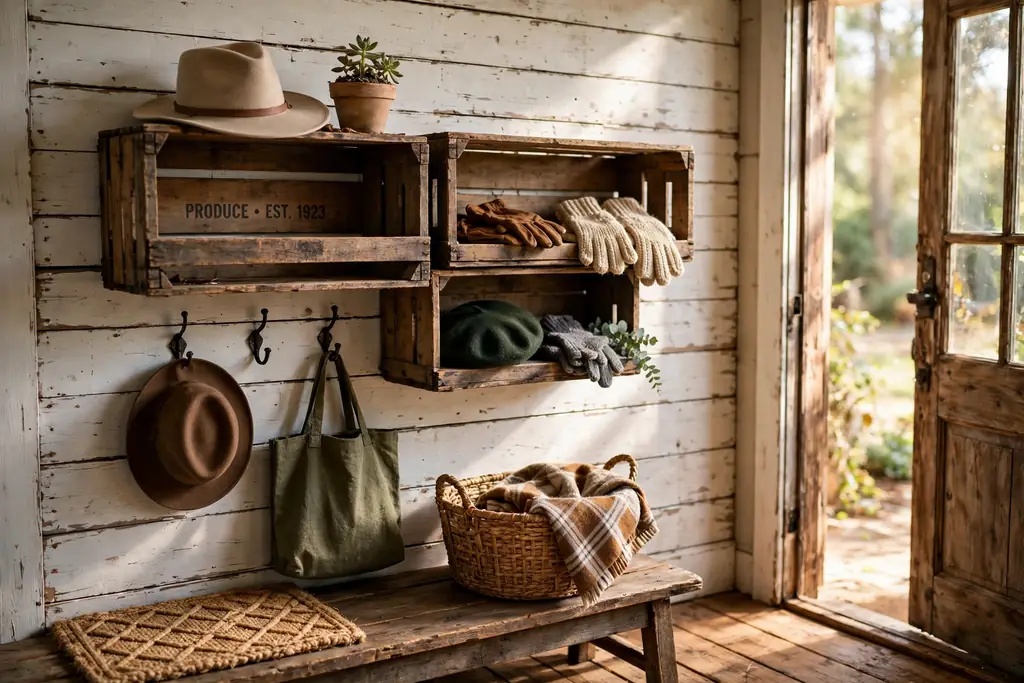
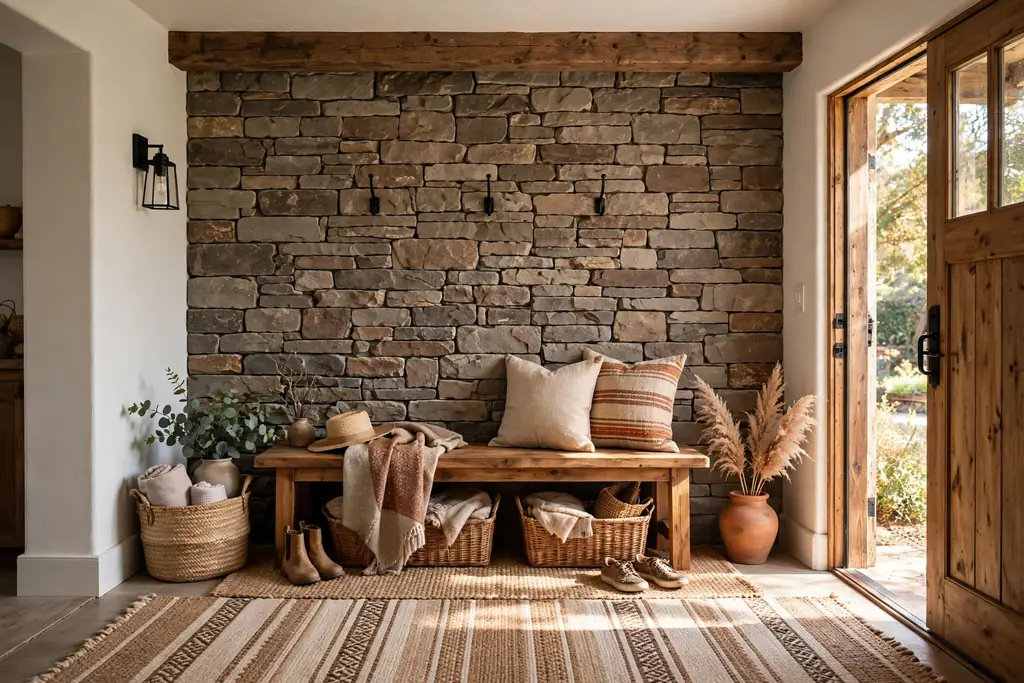
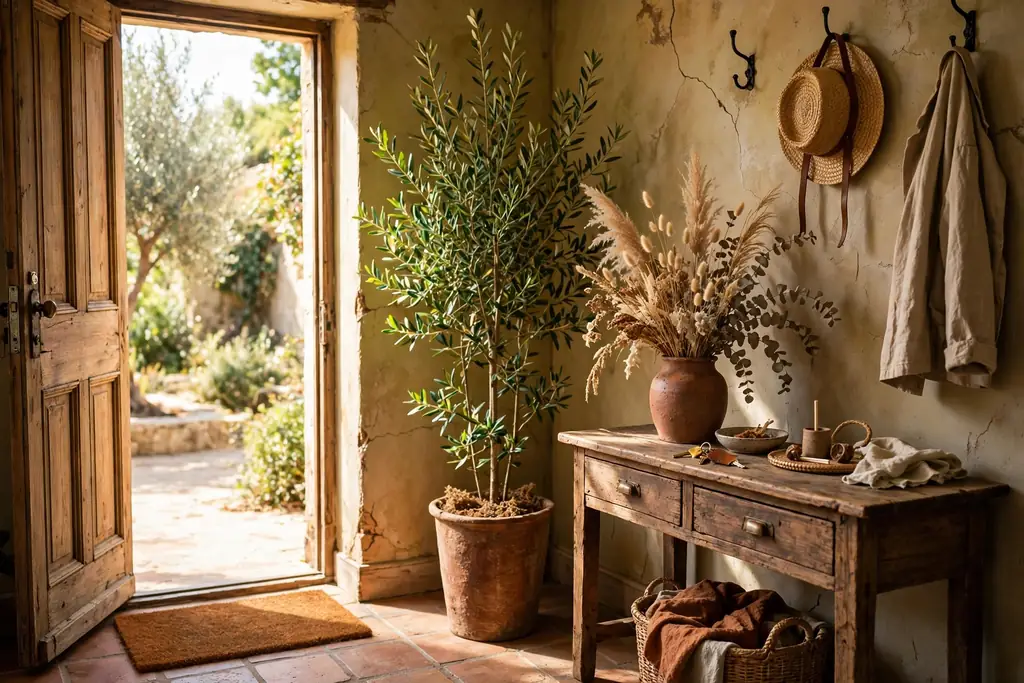
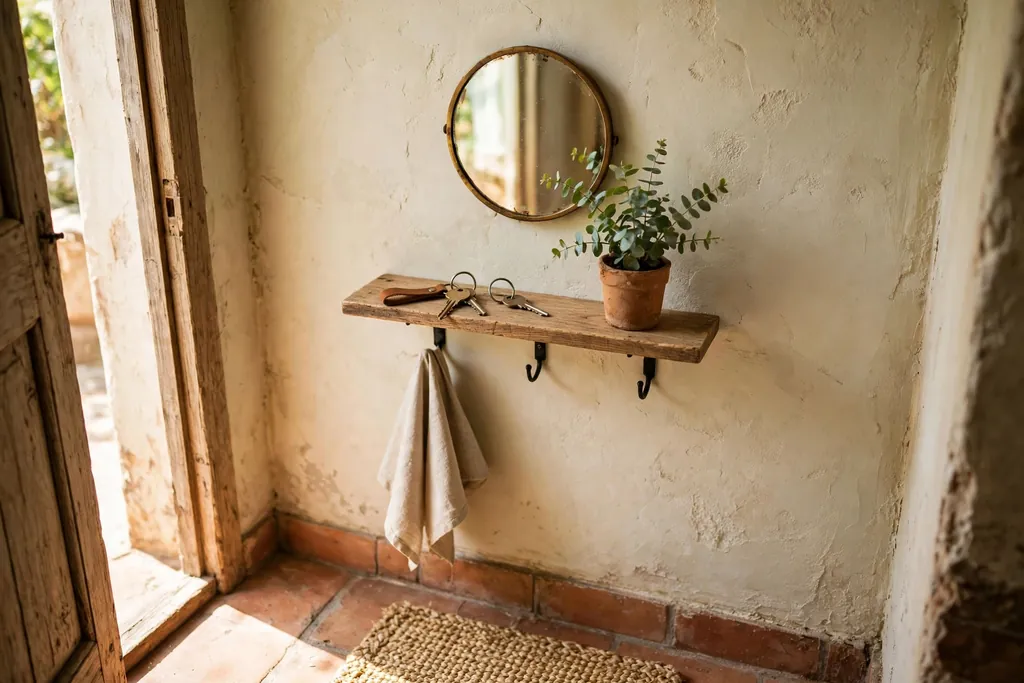
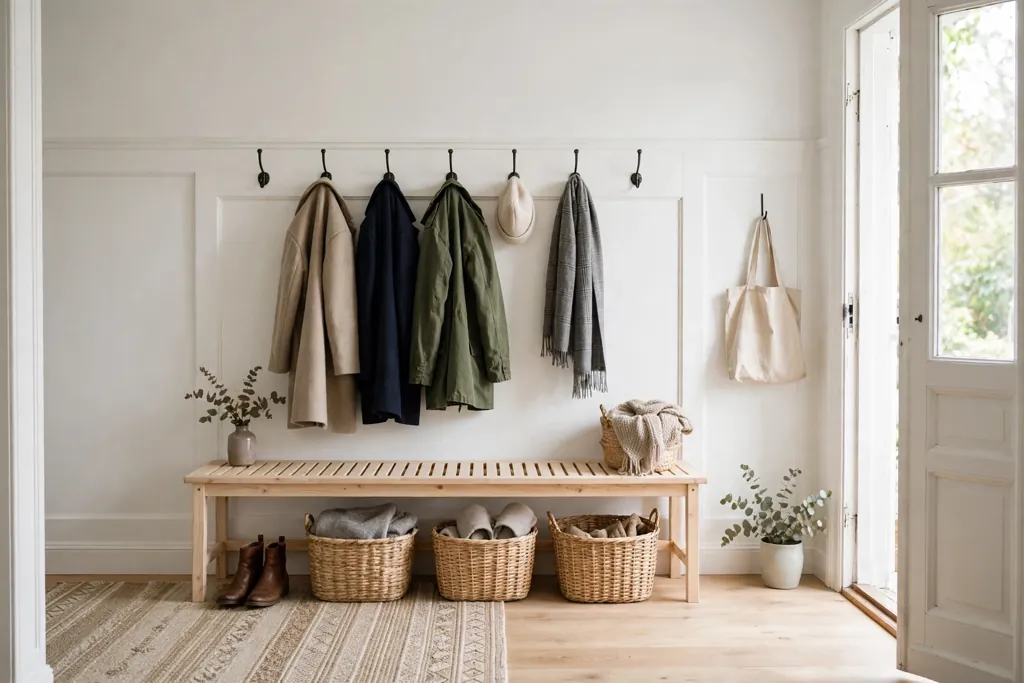
A rustic entryway sets a warm, relaxed tone the moment you walk in, and it does not need a large hall or a full remodel to work. Wood grain, woven texture, iron hardware, and soft light can shape a small apartment landing just as well as a wide farmhouse mudroom, as long as each piece has a clear job. These 22 rustic entryway ideas cover benches, hooks, storage, lighting, and wall detail for homes of every size, so you can start with one change and add more over time. Measure your wall and floor first, keep the walkway clear, and pick the idea that solves your most used spot at the door.
Key Takeaways
Start with one clear job at the door: a seat, a hook, a shoe spot, and a key spot cover most daily needs.
Repeat two or three materials, such as warm wood, black iron, and woven fiber, so small pieces read as one planned entry.
Keep the walkway clear by using wall space and shallow furniture, especially in a narrow entry or apartment landing.
Choose closed or basket storage for shoes and gear, and open storage only for items that stay tidy on view.
Use warm, low light at entry height, since harsh overhead light can make wood and stone look cold.
Add one strong rustic feature per entry, such as a bench, a barn door, or a plank wall, and keep nearby surfaces quiet.
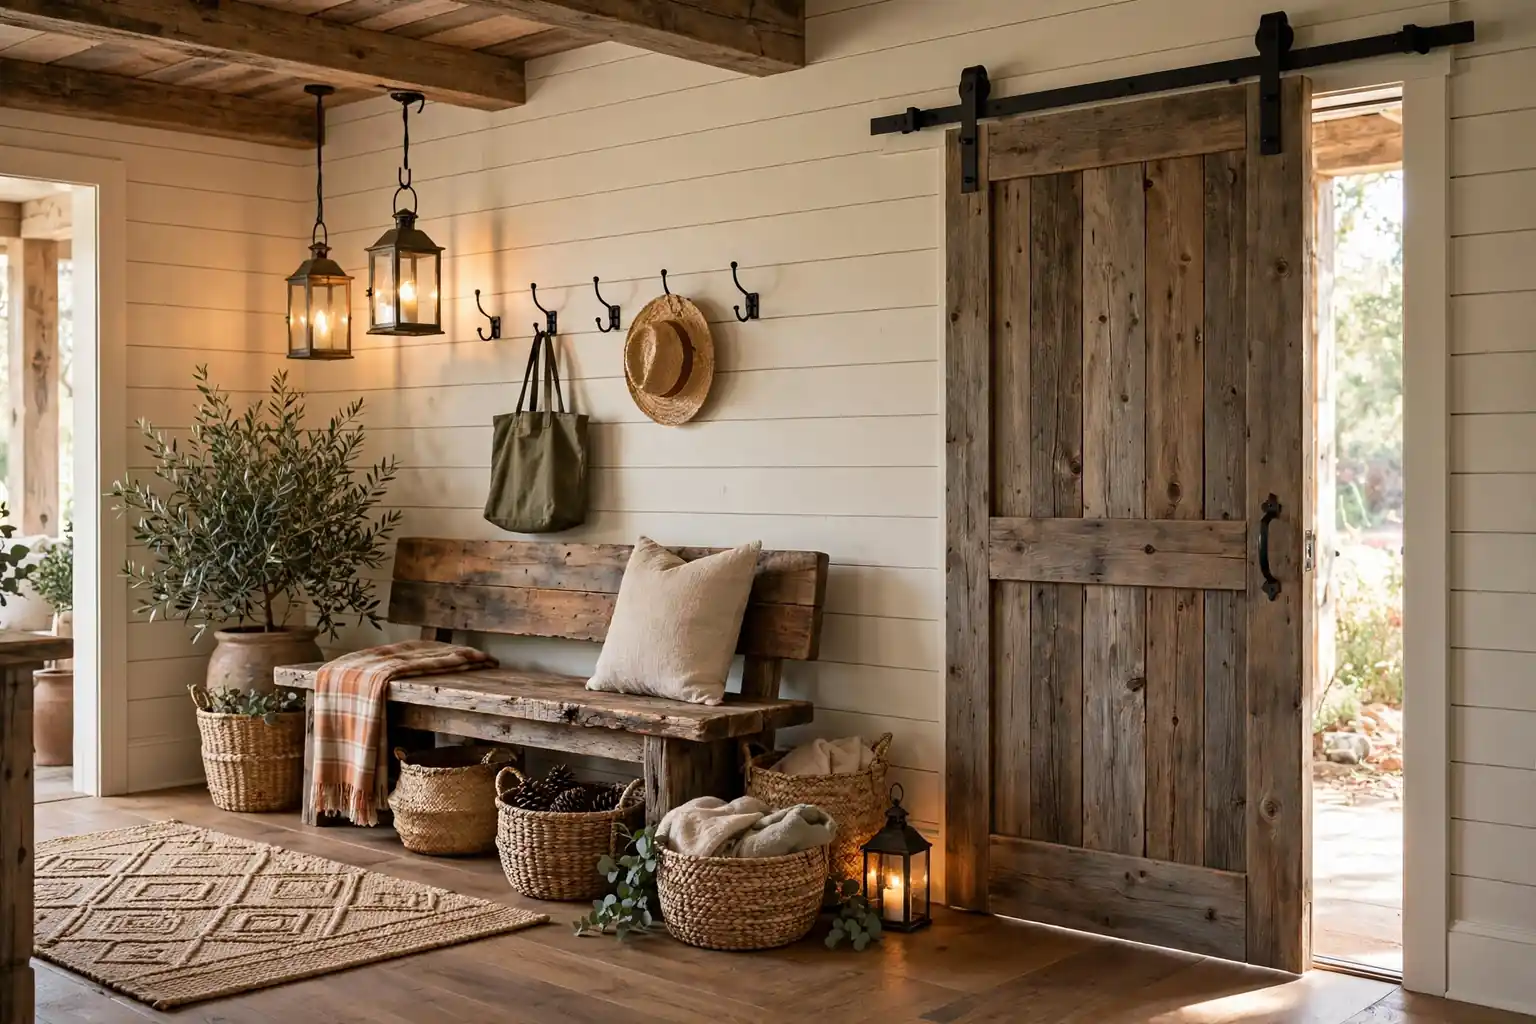
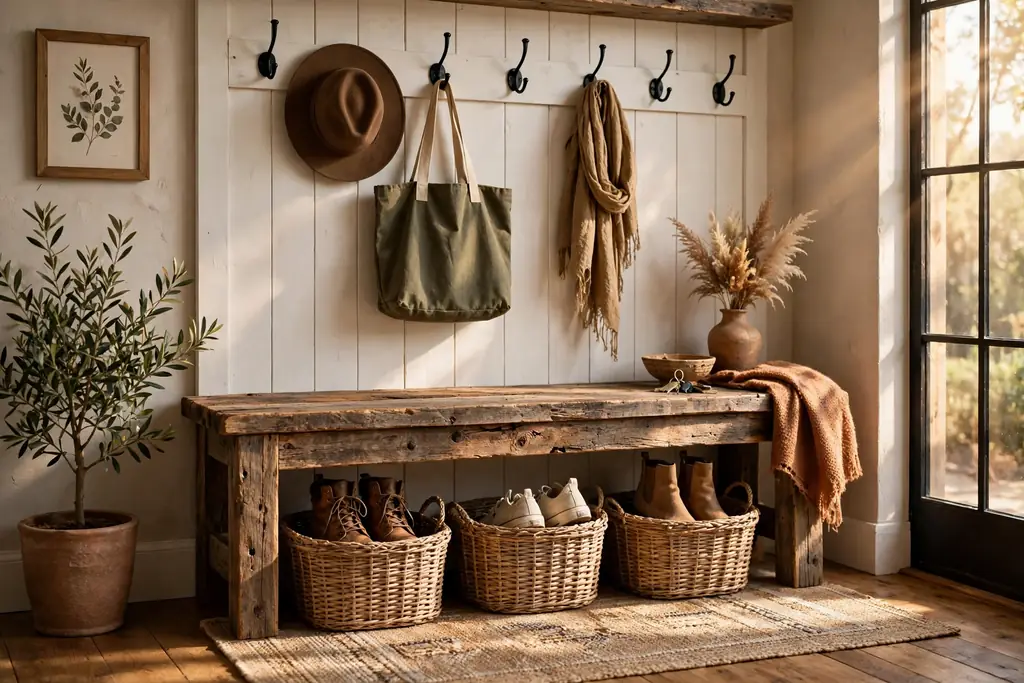
1. Set a Reclaimed Wood Bench With Shoe Storage Below
A reclaimed wood bench gives the entry a seat for putting shoes on and a sturdy base for baskets below. The aged grain brings rustic character at once, while the open space under the seat keeps shoes off the walkway. This suits a family entry, a farmhouse hall, or any home where shoes pile by the door each evening.
Keep the bench shallow enough to leave a clear path past it, and limit the baskets below to one pair of daily shoes per person. Choose a cushion in a washable cover for comfort, and wipe the bench and baskets often, since entry storage collects dirt fast. Anchor a tall bench to the wall if it could tip, and keep the top mostly clear so the bench stays ready to sit on.
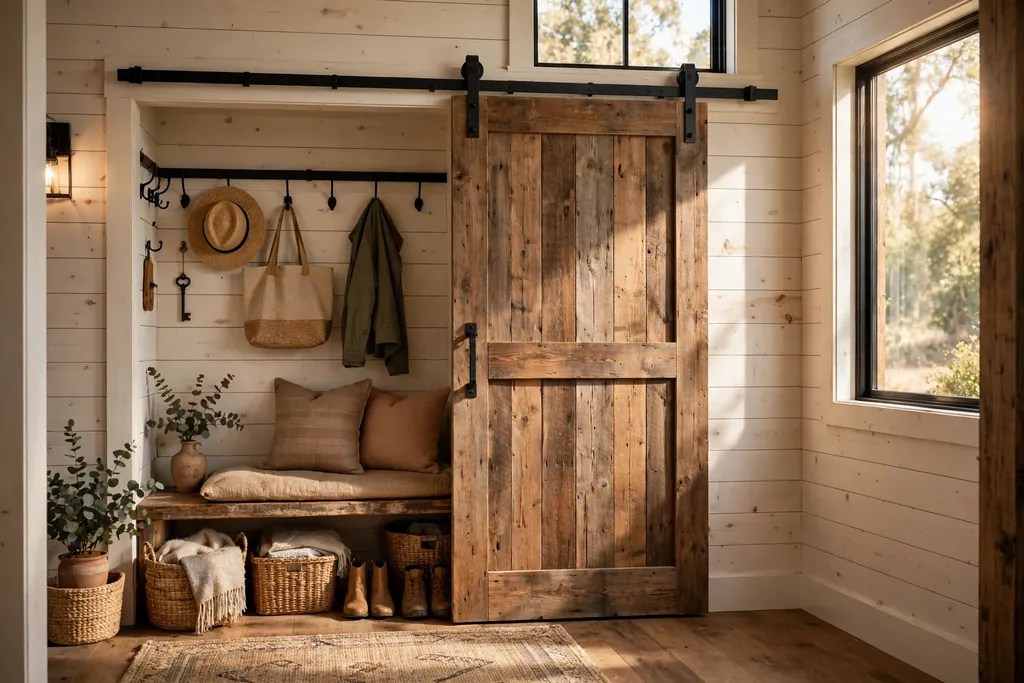
2. Hang a Sliding Barn Door on the Entry Closet
A sliding barn door in warm wood with black iron hardware turns a plain entry closet into a rustic feature and saves the swing space of a hinged door. This suits an entry where a standard door feels plain, or where floor space is tight beside a coat closet. The door also adds wood at a height that balances a bench or console below it.
Check that the wall above the opening can take the rail, and that the door can slide fully clear of the opening without hitting a light switch or a vent. Keep the door tone close to other wood in the entry, and use soft close hardware if the door will be used at night. Leave the wall beside the door mostly plain, so the door reads as a feature rather than one more busy surface.
3. Place a Live Edge Console Table as a Landing Spot
A live edge console table keeps one natural wood edge visible, so the table itself becomes a talking point in a rustic entry. The slab top shows grain and knots, while simple black metal legs keep the look grounded. Use it as a landing spot for keys, mail, and a small lamp, and keep the depth shallow so the walkway stays open.
Keep the top to three items at most: a tray or bowl for keys, one lamp or candle, and one small plant or vase. Seal the top as the maker advises, and use coasters under drinks, since a natural wood top shows rings. If the entry is narrow, choose a console no deeper than a dinner plate is wide, and check that it does not block a door swing.
4. Fix a Wrought Iron Peg Rail for Coats and Bags
A wrought iron peg rail along the entry wall gives coats, bags, and hats a fixed home without taking any floor space. The dark iron suits reclaimed wood and stone, and it reads as rustic even in a small, plain entry. Space the pegs wide enough that a coat on one peg does not cover the next.
Fix the rail into studs so it holds a wet coat and a heavy tote without pulling loose. Keep one peg free for guests, and move out of season coats to a closet so the rail never fills up completely. If you also need a bench, place the rail above it at a height that lets coats hang clear of the seat.
5. Add a Reclaimed Plank Wall Behind the Bench
A reclaimed plank wall behind a bench or console gives a rustic entry a clear focal point, even before you change the furniture. Mixed grain and soft tone variation add texture to a plain wall, and the wood suits a linen cushion, a leather bag, and an iron hook alike. Use the wall behind the main entry piece, and keep the other walls warm white so the wood stays the feature.
Check that the boards are clean, dry, and free of old nails before fixing them, and use fixings suited to your wall type. If a full wall feels like too much, try wood panels to picture rail height behind a low bench instead. Pair the wall with plain cushions and a simple rug, so the texture of the wood can show without competing with pattern.
6. Sort Shoes and Gear Into Woven Baskets
Woven baskets under a bench, on a low shelf, or beside the door turn loose shoes and gear into tidy, movable storage. The natural fiber softens wood and iron, and a basket can be carried to the closet when the season changes. This suits an entry with no closet, a rented home, or a busy household where each person needs one basket.
Give each person one basket and keep daily shoes only in the entry baskets, moving spare pairs to a closet. Choose baskets with handles for easy lifting, and line them if they will hold muddy boots. Label the baskets if more than one person shares the entry, and shake them out outside now and then, since woven fiber traps dust from the door.
7. Store Blankets and Spare Shoes in a Vintage Trunk
A vintage wooden trunk beside the door or at the end of a bench gives closed storage for blankets, spare shoes, or seasonal gear, while adding aged wood to the entry. This suits a home that needs storage but has no room for another cabinet, and it works as a seat in a larger entry if the lid is flat and sturdy. For a wider look at rustic rooms that use the same aged wood and warm palette, see these stylish rustic decor ideas.
Check the trunk inside and out before you use it, and air it well if it smells musty. Line the inside with a clean cloth if you store blankets, and keep the lid hinges in good order so it stays safe to open. Style the top with one folded throw only, so the trunk stays useful and easy to open.
8. Light the Entry With a Lantern Pendant or Wall Lanterns
Lanterns and warm wall lights give a rustic entry a low glow that ceiling lights alone cannot match. A lantern pendant over a console, or a pair of wall lanterns flanking a mirror, draws the eye up and makes wood grain look warm in the evening. This suits an entry with little daylight, or a hall that feels cold under a single bright ceiling fitting.
Use warm bulbs with a dimmer where you can, and choose a shade that spreads light along the walls rather than glaring into your eyes. Keep flames clear of curtains, coats, and paper, and use battery candles where real flames are not practical, such as a shelf near coats. If wiring a new fitting is not possible, a plug in wall lantern gives a similar glow with no new wiring.
9. Lay a Jute Runner to Mark the Path
A flatweave jute runner down the center of the entry floor marks the walking path and protects the floor from shoes and dirt. The natural fiber suits rustic wood and iron, and a runner gives a narrow entry a clear direction from the door into the home. A pattern or a bordered edge hides marks better than a solid pale color.
Choose a low pile runner with a nonslip backing, and measure around door swings before you buy. Leave a margin of bare floor on each side so the runner does not look squeezed against the walls. Shake it outside weekly and clean it when the season changes, since entry runners collect dirt faster than rugs in other rooms.
10. Hang a Large Wood Frame Mirror by the Door
A large mirror in a thick wood frame gives a last check before you leave and a sense of depth in a small entry. The wood frame repeats the bench or console tone, while the mirror bounces daylight from the door or a nearby window deeper into the space. This suits an entry with a blank wall and little daylight, or a narrow hall that needs to feel wider.
Check what the mirror reflects before you fix its position, since a mirror facing a cluttered corner doubles the clutter. Aim it toward a window, a plant, or a calm stretch of wall where possible. Hang it so the center sits at eye level, and secure a leaning mirror at the top so it cannot slide.
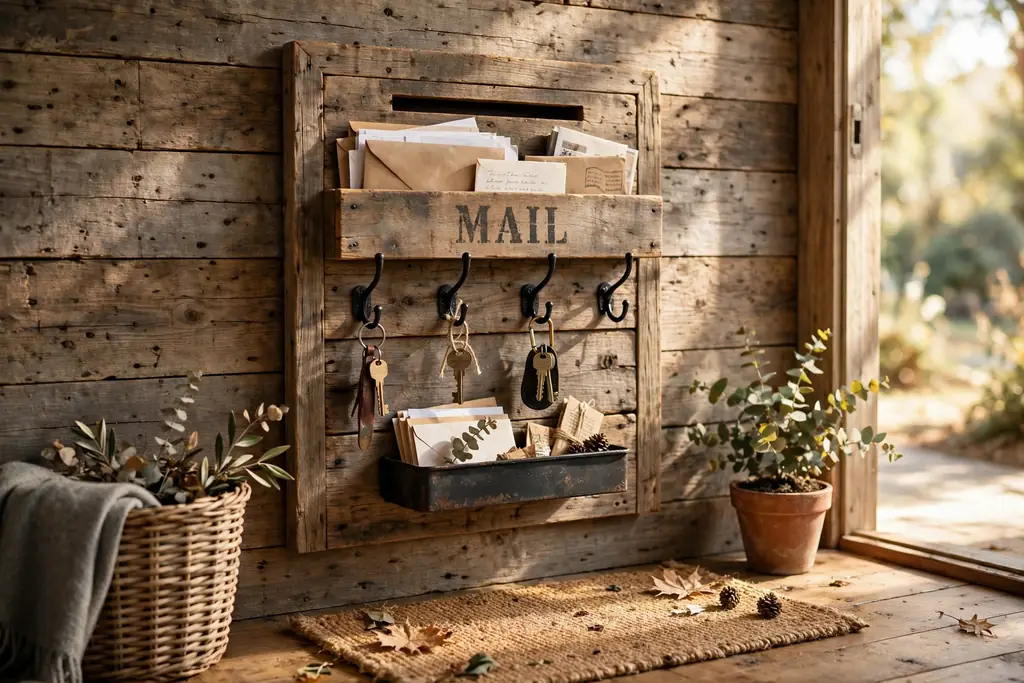
11. Build a Wood Key and Mail Station
A small wall mounted station in reclaimed wood, with iron hooks for keys, a slot or tray for mail, and a small note holder, stops keys and letters from landing on the first table inside the door. This suits a household where mail and keys tend to drift into the living room, and it works in even a very narrow entry, since it uses wall space only.
Fix the station at hand height near the door you use most, and keep it to the items you handle daily. Sort mail at the station each evening, and move bills and letters to their proper place the same day, so the tray does not grow into a pile. Keep one hook free for a dog lead or lanyard, so the station covers the whole daily exit routine.
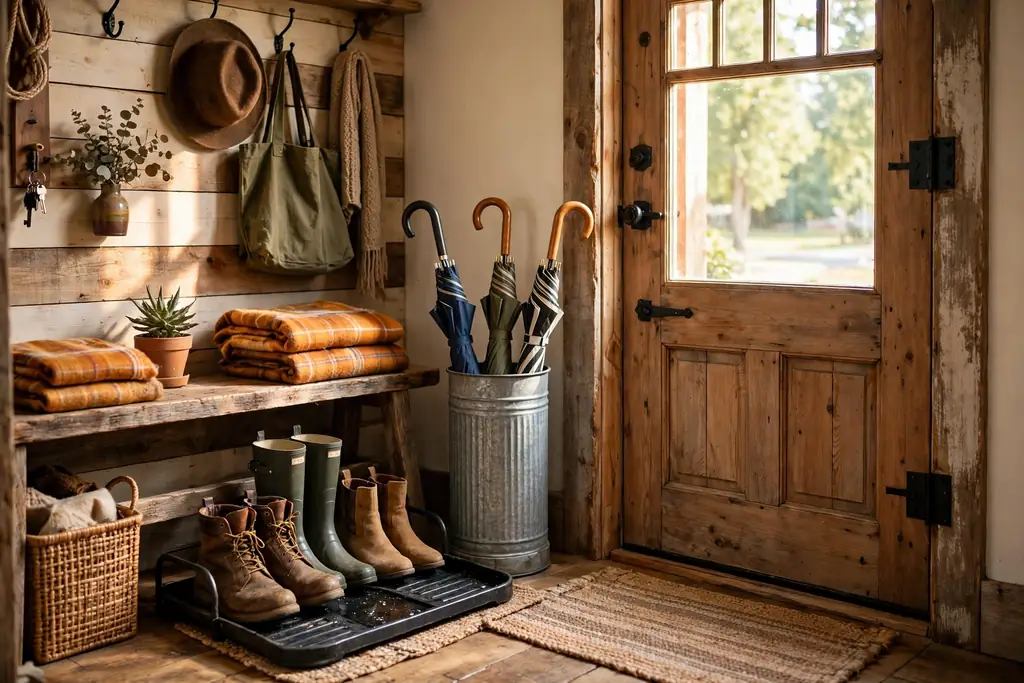
12. Catch Mud With a Boot Tray and a Galvanized Stand
A boot tray by the door, paired with a galvanized metal stand for umbrellas and walking sticks, keeps mud and rain gear in one contained spot. The metal suits a rustic entry, and the tray protects wood floors from wet boots in winter. This suits a home with a garden, a dog, or children who come in with muddy shoes.
Choose a tray with a raised edge and a surface that drains or wipes clean, and empty it often so water does not sit. Keep the umbrella stand near the door but clear of the swing, and wipe the metal dry after wet days to slow rust. In summer, the same tray can hold sandals and the stand can hold a walking stick or a rolled picnic blanket.
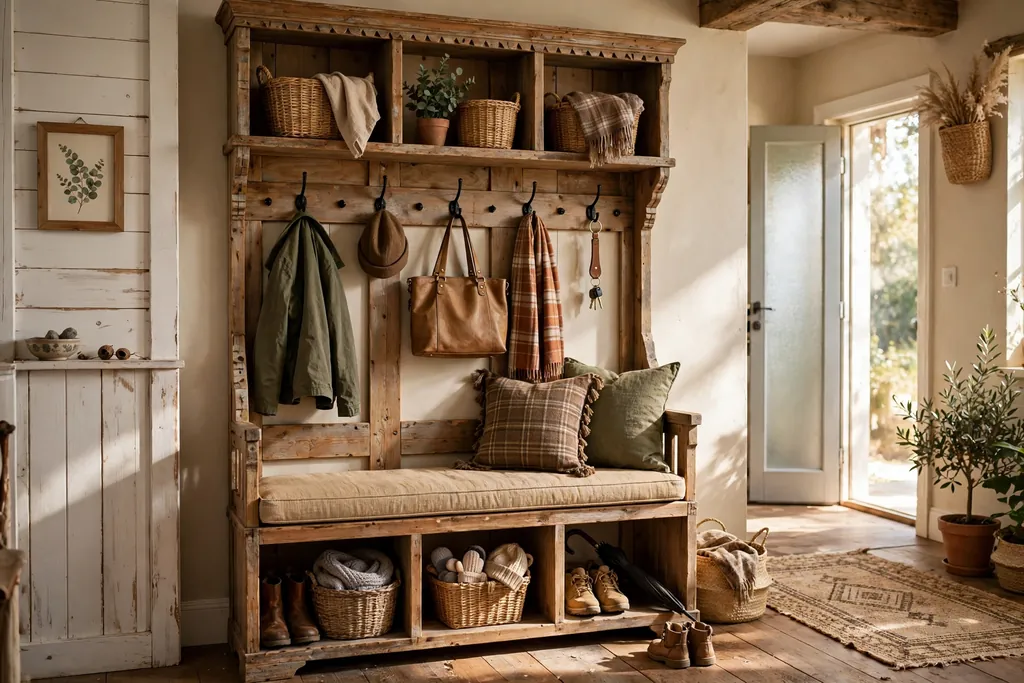
13. Build an Open Cubby Hall Tree for the Whole Household
An open cubby hall tree on one entry wall, with a bench seat at the bottom, hooks above, and a cubby or shelf at the top for each person, gives every household member one column for coats, bags, and shoes. This stops shared storage from turning into a mixed pile, and the wood frame gives a wide entry a clear rustic structure. It suits a family entry with a wide enough wall for two or three columns.
Keep each column to one person and label the top cubby if more than one person uses the unit. Put daily items at easy reach, seasonal items up high, and rarely used pieces out of the main flow. Anchor the unit to the wall following the maker instructions, since a tall freestanding unit can tip.
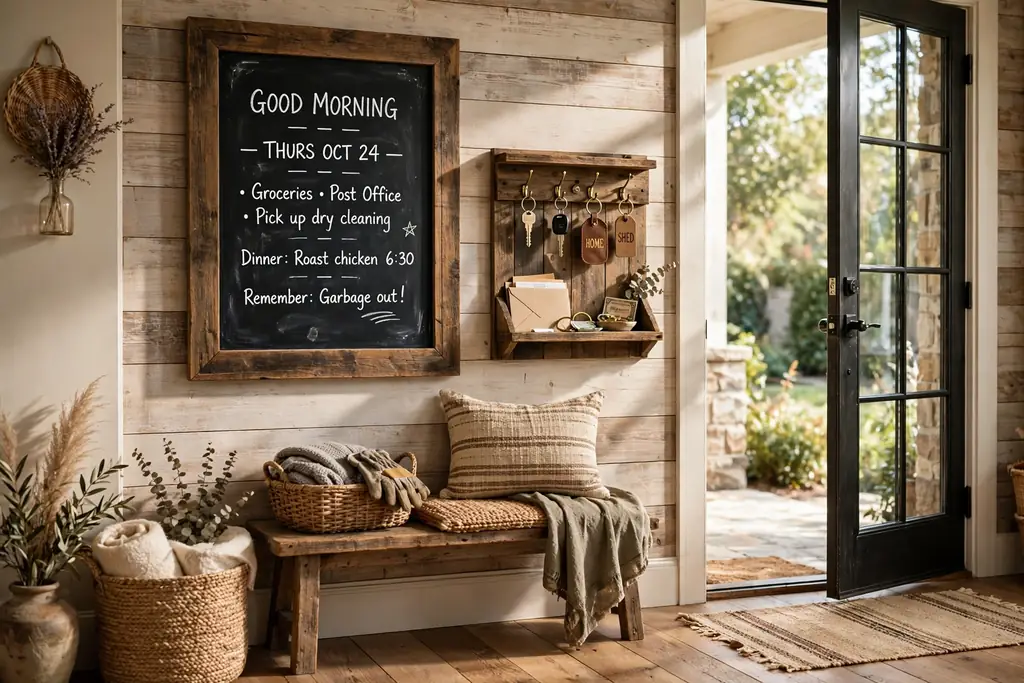
14. Add a Farmhouse Chalkboard for Notes and Reminders
A framed chalkboard or a painted message board in a wood frame gives the entry a place for reminders, shopping notes, and a welcome message, without adding another piece of furniture. The dark board contrasts well with warm wood and pale walls, and it can be wiped clean each week. This suits a family entry, a shared house, or a home where notes tend to pile on the console.
Hang the board at eye level near the key station, and keep the notes short, so the board stays useful rather than crowded. Use chalk markers for a cleaner look, and wipe the board fully once a week so old notes do not linger. If the entry is small, choose a board no wider than the console below it, so the pair reads as one zone.
15. Stack Wooden Crates as Open Wall Shelves
Wooden crates fixed to the entry wall as open shelves give display and storage in a rustic, low cost form. Use one or two crates for hats, gloves, small plants, and a candle, and leave gaps between groups so the shelves do not look crowded. This suits a rented home or a small entry, since crates are light, cheap to replace, and easy to move.
Fix the crates into studs or use fixings rated for your wall type and the weight you plan to hold. Put heavier items low and lighter items high, and keep the crate count low in a small entry, since open shelves add visual weight. If the entry already has a plank wall, keep the crates on a plain wall instead, so the wood does not compete with itself.
16. Warm a Plain Wall With a Stone Veneer Feature
A stone veneer feature wall behind a bench or beside the front door adds rough, natural texture that pairs well with warm wood and iron. The stone gives the entry a sense of age and weight, even in a newer home, and it suits a wide entry or a mudroom wall that needs one strong feature. Keep the rest of the entry simple, so the stone stays the focus.
Use a veneer made for interior walls, and follow the maker instructions for fixing and sealing, since real stone is heavy and porous. Keep the stone to one wall or one section, and pair it with plain cushions and a simple runner, so the texture can show. Wipe the stone now and then, since entry walls collect dust from the door.
17. Soften the Corner With Dried Stems and a Potted Plant
One tall plant in a corner, plus a vase of dried stems on the console, adds natural texture to a hard surfaced rustic entry. Plants soften paint, wood, and metal, and dried stems need no watering, which suits a dark corner or a household that travels often. This suits an entry with some daylight, even if it is only from a glazed door or a nearby window.
Choose a plant that suits the light you actually have, such as a snake plant or pothos for low light, and keep the pot in a tray so watering does not mark the floor. Use one woven basket for the plant pot, in the same natural tone as the bench baskets, so the corner reads as planned. Wipe leaves often, since entry plants collect dust from the door.
18. Fit a Slim Shelf and Mirror Combo for a Tiny Entry
A slim wall shelf paired with a small mirror gives a tiny entry a landing spot, a last check, and a display ledge, all in the depth of one shelf. The shelf holds keys and a small plant, while the mirror above it draws the eye up and makes the landing feel taller. This suits an apartment landing, a hallway with no floor space for a console, or a rented home where one shelf needs only a few fixings.
Keep the shelf shallow and the items light, since a loaded shelf above a walkway takes knocks from passing bags. Place the largest item at the back and smaller items in front, and leave a gap at each end so the shelf does not run into a door frame. Dust the shelf weekly, since entry shelves collect dust from the door.
19. Add a Wood Slice Side Table Beside the Bench
A wood slice side table, made from a thick round of timber on short iron legs, gives a rustic entry a small surface for a lamp, a book, or a bowl for keys. The round shape breaks up the straight lines of a bench and console, and the bark edge or live edge adds natural detail at a small scale. This suits an entry corner that is too small for a full console, or a wide entry that needs a second surface.
Seal the top as the maker advises, and keep the table top mostly clear, with one lamp or one bowl, so the wood slice stays visible. Check that the legs sit level on the floor, since a wobbly side table beside a bench gets knocked often. If the entry already has a live edge console, use a plain wood slice here instead, so the two pieces do not compete.
20. Run a Rope and Iron Rail for Coats in a Narrow Hall
A rope rail with iron brackets, or a simple iron rail fixed along a narrow hall wall, gives coats a hanging spot where a hall tree would block the path. The rope adds a rustic, coastal touch, while the iron brackets keep the rail sturdy. This suits a long, narrow entry, a hallway with no closet, or a home where coats need to hang in a line rather than on a crowded rail.
Fix the rail into studs at a height that lets coats hang clear of the floor, and space the hooks or rings wide enough that coats do not bunch. Keep daily coats only on the rail, and move spare coats to a closet, so the hall never fills up completely. For more small entry ideas that use the same wall first approach, see these DIY entryway makeover ideas.
21. Create a Rotating Seasonal Display on the Console
One small seasonal display spot, such as a wreath on the door, a vase of seasonal stems on the console, or a pinecone bowl in winter, lets a rustic entry feel fresh through the year without redecorating the whole space. A single display spot also gives you a reason to clear and reset the console each season. This suits a reader who likes to change decor often but wants to keep the rest of the entry steady.
Keep the display to one change at a time, such as stems in spring and a wreath in winter, and store the out of season pieces in one labeled box. Use the seasonal swap as a chance to wipe the console, check hooks and baskets, and move out items that no longer belong at the door. Avoid adding a second display spot, since two seasonal corners can make a small entry feel crowded.
22. Turn a Closet Alcove Into a Mini Mudroom Nook
A shallow closet alcove near the front door can become a mini mudroom nook with a low bench, wall hooks, and one shelf above, even in a small apartment. Removing the closet door, where the home allows it, opens the nook to the entry and turns wasted closet depth into daily storage. This suits a small home with a hall closet that holds little, or an apartment where a freestanding hall tree would block the path.
Keep the nook to one bench, one row of hooks, and one shelf, so the small space stays usable rather than crammed. Put daily shoes under the bench in one basket, daily coats on the hooks, and spare items on the high shelf. Measure the alcove depth first, since a bench that is too deep will block the hall, and keep the walkway past the nook fully clear.
Conclusion
A good rustic entryway is less about buying more pieces and more about giving the door zone a clear job. Pick the idea that solves your biggest daily annoyance first, whether that is shoes by the door, coats with no home, or a dark, bare wall. Measure the space, keep the walkway clear, and repeat one wood tone and one iron finish so the result reads as planned. Add one idea at a time, live with it for a few days, and let the entry grow into a warm, welcoming start to the home.
If you found an idea here that suits your home, save this post on Pinterest so you can find it again when you are ready to start. Pin the look you like most, whether it is a reclaimed wood bench, a barn door, or a slim shelf and mirror combo, and use it as a guide for your next weekend refresh.
FAQs
How do I make a small entryway look rustic without crowding it?
Start with wall storage and one shallow piece, such as a peg rail, a slim shelf, and a jute runner. Repeat one wood tone and one iron finish, and keep the floor mostly clear, so the rustic materials show without blocking the path. Add a bench only if the walkway still has room to pass comfortably after it is in place.
What wood works best for a rustic entryway?
Reclaimed pine, warm oak, and weathered barn wood all suit a rustic entry, since their grain and tone variation carry the look. Pick one main wood tone and repeat it in at least two places, such as a bench and a mirror frame, so the mix reads as planned. Seal the wood with a matte finish to reduce dust and protect it from wet coats and muddy shoes.
How do I keep a rustic entryway tidy with children or pets?
Give every person one hook, one basket, and one shoe spot, and keep daily items only at the door. Move spare coats, out of season gear, and extra shoes to a closet, and build a short evening reset into the routine, so baskets and hooks never fill past their planned size. A boot tray by the door also contains mud before it spreads into the home.
Can I create a rustic entryway in a rented home?
Yes. Use freestanding pieces, woven baskets, a leaning mirror, a boot tray, and a runner, all of which move with you. For wall storage, use a small number of well placed fixings, or adhesive hooks for light items, and check your lease and wall type first. A vintage trunk or a wood slice table adds rustic character with no wall changes at all.
How much should I spend on a rustic entryway refresh?
Start with the spot that causes the most daily friction, and spend first on storage that solves it, such as a bench, a rail, or baskets. Paint, a runner, and a mirror often change the whole entry for less than a new furniture piece, so try those before a larger purchase. Add one idea at a time, so you can see what the entry still needs before buying more.
How do I keep wood and iron in a rustic entryway in good condition?
Wipe wood with a dry or lightly damp cloth, and reseal tops that take wet items, such as a console near the door. Wipe iron hooks and rails dry after wet days to slow rust, and keep baskets shaken out and aired. Check wall fixings now and then, since heavy coats and bags can loosen a rail over time.
Pink and grey work well together because each color fixes the other’s weak spot. Pink adds warmth and softness, while grey keeps the room grounded and calm, so the pair suits both a restful bedroom and a lived in living room. These 29 pink and grey room ideas cover bedding, walls, seating, rugs, curtains, storage, art, and lighting, with ideas for bedrooms first and living rooms second, plus one idea for carrying the palette between rooms. Start with the largest surface in the room, decide whether pink or grey leads, then repeat the second color in two or three smaller places until the room feels settled.
Key Takeaways
Let one color lead in each room: grey led rooms feel calmer, while pink led rooms feel warmer, and equal amounts of both can look unsettled.
Repeat each color in at least three places, such as bedding, curtains, and art, or sofa, rug, and cushions, so the pairing looks planned.
Keep the pink tones close together, such as blush and dusty rose, rather than mixing pale pink, hot pink, and coral in one room.
Use warm grey rather than cold blue grey beside blush pink, since warm grey sits more comfortably with pink in both daylight and lamplight.
Add one natural material, such as light wood, brass, or woven texture, so pink and grey alone do not feel flat.
In a small room, keep the large surfaces pale and put the stronger pink on cushions, art, or one chair that is easy to change.
1. Let Grey Lead in the Bedroom With Blush Bedding Layers
Start with grey as the main bedroom color and let blush pink do the warming work on the bed. Grey walls or a grey upholstered bed frame set a calm base, then blush linen sheets, a pale pink coverlet, and one dusty rose cushion give the bed a soft top layer. This suits a bedroom that should feel restful at night, since the pink stays on the bed rather than on every wall.
Keep the rest of the room quiet: grey curtains, a pale rug, and plain nightstands, so the bed reads as the one pink note. If the room feels too cool in the morning, add a second pink cushion or a folded pink throw at the foot of the bed, rather than repainting a wall. Wash the pink bedding on a gentle cycle, since pale pink fades faster than grey under strong heat.
2. Paint a Blush Accent Wall Behind a Grey Bed
Paint the wall behind the bed blush pink and keep the other three walls warm grey or soft white for a bedroom with one clear pink feature. The pink wall frames the bed and gives the room warmth from the door, while the grey side walls keep the pink from feeling too sweet. This works best on the bed wall only, in a room with a plain headboard and plain bedding.
Test a large swatch on the bed wall and look at it in morning and evening light before you commit, since pink shifts a lot through the day. Keep the ceiling white and the trim crisp, so the pink has a clean edge. If you rent and cannot paint, hang a large blush fabric panel or a tall blush headboard on the same wall for a similar block of color that comes down cleanly.
3. Pair a Grey Upholstered Headboard With Pink Velvet Cushions
Choose a grey upholstered headboard in a tall, simple shape, then add pink velvet cushions in two tones, such as blush and dusty rose, for texture at bed height. The grey headboard anchors the bed, while the velvet catches lamplight in the evening and makes the bed look dressed without a full bedding change. This suits a bedroom where the furniture is plain and the bed needs one considered feature.
Keep the duvet cover plain in white, cream, or pale grey, so the cushions stand out, and limit the cushion count to three or four on a double bed so there is still room to sit. Vacuum the headboard fabric gently now and then, since grey fabric shows dust in lamplight. For more pink bedroom styling, see these pink bedroom decor ideas.
4. Use a Two Tone Bed: Grey Duvet, Pink Throw, Pink Cushion
Dress the bed in two clear tones by keeping the duvet grey and adding pink only in a throw and one or two cushions. A mid grey duvet cover gives the bed weight, a blush knit throw folded across the lower half adds warmth, and a single dusty rose cushion ties the throw to the pillows. This is the easiest pink and grey bed to live with, since only the throw and cushions need changing when you want a new look.
Choose a throw long enough to drape over both sides of the bed, so it looks settled rather than perched. Keep the pillowcases plain in white or pale grey, and keep the throw within reach at night, since a throw that lives in a basket rarely gets used. This pairing suits a shared bedroom, since grey keeps the bed neutral and pink adds softness without taking over.
5. Refresh a Grey Dresser With Pink Knobs and a Pink Tray
Give a plain grey dresser new life by swapping its knobs for pink ceramic or glass knobs and adding a small pink tray on top for perfume, a watch, or a candle. The knobs add pink at hand height, where you see it every day, while the tray groups small items so the dresser top stays tidy. This suits a bedroom with tired grey furniture that is sound but plain.
Measure the existing knob fittings before buying, since hole spacing varies, and keep the knob style the same across all drawers so the change looks deliberate. Keep the tray to one color family, such as blush or dusty rose, and leave most of the dresser top clear, so the pink details stay visible. If the dresser is dark charcoal, choose a deeper rose knob so the pink shows clearly against the dark paint.
6. Hang Pink Curtains With a Grey Blackout Layer in the Bedroom
Hang blush pink curtains over a grey blackout layer in the bedroom for soft color by day and proper darkness at night. The pink outer curtains give the window warmth, while the grey lining or a separate grey blackout panel behind them blocks morning light and adds a second grey note at window height. This suits a bedroom where you sleep past sunrise but still want the window to look soft during the day.
Hang the rod close to the ceiling and wider than the frame, so the panels stack clear of the glass when open and the window looks taller. Choose a linen look pink in pale blush, rather than a bright pink, so the curtains read as soft in daylight. Wash the pink panels as advised on the label, since pale pink shows dust sooner than a heavier fabric.
7. Layer a Pink Runner Rug Beside a Grey Bed
Lay a narrow pink rug or runner along one side of a grey bed, over a larger pale grey rug, to warm the floor where bare feet land in the morning. The grey base rug sets the size of the bed zone, while the pink runner adds color at floor level without covering the whole room. This suits a bedroom with wood or laminate floors, and it works well when the bed sits against one wall and only one side is used.
Keep the base rug large enough to extend beyond each side of the bed, and use a rug pad under both layers so nothing slips. Choose a low pile pink runner for easy cleaning near the door swing, and keep the runner pattern plain if the bedding already carries pattern. Shake the runner outside when you can, and vacuum the base rug with a brush head.
8. Build a Pink and Grey Gallery Wall Above the Bed
Hang a gallery wall of pink and grey prints above the bed for art that carries both colors at once, without painting a wall. Mix frame sizes, but keep one frame color repeated through the group, such as white, light wood, or black, so the arrangement looks planned. Center the group above the bed, and keep its outer edges inside the width of the bed.
Choose prints with different amounts of pink: one mainly pink, one mainly grey, and one with both, so the wall has variety without clashing. Start with three or four pieces and add over time, rather than filling the wall in one go. Picture ledges are a good option for renters, since they let you swap prints without new holes each time. Hang the center of the group at eye level when you stand back from the bed.
9. Set Grey Nightstands With Pink Table Lamps
Place matching pink table lamps on grey nightstands for evening light that warms the whole pink and grey scheme. A pink shade, or a warm bulb behind a blush shade, gives a soft glow that flatters both colors after dark, while the grey nightstands keep the bedside grounded. This suits any bedroom, since it needs no paint or tools, and it works whether the bed itself is grey or pink.
Match the two lamp shades if the bed has two nightstands, so neither side looks like an afterthought, and keep the shade size in proportion to the nightstand. Place each lamp toward the back of the surface, so books and a glass of water still fit. Dust fabric shades with a soft brush, since pink shades show dust in lamplight, and use warm white bulbs rather than cool white, which can make pink look harsh.
10. Style a Pink Dressing Corner With a Grey Stool
Set up a small dressing corner with a pink chair or stool beside a grey desk or console, a mirror, and a pink tray for daily items. The pink seat carries the scheme to a second zone of the bedroom, while the grey table keeps the corner calm and practical. This suits a bedroom with a spare wall near a window, where daylight helps for getting ready.
Keep the tabletop to three groups at most: a mirror, a tray for daily items, and one small decor piece, and store the rest in a drawer or a basket beneath the table. Choose a stool with a washable cover if it will be used daily, since pink fabric near a dressing table sees makeup and hair products. Wipe the mirror weekly, since a dressing mirror shows dust and fingerprints fast.
11. Paper the Bed Wall in Grey and Pink Floral Print
Paper the wall behind the bed in a grey and pink floral print for pattern that does the work of several accessories at once. A medium scale floral in blush and soft grey suits a bedroom with plain bedding, and it gives the bed an instant backdrop that paint alone cannot match. Use it on the bed wall only, and keep the other walls plain in warm white or pale grey.
Keep bedding mostly plain when the wallpaper is patterned, and repeat one pink from the paper in a single cushion, so the wall and the bed feel linked. A busy pattern on both wallpaper and bedding can make a small room feel crowded. If you rent, use a peel and stick paper and test a small piece first, since removal varies by wall surface.
12. Swap Bedding by Season: Pink in Winter, Grey in Summer
Use pink and grey as a seasonal pair by dressing the bed in pink layers for the cooler months and grey layers for the warmer months. A blush wool throw, dusty rose cushions, and a heavier pink coverlet suit winter, while a pale grey linen duvet, white sheets, and one pale pink cushion suit summer. The bed is the largest surface in the room, so this swap refreshes the whole bedroom in one afternoon.
Store the off season set in a labeled bag on a high shelf or under the bed, so the swap back is simple. Keep one light layer in each set, such as a cotton coverlet, so warm nights still work in winter and cool nights still work in summer. Air the heavier duvet outside on a dry day before the first cold night, if you can.
13. Furnish a Small Bedroom in Pale Grey With One Pink Chair
Furnish a small bedroom in pale grey, then add a single pink accent chair in a corner for the one strong pink note the room needs. Pale grey walls, grey bedding, and a pale rug keep the room open, while the pink chair gives the eye a place to land and turns an unused corner into a reading spot. This suits a bedroom where a pink bed or pink walls would feel like too much.
Choose a chair deep enough to sit in for an hour, with a small side table and a warm lamp beside it, so the corner is used rather than just looked at. Keep the chair cover washable, since a single pink chair in a small room shows marks fast. If floor space is tight, a pink pouf or a pink cushion on a grey chair gives the same note with a smaller footprint.
14. Organize Grey Shelving With Pink Storage Boxes
Use pink storage boxes on grey bedroom shelving to add color and order in one step. Boxes in blush cotton, felt, or woven pink hold scarves, belts, spare chargers, and small items, so shelves look tidy instead of crowded, while the grey shelves keep the display calm. This suits a bedroom with open shelving that currently shows a mix of unrelated items.
Choose boxes of one material in two sizes at most, and label the front of each one if several people share the room. Keep boxes light enough to lift with one hand, and store heavy books elsewhere. Replace a box when the weave frays, since a damaged box snags clothes, and keep one shelf partly empty, so the shelving does not look packed.
15. Pair a Pink Framed Mirror With Grey Art Above a Dresser
Hang a pink framed mirror above the dresser, flanked by one or two grey toned prints, for a bedroom focal point that mixes both colors at dresser height. The mirror reflects light and makes the room feel larger, while the grey prints keep the pink frame from looking isolated. This suits a bedroom where the bed wall is already styled and the dresser wall needs attention.
Hang the mirror so its center sits at eye level when you stand in front of the dresser, and keep the frame width in proportion to the dresser below it. Keep the dresser top mostly clear, with a tray and one small vase, so the mirror stays the feature. If the mirror frame is a strong pink, keep the nearby bedding and curtains pale, so the room keeps its balance.
16. Dress a Grey Sofa With Rose Cushions and a Grey Throw
Dress a mid grey sofa with rose and blush cushions, plus a soft grey throw, for the simplest pink and grey living room update, and one that needs no new furniture. Mix blush, rose, and pale grey cushions in different textures, such as linen, cotton, and a single velvet cushion, so the group looks collected rather than matched. This is a good first step if you are unsure about pink, since cushion covers are easy to change later.
Keep the cushion count to five or fewer on a three seat sofa, so there is still room to sit comfortably, and repeat the pink once more nearby, in a throw, a vase, or a piece of art, so the cushions do not look isolated. For more ideas on working with a grey base, see these grey couch living room ideas.
17. Face a Grey Sofa With Blush Accent Chairs
Place two blush accent chairs opposite a grey sofa for a seating group that feels balanced from every angle. The chairs bring pink in at chair height, while the grey sofa keeps the room grounded, and a round coffee table between them makes conversation easy. This layout suits a room used for talking as much as for television.
Choose chairs in a slightly deeper pink than the cushions, so they read as a deliberate pair rather than a mismatch, and add a grey rug under the whole group. Keep one chair free of throws so the pink shape stays visible, and keep the walkway behind each chair clear. If floor space is tight, one pink chair beside a grey sofa gives the same pairing with a smaller footprint.
18. Anchor the Seating Group With a Pink and Grey Rug
Lay a patterned rug in pink, grey, and cream under the seating group to tie both colors together at floor level. A rug with both colors in the pattern makes the sofa and chairs look linked, even if they were bought at different times, and it gives a plain room a clear center. Choose a rug large enough for the front legs of the sofa and chairs to rest on it.
Keep the cushions simpler if the rug pattern is busy, and let the rug carry the detail while the sofa stays plain. A low pile rug is easier to clean in a busy room, while a thicker wool rug suits a quiet seating corner. Check the rug colors in daylight and lamplight before you commit, since pink can look warmer under lamps than it does by day.
19. Paint a Charcoal Feature Wall and Soften It With Blush Art
Paint one wall charcoal grey behind a light grey sofa, then hang blush pink art and add pink cushions to stop the dark wall from feeling heavy. The dark wall gives the seating group a strong backdrop, and the pink stops the grey from feeling cold. This works best on the wall the sofa sits against, rather than on all four walls, so the room keeps its light.
Hang two or three framed prints with pale mounts above the sofa to break up the dark surface, and add a floor lamp with a warm bulb at one end. Keep the other walls pale and the ceiling white, and use a light rug so the floor does not darken the room further. In a small room, try the charcoal wall only if the room gets good daylight or strong lamps.
20. Hang Blush Curtains Against Warm Grey Living Room Walls
Hang long blush pink curtains against warm grey walls for soft color at window height in the living room. Curtains bring pink in as a large, gentle block, which suits a room where the sofa and rug are already grey and need warming up. Hang the rod close to the ceiling and let the curtains fall to the floor, so the window looks taller and the room feels more finished.
Choose linen or a linen look fabric in a pale blush, rather than a bright pink, so the curtains read as soft in daylight, and keep the other pink details small, such as one cushion or a vase, so the curtains stay the main pink note. Sheer curtains under the main pair give daytime privacy while still letting light reach the grey walls. For a full living room take on this pairing, see these pink and grey living room ideas.
21. Style a Grey Media Wall With Pink Shelf Accents
Style a grey media wall unit with pink books, pink vases, and small grey ornaments on the open shelves around the television. The pink objects carry the color scheme to the media wall, which is often left plain, while the grey unit keeps the television zone calm. Group books by height, leave some open space on each shelf, and place pink objects in two or three spots rather than on every shelf.
Keep the shelf color close to the wall color, so the unit reads as part of the room, and keep cables hidden behind the unit or in a trunking channel. Add a small plant on the top shelf for a living note, and keep the television as the only screen in the group, so the shelves do not compete with it. If the unit is open, baskets in grey on the lowest shelf hide clutter while keeping the pink display visible above.
22. Add a Blush Ottoman to a Grey Seating Group
Add a round blush pink velvet ottoman in front of a grey sofa for a soft footrest that also works as extra seating. An ottoman in pink brings color to the center of the room, where a coffee table usually sits, and it softens a group of straight lined furniture. Pair it with a small side table for drinks, so the ottoman does not need to hold cups.
Choose an ottoman with a firm top if it will double as a tray surface, and keep the fabric in a deeper blush if the room gets heavy use, since pale velvet shows marks. This suits a room where a hard coffee table feels too sharp for small children, or where extra seats are needed when guests visit. A grey throw folded over one edge ties the ottoman back to the sofa.
23. Style a Grey Coffee Table With Pink Flowers and a Tray
Style a grey coffee table with a tray, a vase of pink flowers, and one book for a small pink and grey moment at the center of the seating group. The tray groups the items so the table stays tidy, the flowers add living pink that changes with the season, and the book gives the table a lived in note. This suits a room where the main furniture must stay grey, since the tabletop carries the pink instead.
Keep the tabletop to three groups at most, so the display looks styled rather than crowded, and keep one vase empty now and then, since an empty vase can look deliberate when its shape is good. Swap fresh stems for dried stems in a pink vase in winter, and keep candles clear of the flowers and the throw. Wipe the tray weekly, since a coffee table collects dust fast.
24. Build a Pink and Grey Basket Corner by the Fireplace
Place a basket of pink and grey throws beside the fireplace or the sofa for warmth that is also part of the color scheme. A woven basket in natural tones holds a blush throw, a grey throw, and one patterned throw in both colors, so guests can reach for a layer without hunting through a cupboard. This suits a living room used for evening sitting, and a room where throws otherwise end up draped over chair backs.
Choose a basket large enough for three throws, with handles so it can be carried and tidied quickly, and keep one throw folded over the basket edge, so the colors show even when the basket is full. Wash the throws often in the cooler months, since they get the most use of any soft furnishing in the room, and keep the basket clear of the fire opening.
25. Zone an Open Plan Room: Grey Living Area, Pink Bedroom Corner
In an open plan room or studio, use grey for the living zone and pink for the sleeping zone, so each area reads clearly without a wall between them. A grey sofa, grey rug, and grey media unit mark the living area, while blush bedding, pink cushions, and a pink throw mark the bed area, with one shared grey rug or curtain running between them to link the two zones. This suits a small apartment where one room must do several jobs.
Keep the walkway between the zones clear, at least wide enough to pass without squeezing past the sofa back or the bed end. Use one repeated item in both zones, such as the same grey cushion fabric or the same wood side table, so the room still feels like one home rather than two rooms pushed together. A folding screen in pale grey can soften the boundary without blocking light.
26. Build a Grey Window Seat With Pink Cushions
Build or style a grey window seat with blush pink cushions for a reading spot that uses an awkward window wall well. A grey base cushion keeps the seat practical, while pink throw pillows, a folded throw, and a small shelf of books make it inviting. This suits a bay window, a wide sill, or a built in bench under a living room window.
Choose washable cushion covers for the seat, since a window seat gets sun and daily use, and keep the pink pillows to three or four so there is room to sit. Add a plant on the sill and a small side table nearby for a drink, and keep the curtains simple so the seat stays the focus. In a small room, a window seat also adds storage if the bench lifts.
27. Light a Pink and Grey Room With Pink Shaded Lamps
Light a pink and grey room with warm lamps at more than one height, using pink shades on grey or brass bases, since both colors can look cold under a single ceiling light. Use a floor lamp beside the sofa, a table lamp on a side table or console, and a small lamp on a shelf, all with warm white bulbs, so the room glows in the evening. Pink looks softer and grey looks warmer under this layered light.
Keep the lamp bases in grey, brass, or wood, and the shades in cream or pale pink, so the lighting fits the scheme rather than adding a new color. Add a dimmer where wiring allows, so bright light for reading and soft light for evenings are both possible. In a room with a charcoal wall, lamps matter even more, since dark paint absorbs light.
28. Style a Grey Bookcase With Pink Vases and Books
Style a grey painted bookcase with pink books, pink vases, and grey ornaments for storage that also carries the color scheme. Group books by height, leave some open space on each shelf, and place pink objects in two or three spots rather than on every shelf, so the color reads as a thread through the display. Heavy books belong low, where they are easier to reach.
This suits a reader, and a room where the bookcase wall would otherwise look bare. Keep the shelf color close to the wall color, so the bookcase reads as part of the room, and add a small plant on the top shelf for a living note. If the bookcase is open, baskets in grey on the lowest shelf hide clutter while keeping the pink display visible above.
29. Carry One Pink and Grey Palette Through Both Rooms
Carry one pink and grey palette through the bedroom and the living room, so the two rooms feel like one home rather than two separate schemes. Choose one pink, such as blush, one grey, such as warm mid grey, and one wood or metal accent, such as light wood or brass, and repeat that trio in both rooms. Each room can still have its own feature, but the shared palette links them.
Start with the room you use most, and note the exact pink, grey, and accent tones you chose, so later rooms match. Repeat each color at least twice per room, for example in bedding and curtains in the bedroom, and in cushions and a rug in the living room. If a room starts to feel too matched, add one small accent, such as a plant, a clay pot, or a cream throw, rather than a new pink or grey tone.
Conclusion
A pink and grey refresh works best when one color leads and the other supports it, in each room and across the home. Start with the largest surface, whether that is the bed, the sofa, or the wall behind it, then repeat the second color in two or three smaller places, such as cushions, curtains, art, or a rug. Keep the pink tones close together, keep the grey warm, and add one natural material so the pair feels soft rather than flat. With those layers in place, a bedroom and a living room can share one calm palette and still feel different enough to enjoy on their own.
If you found an idea here that suits your home, save this post on Pinterest so you can find it again when you are ready to start. Pin the look you like most, whether it is blush bedding on a grey bed, a grey sofa dressed in rose cushions, or pink curtains against warm grey walls, and use it as a guide for your next room refresh.
FAQs
Which color should lead, pink or grey?
Grey usually leads best in rooms used for rest or daily living, since it keeps the room calm and lets pink act as warmth. Pink can lead in a bedroom where you want a warmer, softer feel, but keep it to bedding, one wall, or one large chair, and let grey support it in furniture, rugs, and curtains. Either way, avoid equal amounts of both at full strength, since that can look unsettled.
What shade of pink works best with grey?
Blush and dusty rose work best with grey, since both are soft enough to sit beside grey without shouting. Pale blush suits small rooms and bright rooms, while dusty rose suits larger rooms and rooms with charcoal grey, where a paler pink would disappear. Avoid mixing pale pink, hot pink, and coral in one room, since the pink tones then compete with each other instead of reading as one scheme.
What shade of grey works best with pink?
Warm grey works best with blush pink, since warm grey has a soft undertone that sits comfortably beside pink in both daylight and lamplight. Cold blue grey can make pink look harsh, especially under cool white bulbs, so check paint and fabric swatches together in the room before you commit. Mid grey is the most forgiving choice, since it pairs with both pale blush and deeper rose.
Can pink and grey work in a small room?
Yes, if the large surfaces stay pale and the stronger pink stays on items that are easy to change. Use pale grey walls, a pale rug, and plain bedding or a plain sofa, then add pink in cushions, art, a throw, or one chair. Keep the pink tones close together and the pattern count low, so the small room feels calm rather than crowded.
How do I stop pink and grey from looking flat?
Add texture and one natural material, since two flat colors on their own can feel dull. Mix linen, velvet, wool, and cotton in the soft furnishings, and add light wood, brass, or woven baskets in the furniture and accessories. Layer light at more than one height as well, since pink and grey both shift a lot between daylight and lamplight, and warm lamps keep the pair soft in the evening.
How can I carry pink and grey from the bedroom into the living room?
Pick one pink, one grey, and one accent, such as light wood or brass, and repeat that trio in both rooms. Use the same pink in bedroom bedding and living room cushions, the same grey in bedroom curtains and the living room rug, and the same accent in frames, lamp bases, or side tables in both rooms. Each room can still have its own feature, but the shared tones make the home feel planned.
A small bedroom works best when every piece earns its place. Storage hidden in the bed, shelves that run to the ceiling, and furniture that leaves floor visible can give a tight room more room to breathe without a rebuild. These 16 small bedroom inspirations cover beds, storage, desks, light, and layout, so you can pick the changes that fit your room and your budget. Start with one idea, such as a storage bed or a wall of shelves, and add a second only when the first feels settled. Small, steady changes usually hold up better than a full room redo done in one weekend.
Key Takeaways
Let furniture do two jobs where you can, such as a bed with drawers, a bench with storage, or a desk that folds away.
Use the walls and the height of the room, since floor space is the scarcest part of a small bedroom.
Keep the floor as clear as you can with floating nightstands, leggy furniture, and slim carts that tuck into gaps.
Use a light palette and one large mirror to keep the room feeling open, then add warmth through bedding and wood tones.
Give every small item a fixed home, such as a peg rail, a shelf bridge, or a rolling cart, so clutter has somewhere to go.
Start with storage and layout before decor, since a tidy small room already looks calmer and larger.
1. Choose a Storage Bed With Deep Drawers
A storage bed puts the largest piece of furniture in the room to work. Deep drawers under the bed hold out of season clothes, spare bedding, and shoes, so a separate dresser may no longer be needed. This suits a bedroom with no spare closet space, or a room where a tall dresser would crowd the door or the window.
Pick drawers that open fully without hitting a nightstand or a door, and label the inside of each drawer so the contents stay easy to find. Keep daily clothes in the top drawer if the bed has a lift up base, or in the drawer nearest the door for a drawer base. Leave one drawer for spare bedding only, so guests and season changes do not disturb the everyday setup.
2. Free the Floor With Floating Nightstands
A floating nightstand fixed to the wall gives you a place for a lamp, a book, and a phone without legs taking up floor space. The clear floor below makes the room easier to clean and makes the bed wall look lighter. This suits a narrow bedroom where a standard nightstand would block the walkway beside the bed.
Fix the shelf at a height you can reach from the bed, and keep it just wide enough for a lamp and a book. Add a small drawer or a wall pocket below it for charging cables, so the top stays clear. If two people share the bed, fit one shelf on each side, even if the shelves are small, so neither side needs a floor standing table.
3. Run Storage Up to the Ceiling
Tall storage uses wall height that often goes unused above a wardrobe or a shelf. A wardrobe or shelving unit that runs to the ceiling holds spare bedding, bags, and boxes up high, while daily clothes stay at hand height. This suits a small bedroom with high ceilings, or a room where a wide dresser would eat into floor space.
Put items you use each week at eye level, and items you use each season in labelled boxes on the top shelf. Keep a small step stool nearby if the top shelf is out of reach, and store it flat behind a door. A plain front in a light colour keeps a tall unit from feeling heavy, and matching boxes keep the top row looking calm. For more storage ideas that cost little, see these inexpensive small bedroom organization ideas.
4. Use Light Walls and One Large Mirror
Light walls and one large mirror make a small bedroom feel wider because light bounces around the room instead of stopping at a dark surface. A large mirror above a dresser, or leaning against the wall opposite the window, reflects daylight and the view outside. This suits a bedroom with one small window, or a room that faces a shaded side of the house.
Hang the mirror where it reflects the window or a calm part of the room, not a cluttered corner. Keep the frame slim and plain, so the mirror itself does most of the work. Pair light walls with pale bedding and a light rug, and add one darker accent, such as a wood bench or a navy cushion, so the room still has depth. For more ideas for tight rooms, see these bedroom ideas for small rooms.
5. Raise the Bed on a Storage Platform
A raised platform bed lifts the mattress above a bank of drawers or open cubbies, so the whole footprint of the bed becomes storage. The platform also gives the room a clear sleeping zone, which helps in a studio or a shared room. This suits a bedroom where a standard frame plus a dresser will not fit, or where under bed space is now wasted on dust and stray items.
Build or buy a platform with drawers on the side you can reach most easily, and open cubbies on the other side for books and baskets. Keep the step up low and add a small step or a low bench if the platform is high. Use baskets in the open cubbies so the base looks tidy from the door, and keep bedding plain so the platform reads as furniture, not as a pile of boxes.
6. Fit a Fold-Down Wall Desk
A fold-down wall desk gives a small bedroom a work spot that disappears when the workday ends. The desk folds flat against the wall, leaving the floor clear for the evening, and a shallow shelf above it holds a lamp and a few books. This suits a bedroom that must also serve as a home office, or a spare room used by guests and for work.
Fix the desk at a comfortable writing height, and fit it near a power point so cables stay short. Keep only a laptop, a notebook, and a pen on the desk, and store papers in a wall pocket or a small box on the shelf above. When the desk folds up, the room returns to a bedroom, which helps you switch off at the end of the day.
7. Fill a Narrow Gap With a Slim Shelf Unit
The narrow gap between a bed and a wall, or between a wardrobe and a door, often stays empty because standard furniture will not fit. A slim shelf unit made for that gap holds books, chargers, and small baskets without blocking the walkway. This suits a bedroom with an awkward leftover strip of floor, or a room where a nightstand is too wide.
Measure the gap before you buy, and leave a small margin on each side so the unit slides in and out for cleaning. Use the top shelf for a lamp or a clock, and the lower shelves for books and a basket for cables. If the gap is beside the bed, a slim unit can also serve as a nightstand, with a book and a glass of water within reach.
8. Add a Storage Bench at the Foot of the Bed
A storage bench at the foot of the bed gives you a seat for dressing, a place to lay out clothes, and hidden storage in one piece. The bench holds spare throws, shoes, or bags, so those items stay out of sight but close at hand. This suits a bedroom with no entry bench, or a room where a chair by the bed has become a pile of clothes.
Pick a bench that leaves enough room to walk around the foot of the bed, and choose a lid that lifts easily with one hand. Keep the top mostly clear, with one folded throw at most, so the bench stays useful as a seat. If the room is very narrow, use a bench that is shorter than the bed width, so it does not block the path to the wardrobe.
9. Hang a Peg Rail for Daily Items
A peg rail on the wall by the door or beside the wardrobe gives bags, hats, scarves, and tomorrow’s outfit a fixed home. Items hung on a rail stay visible and easy to grab, so they stop piling on a chair or the bed. This suits a bedroom with little closet space, or a room where small items tend to drift onto every flat surface.
Fix the rail into studs or with fixings suited to your wall type, and space the pegs wide enough for a bag and a coat to hang without crowding. Hang only items you use daily, and keep the rail to one row, so it stays a tool rather than a display. A small shelf above the rail can hold keys and sunglasses, which keeps the top of the dresser clear as well.
10. Use the Corner for a Reading Nook
A corner that now holds a laundry pile or an unused chair can become a small reading nook with one comfortable chair, a floor lamp, and a wall shelf. The nook gives the bedroom a second use without a second room, and it keeps reading material in one place. This suits a bedroom with an empty corner by the window, or a room where a chair has no clear purpose.
Pick a chair with slim arms and legs you can see under, so the corner does not look boxed in. Add a small side table or a wall shelf for a book and a drink, and a lamp that lights the page without lighting the whole room. Keep a basket beside the chair for current books and magazines, so the nook stays inviting rather than turning into general storage.
11. Pick Leggy Furniture That Shows More Floor
Furniture with visible legs, such as a bed frame on legs, a slim dresser, and a chair with tapered legs, lets you see floor beneath it, which makes a room feel larger. Heavy furniture that sits flat on the floor can make a small room feel boxed in, even when the pieces are the same size. This suits a bedroom that already has the furniture it needs but still feels cramped.
When you replace a piece, look for legs at least a few inches high and a frame that does not reach the floor. Keep the floor beneath those pieces clear, since a visible strip of floor is what creates the open feeling. Pair leggy furniture with a light rug that fits under the front legs only, so the rug does not cover the floor you just freed.
12. Keep Bedding to One Calm Palette
A calm bedding palette in one or two soft tones makes a small bedroom look settled, because the bed is the largest surface in the room. White, cream, pale grey, or soft sage bedding with one muted accent lets the eye rest, while a busy mix of patterns can make the same room feel crowded. This suits a bedroom where the bed fills most of the floor, or a room with many small items on display.
Start with plain sheets and a plain duvet cover, then add texture through a knit throw and a linen cushion rather than new colours. Keep decorative cushions to two or three, so the bed stays easy to make each morning. If you want colour, add it in one place, such as a throw or a piece of art, and keep the rest of the bedding calm. For low cost refresh ideas, see these bedroom decor ideas on a budget.
13. Build a Window Seat With Storage Below
A window seat turns the space under a window into seating and storage at once. The seat gives you a place to read in daylight, while drawers or a lift up lid below hold shoes, books, or spare bedding. This suits a bedroom with a wide window and an empty wall below it, or a room where a chair by the window would block the radiator or the walkway.
Build the seat to the width of the window, and keep the seat height close to a chair seat so it feels natural to sit on. Add a cushion in a washable cover, since window seats gather dust and sun, and keep the cushion plain so the view stays the focus. Use the storage below for items you use often but do not need on display, such as extra throws for cold nights.
14. Bridge the Bed With Shelves Above the Headboard
Shelves that bridge the wall above the headboard use space that is usually bare, and they keep books and small items within reach from the bed. A single long shelf, or two short shelves with a gap in the middle, holds books, a clock, and a small plant without taking floor space. This suits a bedroom with no room for nightstands, or a room where bedside tables would block a door.
Fix the shelves firmly into studs, since books are heavy, and keep the shelf depth shallow so items do not loom over the bed. Put heavy books low and near the supports, and keep the shelf display to a few items, so it reads as storage rather than clutter. Leave a clear gap above pillows, so you can sit up in bed without hitting the shelf.
15. Park a Slim Rolling Cart Beside the Bed
A slim rolling cart beside the bed holds a book, a charger, water, and night time essentials, and it can roll out of the way when you need the space. The cart suits a bedroom where a nightstand will not fit, or a room where the bed sits close to the wall. Because it moves, it also helps when you clean or change the bedding.
Pick a cart narrow enough to fit the gap, with a top tray that keeps small items from sliding off. Keep the cart to two or three tiers, and put heavier items low so it does not tip. Roll it beside the bed at night and tuck it against the wall or under a shelf during the day, so the walkway stays clear.
16. Swap a Hinged Door for a Sliding Door
A hinged door needs a clear arc of floor to open, and that arc is often the most useful strip of floor in a small bedroom. A sliding door on a wall rail, or a pocket door that slides into the wall, frees that floor for a dresser, a bench, or a clear walkway. This suits a bedroom where the door hits the bed or a wardrobe, or a room where furniture placement is limited by the door swing.
Check the wall beside the door for switches, pipes, and studs before you choose a pocket door, since a surface mounted sliding door is simpler where the wall cannot take a pocket. Fit a soft close rail so the door does not slam, and keep the handle slim so it does not catch on passing furniture. Once the swing is gone, you can place a slim shelf or a bench where the door used to open.
Conclusion
A small bedroom does not need more space to work harder. It needs furniture that stores, walls that hold, and a layout that leaves floor clear. Pick one idea from this list, such as a storage bed, a peg rail, or a sliding door, and let it settle before you add the next. Over time, those small changes add up to a room that feels calmer, holds more, and is easier to keep tidy. Save this post on Pinterest if you want to return to these 16 small bedroom inspirations when you plan your next refresh.
FAQs
How do I make a small bedroom feel larger without knocking down walls?
Use light walls, one large mirror, and furniture with visible legs, so light moves around the room and floor stays visible. Add storage that runs to the ceiling and a bed with drawers, so clutter leaves the floor and the surfaces. Keep bedding to one calm palette, since the bed is the largest surface in the room.
What is the best storage for a small bedroom with no closet?
A storage bed with deep drawers is the most useful first step, since it uses the footprint of the bed. Add a tall wardrobe or shelving unit to the ceiling, a peg rail by the door, and a slim rolling cart for night time items. Together, these give daily, seasonal, and small item storage without a separate dresser.
Should I use a storage bed or a raised platform bed?
Pick a storage bed with drawers if you want easy daily access to clothes and bedding. Pick a raised platform bed if you need the whole bed footprint for storage and you are comfortable with a step up. Both work well in a small room, so the choice comes down to how often you reach the stored items and how high you want the bed.
How can I fit a desk in a small bedroom?
A fold-down wall desk is the most space saving option, since it folds flat when work ends. Place it near a power point, keep only a laptop and a notebook on it, and store papers in a wall pocket above. A slim shelf unit in a narrow gap can also hold a laptop and books if a fold-down desk does not suit your wall.
What colours work best in a small bedroom?
Light, calm colours work best, such as warm white, cream, pale grey, and soft sage, because they reflect light and keep the room feeling open. Add warmth through wood tones, a knit throw, and one muted accent, such as navy or rust, in a cushion or a piece of art. Keep strong colour to small doses, so the room stays calm.
How do I stop a small bedroom from looking cluttered?
Give every item a fixed home, such as a drawer, a peg, a shelf, or a basket, and keep flat surfaces mostly clear. Limit decorative cushions to two or three, keep shelf displays to a few items, and put seasonal items in labelled boxes up high. A short weekly tidy, where each item returns to its home, keeps the system working.
A laundry room earns its keep every week, yet it often gets the least care in the house. Machines, baskets, and bottles fill the room, and comfort drops off the list. These 22 laundry room decor ideas show how to balance the practical side with a calmer, more pleasant look, from sage cabinets and patterned tile to linen curtains, warm light, and soft textiles. You do not need a full remodel to see a change. Pick the idea that fixes your biggest daily frustration first, whether that is dim light, bare walls, or nowhere soft to sit, then add one more layer at a time.
Key Takeaways
Pick one calm palette and repeat it: a wall color, a wood tone, and one metal finish carried through cabinets, shelves, and hardware keep a small room settled.
Put comfort where the work happens: a soft rug underfoot, warm light over the folding counter, and a seat for sorting make wash day easier on the body.
Use closed storage for bottles and open storage for towels and baskets, so the room looks tidy but still shows soft texture.
Add one textile layer at a time, such as a curtain, a runner, or a bench cushion, and keep the rest plain so the room does not feel crowded.
Keep daily items at hand height and move spares higher up, so the pretty parts of the room stay in reach and the clutter stays out of sight.
Swap small seasonal pieces, like towels, a rug, and a scent, when you want a fresh look without repainting or refitting anything.
1. Paint the Cabinets Soft Sage Green
Soft sage green gives laundry cabinets a calm, lived in color that suits both white machines and warm wood. The muted green reads as fresh without feeling loud, and it pairs well with cream walls, brass pulls, and folded white towels. This suits a laundry room where plain white cabinets feel flat, or where a darker color would make a small room feel closed in.
Paint the cabinet fronts and leave the inside in warm white, so the room stays bright when a door opens. Swap the pulls for simple brass or wood knobs at the same time, since new hardware makes a paint job look finished. Test the sage in daylight and in lamplight before you commit, because green can shift warm or grey depending on the bulbs in the room.
2. Add a Shiplap Accent Wall Behind the Machines
A shiplap accent wall gives a plain laundry room texture and a finished backdrop for the machines. The horizontal boards add a relaxed, cottage feel, and painted shiplap in warm white keeps a small room bright. This suits a room with one bare wall, where paint alone has not made the space feel cared for.
Fit the boards on the wall behind the machines or on the wall you face when you walk in, and keep the other walls plain so the texture stays a feature rather than a pattern everywhere. Caulk the edges neatly and paint with a washable finish, since laundry rooms collect lint and splashes. If full boards feel like too much work, a single shiplap panel behind the folding counter gives the same texture in a smaller dose.
3. Lay a Patterned Tile Floor in Blue and Cream
A patterned tile floor in soft blue and cream gives a laundry room a clear identity the moment you step in. The pattern acts like a rug that never needs washing, and tile stands up to water, muddy shoes, and dropped baskets. This suits a room with a plain vinyl or concrete floor, where the floor is the largest bare surface.
Keep the pattern to one tile design, repeated evenly, and use a grout tone close to the cream tile so the floor reads as one calm surface. Seal the grout as the maker directs, since a laundry floor takes regular splashes. For a similar use of pattern on a working wall, see these Italian laundry room ideas, where a tiled splashback carries the color in a smaller area.
4. Roll Out a Washable Striped Runner Rug
A washable striped runner rug softens a hard laundry floor and warms the spot where you stand to load machines and fold. Stripes in cream and one soft color, such as sage or dusty blue, add pattern without competing with cabinets or tile. This suits a long, narrow laundry room, where a runner fits the walkway and a large rug would bunch around the machines.
Choose a low pile rug with a non slip backing, so it stays flat when you step on it with a basket in hand. Pick a machine washable rug, since a laundry rug will meet lint, detergent drips, and wet feet. Shake it outside weekly and wash it on a regular cycle, and keep a spare in the same colors so the room never goes bare on wash day.
5. Style Open Wood Shelves With Baskets and Towels
Open wood shelves above the machines or on a clear wall give a laundry room warmth and a place to show soft texture. Thick wood shelves with simple brackets suit a cozy room, and folded towels, woven baskets, and a small plant keep the display useful rather than fussy. This suits a room where closed cabinets make the walls feel blank, or where you want daily towels within easy reach.
Edit the shelves firmly: one row of folded towels, one basket for cloths, and empty space between groups, so the shelves read as calm rather than crowded. Use baskets in one material, such as seagrass or cotton rope, in two sizes at most. For grouping and spacing lessons that carry over well here, see these smart laundry room organization ideas, which show how to give every group a set home on open shelves.
6. Hang Botanical Prints Above the Folding Counter
Botanical prints above the folding counter give a laundry room a gentle focal point at eye level, where you actually look while you work. Simple leaf or herb prints in plain wood frames suit a sage, cream, or white room, and they soften a wall that would otherwise hold only shelves. This suits a folding counter with a bare wall above it, where art can add interest without taking counter space.
Use matching frames and equal gaps, and keep the set to two or three prints, so the wall stays calm. Hang the center of the group at eye level from where you stand to fold, and keep the frames clear of steam from the dryer. Choose prints behind glass or in wipeable frames, since laundry rooms collect lint and the glass keeps the art clean.
7. Hang Warm Brass Pendants Over the Folding Counter
Warm brass pendants over the folding counter give the work surface its own pool of light and a jewelry-like detail in a plain room. The brass warms up white walls and sage cabinets, and a shaded pendant throws light down onto folding rather than into your eyes. This suits a counter that sits under a single harsh ceiling light, where folding in the evening feels dim and flat.
Hang two small pendants over a long counter, or one over a short counter, with the bottom of the shade high enough to see across the surface. Use warm bulbs with a dimmer if the wiring allows, so bright light for stain checks and soft light for evening folding both work. Wipe the brass now and then, since lint settles on horizontal surfaces near a dryer.
8. Dress the Window With a Linen Cafe Curtain
A linen cafe curtain on the laundry window softens daylight, adds privacy, and keeps the upper panes clear for light. The light fabric filters sun into a gentle wash, which suits a room where bare glass feels cold and a full curtain would block the sill. This suits a window above a sink or a counter, where you stand close to the glass while you work.
Hang a slim rod at mid height and let the curtain fall just past the sill, in warm white or natural flax, so it matches the room rather than adding a new color. Choose washable linen or cotton, since a laundry window curtain will meet steam and dust. If the window opens for air, keep the fabric clear of the handle and the latch so the window still opens fully.
9. Add a Cushioned Bench as a Folding Perch
A cushioned bench gives a laundry room a soft place to sit while you sort socks, fold small items, or put on shoes. The bench turns a pass-through room into a place you can pause, and a cushion in a washable cover adds color and softness at seat height. This suits a laundry room with a free stretch of wall, or a combined laundry and mudroom where people already sit to change shoes.
Pick a bench low enough to sit on comfortably, with a cushion cover you can remove and wash, since laundry rooms are dusty. Keep a basket below the bench for shoes or for clothes waiting to be folded, so the bench earns its floor space. If the room is narrow, a wall-mounted fold-down seat gives a perch without a permanent bench blocking the path.
10. Set Up a Lavender and Linen Spray Scent Station
A small scent station with dried lavender and a linen spray makes a laundry room smell like the clean clothes it holds. A bundle of dried lavender in a stoneware jug, plus a spray bottle of linen spray on a small tray, gives scent and care in one tidy corner. This suits a room that smells faintly of detergent or damp towels, where a plug-in scent would feel too strong.
Keep the station on a shelf or a counter end, away from the machines, so bottles do not vibrate off the edge. Tie the lavender with plain twine and replace the bundle when the scent fades, and keep the spray bottle labeled so no one mistakes it for a cleaning product. Shake the lavender outside now and then to remove dust, and keep the tray small so the station stays a detail rather than clutter.
11. Frame a Vintage Style Laundry Print
A framed vintage style laundry print adds charm and a clear theme to a laundry wall without new furniture. A simple typographic print, such as a wash day motto in soft black on cream, or a line drawing of a washboard and pegs, suits a room with plain walls and plain cabinets. This suits a small wall beside the door or above a hamper, where a large piece of art would crowd the space.
Choose one print in a frame that matches the other frames in the room, and hang it where you see it when you walk in, so the room reads as decorated from the doorway. Keep the print behind glass for easy wiping, and avoid a print with a long list of rules, since a short phrase reads better from across a small room. Pair it with a plain wall color so the print stays the focus.
12. Decant Supplies Into Glass Jars on a Wooden Tray
Glass jars on a wooden tray turn everyday supplies into a tidy display on a shelf or a counter end. Clear jars show powder, pods, and pegs at a glance, and a tray keeps the group together so jars do not drift across the shelf. This suits a room where mismatched bottles make open shelves look busy, and where you want to see stock levels before you run out.
Label each jar in plain words, such as wash powder, stain soak, and pegs, and keep a small scoop in the powder jar. Keep jars out of reach of small children, and never move a product into a jar without keeping its safety notes nearby, since strong cleaners need care. Set the tray on one shelf only, with one or two jars beside it at most, so the display stays a small vignette rather than a shop shelf.
13. Fix a Black Metal Rail for Hangers and Air Drying
A black metal rail on a free wall gives hangers and air dry clothes a firm home, and the dark metal adds a crisp line against pale walls. Shirts on hangers dry faster with air around them, and a rail lets you move a whole load to the closet in one trip. This suits a room with a clear wall run, where a floor drying rack would block the walkway.
Fix the rail into studs or solid masonry, since a rail full of wet clothes carries real weight, and leave clearance below for the longest garment. Hang clothes with a small gap between hangers so air reaches each piece, and keep a few empty hangers on the rail for the next load. Keep the rail clear of the folding counter, so hanging clothes do not drip onto clean laundry.
14. Grow Trailing Plants on a Shelf by the Window
Trailing plants on a shelf by the window soften a room that is mostly machines and hard surfaces. A pothos or trailing ivy in a plain pot spills gently over the shelf edge, and green leaves suit sage cabinets, cream walls, and wood shelves. This suits a laundry room with a bright window or a strong ceiling light, where a plant can live without a dedicated plant corner.
Use pots with drainage holes and saucers, and water only when the top of the soil feels dry, since most indoor plants dislike wet roots. Keep plants clear of the dryer vent and away from harsh heat, and choose hardy plants if the room swings between warm and cool through the day. Rotate the pots weekly so each plant grows evenly toward the light.
15. Swap Plastic Bins for Woven Seagrass Hampers
Woven seagrass hampers give a laundry room soft texture and a calmer look than bright plastic bins. The natural weave suits wood shelves, linen curtains, and cream walls, and lidded hampers hide dirty laundry between wash days. This suits a room where laundry lives in view, such as a laundry corner in a hallway or a combined laundry and bathroom.
Use two hampers if space allows, one for lights and one for darks, with washable liners that lift out for carrying to the machines. Keep the hampers near the machines, with enough clearance to lift the lids fully. Wipe the weave with a dry cloth and air the hampers out now and then, since damp clothes left too long can leave a smell in natural fiber.
16. Paint a Step Stool to Double as a Plant Stand
A painted wooden step stool does two jobs in a laundry room: it helps you reach high shelves, and it holds a plant or a small basket when it is not in use. Painted in the room color or in a soft accent tone, the stool reads as furniture rather than a tool left out. This suits a room with high shelves or high cabinets, where a tall stool is needed often.
Paint the stool with a durable, washable finish and add non slip pads on the feet, so it stays steady on tile. Keep the stool in the laundry room rather than another room, so reaching a high shelf never becomes a reason to skip putting things away. Check the stool weight rating, and replace it if the hinges loosen or the feet wear smooth.
17. Swap Towels, Rug, and Scent With the Seasons
Seasonal swaps give a laundry room a fresh look four times a year without repainting or refitting anything. Swap the hand towels, the runner rug, and the scent station: light linen and citrus notes for summer, warm cotton and cedar or spice notes for winter, and soft pastels for spring. This suits a room that feels stale by the third month, or a household that likes a small refresh with each season.
Store the off season set in one labeled basket on a high shelf, so the swap takes minutes rather than a search through the linen closet. Keep the wall color, cabinets, and hardware the same all year, so only the soft pieces change and the room still feels like itself. Wash the stored set before you pack it away, so it comes out fresh at the next swap.
18. Close Off the Machine Bay With Linen Panels
Floor length linen panels on a ceiling rod close off a machine bay when the machines are not in use, and pull back when wash day starts. The panels hide machines, hoses, and baskets in one soft move, which suits a laundry area that opens into a hallway or a living space. This suits a rented home well, since a rod and panels leave far fewer marks than new cabinet doors.
Hang the rod close to the ceiling and wider than the bay, so the panels stack clear of the machines when open, and let the panels brush the floor rather than pool. Choose washable linen in warm white, and keep the panels clear of the dryer vent so warm air escapes freely. For more small room ideas that hide hardworking corners, see these tiny laundry room ideas.
19. Hang a Wood Peg Rail for an Apron and a Tote
A wood peg rail by the door holds a linen apron, a market tote, and a small drying bag on hooks you can move as needs change. The rail adds warm wood at hand height and keeps daily carry items off the machines, where they usually end up draped. This suits a laundry room door wall, where a rail uses space that a cabinet would waste.
Mount the rail at hand height, with hooks spaced so items do not knock together, and keep it clear of the machine door swing. Group hooks by job, so the apron and tote sit together and a lint roller and scissors sit together. Use hooks with a closed end so items do not slide off when a machine vibrates, and keep the rail to four or five hooks so it stays tidy.
20. Hang a Mirror to Bounce Light Around the Room
A mirror on the wall opposite the window or the light bounces daylight deeper into a laundry room and makes a small space feel wider. A simple framed mirror in wood or brass suits a room with plain walls, and it gives you a quick check before you leave the house with a basket. This suits a windowless or single window laundry room, where light fades fast toward the back wall.
Hang the mirror at eye level, centered on the clearest stretch of wall, and check what it reflects before you fix it, since a view of a window or a plant looks good while a view of clutter does not. Keep the frame in the room metal or wood tone so the mirror reads as part of the decor. Wipe the glass often, since lint settles on every flat surface near a dryer.
21. Add Warm Light Under the Shelves
A warm LED strip under the shelves gives a laundry room soft evening light and makes the shelf contents easy to find. The strip lights towels, jars, and baskets from above, so you can read labels without switching on a harsh ceiling light. This suits a room used in the evening, or a room with deep shelves where the back row stays in shadow.
Pick a warm white strip, not a cool blue white, so the light flatters wood, linen, and skin tones. Fix the strip toward the front edge of the shelf so the light falls on the items below, and hide the cord along the shelf bracket or behind the shelf. Use a strip with a simple switch or a plug-in timer, so the light is easy to turn off when you leave the room.
22. Hang a Chalkboard Wash Day Planner
A chalkboard wash day planner on the wall turns a routine into a piece of decor and stops the guesswork about whose load is next. A framed chalkboard with days of the week, or a simple list of loads to run, suits a family laundry room where several people share the machines. This suits a wall beside the machines or near the door, where everyone sees it on the way in.
Write in large, plain chalk lettering and update the board once a week, so it stays useful rather than becoming old notes. Keep a small chalk holder or a cup for chalk and an eraser on a hook beside the board, so updating it takes seconds. If chalk dust bothers you, a framed whiteboard in the same spot gives the same planner with less dust.
Conclusion
A laundry room that balances style and comfort does not need a large space or a full rebuild. A calm wall color, one good folding surface, warm light, soft textiles underfoot and at the window, and storage that hides bottles while showing towels will carry most of the look. Pick the idea that fixes your biggest daily frustration first, whether that is dim light, bare walls, or nowhere soft to sit, and add the next detail only when the first one earns its place.
FAQs
What colors work best in a laundry room?
Soft sage, warm white, cream, dusty blue, and pale grey work well in a laundry room, because they stay calm in a small space and suit both white machines and wood. Keep the palette to three or four tones, repeated across walls, cabinets, textiles, and hardware, so the room feels planned rather than patched together.
How can I make a small laundry room feel cozy?
Add softness where your body meets the room: a washable runner underfoot, a cushioned bench for sorting, warm light over the counter, and a linen curtain at the window. Keep the walls light, hide bottles behind panels or in closed storage, and let towels and baskets supply the texture.
Do I need to remodel to decorate a laundry room?
No. Paint, a rug, curtains, prints, jars, and lighting change a laundry room a great deal without moving plumbing or machines. Start with one wall, one textile, and one light change, and add fitted work only if a daily frustration, such as no folding surface, stays unsolved.
What kind of rug is safe in a laundry room?
A low pile, machine washable rug with a non slip backing is the safest choice, since it stays flat, handles splashes, and can be washed when it meets lint and detergent drips. Avoid thick pile rugs, which hold moisture, and keep the rug clear of the dryer vent and machine door swing.
How do I keep a decorated laundry room tidy?
Give every group a set home, keep daily items at hand height, and edit open shelves to one row of towels, one basket, and empty space between groups. Wipe shelves and jars weekly, wash the rug and curtain covers on a routine, and review the room once a season to remove items you no longer use.
Can I decorate a rented laundry room without damage?
Yes. Use a rod and linen panels instead of cabinet doors, a washable rug, framed prints on existing hooks, jars on a tray, and freestanding hampers and benches. Check your rental agreement before drilling for shelves or rails, and choose removable hooks where drilling is not allowed.
Save this post on Pinterest for your next wash day refresh, and return to it when you are ready to plan the next corner of your laundry room.
Swiss home decor takes its cues from mountain chalets: warm pine, rough stone, soft wool, plain linen, and small red and white accents that keep a room cheerful without making it loud. It suits homes that need warmth in winter and a calm, natural feel in summer, and it works room by room, so you do not need a chalet to use it. These 27 Swiss home decor ideas cover living rooms, bedrooms, kitchens, entries, balconies, and a bathroom, with practical tips for each one. Start with the room you spend the most time in, pick one wood tone and one accent colour, and repeat them through the space.
Key Takeaways
Let warm pine and pale plaster lead, with stone, wool, and linen as supporting materials, so rooms feel like a chalet rather than a themed set.
Use red sparingly, in cushions, a throw, or a window box, so it reads as a Swiss accent and not as a bright colour scheme.
Repeat one wood tone at least twice in a room, for example in beams and a coffee table, so the look feels planned.
Layer wool, sheepskin, and linen for warmth you can feel, and keep floors clear enough to walk through easily.
Mix one rustic finish, such as rough stone or carved wood, with one smooth finish, such as cream linen or plain ceramic, so rooms feel finished.
Start with textiles, window boxes, and wall displays for a no-build refresh, and save panelling, beams, and fireplaces for a larger project.
1. Panel One Living Room Wall in Warm Pine
Give a living room instant chalet character with one wall of warm pine panelling, fitted vertically or horizontally behind the sofa. Pine adds grain, warmth, and a natural scent to a plain room, and a single panelled wall keeps the look from feeling like a cabin interior. This suits a living room with pale walls and simple furniture, where one wood feature can carry the whole room.
Keep the rest of the walls in warm white or pale cream, and choose a sofa in linen or wool so the wood stays the focus. Seal the pine with a clear matte finish to protect it, and wipe it with a dry cloth, since pine can mark if it stays damp. If full panelling feels like too much, panel only the wall behind a fireplace or a reading chair.
2. Build a Stone Fireplace With a Chunky Wood Mantel
A stone fireplace with a chunky pine or oak mantel anchors a Swiss style living room and gives the whole room a mountain lodge feel. Rough stone in grey or warm cream suits pine furniture and wool throws, and a thick mantel gives you a shelf for candles, a clock, and a small stack of books. This suits a living room that already has a fireplace, or a room where a new surround can become the main feature.
Keep the mantel mostly clear, with two or three items in different heights, so the stone and wood stay easy to see. Use the hearth for a basket of logs only if the fireplace is in use, and keep rugs and throws a safe distance from the fire opening. If your home has no working fireplace, a stone clad surround around an electric insert gives a similar look with less work.
3. Show Off Exposed Wood Beams on the Ceiling
Exposed wood beams turn a plain ceiling into a Swiss chalet feature, even in a flat or a modern house. Dark stained pine or pale oak beams both work, and the choice depends on your floor: pale beams suit light floors, while darker beams suit a room with a stone fireplace. This suits a living room with a ceiling high enough that beams sit above head height and do not crowd the room.
Paint the ceiling between the beams in warm white, so the beams stand out without darkening the room. If real structural beams are not an option, fit hollow pine beam covers, which look the same from below and weigh far less. Keep ceiling lights simple, such as a plain pendant or recessed spots, so the beams stay the main ceiling detail.
4. Layer Sheepskin and Wool Throws on Seating
Drape a sheepskin over one armchair and a chunky wool throw over the sofa to make a Swiss living room feel warm the moment you sit down. Sheepskin softens a wooden chair, wool adds weight to a linen sofa, and both invite you to stay longer in the room. This suits a living room that feels cold in winter, or a room with leather or plain cotton seating that needs softness.
Choose throws in cream, oatmeal, or soft grey, with one red throw if you want a Swiss accent, and keep the layers to two per seat so the furniture still looks tidy. Shake throws outside now and then, and wash them as advised on the label, since wool holds dust more than cotton. Store a spare throw in a basket by the sofa, so guests can help themselves on a cold evening.
5. Add Red and White Checked Cushions
Red and white checked cushions give a Swiss living room its classic accent colour without repainting a wall or buying new furniture. The check reads as alpine and cheerful up close, and as a warm red note from across the room. This suits a sofa in cream, oatmeal, or soft grey, where a strong accent can lift the whole seating group.
Use two or three checked cushions at most, and keep the rest plain in cream or oatmeal, so the check does not compete with other patterns. Pair the cushions with a plain wool throw, and repeat the red once more, in a candle, a book spine, or a small vase, so the accent feels linked. Choose washable covers, since red checks show wear on pale sofas if they are not cleaned often.
6. Hang a Cowbell Display on a Hall or Living Room Wall
Hang a small group of cowbells on a leather strap or a pine board to make a Swiss wall display that is also a talking point. Bells in different sizes, from small to large, give the display rhythm, and the dark leather and aged metal suit pine and stone. This suits a hallway, a stair wall, or a living room corner where a flat wall needs one clear feature.
Fix the board firmly to the wall, since bells are heavier than they look, and hang the largest bell in the middle or at one end, with smaller bells beside it. Keep the rest of the wall plain, and dust the bells with a dry cloth, since metal tarnishes faster in a damp hallway. If you prefer a quiet display, choose bells without clappers, or hang them where they will not be knocked.
7. Hang a Carved Wood Clock as a Focal Point
Hang a carved wood clock on a living room or hallway wall to bring Swiss woodcraft into the room in one piece. A clock with a carved leaf, pinecone, or chalet motif suits a pine panelled wall or a stone fireplace wall, and its steady tick adds life to a quiet room. This suits a wall that needs a single focal point, rather than a full gallery of small frames.
Hang the clock at eye level, centred on the wall or above a console, and keep the wall around it clear so the carving shows. Check that the clock hangs on a fixing rated for its weight, and wind or change the battery on a set day each month, so it keeps time without fuss. Pair it with one simple plant or candle below, and nothing else, so the clock stays the star.
8. Plant Alpine Window Boxes With Red Geraniums
Fill window boxes with red geraniums, trailing green, and a few white blooms to copy the classic Swiss chalet window. The red against warm wood or white plaster is the most recognisable Swiss exterior detail, and it works on a flat balcony as well as on a house. This suits a sunny or partly sunny window, where geraniums get at least a few hours of light each day.
Use a sturdy box with drainage holes, and line it with a plastic tray so water does not stain the sill or the wall. Water when the top soil feels dry, and deadhead spent blooms weekly, so new flowers keep coming through the season. In winter, swap the geraniums for pine branches and pinecones, so the box still looks dressed when flowers are out of season.
9. Create a Fondue Nook With a Pine Table
Set up a fondue nook with a round or square pine table, two or three sturdy chairs, and a low pendant light, in a kitchen corner or beside a window. A dedicated nook makes shared meals feel special, and the pine table suits stoneware plates, a linen runner, and a simple candle. This suits a kitchen or dining corner that is too small for a full dining table but large enough for a sociable meal.
Keep the table clear between meals, with only a candle and a small plant, so the nook stays inviting rather than cluttered. Choose chairs that tuck fully under the table, and keep serving boards and bowls in a nearby cupboard, so setting up takes minutes. A wipeable table finish matters here, since fondue meals can spill, so seal pine with a food safe finish if you cook at the table often.
10. Seat the Dining Table With a Long Pine Bench
Swap dining chairs on one side of the table for a long pine bench to give a Swiss dining room a farmhouse feel and seat more people in less space. A bench slides under the table when not in use, suits children and guests, and pairs well with a pine or oak table. This suits a kitchen diner or a dining room where a full set of chairs would crowd the walkway.
Match the bench wood tone to the table, or paint it in cream if the table is dark, so the pair looks planned rather than mixed at random. Add a thin cushion in red gingham or plain linen for comfort, and keep it washable, since bench cushions get more use than chair pads. Leave enough room to pull the bench out fully, and check that it does not block a door or a cupboard when in use.
11. Style Open Kitchen Shelving With Enamelware and Stoneware
Style open kitchen shelving with white enamelware, cream stoneware, and a few pine boards to make a Swiss kitchen feel useful and calm. White and cream dishes suit warm wood shelves, and open storage keeps everyday plates within reach. This suits a kitchen with one or two sturdy shelves, where closed cupboards would make the room feel dark.
Group plates by size, stack bowls in twos or threes, and leave one shelf partly empty, so the display looks tidy rather than packed. Hang enamel mugs on small hooks under a shelf, and keep heavier stoneware low, where it is easy to lift. Wipe shelves weekly, since open storage collects cooking dust faster than closed cupboards, and keep rarely used pieces in a closed cupboard instead.
12. Pair Warm Wood With Cream Kitchen Cabinets
Pair warm wood worktops, open shelves, or a pine dresser with cream painted cabinets for a Swiss kitchen that feels bright but still woody. Cream softens the wood, the wood warms the cream, and together they suit stone floors, linen curtains, and simple hardware. This suits a kitchen that feels too dark with all wood, or too cold with all white.
Choose cabinet hardware in dark iron or aged brass, and keep it the same finish throughout, so the kitchen reads as one scheme. Add a pine chopping board, a ceramic jug, and a linen tea towel as the only countertop display, and store the rest behind doors. Clean cream cabinets with a damp cloth and dry them after, since cream shows marks from cooking splashes more than darker colours.
13. Combine White Plaster and Timber in the Bedroom
Combine white plaster walls with a timber bed frame, a pine wardrobe, or a wood headboard for a Swiss bedroom that feels restful and warm. White plaster keeps the room bright, timber adds grain and weight, and the pair suits linen bedding and a wool rug. This suits a bedroom with plain walls, where one timber piece can set the tone without a full refit.
Keep bedding in warm white, oatmeal, or soft grey, and add one red or pine green accent in a throw or a cushion, so the room stays calm. If the bed frame is dark, choose pale timber for a bench or a bedside table, so the room does not feel heavy. Dust timber with a dry cloth, and keep the headboard clear of clutter, so the bedroom feels like a place to rest.
14. Dress the Bed in Linen With a Red Gingham Throw
Dress a Swiss bedroom bed in warm white linen, then fold a red gingham throw across the foot, for a simple look that feels alpine without being busy. Linen gives the bed a relaxed, lived in feel, and the gingham adds the Swiss red accent in one clear place. This suits a bedroom with a timber bed or pine furniture, where a patterned throw can lift plain bedding.
Layer the linen duvet with a light wool blanket underneath in cold months, and keep pillows to two sleeping pillows plus one or two linen cushions, so the bed stays easy to make. Choose a washable gingham throw, since throws at the foot of the bed collect dust and pet hair. Fold the throw neatly each morning, so the bed looks dressed even on a busy day.
15. Make a Mountain View Reading Nook by the Window
Make a reading nook by the brightest window, with a deep armchair, a wool throw, a small side table, and a floor lamp, even if the view is a garden rather than a mountain. The nook works because it has the three things a reader needs: a comfortable seat, light for the page, and a surface for a drink. This suits a living room corner, a bedroom bay, or a landing with a window and a little spare floor space.
Angle the chair slightly toward the room, so the nook feels part of the home rather than cut off from it, and add a basket for books and a throw beside the chair. The seating advice in these cozy apartment living room ideas also applies here: give each regular seat its own light and a reachable surface, instead of filling every gap with furniture. Keep the windowsill clear, so daylight reaches the chair without a plant blocking it.
16. Fit an Entry Mudroom Bench With Hooks and Baskets
Fit an entry bench with wall hooks above it and baskets below to make a Swiss mudroom that handles coats, boots, and bags in one place. Pine bench seating, dark iron hooks, and woven baskets suit a chalet entry, and the setup stops outdoor clutter from spreading into the living room. This suits a hallway, a porch, or a kitchen entry with even a short stretch of free wall.
Fix hooks into studs or with fixings rated for heavy coats, and give each person one hook and one basket, so the entry stays fair and tidy. Keep boots in a tray under the bench, and wipe the bench weekly in wet weather, since pine marks if wet boots sit on it. Add a small mirror above the hooks if the entry is dark, so the space feels brighter when you leave the house.
17. Dress a Balcony With Planters on a Carved Wood Railing
Dress a balcony railing with long planters of geraniums, trailing plants, and herbs, and add a small pine chair and a folding table if space allows. Carved or simple pine planters suit a Swiss balcony, and flowers at railing height make the balcony feel like a chalet terrace. This suits a sunny balcony, a terrace, or a flat with a Juliet rail, where a planter box can hang safely.
Fix planters firmly to the railing with brackets rated for the full weight of soil and water, and use saucers or liners so water does not drip onto neighbours below. Choose plants that suit your light and wind, and water more often in summer, since balcony planters dry out faster than ground beds. Keep the balcony floor clear of pots, so you can still step out and use the chair.
18. Lay an Embroidered Linen Table Runner
Lay an embroidered linen runner in cream, with red or pine green stitching, down the centre of a dining table for a Swiss table that feels handmade and calm. A runner adds pattern without covering the whole table, so pine or oak grain still shows, and it suits a table set with stoneware and simple glassware. This suits a dining table used for everyday meals as well as for guests, since a runner is easy to swap.
Keep the runner flat and centred, with equal overhang at each end, and set plates on the table itself, not on the runner, so the embroidery stays visible. Wash the runner as advised on the label, and press it while slightly damp, so the linen falls flat. If the table is small, choose a narrow runner, so it does not crowd the place settings.
19. Frame Edelweiss and Alpine Botanical Prints
Frame a small set of edelweiss and alpine botanical prints in matching pine or dark wood frames for a Swiss wall display that feels quiet and collected. Botanical prints suit a bedroom, a hallway, or a dining wall, and a set of three or four in a row reads as one display rather than scattered pictures. This suits a room with plain walls, where a small, calm print set can add interest without a large canvas.
Hang the prints in a straight row above a dresser or a console, with equal gaps between frames, and keep the frame style the same throughout. The row layout advice in these bedroom wall art ideas works well here: a neat row of matching frames suits a calm room, while mixed frames suit a busier display. Keep the prints out of direct afternoon sun, so the colours hold, and dust the glass with a dry cloth.
20. Layer Wool Rugs Over a Wood Floor
Layer a large flatweave wool rug with a smaller, softer wool rug on top, at a slight angle, to warm a Swiss living room floor without hiding the wood. The base rug anchors the seating group, the top rug adds softness underfoot, and the wood still shows at the edges. This suits a living room with pine or oak floors that feel cold in winter, or a room where one rug alone looks too small for the seating.
Choose rugs in oatmeal, cream, and soft grey, with one red border or pattern if you want a Swiss note, and keep both rugs washable or easy to vacuum. Tape or use a rug pad under the top rug, so it does not slip on the flatweave below, and vacuum the layers weekly, since wool holds dust. Leave a clear border of wood around the base rug, so the floor still reads as wood, not carpet.
21. Set Lanterns and Candles on the Stone Hearth
Set a group of glass lanterns and pillar candles on a stone hearth, or on a pine side table beside the fireplace, for warm evening light in a Swiss living room. Lanterns suit stone and pine, and their glow softens a room far better than a bright ceiling light at night. This suits a living room with a fireplace, or any room where evening light needs to feel calm rather than bright.
Use three lanterns in different heights, with one plain candle in each, and keep them away from curtains, throws, and paper, since open flames need clear space. Light them only when you are in the room, and use battery candles inside lanterns if you have children or pets. Wipe glass lanterns with a dry cloth, since soot builds up faster than you expect, and store spare candles in a nearby drawer.
22. Grow Herbs on the Windowsill in Enamel Pots
Grow parsley, chives, mint, and thyme on a kitchen windowsill in white or cream enamel pots for a Swiss kitchen that smells fresh and looks useful. Enamel pots suit pine shelves and cream cabinets, and a windowsill herb row keeps cooking herbs within reach while you cook. This suits a sunny kitchen window, where herbs get at least a few hours of light each day.
Use pots with drainage holes and saucers, so water does not mark the sill, and group herbs that need similar watering together. Snip herbs often, since regular cutting keeps plants bushy rather than leggy, and replace tired plants each season rather than letting one pot sit empty. Keep mint in its own pot, since it spreads fast and can crowd out slower herbs in a shared planter.
23. Style a Carved Wooden Sideboard as a Display
Style a carved wooden sideboard in a living room or dining room with a stoneware jug, a stack of books, and one small plant, and keep the top mostly clear. A carved sideboard gives a Swiss room its woodcraft detail, and a calm top lets the carving show. This suits a dining room wall, a hallway, or a living room where a sideboard can also store table linens and board games.
Store linens and games inside, so the top stays free, and keep the display to three items in different heights. Dust carving with a soft brush, since grooves collect dust faster than flat wood, and polish the top only as advised for the finish. If the sideboard is dark, pair it with a cream wall and a light rug, so it does not darken the room.
24. Hang Sheer Linen Curtains for Soft Alpine Light
Hang sheer linen curtains in warm white from a dark iron or pine rod to soften daylight in a Swiss living room or bedroom. Sheer linen lets light through in a gentle wash, gives daytime privacy, and suits pine, stone, and wool far better than a heavy drape in summer. This suits a room with a good view or a bright window, where you want light without glare.
Hang the rod high and wide, so the panels stack clear of the glass when open, and let them fall to just above the floor, so they move a little with air from the window. The hanging advice in these bedroom curtain ideas also helps here: a high, wide rod makes the window look larger and lets more daylight in. Wash sheer linen often, since it shows dust more than a heavier fabric, and keep the rest of the window plain, with no heavy valance.
25. Warm a Small Bathroom With a Wood Stool and Linen Towels
Warm a small bathroom with a pine or teak stool beside the tub, cream linen towels on a wooden ladder or rail, and a stoneware soap dish. Wood and linen soften tile and chrome, and a stool gives you a place for a towel, a book, or a candle. This suits a bathroom that feels cold or clinical, where one wood piece and soft towels can change the mood without a refit.
Keep towels in warm white or oatmeal, and fold them neatly, so the bathroom looks calm rather than crowded. Wipe the stool dry after baths, since wood marks if it stays damp, and keep the soap dish on a tray, so water does not pool on the stool or the sill. Choose a stool with a flat top and sturdy legs, so it can also hold a small plant or a folded towel safely.
26. Build a Pine Bunk Nook for an Attic Bedroom
Build a pine bunk nook in an attic or guest bedroom, with built in bunks, a small shelf for each bed, and a wool throw on each bunk, for a Swiss sleeping space that feels like a chalet loft. Pine bunks suit low attic ceilings, since wood keeps the nook warm, and a shelf per bed gives each sleeper a place for a book and a light. This suits a guest room, a family attic, or a holiday style bedroom where two beds need to fit a small floor plan.
Fit a small wall light or clip light for each bunk, and keep the walkway to the bunks clear, so the nook stays safe at night. Choose washable wool throws in cream and one red accent, and keep bedding simple, with linen or cotton sheets and one pillow per bunk. Check that the top bunk has a guard rail and a safe ladder, and fix the bunks to the wall following the maker instructions.
27. Hang a Pinecone and Pine Wreath on the Front Door
Hang a wreath of pine branches, pinecones, and a simple red ribbon on the front door to give a Swiss home a warm welcome in autumn and winter. Pine and pinecones suit a wood door, a stone porch, or a plain painted door, and the wreath needs no flowers to look finished. This suits a front door, a porch, or an entry wall, where one seasonal piece can set the tone for the whole entry.
Hang the wreath from a sturdy hook or a door hanger, centred at eye level, and keep it out of heavy rain if you can, so the pine lasts longer. Replace the ribbon each season if it fades, and shake the wreath outside now and then, so loose needles do not fall into the entry. In spring, swap the pinecone wreath for a simple green branch wreath, so the door still feels dressed without a winter look.
Conclusion
Swiss home decor works best when it stays simple: warm pine, rough stone, soft wool, plain linen, and a little red, repeated room by room. You do not need a chalet, a fireplace, or a full refit to use it. Start with one room, add one wood feature and one textile layer, and live with it for a week before adding more. The ideas here give you a way in at every scale, from a window box and a cowbell display to a panelled wall and a pine bunk nook. Pick the one that solves your biggest daily frustration, whether that is a cold living room, a bare wall, or a cluttered entry, and build from there.
FAQs
What colours define Swiss home decor?
Warm pine, white plaster, cream linen, grey stone, and a small amount of red define Swiss home decor. Use pine and cream as the base, stone and wool as supporting materials, and red only in cushions, throws, window boxes, or a ribbon, so the accent stays cheerful without taking over the room. Soft grey and pine green work as extra tones, but keep the palette to three or four colours in any one room.
Can Swiss chalet style work in a flat or a modern home?
Yes, if the layers stay light and limited. Use one pine feature, such as a panelled wall or a bench, with linen curtains, wool throws, and one red accent, rather than panelling, beams, and a stone fireplace all at once. Keep floors clear, surfaces mostly tidy, and shapes simple, so small or modern rooms still feel open and the chalet details read as warmth, not clutter.
What is the easiest Swiss decor change with no building work?
Start with textiles, window boxes, and wall displays. Add wool throws, red checked cushions, sheer linen curtains, a cowbell display or botanical prints, and geraniums in a window box. These swaps add Swiss warmth in a weekend, with no paint or tools beyond a few wall fixings, and they work in rented homes as well as owned ones.
How do I keep a Swiss style room from looking like a theme park?
Let one or two materials lead, and keep the rest plain. Repeat pine and linen through the room, use red sparingly, and avoid adding every Swiss motif at once, such as cowbells, a carved clock, a flag, and a fondue set in the same room. A room with one clear wood tone, one accent colour, and mostly plain surfaces feels like a home, not a display.
What wood works best for Swiss home decor?
Warm pine is the classic choice, since it suits panelling, beams, tables, benches, and bunks, and it pairs well with cream, stone, and wool. Oak also works, especially for a dining table or a sideboard, where a harder wood lasts longer. Match the wood tone within a room as closely as you can, and seal pine in kitchens and bathrooms, where damp and spills mark it faster.
Is Swiss home decor only for winter?
No. Pine, linen, stone, and geranium window boxes suit summer as well as winter, since sheer curtains and light wool layers work in warm months too. In summer, swap heavy throws for light linen, keep window boxes in flower, and use the balcony and reading nook more. In winter, add sheepskin, lantern light, and thicker wool rugs, so the same room feels warmer without a new scheme.
Save these 27 Swiss home decor ideas to your Pinterest board, so you can find the pine, stone, and wool details again when you are ready to refresh a room. Pin the living room, kitchen, or bedroom idea that fits your home first, then come back for the rest when you have time to try them.
A coffee bar works best when everything you need for a morning cup sits in one place, and nothing extra crowds the counter. A machine, a few mugs, beans, sugar, and spoons are enough to start, and the decor around them should make that small group look planned rather than scattered. These 13 coffee bar decor ideas cover countertops, walls, carts, cabinets, dining rooms, hallways, and large kitchens, so you can match the bar to the space you actually have. Pick one layout, repeat one or two materials from the room, and leave clear space for making coffee, since a bar that is hard to use will not stay tidy for long.
Key Takeaways
Start with one zone: a tray, a shelf run, a cart, or a cabinet, and keep the machine, mugs, and daily supplies inside that zone.
Repeat one or two materials from the room, such as wood, ceramic, or matte black, so the bar looks like part of the home.
Store daily items within reach and move spare beans, filters, and extra mugs to a cabinet, so the bar stays calm.
Hang mugs or use a rail only where they will not block a walkway or bump a door, and keep the count to the mugs you use each week.
Leave clear counter space beside the machine for a cup, a spoon, and a milk jug, since a crowded bar slows down every morning.
Swap small details by season, such as a mug set, a small plant, or a framed print, instead of rebuilding the whole bar.
1. Anchor a Countertop Coffee Station on a Wood Tray
A wood tray is the simplest way to turn a coffee corner into a bar. Set the machine at the back of the tray, place mugs at one side, and keep sugar, spoons, and filters in a small jar or cup at the other side. The tray catches drips, marks the bar as one zone, and keeps small items from spreading across the counter. This suits a kitchen where the coffee corner sits on a short stretch of counter beside a socket.
Keep the tray near a socket and clear of the sink splash zone, and wipe it each week, since coffee splashes stain fast. If the household drinks tea as well, add one small tea tin to the same tray rather than starting a second station. For more counter ideas that pair with this setup, see these kitchen countertop decor ideas.
2. Build a Wall Shelf Coffee Bar for a Small Kitchen
Two or three wall shelves above a counter can hold a whole coffee bar without taking extra floor space. Use the lower shelf for daily mugs and small jars, the middle shelf for beans and tea, and the top shelf for spare mugs or a small plant. The machine stays on the counter below, so the shelves work as storage and display at once. This suits a small kitchen where counter space is tight but one wall is free.
Fix the shelves into studs or with fixings suited to your wall type, and keep the lowest shelf high enough that you can lift a mug down without hitting the machine. Keep the shelf count low and leave gaps between groups, so the wall reads as calm rather than crowded. If the shelves sit near cooking steam, use closed jars for beans and sugar, so contents stay fresh.
3. Roll a Cart Coffee Bar Between Kitchen and Dining
A rolling cart gives you a coffee bar that can move to where it is needed. Set the machine on the top shelf, mugs and beans on the middle shelf, and spare supplies in a basket on the lower shelf. Roll the cart beside the dining table for weekend brunch, then return it to a kitchen corner for weekday mornings. This suits a home where the dining room has no spare counter and the kitchen has one quiet corner.
Choose a cart with a brake on at least two wheels, so it stays put while you pour, and check that the top shelf is deep enough for the machine with room for steam to rise. Keep the cart load light on top and heavier below, so it does not tip when it moves. A small tray on the top shelf keeps drips off the cart surface and makes the whole cart easy to wipe.
4. Hide a Coffee Bar Inside a Cabinet or Armoire
A cabinet or an armoire can hide a coffee bar behind closed doors, which suits a living room, a hallway, or a kitchen where open clutter feels busy. Fit a small shelf inside for mugs and jars, add a heat-safe surface for the machine, and leave the doors open while you brew. When the doors close, the bar disappears, and the room keeps its calm look. This works best with a cabinet that already sits near a socket.
Check that steam can escape while the machine runs, and never brew with the doors fully closed around a hot machine. Line the base with a tray to catch drips, and keep a small bin or cloth inside for used filters and spills. If the cabinet is deep, add a pull-out tray or a turntable, so mugs at the back stay easy to reach.
5. Style a Rustic Wood Coffee Bar in a Dining Corner
A rustic wood bar in a dining corner suits a home that already uses warm wood, linen, and iron. Use a wood console or a small wood table, add open wood shelves above it, and keep mugs in stoneware with a linen cloth folded nearby. The wood warms a plain corner, and the bar doubles as a serving spot when guests stay for a second cup. This suits a dining room with one empty corner near a socket.
Keep the palette to warm wood, cream, and one dark metal, such as matte black or iron, so the bar matches the dining table without copying it. Add one small plant and one framed print, and leave the rest of the surface clear for cups and a small tray. For more rustic kitchen and dining ideas, see these chic rustic kitchen ideas.
6. Keep a Modern Minimal Bar in Matte Black and White
A modern minimal bar uses a small number of pieces in a calm palette, which suits a kitchen with flat cabinets and plain counters. Choose a matte black machine or kettle, white ceramic mugs, and one wood board or tray for warmth. Keep everything else in a cabinet, so the bar shows only the machine, two or three mugs, and one jar. The result looks tidy even in a busy kitchen.
Use one accent only, such as a brass spoon set or a small green plant, and repeat the matte black finish once more nearby, for example in a tap or a light fitting. Wipe the bar daily, since dust and splashes show fast on dark and white surfaces. If the bar starts to collect extra mugs or gadgets, return the extras to a cabinet and keep the visible group small.
7. Set a Breakfast Nook Coffee Corner by the Window
A breakfast nook by the window is a natural place for a coffee bar, since morning light and a seat make the first cup feel unhurried. Put a small table or a narrow console beside the nook, set the machine on it, and keep mugs on a shelf or a hook rail within reach of the table. Add a small tray for sugar and spoons, and keep the table itself clear for breakfast plates.
Choose a spot with a socket nearby, and keep the machine clear of curtains, since steam can dampen fabric over time. Use washable placemats or a tray under the breakfast dishes, so crumbs and drips stay easy to clean. If the nook is small, hang mugs on a short rail instead of stacking them on the table, and keep the mug count to four or fewer.
8. Turn a Sideboard Into a Dining Room Coffee Bar
A sideboard in the dining room makes a generous coffee bar with closed storage below and display space on top. Set the machine at one end of the top, arrange mugs and jars in the middle, and leave the other end clear for serving. Use the drawers or cabinets below for spare beans, filters, extra mugs, and a tablecloth, so the top stays calm. This suits a dining room that already has a sideboard against a plain wall.
Add a small lamp or a pair of candles at one end for evening use, and keep them clear of steam from the machine. Hang a mirror or a framed print above the sideboard to mark the bar as a feature, and keep the frame simple so it does not compete with the mugs and jars. If the sideboard sits far from a socket, use a short, tidy cord cover along the wall rather than a loose cable across the floor.
9. Hang a Mug Rail and Menu Board Above the Bar
A mug rail with a small menu board turns the wall above a coffee bar into useful decor. Hang daily mugs on S hooks from a wood or metal rail, and fix a small chalkboard or framed board beside it with the household drink list, such as coffee, tea, and hot chocolate. Guests can see the choices at a glance, and daily mugs stay visible instead of stacked in a cabinet. This suits a bar with a free wall and a mug collection that deserves to be seen.
Keep the rail at a height every adult in the home can reach, and hang the heaviest mugs nearest the wall brackets, where the rail is strongest. Limit the rail to the mugs used each week, and store the rest in a cabinet, so the wall stays calm. Wipe the board and the rail during a normal clean, since kitchen air leaves a light film on both.
10. Organize Beans, Sugar, and Tea in Labeled Glass Jars
Labeled glass jars make a coffee bar look planned and make morning coffee faster, since you can see what is inside each jar. Use jars in one style with tight lids, and fill them with beans, ground coffee, sugar, and tea, with a small label on the front or the lid. Line the jars along a shelf or group three on a tray beside the machine, with daily beans at the front and less used tea at the back.
Keep jars clear of direct sun, which can warm beans and fade tea, and fill each jar only as full as the household will use within a few weeks, so contents stay fresh. Use a small scoop tied to one jar for sugar or ground coffee, so serving stays tidy. If counter space is tight, keep two or three jars out and store the rest in a cabinet.
11. Swap Bar Details by Season Without a Full Redo
A seasonal swap keeps a coffee bar feeling fresh without rebuilding it. Change the mug set, swap a small plant for a pinecone or a small vase of stems, and change one framed print by season. Keep the machine, the tray, and the jars in the same places, so the bar still works the same way each morning, and only the small details change. This suits a bar that already works well but starts to feel stale.
Store the off-season mugs and prints in one labeled box, so the swap takes minutes rather than a full tidy. Keep the seasonal group small, with one mug set, one small plant or stem vase, and one print, so the bar does not fill up. If a seasonal item blocks the machine or the socket, move it to a shelf instead, since a bar that is hard to use will not stay tidy.
12. Fit a Narrow Coffee Ledge in a Hallway or Studio Flat
A narrow ledge or a slim console in a hallway or a studio flat can hold a compact coffee bar where a full counter is not available. Choose a ledge deep enough for a small machine, with a shelf above for two or three mugs and one jar, and a small basket below for filters and spoons. The bar takes up little floor space, and the hallway gains a useful stop on the way to the kitchen. This suits a small home where the kitchen counter is already full.
Check that the ledge is fixed to studs or with fixings suited to your wall type, and keep the machine clear of coats, bags, and paper, since steam and heat need space. Use a spill tray under the machine, and keep a cloth nearby for drips, since a hallway has no sink close at hand. If the hallway is dark, add a small battery light above the ledge, so labels and mugs stay easy to read.
13. Give a Large Kitchen an Island Coffee Zone
A large kitchen can give coffee its own zone at one end of the island, so morning coffee does not crowd the cooking area. Set the machine at the island end nearest a socket, add a small tray for mugs and jars, and keep two stools nearby for a short sit-down cup. The island end becomes a serving spot as well, where guests can pour their own coffee without crossing the cook. This suits a kitchen with a long island and clear walkway space around it.
Keep the coffee zone to one end of the island, and leave the rest clear for prep and serving, so the island still works for cooking. Store spare beans and extra mugs in a drawer or cabinet near the island end, rather than on the island top. Wipe the island end after each use, since coffee rings show fast on stone and wood, and keep a small bin or cloth close for used filters.
Conclusion
A good coffee bar is less about owning many pieces and more about giving a small group of daily items one clear home. Choose a layout that fits your space, whether that is a tray on a counter, a shelf run on a wall, a rolling cart, or a zone at the end of an island, and keep daily items within reach while spares stay in a cabinet. Repeat one or two materials from the room, leave space to pour, and swap only small details by season. With those choices in place, the bar stays tidy, easy to use, and pleasant to look at every morning.
If you found a coffee bar idea here that fits your home, save this post on Pinterest so you can find it again when you are ready to set up your bar. Pin the layout you like most, whether it is a countertop tray, a rolling cart, or a hidden cabinet bar, and use it as a guide for your next weekend refresh.
FAQs
How much space do I need for a coffee bar?
A tray on a short stretch of counter is enough to start, as long as the machine fits with room for steam and a cup beside it. If counter space is tight, use wall shelves for mugs and jars, or a narrow ledge in a hallway, and keep the machine on the counter or on a small cart. Measure the machine depth first, then choose a tray or shelf that leaves at least a hand width of clear space around it.
Where should a coffee bar go in a small home?
Put it where you already have a socket and a short stretch of free surface, such as a kitchen counter corner, a wall shelf run, or a slim console in a hallway. Keep it near the kitchen if you can, since water and milk are close at hand, and avoid spots where the machine blocks a walkway or a door. A rolling cart works well in a small home, since it can move to a corner when it is not in use.
How do I keep a coffee bar from looking cluttered?
Limit the visible group to the machine, the mugs used each week, and two or three jars, and store spares in a cabinet. Use one tray or one shelf run to mark the bar as a single zone, repeat one or two materials, and leave clear space beside the machine for pouring. If new mugs or gadgets arrive, remove an older item to a cabinet, so the bar count stays steady.
What is the best way to store coffee mugs?
Hang daily mugs on a rail or hooks where they are easy to reach, and stack or store the rest in a cabinet. Keep the rail count to the mugs used each week, hang heavier mugs near the brackets, and leave space between mugs so they do not chip. If wall space is tight, use a small shelf or a mug tree on the counter, and keep the total mug count low.
Can I put a coffee bar in a dining room or living room?
Yes, if the spot has a socket and a heat-safe surface for the machine. A sideboard in a dining room or a cabinet in a living room both work, as long as steam can escape while you brew and drips land on a tray. Keep a cloth and a small bin nearby for spills and used filters, since those rooms have no sink close at hand.
How do I keep coffee beans fresh at a coffee bar?
Store beans in a jar with a tight lid, away from direct sun and stove heat, and fill the jar only as full as the household will use within a few weeks. Keep the main bean supply in a cool cabinet and refill the bar jar as needed, rather than leaving a large open bag on the counter. Label the jar with the bean type and the date you opened it, so older beans get used first.
Swedish home decor starts with light. Pale walls, light wood, and plain linen do most of the work, while wool, sheepskin, candles, and a few folk details add warmth you can feel. These 33 Swedish home decor ideas cover living rooms, bedrooms, kitchens, dining corners, bathrooms, entries, and small spaces, so you can refresh one room or carry one calm palette through the whole home. Start with daylight and one comfortable seat, then add texture, storage, and a quiet accent where daily life actually needs them.
Key Takeaways
Keep the base pale: warm white walls, light wood floors, and plain linen give every later layer room to show.
Add warmth through touch, not color alone: wool, sheepskin, linen, and woven baskets make a pale room feel lived in.
Use light at more than one level: daylight by day, plus lamps and candles in the evening, keeps a Swedish home soft after dark.
Repeat one or two accents, such as muted blue and white or one small red folk note, rather than adding a new color in every room.
Give everything a home: baskets, hooks, closed cabinets, and open shelves with gaps keep pale rooms calm and easy to tidy.
Start small: curtains, bedding, throws, and a fika tray can refresh a home in a weekend, with no building work.
1. Paint the Walls Warm White
Warm white walls give a Swedish home its light base. A warm white, rather than a cold blue white, softens daylight and suits pale wood, linen, and soft grey, while letting art and plants stand out without a strong wall color behind them. This suits almost any room, and it is the simplest first step for a home that feels dark or heavy.
Test two or three warm white samples on the wall and check them in morning light and evening lamplight before painting the whole room. Keep ceilings and trim in a matching warm white so rooms read as one calm space. If you rent and cannot paint, large linen curtains and a pale rug can soften a cooler wall color in a similar way.
2. Let Pale Wood Floors Show
Leave as much pale wood floor visible as you can, rather than covering it wall to wall. A floor in oak, birch, or pine is a core part of the Swedish look, and it keeps a light home feeling natural and grounded. Place rugs only where seating or walking needs softness, and leave a clear border of wood around them.
Clean wood floors with a method suited to their finish, and use felt pads under chair and table legs to limit scratches. If your floor is dark, a large pale rug and pale furniture can still give a room a Swedish feel, but the floor itself will read as a stronger anchor. Keep floors clear of extra small furniture so the wood can do its quiet work.
3. Choose a Low Light Linen Sofa
Choose a low sofa in light linen, in natural, oatmeal, or pale grey, as the main seat in the living room. A low back and slim arms keep the sofa from blocking light, and linen wrinkles in a way that suits a lived in room rather than fighting it. A two or three seat sofa, sized to the wall or rug zone, works better than an oversized sectional in most Swedish rooms.
Pick washable or removable covers where you can, since a light sofa sees daily use. Keep cushions simple, in plain linen or a soft stripe, and let throws and one accent color add interest. For more living room layouts in this style, see these Swedish living room ideas.
4. Drape a Sheepskin Over an Armchair
Drape a sheepskin over an armchair, a dining chair pulled into the living room, or a bench by the window. Sheepskin adds instant warmth to a wooden chair, and it is a classic Swedish touch that costs far less than new furniture. The soft texture also breaks up a room full of smooth wood and linen.
Use a real or good quality faux sheepskin in cream or natural grey, and shake it outside now and then to keep it fresh. Keep it on the chair you actually sit in, not on a chair kept only for show, so it stays part of daily life. In warm months, fold it over the chair back instead of removing it, so the room keeps its soft layer.
5. Keep Wool Throws in a Basket by the Sofa
Keep two wool throws within reach of the sofa, one folded over an arm and one in a basket beside it. Wool throws in cream, grey, or a soft stripe suit a Swedish room, and they turn a pale sofa into a seat people actually settle into. A throw also protects a light sofa arm from daily wear.
Choose throws you can wash, and vary the weave rather than the color: one smooth wool throw and one chunky knit throw give more interest than two identical pieces. Fold, rather than draping loosely, so the sofa still looks tidy when no one is sitting there. A basket for the spare throw keeps the second layer close without piling it on the seat.
6. Hang Sheer Linen Curtains High and Wide
Hang sheer linen curtains from close to the ceiling to the floor, so daylight filters in softly and the window feels taller. Sheer linen suits a Swedish home because it gives daytime privacy without shutting out light, which matters in rooms that need every bit of sun they can get. White, cream, or pale grey linen works best.
Use a simple rod in wood or black metal, and let the curtains fall straight rather than pooling heavily on the floor. Add a heavier linen pair at the sides only if the room gets cold drafts or needs evening privacy. Wash the sheers now and then, since pale linen shows dust faster than a darker curtain.
7. Group Candles on Trays for Evening Light
Group candles on a tray on the coffee table, windowsill, or side table, and light them in the evening for a warm, low glow. Candlelight is a daily habit in many Swedish homes, especially in darker months, and a tray keeps wax, matches, and holders in one tidy place. Plain white or cream candles in simple holders suit the look best.
Use sturdy holders that cannot tip easily, keep candles clear of curtains, throws, and paper, and never leave them burning in an empty room. Battery candles give a similar glow where real flames are not practical, such as a shelf near books. A tray also makes it easy to move the whole group when you need the table surface for food or work.
8. Add a Painted Gustavian Chair
Add a painted Gustavian chair, in soft grey, cream, or pale blue grey, as a second seat beside the sofa. Gustavian chairs have a light, carved frame and a simple upholstered seat, and they bring a Swedish historic note without making the room feel formal. One chair is enough in most rooms, since a full set can feel like a museum display.
Pair the chair with a small side table and a lamp, so it becomes a real reading seat rather than a display piece. Check secondhand shops for a painted chair with good joints, since an old frame often suits this look better than a new copy. Keep the chair cushion in plain linen so the painted frame stays the detail.
9. Pick a Pale Wood Coffee Table
Pick a pale wood coffee table in oak, birch, or whitewashed pine, with a simple rectangular or round top. A pale table keeps the center of the room light, and a plain top leaves room for a tray, a book, and a cup without looking crowded. Round tables suit small rooms and rooms where people walk past the seating group often.
Keep the table top mostly clear, with one tray to gather small items, and store magazines and remotes in a basket or drawer if the table has one. Choose a table height close to the sofa seat height, so cups and books are easy to reach. Wipe the top after use, since pale wood shows rings and marks more readily than dark wood.
10. Fit Open Pale Wood Shelves for Books and Ceramics
Fit one or two runs of open wall shelves in pale wood or painted white, and use them for books, ceramics, and a few plants. Open shelves suit a Swedish home because they keep storage visible and easy to reach, and they let a collection of plain ceramics add quiet color. Keep the shelves on one wall, rather than spreading them around the room.
Group books by height, leave gaps between groups, and put heavier items low and lighter ceramics higher. Anchor shelves into studs or with fixings suited to your wall type, and check the weight rating before loading them with books. Leave visible gaps so the wall reads as display rather than storage overflow.
11. Hang a Gallery Wall in Matching Frames
Hang a gallery wall above the sofa or along one wall, using matching frames in black, white, or pale wood. A Swedish gallery wall usually mixes prints, photos, and simple art, but keeps the frames consistent so the group reads as calm rather than busy. Hang the center of the group at eye level when seated, and keep the outer edges inside the width of the sofa.
Start with three or four pieces and add over time, rather than filling the wall in one go. Use art with pale backgrounds and soft colors, such as landscapes, botanical prints, or family photos in muted tones. Picture ledges are a renter friendly option, since they let you lean frames and swap them without new holes each time.
12. Set a Reading Chair by the Window
Set a comfortable armchair by the window, angled slightly toward the room, with a floor lamp behind one shoulder and a small table beside it. The window end of a living room is a natural reading spot, with daylight by day and a view to rest the eyes on. A chair here also makes use of a corner that often stays empty.
Add a basket for the current book and a throw, and keep the table surface clear for a cup. If the chair sits in direct sun, choose a fabric that fades slowly, or move the chair a step back from the glass. Angle the chair toward the room so the corner feels part of the living space, not cut off from it.
13. Lay a Flatweave Wool Rug in the Seating Zone
Lay a flatweave wool rug under the seating group, large enough for the front legs of the sofa and chairs to rest on it. A flatweave rug in cream, grey, or a soft stripe keeps the floor feeling light, and its low pile is easy to vacuum and to move chairs across. This is the rug style most often seen in Swedish rooms, where the floor itself stays part of the look.
Measure the seating zone before buying, and tape the rug outline on the floor to check walking routes and door swings. Keep the rug pattern simple if cushions or art already carry pattern, and use a rug pad underneath on a smooth wood floor. Vacuum often, since wool holds dust, and rotate the rug once a season so wear stays even.
14. Repeat Blue and White Through the Rooms
Repeat blue and white through the home in cushions, ceramics, and art, as a quiet nod to Swedish folk patterns and coastal homes. A soft Swedish blue, rather than a bright navy, keeps rooms calm, and white keeps the blue from feeling heavy. Use the blue in three places in a room, such as a cushion, a vase, and a print, so it reads as a plan.
Keep the blues close in tone across rooms, so the home links together rather than jumping from one blue to another. If a room starts to feel too blue, swap one cushion for a cream one and let the art or ceramics carry the accent alone. White walls and pale wood will keep the accent soft even in a small room.
15. Add One Small Dala Horse Accent
A small Dala horse on a dresser, shelf, or mantel adds one clear Swedish folk detail to an otherwise plain room. The painted wooden horse, in red or a muted tone, gives a surface a focal point that links to Swedish craft tradition, without needing pattern elsewhere in the room. This suits a home that already has a calm palette and needs one small, warm accent.
Place the horse on a surface with one other item at most, such as a small plant or a tray, and leave the rest of the surface clear. Choose one horse in a size that suits the surface, rather than a group that crowds it. Dust the painted wood gently with a dry cloth, and keep it away from direct sun, so the paint stays even.
16. Layer White and Grey Linen Bedding
Layered white and grey linen bedding is the simplest way to make a bed look inviting in a Swedish room. The linen has a relaxed texture that softens plain white walls, and the mix of white and soft grey adds depth without a strong color. Thin layers also let you adjust warmth during the night without remaking the whole bed.
Build the bed in thin layers: plain sheets, a duvet in white or cream, and a lighter blanket or coverlet in soft grey folded across the lower half. Keep cushions to two or three, so making the bed stays quick. For more bedroom ideas in this style, see these Swedish bedroom ideas.
17. Choose a White Wardrobe With Wooden Handles
A white wardrobe with simple wooden handles gives a bedroom calm, closed storage that blends with pale walls. The white doors keep a large storage piece from dominating the room, while the wooden handles add one warm detail that links the wardrobe to the bed frame and bedside tables. This suits a bedroom where clothes, shoes, and bags need one home.
Plan the inside before you judge the outside. Give daily clothes a double hanging section, keep long coats and dresses in one tall section, and use a high shelf for seasonal boxes. Keep handles in one finish across all doors, so the wardrobe reads as one planned piece. Dust the doors and handles weekly, since white surfaces show marks fast.
18. Fit a Wooden Headboard in a Natural Finish
A wooden headboard in a natural finish gives the bed a clear center in a Swedish bedroom, without paint or pattern. The visible grain adds warmth to a white wall, and the simple shape suits pale linen bedding and light wood furniture. This suits a bedroom where an upholstered headboard would feel too soft or too formal.
Choose a headboard in the same wood tone as the bed frame, so the two pieces read as one unit. Measure the bed width and the wall space before you buy, and leave room for bedside tables on both sides. Keep the wall above the headboard plain or hang one small print, so the wood grain stays the focus.
19. Layer Bedroom Light With a Paper Pendant
Layered soft lighting with a paper pendant gives a Swedish bedroom a warm evening glow without one bright ceiling light. The paper pendant spreads light gently across the room, while bedside lamps give reading light on each side of the bed. This suits a bedroom used for reading and rest in the evening, where harsh light feels out of place.
Hang the pendant at a height that clears the bed and any tall furniture, and use a warm bulb so the light matches the bedside lamps. Put switches or dimmers where you can reach them from the bed, so you do not cross a dark room at night. Keep bulb color consistent across the room, since mixed warm and cool bulbs make a calm palette look uneven.
20. Put Greenery on the Bedroom Windowsill
Greenery on the windowsill gives a Swedish bedroom a living finish that needs no pattern or strong color. A few potted plants in plain ceramic or terracotta pots bring green to a pale room, and the windowsill keeps them in daylight where they grow well. This suits a bedroom with a wide sill and a window that gets gentle light during the day.
Choose plants that suit your light and watering habits, and group two or three pots of different heights rather than lining up many small pots. Keep the sill clear of other items, so watering and cleaning stay simple, and wipe leaves now and then so dust does not dull them. If fresh plants are hard to keep, one good quality faux stem in a plain pot gives a similar shape with less care.
21. Paint Kitchen Cabinets White Shaker Style
Paint shaker cabinets white for a kitchen that feels bright and orderly without looking bare. Shaker doors add simple shape, and a pale wood floor warms the white so the room feels lived in rather than clinical. This suits kitchens with good daylight, where white reads as fresh rather than stark.
Keep handles simple in black or brushed steel, and choose a counter in pale wood or white stone so the cabinets stay the focus. If you worry about upkeep, paint one run first and live with it for a week before painting the rest. For more kitchen schemes in this style, see these Swedish kitchen ideas.
22. Use Pale Butcher Block Counters
Use a pale butcher block counter for warmth at hand level in a white kitchen. Light wood counters suit white cabinets, black handles, and white tile, and they give a work surface that feels softer than stone. This is a good choice for a kitchen where the counter is the main warm material in the room.
Oil or seal the wood near the sink and stove, and wipe spills promptly so the surface stays even. Use boards for chopping and hot pans, and keep the backsplash simple so the wood grain stays clear. If a full wood counter is out of reach, use wood on the island only, with a pale stone counter on the main runs.
23. Fit Open Kitchen Shelves With White Dishes
Fit open light wood shelves on one kitchen wall and display white plates, bowls, and clear glasses against them. The wood warms the wall and adds display space without painting a single cabinet. This suits a kitchen with one blank wall or a short run above a counter.
Keep the shelf items to daily pieces you actually use, and leave breathing room between groups so shelves read as tidy, not crowded. Dust open shelves weekly, since open storage collects cooking film. Keep heavy items low and light items higher, and fix shelves into studs or with fixings rated for the load.
24. Paint Only the Kitchen Island Muted Blue
Paint only the island in a muted Swedish blue for color in one clear place. The blue reads as calm rather than bold, and it pairs well with white cabinets, pale wood stools, and a light counter. A blue island suits a white kitchen that feels too plain, and it is easier to repaint later than a full set of cabinets.
Repeat the blue once more, in a rug, a vase, or a tea towel, so it looks planned rather than random. Choose a hard wearing counter for the island, since it takes the most daily use. Keep the rest of the room neutral, so the island stays the single color note.
25. Swap In Blue and White Striped Kitchen Linens
Swap everyday tea towels for linen or cotton towels in blue and white stripes, and add a matching runner on the table or counter. Striped linens are the fastest Swedish change in a kitchen because they move through the room all day and wash easily. Hang them where they are used most: the oven handle, a hook by the sink, or the dishwasher bar.
Keep two sets in rotation so a wet or stained set never stays on display. Store the folded spare set in a drawer, not on the counter. Keep towel ends well clear of burners, and never leave a towel draped where it can slip toward a hot pan.
26. Line Up Herb Pots on the Kitchen Windowsill
Line up small herb pots in white ceramic on the kitchen windowsill. The plants get strong light and stay within reach while you cook, and the white pots tie the sill to the rest of the room. Use pots of a similar size and material, so the row looks calm rather than collected at random.
Set the pots on a narrow tray or saucers to protect the sill from water marks. Choose herbs based on the light your window actually gets, and keep the sill clear of the faucet splash zone where possible. Snip herbs often, since regular cutting keeps plants bushy and gives you fresh leaves for cooking.
27. Use a Light Wood Dining Table With White Chairs
Use a light wood dining table with white chairs in the kitchen dining area for a seating area that feels bright without new cabinets. A simple wood tabletop suits a small table for four, and it pairs well with white chairs and a plain runner. This is a good way to bring Swedish style into an open plan kitchen where the eating area stays in view.
Keep chair cushions washable, since kitchen chairs take daily spills, and check that chair legs have floor protectors so they do not scratch pale wood or tile. If the table feels too plain on its own, add a single vase or a low candle lantern. Keep one chair spare for guests rather than crowding the table.
28. Set a Fika Tray for Coffee Breaks
Set a fika tray with a small pot, two cups, and a plate for buns or biscuits, kept ready on a kitchen counter or a side table. Fika, the Swedish coffee break, gives a kitchen a daily ritual as well as a display, and a tray keeps the pieces together so the break takes a minute to set out. This suits any kitchen, since it needs no new furniture.
Choose plain white or cream cups and a simple tray in wood or pale ceramic, so the set links to the rest of the kitchen. Keep the tray to the coffee pieces only, so it stays ready rather than gathering clutter. Wash the cups after each break and return them to the tray, so the ritual stays easy to repeat.
29. Choose a Pale Wood Bathroom Vanity With an Open Shelf
Choose a pale wood vanity, in birch or light oak, with an open shelf below for rolled towels and a basket. The open shelf keeps the vanity from looking like a heavy box, and the light wood warms up white tile without darkening the room. This suits a family bathroom too, since towels stay within reach.
Keep the counter clear apart from a soap dispenser and a small dish, and put the rest behind a closed drawer or in the basket. Pair the vanity with a simple white basin and a plain wall mounted faucet so the wood stays the focus. For more bathroom schemes in this style, see these Swedish bathroom ideas.
30. Cover Bathroom Walls With White Tongue and Groove Paneling
Cover one or all bathroom walls with white tongue and groove wood paneling for the classic Swedish cottage look. The vertical boards add texture that flat paint cannot, and they make a plain bathroom feel finished even before you add decor. Painted paneling pairs naturally with pale wood and white tile.
Use moisture resistant boards or a bathroom rated paint, and seal the joints near the shower so steam cannot creep behind them. Run the boards to the ceiling in a small room to draw the eye up, or stop at chair rail height and paint above in a soft white for a calmer finish. Keep the boards white rather than cream so the room stays bright.
31. Pair Matte Black Fixtures With White Tile
Pair matte black faucets, shower fittings, and towel rails with white tile for a crisp Swedish contrast. The black lines act like pencil outlines in the room, giving character to an otherwise all white scheme without adding color. This is one of the cheapest ways to change the feel of a bathroom, since fittings swap without moving plumbing.
Keep the black finish consistent across the faucet, showerhead, and towel rail, and repeat it once more in a mirror frame or a cabinet knob. Wipe black fittings dry after use in hard water areas, since limescale shows more on dark surfaces. If you rent, keep the original fittings in a labeled bag for move-out day.
32. Lean a Wooden Ladder Rail for Towels
Lean a wooden ladder rail against a spare bathroom wall for towels, a robe, and a hanging wash bag. The ladder needs no drilling, gives four or five rungs in the footprint of a towel bar, and suits a narrow wall beside the door or at the end of the tub. Pale wood keeps it in line with the rest of the Swedish scheme.
Put heavier towels on the lower rungs and lighter items higher up, and add small adhesive pads under the feet so it does not slide on tile. Check that the top cannot tip forward if a child or pet pulls on it, and anchor it if your household needs that safety. A ladder rail also works as a drying rack for hand washed items.
33. Fit an Entry Bench With Hooks and Baskets
Fit a low entry bench with wall hooks above it and baskets below for shoes, scarves, and bags. The bench gives a place to sit while putting on shoes, the hooks keep coats off chairs, and the baskets hide the clutter that otherwise piles by the door. This suits a small entry best, where a full closet would block the path.
Keep the bench in pale wood and the baskets in one material, such as seagrass or cotton rope, so the entry links to the rest of the home. Label nothing, since the contents should be plain to see and easy to put back. Empty the baskets once a week, so out of season items move to storage and the entry stays ready for daily use.
Conclusion
A refreshed Swedish home comes from restraint as much as from pale wood and linen. Choose a few natural materials, keep the palette to three or four soft tones, and repeat each material once or twice so rooms look planned. Start with the room you use most, add curtains, bedding, throws, and table linens first, then add painted furniture, paneling, or a blue island only where the room still feels bare. With those layers in place, the home stays light and calm, but still feels warm and lived in every day.
If you found an idea here that suits your home, save this post on Pinterest so you can find it again when you are ready to start. Pin the look you like most, whether it is a linen sofa, a sheepskin chair, or a fika tray, and use it as a guide for your next weekend refresh.
FAQs
How do I keep a Swedish home from looking cold or bare?
Layer texture over the pale base. Add wool throws, a sheepskin, a woven rug, and linen curtains, and use warm white paint rather than bright white, so light feels soft. Keep wood tones warm and consistent, and add candles and lamps in the evening, since low warm light is what keeps a pale room from feeling cold.
What colors work best in Swedish home decor?
Warm white, soft grey, pale wood, and one quiet accent lead the palette. Muted Swedish blue works well in cushions, ceramics, and a kitchen island, while a small red Dala horse or a green plant adds a second note in tiny doses. Keep strong colors to one or two spots per room, so the calm base stays in charge.
Can Swedish decor work in a small home or apartment?
Yes, if the layers stay light and limited. Use pale walls, sheer curtains, one wood tone, and baskets for storage, rather than heavy furniture and dark finishes together. Keep floors clear, use a low sofa and a round or drop leaf table where space is tight, and let mirrors and daylight do the work of making rooms feel larger.
What is the easiest Swedish change with no painting or building?
Start with textiles and light. Swap to sheer linen curtains, add wool throws and a sheepskin, layer white and grey linen bedding, and group candles on a tray for the evening. Add a fika tray in the kitchen and baskets by the sofa and door. These swaps add Swedish warmth in a weekend, with no paint or tools needed.
How do I mix Swedish style with furniture I already own?
Keep the palette and the materials consistent, even if the furniture shapes differ. Add pale linen covers or throws to a darker sofa, swap hardware to black or wood, and repeat one wood tone in a coffee table, a bench, or frames. Remove one dark or patterned piece per room before adding a new one, so the room shifts step by step rather than all at once.
Does Swedish decor suit a home with children or pets?
Yes, when the pieces are washable and sturdy. Choose removable linen covers, washable wool throws, low pile rugs, and baskets with handles for quick tidies. Keep a sheepskin on the chair you sit in most, store toys in one or two baskets, and pick wood and ceramic finishes that wipe clean, so daily life fits the look instead of fighting it.
Scottish Highland style suits small rooms well, because it leans on warm textiles, natural wood, and a small set of deep colors rather than on large furniture or wide open floor space. A tartan throw, a wool rug, or a pine shelf can carry the look, while the rest of the room stays plain and easy to move through. These 24 Scottish Highland home decor ideas are chosen for flats, cottages, and compact rooms, so every idea earns its place with storage, warmth, seating, or light as well as looks. Start with one textile or one wall change, then add a second piece only if the room still feels easy to use.
Key Takeaways
Let one Highland pattern lead per room, usually tartan or tweed, and keep the other patterns small and quiet.
Build the palette from deep green, heather purple, oat, charcoal, and warm wood, and repeat each color at least twice.
Choose pieces that do two jobs in a small room, such as a storage ottoman, a window seat, or a bench with hooks.
Layer wool, tweed, linen, and wood so a small room feels warm without needing dark paint on every wall.
Keep floors and walkways clear, and put the strongest Highland details at eye level, on beds, sofas, and shelves.
Start with textiles for a quick change, and save paint, panelling, and built-in storage for a bigger project.
1. Tartan Cushions and a Throw on a Compact Sofa
Dress a small sofa with two tartan cushions and one folded tartan throw for the fastest Highland change in a living room. The tartan gives the sofa a clear identity, while the rest of the room can stay in oat, cream, or soft grey. Choose a tartan with green, navy, or red as the main color, and keep the cushion sizes close so the small sofa does not look crowded.
Fold the throw over one arm rather than spreading it across the whole sofa, so seating stays open. If the sofa is already patterned, use a plain wool throw in one tartan color instead, and keep the tartan to one cushion. This works well in a rented flat, since no paint or fixings are needed.
2. A Wool Throw Basket Beside an Armchair
Place a woven basket of rolled wool throws beside an armchair to add warmth and a clear Highland texture in one small footprint. The basket holds the throws upright, so they are easy to grab on a cold evening and easy to put away. Choose throws in oat, moss green, and charcoal, and keep the basket close to the chair so the corner reads as one seating zone.
Use a basket with handles, so it can move to the sofa or bed when guests stay over. Keep the basket off walkways and away from radiators, and fold the top throw neatly so the corner looks cared for rather than cluttered. This idea suits a room with little wall space, since it needs only floor space the size of a cushion.
3. Dried Heather in Jars on a Narrow Shelf
Set small jars of dried heather on a narrow shelf for a Highland touch that needs almost no space. Heather brings a soft purple tone and a natural shape, and jars keep the stems tidy and safe from dust. Use three jars in different heights, and place the shelf above a side table, a radiator cover, or a hallway console.
Keep the jars away from direct sun, which fades the color, and dust them with a dry cloth. If dried flowers are not practical in your home, use a small heather toned vase with a single stem of greenery instead. This suits a hallway or a bathroom shelf, where a larger plant would block the way.
4. A Deep Green Painted Alcove With Open Shelves
Paint a single alcove deep green and fit two or three open shelves inside it for Highland color plus useful storage. The dark green gives depth to a small room, while the shelves hold books, pottery, and a small plant without needing a bookcase. Keep the shelf items in oat, wood, and cream tones, so they stand out against the green without adding new colors.
Paint only the back wall of the alcove if the room is very small, and use warm white bulbs in a nearby lamp so the green reads as warm rather than cold at night. Leave one shelf partly empty, so the alcove does not look packed. This idea works well beside a fireplace, a bed, or a desk.
5. Reclaimed Wood Floating Shelves With Highland Pottery
Fit two reclaimed wood floating shelves on a short wall and style them with stoneware pottery, a small stack of books, and one wooden bowl. The wood grain carries the Highland cottage feel, and the shelves use wall space that a cabinet would waste. Keep the shelf length shorter than the wall, so the display has breathing room on each side.
Fix the shelves into studs or solid wall plugs, since pottery is heavy, and keep everyday items on the lower shelf for easy reach. Mix one tall jug with low bowls, so the shelf line has shape without looking busy. This suits a small kitchen, hallway, or bedroom where floor space is tight.
6. A Tartan Lined Window Seat With Storage Below
Build or buy a window seat with a tartan cushion and hinged storage below it for seating, reading space, and hidden storage in one piece. The seat turns a plain window into a useful nook, and the storage below can hold throws, board games, or out of season bedding. Choose a tartan cushion that matches one color in the room, such as green or navy.
Add a small bolster cushion at each end, so the seat works for reading as well as for extra seating at a table. Keep the seat depth near a normal chair depth, so legs rest comfortably, and fit a soft close hinge so the lid does not slam. In a very small room, a window seat can replace one armchair.
7. A Compact Stove Corner With a Stone Hearth Tile
Create a stove corner with a small electric or freestanding stove, a stone look hearth tile, and a short log basket for a Highland focal point that fits a flat. The stone tile protects the floor and gives the corner a cottage feel, while the stove adds a warm glow without a full fireplace build. Keep the stove size in proportion to the room, and leave clear space around it as the maker advises.
Place a small wooden stool or a log slice beside the stove as a side table, and keep the wall behind it plain so the corner stays calm. Use battery candles or a lantern on the mantel shelf if an open flame is not practical. This suits a living room corner that otherwise stays empty.
8. Highland Cow Print Art Above a Small Sideboard
Hang one framed Highland cow print above a small sideboard for a clear Highland focal point that needs no floor space. The print gives the room a subject and a story, while the sideboard below holds keys, books, or a lamp. Choose a print in muted tones, with a simple wood frame, so it suits a small room rather than dominating it.
Hang the print so its center sits near eye level when standing, and keep the sideboard top mostly clear, with one lamp and one small bowl. If a cow print does not suit your taste, use a Highland landscape print in the same muted palette. For more ideas on hanging art at the right height, see these bedroom wall art ideas.
9. Layered Wool Rugs Over a Wood Floor in an Entry
Layer a flat wool rug over a larger natural fiber rug in an entry for warmth, grip, and a Highland texture at the door. The top wool rug can carry a subtle check or a plain moss tone, while the base rug protects the floor and defines the entry zone. Keep both rugs low pile, so the door opens freely and shoes do not catch.
Use a rug pad under the top rug to stop it sliding, and shake both rugs outside on a regular basis. Choose a size that leaves wood floor visible around the edges, so the entry still feels open. This suits a small hall where a boot tray and a rug must share the same patch of floor.
10. Tartan Roman Blinds for a Small Window
Fit tartan Roman blinds on a small window for pattern, privacy, and warmth without the bulk of full curtains. Roman blinds fold up neatly, so they suit a window above a sink, a desk, or a bed where curtains would bunch. Choose a tartan with a light background if the room is dark, so the window still feels bright when the blind is down.
Mount the blind inside the window frame for a tidy fit, and pair it with a plain roller blind behind it if you need full blackout at night. Keep the blind cord safe with a cleat, and dust the folds with a soft brush. This idea works well in a small kitchen or a box room.
11. A Stone and Wood Console With a Boot Tray in a Hallway
Use a narrow stone topped wood console in a hallway, with a boot tray below it, for a Highland entry that handles muddy shoes and daily clutter. The console top holds keys and post, while the tray below keeps boots in one place and protects the floor. Choose a console no deeper than a shoe length plus a small margin, so the hall stays easy to walk through.
Add two hooks above the console for a coat and a bag, and one small basket on the top for gloves. Keep the boot tray empty of shoes you are not using that week, so the hall does not fill up. This suits a cottage hall, a flat entry, or a back door where outdoor gear gathers.
12. A Pine Panelled Reading Nook With a Plaid Blanket
Line one corner with pine panelling or a pine framed screen, add a small armchair, and finish it with a plaid blanket for a reading nook that feels like a Highland bothy. The pine adds warmth and a cabin tone, while the chair and blanket make the corner a place to sit rather than a display. Keep the panelling to one corner, so the room does not feel boxed in.
Add a small wall light or a floor lamp behind the chair, and a tiny side table for a book and a drink. Choose a plaid blanket in green and oat, and fold it over the chair arm when not in use. This suits a bedroom corner, a living room alcove, or a landing with room for one chair.
13. Moss Green Kitchen Cabinets With Brass Pulls in a Small Kitchen
Paint small kitchen cabinets moss green and fit simple brass pulls for a Highland kitchen that feels warm without darkening the room. Moss green sits well with wood worktops and cream walls, and brass pulls add a small warm detail at hand level. Keep the wall tiles and worktop light, so the green reads as an accent rather than a heavy block.
Paint a test door first, and check it in daylight and under kitchen lights, since green shifts with light. Use the same brass finish on the tap and light fittings if you are changing them, so the details match. If a full repaint feels like too much, paint only the lower cabinets green and keep the uppers cream.
14. A Tartan Table Runner and Wooden Board Dining Corner
Lay a tartan table runner down a small dining table and add a wooden serving board for a Highland dining corner that sets up in minutes. The runner gives the table a center and a color, while the board serves as a place for bread, cheese, or candles. Keep the rest of the table plain, with simple plates and glasses, so the runner stays the focus.
Choose a runner that leaves plain table visible at each end, so the table does not look covered. Fold the runner away after meals if the table also serves as a desk, and wash it on a gentle cycle. This suits a kitchen corner table, a fold down table, or a small dining nook.
15. A Bothy Style Daybed With Tartan Bedding in a Small Bedroom
Set up a daybed with tartan bedding, a plain wool throw, and two firm cushions for a small bedroom that needs both a bed and a daytime seat. The daybed sits against a wall, so it reads as a sofa by day and a bed by night, and the tartan bedding gives it a Highland identity. Keep the wall behind it plain, with one small shelf for a book and a lamp.
Choose a daybed frame with drawers below for bedding storage, so the room needs no extra chest. Use a mattress topper for comfort at night, and fold the tartan cover back during the day to show the plain throw. This suits a guest room, a studio flat, or a child’s room that doubles as a play space.
16. Heavy Wool Curtains and a Draught Excluder for a Small Doorway
Hang heavy wool curtains at a small doorway and add a matching draught excluder for warmth, privacy, and a Highland textile layer. The curtains soften a plain doorway and help a small room hold heat, while the excluder closes the gap at the floor. Choose wool in moss green, charcoal, or oat, and keep the curtain rod just wider than the doorway.
Use a rod with sturdy brackets, since wool is heavy, and tie the curtains back during the day so the doorway stays open. For more curtain lengths and hanging ideas, see these bedroom curtain ideas. This suits an old cottage doorway, a draughty flat hall, or a bedroom door that needs extra privacy.
17. A Highland Landscape Print Ledge in a Narrow Room
Fit a narrow picture ledge on a long wall and display two or three Highland landscape prints for art that can change without new holes in the wall. The ledge keeps prints at one level, which suits a narrow room where a large frame would feel heavy. Choose prints in muted greens, greys, and heather tones, and keep the frames in the same wood tone.
Lean the largest print at one end and overlap the smaller ones slightly, so the ledge reads as one display. Swap one print with the seasons, such as a snowy scene in winter, for a fresh look without redecorating. This suits a hallway, a stair wall, or a long bedroom wall.
18. A Leather and Tweed Storage Ottoman That Doubles as a Seat
Place a leather and tweed storage ottoman in a small living room for a footrest, extra seat, and hidden storage in one piece. The ottoman can hold throws, remote controls, or children’s toys, while the tweed top adds Highland texture. Choose a size that fits beside the sofa without blocking the walkway, and keep the leather base in a dark brown that matches other wood tones.
Use the ottoman as a coffee table by adding a small wooden tray on top when guests visit. Keep the inside tidy with one small basket for loose items, so the storage stays useful. This suits a flat living room where a coffee table, a seat, and a storage box would be three pieces too many.
19. Candle Lanterns on a Stone Tray for a Small Table
Group three candle lanterns on a stone tray for a small table centerpiece with a Highland cottage glow. The tray keeps the lanterns together and protects the table, while the lanterns give soft light without needing a fireplace. Use plain pillar candles or battery candles, and vary the lantern heights so the group has shape.
Keep the tray away from curtains and bedding, and never leave burning candles unattended. Choose lanterns in black metal or aged brass, and add a few small pebbles or a sprig of greenery on the tray for texture. This suits a coffee table, a dining table, or a bedside table in a small room.
20. A Sheepskin Draped Over a Desk or Dining Chair
Drape a sheepskin over a desk chair or a dining chair for instant warmth and a Highland texture in a room with no space for extra furniture. The sheepskin softens a hard chair, adds a light oat tone, and can move from desk to dining table as needed. Choose a sheepskin that fits the chair back without hanging to the floor, so it does not catch on wheels or legs.
Shake the sheepskin outside on a regular basis, and brush it gently to keep the pile soft. If animal products do not suit your home, use a thick wool fleece throw in oat for a similar look. This suits a home office corner, a small dining set, or a bedroom chair.
21. A Vertical Log Store Used as a Side Table
Stack logs in a tall, narrow log store beside a chair or stove, and use its flat top as a side table for a book and a drink. The logs add a Highland woodland texture and a natural color, while the narrow shape fits a gap that a table would waste. Choose a store with a solid top and a stable base, so cups sit safely.
Keep the logs dry and dust free, and top up the store from a larger supply outside rather than filling it to the brim indoors. If you have no stove, use the same tall store for rolled blankets or magazines instead of logs. This suits a living room corner, a hallway gap, or a bedroom beside a reading chair.
22. A Tartan and Tweed Entry Bench With Hooks Above
Place a small entry bench with a tartan seat pad and a tweed cushion, with hooks above it, for a Highland entry that handles sitting, shoes, and coats in one spot. The bench gives a place to sit while putting on boots, and the hooks keep coats off chairs. Choose a bench with open space below for shoes, so the entry needs no extra shoe rack.
Keep the bench length near the width of the door wall, and use hooks in a dark metal finish that matches the bench legs. Hang only the coats in daily use, and store the rest elsewhere, so the entry stays clear. This suits a small hall, a porch, or a utility corner by the back door.
23. A Dark Wood Mirror to Bounce Light in a Narrow Hall
Hang a dark wood framed mirror in a narrow hall to bounce light, widen the feel of the space, and add a Highland wood tone. The mirror reflects a window or a lamp across the hall, which helps a dark passage feel brighter. Choose a mirror as tall as the hall allows, and hang it opposite a light source for the best effect.
Keep the frame simple, with a plain wood finish, and hang the mirror so its center sits near eye level. Avoid placing it opposite a cluttered wall, since the mirror will double the clutter. This suits a cottage hall, a flat corridor, or a landing with little natural light.
24. One Highland Palette Applied Across a Whole Small Room
Apply one Highland palette across a whole small room, with deep green on one wall, heather on cushions, oat on bedding or sofa covers, and charcoal on small accents, for a room that feels planned rather than pieced together. The palette ties separate ideas in this list into one look, and it stops a small room from filling with unrelated colors. Start with the largest surface, usually the wall or the bed, and add the other colors in smaller doses.
Repeat each color at least twice, such as green on the wall and on a cushion, and heather on a throw and a vase. Keep wood tones warm and consistent, and leave one surface plain, such as a cream ceiling or a plain rug. For a small flat where every room flows into the next, see these minimalist small apartment ideas for layout ideas that pair well with a tight palette. This idea suits a reader who wants to plan a full room refresh in one go.
Conclusion
Highland style works in a small home when each piece earns its place. Tartan and tweed bring pattern, wool and wood bring warmth, and stone and brass add small, solid details, all without needing large furniture. Pick one idea that solves a real need in your room, such as storage, seating, warmth, or light, then add a second idea only if the room still feels easy to live in. A small room with a tight palette and a few well chosen Highland pieces will feel warm and settled, and it will stay easy to tidy, move through, and enjoy every day. Save this list before your next refresh, and start with the textile or storage idea that fits your room best.
FAQs
1. What colors define Scottish Highland home decor?
Deep green, heather purple, oat, charcoal, and warm wood tones define the look. Use one deep color as the lead, oat or cream as the base, and the other colors in small doses on cushions, throws, and art, so a small room stays calm rather than busy.
2. How can I use tartan in a small room without it feeling busy?
Use tartan in one place per room, such as cushions, a throw, a blind, or a runner, and keep the rest of the room plain. Choose a tartan with colors already in the room, and pair it with plain wool and wood, so the pattern reads as a feature rather than clutter.
3. What is the best Highland idea for a rented flat?
Textiles are the best choice, since they need no paint or fixings. Start with tartan cushions, a wool throw, a sheepskin on a chair, and a tartan runner, all of which can move with you and change a room in an afternoon.
4. How do I add Highland style to a small kitchen?
Paint lower cabinets moss green, add brass pulls, and use wood boards and stoneware on open shelves. Keep worktops and walls light, and add one tartan tea towel or runner, so the kitchen feels Highland without losing light or work space.
5. Can Highland decor work in a modern small flat?
Yes, if you keep the lines simple and the palette tight. Pair a tartan throw or a tweed ottoman with plain modern furniture, a dark wood mirror, and one landscape print, and skip heavy panelling and ornate details that can crowd a modern room.
6. How do I keep a small Highland room from feeling dark?
Keep ceilings and large surfaces light, use mirrors opposite windows, and add warm lamps at seat height. Use deep green or charcoal on one wall or one piece only, and balance it with oat bedding, cream walls, and light wood elsewhere in the room.
Spanish Colonial style starts with warmth: sun baked clay, dark wood, soft plaster, and iron that looks made by hand. The risk is going too far, with every surface patterned and every corner filled, until a room feels like a set rather than a home. The balance comes from pairing one or two strong Spanish Colonial features with plain linen, pale walls, and seating you actually want to sit in. These 11 Spanish Colonial home decor ideas cover walls, floors, ceilings, furniture, kitchens, bedrooms, and bathrooms, so you can borrow a single detail or build a whole room around the look.
Key Takeaways
Start with warm, natural materials: plaster, terracotta, dark wood, leather, linen, and wrought iron set the Spanish Colonial tone before any decoration is added.
Keep one calm palette of warm white, terracotta, olive, and walnut, and repeat it in the rug, cushions, and pottery.
Use curves to soften the room: arches, rounded doorways, and arched niches do more for the style than a wall of small patterned objects.
Balance heavy pieces with light ones: pair a carved wood bed or a dark beam ceiling with plain linen bedding and pale walls.
Let pattern live in one place at a time, such as a tile backsplash or a rug, while the rest of the room stays plain.
Choose comfort first: deep seats, washable linen, sturdy wood, and good light keep a handsome room easy to live in.
1. Warm White Plaster Walls With Terracotta Accents
Wash the walls in warm white plaster, or a plaster look finish, and let terracotta pots, cushions, and pottery carry the color. The pale walls keep the room bright, while the clay tones give it the warmth that defines Spanish Colonial style. This suits a room that already has dark wood or tile floors, since the pale walls stop those heavier surfaces from closing the room in.
Keep the terracotta to a few clear pieces: a large pot by the door, two cushions on the sofa, and a bowl on the table. Repeat the same muted clay tone rather than mixing bright orange with deep rust, so the accents read as one palette. For a related warm plaster approach in a Mediterranean room, see these Italian living room ideas. If the walls feel too plain, add texture with a woven basket or a linen throw instead of a new color.
2. Arched Doorways and Wall Niches
Use arches to soften a boxy room: an arched doorway, an arched niche, or an arched mirror gives Spanish Colonial character at once. Curves break up straight lines and draw the eye upward, and a niche gives a single vase or candle a place of its own. This suits a hallway, a living room wall, or the wall beside a fireplace, where one arch can change the whole feel of the space.
Keep arches to one or two in a room, so they feel special rather than repeated everywhere. Paint the inside of a niche a shade deeper than the wall, or leave it in warm white, and display one object at a time. If building a real arch is not practical, an arched mirror or an arched bookcase gives the same curved shape without building work. Avoid filling every niche, since empty space around one piece is part of the calm look.
3. Terracotta Tile Floors Softened With a Woven Rug
Lay terracotta tiles, or a terracotta look tile, for a floor that feels warm underfoot and ages well with use. Terracotta suits living rooms, kitchens, and entryways alike, and it pairs naturally with wood furniture and linen upholstery. A large woven rug over the tiles softens the seating area and keeps feet warm in cooler months.
Size the rug to the seating group, with the front legs of the sofa and chairs resting on it, as explained in these living room rug ideas. Choose a rug in cream, rust, or a muted pattern, and keep a border of tile showing around it so the floor still reads as terracotta. A flatweave rug is easier to clean in a busy family room, while a thicker wool rug suits a quiet reading corner. Seal tiles as the maker directs, since unsealed clay can stain.
4. Dark Wood Ceiling Beams in a Pale Room
Leave ceiling beams exposed, or add slim wood beams to a plain ceiling, to bring warmth overhead without changing the furniture. Dark walnut beams suit a rustic room, while pale oak beams keep a smaller room feeling light. Beams draw the eye up and make a plain ceiling feel like part of the design, not just a surface above it.
Check the ceiling height first, since beams in a very low room can feel heavy. In a low room, use fewer, slimmer beams in a pale wood, and keep the ceiling itself in warm white. Pair beams with pale walls and plain linen curtains, so the wood stays the main dark note in the room. Dust beams with a dry cloth or a long handled duster, since dark wood shows dust in bright light.
5. Wrought Iron Lighting and Small Iron Details
Hang a wrought iron chandelier or pendant over a table or seating area for a fixture that feels handmade and old. Iron suits a room with wood beams, plaster walls, and terracotta, and a simple ring or candle style fixture gives warm light without a fussy look. Use warm bulbs and a dimmer, where one is already fitted, so the light can shift from bright to soft in the evening.
Repeat the iron in small doses: a curtain rod, a mirror frame, or a pair of lanterns on a side table. Keep the iron dark and matte rather than shiny, so it reads as old rather than new. Hang the fixture high enough to walk under safely, and center it over the table rather than the middle of the room if the seating group sits off center. If the ceiling is low, choose a flush or semi flush iron fixture in the same style.
6. Leather and Linen Seating in Warm Tones
Anchor the living room with a leather sofa in cognac or saddle brown, softened by linen cushions in cream and olive. Leather suits a family room because spills wipe off, and the warm brown tone sits well with terracotta floors, wood beams, and cream plaster. Choose a simple shape with deep seats, since a fussy frame fights the relaxed Spanish Colonial feel.
Pair the sofa with a wood coffee table and a woven throw, and keep the rest of the seating simpler, such as plain wood chairs or a linen armchair, so the leather stays the main statement. Condition the leather as the maker directs, and keep it out of harsh direct sun. For table styling that suits this seating group, see these Mediterranean coffee table styling ideas. A linen slipcover on one chair adds a soft contrast to the leather and can be washed when needed.
7. Hand Painted Tile in the Kitchen
Use hand painted tile, in a Talavera style pattern of blue, white, and soft green, for a kitchen backsplash or a small accent wall. One tiled area gives the kitchen its Spanish Colonial note, while plain wood cabinets and a simple counter keep the room calm and easy to work in. This suits a kitchen where a full patterned room would feel busy, since the tile stays in one clear zone.
Keep the tile pattern to the backsplash, or to the risers of a short step, and let the rest of the kitchen stay plain. Choose a grout color close to the tile background, so the pattern reads clearly without a harsh grid. Wipe the grout lines after cooking, since kitchen splashes stain pale grout over time. If real hand painted tile is out of reach, a printed tile look panel in the same colors gives a similar effect and can be changed later.
8. A Courtyard Style Seating Nook Indoors
Borrow the courtyard idea for a sunny corner: a small seating group with potted plants, a terracotta pot or two, and a low wood table, arranged like an outdoor patio brought inside. Plants soften plaster and tile, and the corner gives the room a place to sit that feels separate from the main sofa group. This suits a room with a large window, a glass door, or a sunlit corner that is otherwise unused.
Use one large plant, such as an olive tree in a pot or a tall palm, plus two smaller pots, rather than a crowd of small plants that need constant care. Add a woven chair or a bench with a linen cushion, and keep the table clear except for a candle or a small bowl. Water plants over a tray so terracotta floors and rugs stay dry, and move pots a little each week if one side gets much more light than the other.
9. A Carved Wood Bed With Plain Linen Bedding
Choose a carved wood bed frame, in walnut or a warm dark wood, and dress it in plain linen bedding in cream or warm white. The carved headboard gives the bedroom its Spanish Colonial character, while plain bedding keeps the bed calm and easy to sleep in. This suits a main bedroom where the bed sits against a long blank wall and needs a focal point.
Layer cream sheets, a cream duvet, and one terracotta or olive throw at the foot, and keep cushions in cream and one accent tone only, so the bed reads as one calm block. Add wood nightstands and warm lamps, since a dark bed needs even light at night. If a full carved frame feels too heavy, a carved headboard alone, with a plain wood base, gives the same detail with less weight in the room.
10. A Plaster Fireplace With a Thick Wood Mantel
Make a plaster fireplace the center of the room, with a thick, rough wood mantel above it. Warm white plaster gives the fireplace a soft, hand finished look, while the wood mantel softens it and gives you a shelf for candles, a vase, or a framed print. This suits a room where conversation matters more than a television, since chairs naturally turn toward the fire.
Keep the hearth clear and safe, with no rug or fabric too close to the opening, and choose a low pile rug for the seating group in front of it. Style the mantel with three pieces at most: a candle group at one end, a vase in the middle, and a framed print at the other end. If your home has no working fireplace, a plaster surround around an electric insert gives a similar focal point without major building work.
11. Tile and Wood Details in the Bathroom
Bring Spanish Colonial warmth into the bathroom with hand painted tile on one wall, a wood vanity, and warm metal fittings in bronze or aged brass. Tile on the wall behind the basin, or around a shower niche, gives the room its pattern, while a plain plaster wall and a simple mirror keep it calm. This suits a bathroom that feels cold or plain, since tile and wood add warmth at once.
Keep the tile to one wall or one zone, and use plain tiles elsewhere, so the pattern does not crowd a small room. Choose a wood vanity with a sealed top, and wipe water from the wood after use, since bathroom damp can mark unsealed wood over time. Add a woven basket for towels and a terracotta pot with a plant that suits damp air, and keep the counter clear except for soap and one small tray.
Conclusion
Spanish Colonial style works best when warmth and restraint share the room. Start with plaster, terracotta, wood, and iron, then leave enough plain linen and pale wall space for those materials to breathe. Pick one strong feature per room, such as an arch, a tile backsplash, or a carved bed, and let comfort lead the rest: deep seats, good light, and surfaces that are easy to live with. Save the ideas that fit your home, start with the room you use most, and build the look one warm, practical detail at a time.
FAQs
What colors define Spanish Colonial home decor?
Warm white, terracotta, olive, walnut, and soft blue define the palette. Use warm white on the largest surfaces, terracotta and olive in smaller doses, and walnut or dark wood for furniture and beams. Keep the palette to four or five colors at most, and repeat each color at least twice, so the room looks planned rather than random.
How do I use Spanish Colonial style in a small home?
Use it in small doses: one arched mirror, a terracotta pot group, a tile backsplash, or a woven rug over a plain floor. Keep walls pale, choose slimmer wood beams or none at all, and let one strong detail carry the style while the rest of the room stays plain. Small rooms suit lighter wood tones and fewer patterned pieces.
Is terracotta tile practical for everyday floors?
Yes, if it is sealed as the maker directs and cleaned with a damp mop rather than harsh chemicals. Terracotta hides everyday wear well and suits kitchens, entries, and living rooms. Use a rug in seating areas for warmth, keep a mat by the door for grit, and wipe spills quickly, since unsealed clay can stain.
How can I add arches without building work?
Use an arched mirror, an arched bookcase, or an arched headboard to bring the curved shape into a room without changing the walls. Paint an arch shape on one wall, or use a freestanding arched screen, for a low cost trial before you commit. One arch in a room is often enough to set the tone.
What is the difference between Spanish Colonial and Mediterranean decor?
Spanish Colonial decor leans on darker wood, wrought iron, carved details, and terracotta, with roots in Spanish colonial homes in the Americas. Mediterranean decor covers a wider region, including Italy and Greece, and often uses lighter blues, whitewashed wood, and coastal details. The two styles share plaster, tile, and warm clay, so they mix well in one home.
How do I keep a Spanish Colonial room from feeling dark or heavy?
Balance every dark piece with a light one: pale plaster walls beside dark beams, cream linen beside a leather sofa, and plain bedding beside a carved bed. Use warm bulbs, keep windows clear of heavy curtains, and leave empty space on shelves and mantels. If a room still feels heavy, remove one patterned piece and see how the room breathes.