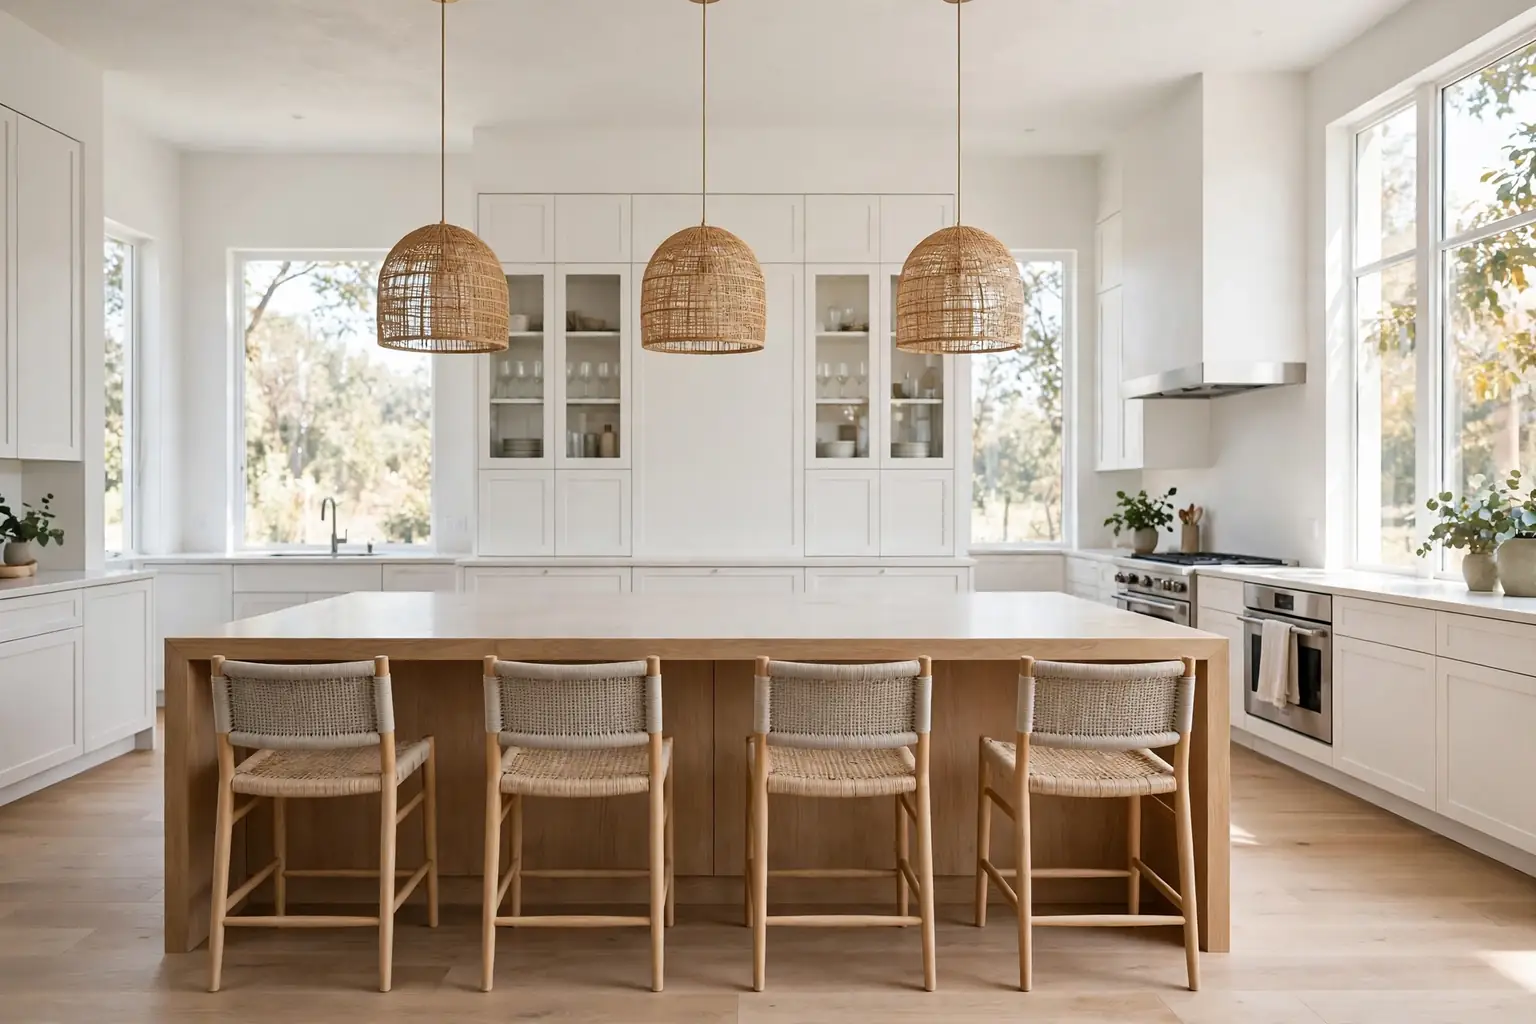
A kitchen island has to do more than look good in a photo. It is where breakfast happens, homework spreads out, vegetables get chopped, and guests gather while dinner cooks. The best island for your home depends on how much floor space you have, how many people sit there, and what you cook most often. These 24 ideas cover prep islands, seating bars, storage islands, baking stations, and small kitchen layouts, so you can pick a shape and a surface that fits your room and your daily routine. Start with clear walkways and a job for the island, then choose materials that suit how hard it will work.
Key Takeaways
- Give the island a clear main job first, such as prep, seating, storage, or baking, and let that job set its size and surface.
- Keep walkways clear on every side you use, so doors, drawers, and stools can move without crowding the cook.
- Choose a work surface for real use: wood for warm prep work, stone for baking and heat, and sealed surfaces where spills are frequent.
- Plan seating for the people who actually sit there, with foot room, knee room, and a stool height that matches the counter.
- Mix open and closed storage so everyday tools stay within reach and less used items stay out of sight.
- Repeat one material or color from the rest of the kitchen, so the island reads as part of the room rather than a separate piece.
1. Classic Rectangular Prep Island With a Butcher Block Top
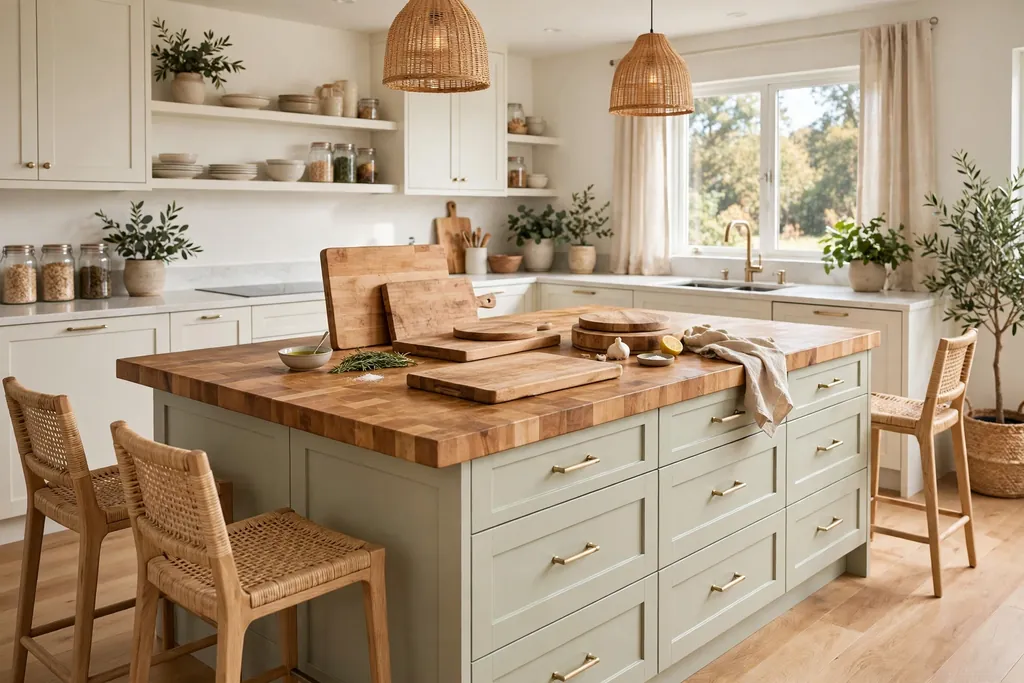
A simple rectangular island with a butcher block top is a strong starting point for a working kitchen. The wood surface is warm to the touch, kind to knives and dishes, and easy to use as a chopping and serving area. Keep the shape plain, with drawers on the cook side and a clear top, so the island stays useful even when the kitchen is busy. A rectangular island also fits most layouts, since it lines up with the main counter run and leaves even walkways on both long sides.
Oil the wood on a regular schedule, wipe spills promptly, and use a separate board for raw meat and strong smelling foods. If the top marks over time, light sanding and fresh oil can bring it back, which is one reason wood suits a hard working island. Pair it with simple stools at one end only if there is enough overhang, and keep the rest of the top clear for prep.
2. Waterfall Quartz Island
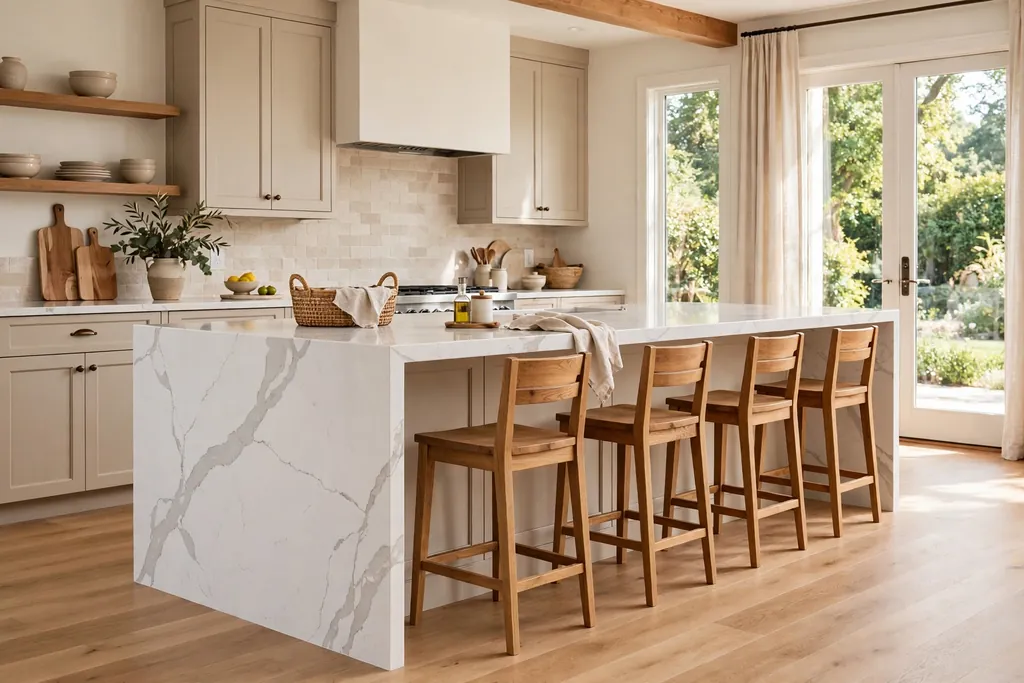
A waterfall island wraps the counter material down both ends to the floor, giving the island a clean, solid outline. Quartz suits this treatment well, since it is consistent in color, hard wearing, and easy to wipe after cooking. The solid ends make the island read as a piece of furniture, which suits an open plan room where the kitchen faces the living area. If the island sits opposite a cooking wall, choose a wall surface that wipes clean too, as shown in these kitchen backsplash ideas.
Keep the island front simple, with no handles or panels competing with the stone, and choose a quartz with soft veining or a plain finish. Add seating on one side only, so the waterfall ends stay visible, and pick stools in wood or rattan to warm the stone. Measure the room first and leave enough walkway space on every side before you commit to the size, since a waterfall island is a fixed feature.
3. Island Seating Bar With Stools
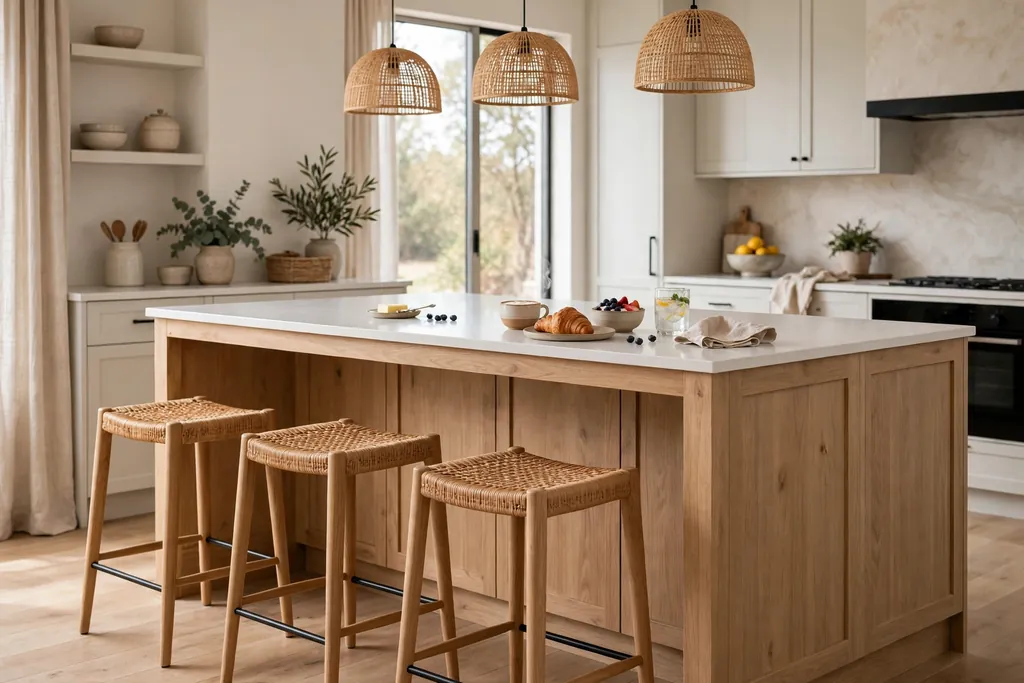
An island seating bar turns one side of the island into a casual eating spot for breakfast, coffee, and quick meals. The key is an overhang deep enough for knees and a footrest or a stool with a foot ring, so sitters do not perch awkwardly. Place stools with elbow room between them, and keep the number to what the island truly fits rather than crowding in one more seat. For stool styles, heights, and comfort tips, see these kitchen chair ideas.
Choose stools that slide fully under the overhang when not in use, so the walkway stays clear. A backless stool suits a tight space, while a stool with a low back suits longer sits and older guests. Keep the seating side free of drawers and bins that open into knees, and keep the surface clear of clutter so the bar reads as a welcome place to sit.
4. Rolling Island for a Flexible Kitchen
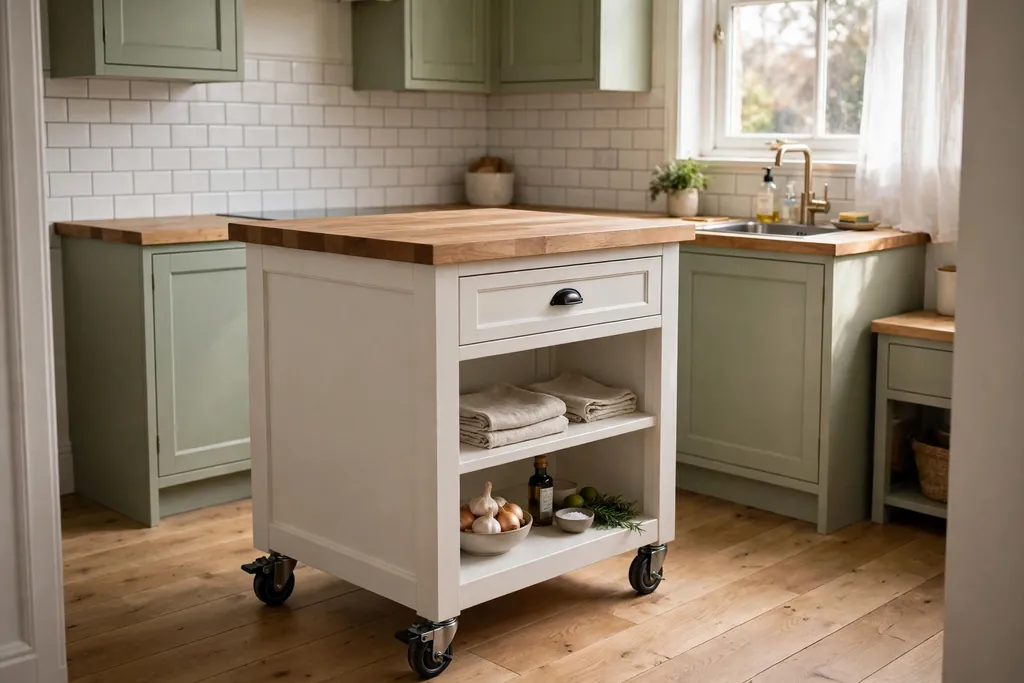
A rolling island on locking casters gives a small or rented kitchen a work surface that can move where it is needed. Roll it beside the main counter for extra prep space, move it to the center for serving, or push it against a wall when the room needs floor space. Choose a model with a solid top, at least one drawer, and shelves below, so it works as storage as well as a counter.
Lock the casters every time you chop or place a hot pan on the island, and check that the height matches your main counter so work flows across both surfaces. A rolling island suits a kitchen where a fixed island would block a door or a walkway, and it is a good trial before committing to a built in island. Keep the top light in color if the kitchen is small, so the movable piece does not weigh the room down visually.
5. Workstation Island With a Sink
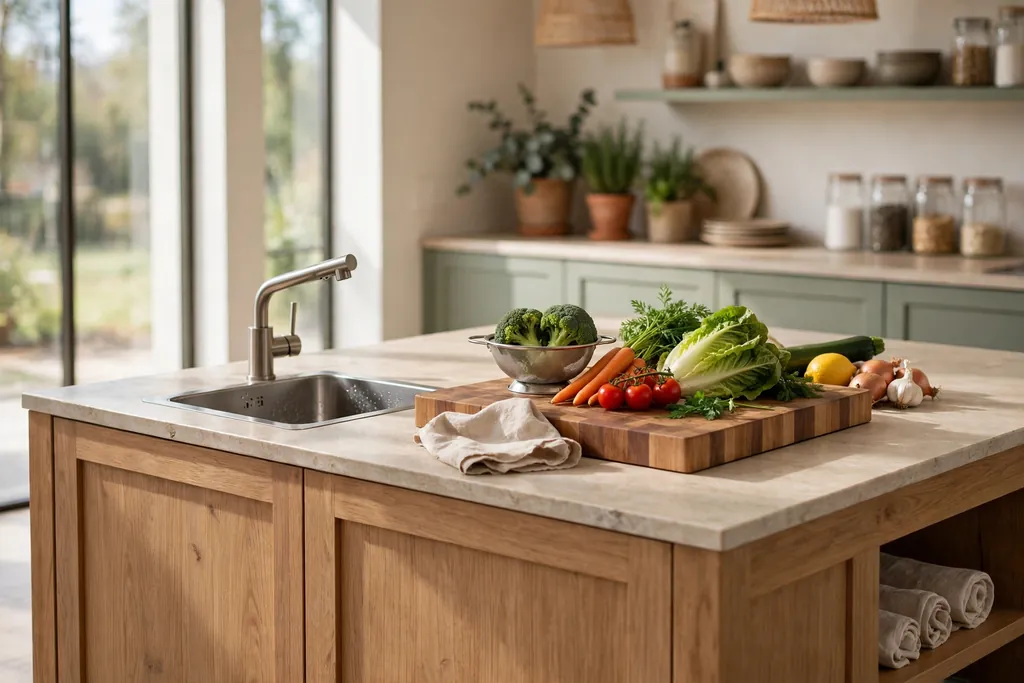
A workstation island with a sink puts rinsing, chopping, and draining in one place, so the cook faces the room instead of a wall. Add a small prep sink rather than a full size sink if counter space is tight, and keep a cutting board that fits over the bowl to reclaim the surface when the sink is not in use. Place the sink near the fridge or the chopping area, so one person can rinse vegetables while another works at the main sink.
Plan plumbing during a renovation if you can, since adding water later costs more and may limit where the island can sit. Keep the area around the sink clear, with a dish rack or a folded linen cloth nearby, and choose a faucet height that leaves room for filling tall pots. A workstation island suits a kitchen where two people cook together, since it spreads the work across the room.
6. Two Level Island for Prep and Eating
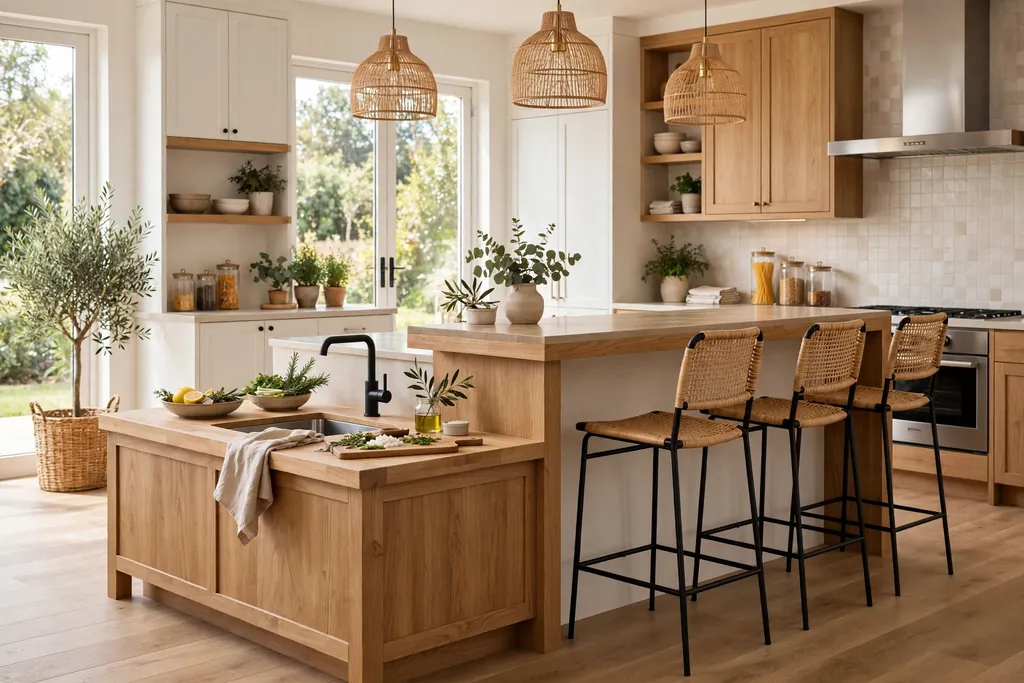
A two level island keeps a lower work counter for prep and a raised bar for eating, so crumbs and cooking mess stay on one level while meals stay on the other. The raised level also hides a sink or a messy prep area from the living room side, which suits an open plan kitchen. Use the lower level at standard counter height for chopping and mixing, and raise the eating level just enough to give sitters a clear view across the room.
Check stool height carefully, since the raised bar needs taller stools than the lower counter. Keep the raised level narrow enough to reach across for serving, and keep its surface in a material that wipes clean after meals. This island suits a household that wants seating and serious prep space in one piece, without giving the whole island over to either job.
7. Open Shelving Island for Display and Reach
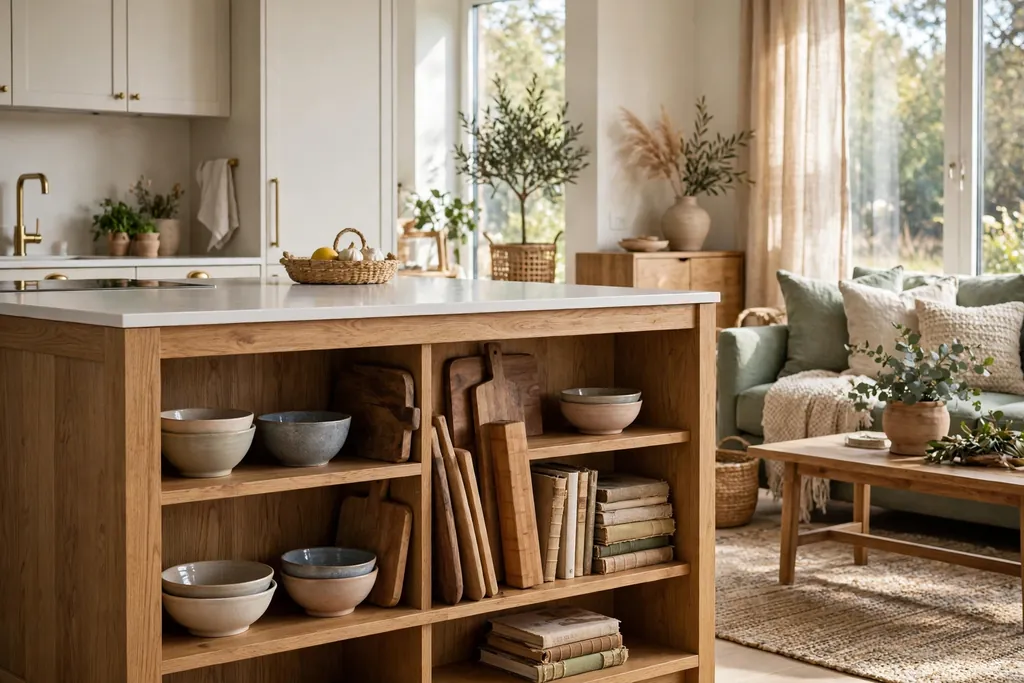
An open shelving island puts everyday bowls, boards, and cookbooks where you can grab them without opening a door. Use one or two open shelves on the living room side for items that look good and get used often, and keep closed drawers on the cook side for tools that need to stay out of sight. This mix keeps the island practical while giving the room a lived in, welcoming feel.
Style each shelf with a small set of related items, and leave space between them so the shelf does not look crowded. Keep what you show to pieces you use weekly, since open shelves gather cooking film and dust. If dust is a worry, use open shelving for one short run only, and keep the remaining island storage closed for items used less often.
8. Farmhouse Island With Panelled Sides
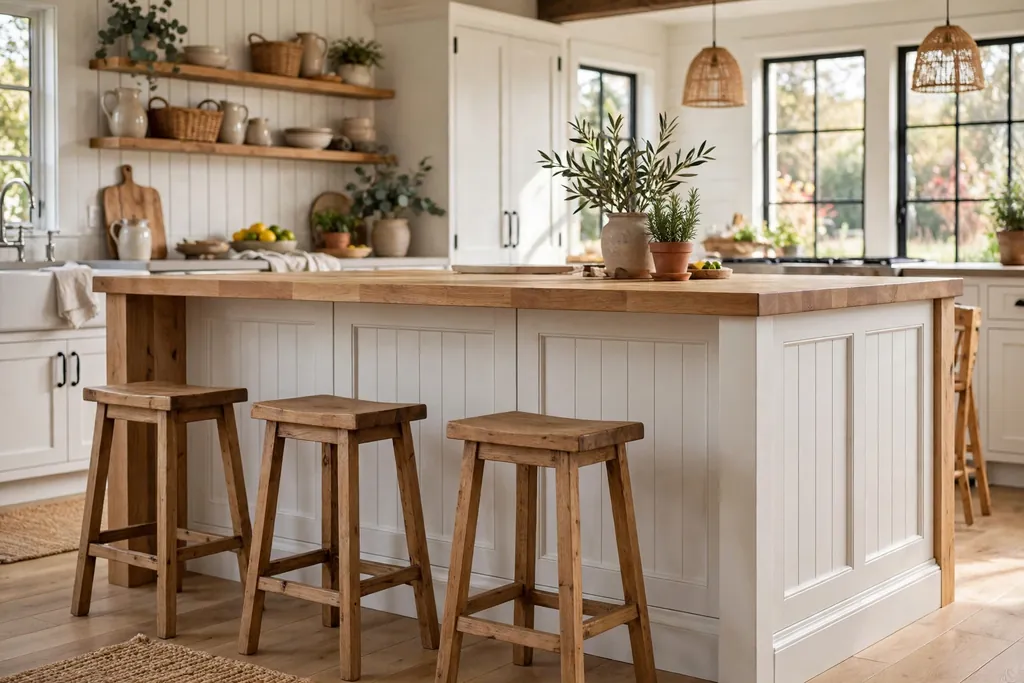
A farmhouse island with panelled sides, such as beadboard or simple shaker panels, gives a kitchen a settled, furniture like feel. Paint the panels the same color as the other cabinets so the texture, not a color change, does the work, or paint the island a shade deeper for a gentle focal point. The panelled sides suit a farmhouse, cottage, or traditional kitchen, and they look at home with wood stools and a ceramic sink nearby.
Wipe the panel grooves with a soft cloth during a normal clean, since crumbs and dust settle in the channels more than on a flat door. Keep the top simple, such as butcher block or a pale stone, and add vintage style hardware to complete the look. A panelled island works well as a freestanding piece too, since its finished sides look good from every angle.
9. Island With a Cookbook and Tray Shelf
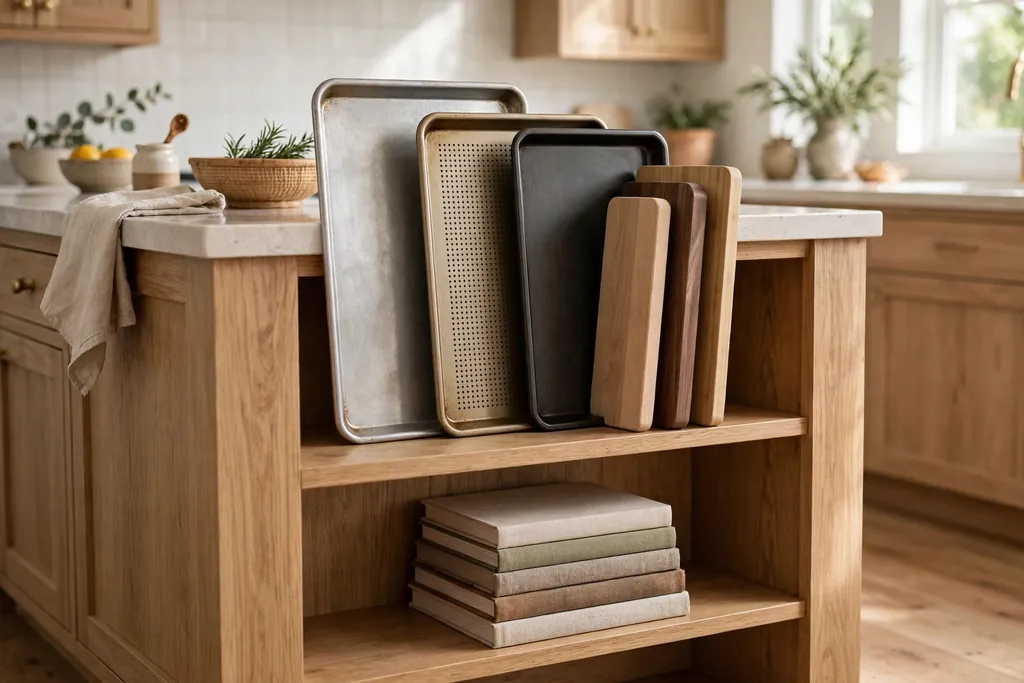
An island with a dedicated shelf for cookbooks, baking trays, and cutting boards keeps the tools you reach for daily close at hand. Use a vertical divider shelf for trays and boards, so they stand upright and slide out without a stack toppling, and keep cookbooks on a shelf away from the sink and stove. This small change saves time, since you no longer need to dig through a deep cabinet for a board or a tray.
Place the shelf on the end of the island or on the cook side, where it is easy to reach during prep. Keep the shelf tidy by limiting it to the books and boards you actually use, and store the rest elsewhere. A cookbook shelf also gives the island a personal touch, since the books on show reflect how the household really cooks.
10. Breakfast Bar Island With Pendant Lights
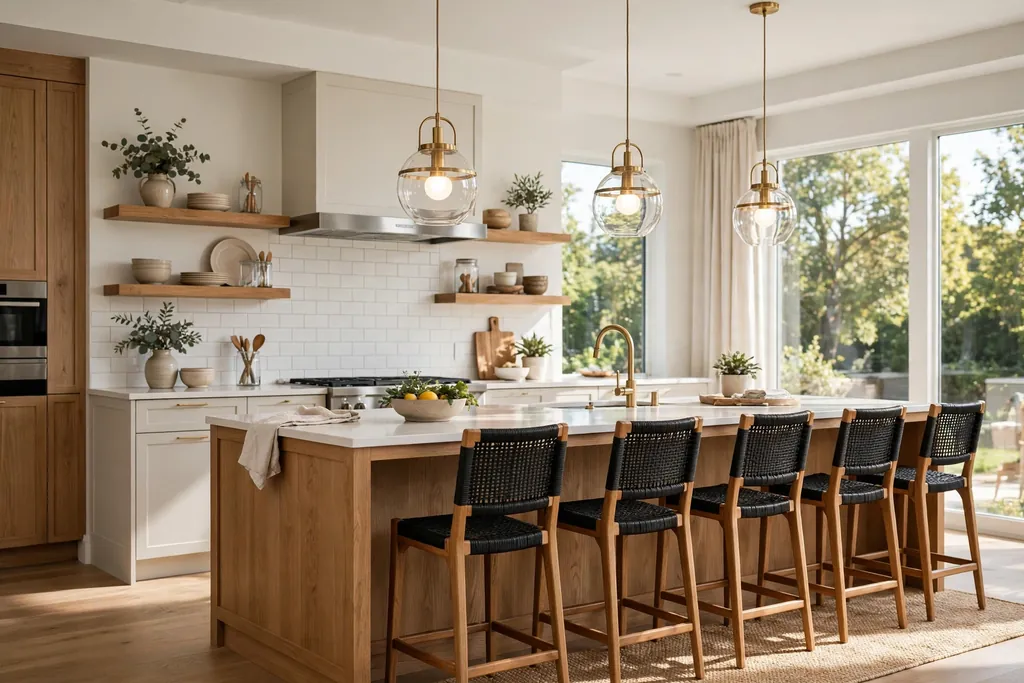
A breakfast bar island with pendant lights makes the seating side feel like a destination, not just a counter edge. Hang two or three pendants in a row over the bar, at a height that lights the surface without blocking sightlines across the room. Choose shades that match the kitchen hardware, such as wood, glass, or matte metal, and keep the bulbs warm so morning coffee and evening snacks both feel relaxed.
Plan the pendants on a dimmer if you can, so the bar can be bright for homework and softer for dinner. Keep the bar surface clear of tall items that would block the light, and repeat the pendant material once more in the room, such as in a stool frame or a shelf bracket, for a linked look. Pendant lights also mark the island as the gathering spot in an open plan room.
11. Narrow Island for a Galley Kitchen
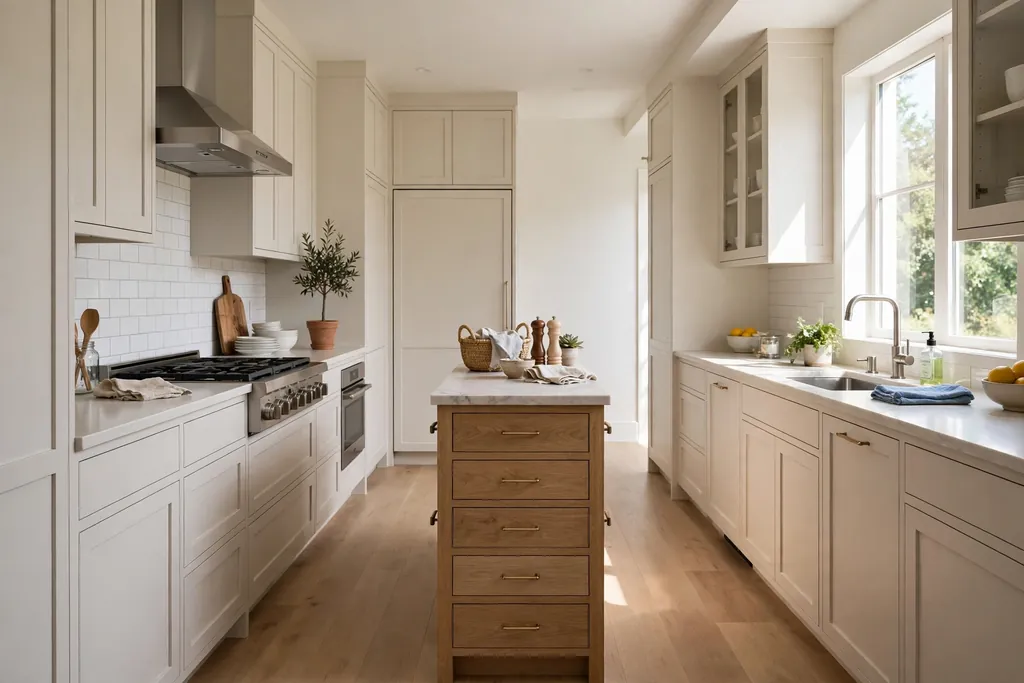
A narrow island can work in a galley kitchen if the walkways stay wide enough for one person to pass while another works at the counter. Choose a slim island, often little wider than a counter run, with drawers rather than doors, since drawers open without blocking the walkway. Use the island for prep and serving, and keep seating off it, since stools would eat into the narrow passage.
Keep the island top in a light color and the base simple, so the narrow piece does not crowd the room visually. A narrow island with a butcher block top can also serve as a chopping station that faces the main counter, which shortens the steps between fridge, sink, and stove. Measure both walkways before ordering, and leave the island out if either side would become a squeeze.
12. Island With a Pull Out Dining Table
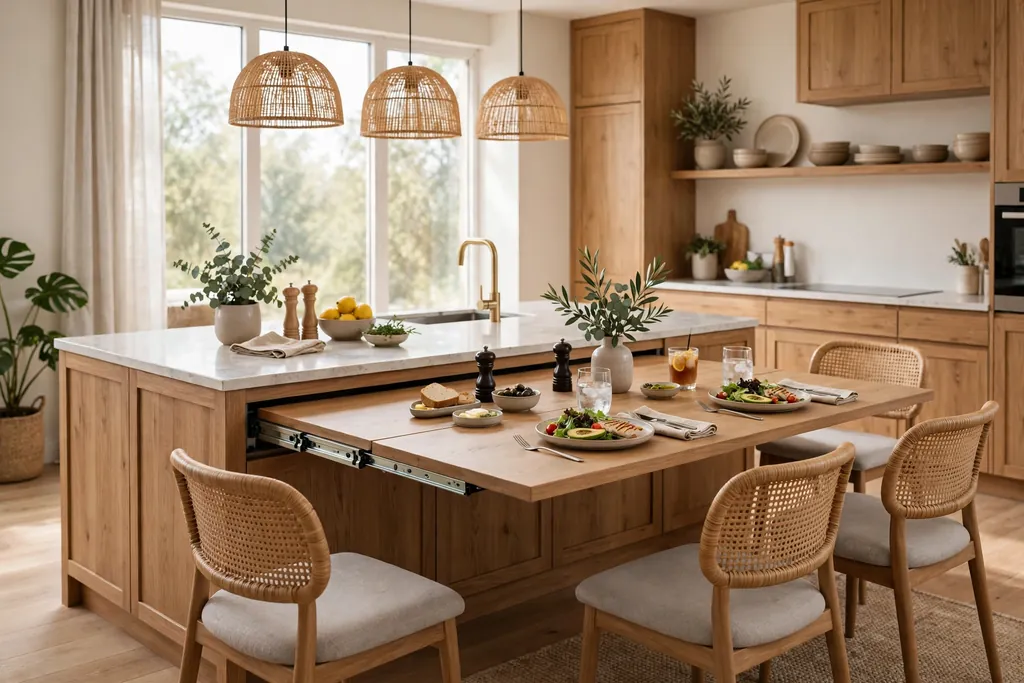
An island with a pull out dining table gives a small kitchen a full table only when it is needed. The table slides out from the end or side of the island for meals, then tucks back in for daily prep and walkway space. Choose a table leaf that matches the island top or sits slightly lower, so the join feels deliberate rather than makeshift.
Check that chairs can pull out fully when the table is extended, and that the extended table does not block a door or a main walkway. This island suits a household that eats at the island on weekdays but wants a proper table for guests, without giving floor space to a separate dining table all week. Keep the pull out mechanism clean and free of crumbs so it slides smoothly.
13. Island With Wine Storage
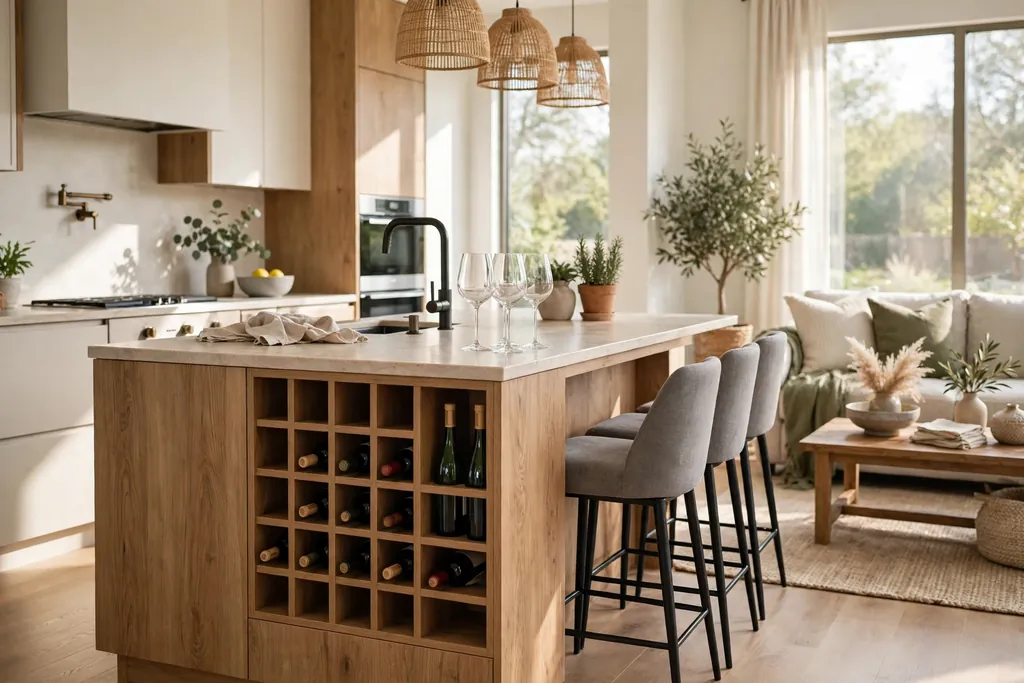
An island with wine storage keeps bottles organized and close to the dining area, without taking a full wall for a wine wall. Use a rack or a small cubby section on the living room side of the island, away from the stove and direct sun, and keep bottles lying down where the design allows it. A rack for everyday bottles plus a small closed section for glasses keeps the island tidy and useful for serving.
Keep the wine section modest, so it does not eat into prep or seating space, and avoid placing it beside a heat source. If you collect wine for longer storage, check storage guidance for temperature and light, since a kitchen island suits everyday bottles better than a cellar collection. A wine rack also gives the island end a clear purpose in an open plan room.
14. Island With a Hidden Appliance Nook
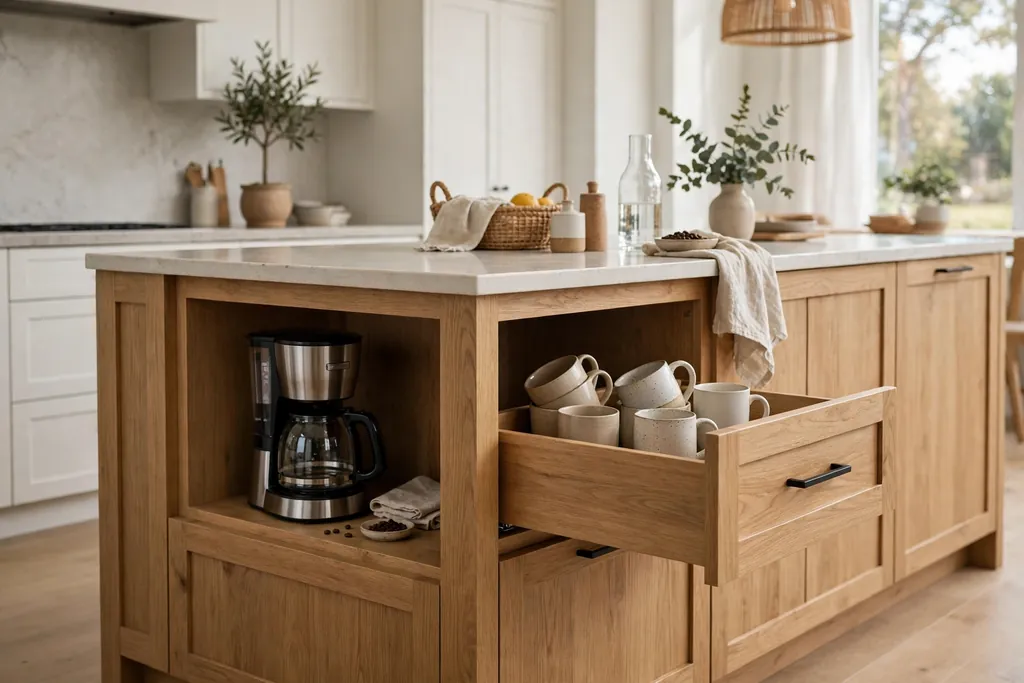
An island with a hidden appliance nook keeps a microwave, a toaster oven, or a coffee maker off the main counter while leaving it easy to reach. Use a drawer style microwave or a nook with a lift up door, and plan ventilation and power as the appliance manual directs. Placing small appliances in the island frees the main counter for prep, which makes a small kitchen feel larger at once.
Keep the nook near the side of the island you use most, and keep its door or drawer clear of stools and bins. Store the items that go with the appliance, such as mugs for a coffee maker, in the drawer above or beside the nook. This island suits a kitchen where counter clutter is the main problem, since it moves daily appliances out of sight without moving them out of reach.
15. Island in a Contrasting Cabinet Color
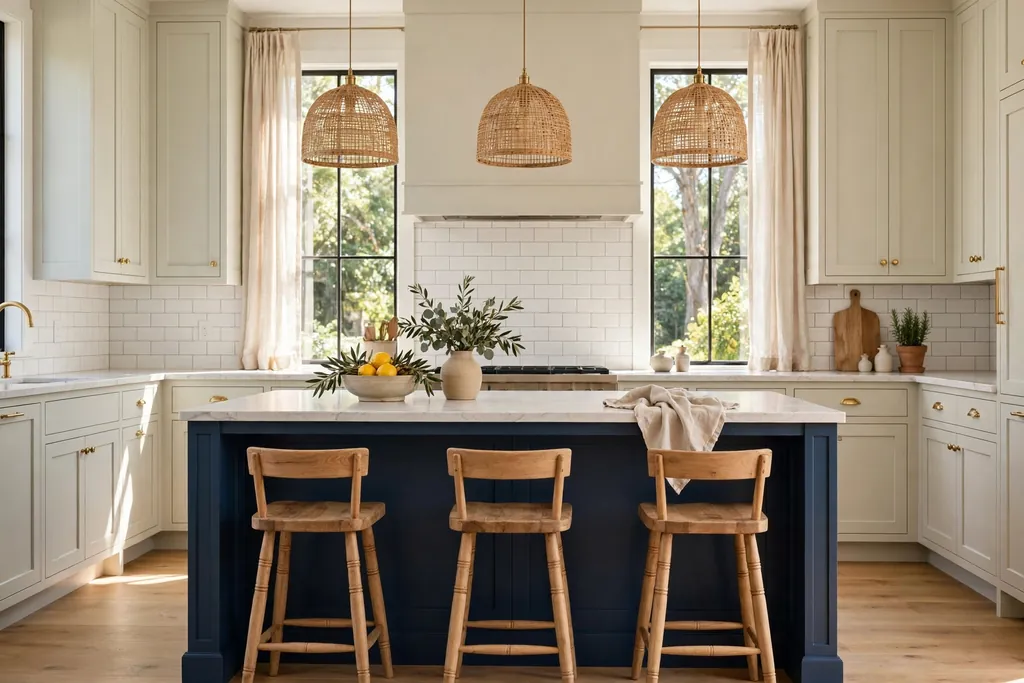
An island in a contrasting cabinet color gives the kitchen a clear focal point without a full repaint. Paint the island in a deep navy, soft green, or warm wood tone, and keep the rest of the cabinets in a calmer color, so the island stands out on purpose. If the rest of the kitchen is pale, these white kitchen ideas show how a white scheme can carry one strong island color well.
Repeat the island color once more in the room, such as in a stool cushion, a rug, or a small accessory, so the contrast looks planned rather than added alone. Test the color beside your counter and floor in daylight and evening light before painting the whole island, since strong colors shift a lot under kitchen lighting. A contrasting island suits a plain kitchen best, where one bold piece can carry the scheme.
16. Marble Topped Island for Baking
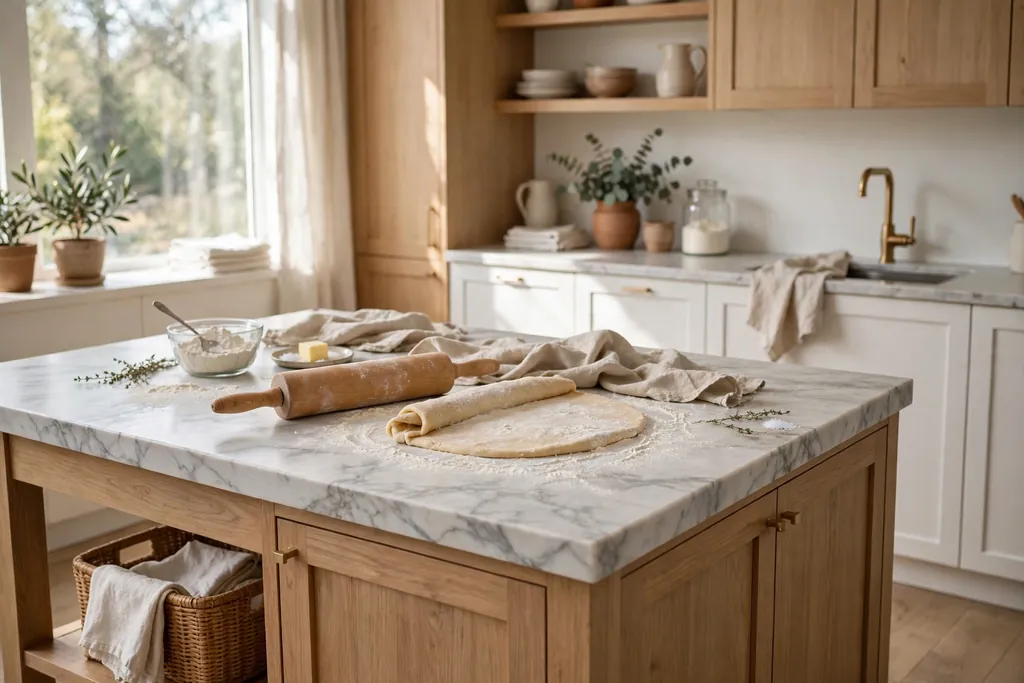
A marble topped island gives baking a cool, smooth surface for rolling pastry and working dough. The stone stays cool, which helps pastry keep its shape, and its veining adds a calm, classic look to the kitchen. Choose a slab with gentle veining if you want a calm look, or a bolder vein pattern if the island is meant to be the main feature of the room.
Seal the marble as advised by the supplier, wipe acidic spills quickly, and use boards for cutting so the surface keeps an even look. Keep a lower shelf or drawer for rolling pins, baking trays, and flour, so the baking tools live where the work happens. Marble needs more care than quartz, so pair it with a harder wearing surface on the main prep run if you cook daily with citrus, tomato, and wine.
17. Island With Seating on Two Sides
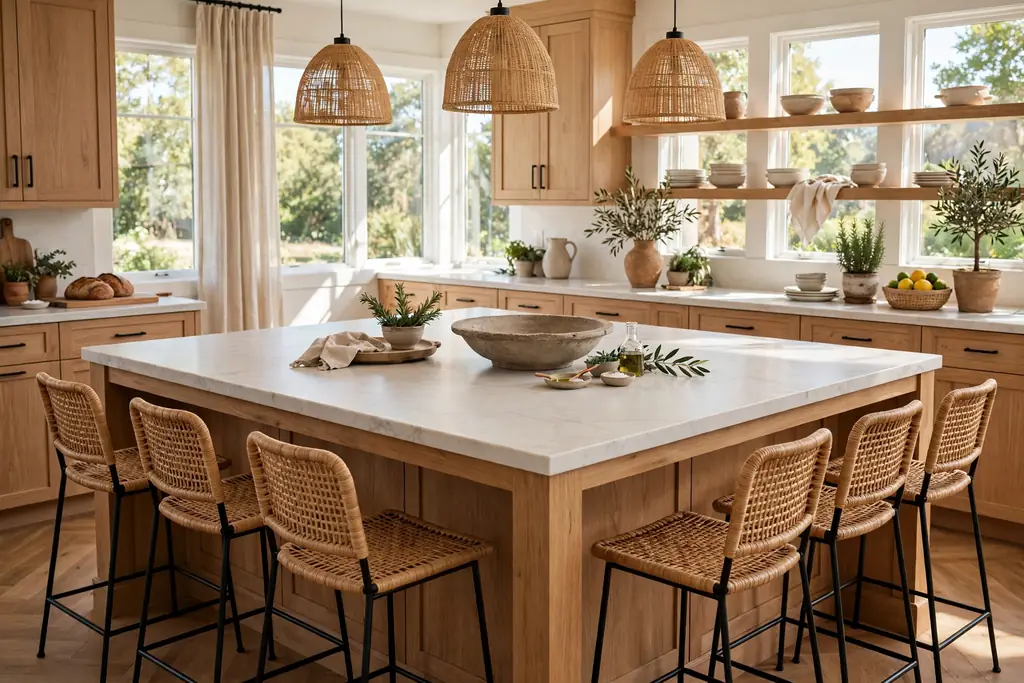
An island with seating on two sides suits a household where people gather from both directions, such as a kitchen that opens to a dining area on one side and a living area on the other. Place stools on the two long sides, or on one long side and one end, and keep the cook side free for prep and serving. This layout lets sitters face each other across the island, which makes conversation easy while dinner cooks.
Check that walkways stay clear behind every stool, so sitters can pull out without blocking a door or a main counter. Keep the number of stools to what the island truly fits, with elbow room between each seat, and use the same stool style on both sides for a calm look. Two sided seating works best on a larger island, where the center can stay clear for serving.
18. Island With Pull Out Bins and Deep Drawers
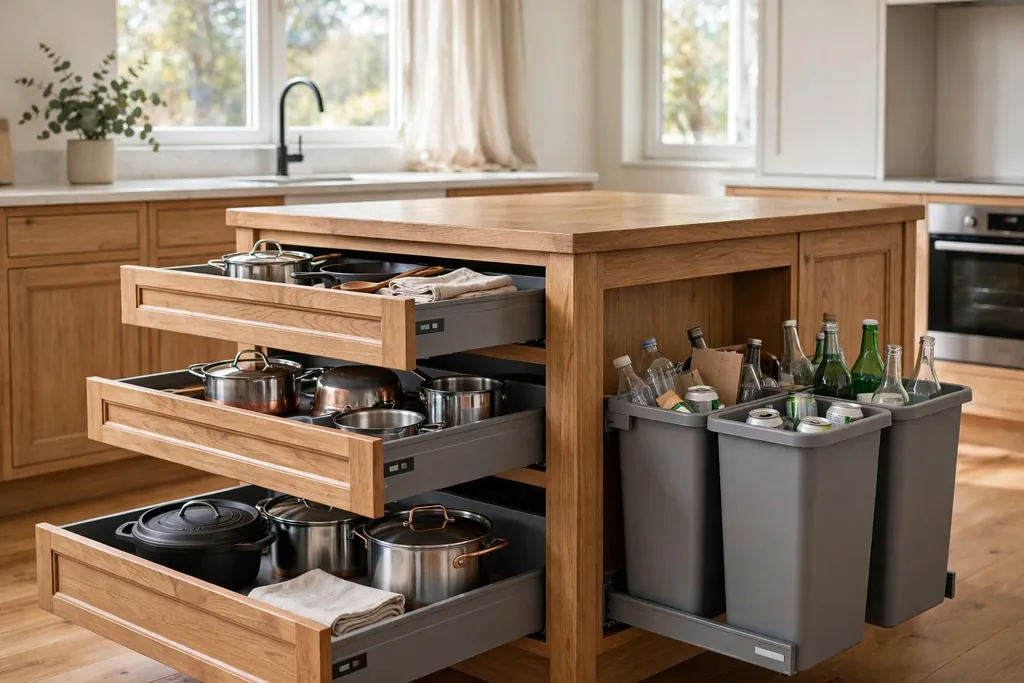
An island with pull out bins and deep drawers turns the base into hard working storage that is easy to use every day. Use one pull out section for recycling and waste near the prep side, so peelings and packaging go straight into a bin, and deep drawers for pots, pans, and mixing bowls. Drawers beat deep cabinets here, since you can see and reach everything without crouching into a dark cupboard.
Line the bins with bags that fit well, and wipe the pull out frames during a normal clean, since crumbs collect on runners. Keep heavy items in lower drawers and lighter items higher, and keep the bin section away from the seating side, where smells and noise would bother sitters. This island suits a busy family kitchen, where storage that works fast matters more than display.
19. Island With a Built In Bench
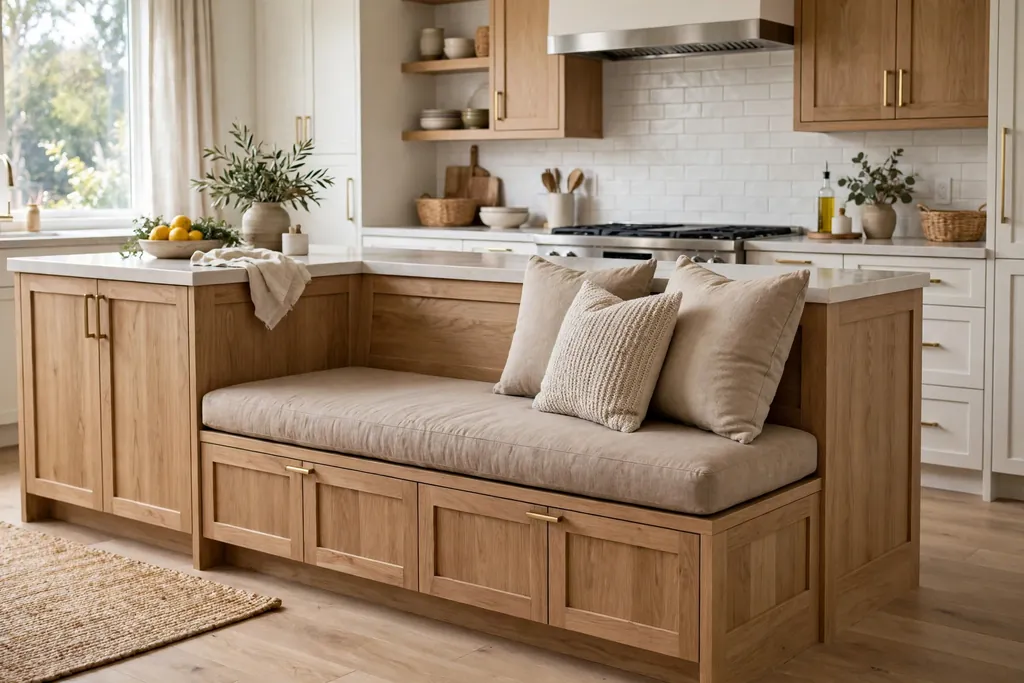
An island with a built in bench gives one side a fixed seat that never needs pulling out or storing. The bench can run along the end or one side of the island, with storage below for cushions, table linens, or children’s craft supplies. Add a washable bench cushion and a couple of scatter cushions, and the island becomes a relaxed spot for breakfast, reading, and homework.
Check the bench height against the island top, so sitters can eat comfortably without hunching, and keep the bench depth generous enough for a relaxed sit. A bench suits a family kitchen well, since children can slide along it and adults can sit beside them without juggling separate stools. Keep the walkway behind the bench clear, so people can get in and out without moving furniture.
20. Island With a Herb Planter and Cutting Station
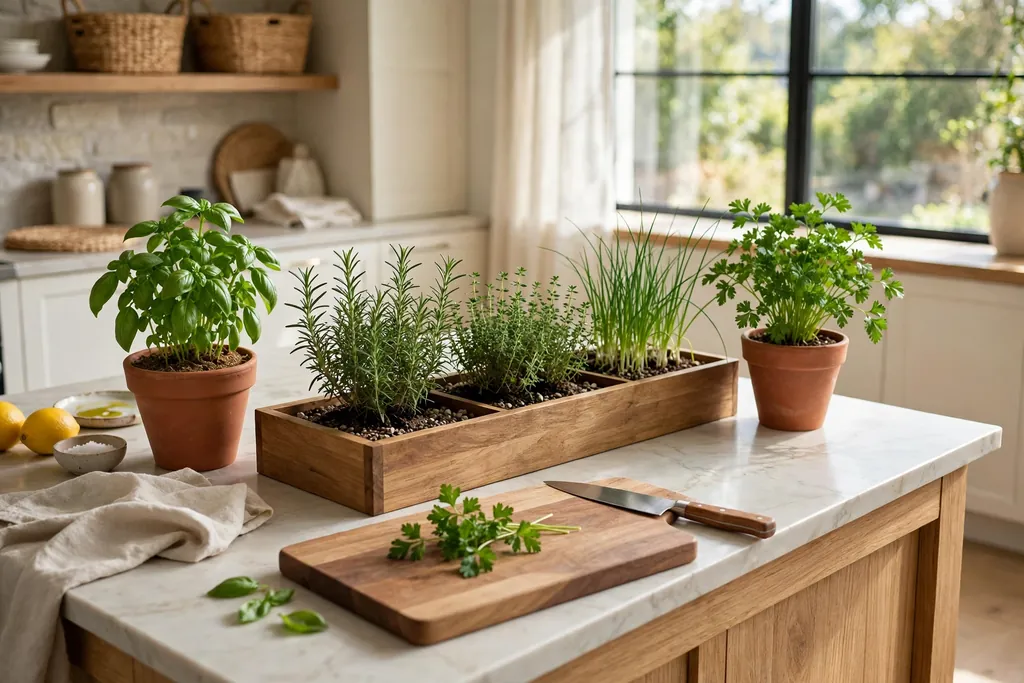
An island with a herb planter and cutting station puts fresh herbs within arm’s reach of the chopping board. Use a shallow planter or a row of pots set into a tray on one end of the island, away from the sink splash zone, and keep the cutting board beside it so herbs go straight from plant to board. Choose herbs you cook with weekly, such as basil, parsley, and mint in separate pots, since mint spreads fast if planted with others.
Give the herbs daylight from a nearby window, water them as each plant needs, and trim them often to keep them bushy. Keep the planter tray lined and easy to lift out for cleaning, and keep soil away from food prep areas by wiping the board after harvesting. This island suits a cook who uses fresh herbs daily and wants them visible, not hidden in a fridge drawer.
21. Drop Leaf Island for a Small Kitchen
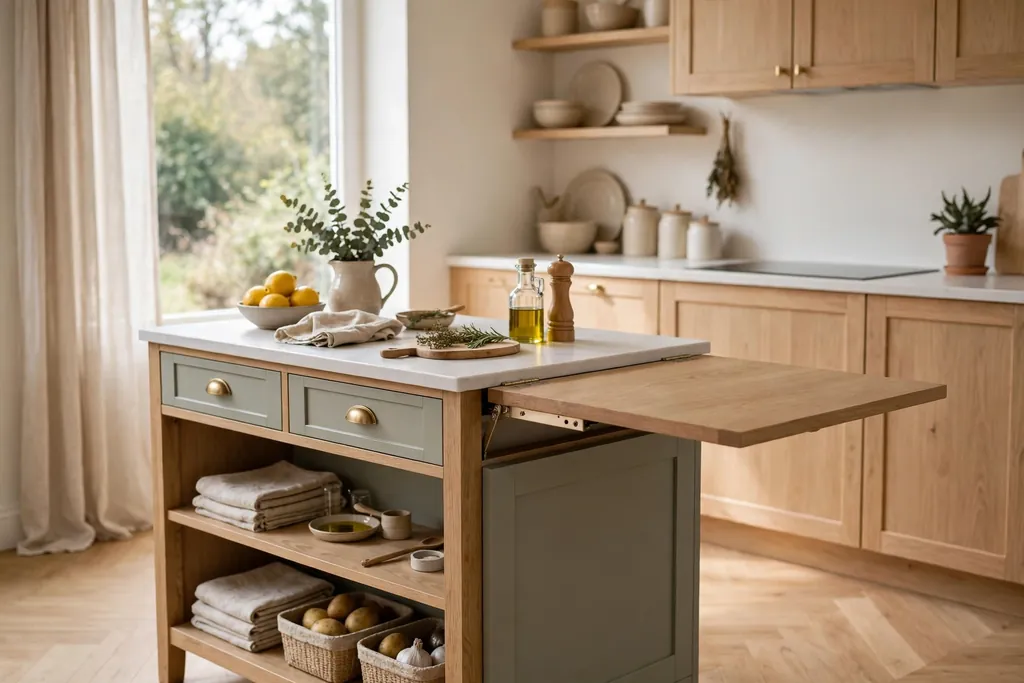
A drop leaf island gives a small kitchen a work surface that grows for serving and shrinks for daily life. The leaf folds down when the island is not in use, leaving a slim base with storage, and folds up to add a full extra section for prep or a meal. Use a sturdy hinge and a support leg or bracket, so the leaf stays level when it is up and does not wobble during chopping.
Keep the drop leaf side clear of stools and bins, so the leaf can fold up and down without moving furniture. This island suits a studio kitchen or a small apartment kitchen, where floor space matters every day but a larger surface is welcome for guests. Choose a top material that matches the fixed section, so the island reads as one piece when the leaf is up.
22. Island With a Lowered Baking Section
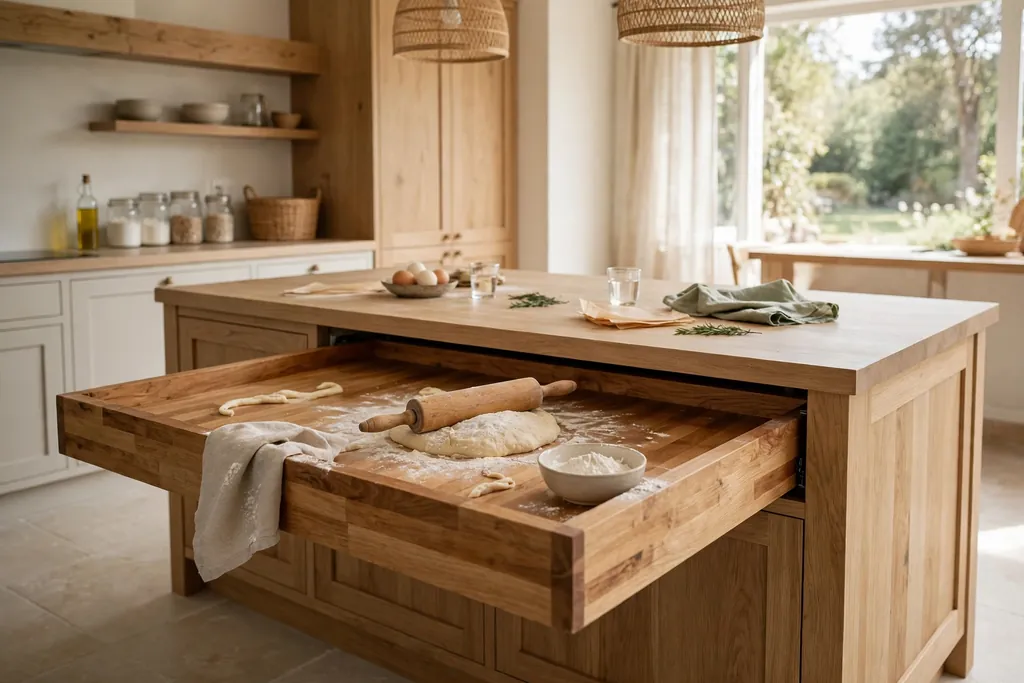
An island with a lowered baking section gives rolling and kneading a height that suits the work, rather than forcing it onto a standard counter. The lowered section, often in wood or marble, sits a few inches below the main island top, so you can press dough with your shoulders relaxed and see the work clearly. Keep the lowered section wide enough for a rolling pin and a board, with a drawer below for baking tools.
Use the main island top for general prep and serving, and reserve the lowered section for baking, so flour stays in one place. Wipe the lowered section after each bake, and keep its surface free of items that belong on the main counter. This island suits a household that bakes weekly, and it also works well for children who want to help, since the lower height brings the work within their reach.
23. Island With Open and Closed Storage Mix
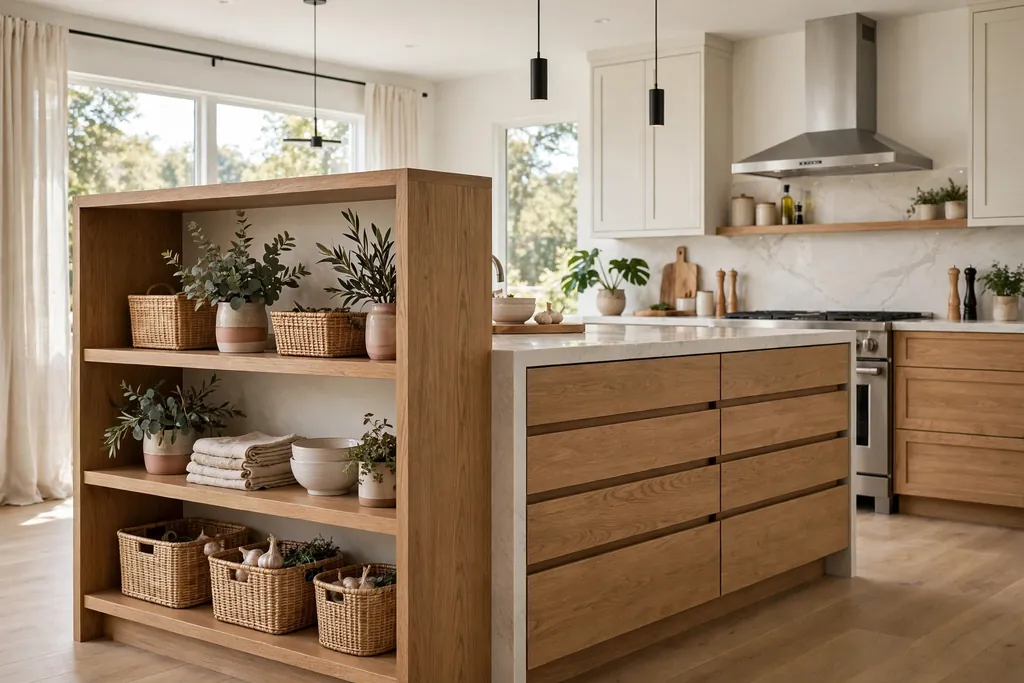
An island with a mix of open and closed storage gives you the best of both: display where it helps and hidden storage where it matters. Use open shelves on the living room side for bowls, boards, and a few cookbooks, and closed drawers and doors on the cook side for pans, small appliances, and cleaning supplies. This mix keeps the island looking welcoming from the living area while keeping the working side tidy.
Plan which items earn an open shelf and which stay hidden, and stick to that plan, so open shelves do not slowly fill with clutter. Keep open items to a small set of related pieces, and leave space on each shelf so the display stays calm. A mixed storage island suits an open plan kitchen, where the island is seen from the sofa as well as from the stove.
24. Island That Doubles as a Room Divider
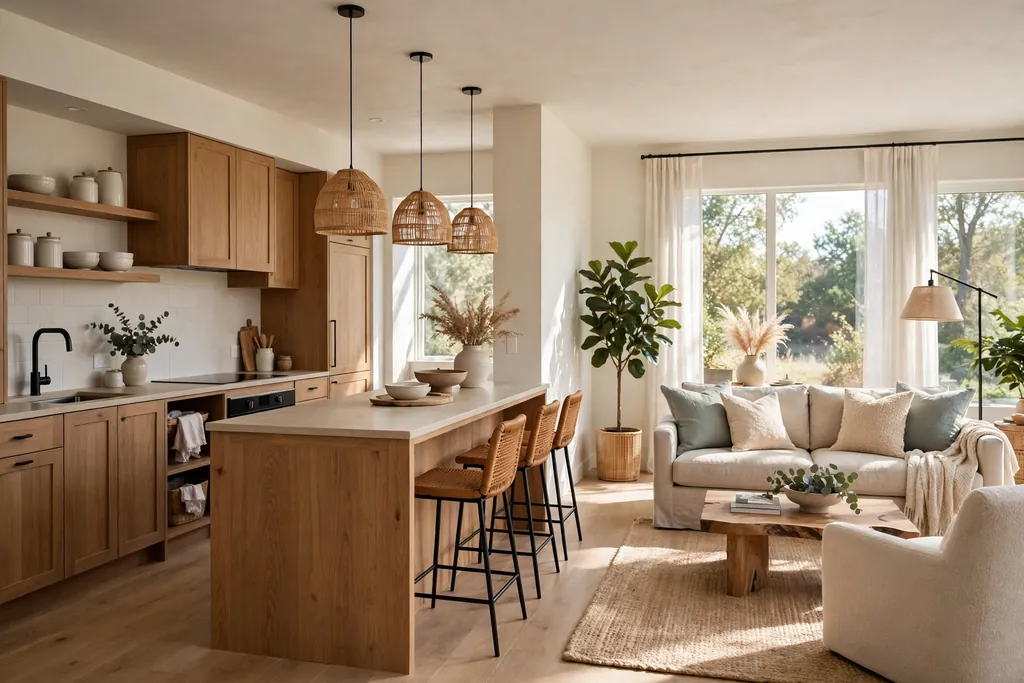
An island that doubles as a room divider marks the edge of the kitchen in an open plan home without building a wall. Place the island across the line where the kitchen meets the living or dining area, with the working side facing the kitchen and seating or display facing the other room. The island then gives the living area a clear boundary while keeping sightlines open and conversation easy.
Keep the living room side calm, with closed storage or a simple display shelf, so the back of the island looks finished from the sofa. Add pendant lights over the island to mark the boundary in the evening, and keep the seating side clear of cooking clutter. This island suits a loft or an open plan apartment, where one piece of furniture can define two rooms at once.
Conclusion
A good kitchen island is not the largest one you can fit, but the one that matches how you cook, eat, and gather. Pick a main job first, whether that is prep, seating, storage, or baking, then choose a size that leaves clear walkways and a surface that suits that job. Mix open and closed storage, plan seating for real people rather than a photo, and repeat one material or color from the rest of the kitchen so the island belongs in the room. Work through this list with your floor plan in hand, and start with the island that solves your biggest daily friction, whether that is a lack of prep space, nowhere to sit, or storage that is hard to reach.
Save this list on Pinterest before your next kitchen trip, and test your chosen island on paper first: mark its footprint on the floor, check every walkway and drawer swing, and sit on a stool at the right height before you commit.
FAQs
How big should a kitchen island be?
There is no single right size, since it depends on your room and your walkways. As a general guide, keep clear passage on every side you use, so doors, drawers, and stools can move without crowding the cook. A small kitchen may suit a narrow or rolling island, while a large open plan room can carry a longer island with seating on one or two sides. Mark the island footprint on the floor with tape before ordering, and walk around it with a stool pulled out, since that test shows problems a plan alone can miss.
What is the best countertop for a kitchen island?
It depends on the island’s main job. Butcher block suits warm prep work and is kind to knives, quartz suits a hard wearing, easy to wipe island, and marble suits baking, since it stays cool for pastry. Sealed stone or quartz is a safer pick where spills are frequent, while wood needs oiling and prompt wiping. If one surface must do everything, choose a hard wearing, sealed material for the main island, and add a wood board or a marble slab section for the jobs that need them.
How many stools fit at a kitchen island?
Count elbow room, not just length. Leave comfortable space between stools so sitters can eat without bumping elbows, and keep the number to what the island truly fits rather than crowding in one more seat. Check that each stool can pull out fully without blocking a walkway, a door, or a main counter, and that stools slide under the overhang when not in use. For a small island, two stools often work better than three squeezed in, since comfort matters more than a seat count.
Can a small kitchen have an island?
Yes, if the island is chosen for the room rather than copied from a larger kitchen. A narrow island, a rolling island, a drop leaf island, or a pull out table island can add prep and storage without blocking walkways. Keep seating off a very narrow island, use drawers rather than doors, and keep the top light in color so the piece does not crowd the room visually. If either walkway would become a squeeze, leave the island out and use a movable cart or a wall counter instead.
Should a kitchen island have a sink or a stove?
A sink or a stove on the island can work, but it changes plumbing, ventilation, and safety planning, so it suits a renovation better than a quick update. A prep sink on the island spreads work across the room and lets the cook face guests, while a stove on the island needs a hood and clear space around it. If you are unsure, start with a prep island without plumbing or a hob, and add a sink only when the layout, budget, and building rules support it comfortably.
How do I keep a kitchen island from looking cluttered?
Give every item on the island a home elsewhere, and keep the top for the job in hand only. Use deep drawers and pull out bins for tools and waste, closed storage for small appliances, and one or two open shelves for items you use weekly. Clear the island at the end of cooking, wipe the surface, and return stools to their places, so the island starts each day clear. A clear island also makes the whole kitchen feel larger, even when nothing else has changed.