To make a headboard from an old door, clean and inspect the door, check old paint for lead before sanding, trim it to your bed width if needed, sand and repair the surface, paint or stain it, seal it, then mount it securely to wall studs or the bed frame. The project uses basic tools and one solid door.
An old door already has the height, width, and panel detail that a headboard needs, so you do not have to build a frame from scratch. The work is mostly in choosing a sound door, preparing the surface well, and fixing it so it cannot tip or shift when you lean against it. This guide walks through each stage in order, with safety notes for old paint and mounting, so the finished headboard looks neat and stays steady.
Key Takeaways
- Pick a solid, flat door that is close to your bed width, with no rot, warping, or loose joints.
- Check old paint for lead before sanding, and work in a ventilated area with protective gear.
- Measure the bed width and the height you want before cutting, painting, or drilling anything.
- Sand, repair, prime, and seal in order, letting each coat dry fully before the next step.
- Mount the headboard to wall studs or to the bed frame, never by leaning it loose against the wall.
Supplies You May Need
- One old solid door, interior or exterior, that is close to your bed width
- Measuring tape, pencil, and a straight edge or level
- Screwdriver, drill, screws, and wall fixings rated for the headboard weight
- Saw, if the door needs trimming to width or height
- Sandpaper in coarse and fine grits, sanding block, and a dust mask
- Safety glasses, work gloves, and ear protection for sawing and sanding
- Wood filler, putty knife, and a damp cloth for cleaning
- Primer, paint or stain, brushes or a roller, and a clear sealer
- Trim boards, mounting cleat or legs, and wood glue, if you plan to add them
- Stud finder, level, and a second person to help lift and hold the door
1. Choose the Right Old Door

Start with a solid door that is flat, straight, and close to your bed width. Panel doors, plank doors, and French doors with solid frames all work well, since their panels and rails give the headboard shape without extra building. Hold the door upright and sight along its edges to check for bowing or twisting, and push on the panels to check that none are loose or rattling.
Avoid doors with rot, soft spots, deep cracks through a rail, or joints that move when you press them. A door that is a little wider than the bed can be trimmed, and a narrow door can be paired with side boards, but a warped or rotted door will not sit flat against the wall and will be hard to finish well. Check the door thickness too, since a very thin hollow door may not hold screws and fixings as firmly as a solid door.
2. Check the Door for Lead Paint and Damage
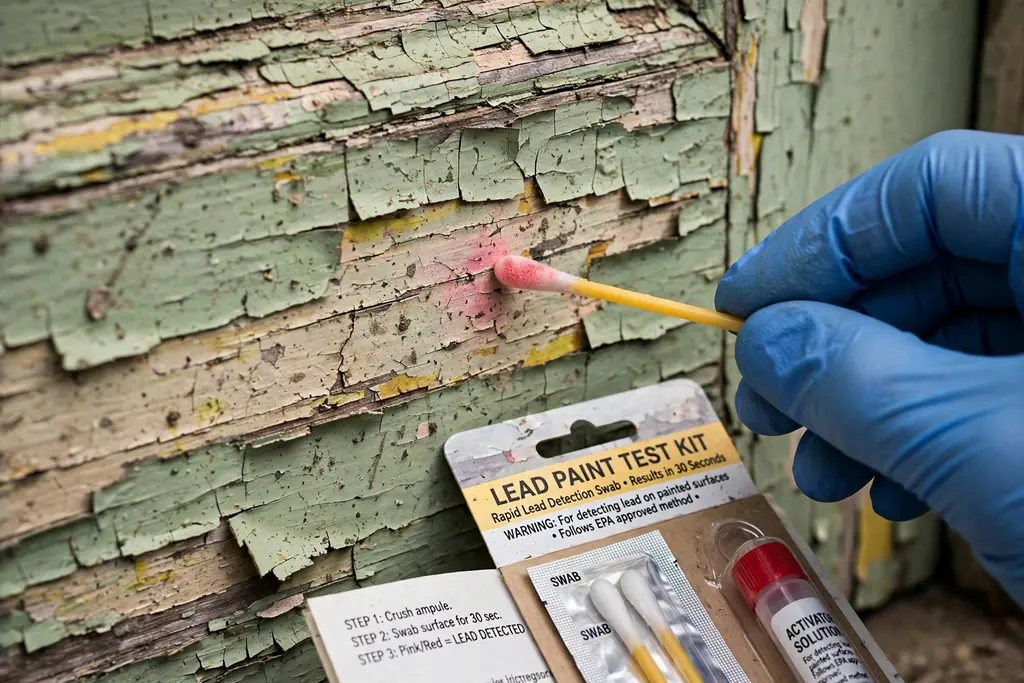
Before you sand or cut anything, check old paint for lead, since doors painted before lead paint rules changed may carry lead paint layers. Use a lead test kit made for painted surfaces and follow its directions, testing each painted layer you plan to disturb. If a test shows lead, or if you are unsure, stop sanding and get advice from a local lead safety resource or a professional before going further.
Inspect the whole door for damage at the same time. Look for nail holes, hinge marks, split wood near screws, and dark patches that may signal damp or rot. Press a screwdriver tip gently into any soft or dark area to test whether the wood is firm. Mark every spot that needs filler or repair with a pencil, so you can find them again after sanding starts.
3. Gather Tools and Clear a Work Area
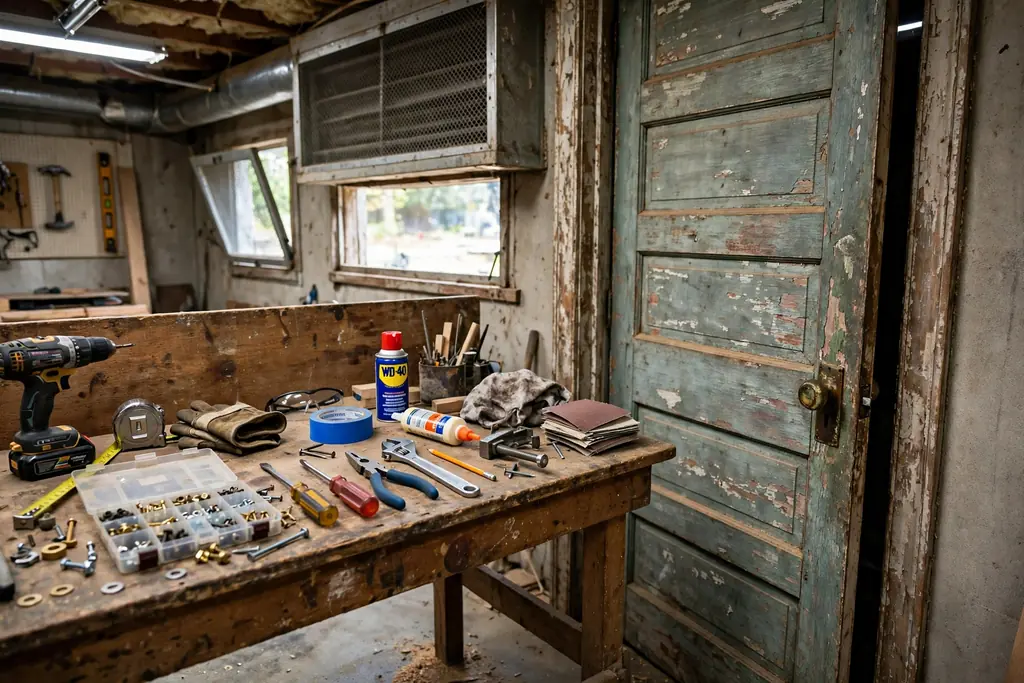
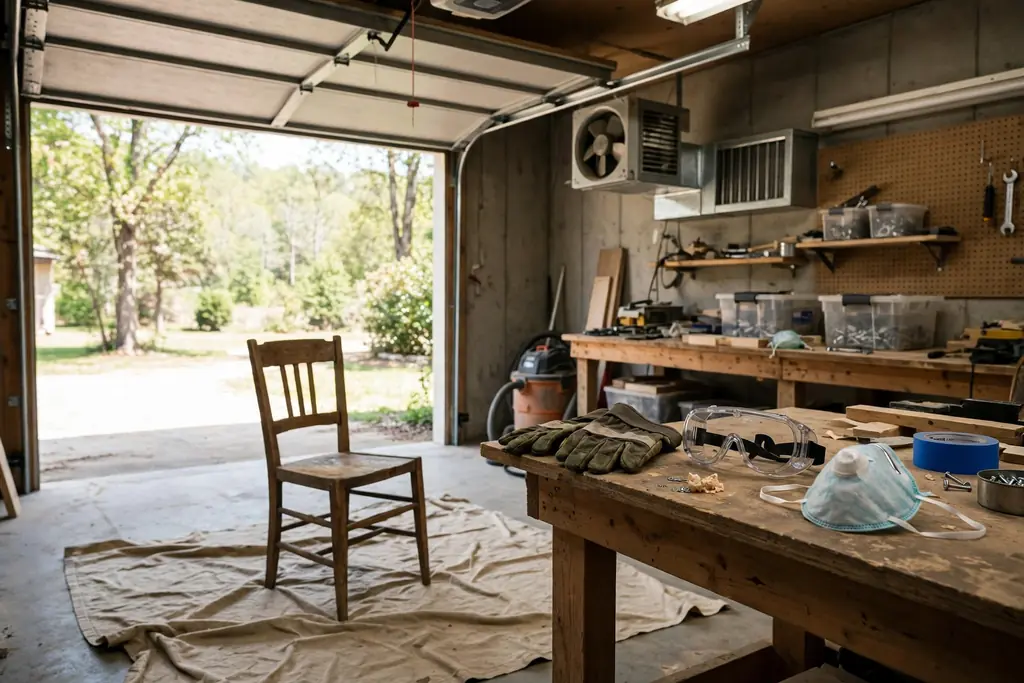
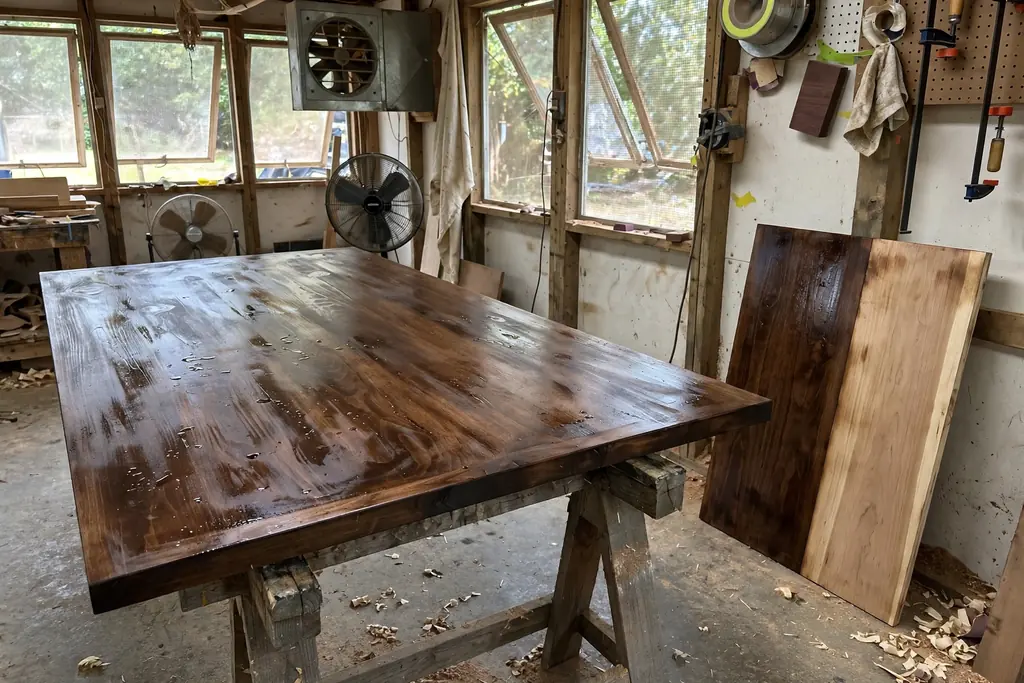
Lay out the tools and supplies from the list above before you start, and set up in a ventilated area, such as a garage with the door open or an outdoor space sheltered from wind and rain. Put the door on sawhorses or a sturdy table at a height you can work at without bending, and keep the floor clear so you can walk around all four sides.
Wear safety glasses and a dust mask for sanding, gloves for handling rough wood and old hardware, and ear protection when sawing. Keep a brush and a damp cloth nearby for dust, and keep paint, primer, and sealer lids closed when you are not using them. Working in order, with everything at hand, keeps the project tidy and makes each later step faster.
4. Remove Hardware and Clean the Door
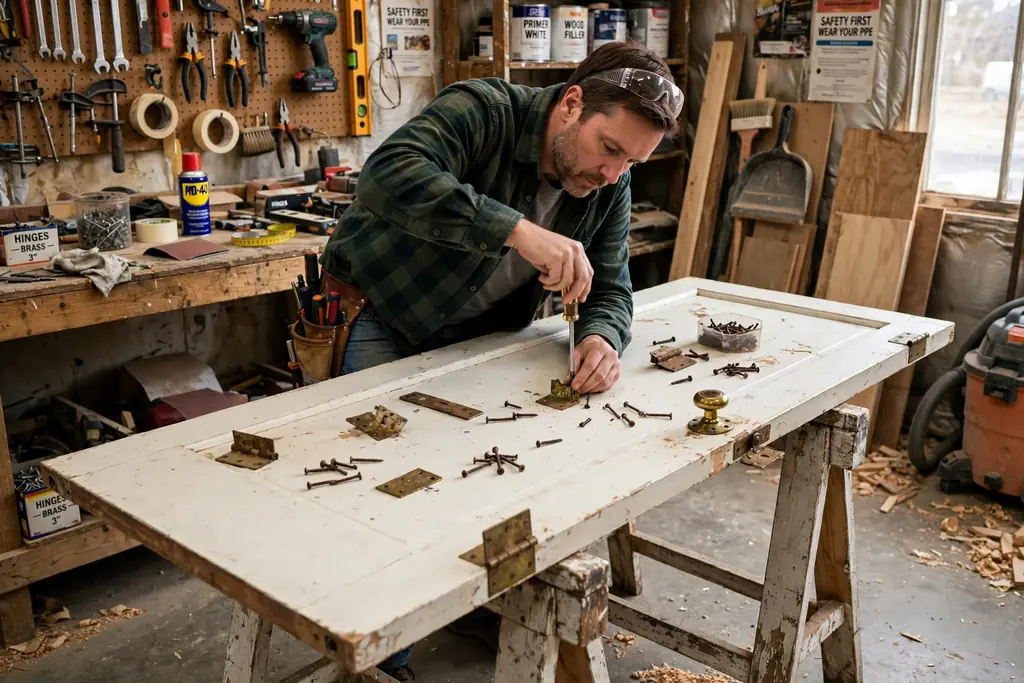
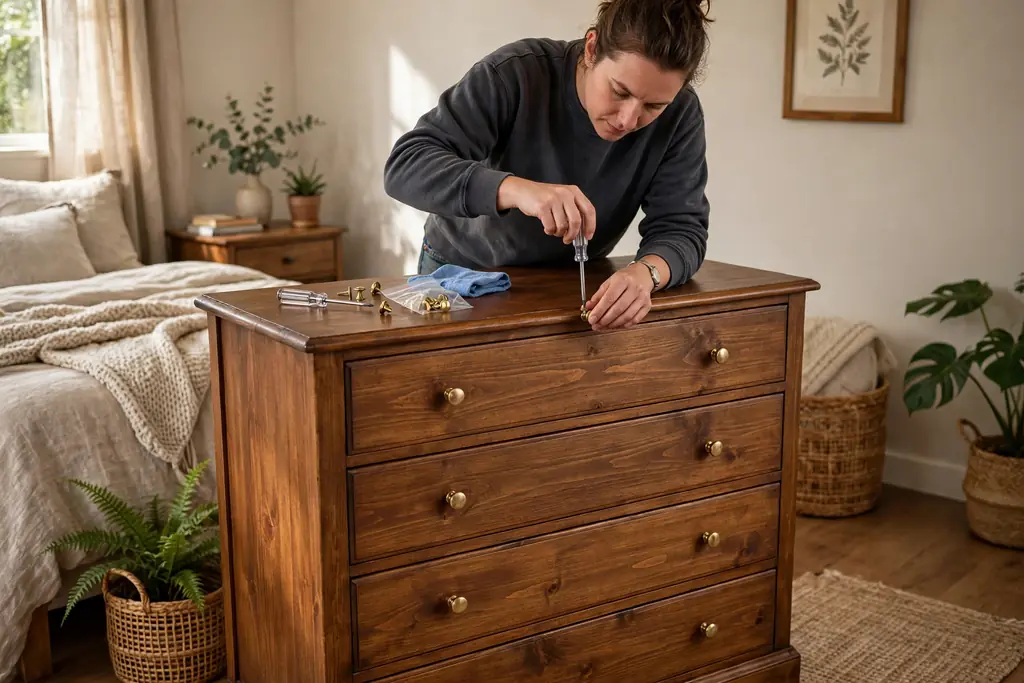
Take off all hinges, handles, locks, and screws, and set the hardware aside in a labeled bag if you plan to reuse any of it. Fill the screwdriver or drill bit to each screw head before turning, since old screws can strip easily, and work slowly on rusted screws rather than forcing them. Remove any hooks, numbers, or plates fixed to the door face as well.
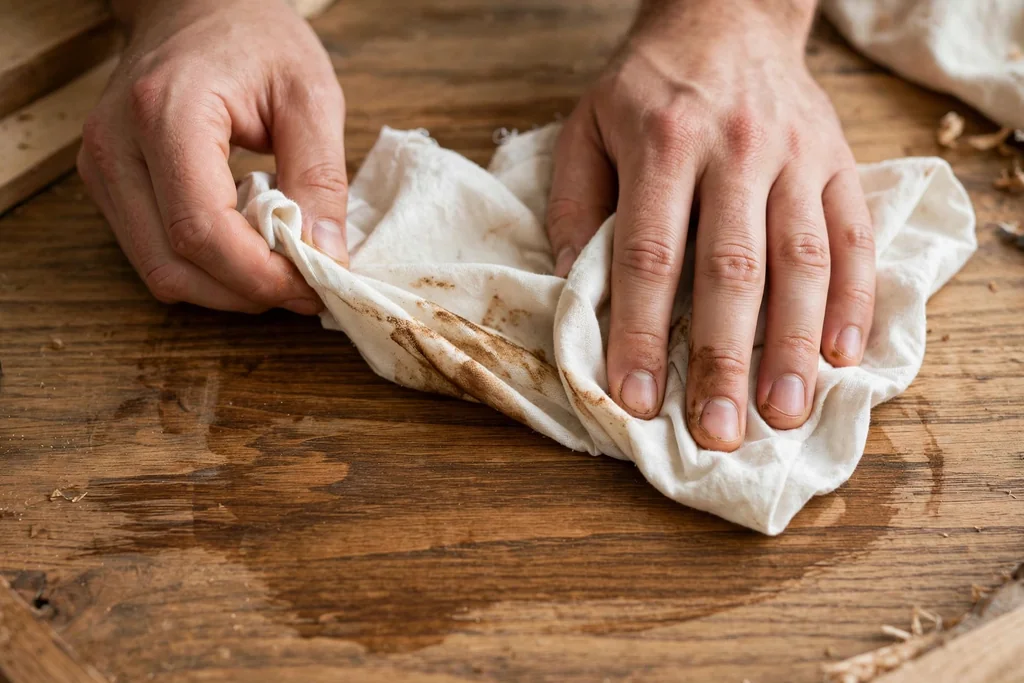
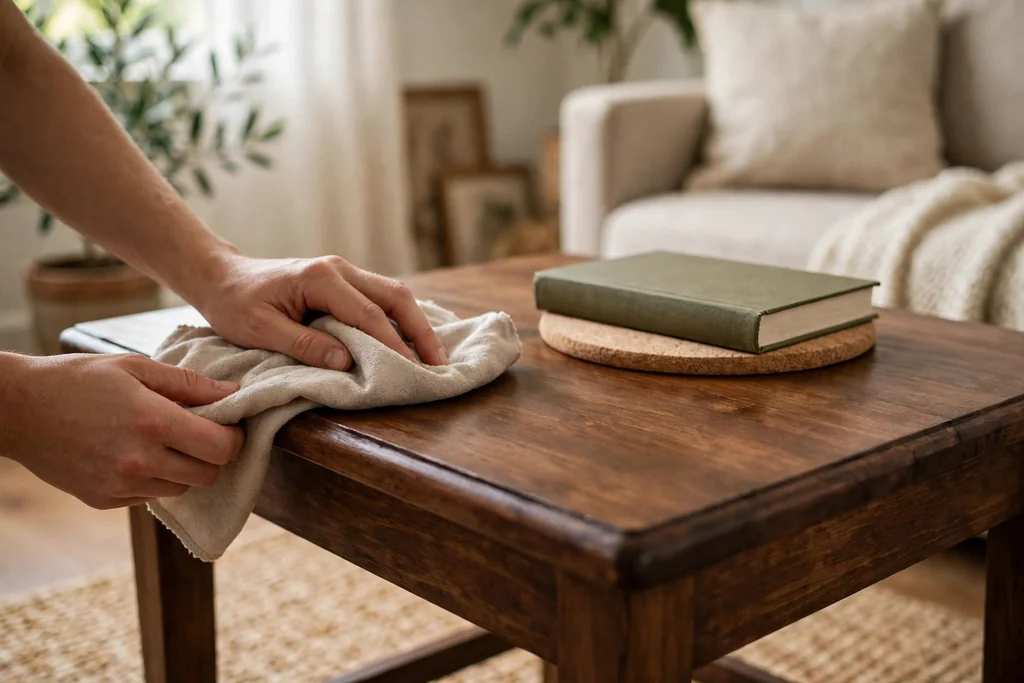
Clean both faces and the edges with a damp cloth, then let the door dry fully. Brush dust and loose paint flakes from panel corners and grooves, where dirt collects and paint later peels. A clean, dry surface helps filler, primer, and paint grip well, and it shows up cracks and holes you may have missed during the first check.
5. Measure Your Bed and Mark the Cut Line
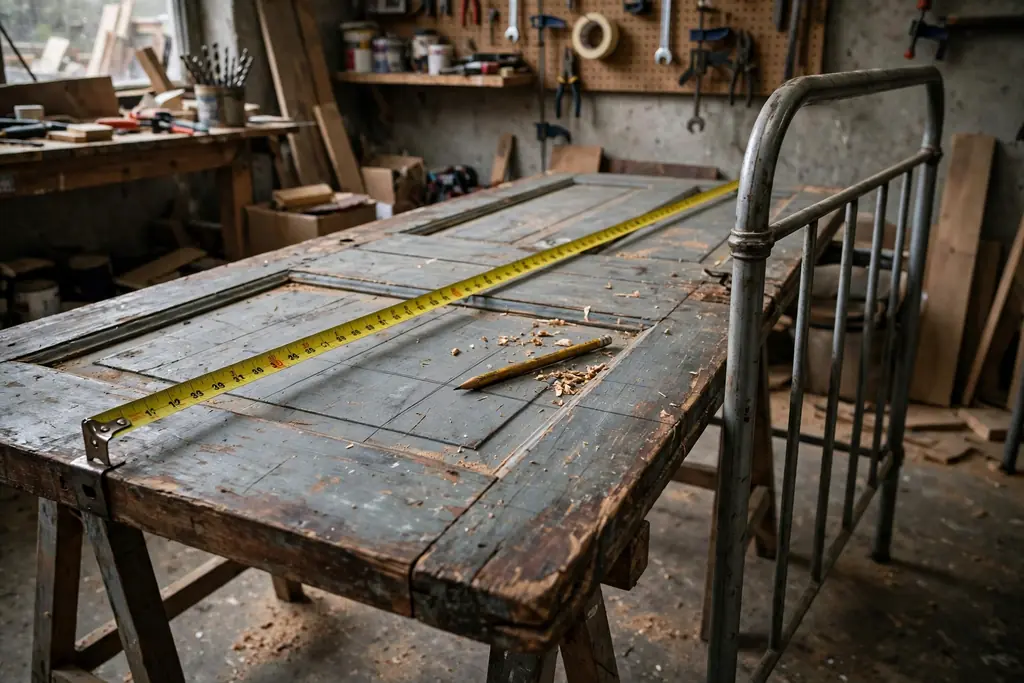
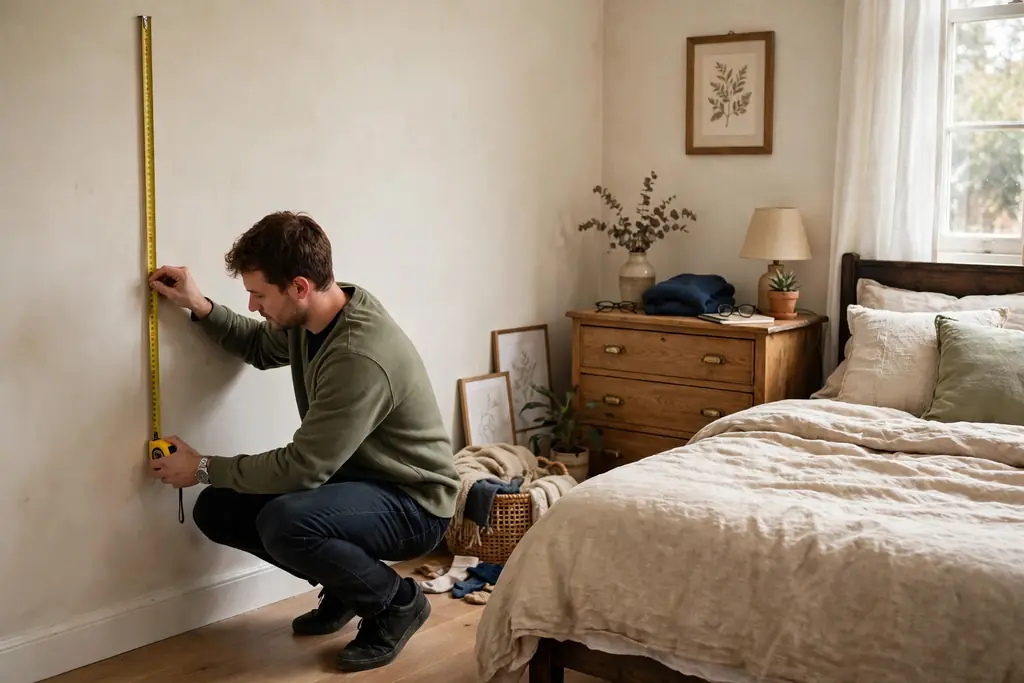
Measure the width of your bed frame or mattress, then decide how wide the headboard should be. A headboard that matches the bed width looks balanced, while one a little wider can frame the bed and leave room for nightstands to sit close. Measure the height you want as well, from the floor to the top of the headboard, and check it against your pillows when you sit up in bed.
Mark the cut line with a pencil and a straight edge, and mark which side is the top of the headboard so you do not cut the wrong end. Check the marks twice, and check that the cut line keeps the door panels balanced on both sides. If the door already matches your bed width, skip the cut and move on to sanding, since an uncut door keeps its original frame intact.
6. Cut the Door to Size if Needed
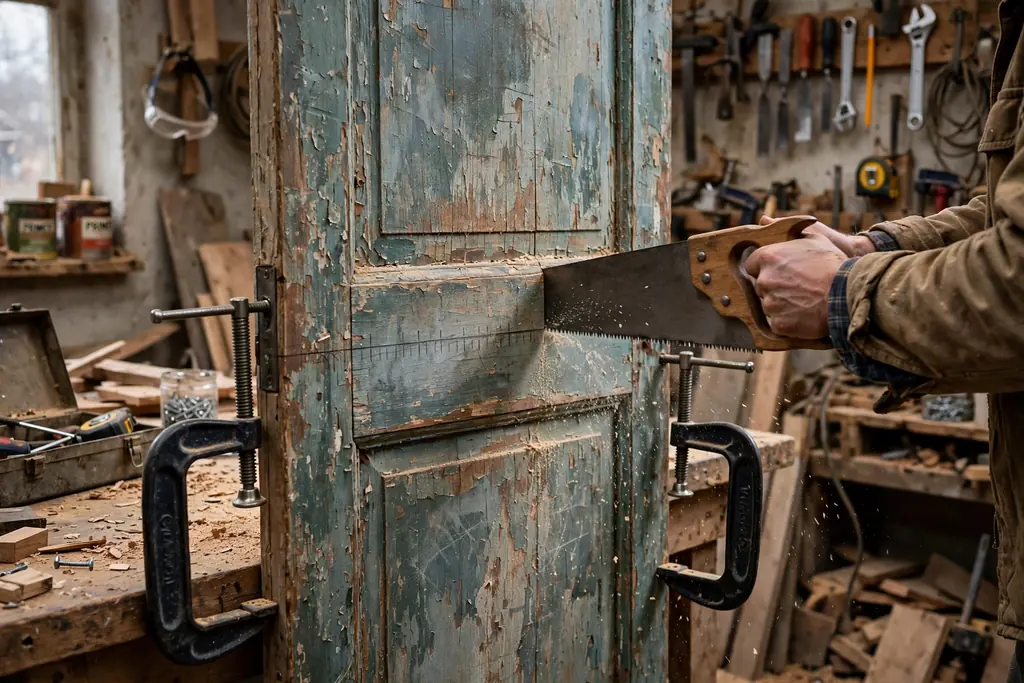
If the door needs trimming, clamp it firmly to sawhorses and cut along the marked line with a saw suited to the door material, keeping your hands clear of the blade path. Cut slowly and steadily, and support the offcut so it does not split or drop at the end of the cut. If you are trimming width, take even amounts from both sides where you can, so the panels stay centered.
After cutting, check the new edge for splinters and rough spots, and note any hollow section exposed by the cut. A hollow edge may need a filler strip glued in place before finishing, so the edge looks solid and holds paint. Sweep up sawdust before the next step, and keep the door flat while you work on the edges.
7. Sand the Surface Smooth
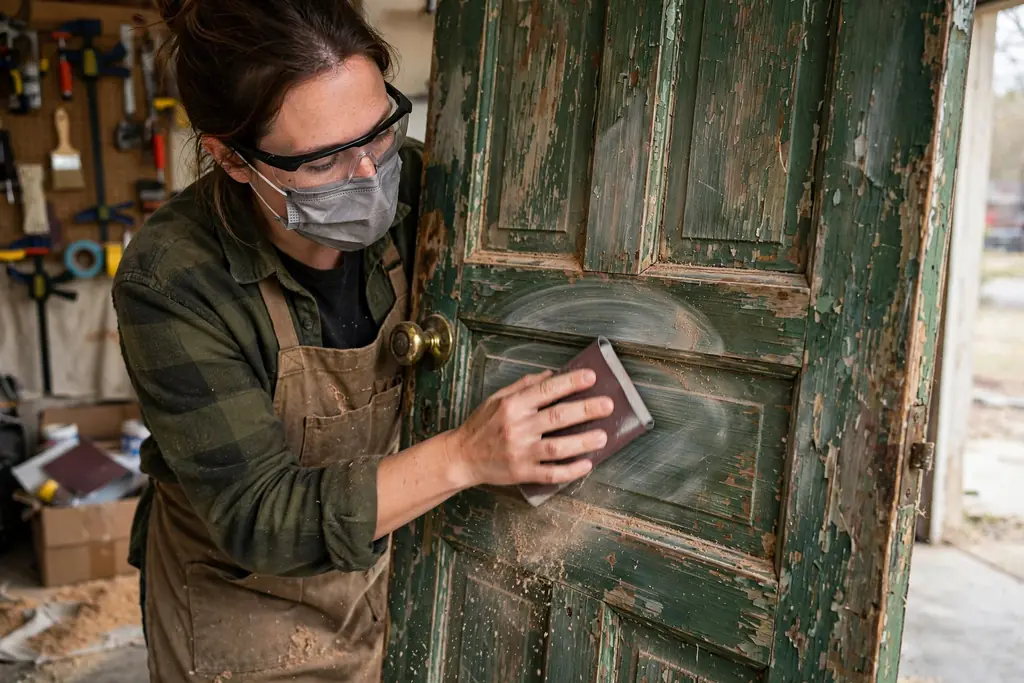
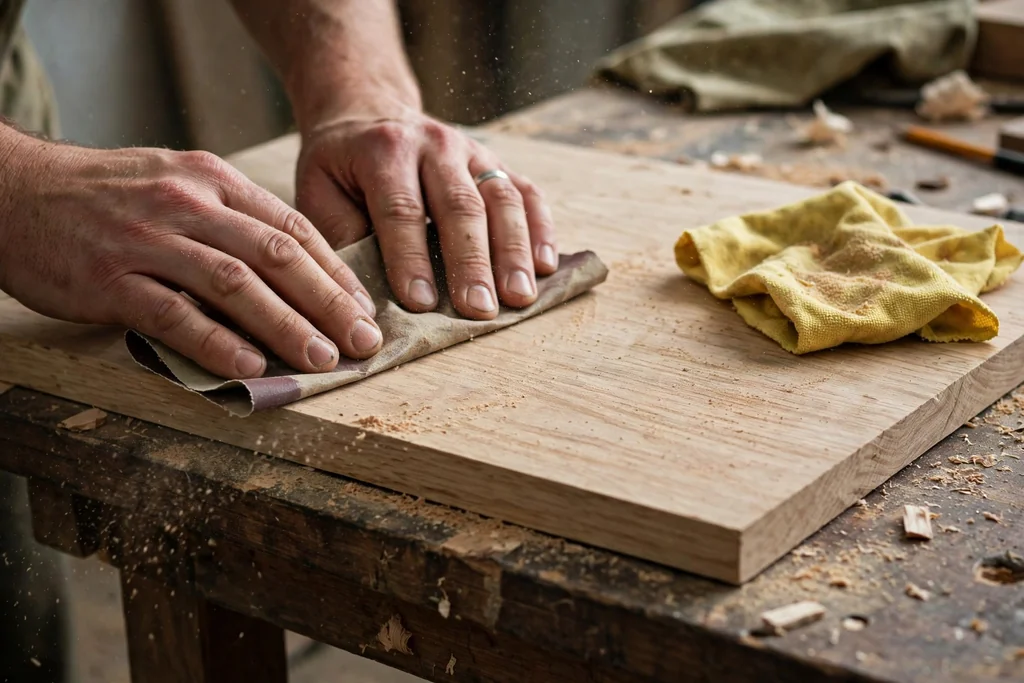
Sand the door faces, edges, and panel grooves, starting with a coarse grit to remove rough paint and splinters, then moving to a finer grit for a smooth finish. Sand with the grain where you can, and use a sanding block on flat areas so the surface stays even. Work in a ventilated area and wear a dust mask and safety glasses, since sanding old paint and wood makes fine dust.
Wipe the door with a slightly damp cloth between grits to lift dust and show any rough patches left behind. Pay extra care to panel edges and grooves, where old paint builds up and new paint can look thick. The goal is a surface that feels smooth to the touch, with no sharp splinters, peeling paint edges, or rough patches that would show through the finish.
8. Repair Cracks, Holes, and Loose Panels
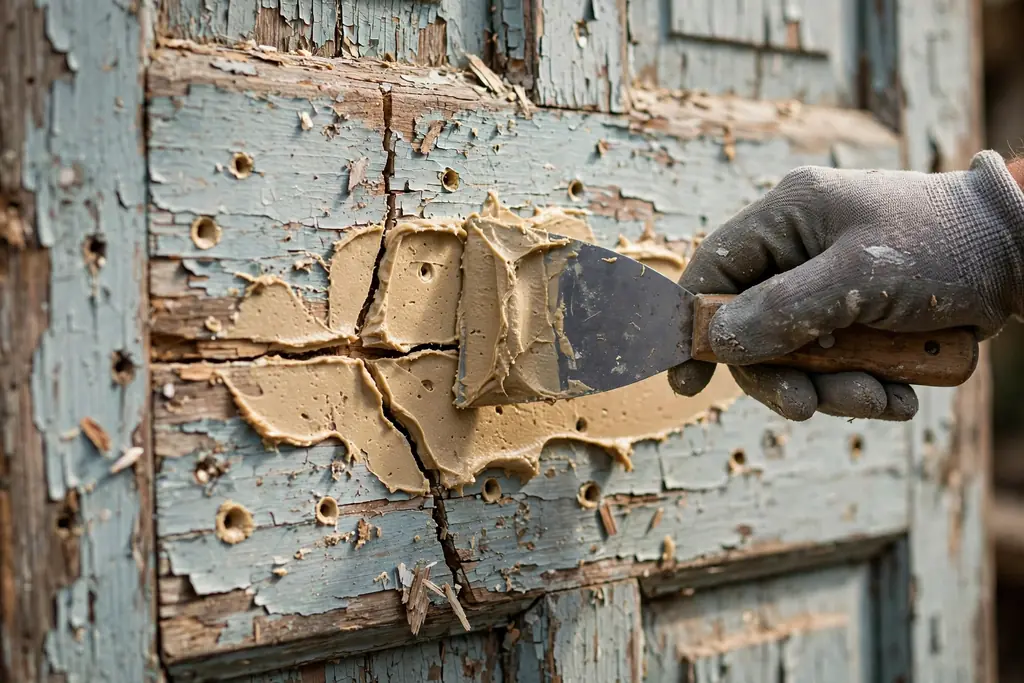
Press wood filler into nail holes, hinge marks, cracks, and dents with a putty knife, and smooth it level with the surface. For a loose panel, add a small amount of wood glue along the joint, press the panel back into place, and hold it with clamps or tape until the glue sets. Let filler and glue dry fully, following the drying guidance on the container.
Sand the repaired spots smooth with fine grit sandpaper, then wipe away dust and check the surface again. Small repairs done at this stage disappear under primer and paint, while repairs skipped now will show as dips or lines in the finished headboard. If a crack keeps opening or a joint still moves after gluing, the door may need a reinforcing board on the back, fixed with screws and glue.
9. Prime and Paint or Stain the Door
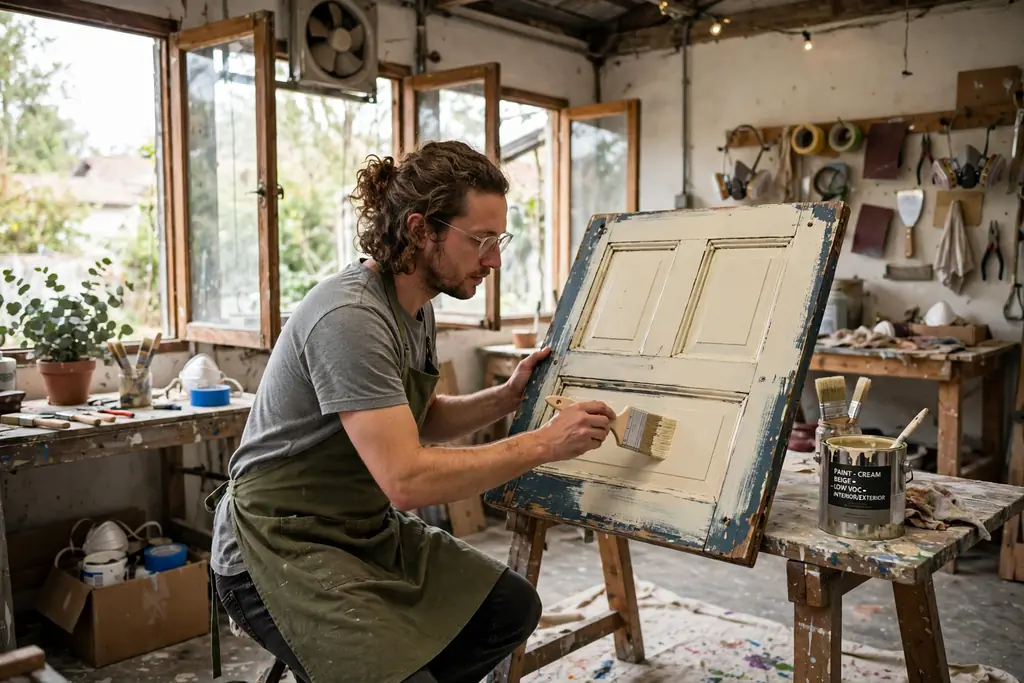
Brush or roll primer over the whole door, including edges and panel grooves, and let it dry fully before adding color. Primer helps paint grip old wood, covers filler patches, and stops old colors or stains from showing through. Lightly sand the primed surface with fine grit paper and wipe away dust if the primer feels rough.
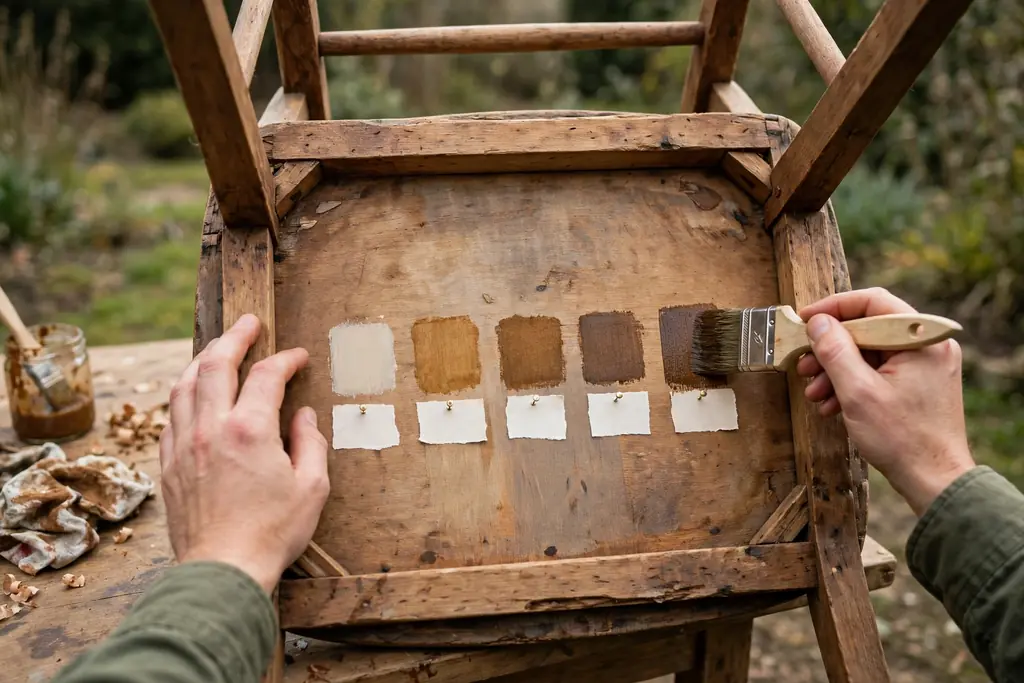
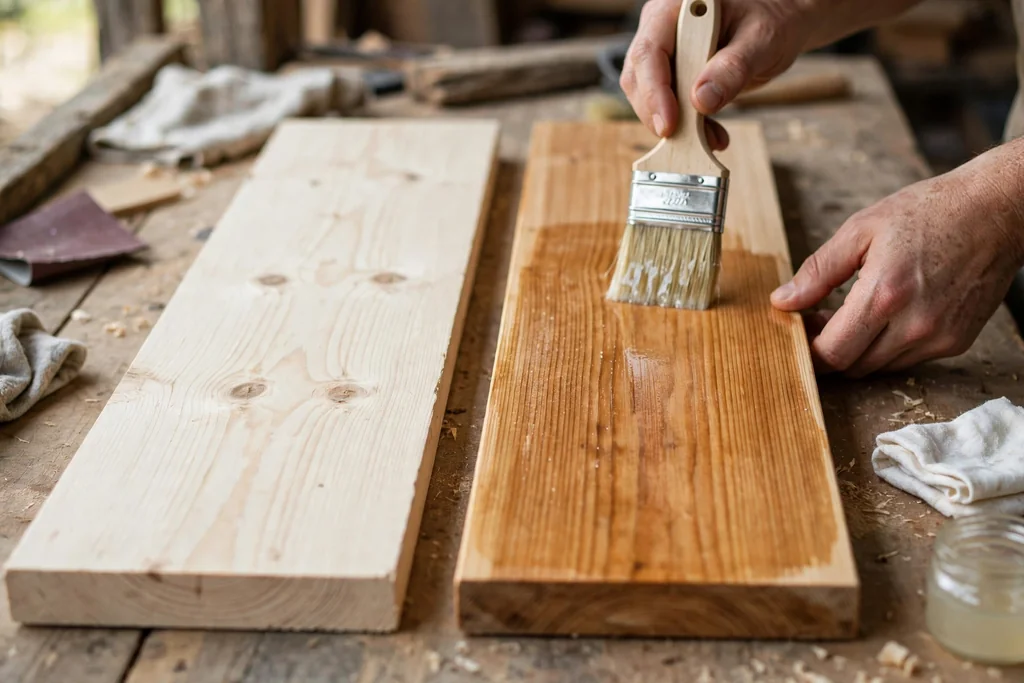
Apply paint or stain in thin, even coats, letting each coat dry fully before the next one. Two thin coats usually give a more even finish than one thick coat, which can drip in panel grooves and dry unevenly. Work in a ventilated area, and keep the door flat or upright and steady while coats dry, so dust and drips do not settle into the wet surface. For more bedroom refresh ideas, see Bedroom Makeover Ideas.
10. Add Trim or Panels for a Finished Look
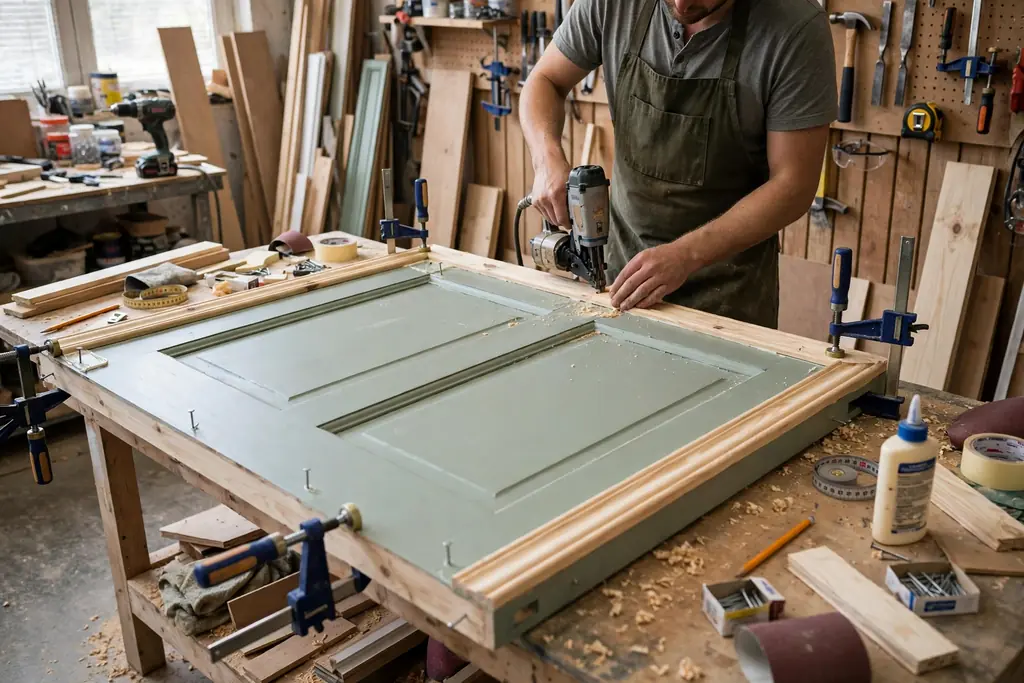
If you want a more finished headboard, add simple trim boards around the outer edge or across the panels, cut to fit and fixed with glue and small screws or nails from the back. Trim can cover a cut edge, frame the panels, or widen a narrow door to match a wider bed. Measure each trim piece in place before cutting, and keep the trim flush with the door face.
Sand the trim smooth, fill any nail holes, and prime and paint the trim to match the door before fixing it, or paint it after fixing if the joints need touching up. Step back and check the headboard from across the room to make sure the trim looks balanced on both sides. Trim is optional, so skip it if the door panels already give the look you want.
11. Seal the Surface for Durability
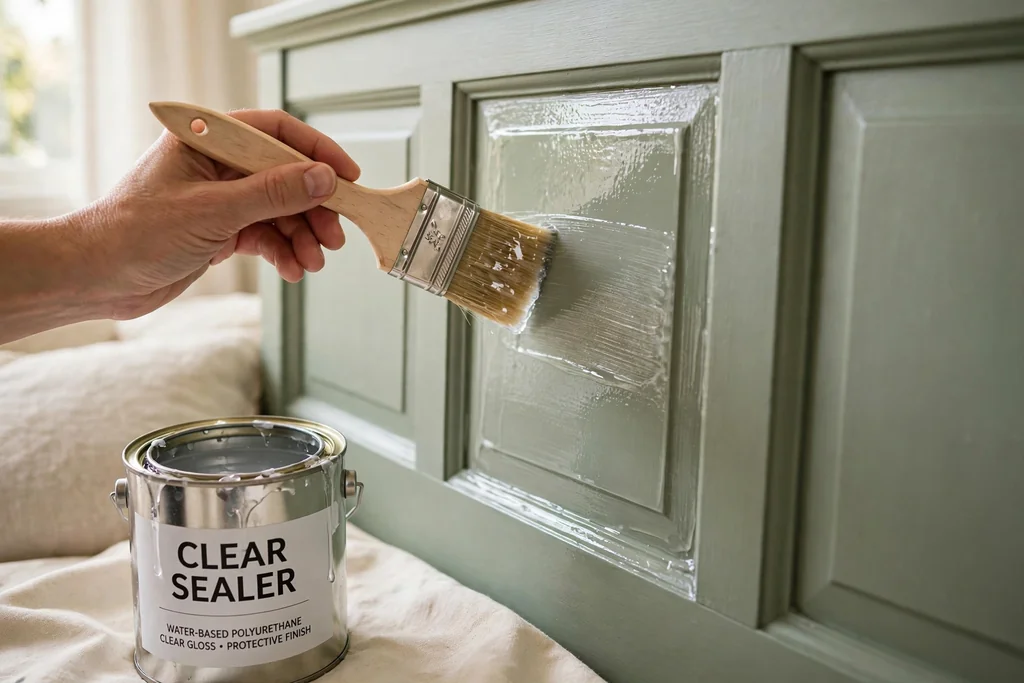
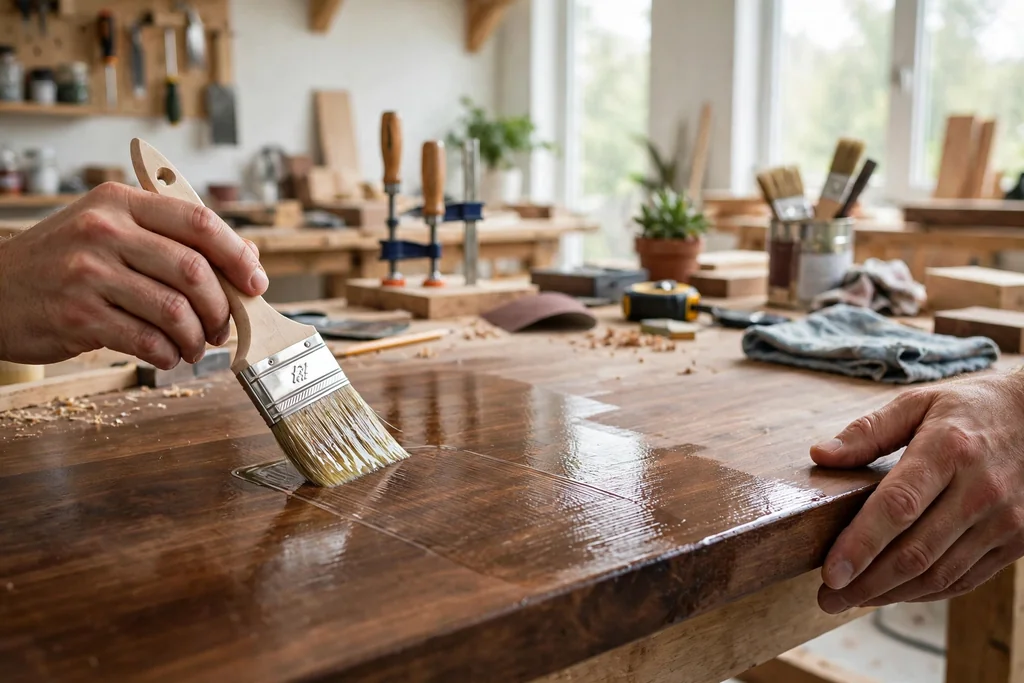
Once the paint or stain is fully dry, brush on a clear sealer suited to painted or stained wood, covering faces, edges, and trim. Sealer guards the finish against knocks, dust, and cleaning, and it gives the headboard a consistent sheen. Apply thin coats and let each coat dry fully, lightly sanding between coats only if the sealer feels rough.
Check the sealed surface in daylight for missed spots, drips, or dust caught in the finish, and touch up any thin areas before mounting. A well sealed headboard is easier to wipe clean and keeps its color longer, which matters for a piece that sits behind pillows and bedding every day.
12. Attach Legs or a Mounting Cleat
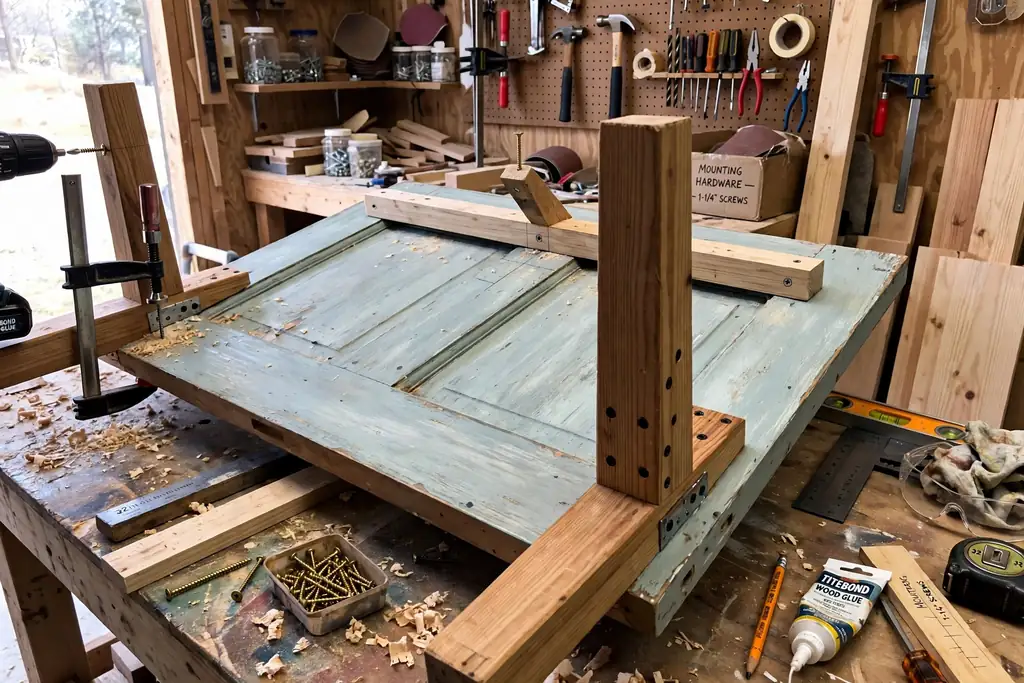
Decide how the headboard will stand before you move it to the bedroom. Legs fixed to the back of the door let it stand on the floor behind the bed, while a mounting cleat, a long board fixed across the back, lets you hang it on the wall. For legs, cut two boards to the height from the floor to the headboard base, and screw them firmly into the door rails, not only into a thin panel.
For a cleat, fix one board across the back of the door and a matching board to the wall, so the two boards lock together when the headboard is lifted into place. Use screws long enough to grip the door rails, and pre drill holes to stop the wood splitting. Check that legs or cleats sit level, so the headboard does not lean to one side once it is in place.
13. Secure the Headboard to the Wall or Bed Frame
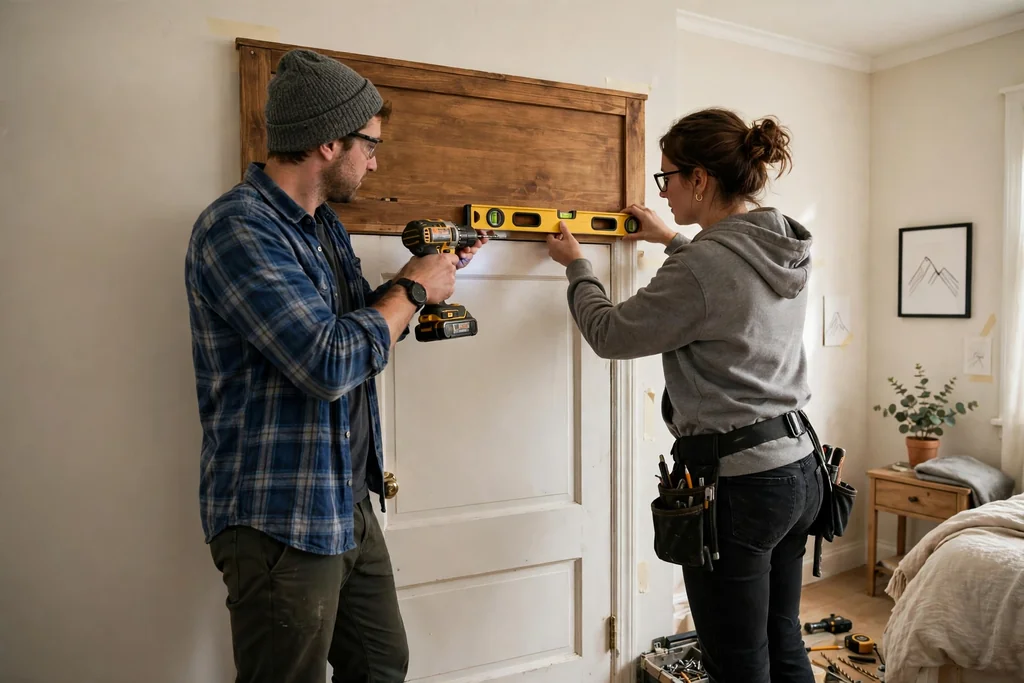
Move the headboard into place with a second person, since a solid door is heavy and awkward to hold alone. For wall mounting, find the wall studs with a stud finder, mark them, and drive fixings into the studs, not only into plasterboard, so the headboard can hold its own weight plus the push of someone leaning on it. For bed frame mounting, bolt the headboard to the frame brackets with bolts that fit the frame holes, and tighten them firmly.
Use a level to check that the headboard sits straight, then tighten every fixing and test it by pressing firmly against the headboard at several heights. If it shifts, rocks, or pulls away from the wall, stop and add more stud fixings or stronger frame bolts before using it. A headboard that only leans against the wall can tip forward, so it must be fixed in place before the bed is pushed back against it.
14. Style the Bed and Check Stability

Push the bed back into place, dress it with pillows and bedding, and check the gap between the mattress and the headboard. Pillows should rest against the headboard without pushing it back, and the top of the headboard should sit above the pillows at a height that looks right when you sit up. Adjust the bed position or the headboard height before you call the project done.
Do a last stability check: press the headboard, lean on it as you would when reading, and check that no fixing has loosened. Wipe the finished surface clean, and recheck fixings after the first week of use, since wood and screws can settle. For ideas on keeping the rest of the room tidy around the new headboard, see How to Organize a Small Bedroom. A door headboard made and mounted this way gives the bed a strong focal point and a story, without the cost of a new piece.
Conclusion
Making a headboard from an old door comes down to choosing a sound door, checking old paint for lead before sanding, preparing and finishing the surface in order, and mounting it firmly to wall studs or the bed frame. Each step builds on the last, from measuring and cutting to sealing and securing, so rushing one stage shows up in the next. Work in a ventilated area, wear protective gear, get help lifting the door, and recheck the fixings after the first week. Done this way, a salvaged door becomes a sturdy, good looking headboard that fits your bed and your room. For more ideas from Dwell Ovell, browse the home page for home decor guides.
FAQs
What kind of old door works best as a headboard?
A solid, flat door close to your bed width works best, such as a panel door, plank door, or solid framed French door. Avoid doors with rot, warping, loose joints, or deep cracks through a rail, since those faults make the headboard hard to finish and harder to mount safely.
Do I need to check an old door for lead paint?
Yes, check old paint for lead before sanding or cutting, using a lead test kit made for painted surfaces and following its directions. If a test shows lead, or if you are unsure, stop sanding and get advice from a local lead safety resource or a professional before going further.
How wide should a door headboard be?
A door headboard should match your bed width, or sit a little wider to frame the bed and leave room for nightstands. Measure the bed frame or mattress first, mark the cut line with a straight edge, and check that the door panels stay balanced on both sides after any trimming.
How do I mount a door headboard safely?
Mount it to wall studs with fixings rated for its weight, or bolt it firmly to the bed frame brackets, and test it by pressing firmly at several heights. Never leave a heavy door headboard leaning loose against the wall, since it can tip forward when someone leans on it.
Can I make a door headboard without cutting the door?
Yes, if the door already matches your bed width, you can skip cutting and move straight to sanding, repair, and finishing. Keeping the door uncut preserves its original frame, and you can still add trim or legs to suit the bed height and the room.
How do I finish a door headboard so it lasts?
Sand, repair, prime, and paint or stain in thin, even coats, letting each coat dry fully, then seal the whole surface with a clear sealer suited to painted or stained wood. Sealer guards the finish against knocks and dust, and a last check of the fixings after the first week keeps the headboard steady.