
An easy lumbar pillow pattern starts with your pillow form: measure its length, width, and depth, then cut a front panel and two overlapping back panels to fit, allowing your chosen seam allowance. Sew the panels with right sides together, turn the cover, press it, and slip the form inside for a neat lumbar pillow for a sofa or bed.
A lumbar pillow is a long, low rectangle, so it sits well in front of square pillows on a sofa and across the front of bed pillows. The envelope back used here keeps the project simple: two back panels overlap in the middle, so the form slides in and out for washing, and no zipper is needed. This guide works in the order that matters: measure the form first, choose fabric and a closure, cut to fit, sew in a straight line around the edge, and then check the fit before styling the finished pillow. For seasonal cover ideas that pair well with a new lumbar pillow, see these fall pillow covers.
Key Takeaways
- Measure your own pillow form first, since this pattern is cut to fit the form you have, not a fixed size.
- Cut one front panel and two overlapping back panels, adding your chosen seam allowance to each piece.
- An envelope back needs no zipper and lets you remove the form for washing.
- Pin and sew with right sides together, pivot at the corners, and trim the corners before turning.
- Press the finished cover and check the fit on the form before styling it on a sofa or bed.
- Choose a fabric weight that suits where the pillow will sit, and keep a plain fabric beside a patterned one so the lumbar pillow does not compete with nearby pillows.
Supplies You May Need
- A lumbar pillow form, in the size you want the finished pillow to be
- Fabric for the front and back panels, plus a little extra for testing a seam
- Matching thread
- A measuring tape
- Fabric scissors or a rotary cutter and cutting mat
- Straight pins or fabric clips
- A fabric marking pen or chalk
- A ruler or straight edge
- A sewing machine, or a hand sewing needle for a slower finish
- An iron and ironing board
- A point turner, chopstick, or similar blunt tool for pushing out corners
1. Measure Your Pillow Form and Note Its Shape
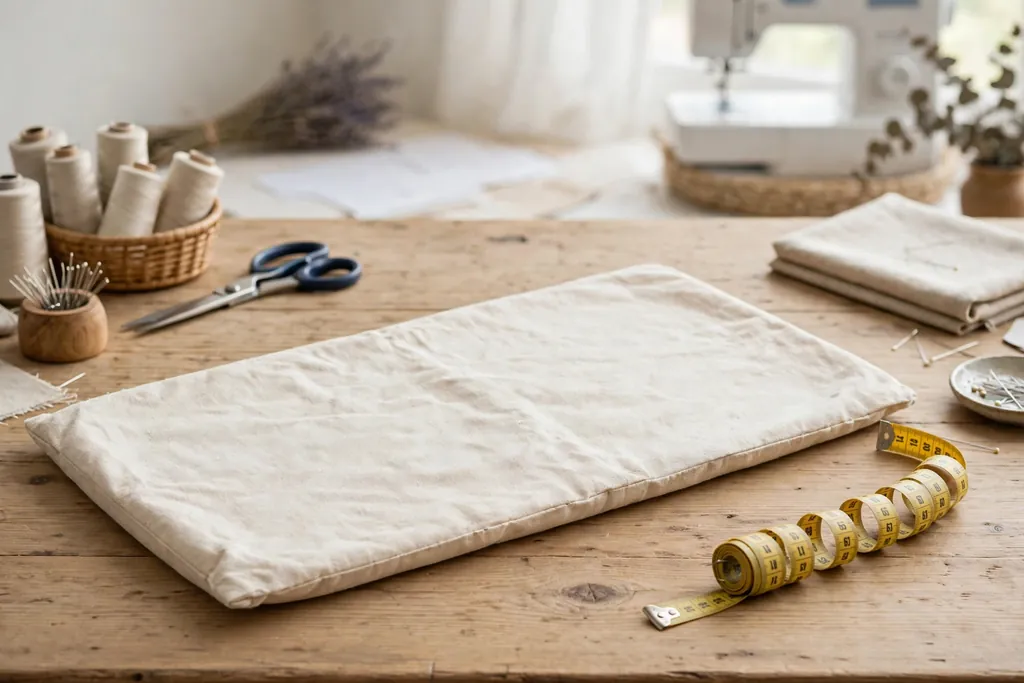
Lay the pillow form flat on a table and measure its length from end to end, its width from top edge to bottom edge, and its depth at the fullest point in the middle. Write all three measurements down, and note whether the form is a flat rectangle or a plumper shape that bulges in the center, since a plump form needs a cover with a little ease so it does not strain at the seams.
Check the form against the sofa or bed where it will sit. A lumbar pillow should sit in front of the pillows behind it without covering them fully, and it should leave room to sit or lie back comfortably. If the form looks too long for the space, choose a shorter form before cutting fabric, since it is easier to change the form now than to recut a finished cover later.
2. Choose a Fabric That Suits the Room and the Use

Pick a fabric that matches how the pillow will be used. A medium weight cotton or linen works well for everyday sofas and beds, holds a seam neatly, and is easy to press. A heavier fabric, such as canvas or a firm woven cotton, gives a structured lumbar pillow that keeps its shape on a sofa, while a softer fabric gives a relaxed pillow that suits a bed.
Look at the fabric in the room where the pillow will sit, beside the sofa or bedding, and in daylight if possible. A small print or a plain fabric is usually the safest choice for a lumbar pillow, since it sits in front of other pillows and a strong print there can crowd the arrangement. If you choose a large print, plan the cut so the part of the print you like best lands in the center of the front panel, and check that the print runs the right way up when the pillow lies flat.
3. Decide on an Envelope Back and a Seam Allowance
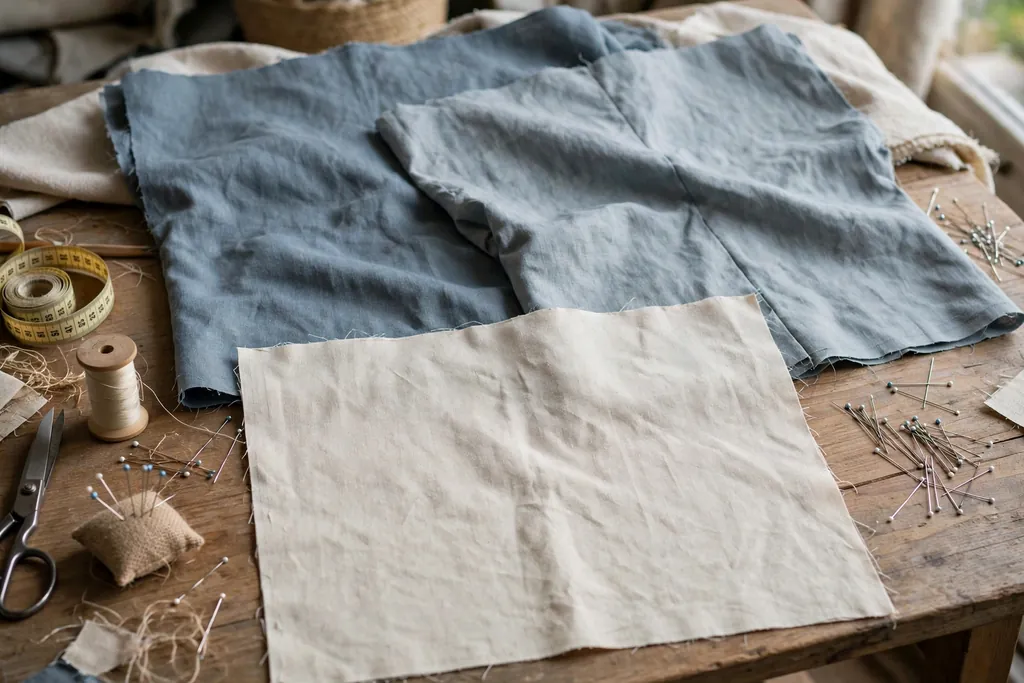
This pattern uses an envelope back: two back panels overlap across the middle of the pillow, so the form can be slipped in and out without a zipper. Decide how much overlap you want, since more overlap holds the form in more securely, while less overlap makes the cover easier to remove. Mark that choice on your notes before cutting, so both back panels are cut to the same plan.
Choose one seam allowance and use it for every seam in the project. A consistent seam allowance matters more than which allowance you pick, since the front and back panels must match all the way around. Write the allowance down with the form measurements, and set your sewing machine guide or mark your hand sewing line to match it, so you do not have to guess while sewing.
4. Prewash, Dry, and Press Your Fabric
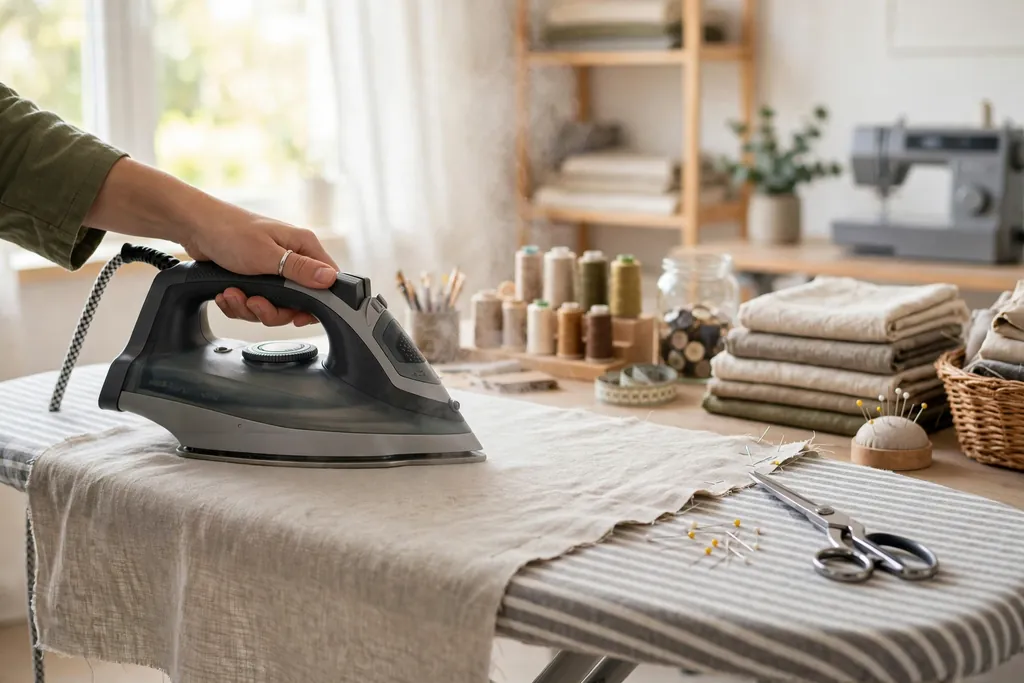
Wash and dry the fabric in the way you plan to wash the finished cover, following the care label for that fabric. This step matters because some fabrics shrink on the first wash, and a cover washed for the first time after sewing may end up too tight for its form. Let the fabric dry fully, then press it flat so wrinkles do not distort your measurements.
Pressing also gives you a clean surface for marking. Lay the fabric flat on a table, smooth it with your hands, and press out folds and creases, taking care not to stretch the fabric out of shape. If the fabric has a clear right side and wrong side, note which is which now, since the panels are pinned and sewn with right sides together in a later step.
5. Mark and Cut the Front Panel to Fit Your Form
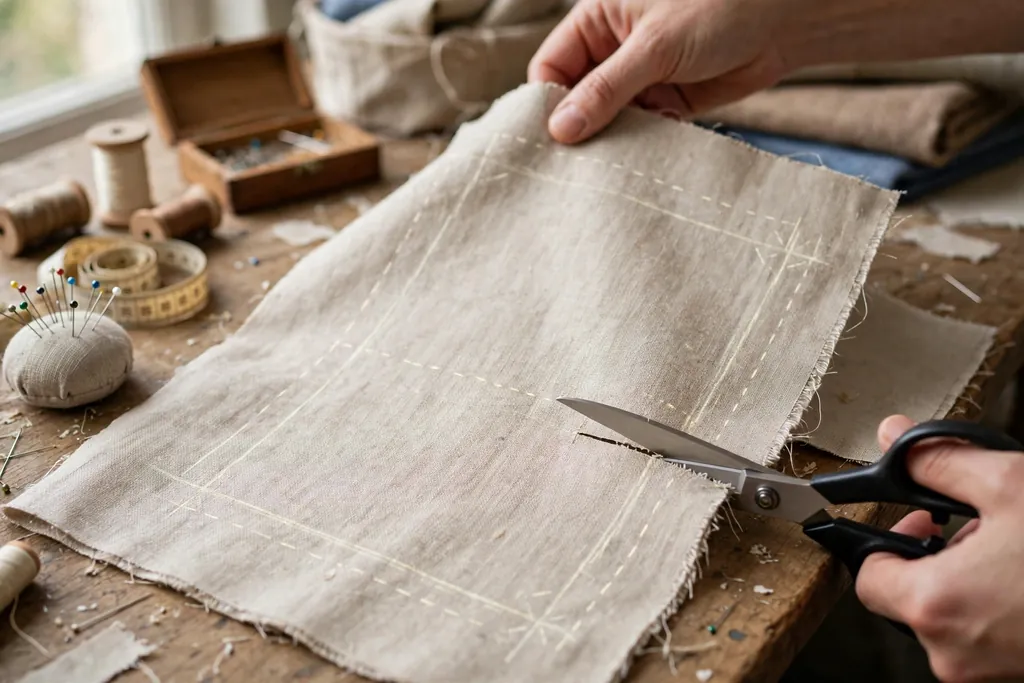
Lay the fabric flat with the right side up, and mark the front panel using the form measurements plus your chosen seam allowance on every side. The front panel is a rectangle that matches the face of the form, so its length follows the form length and its width follows the form width, with seam allowance added around all four edges. Use a ruler and a marking pen or chalk, and check each side twice before cutting.
Cut the front panel slowly along the marked lines, keeping the fabric flat so it does not shift. If the fabric has a print with a clear direction, check that the print will run the right way up on the finished pillow before you cut. Set the front panel aside face up, and keep the remaining fabric flat for the back panels.
6. Mark and Cut Two Overlapping Back Panels
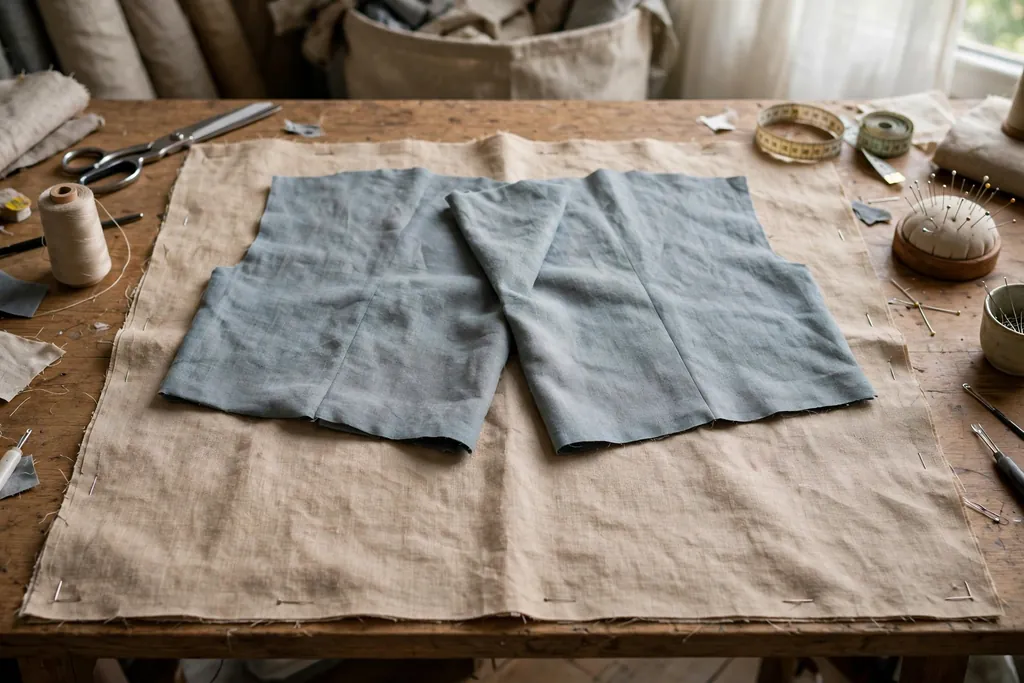
For the envelope back, cut two back panels that are each the same width as the front panel, including seam allowance, but shorter in length, so that together they cover the back with an overlap in the middle. To work out each back panel length, take the form length, add your seam allowance, and then divide the result into two panels with enough extra length on each panel to create the overlap you chose in step 3.
Mark both back panels on the fabric, and label them if needed so you can tell which edge is the overlap edge on each one. Cut them in the same careful way as the front panel, keeping the fabric flat and the marked lines straight. Lay the two back panels over the front panel to check the fit: together they should cover the full back, with the overlap sitting near the middle and no gap showing between them.
7. Hem the Overlap Edges of the Back Panels
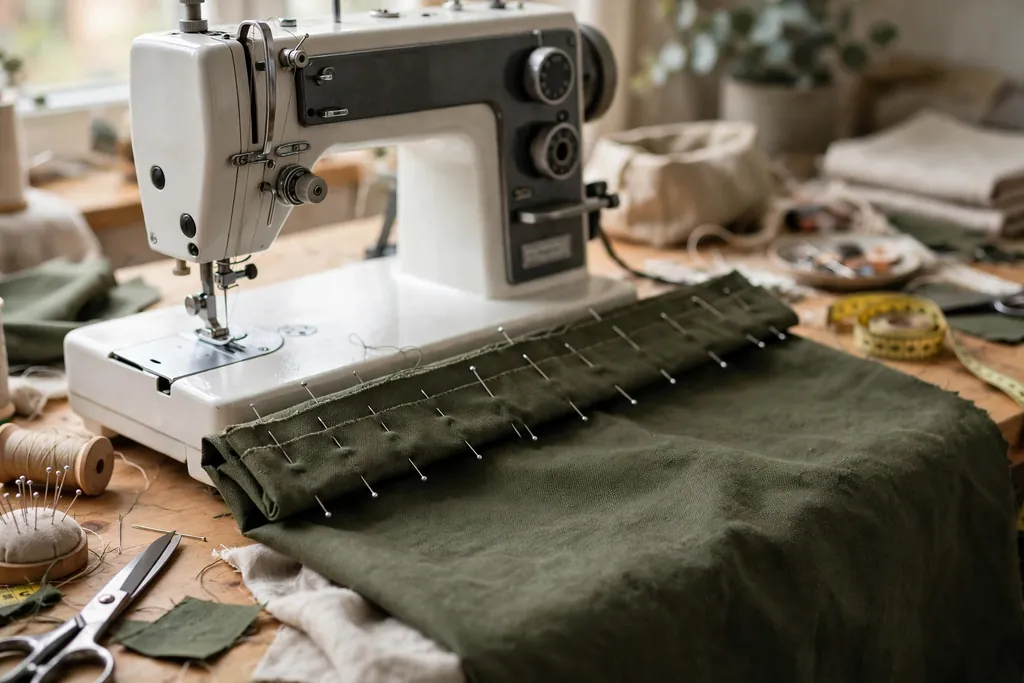
Take each back panel in turn and hem its overlap edge, which is the edge that will sit across the middle of the back. Fold that edge over to the wrong side by a small, even amount, press the fold, then fold it over once more and press again, so the raw edge is tucked inside the fold and will not fray. Pin the folded hem in place along its length.
Sew along the pinned hem close to the inner fold, keeping the stitching straight and the hem flat. Repeat the same hem on the second back panel, so both overlap edges are finished in the same way. When both hems are done, lay the back panels side by side and check that the hems are even, since uneven hems can make the overlap look crooked on the finished pillow.
8. Pin the Panels With Right Sides Together
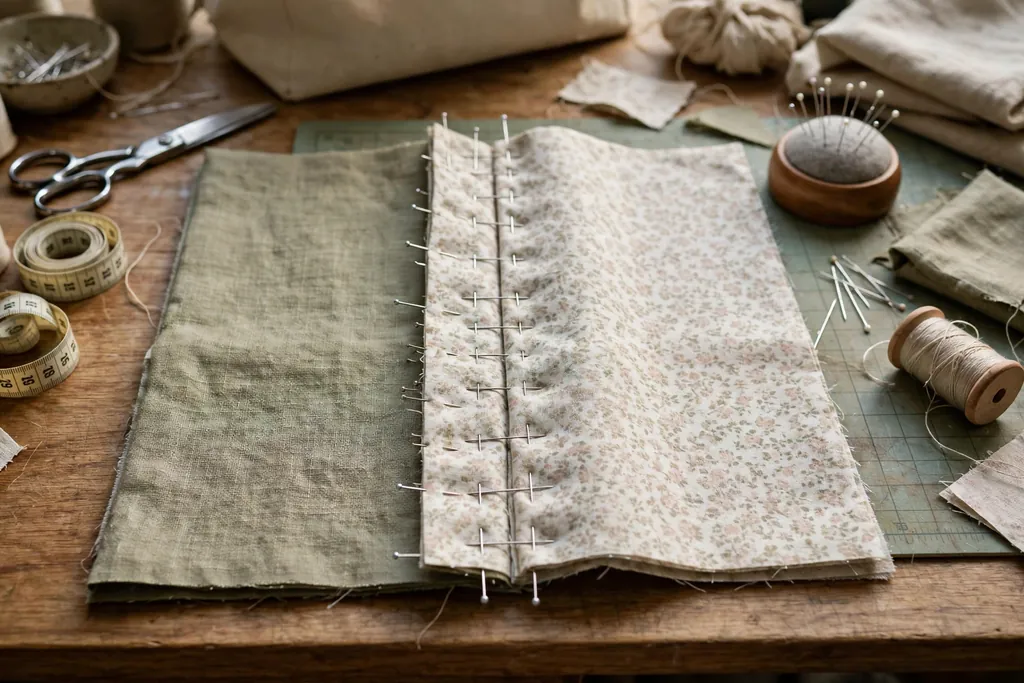
Lay the front panel face up on a table. Place the two back panels face down on top of it, with the hemmed overlap edges toward the middle, so the back panels overlap across the center and together cover the front panel. Line up the outer edges of all three panels, and check that the corners meet neatly, with no panel sticking out beyond the others.
Pin or clip around all four outer edges, placing pins at regular intervals and one pin at each corner. Check the overlap once more before sewing: the hemmed edges should sit flat across the middle, and the overlap should not pull to one side. If a panel has shifted, unpin that edge, line it up again, and repin, since a shifted panel at this stage will show as a crooked seam later.
9. Sew Around the Edge and Pivot at the Corners
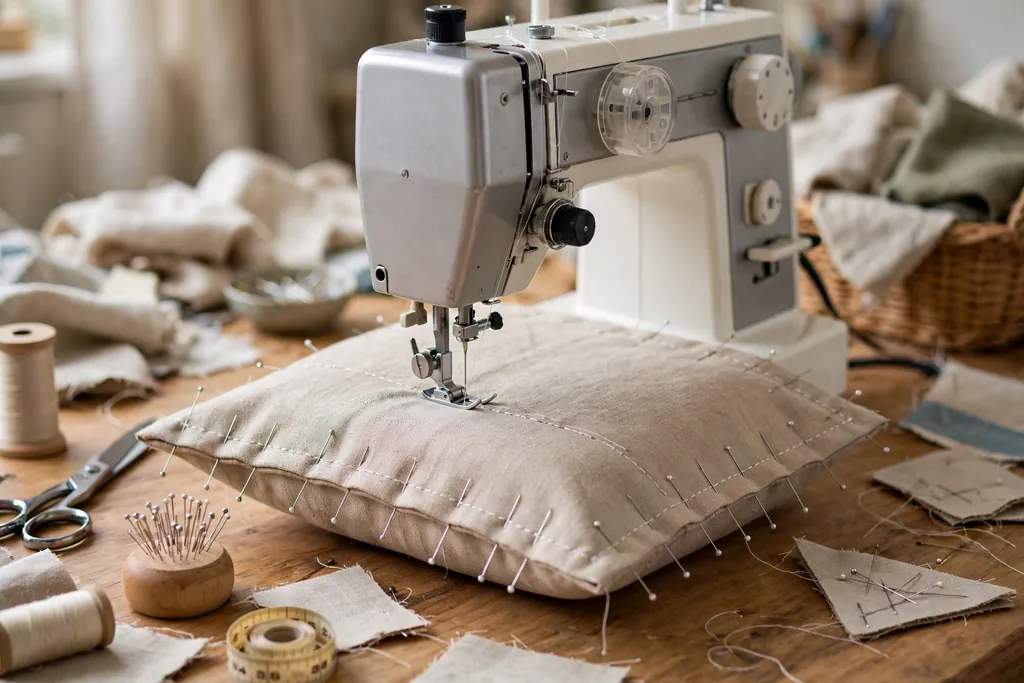
Sew around all four outer edges using your chosen seam allowance, removing pins as you reach them. Sew slowly near the corners, and stop with the needle down at each corner, lift the presser foot, turn the fabric to the next side, lower the foot, and continue, so each corner turns squarely. If you are sewing by hand, use small, even stitches and take care at the corners in the same way.
Sew in one steady pass around the cover if you can, and backstitch a few stitches at the start and end of the seam to secure it. When the sewing is done, check the seam from the outside of the cover before turning it: the stitching should sit at an even distance from the edge all the way around, and no section should be left unsewn, since a gap will open when the form goes in.
10. Trim the Corners and Turn the Cover Right Side Out
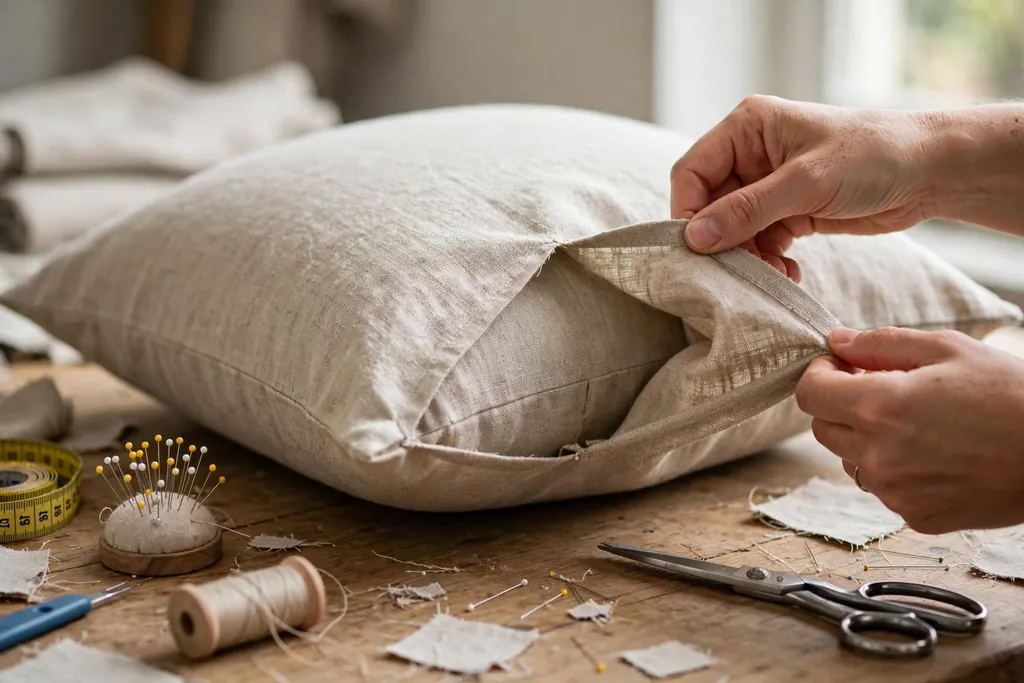
Trim the seam allowance at each corner diagonally, cutting close to the stitching without cutting through it, so the corners will lie flat when turned. Trimming also removes bulk from the corners, which is what makes a turned pillow look boxy instead of pointed. If the fabric frays easily, take care not to trim so close that the seam starts to unravel.
Reach through the envelope opening in the back and turn the cover right side out, pushing each corner out gently with a point turner, chopstick, or similar blunt tool. Work slowly so you do not poke through the seam, and check each corner from the outside: it should look square and neat, not rounded or dented. Smooth the cover flat with your hands before pressing.
11. Press the Cover and Check the Fit on the Form
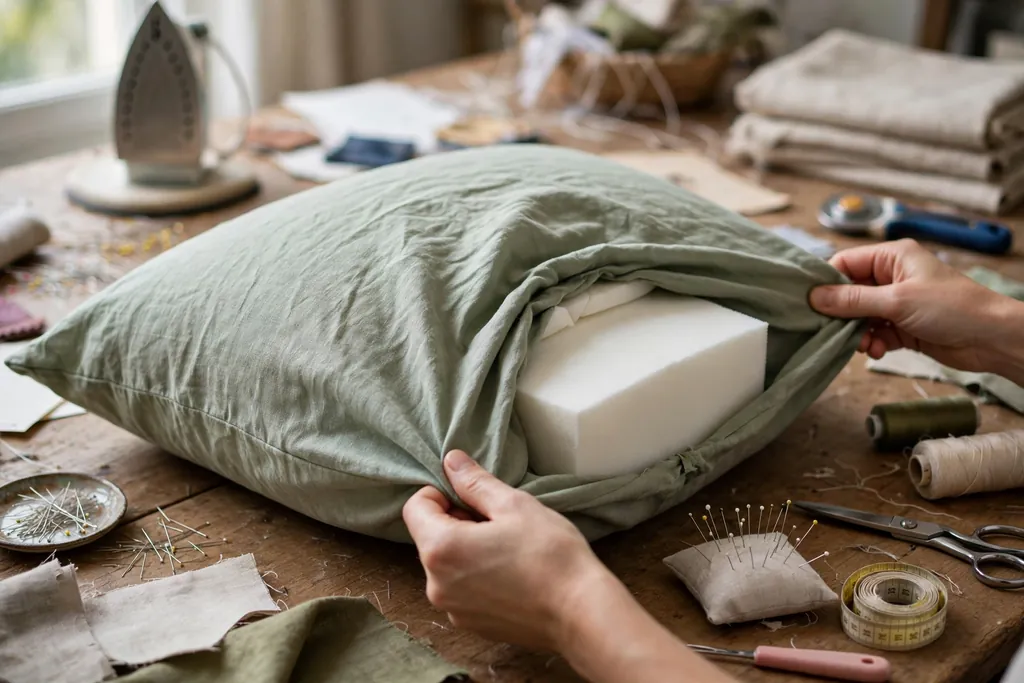
Press the finished cover flat, pressing the outer seams open from the inside first if the fabric allows, then pressing the cover from the right side with the seams lying neatly at the edges. Pressing at this stage sets the shape of the pillow and makes the corners look crisp, so take time over it and press each edge in turn. Let the cover cool flat before fitting the form, so the pressed edges hold.
Slip the pillow form through the envelope opening and settle it into the corners, then smooth the cover over the form and check the fit. The cover should feel snug without straining at the seams, and the form should fill the corners without leaving empty flaps. If the cover is too tight, check whether the seam allowance was kept even all the way around; if it is too loose, the form may be smaller than the cover was cut for, and a fuller form will improve the look.
12. Close the Envelope Back and Neaten the Finish
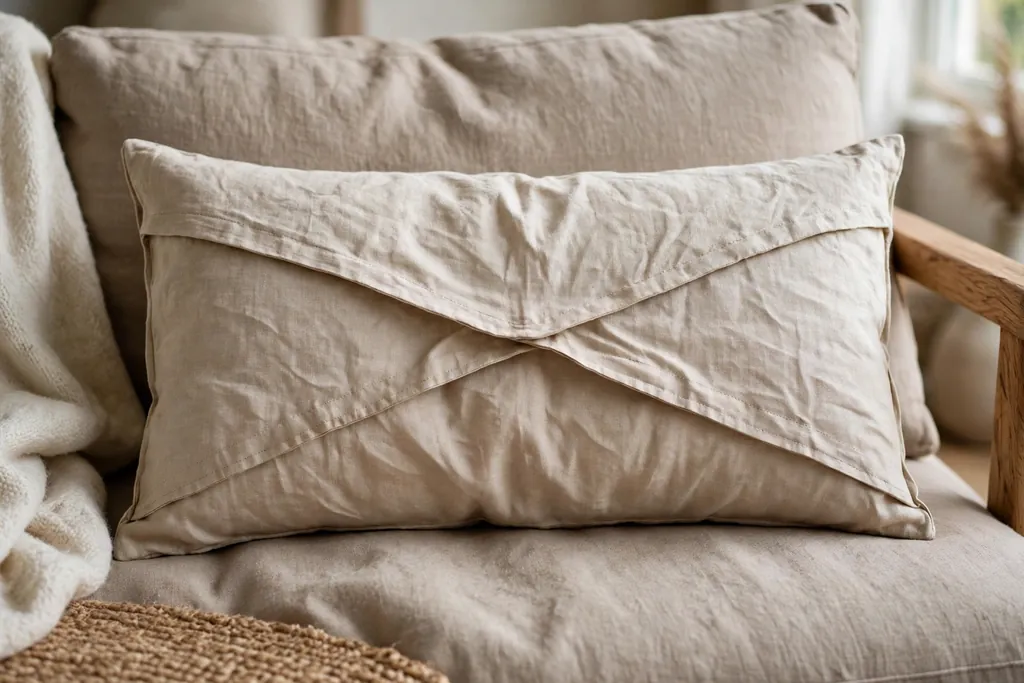
Once the form sits well, smooth the two back panels so the overlap lies flat across the middle of the back, with the hemmed edges sitting neatly one over the other. The overlap should stay closed on its own when the pillow is handled gently, and it should open easily when you want to remove the form for washing. Adjust the form inside the cover until the front panel lies smooth, with no twists pulling it to one side.
Give the finished pillow a final press on the front if the fabric allows, and check the pillow from the front, the back, and each end. Trim any loose threads, and check the corners once more, since a thread or a dented corner is easy to miss while fitting the form. The pillow is finished when the front looks smooth, the back overlap lies flat, and the form fills the cover evenly.
13. Style the Lumbar Pillow on a Sofa or Bed

On a sofa, place the lumbar pillow in front of the square pillows, centered on the seat or slightly to one side, with its long side running along the sofa back. Pair it with plainer square pillows if the lumbar fabric is patterned, or use a patterned lumbar pillow as the single feature pillow among plainer squares. Leave enough seat space for sitting, and angle the lumbar pillow slightly if it keeps sliding forward.
On a bed, place the lumbar pillow across the front of the sleeping pillows or the bed pillows you sleep against, centered on the bed, with its long side running across the width of the bed. It works well in front of a row of standard pillows, and it can also sit in front of a single row of larger pillows without hiding them fully. Step back and check the bed or sofa from the doorway, since that is the view most people see first, and adjust the pillow position until it looks settled rather than placed as an afterthought.
Conclusion
An easy lumbar pillow pattern starts with the form you already have, not a fixed size. Measure its length, width, and depth, cut a front panel and two overlapping back panels to fit with a consistent seam allowance, and sew the panels with right sides together. Hem the envelope edges, pivot at the corners, trim and turn the cover, press it, and check the fit before styling. The result is a lumbar pillow that fits its form, opens easily for washing, and sits neatly on a sofa or a bed. For more ideas from Dwell Ovell, browse the home page for home decor guides.
FAQs
How do I make a lumbar pillow pattern from scratch?
Measure your pillow form length, width, and depth, then mark a front panel to match the form face plus your chosen seam allowance on every side, and two back panels that together cover the back with an overlap in the middle. Cut the panels, hem the overlap edges, pin the panels with right sides together, sew around the edge, trim the corners, turn the cover, and press it before fitting the form.
What is the easiest way to close a lumbar pillow cover?
An envelope back is the easiest closure for a beginner, since two overlapping back panels hold the form in place without a zipper. Hem the overlap edge of each back panel, lay the back panels over the front panel with the hems toward the middle, sew around the outer edge, and slip the form in through the overlap, which stays closed in normal use and opens for washing.
Do I need to prewash fabric before sewing a pillow cover?
Yes, prewash and dry the fabric in the way you plan to wash the finished cover, following the care label, since some fabrics shrink on the first wash. A cover sewn from unwashed fabric may end up too tight for its form after its first wash, while fabric washed first is already at its washed size when you cut and sew it.
What fabric works best for a lumbar pillow on a sofa?
A medium weight cotton or linen works well for an everyday sofa pillow, since it holds a seam neatly, presses well, and is easy to care for. Heavier woven cotton or canvas gives a more structured pillow that keeps its shape, while a softer fabric gives a relaxed pillow that suits a bed better than a sofa used for sitting every day.
How do I keep the corners of a lumbar pillow neat?
Sew slowly at each corner, stop with the needle down, turn the fabric squarely, and continue, then trim the seam allowance diagonally close to the stitching without cutting through it. Turn the cover gently and push each corner out with a blunt tool, such as a point turner or chopstick, taking care not to poke through the seam, and press the finished cover flat.
Can I use this lumbar pillow pattern on a bed as well as a sofa?
Yes, the same pattern works for a bed, since it is cut to fit the form you choose rather than a fixed sofa size. Place the finished lumbar pillow across the front of the bed pillows, centered on the bed with its long side running across the width of the bed, and pair it with plainer pillows if the lumbar fabric is patterned, so it reads as one feature pillow.