
To make a pillow cover, measure your insert and add one inch for seam allowances, then cut one front panel and two overlapping back panels from washed fabric. Sew the panels right sides together, turn the cover right side out, press it, and slip the insert inside through the envelope opening. The project takes under an hour for a cover.
A new pillow cover is one of the simplest ways to change how a sofa, bed, or chair looks, since the insert stays the same and only the fabric changes. Envelope covers need no zipper, no buttons, and no advanced sewing, so they suit a first sewing project as well as a quick seasonal refresh. Once you can sew one envelope cover, you can repeat the same steps in different fabrics for every room, and swap covers whenever you want a new color or texture.
Key Takeaways
- Measure the insert first, and cut the cover to the insert size plus one inch for seam allowances on each side.
- Wash, dry, and press fabric before cutting, so the finished cover does not shrink after its first wash.
- An envelope back uses two overlapping panels, so the cover closes without a zipper.
- Sew with the panels right sides together, trim the corners, then turn and press the cover before inserting the form.
- A cover one or two inches smaller than its insert looks fuller, so cut slightly small for a plump pillow.
- Wash finished covers with similar colors, and store off-season covers clean, dry, and folded flat.
Supplies You May Need
- A pillow insert in the size you want to cover
- Fabric, such as cotton, linen, or a cotton blend, enough for one front panel and two back panels
- A measuring tape and a clear ruler or yardstick
- Fabric scissors or a rotary cutter and cutting mat
- Straight pins or sewing clips
- A sewing machine and thread to match the fabric
- An iron and ironing board
- Fabric marking chalk or a washable fabric pencil
- A seam ripper for fixing mistakes
- A zipper, only if you choose the zipper variation in step 12
- Piping cord and bias tape, only if you choose the piping variation in step 7
1. Measure Your Pillow Insert
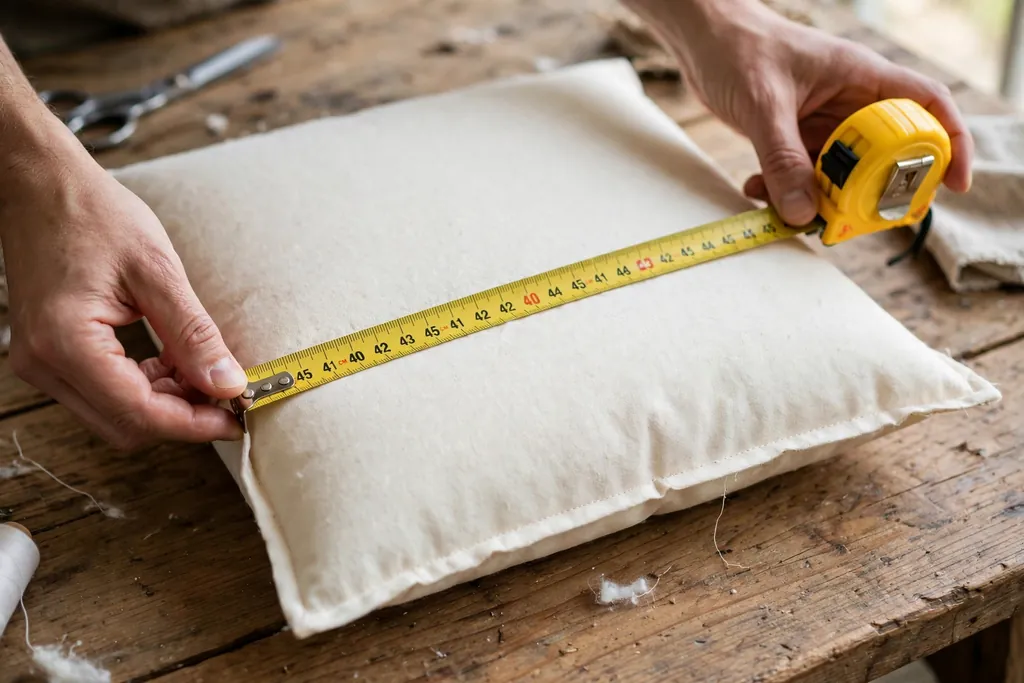
Measure the insert across the middle, from seam to seam, in both directions, and write down both numbers. A standard square insert might measure 18 inches, 20 inches, or 22 inches, while a lumbar insert is longer in one direction than the other. Measure the actual insert, not an old cover, since old covers stretch and give a wrong size.
For a full, plump pillow, cut the finished cover one or two inches smaller than the insert, so the insert fills the cover firmly. A cover cut to the exact insert size looks softer and flatter, which suits a bed pillow used for sleeping. Decide which look you want before you cut, since the cutting size follows from this choice.
2. Choose Fabric for the Cover
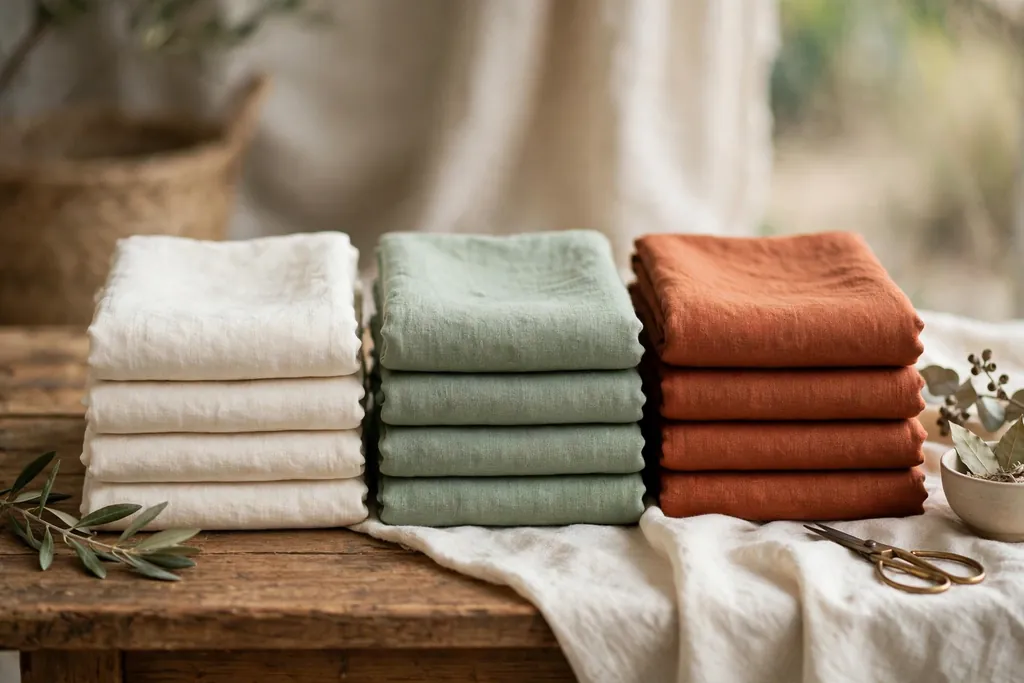
Choose a medium weight woven fabric, such as cotton, linen, or a cotton blend, for a first pillow cover. These fabrics cut cleanly, hold a crease under the iron, and feed evenly through a sewing machine. Light fabrics such as voile need a lining to hold their shape, while very heavy fabrics such as thick upholstery cloth are hard to turn at the corners.
Think about where the pillow will live. A sofa pillow used every day needs a washable fabric, while a bedroom accent pillow can use a more delicate cloth. For color and pattern ideas before you buy fabric, see these fall pillow covers for warm, layered combinations you can echo in your own fabric choice. Buy a little extra fabric, so a cutting mistake does not end the project.
3. Wash, Dry, and Press the Fabric
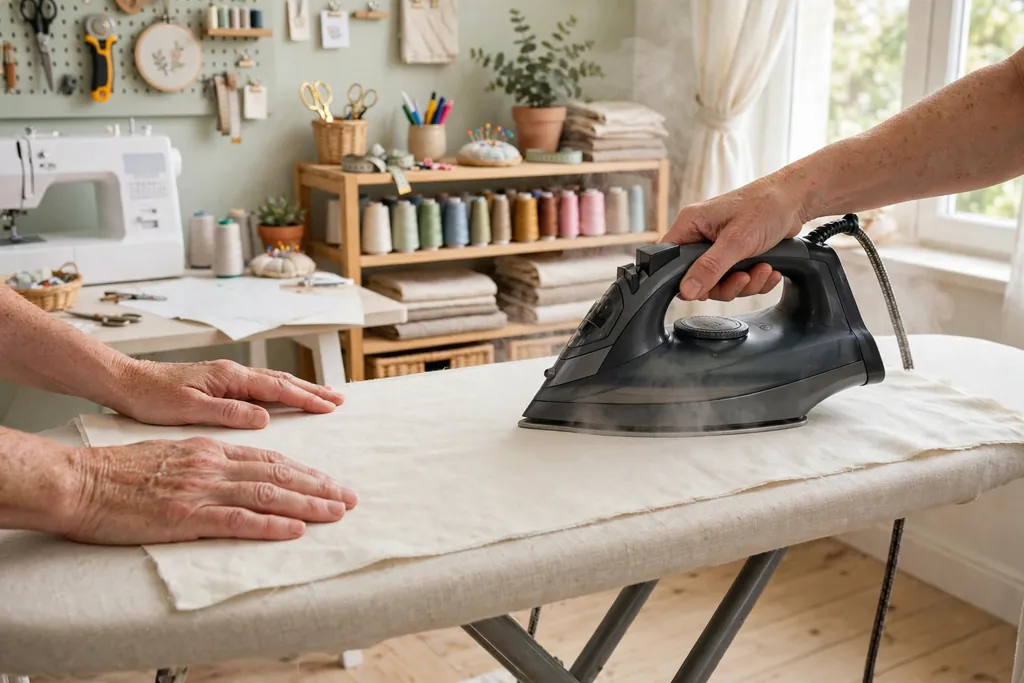
Wash the fabric the way you plan to wash the finished cover, then dry it fully before cutting. Cotton and linen can shrink on the first wash, and a cover cut from unwashed fabric may end up too tight for its insert after laundering. If the fabric care label says dry clean only, skip the wash and press it with steam instead.
Press the dry fabric flat with an iron, working out wrinkles and folds from the bolt. A flat, smooth length of fabric cuts more accurately than wrinkled cloth, and pressed edges mark more clearly. Fold the fabric in half only after pressing, if your cutting plan needs a fold, and check that the fold lies straight.
4. Cut the Front Panel
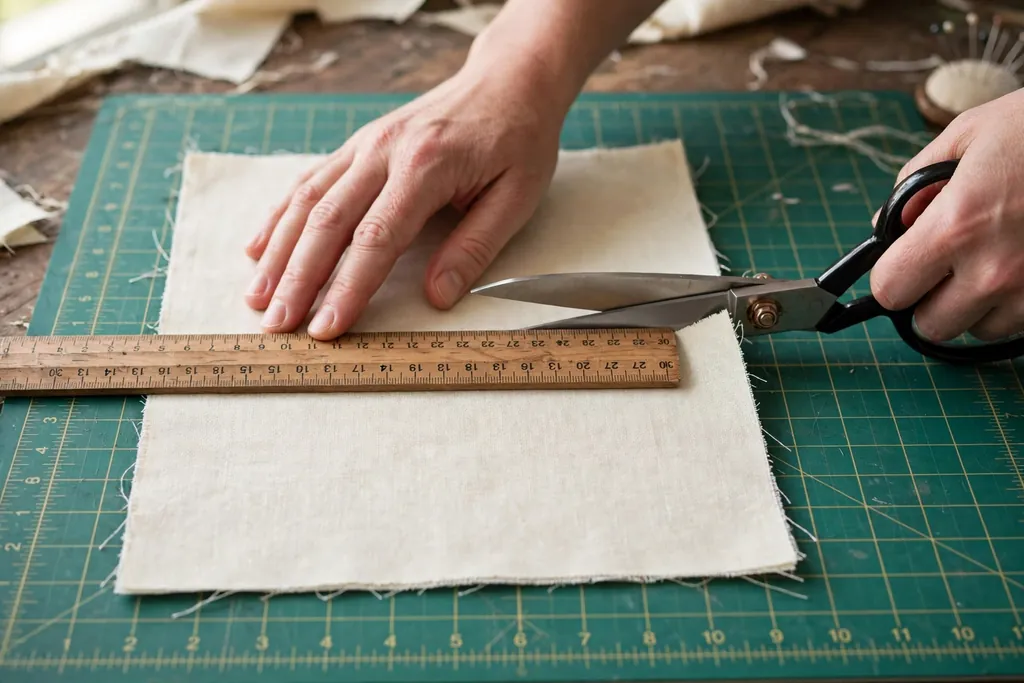
Cut one front panel as a square or rectangle equal to the finished cover size plus one inch in each direction for seam allowances. For example, an 18 inch finished cover needs a 19 inch cut panel, since a half inch seam allowance on each side adds one inch in total. Mark the measurements with chalk or a washable pencil, and use a ruler to keep the lines straight.
Cut along the marked lines with sharp scissors or a rotary cutter, keeping the fabric flat on the table as you cut. A clean, straight cut matters, since a crooked panel shows in the finished corners. Set the front panel aside with the right side facing up, so you can tell it apart from the back panels later.
5. Cut the Back Panels for an Envelope Closure
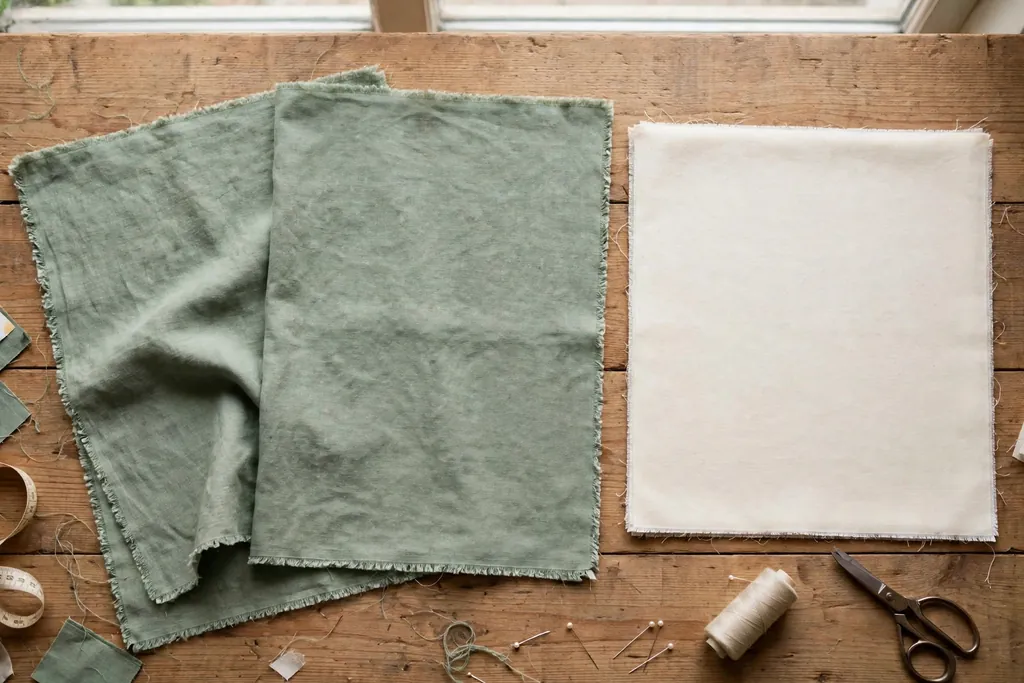
Cut two back panels, each the same width as the front panel, and each a little more than half the height of the front panel. For a 19 inch cut front panel, cut each back panel 19 inches wide and about 12 inches tall, so the two panels overlap by about 5 inches when laid over the front panel. The overlap is what keeps the insert inside without a zipper.
Lay the two back panels over the front panel, right sides down, to check the overlap before you sew anything. The panels should meet and overlap in the middle, with no gap showing the insert. If the overlap is less than 4 inches, cut the back panels a little taller, since a small overlap can gap open on a full pillow.
6. Hem the Back Panel Openings
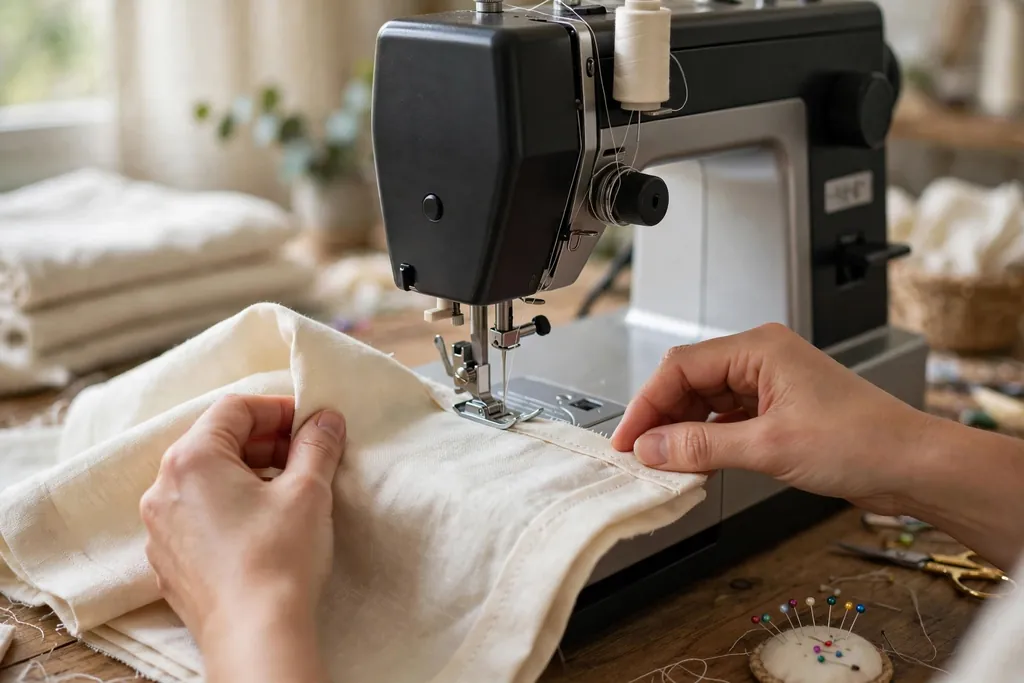
Hem the edge of each back panel that will sit at the envelope opening, which is the inner edge of each panel where they overlap. Fold that edge over by half an inch, then fold it over again by half an inch, and press the fold flat. The double fold hides the raw edge inside the hem, so it will not fray in the wash.
Sew along the folded hem close to the inner fold, using a straight stitch, and backstitch a few stitches at each end so the hem does not unravel. Press the hemmed edge again after sewing, so it lies flat. Both back panels now have one neat finished edge, and those two edges will form the opening of the finished cover.
7. Add Piping or Trim for a Finished Edge
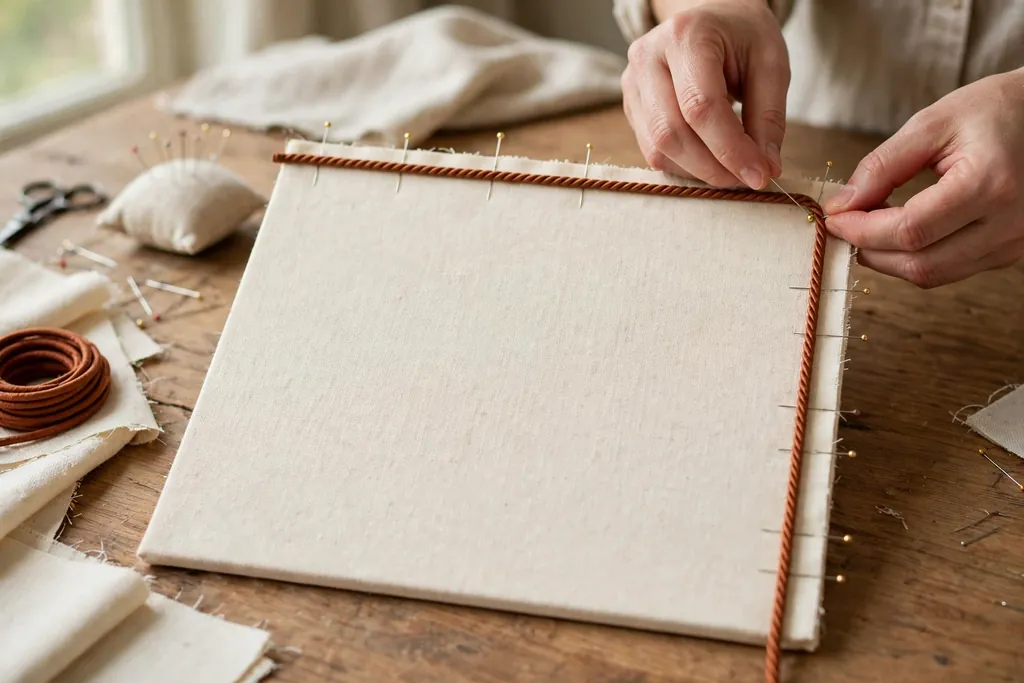
This step is optional, and you can skip it for a plain cover. If you want piping, pin the piping cord along the edge of the front panel, right side up, with the cord facing inward and the raw edge of the piping tape lined up with the raw edge of the panel. Clip the piping at the corners so it turns cleanly, and pin it in place all the way around.
Baste the piping to the front panel with a long straight stitch, close to the cord, before you pin the back panels on. Basting holds the piping steady, so it does not shift while you sew the main seam. If you prefer pom pom trim or a flat braid, pin it the same way, with the decorative edge facing inward, so it shows at the seam once the cover is turned.
8. Pin the Panels Right Sides Together
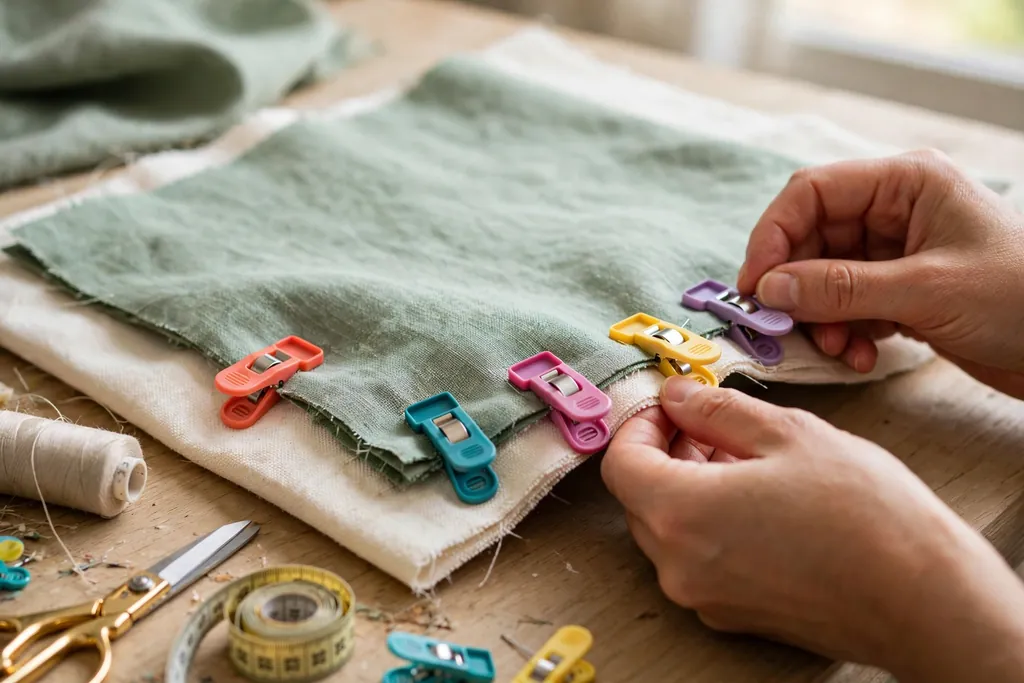
Lay the front panel right side up on the table, with piping in place if you added it. Lay the two back panels on top, right sides down, with their hemmed edges overlapping in the middle and their outer edges lined up with the front panel edges. The stack should now be front panel on the bottom and two back panels on top, with all outer edges matching.
Pin or clip all four outer edges, placing pins at right angles to the edge every few inches. Pay close attention to the corners, and make sure no layer has shifted or folded under. A well pinned stack sews evenly, while a loose stack can pucker or leave one layer longer than the rest.
9. Sew the Seams
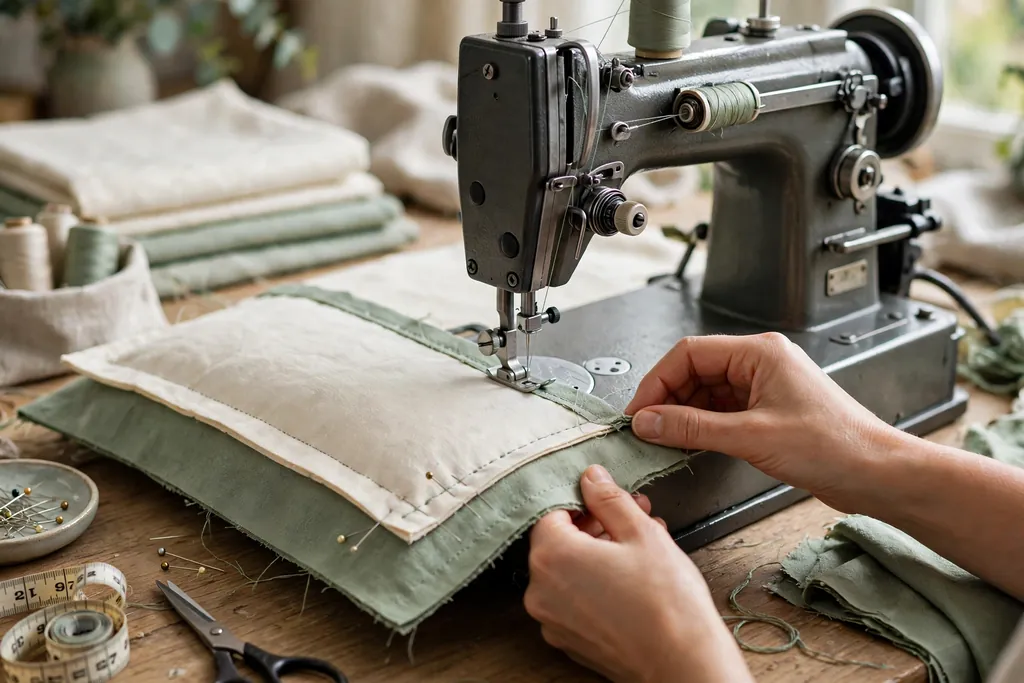
Sew around all four outer edges with a half inch seam allowance, using a straight stitch, and backstitch at the start and end of the seam. Sew slowly around the corners, and pivot the needle at each corner so the stitch line turns squarely. If you added piping, sew just inside the basting line, so the stitches sit close to the cord without crossing it.
Check the seam as you sew, and stop if the fabric starts to pucker or a layer slips out from under the presser foot. A seam ripper fixes a short bad section faster than finishing the whole cover and finding the fault later. When all four edges are sewn, the cover is a closed pouch with an envelope opening at the back.
10. Trim the Corners and Turn the Cover
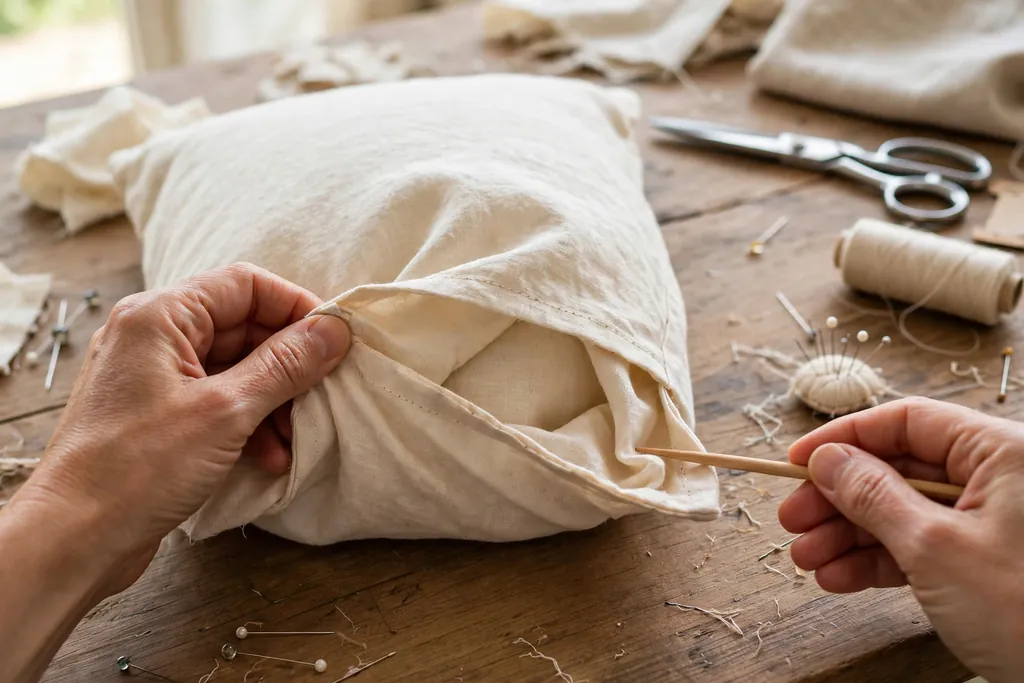
Trim each corner diagonally, cutting close to the stitch line without cutting through the stitches. Trimming removes bulk, so the corners turn into neat points instead of rounded lumps. If the fabric frays easily, trim with pinking shears, or finish the seam edges with a zigzag stitch before turning.
Reach through the envelope opening and turn the cover right side out, pushing each corner out gently with a blunt tool such as a chopstick or a closed pen. Do not push hard enough to poke through the stitching. Press the finished cover flat with an iron, turning the seam edges out neatly, so the cover looks crisp before the insert goes in.
11. Insert the Pillow Form and Check the Fit
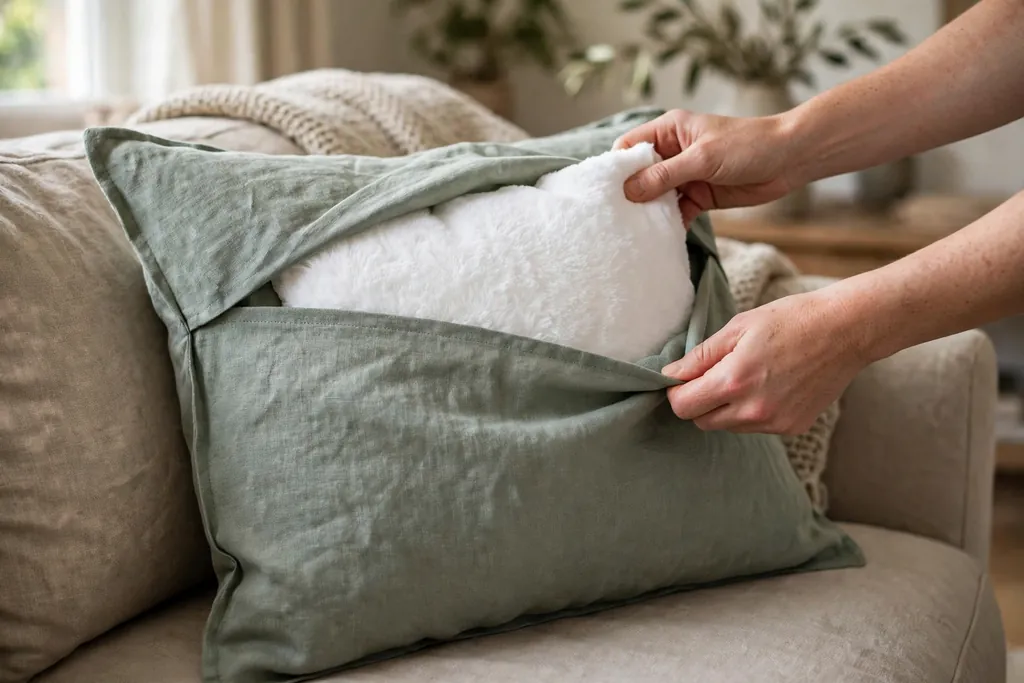
Push the insert through the envelope opening, working it into the corners so it fills the cover evenly. Fluff the pillow by hand, and check that the corners are full and the envelope overlap still closes at the back. A cover cut one or two inches smaller than the insert should look plump, with firm corners and no flat spots.
If the cover looks loose, take the insert out and sew a new seam a little inside the first seam on one or two sides, then trim and turn the cover again. If the cover is too tight, the insert will bunch and the envelope overlap may gap, which means the next cover needs a larger cut size. Note the size that worked, so repeat covers in the same fabric come out right the first time.
12. Sew a Zipper Closure Instead
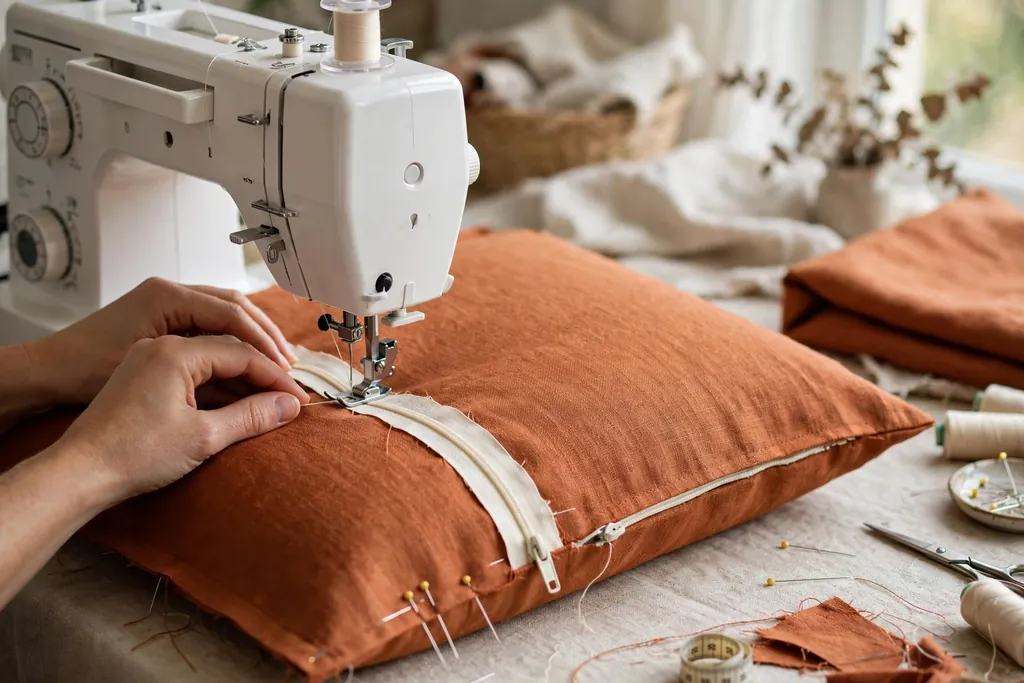
If you prefer a zipper closure, change the back before sewing the cover together. Cut one back panel the same size as the front panel, instead of two envelope panels, and cut it in half across the middle to make two pieces. Sew the zipper between those two pieces, right sides together, with the zipper teeth facing down toward the fabric, then press the seam open.
Once the zipper back is ready, treat it as a single back panel and follow steps 8 to 11: pin it to the front panel right sides together, sew around all four edges, trim the corners, turn the cover, and insert the form through the open zipper. A zipper closure gives a tailored look and suits covers that will be removed and washed often, since the opening closes fully.
13. Fix Common Fit and Sewing Problems
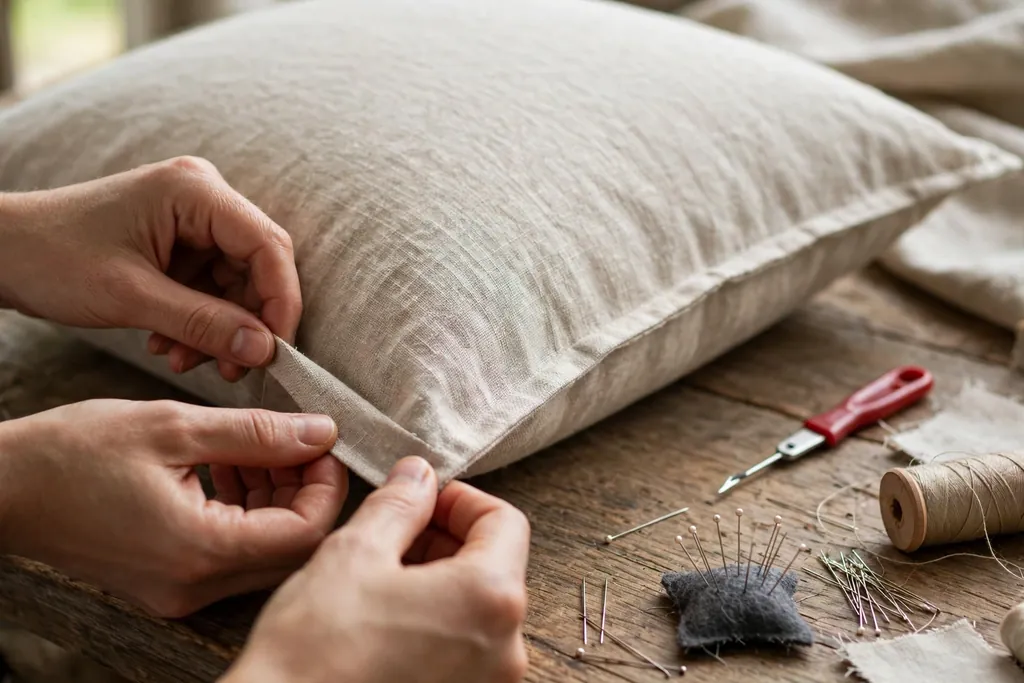
If the seams pucker, the stitch length may be too short for the fabric, or the thread tension may be too tight, so test a scrap piece and adjust one setting at a time. If the cover twists after turning, one layer likely shifted during pinning, so unpick the worst side, repin with more clips, and sew it again. A twisted cover often comes from a single shifted edge, not from the whole pattern.
If the envelope opening gaps open on the finished pillow, the back panel overlap was too small, so cut taller back panels on the next cover. If the corners look rounded, trim closer to the stitch line next time, and push the corners out more firmly when turning. Keep a short note of each fix with the fabric type, since the same fabric usually needs the same settings again.
14. Wash and Store Your Pillow Covers
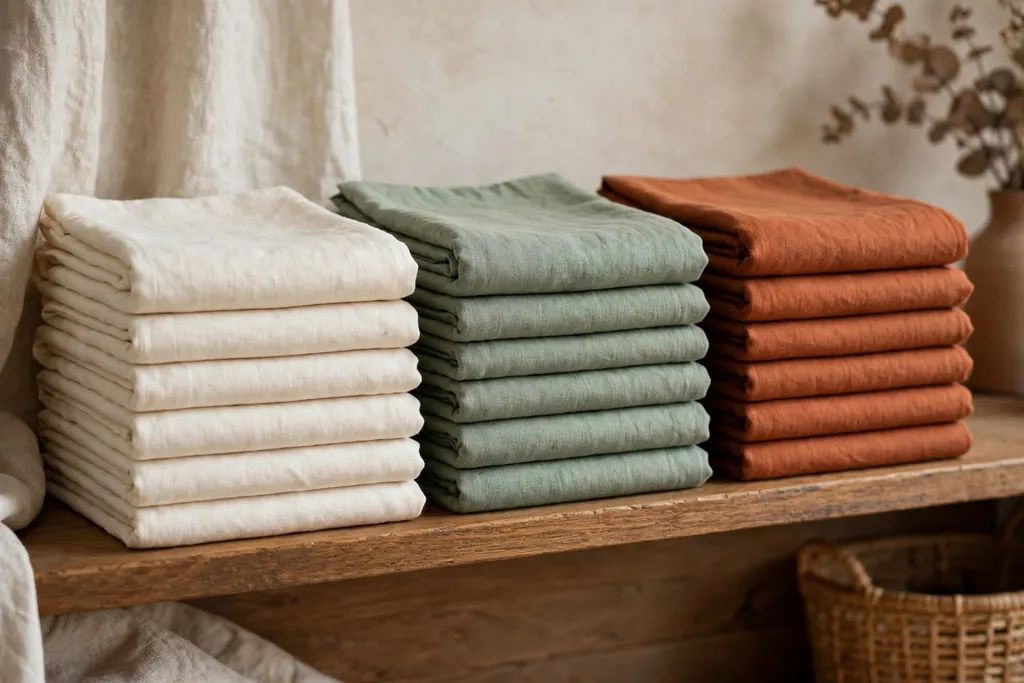
Wash finished covers with similar colors on the cycle the fabric care label allows, and close zippers or turn envelope covers inside out before washing. This protects piping, trim, and printed patterns from rubbing against other items. Dry covers on a low setting or on a line, then press them lightly if the fabric needs it, and insert the forms only when the covers are fully dry.
Store off-season covers clean, dry, and folded flat, with tissue between embroidered or trimmed covers so the detail does not catch on other fabric. A closed box or bag keeps dust out, and a dry spot away from direct sun keeps colors from fading. For seasonal styling ideas once your covers are ready, see these Easter pillow covers for a soft pastel palette you can sew for spring.
Conclusion
Making pillow covers starts with measuring the insert, washing and pressing the fabric, and cutting one front panel plus two overlapping back panels for an envelope closure. Hem the back openings, pin the panels right sides together, sew a half inch seam, trim the corners, and turn and press the cover before slipping the insert inside. A zipper back or a piped edge can change the finish without changing the basic steps, and a quick fit check catches a loose or tight cover before it reaches the sofa. With one cover sewn, repeat covers in new fabrics take under an hour each, and a whole room can change with a set of fresh covers.
FAQs
How much fabric do I need to make a pillow cover?
You need enough fabric for one front panel and two back panels, each cut to the finished cover size plus one inch for seam allowances, with the back panels each a little more than half the cover height. For an 18 inch square cover, about half a yard of 44 inch wide fabric is usually enough for one cover, though a large print or a directional pattern may need more so the design sits straight. Buy a little extra on a first project, so a cutting mistake does not end the sewing session.
What is the easiest pillow cover to sew for a beginner?
An envelope pillow cover is the easiest type for a beginner, since it closes with two overlapping back panels and needs no zipper, buttons, or hand sewing. The whole cover uses straight seams, and the only new skills are hemming a straight edge and turning corners neatly. Most beginners finish a first envelope cover in under an hour once the fabric is washed and cut.
Should a pillow cover be smaller than the insert?
Yes, a pillow cover cut one or two inches smaller than its insert looks fuller and more plump, since the insert fills the cover firmly and the corners stay full. A cover cut to the exact insert size looks softer and flatter, which suits a bed pillow used for sleeping. Measure the insert first, then choose the smaller cut size for sofa and chair pillows you want to look full.
Do I need a sewing machine to make pillow covers?
No, you can sew a pillow cover by hand with a backstitch, though it takes longer than machine sewing and the seams need small, even stitches to hold up in the wash. A sewing machine gives faster, stronger seams, and it handles piping and zipper variations more neatly. For a first cover, hand sewing works well on cotton or linen, while thicker fabrics are easier on a machine.
How do I sew a pillow cover with a zipper?
Cut one back panel the same size as the front panel, cut it in half across the middle, and sew a zipper between the two halves with the teeth facing down toward the fabric. Press the seam open, then pin the zipper back to the front panel right sides together and sew around all four edges as you would for an envelope cover. Trim the corners, turn the cover, and insert the form through the open zipper.
How do I wash handmade pillow covers?
Wash handmade pillow covers with similar colors on the cycle the fabric care label allows, turning envelope covers inside out and closing zippers before washing. Dry them on a low setting or on a line, press lightly if the fabric needs it, and put the inserts back only when the covers are fully dry. Wash fabric before cutting on the first project, so the finished cover does not shrink after its first wash.