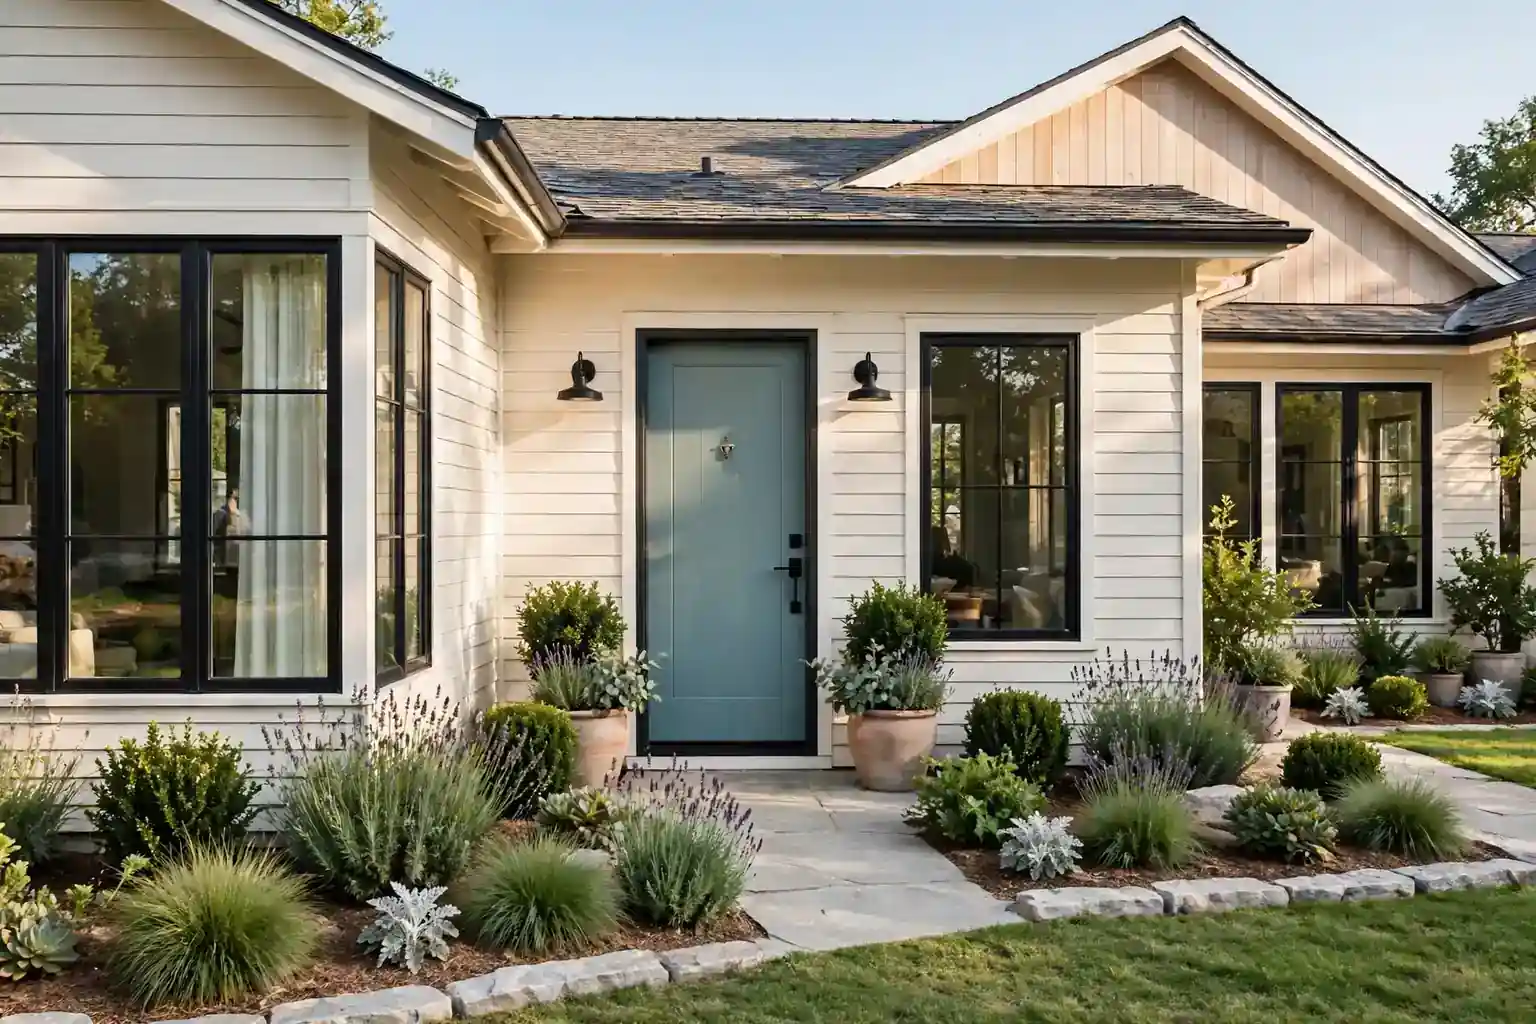
A home that feels cared for, easy to use, and simple to maintain tends to appeal to buyers, and it is also more pleasant to live in while you stay. The upgrades in this list cover the rooms buyers notice first, such as the kitchen and bathroom, plus the quieter fixes that make daily life smoother, such as better storage, brighter light, and a tidy entry. You do not need to do all 31. Pick the upgrade that fixes your biggest daily frustration first, then add the next one when time and budget allow. Small, well finished changes often read better than one large job left half done.
Key Takeaways
- Start with the kitchen and bathroom, since buyers spend the most time judging those rooms, and small refreshes there often make a big visual difference.
- Fix what is worn or broken before adding anything new, so fresh paint, clean floors, and working fixtures set a good base.
- Choose calm, neutral finishes for large surfaces, and save bold color for items that are easy to change.
- Add storage where daily clutter gathers, such as entries, closets, kitchens, and garages, so rooms stay tidy without extra furniture.
- Improve light, airflow, and energy use together, since bright rooms that feel comfortable cost less to run.
- Finish each upgrade fully, including trim, hardware, and cleaning, so the work reads as cared for rather than rushed.
1. Repaint Kitchen Cabinets and Swap the Hardware
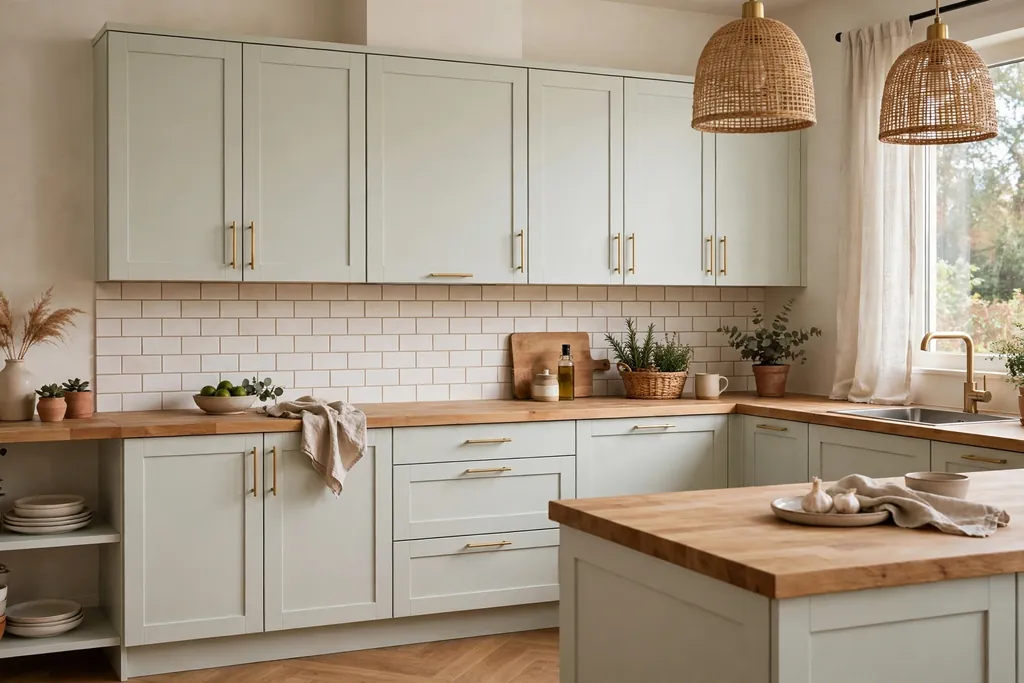
Worn cabinet doors and dated handles can make a whole kitchen feel tired, even when the layout works well. A fresh coat of paint in a calm, light color, plus new knobs and pulls, gives the room a cleaner look for far less work than a full cabinet replacement. This suits kitchens where the cabinet boxes are solid and the doors close well, but the finish has chipped or yellowed.
Remove doors and hardware before painting, clean and sand the surfaces lightly, and use a paint made for cabinets so the finish stands up to daily wiping. Keep one metal finish across knobs, pulls, and the faucet where possible, so the kitchen reads as planned. Label each door as you remove it, so hinges go back in the same place and doors hang straight when the job is done.
2. Add a Kitchen Island With Seating
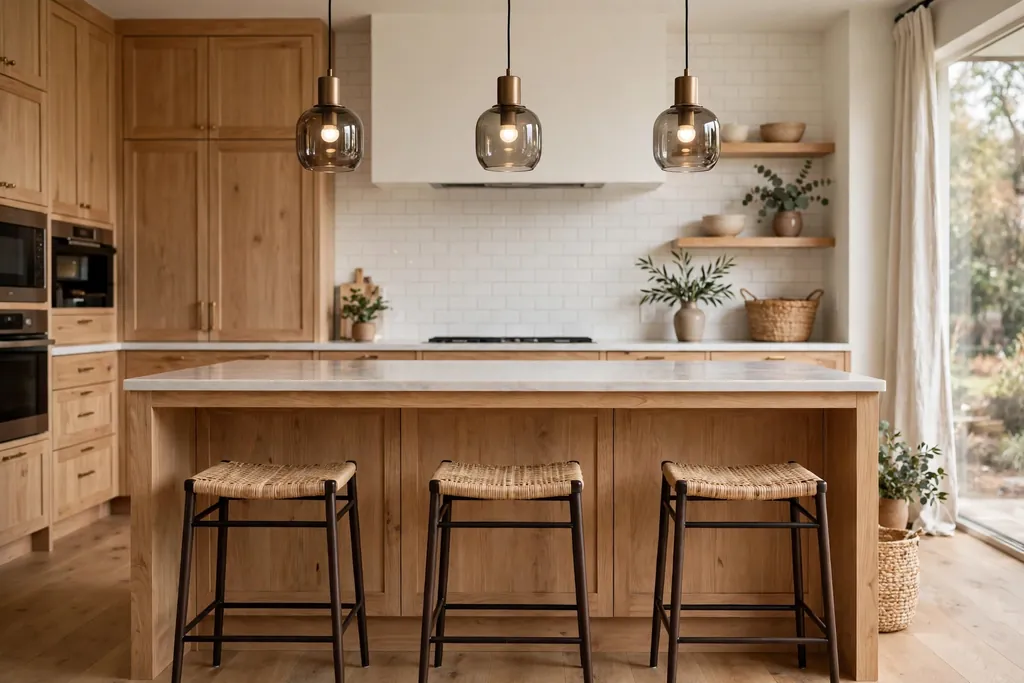
A kitchen island adds counter space, storage, and a place to sit, which makes the kitchen work better for cooking and for gathering. Even a modest island can change how the room is used, since it gives you a second work surface and a casual spot for breakfast or homework. This suits kitchens with enough floor space to keep walkways clear on every side that people use.
Measure walkways before you buy or build, and leave room for drawers, stools, and appliance doors to open fully. Choose seating that slides under the overhang when not in use, and keep the island top clear of tall items that block sightlines across the room. For island shapes, seating heights, and storage layouts, see these kitchen island ideas for options that fit different room sizes.
3. Upgrade to a Durable Kitchen Countertop
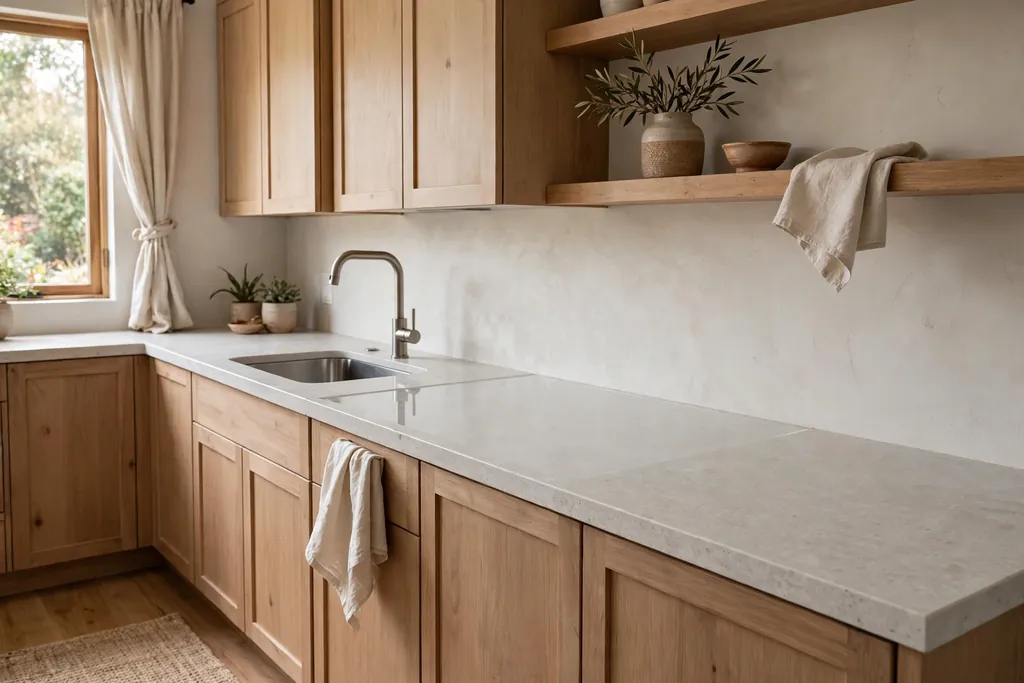
A countertop takes daily heat, spills, and knife work, so a worn or stained surface stands out fast. A durable replacement in a light, calm tone can freshen the whole kitchen and make food prep easier, since the surface wipes clean and resists marks. This suits kitchens where the cabinets are in good shape but the old countertop is stained, chipped, or hard to clean.
Choose a material that suits how you cook, and ask about sealing and care before you commit, since some stones need regular sealing while others need less upkeep. Keep the edge profile simple, and repeat the countertop tone once more in the room, such as in a backsplash or a shelf, so the new surface feels part of the kitchen. Clear the counters fully before fitting, and check that the sink and faucet still sit well with the new thickness.
4. Replace the Kitchen Faucet and Sink
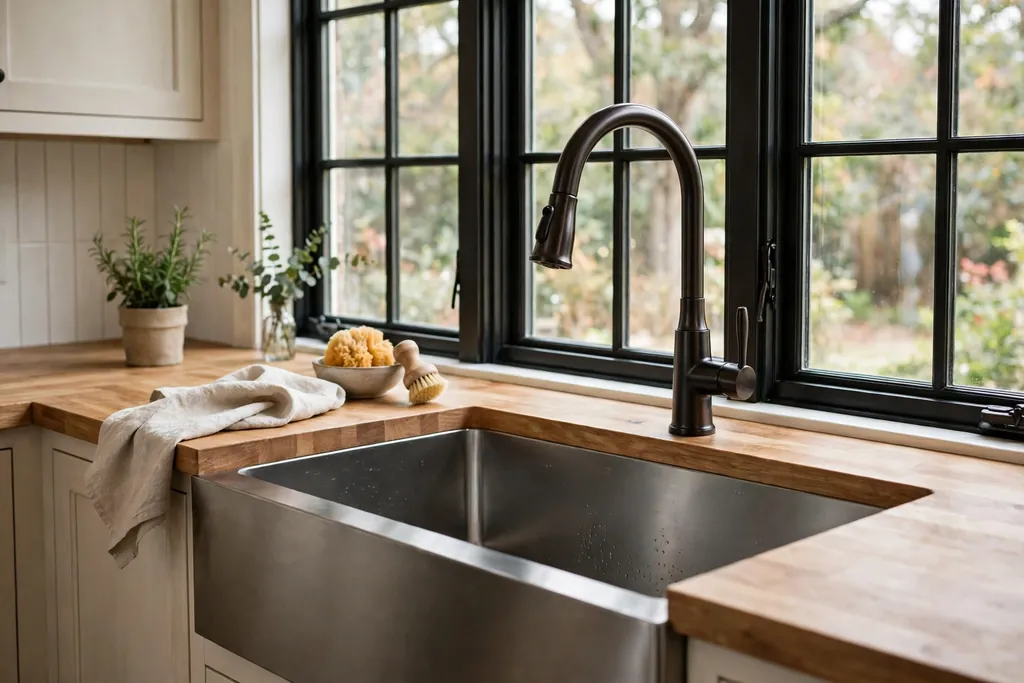
A dripping faucet or a stained sink can make a kitchen feel neglected, even when everything else is clean. A new faucet with a smooth spray function and a deeper sink makes daily washing, rinsing, and filling pots easier, and the pair gives the sink area a finished look. This suits kitchens where the countertop is sound but the faucet finish has worn or the sink is too shallow for large pans.
Match the new faucet finish to the cabinet hardware where you can, and check the number of holes in your sink or countertop before ordering. A single lever faucet is easy to use with wet hands, while a pull-down spray helps with rinsing the sink itself. Run the water and check for leaks at every joint after fitting, and wipe the new finish dry after use in the first weeks so water marks do not build up.
5. Add Under-Cabinet Lighting in the Kitchen

Dark counters make cooking harder and make a kitchen feel smaller, even when the room itself is bright. Under-cabinet lights put light exactly where you chop, read recipes, and wash up, which makes the work surface safer and the kitchen feel more welcoming in the evening. This suits kitchens with wall cabinets over the main counter run and a dark corner that overhead lights never reach.
Choose warm white lights for a relaxed kitchen glow, and place strips or pucks near the front of the cabinet so light falls on the counter, not on the backsplash alone. If wiring is a problem, battery or plug-in strips give a similar effect with less work, and a dimmer lets you soften the light after cooking. Keep cords tidy and out of the work area, and wipe the light covers now and then, since cooking steam leaves a film that dims the glow.
6. Fit Pull-Out Shelves in Kitchen Cabinets
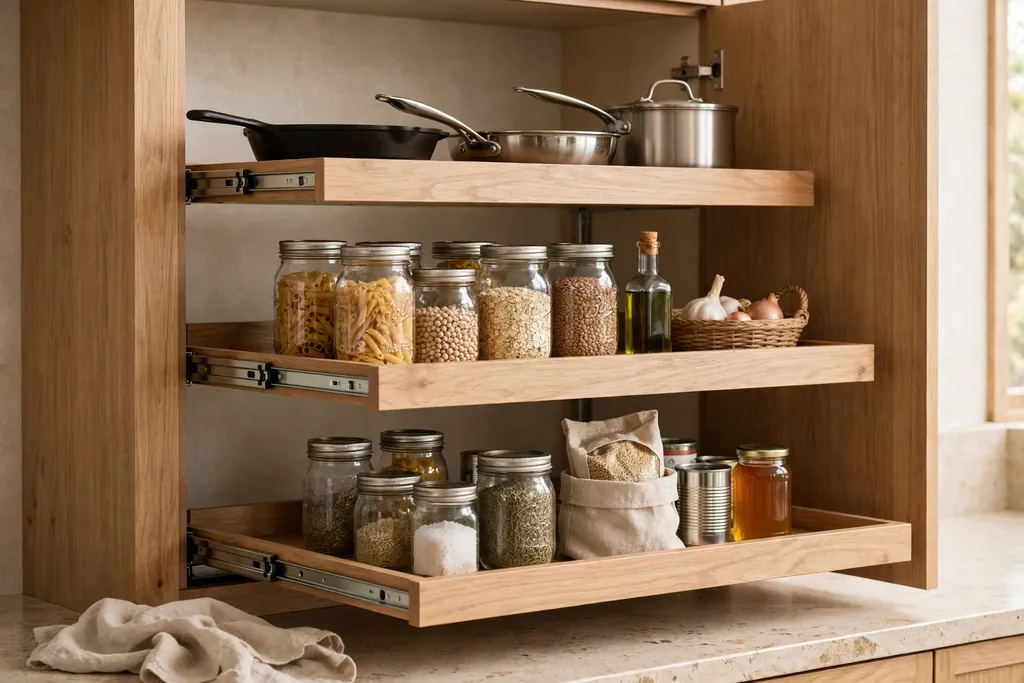
Deep kitchen cabinets hide items at the back, so pans, packets, and small appliances get forgotten or stacked in unstable piles. Pull-out shelves bring the whole cabinet out to you, which makes it easier to find what you need and to keep the cabinet tidy. This suits kitchens with deep base cabinets, corner cabinets, or tall pantry units that are hard to reach into.
Measure the cabinet width, depth, and door opening before ordering, since pull-outs need clearance to slide fully. Put heavy pans low and lighter items higher, and group one category per shelf, such as baking trays together and everyday pans together. Keep the shelf runners clean and free of crumbs, so they slide smoothly, and leave one shelf partly empty so new items have a place without a full reorganization.
7. Replace the Bathroom Vanity and Mirror
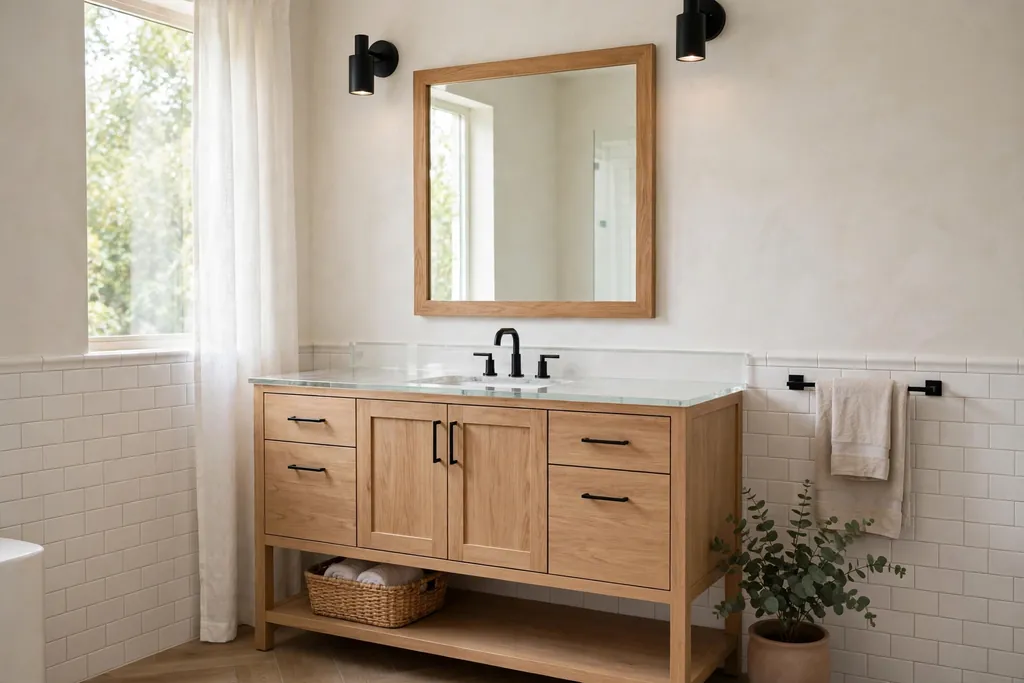
A bathroom vanity is used every morning, so a stained top, a wobbly door, or a plain builder mirror can drag the whole room down. A new vanity with a clear counter, a working drawer, and a mirror that suits the room width gives the bathroom a fresh, hotel-like feel without moving any walls. This suits bathrooms where the plumbing position works well but the vanity itself is worn or short on storage.
Measure the wall width, the door swing, and the plumbing position before you choose, since a vanity that is too wide crowds the toilet or the shower door. Keep the counter to daily items only, and use a drawer organizer inside so small items do not drift into a pile. For vanity styling, mirror shapes, and lighting pairs, see these bathroom vanity decor ideas for looks that suit small and large bathrooms alike.
8. Upgrade the Showerhead and Shower Enclosure
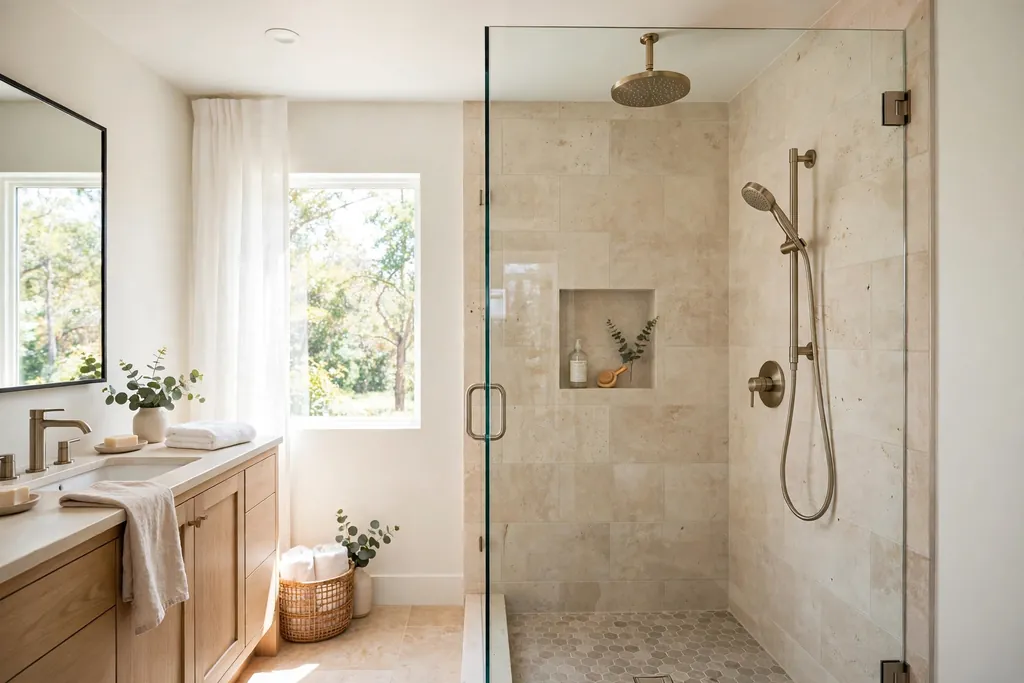
A weak showerhead and a cloudy shower curtain can make a good bathroom feel dated. A new showerhead with a steady spray, plus a clean glass screen or a fresh curtain, makes the shower feel brighter and easier to keep clean. This suits bathrooms where the shower itself works well but the fittings and screen have stained or the spray has weakened over time.
Choose a showerhead that suits your water pressure, and check the fitting type before you buy, since some heads need an adapter. A glass screen opens the room visually, but it needs regular wiping to stay clear, while a washable curtain is a lower cost swap that still freshens the space. Seal the screen edges well, and keep a small squeegee nearby so the glass stays clear with a quick daily wipe.
9. Retile a Tired Bathroom Floor
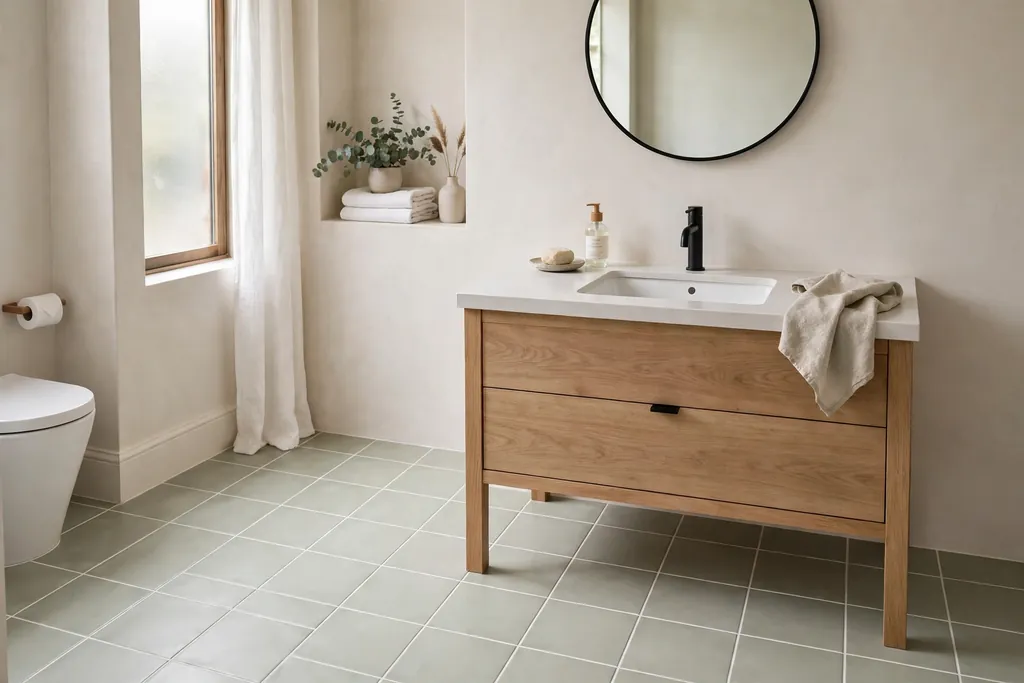
A cracked, stained, or dated bathroom floor can undo an otherwise clean room, since the floor covers a large area and catches the eye at once. New floor tiles in a calm tone, with clean grout lines, give the bathroom a solid, finished base and make the room easier to mop. This suits bathrooms where the layout works but the floor has worn, cracked, or clashed with the rest of the room for years.
Choose tiles rated for bathroom floors, since they need grip when wet, and keep the grout color close to the tile tone so small marks show less. Check the floor level and the door clearance before tiling, since a new tile layer can raise the floor slightly. Seal the grout after fitting, and wipe spills promptly in the first weeks, so the new grout stays clean while it cures.
10. Add Recessed Bathroom Storage
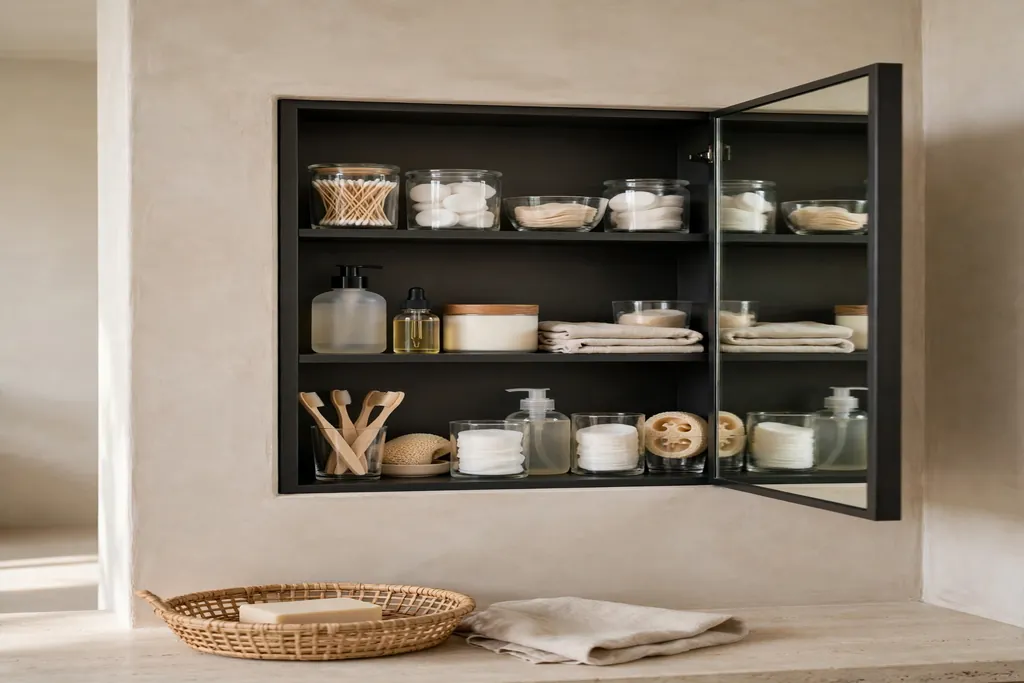
Bathroom counters collect bottles fast when there is nowhere else to put them. A recessed cabinet or niche in the wall gives toiletries a home without taking floor space, which keeps the counter clear and the room easier to clean. This suits bathrooms with a blank wall near the vanity or a shower wall that can hold a small niche for shampoo and soap.
Check what sits inside the wall before cutting, since pipes and wiring limit where a recess can go, and use a cabinet with a mirror front near the vanity so storage and a mirror share one spot. Keep daily items at eye level and backups lower, and group one category per shelf so you always know where each item lives. Wipe the inside of the cabinet often, since bathroom humidity leaves a film on shelves that sit untouched.
11. Refinish or Replace Worn Hardwood Floors
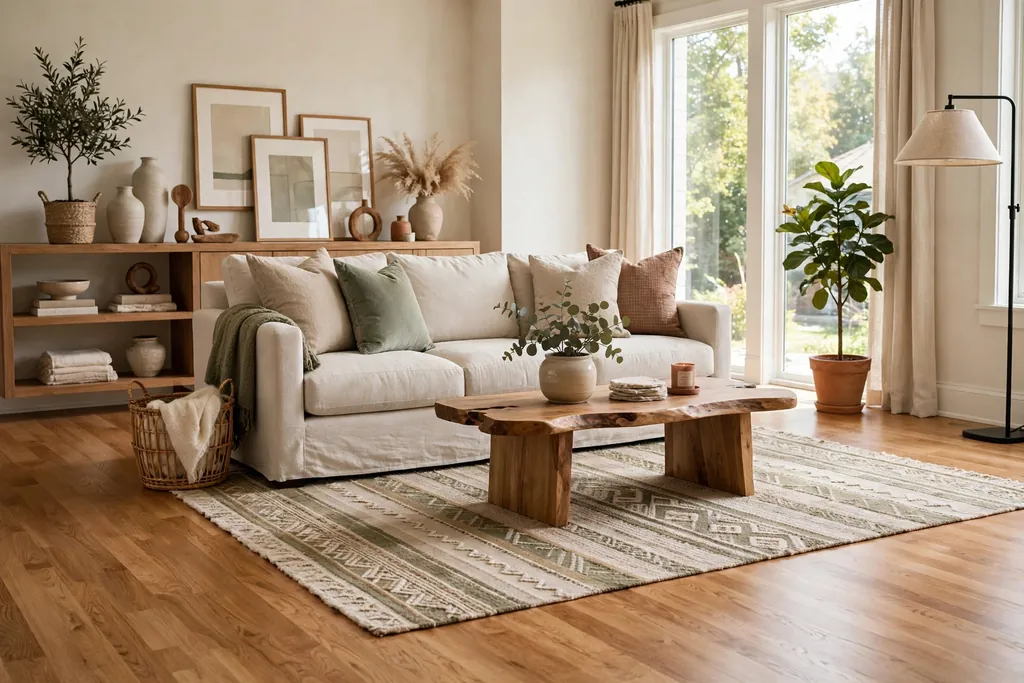
Floors cover every room, so scratched, dull, or squeaky boards shape how the whole home feels underfoot. Refinishing solid hardwood can bring back its color and smooth finish, while replacing boards that are beyond repair gives a worn room a clean, even base. This suits homes where the floor structure is sound but the surface has dulled, scratched, or stained over years of use.
Sand and finish one room at a time if you live in the home during the work, and keep dust out of other rooms with closed doors and covers. Choose a finish that suits your household, since a matte finish hides small marks better than a high gloss one in a busy home. Move furniture fully out of the room before sanding, and let the finish cure as the maker directs before you bring rugs and heavy pieces back in.
12. Paint Main Rooms in a Calm Neutral Palette
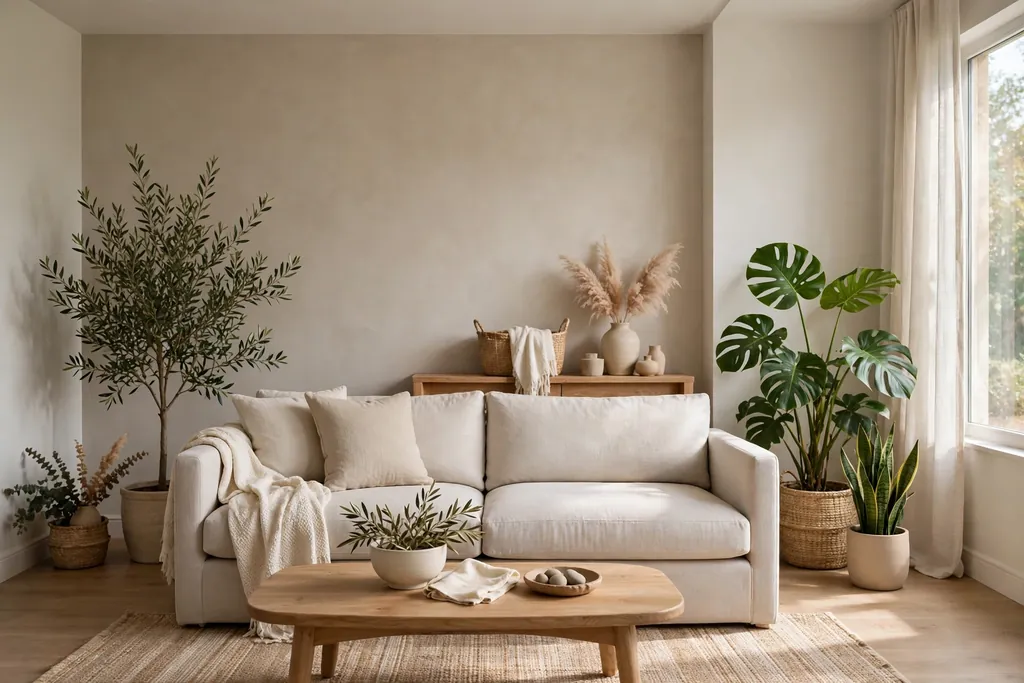
Bold or mismatched wall colors can make rooms feel smaller and harder for buyers to picture as their own. A calm neutral palette across the main rooms links the spaces together, brightens dark corners, and gives furniture and art a quiet backdrop. This suits homes where each room was painted a different strong color, or where the paint has faded, marked, or yellowed.
Test paint patches in daylight and at night before you commit, since the same color can read warm in one room and grey in another. Keep ceilings and trim pale, and use a washable finish in hallways and living areas that take daily knocks. Paint one room fully, including trim touch-ups, before moving to the next, so each space feels finished rather than half done.
13. Swap Dated Light Fixtures for Layered Lighting
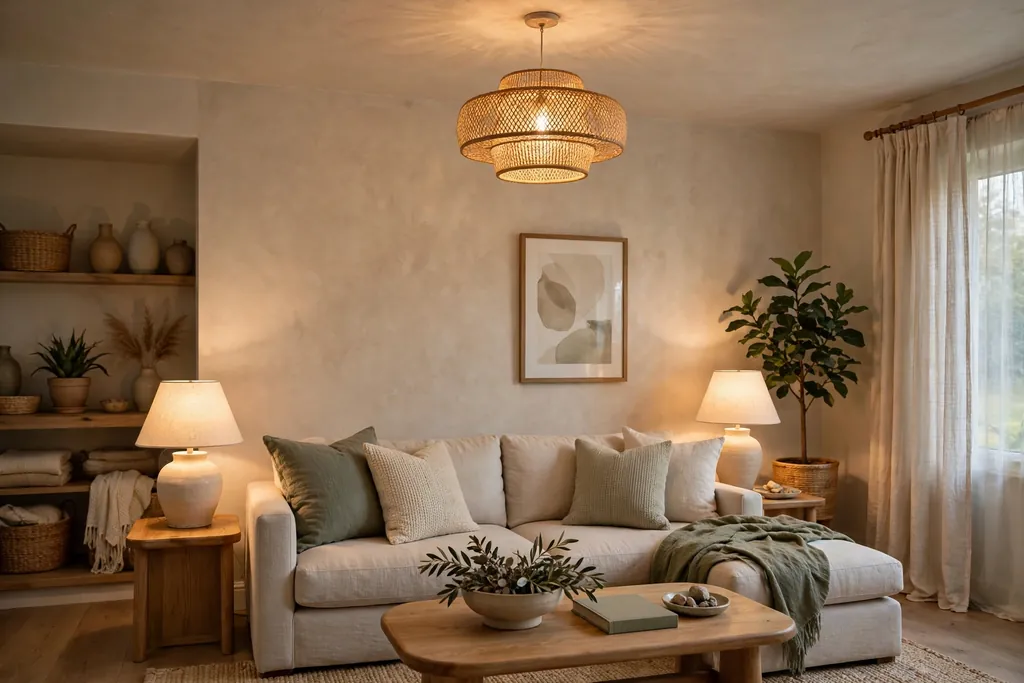
A single harsh ceiling light can flatten a room and leave corners dark, even when the furniture and paint are good. Layered lighting, with a main fixture plus lamps or wall lights, lets you brighten a room for tasks and soften it for evenings, which makes the space feel larger and more comfortable. This suits living rooms and bedrooms where one overhead light does all the work and the room feels flat after dark.
Start with the main fixture, then add one lamp near the seating area and one near a reading spot, so light comes from more than one height. Use warm white bulbs for living areas, and put the main light on a dimmer where wiring allows, so one room can shift from bright to calm. Keep shade styles simple and consistent in one room, so the mix of lights reads as planned rather than random.
14. Add Built-In Shelving to a Living Room Wall
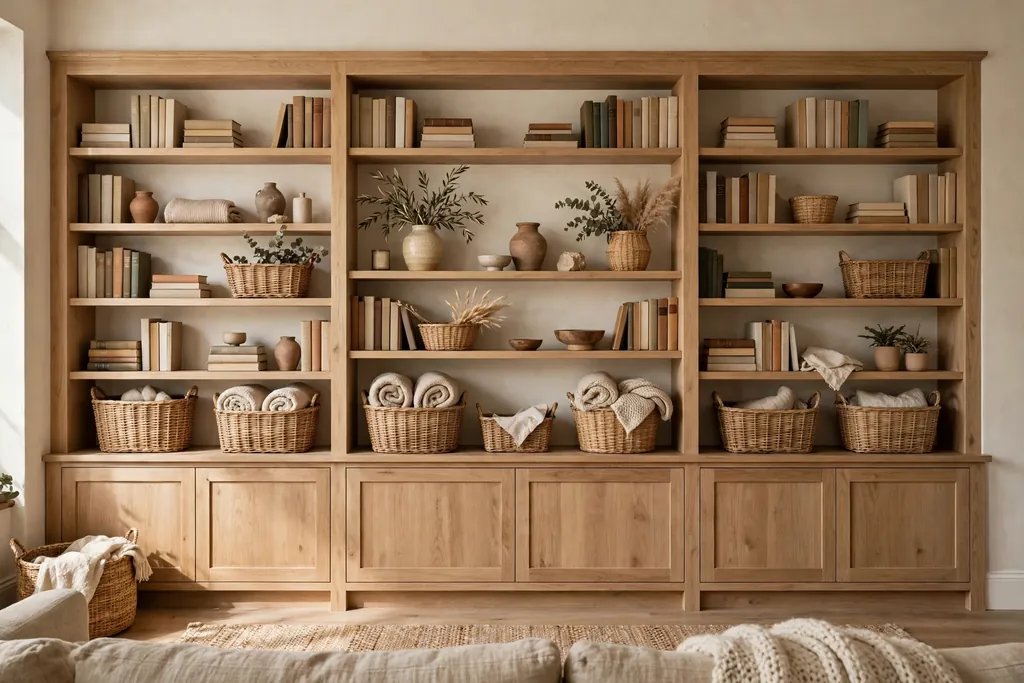
A blank living room wall can feel unfinished, while a freestanding bookcase can crowd the floor. Built-in shelving uses the wall itself for books, baskets, and display items, which adds storage without taking floor space and gives the room a fitted, crafted feel. This suits living rooms with one long blank wall, an awkward alcove, or a fireplace wall that needs balance on each side.
Build shelves to fit the wall exactly, and leave one shelf partly empty so the display stays calm. Anchor the unit firmly to the wall, and put heavier books low and lighter items higher, so the shelves stay steady and easy to use. Group items by type, such as books together and baskets for small items together, and keep cords from lamps or media gear tucked behind the unit so the front stays tidy.
15. Add a Ceiling Fan to Main Living Spaces
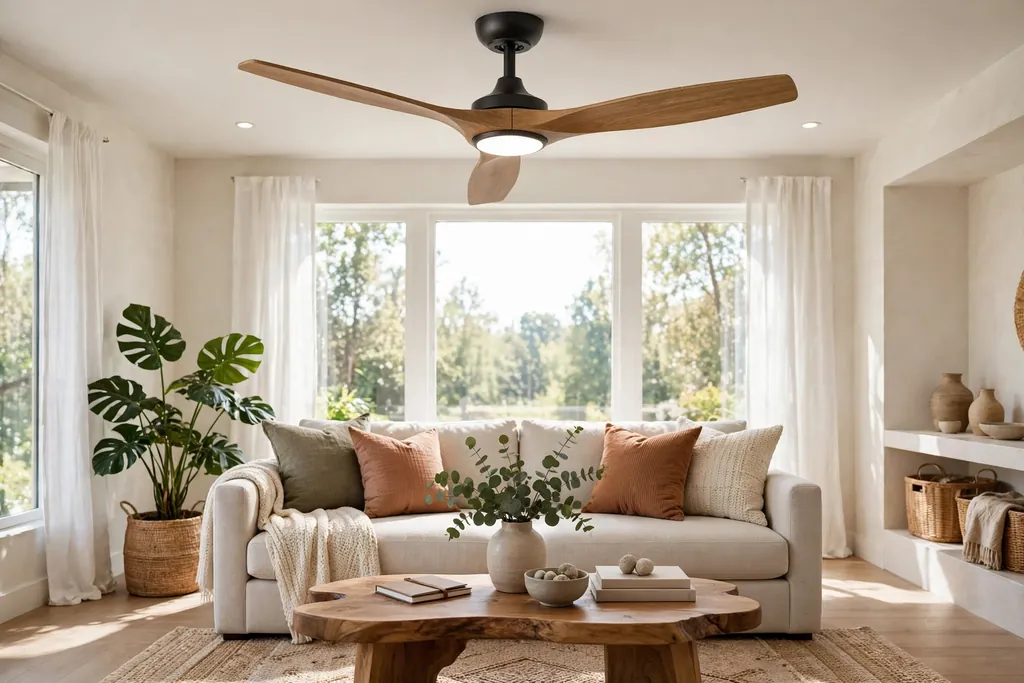
A ceiling fan moves air in summer and, when run in reverse, can help warm air circulate in winter, which makes a room feel more comfortable without changing the heating or cooling system. A fan also gives a room a clear center overhead, which suits living rooms and bedrooms where the ceiling feels bare. This suits rooms with enough ceiling height for a fan to hang clear of heads and door swings.
Choose a fan size that suits the room, since a small fan in a large room moves little air, and a large fan in a small room can feel overpowering. Check the ceiling wiring and support before fitting, since a fan needs a brace rated for its weight and movement. Keep the blades clean, since dust on blades shows from below, and use the fan with a light kit only if the room still needs overhead light after lamps are added.
16. Improve the Front Door and Entry Hardware
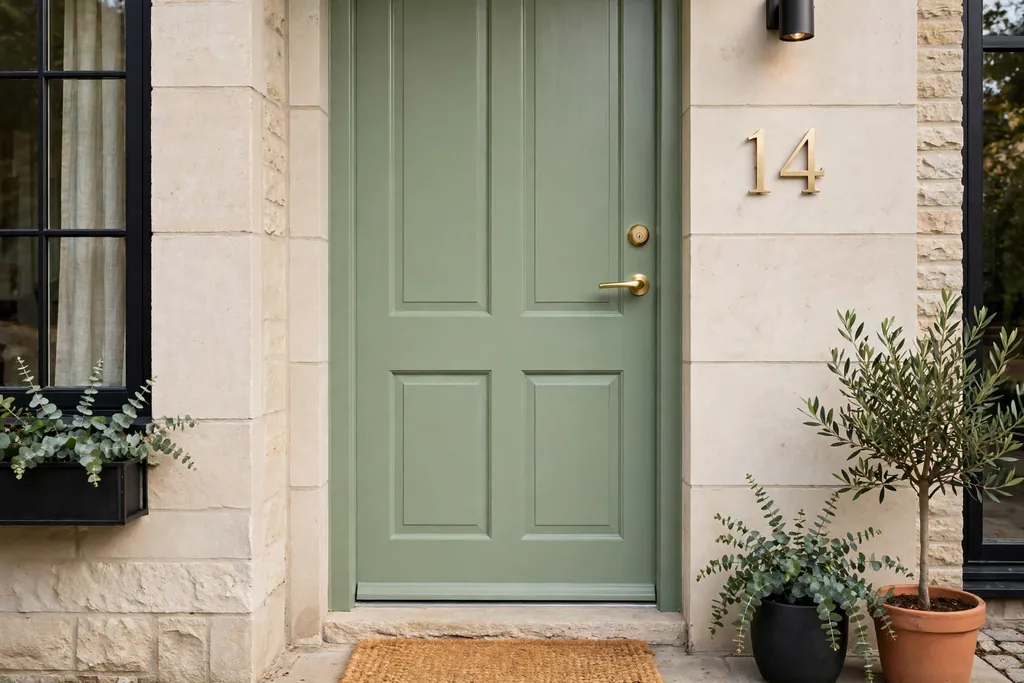
The front door is the first thing a visitor or buyer touches, so a faded door, a loose handle, or a squeaky hinge can set a poor first impression. A clean, freshly painted door with solid hardware, a working lock, and a clear house number gives the entry a cared-for feel before anyone steps inside. This suits homes where the door itself is solid but the paint has faded or the hardware has worn.
Paint the door in a color that works with the house exterior and the entry inside, and use a paint made for doors so it stands up to weather and daily use. Replace the handle, lock, and hinges as a matched set where you can, so the door reads as one planned piece. Check the weather seal around the door too, since a tight seal keeps drafts out and helps the door close with a solid feel.
17. Build an Entry Storage Bench and Hooks
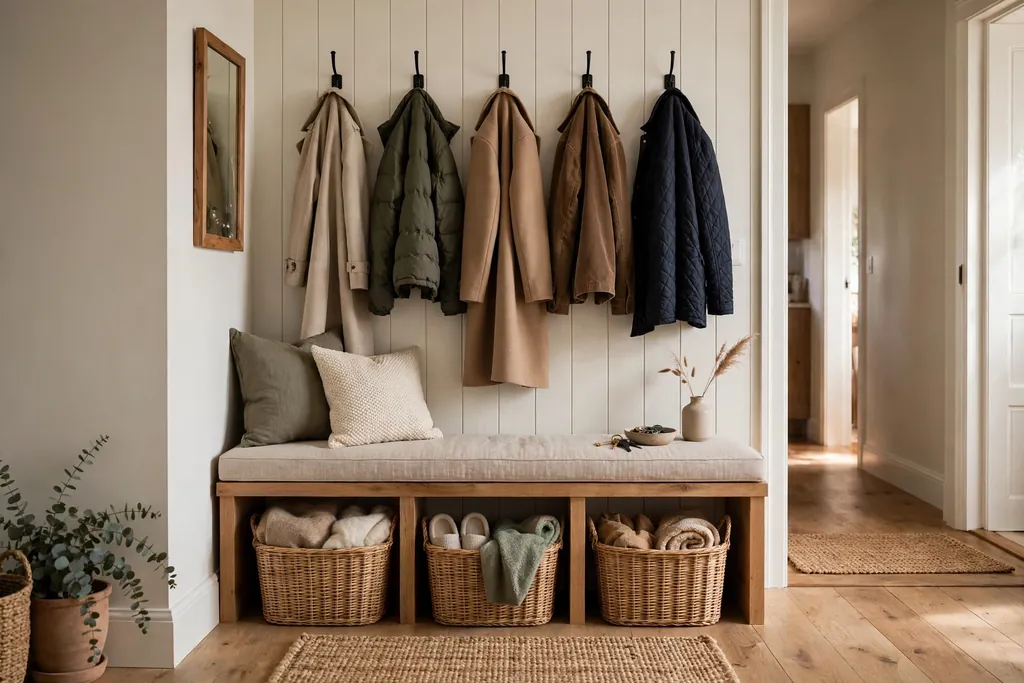
Shoes, coats, and bags by the front door can make an entry feel crowded within minutes of coming home. A storage bench with hooks above it gives every daily item one fixed home, so the entry stays clear and the rest of the home stays tidier too. This suits entries with a blank wall near the door and enough width for a shallow bench plus a clear walkway past it.
Keep the bench shallow, and limit the shoes below to one pair per person, so the storage never overflows into the walkway. Fix hooks into studs so they hold a wet coat and a heavy bag without pulling loose, and keep one hook free for guests. For bench styles, hook layouts, and small entry layouts, see these DIY entryway makeover ideas for projects that fit narrow and wide entries alike.
18. Add a Home Office Nook With a Built-In Desk
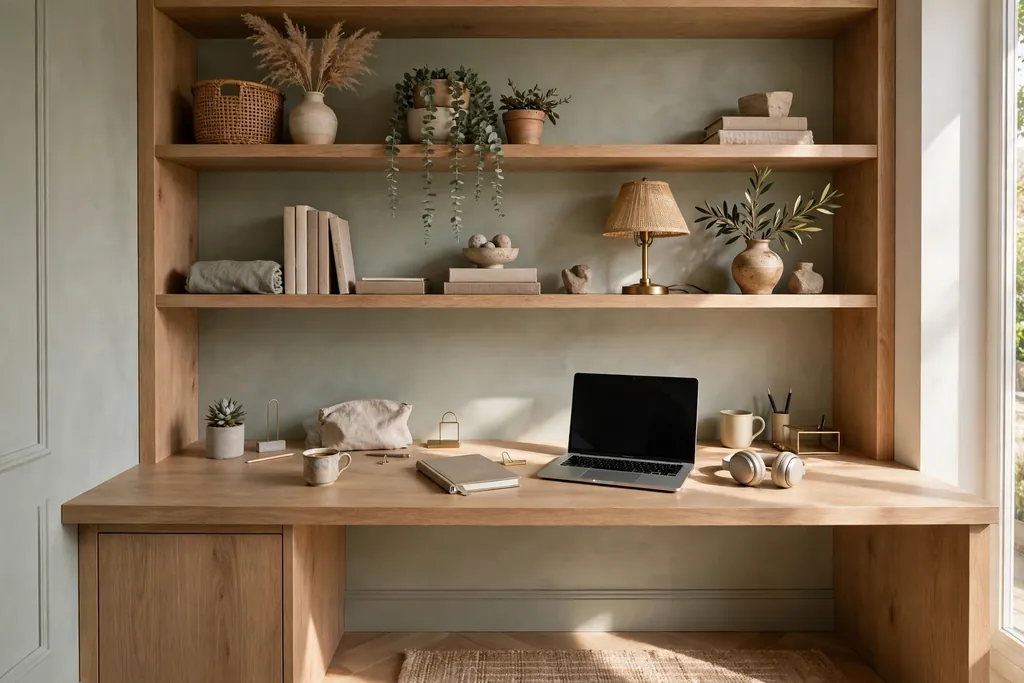
A home office nook turns an unused corner, alcove, or spare wall into a proper work spot, which matters more now that many people work from home at least part of the week. A built-in desk with shelves above it keeps work gear in one place, so laptops and papers do not spread across the dining table. This suits homes with a quiet corner, a wide hallway, or a spare bedroom corner that currently holds little more than a chair.
Place the desk near daylight where you can, and add a light that suits evening work without glaring on a screen. Keep cables tidy with clips or a small channel, and give the nook one closed drawer or basket for papers, so work can be put away at the end of the day. Choose a chair that tucks fully under the desk, so the nook reads as part of the room when it is not in use.
19. Organize the Garage With Wall Storage
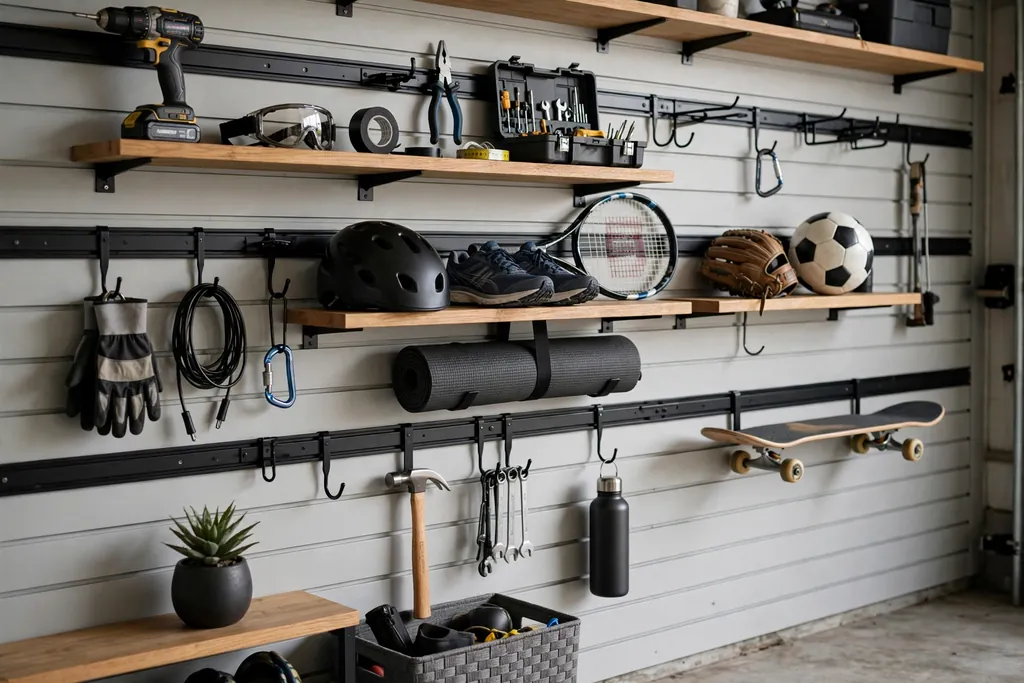
A garage full of boxes, tools, and sports gear can make the whole home feel short on storage, even when the rooms inside are tidy. Wall storage, such as rails, hooks, and shelves, lifts items off the floor, which frees space for a car, a workbench, or a clear path to the door. This suits garages where floor space is taken by items that could hang, stack, or sit on a shelf instead.
Start by clearing one wall fully, then group items by use, such as tools together and sports gear together, before you fix anything. Fix rails and shelves into studs or masonry as the wall type requires, since garage items get heavy fast. Keep daily items at easy reach and seasonal items higher, and leave one bay of floor space clear, so the garage still works for its main job.
20. Upgrade the Laundry Room With a Folding Counter
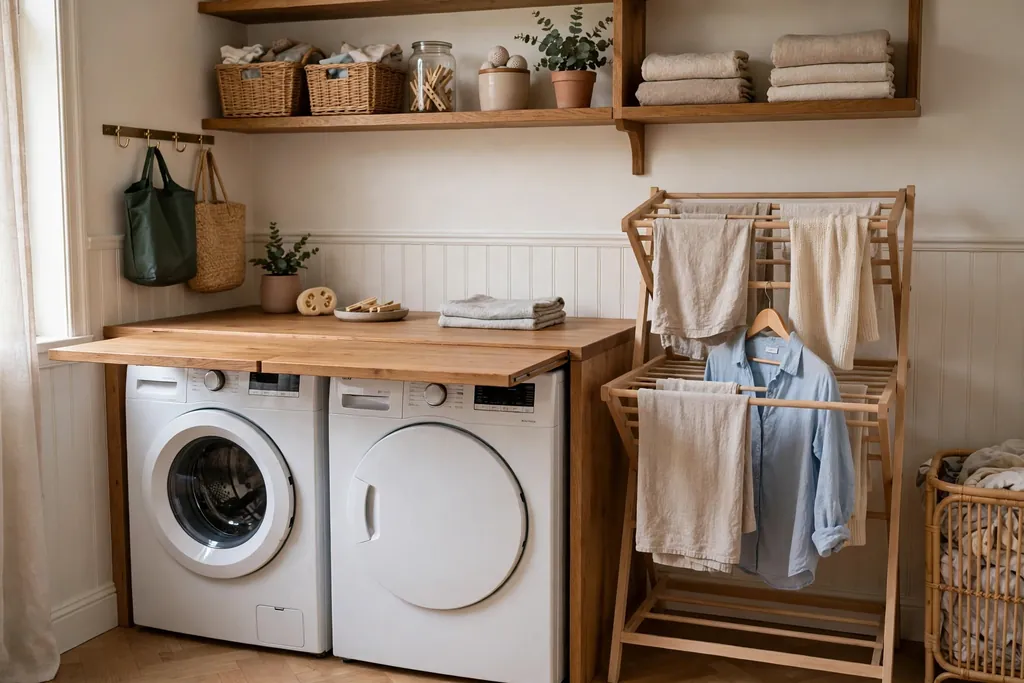
A laundry room without a work surface turns clean clothes into piles on top of the washer or dryer. A folding counter over the machines, plus a drying rack and a sorting basket, gives laundry a clear workflow, which makes the job faster and keeps the room tidy. This suits laundry rooms with front-loading machines, a blank wall, or a corner that currently holds only a basket.
Fit the counter at a comfortable standing height, and leave clearance to open machine doors and lids fully. Add a wall-mounted drying rack that folds flat when not in use, so small items dry without taking floor space. Keep detergents in one basket or on one shelf, and wipe the counter after each load, since lint and detergent marks build up fast in a small laundry room.
21. Seal Drafts and Add Insulation Where Needed
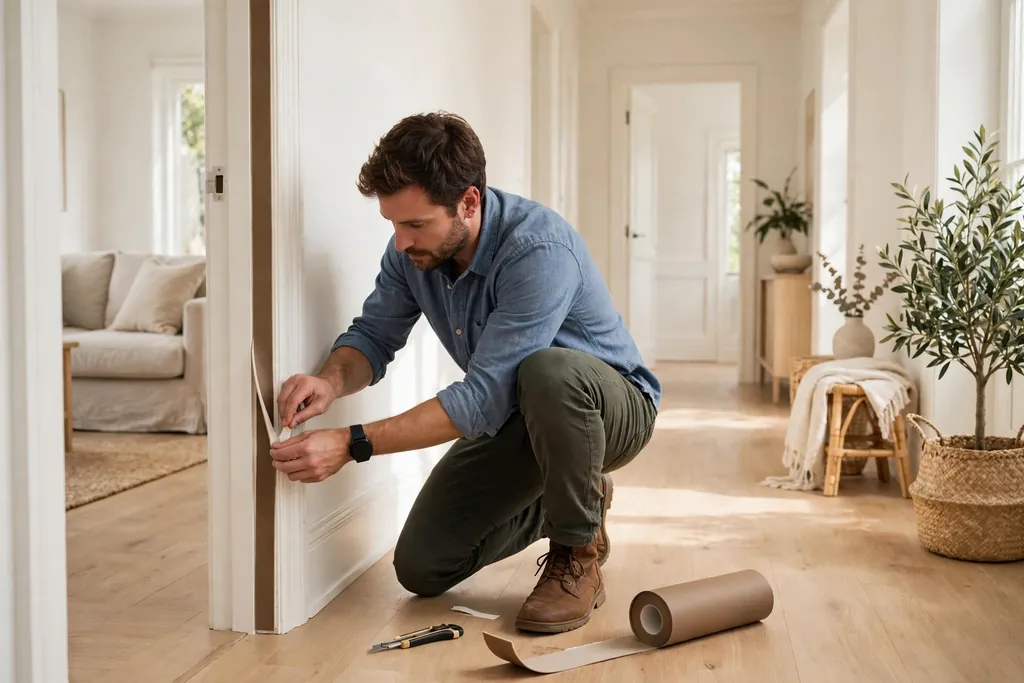
Drafts around doors, windows, and attic hatches make rooms feel cold even when the heating is on, and they can push energy use up. Sealing gaps with weather strips and caulk, plus topping up insulation where it is thin, makes rooms feel more even in temperature and quieter too. This suits older homes, rooms that always feel colder than the rest of the house, and homes where doors rattle in wind.
Check doors and windows on a windy day, and feel for air movement around frames, letterboxes, and attic hatches. Replace worn weather strips first, since that is often the fastest fix, and seal gaps with a product made for the surface and gap size. Keep ventilation in mind, especially in kitchens and bathrooms, so sealing drafts does not trap moisture in rooms that need airflow.
22. Add a Smart Thermostat and LED Lighting Throughout
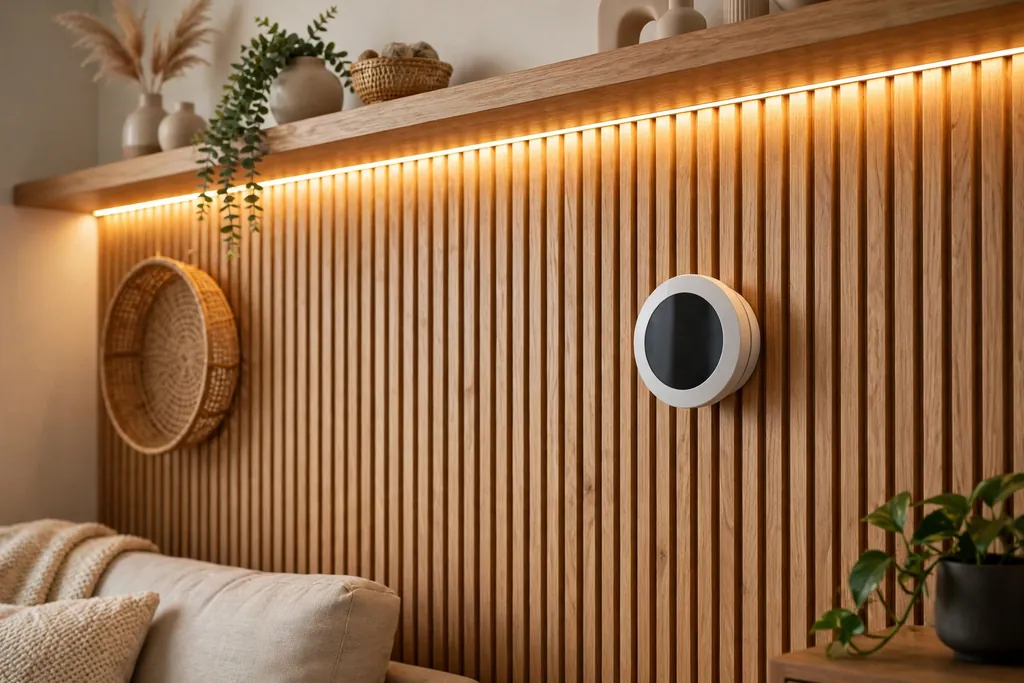
A smart thermostat lets you set heating and cooling around your daily routine, so rooms are warm when you need them and use less energy when you do not. Swapping old bulbs for LEDs across the home cuts the cost of lighting and means bulbs last longer, which also cuts the chore of replacing them. This suits homes with an older thermostat, mixed bulb types, or rooms where lights stay on for long stretches.
Check that a smart thermostat suits your heating system before you buy, and follow the maker wiring guide or ask a qualified installer if the wiring is unclear. Swap bulbs room by room, and keep the same warm white tone across one room so the light feels consistent. Set thermostat schedules around real routines, such as wake-up and bedtime, and review them after a few weeks, since a schedule that matches life works better than one set once and forgotten.
23. Upgrade Exterior and Path Lighting
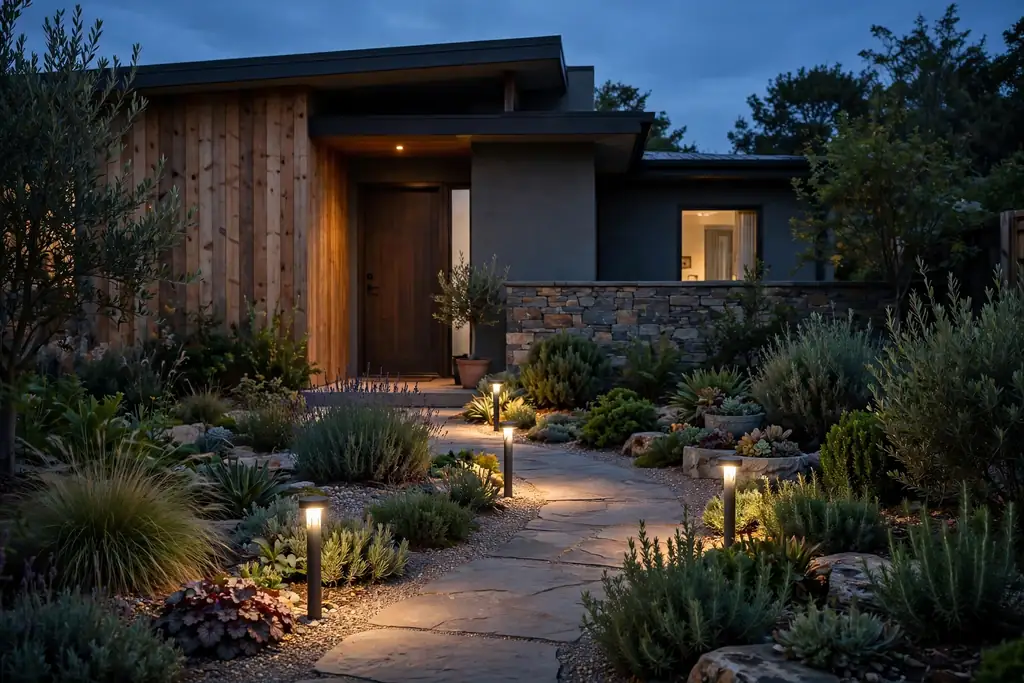
A dark front path, porch, or garden can make a home feel unwelcoming after dark and harder to use safely. Well placed exterior lights along paths, at the door, and in the garden make the home easier to approach at night and show off planting and architecture that daylight hides. This suits homes with a long path, steps to the door, or a garden that is only used in daylight.
Place lights low along paths so they mark the walking line without glaring into eyes, and add a clear, warm light at the front door for keys and visitors. Use lights rated for outdoor use, and keep fixtures simple so they suit the house style. Put exterior lights on a timer or a sensor where you can, so they switch on at dusk without daily effort, and wipe the covers now and then, since dirt dims outdoor lights fast.
24. Refresh Curb Appeal With Planting and a Clean Path
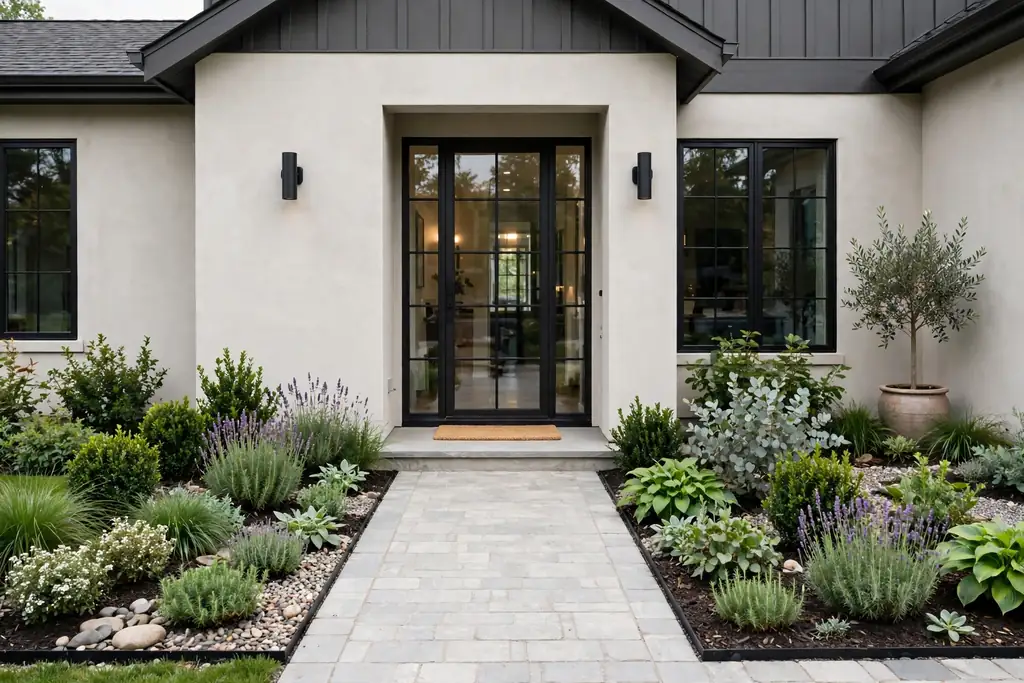
The front of a home shapes a first impression in seconds, before anyone sees a room inside. Tidy planting, a clean path, and a clear view of the front door make the home feel cared for, which matters to visitors and to buyers alike. This suits homes where the garden has overgrown, the path has stained, or the front door is hidden behind shrubs.
Start by clearing the path and trimming plants that block the door or windows, so daylight reaches the entry. Add planting in layers, with low plants near the path and taller ones behind, and keep one or two pots by the door for color that is easy to change with the seasons. Edge lawn borders and sweep the path after planting, so the whole front reads as finished rather than half tended.
25. Pressure Wash and Repaint Exterior Trim
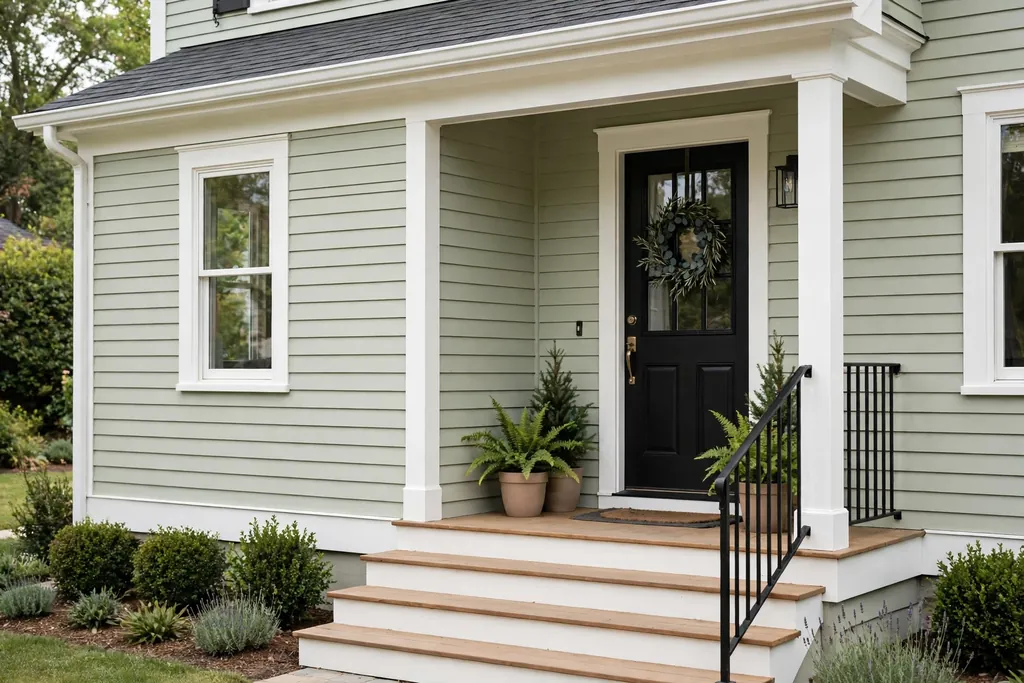
Dirty siding, stained paths, and peeling trim can make a sound home look neglected from the street. Pressure washing paths, siding, and driveways, plus repainting trim where paint has peeled, gives the exterior a fresh, clean look without changing the structure. This suits homes where the paint is sound on most walls but trim, steps, and paths have dulled or stained.
Wash from the top down where you can, and use a pressure setting that suits the surface, since too much pressure can damage wood and soft render. Repaint trim in the same color as before unless the whole exterior is changing, and prepare the surface well, since paint over peeling paint peels again fast. Clear gutters and downpipes at the same time, so clean walls are not marked by overflow at the next rain.
26. Build a Simple Deck or Patio Seating Area
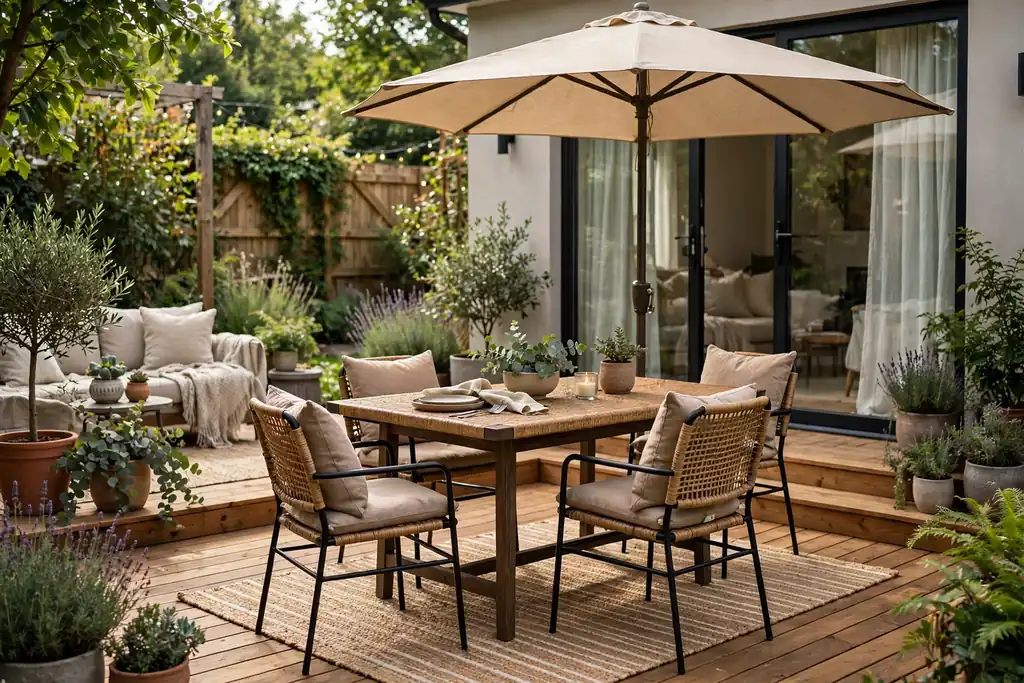
Outdoor living space gives a home an extra room in good weather, which buyers often value and households use daily in summer. A simple deck or patio with seating, shade, and a clear path from the house makes the garden easier to enjoy and easier to picture as a place to gather. This suits homes with a flat garden area near a back door, or a yard that is currently only lawn with nowhere to sit.
Choose a level spot close to the house, and keep the seating area large enough for a table and chairs plus a clear path around them. Add shade with an umbrella or a simple pergola where sun is strong, and use outdoor furniture that can stay out in rain or be stored easily. Keep the edge between the patio and the lawn tidy, and add one or two pots near the seating area, so the new space feels like part of the garden rather than a bare slab.
27. Upgrade Bedroom Closets With Built-In Organizers
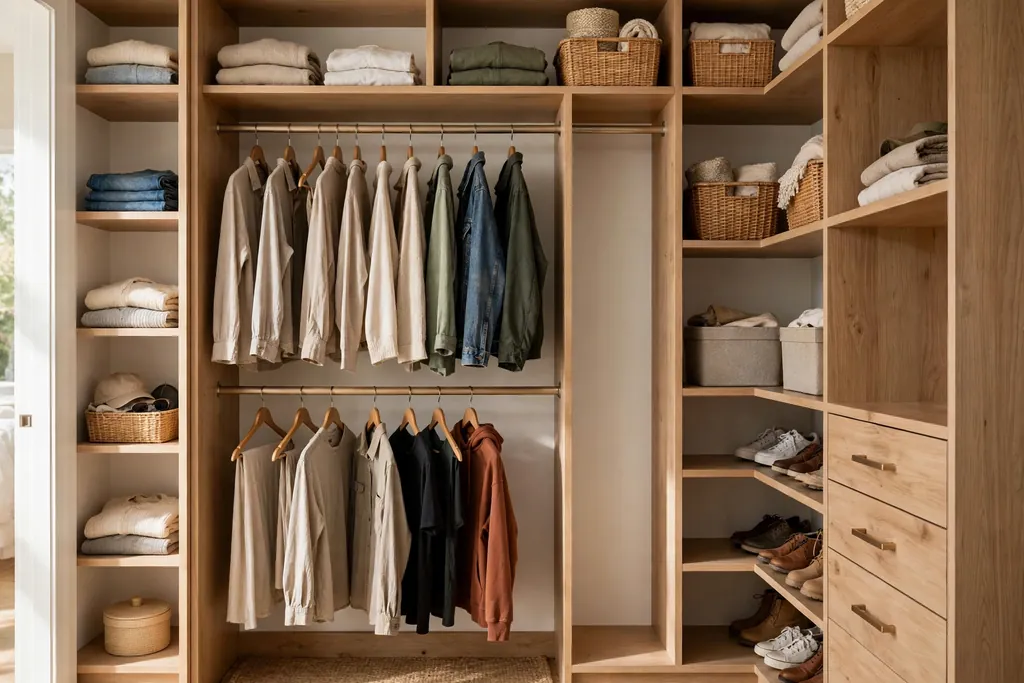
A bedroom closet without dividers, shelves, or a second rod wastes height and hides clothes in deep piles. Built-in organizers, such as double hanging rods, shelves, and drawer units, use the full closet height and make every item visible, which makes mornings faster and the bedroom feel calmer. This suits bedrooms where the closet has one long rod, a single high shelf, and empty air below short clothes.
Hang a second rod below the first for shirts and short items, and keep longer coats on the main rod so they still fit. Add shelves for folded items and one drawer or basket for small accessories, and group clothes by type rather than by color alone, so you find what you need without searching. Use slim hangers on both rods to fit more pieces, and keep one shelf free, so new clothes have a place without crowding the rods.
28. Add Layered Lighting and a Reading Corner in the Bedroom
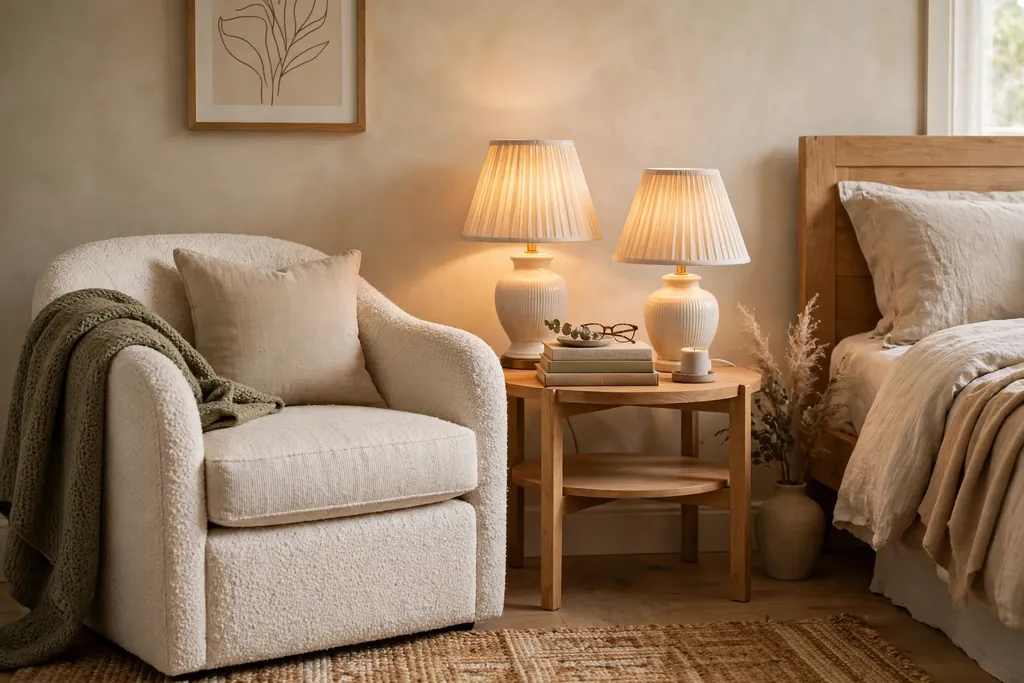
A bedroom with only one overhead light can feel flat and hard to relax in, even when the bed and bedding are good. Layered lighting, with bedside lamps plus a soft main light, plus a small reading corner with a chair, gives the room a calm evening mood and a place to unwind that is not the bed. This suits bedrooms with a quiet corner, a window seat area, or space beside a wardrobe for one chair and a lamp.
Place bedside lamps at a height that lights a book without glaring across the bed, and use warm bulbs for evening light. Add a chair with a small side table and a lamp in the corner, and keep the corner to those three pieces, so it reads as a deliberate spot rather than a pile of extra furniture. Keep cords tucked behind furniture, and choose lamp shades that spread light softly rather than throwing a hard spot on the wall.
29. Add a Window Seat With Storage in the Bedroom
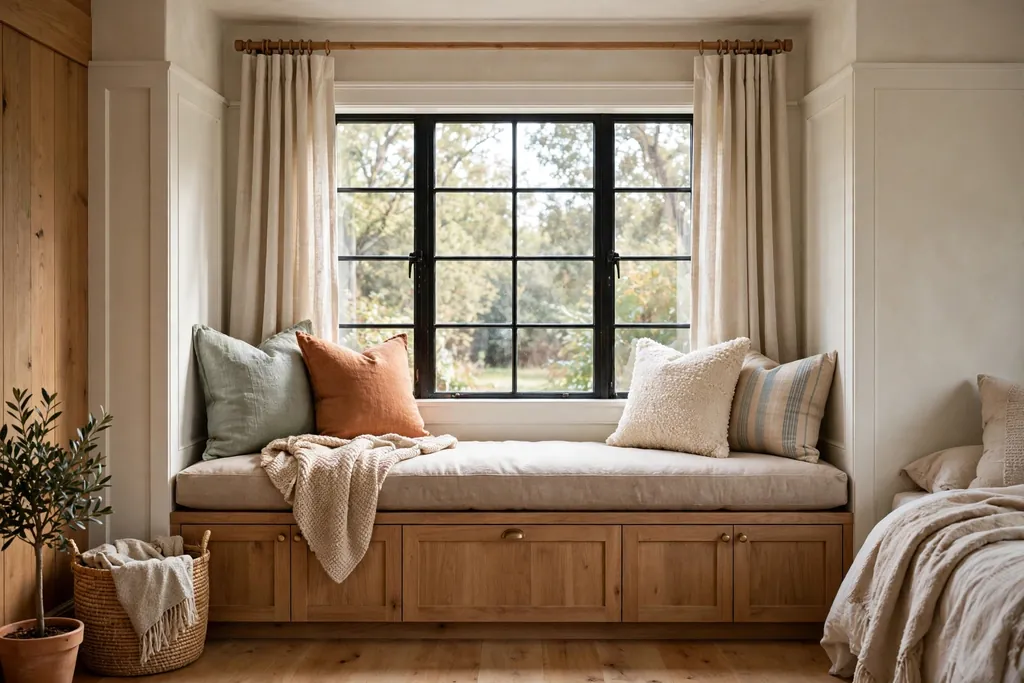
A window seat turns a bedroom window into a place to sit, read, and look outside, while the base below it adds storage for bedding, books, or off-season clothes. This suits bedrooms with a wide window, a bay window, or a blank wall under a window where a low bench would fit without blocking the radiator or the door swing.
Build the seat at a comfortable sitting height, and add a cushion in a washable cover plus one or two small pillows for back support. Use the base for items you need weekly or seasonally, and keep daily clothes in the closet, so the seat storage does not become a daily rummage spot. Keep the window area clear of tall items, so daylight still reaches the room and the seat stays inviting.
30. Add Smart Locks and a Video Doorbell
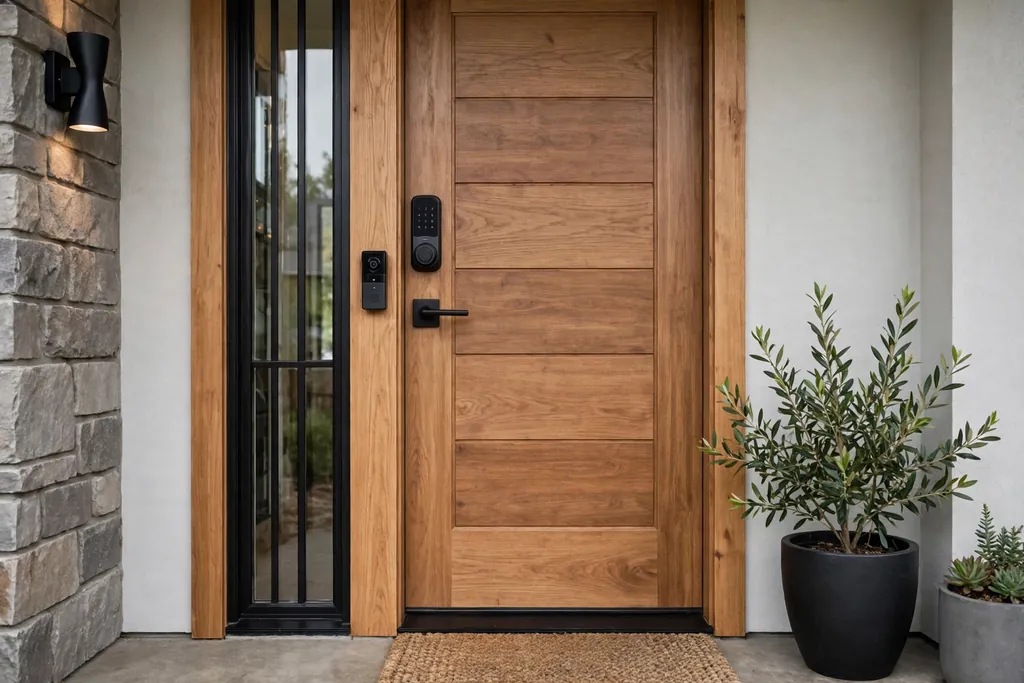
A smart lock lets you open and secure the front door with a code or a phone, which helps when hands are full, guests arrive, or a key goes missing. A video doorbell adds a view of visitors and deliveries at the door, which can make the entry feel safer and more convenient day to day. This suits homes where keys are often lost, guests need entry while you are out, or deliveries are left at the door.
Choose a lock that fits your existing door and latch, and check battery life and backup entry options before you rely on it fully. Place the doorbell where it sees the path and the porch clearly, and keep the lens clean, since dirt and rain marks blur the view fast. Set notifications to a level that suits your household, so alerts stay useful rather than constant, and keep a spare key in a safe place as a backup.
31. Create a Flexible Guest Space With a Sofa Bed and Storage
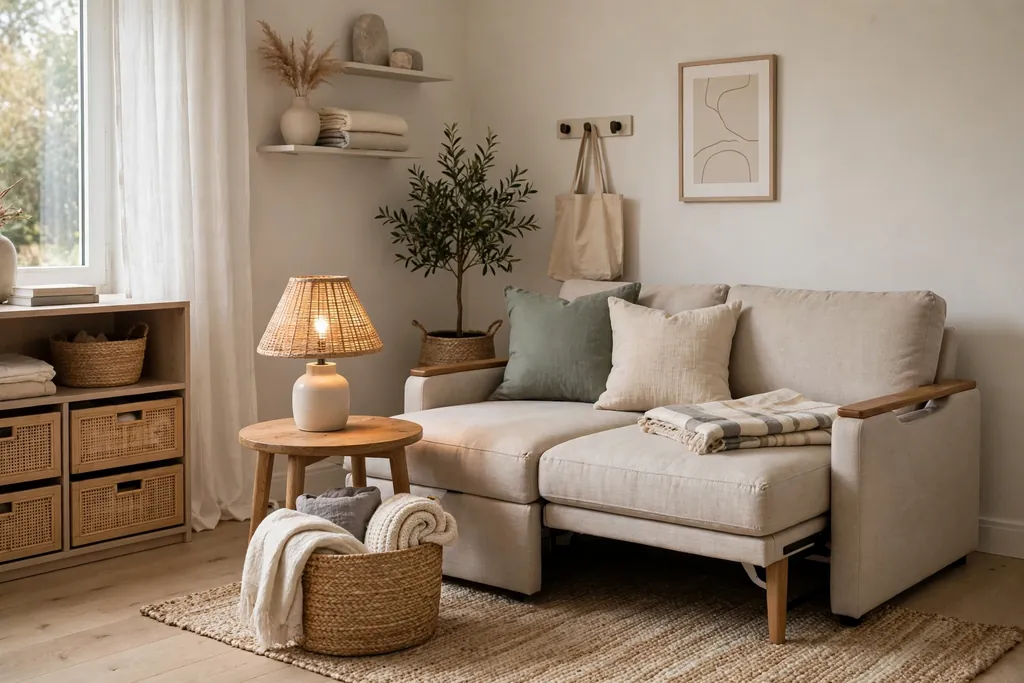
A spare room that only holds a bed can sit unused for most of the year, while a flexible guest space works as a reading room, office, or hobby room between visits. A good sofa bed, plus closed storage for guest bedding and a small table, lets the room switch roles without a full rearrangement each time. This suits homes with a spare bedroom, a large landing, or a living room corner that could host guests now and then.
Choose a sofa bed with a mattress you would sleep on yourself, since an uncomfortable guest bed is rarely used twice. Keep guest bedding in one closed basket or drawer in the same room, so setting up the bed takes minutes, not a search through other rooms. Add a small lamp, a clear surface for a phone and a glass of water, and a hook or rail for guest clothes, so the room feels welcoming even when it also serves another job daily.
Conclusion
Home upgrades that add value share a simple pattern: they fix what is worn, they make daily life easier, and they finish cleanly. Start with the kitchen and bathroom, give the entry and exterior the same care, and add storage, light, and energy-saving fixes where they solve a real problem in your home. You do not need to finish all 31 to see a difference. One well finished upgrade, then the next, adds up to a home that feels cared for, comfortable to live in, and easy for a future buyer to picture as their own.
If an idea here fits your home, save this post on Pinterest so you can find it again when you are ready to start. Pin the upgrade you plan first, whether it is a kitchen refresh, a bathroom vanity swap, or a front door repaint, and use it as a guide for your next weekend project.
FAQs
Which home upgrades usually appeal most to buyers?
Kitchen and bathroom refreshes, fresh neutral paint, good lighting, and tidy storage tend to appeal widely, since buyers judge those areas first and use them daily. Curb appeal matters too, since the exterior shapes a first impression before anyone steps inside. The best upgrade for a given home is the one that fixes its most visible wear or its biggest daily frustration, rather than the largest job on the list.
Should I remodel fully or refresh a kitchen and bathroom?
A refresh often suits a kitchen or bathroom where the layout works and the structure is sound, since paint, hardware, countertops, and fixtures can change the look without moving walls or plumbing. A full remodel makes more sense when the layout blocks daily use, storage is missing entirely, or fittings are damaged beyond repair. Start with the worn surfaces and fittings, and only plan larger work once you know the layout truly fails.
Do small upgrades really help a home’s value?
Small upgrades help most when they fix visible wear, improve daily use, and present the home as cared for. Fresh paint, working fixtures, clear storage, and a tidy entry can change how a home feels at a viewing, even though no single small change guarantees a set return. Value also depends on the home, the area, and the market, so treat upgrades as improvements to living quality first and resale appeal second.
What is the best first upgrade on a tight budget?
Start with cleaning, paint, and hardware, since those three change how rooms look for relatively little cost. Wash exterior paths, repaint the front door and main rooms in a calm neutral tone, and swap worn handles and light fixtures. Then add one storage fix, such as an entry bench or pull-out shelves, so the home stays tidy after the cosmetic work is done.
How do I choose upgrades that suit my home’s style?
Match new finishes to what is already in the home, such as the same wood tone, metal finish, and paint palette across rooms. Keep large surfaces calm and neutral, and save bold color for items that are easy to change, such as cushions, towels, or pots by the door. If a home has a clear style, such as a cottage or a modern flat, choose upgrades that fit that style rather than mixing many looks at once.
When should I hire a professional instead of doing it myself?
Hire a qualified professional for work that involves wiring, plumbing, gas, structural changes, or cutting into walls where pipes and cables may hide. DIY suits paint, hardware swaps, shelving, and storage that needs only basic tools and fixings. If a job needs a permit, a specialist tool, or a safety check, get advice before you start, since a well finished professional job lasts longer than a rushed DIY fix.