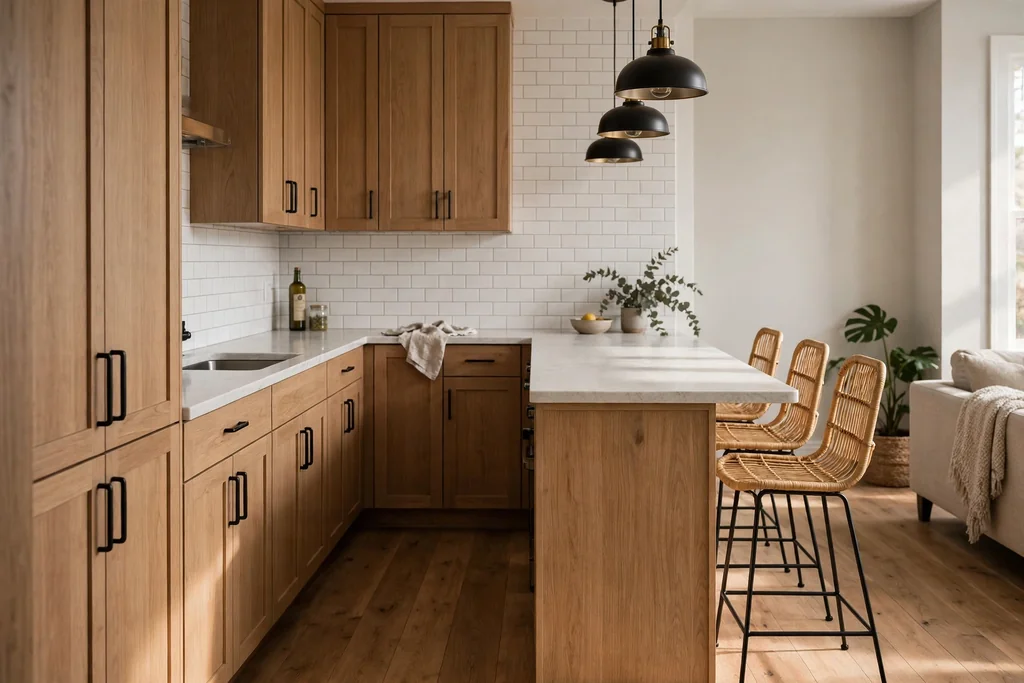
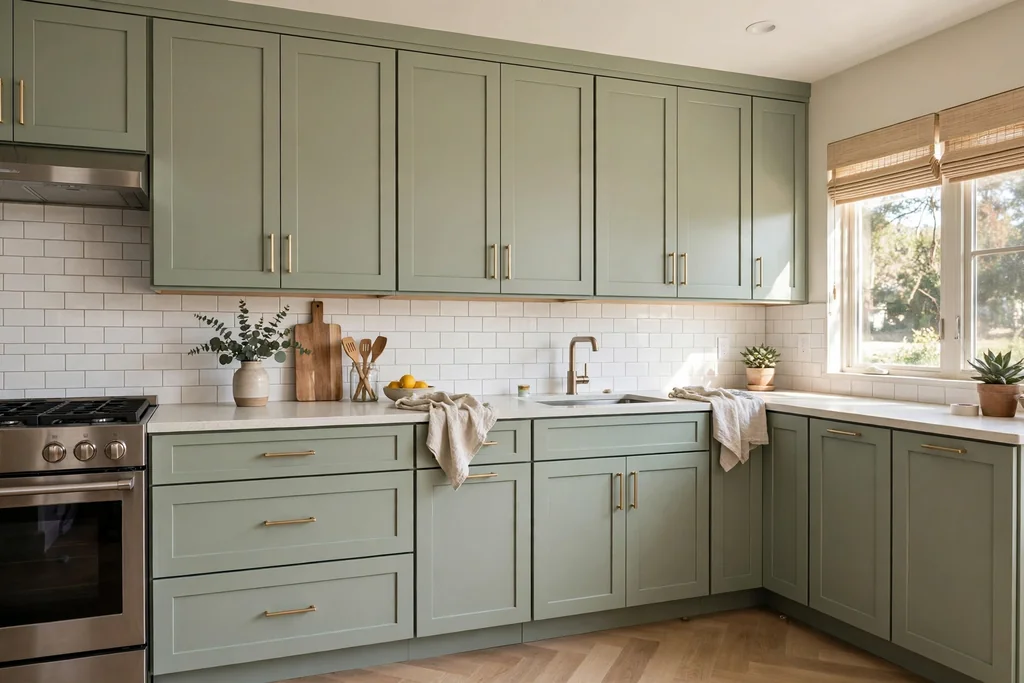
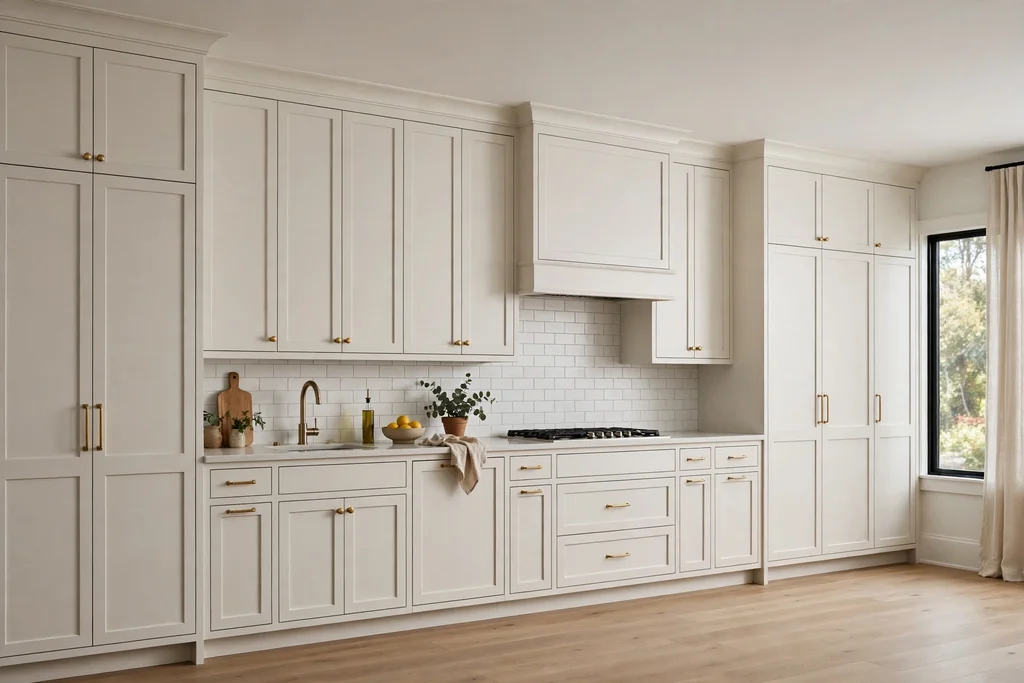
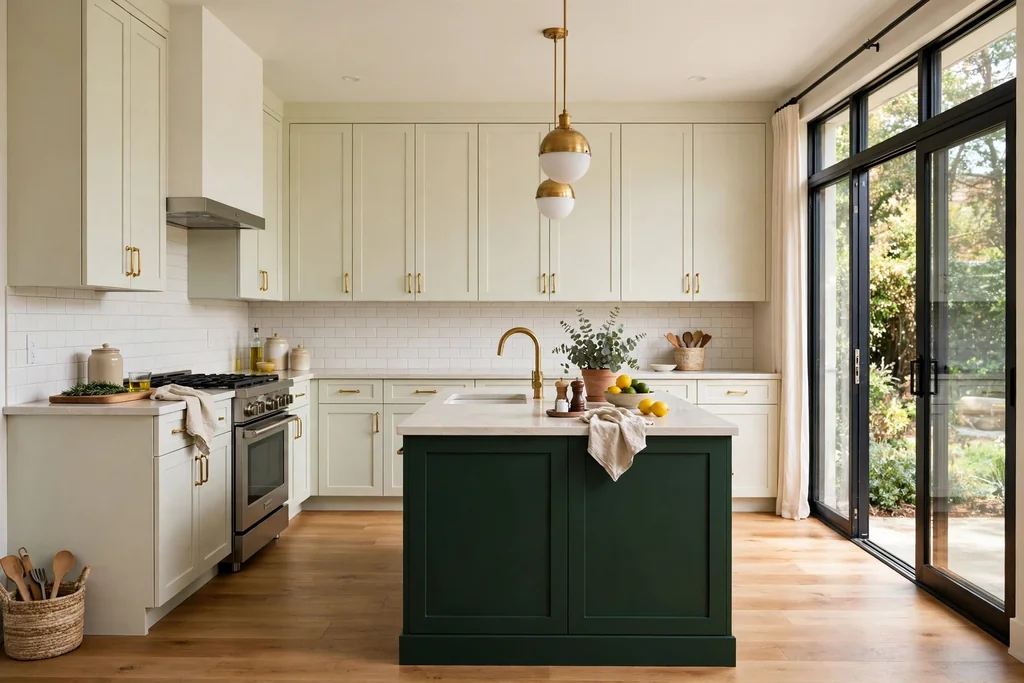
A dreamy bedroom is less about one showpiece and more about soft layers that work together. Pale color, gentle light, touchable fabric, and a few personal details can make a plain room feel calm and full of character. These 14 dreamy aesthetic bedroom ideas cover bedding, light, walls, windows, and small corners, so you can start with one easy change or build a fuller look over time. Keep the palette close, repeat one or two textures, and leave some surfaces clear so the room still feels restful. For a warm neutral base to pair with pastel layers, see these beige bedroom ideas.
Key Takeaways
Start with a close palette of two or three soft colors, such as blush, cream, and pale sage, and repeat them in bedding, curtains, and art.
Layer texture before adding color: linen, knit, velvet, sheer fabric, and a soft rug keep a pale room interesting.
Use warm, low light in the evening, from bedside lamps, string lights, or a paper lantern, instead of one bright ceiling light.
Give the room one clear focal point, usually the bed or the wall behind it, and keep the other walls quiet.
Add character in small, changeable ways first, such as art, throws, and a reading corner, before painting or buying large furniture.
Keep nightstands and floors mostly clear, so soft layers read as calm rather than cluttered.
1. Layer Pastel Bedding in Soft Tones
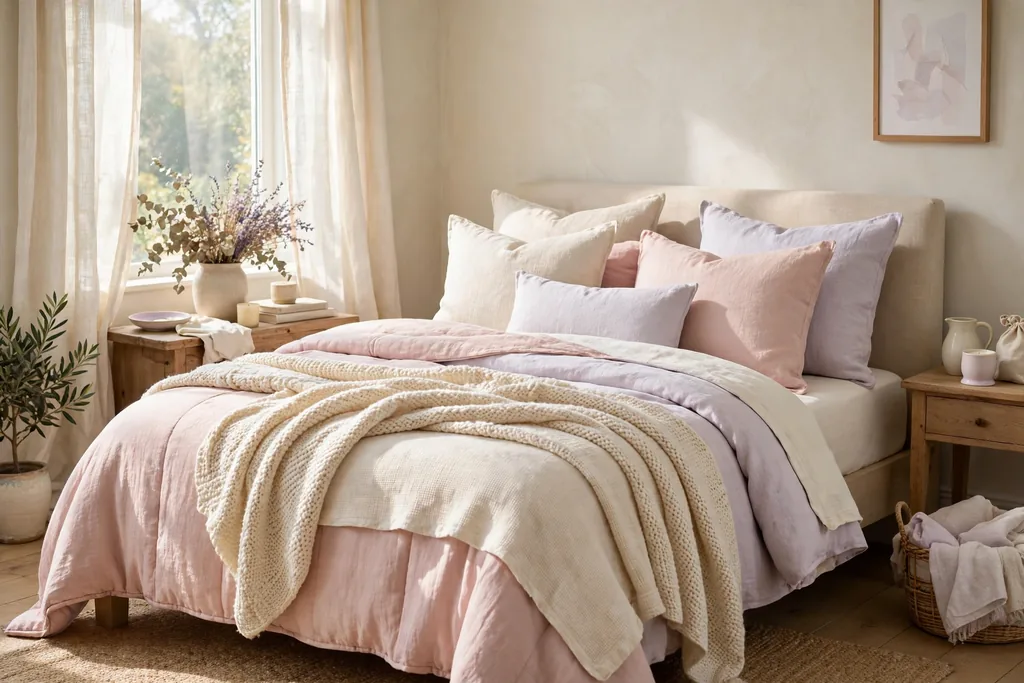
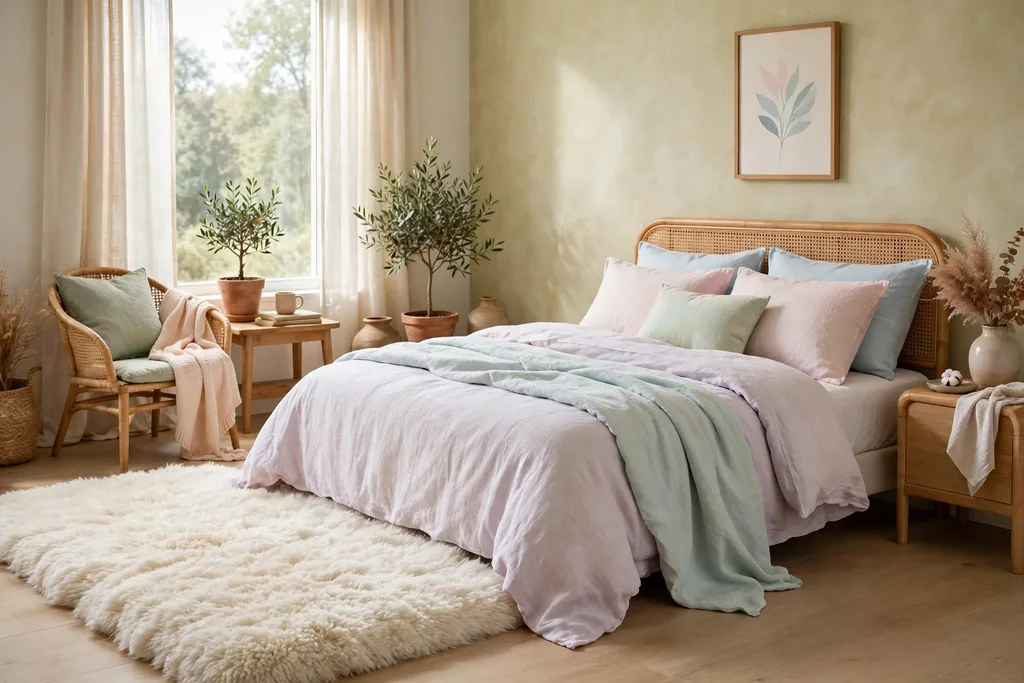
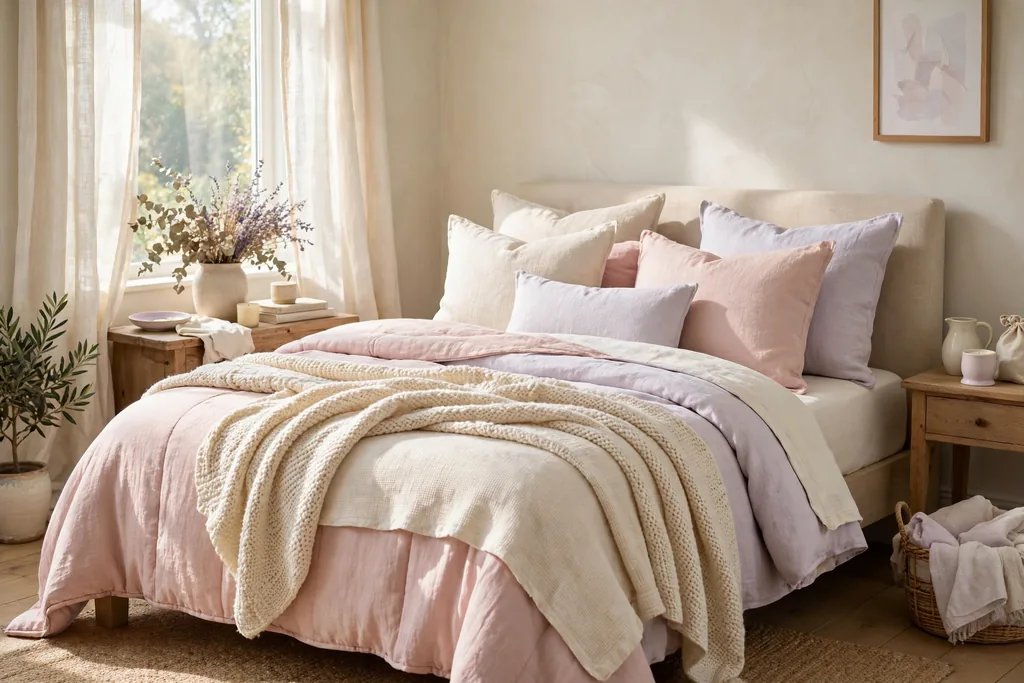
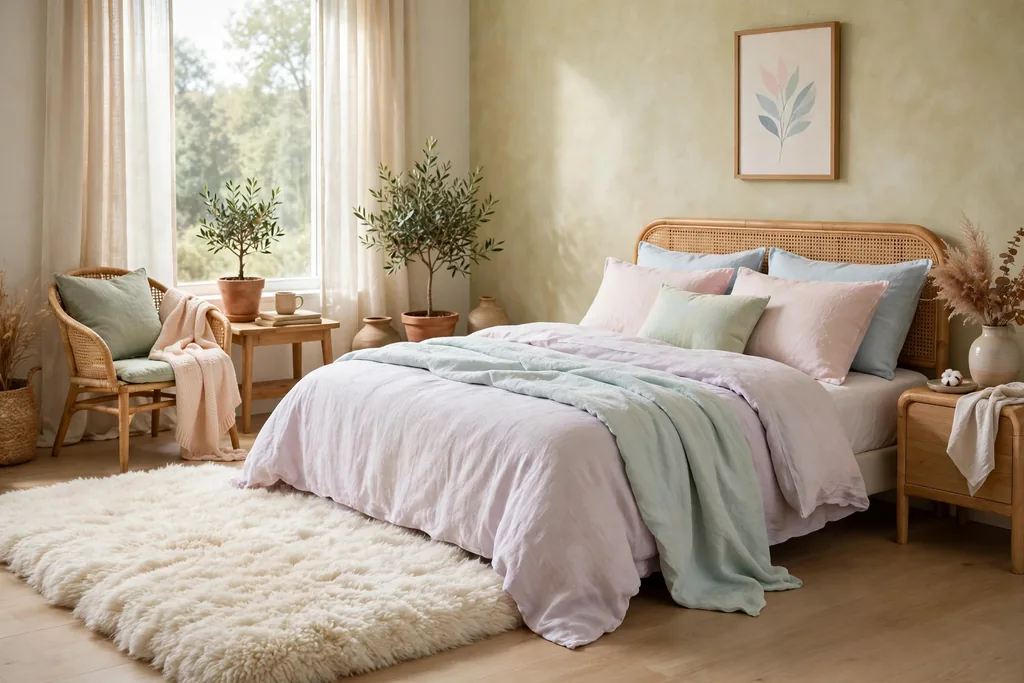
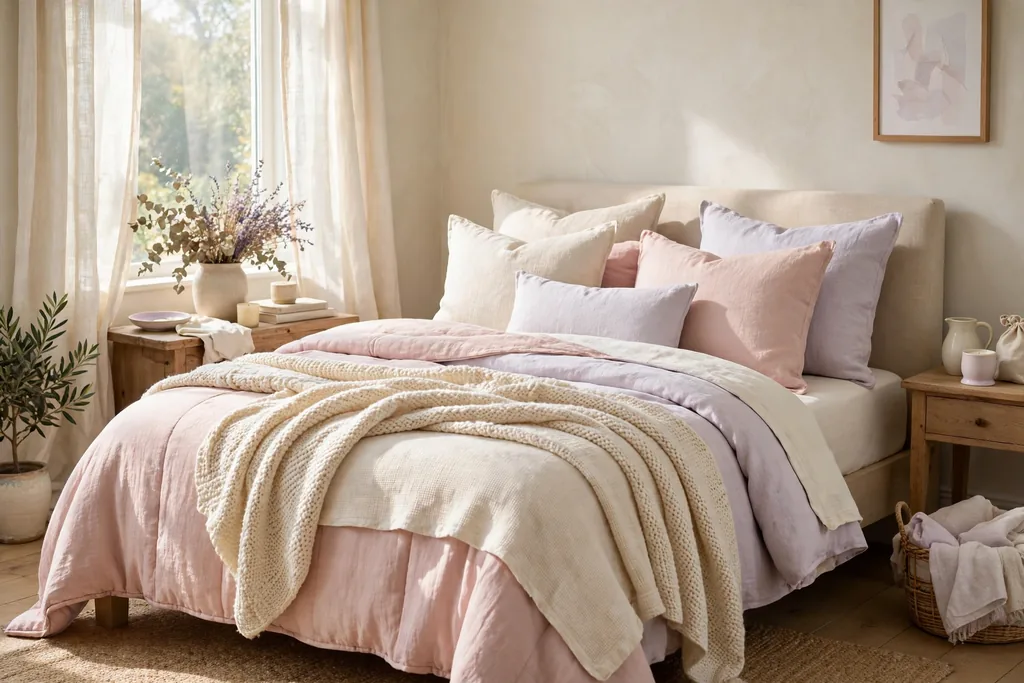
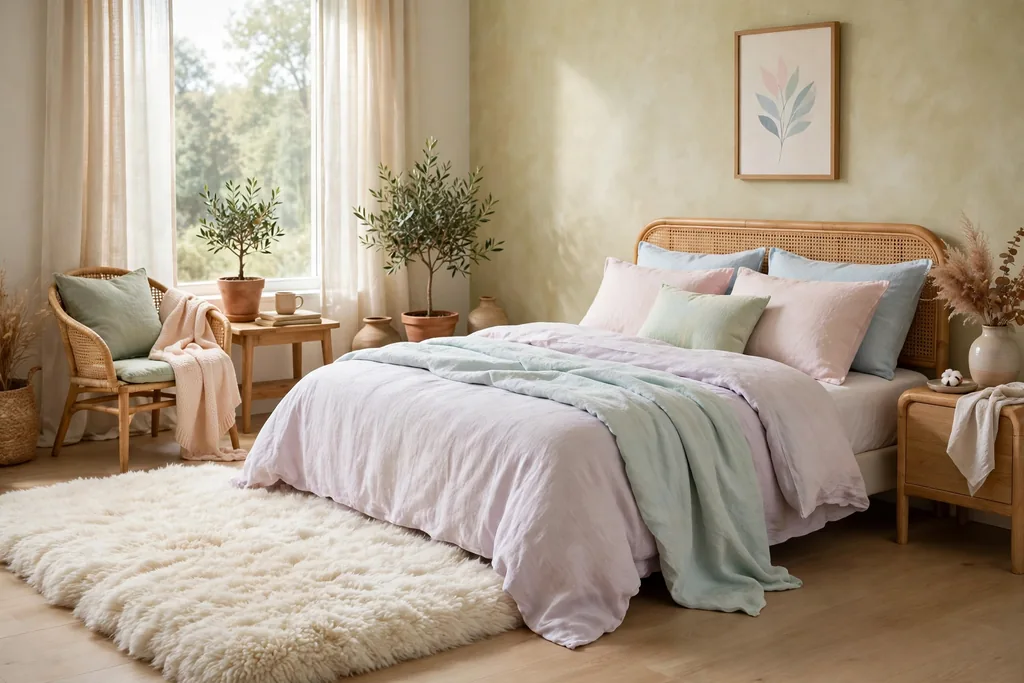
Build the bed in pale layers, starting with white or cream sheets, then a blush or pale lilac duvet, and a folded knit throw at the foot. Add cushions in linen and cotton, in tones close to the duvet, so the bed looks soft and finished without a strong pattern. This suits almost any bedroom, since it needs no paint or tools, and it is easy to change by season.
Keep the palest shade near your face and the deeper pastel at the foot, which gives the bed a gentle sense of depth. Wash cushion covers and throws on a regular cycle, since pale fabric shows dust and marks sooner than dark fabric. If pastel bedding feels too sweet on its own, add one natural wood or white piece nearby to ground it.
2. Hang a Sheer Canopy Over the Bed
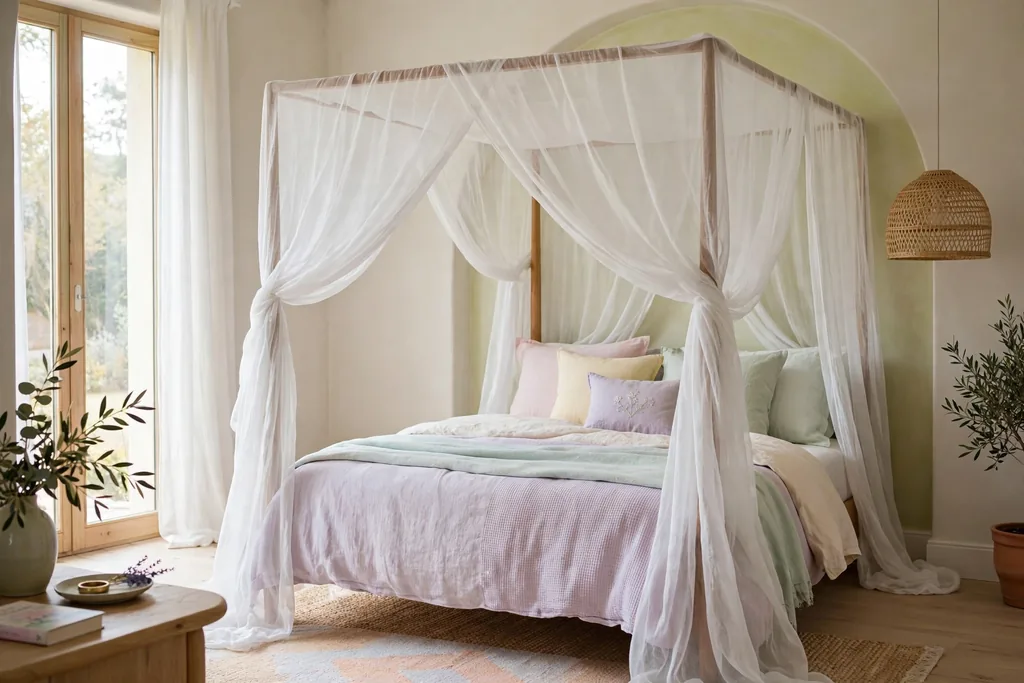
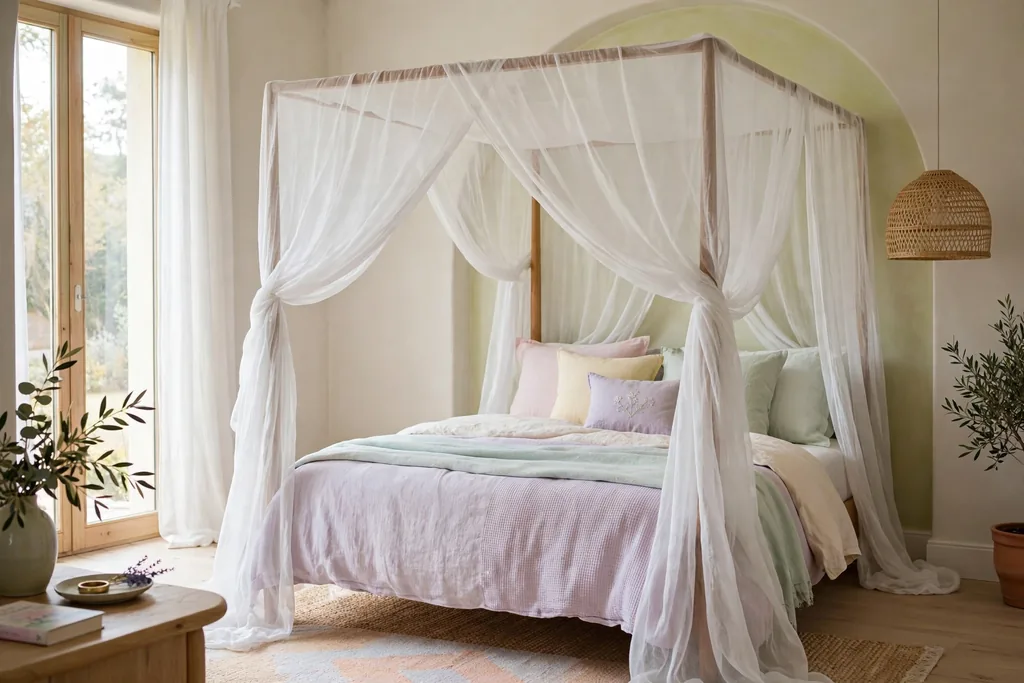
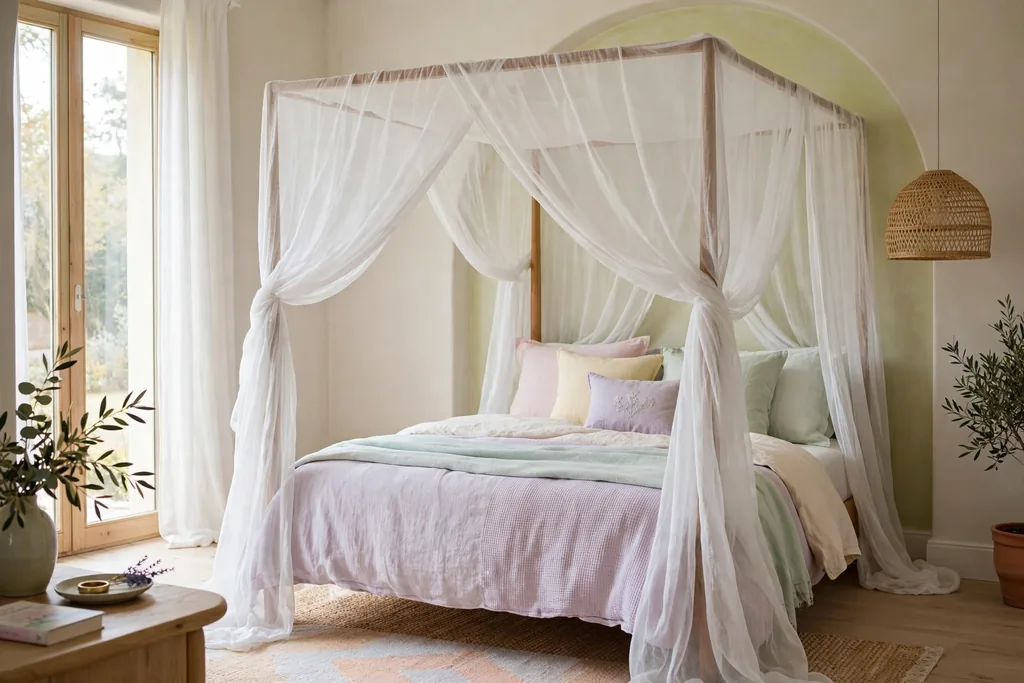
Drape sheer white or blush fabric from a ceiling hoop, a wall mounted frame, or four slim posts to make a light canopy over the bed. The fabric softens the room, frames the bed, and adds a sense of privacy without blocking light or air. This suits a bedroom with a plain ceiling and a bed that needs a focal point.
Hang the fabric so it falls clear of pillows and lamps, and keep the canopy fabric light enough to move slightly with air from a window. Wash or shake out the panels often, since sheer fabric collects dust. If a full canopy feels too much, drape sheer fabric on one side of the bed only, or use a half canopy behind the headboard.
3. Add Warm String Lights Along the Headboard
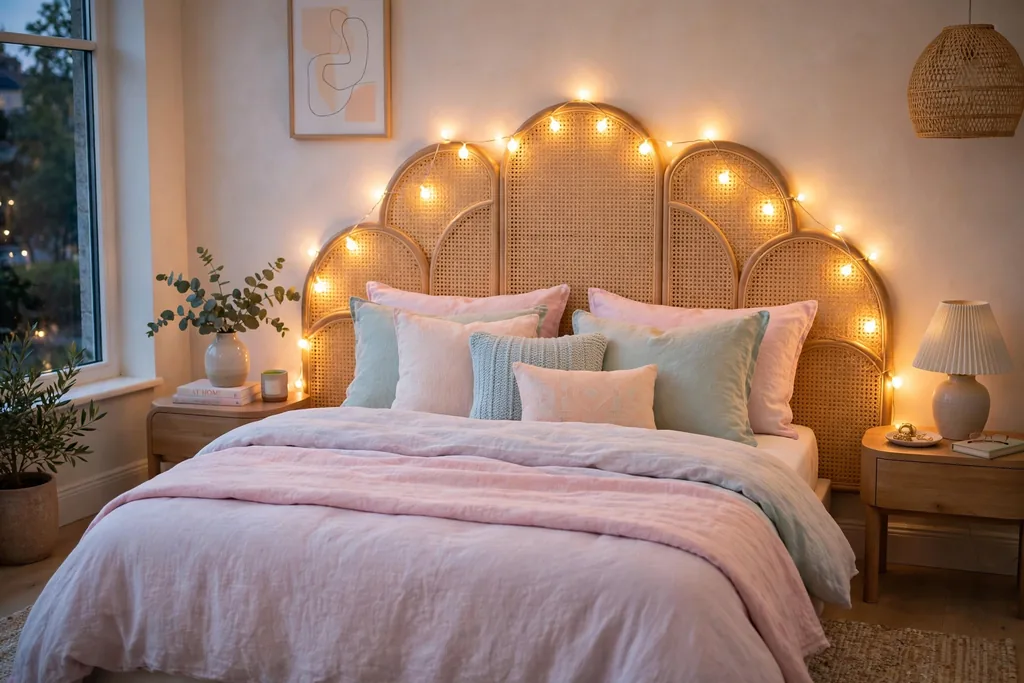
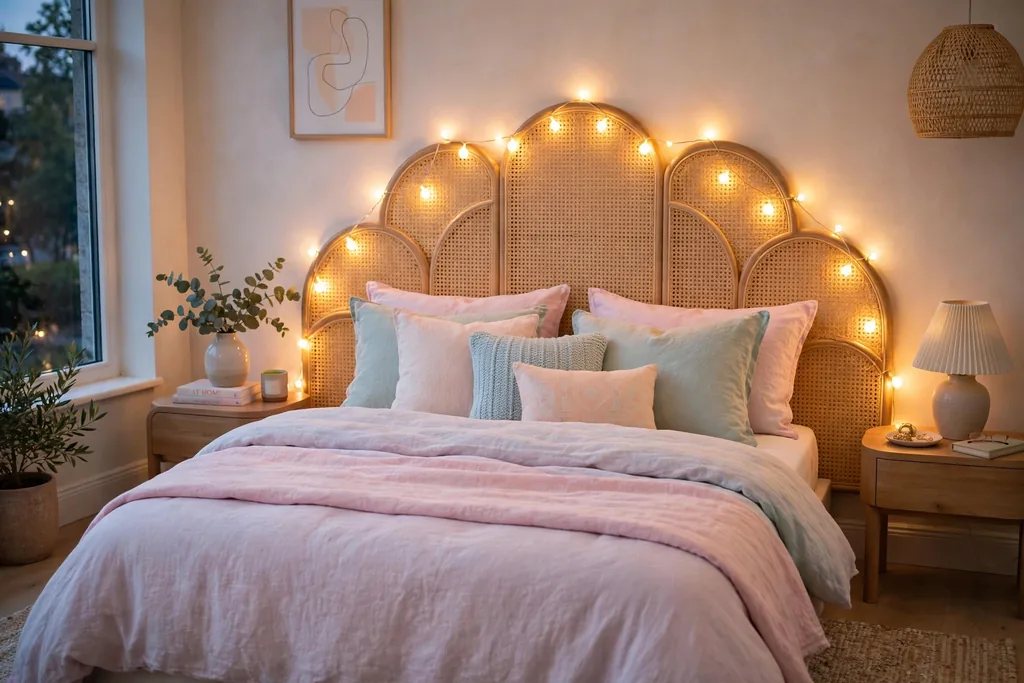
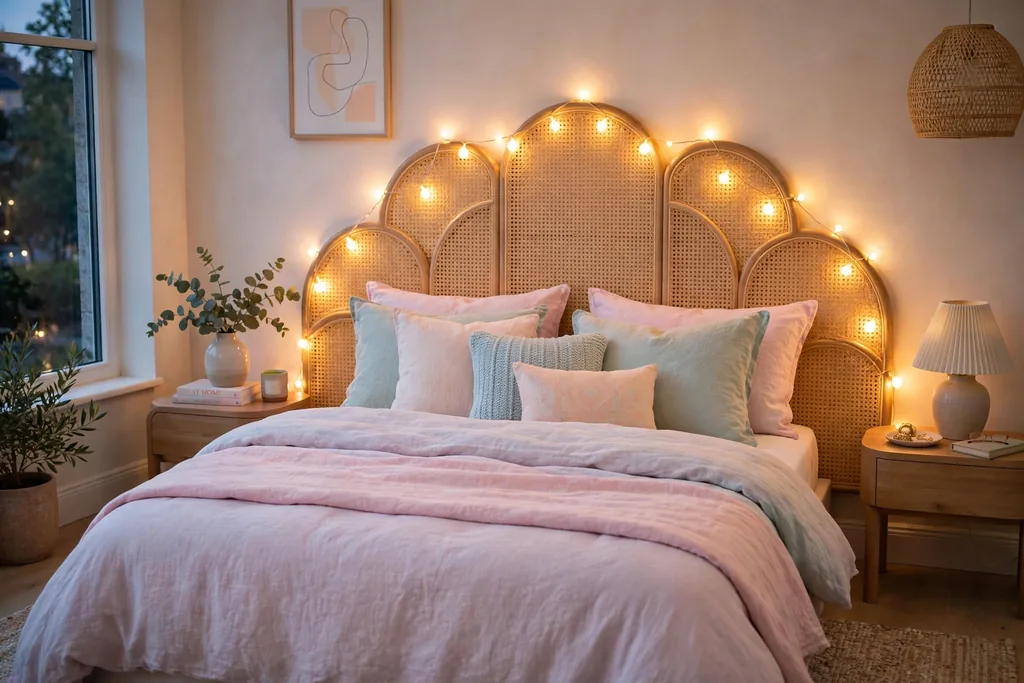
Run warm white string lights along the headboard, around a window frame, or along a picture ledge for soft evening light. The small bulbs give a gentle glow that suits reading and winding down, and they cost little to add. This suits a bedroom where the main ceiling light feels too harsh at night.
Use battery lights with a timer, or plug in lights with a cord kept tidy along the wall, and keep bulbs clear of bedding and curtains. Choose warm white rather than cool white, since cool light can make soft colors look grey. If string lights feel too playful for a main bedroom, use them only inside a reading corner or along one shelf.
4. Build a Soft Gallery Wall in Pastel Prints
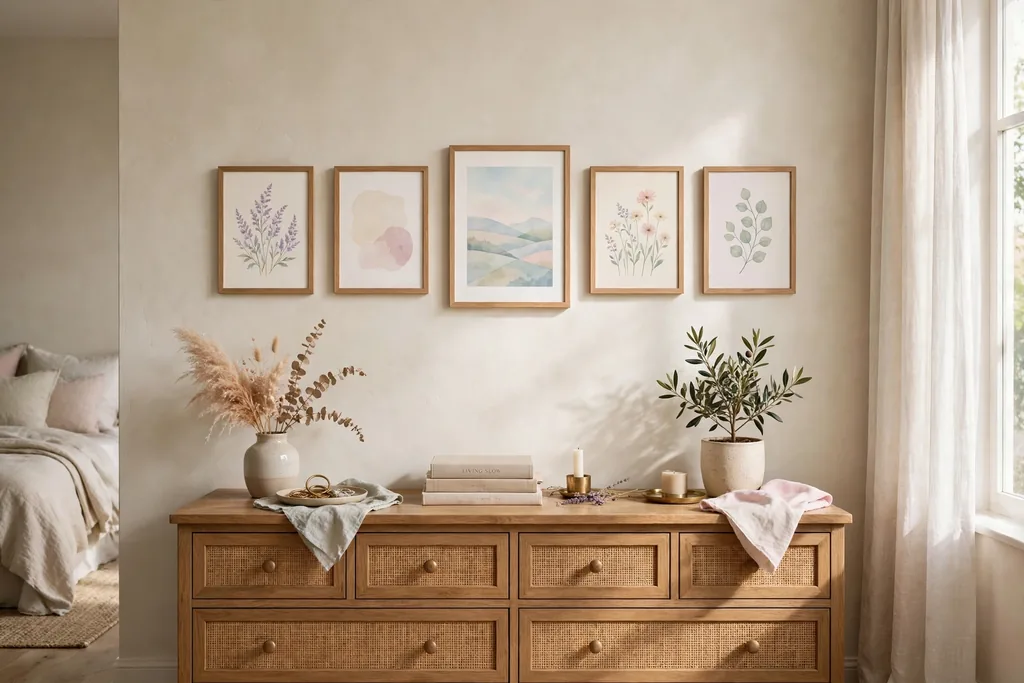
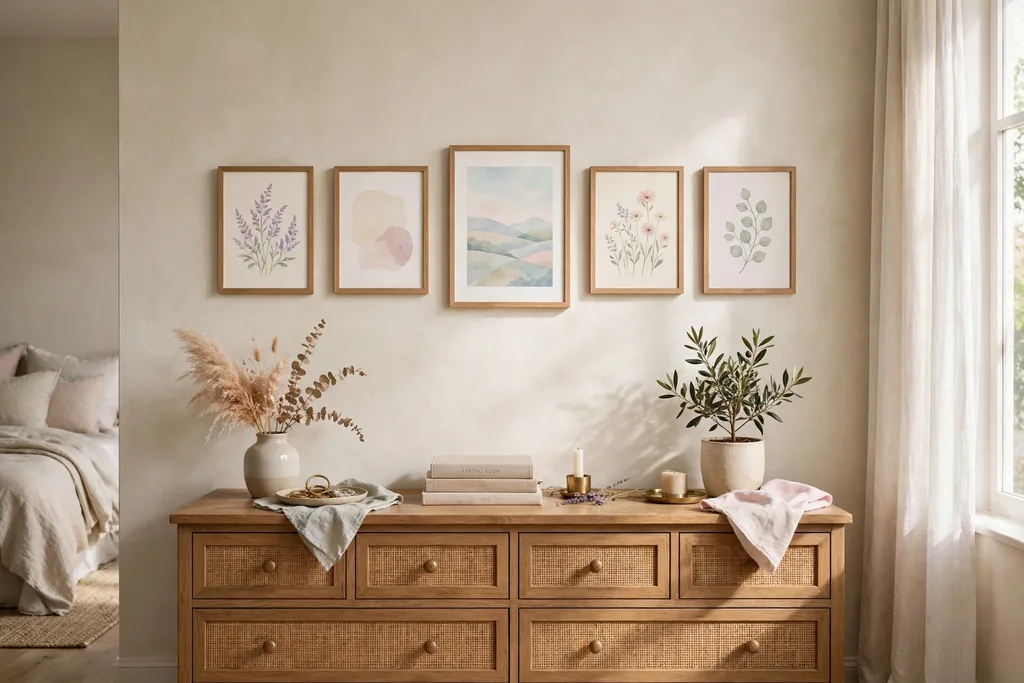
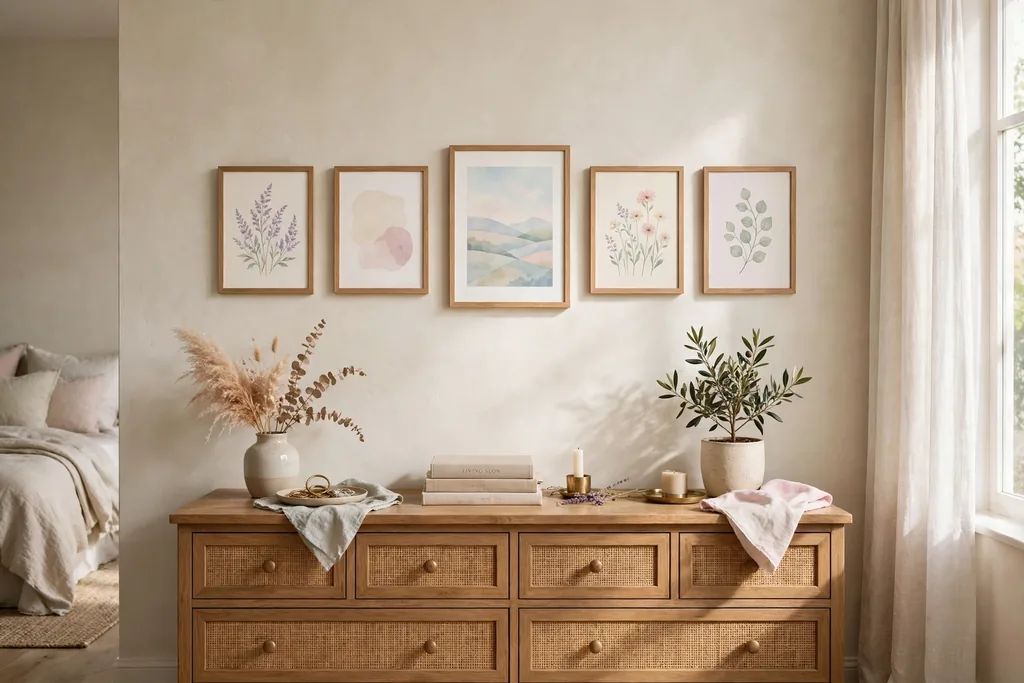
Hang a small gallery of framed prints in blush, cream, sage, and soft gold above a dresser or beside the bed. Mix landscapes, botanical prints, and simple line drawings, but keep the palette tight so the wall feels calm. This suits a bedroom with one blank wall that needs personality without a bold feature color. For more wall layouts, from grids to ledges, see these bedroom wall art ideas.
Lay the frames on the floor first, plan even gaps, and hang the middle frame at eye level. Use matching or close toned frames so the prints, not the frames, carry the look. If you rent, use picture hanging strips for light frames, and keep the largest print in the center so the arrangement feels balanced.
5. Make a Cozy Reading Nook by the Window
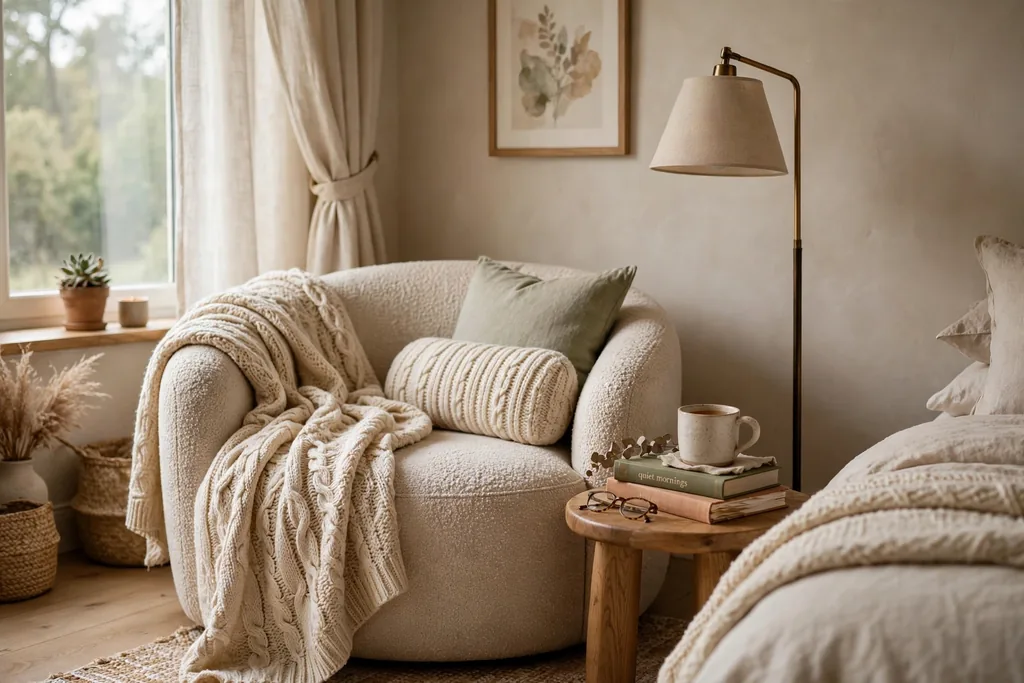
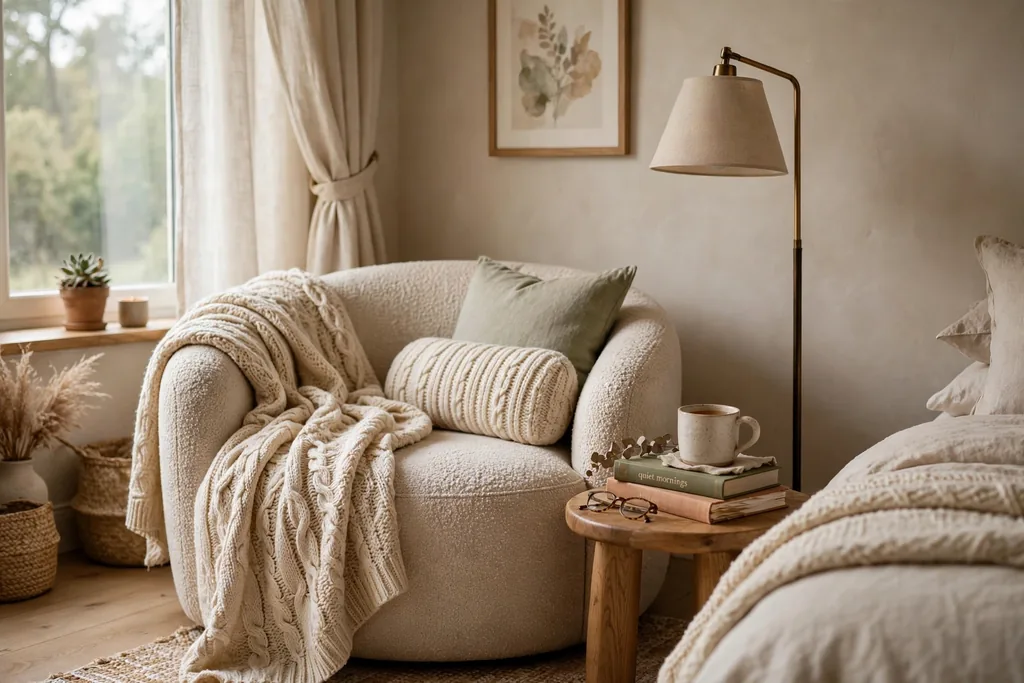
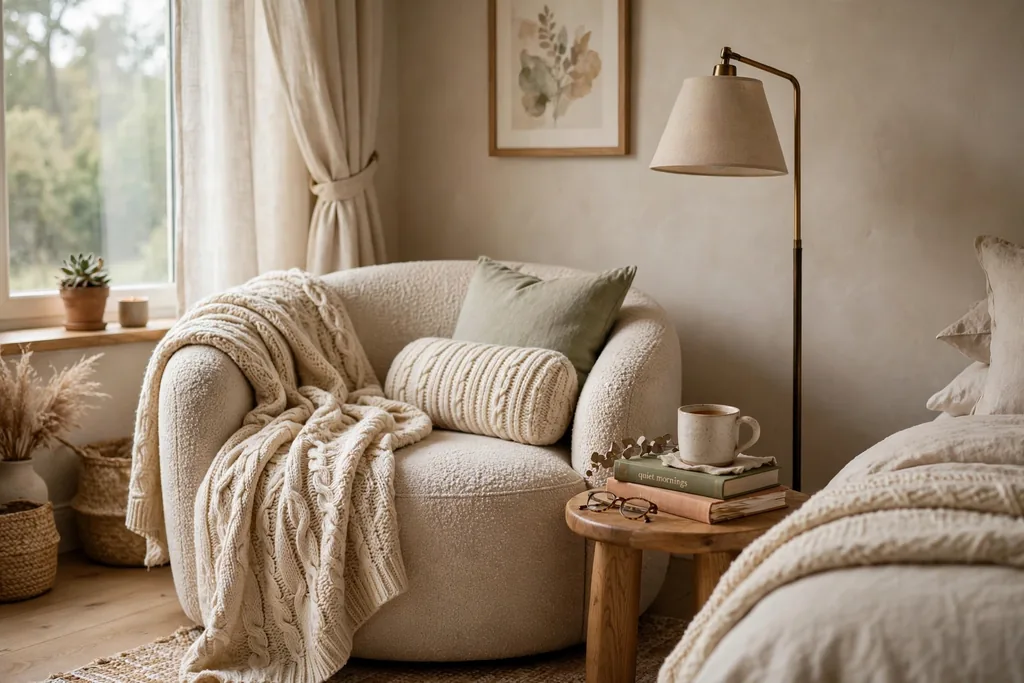
Place a soft chair, a small side table, and a warm floor lamp in a window corner to make a reading nook inside the bedroom. Add a knit throw over the chair arm and a small rug underfoot, so the corner reads as its own place. This suits a bedroom with a window corner that currently holds nothing but a laundry basket or a plant.
Choose a chair deep enough to sit in for an hour, not a stiff accent chair that looks good but stays empty. Keep a basket beside the chair for current books, so the corner stays tidy without a full bookcase. If the window gets strong sun, a sheer curtain panel on that side softens the light for reading.
6. Dress the Window With Flowing Sheer Curtains
Hang sheer curtains in white or pale blush from a rod set high and wide, so daylight filters softly into the room. Sheer fabric makes a small bedroom feel lighter and gives daytime privacy, while still letting you see the shape of the window. This suits a bedroom where heavy drapes would make the room feel closed in. For more window treatments, from linen panels to layered pairs, see these bedroom curtain ideas.
Let the panels fall to just above the floor, so they move a little with air from the window, and keep the rest of the window plain. Wash the panels often, since sheer fabric shows dust more than heavier fabric. Pair sheers with a simple blind or a blackout panel behind them if you need full darkness at night.
7. Set Up a Vintage Style Vanity Corner
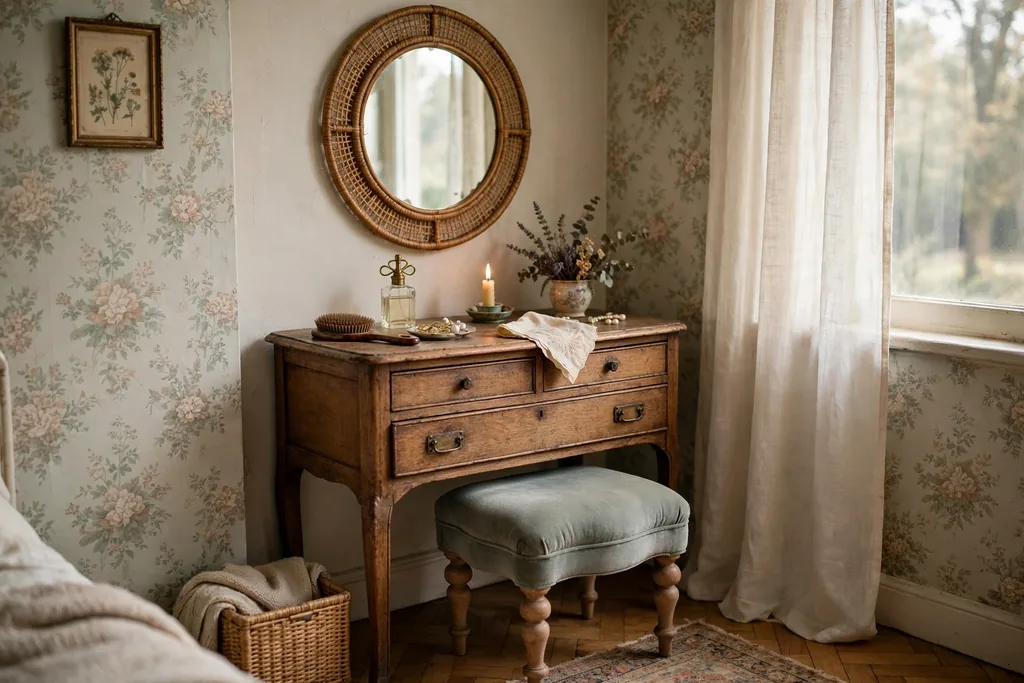
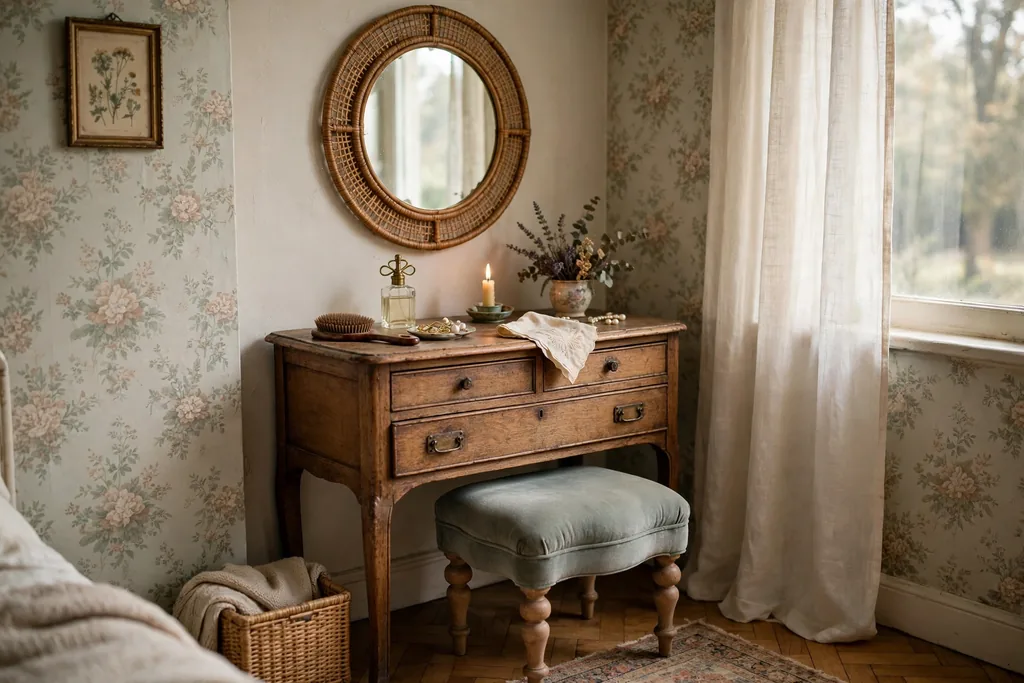
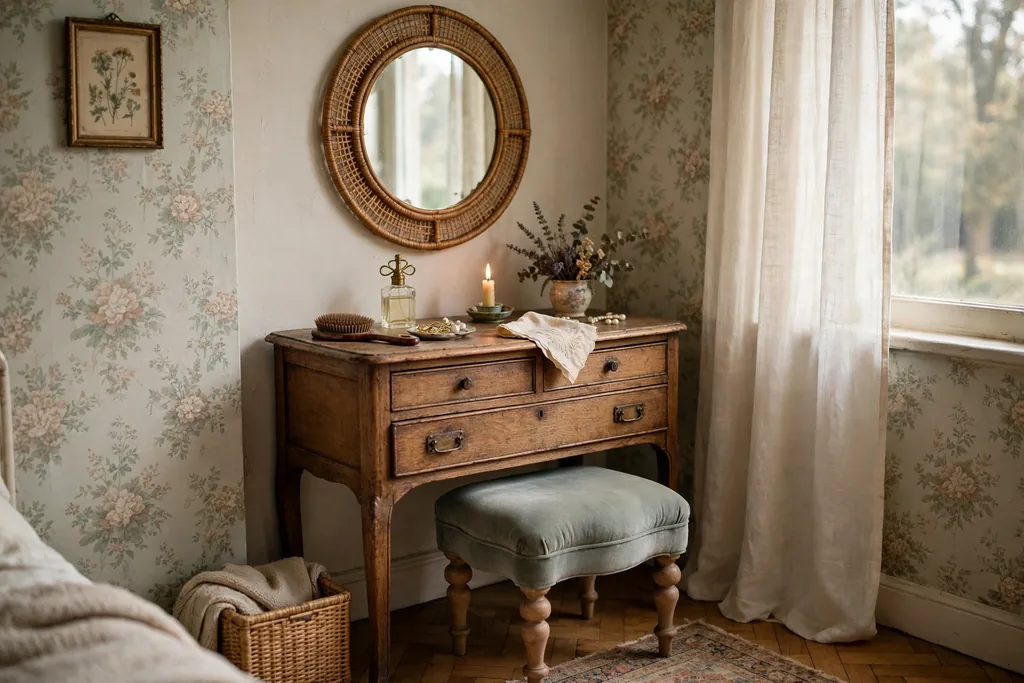
Place a small dressing table, a round or arched mirror, and a soft stool in a quiet corner to make a vanity area. Keep the table surface to daily items only, such as a brush, a small tray, and one vase, so the corner stays pretty and useful. This suits a bedroom with an unused corner near a window, where daylight helps for getting ready.
Choose a table with at least one drawer, so small items stay out of sight, and add a warm lamp or a pair of small lights beside the mirror for evening use. Keep the chair or stool light enough to tuck under the table when not in use. If floor space is short, use a wall mounted shelf and a leaning mirror instead of a full table.
8. Paint a Soft Pastel Arch Behind the Bed
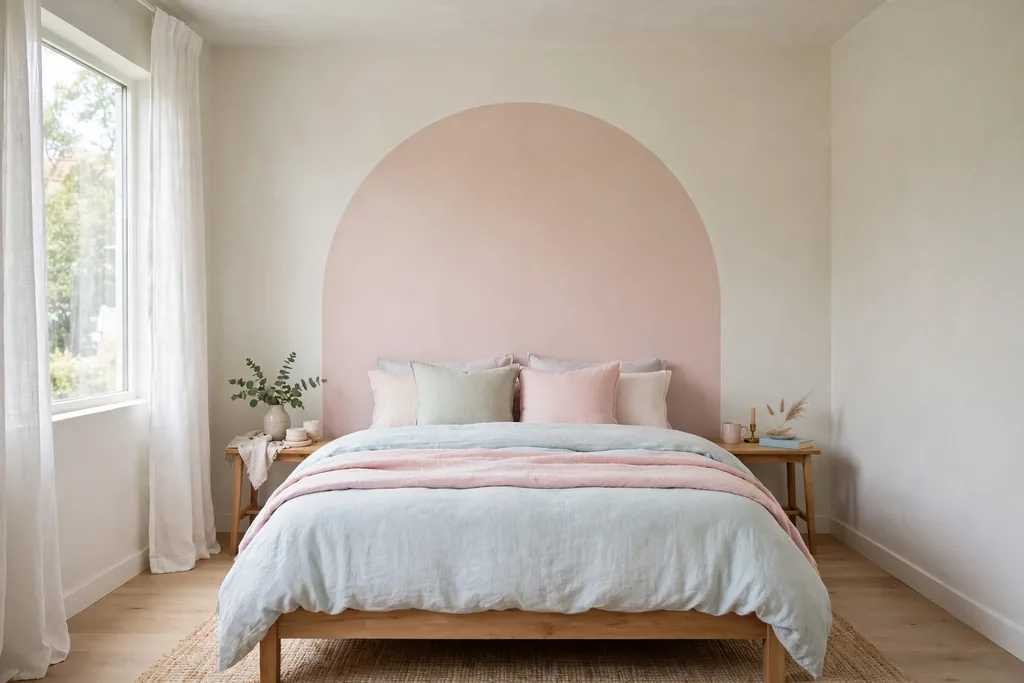
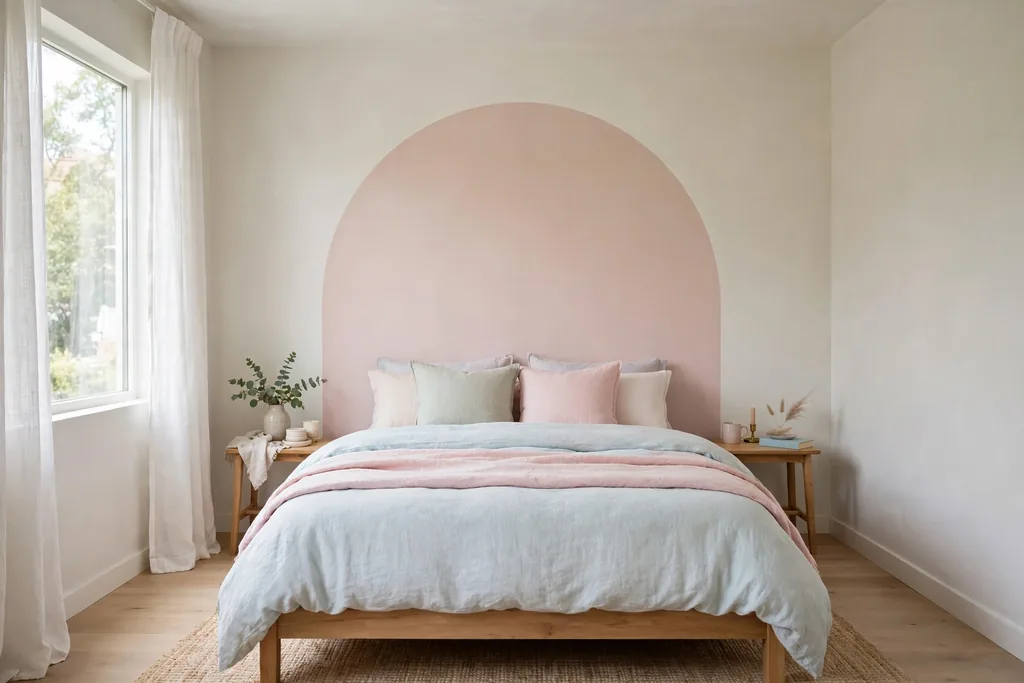
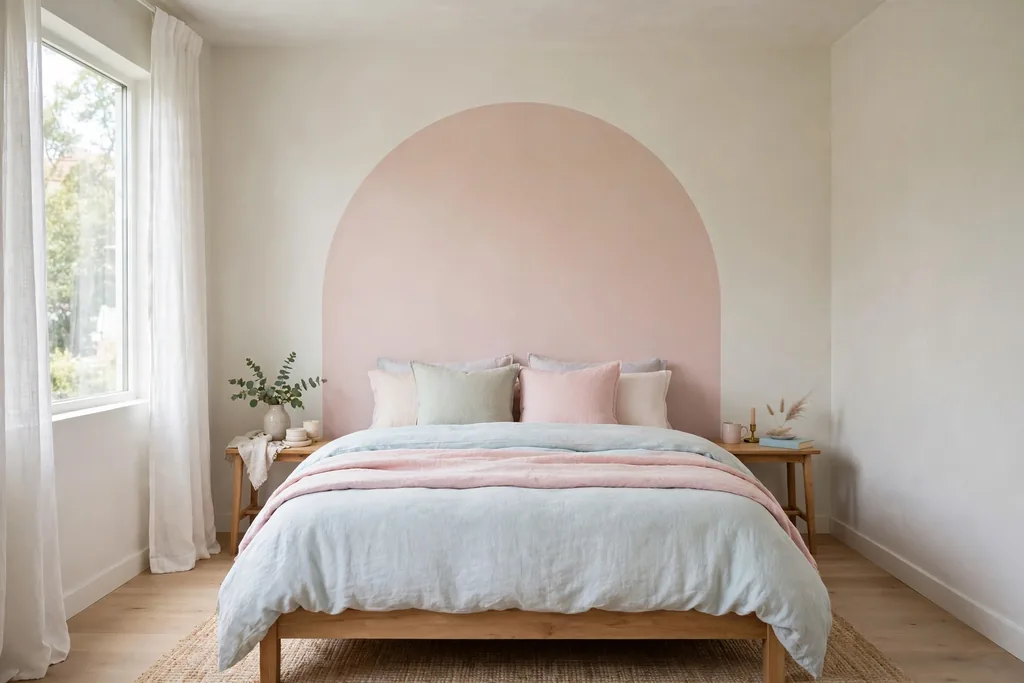
Paint a wide arch shape in blush, sage, or pale lilac on the wall behind the bed to give the room a gentle focal point. The arch frames the headboard, adds color without painting the whole room, and suits a bedroom with plain white walls. Mark the shape with painter tape first, and use a large brush or roller for the main fill.
Keep bedding and art quiet near the arch, so the painted shape stays the focus, and repeat the arch color once more in a cushion or throw. If you rent or want a changeable version, use a large painted canvas panel or removable wall decals in the same arch shape. Test the color in morning and evening light before you commit, since pastel paint shifts through the day.
9. Lay a Cloud Soft Rug Beside the Bed
Place a thick, soft rug beside the bed, or partly under it, so the first step in the morning lands on something warm. A high pile or shag style rug in cream, blush, or pale grey adds texture at floor level and makes a hard floor feel softer. This suits a bedroom with wood or laminate floors, where a bare floor can feel cold.
Choose a low enough pile near the door swing, and use a rug pad underneath so the rug does not slip. Vacuum often, since pale rugs show dust and foot marks, and shake out a smaller rug outside when you can. In a small room, one runner on the side you use most gives the benefit without covering the whole floor.
10. Style Dried Flowers in a Tall Vase
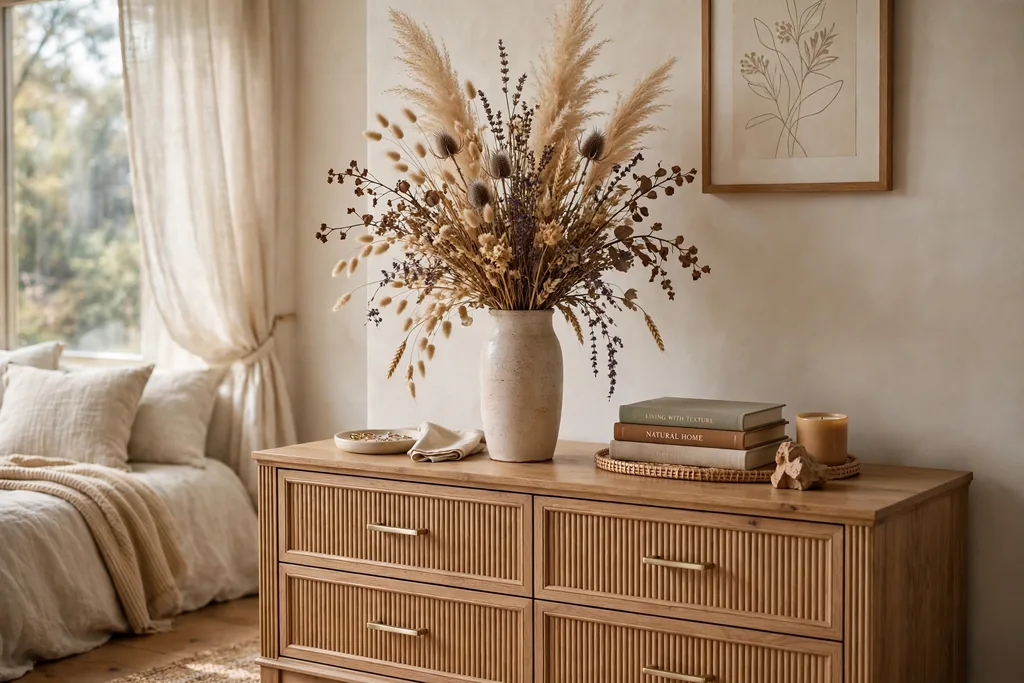
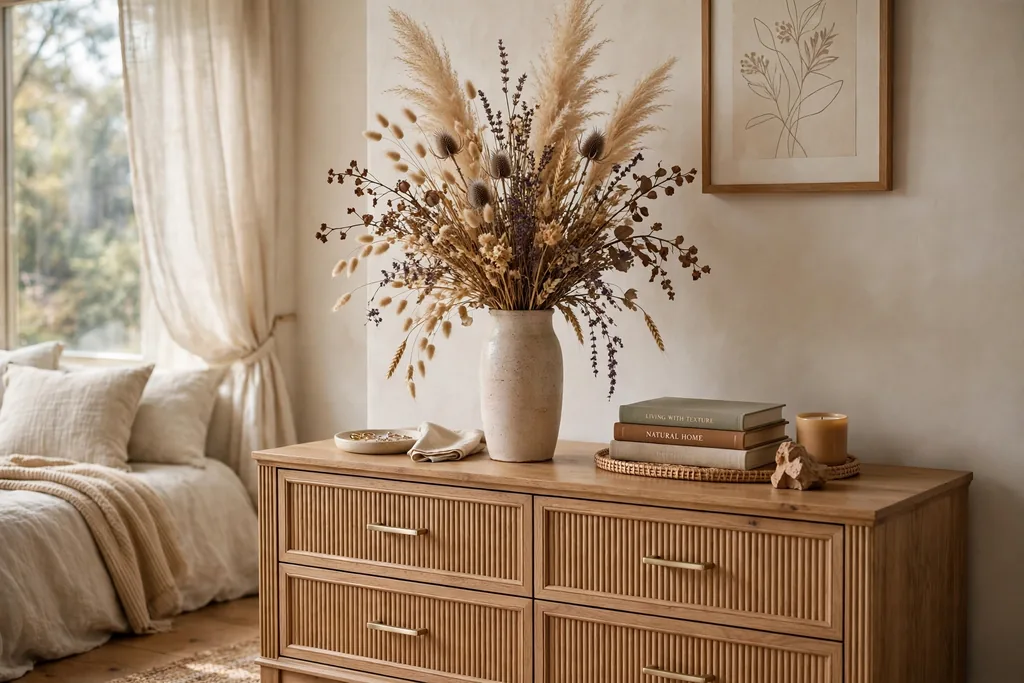
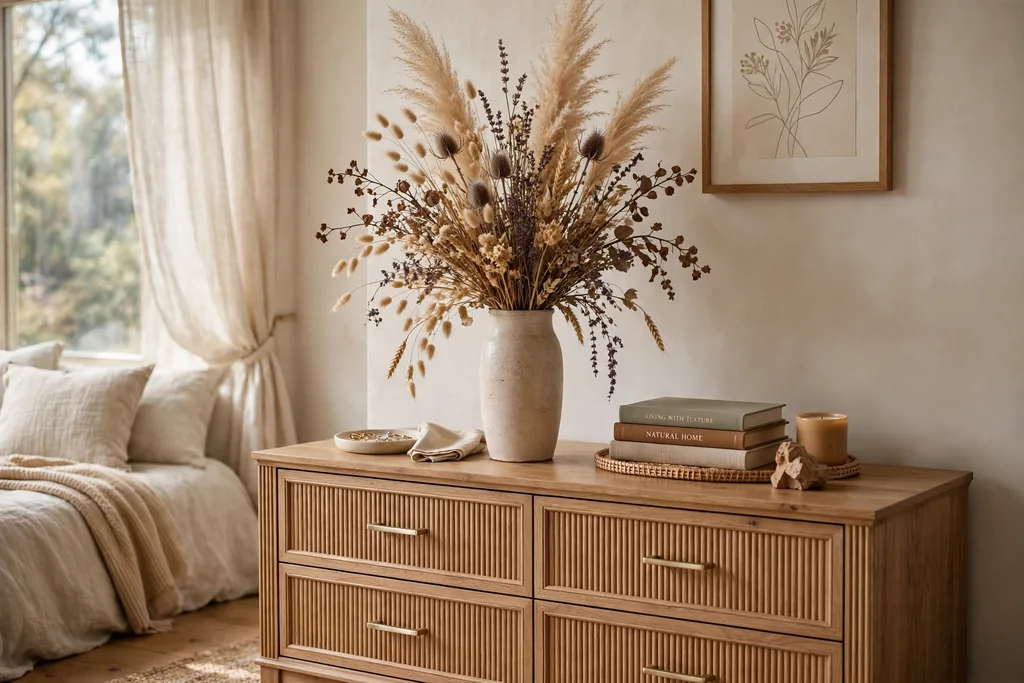
Arrange dried flowers, pampas stems, or dried lavender in a tall ceramic or glass vase on a dresser or nightstand. Dried stems add height, soft color, and a natural shape, and they last far longer than fresh flowers. This suits a bedroom where you want a gentle botanical touch without daily care.
Keep the arrangement to one vase and a few stems, so it reads as calm rather than busy, and keep stems clear of lamps and candles. Dust dried stems gently with a soft brush or a cool hair dryer setting, since they collect dust over time. If dried flowers trigger allergies in your home, use paper flowers or a simple green plant in the same vase instead.
11. Glow With a Paper Lantern or Soft Bedside Lamp
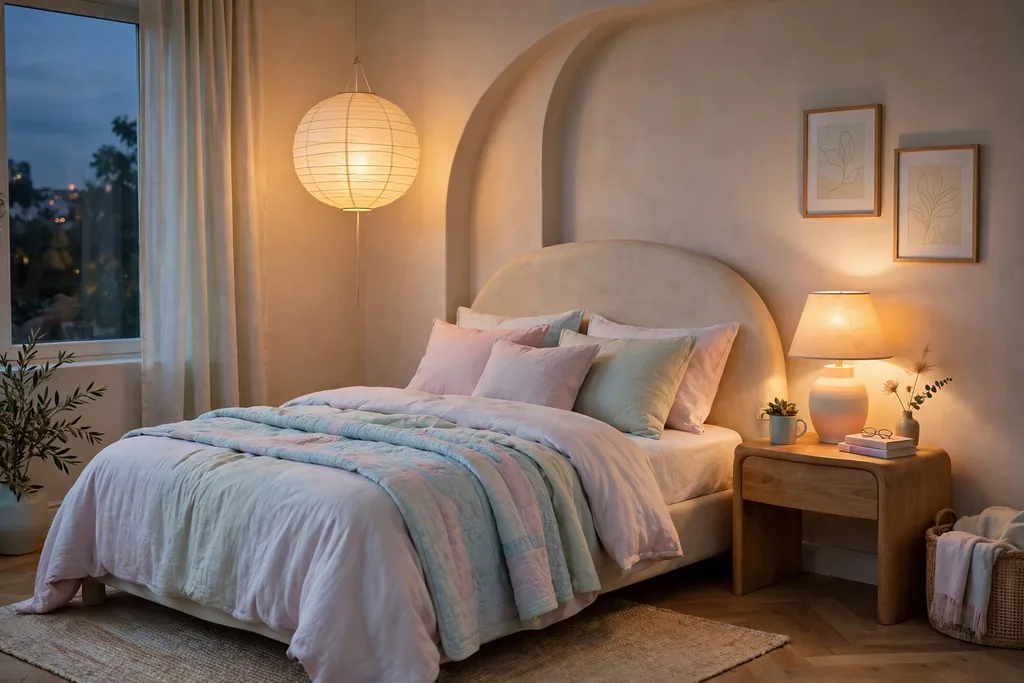
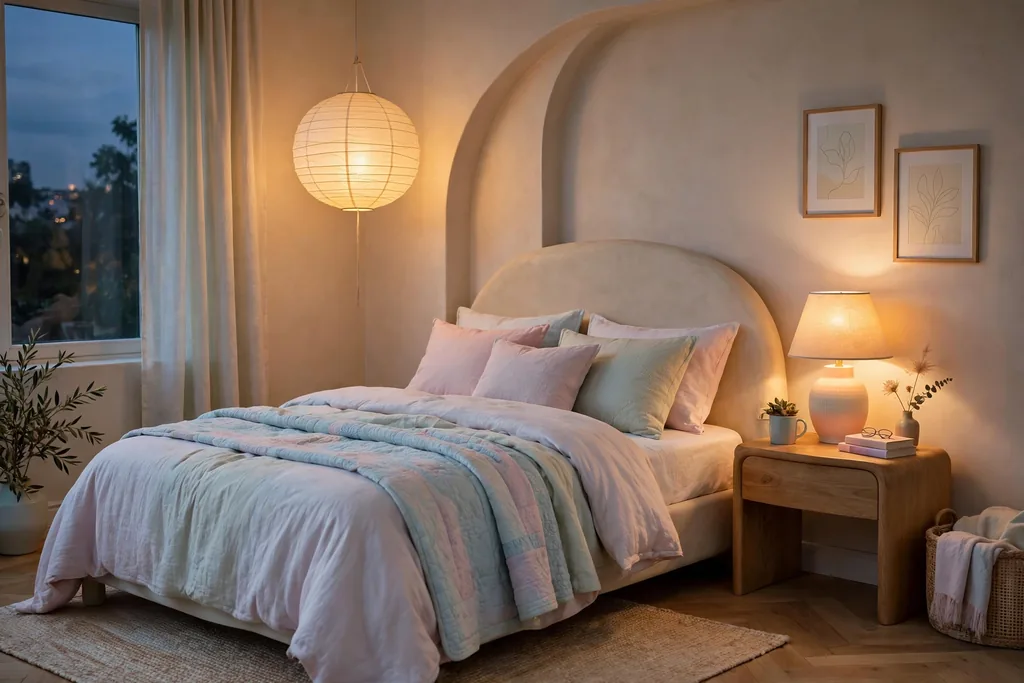
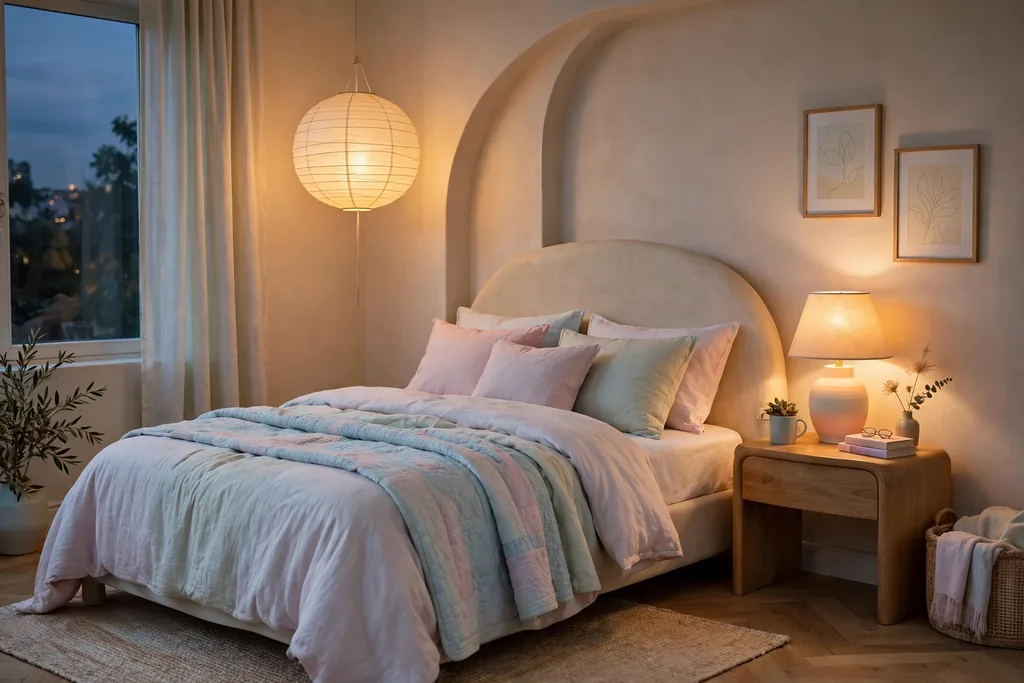
Replace a harsh overhead light with a paper lantern, a linen shaded lamp, or a pair of warm bedside lamps for evening use. Soft, diffused light flatters pale colors and makes the room feel settled at night. This suits a bedroom where you read, rest, or get ready in the evening and want light that feels gentle.
Put lamp switches where you can reach them without getting up, and use warm bulbs so pastel bedding and walls stay warm in tone. Keep lamp shades in warm white or cream, and avoid cool white bulbs, which can make soft colors look grey. If a paper lantern is your main light, hang it clear of bedding and curtains, and pair it with a small bedside lamp for reading.
12. Display Keepsakes on a Picture Ledge
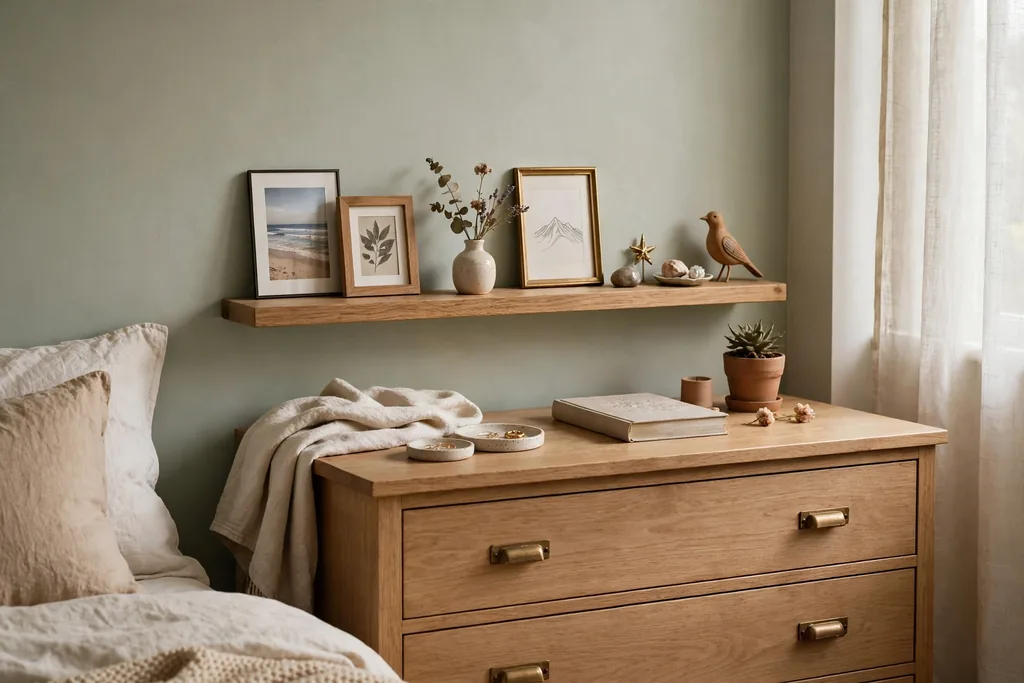
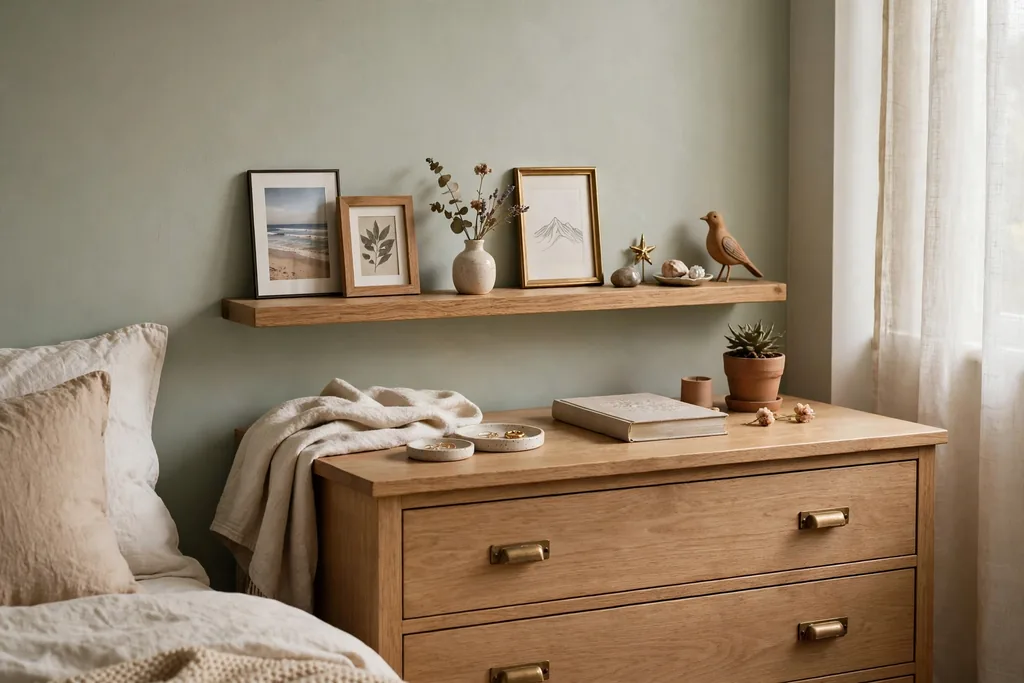
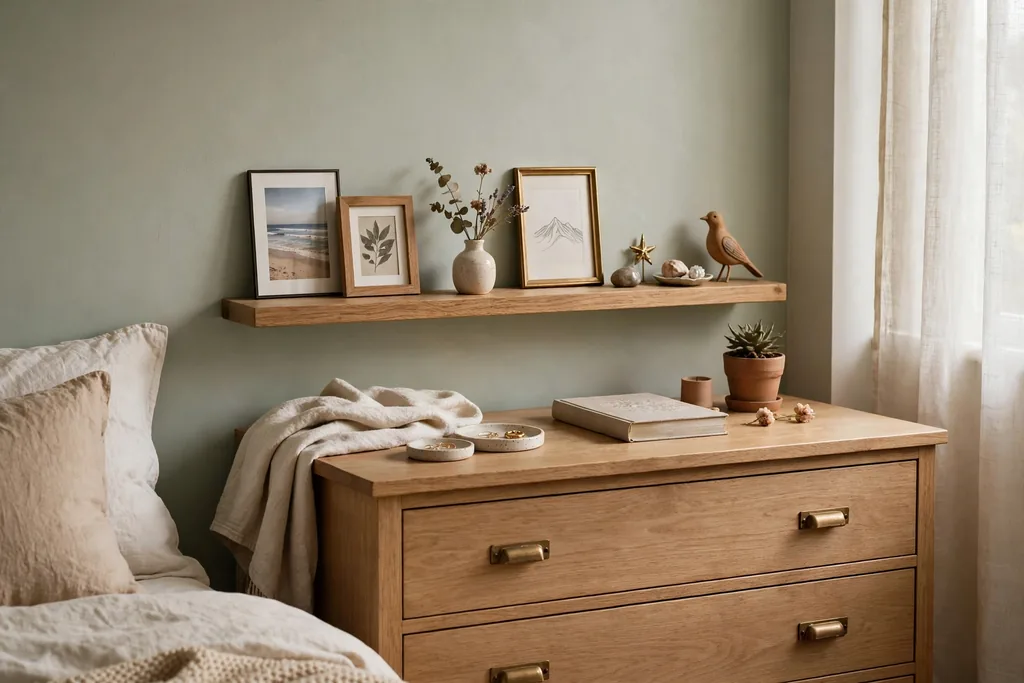
Fit one or two picture ledges above a dresser or along a side wall, and stand small framed photos, a tiny vase, and one or two keepsakes on them. Ledges let you layer items without a fixed gallery layout, and you can swap a photo or print in minutes. This suits a bedroom where you want personal character without filling every wall.
Keep larger pieces at the back and smaller ones in front, and leave one end of the ledge empty so the display does not look packed. Use ledges deep enough for frames to stand safely, and keep heavy items on a lower shelf. If the ledge fills up, remove one item before adding another, so the display stays calm.
13. Keep a Basket of Knit Throws Within Reach
Place a woven basket beside the bed or chair, filled with one or two knit or fleece throws in cream, blush, or soft grey. A basket keeps comfort close for reading or cool evenings, without spreading blankets across the floor. This suits a bedroom where you like to layer up in the evening but want the room to stay tidy.
Choose a basket with handles if you move it for cleaning, and limit it to throws you use each week. Fold each throw the same way, so the basket looks neat rather than stuffed. If the basket starts to collect random items, empty it during a weekly reset and return only the throws and one book.
14. Choose an Arched Upholstered Headboard in Blush Velvet
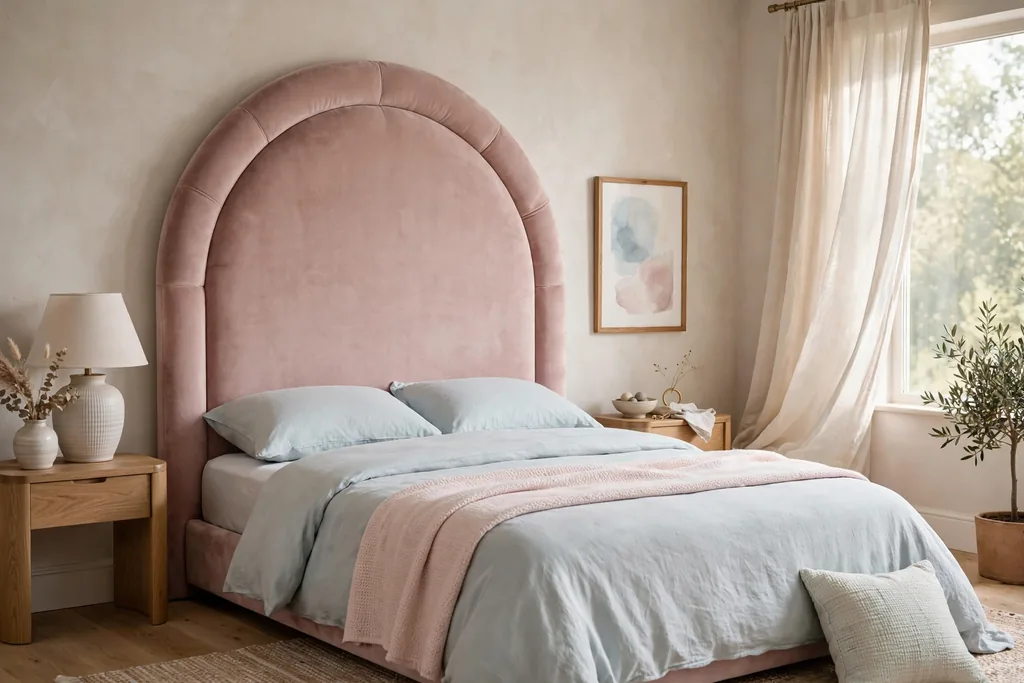
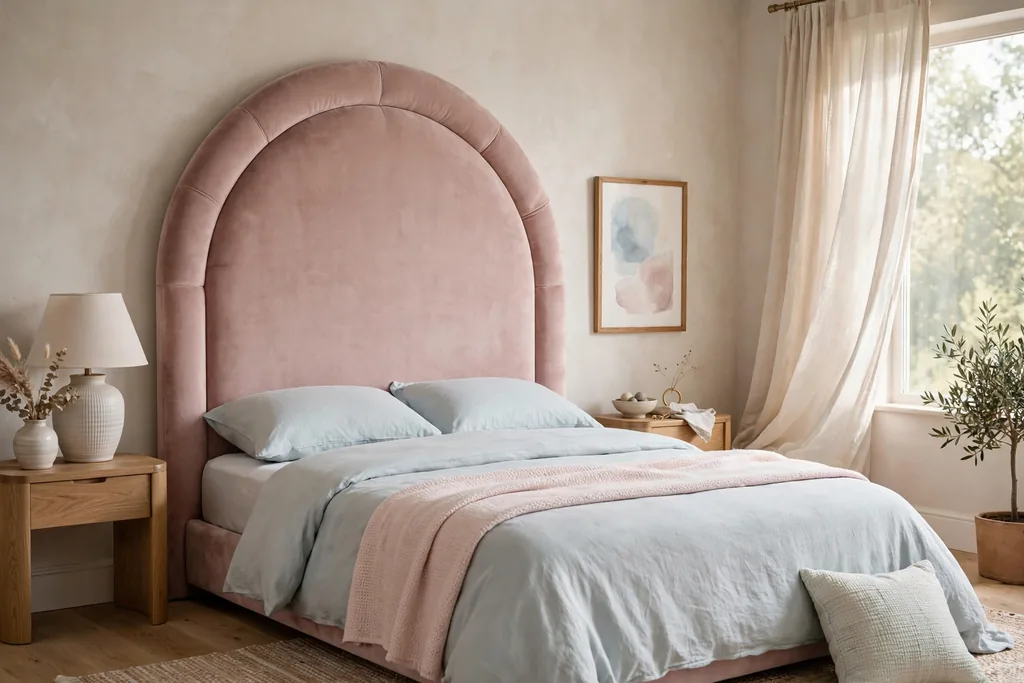
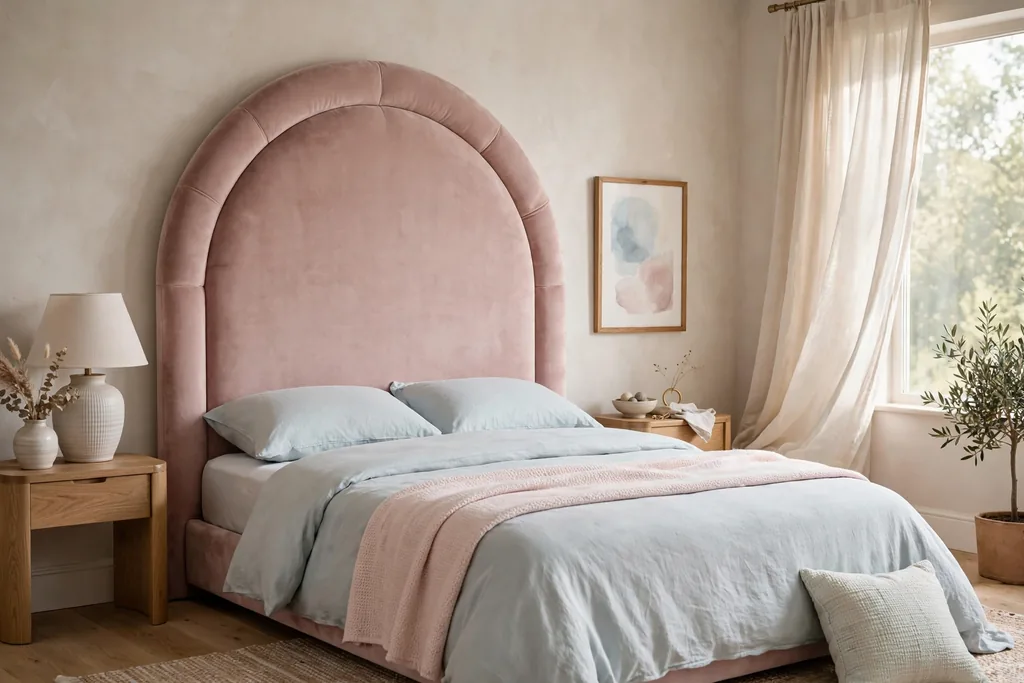
Fit an arched headboard in blush velvet or a soft bouclé to give the bed a gentle, rounded focal point. The curved top softens a rectangular room, and the plush fabric adds texture that plain wood cannot. This suits a bedroom where the bed sits against a long blank wall and needs one clear piece of character.
Measure the headboard width against the bed and the wall, since a headboard that is too narrow looks lost and one that is too wide crowds the nightstands. Pair it with plain bedding and one or two cushions in a deeper tone, so the fabric stays the focus. Vacuum velvet gently with an upholstery tool, since plush fabric traps dust over time.
Conclusion
A dreamy aesthetic bedroom comes together when soft color, gentle light, and touchable texture repeat in small ways through the room. Start with the layer you notice most, usually bedding or light, then add a wall idea, a window layer, and one personal corner. Keep the palette close, leave surfaces clear, and let one idea lead, so the room feels calm and full of character rather than crowded. For a warm, relaxed bedroom scheme built on low light and layered textiles, see these hygge bedroom ideas.
Save this list before you start, and work through it one idea at a time: bedding and light first for a quick change, then walls, windows, and a reading or vanity corner when you have a weekend to spare.
FAQs
What makes a bedroom look dreamy?
A dreamy bedroom usually combines a close palette of soft colors, layered textures such as linen, knit, and velvet, warm low light, and a few personal details. The key is restraint: repeat two or three colors and textures, keep surfaces mostly clear, and give the room one focal point, usually the bed or the wall behind it.
What colors work best for a dreamy aesthetic bedroom?
Soft, muted colors work best, such as blush pink, cream, pale lilac, soft sage, and warm white. These shades look gentle in both daylight and lamplight, and they pair well with natural wood, white furniture, and linen. Use a deeper tone, such as dusty rose or taupe, in small doses, for cushions or a throw, so the room keeps some depth.
How can renters create a dreamy bedroom without painting?
Renters can carry the look through bedding, curtains, art, and light, with no paint or wiring. Layer pastel bedding, hang sheer curtains and string lights, use picture ledges and hanging strips for art, and add a rug, a basket of throws, and a vase of dried flowers. A painted canvas panel can stand in for a painted arch behind the bed.
How do I keep a dreamy bedroom from looking cluttered?
Limit each surface to a few items, and give every decorative piece a clear place. Keep nightstands to a lamp, a book, and one small tray or vase. Use closed storage for chargers and small items, a basket for throws, and ledges for keepsakes, so soft layers stay visible while everyday clutter stays hidden.
What lighting is best for a dreamy bedroom?
Warm, low, layered light works best: bedside lamps with warm bulbs, a paper lantern or linen shaded lamp, and warm string lights along a headboard or shelf. Avoid a single bright ceiling light in the evening, and avoid cool white bulbs, which can make soft colors look grey. A dimmer, where available, helps you shift from daytime light to evening glow.
Can a small bedroom still feel dreamy?
Yes. In a small bedroom, focus on the bed, the window, and one wall, and keep the rest of the room plain. Use sheer curtains to keep light coming in, a soft rug on one side of the bed, layered pastel bedding, and one gallery wall or ledge. Light colors, clear floors, and a single focal point make a small room feel soft rather than crowded.
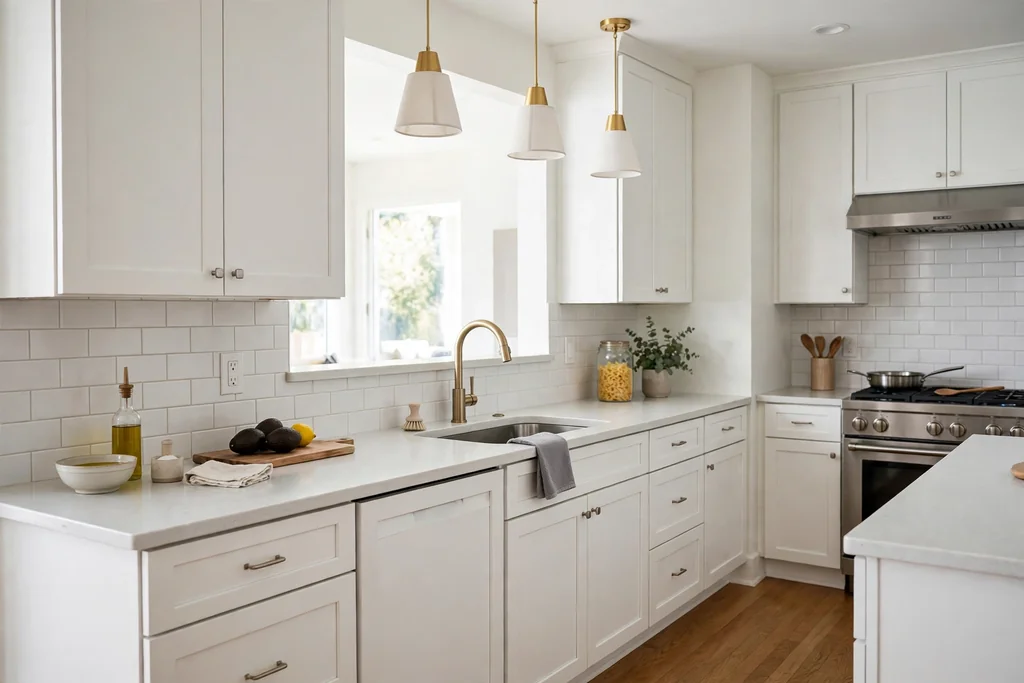
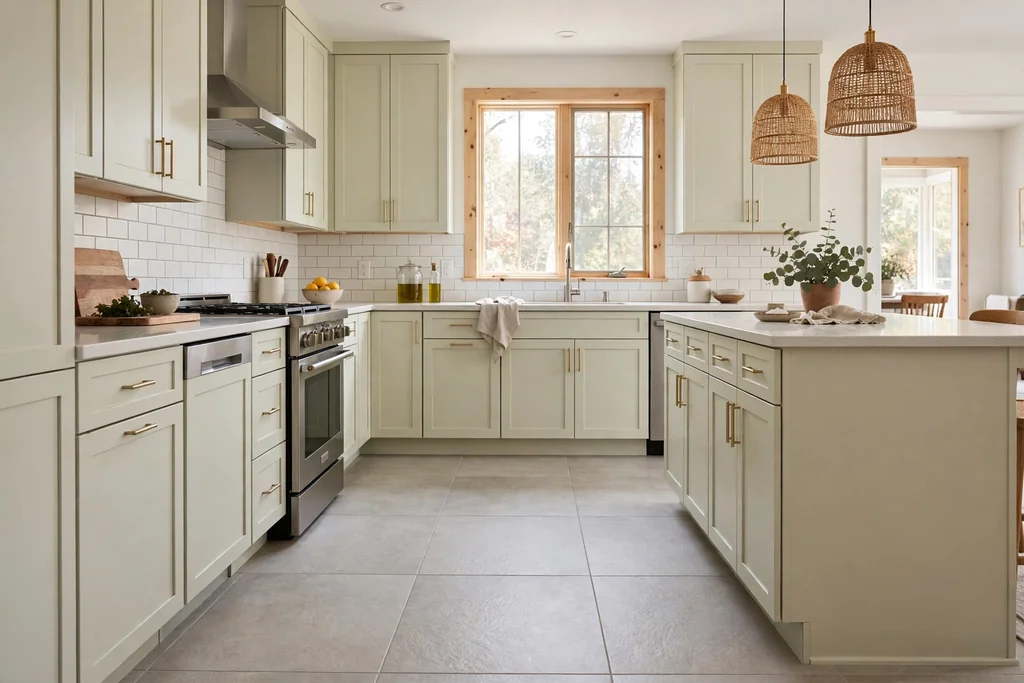
A kitchen remodel works best when you start with how you cook, not with a single product or finish. Think about where you prep, where pans live, where people gather, and where clutter builds up, then let those answers shape the layout, cabinets, and counters. These 29 kitchen remodel ideas cover layout changes, cabinet updates, work surfaces, appliances, storage, and finishing details, so you can plan a small refresh or a fuller renovation with a clear order of work. If you are also weighing costs, these kitchen ideas on a budget show which changes give a visible result without a full rebuild.
Key Takeaways
Start with layout and workflow: prep, cooking, and cleanup zones matter more than any single finish.
Keep cabinets, counters, and flooring in one palette, with one metal finish repeated through the room.
Test cabinet colors, tiles, and counter samples in daylight and evening light before ordering.
Choose wipeable, hard wearing finishes near the stove and sink, where a remodel gets its hardest use.
Add storage where clutter actually forms: near the stove, beside the sink, and at the pantry.
Plan the work in phases, with layout and services first, then cabinets, counters, and finishing details.
1. Open the Kitchen to the Living Space
Removing a wall between the kitchen and the living area can make both rooms feel larger and let the cook stay part of the conversation. This suits homes where the kitchen is closed off but the rooms beside it are already open and well lit. Before any demolition, ask a qualified professional to check whether the wall carries load, and where pipes, wires, and vents run inside it.
Keep a clear walkway through the new opening, and leave enough wall for the fridge or tall storage on the kitchen side. A beam or a wide cased opening can mark the change of room without a full wall, and it gives a place to run lighting or a pendant over a new island or table.
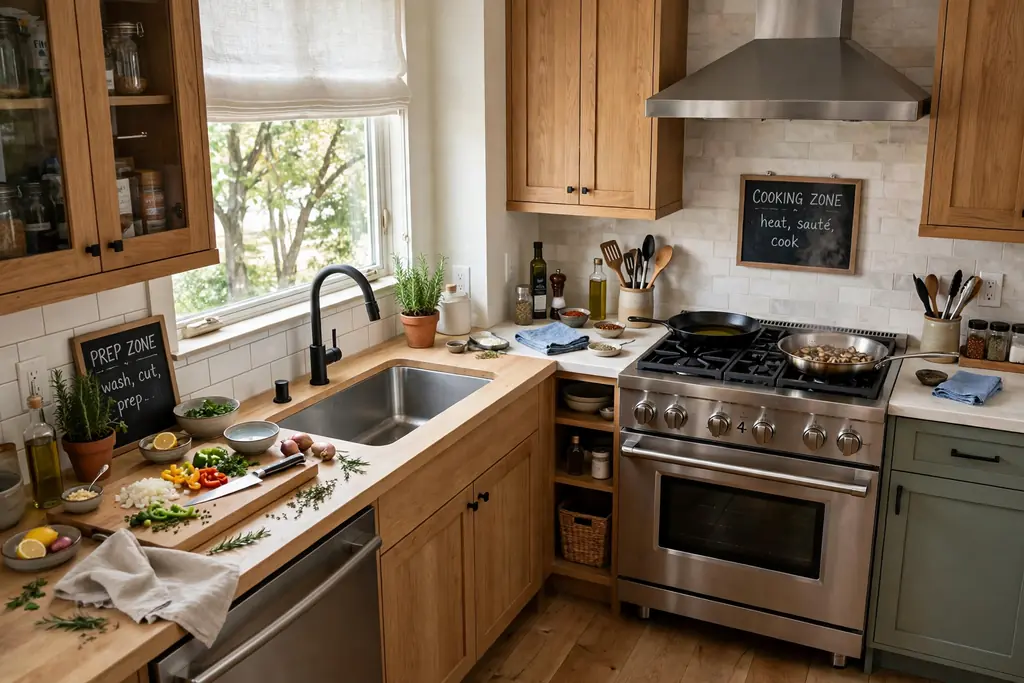
2. Rework the Layout Into Cooking Zones
A zone layout groups the kitchen by task: prep near the sink, cooking near the stove, and cleanup near the dishwasher. This cuts the back and forth of a remodel that only changes finishes, since the room starts to work better even before new cabinets arrive. Sketch your current path for a simple meal, and note where you cross the room or reach past someone else.
Place the fridge at the edge of the cooking zone so others can reach drinks without crossing the cook. Keep the prep zone beside the sink with board space and a bin close by, and keep the cooking zone clear of through traffic. Small shifts, such as swapping a tall unit to the end of a run, can create zones without moving plumbing.
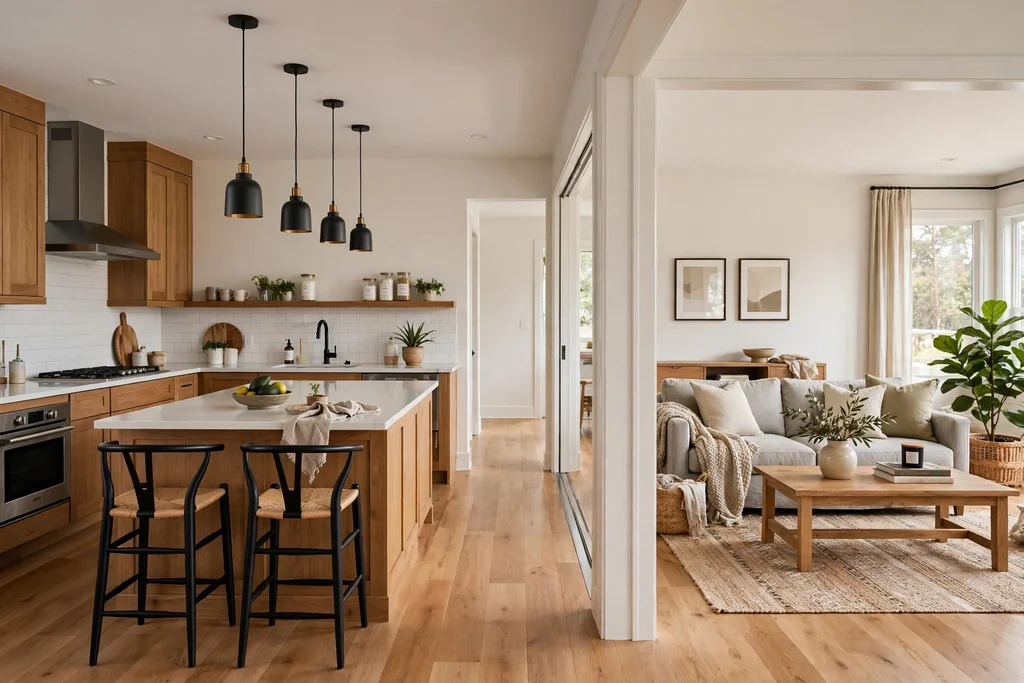
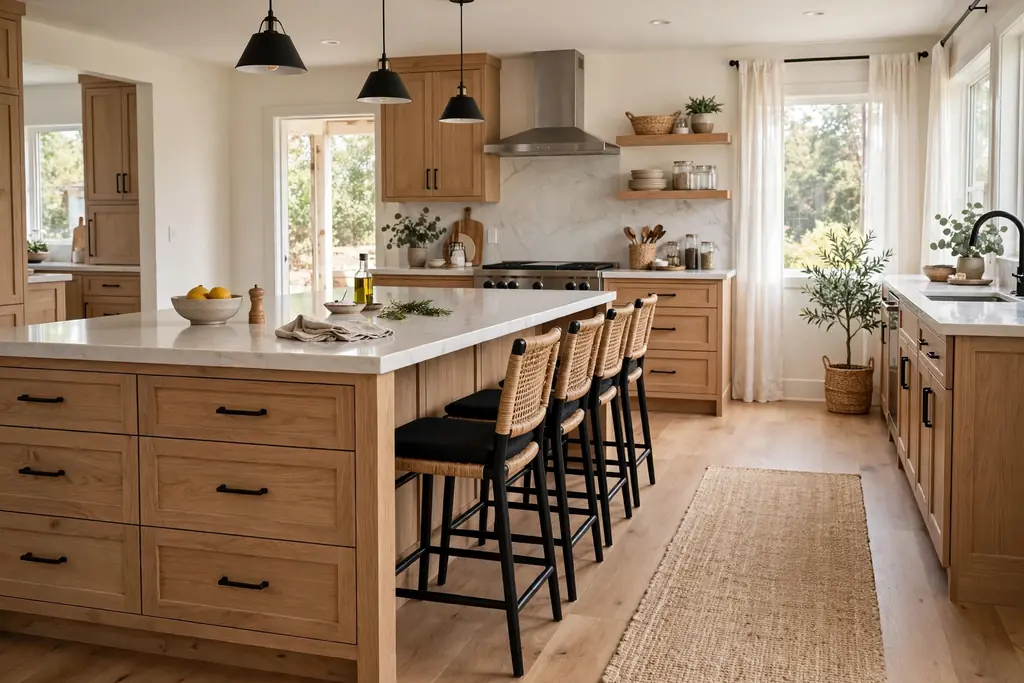
3. Add a Kitchen Island With Seating
An island adds prep space, storage, and a gathering spot in one piece, which is why it suits many remodels. It works best when the room leaves at least a metre of clear walkway on each working side, so doors, drawers, and the dishwasher can open without blocking the path. Size the island to the room, not to the largest top you can fit.
Use the side facing the cook for drawers and the side facing guests for stools, with a knee space of about 30 centimetres under the overhang. Keep the island top clear of tall items that block sight lines, and plan power points on the side or end for small appliances. A plain island top in a hard wearing material keeps prep simple and seating relaxed.
4. Choose a Peninsula for a Narrow Kitchen
A peninsula gives many island benefits in a room too narrow for a freestanding island, since one end stays fixed to a wall or a cabinet run. It adds a work surface and a seating edge while keeping the main walkway clear. This suits galley kitchens and L shaped rooms where a full island would crowd the cooking zone.
Build the peninsula at counter height for prep, or at bar height on the seating side if you want a clearer split between cooking and eating. Add drawers on the kitchen side and open shelving or a wine rack on the end, so the fixed end earns its space. Keep the seating side clear of the main cooking path, so guests do not stand behind the cook.
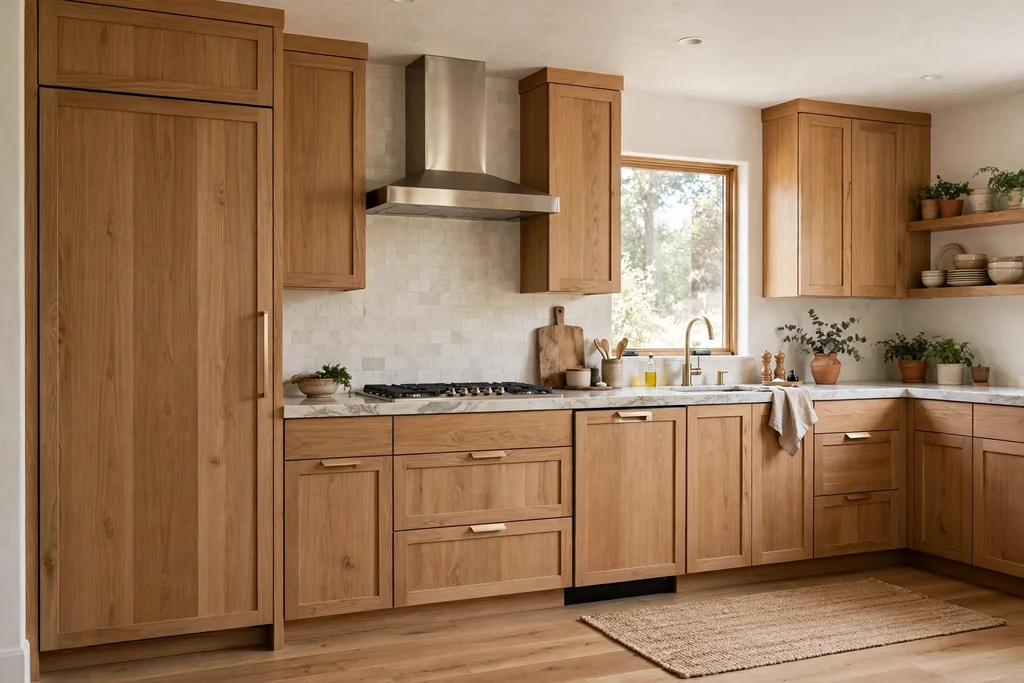
5. Reface Cabinets With New Doors and Drawer Fronts
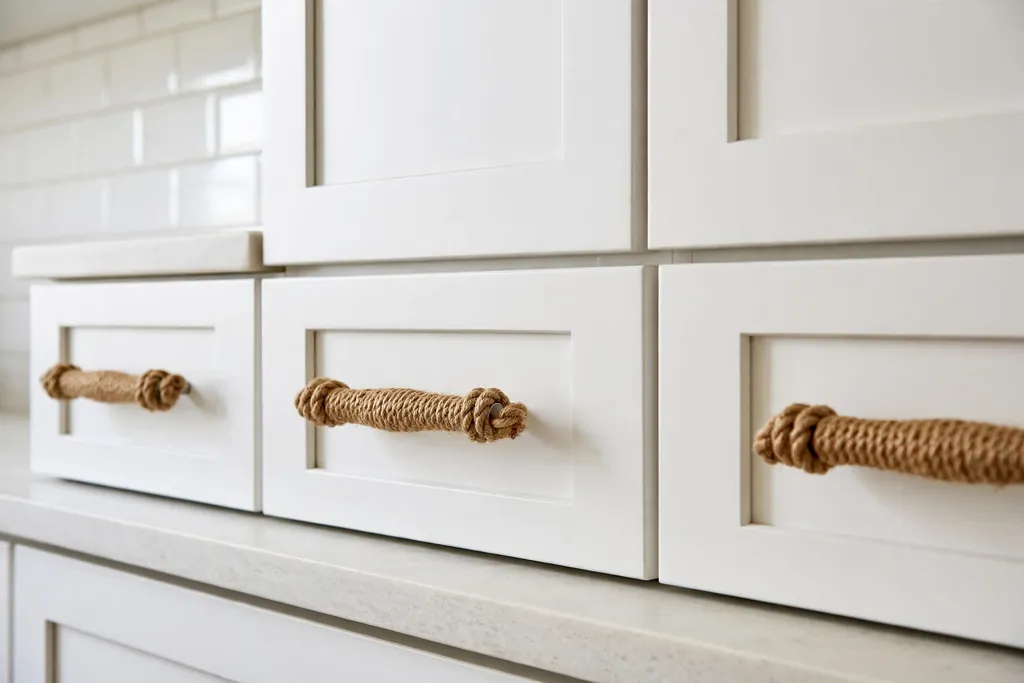
Refacing keeps sound cabinet boxes and replaces only the doors, drawer fronts, and visible panels, which can refresh a kitchen for less work than a full cabinet replacement. This suits kitchens where the layout works and the boxes are solid, but the fronts look dated. Measure every door and drawer front before ordering, since sizes vary even within one kitchen.
Match the new fronts to the existing boxes in style and finish, and replace hinges and handles at the same time so the whole run reads as new. Paint or stain any visible side panels to match, and check that soft close hinges fit the old boxes. If boxes are damaged, swollen, or poorly laid out, full replacement is the better route.
6. Extend Cabinets to the Ceiling
Full height cabinets remove the dusty gap above wall cabinets and add a full row of storage for rarely used items. This suits kitchens with standard ceiling heights, where a stacked row or a taller cabinet can reach the ceiling without looking forced. Keep everyday items at easy reach height, and use the top row for serving dishes, seasonal pieces, and bulk supplies.
Finish the top with a simple cornice or a flush panel so the run looks built in rather than added on. If the ceiling is uneven, a small filler strip at the top hides the gap better than a tall trim. Leave a stable step stool in the kitchen, since top row storage only helps if you can reach it safely.
7. Paint Cabinets in Two Tones
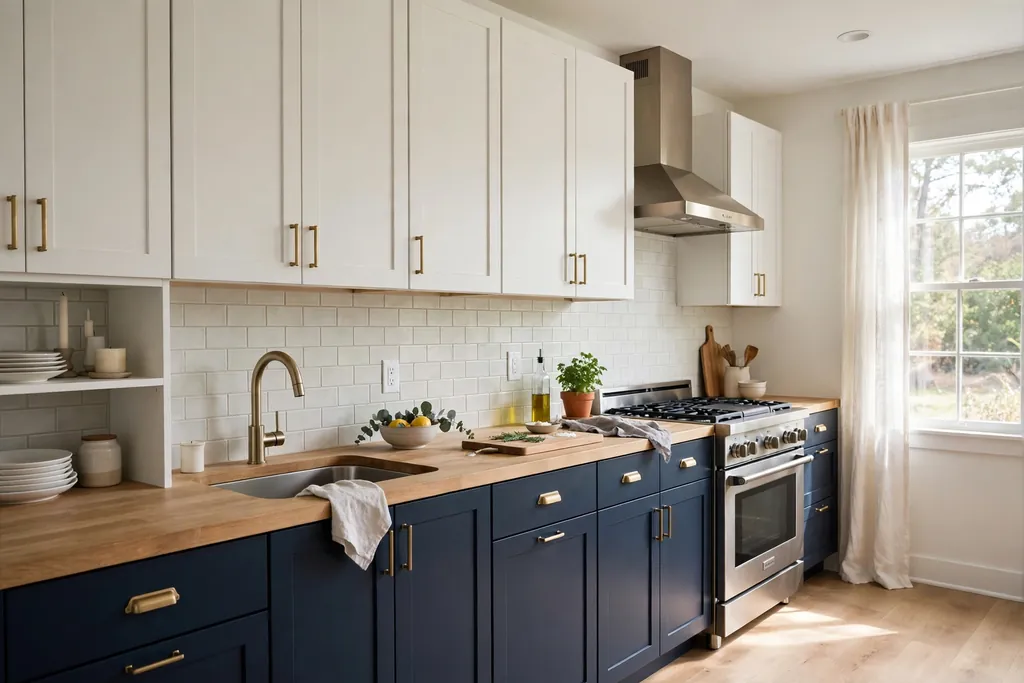
Two tone cabinets use one color for the main run and a second color for the island or the lower cabinets, which gives the kitchen a clear focal point without a bold whole room color. This suits kitchens where a single strong color would feel heavy, but plain white feels flat. Keep the upper cabinets pale so the room stays bright, and use the deeper tone low down where it grounds the space.
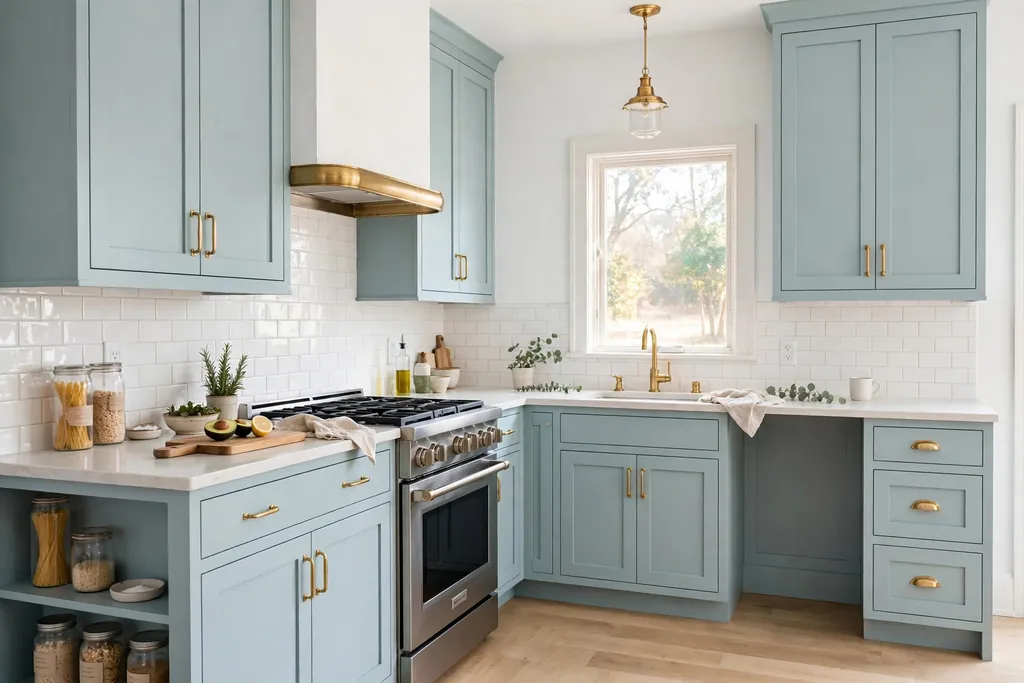
Repeat the deeper tone once more, in stools, a runner, or open shelf brackets, so the scheme looks planned. These colors for your kitchen cabinets help compare warm and cool tones beside your floor and counters. Test both colors on large boards in the room before painting a full run.
8. Add Glass Front Upper Cabinets
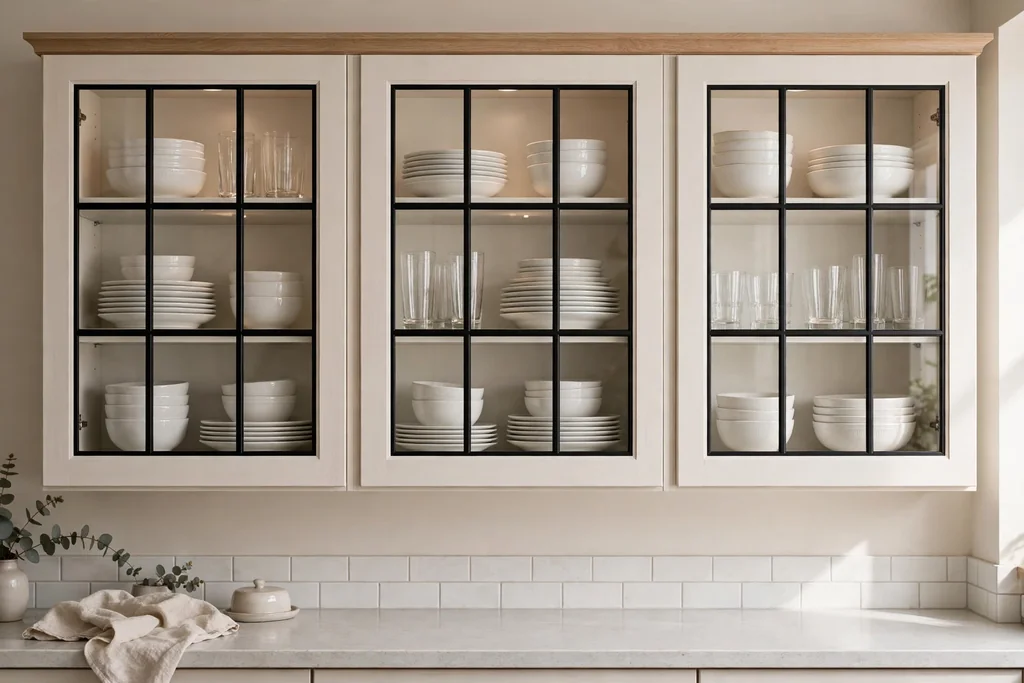
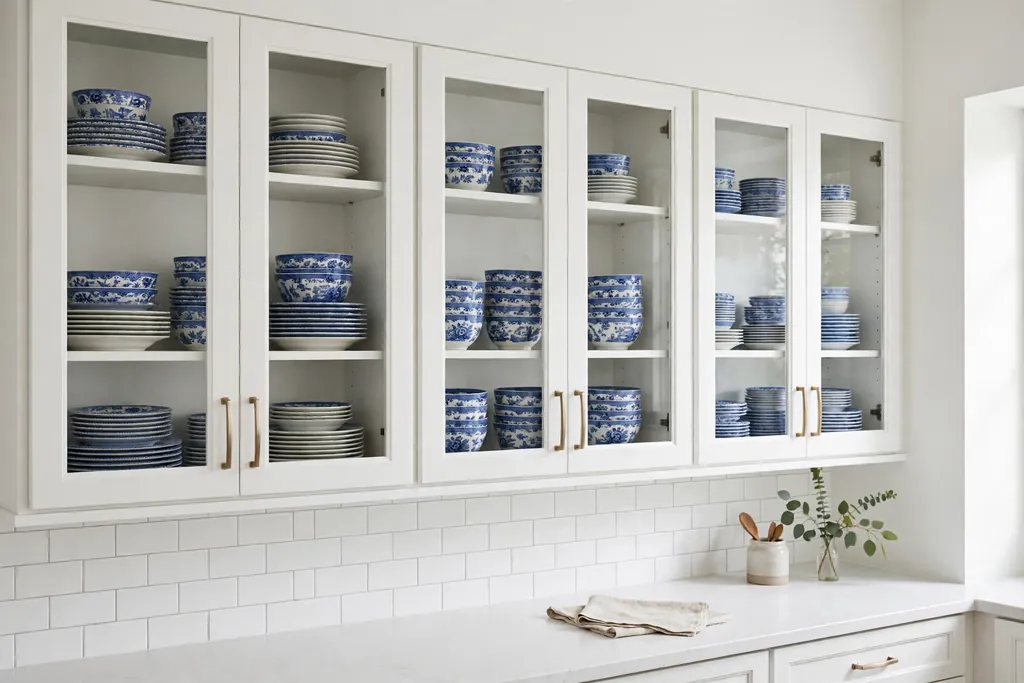
Glass front uppers break up a long run of solid doors and give a place to show dishes, glasses, and serving pieces. This suits one run of cabinets, such as the pair beside a window or above a coffee station, rather than every upper cabinet at once. Use clear glass for a display look, or reeded glass if you want shape without full visibility.
Keep the contents simple, with one or two stacks per shelf and matching dishes where possible, so the cabinet reads as calm. Add a small light inside the cabinet if the run sits in a darker corner, and wipe the glass weekly since kitchen grease shows quickly. Store everyday mugs elsewhere if the display set is only for serving.
9. Swap One Upper Run for Open Shelving
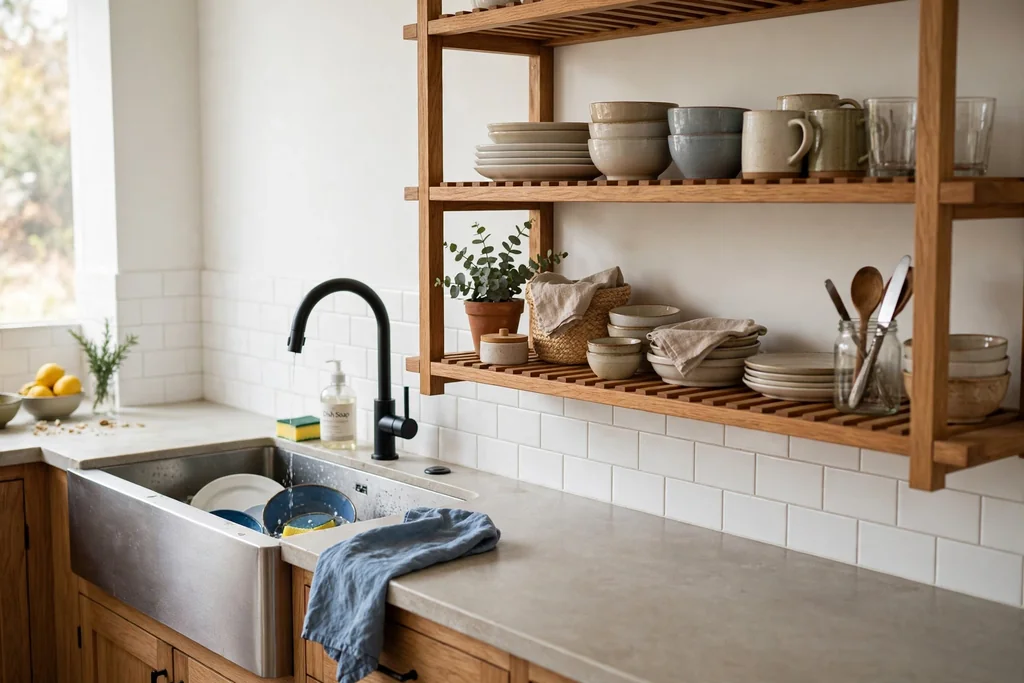
Open shelves on one wall give display space and easy reach for daily dishes, without opening up the whole kitchen. This suits a wall beside the sink or above a coffee station, where the items are used often and stay tidy by habit. Fix shelves into studs or with fixings rated for the load, and keep the depth to plate depth so items do not sit too far back.
Limit each shelf to one or two groups, with space left at each end, so the wall reads as storage rather than clutter. Our guide to kitchen wall storage ideas covers rails, racks, and baskets that pair well with open shelves. Put heavy stacks low and lighter pieces up high, and keep shelves clear of direct stove steam. If open shelves start to collect items you rarely use, move those pieces to closed storage and keep only the daily set on show.
10. Switch Base Cabinets to Deep Drawers
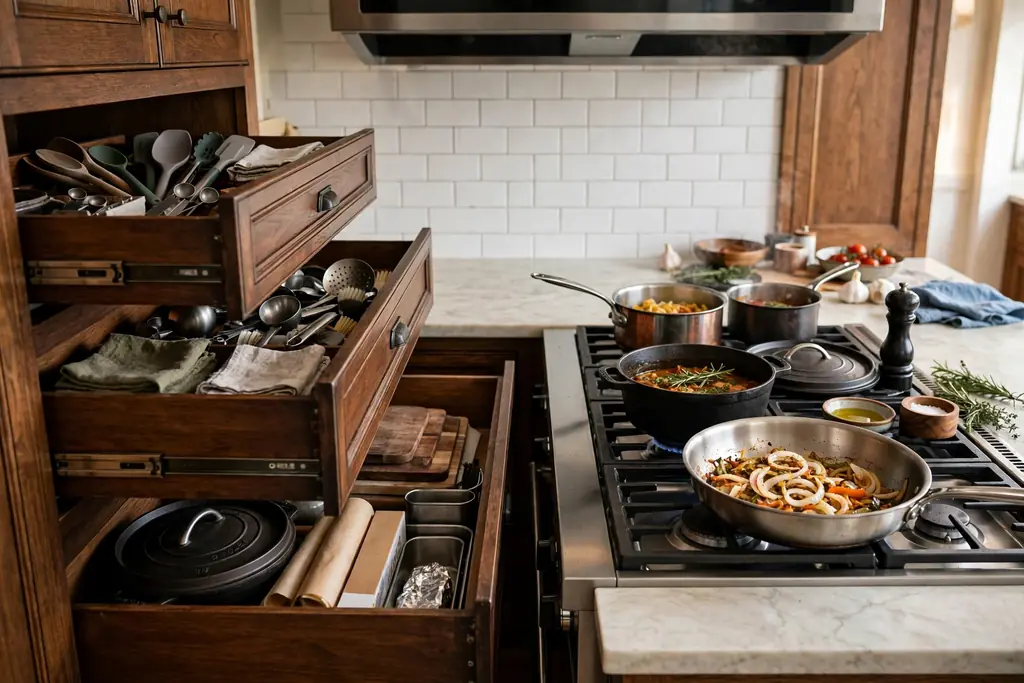
Deep drawers hold pots, pans, and small appliances better than low cabinets with doors, since you pull the whole drawer out and see everything at once. This suits the base run beside the stove, where heavy pans are used daily. Replace one or two base cabinets with wide drawers, and keep narrow cabinets for trays and boards.
Use dividers or peg boards inside drawers so pans do not slide when the drawer closes. Keep the heaviest drawer lowest, and check the drawer weight rating before loading it with cast iron. A drawer run beside the stove, paired with a utensil drawer above, can cut most of the bending and reaching of a door cabinet kitchen.
11. Add a Pull Out Pantry Tower
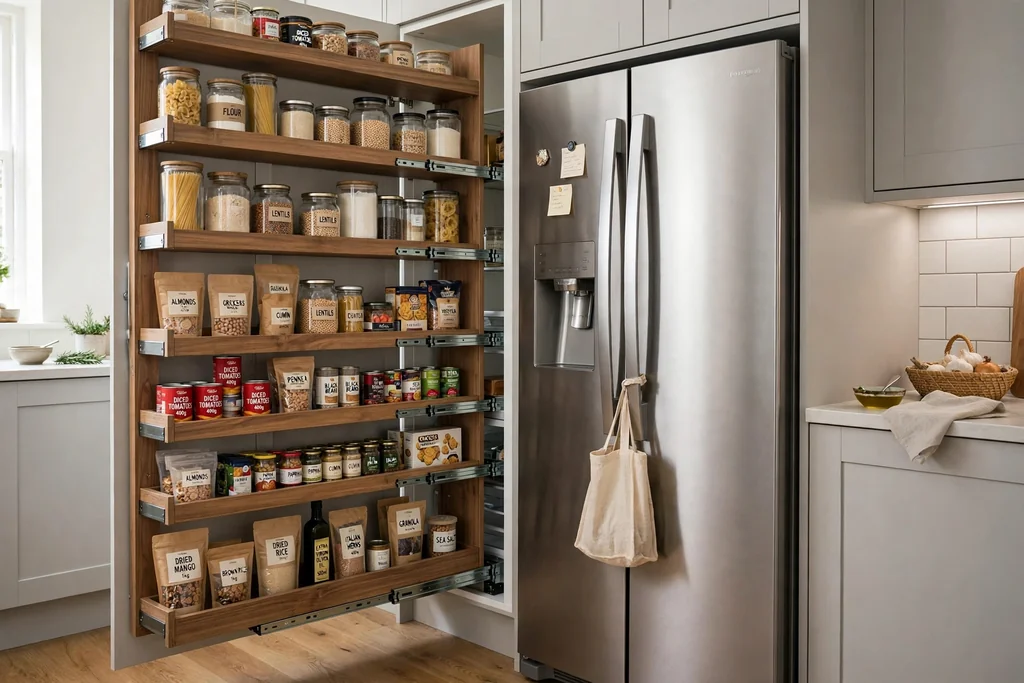
A tall pull out pantry tower turns a narrow gap into full height storage for dry goods, oils, and baking supplies. This suits kitchens short on pantry space, where a single tall unit beside the fridge can hold the weekly shop in one place. Choose a tower with full extension runners, so the back of each shelf comes out into the light.
Group items by use, such as breakfast, baking, and cooking, and label the front edge of each shelf if several people cook. Keep heavy items low and light items up high, and check the tower width against your largest bottles before ordering. A pantry tower beside the prep zone shortens the walk for ingredients at every meal.
12. Install Quartz Counters
Quartz counters give a consistent pattern, a hard surface, and simple care, which suits busy kitchens that need a worktop that wipes clean. The pattern runs through the slab in a controlled way, so a large island and a long run can match closely. Choose a pale or mid tone for the main run, since very dark counters show dust and water marks more clearly.
Order the counter after cabinets are fitted and templated, since quartz is cut to the exact run. Keep a cutting board for knives and trivets for hot pans, even on a hard surface, and wipe spills promptly near seams. Pair quartz with a simple backsplash so the counter pattern stays the main feature of the work surface.
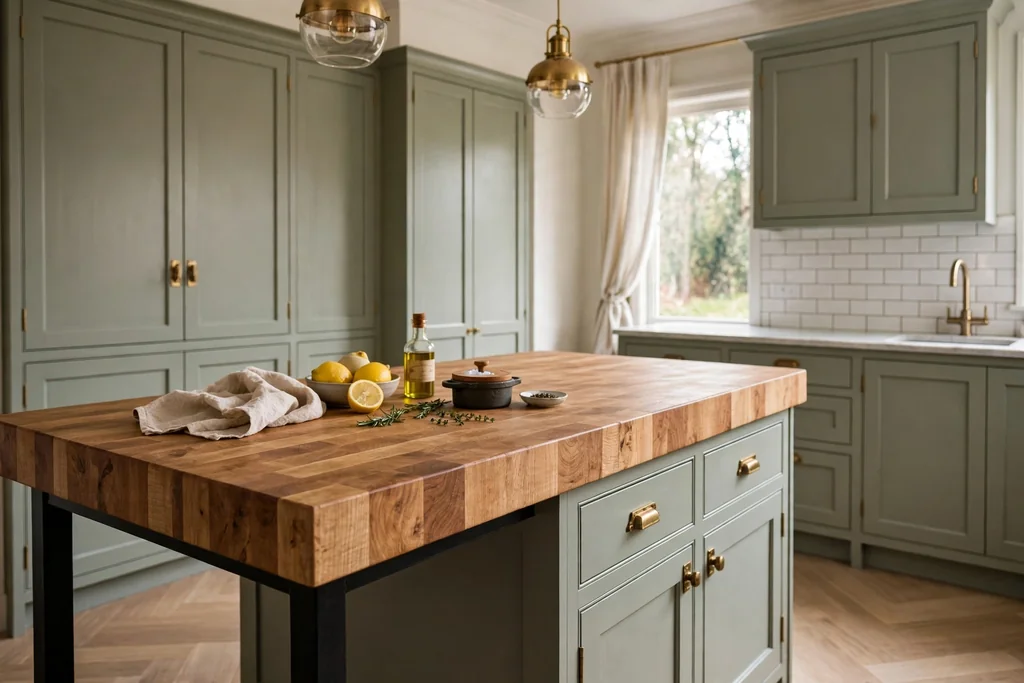
13. Top the Island With Butcher Block
A butcher block island top adds warmth to a kitchen with painted cabinets or stone counters, and it gives a forgiving prep surface. This suits an island used for chopping, baking, and casual meals, where a wood top feels more relaxed than stone. Choose a thick top with a sealed finish made for kitchen use, and keep the grain direction running along the island.
Wipe spills promptly so water does not sit on the wood, and use trivets for hot pans since heat marks wood. Sand and reseal a worn section rather than replacing the whole top, which keeps this a long lasting choice. Pair the wood top with painted base cabinets so the island reads as a distinct piece in the room.
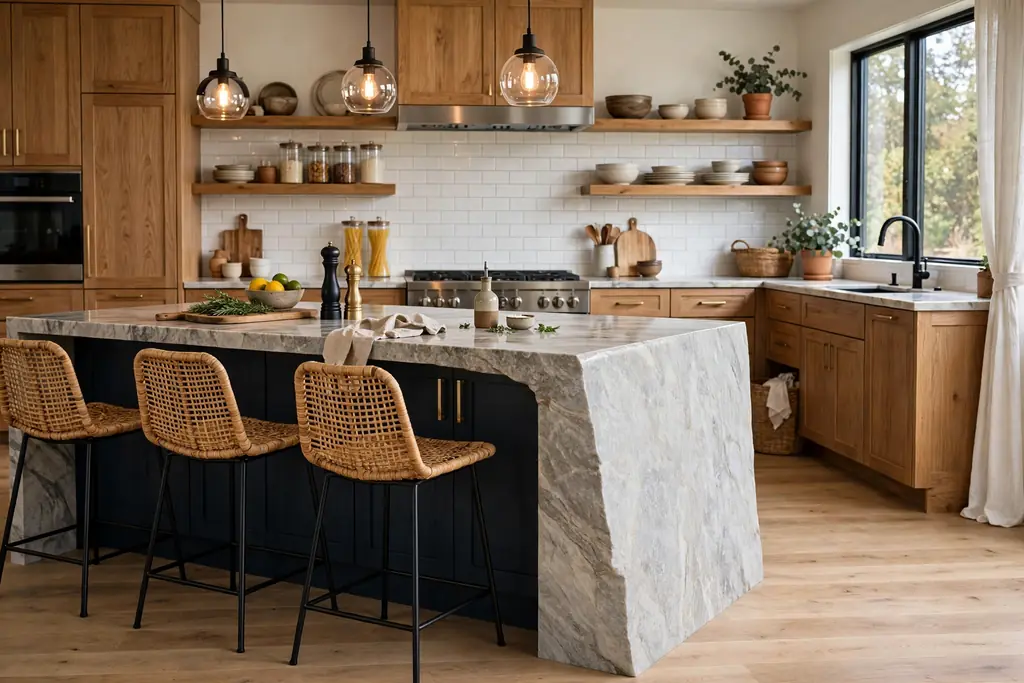
14. Add a Waterfall Edge to the Island
A waterfall edge runs the counter material down the side of the island to the floor, which gives the island a solid, furniture like finish. This suits a showpiece island in an open plan kitchen, where the end of the island is seen from the living area. The waterfall side should face the room, with drawers and seating kept on the working sides.
Match the vein or pattern at the corner as closely as possible, since a mismatched join shows at eye level. Keep the waterfall end clear of stool legs and bags, since scuffs show on a full height panel. A waterfall edge works best with a plain or lightly patterned counter, where the continuous surface is the feature.
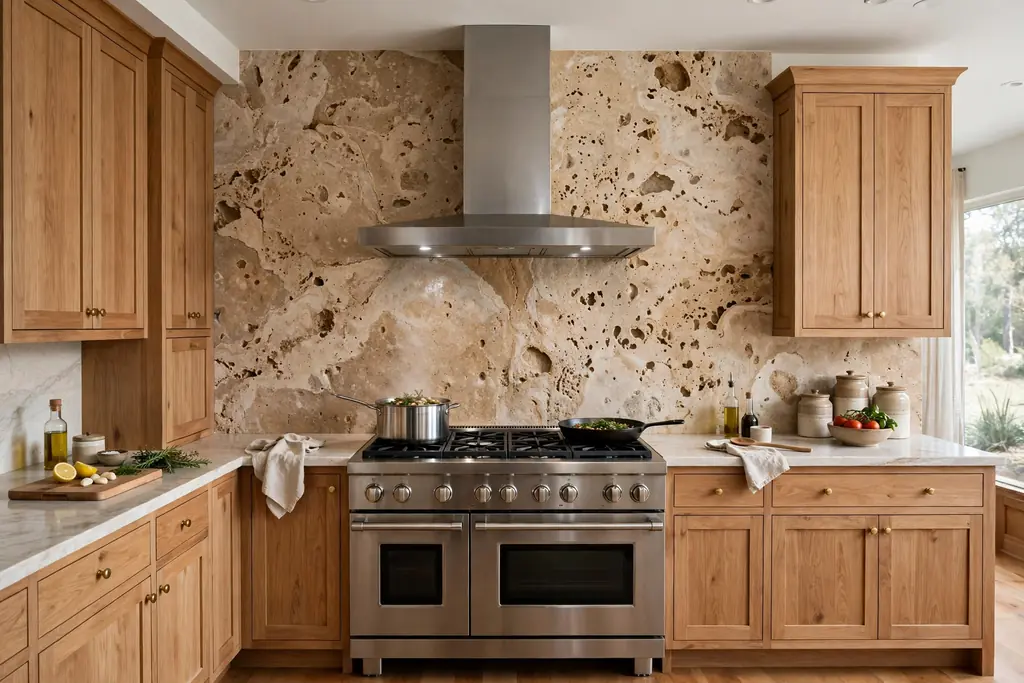
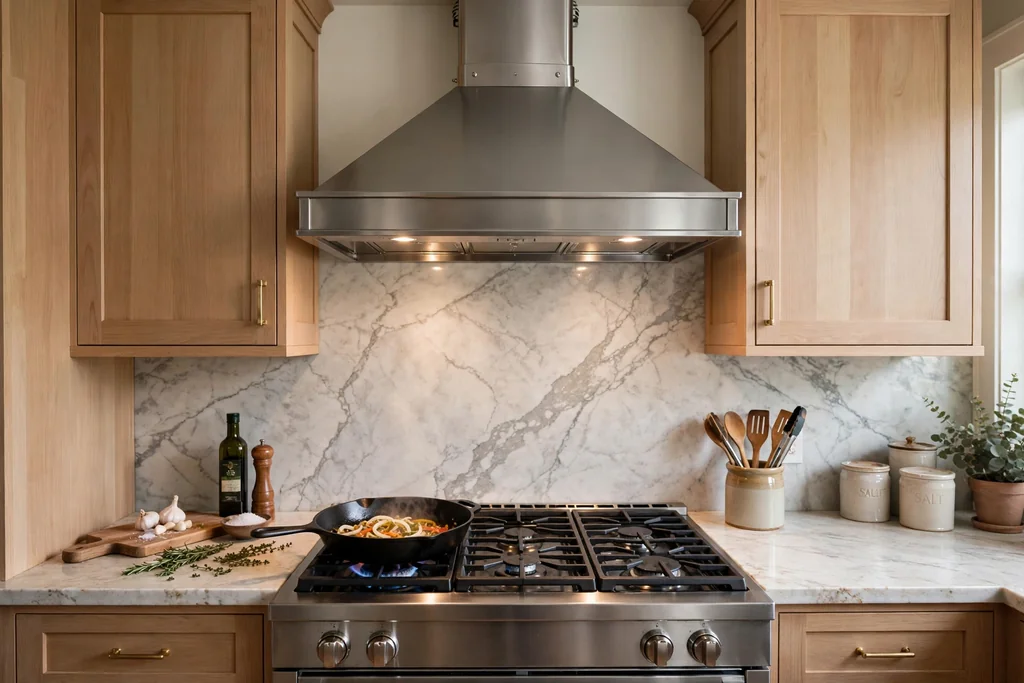
15. Run a Backsplash Slab Up the Wall
A full height backsplash slab carries the counter material up the wall to the underside of the upper cabinets, or to the ceiling in an open run. This gives a clean, joint free wall behind the stove and sink, and it suits kitchens where grout lines would collect grease. Use the same material as the counter for a calm look, or a contrasting stone for a bolder wall.
Template the slab after the counter is fitted, and plan joins carefully on long runs. Keep the slab clear of open shelving brackets that would cut across the stone, and wipe it with a soft cloth after cooking. A slab wall pairs well with simple cabinets, since the wall itself becomes the main pattern in the room.
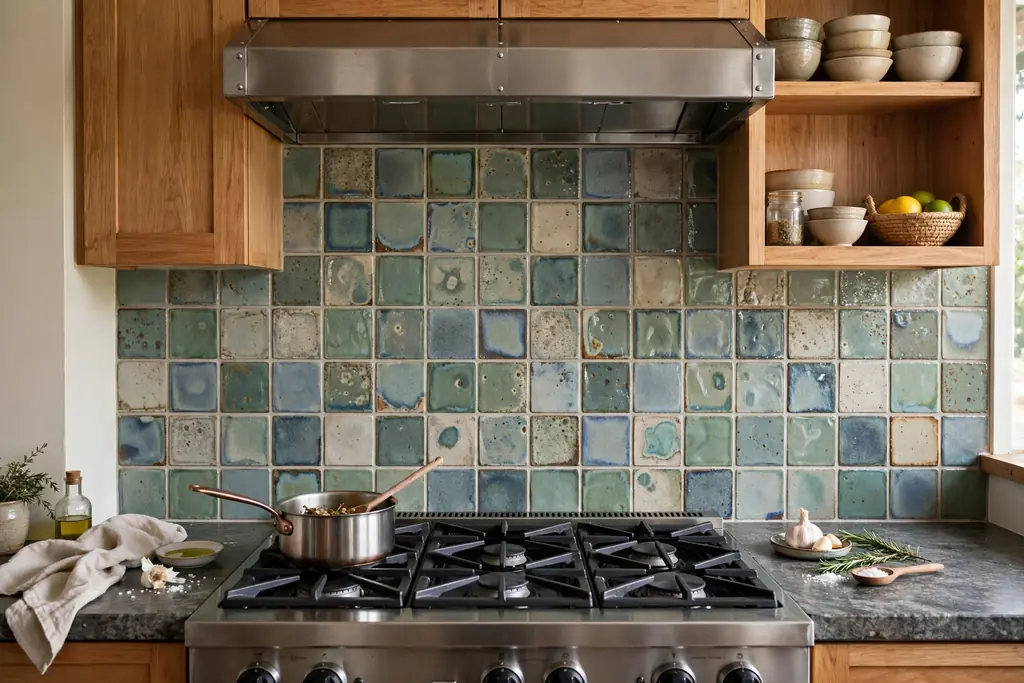
16. Choose a Handmade Look Tile Backsplash
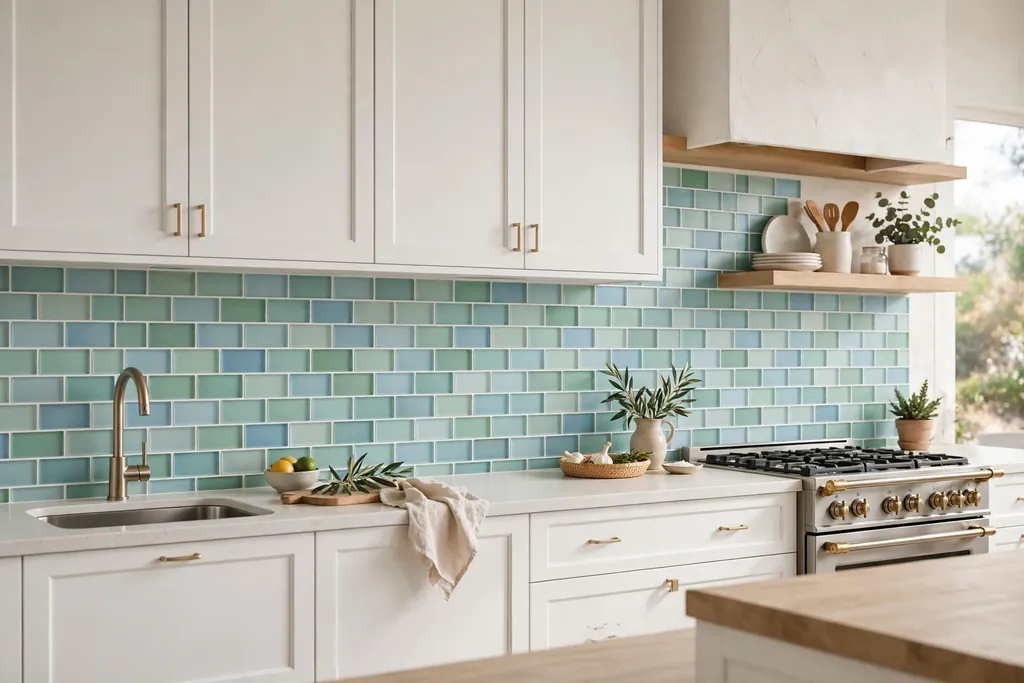
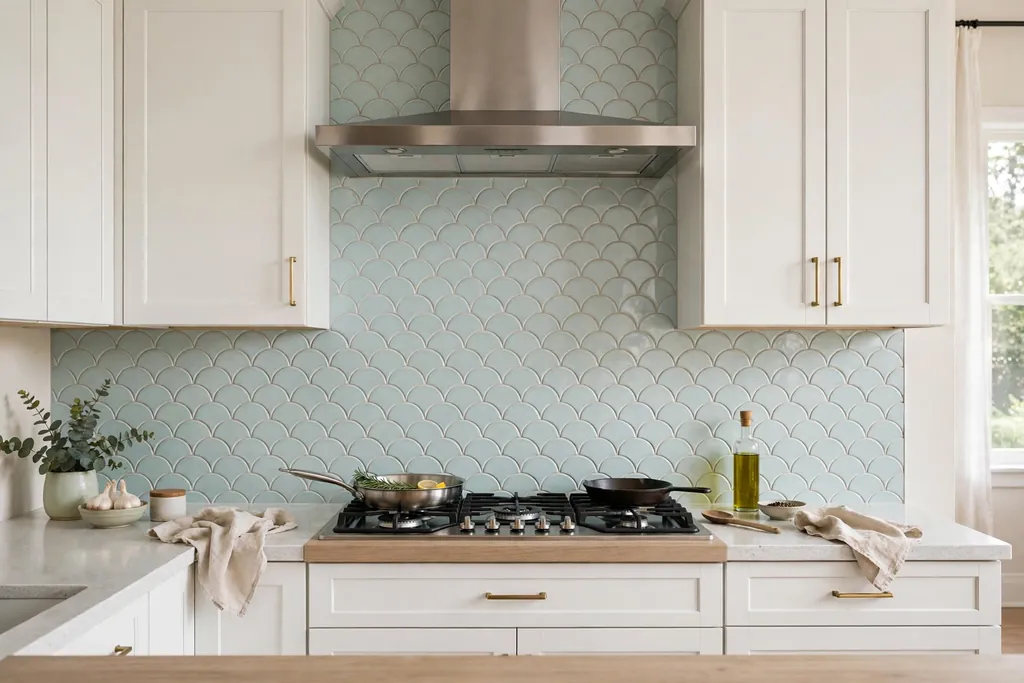
Handmade look tiles, with slight variation in glaze and edge, add texture to a backsplash without a busy pattern. This suits kitchens with plain cabinets and counters, where the wall needs warmth and detail. Lay the tiles in a simple stack or subway pattern so the glaze variation shows, rather than a complex pattern that fights it.
Order extra tiles for cuts and spares, since glaze batches vary and a future repair needs a close match. Seal grout in the cooking zone, and wipe tiles after frying so grease does not settle in the grout. A handmade look tile in a pale tone keeps the wall bright, while a deeper glaze suits a kitchen with strong natural light.
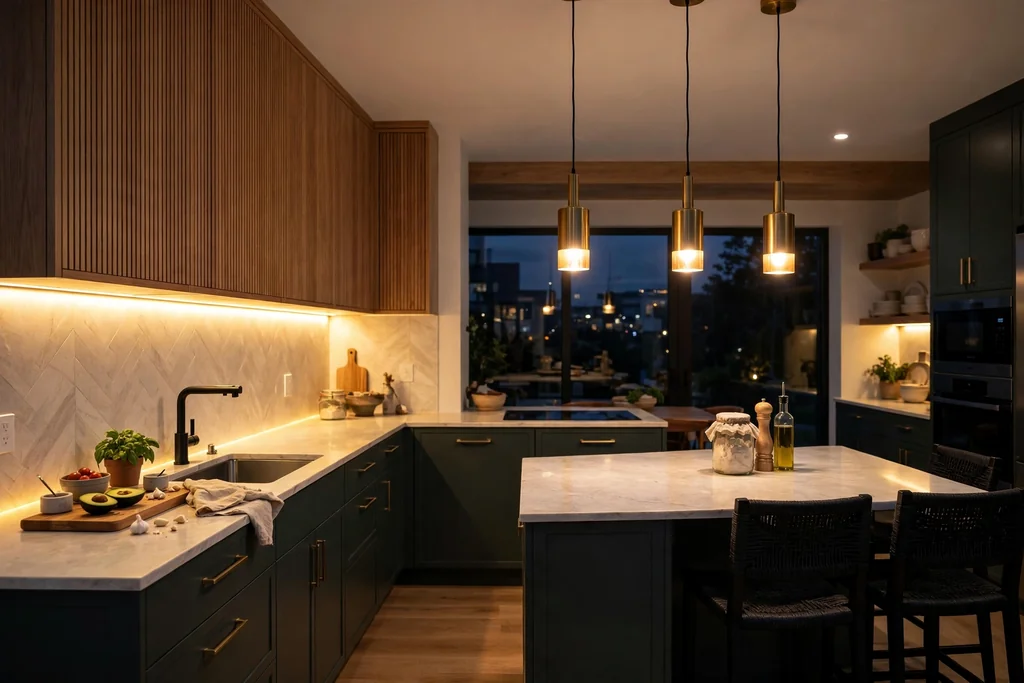
17. Layer Under Cabinet and Pendant Lighting
Layered lighting pairs task light under the upper cabinets with pendants over the island and a plain ceiling light for general use. This suits almost every remodel, since one ceiling light alone leaves counters in shadow. Run under cabinet strips along the full prep run, and space pendants evenly over the island at a height that clears heads and steam.
Choose warm white bulbs so food and wood tones look natural, and put task lights on a separate switch or dimmer from general lights. Keep light strips clear of the stove and steam, and hide drivers behind a cabinet. Test the light at night before finishing, since a kitchen that looks bright by day can feel dark at the counter after sunset.
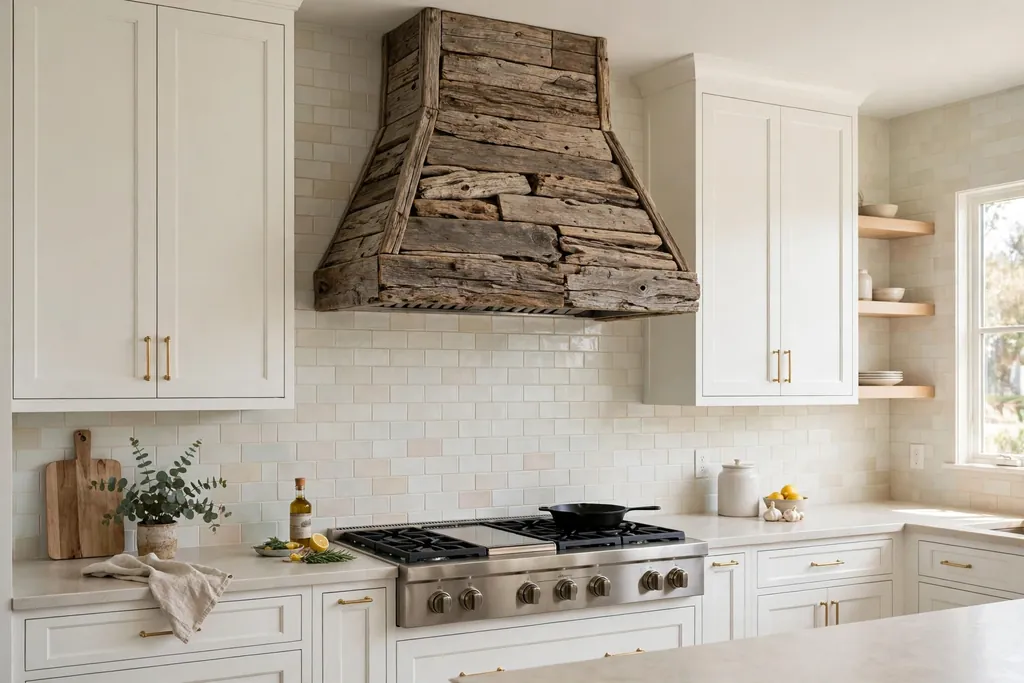
18. Make the Range Hood a Focal Point
A well chosen range hood can anchor the cooking wall, especially when the stove sits on a feature wall. This suits kitchens where the hood is visible from the living area, and where a plain hood would leave the wall flat. Choose a hood shape that fits the stove width and the room style, such as a simple chimney hood, a plaster look cover, or a wood trimmed cover.
Keep the hood finish in the same family as the cabinets or the metal finishes elsewhere, so it reads as part of the plan. Leave clear space above the stove for safe cooking, and check the hood height against the stove maker guidance. A focal hood works best when the rest of the cooking wall stays simple, with plain tiles and one metal finish.
19. Choose Panel Ready Integrated Appliances
Panel ready appliances take cabinet fronts that match the rest of the kitchen, so the fridge and dishwasher blend into the run. This suits open plan kitchens where large appliances would break the cabinet line, and smaller kitchens where a calm wall makes the room feel larger. Order panels with the cabinets, so the finish and handle style match exactly.
Check ventilation and access before fitting panels, since a fridge and a dishwasher still need air and service space. Keep handles consistent across panels and cabinets, and label the dishwasher panel discreetly if guests use it. Integrated appliances suit a remodel where the cabinet run is the main visual feature, rather than the appliances themselves.
20. Split the Oven and Cooktop
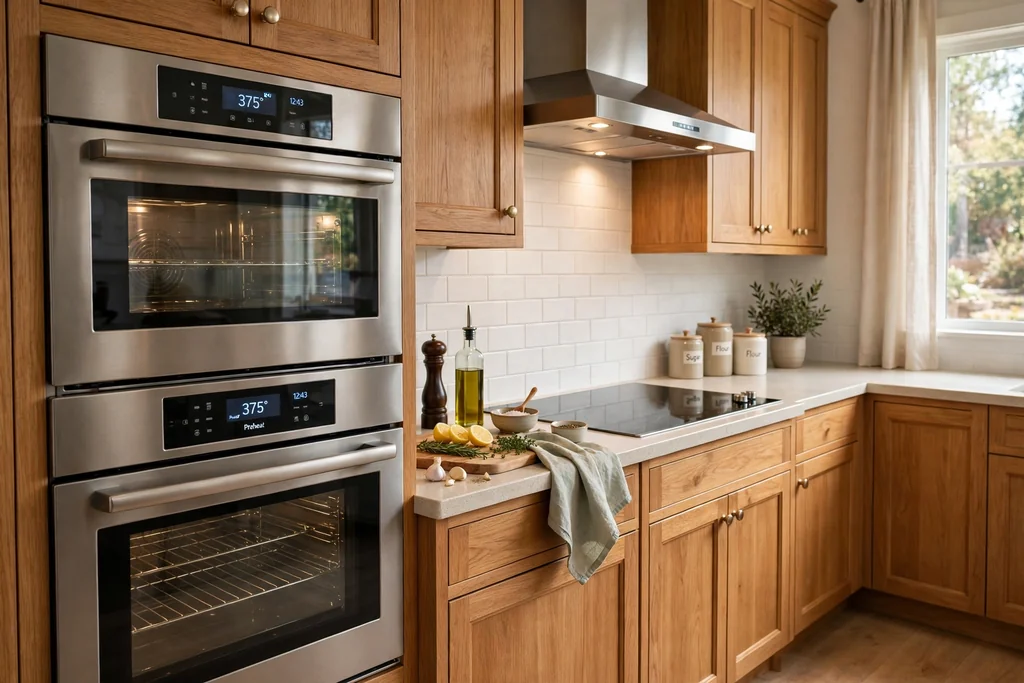
Moving the oven to a wall stack and keeping the cooktop on the counter separates two jobs that often crowd one range. This suits cooks who bake often, since a wall oven sits at a comfortable height and the cooktop keeps a clear prep space beside it. Place the wall oven near the prep zone, with a landing surface beside it for hot trays.
Plan power or gas supply for both spots before cabinets are ordered, since moving services after fitting costs far more. Keep the cooktop clear of through traffic, and add a drawer below it for pans and utensils. A split layout also lets two people cook at once, one at the oven and one at the hob, without crossing paths.
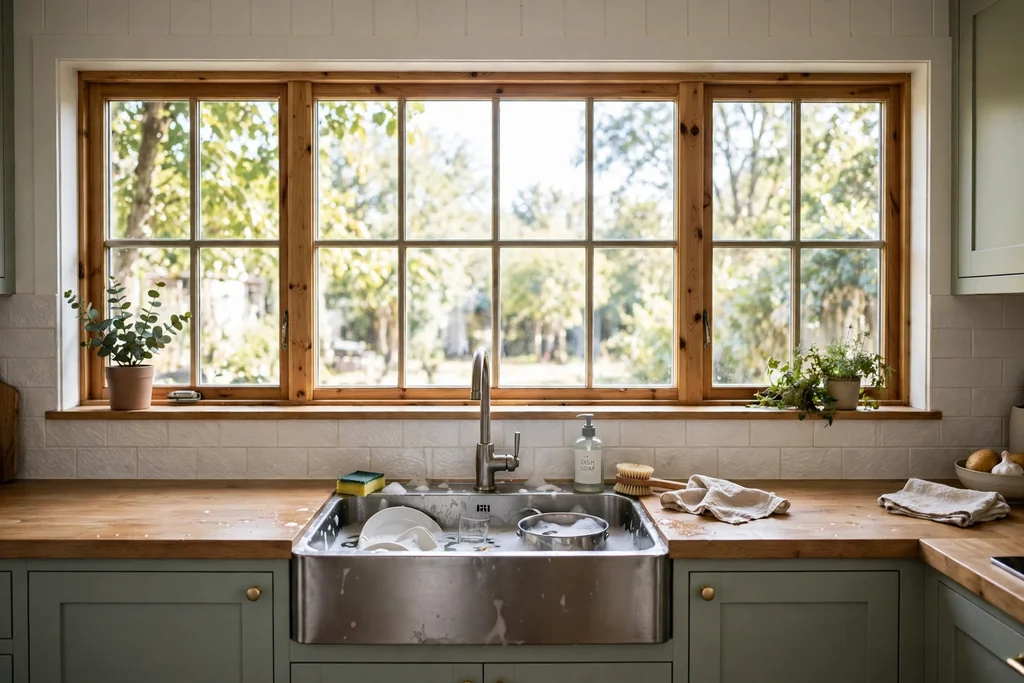
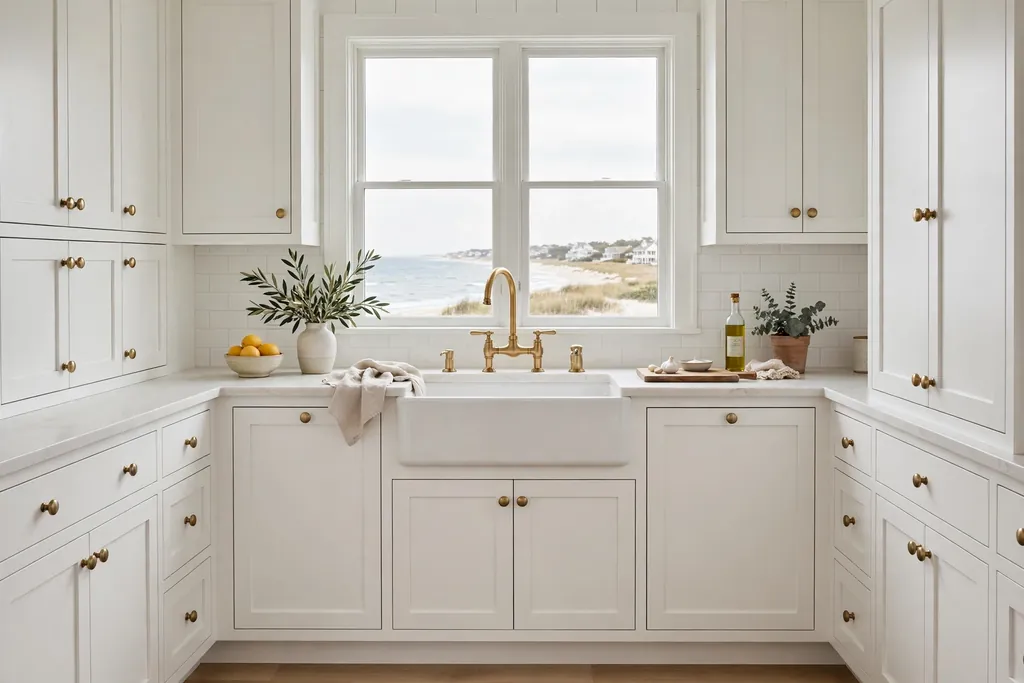
21. Install a Farmhouse Sink
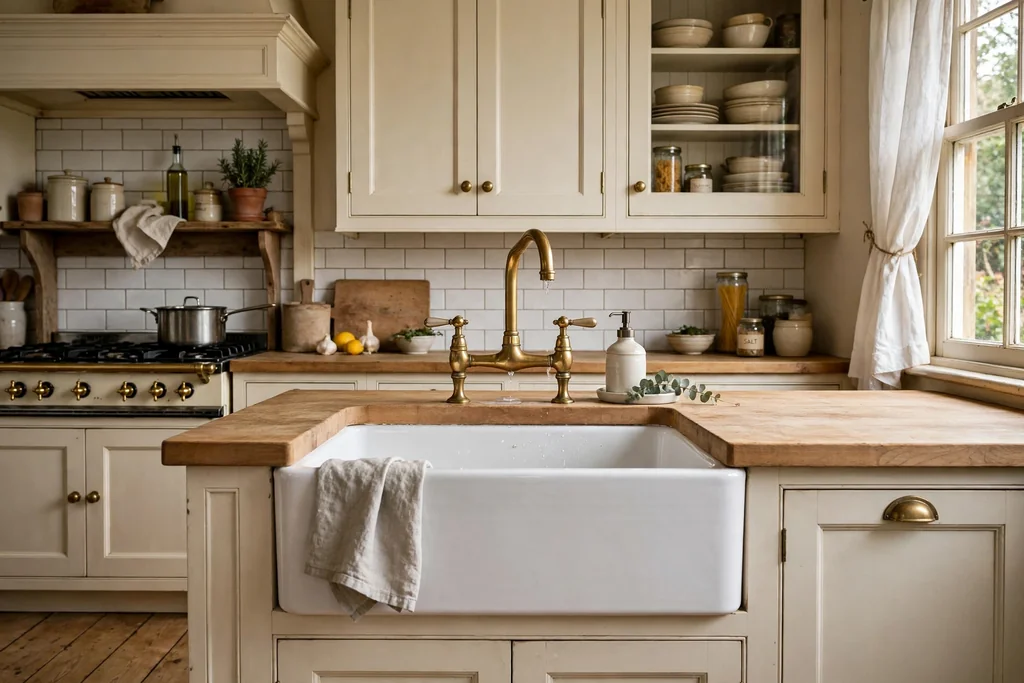
A farmhouse sink, with its front apron showing, gives a wide single bowl for large pans and baking trays. This suits kitchens with a traditional or cottage feel, and remodels where the sink wall is a feature. Check the cabinet below before ordering, since a farmhouse sink needs a shaped cabinet front and support for its weight.
Pair the sink with a bridge or single lever tap in the same finish as the hardware, and keep the counter around it clear so large items can drain. Wipe the apron front after use, since splashes show on a visible front. A farmhouse sink works best with a plain counter and simple tap, so the sink itself stays the feature.
22. Add a Pot Filler Above the Range
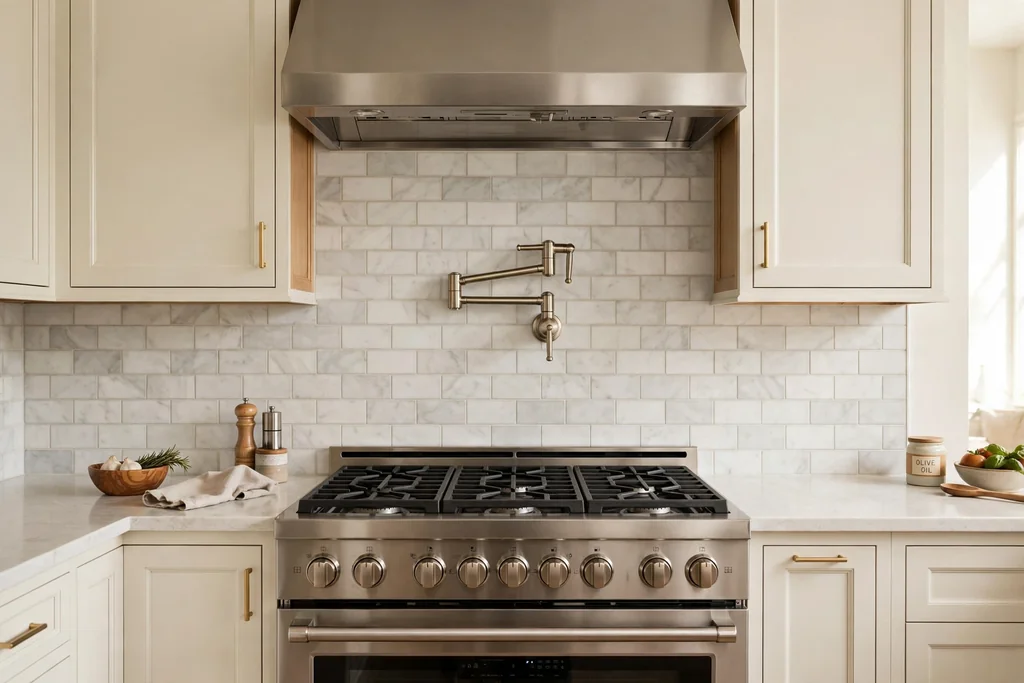
A pot filler is a folding tap above the range that fills large pots where they cook, so you do not carry a heavy pot across the kitchen. This suits cooks who boil pasta, stock, or large batches often, and kitchens where the sink sits far from the stove. Fit the filler at a height that clears the largest pot, with a cold water supply run during the remodel.
Choose a finish that matches the main tap and hardware, and keep the wall behind it simple so the filler reads as a tool rather than decoration. Turn the filler off fully after use, and check joints during the first weeks for drips. A pot filler is a small remodel detail with a clear daily use, which is why it earns its place on a busy cooking wall.
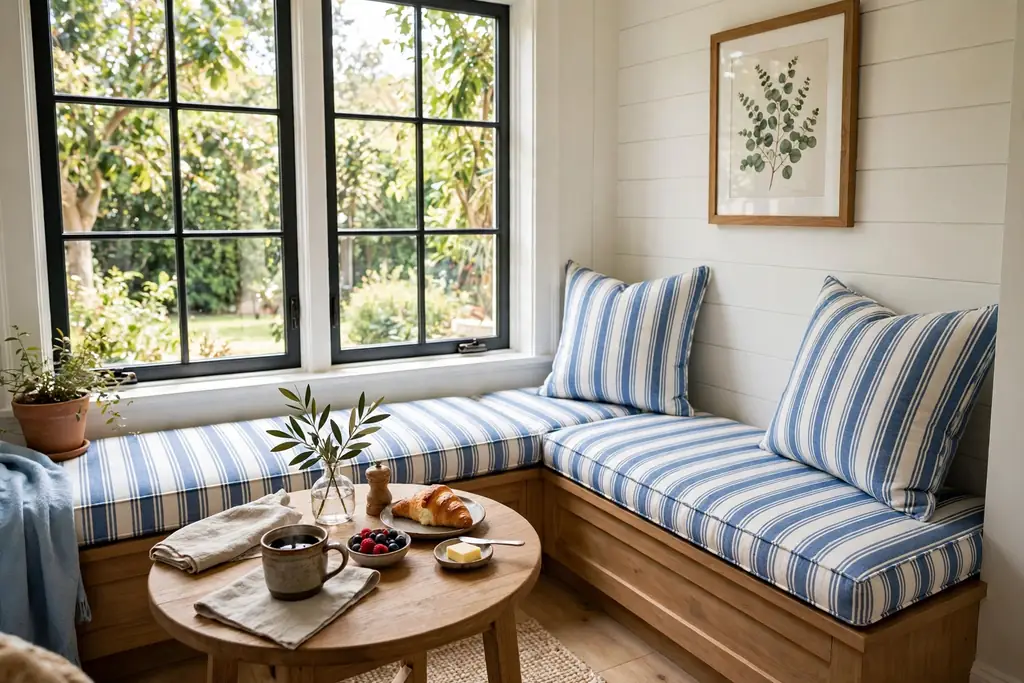
23. Build a Banquette Breakfast Nook
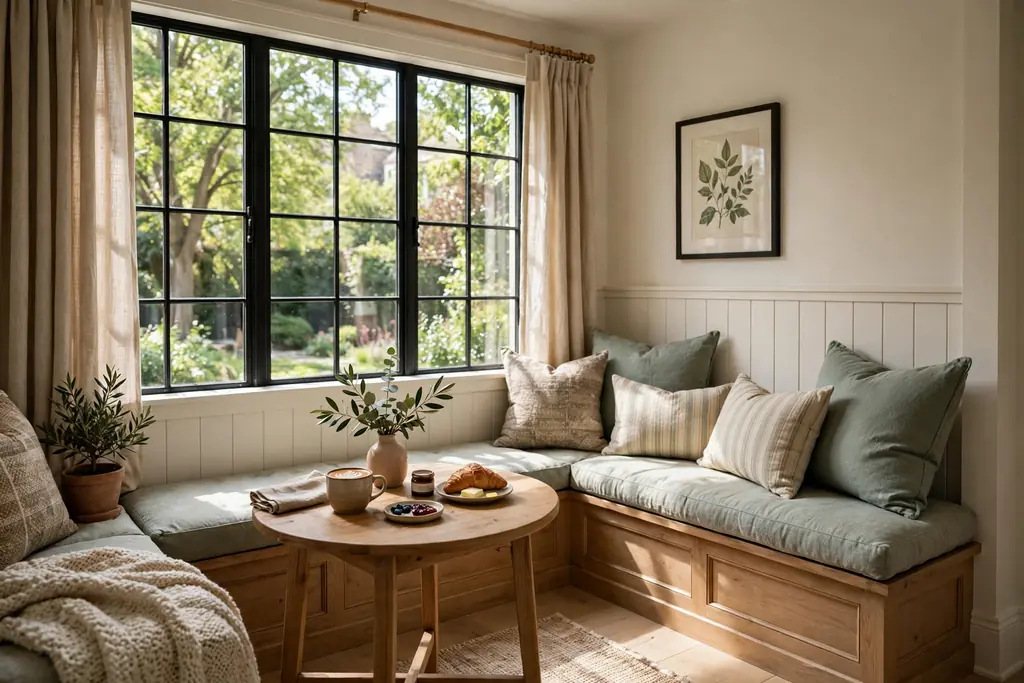
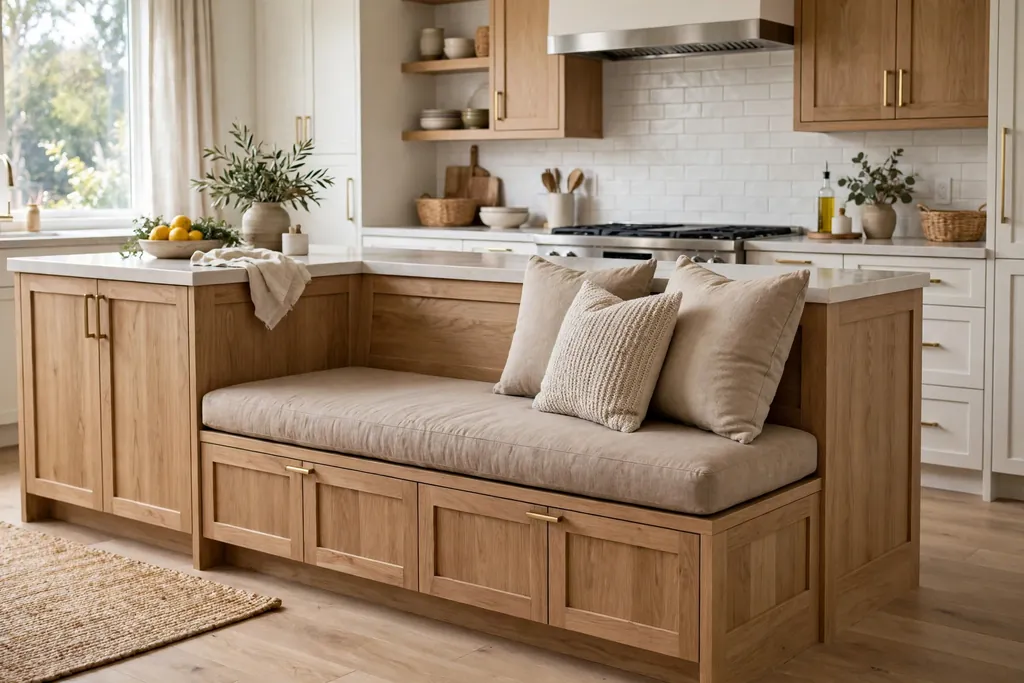
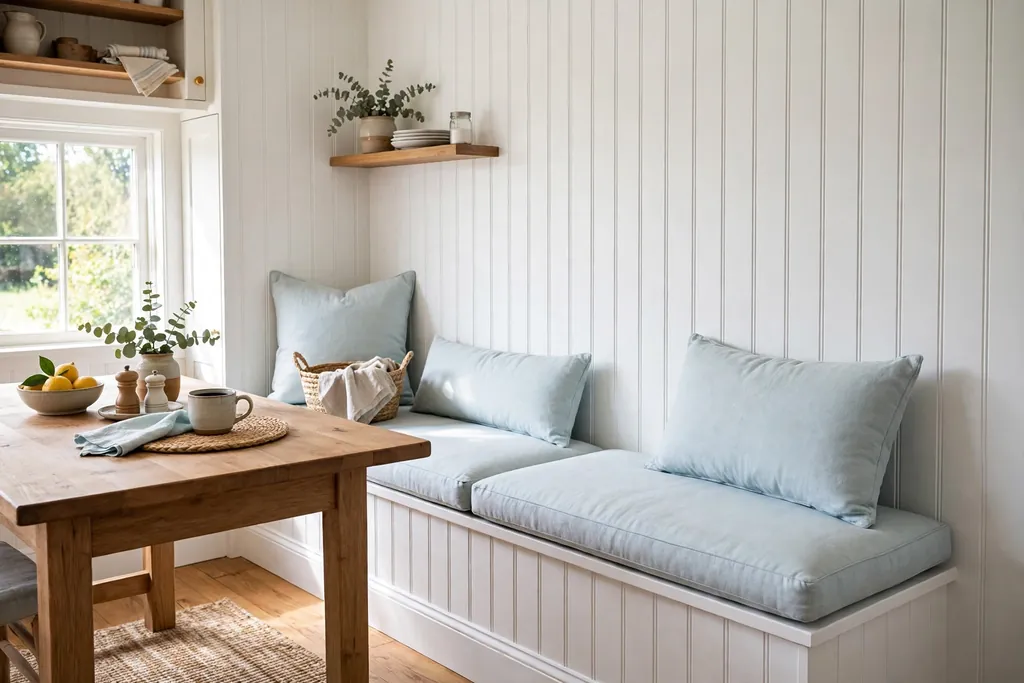
A banquette nook turns a corner or a window wall into fixed bench seating with a table, which suits family breakfasts and small kitchens where loose chairs crowd the walkway. Build the bench with storage inside, so cushions lift to reveal space for table linen, board games, or rarely used appliances. Keep the table size modest, so people can slide in and out without moving the whole table.
Add cushions in a washable fabric, and keep the wall behind the bench simple, with one picture or a shelf rather than a full gallery. Place the nook near natural light where possible, and leave a clear path from the nook to the kitchen so serving stays easy. A banquette also gives children a fixed spot for homework while dinner cooks nearby.
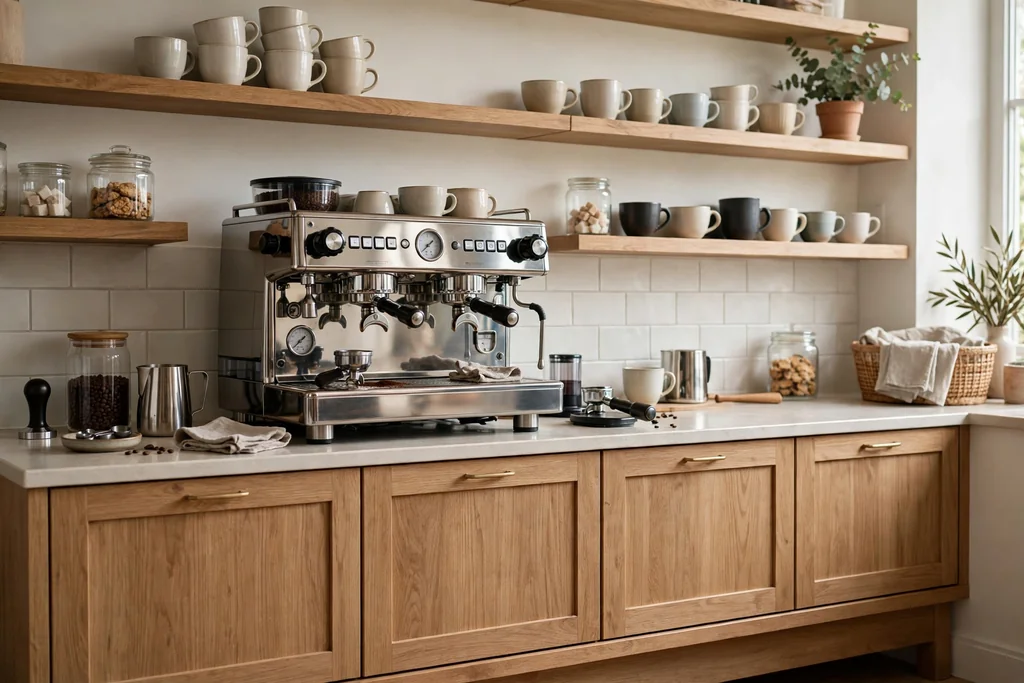
24. Create a Dedicated Coffee Bar
A coffee bar groups the machine, cups, beans, and filters in one station, so morning prep does not spread across the main counter. This suits a corner of the kitchen, a wide section of counter, or a tall cabinet fitted with a pull out shelf. Add a small sink or a water point nearby if the layout allows, and keep a bin or a knock box close for grounds.
Use closed storage below for spare filters and beans, and open shelving above for daily cups. Keep the coffee bar clear of the main cooking zone, so one person can make coffee while another cooks. A coffee bar works best when it holds only coffee items, since extra clutter quickly turns a station back into a crowded counter.
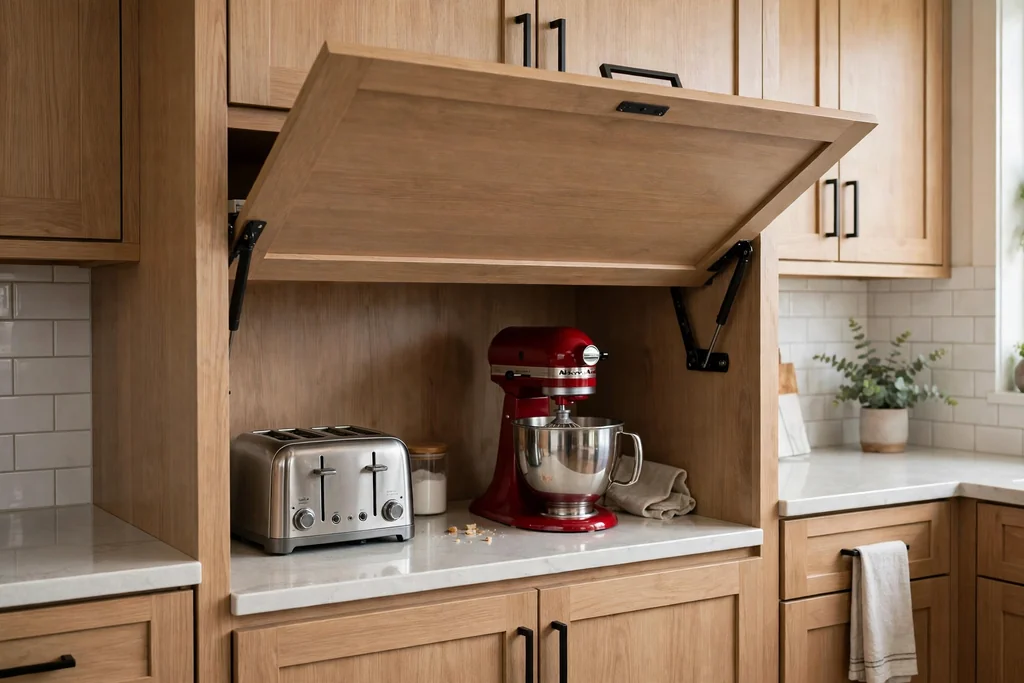
25. Add an Appliance Garage
An appliance garage is a cabinet with a lift up or tambour door that hides small appliances on the counter, such as a toaster, blender, or mixer. This suits kitchens where the counter fills up between meals, but the appliances are used often enough that storing them in a high cabinet is a chore. Fit the garage at counter level, with power points inside, so appliances stay plugged in and ready.
Keep the garage door style matched to the cabinets, and leave enough depth for the tallest appliance with its lid on. Wipe inside the garage weekly, since crumbs and steam collect in a closed space. An appliance garage keeps the main counter clear for prep, while daily tools stay within one step of the work surface.
26. Replace Flooring With a Durable Kitchen Floor
Kitchen flooring takes water, dropped pans, and daily foot traffic, so a remodel is the right time to choose a floor that handles all three. Tile suits wet zones near the sink and dishwasher, while engineered wood suits open plan rooms where the kitchen floor runs into the living area. Choose a finish that hides dust and crumbs between cleans, and a grout color that stays calm with use.
Fit the floor before the final cabinet kick plates go on, and leave expansion gaps where the floor maker advises. Keep a spare box of tiles or planks for repairs, since a single damaged piece is far easier to replace from the same batch. A durable floor also sets the tone for the whole remodel, so test samples beside cabinets and counters in the room.
27. Add or Enlarge a Window Over the Sink
A window over the sink gives daylight where you stand longest, and it makes washing up feel less closed in. This suits kitchens where the sink sits on an outside wall, and where a larger window can be fitted during a remodel without moving the sink. Check the wall structure and outside finish before cutting, and plan the window height so the tap and any shelf sit clear of the frame.
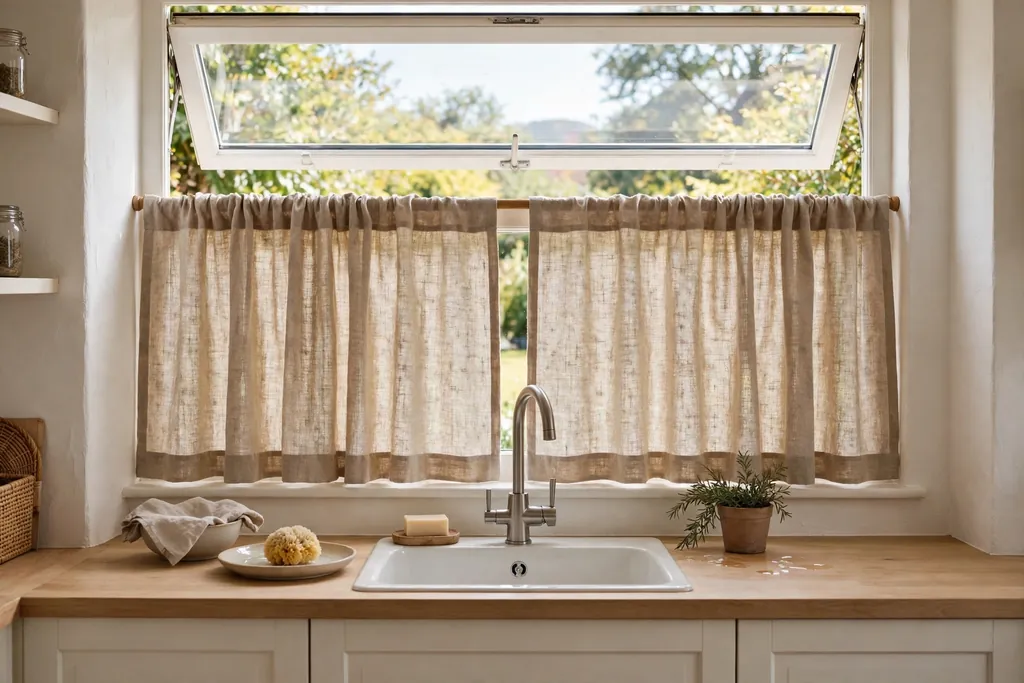
Use a simple frame and an easy wipe sill, since sink splashes reach the window. Keep the window dressing light, such as a short cafe curtain or a simple blind, so daylight stays the point. If a new window is not possible, a larger mirror or a bright backsplash on the sink wall can lift the same spot with less work.
28. Add a Prep Sink on the Island
A prep sink on the island gives a second washing and rinsing spot, so two people can work without sharing one sink. This suits larger kitchens and households where one person preps vegetables while another cooks or cleans up. Place the prep sink at the end of the island nearest the fridge, so produce moves in a short line from storage to prep to cooking.
Run water and drainage during the remodel, since adding a sink after counters are fitted is costly. Keep the prep sink small, with a single bowl and a simple tap, so it does not take over the island top. Pair it with a bin below or beside it, so peelings go straight from board to bin without crossing the island.
29. Plan the Remodel in Phases
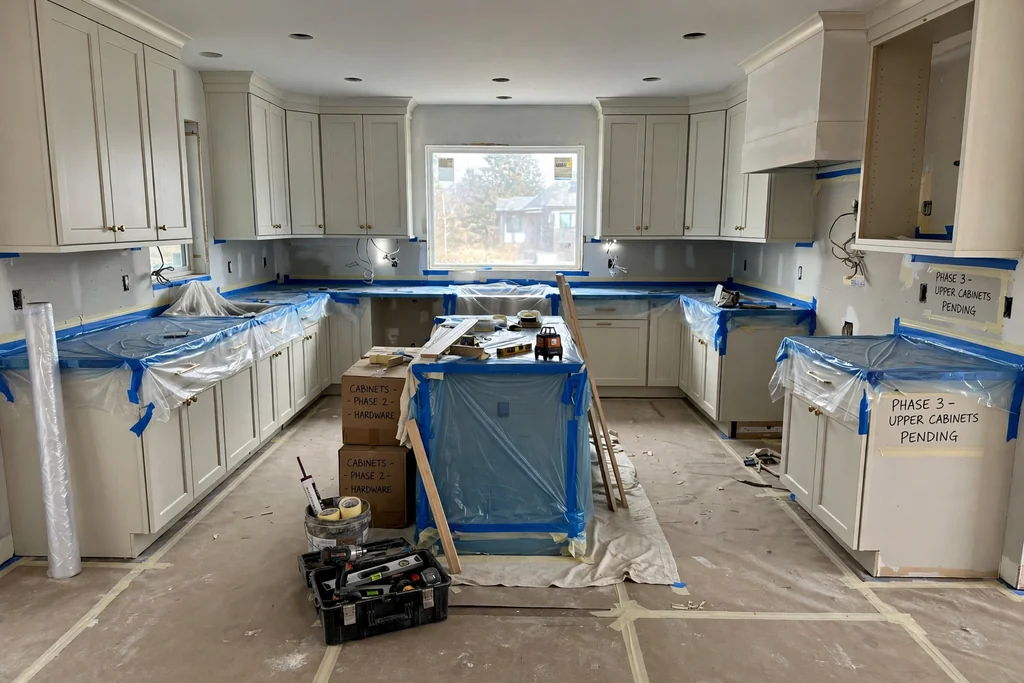
A phased plan orders the work so the kitchen stays usable for as much of the remodel as possible, and so each step does not undo the last. This suits remodels done over months, or homes where a full shutdown is hard to manage. Start with layout and services, such as walls, plumbing, and wiring, then move to cabinets, counters, and finally paint, hardware, and styling.
Write the order down before work starts, and check each phase against the next, so a floor laid early is protected during later cabinet work. Keep one usable prep spot through each phase, even if it is a temporary table with a kettle and a board. A clear phase plan also helps you pause between stages without losing track of what comes next, which makes a large remodel feel manageable.
Conclusion
A good kitchen remodel is less about doing everything at once and more about choosing changes that fit how you cook and live. Start with layout and zones, then fix cabinets and storage where clutter forms, then choose counters, lighting, and finishes that stand up to daily use. Work through the ideas in this list in the order that suits your room and your budget, and test samples in your own light before you commit. Save this list on Pinterest to compare ideas as you plan, and return to it when you are ready to choose the next phase of your refresh.
Frequently Asked Questions
What is the first step in a kitchen remodel?
Start by mapping how you use the kitchen now: where you prep, cook, clean up, and gather. Note the spots where you cross paths, run out of counter, or store items far from where you use them. Those notes shape layout and storage choices far better than starting with a finish or a single product.
Do I need to move plumbing for a kitchen remodel?
Not always. Many remodels keep the sink, dishwasher, and stove in place and change cabinets, counters, and finishes around them, which keeps costs and disruption lower. Moving plumbing is worth it when the layout itself is the problem, such as a sink far from prep space or a stove in a through route, but plan those moves early, before cabinets are ordered.
Should I reface cabinets or replace them?
Reface when the cabinet boxes are solid, the layout works, and only the fronts look dated. Replace when boxes are damaged, the layout needs to change, or you want deep drawers and tall storage that the old boxes cannot hold. Check box condition and layout needs first, since refacing a poor layout only refreshes a kitchen that still works badly.
How do I choose a kitchen countertop?
Match the counter to how you cook. Quartz suits busy kitchens that need a hard, wipeable surface, while butcher block suits an island used for prep and casual meals. Test samples beside your cabinets and floor in daylight and evening light, and keep the pattern simple if the backsplash or floor already carries a strong pattern.
What kitchen remodel changes add the most storage?
Deep drawers beside the stove, a pull out pantry tower, full height cabinets, and a banquette bench with storage inside all add useful space without enlarging the room. Add storage where clutter forms, near the stove, beside the sink, and at the pantry, rather than spreading small storage through the whole kitchen.
How can I keep a kitchen usable during a remodel?
Plan the work in phases, with layout and services first, then cabinets and counters. Keep one temporary prep spot with a table, a kettle, and a board, and protect finished floors and counters during later work. A written phase order helps you pause between stages and still know exactly what comes next.
A small kitchen island needs light that works hard without crowding the room. The right fixture lights the counter for chopping and homework, marks the island as a gathering spot, and leaves clear sight lines across the kitchen. These 22 lighting ideas for a small kitchen island cover pendants in several materials, ceiling lights that stay out of the way, LED strips that add a soft glow, and controls that let one fixture serve cooking, eating, and evening conversation. Before you choose, measure the island length, note the ceiling height, and check where the wiring already sits, since those three facts narrow the list fast.
Key Takeaways
Size the light to the island, not the room: a short island suits small shades, a slim bar, or one statement pendant, while an oversized fixture crowds a compact kitchen.
Hang pendants low enough to light the counter, usually with the lowest point about 75 to 90 centimeters above the island top, and high enough to see across to the person opposite.
Layer the light: pair a main island light with under-cabinet light or a soft strip, so the island is not the only bright spot in a dark room.
Choose warm white light, around 2700 to 3000 Kelvin, for a kitchen that feels calm in the evening, and check that the bulb works with a dimmer before you buy.
Keep shades light in weight and simple in shape on a small island, since heavy or wide shades block sight lines and make the island feel larger than it is.
Put the light on a dimmer or a smart bulb when you can, so the same island works for bright prep, relaxed meals, and late evening drinks.
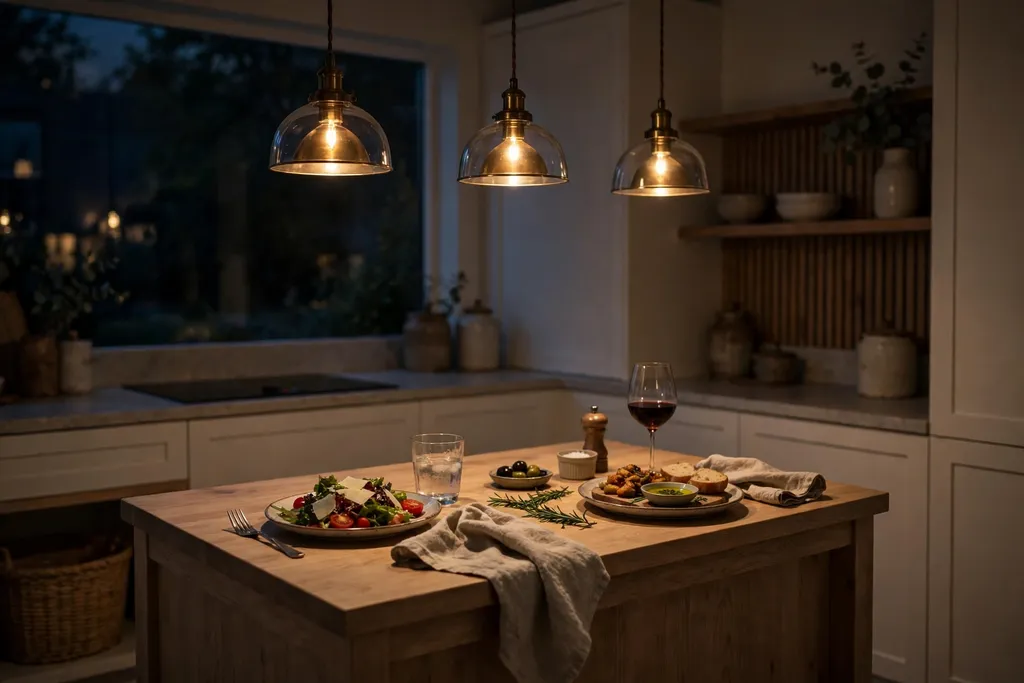
1. Trio of Clear Glass Globe Pendants
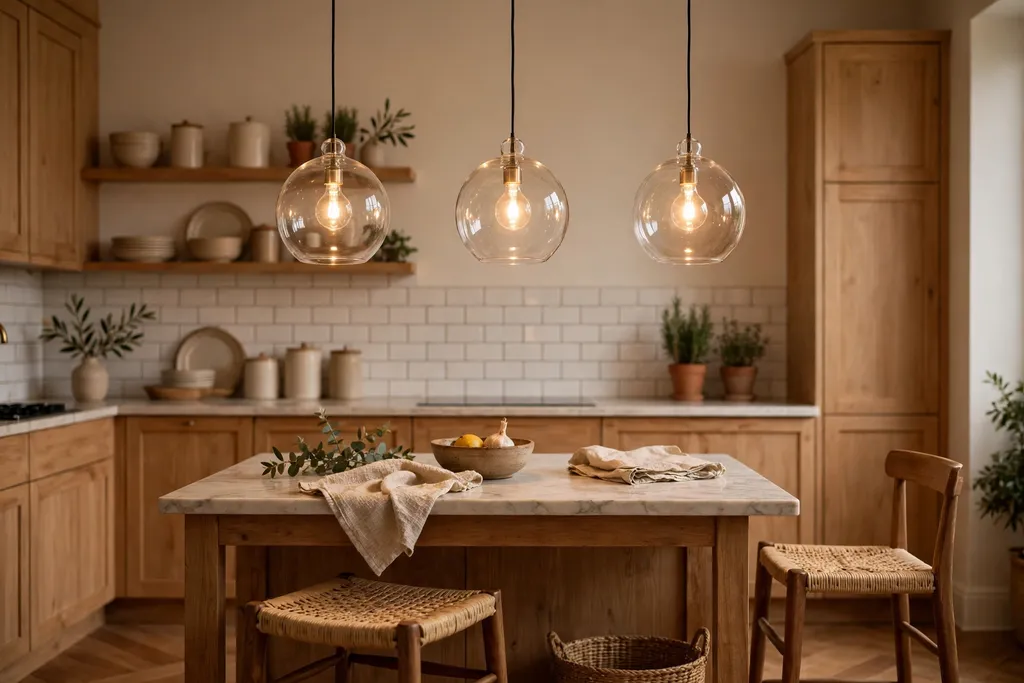
Three small clear glass globes in a row suit a short island because each shade is light in look and small in size. The clear glass shows the bulb, so the light spreads in all directions, and the row marks the island length without blocking the view across it. This layout works well in kitchens with pale cabinets and a plain counter, where the glass adds detail without adding color.
Space the globes evenly over the island, with the outer globes set in from each end by about 15 to 20 centimeters, so the row reads as one group. Hang them at the same height, and use warm white bulbs so the clear glass glows softly rather than glaring. If the island is very short, drop to two globes rather than squeezing three into a tight row.
2. Slim Linear LED Bar Over the Island
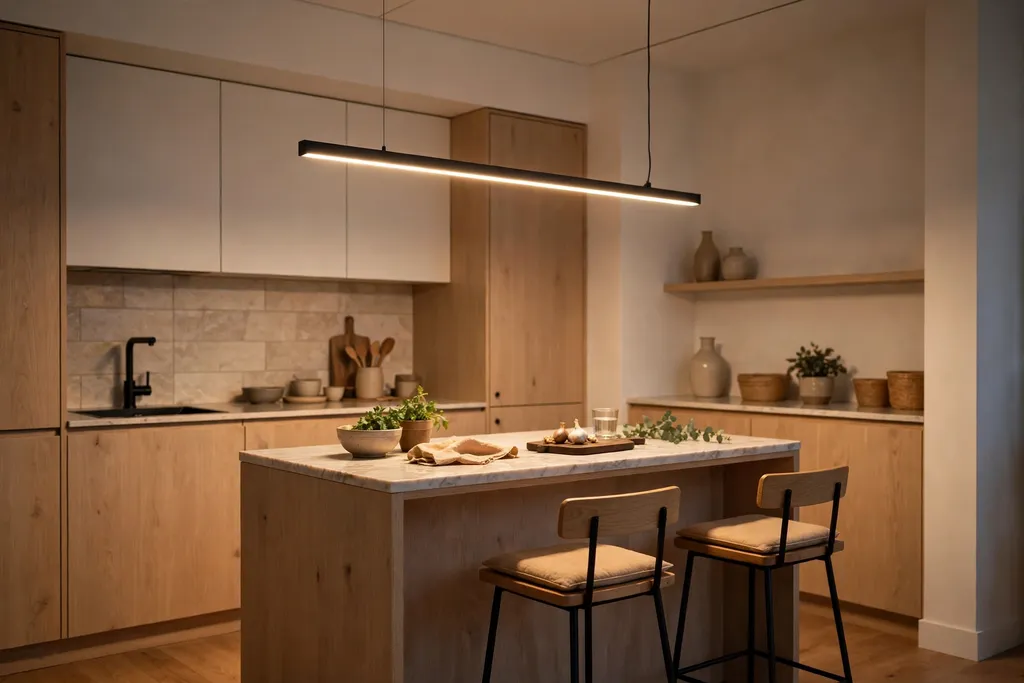
A slim linear LED bar runs the length of the island in one clean line, which suits a modern kitchen where pendants would feel busy. The bar gives even light across the whole counter, with no dark gaps between shades, and it sits close to the ceiling, so headroom stays clear. It also suits islands used mainly for prep, since the light falls straight down onto the work surface.
Choose a bar slightly shorter than the island, so the light stays over the counter and does not spill far past the ends. Look for a bar with a diffuser, which softens the LEDs into one even glow, and check the color temperature before fitting, since a cool white bar can make a warm kitchen feel clinical. A dimmable bar lets you drop the light for meals.
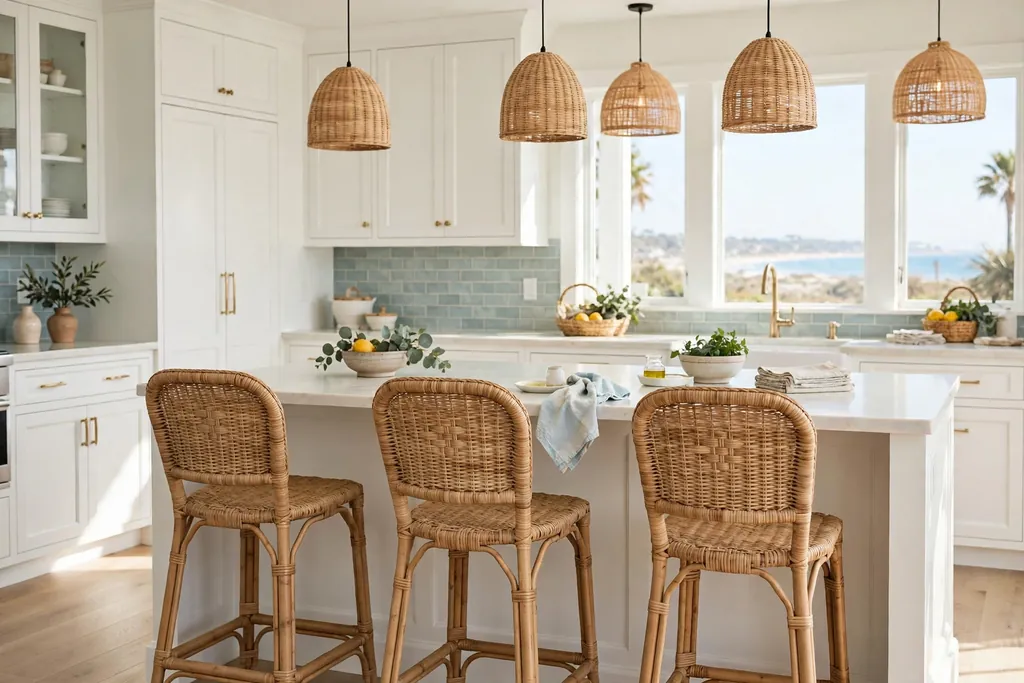
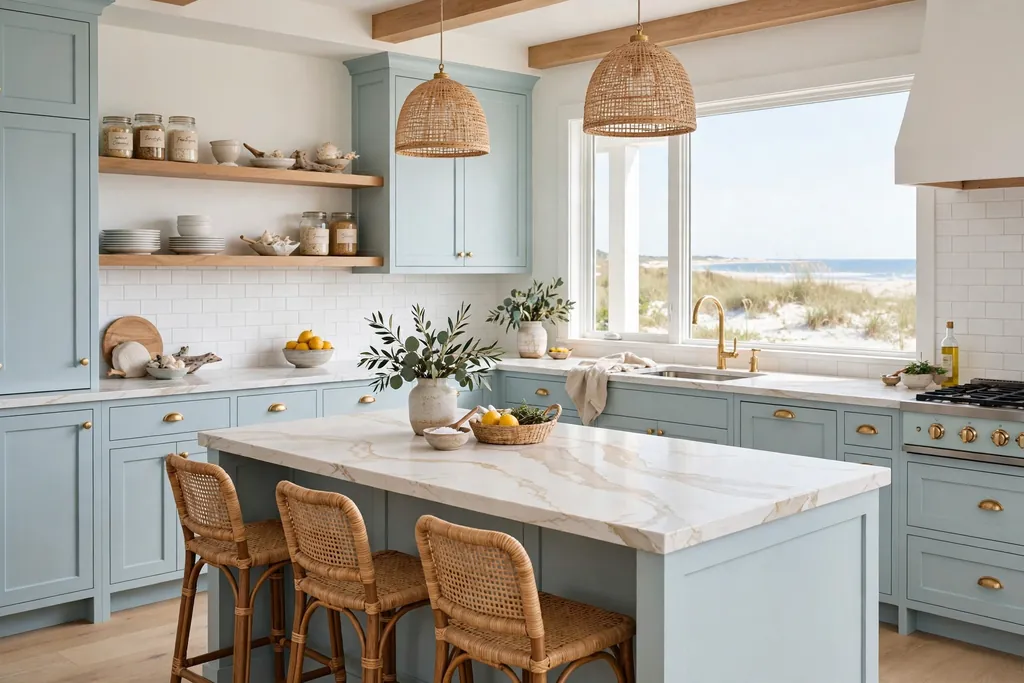
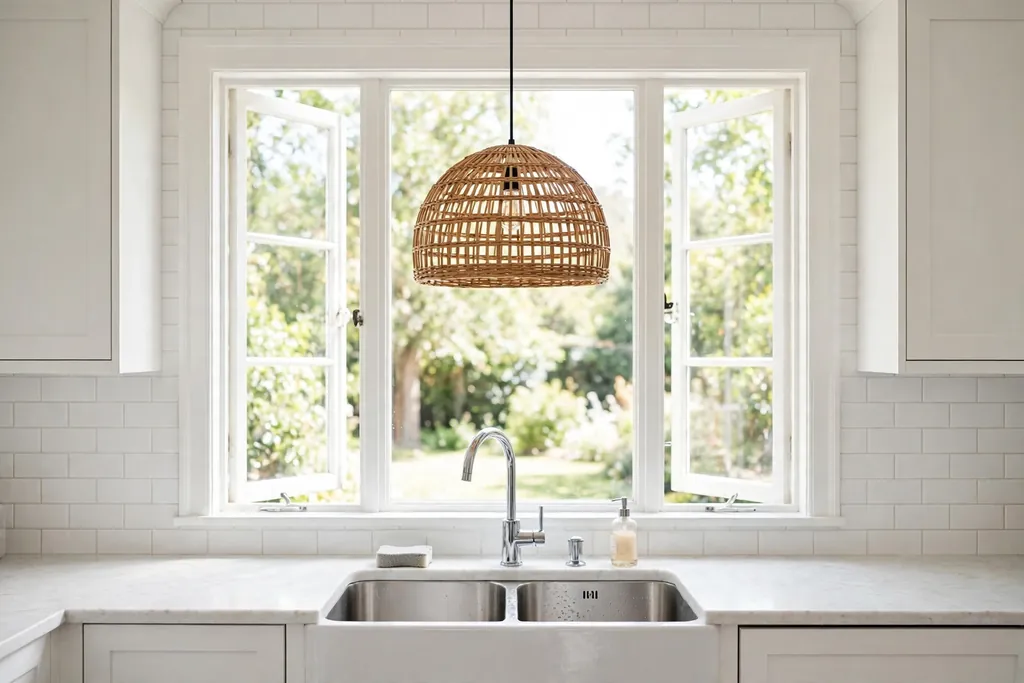
3. Single Woven Rattan Pendant
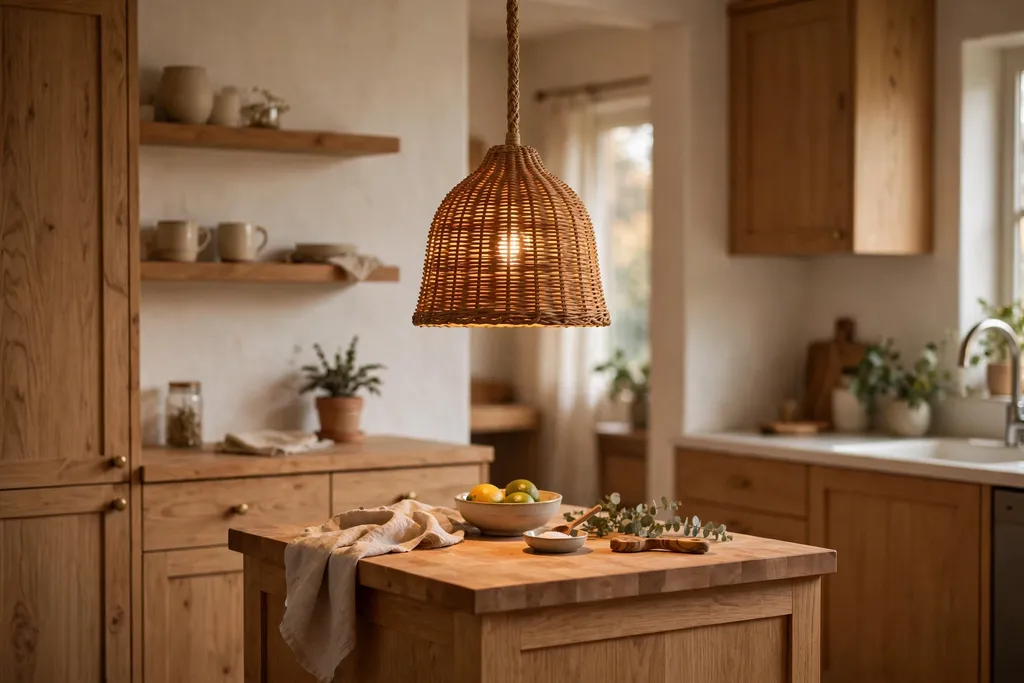
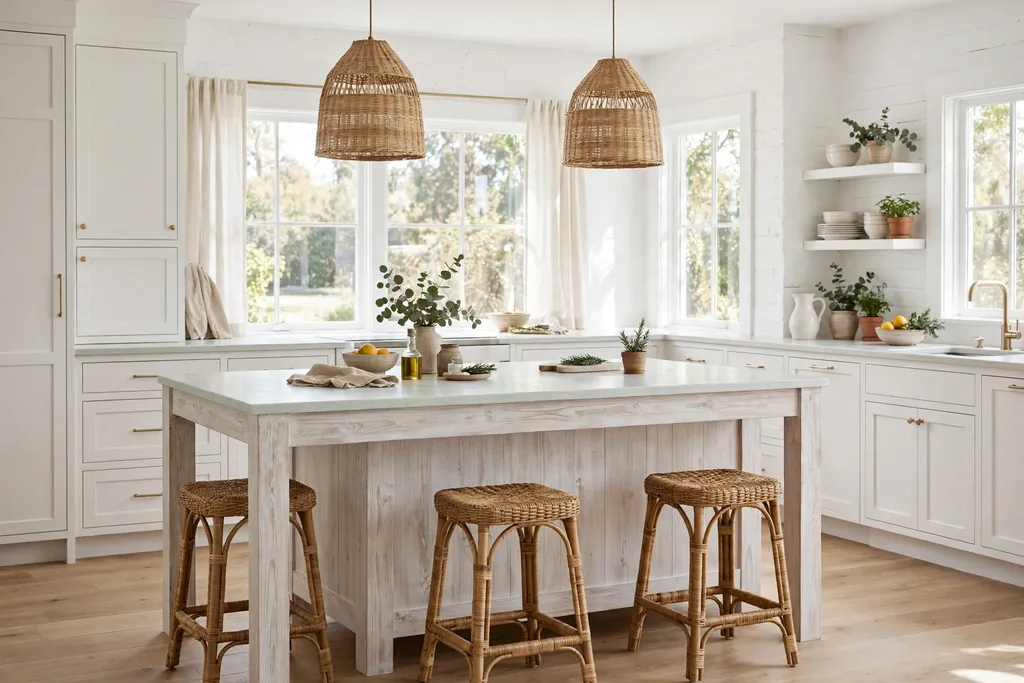
One woven rattan pendant over a small island adds texture and warmth, and a single shade keeps the ceiling line simple. The woven pattern throws soft, patterned shadows in the evening, which suits a kitchen with wood counters, plants, or natural fibers. Because there is only one fixture, the island keeps an open feel, and the eye rests on the pendant rather than on a row of shades.
Hang the pendant over the center of the island, and check the shade diameter against the island width, since a shade wider than half the island can look top heavy. Use a warm bulb inside the weave, and keep the pendant clear of steam from a hob if the island holds a cooktop. Dust the weave with a soft brush, since kitchen film settles in the gaps.
4. Row of Recessed Ceiling Downlights
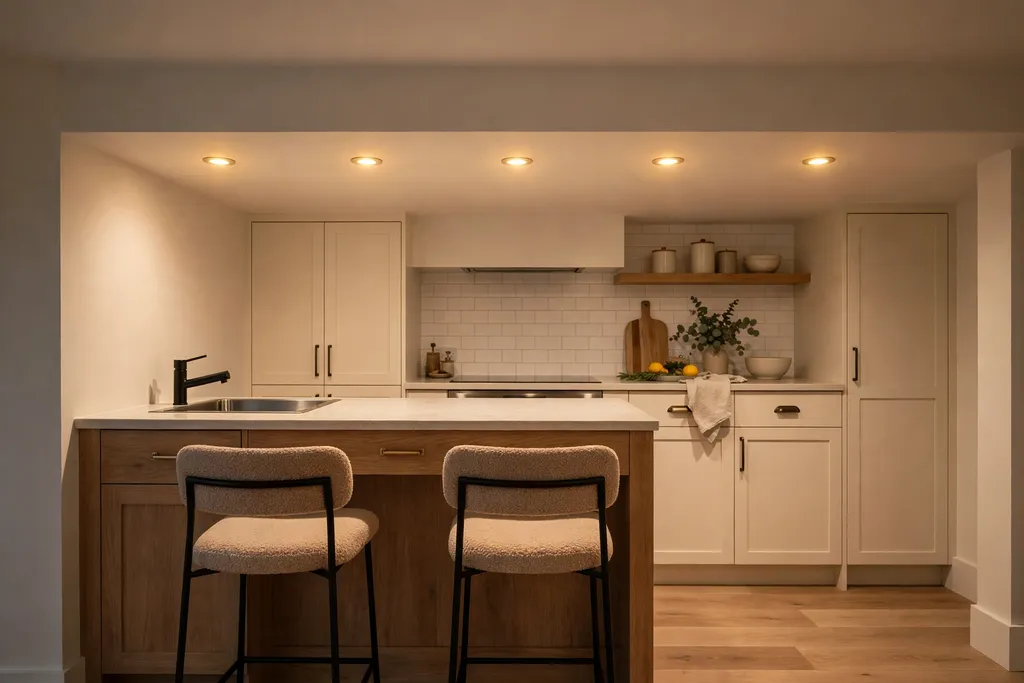
Recessed downlights sit flush in the ceiling, so they light a small island without adding any visible fixture at all. This suits a low ceiling, where pendants would hang too close to heads, and it suits a kitchen where the island already carries stools, boards, and bowls that compete for attention. A row of two or three downlights gives even, shadow free light for prep.
Space the downlights evenly over the island, and angle adjustable ones slightly toward the counter center if the ceiling line sits off center. Choose warm white downlights to match the rest of the kitchen, and put them on a dimmer, since recessed lights at full brightness can feel harsh in the evening. If you rent, this idea needs wiring work, so check with the landlord first.
5. Adjustable Track Lighting Over the Island
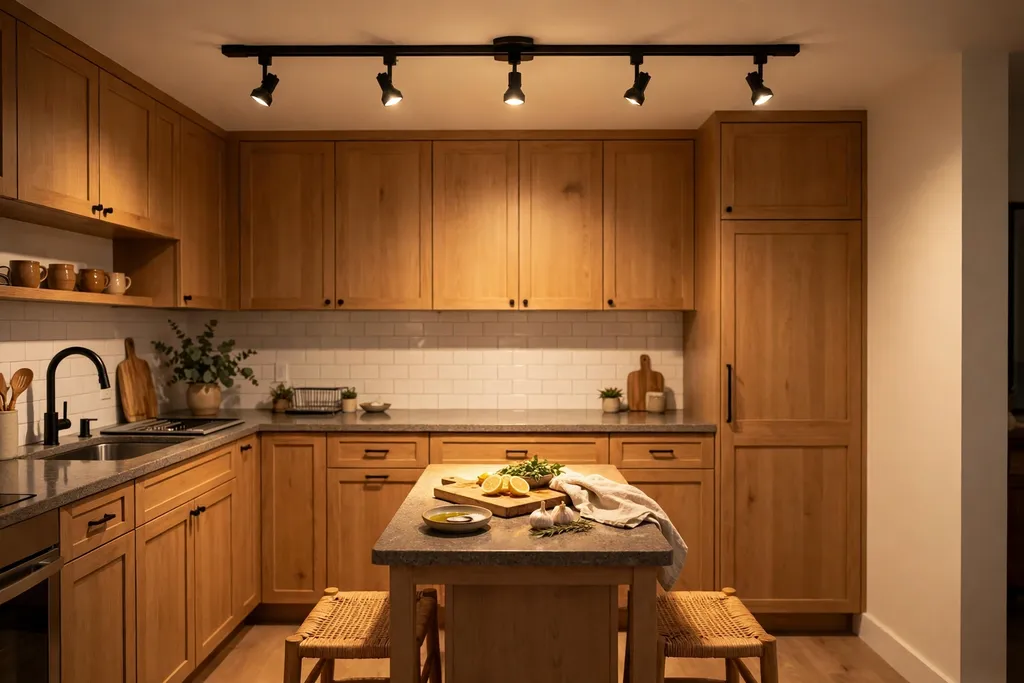
Track lighting lets you aim each head where it is needed, which suits an island used for several jobs, such as prep at one end and eating at the other. The track runs along the ceiling, and each head can be tilted toward the counter, a stool, or a display shelf. This flexibility helps when the island layout changes, since you can re-aim a head rather than moving a fixture.
Fit a short track that matches the island length, and keep the heads small so the track does not dominate the ceiling. Aim one head at each end of the island and one at the center, then adjust after dark, when you can see the pools of light on the counter. Use matching bulbs in every head, so the color stays even across the island.
6. LED Strip Under the Island Counter Overhang
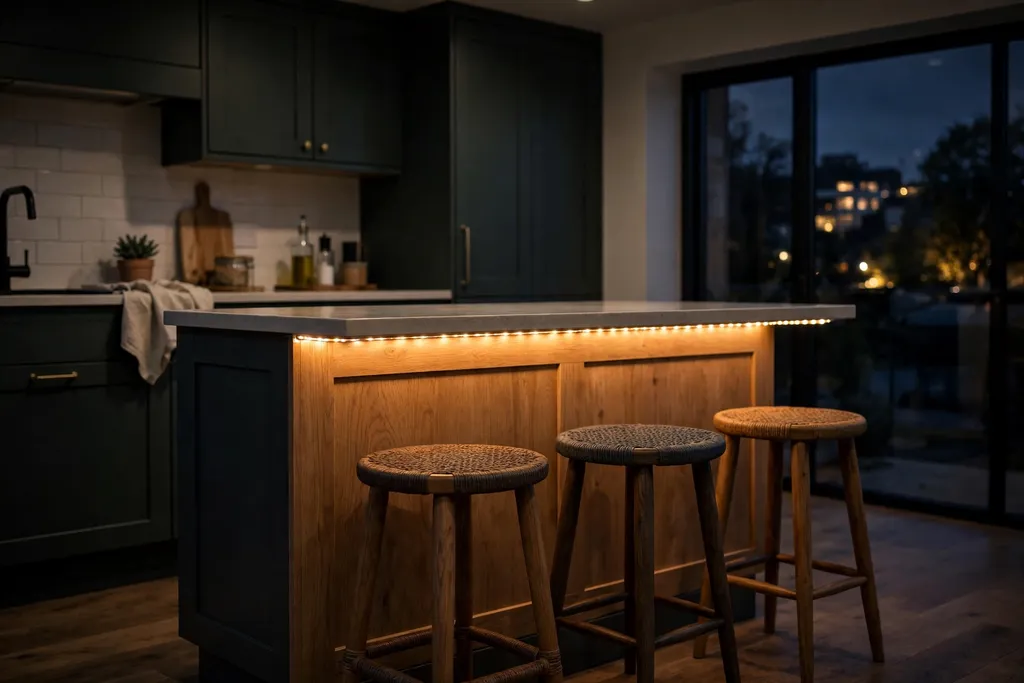
An LED strip fixed under the island counter overhang lights the stool area and the floor below, which makes the island look lighter and easier to find at night. The glow marks the seating edge, so guests see where to sit, and it adds a second layer of light without a new ceiling fixture. This idea suits islands with a seating overhang, where the strip hides neatly under the lip.
Fix the strip to the underside of the overhang, set back from the edge so the strip itself stays hidden and only the glow shows. Choose warm white for evening use, and run the strip to a switch or dimmer near the main kitchen switch, so it is easy to turn on after dark. Wipe the strip cover often, since kitchen grease dulls the light over time.
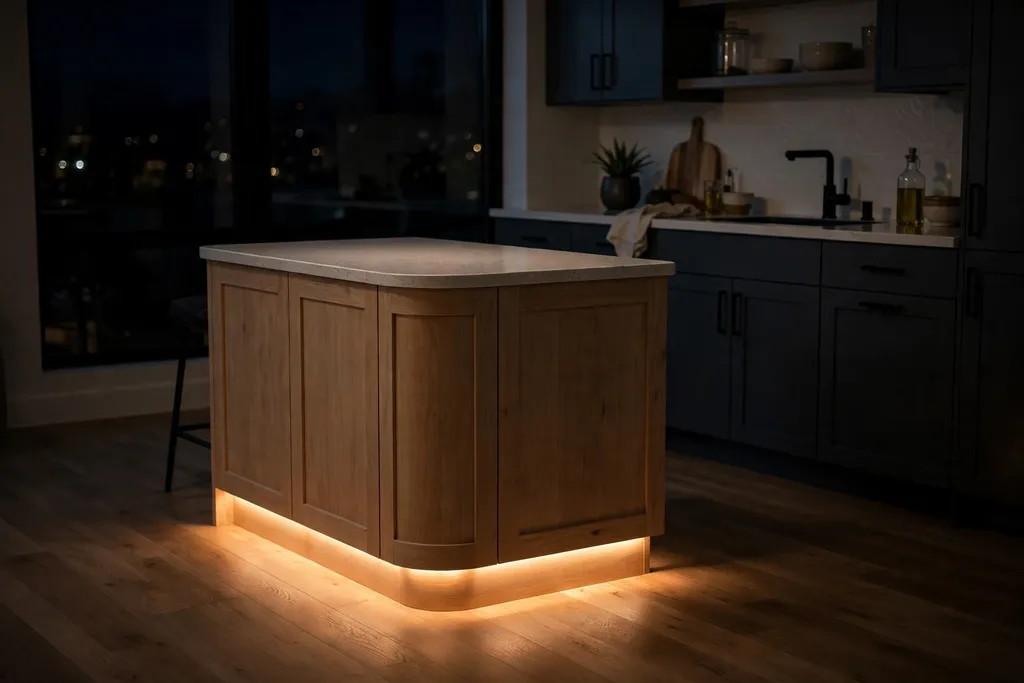
7. Toe Kick Glow Strip Around the Island Base
A toe kick strip around the island base throws a soft line of light onto the floor, which makes the island appear to float and helps with night time trips to the kitchen. The low glow suits open plan kitchens, where a lit island base reads as a gentle night light, and it costs little to run, since LED strips use little power. It also helps children and older guests judge where the island edge sits in the dark.
Fit the strip in the recessed toe kick, so it stays hidden behind the island base, and choose a warm, low brightness strip rather than a bright one, since the point is guidance, not work light. Connect it to the same evening circuit as the main island light if possible, so one switch controls both layers. Keep the strip clear of mop water, since the base is the first spot to get wet during cleaning.
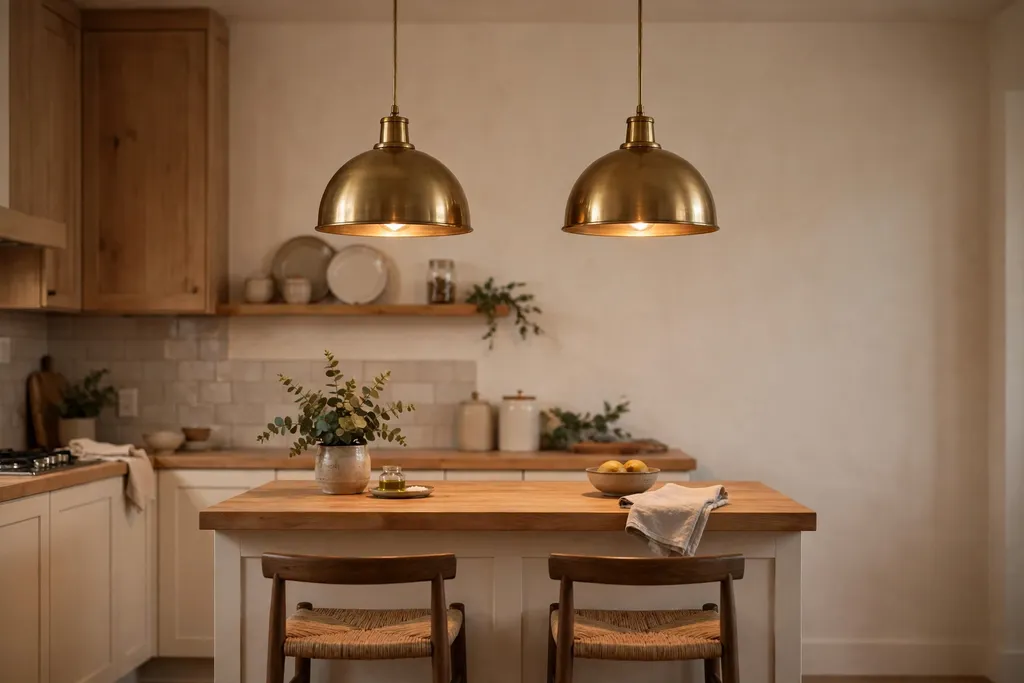
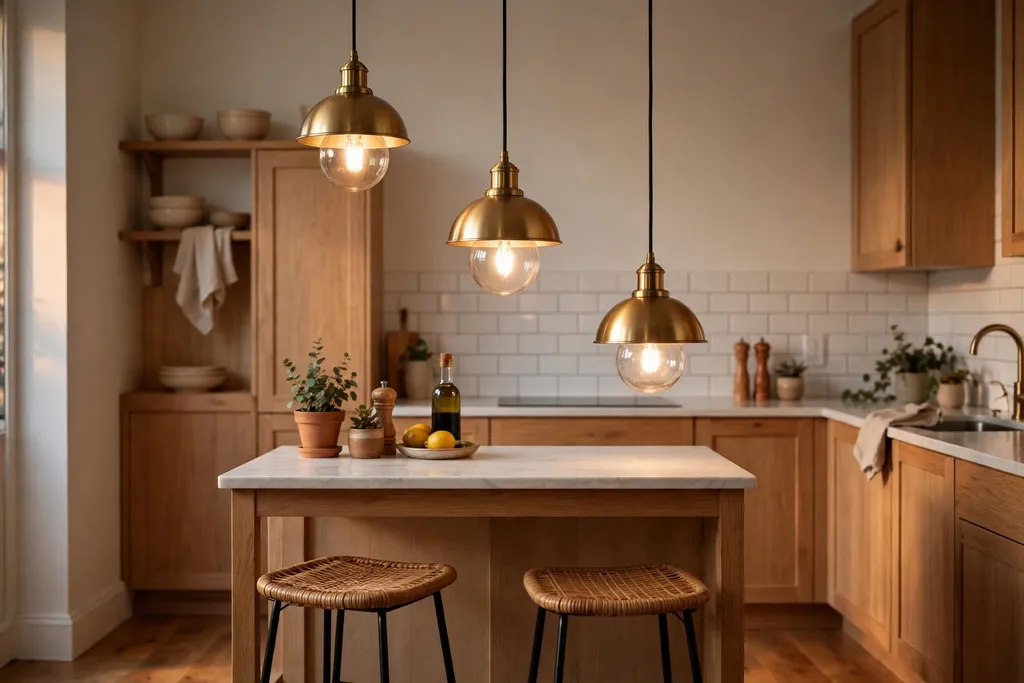
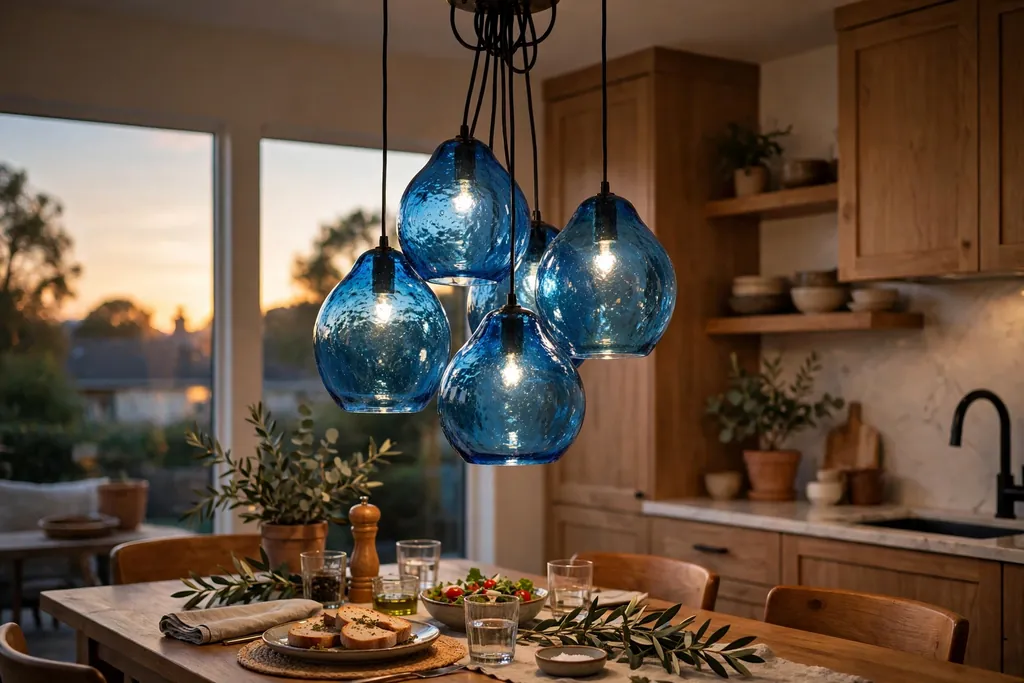
8. Pair of Brass Dome Pendants
Two brass dome pendants bring a warm metal accent to a small island, and the dome shape focuses light downward onto the counter. Brass suits kitchens with brass taps, brass cabinet pulls, or a brass range hood, since the repeated finish ties the room together. The dome also hides the bulb from eye level, which cuts glare when you sit at the island.
Hang the pair evenly spaced over the island, with the same drop on both pendants, and match the brass tone to the other metals in the room, since mixed brass tones can clash. Polish the domes now and then, since kitchen steam dulls brass over time, and use warm bulbs to keep the metal glow soft. If the island is very short, check that two domes do not crowd the ceiling line.
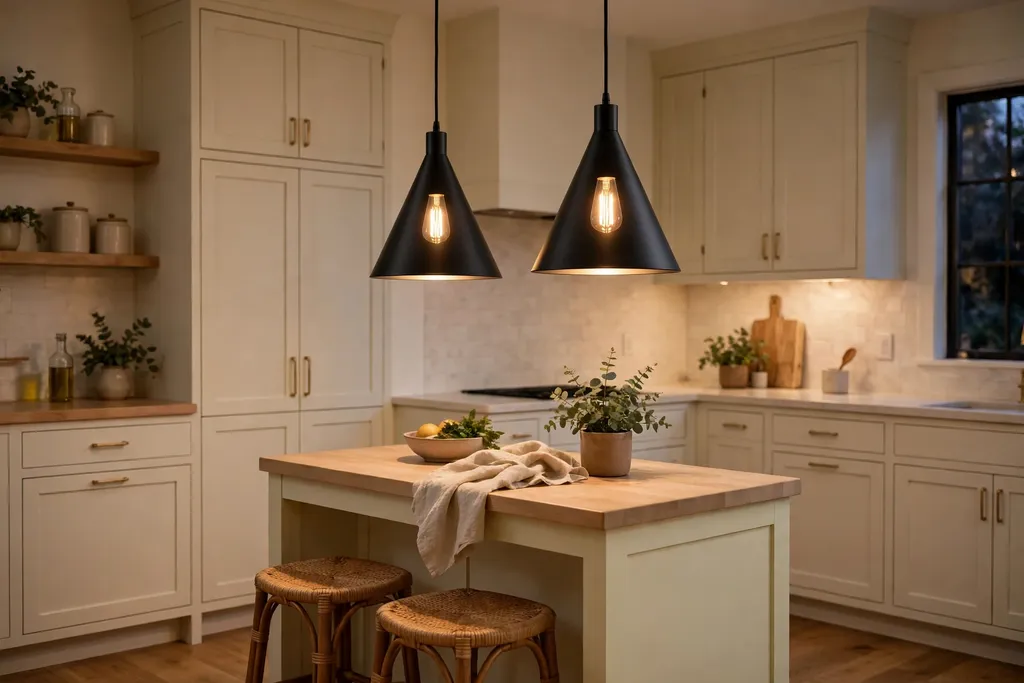
9. Pair of Matte Black Cone Pendants
Matte black cone pendants give a small island a crisp, modern outline, and the cone shape directs light straight down to the work surface. Black suits kitchens with black taps, black hardware, or dark stools, and the matte finish avoids reflections that glossy black can show. The narrow cone also keeps the fixture small in the air, which helps a compact kitchen feel open.
Space the pair evenly over the island, and hang them high enough that the cone rim sits above eye level when seated, so the light does not shine directly into eyes. Pair black cones with a pale counter or pale cabinets, so the dark shades read as an accent rather than a heavy block. Wipe the cones with a soft cloth, since dust shows clearly on matte black.
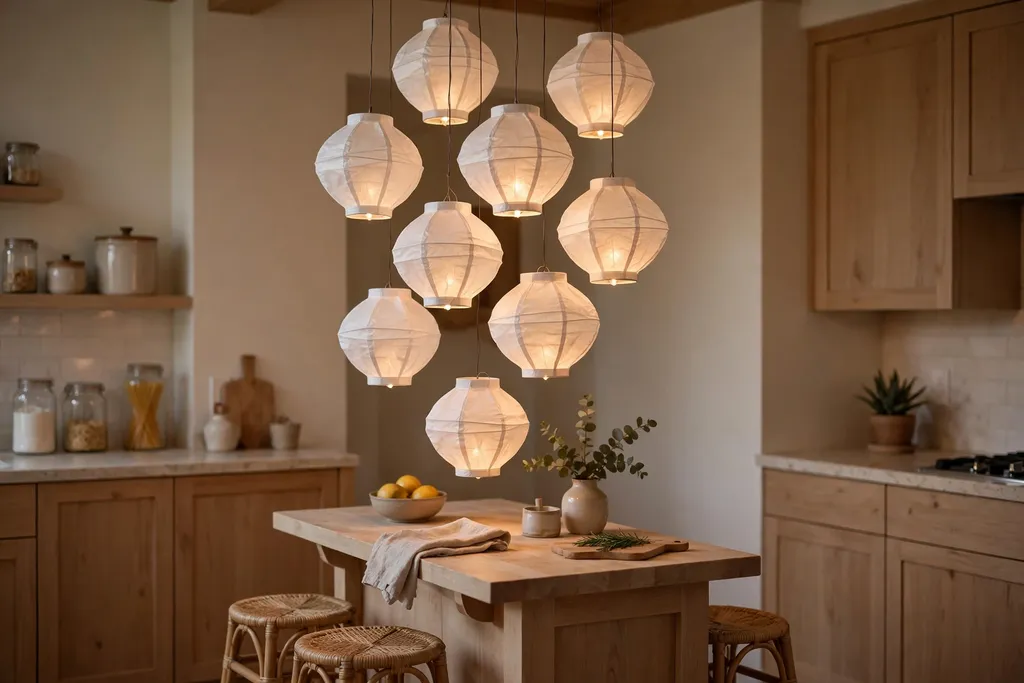
10. Cluster of Small Paper Lantern Pendants
A cluster of small paper lantern pendants hangs at slightly different heights, which gives a small island a soft, relaxed glow. Paper diffuses the bulb into a gentle light with no hard glare, and the cluster shape suits a kitchen with a casual, lived in feel. The lanterns are light in weight and low in cost, which suits a first island light or a rental update.
Hang the cluster over the island center, with the lowest lantern still well above head height, and keep the lanterns clear of the hob and steam, since paper and heat do not mix. Use LED bulbs that run cool, and replace any lantern that gets stained or torn, since paper shows marks fast. For a calmer look, keep the lanterns in one color, such as white or cream.
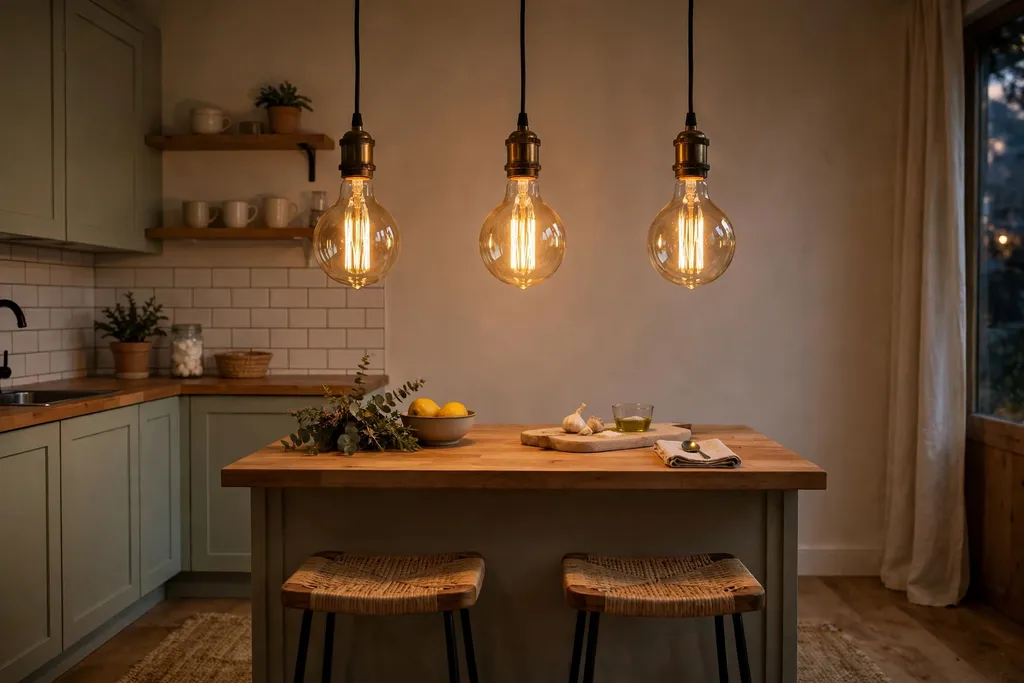
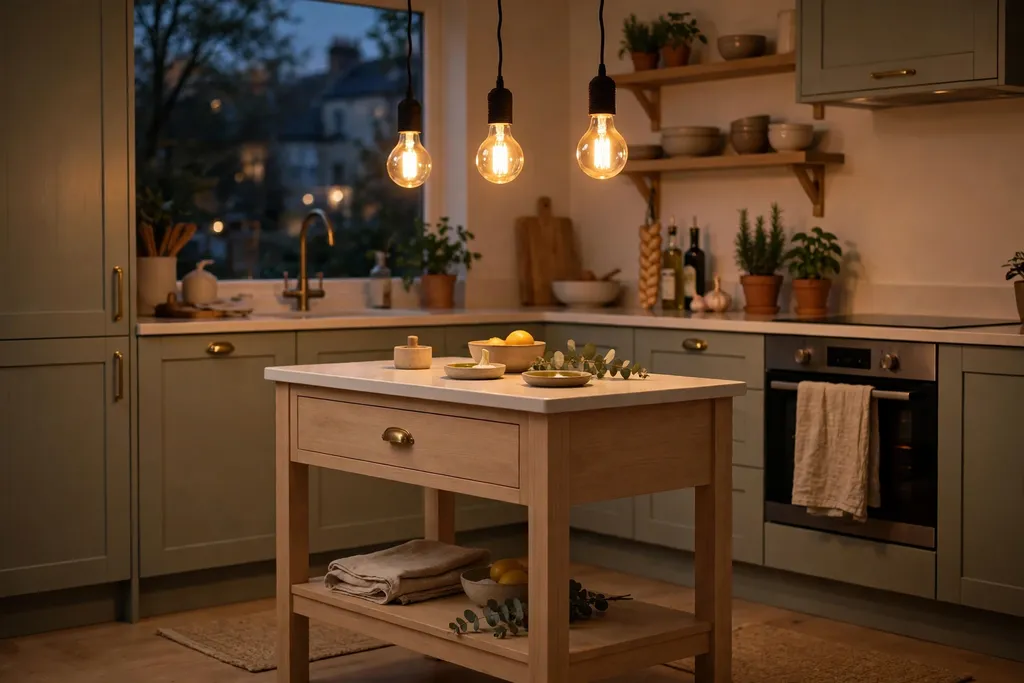
11. Exposed Filament Edison Pendants
Exposed filament pendants show a warm, old style bulb with a visible filament, which suits an industrial or vintage kitchen. The filament gives a soft amber glow that flatters wood counters and brick or dark cabinets, and the simple cord and socket keep the fixture small over a short island. This idea works best as an evening light, since filament bulbs give a gentle light rather than a bright work light.
Pair the Edison pendants with a brighter layer, such as recessed lights or under-cabinet strips, so prep still gets enough light, and put the pendants on a dimmer to control the amber glow. Hang two or three pendants in a row, with the same drop, and choose LED filament bulbs, which give the same look with far less heat and power. Check the bulb brightness before buying, since filament bulbs vary widely.
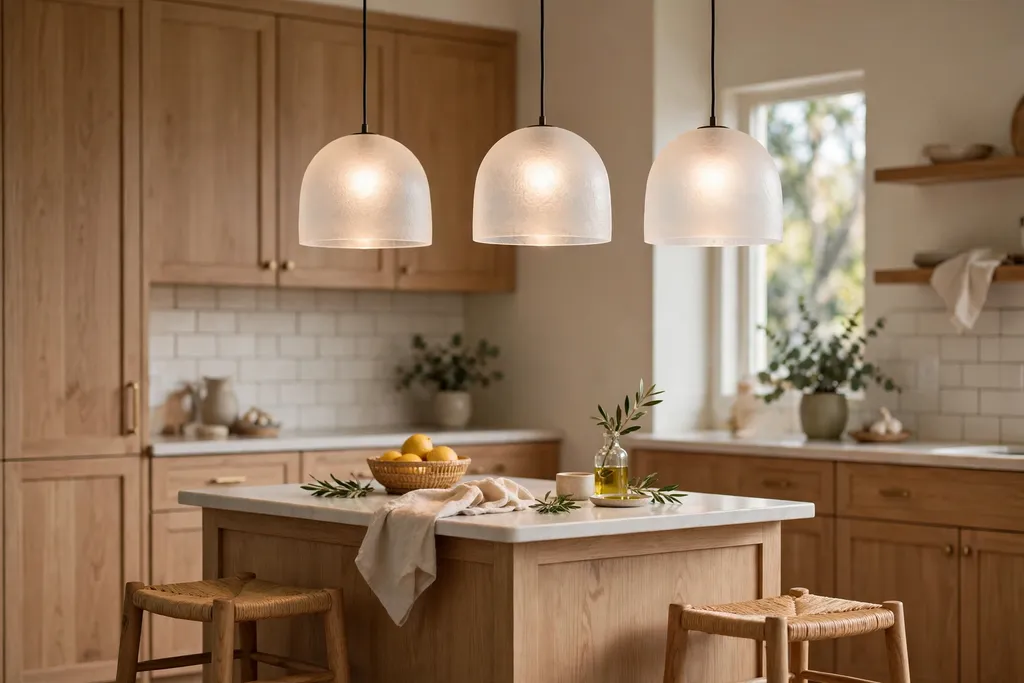
12. Frosted Glass Shades for Soft Diffusion
Frosted glass shades soften the bulb into an even glow with no visible filament and no harsh spots, which suits an island used for long meals and conversation. The frosted surface hides the bulb, so the light feels calm from every seat, and the shades suit kitchens where clear glass would glare. Frosted glass also pairs well with pale cabinets and stone counters, since the soft light flatters both.
Choose shades in a simple shape, such as a dome or a globe, and keep the shade size modest, so the fixture does not crowd a short island. Use warm white bulbs, since frosted glass cools the light slightly, and clean the shades with a soft cloth, since grease film dulls frosted glass faster than clear glass. If you want more light for prep, add a second layer, such as a strip under the overhang.
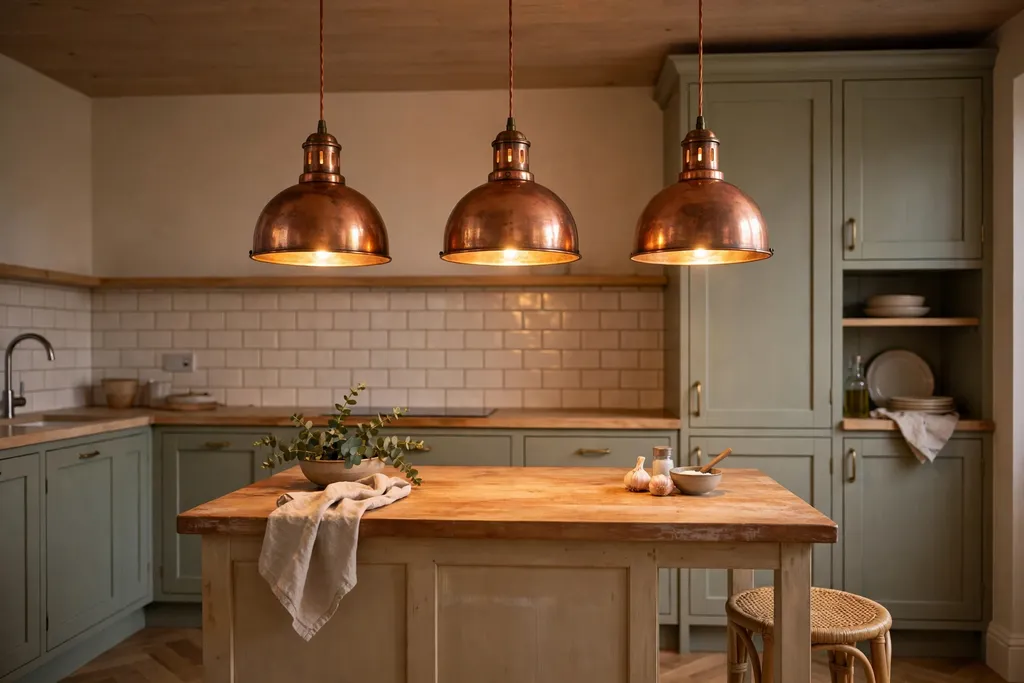
13. Copper Pendants for a Warm Metal Accent
Copper pendants add a warm, rosy metal tone that suits kitchens with wood counters, cream cabinets, or terracotta tiles. The metal reflects warm light back into the room, which makes the island area feel inviting in the evening, and a small copper shade keeps the fixture light over a compact island. Copper also ages with a soft patina, which suits a kitchen with natural materials.
Match the copper tone to one other copper item, such as a pot, a tap, or a tray, so the pendants look planned rather than random, and hang a pair evenly over the island. Polish the shades if you prefer a bright finish, or let the patina build for a softer look, and use warm bulbs to keep the copper glow gentle. Keep copper shades clear of heavy steam, since constant damp dulls the finish.
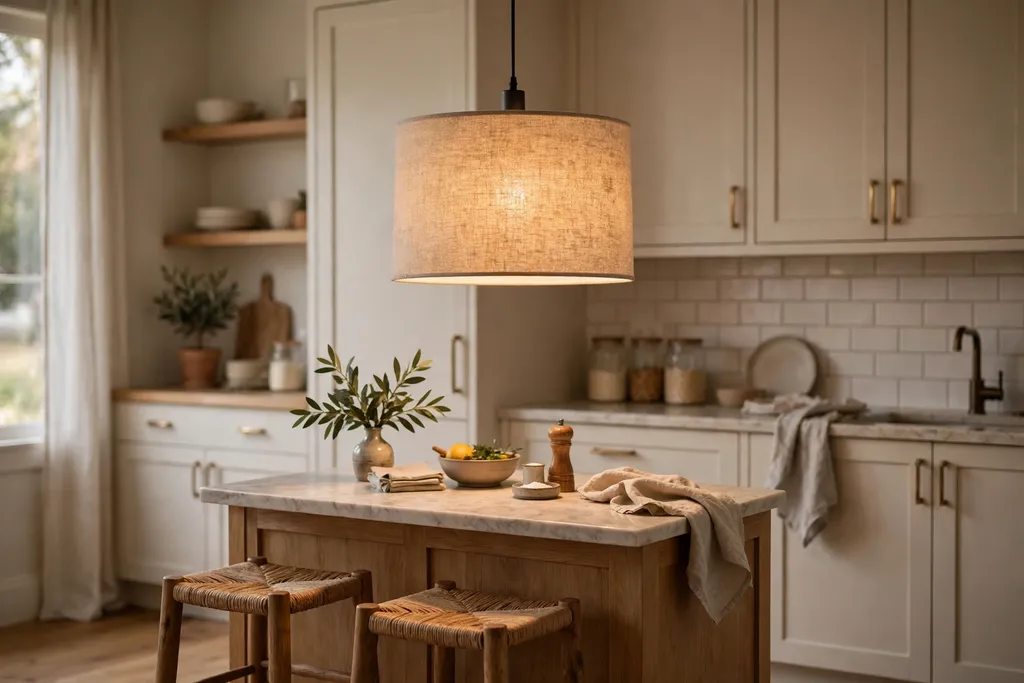
14. Linen Drum Shade Pendant
A linen drum shade pendant gives a small island a soft, fabric glow, similar to a table lamp, which suits a kitchen that opens onto a living area. The fabric diffuses the light in all directions, so the island feels like part of the living space rather than a work zone, and the drum shape keeps the fixture simple and calm. Linen suits kitchens with soft colors, wood floors, and upholstered stools.
Hang one drum shade over the island center, and check the shade diameter against the island width, since a drum wider than half the island can look heavy. Keep the shade clear of the hob and steam, since fabric absorbs cooking film, and vacuum the shade lightly now and then. Use a warm bulb, and put the drum on a dimmer, so the soft light can drop further for evening meals.
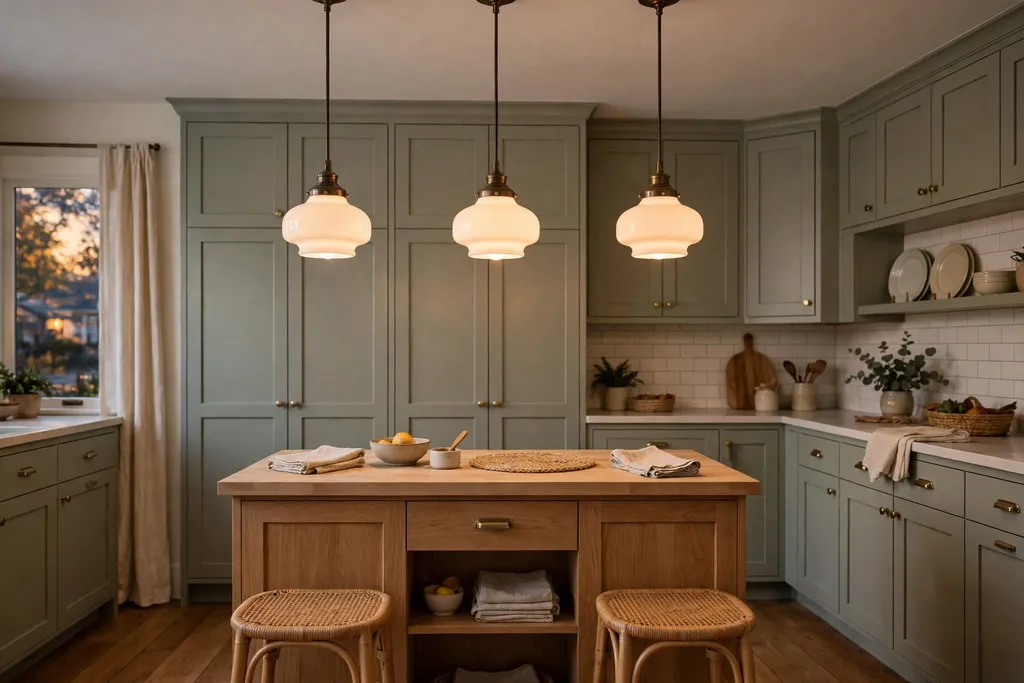
15. Schoolhouse Milk Glass Pendants
Schoolhouse pendants use opal milk glass in a simple dome or globe shape, which gives a small island a classic, timeless look. The milk glass diffuses the bulb evenly, so the light is soft from every angle, and the plain shape suits kitchens with shaker cabinets, subway tile, or a farmhouse sink. A pair of schoolhouse pendants reads as a quiet, settled choice rather than a trend piece.
Hang the pair evenly over the island, with matching drops, and choose a shade size that leaves clear space between the shades and above the counter. Use warm white bulbs, since milk glass softens the light, and clean the glass inside and out now and then, since dust inside a milk glass shade shows as a dull patch. This idea pairs well with a simple metal finish, such as brushed nickel or aged brass.
16. Dimmable Pendants for Day and Evening
Putting island pendants on a dimmer turns one fixture into two lights: bright for prep and low for meals. This suits a small island that serves as both a work counter and a dining spot, since the light can change with the job without a second fixture. A dimmer also extends bulb life and cuts power use in the evening, when full brightness is rarely needed.
Check that the bulbs and the dimmer work together before fitting, since some LED bulbs flicker on the wrong dimmer, and test the full range from bright to low after dark. Place the dimmer switch near the kitchen entry or beside the main light switch, so it is easy to reach when you sit down to eat. If the pendants are already fitted, a dimmer switch swap is often a simpler job than changing the fixture.
17. Smart Bulbs With Scene Settings
Smart bulbs in island pendants let you set scenes, such as bright white for cooking and warm low light for dinner, from a phone or a voice command. This suits a small island used at different times of day, since the scene changes the light without touching a switch, and it suits households where different people prefer different light levels. Scenes also help when the island sits in an open plan room, since the island light can match the living area light.
Choose smart bulbs that fit the pendant sockets and work with the home system you already use, and set two or three scenes at most, so the choice stays simple. Keep a normal switch as a backup, since a smart bulb still needs power from the wall switch, and test each scene after dark, when the difference shows clearly. If you rent, smart bulbs are a simple change, since they need no wiring work.
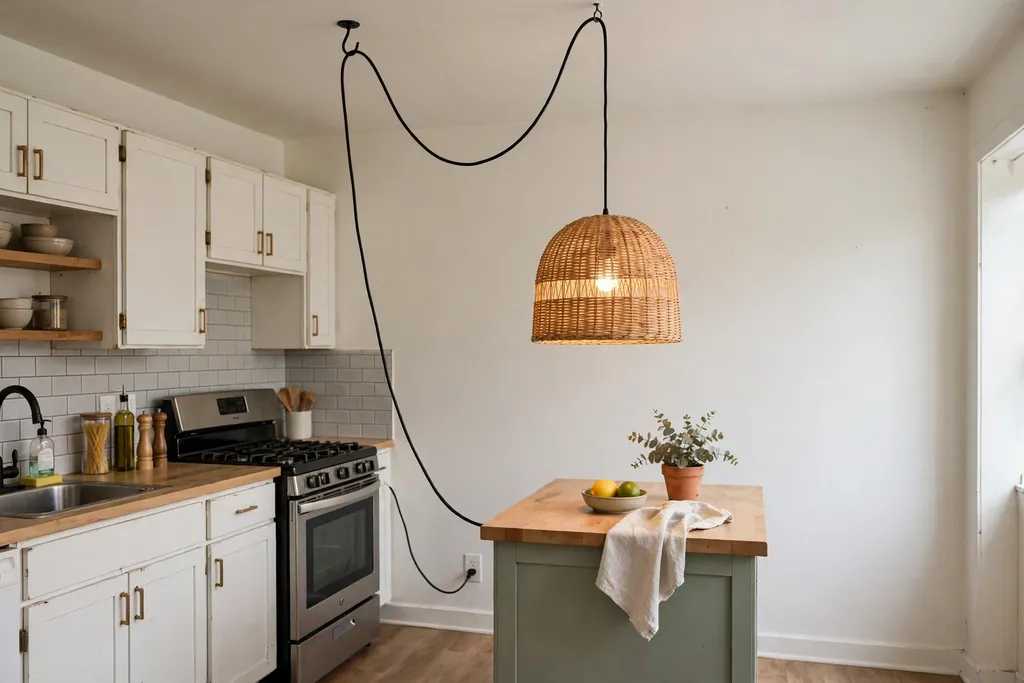
18. Plug In Swag Pendants for Renters
Plug in swag pendants hang from a ceiling hook and plug into a wall outlet, with the cord draped in a gentle curve, which suits a rental where new wiring is not allowed. This idea gives a small island a pendant look with no electrician visit, and the pendant can move to a new home when you move. Swag pendants suit kitchens where the island sits near a wall outlet and the ceiling has a solid hook point.
Fix the hook into a ceiling joist or a rated ceiling anchor, since a pendant with a cord and shade has real weight, and drape the cord so it does not hang over the work surface or near the hob. Choose a light shade and a warm LED bulb, and hide the cord run along the wall or ceiling edge with small clips. For ideas that refresh a kitchen without rewiring, see these kitchen ideas on a budget.
19. Staggered Height Pendant Row
Hanging pendants at staggered heights turns a simple row into a feature, with each shade sitting a few centimeters higher or lower than the next. This suits a small island in a kitchen with a high ceiling, where a flat row would look plain, and it suits islands used for display as well as prep, since the varied heights draw the eye along the counter. The stagger also helps when the island has two levels, such as a prep height and a bar height.
Keep the height differences small, about 8 to 15 centimeters between shades, so the row still reads as one group, and keep the lowest shade well above head height. Use matching shades and bulbs, so the stagger is the feature, not a mix of shapes, and check the row from the kitchen entry, since that is where the stagger shows most. If the ceiling is low, skip this idea, since staggered shades can feel crowded overhead.
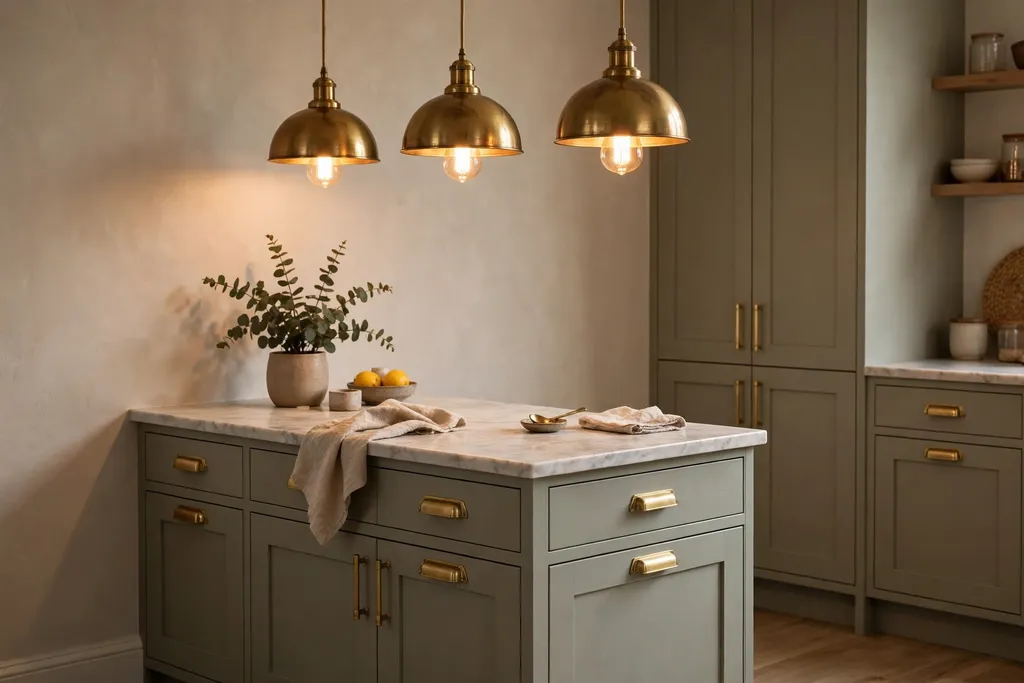
20. Pendants Matched to Cabinet Hardware
Matching the pendant finish to the cabinet hardware, such as brass pendants with brass pulls or black pendants with black knobs, ties a small island into the rest of the kitchen. This small repeat makes the room feel planned, even when the pendants themselves are simple, and it suits kitchens where the hardware is already a clear feature. The match also helps a small island feel like part of the kitchen, rather than a separate piece.
Pick the hardware finish first, then find pendants in the same finish family, and repeat that finish once more, such as in the tap or a stool frame, so the match looks deliberate. Keep the pendant shape simple, since the finish is doing the work, and avoid mixing two strong metals in one small room. For help choosing a finish that suits the room, see these colors for your kitchen cabinets.
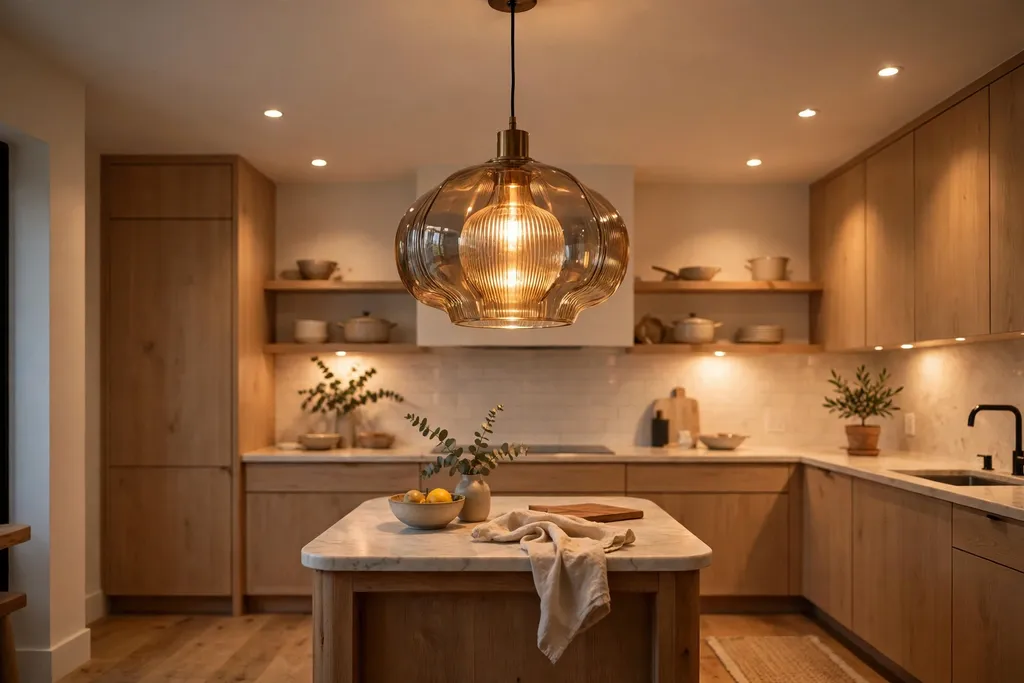
21. Statement Pendant Plus Recessed Fill Light
One statement pendant over the island center, paired with recessed lights for fill, gives a small kitchen both a focal point and even work light. The pendant carries the look, while the recessed lights handle the prep light, so neither job asks too much of one fixture. This layered pair suits islands with a clear center, where a single pendant can sit without blocking the view.
Hang the statement pendant over the island center, and place the recessed lights toward each end, so the whole counter gets light. Put the pendant and the recessed lights on separate switches or dimmers when possible, so you can run the pendant alone in the evening and add the fill lights for cooking. Check the pendant size against the island, since a statement shade still needs to leave clear space at each end.
22. Light That Bounces Off a Pale Ceiling
Bouncing light off a pale ceiling, with an uplight or a pendant that throws light upward as well as down, softens a small kitchen and makes the ceiling feel higher. This suits a kitchen with a low or dark ceiling, where direct downlights alone can feel harsh, and it suits islands in open plan rooms, where soft ambient light helps the kitchen blend with the living area. The bounced light fills the room without a visible bright spot.
Use a fixture with an open top or an uplight setting, and keep the ceiling pale and matte, since a dark or glossy ceiling absorbs or reflects the light unevenly. Pair the bounced light with a focused island light for prep, so the counter still gets direct light for chopping. For broader ideas on making a compact kitchen work harder, see these small kitchen remodel ideas.
Conclusion
Lighting a small kitchen island is less about finding one perfect fixture and more about matching size, height, and light level to how the island is actually used. A trio of glass pendants, a slim linear bar, or a single woven shade can each work well, as long as the light falls on the counter, the shades stay clear of heads, and the room keeps a soft layer for the evening. Start with the island length and ceiling height, pick one main light from this list, add a dimmer or a soft strip for the evening, and test the result after dark before calling the job done. Save the ideas that fit your island, and return to them when you are ready to change the fixture.
FAQs
How many pendant lights should go over a small kitchen island?
Two small pendants suit most small islands, while a very short island suits one pendant and a longer island suits three. Space the pendants evenly, with the outer shades set in from each end, and check the row from the kitchen entry, since that view shows whether the spacing looks even. When in doubt, choose fewer, smaller shades rather than more large ones.
How high should pendant lights hang above a kitchen island?
Hang pendants so the lowest point of the shade sits about 75 to 90 centimeters above the island counter, which lights the work surface while keeping the shade above eye level when seated. In a kitchen with a low ceiling, stay near the lower end of that range only if the shade still clears heads, and in a tall room, hang slightly higher so the pendant does not block the view across the island.
What color temperature is best for kitchen island lighting?
Warm white light, around 2700 to 3000 Kelvin, suits most kitchen islands, since it flatters food, wood, and skin tones in the evening. A cooler white, around 3500 to 4000 Kelvin, gives brighter prep light but can feel clinical in a small room, so use it only if the kitchen gets little daylight. Dimmable warm white bulbs give the most flexibility, since they cover both prep and meals.
Can you light a small kitchen island without pendants?
Yes, recessed downlights, a slim linear bar, track lighting, or LED strips can all light a small island without pendants. Recessed lights suit low ceilings, a linear bar suits modern kitchens, and strips under the overhang or at the toe kick add a soft layer. The key is even light across the counter, so choose the option that covers the full island length without dark gaps.
Should island lighting match the rest of the kitchen?
The finish should relate to the rest of the kitchen, such as matching the pendant metal to the taps or cabinet pulls, but the shade shape can differ. One repeated finish ties the room together, while a matching shape in every light can feel repetitive. Keep the island light simple if the rest of the kitchen already has strong details, and let the island light carry more character only if the rest of the room is plain.
Do I need an electrician to change island lighting?
A simple bulb swap, a smart bulb change, or a plug in swag pendant needs no electrician, but new wiring, a new ceiling point, or a dimmer switch swap usually does. If the job involves opening the ceiling, moving a junction box, or working on the main circuit, hire a licensed electrician, since kitchen wiring sits near water and heat. For renter friendly options, see these kitchen ideas on a budget.
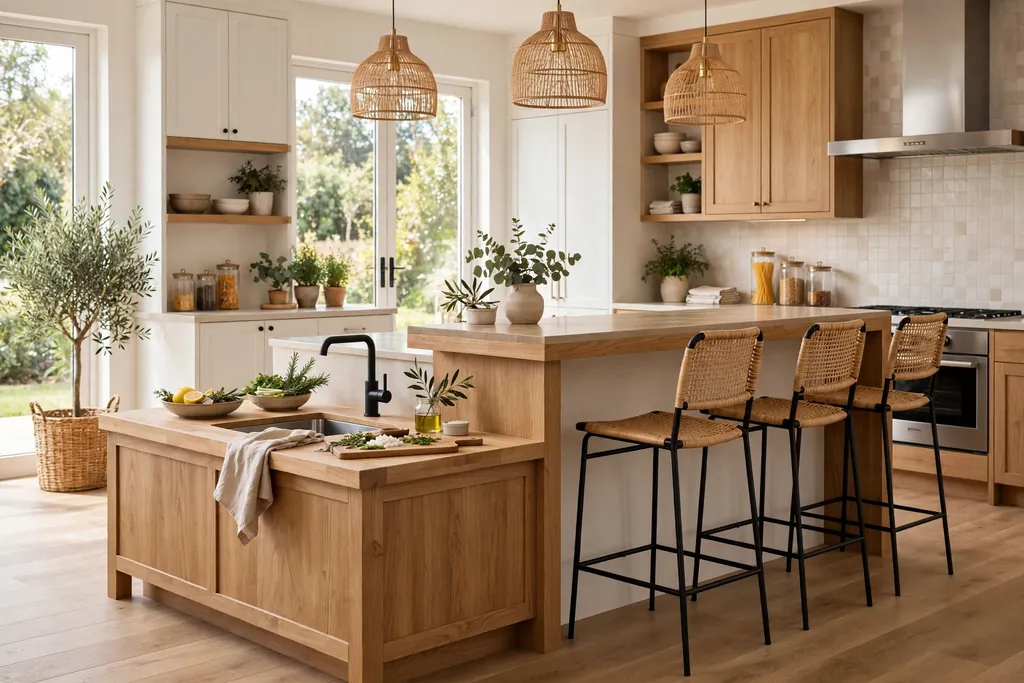
A kitchen island has to do more than look good in a photo. It is where breakfast happens, homework spreads out, vegetables get chopped, and guests gather while dinner cooks. The best island for your home depends on how much floor space you have, how many people sit there, and what you cook most often. These 24 ideas cover prep islands, seating bars, storage islands, baking stations, and small kitchen layouts, so you can pick a shape and a surface that fits your room and your daily routine. Start with clear walkways and a job for the island, then choose materials that suit how hard it will work.
Key Takeaways
Give the island a clear main job first, such as prep, seating, storage, or baking, and let that job set its size and surface.
Keep walkways clear on every side you use, so doors, drawers, and stools can move without crowding the cook.
Choose a work surface for real use: wood for warm prep work, stone for baking and heat, and sealed surfaces where spills are frequent.
Plan seating for the people who actually sit there, with foot room, knee room, and a stool height that matches the counter.
Mix open and closed storage so everyday tools stay within reach and less used items stay out of sight.
Repeat one material or color from the rest of the kitchen, so the island reads as part of the room rather than a separate piece.
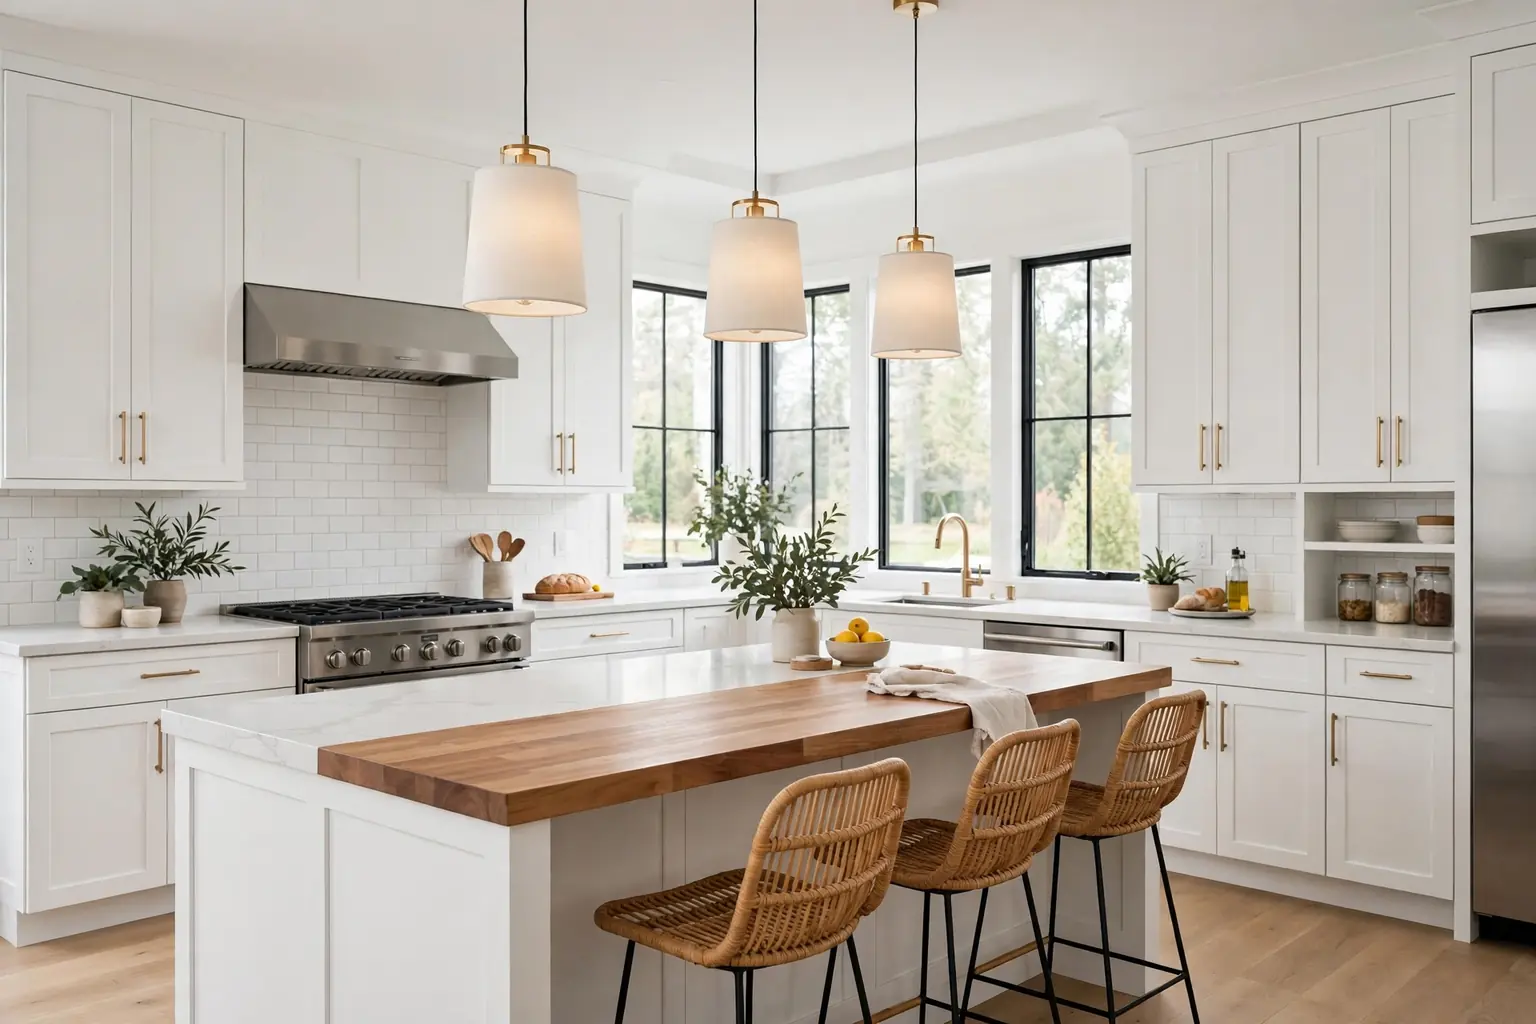
1. Classic Rectangular Prep Island With a Butcher Block Top
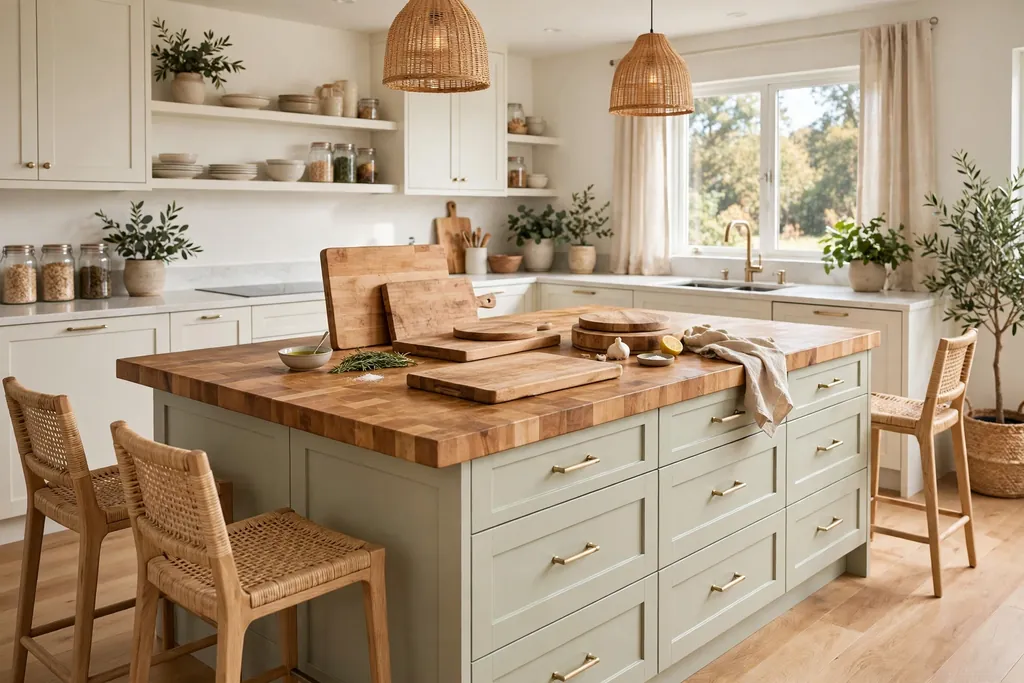
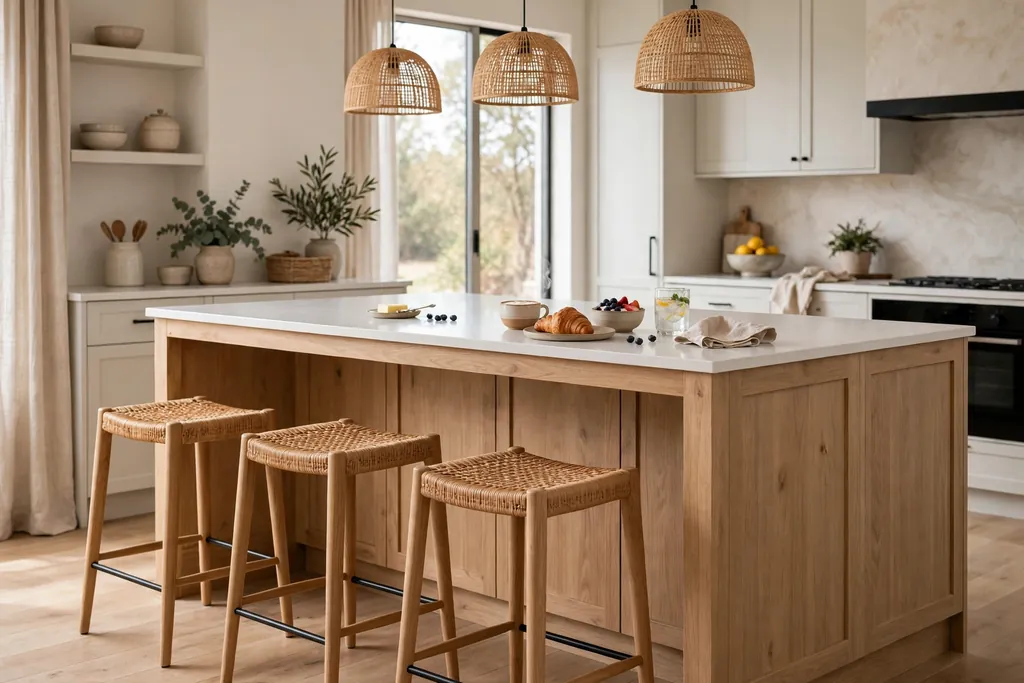
A simple rectangular island with a butcher block top is a strong starting point for a working kitchen. The wood surface is warm to the touch, kind to knives and dishes, and easy to use as a chopping and serving area. Keep the shape plain, with drawers on the cook side and a clear top, so the island stays useful even when the kitchen is busy. A rectangular island also fits most layouts, since it lines up with the main counter run and leaves even walkways on both long sides.
Oil the wood on a regular schedule, wipe spills promptly, and use a separate board for raw meat and strong smelling foods. If the top marks over time, light sanding and fresh oil can bring it back, which is one reason wood suits a hard working island. Pair it with simple stools at one end only if there is enough overhang, and keep the rest of the top clear for prep.
2. Waterfall Quartz Island
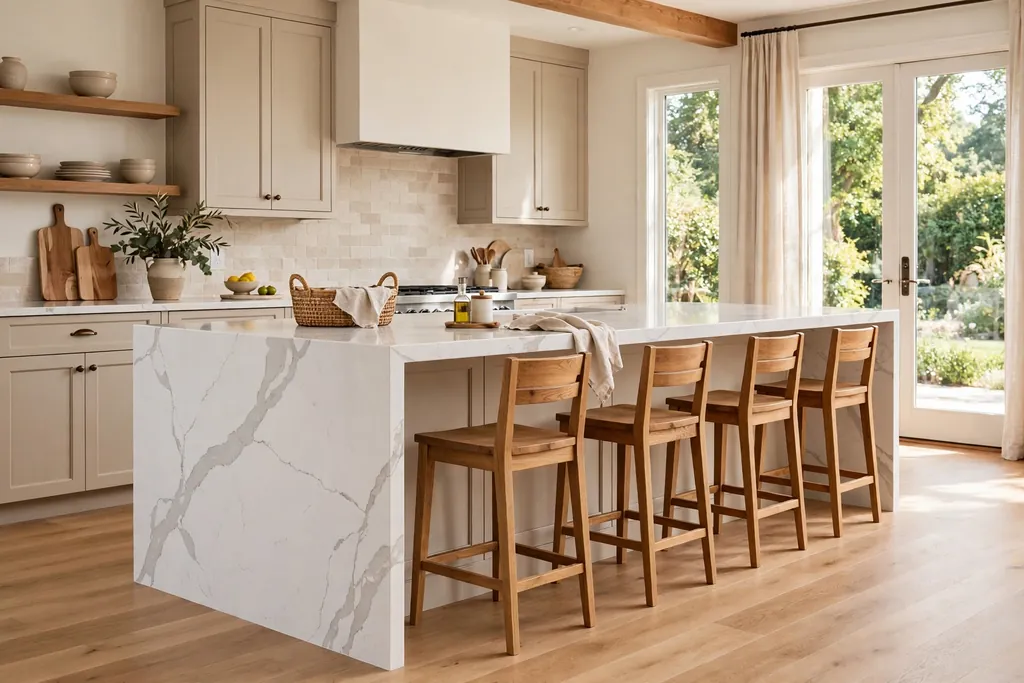
A waterfall island wraps the counter material down both ends to the floor, giving the island a clean, solid outline. Quartz suits this treatment well, since it is consistent in color, hard wearing, and easy to wipe after cooking. The solid ends make the island read as a piece of furniture, which suits an open plan room where the kitchen faces the living area. If the island sits opposite a cooking wall, choose a wall surface that wipes clean too, as shown in these kitchen backsplash ideas.
Keep the island front simple, with no handles or panels competing with the stone, and choose a quartz with soft veining or a plain finish. Add seating on one side only, so the waterfall ends stay visible, and pick stools in wood or rattan to warm the stone. Measure the room first and leave enough walkway space on every side before you commit to the size, since a waterfall island is a fixed feature.
3. Island Seating Bar With Stools
An island seating bar turns one side of the island into a casual eating spot for breakfast, coffee, and quick meals. The key is an overhang deep enough for knees and a footrest or a stool with a foot ring, so sitters do not perch awkwardly. Place stools with elbow room between them, and keep the number to what the island truly fits rather than crowding in one more seat. For stool styles, heights, and comfort tips, see these kitchen chair ideas.
Choose stools that slide fully under the overhang when not in use, so the walkway stays clear. A backless stool suits a tight space, while a stool with a low back suits longer sits and older guests. Keep the seating side free of drawers and bins that open into knees, and keep the surface clear of clutter so the bar reads as a welcome place to sit.
4. Rolling Island for a Flexible Kitchen
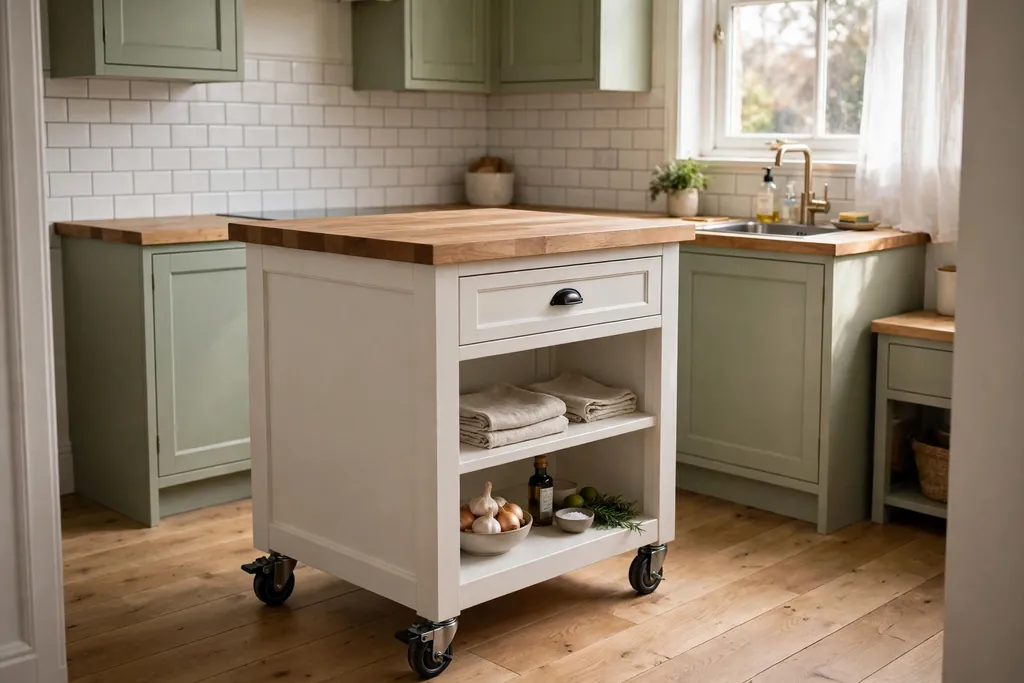
A rolling island on locking casters gives a small or rented kitchen a work surface that can move where it is needed. Roll it beside the main counter for extra prep space, move it to the center for serving, or push it against a wall when the room needs floor space. Choose a model with a solid top, at least one drawer, and shelves below, so it works as storage as well as a counter.
Lock the casters every time you chop or place a hot pan on the island, and check that the height matches your main counter so work flows across both surfaces. A rolling island suits a kitchen where a fixed island would block a door or a walkway, and it is a good trial before committing to a built in island. Keep the top light in color if the kitchen is small, so the movable piece does not weigh the room down visually.
5. Workstation Island With a Sink
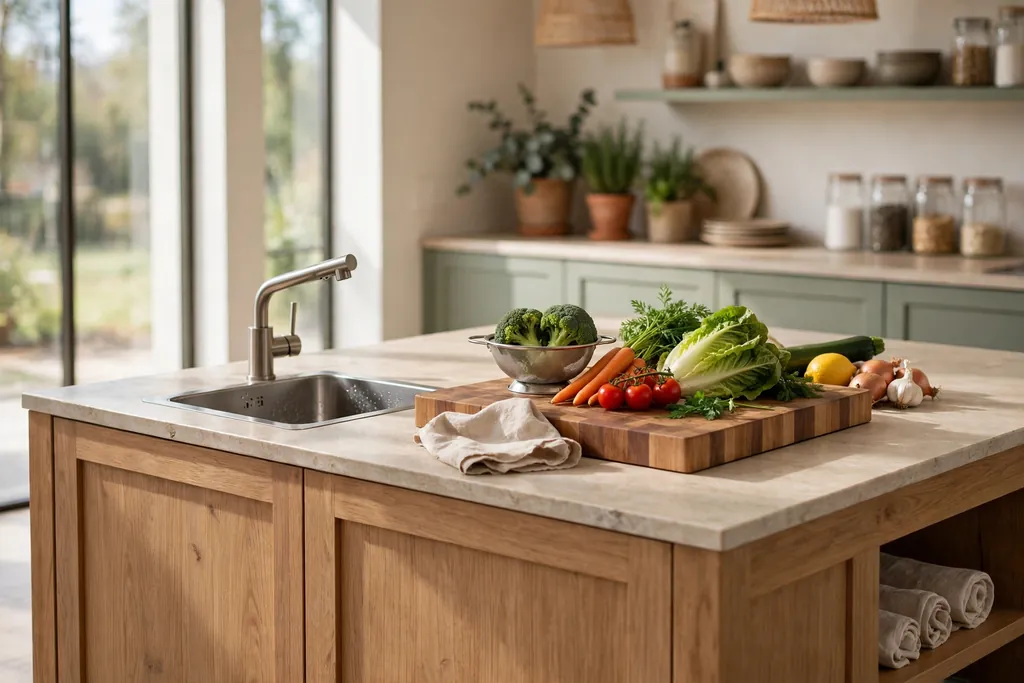
A workstation island with a sink puts rinsing, chopping, and draining in one place, so the cook faces the room instead of a wall. Add a small prep sink rather than a full size sink if counter space is tight, and keep a cutting board that fits over the bowl to reclaim the surface when the sink is not in use. Place the sink near the fridge or the chopping area, so one person can rinse vegetables while another works at the main sink.
Plan plumbing during a renovation if you can, since adding water later costs more and may limit where the island can sit. Keep the area around the sink clear, with a dish rack or a folded linen cloth nearby, and choose a faucet height that leaves room for filling tall pots. A workstation island suits a kitchen where two people cook together, since it spreads the work across the room.
6. Two Level Island for Prep and Eating
A two level island keeps a lower work counter for prep and a raised bar for eating, so crumbs and cooking mess stay on one level while meals stay on the other. The raised level also hides a sink or a messy prep area from the living room side, which suits an open plan kitchen. Use the lower level at standard counter height for chopping and mixing, and raise the eating level just enough to give sitters a clear view across the room.
Check stool height carefully, since the raised bar needs taller stools than the lower counter. Keep the raised level narrow enough to reach across for serving, and keep its surface in a material that wipes clean after meals. This island suits a household that wants seating and serious prep space in one piece, without giving the whole island over to either job.
7. Open Shelving Island for Display and Reach
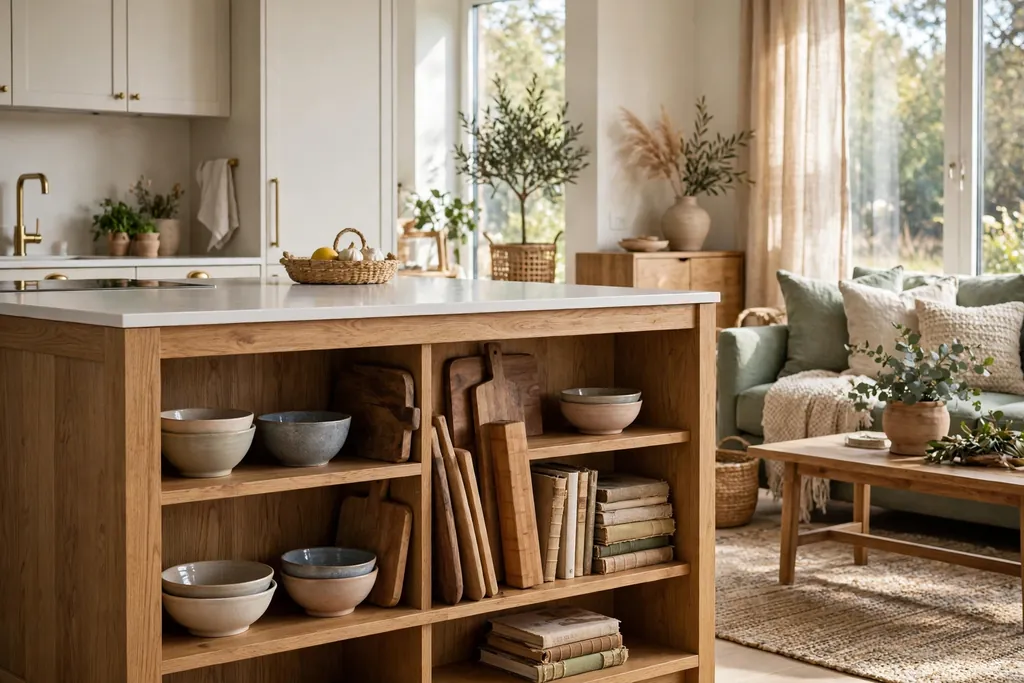
An open shelving island puts everyday bowls, boards, and cookbooks where you can grab them without opening a door. Use one or two open shelves on the living room side for items that look good and get used often, and keep closed drawers on the cook side for tools that need to stay out of sight. This mix keeps the island practical while giving the room a lived in, welcoming feel.
Style each shelf with a small set of related items, and leave space between them so the shelf does not look crowded. Keep what you show to pieces you use weekly, since open shelves gather cooking film and dust. If dust is a worry, use open shelving for one short run only, and keep the remaining island storage closed for items used less often.
8. Farmhouse Island With Panelled Sides
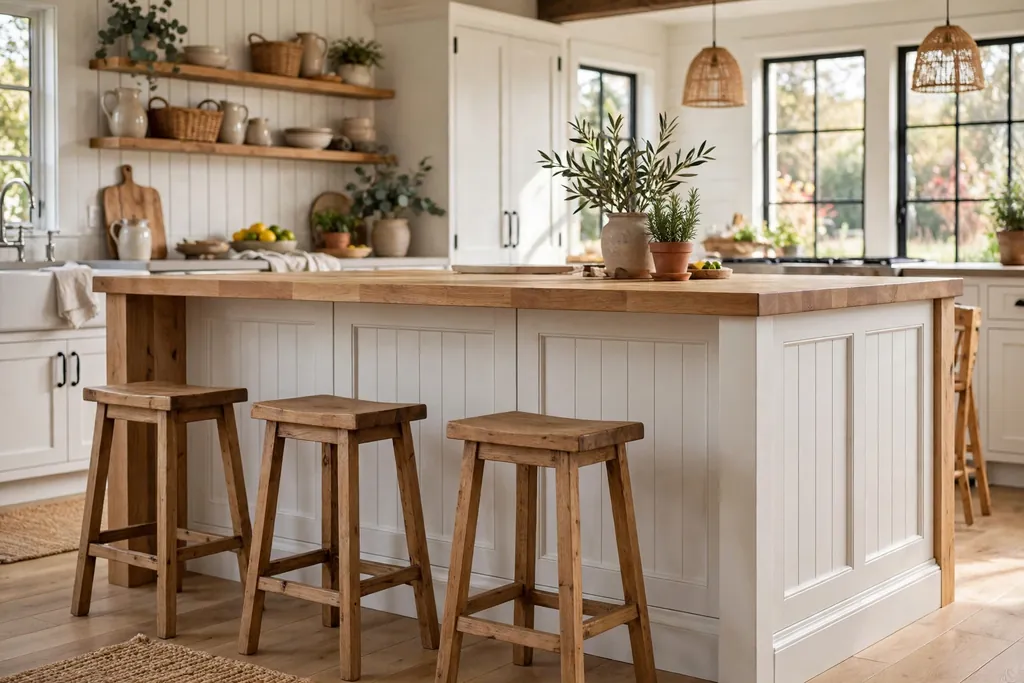
A farmhouse island with panelled sides, such as beadboard or simple shaker panels, gives a kitchen a settled, furniture like feel. Paint the panels the same color as the other cabinets so the texture, not a color change, does the work, or paint the island a shade deeper for a gentle focal point. The panelled sides suit a farmhouse, cottage, or traditional kitchen, and they look at home with wood stools and a ceramic sink nearby.
Wipe the panel grooves with a soft cloth during a normal clean, since crumbs and dust settle in the channels more than on a flat door. Keep the top simple, such as butcher block or a pale stone, and add vintage style hardware to complete the look. A panelled island works well as a freestanding piece too, since its finished sides look good from every angle.
9. Island With a Cookbook and Tray Shelf
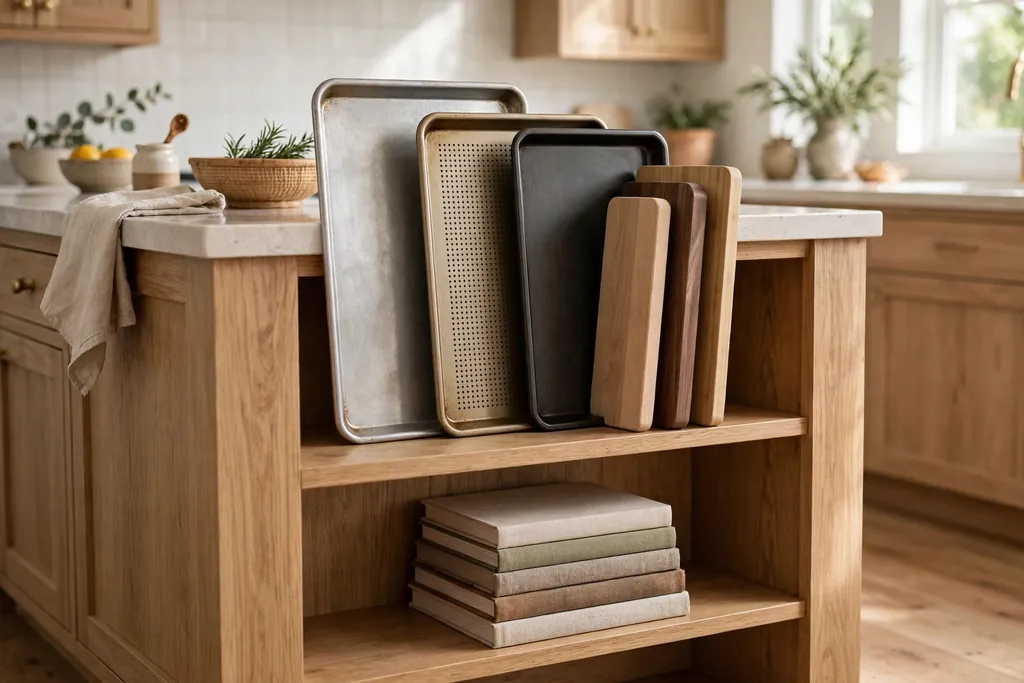
An island with a dedicated shelf for cookbooks, baking trays, and cutting boards keeps the tools you reach for daily close at hand. Use a vertical divider shelf for trays and boards, so they stand upright and slide out without a stack toppling, and keep cookbooks on a shelf away from the sink and stove. This small change saves time, since you no longer need to dig through a deep cabinet for a board or a tray.
Place the shelf on the end of the island or on the cook side, where it is easy to reach during prep. Keep the shelf tidy by limiting it to the books and boards you actually use, and store the rest elsewhere. A cookbook shelf also gives the island a personal touch, since the books on show reflect how the household really cooks.
10. Breakfast Bar Island With Pendant Lights
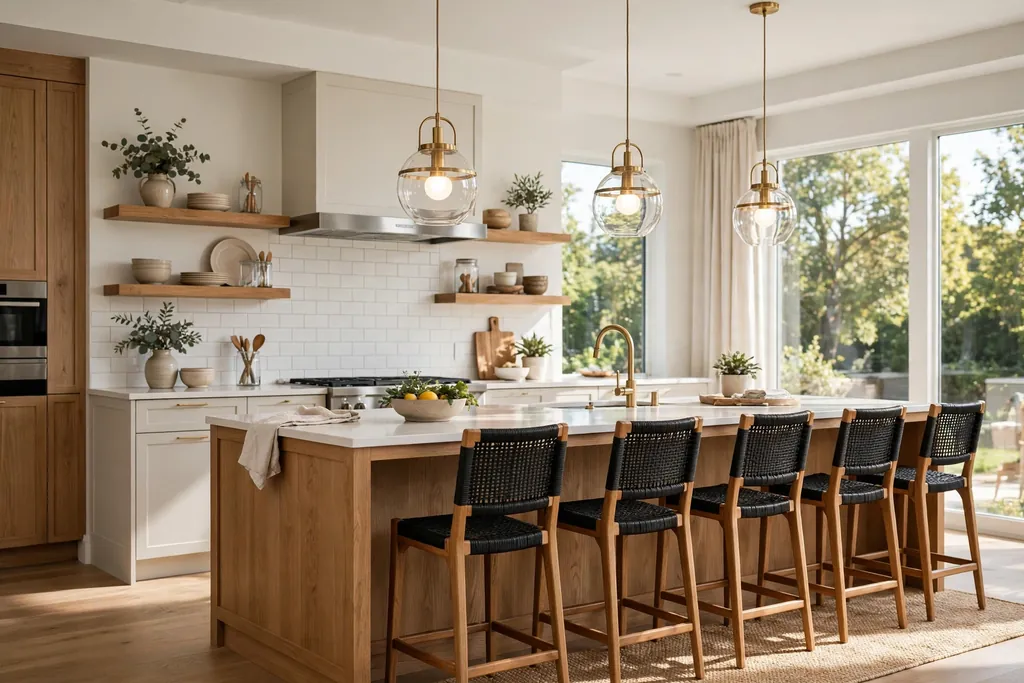
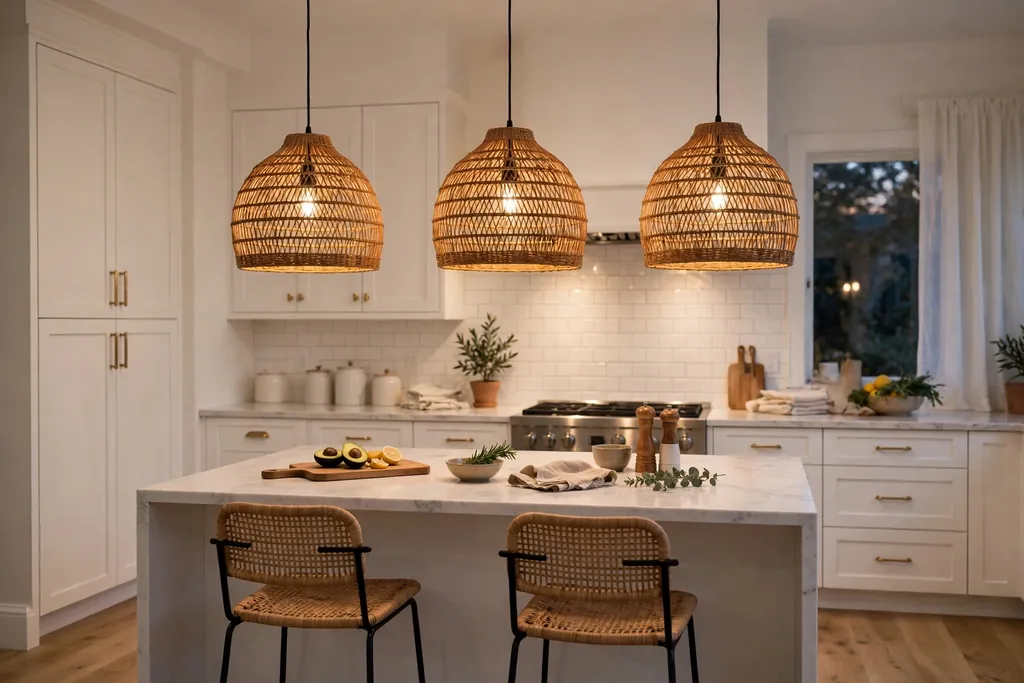
A breakfast bar island with pendant lights makes the seating side feel like a destination, not just a counter edge. Hang two or three pendants in a row over the bar, at a height that lights the surface without blocking sightlines across the room. Choose shades that match the kitchen hardware, such as wood, glass, or matte metal, and keep the bulbs warm so morning coffee and evening snacks both feel relaxed.
Plan the pendants on a dimmer if you can, so the bar can be bright for homework and softer for dinner. Keep the bar surface clear of tall items that would block the light, and repeat the pendant material once more in the room, such as in a stool frame or a shelf bracket, for a linked look. Pendant lights also mark the island as the gathering spot in an open plan room.
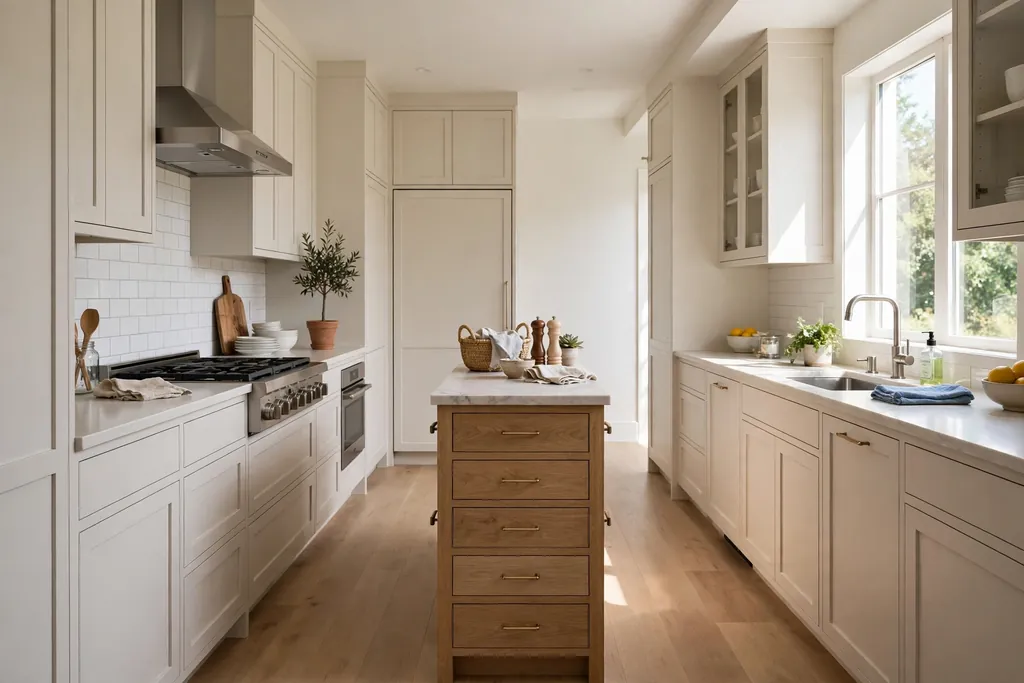
11. Narrow Island for a Galley Kitchen
A narrow island can work in a galley kitchen if the walkways stay wide enough for one person to pass while another works at the counter. Choose a slim island, often little wider than a counter run, with drawers rather than doors, since drawers open without blocking the walkway. Use the island for prep and serving, and keep seating off it, since stools would eat into the narrow passage.
Keep the island top in a light color and the base simple, so the narrow piece does not crowd the room visually. A narrow island with a butcher block top can also serve as a chopping station that faces the main counter, which shortens the steps between fridge, sink, and stove. Measure both walkways before ordering, and leave the island out if either side would become a squeeze.
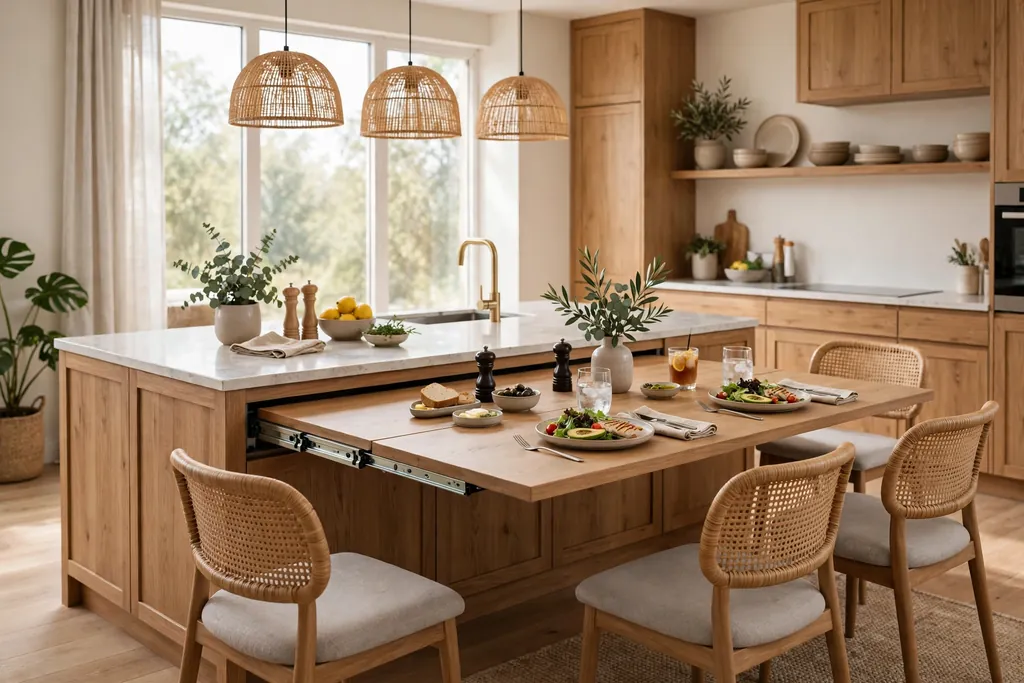
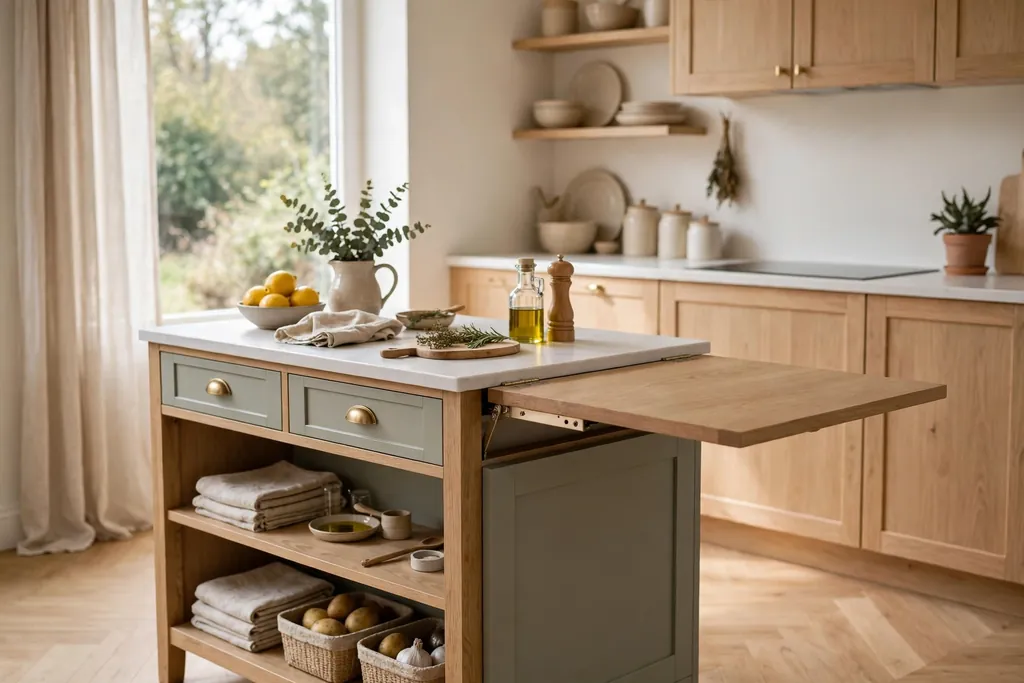
12. Island With a Pull Out Dining Table
An island with a pull out dining table gives a small kitchen a full table only when it is needed. The table slides out from the end or side of the island for meals, then tucks back in for daily prep and walkway space. Choose a table leaf that matches the island top or sits slightly lower, so the join feels deliberate rather than makeshift.
Check that chairs can pull out fully when the table is extended, and that the extended table does not block a door or a main walkway. This island suits a household that eats at the island on weekdays but wants a proper table for guests, without giving floor space to a separate dining table all week. Keep the pull out mechanism clean and free of crumbs so it slides smoothly.
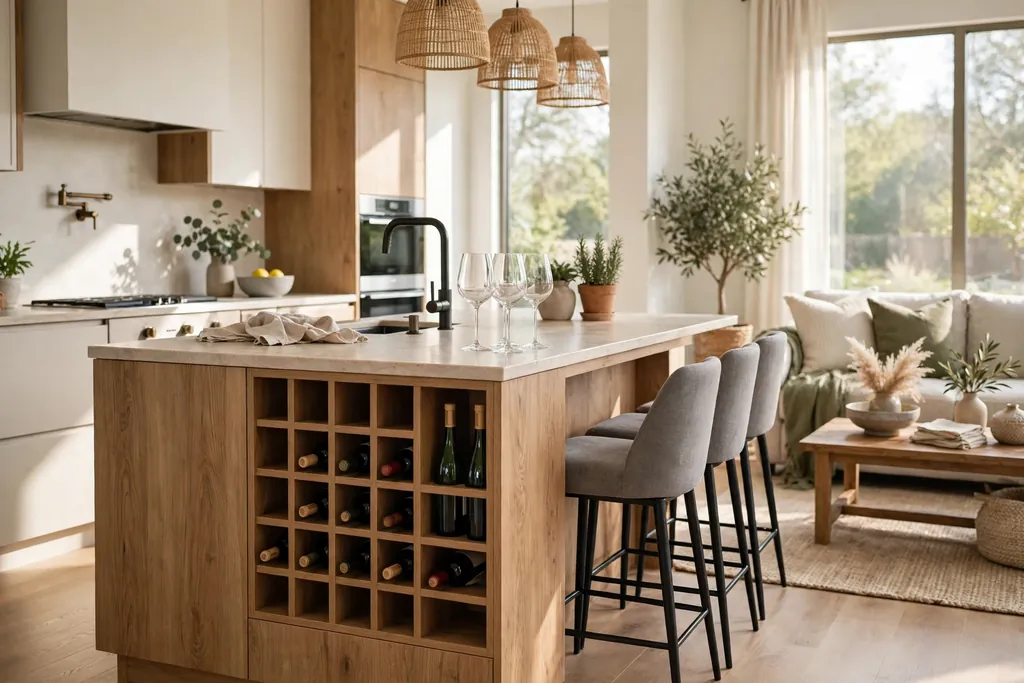
13. Island With Wine Storage
An island with wine storage keeps bottles organized and close to the dining area, without taking a full wall for a wine wall. Use a rack or a small cubby section on the living room side of the island, away from the stove and direct sun, and keep bottles lying down where the design allows it. A rack for everyday bottles plus a small closed section for glasses keeps the island tidy and useful for serving.
Keep the wine section modest, so it does not eat into prep or seating space, and avoid placing it beside a heat source. If you collect wine for longer storage, check storage guidance for temperature and light, since a kitchen island suits everyday bottles better than a cellar collection. A wine rack also gives the island end a clear purpose in an open plan room.
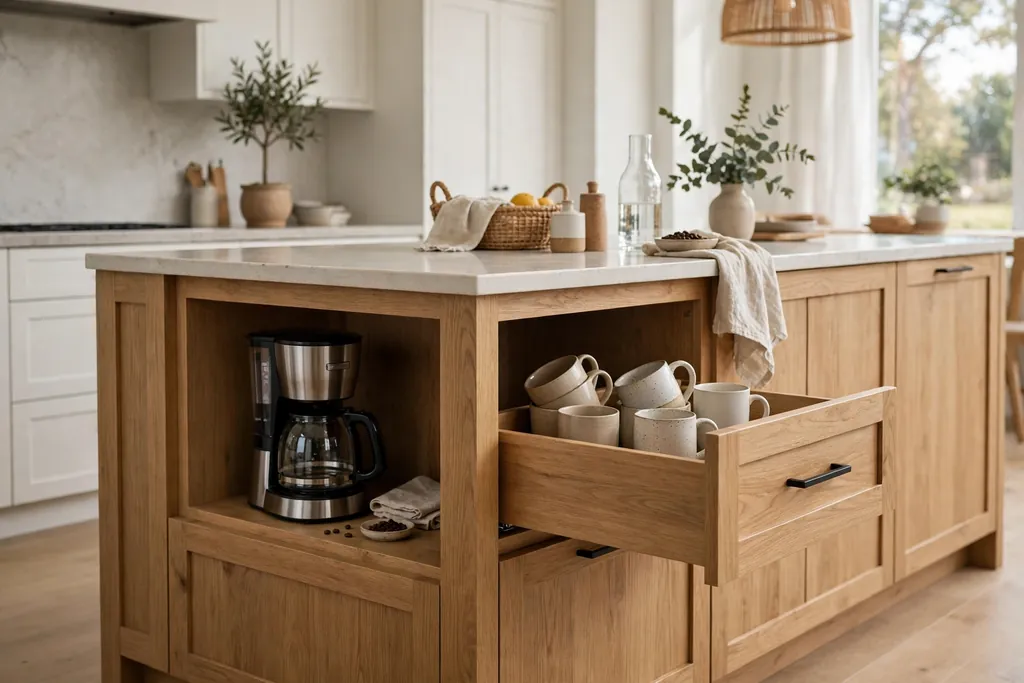
14. Island With a Hidden Appliance Nook
An island with a hidden appliance nook keeps a microwave, a toaster oven, or a coffee maker off the main counter while leaving it easy to reach. Use a drawer style microwave or a nook with a lift up door, and plan ventilation and power as the appliance manual directs. Placing small appliances in the island frees the main counter for prep, which makes a small kitchen feel larger at once.
Keep the nook near the side of the island you use most, and keep its door or drawer clear of stools and bins. Store the items that go with the appliance, such as mugs for a coffee maker, in the drawer above or beside the nook. This island suits a kitchen where counter clutter is the main problem, since it moves daily appliances out of sight without moving them out of reach.
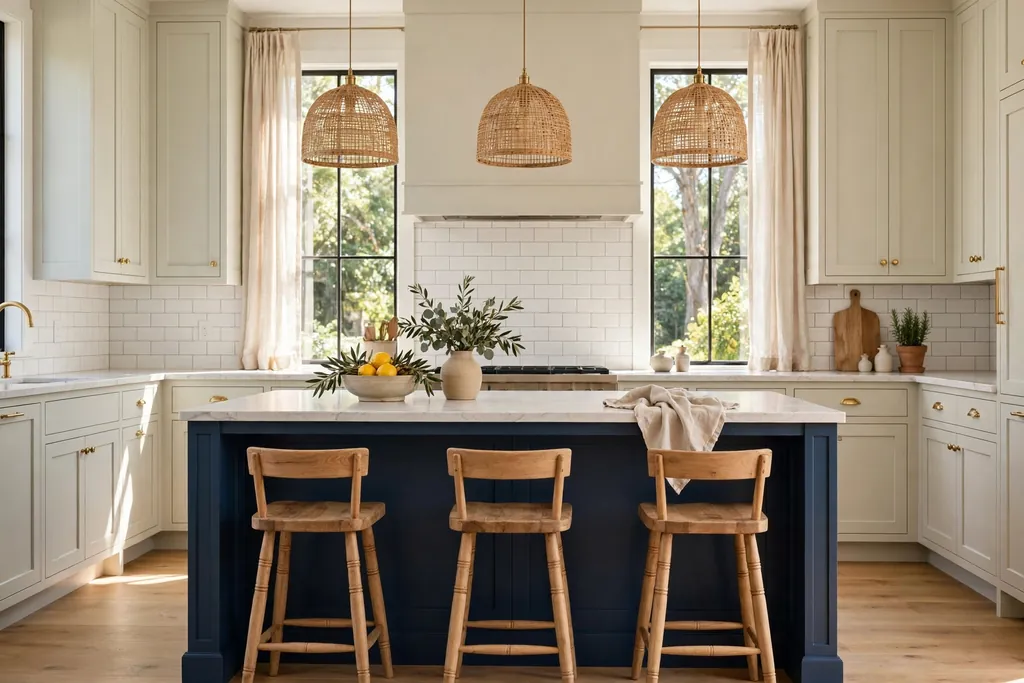
15. Island in a Contrasting Cabinet Color
An island in a contrasting cabinet color gives the kitchen a clear focal point without a full repaint. Paint the island in a deep navy, soft green, or warm wood tone, and keep the rest of the cabinets in a calmer color, so the island stands out on purpose. If the rest of the kitchen is pale, these white kitchen ideas show how a white scheme can carry one strong island color well.
Repeat the island color once more in the room, such as in a stool cushion, a rug, or a small accessory, so the contrast looks planned rather than added alone. Test the color beside your counter and floor in daylight and evening light before painting the whole island, since strong colors shift a lot under kitchen lighting. A contrasting island suits a plain kitchen best, where one bold piece can carry the scheme.
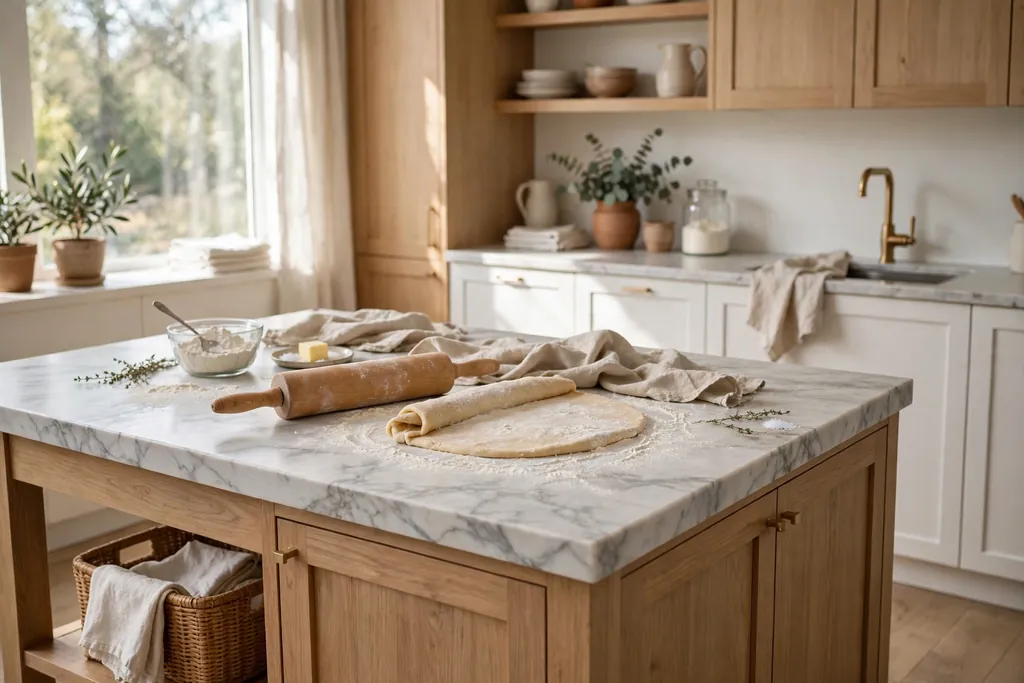
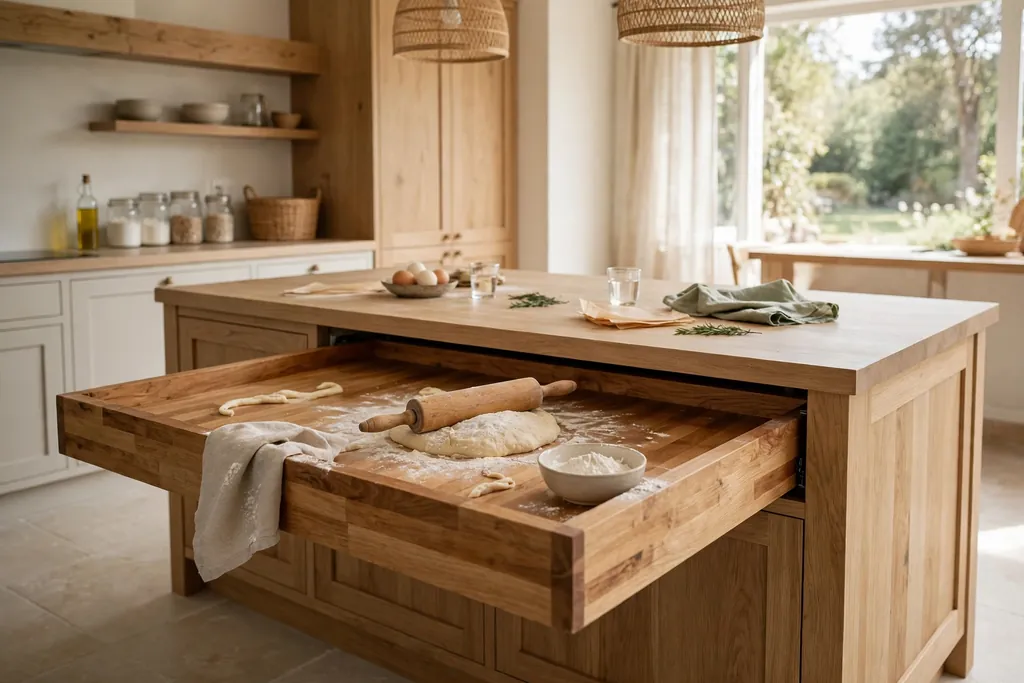
16. Marble Topped Island for Baking
A marble topped island gives baking a cool, smooth surface for rolling pastry and working dough. The stone stays cool, which helps pastry keep its shape, and its veining adds a calm, classic look to the kitchen. Choose a slab with gentle veining if you want a calm look, or a bolder vein pattern if the island is meant to be the main feature of the room.
Seal the marble as advised by the supplier, wipe acidic spills quickly, and use boards for cutting so the surface keeps an even look. Keep a lower shelf or drawer for rolling pins, baking trays, and flour, so the baking tools live where the work happens. Marble needs more care than quartz, so pair it with a harder wearing surface on the main prep run if you cook daily with citrus, tomato, and wine.
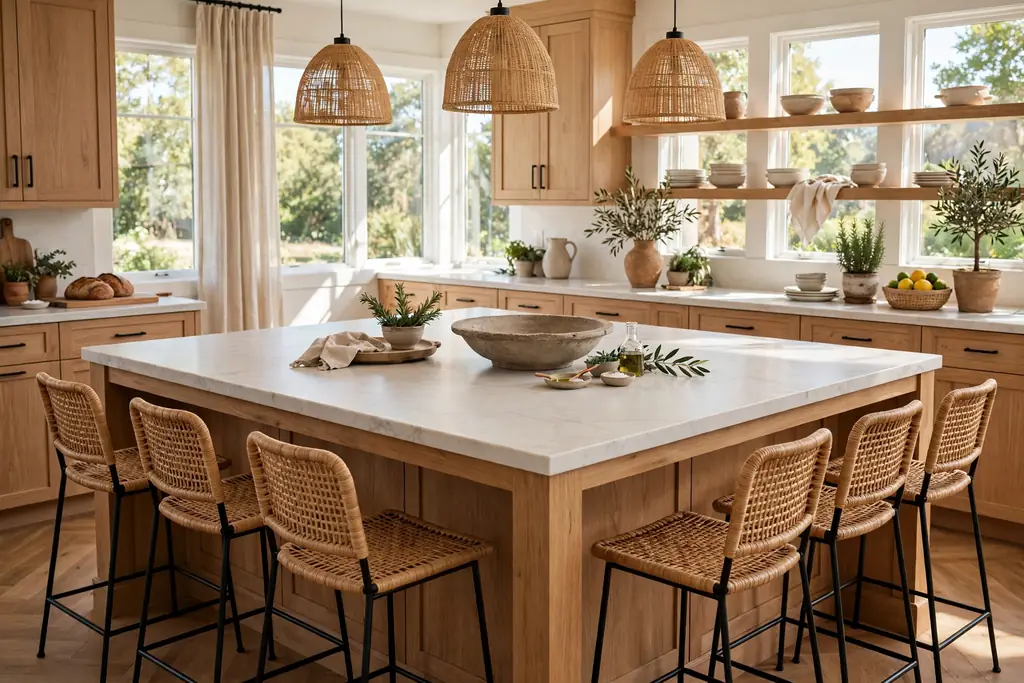
17. Island With Seating on Two Sides
An island with seating on two sides suits a household where people gather from both directions, such as a kitchen that opens to a dining area on one side and a living area on the other. Place stools on the two long sides, or on one long side and one end, and keep the cook side free for prep and serving. This layout lets sitters face each other across the island, which makes conversation easy while dinner cooks.
Check that walkways stay clear behind every stool, so sitters can pull out without blocking a door or a main counter. Keep the number of stools to what the island truly fits, with elbow room between each seat, and use the same stool style on both sides for a calm look. Two sided seating works best on a larger island, where the center can stay clear for serving.
18. Island With Pull Out Bins and Deep Drawers
An island with pull out bins and deep drawers turns the base into hard working storage that is easy to use every day. Use one pull out section for recycling and waste near the prep side, so peelings and packaging go straight into a bin, and deep drawers for pots, pans, and mixing bowls. Drawers beat deep cabinets here, since you can see and reach everything without crouching into a dark cupboard.
Line the bins with bags that fit well, and wipe the pull out frames during a normal clean, since crumbs collect on runners. Keep heavy items in lower drawers and lighter items higher, and keep the bin section away from the seating side, where smells and noise would bother sitters. This island suits a busy family kitchen, where storage that works fast matters more than display.
19. Island With a Built In Bench
An island with a built in bench gives one side a fixed seat that never needs pulling out or storing. The bench can run along the end or one side of the island, with storage below for cushions, table linens, or children’s craft supplies. Add a washable bench cushion and a couple of scatter cushions, and the island becomes a relaxed spot for breakfast, reading, and homework.
Check the bench height against the island top, so sitters can eat comfortably without hunching, and keep the bench depth generous enough for a relaxed sit. A bench suits a family kitchen well, since children can slide along it and adults can sit beside them without juggling separate stools. Keep the walkway behind the bench clear, so people can get in and out without moving furniture.
20. Island With a Herb Planter and Cutting Station
An island with a herb planter and cutting station puts fresh herbs within arm’s reach of the chopping board. Use a shallow planter or a row of pots set into a tray on one end of the island, away from the sink splash zone, and keep the cutting board beside it so herbs go straight from plant to board. Choose herbs you cook with weekly, such as basil, parsley, and mint in separate pots, since mint spreads fast if planted with others.
Give the herbs daylight from a nearby window, water them as each plant needs, and trim them often to keep them bushy. Keep the planter tray lined and easy to lift out for cleaning, and keep soil away from food prep areas by wiping the board after harvesting. This island suits a cook who uses fresh herbs daily and wants them visible, not hidden in a fridge drawer.
21. Drop Leaf Island for a Small Kitchen
A drop leaf island gives a small kitchen a work surface that grows for serving and shrinks for daily life. The leaf folds down when the island is not in use, leaving a slim base with storage, and folds up to add a full extra section for prep or a meal. Use a sturdy hinge and a support leg or bracket, so the leaf stays level when it is up and does not wobble during chopping.
Keep the drop leaf side clear of stools and bins, so the leaf can fold up and down without moving furniture. This island suits a studio kitchen or a small apartment kitchen, where floor space matters every day but a larger surface is welcome for guests. Choose a top material that matches the fixed section, so the island reads as one piece when the leaf is up.
22. Island With a Lowered Baking Section
An island with a lowered baking section gives rolling and kneading a height that suits the work, rather than forcing it onto a standard counter. The lowered section, often in wood or marble, sits a few inches below the main island top, so you can press dough with your shoulders relaxed and see the work clearly. Keep the lowered section wide enough for a rolling pin and a board, with a drawer below for baking tools.
Use the main island top for general prep and serving, and reserve the lowered section for baking, so flour stays in one place. Wipe the lowered section after each bake, and keep its surface free of items that belong on the main counter. This island suits a household that bakes weekly, and it also works well for children who want to help, since the lower height brings the work within their reach.
23. Island With Open and Closed Storage Mix
An island with a mix of open and closed storage gives you the best of both: display where it helps and hidden storage where it matters. Use open shelves on the living room side for bowls, boards, and a few cookbooks, and closed drawers and doors on the cook side for pans, small appliances, and cleaning supplies. This mix keeps the island looking welcoming from the living area while keeping the working side tidy.
Plan which items earn an open shelf and which stay hidden, and stick to that plan, so open shelves do not slowly fill with clutter. Keep open items to a small set of related pieces, and leave space on each shelf so the display stays calm. A mixed storage island suits an open plan kitchen, where the island is seen from the sofa as well as from the stove.
24. Island That Doubles as a Room Divider
An island that doubles as a room divider marks the edge of the kitchen in an open plan home without building a wall. Place the island across the line where the kitchen meets the living or dining area, with the working side facing the kitchen and seating or display facing the other room. The island then gives the living area a clear boundary while keeping sightlines open and conversation easy.
Keep the living room side calm, with closed storage or a simple display shelf, so the back of the island looks finished from the sofa. Add pendant lights over the island to mark the boundary in the evening, and keep the seating side clear of cooking clutter. This island suits a loft or an open plan apartment, where one piece of furniture can define two rooms at once.
Conclusion
A good kitchen island is not the largest one you can fit, but the one that matches how you cook, eat, and gather. Pick a main job first, whether that is prep, seating, storage, or baking, then choose a size that leaves clear walkways and a surface that suits that job. Mix open and closed storage, plan seating for real people rather than a photo, and repeat one material or color from the rest of the kitchen so the island belongs in the room. Work through this list with your floor plan in hand, and start with the island that solves your biggest daily friction, whether that is a lack of prep space, nowhere to sit, or storage that is hard to reach.
Save this list on Pinterest before your next kitchen trip, and test your chosen island on paper first: mark its footprint on the floor, check every walkway and drawer swing, and sit on a stool at the right height before you commit.
FAQs
How big should a kitchen island be?
There is no single right size, since it depends on your room and your walkways. As a general guide, keep clear passage on every side you use, so doors, drawers, and stools can move without crowding the cook. A small kitchen may suit a narrow or rolling island, while a large open plan room can carry a longer island with seating on one or two sides. Mark the island footprint on the floor with tape before ordering, and walk around it with a stool pulled out, since that test shows problems a plan alone can miss.
What is the best countertop for a kitchen island?
It depends on the island’s main job. Butcher block suits warm prep work and is kind to knives, quartz suits a hard wearing, easy to wipe island, and marble suits baking, since it stays cool for pastry. Sealed stone or quartz is a safer pick where spills are frequent, while wood needs oiling and prompt wiping. If one surface must do everything, choose a hard wearing, sealed material for the main island, and add a wood board or a marble slab section for the jobs that need them.
How many stools fit at a kitchen island?
Count elbow room, not just length. Leave comfortable space between stools so sitters can eat without bumping elbows, and keep the number to what the island truly fits rather than crowding in one more seat. Check that each stool can pull out fully without blocking a walkway, a door, or a main counter, and that stools slide under the overhang when not in use. For a small island, two stools often work better than three squeezed in, since comfort matters more than a seat count.
Can a small kitchen have an island?
Yes, if the island is chosen for the room rather than copied from a larger kitchen. A narrow island, a rolling island, a drop leaf island, or a pull out table island can add prep and storage without blocking walkways. Keep seating off a very narrow island, use drawers rather than doors, and keep the top light in color so the piece does not crowd the room visually. If either walkway would become a squeeze, leave the island out and use a movable cart or a wall counter instead.
Should a kitchen island have a sink or a stove?
A sink or a stove on the island can work, but it changes plumbing, ventilation, and safety planning, so it suits a renovation better than a quick update. A prep sink on the island spreads work across the room and lets the cook face guests, while a stove on the island needs a hood and clear space around it. If you are unsure, start with a prep island without plumbing or a hob, and add a sink only when the layout, budget, and building rules support it comfortably.
How do I keep a kitchen island from looking cluttered?
Give every item on the island a home elsewhere, and keep the top for the job in hand only. Use deep drawers and pull out bins for tools and waste, closed storage for small appliances, and one or two open shelves for items you use weekly. Clear the island at the end of cooking, wipe the surface, and return stools to their places, so the island starts each day clear. A clear island also makes the whole kitchen feel larger, even when nothing else has changed.
A coastal kitchen should feel like a deep breath: pale walls, natural wood, woven texture, and just enough sea blue to set the mood. Start with a calm palette and one or two natural materials, then add color in layers you can change. These 34 coastal kitchen decor ideas cover cabinets, islands, tile, lighting, seating, storage, and small details. Start with one change, test paint and fabric samples in daylight and evening light, and keep work surfaces clear so cooking stays easy. If you want the same calm palette in the next room, these coastal bedroom ideas show how white, sand, and soft blue work together.
Key Takeaways
Keep the palette calm: white, warm sand, and one or two sea blues, with natural wood and woven texture for warmth.
Let one feature lead per area: pale blue cabinets, a whitewashed island, or a tile backsplash, not all three at once.
Use natural materials in small doses: rattan, jute, weathered wood, and linen add seaside character without clutter.
Keep light soft and plentiful: sheer or linen window treatments, pale walls, and warm lamps help the kitchen feel bright by day and restful at night.
Add sea color in layers you can change: cushions, towels, dishes, and art are easier to swap than paint or cabinets.
Leave breathing room: one coastal feature per wall or corner is enough, and clear counters keep the room calm.
1. Start With a White, Sand, and Sea Blue Palette
A white, sand, and sea blue palette is the simplest base for a coastal kitchen, because it reads as fresh in daylight and calm at night. Paint the walls white or warm white, keep large furniture pale, and let sand tones appear in wood, rugs, and baskets. Add sea blue only where you want the eye to rest, such as bar stools, a rug, or art, so the room stays light rather than busy.
This suits almost any kitchen, including a small room or a room with no sea view, since the palette does the coastal work. Test white paint beside your floor and cabinets, because white can look grey in cool light or yellow in warm light. If the room starts to feel washed out, add one deeper blue cushion or a mid tone wood piece, and keep the rest of the palette pale so that one darker note has room to stand out.
2. Paint Shaker Cabinets Pale Sea Blue
Pale sea blue shaker cabinets give a coastal kitchen a clear color story without a full remodel of the layout. Shaker doors keep the shape simple, and white walls, a pale counter, and a light wood floor stop the blue from feeling heavy. This suits a kitchen with good daylight, where the soft blue reads as a calm neutral rather than a bright color.
Keep handles simple in brushed brass or pale wood, and choose a counter in white or pale grey so the cabinets stay the focus. If you worry about commitment, paint one run of cabinets first and live with it for a week before painting the rest. For help choosing the right undertone for the rest of the room, see these ideas for colors for your kitchen cabinets. Wipe doors near the stove each week, since pale paint shows cooking splashes.
3. Whitewash the Island and Keep Cabinets White
Keep the main cabinets white or pale wood, and whitewash only the island for a beach house note at the center of the room. The washed finish lets the wood grain show through, which keeps the island feeling natural rather than flat white. A whitewashed island suits a white kitchen, while a deeper driftwood wash suits a kitchen with dark wood floors.
Repeat the washed wood tone once more, in stools, a tray, or open shelves, so it looks planned rather than random. Choose a hard wearing counter for the island, since it takes the most daily use. This is a good first step if you like coastal wood but are not ready for painted cabinets everywhere.
4. Add Beadboard Paneling to One Wall
Painted beadboard paneling adds texture to a plain kitchen wall, with narrow vertical grooves that catch light and give flat walls shape. Fit beadboard panels on one wall, such as the dining nook wall or the wall behind a banquette, and paint them white or warm white to match the trim. The vertical lines suit a coastal room because they echo porch and cottage paneling without a themed print.
Keep the rest of the walls plain so the beadboard stays a feature rather than competing with tile or art. Use a wipeable paint finish, since kitchen walls near eating areas pick up marks, and seal the joints so steam does not lift the edges. If you rent, a removable beadboard look panel gives a similar texture without fixed work.
5. Choose a Sea Glass Tile Backsplash
Sea glass tile in soft blue, green, and pale aqua gives a coastal kitchen a backsplash that looks collected from the shore. The frosted, slightly uneven surface catches light in a gentle way, and the mixed tones mean small splashes show less than on a plain white tile. Use sea glass tile on the full backsplash run, or limit it to the range wall and keep the rest of the tile plain.
Pair the tile with white cabinets and a pale counter so the glass tones stay the focus. Seal the grout, since kitchen backsplashes take grease and water, and keep a spare box of tile for repairs. If the budget is tight, use sea glass tile as a single horizontal accent row above plain subway tile for a similar effect at lower cost.
6. Try a Fish Scale Tile Accent Behind the Range
Fish scale tile, also called scallop tile, gives the range wall a clear coastal shape without a single shell or fish motif in the room. The curved rows read as waves from across the kitchen, and a soft blue or pale aqua glaze keeps the effect calm. Limit the fish scale tile to the panel above the range, from counter to hood, and keep the side walls in plain tile so the pattern has room to stand out.
Choose tiles rated for heat and splashes, and seal the grout so cooking splashes wipe off easily. Measure the panel to sit centered over the range, with equal space on each side. If you rent, a framed tile board in a fish scale pattern gives a similar focus without changing the wall.
7. Hang Rattan Pendants Over the Island
Rattan pendant lights bring woven texture to a coastal kitchen in a way that feels natural and light, because the open weave lets light through. Hang two or three rattan pendants in a row over the island, spaced evenly, with the lowest point well above head height and clear of steam from the hob. A drum or dome shape suits most kitchens, and the warm wood tone pairs well with white cabinets and pale counters.
Match the rattan tone to another woven piece in the room, such as stools or baskets, and keep the rest of the ceiling lights plain. Use warm white bulbs so the light reads warm in the evening, not cold. Dust the shades often, since kitchen pendants collect grease film over time.
8. Seat the Island With Woven Bar Stools
Woven bar stools add seaside texture at seating height, where hands and eyes land every day. Choose stools with a rattan or seagrass seat and a wood or black metal frame, and check the seat height against your counter before you buy. Backless stools tuck fully under the island overhang, which suits a small kitchen, while low back stools suit a longer island where people sit for a full meal.
Keep the stool count to the space you truly have, with room to pull each stool out without bumping its neighbor. Wipe woven seats with a dry cloth, and keep them out of damp corners, since natural fibers can warp. If the room already has a lot of wood, use woven stools in just this one spot, so the texture stays a feature.
9. Fit Driftwood Open Shelves for Everyday Dishes
Driftwood or weathered wood open shelves give a coastal kitchen a place for everyday dishes with a greyed, worn finish that reads as seaside without a themed shape. Fix two shelves on one wall, spaced to fit the tallest item you plan to display, and style each shelf with a mix of white plates, blue bowls, and one small plant. Leave breathing room between groups so the shelves read as tidy.
Keep daily dishes on the lowest shelf, where they are easy to reach, and decorative pieces higher up. Dust open shelves weekly, since open storage near cooking collects film, and keep shelves clear of direct stove steam. If the wall is long, leave a gap between shelf groups, rather than running shelves end to end, so the wall keeps some calm space.
10. Swap in Rope Drawer Pulls
Rope wrapped drawer pulls are a small, reversible coastal detail that works on white, cream, or pale wood cabinets. The rope texture adds a nautical note at hand level, and it lets you test the coastal look before painting. This is a good weekend job, and it costs far less than new cabinets.
Keep all the pulls in the same rope tone and style, so the change looks planned. Save the old hardware in a labelled bag in case you want to swap it back. Check that new pulls match your existing screw spacing, and wipe them often near the stove, since kitchen rope and wood pick up grease.
11. Hang Linen Cafe Curtains on the Lower Half
Cafe curtains cover only the lower half of the window, which gives privacy at counter height while the top half stays open for daylight. Natural linen suits a coastal kitchen because it softens the glass without a formal drape, and a plain white or sand color hides light splashes better than bright white. Hang the panels on a slim tension rod inside the frame if you rent, or on a small fixed rod if you own.
Keep the hem just above the sill so fabric does not sit in water near the sink, and choose washable fabric, because kitchen curtains pick up grease film over time. For more window treatments, lengths, and hanging tips, see these kitchen window decor ideas. Keep any fabric well clear of the stove and open flames.
12. Ground the Room With a Natural Jute Runner
A natural jute runner grounds a coastal kitchen and warms up a hard floor, which matters in a room where white and pale blue could otherwise feel cool. Lay a long jute runner along the main work run, from sink to range, so it extends past the main standing spots. The coarse, natural texture contrasts with smooth counters, and the sand tone links the cabinets to light wood furniture and woven baskets.
This suits a kitchen with wood or tile floors, and it works best when the runner is long enough that your feet land on it at the sink and the stove. Use a rug pad underneath so the runner does not slip, and keep the pile low near the door swing. Vacuum jute with a brush head, since it sheds fibers at first, and blot spills quickly rather than rubbing, so the natural fibers keep an even tone.
13. Layer Blue and White Striped Textiles
Blue and white striped tea towels, seat cushions, and a table runner give a coastal kitchen a clear pattern that reads as seaside without a themed print. The stripe works best when the rest of the room stays mostly solid, so the pattern can be the one bold note. Use one stripe scale through the room, such as a narrow stripe on towels and a wider stripe on cushions, rather than mixing many stripe widths.
Keep the textiles washable, since kitchen linens need regular washing, and swap the stripe color with the seasons if you want a small change: pale blue in summer, navy in winter. If the room already has patterned tile, keep the textiles plain instead, so the two patterns do not fight.
14. Display Shells and Coral With Restraint
A small shell and coral display adds a true seaside note to a coastal kitchen, but restraint is what keeps it calm. Choose three to five pieces you like, in white, sand, and pale coral, and group them on one tray or one shelf, with clear space around the group. One tray on a sideboard or one shelf above the coffee station is enough for the whole room.
Keep shells out of the cooking splash zone, where steam and grease dull natural surfaces, and dust them with a dry cloth. If the collection grows, rotate pieces by season rather than adding more shelves, so the display stays a detail rather than turning into clutter. Skip painted or glittered shells, which fight the natural palette.
15. Hang a Gallery Wall of Seaside Prints
A gallery wall of seaside prints adds personality to a coastal kitchen without adding bold color that fights the scheme. Choose prints of the sea, the shore, boats, or coastal plants in pale blue, white, sand, and soft grey, with simple light wood frames. Hang them in a loose grid on the dining wall or along one blank wall, and keep the spacing even, so the wall feels calm rather than crowded.
Lay the frames on the floor first and plan the spacing, leaving equal gaps between frames, then hang the middle frame at eye level. Use picture hanging strips if you rent, and keep the largest frame near the center so the arrangement feels balanced. Swap one print with the seasons if you want a small change without redecorating the whole room.
16. Choose a Weathered Wood Dining Table
A weathered wood dining table gives a coastal kitchen a warm, lived in center for meals, homework, and morning coffee. The greyed, worn finish pairs well with white chairs, blue cushions, and light wood floors, and it hides small marks better than a dark polished table. Choose a table that leaves room to pull chairs out on all sides, and keep the center mostly clear, with one low centerpiece.
This suits a kitchen with an eating area that currently holds a table that feels too formal or too dark. Wipe the wood with a damp cloth, and use placemats for hot dishes, since weathered finishes still mark under heat. If the table feels too rustic, pair it with simple white chairs and a plain linen runner to lift the look.
17. Use Glass Front Cabinets for Blue and White Dishes
Glass front cabinets turn everyday blue and white dishes into coastal decor, with no extra objects to buy. Replace two solid cabinet doors with glass fronts, or fit one glass front cabinet beside the sink, and fill it with white plates, blue bowls, and clear glasses in neat stacks. The glass keeps the dishes dust free while letting the color show.
Keep the cabinet interior painted white or pale blue, and leave space between stacks so the display reads as tidy. Put daily dishes at eye level and decorative pieces higher up. If glass fronts feel too open, use reeded or frosted glass, which blurs the contents while still letting light through.
18. Pair Navy Lower Cabinets With White Uppers
Use navy on the lower cabinets and white on the uppers for a deeper coastal take that still feels light. The white uppers keep the eye moving up and make a small kitchen feel taller, while the navy base grounds the room and hides marks well. This split also makes repainting easier later, since only half the cabinets need a new color.
Pair the scheme with a pale backsplash and a wood or white counter. A brass or black handle on the lower cabinets ties the two tones together. Keep the wall color plain so the two cabinet colors can do the work, and add strong under cabinet lighting, since navy absorbs light at counter level.
19. Keep Counters in White Quartz With Sandy Veining
White quartz counters with soft sandy or pale grey veining give a coastal kitchen a bright work surface that still feels warm. The pale stone reflects light, which helps a small kitchen feel larger, and the faint veining links the counter to sand tones elsewhere in the room. Quartz also wipes clean after cooking, which matters beside the sink and range.
Pair white quartz with pale blue or white cabinets and a simple backsplash, so the counter does not fight the tile. Avoid a busy, high contrast veining pattern, which can make a coastal room feel formal rather than relaxed. Use cutting boards for prep and trivets for hot pans, so the surface stays even over time.
20. Repeat Brushed Brass Hardware Through the Room
Brushed brass knobs, pulls, and a tap give a coastal kitchen a warm metal that suits sand tones and pale blue alike. Brass reads softer than chrome in a coastal room, and it pairs well with white cabinets, wood shelves, and woven texture. Use one brass finish through the room, and repeat it in at least three places, such as the tap, knobs, and a pendant light, so the metal looks planned.
Keep other strong metals to a minimum, so brass stays the single warm note. Wipe brass near the stove and sink often, since kitchen metals pick up grease and water marks. If you rent, swap only the knobs and pulls, and leave fixed taps and lighting as they are.
21. Line the Sill With Herb Pots in Blue Ceramic
A row of small herb pots is a useful coastal windowsill choice because the plants get strong light and stay within reach while you cook. Use pots of a similar size in blue ceramic or white ceramic with a blue rim, so the row looks calm rather than collected at random. Basil, mint, chives, and parsley are common windowsill herbs, but choose based on the light your window actually gets.
Set the pots on a narrow tray or saucers to protect the sill from water marks. If your sill is too narrow, hang a small rail or use a shelf instead of crowding the counter. Snip herbs often, since regular picking keeps the plants bushy, and wash the pots when you repot, so salt and soil marks do not build up.
22. Set Up a Coastal Coffee Station
A coastal coffee station groups the coffee maker, mugs, and supplies on one tray or one shelf, so mornings start in one calm corner. Choose a tray in wood or woven seagrass, and set it on a counter away from the main prep run. Add white or blue mugs, a small jar of coffee, and one tiny plant, and keep the rest of the counter clear, so the station reads as styling rather than storage.
This suits a kitchen where coffee items currently spread across the counter. Wipe the tray weekly, since the area near a coffee maker collects drips, and limit the station to the items you use every day, storing spares elsewhere. Swap the mugs by season for a small change with no new furniture.
23. Build a Striped Banquette Breakfast Nook
A banquette breakfast nook with blue and white striped cushions gives a coastal kitchen a clear eating corner and a stronger pattern than plain cushions alone. Build or buy a simple bench along one wall, add a small table and two chairs opposite, and keep a soft throw over one end for cooler mornings. The stripe reads as seaside without a themed print, and it works best when the rest of the room stays mostly solid.
Choose a bench deep enough to sit in for a full meal, not a stiff accent bench that looks good but stays empty. Keep the table clear except for the meal you are eating, and add storage inside the bench for placemats and table linens. If the nook sits by a window, keep the cushions washable, since sun and food marks reach them fast.
24. Add a White Shiplap Ceiling
A white shiplap ceiling gives a coastal kitchen a cottage structure overhead, with long boards that draw the eye along the room. Paint the boards white or warm white to match the trim, and keep the walls plain so the ceiling stays a quiet feature rather than competing with tile or art. Shiplap suits a kitchen with a flat, plain ceiling that needs interest but not a feature color.
This is a measure and fit project, so it suits owners rather than renters. Choose boards that match your trim profile, and check that ceiling lights and vents still sit flush after fitting. Dust the grooves with a soft brush during a normal clean, and keep the finish matte, so the boards read as wood rather than gloss.
25. Whitewash Light Wood Floors
Whitewashed light wood floors give a coastal kitchen a pale, sandy base that lifts white cabinets and pale blue paint. The washed finish lets the wood grain show through, which keeps the floor feeling natural rather than flat white, and it hides light dust better than a dark floor. This suits a kitchen with wood floors that feel too orange or too dark for a coastal palette.
Protect the floor well around the sink and dishwasher, because water marks show on light wood, and use rugs at the sink and stove for extra cover. Sweep often, since pale floors show crumbs, and reseal high traffic paths when the finish starts to wear. If full refinishing is too much, a large pale rug gives a similar lift at lower cost.
26. Hang a Single Pendant Over the Sink
A single pendant over the sink gives a coastal kitchen task light and a small focal point at the brightest work spot. Choose a pendant in rattan, blue glass, or white ceramic, with a shade that throws light down onto the sink without blocking the window. Hang it centered over the sink, high enough to clear the faucet and your head, and keep the cord or rod short and straight.
This suits a kitchen where the sink window currently has no light of its own, since evening washing up then feels dark. Use a warm white bulb, and wipe the shade often, since the sink area collects splashes. If the window already has a shelf or a treatment, choose a slim pendant, so the light does not crowd the glass.
27. Set a Simple Coastal Table for Everyday Meals
A simple coastal table setting makes daily meals feel considered without a formal tablescape. Use white plates, blue linen napkins, clear glasses, and one low centerpiece, such as a small vase of green stems or a wood tray with a candle. Keep the center low, so people can talk across the table, and leave clear space for serving dishes.
This suits a kitchen dining table that currently stays bare between meals or collects clutter. Set only the places you need, and store spare linens and candles in the banquette or a nearby drawer, so setting the table takes minutes. Wash napkins after a few uses, since kitchen linens pick up food marks fast, and keep the centerpiece away from the stove end of the table.
28. Store Pantry Goods in Woven Baskets
Woven baskets on open shelves or on top of cabinets give a coastal kitchen storage that looks like decor. Choose baskets in seagrass, rattan, or pale wood, in a mix of sizes, and label each one for dry goods, snacks, or linens. The woven texture warms a room full of straight cabinet lines, and the baskets hide mixed packaging behind a calm front.
Keep baskets to the goods you use every week, and store spares elsewhere, so the shelves stay calm rather than crowded. Dust the baskets with a soft brush during a normal clean, and keep them clear of the stove, where heat can dry and weaken natural fibers. If the baskets sit high, keep a small step stool nearby, so reaching them stays safe.
29. Cluster Blue Glass Pendants Over the Table
A cluster of blue glass pendants over the dining table gives a coastal kitchen color at eye level and a clear gathering point. Hang three small blue glass pendants at staggered heights, or one row of three at the same height, centered over the table. The glass tints the light softly, and the blue reads as sea color without paint or tile.
Keep the rest of the ceiling lights plain, so the cluster stays the feature, and use warm white bulbs, so the blue glass reads warm in the evening, not cold. Check that the lowest pendant clears the heads of seated diners and the centerpiece. Dust the glass often, since kitchen pendants collect grease film over time.
30. Clad the Range Hood in Driftwood
A driftwood clad range hood gives the cooking wall a clear coastal center, without tiling the whole room. Fix weathered wood boards over the hood surround, in horizontal or vertical runs, and keep the tiles around it plain so the wood stands out. A hood that runs from the counter to the ceiling looks planned and finished, and the greyed wood links to other weathered pieces in the room.
Use boards rated for the heat near a range, and keep the wood clear of direct flame and steam vents. Seal the wood so cooking splashes wipe off easily, and check that the hood still vents well after cladding. If you rent, a framed driftwood panel above the range gives a similar focus without changing the hood.
31. Keep a Cookbook and Board Shelf by the Range
A small shelf by the range for cookbooks and cutting boards turns everyday tools into warm coastal decor. Fix one or two wood shelves beside the range, and style them with a stack of cookbooks lying flat, two or three wood boards leaning upright, and one small plant. The wood tones warm a kitchen with white cabinets or pale tiles, and the boards stay dry and visible between uses.
Use hooks or a rail if the shelf space is short, and let boards dry fully before storing them upright. Sand any rough edges that could snag a cloth, and replace a board once deep cuts make it hard to clean, no matter how good it looks on the shelf. Keep the shelf near the prep counter, so a board is easy to lift down when you start cooking.
32. Style a Window Seat With Striped Cushions
A window seat with blue and white striped cushions gives a coastal kitchen a reading and resting spot that doubles as storage. Fit a bench under a wide window, add a thick seat cushion in a washable stripe, two or three plain cushions in white and pale blue, and a small side table for a book and a drink. The stripe reads as seaside, and it works best when the rest of the room stays mostly solid.
Choose a seat deep enough to sit in for an hour, not a narrow ledge that looks good but stays empty. Keep the seat mostly clear, with one folded throw, so it stays useful rather than turning into a pile of cushions. If strong sun fades the fabric over time, move the cushions indoors at night or choose a fade resistant outdoor fabric.
33. Warm Evenings With Lantern Light
Lanterns with warm candles or battery candles give a coastal kitchen soft evening light that overhead lights cannot match. Place one large lantern on the dining table or the island, and one smaller lantern on a sideboard or window seat, and keep the rest of the room dim. The warm glow suits white walls and wood tones, and it makes an evening meal feel slower and calmer.
Use battery candles if children or pets use the room, or if the lantern sits near curtains or linen. Keep real flames clear of fabric, dried foliage, and open windows, and never leave a lit candle unattended. Swap the lantern glass and wicks as needed, and store spare candles in a nearby drawer, so evening light takes a minute to set up.
34. Paint the Ceiling Pale Sky Blue
A pale sky blue ceiling, the soft blue long used on porch ceilings, gives a coastal kitchen a gentle wash of color overhead without painting a single wall. The pale blue reads as sky from below, and it pairs well with white walls, white cabinets, and light wood floors. Keep the blue very pale, closer to white than to mid blue, so the ceiling still reflects light.
Test the color on a large board held overhead in daylight and evening light, since ceiling color shifts a lot through the day. Pair the ceiling with white trim and pale walls, so the blue stays a quiet note rather than a feature. If the room feels too blue, paint only the nook or porch ceiling pale blue, and keep the main kitchen ceiling white.
Conclusion
A relaxed, pulled together coastal kitchen comes down to a calm palette, natural texture used with restraint, and color in layers you can change. Start with white, sand, and sea blue, add one wood or woven feature, such as rattan pendants, a whitewashed island, or a jute runner, and keep counters mostly clear, so the room feels bright by day and restful at night. For the walls beyond the cabinets, the same layering of art, shelves, and texture appears in these kitchen wall decor ideas.
Save this list for your next free hour in the kitchen, and work through it in order: palette and cabinets first, then tile and lighting, then seating and storage, and finally the textiles, art, and evening details.
FAQs
What colors work best for a coastal kitchen?
White, warm white, sand, pale sea blue, and one deeper blue work best, because they keep the room light while giving it a clear seaside note. Keep the main palette to white and sand, with blue on cabinets, stools, textiles, or art, and add natural wood and woven texture for warmth. Test paint and fabric samples in daylight and evening light before committing, since white and blue shift a lot through the day.
How can I make a coastal kitchen feel calm, not themed?
Focus on palette and materials first: white walls, sand tones, pale blue paint, rattan, jute, weathered wood, and linen, rather than a large number of themed objects. Limit seaside motifs to one wall or one shelf, and keep surfaces mostly clear, so the room feels restful. One coastal feature per area is enough, and the rest of the room can stay plain and practical.
Can I create a coastal kitchen without a sea view?
Yes. A coastal kitchen is mainly a palette and a set of textures, not a view. White walls, sand tones, pale blue cabinets, linen curtains, and woven baskets give the same light, calm feel in an inland room. If you want a view to look at, a gallery wall of seaside prints on the dining wall gives a coastal focal point without changing the room layout.
What backsplash suits a coastal kitchen best?
Sea glass tile, fish scale tile, and plain white subway tile all suit a coastal kitchen, because each keeps the wall light while adding texture or a soft sea color. Sea glass tile gives a frosted, collected feel, fish scale tile adds a wave shape, and white subway tile is the safest base for a bold cabinet color. Seal the grout in every case, since kitchen backsplashes take grease and water.
What lighting works best in a coastal kitchen?
Rattan pendants over the island, a single pendant over the sink, and warm lantern light in the evening work best, because each adds texture or warmth without darkening the room. Use warm white bulbs, keep shades clear of steam from the hob, and dust pendants often, since kitchen lights collect grease film. Layer the lights, so task light covers the counters and soft light covers the table.
Is a coastal kitchen hard to keep clean?
No, if you choose wipeable finishes near the stove and sink. Painted cabinets in a satin finish, sealed tile grout, quartz counters, and washable linen textiles all wipe clean with routine care. Open shelves and woven pieces need a weekly dust, and jute rugs need quick blotting for spills. Keep the coastal details to spots you can reach easily, and the room stays as practical as any other kitchen.