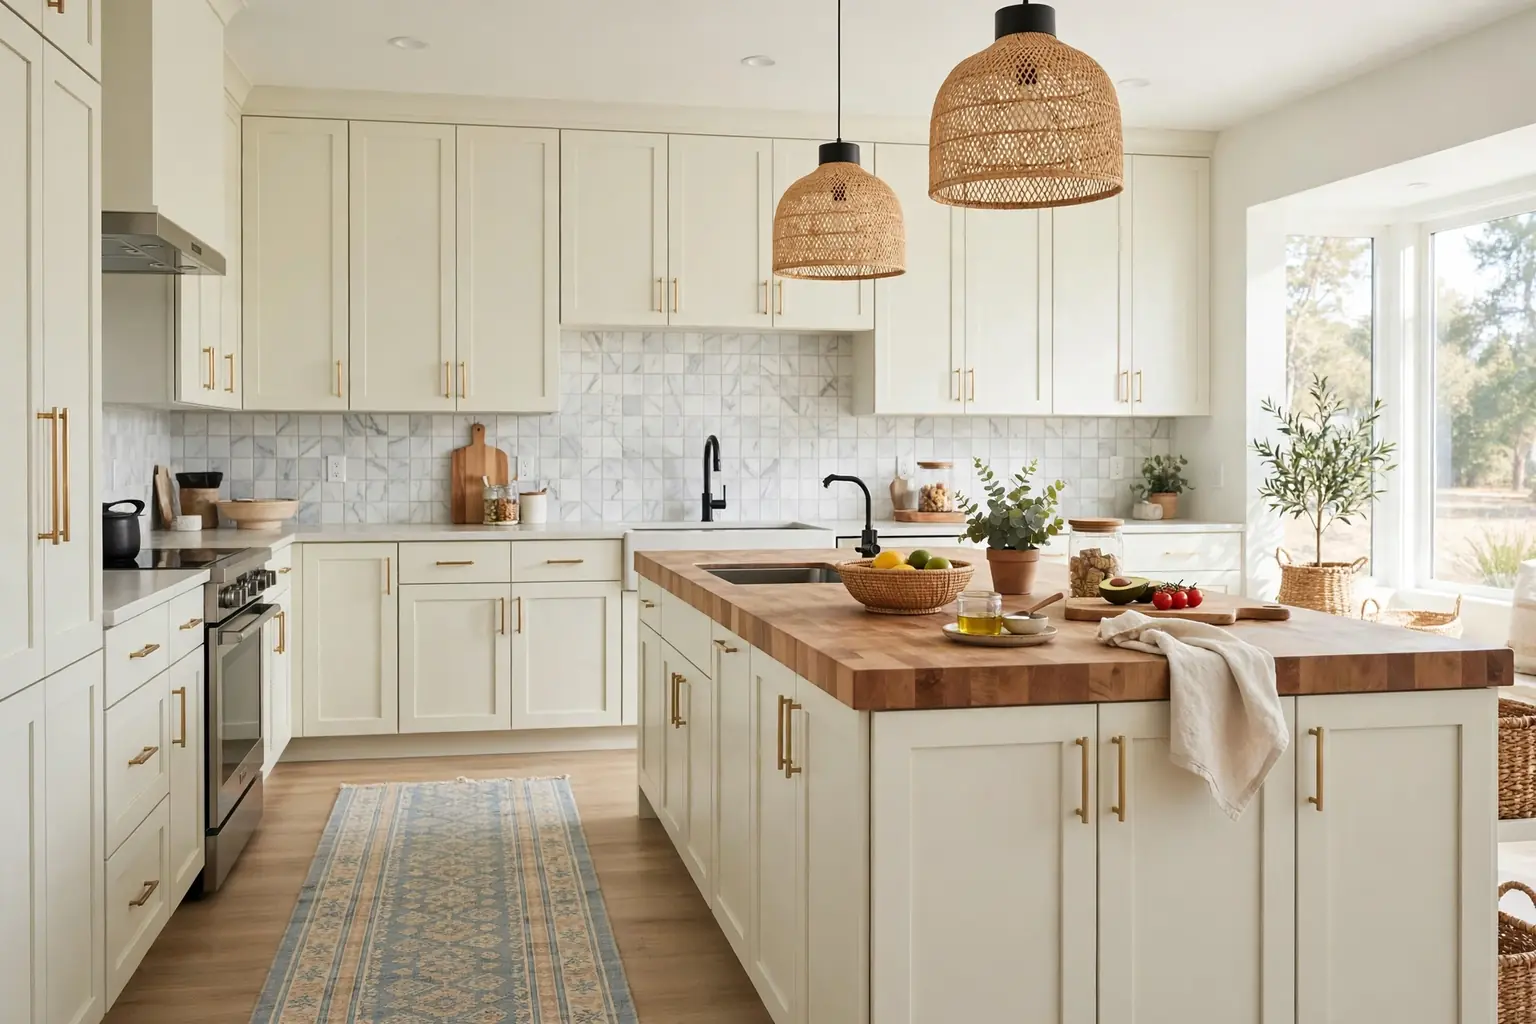
A kitchen can look more polished without a full remodel. Paint, hardware, lighting, and storage do most of the work, and many of the best budget changes are small and reversible. Start with the surface you see most, usually the cabinets or the backsplash, then add one lighting change and one storage fix. These 34 kitchen ideas on a budget cover cabinets, counters, tile, lighting, storage, seating, floors, walls, and small styling moves, so you can pick one weekend project or build a fuller refresh over time. If you are choosing a cabinet color first, these colors for your kitchen cabinets help you compare warm and cool tones beside your floor and counters.
Key Takeaways
- Start with the largest visible surface, usually cabinets or the backsplash, before buying small accessories.
- Keep one palette through the room: a cabinet color, a metal finish, and one wood tone, repeated in several places.
- Test paint, tile, and peel-and-stick samples in daylight and evening light before covering a large area.
- Choose washable, wipeable finishes near the stove and sink, since budget materials still need to survive cooking.
- Favor reversible changes, such as hardware swaps, peel-and-stick tile, and trays, if you rent or plan a larger remodel later.
- Finish with one storage fix and one lighting fix, since a tidy, well lit kitchen reads as more polished than a decorated but cluttered one.
1. Repaint Cabinets in a Light Neutral
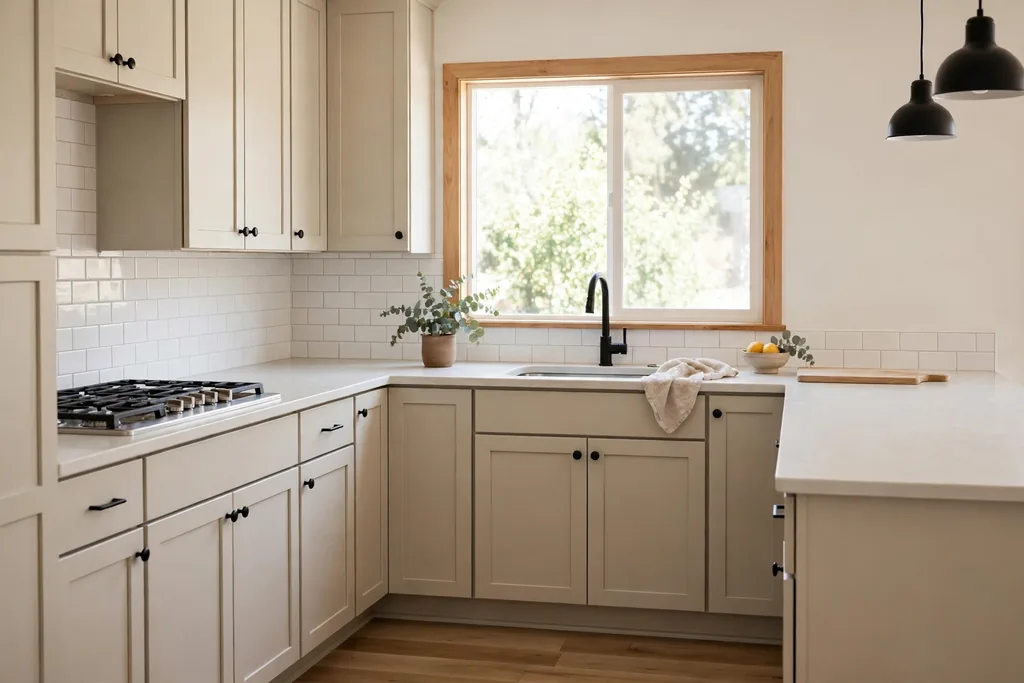
Paint is the single change that shifts a kitchen most for the least cost. A light neutral, such as warm white, cream, or pale greige, brightens the room and lets counters, tile, and wood do the rest of the work. Clean and sand the doors first, remove the hardware, and use a primer made for cabinets so the paint grips and wipes clean.
Paint one door as a test and check it beside your floor and counter in daylight and evening light. Keep the finish satin or semi gloss near the stove, since flat paint shows splashes and is harder to wipe. Label each door on the back as you remove it, so refitting takes minutes rather than a puzzle session.
2. Swap Knobs and Pulls
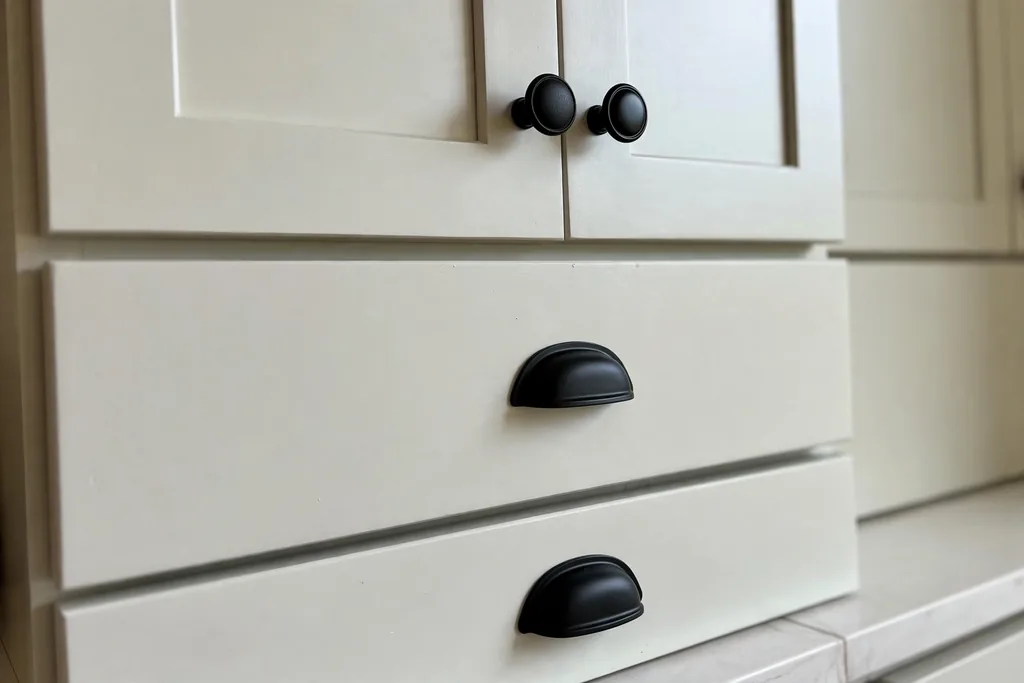
New knobs and pulls change how cabinets feel every time you open a door, and the job takes an afternoon. One finish through the room, such as matte black, brushed nickel, or brass, reads as a plan, while mixed finishes can look unfinished. Measure the screw spacing on your existing pulls before ordering, since that spacing decides which replacements fit without new holes.
Save the old hardware in a labelled bag, especially if you rent. Wipe new hardware near the stove each week, since kitchen grease dulls metal over time. If a few doors have knobs and others have pulls, keep that pattern and simply update the finish, so the change looks calm rather than busy.
3. Add Trim to Flat Cabinet Doors
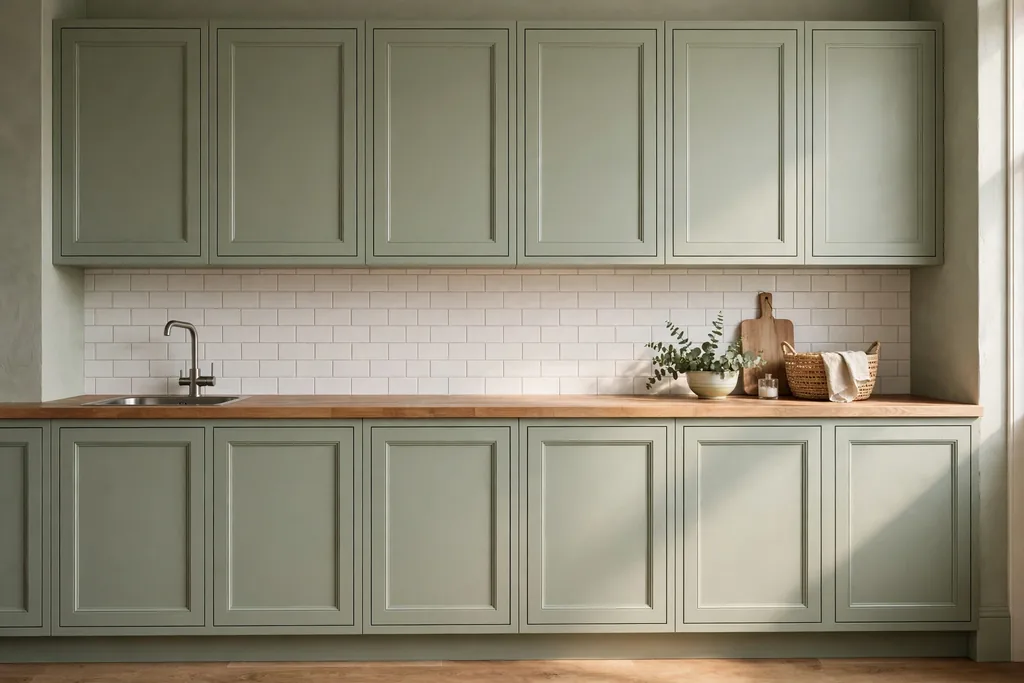
Flat cabinet doors can gain a framed look with thin wood trim glued and pinned to the front, then painted to match. The trim gives plain doors a shaker style outline without replacing a single door. Cut the trim to leave an even border on all four sides, and fill small gaps before painting so the frame reads as one piece.
This suits kitchens where the door boxes are sound but the fronts look plain. Sand the trim edges smooth, prime the whole door, and paint two thin coats rather than one thick coat. Keep the trim slim on small doors, since a wide frame can crowd a narrow drawer front.
4. Paint the Island a Contrasting Color
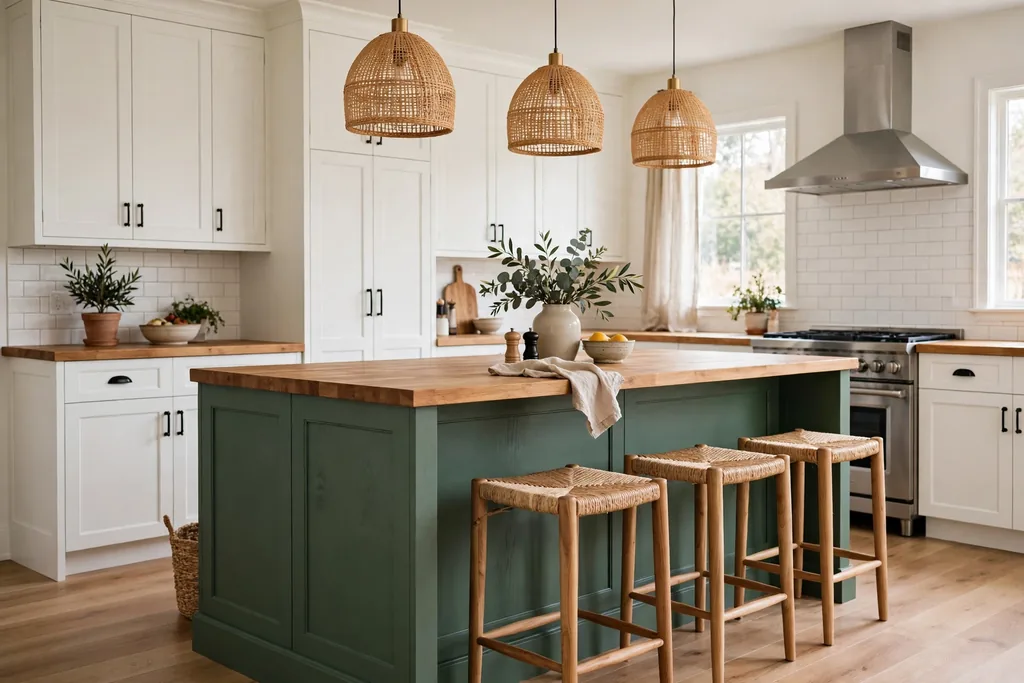
Keep the main cabinets neutral and paint only the island in a contrasting color, such as sage green, navy, or deep grey. The island becomes a clear focal point, and the rest of the kitchen stays calm, which makes the change lower risk and easier to reverse. A darker island also grounds a pale kitchen and hides scuffs better than a white base.
Repeat the island color once more, in stools, a runner, or a vase, so it looks planned rather than random. Choose a hard wearing paint for the island base, since it takes kicks, bags, and stool legs. If you are unsure of the color, paint a large board first and lean it against the island for a few days.
5. Take Cabinet Doors Off for Open Shelving
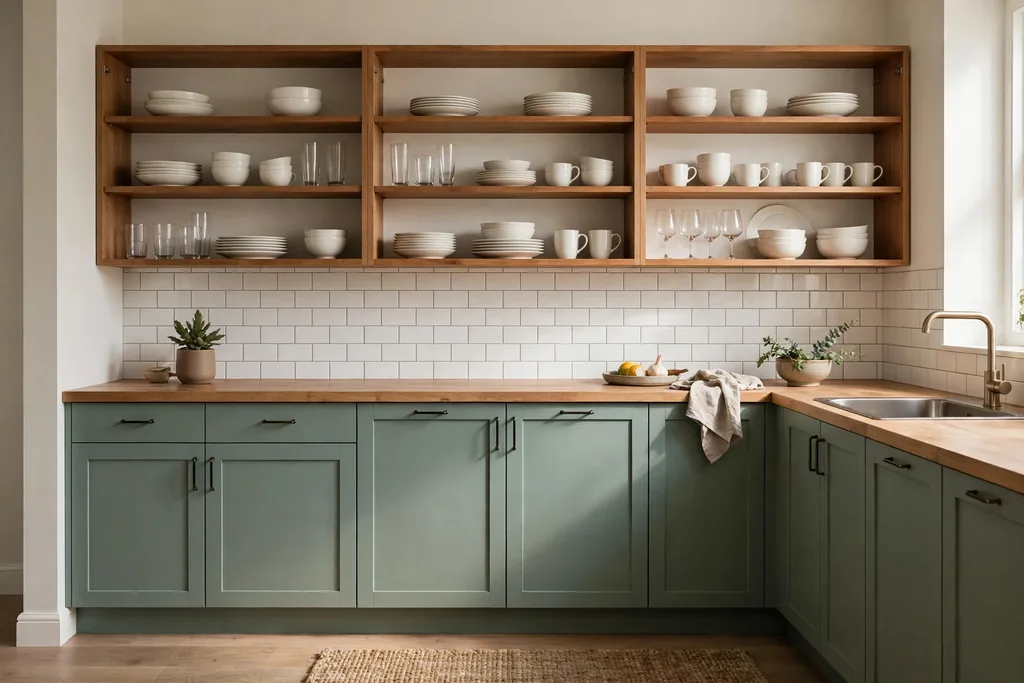
Removing a few upper cabinet doors turns closed storage into open shelving at no cost beyond paint for the interiors. This works best on one run of cabinets, such as the pair beside the window, rather than on every upper cabinet at once. Paint the interiors a clean white or soft color, and keep only daily dishes, glasses, and a few wood boards on show.
Our guide to how to style open shelves shows how to leave breathing room between groups so shelves read as tidy, not crowded. Store the removed doors somewhere safe, so you can refit them later. Dust open shelves weekly, since open storage collects cooking film faster than closed cabinets.
6. Paint Cabinet Interiors a Soft Color
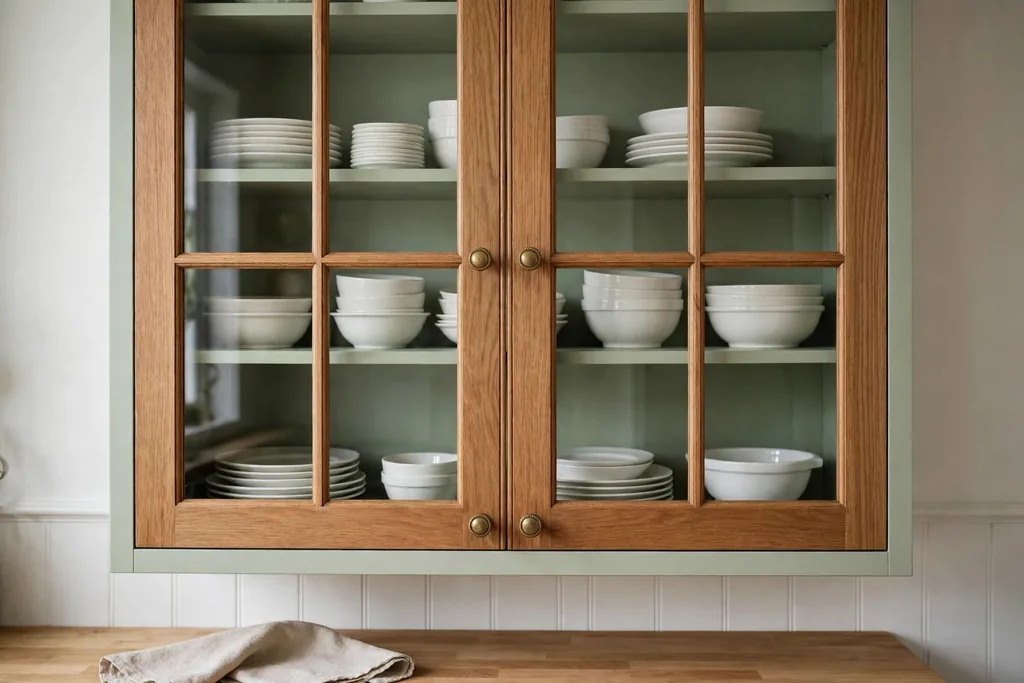
If you have glass front cabinets, or you have just removed a few doors, paint the interiors a soft color for a wash of color behind dishes. A pale sage, soft blue, or warm cream reads as a detail rather than a full repaint, and it costs little more than a small tin of paint. Use white or clear dishes inside so the color shows.
Paint only the back panel first if you want a subtle effect, and leave the sides white. This is a good test color too: live with the interior shade for a week, then decide whether to use it on a larger surface. Keep the display simple, with one or two stacks per shelf, so the color stays visible.
7. Fit a Butcher Block Section on the Counter
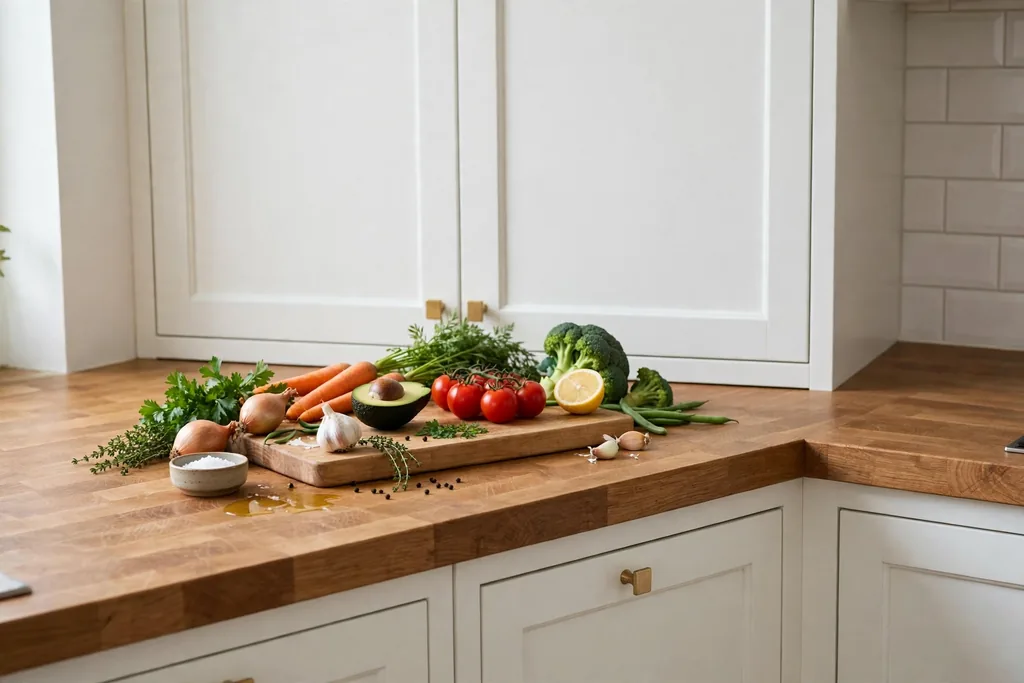
A butcher block section gives a kitchen a warm work surface without replacing the whole counter. Use it on the island, on one run of counter, or as a thick chopping board that stays in place. Wood suits pale cabinets and white tile, and it softens a kitchen that has a lot of stone or laminate.
Seal the wood as advised for kitchen use, and wipe spills promptly so water does not sit on the surface. Use the butcher block for prep and keep hot pans on trivets, since heat marks wood. Sand and reseal a worn section rather than replacing the whole top, which keeps this a low cost, long lasting change.
8. Refresh Counters With Contact Paper
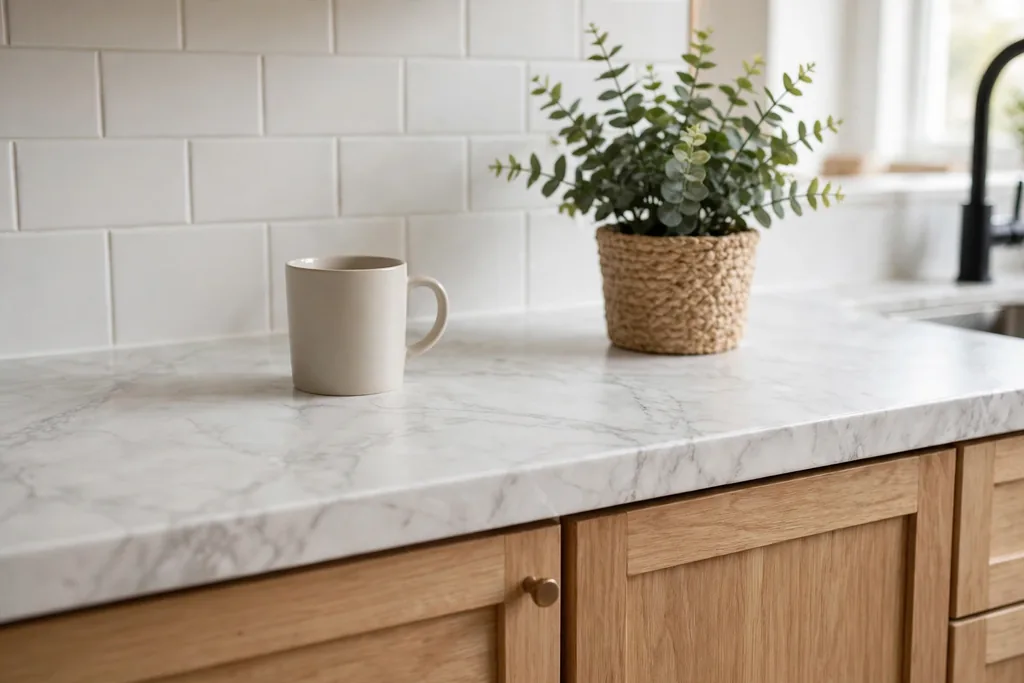
Contact paper with a marble, wood, or stone look can cover a tired laminate counter for a short term refresh. Clean and dry the counter first, work from one edge with a smoothing card, and trim carefully around the sink and cooker. A pale marble look suits most kitchens, since it reads as a plain surface rather than a bold pattern.
This is a temporary fix, best used while you save for a larger change or while you rent. Keep knives and hot pans off the surface, and expect to replace the paper after heavy use near the sink. If an edge lifts, warm it gently and press it back down before water gets underneath.
9. Paint Laminate Counters With a Counter Kit
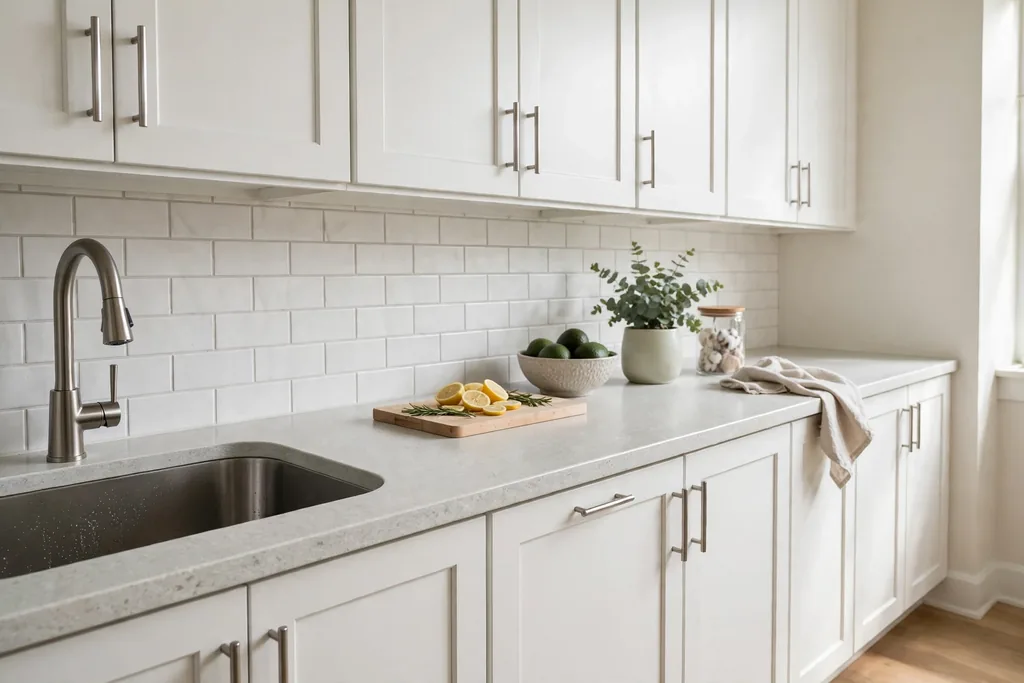
A counter refinishing kit paints over laminate with a stone look finish, giving a more durable result than contact paper. Clean, sand lightly, and prime as the kit directs, then apply thin coats and a clear topcoat. Work in a ventilated room and give each coat its full drying time, since rushing leaves a soft finish that marks easily.
This suits a plain laminate counter in sound condition, not a counter with deep damage or lifting edges. Keep the color pale and simple, so the counter pairs with any backsplash you add later. Use cutting boards and trivets from day one, and wipe spills promptly to protect the topcoat.
10. Lay Peel-and-Stick Backsplash Tiles
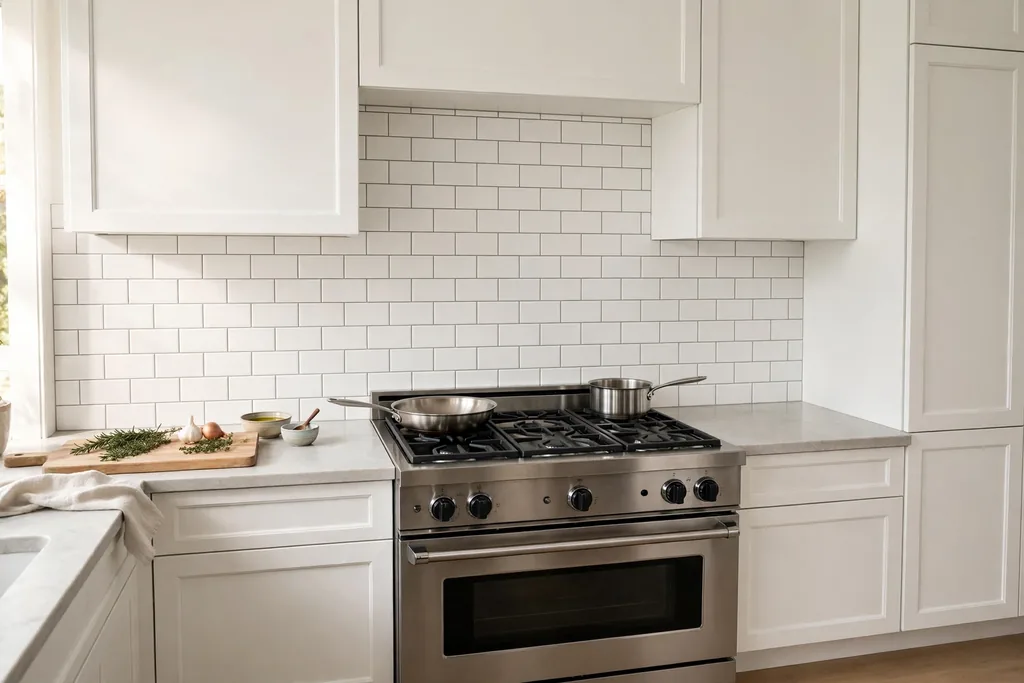
Peel-and-stick tiles give a tiled backsplash look with no grout, no wet cutting, and no tiler. Clean the wall, start from a level line above the counter, and press each tile firmly, trimming around sockets with a sharp knife. A white subway look suits most kitchens and pairs with painted cabinets and wood counters.
Check a sample tile beside your cabinets in daylight and evening light, since the printed finish can shift between lights. Keep peel-and-stick tiles clear of direct heat behind the cooker, and wipe them with a soft damp cloth. If a tile edge lifts near the sink, dry the wall fully and press it back, or replace that single tile.
11. Paint the Existing Tile Backsplash
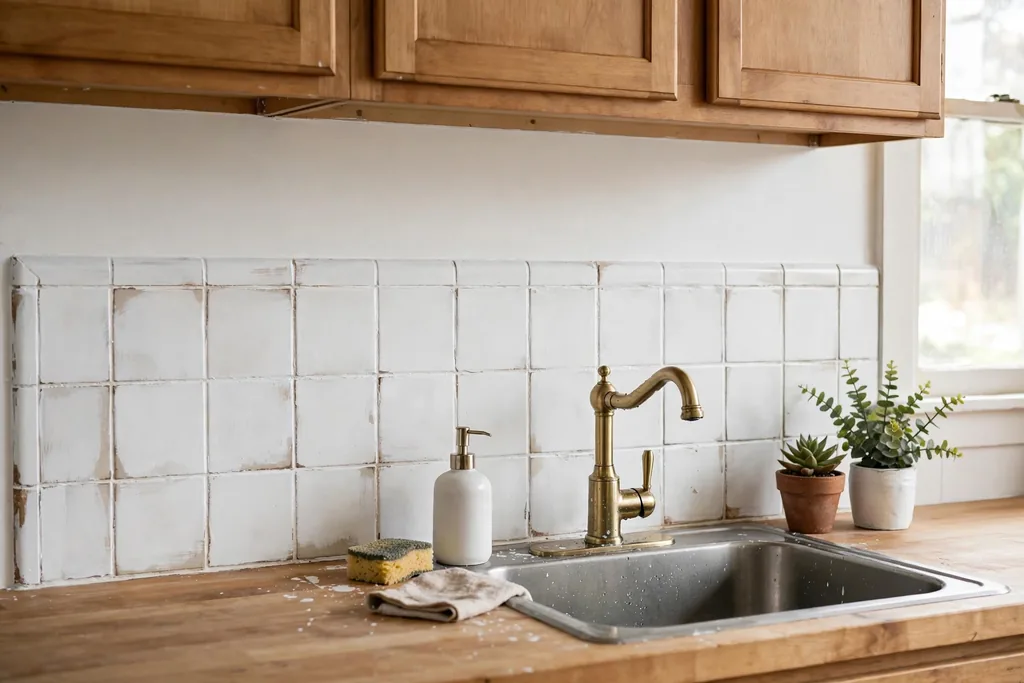
If your tile is sound but its color dates the kitchen, tile paint can refresh it for the cost of a tin and a roller. Clean the tile and grout well, use a primer made for tile, and apply thin coats with a small roller for a smooth finish. A soft white or pale cream unifies mixed tile colors and brightens the wall behind the cooker.
This suits glossy or matte tile in good condition, not cracked or loose tile. Keep the painted tile clear of standing water until it cures fully, and wipe it gently rather than scrubbing. A painted backsplash pairs well with new hardware in the same finish family, so the wall and the cabinets read as one plan.
12. Fit Beadboard Panels as a Backsplash
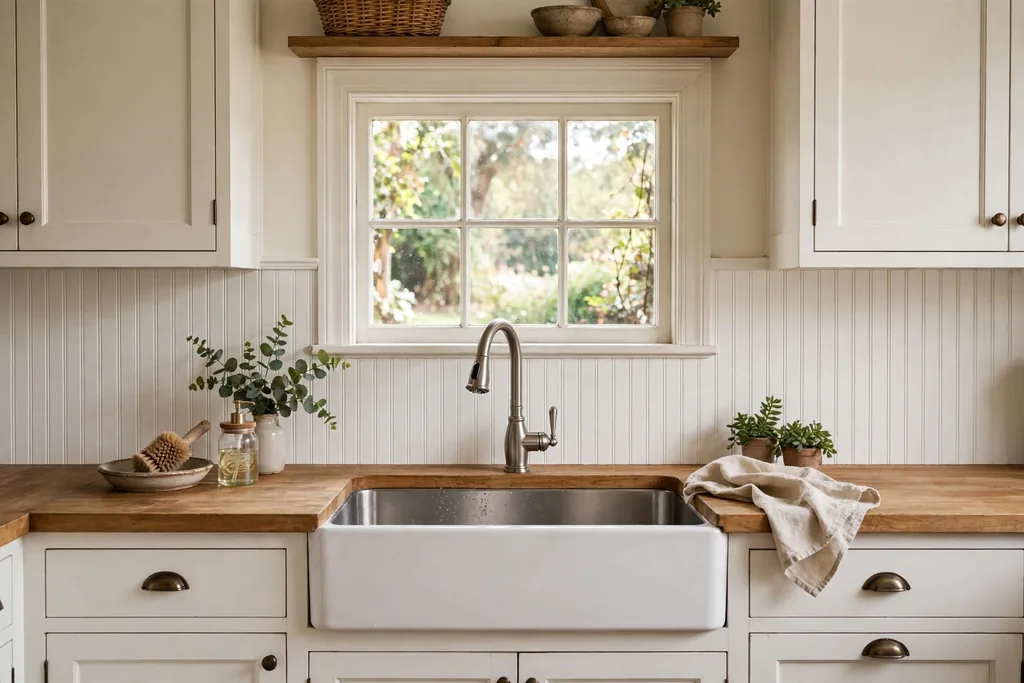
Beadboard panels give a farmhouse style backsplash with a simple boarded pattern and a painted finish. Cut panels to fit between the counter and the upper cabinets, fix them to the wall, seal the joints, and paint them to match the cabinets or trim. White beadboard suits a cottage or farmhouse kitchen and hides an uneven wall better than tile.
Seal the panel edges near the sink and cooker so water and steam do not get behind the boards. Wipe the grooves with a damp cloth, since the channels collect cooking film. If you rent, check that the panels can be removed without heavy wall repair, or use a removable panel fixed to a backing board instead.
13. Add LED Strips Under Cabinets
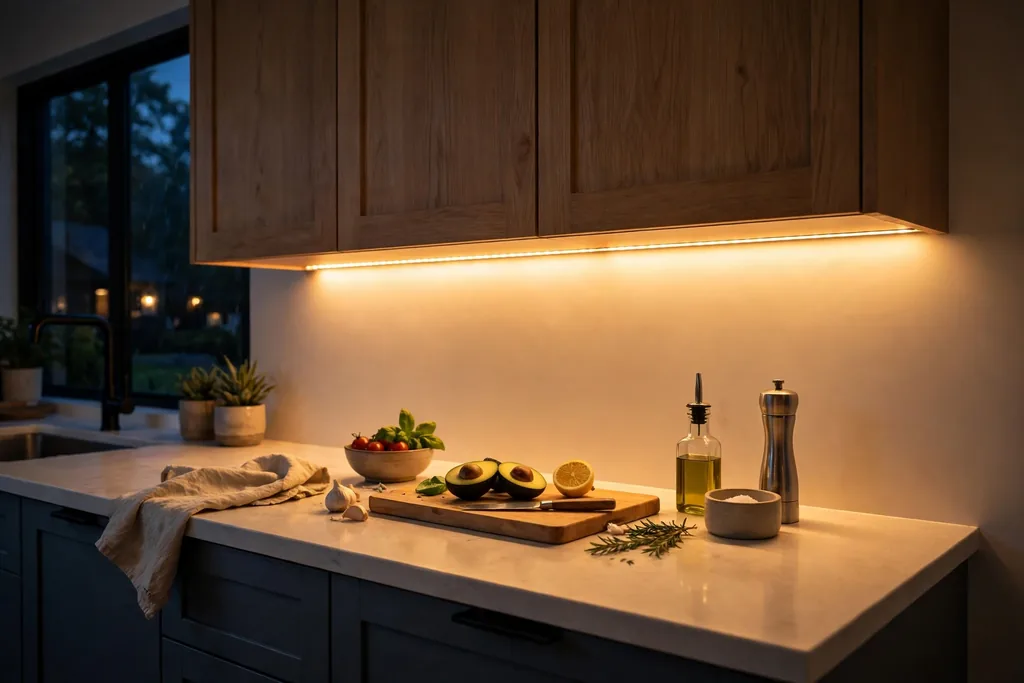
LED strips under the upper cabinets light the work surface, make prep safer, and make the kitchen feel finished in the evening. Stick or clip the strips to the underside of the cabinets, hide the driver behind a cabinet, and choose warm white light so food and wood tones look natural. A dimmer, if your strip supports one, lets you lower the light for evening meals.
Keep the strips clear of the cooker and steam, and run the cable where it cannot catch on doors or drawers. Battery strips suit renters and short runs, while plug in strips suit a full run of cabinets. Wipe the strip cover often, since kitchen grease dulls the light over time.
14. Swap the Island Pendants
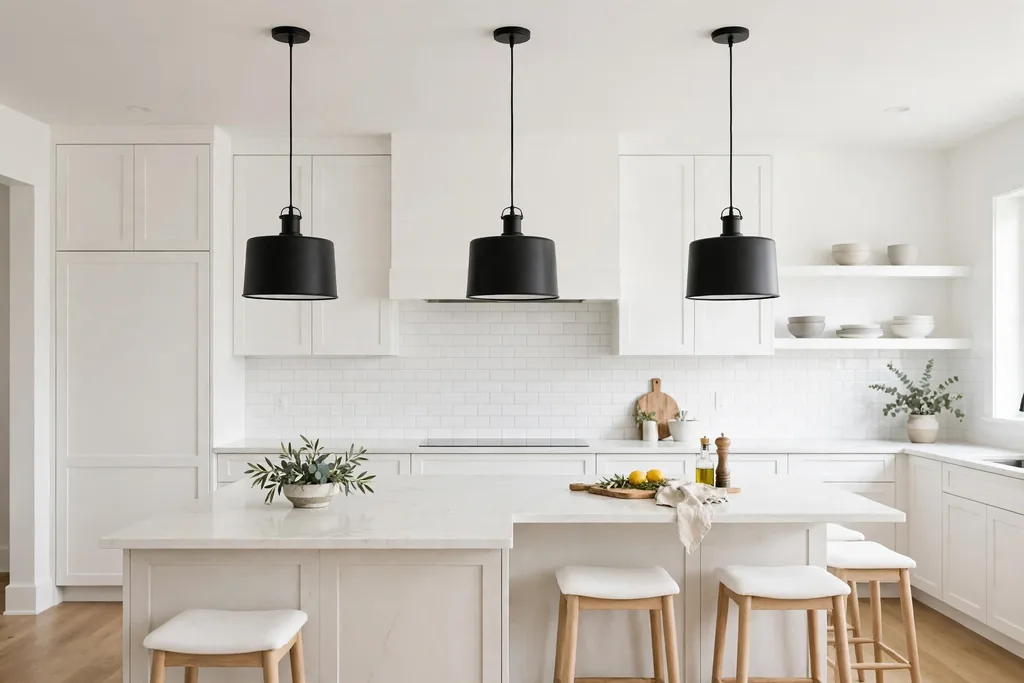
Two or three new pendants over the island change the room at eye level, where you notice light most. A simple drum, dome, or glass shade in black, brass, or white suits most kitchens, and a row spaced evenly over the island reads as a plan. Hang them high enough to clear heads and steam, and keep the lowest point well above the counter.
Match the pendant metal to the tap or handles, and keep other ceiling lights plain. Use warm white bulbs so the light feels soft in the evening. If you rent, save the old pendants and their fittings in a labelled box, so the original lights can go back up later.
15. Change the Kitchen Faucet
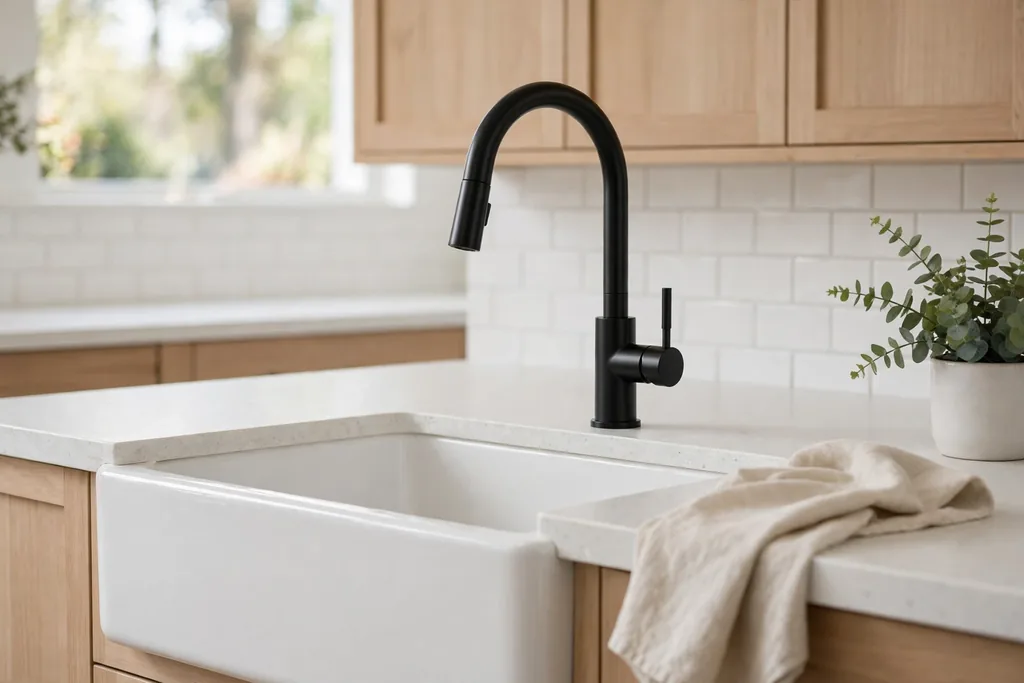
A new faucet is a small fitting with a large visual return, since it sits at the center of the work zone. A matte black, brushed nickel, or brass faucet can tie together new hardware and pendants, and a single lever style is easy to use with wet hands. Check that a new faucet fits your existing sink holes, and turn off the water before you start.
Dry the faucet after use if your water leaves marks, so the finish stays even. Keep the counter around the sink plain, so the faucet reads as a feature rather than one item among many. If the plumbing feels beyond a simple swap, a short visit from a plumber still costs far less than a new sink or counter.
16. Hang a Sink Skirt
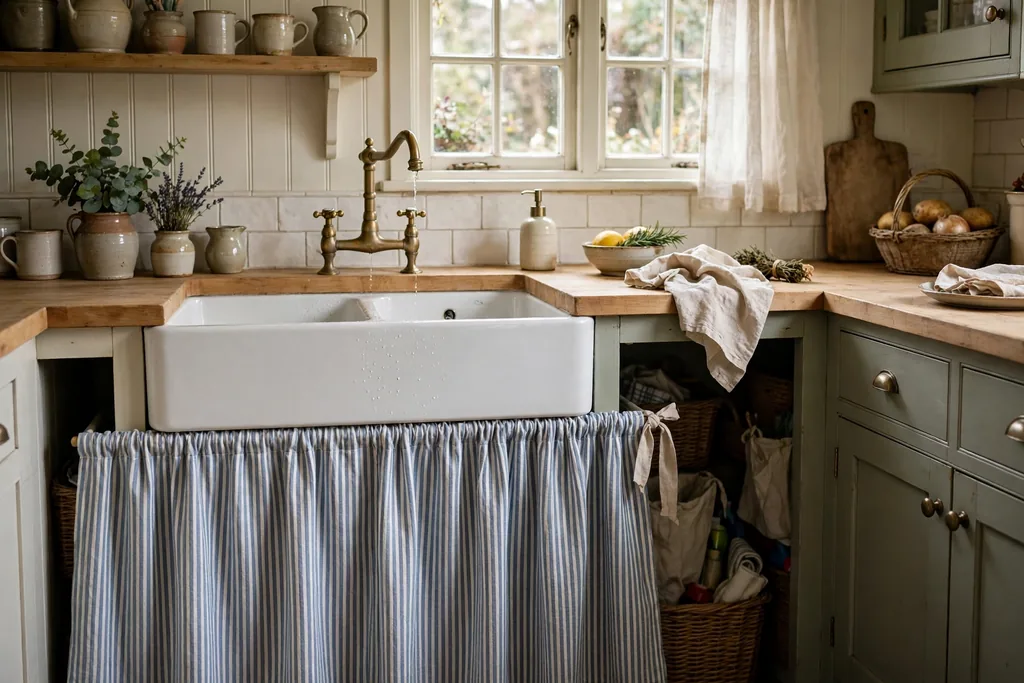
A fabric skirt under the sink hides pipes and cleaning supplies, and it suits a cottage or farmhouse kitchen. Hang it from a tension rod inside the cabinet opening, or from a slim fixed rod if you own the home. A striped or plain washable cotton reads as kitchen friendly and washes easily when it picks up splashes.
Keep the skirt clear of the floor so it does not soak up spills, and leave a gap at one end so you can reach the supplies behind it. This is a good renter option, since the rod comes down with no holes in most cases. Pair the skirt fabric with towels or a runner in the same color family, so it looks planned.
17. Fit a Simple Wood Wall Shelf
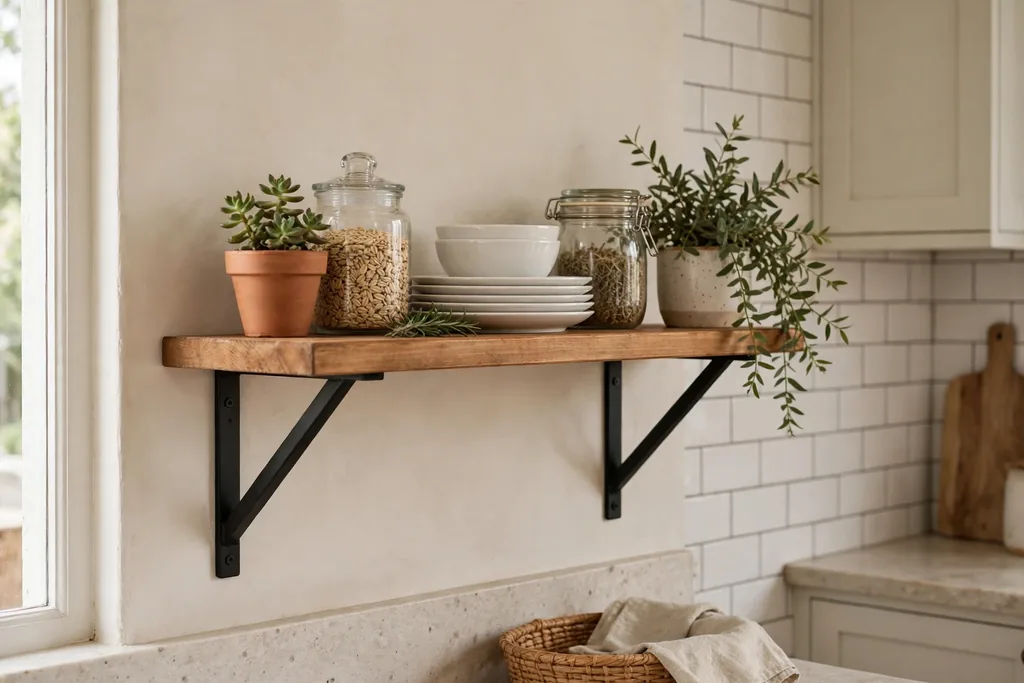
One wood plank on brackets gives display and storage space on a blank wall, with no cabinet work. Use it for daily dishes, cookbooks, or plants, and fix it into wall studs or with fixings rated for the load. A pale wood shelf suits white cabinets, while a darker wood suits a kitchen with wood floors or a wood island top.
Keep the shelf items to pieces you use often, and leave clear space between groups so the shelf reads as tidy. Put heavy stacks low on the shelf, or on a lower shelf, and keep the shelf clear of direct stove steam. One well placed shelf beats three crowded shelves, so start with one and add a second only if the first stays tidy.
18. Hang a Rail With Hooks for Utensils
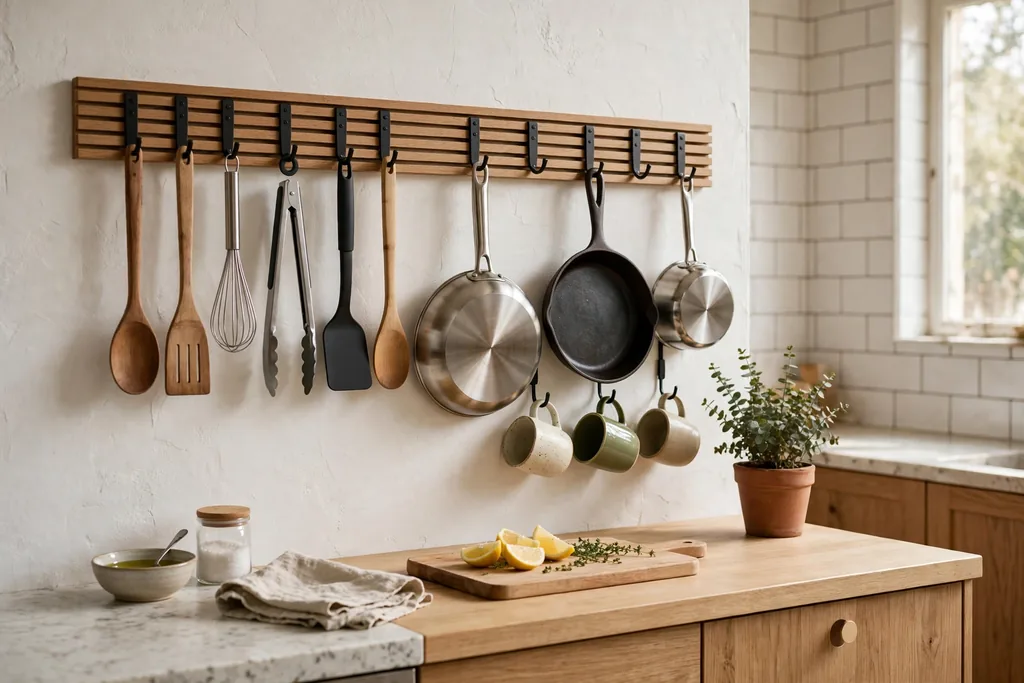
A wall rail with hooks frees drawer space and puts everyday tools within reach. Fix a metal rail to the backsplash wall or to the side of a cabinet, and hang ladles, whisks, measuring cups, and a small pan from S hooks. Black metal suits most kitchens, while brass suits a kitchen with brass hardware elsewhere.
Hang only the tools you use weekly, so the rail stays useful rather than crowded. Keep the rail clear of the cooker, where heat and steam damage handles, and wipe the rail often since it sits in the cooking zone. This is a renter friendly change if the rail fixes with removable mounts rated for the weight.
19. Add Racks Inside Cabinet Doors
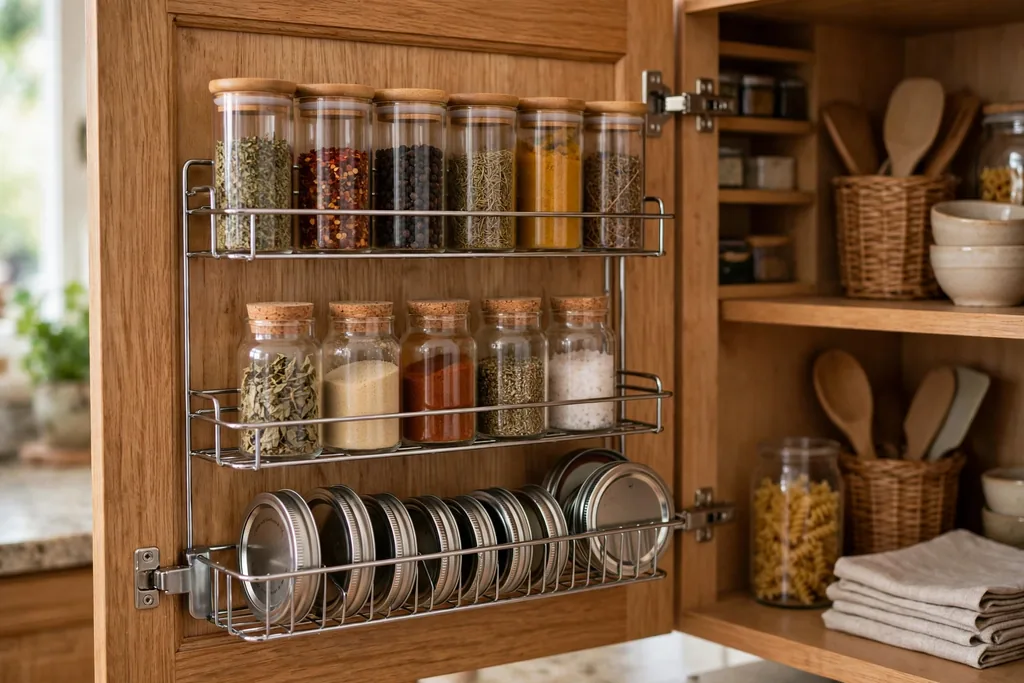
Wire racks fixed inside cabinet doors turn wasted door space into storage for spices, lids, foil, and cleaning sprays. Measure the door and the items first, so the rack clears shelves when the door closes. This small change can free a whole shelf, which makes the rest of the kitchen easier to keep tidy.
Fix racks with short screws that do not pierce the door front, and keep heavy items on lower doors. If you rent, use racks that hook over the door top instead of screwing in, and check that they do not mark the door edge. Label spice racks clearly, so the new storage stays useful rather than becoming a second cluttered shelf.
20. Divide Drawers and Add Pull-Out Bins
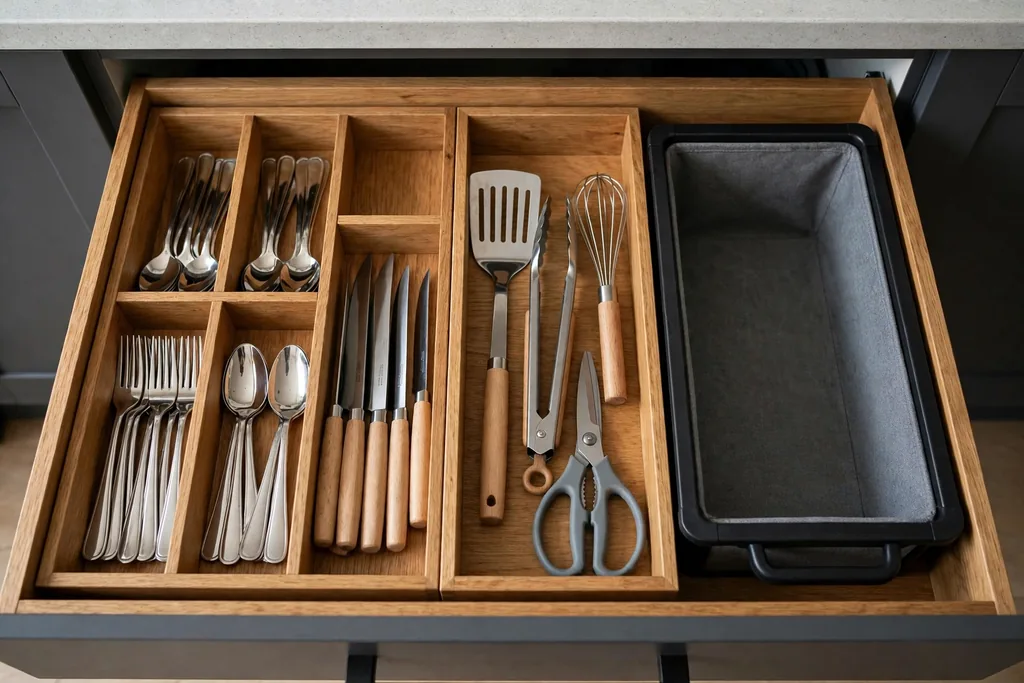
Drawer dividers and a pull-out bin make existing storage work harder without new cabinets. Dividers keep utensils, cutlery, and tools in lanes, while a pull-out bin under the sink or in a base cabinet brings deep items to you instead of forcing a reach to the back. Measure the drawer and cabinet opening before ordering, since a bin that is too wide will jam.
Keep one drawer for daily tools and one for less used items, so the dividers do not need constant rearranging. Wipe dividers and bins often, since kitchen drawers collect crumbs. This is one of the cheapest ways to make a kitchen feel more polished, because a tidy drawer makes the whole room feel more in control.
21. Roll In a Cart as Extra Counter Space
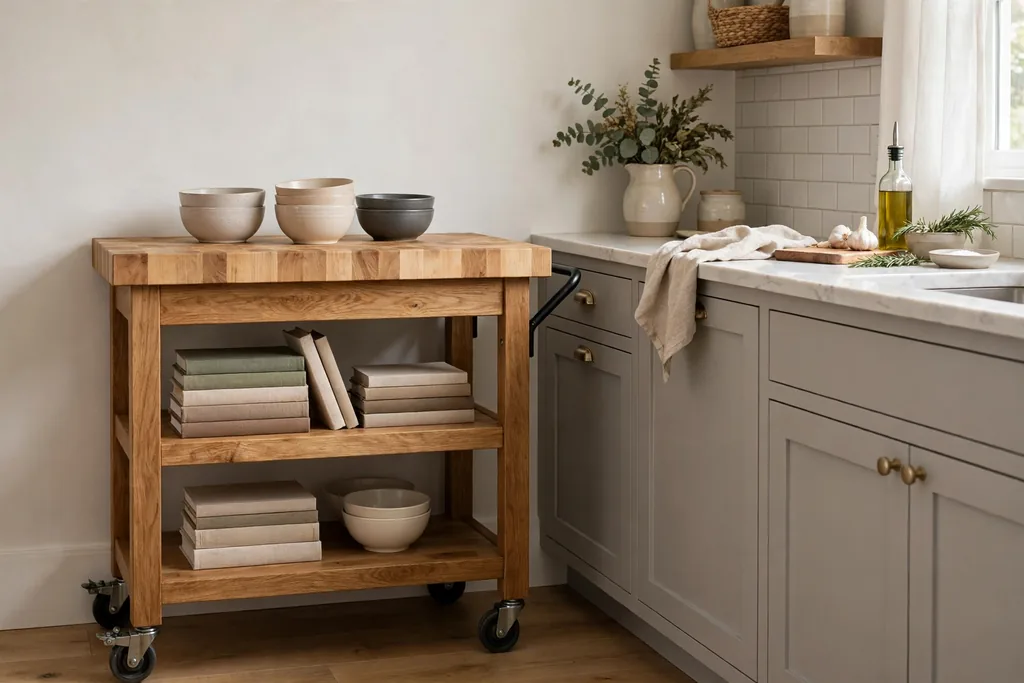
A rolling cart adds counter space, storage, and a serving surface, and it moves where you need it. Use the top for prep, the shelves for bowls or cookbooks, and the wheels to tuck it beside the counter when guests arrive. A wood top suits most kitchens, while a metal frame suits a kitchen with black or steel accents.
Choose a cart that fits your walkways with room to pass, and lock the wheels when you prep on it. Keep the cart to daily items, so it does not become a second cluttered counter. If your kitchen is small, a narrow cart beats a wide island, since it gives the same extra surface without blocking the room.
22. Repaint Secondhand Bar Stools
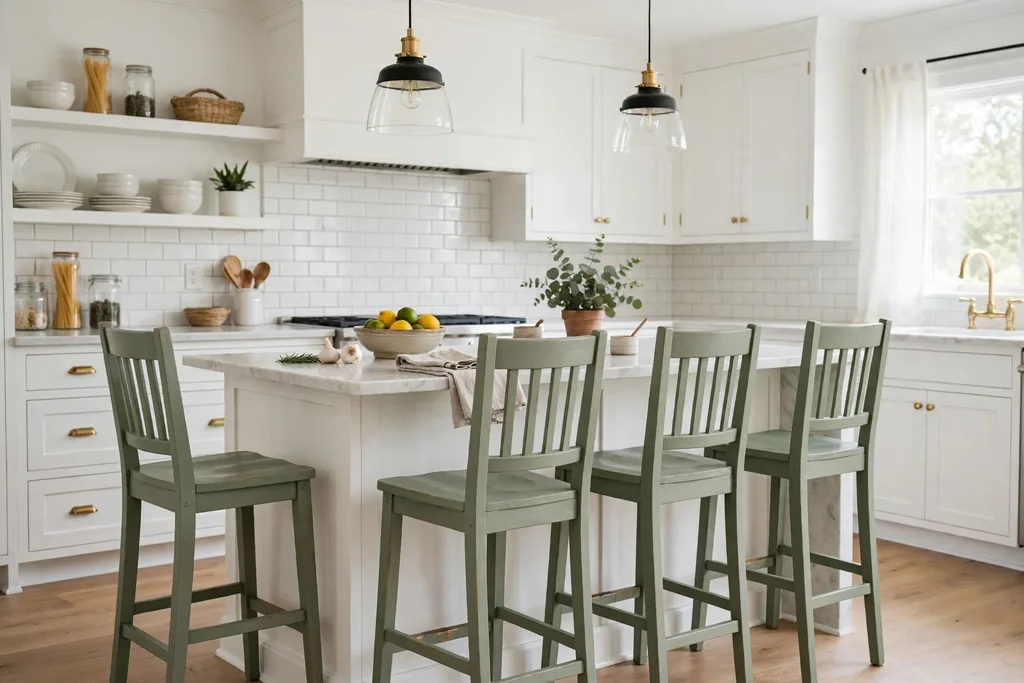
Secondhand wood stools repainted in your kitchen palette give seating a fresh look for a fraction of new stool cost. Sand, prime, and paint the frames, and recover or replace worn seats with a washable fabric or a wood seat. A sage, black, or cream frame suits most kitchens, and the painted finish ties thrifted stools to new cabinets.
Check that the stools are steady and the joints are sound before painting, since paint will not fix a wobbly frame. Choose stools that slide fully under the island overhang, so the walkway stays clear. Wipe painted legs often, since stool legs pick up floor dust and cooking splashes.
23. Lay a Washable Runner
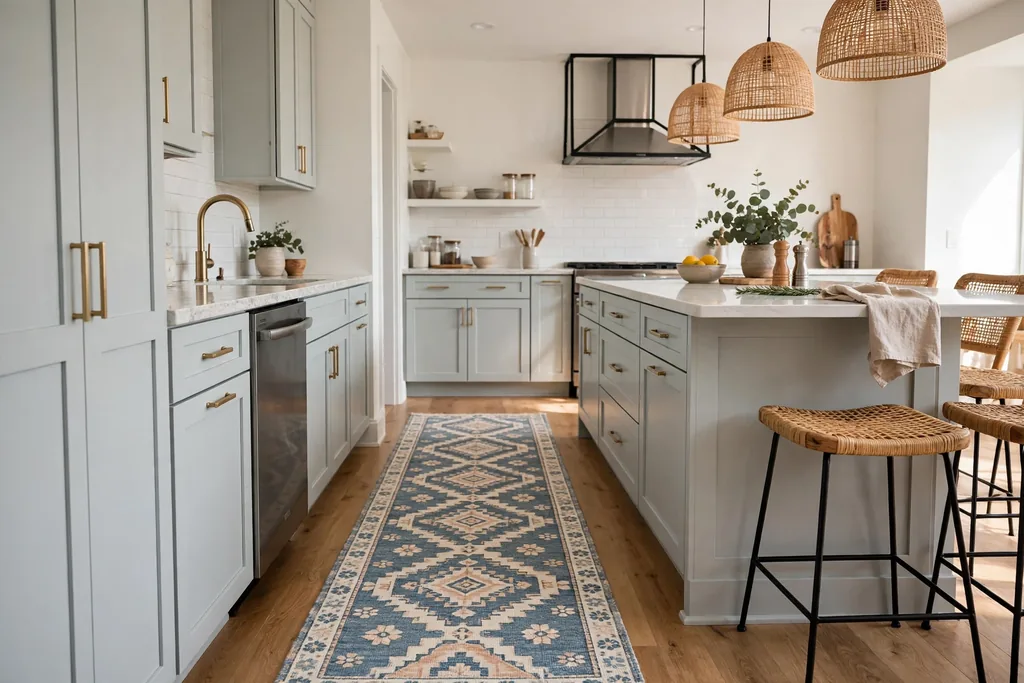
A washable runner adds color, warmth, and grip to the main work zone, and it comes up for washing when it picks up spills. A patterned runner in colors already used in the kitchen, such as sage, cream, or navy, ties cabinets, stools, and towels together. Lay it along the sink and cooker run, where you stand most, rather than covering the whole floor.
Choose a low pile runner that sits flat under doors and does not catch on stool legs. Shake it out weekly and wash it as the maker directs, so it stays fresh. If the runner slides, use a non slip pad underneath, cut to the runner size, so it stays safe on tile or wood floors.
24. Lay Peel-and-Stick Floor Tiles
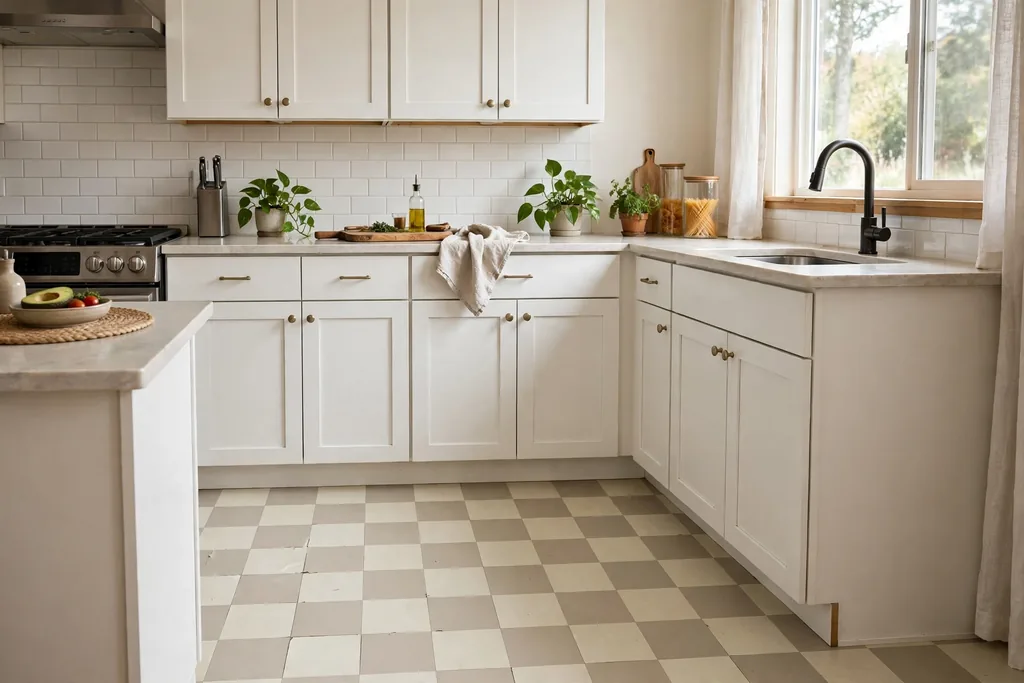
Peel-and-stick floor tiles can refresh a tired kitchen floor without removing the old floor. Clean and level the surface first, start from the center or a straight wall line, and press each tile firmly, trimming at edges with a sharp knife. A pale checkerboard or a plain stone look suits most kitchens and hides crumbs better than a plain white floor.
Check that the tiles suit kitchen use, with a surface that wipes clean and grips underfoot. Keep spare tiles for repairs, since a damaged tile can be lifted and replaced without redoing the floor. If you rent, check that the tiles lift without damage, or use loose lay tiles that sit in place without adhesive.
25. Paint One Accent Wall
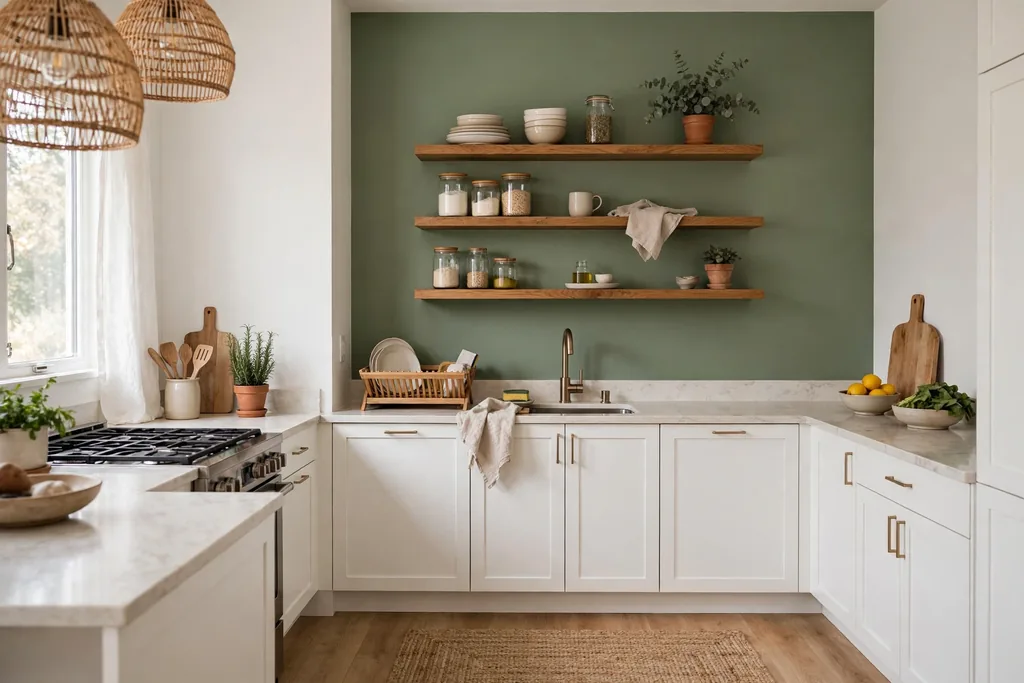
One painted wall adds color where it counts, while the other walls stay pale and calm. Choose the wall you see when you enter the kitchen, or the wall behind a dining table, and paint it in a color already hinted at elsewhere, such as the island color or a runner tone. Sage, warm grey, or soft navy all suit a kitchen with white cabinets.
Test a large sample on the wall first, since wall color looks stronger over a full wall than on a small chip. Keep the ceiling and trim white, so the accent wall reads as a clear block of color. If the room is small or dark, keep the accent wall to the shortest wall, so the color adds interest without closing the room in.
26. Frame Free Printable Art for the Wall
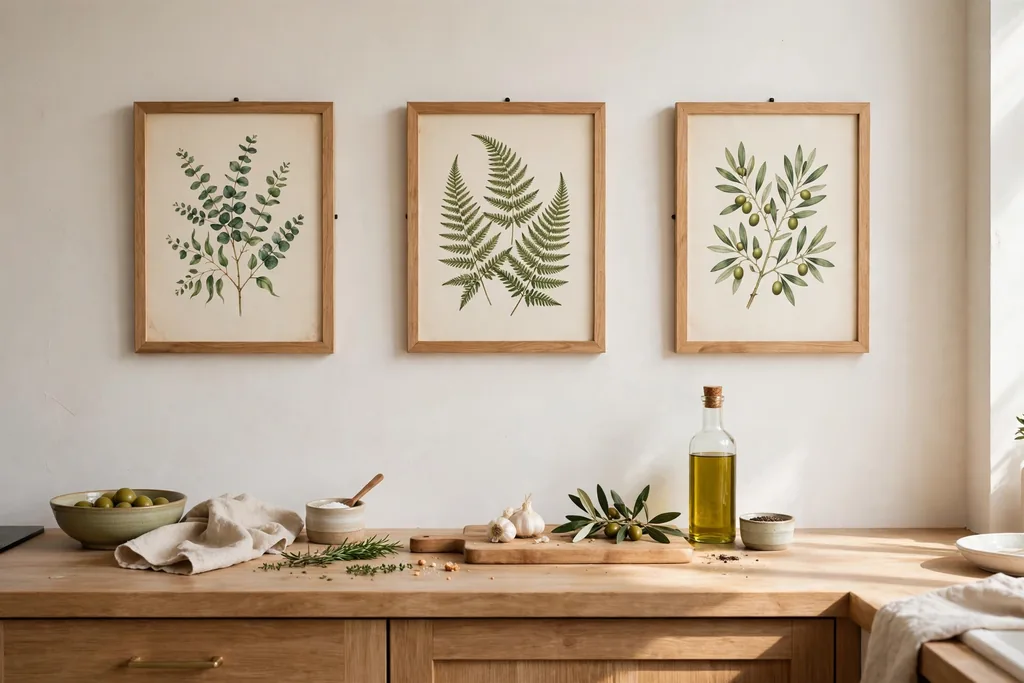
Framed prints give a kitchen wall a finished look without buying original art. Choose simple botanical, food, or landscape prints in colors that match the room, print them at home or at a local print shop, and frame them in plain wood or black frames. A pair of prints above a counter, or a trio along a blank wall, suits most kitchens.
Keep the frames in one finish and one size family, so the group reads as a set. Hang prints clear of the cooker and sink splash zone, and use fixings rated for the frame weight. If you rent, use removable picture hooks rated for the weight, and keep the old wall marks to a minimum.
27. Grow Herbs in Pots on the Sill
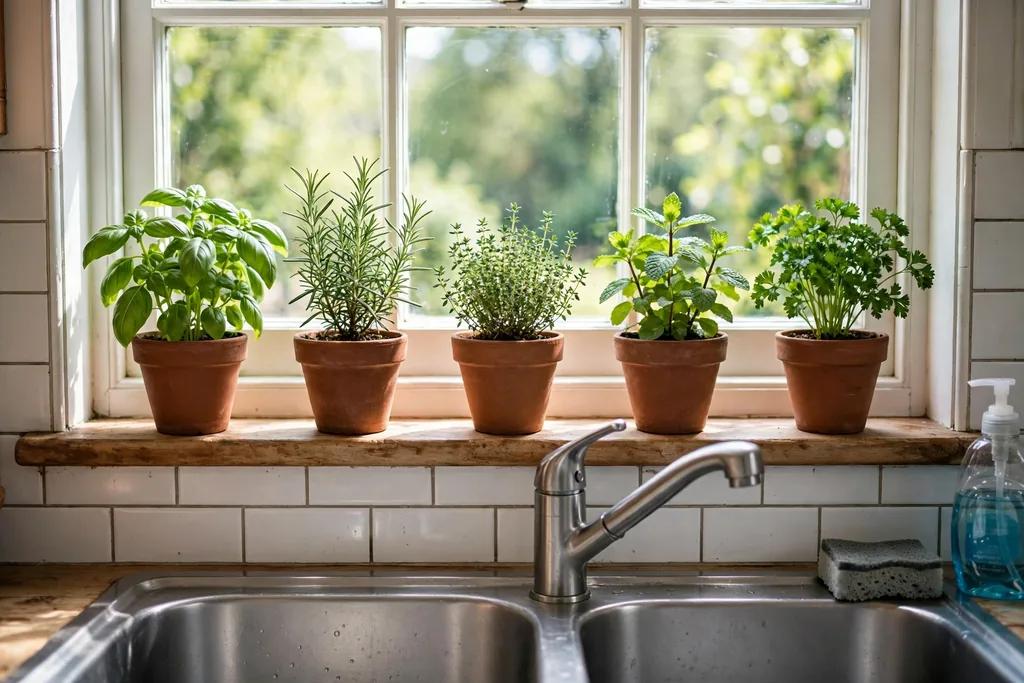
A row of small herb pots on the windowsill adds green, scent, and useful cooking ingredients in one move. Use pots of a similar size and material, such as plain terracotta or white ceramic, so the row looks calm rather than collected at random. Basil, mint, chives, and parsley suit a sunny sill, but choose based on the light your window actually gets.
Set the pots on a narrow tray to protect the sill from water marks, and water only when the soil feels dry. If your sill is narrow, use a small rail or shelf instead of crowding the counter. For more window ideas, see these kitchen window decor ideas, which cover treatments, sill styling, and privacy options.
28. Decant Pantry Staples Into Matching Jars
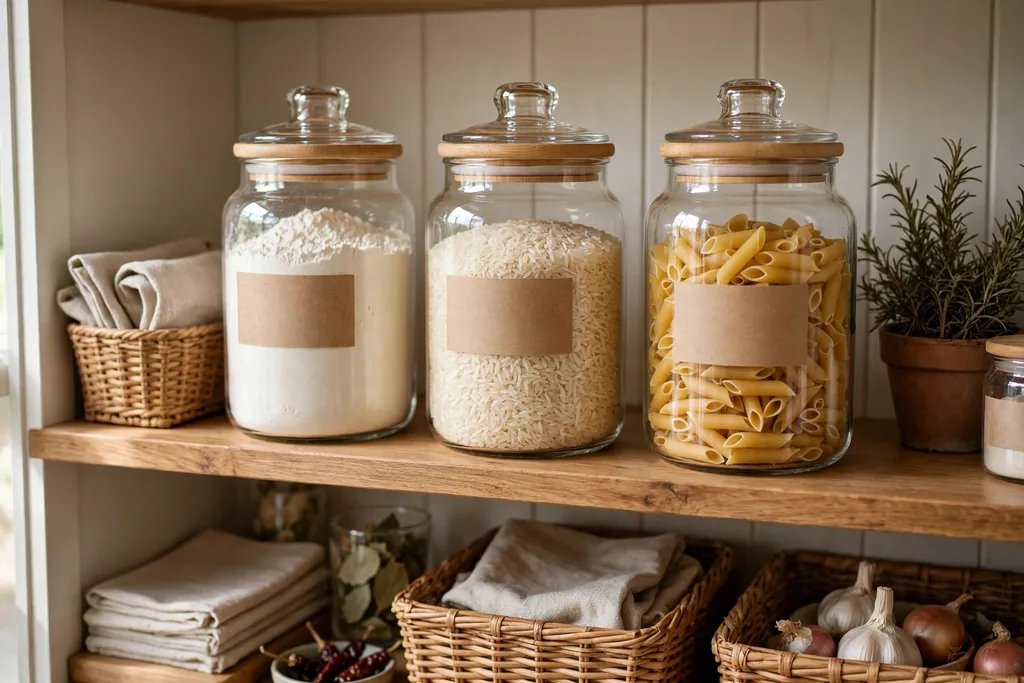
Matching jars turn a pantry shelf into a tidy display and make it easy to see when staples run low. Decant flour, rice, pasta, oats, and sugar into glass jars with plain labels, and keep the jars in one size family so the shelf reads as a set. This suits an open pantry, a glass front cabinet, or a shelf you see every day.
Label each jar clearly, including the cooking time for pasta or rice if that helps. Keep jars dry and sealed, and refill from the original bag rather than topping up old stock. If you have limited shelf space, decant only the five staples you use most, and leave the rest in their bags inside a closed cabinet.
29. Corral Counter Items on a Tray
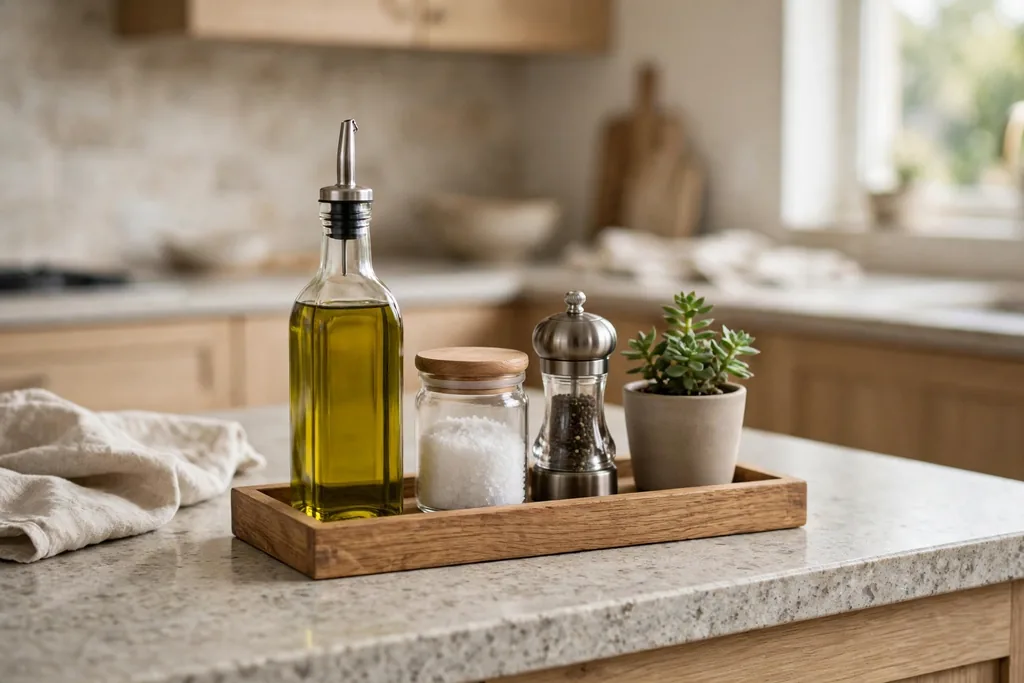
A tray groups daily items, such as oil, salt, pepper, and a small plant, into one tidy unit on the counter. A wood, marble, or metal tray in a finish already used in the kitchen suits most counters, and the tray edge stops bottles from spreading across the work surface. Limit the tray to the items you use every day, so it stays a styling choice rather than storage.
Wipe the tray weekly, since the area near the cooker collects grease film. If the tray starts to overflow, move one item to a cabinet and keep the tray to three or four pieces. A tray also makes cleaning faster, since you lift one unit to wipe the counter beneath it.
30. Lean Cutting Boards Against the Backsplash
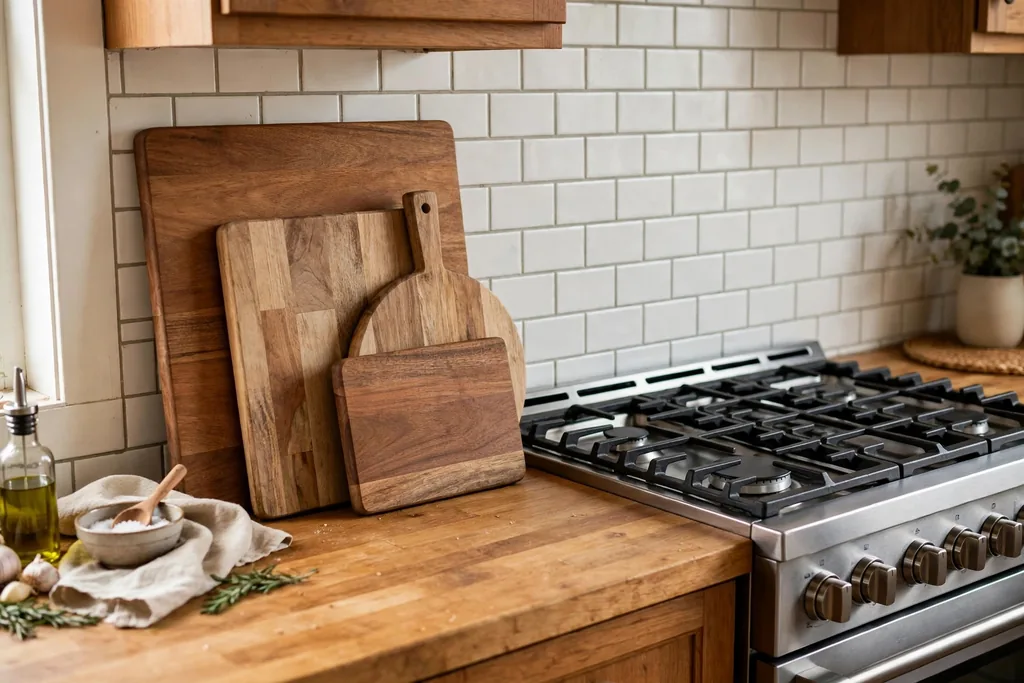
Leaning wood cutting boards against the backsplash adds warm wood tone and useful prep tools in one move. Choose two or three boards in different sizes, with the largest at the back, and lean them where they do not block sockets or the cooker. Wood boards suit white tile and pale cabinets, and they bring a natural material into a kitchen with a lot of smooth surfaces.
Keep the boards dry and upright so air reaches both sides, and oil them as needed to prevent cracking. Wash boards after use and let them dry before leaning them back, since damp boards mark the wall. If counter space is tight, lean one board only, and store the rest in a cabinet.
31. Hang a Cafe Curtain at the Window
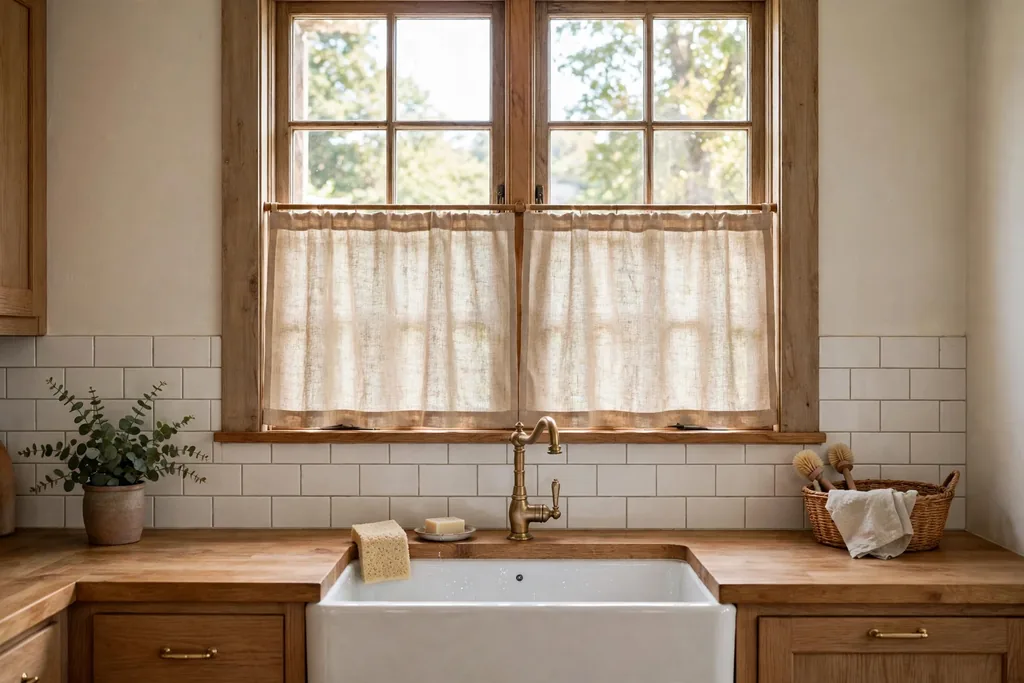
A cafe curtain covers only the lower half of the window, giving privacy at counter height while the top half stays open for daylight. Linen or a linen look fabric suits a kitchen, and a plain natural color hides light splashes better than bright white. Hang the panels on a slim tension rod inside the frame if you rent, or on a small fixed rod if you own.
Keep the hem just above the sill so fabric does not sit in water near the sink, and choose washable fabric, since kitchen curtains pick up grease film over time. A cafe curtain pairs well with herb pots on the sill, since both sit at the same height and frame the window as one unit.
32. Put Up a Chalkboard Menu Board
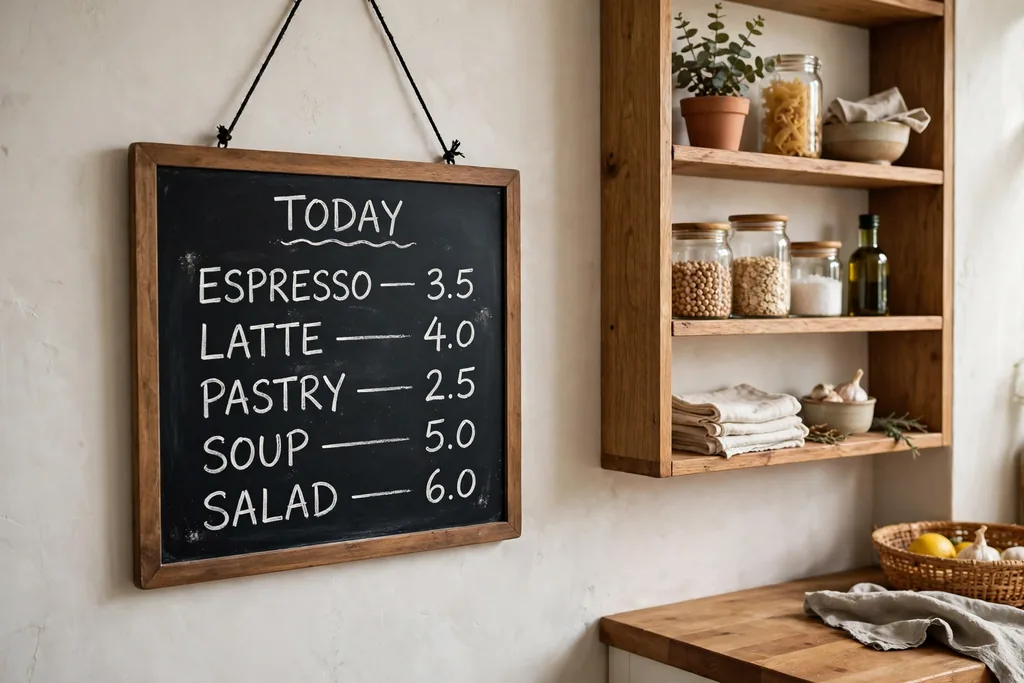
A small chalkboard on the wall gives the kitchen a useful note spot for menus, shopping lists, and reminders. Hang it near the prep area but clear of the cooker, and use chalk markers for a clean look that wipes off easily. A wood framed board suits a farmhouse kitchen, while a plain black board suits a modern kitchen.
Keep the board to one clear job, such as the weekly menu, so it stays useful rather than becoming a cluttered notice board. Wipe it weekly and rewrite the menu, so the board reads as fresh rather than forgotten. If wall space is tight, use a small board on the side of a cabinet or on the fridge with magnets.
33. Change Switch Plates and Outlet Covers
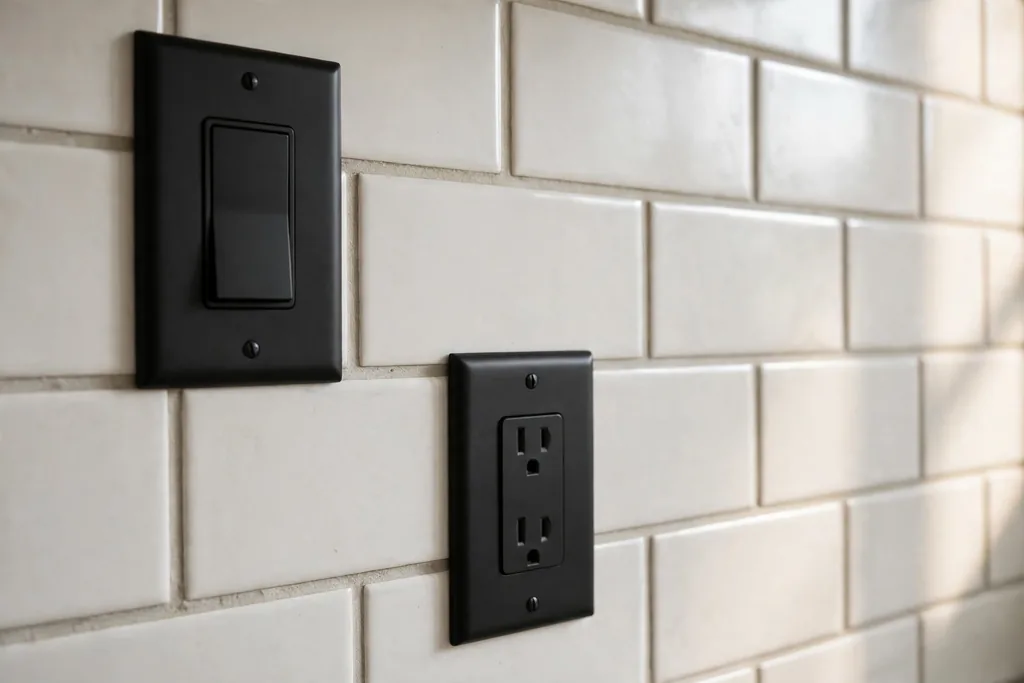
New switch plates and outlet covers are a tiny change that removes one of the most visible signs of an old kitchen: yellowed or cracked plastic. Choose plates in a finish that matches your hardware, such as matte black, brushed nickel, or plain white, and fit them with the power off at the breaker. Keep all plates in the same finish through the room.
This job takes minutes per plate, but check that the new plates fit your existing boxes and that no wires are loose behind them. If a plate feels warm, or the wiring looks damaged, leave it and ask an electrician. Fresh plates pair well with a painted backsplash, since both sit on the same wall and the eye notices them together.
34. Swap Towels, Linens, and a Fruit Bowl
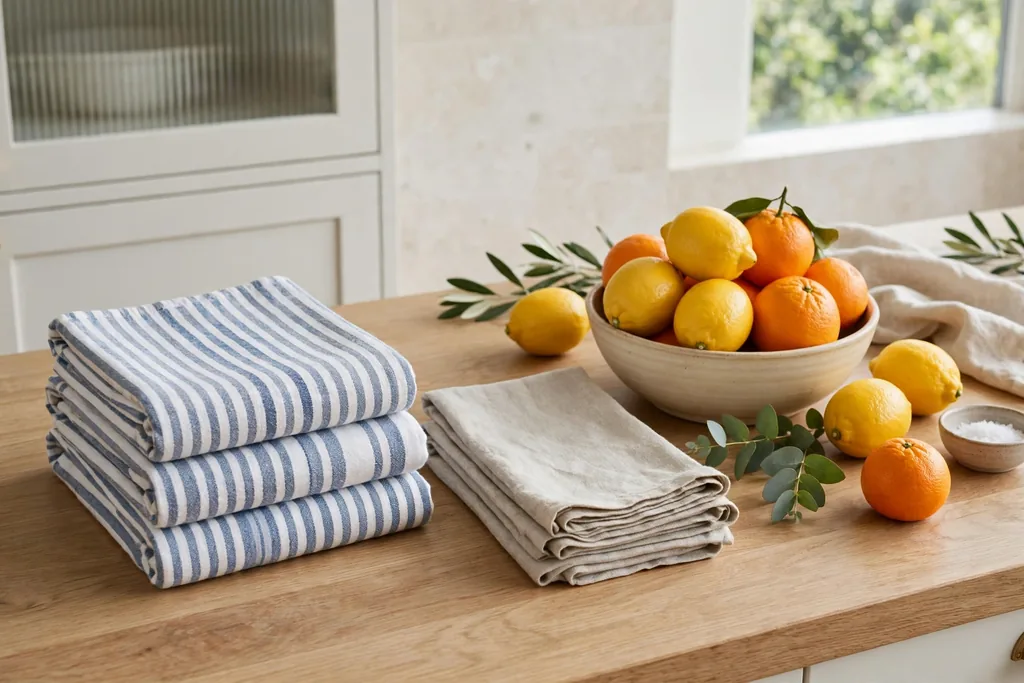
The last move is the simplest: fresh towels, a clean table cloth or runner, and a bowl of fruit on the counter or table. Choose towels in a color already used in the room, such as the island color or the runner tone, and keep the fruit bowl to one fruit type or a simple mix, such as lemons or oranges. This small styling change makes a freshly painted kitchen feel finished, and it costs little.
Rotate towels and linens with the seasons, and keep the fruit bowl to fruit you will eat that week, so it stays fresh rather than decorative. If your kitchen leans pale, a bowl of lemons adds a warm note; if it leans dark, a white bowl with green apples adds contrast. For color ideas that pair with towels and linens, these pink kitchen ideas show how a soft accent color works with white, wood, and brass.
Conclusion
A more polished kitchen rarely needs a new layout or new cabinets. It needs a clear color, one metal finish, good task lighting, and storage that keeps counters clear. Start with the largest change you can manage, whether that is paint, a backsplash, or a faucet, then add one lighting fix and one storage fix. After that, the small moves, a runner, a tray, fresh towels, and a fruit bowl, will read as finishing touches rather than cover ups. Save this list, pick one idea for this weekend, and add the next change when the first one feels settled.
FAQs
What is the cheapest way to make a kitchen look more polished?
Start with paint and hardware. Repainting cabinets in a light neutral, swapping knobs and pulls for one consistent finish, and adding LED strips under the cabinets changes the largest surfaces and the light in the room for a low cost. After that, a washable runner and a tray for counter items tidy the room without any building work. These moves suit renters too, since hardware and lighting strips can often be reversed.
Can I refresh a kitchen on a budget without replacing cabinets?
Yes. Most budget kitchen ideas work with existing cabinets: repaint them, add trim to flat doors, swap the hardware, paint the interiors, or remove a few doors for open shelving. A new backsplash, a new faucet, and better lighting then shift the room further without touching the cabinet boxes. Keep the cabinet boxes if they are sound and the layout works, and spend the budget on surfaces and details instead.
Are peel-and-stick tiles and contact paper good for a kitchen?
Both suit short term refreshes and rentals, with limits. Peel-and-stick tiles work well on a clean, smooth backsplash wall away from direct cooker heat, and contact paper suits a sound laminate counter that needs a fresh look. Neither replaces real tile or stone for long term durability, so keep them clear of standing water and heat, wipe them gently, and expect to replace them after heavy use. They are best used while you save for a larger change, or in a kitchen you plan to remodel later.
How do I choose a budget kitchen color that will not date quickly?
Choose a light neutral for cabinets, such as warm white, cream, or pale greige, and add color in one place you can change easily, such as the island, a runner, or towels. Test a large sample beside your floor and counter in daylight and evening light before painting, since colors look stronger over a full run of cabinets. Keep the metal finish consistent, and let wood and white carry the rest of the room, so the scheme stays easy to update later.
What budget kitchen changes work best for renters?
Renters get the best return from reversible changes: swap hardware and save the originals, lay peel-and-stick tile and floor tiles that lift cleanly, hang a sink skirt on a tension rod, use a cafe curtain on a tension rod, add a rolling cart, and style with trays, jars, towels, and a fruit bowl. Check your lease before fixing shelves, rails, or panels to walls, and use removable fixings rated for the weight. Keep old fittings in labelled bags, so the kitchen returns to its original state at the end of the tenancy.
Where should I start if I only have one weekend?
Start with the change you see most. In most kitchens that means painting the cabinets or the island, or laying a peel-and-stick backsplash if the cabinets are already in good shape. Add a hardware swap in the same weekend, since the doors are already off for painting, and finish with LED strips under the cabinets. One weekend used this way gives a visible change on Monday morning, and the smaller ideas, such as trays, jars, and towels, can follow the next weekend without rushing.