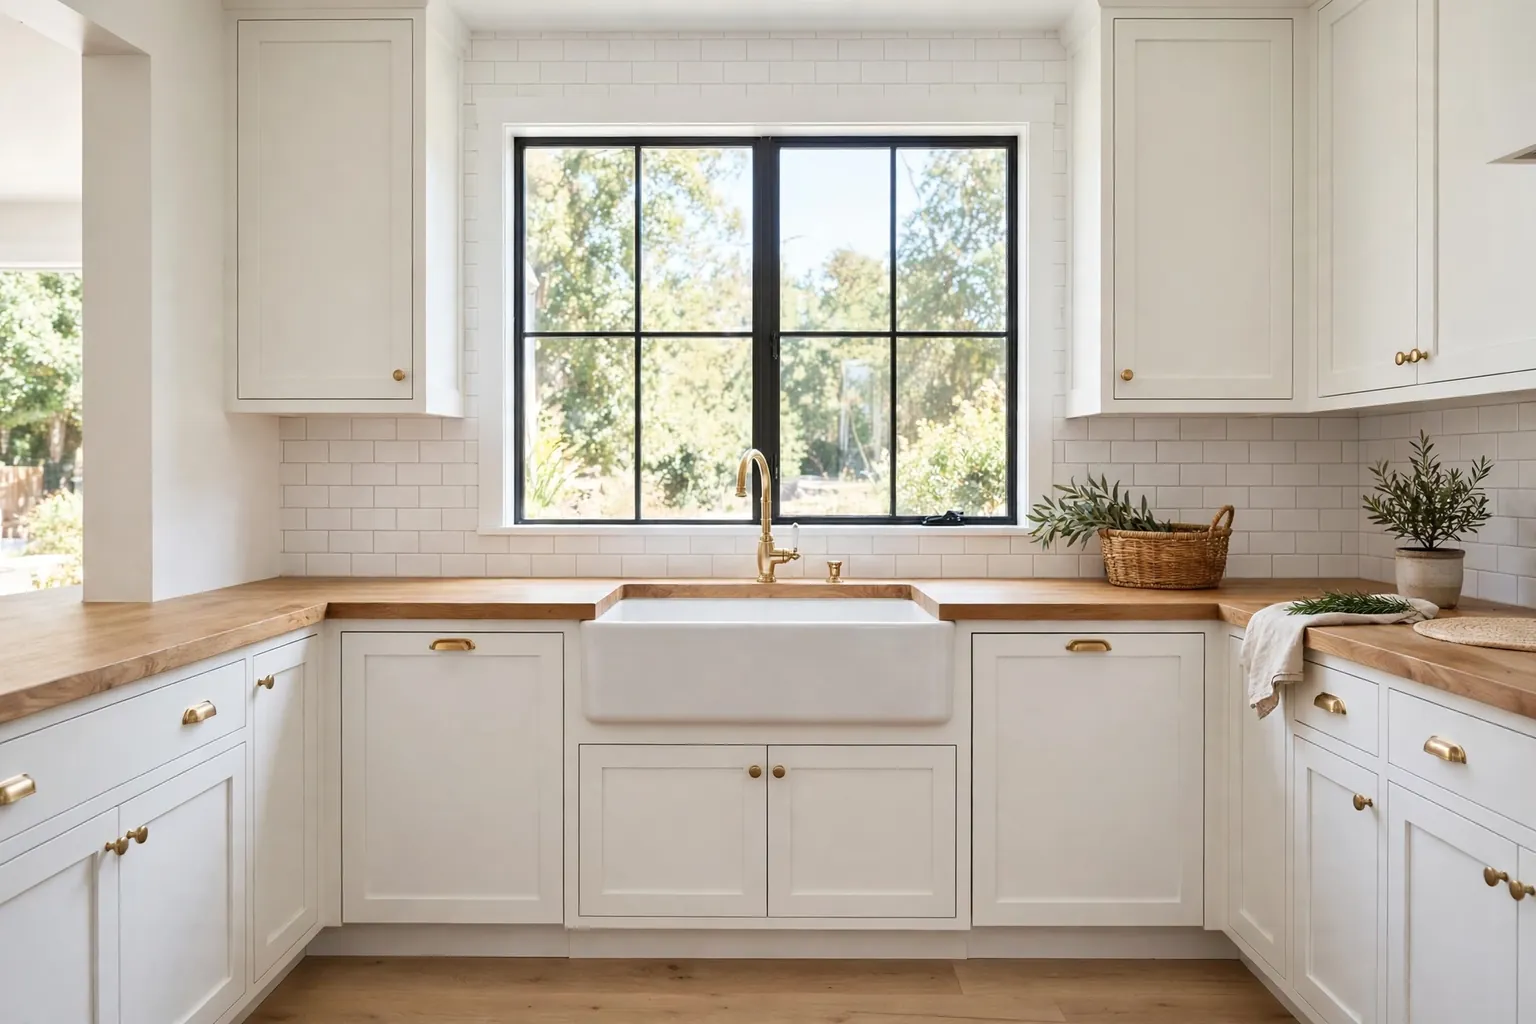
A kitchen wash basin does more work than most fittings in the room. It holds soapy water for dishes, rinses vegetables, soaks baking trays, and takes the daily splash of cooking. A basin that is too shallow, too small, or placed in a dark corner makes that work harder, while the right basin makes it feel simple. These 16 kitchen wash basin ideas cover size, shape, material, and placement, from a deep farmhouse bowl to a compact basin for a small kitchen. Start with how you use the sink, measure the cabinet below it, and choose a basin that fits your counter and tap. These white kitchen ideas show cabinets and lighting that keep the work zone bright.
Key Takeaways
- Choose basin size by use first: a deep single bowl for large pots, a double bowl for separating washing and rinsing, and a compact basin for a small kitchen.
- Check the cabinet below the basin before you buy, since apron front, undermount, and corner basins each need a different base unit and clearance.
- Match the basin material to your care routine: stainless steel and granite composite wipe clean easily, while copper and ceramic need gentler cleaning.
- Put the basin where light and reach are best, usually under a window or on a clear run, with space on at least one side for a draining board or tray.
- Keep the area around the basin plain and wipeable, with a tray for soap and a brush, so splashes stay easy to clean.
- Test tap height and reach against the basin depth, so water lands in the bowl and not on the counter or your sleeves.
1. Deep Single Bowl Basin for Large Pots
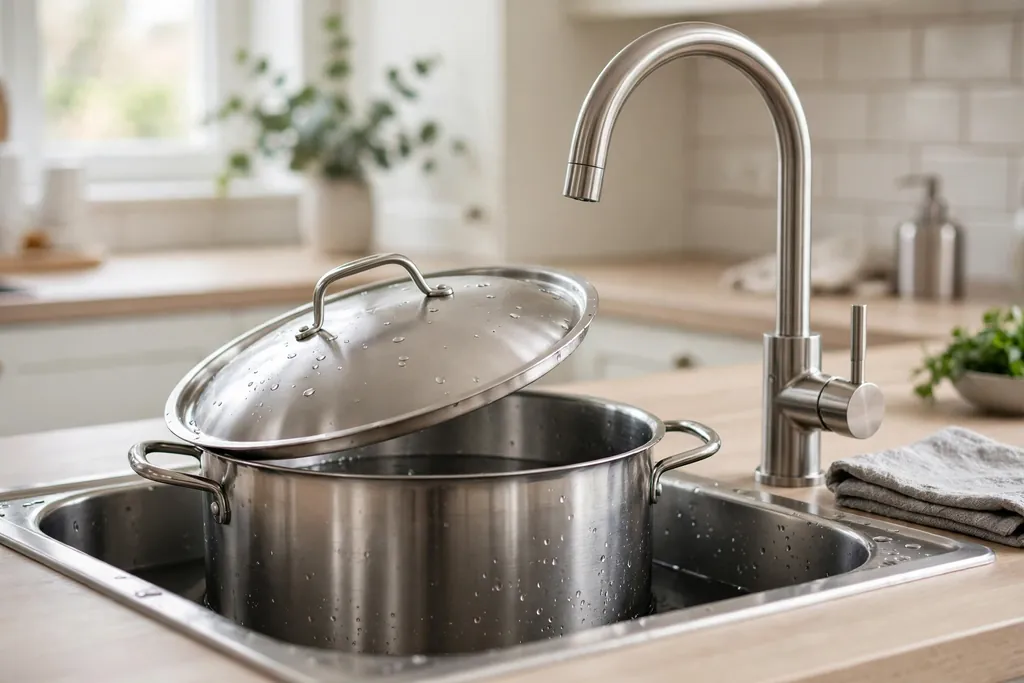
Choose a deep single bowl basin if large pots, roasting trays, and baking sheets are part of your weekly cooking. One wide bowl with no divider lets you lay a tray flat to soak, which a split basin cannot do. A depth of around a standard deep bowl also keeps splashes inside the basin while you rinse tall items.
Pair a deep bowl with a high tap or a pull down tap, so you can fill a tall pot without tilting it. Keep a drying rack or a mat on one side of the counter, since a single bowl leaves no second bowl for rinsing. This basin suits a kitchen with a clear counter run and a base cabinet wide enough to hold the bowl without crowding the plumbing.
2. Apron Front Ceramic Basin for a Farmhouse Look
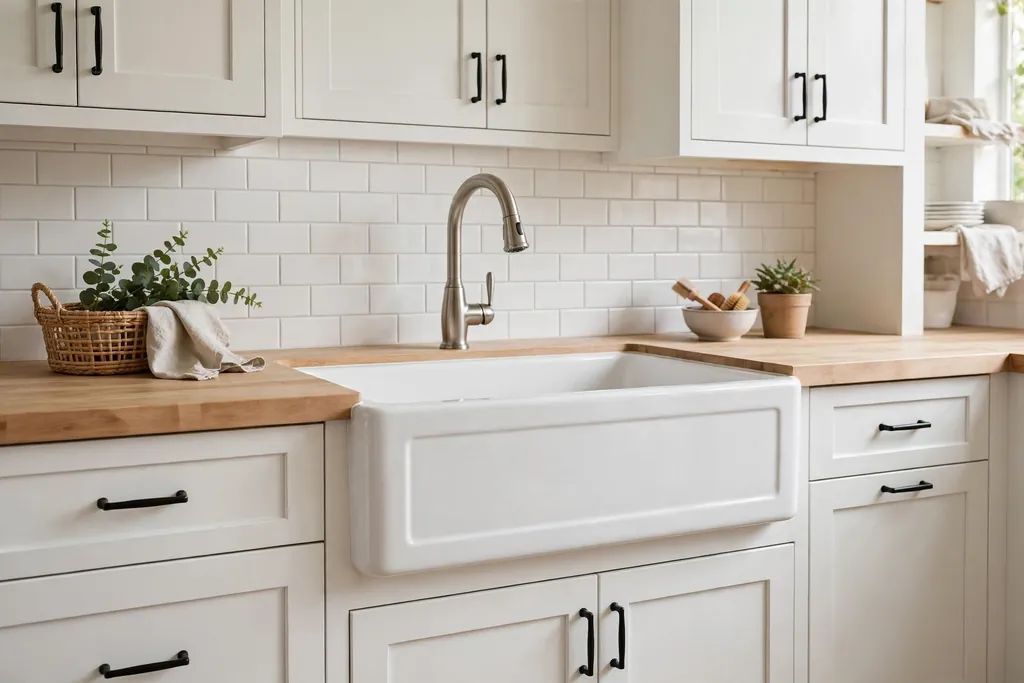
Fit an apron front ceramic basin, with its deep bowl and exposed front panel on show, for a farmhouse kitchen that puts the basin at the center of the work zone. The front panel sits proud of the cabinet front, so it reads as a feature rather than a plain fitting, and its depth handles large pots with ease. Pair it with white shaker cabinets, a simple bridge tap, and a wood or stone counter for a room that feels practical and welcoming.
Choose a fireclay or ceramic basin for a classic look, and check the cabinet size before you order, since apron basins need a purpose built base unit. Keep the area around the basin clear, with a dish rack or a folded linen cloth nearby, and let the basin do the talking rather than adding a busy wall behind it. A single large bowl suits most cooks better than a split bowl in a farmhouse kitchen.
3. Double Bowl Basin for Washing and Rinsing
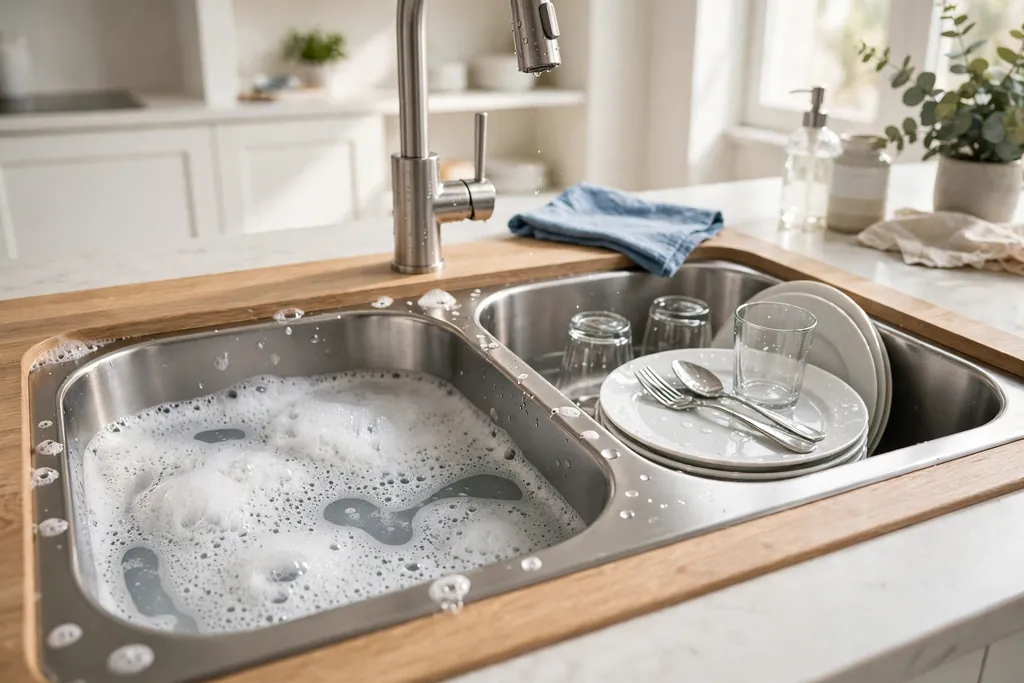
Use a double bowl basin to separate washing and rinsing, so one person can soak dishes while another rinses vegetables or fills a kettle. An even split suits a household that washes up by hand most days, while a larger main bowl with a smaller second bowl suits a kitchen where the dishwasher does most of the work and the second bowl is for prep. This layout keeps dirty water away from clean produce, which matters in a busy kitchen.
Keep the tap centered over the divider or fitted with a pull out spray, so both bowls are easy to reach. Check that each bowl is wide enough for your largest everyday pan, since a narrow second bowl can feel cramped. A double bowl needs a wider base cabinet than a single bowl, so measure the cabinet and the plumbing space before you commit.
4. Corner Basin to Free Counter Space
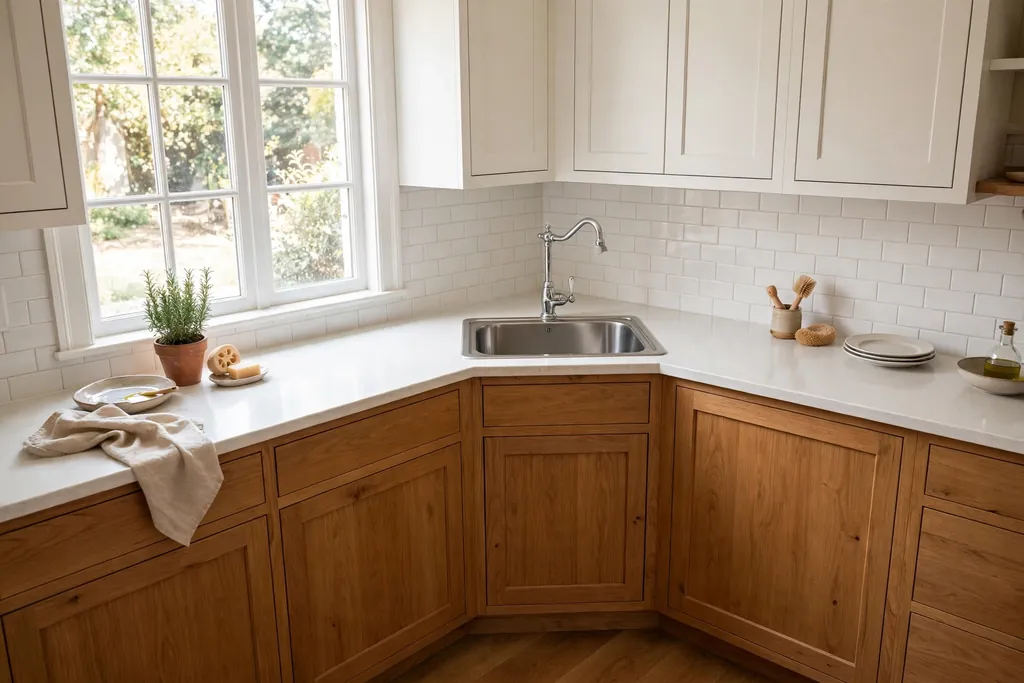
Place a wash basin in a corner run to free the main counter for prep and serving. A corner basin uses a part of the kitchen that often holds little more than a kettle, and it leaves the straight runs clear for chopping and plating. A corner basin with a diagonal front or a bowl set at an angle gives you standing room without forcing you to twist to reach the tap.
Check that the corner cabinet gives you access to the plumbing and enough knee room, and fit a tap that swings easily across the bowl. Keep the counter beside the corner basin clear for a draining tray, since the corner itself offers less side space than a straight run. This idea suits an L shaped kitchen where the corner would otherwise stay underused.
5. Undermount Basin for a Smooth Counter Line
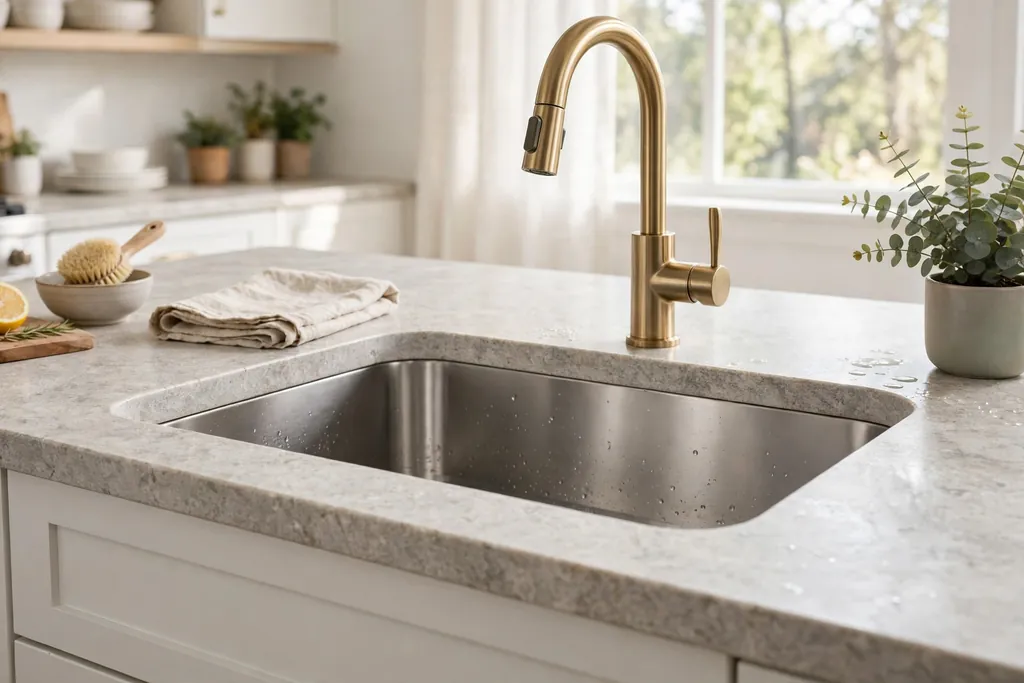
Fit an undermount basin below the counter, so the counter surface runs straight into the bowl with no raised rim to trap crumbs and water. The smooth line makes wiping the counter into the basin easy, and it suits a stone or solid surface counter where a clean edge matters. An undermount basin also shows more of the counter material, which helps a small kitchen feel less broken up.
Use a solid surface or stone counter for an undermount fit, since laminate edges can swell with constant water contact. Check that the basin is sealed well to the underside of the counter and supported by brackets, not by sealant alone. Keep a soft cloth nearby for the counter edge, since water marks show more on a smooth line than on a raised rim.
6. Workstation Basin With Sliding Board and Colander
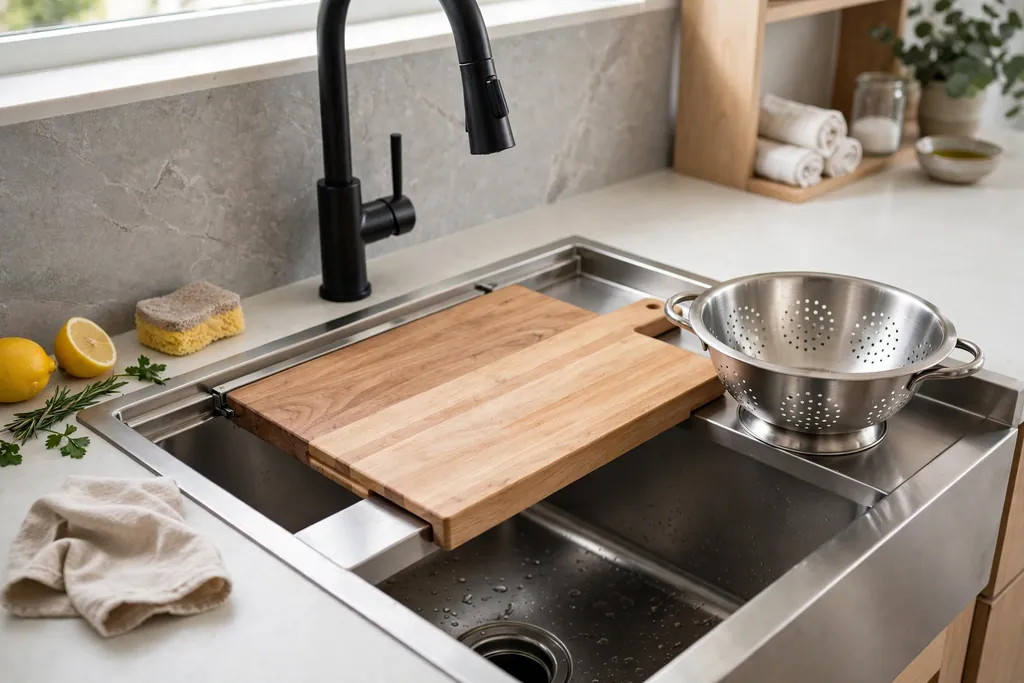
Choose a workstation basin with a ledge inside the rim, so a cutting board, colander, and drying rack slide across the bowl at counter height. The ledge turns the basin into a prep station: rinse vegetables in the colander, chop on the board, and slide both aside when you need the full bowl for washing up. This setup saves counter space in a kitchen where prep and washing share one zone.
Order the accessories made for your exact basin model, since a board that is too short will slip and one that is too long will not sit flat. Keep the board and colander within reach, in a drawer beside the basin, so the system gets used daily rather than stored away. Wipe the ledge after use, since food and water collect in the channel if it is left damp.
7. Copper Basin for Warmth and a Living Finish
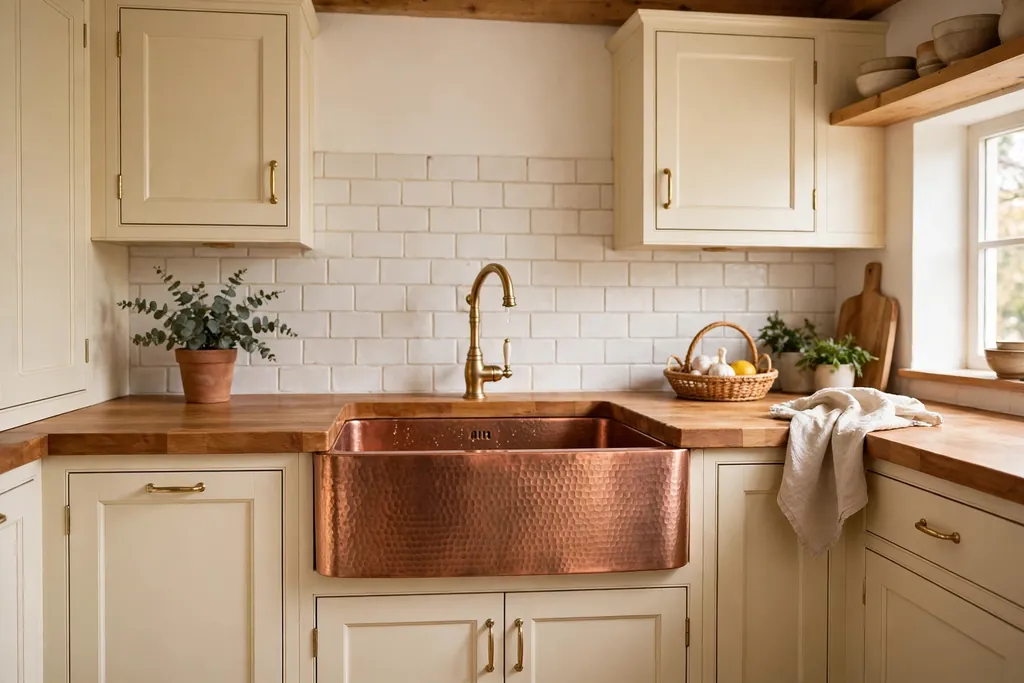
Fit a copper basin for warm color and a finish that changes gently with use. Copper suits a kitchen with wood counters, cream cabinets, and brass or black taps, and it brings warmth to a room that might otherwise feel cool. A hammered copper bowl adds texture and hides small water marks better than a smooth polished bowl, which matters at a hard working sink.
Clean copper with a soft cloth and mild soap, and avoid harsh pads that can scratch the surface. Expect the tone to deepen over time, especially around the drain, and decide before you buy whether you like that aged look or plan to polish it back. Keep the counter around a copper basin plain, so the warm metal stays the focus of the work zone.
8. Granite Composite Basin for a Hard Wearing Work Zone
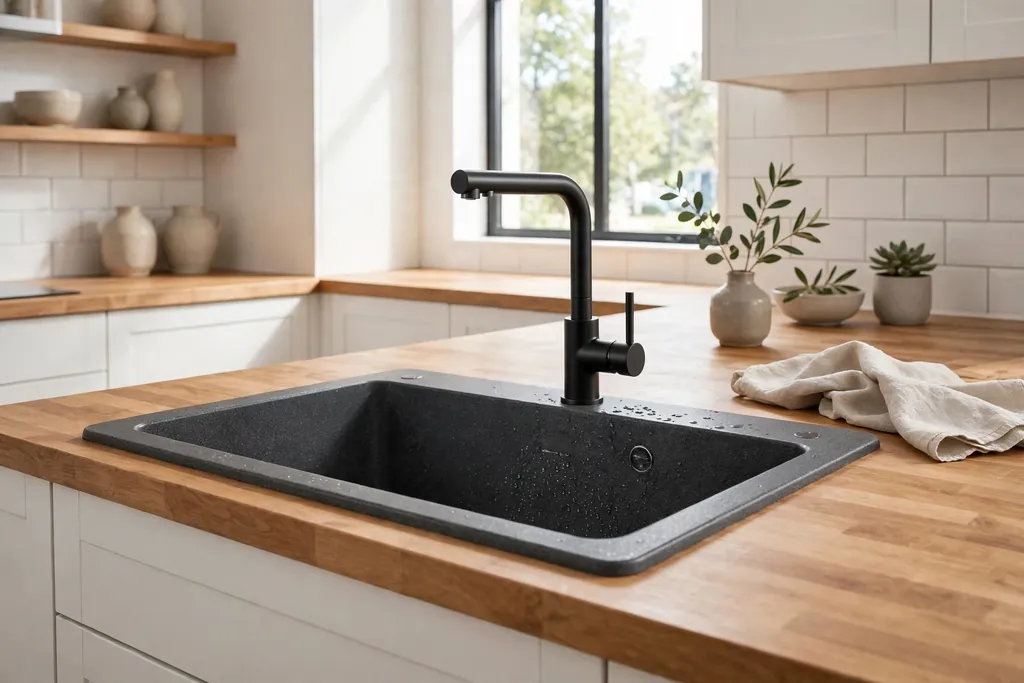
Choose a granite composite basin for a tough, quiet work zone that resists scratches, chips, and heat marks better than many other basin materials. The matte stone look suits a modern kitchen, and dark grey or black composite pairs well with wood counters and stainless appliances. Composite bowls also dampen the sound of running water and clattering dishes, which helps in an open plan room.
Wipe the basin with a soft cloth and mild cleaner, and avoid leaving strong dyes such as beetroot or turmeric standing in the bowl for long periods. Check the color beside your counter in daylight, since dark composite can read almost black in a dim kitchen. A composite basin suits a household that wants a basin that looks the same after years of daily use, with little special care.
9. Stainless Steel Basin With an Integrated Drainboard
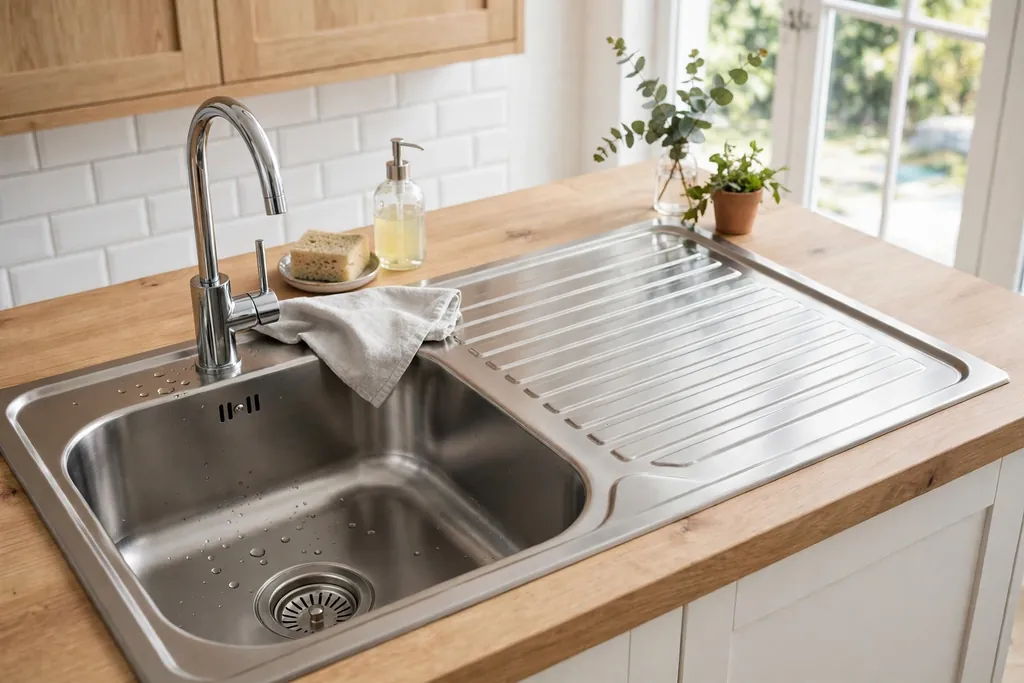
Use a stainless steel basin with an integrated drainboard, where grooves or a sloped shelf run beside the bowl, to give washed dishes a place to drain without a separate rack on the counter. The drainboard channels water back into the bowl, so the counter stays drier and the drying area stays contained. This is a practical pick for a kitchen with limited counter space or a household that washes up by hand daily.
Choose a brushed stainless finish, which hides water marks better than a polished finish, and wipe the grooves after use so they do not collect soap film. Keep the drainboard end clear of the stove, so steam and heat do not reach clean dishes. Pair the basin with a simple stainless tap, and keep the rest of the work zone plain so the steel reads as a working tool rather than a showpiece.
10. Window Basin for Daylight While You Wash
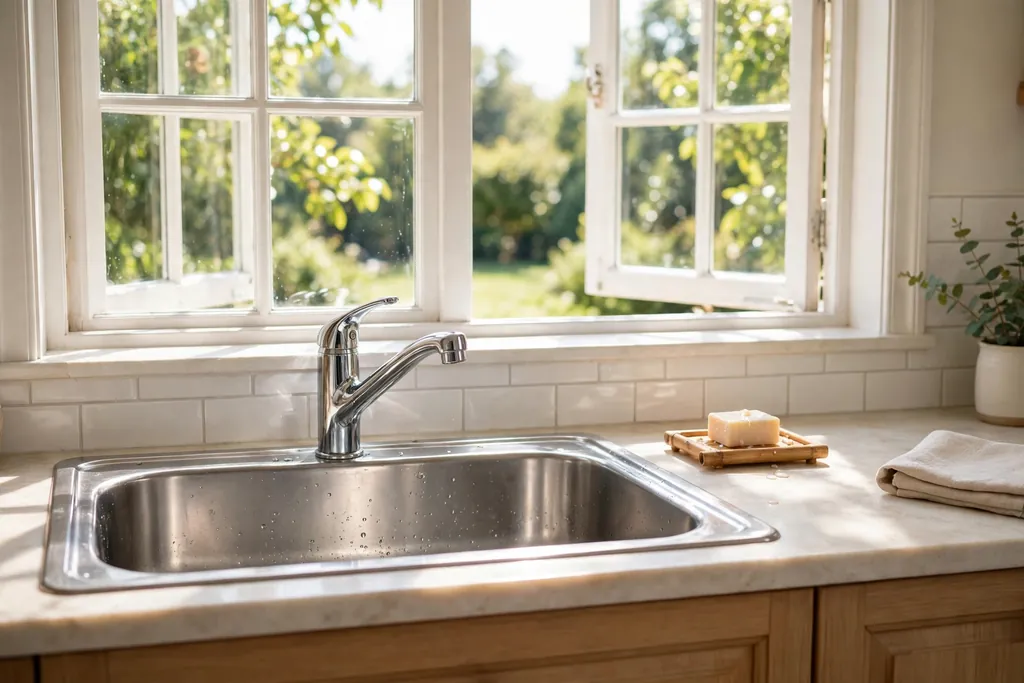
Place the wash basin under a window, so daylight falls on the work zone and washing up feels less like a chore tucked in a corner. A window basin gives you a view while you rinse and soak, and it keeps the brightest part of the kitchen for the job you stand at most. A simple tap that sits below the window frame, or a tap that folds down, keeps the window easy to open for steam and cooking smells.
Keep the sill clear of clutter, with just a small tray for soap and a brush, so splashes stay easy to wipe and the glass stays clean. Choose a basin that fits the window width, with counter space on at least one side for a draining board. For more ways to dress the window without blocking light, see these kitchen window decor ideas.
11. Island Prep Basin for a Second Work Zone
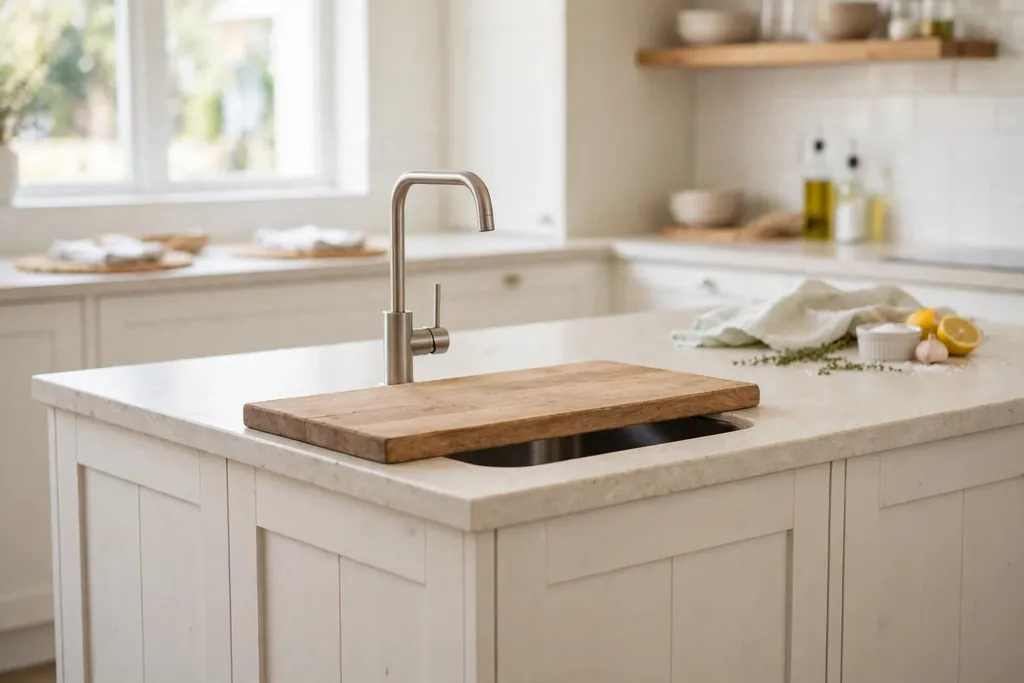
Add a small prep basin to the island, so a second person can rinse vegetables, fill a kettle, or wash hands without crossing to the main sink. An island basin turns the island into a real work zone rather than just a serving counter, and it suits a kitchen where two people cook together or where guests gather near the island. Keep the island basin compact, with a simple tap, so it does not eat into seating or serving space.
Plumb the island basin during a renovation if you can, since adding water later costs more. Keep the island counter around the basin clear, with a small board that fits over the bowl when the basin is not in use. A matching finish to the main basin, in stainless steel or composite, keeps the two work zones looking planned rather than added at random.
12. Compact Round Basin for a Small Kitchen
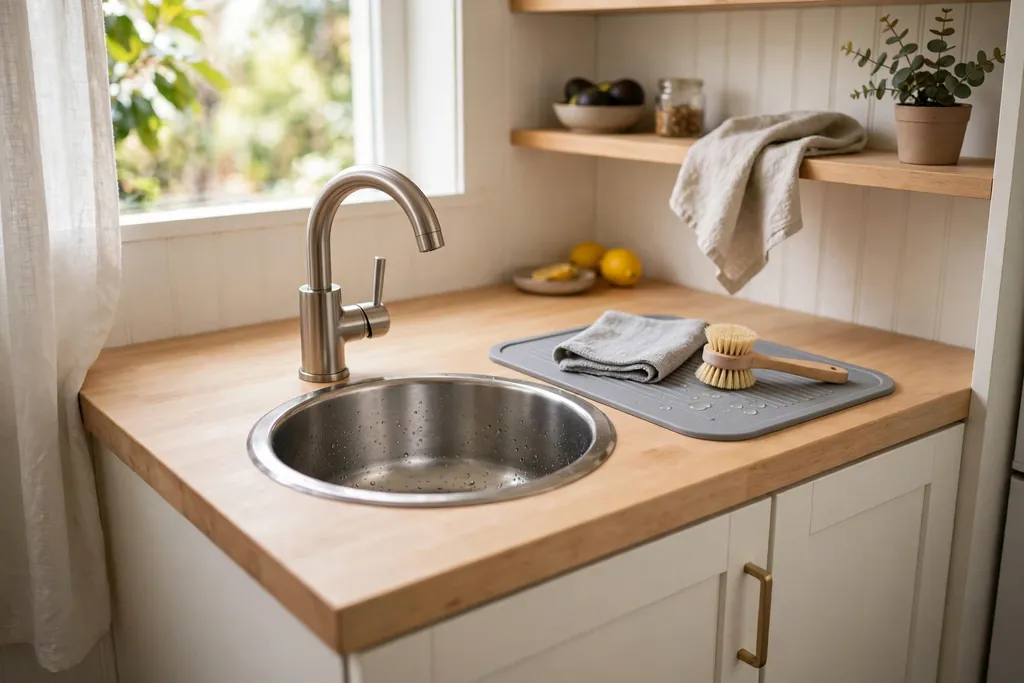
Fit a compact round basin in a small kitchen, a studio kitchen, or a short counter run where a full rectangular bowl would crowd the work surface. A round bowl takes less counter width, leaves more room for prep on either side, and still holds a stockpot if the diameter is generous. The curved shape also softens a kitchen full of straight cabinet lines, which helps a tight room feel less boxy.
Check that the round bowl is deep enough for your largest pan, and pair it with a single lever tap that swings across the full bowl. Keep a small draining mat beside the basin, since a compact bowl leaves no room for a built in drainboard. This basin suits a renter or a small household where the dishwasher handles most dishes and the basin is mainly for prep and hand washing.
13. Deep Basin for Soaking Trays and Large Cookware
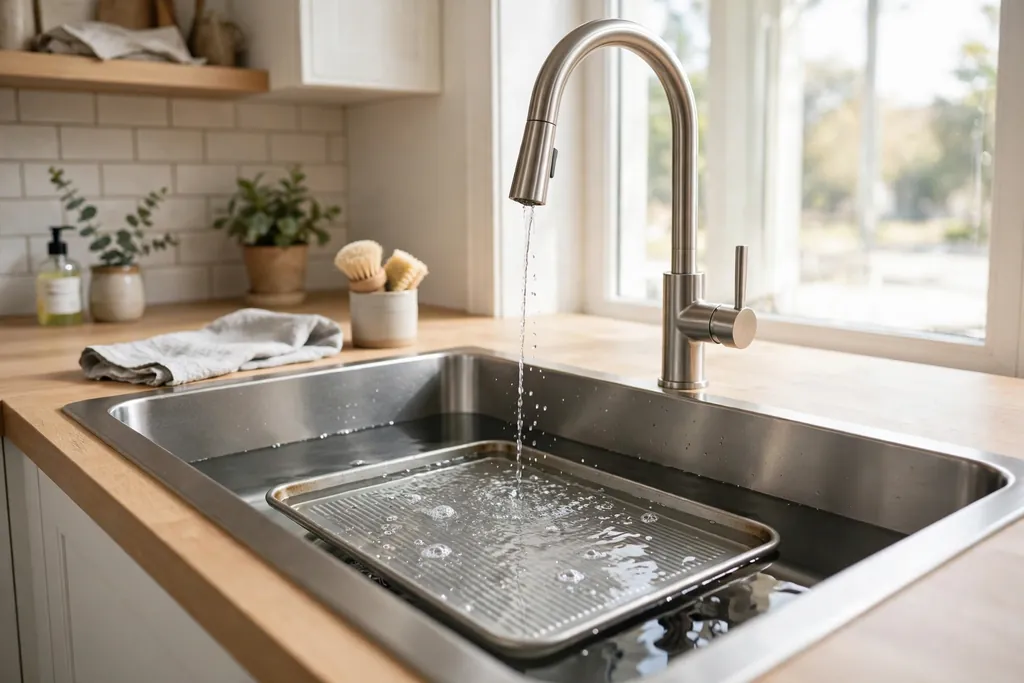
Choose an extra deep basin, deeper than a standard bowl, if baking trays, roasting pans, and stockpots are washed by hand most weeks. Extra depth lets you soak a tray flat without water spilling over the rim, and it keeps splashes inside the bowl when you rinse tall items. This is a different job from a standard deep single bowl: the point here is soaking height, not just bowl width.
Pair an extra deep bowl with a tap tall enough to clear the rim and reach the center of the bowl, and check that the base cabinet still leaves room for plumbing and a waste bin below. Keep a step or a small stool nearby only if the depth makes lifting a full pot awkward, and drain heavy pots before lifting them out. A deep soaking basin suits a keen cook more than a household that mainly uses a dishwasher.
14. Basin With a Patterned Tile Splash Wall
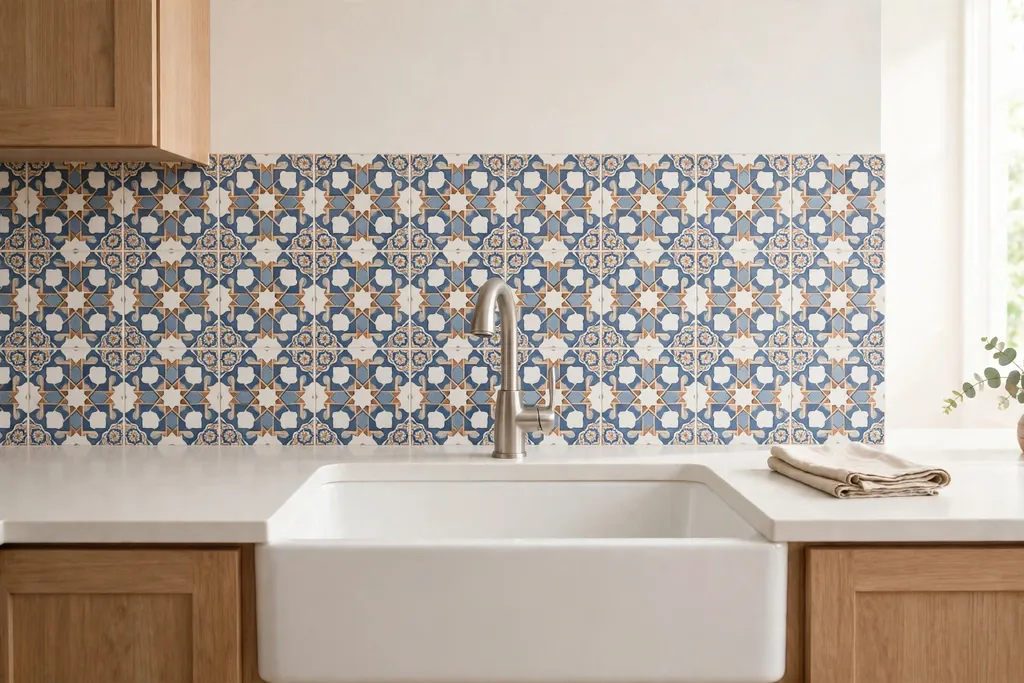
Set a plain basin against a patterned tile splash wall, so the wall carries the color and the basin stays simple and easy to clean. A patterned tile panel behind the basin, framed by plain tile or paint on each side, gives the work zone a clear focal point without making the basin itself hard to wipe. This works well when cabinets and counters are plain, since one strong wall panel can carry the whole scheme.
Seal the grout in the splash zone behind the basin, and wipe the wall after washing up so soap and food do not settle into the joints. Repeat one color from the tile in a tea towel or a small accessory, and keep the counter plain. For help choosing the tile itself, from subway to patterned panels, see these kitchen backsplash ideas.
15. Basin With Open Shelving and a Drying Rail Above
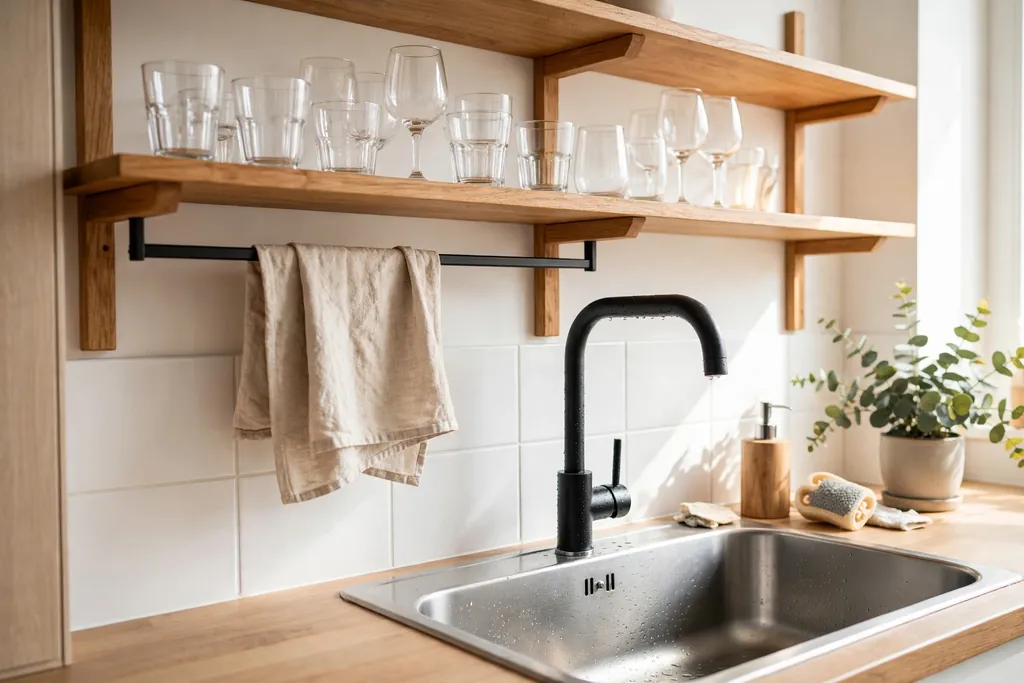
Place open shelving above the wash basin, with a rail or hooks for a drying cloth and a small rack for everyday glasses, so washed items go straight up rather than across the counter. A short shelf above the basin holds soap, a plant, and a few daily glasses within reach, while the rail keeps a drying towel where it is used most. This setup suits a kitchen where counter space is short and the wall above the basin would otherwise stay empty.
Fix shelves securely into studs or solid wall, and keep heavy stacks low, on the counter or in a cabinet, rather than on a high shelf above water. Leave clear space between the shelf and the tap, so tall items can be lifted in and out of the basin. Wipe the shelf often, since the area above a basin collects steam and splashes.
16. Basin Zone With Tray, Runner, and Wipeable Surround
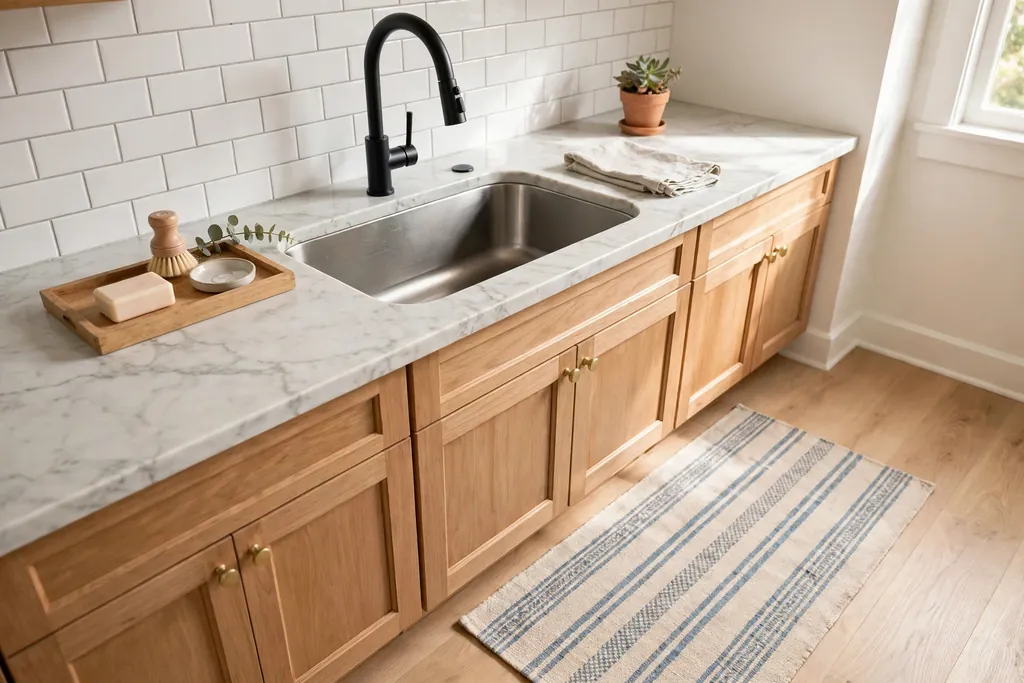
Finish the basin area as a complete zone: a narrow tray for soap, brush, and sponge, a washable runner on the floor in front of the basin, and a wipeable surround on the counter and wall. The tray keeps daily items grouped and off the wet counter edge, the runner softens standing time and catches drips, and the wipeable surround means splashes take a minute to clean. This zone idea needs no new basin at all, so it suits a renter or a kitchen that is otherwise finished.
Choose a tray with a raised lip in a material that tolerates water, such as sealed wood, stone, or coated metal, and limit it to the two or three items you use every day. Use a thin rug pad under the runner on smooth floors to stop slipping while you carry hot dishes. Wash the runner and wipe the tray weekly, since the basin zone gathers soap residue faster than any other part of the kitchen.
Conclusion
A good kitchen wash basin starts with use, not with looks alone. A deep bowl for large pots, a double bowl for washing and rinsing, a corner or compact basin for a tight layout, and a workstation basin for prep each solve a different daily problem. Material matters too: stainless steel and granite composite take hard daily use with simple care, while copper and ceramic bring warmth and need gentler cleaning. Place the basin where light falls and where you have side space for draining, keep the surround plain and wipeable, and test tap height against basin depth before you commit. Save this list for your next kitchen refresh, and start with the basin that fixes the chore you dislike most: soaking, rinsing, or simply standing at a dark, cramped sink.
FAQs
What size kitchen wash basin should I choose?
Choose by the largest item you wash by hand most weeks, not by the cabinet size alone. A deep single bowl suits large pots and baking trays, a double bowl suits hand washing and rinsing in separate bowls, and a compact round or small rectangular basin suits a short counter run. Measure the base cabinet width, the plumbing space below, and the counter depth, then check that the bowl leaves side space for a draining board or tray. If you are unsure between two sizes, the larger bowl usually wins, provided the cabinet can hold it and the tap can reach its center.
Is a single bowl or double bowl basin better?
A single bowl is better for soaking large trays and pots, since nothing divides the space, and it suits a household where the dishwasher handles most dishes. A double bowl is better for hand washing, since one bowl holds soapy water and the other holds rinse water or clean produce. An uneven double bowl, with one large and one small bowl, is a middle path for a kitchen that does both. Your washing routine should decide, not the look of the basin alone.
Which basin material is easiest to keep clean?
Stainless steel and granite composite are usually the easiest to keep clean with daily use. Stainless steel wipes clean with a soft cloth and mild soap, and a brushed finish hides water marks better than a polished finish. Granite composite resists scratches and stains and dampens sound, but strong dyes should not be left standing in it. Ceramic wipes clean too, but it can chip if a heavy pot is dropped, while copper needs gentler cleaning and will change tone over time.
Can I fit a wash basin in a corner kitchen?
Yes, a corner basin works well in an L shaped kitchen, provided the corner cabinet gives access to plumbing and enough standing room. Choose a basin made for a corner, with a diagonal front or an angled bowl, and fit a tap that swings across the full bowl. Keep the counter beside the corner basin clear for a draining tray, since the corner offers less side space than a straight run. Check door and drawer clearance before you order, so the corner unit opens fully.
Should the kitchen basin go under the window?
A basin under a window is a popular choice because daylight falls on the work zone and you get a view while you wash. It works best when the tap sits below the window frame or folds down, so the window still opens for steam. Keep the sill clear apart from a small soap tray, and choose a basin that fits the window width with side space for draining. If the window is very low or the tap cannot clear it, a basin on a clear wall run with good task lighting is a better choice.
How do I stop water splashing around my kitchen basin?
Start with tap height and reach: water should land near the center of the bowl, not near the rim, and the tap should not be so high that water bounces out. A deeper bowl helps, as does a tap with a pull down spray that you can aim low for rinsing. Keep a tray for soap and a brush, wipe the counter edge after washing up, and use a draining board or mat that channels water back into the bowl. If splashes still reach the wall, a wipeable splash panel or sealed tile behind the basin makes cleaning quick.