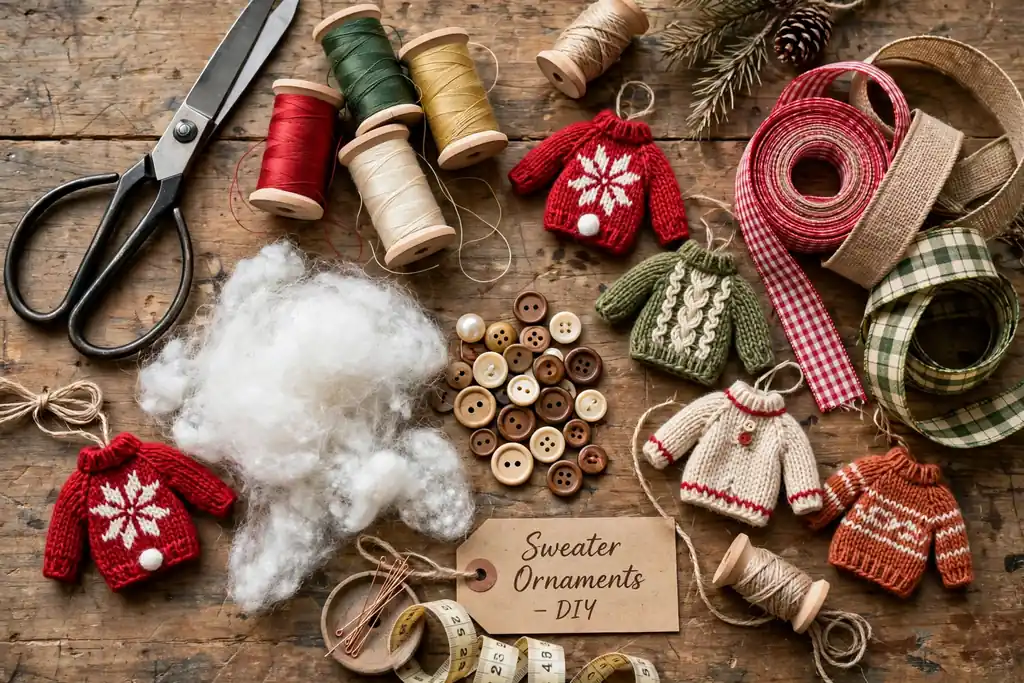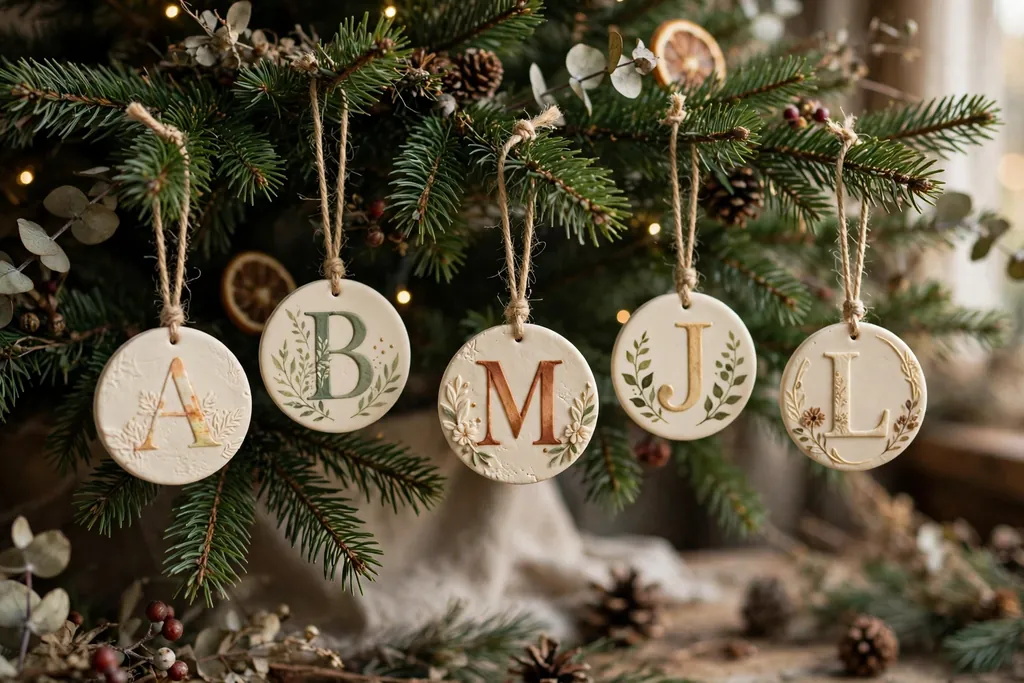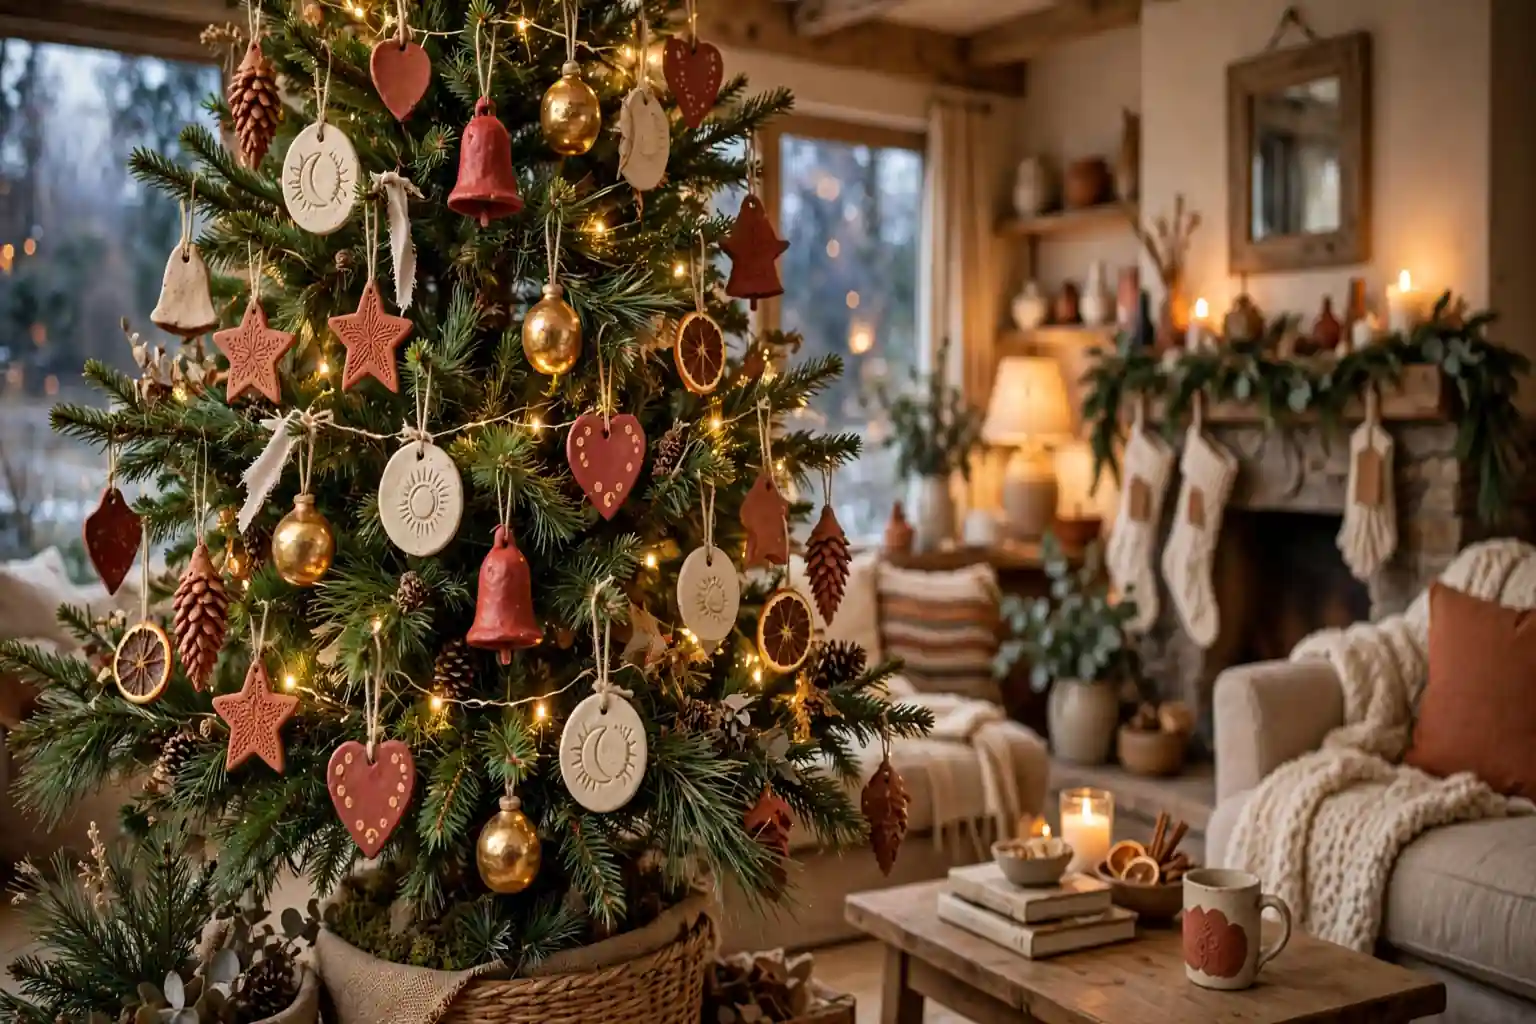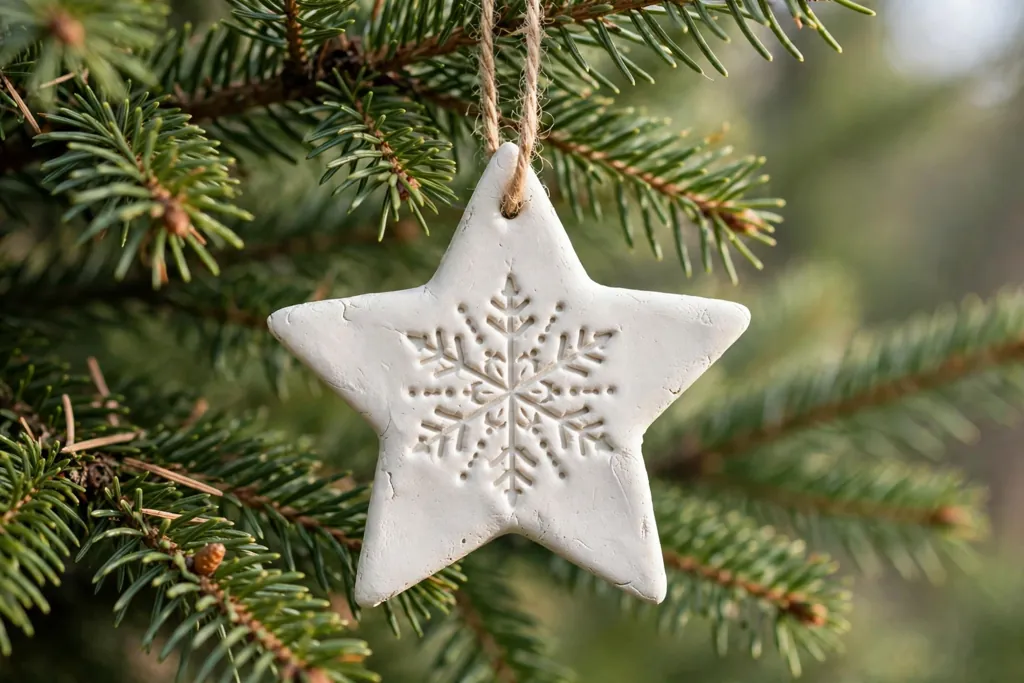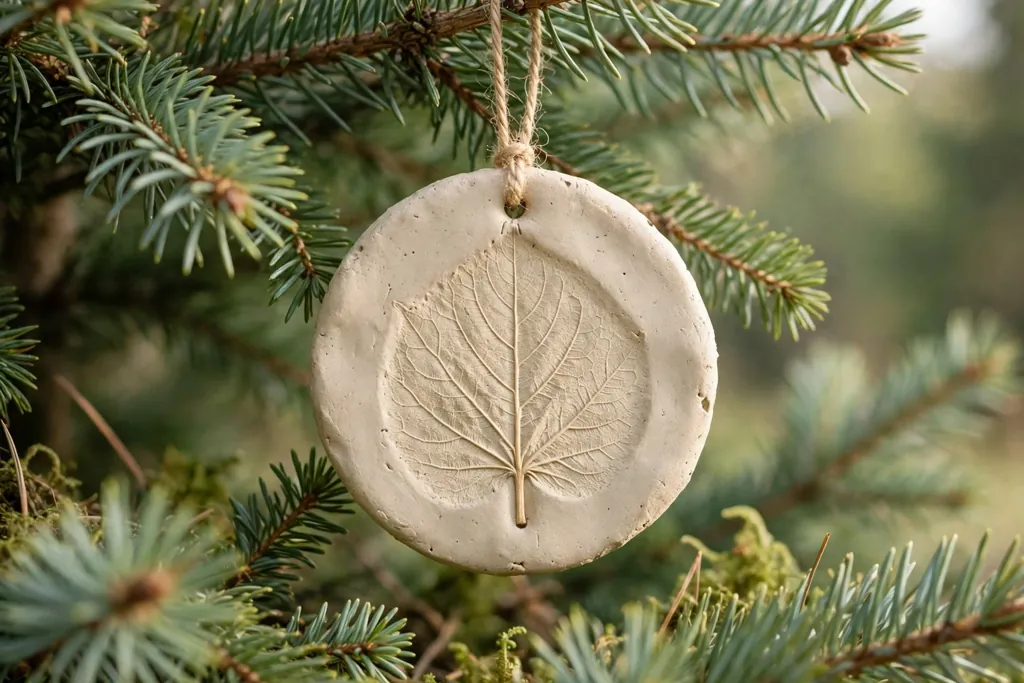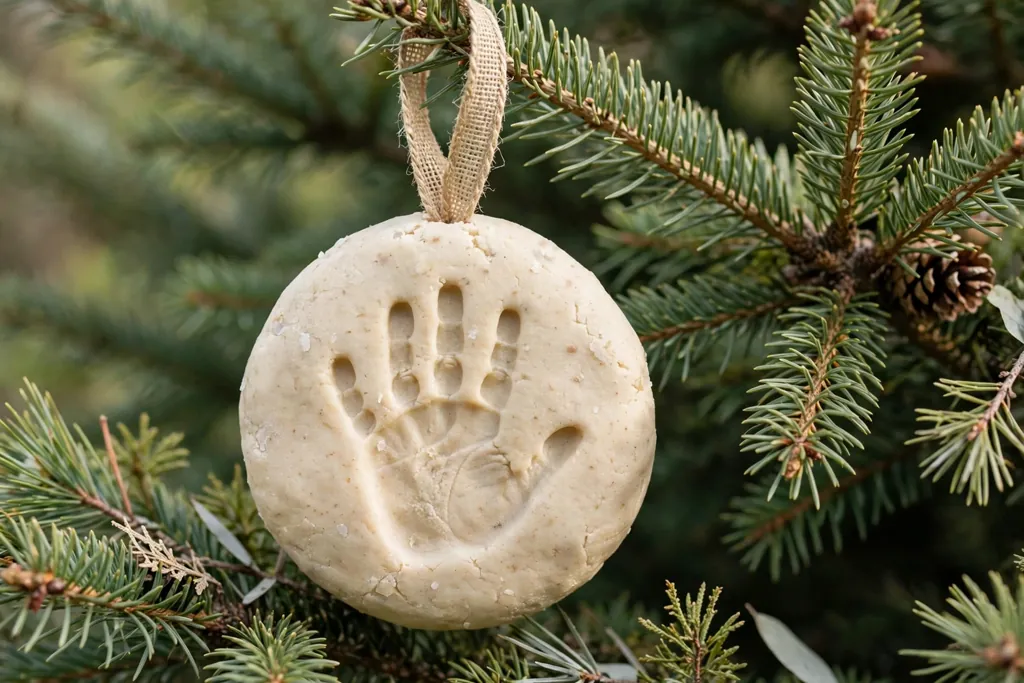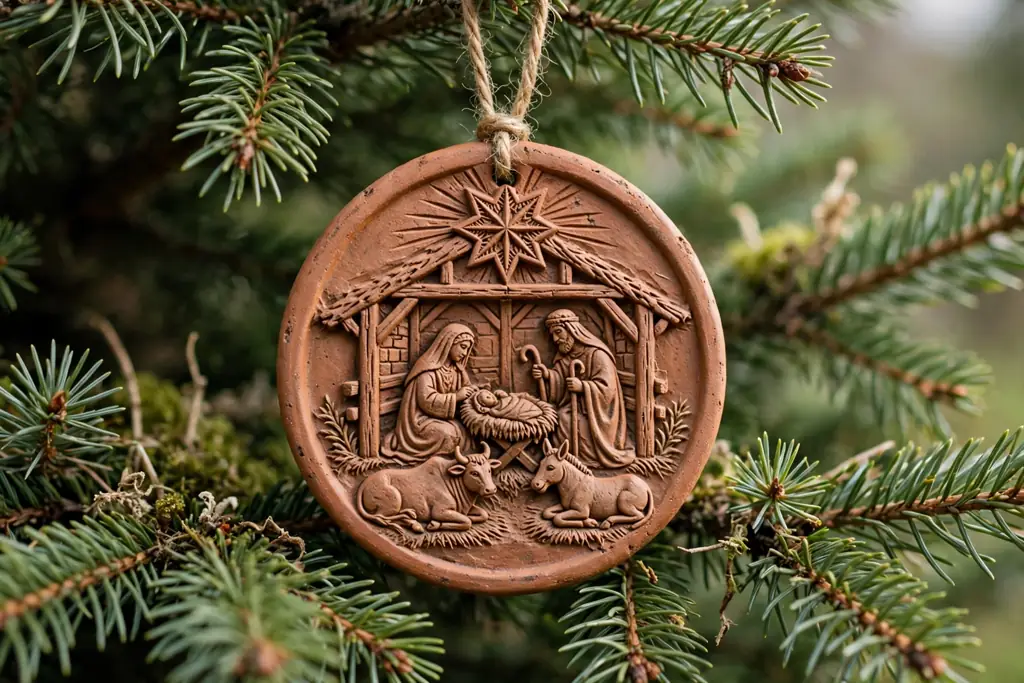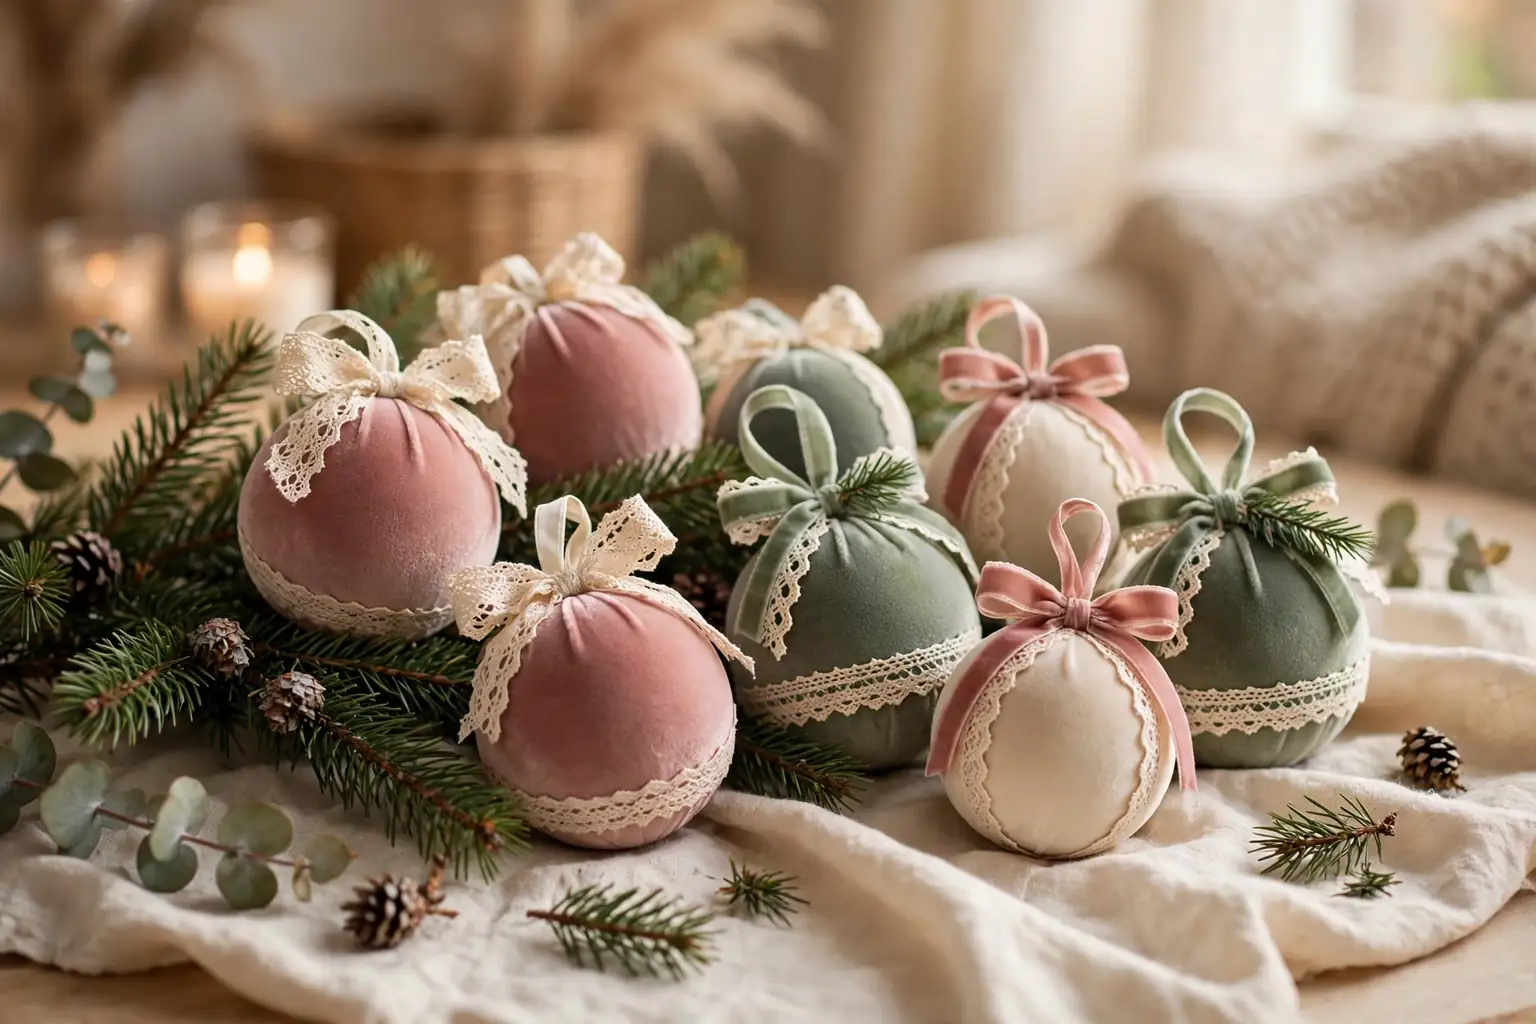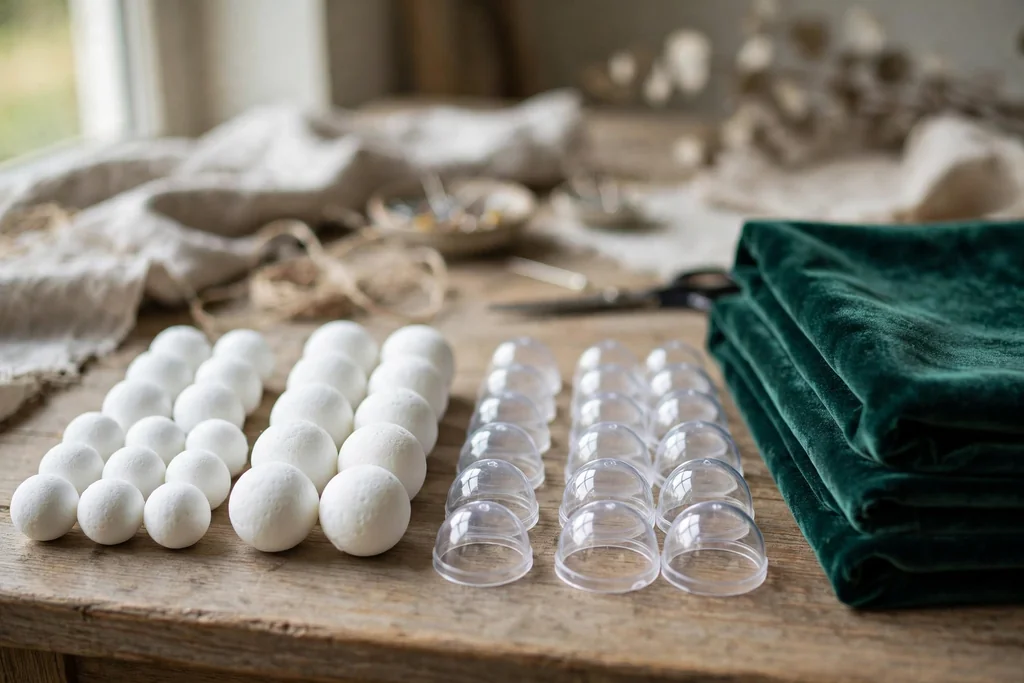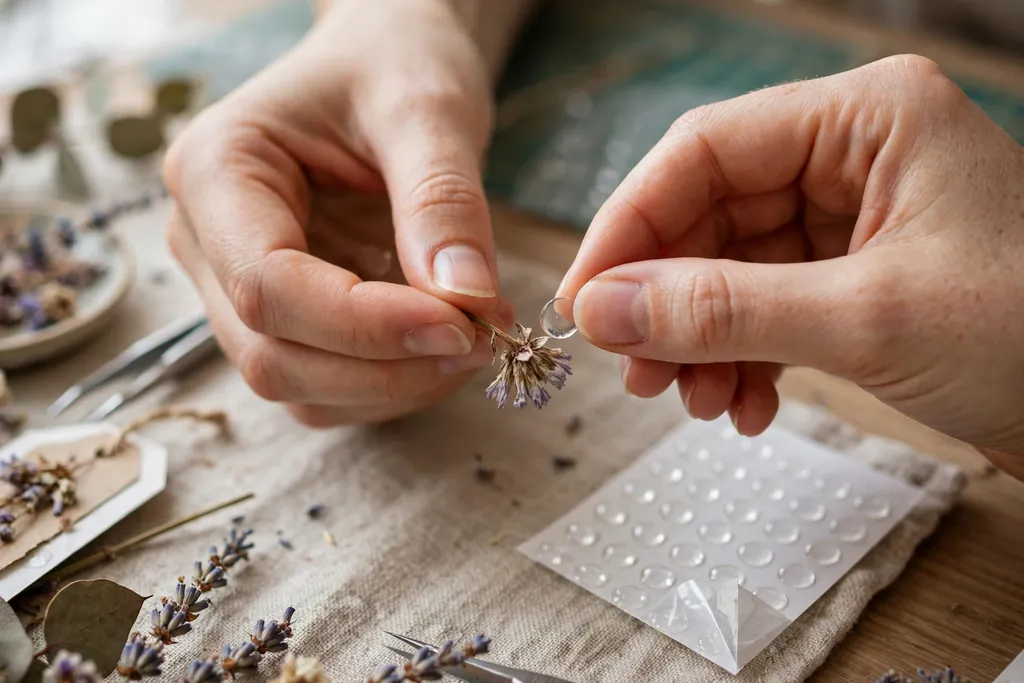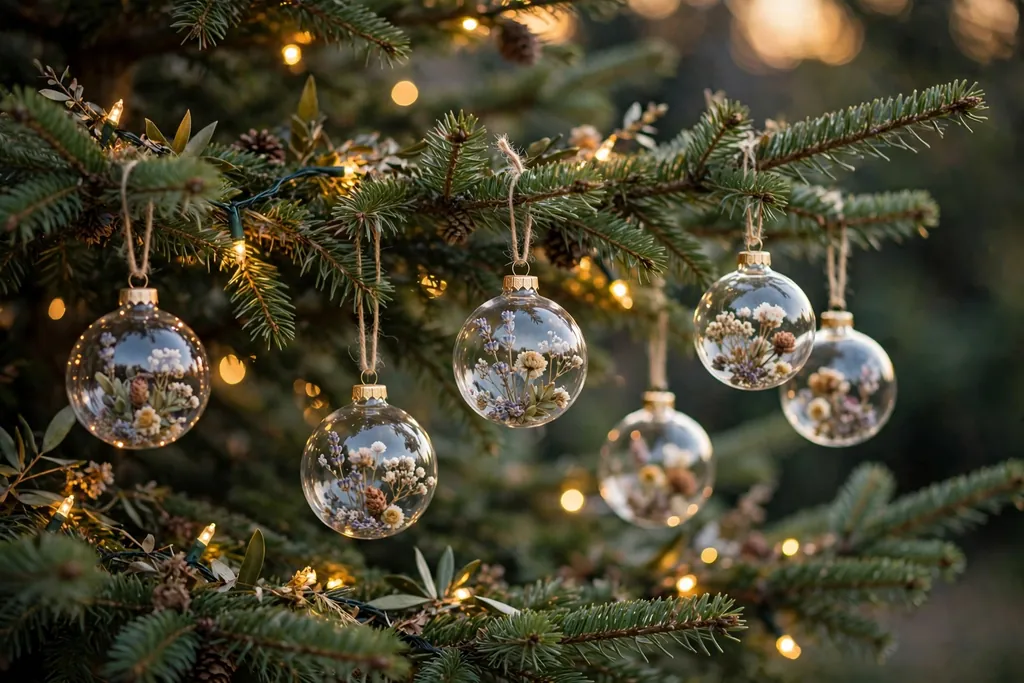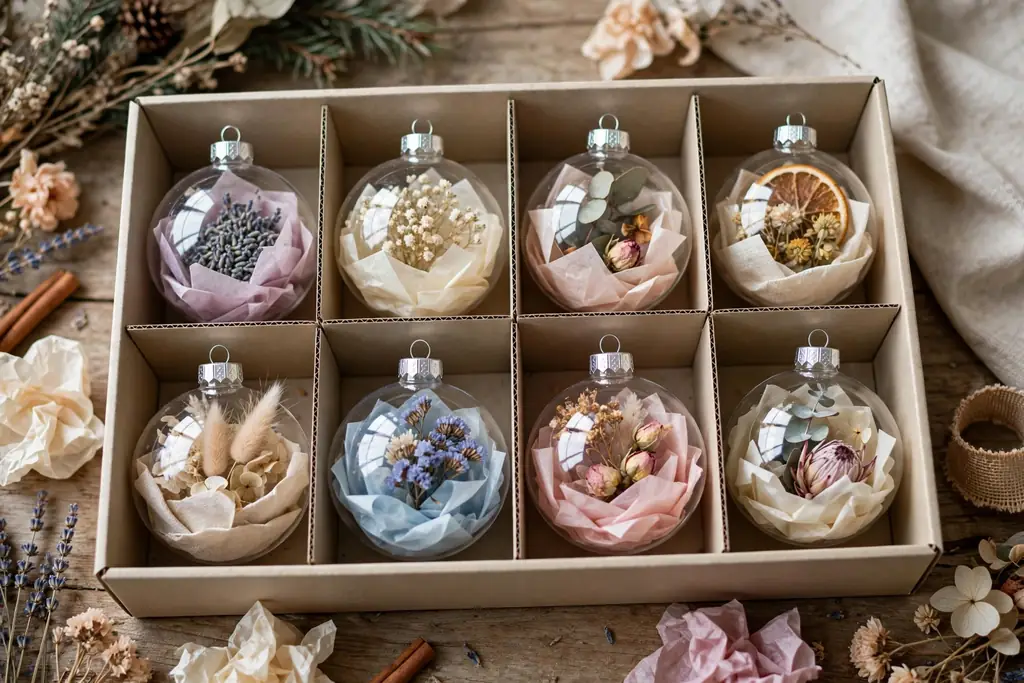
A personalized photo ornament turns a favorite picture into a tree decoration you can hang, gift, or keep for years. Choose a clear bauble, wood slice, acrylic disc, metal print, or fabric shape, add one sharp photo, and finish with a name, date, or short message. The best choice depends on the photo, the tree, and who will receive it.
Photo ornaments work because they carry a specific memory, not just a color or theme. A wedding photo, a first home, a grandparent, a pet, or a family trip all read at a glance on a tree, and they invite conversation when guests notice them. Start with the photo first, then pick a format that suits its shape, its colors, and where it will hang. A bright, detailed photo suits a clear print surface, while a soft, older photo suits wood, fabric, or a sepia treatment. For more nostalgic seasonal looks to pair with these ornaments, see the vintage Christmas decor ideas. Keep each ornament light enough for the branch it will hang on, and protect printed photos from strong sunlight and damp storage.
Key Takeaways
- Start with one sharp, well lit photo per ornament, and crop it to the ornament shape before printing.
- Match the format to the photo: clear surfaces suit bright, detailed pictures, while wood, fabric, and sepia suit soft or older pictures.
- Add a name, date, or short message so the ornament still tells its story years later.
- Keep ornaments light, hang them on sturdy branches, and test the loop before the tree goes up.
- Use copies of precious original photos, and keep the originals safe in an album or a digital backup.
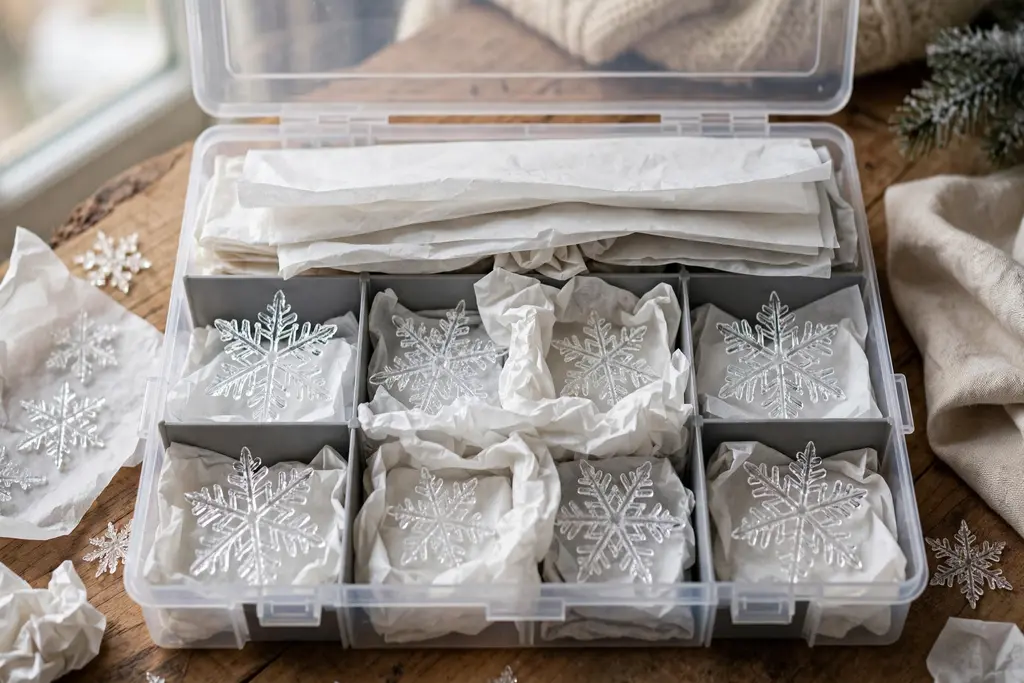
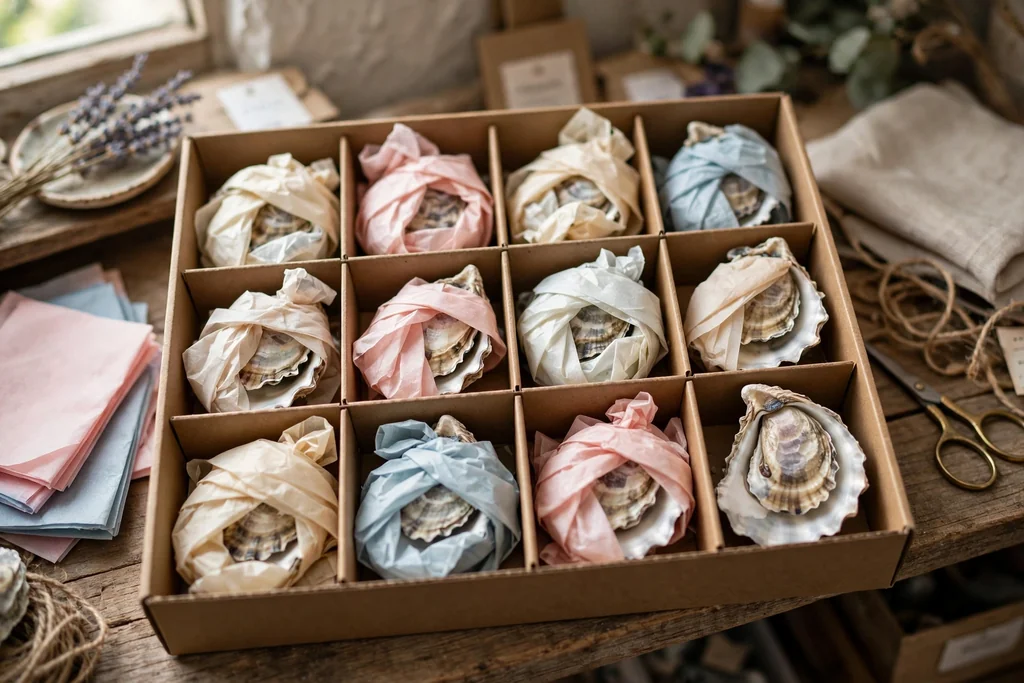
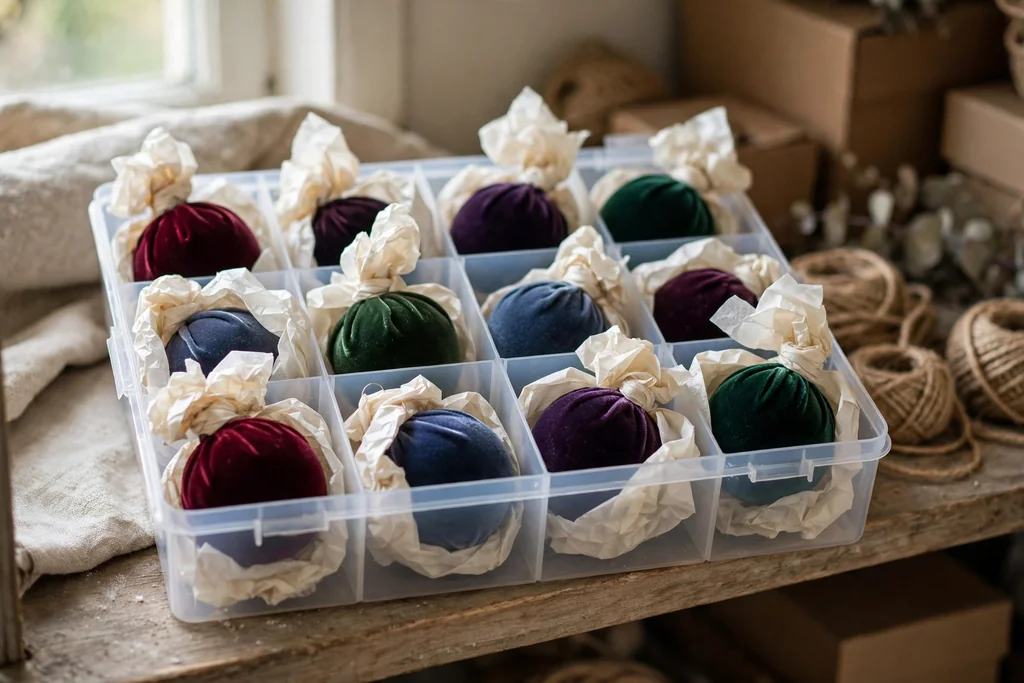
- Store photo ornaments in tissue lined boxes, away from sunlight and damp, so prints stay clear.
1. Clear Fillable Photo Baubles
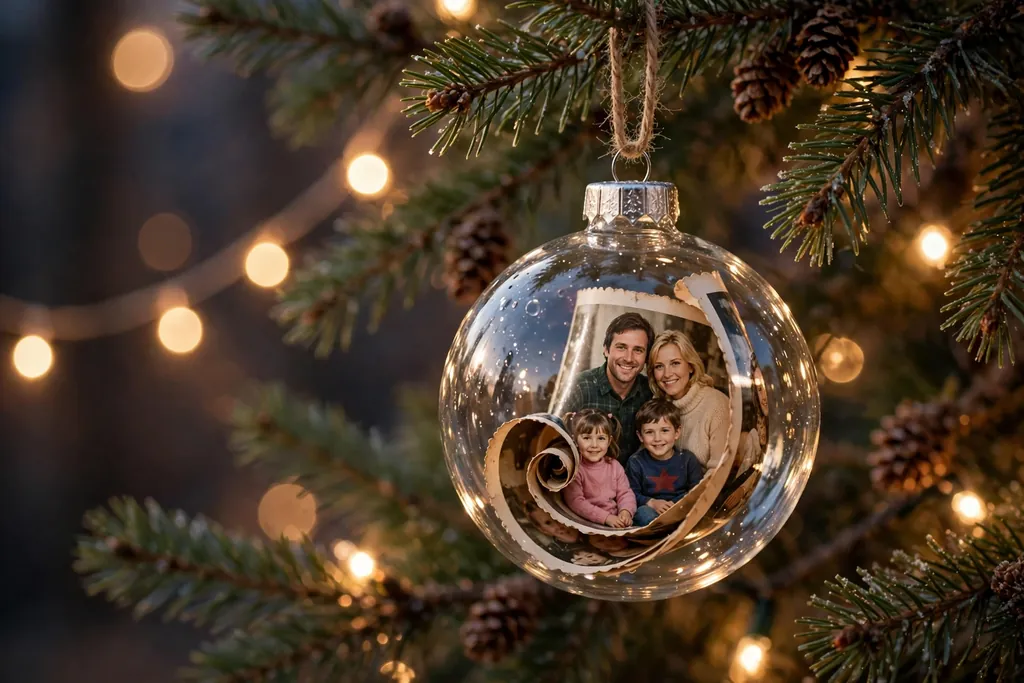
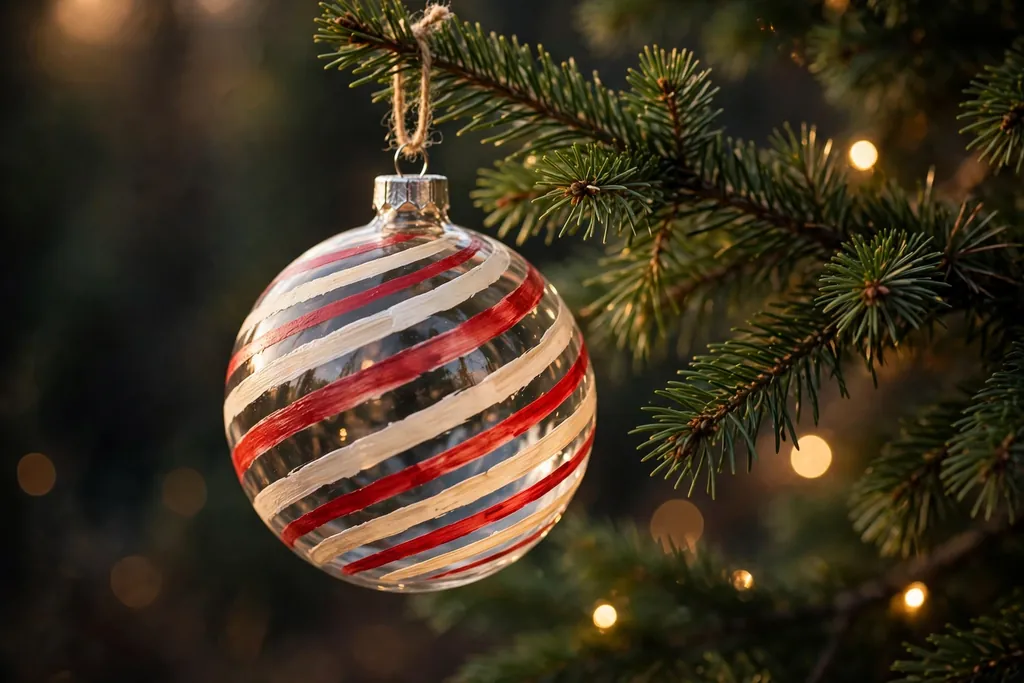
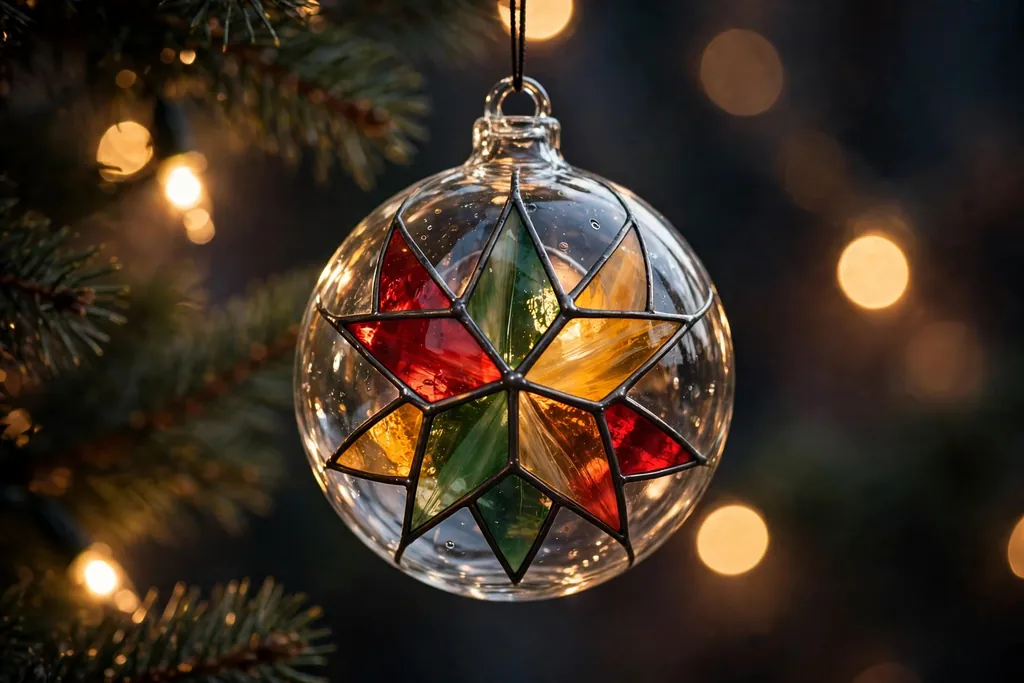
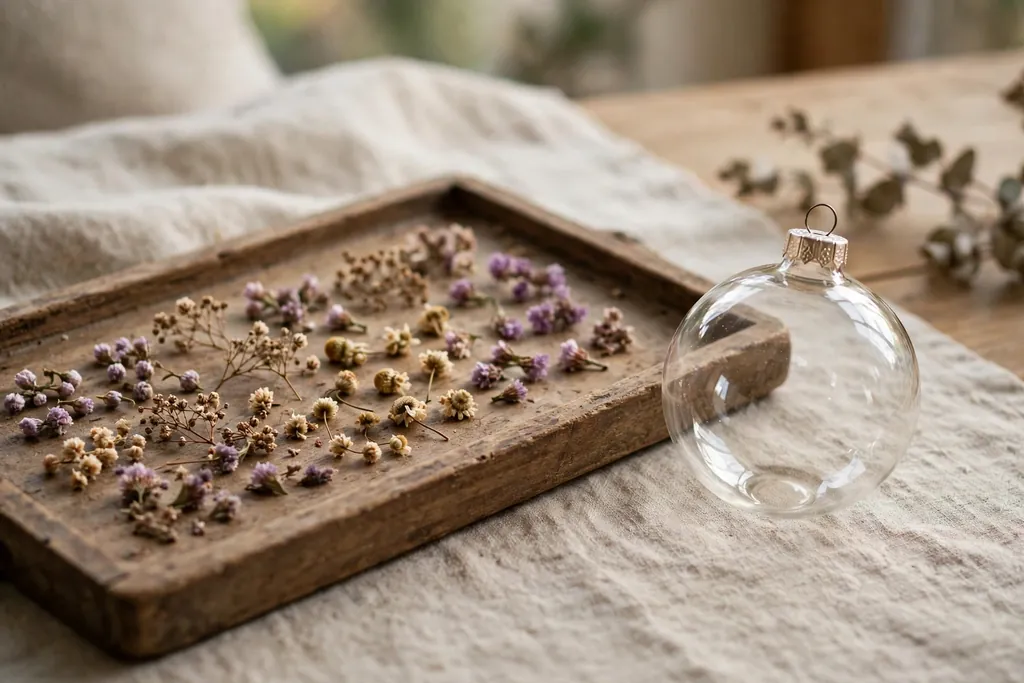
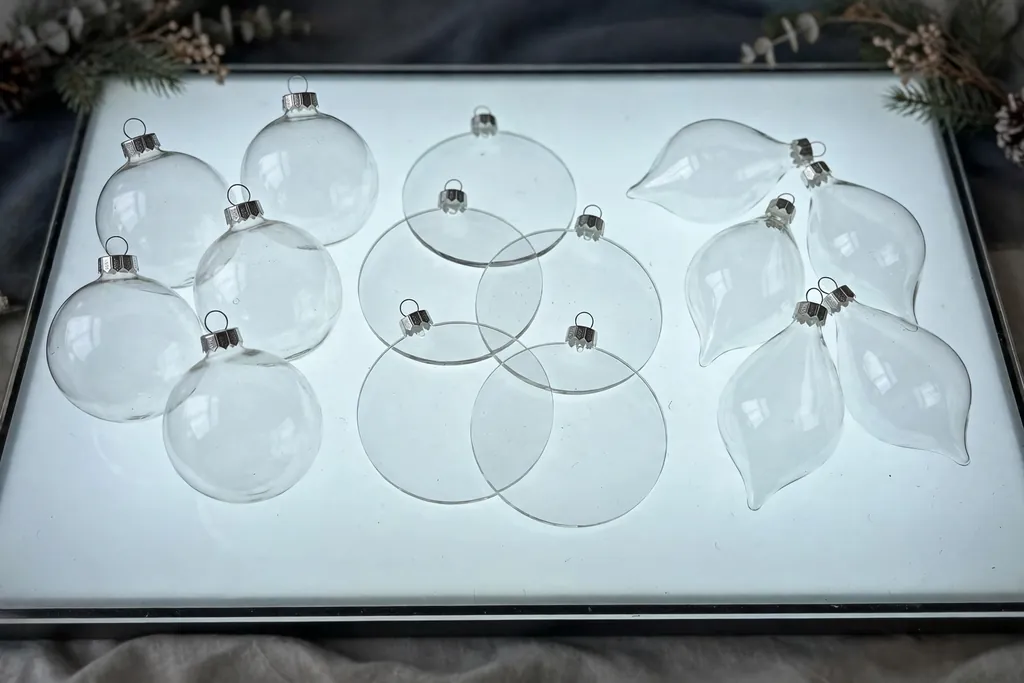
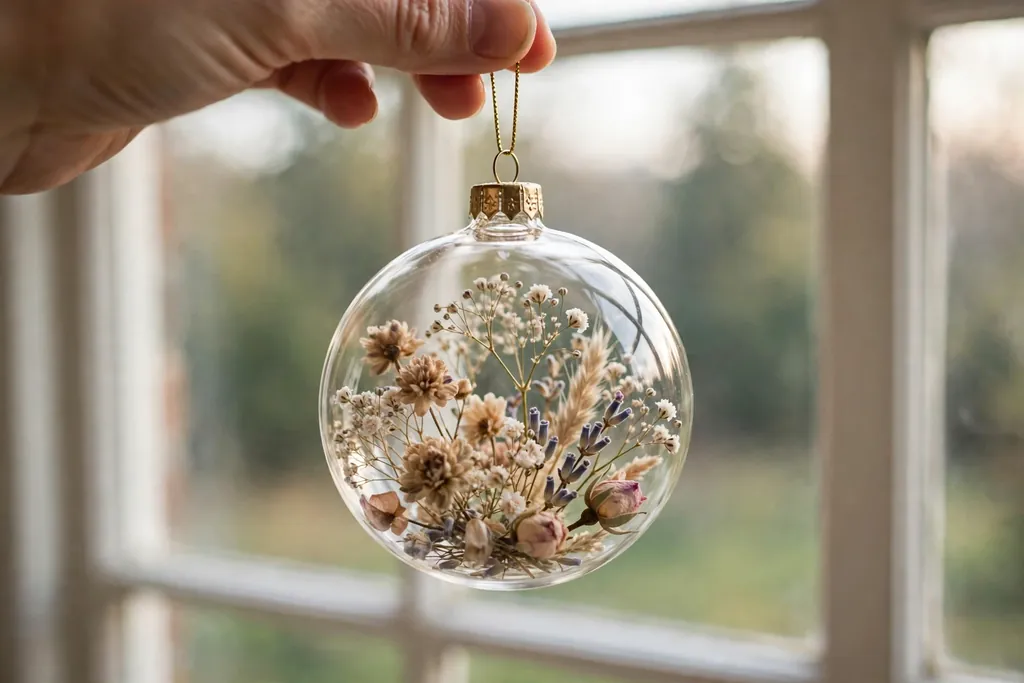
A clear fillable bauble holds a printed photo curled gently inside a transparent ball, so the picture shows through from every side. Open the two halves, curl the photo with the image facing out, and slip it inside with a small amount of fake snow, dried greenery, or plain tissue for support. Close the halves firmly, add a ribbon loop, and hang the bauble where light can pass through it.
This format suits bright, colorful photos, such as a family portrait or a beach trip, because the clear shell adds shine without covering detail. Print on sturdy photo paper rather than thin copy paper, so the curl holds its shape and the ink does not smudge inside the ball. If the photo slips, add a small piece of tissue behind it to hold it in place. Avoid very large prints, since a photo that is too wide will crease at the edges and hide faces.
2. Wood Slice Photo Transfers
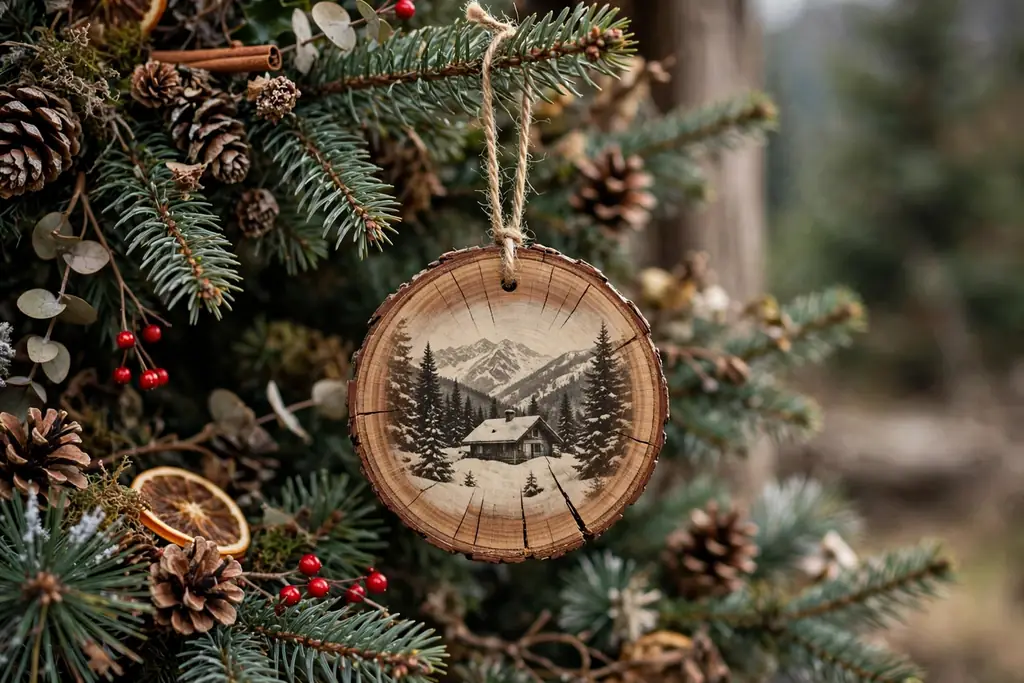
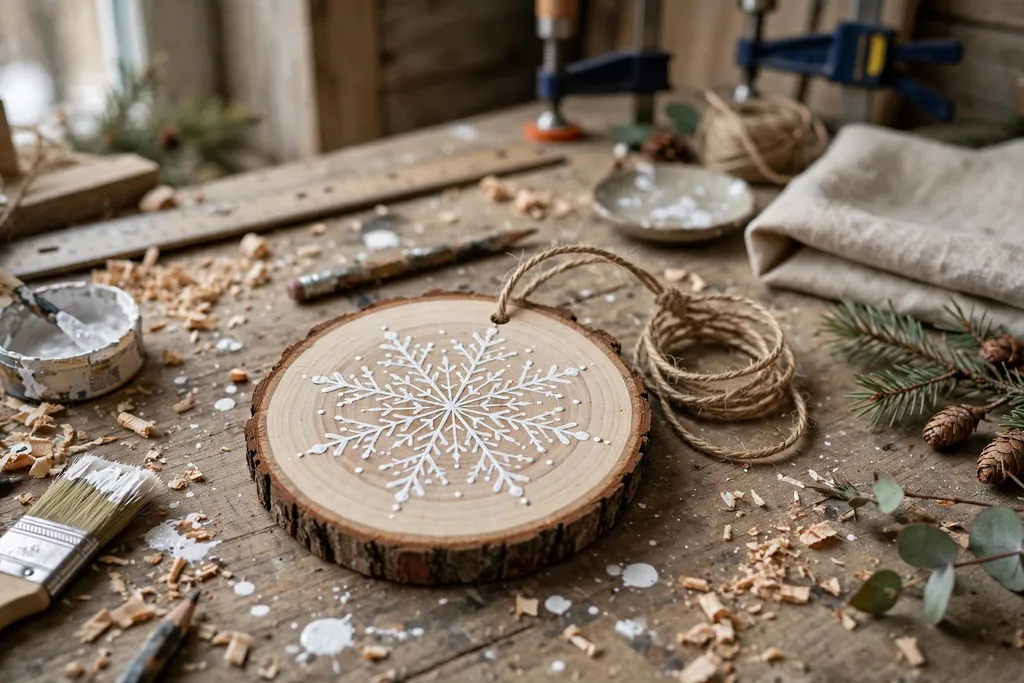
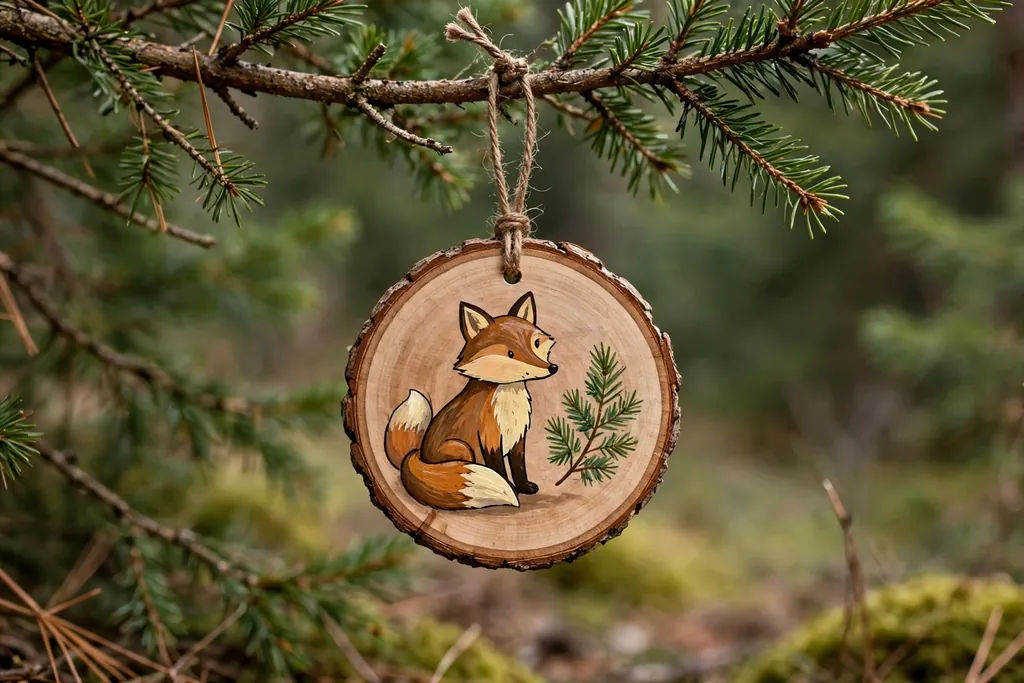
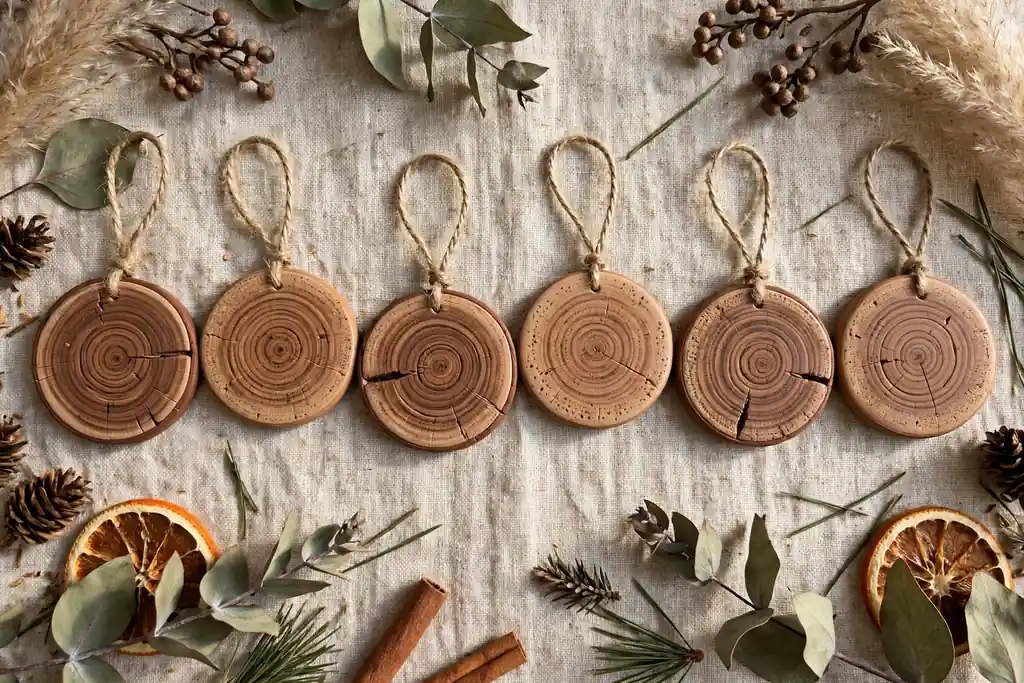
A wood slice photo transfer places a picture on a thin round slice of wood, with the grain showing softly through lighter parts of the image. Print the photo in reverse on plain paper, brush transfer medium over the wood, press the paper face down, and let it dry fully before rubbing the paper away with a damp cloth. Seal the finished slice with a clear matte finish, drill or use a pre drilled hole, and hang it with twine.
This idea suits rustic trees, cabin style rooms, and outdoor themed displays, where wood, pine, and twine already set the tone. Photos with strong contrast and simple backgrounds transfer most clearly, while very dark photos can lose detail in the grain. Test the method on a spare slice first, since drying time and rubbing pressure affect the result. A short handwritten date on the back turns the slice into a dated keepsake.
3. Flat Acrylic Photo Discs

A flat acrylic disc prints a photo on a clear, round panel that hangs like a modern ornament, with light passing around its edges. The photo is printed on the back of the disc or set behind clear acrylic, so the front stays smooth and easy to wipe clean. Add a simple ribbon or cord loop through a hole at the top, and hang the disc near the outer branches, where it can catch light.
Acrylic suits sharp, modern photos and clean, simple trees, since the flat shape and clear edge keep attention on the picture itself. Round discs suit single portraits, while a larger disc can hold a small group photo without crowding faces. Keep the disc away from heavy neighboring ornaments, since acrylic can scratch if it knocks against glass or metal. Wipe it with a soft dry cloth, and store it flat with tissue over the printed side.
4. Brushed Metal Photo Discs
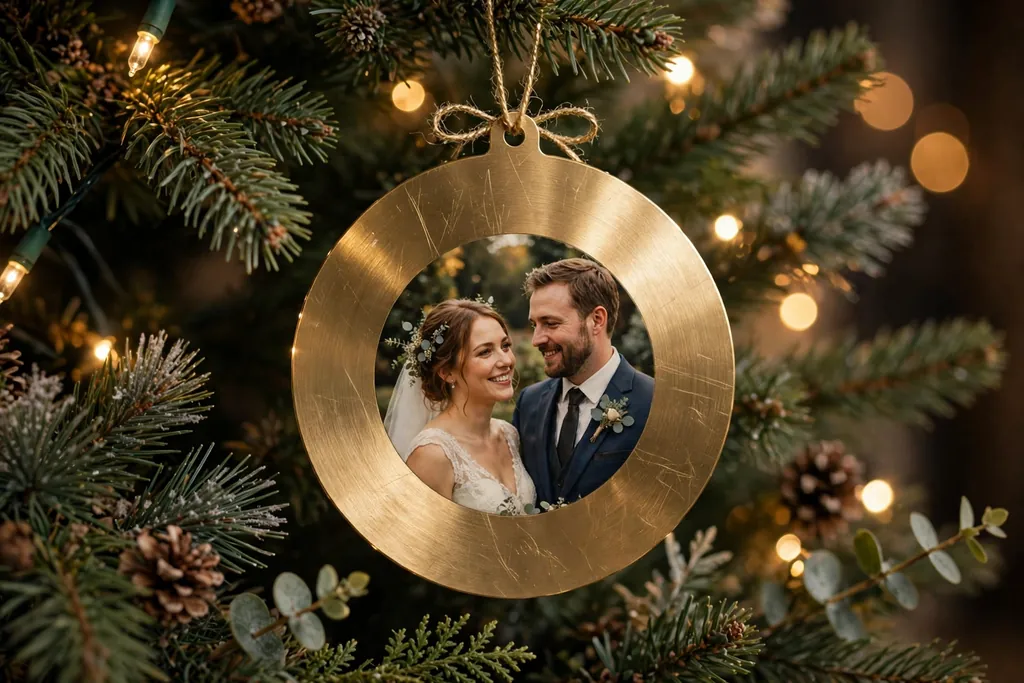
A brushed metal photo disc prints a picture on a thin metal round with a soft, matte sheen, giving the photo a firm, lasting feel. The metal surface adds gentle contrast, so portraits and landscape photos both read clearly, and the disc hangs flat against the tree without swinging much. Choose a silver, gold, or copper tone that matches the rest of the tree, and add a ribbon loop in a plain, matching color.
Metal discs suit photos meant to last, such as wedding portraits, anniversary pictures, and milestone family photos, since metal resists bending and fading better than paper based formats. Keep the disc light by choosing a small or medium size, and check the branch weight before hanging a full set. If the metal edge feels sharp, cover it with a thin ribbon border or choose a disc with a finished, rolled edge.
5. Mini Photo Snow Globe Ornaments
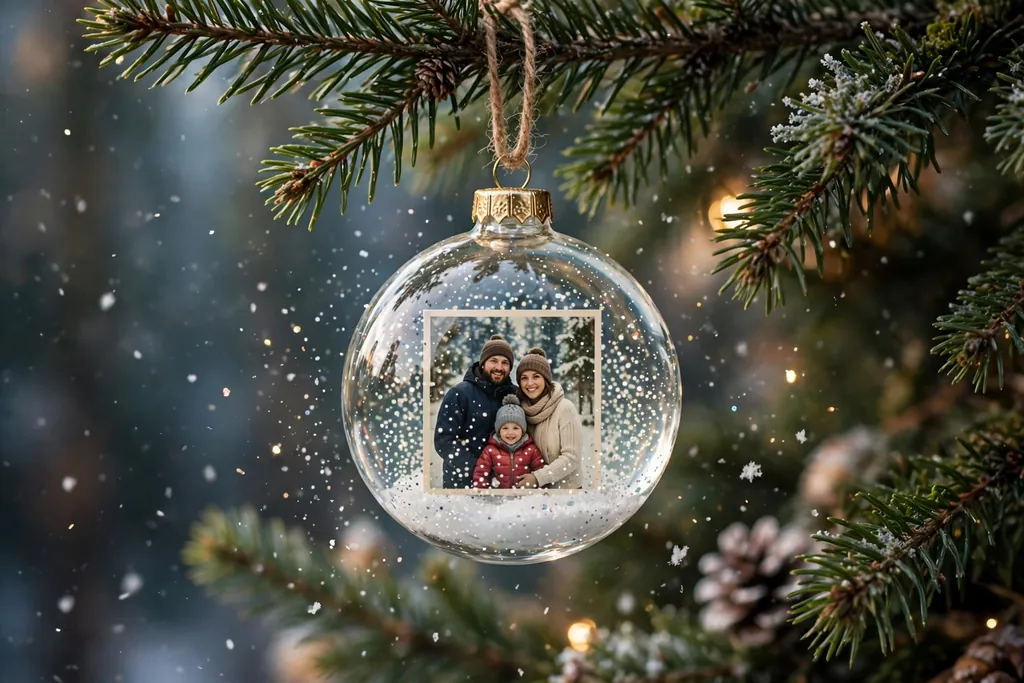
A mini photo snow globe ornament sets a small photo inside a clear, water filled or sealed globe, with glitter or fake snow that drifts when the globe is shaken. The photo sits upright on a small base inside the globe, and the base can carry a name, a year, or a short message. Hang the globe from a sturdy branch, or stand it on a mantel or shelf when the tree is not up.
This format suits winter photos, such as a snowy vacation, a first snowfall, or a family ski trip, since the falling snow matches the picture. Keep the globe small and light, since a water filled globe is heavier than a hollow bauble, and hang it low on the tree where a fall would do less harm. Check the seal before hanging, and keep the globe away from heat sources and direct sun, which can cloud the liquid over time.
6. Fabric Photo Pillow Ornaments
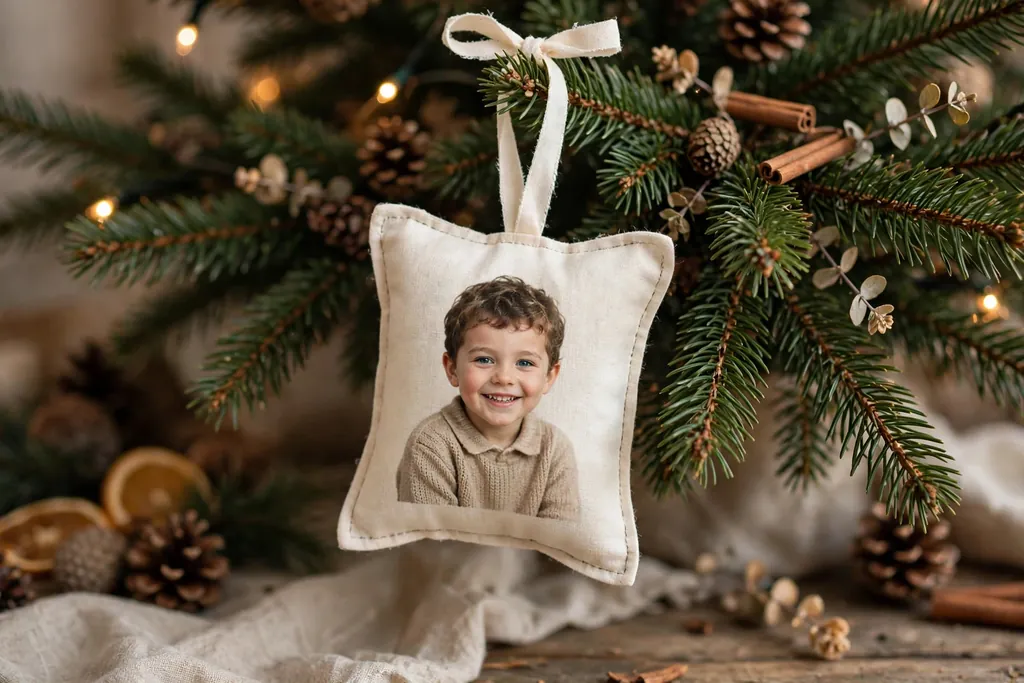
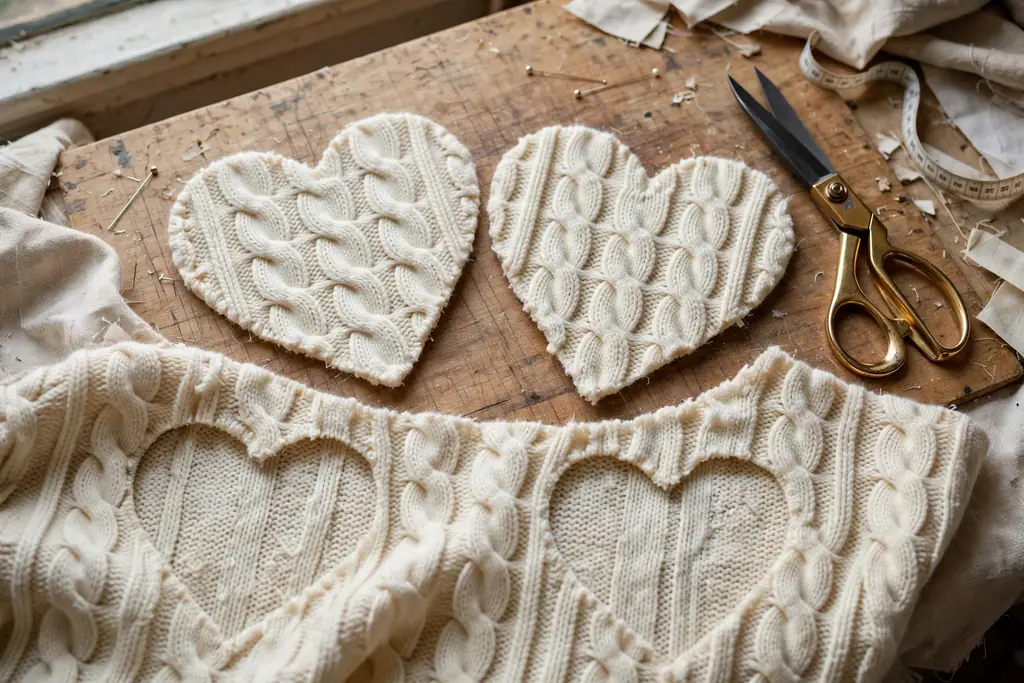
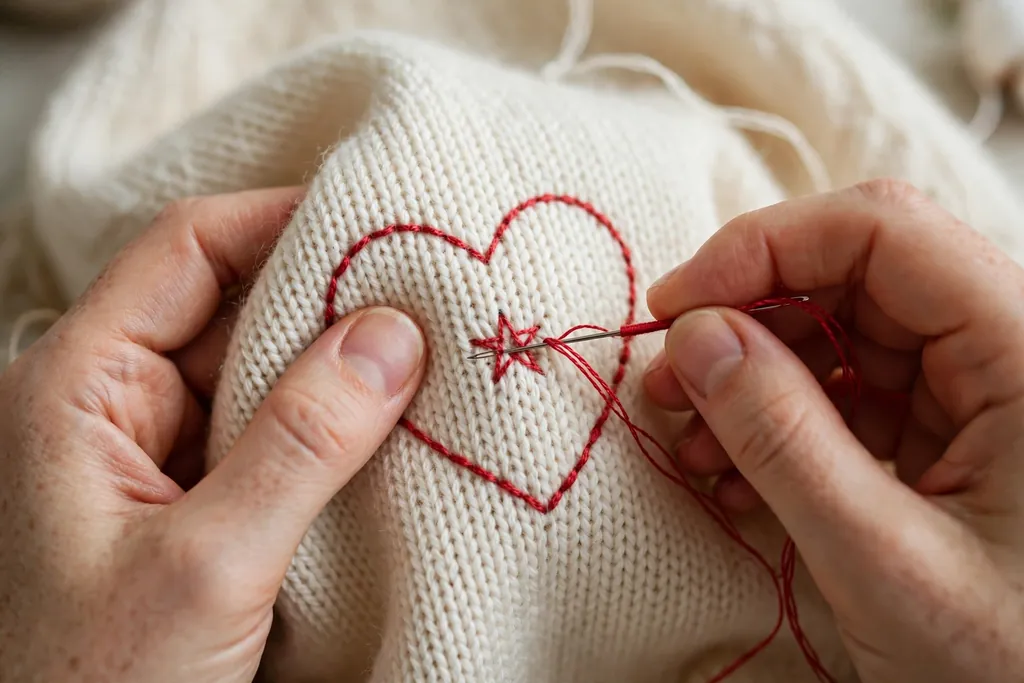
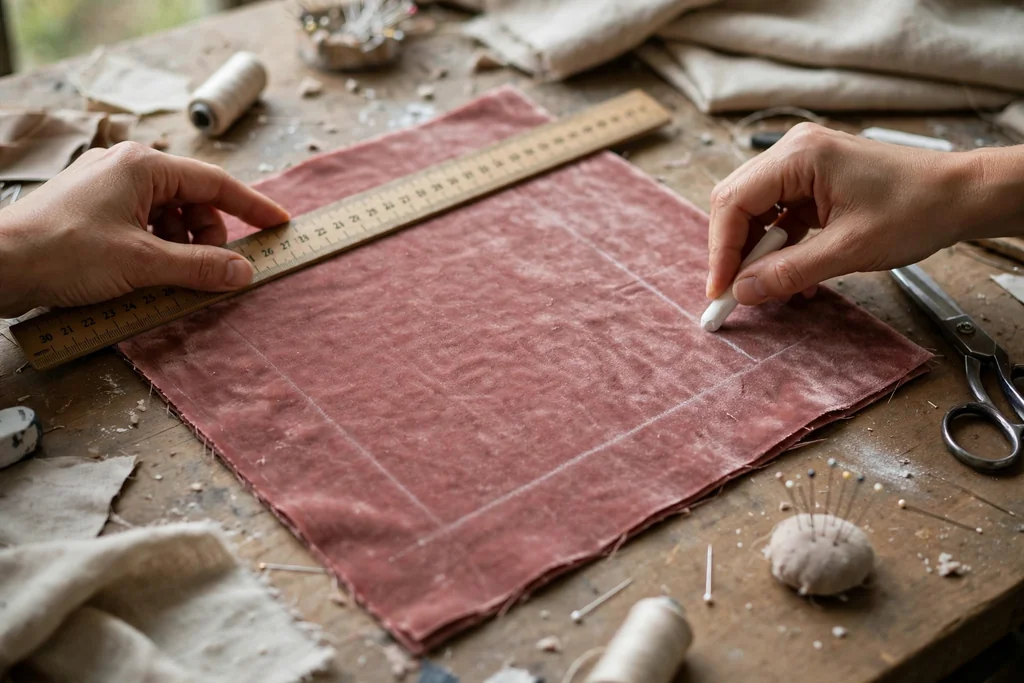
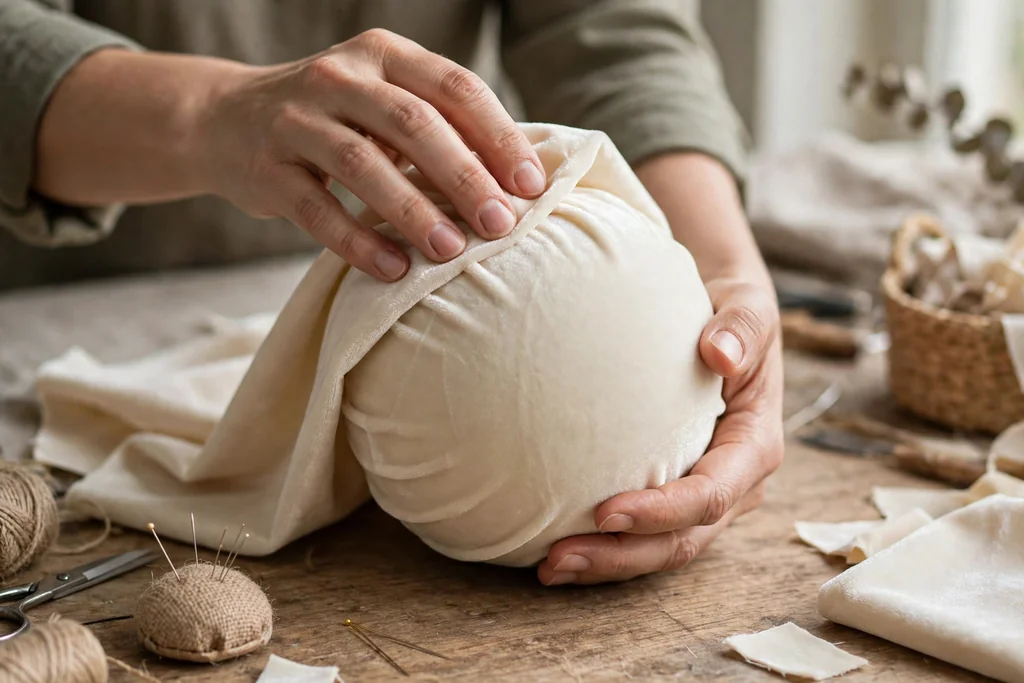
A fabric photo pillow ornament prints a picture on soft fabric, then sews it into a small, lightly stuffed pillow shape with a ribbon loop. Print the photo on printable fabric or have it printed on cotton, cut two matching shapes, sew them together with the photo on the front, and add a small amount of stuffing before closing the seam. Round, heart, and star shapes all work, and a plain backing fabric keeps the ornament light.
Fabric ornaments suit homes with young children or pets, since they are soft, light, and safe on low branches. They also suit cozy, handmade trees, where felt, linen, and cotton already appear. Photos with bold shapes and clear faces print best on fabric, since fine detail can soften in the weave. If the fabric is washable, spot clean only, and store the ornament flat so the stuffing keeps its shape.
7. Ceramic Photo Tile Ornaments
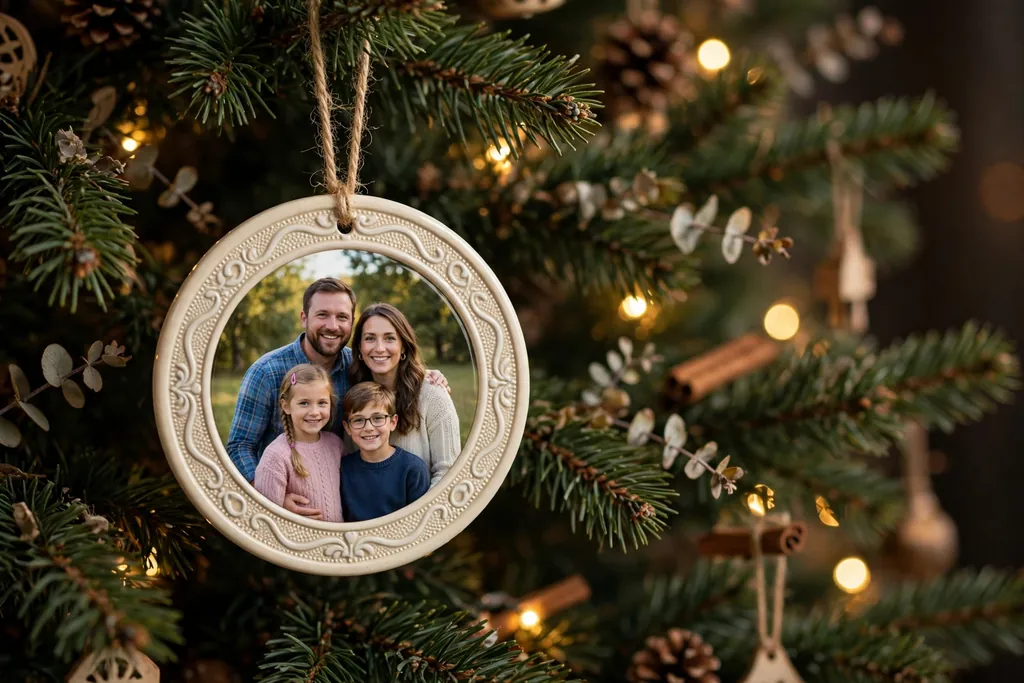
A ceramic photo tile ornament prints a picture on a small glazed tile, giving the photo a smooth, firm surface and a clean, finished edge. The tile can be round, square, or shaped like a house or star, and it hangs from a ribbon loop through a hole or a glued hanger on the back. A thin border around the photo, in cream, gold, or a plain color, helps the picture stand out on a busy tree.
Ceramic suits formal trees and mantel displays, where a firm, weighty ornament reads as a keepsake rather than a casual decoration. Hang ceramic tiles on strong branches near the trunk, or display them on a small stand, since tile is heavier and breakable if dropped. Photos with clear faces and simple backgrounds suit tile best, because glaze can soften very fine detail. Wrap each tile in tissue for storage, and keep tiles apart so edges do not chip.
8. Multi Photo Mini Frame Ornaments
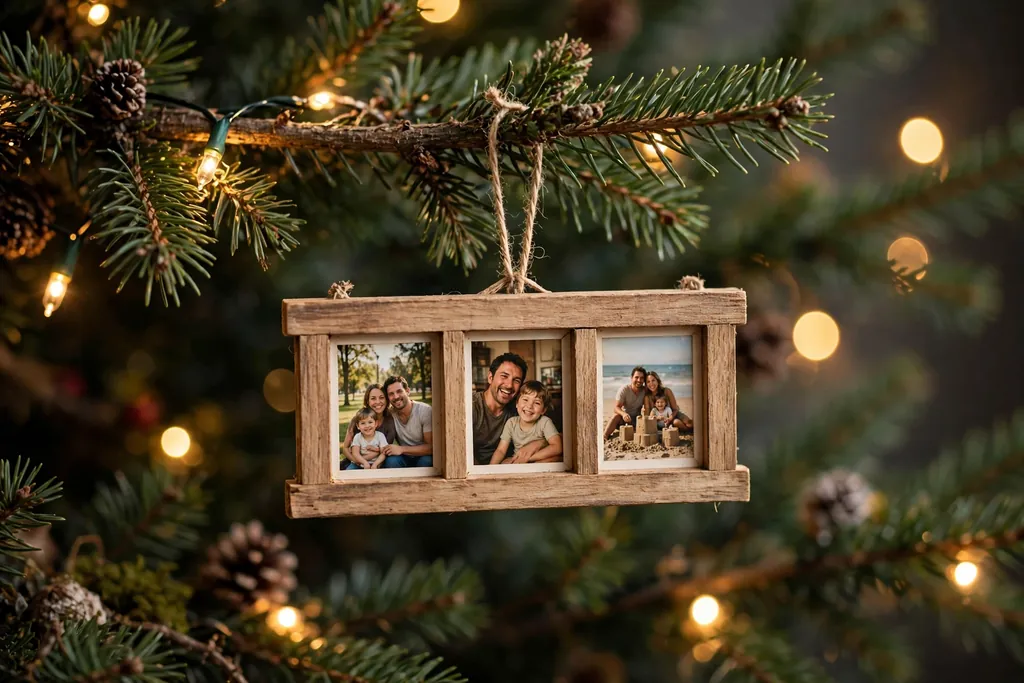
A multi photo mini frame ornament groups two to four small photos in one hanging frame, so one ornament can hold a short story, such as a year of milestones or a family of siblings. Use a small wood or metal frame with several openings, or mount small prints on a backing board inside a single frame. Keep each photo small and clearly cropped, so faces stay readable at tree distance.
This idea suits grandparents, parents, and anyone who wants one ornament per child, per trip, or per year, rather than a full set of single photo ornaments. Choose photos with similar lighting and color, so the group reads as one piece, and add a small label with a year or a family name on the frame. Hang the frame where guests can step close and look, such as near the front of the tree or on a mantel hook, since small photos need a closer view.
9. Star Shaped Photo Ornaments
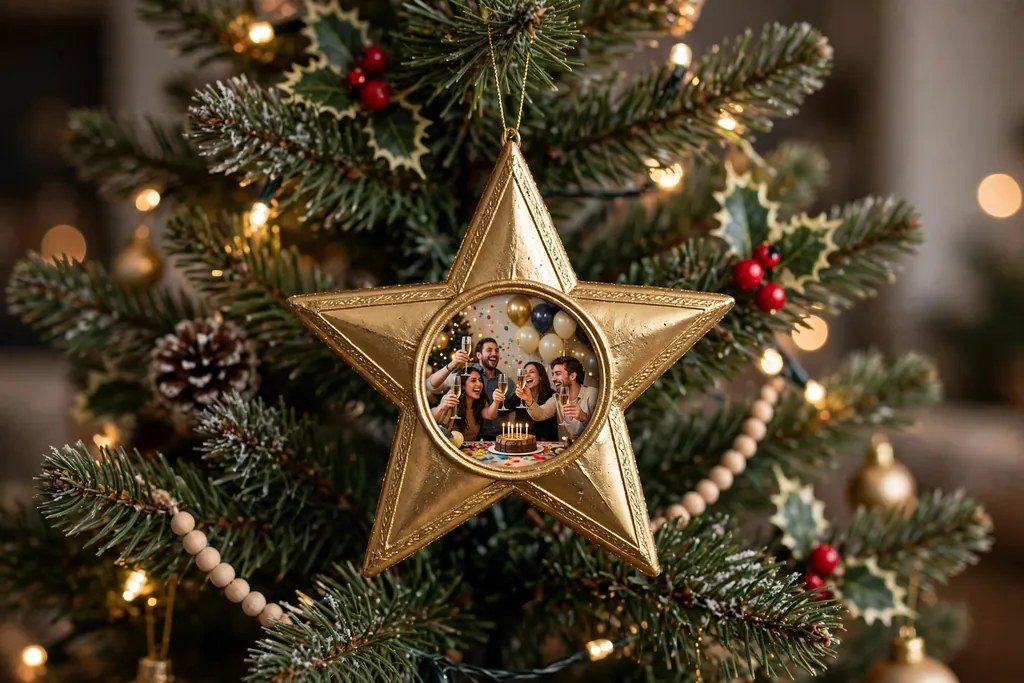
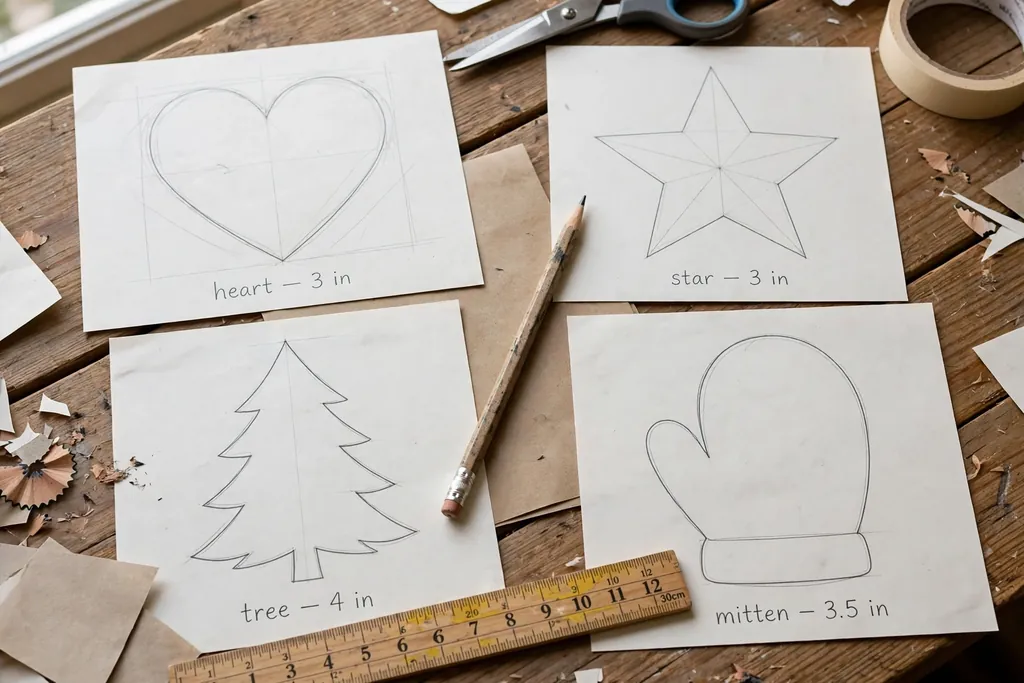
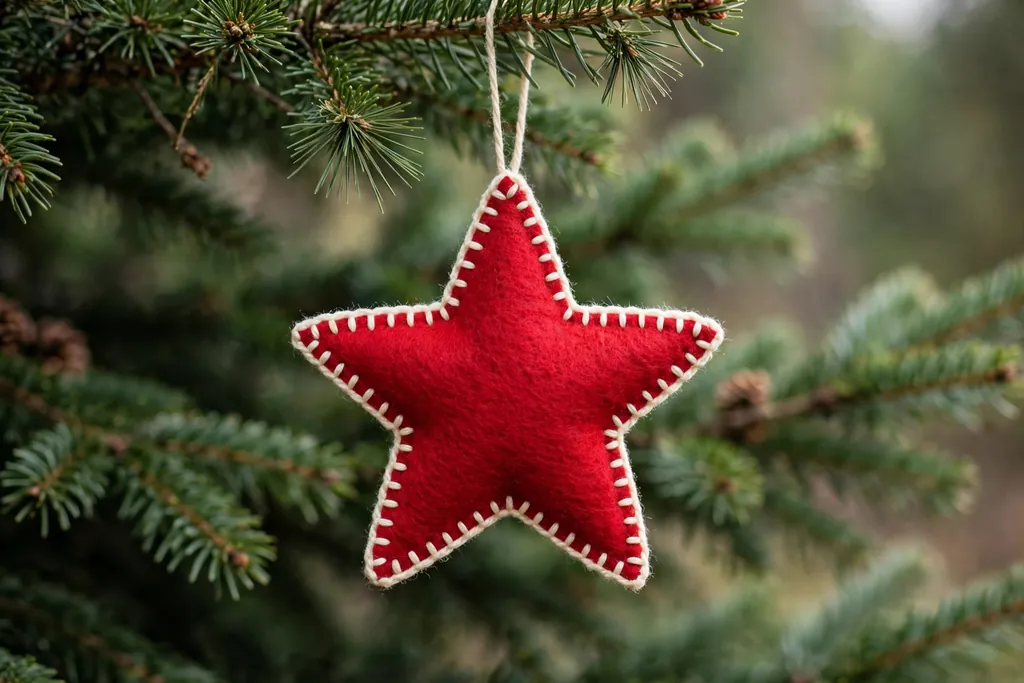
A star shaped photo ornament cuts or prints a picture into a star outline, so the photo itself takes the shape of a classic tree decoration. The star can be wood, acrylic, metal, or stiff card, with the photo mounted on the front and a plain backing on the reverse. Hang stars near the top of the tree, mixed with plain stars, or use one large photo star as a tree topper for a small tree.
Stars suit celebration photos, such as a graduation, a new job, a wedding, or a first home, since the shape already signals a highlight. Keep the star size in balance with the tree: small stars suit tabletop trees, while larger stars suit full size trees. Crop the photo so the main face or subject sits in the center of the star, away from the points, where cropping can cut off important detail.
10. Heart Shaped Photo Keepsake Ornaments
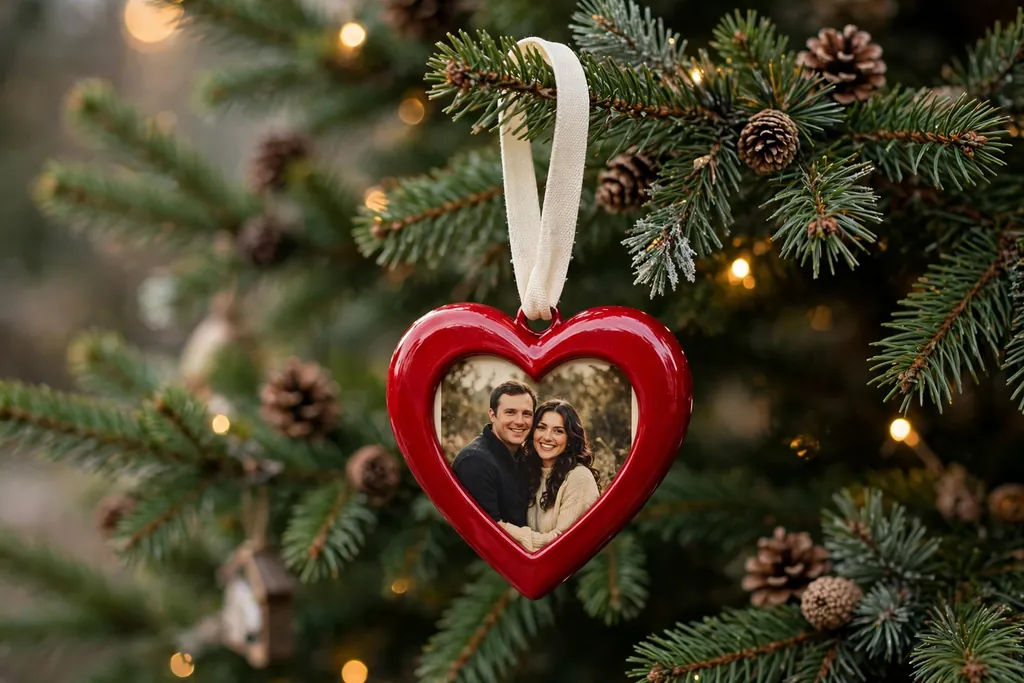
A heart shaped photo keepsake ornament pairs a picture with a heart outline, making it a clear choice for couples, close family, and memorial ornaments. The heart can be wood, ceramic, fabric, or acrylic, with the photo on the front and a name, date, or short line of text on the back. A simple ribbon loop in red, cream, or gold finishes the piece without competing with the photo.
Heart ornaments suit anniversary photos, wedding pictures, and photos of loved ones who are missed at the holidays, since the shape carries meaning on its own. Keep the design plain, with one photo and one short message, so the ornament reads as sincere rather than crowded. Hang heart ornaments at eye level, where they are easy to see and easy to lift down for a closer look.
11. Film Strip Photo Ornaments
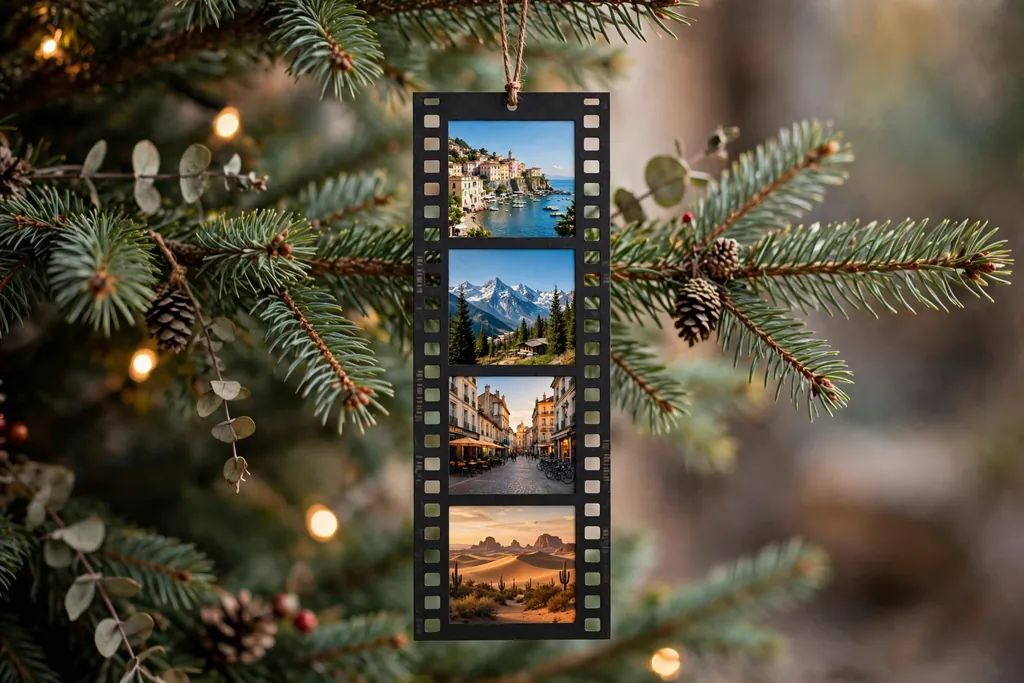
A film strip photo ornament arranges three to five small photos in a vertical strip, like frames from a roll of film, telling a short sequence in one hanging piece. Print the photos in a row on a strip of card, acrylic, or fabric, add small sprocket style borders or plain dividers, and hang the strip from a ribbon loop at the top. The strip can follow one day, one trip, or one year in order.
Film strips suit travel photos, a baby first year series, and a set of holiday mornings over several years, since the sequence adds meaning that a single photo cannot carry. Keep each frame small but sharp, and order the photos from top to bottom in time order, so the story reads clearly. Hang the strip where it can hang straight, away from heavy branches that could bend it, and keep the total length short enough to clear the branch below.
12. Sepia Photos in Vintage Brass Frames
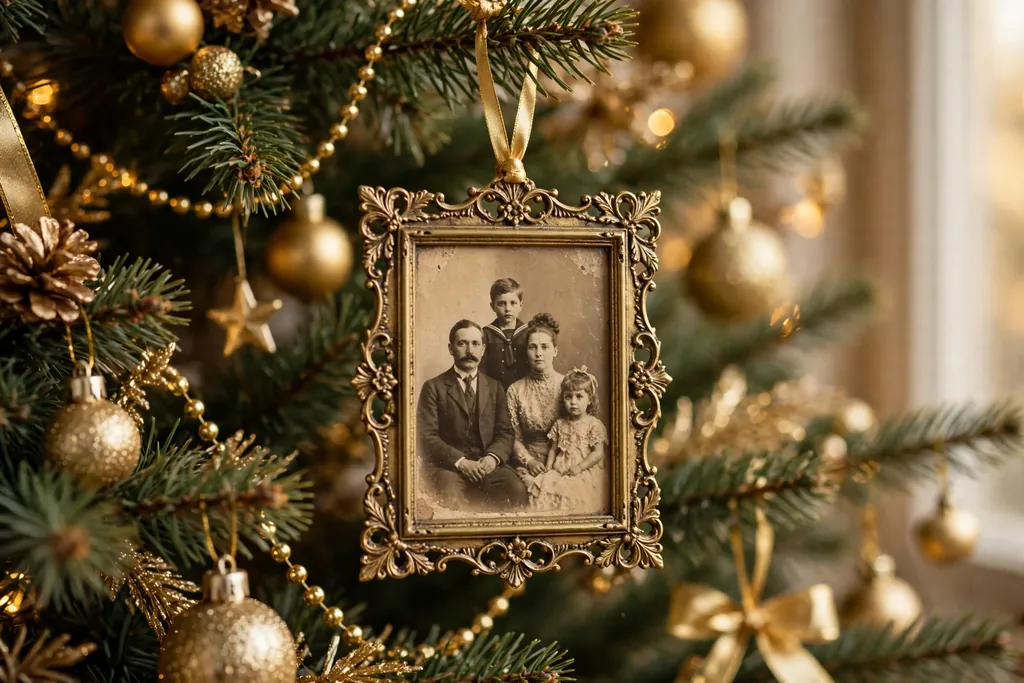
A sepia photo in a vintage brass frame ornament gives an old or old style photo a formal, aged setting on the tree. Print the photo in warm sepia tones, mount it in a small ornate brass frame, and hang it with a dark ribbon or a thin cord. The brass frame adds weight and detail, so the ornament suits trees with gold, cream, and deep green tones.
This idea suits scanned family photos from past decades, wedding photos from parents or grandparents, and portraits meant to feel historic. Scan the original photo at a high resolution and print a copy, keeping the original safe, since brass frames and tree light can fade prints over time. Keep the frame small, so its weight stays safe on a branch, and hang it near the front of the tree, where the sepia tones and frame detail can be seen.
13. Pet Photo Paw Ornaments

A pet photo paw ornament combines a pet picture with a paw shape, a paw print accent, or a small bone detail, making the ornament easy to spot as a pet tribute. The paw shape can be wood, acrylic, or ceramic, with the pet photo mounted in the center and the pet name added below the picture. A plain ribbon loop keeps the focus on the photo and the paw outline.
Pet ornaments suit households where a dog, cat, or other pet is part of family holidays, and they make thoughtful gifts for pet owners. Choose a clear, close photo where the pet face fills the frame, since a distant photo will lose detail in a small ornament. Add the pet name and, if wanted, the year, so the ornament stays clear when many pet ornaments share one tree. Hang pet ornaments at a height where children and guests can find them easily.
14. Clay Footprint and Photo Ornaments for a First Christmas
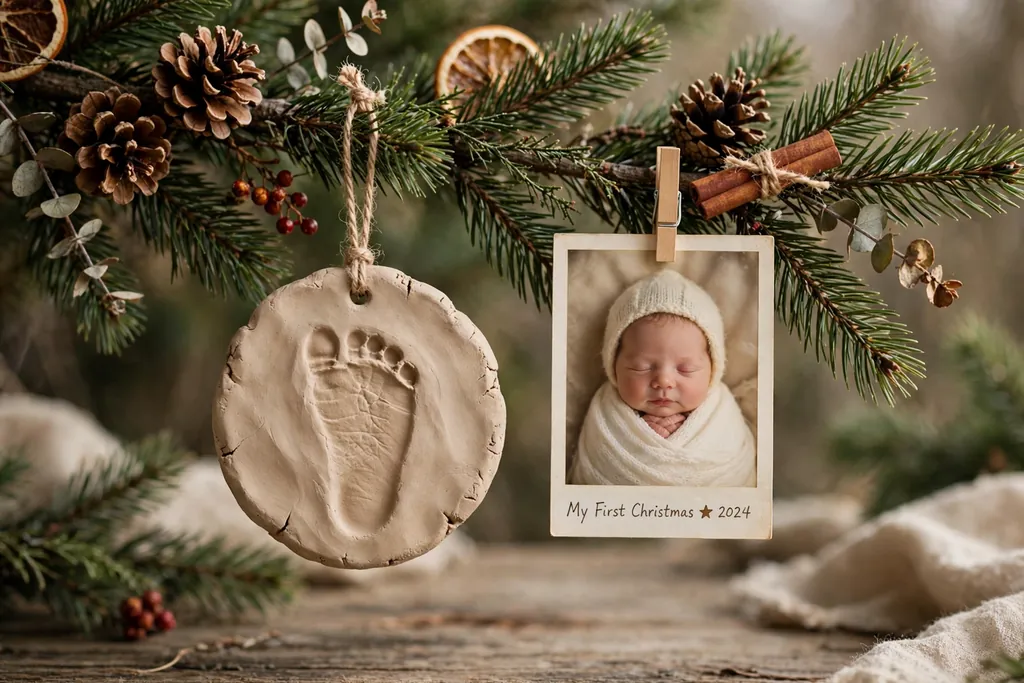
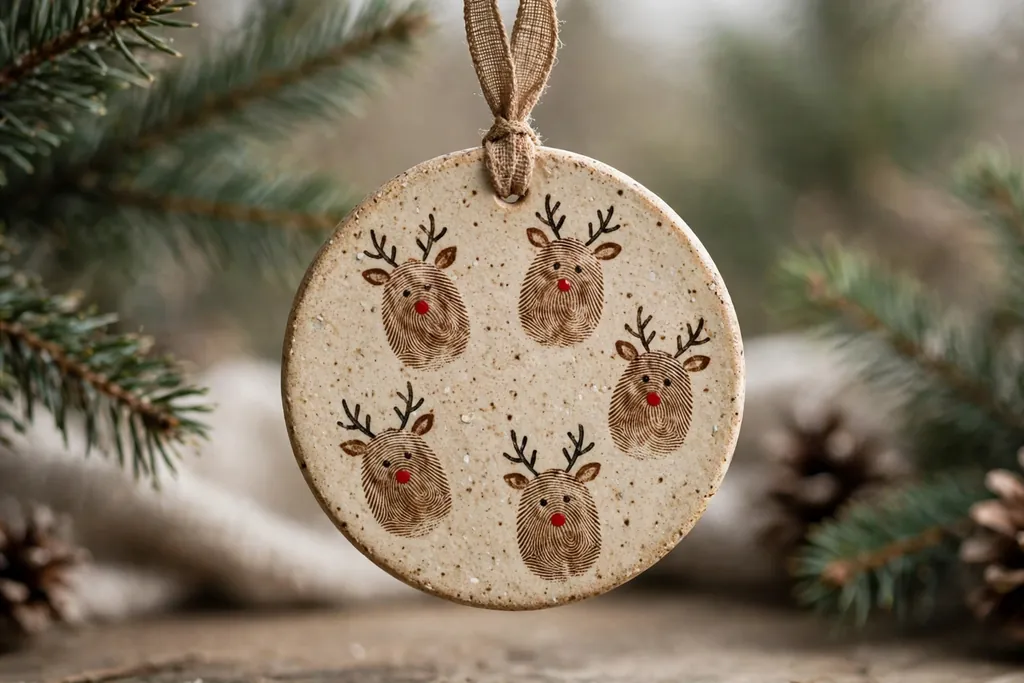
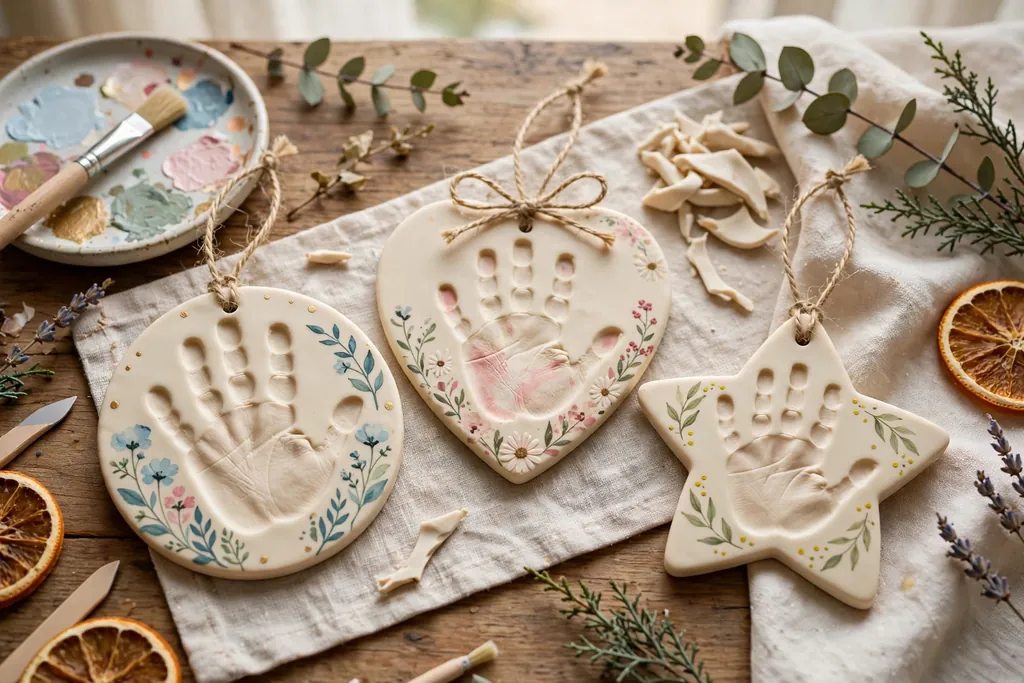
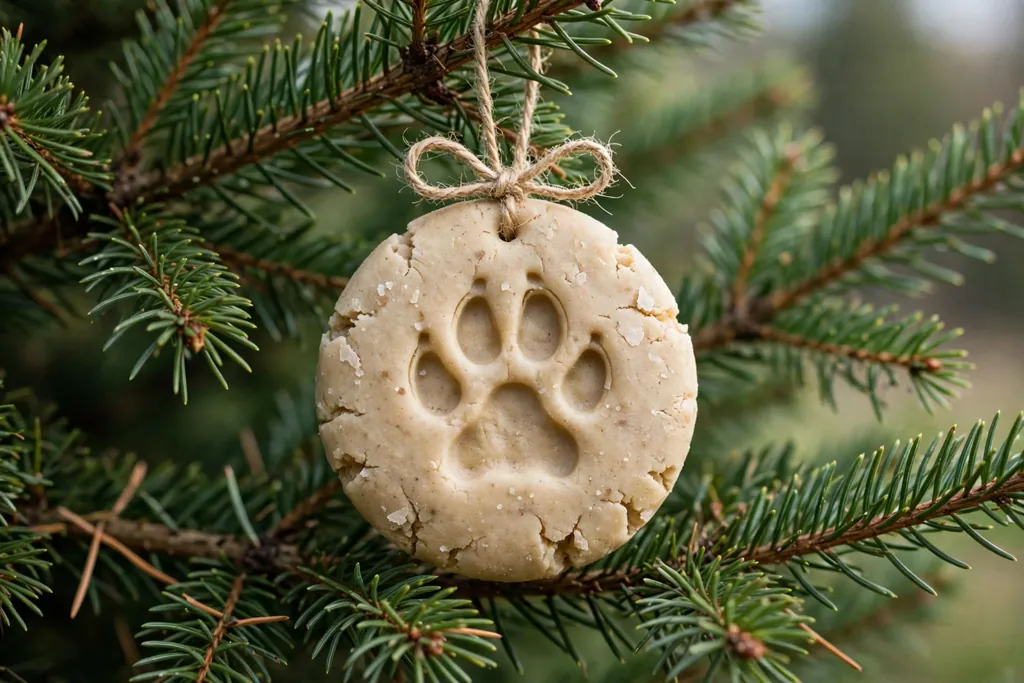
A clay footprint and photo ornament pairs a small clay impression of a baby foot or hand with a first Christmas photo, marking a milestone year in one keepsake. Press the print into soft, air dry clay, let it dry fully, and mount a small photo beside or below the print on the same ornament, or on a backing card behind it. Add the baby name and the year in plain lettering, and seal the clay before hanging.
This idea suits a baby first Christmas, a first holiday in a new home, and gifts for grandparents, since the print and the photo together record growth at one point in time. Make the print early, while the clay is soft and the baby is calm, and keep a spare piece of clay for a second try. Keep the finished ornament light and hang it low or display it on a stand, since clay can break if dropped. Store it wrapped in tissue, with the photo side protected.
15. Shadow Box Photo Ornaments with Small Keepsakes
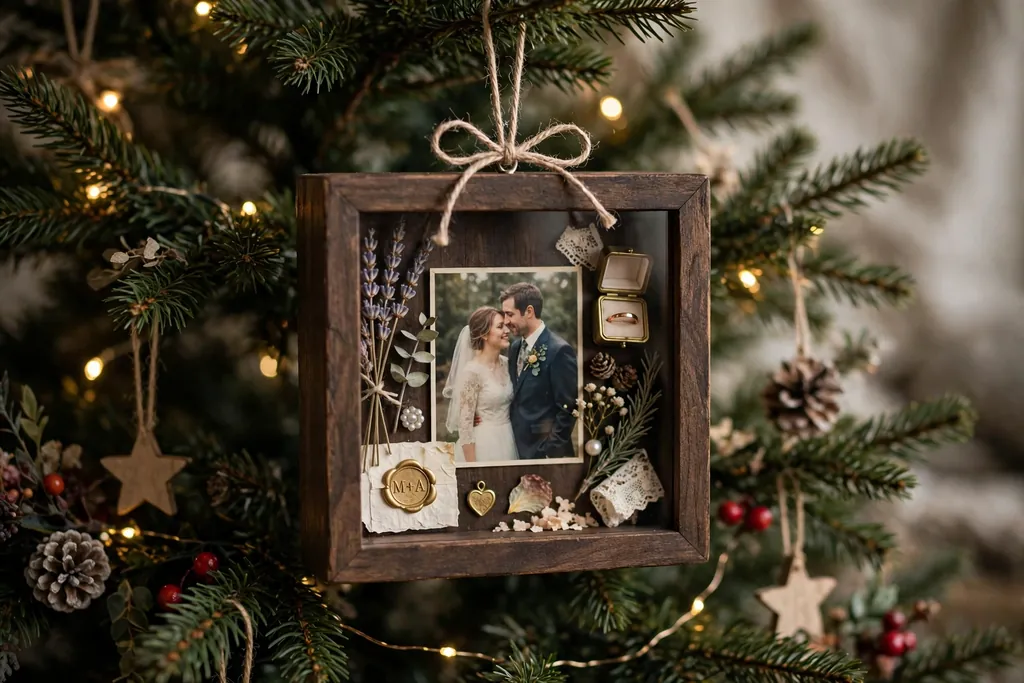
A shadow box photo ornament sets a picture inside a deep, small frame, with room for tiny keepsakes beside it, such as a dried flower, a ticket stub, a small shell, or a snippet of ribbon. The depth keeps the keepsakes in place behind clear glass or acrylic, while the photo stays at the back of the box. Hang the box from a strong loop, or stand it on a mantel, since the added depth makes it heavier than a flat ornament.
Shadow box ornaments suit trips, weddings, and milestone years, where one photo alone does not carry the full memory. Choose only two or three small, flat keepsakes, and fix each one in place, so nothing shifts when the ornament moves. Keep the photo as the largest item in the box, and leave clear space around it, so the keepsakes support the picture rather than covering it. Label the back with the year and the event, so the story stays attached to the ornament.
Conclusion
A personalized photo ornament works best when the photo leads and the format supports it, rather than competing with it. Pick one clear picture, choose a material that suits its tone and the tree it will hang on, and add a name or date so the memory stays clear in future years. Start with one or two ornaments, check how they hang and how they look in tree light, then build a set over time. The most meaningful trees are rarely the most crowded ones: a few well chosen photo ornaments, spaced where they can be seen, will carry more memory than a tree covered in pictures no one can read.
Frequently Asked Questions
What is the best photo to use for a personalized photo ornament?
The best photo is a sharp, well lit picture where the main face or subject fills much of the frame, since small ornaments hide fine detail. Choose a photo with simple background and good contrast, crop it to the ornament shape, and print a test copy at the final size before making the full ornament.
How do you protect a photo ornament from fading?
Keep photo ornaments out of strong, direct sunlight, use printed copies rather than original photos, and store them in tissue lined boxes in a cool, dry place. Avoid damp storage and heat sources, and seal wood, clay, and transfer ornaments with a clear finish made for the material, following the product directions.
What size photo do I need for a photo ornament?
Most photo ornaments use small prints, often between two and four inches across, depending on the ornament shape and size. Measure the ornament opening or print area first, crop the photo to that shape, and print a test at the exact size, since a photo that looks clear on a screen can lose faces when printed small.
Can photo ornaments be washed or cleaned?
Most photo ornaments should be dusted gently with a soft, dry cloth rather than washed, since water can damage prints, fabric, and transfer finishes. Acrylic and metal ornaments can be wiped with a soft dry cloth, while fabric, wood, and paper based ornaments should be kept dry and stored with tissue between pieces.
How do you hang a heavy photo ornament safely?
Hang heavy ornaments, such as ceramic tiles, brass frames, and shadow boxes, on strong branches near the trunk, using a sturdy loop and a hook rated for the weight. Test the branch by hanging the ornament and checking for bending or slipping, and move heavier pieces lower on the tree, where a fall would cause less damage.
What makes a good personalized photo ornament gift?
A good photo ornament gift pairs a meaningful photo with a clear name, date, or short message, in a format that suits the recipient tree and home. Choose a light, durable format for shipping, wrap the ornament in tissue inside a sturdy box, and include a short note explaining the photo, so the gift reads as personal even before it reaches the tree.