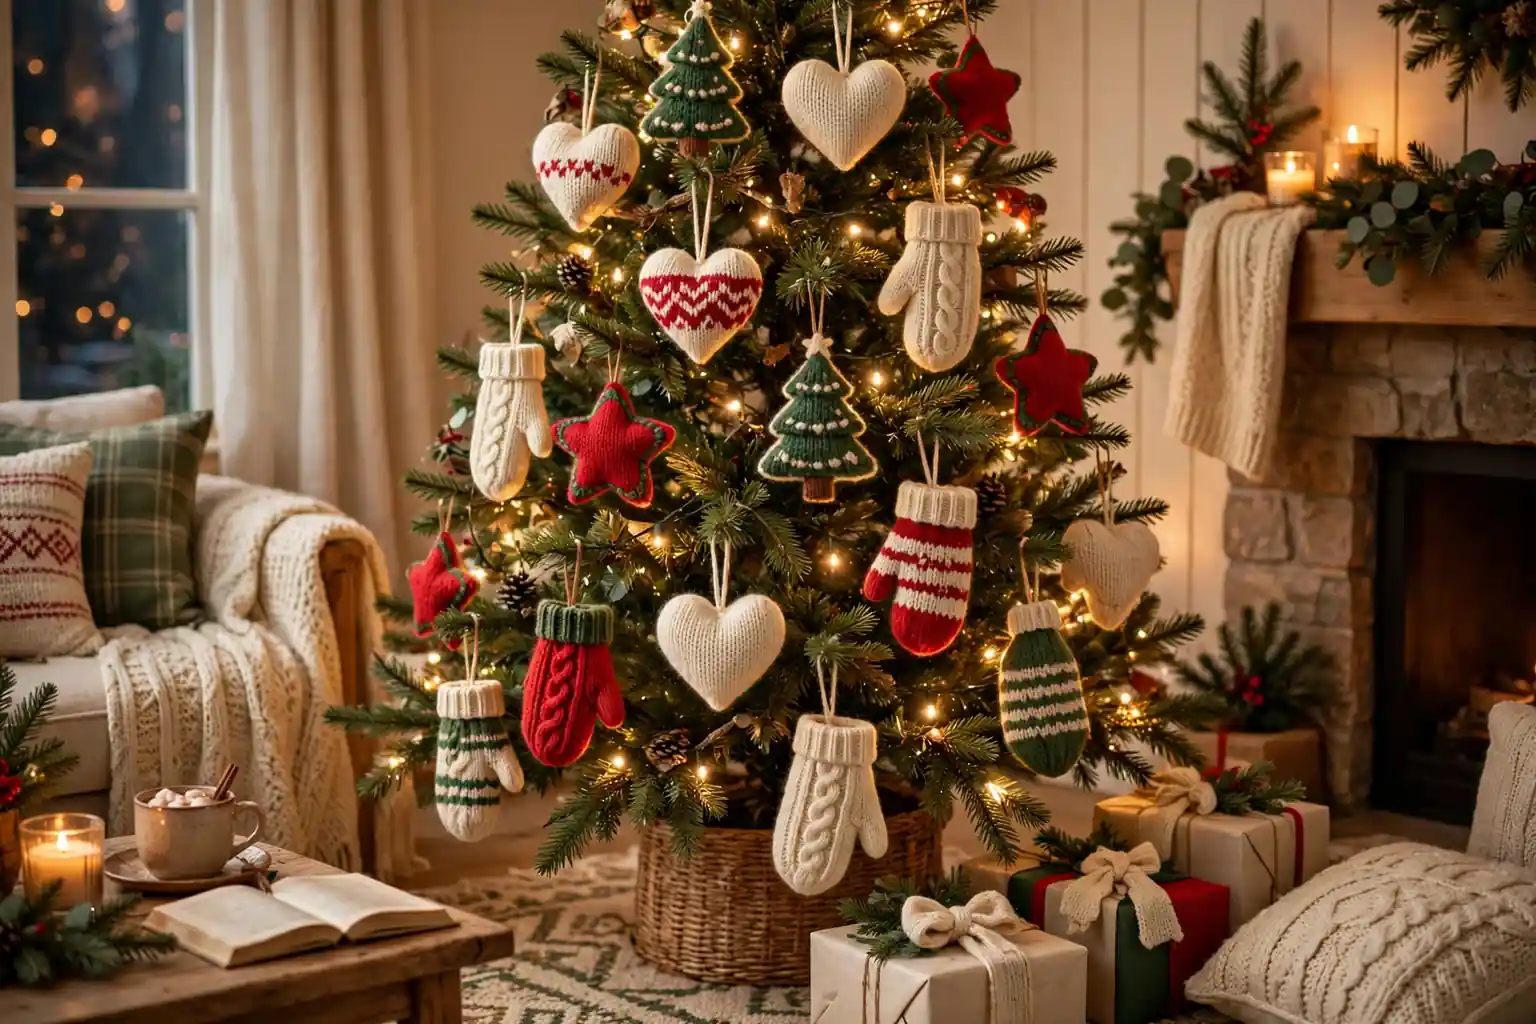
To make sweater ornaments from old knitwear, cut two matching shapes from a clean sweater, stitch them together around the edge, stuff them lightly, and add a ribbon loop for hanging. Use felted or thick knit for shapes that hold their form, and finish with buttons, embroidery, or a small bow.
Old sweaters are a good source for soft ornaments because the knit already has color, texture, and warmth built in. A plain cream sweater gives a calm, neutral ornament, while a patterned or striped sweater gives a bold one with no extra work. Pick sweaters you no longer wear, check them for thin spots and stains, and plan your shapes around the best panels of fabric. For ideas on pairing new handmade pieces with older decorations, see the vintage Christmas decor guide.
Key Takeaways
- Choose thick, clean knitwear with no thin spots, and felt loose knits before cutting so edges fray less.
- Make a paper template first, and test one ornament before cutting a full set.
- Add embroidery, applique, or buttons before stitching the front and back together.
- Stuff ornaments lightly so they keep a flat, neat shape that hangs straight.
- Use strong ribbon loops and light embellishments so thin branches can hold the finished ornaments.
- Store sweater ornaments flat in a dry box with tissue between layers, away from damp rooms and moths.
Materials and Supplies
- One or two clean old sweaters in colors that suit your tree
- Paper or light card for templates, plus a pen and ruler
- Sharp fabric scissors and a seam ripper
- Pins, a hand sewing needle, and thread to match the sweater
- Polyester fiberfill or small fabric scraps for stuffing
- Narrow ribbon or twine for hanging loops
- Buttons, small beads, felt scraps, embroidery floss, and a small bow or bell for finishing
- An iron, a pressing cloth, and a covered work table
1. Choose the Right Sweater
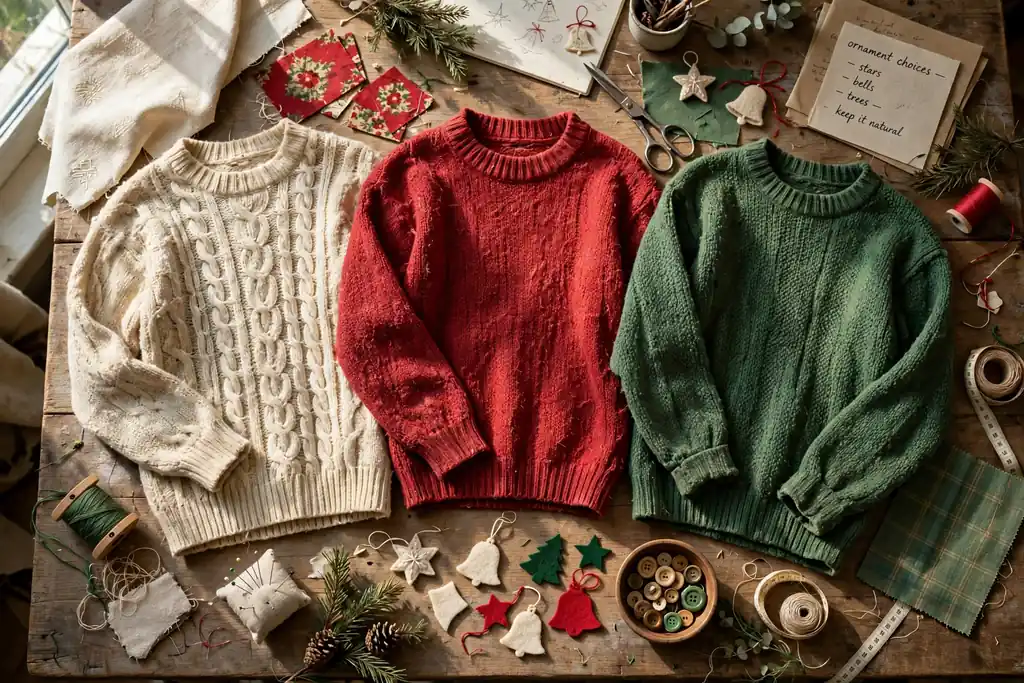
Pick a sweater with thick, even knit and no worn elbows, holes, or stains in the area you plan to cut. Wool, cotton, and acrylic knits all work, but thick knits hold a shape better than fine, stretchy ones. A sweater with a simple pattern, such as stripes, cables, or Fair Isle, adds interest without extra decoration, while a plain sweater leaves room for embroidery or applique.
Lay the sweater flat and check the front, back, and sleeves separately, since each panel may give you different shapes. The body of a sweater gives the largest flat pieces, while sleeves suit small shapes such as hearts, mittens, and stockings. Set aside sweaters with moth holes or thin patches for practice cuts, and keep your best panels for the ornaments you plan to gift or hang in plain sight.
2. Wash, Dry, and Felt the Knitwear
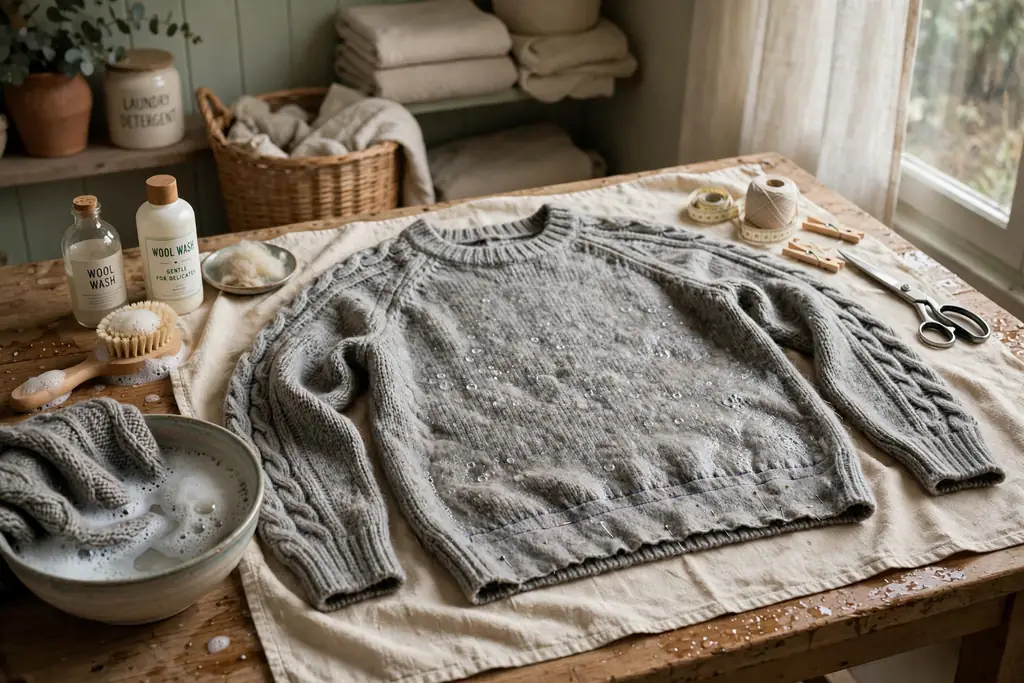
Wash the sweater on a warm cycle and dry it with heat if you want to felt loose wool knit, since felting tightens the fibers and reduces fraying at cut edges. Check the piece after washing, and repeat the cycle once if the knit still stretches or sheds easily. Felted knit cuts cleanly, stitches neatly, and holds embroidery well, which makes it a good choice for small shapes.
Skip felting for cotton or acrylic sweaters, and for wool sweaters you want to keep soft and stretchy. For those, wash and dry them as usual, then press them flat with an iron and a pressing cloth before cutting. Let every sweater cool and dry fully before you trace templates, since damp knit can stretch out of shape and give you pieces that do not match.
3. Gather Materials and Tools
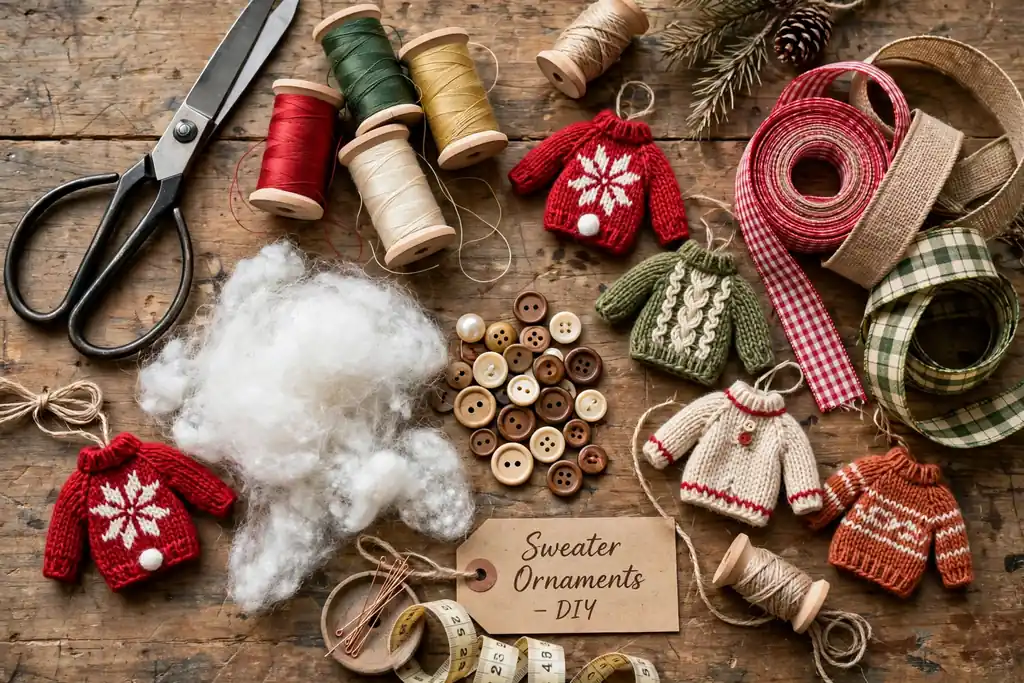
Set out all supplies before you cut, so you can test thread color, ribbon width, and stuffing on a scrap piece first. Match thread to the sweater color for invisible seams, or pick a contrast thread if you want stitching to show as a design feature. Choose ribbon or twine that is strong enough to hold the ornament, and keep buttons and beads light so the ornament hangs straight.
Work on a covered table with good light, and keep small items such as needles, pins, and beads in a tray so nothing gets lost in the knit. If children will help, give them blunt needles and felt shapes to decorate, and keep sharp scissors and pins for adults. A small test ornament made from a scrap panel will show you how the knit behaves, how much stuffing it needs, and whether your loop sits in the right place.
4. Make Paper Templates for Your Shapes
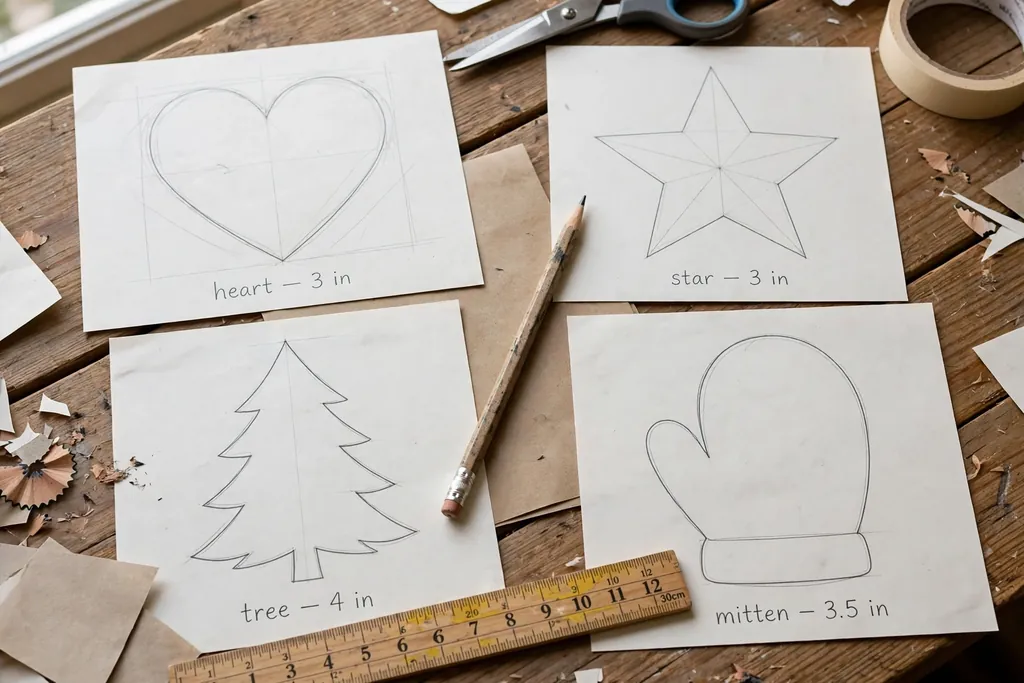
Draw simple shapes on paper or light card, such as a heart, star, tree, mitten, stocking, or round ball, and cut them out as templates. Keep shapes about 8 to 12 centimeters across, so they read clearly on a tree without weighing down a branch. Simple outlines with gentle curves stitch more neatly than shapes with sharp points or narrow parts, which can be hard to turn and stuff.
Test each template by holding it against the tree or a branch, and check that the shape still looks clear from a short distance. Label each template with its name, and mark one side as the front so you can place patterns, stripes, or cable knit where you want them. Make one extra template in a slightly larger size if you want a matching pair, such as a large and small heart, for the same tree.
5. Cut the Front and Back Pieces
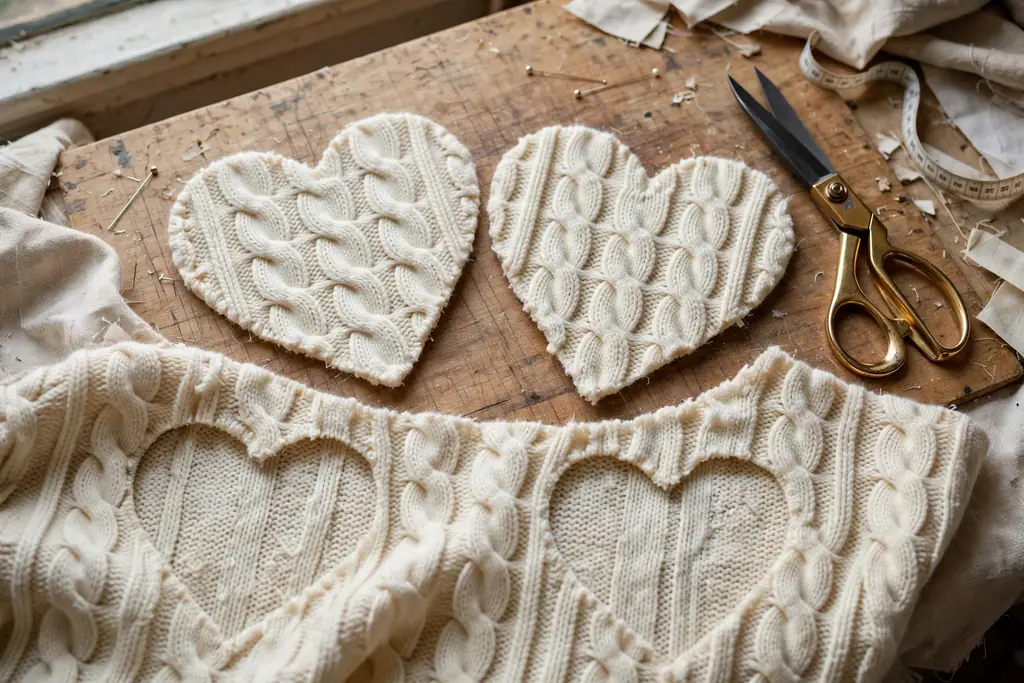
Pin the template to a flat panel of the sweater, trace around it with a pen, and cut two matching pieces, one for the front and one for the back. Cut with long, smooth strokes rather than short snips, so the edge stays even and the knit does not stretch. If the sweater has a pattern, place the template so the pattern sits centered on the front piece, and use a plainer area for the back.
Cut the back piece from the same sweater for a uniform look, or from a second sweater in a matching color for a two tone ornament. Check that both pieces match by laying one over the other before you stitch, and trim any uneven edges now rather than after sewing. Save the leftover knit scraps for stuffing, small applique pieces, or practice stitching, instead of throwing them away at once.
6. Add Applique and Embroidery Details First
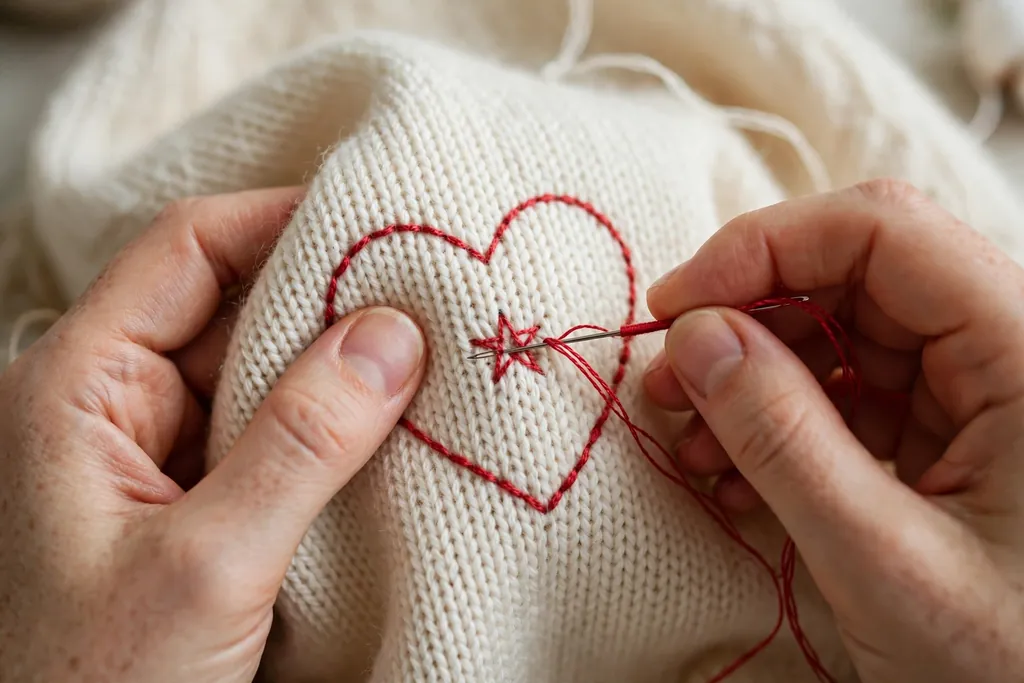
Add any surface decoration to the front piece before you stitch the front and back together, while the piece still lies flat. Stitch a simple star, tree, initial, or snowflake with embroidery floss, or sew on a small felt shape, such as a tree or a heart, with a neat running stitch. Keep the design small and centered, so it stays clear after stuffing and does not cross the seam line.
Use a few stitches to test tension on a scrap piece first, since knit can pucker if stitches pull too tight. Knot thread ends on the back of the front piece, and trim loose ends so they do not show through the seam later. Add buttons only at this stage if they sit flat on the front, and save bows, bells, and hanging loops for the finishing steps, when the ornament has its final shape.
7. Pin and Stitch the Edges Together
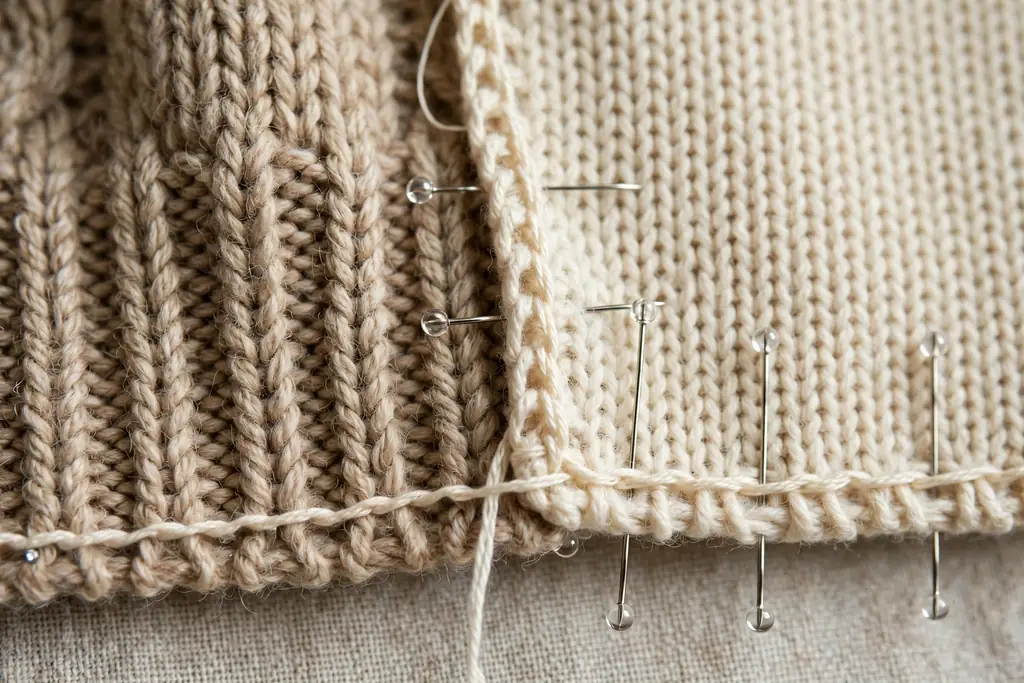
Place the front and back pieces together with right sides facing out, and pin around the edge so the layers do not shift while you stitch. Use a blanket stitch, running stitch, or a close machine stitch around the edge, keeping stitches even and close enough that stuffing cannot escape. Stitch slowly around curves, and add an extra stitch at points and corners so they hold their shape.
Leave a gap of about 4 centimeters on one straight edge for turning and stuffing, and mark the gap with two pins so you do not stitch past it by mistake. If you want stitching to show as a feature, use contrast thread and keep the stitch length even all the way around. Check the seam from the front before moving on, and fix any loose or uneven stitches now, while the ornament is still open.
8. Turn, Press, and Stuff the Ornament
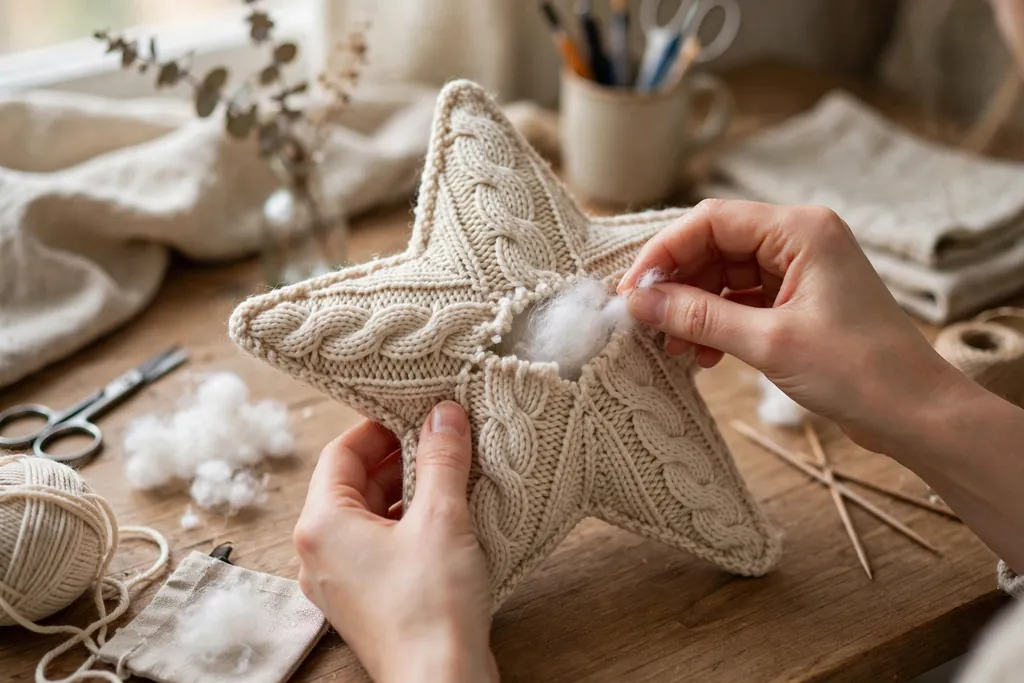
Push the ornament gently into shape through the gap, and press it flat with your fingers or a cool iron and a pressing cloth. Use a blunt tool, such as a chopstick, to ease out points and corners from the inside, taking care not to poke through the knit. A light press at this stage gives a neat outline and makes the final stitching easier.
Add small amounts of fiberfill or knit scraps at a time, and spread the stuffing evenly so the ornament stays flat rather than puffing up like a ball. Stuff lightly for ornaments that will hang on thin branches, and a little more firmly for stockings or mittens that need to hold a clear shape. Check the ornament from the front after each handful, and remove stuffing if one side looks fuller than the other.
9. Close the Opening and Add a Hanging Loop
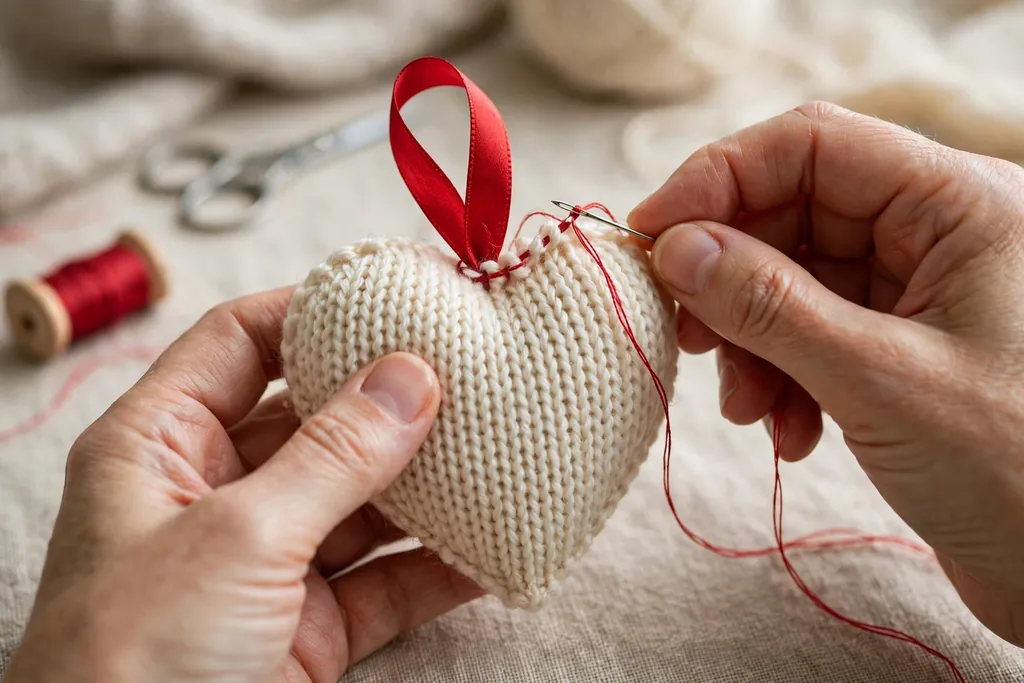
Fold the raw edges of the gap inward, pin them closed, and stitch the gap shut with small, neat stitches that match the rest of the seam. Keep the closing stitches even and close together, so the join blends in and the stuffing stays inside. Press the closed edge lightly with a pressing cloth so the seam sits flat.
Cut a length of ribbon or twine about 15 centimeters long, fold it into a loop, and stitch both ends firmly inside the top seam of the ornament. Stitch through the loop ends twice, and tug gently to check that the loop holds before you hang the ornament. For heavier ornaments, use a wider ribbon and stitch the loop across a broader area of the seam so the weight spreads evenly.
10. Add Buttons, Beads, and Bows
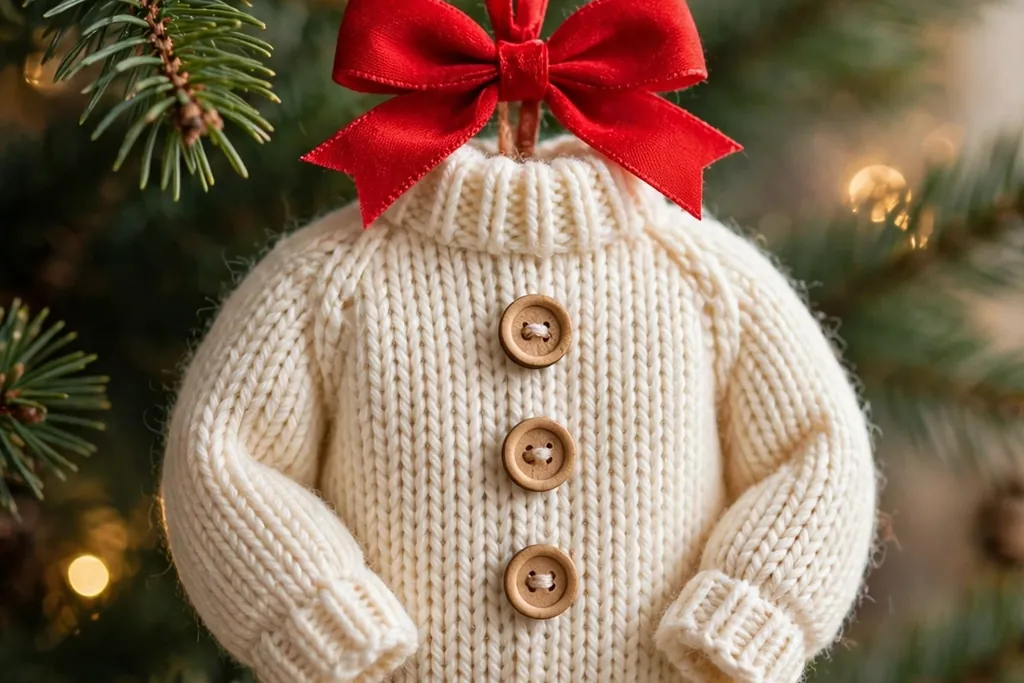
Sew on buttons, beads, or a small bow to finish the ornament, keeping each addition light and firmly fixed. A single button can mark a tree star, a snowman eye, or a mitten cuff, while a small cluster of beads can outline a star or a heart. Use strong thread, pass it through each button or bead twice, and knot it on the back of the ornament so nothing loosens on the tree.
Place embellishments where they balance the design, not where they cover the embroidery or applique you added earlier. Step back and look at the ornament from a short distance after each addition, and remove anything that makes the shape hard to read. Keep glued items to a minimum, since glue can stiffen knit and show through light colors, and save hot glue for adults only.
11. Make a Matching Set in Different Shapes
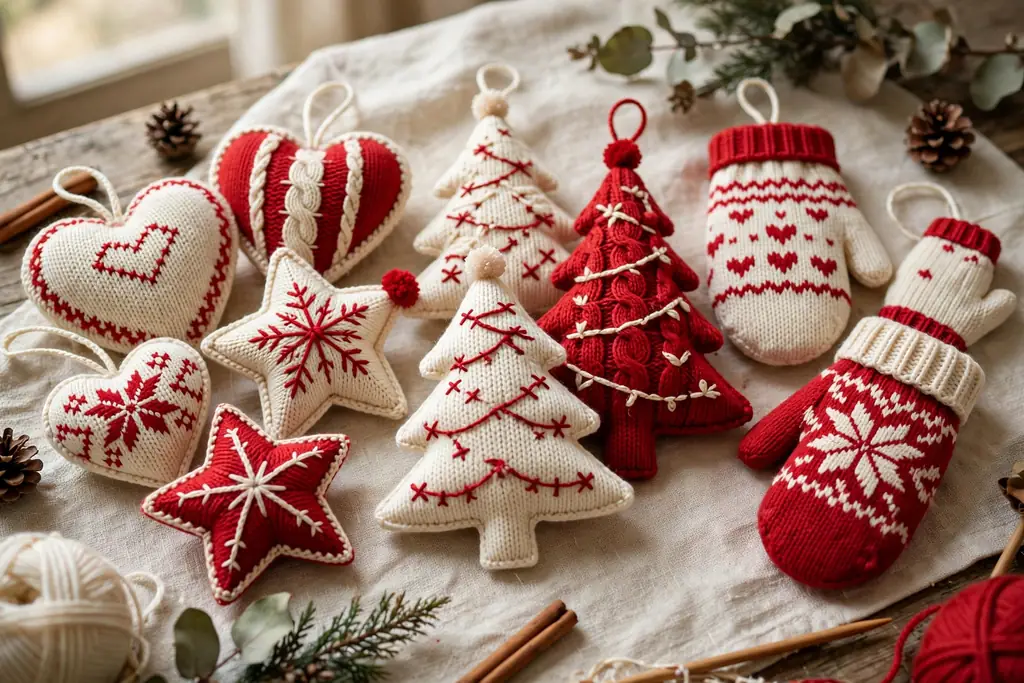
Repeat the same steps in different shapes to build a matching set, such as hearts, stars, trees, mittens, and stockings in one or two sweater colors. Using one palette across shapes gives a planned look, even when each ornament has a different outline. Make the set in small batches, and check each finished ornament against the first one so sizes and stuffing stay consistent.
Vary the finishing details within the set, such as a button on one ornament, embroidery on the next, and a plain finish on a third, so the tree does not look repetitive. A set of five to seven ornaments suits a small tree or a mantel garland, while a larger tree may need ten or more. Keep one ornament from each batch as a sample, so next year you can match the size, stitch, and stuffing when you add more.
12. Hang, Gift, and Store Your Ornaments
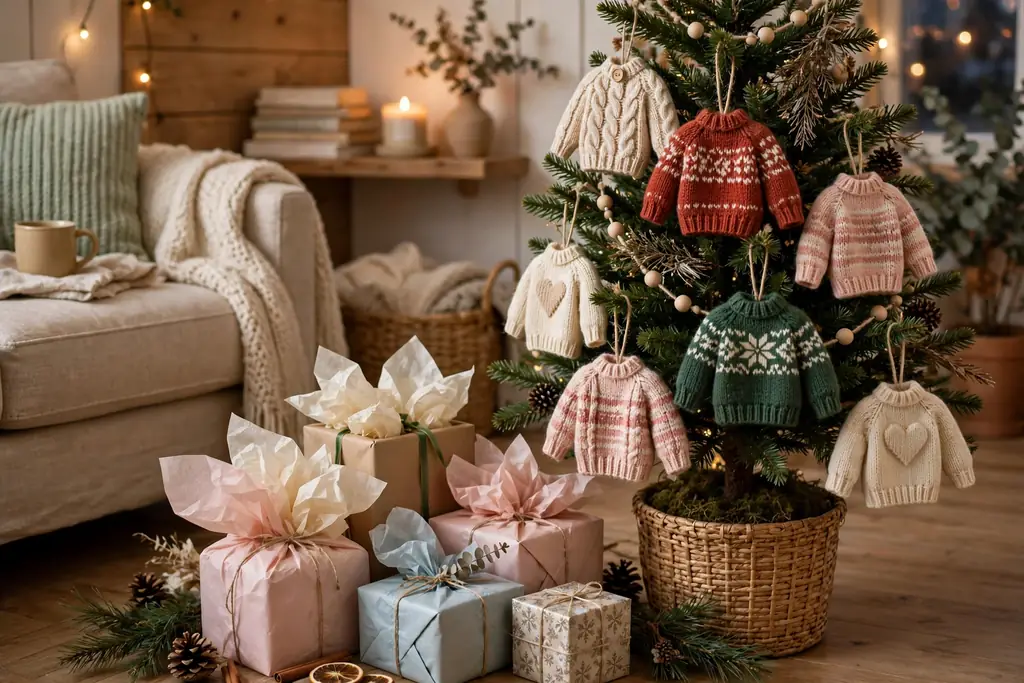
Hang sweater ornaments on strong inner branches or on a mantel garland, and space them so they do not rub against glass ornaments or heavy pieces. Check that each branch holds the ornament without drooping, and move heavier stuffed pieces closer to the trunk. On a small tree, hang the largest sweater ornaments first, then fill gaps with lighter ones.
For gifts, wrap each ornament in tissue, place it in a small box or gift bag, and add a tag with the sweater story, such as the person it once belonged to, if that feels right. At the end of the season, store sweater ornaments flat in a dry box with tissue between layers, and add a cedar block or lavender sachet to guard against moths. Check stored ornaments each year for damp, loose buttons, or worn loops before hanging them again.
Conclusion
Sweater ornaments are a simple way to reuse old knitwear, and they reward careful cutting, neat stitching, and light stuffing more than fancy supplies. Start with one easy shape, test your template and stitch on a scrap piece, and make a small batch before you cut into a favorite sweater. Keep the palette calm, add decoration before you stitch the pieces together, and finish with a strong loop and light embellishments. With those habits, a worn sweater becomes a set of soft ornaments that suit your tree, make thoughtful gifts, and store well for next season.
FAQs
What sweaters work best for sweater ornaments?
Thick, clean wool, cotton, or acrylic sweaters work best for sweater ornaments, since their knit holds a shape and stitches neatly. Felted wool gives the cleanest cut edges, while plain sweaters leave more room for embroidery and applique, so pick the knit that suits the shape and finish you want.
Do I need to felt a sweater before making ornaments?
You do not need to felt a sweater before making ornaments, but felting loose wool knit helps, since it tightens the fibers and reduces fraying at cut edges. Wash the sweater on a warm cycle and dry it with heat to felt it, or skip felting for cotton, acrylic, and sweaters you want to keep soft.
Can I make sweater ornaments without a sewing machine?
You can make sweater ornaments without a sewing machine, since a blanket stitch or running stitch by hand gives a neat, visible seam that suits knit fabric. Hand stitching also makes it easier to control curves and small shapes, so it is a good choice for beginners and for ornaments made with children.
How do I stop sweater ornaments from stretching out of shape?
Stop sweater ornaments from stretching by using felted or thick knit, cutting pieces without pulling the fabric, stuffing them lightly, and hanging them on strong branches. Press finished ornaments flat with a pressing cloth, and store them flat in a dry box so they keep their shape between seasons.
How do I wash and care for sweater ornaments?
Care for sweater ornaments by spot cleaning them with a damp cloth and letting them air dry flat, rather than machine washing them. Keep them away from damp rooms, check loops and buttons each year, and store them in a dry box with tissue between layers and a moth guard such as cedar or lavender.
Can children help make sweater ornaments?
Children can help make sweater ornaments by choosing sweaters and shapes, tracing templates, and decorating flat front pieces with felt shapes and blunt needles. Save sharp scissors, pins, and hot glue for adults, and let children stitch simple running stitches on felted knit, which is easier to handle than loose knit.