
You can make oyster shell ornaments by cleaning and drying real oyster shells, drilling or gluing a hanger to each one, painting or decoupaging a coastal design, sealing the finish, and hanging the shells on the tree with ribbon or twine. Work with flat, sturdy shells, keep the design light, and seal both sides so the ornaments last.
Oyster shells suit a coastal Christmas because each shell already carries the shape, ridges, and pale tones of the shore. A small set looks best when the shells share a calm palette of white, cream, soft blue, and gold, with plain greenery and warm white lights nearby. This guide walks through each stage in order, so you can test one ornament first and then make the rest of the set. For more seasonal decorating guides, browse Dwell Ovell.
Key Takeaways
- Choose flat, sturdy shells with a clean cup shape, and set aside thin or cracked shells.
- Clean, dry, and smooth shells fully before painting, so paint and glue hold well.
- Drill slowly with eye protection, or use a glued loop if you prefer not to drill.
- Keep designs light and simple, with one motif per shell and a thin gold edge.
- Seal both sides of each finished shell so the design holds up through the season.
- Hang shells on sturdy branches and store them in separate padded compartments.
Materials and Supplies
- Clean oyster shells, in similar sizes, with flat backs where possible
- Mild dish soap, warm water, an old brush, and clean towels
- Fine sandpaper and work gloves
- A small drill with a fine bit, or strong craft glue and small metal loops
- Eye protection and a dust mask for drilling and sanding
- White acrylic paint or whitewash, plus small brushes
- Acrylic paints in coastal colors, or paper napkins and decoupage glue for motifs
- Metallic gold paint or a gold paint pen for edging
- Small flat back pearls, tiny beads, and craft glue
- Clear sealant suitable for painted shells, in matte or satin finish
- Thin ribbon, twine, or cord for hangers, plus scissors
- Tissue paper and a lidded box or ornament storage tray for finished pieces
1. Source and Select Sturdy Shells
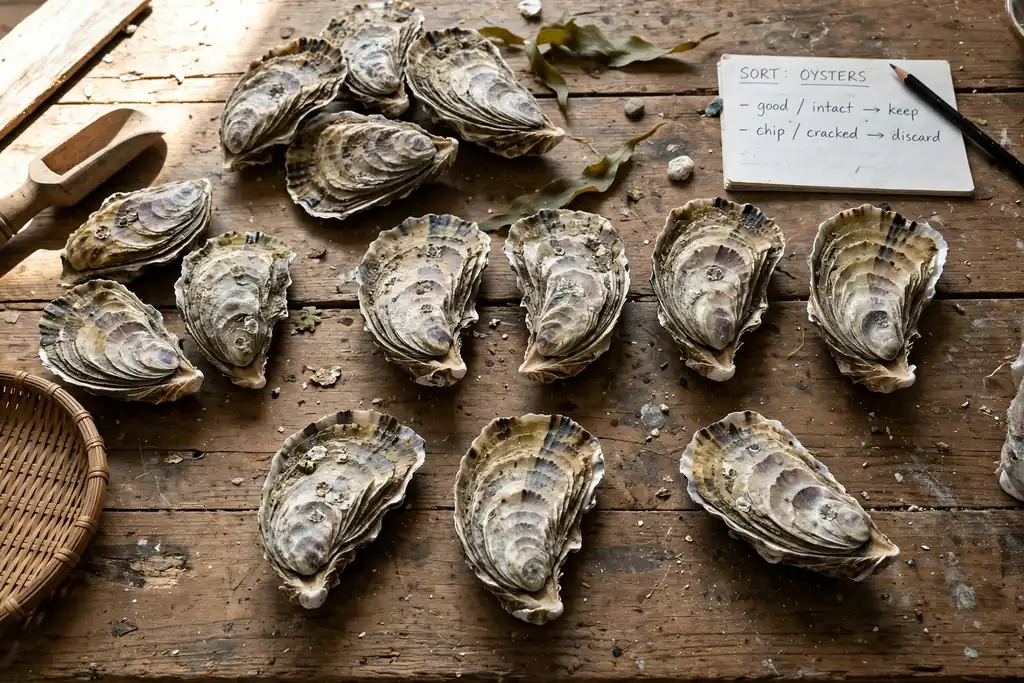
Start with shells that are sturdy, mostly flat on the back, and large enough to hold a small design. A shell about the size of your palm is easy to paint and hang, while very small shells suit a garland or a tabletop tree better than a full size tree. Hold each shell up and look for a cup shape that will sit steady on a flat surface, since a shell that rocks will be harder to paint and to display.
Sort the shells before you begin. Keep shells with a smooth inner surface and an even rim, and set aside shells that are cracked, paper thin, or chipped at the hinge. You do not need matching shells for a good set. A little variation in size and ridge pattern is part of the coastal look, as long as each shell is strong enough to drill and hang.
2. Clean the Shells Thoroughly
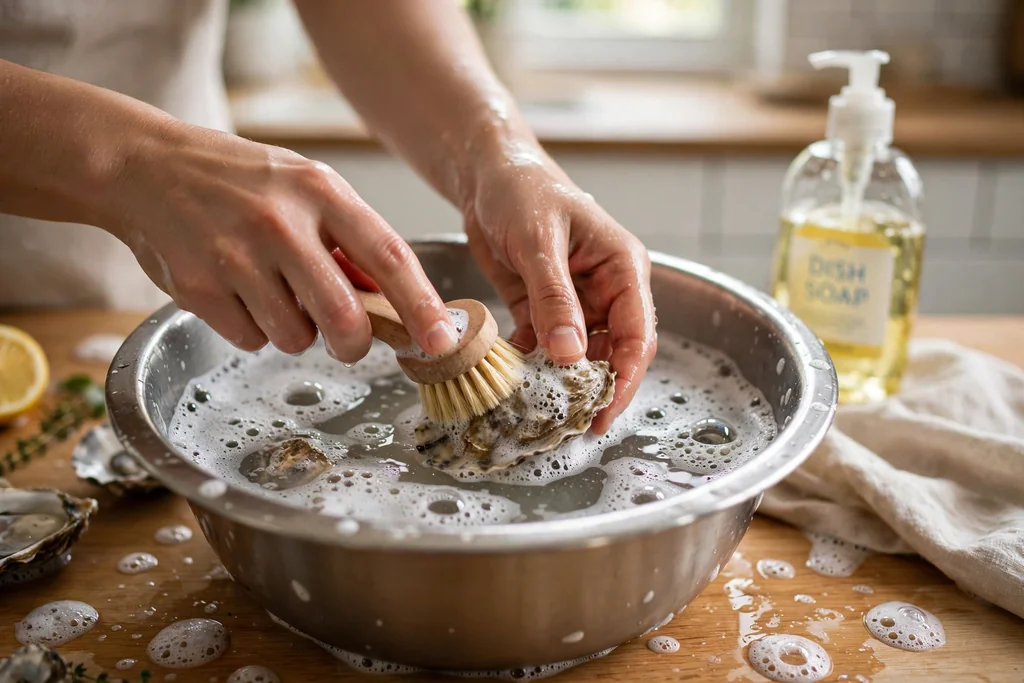
Wash each shell in warm water with a small amount of mild dish soap, using an old brush to clear sand, grit, and residue from the ridges and the cup. Rinse each shell well under clean water, and repeat the wash for any shell that still feels gritty or smells of the shore. Do not use harsh cleaners, which can dull the shell surface and leave a film under paint.
Let the shells soak only briefly if they need it, then rinse again and lay them out on clean towels. Check the hinge area and the back of each shell, since grit hides in those ridges and can loosen glue later. If a shell has a stubborn spot, brush it again rather than soaking it for a long time.
3. Dry Shells and Smooth Rough Edges
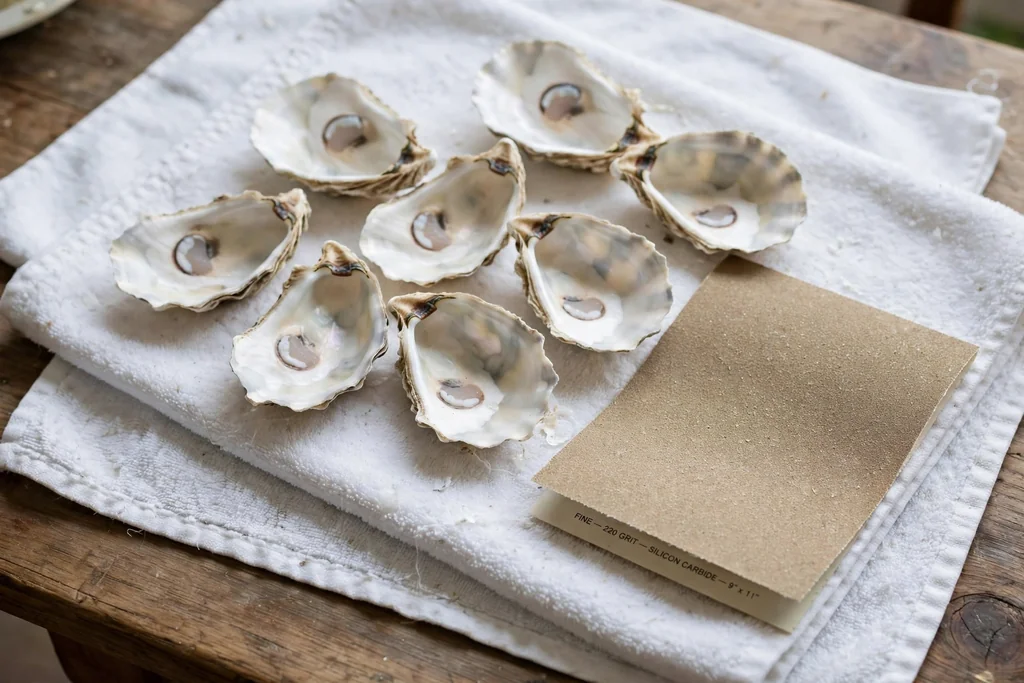
Let the shells dry fully, inner side up, in a dry room away from damp air. A shell that still feels cool or damp to the touch is not ready to paint, since trapped moisture can lift paint and cloud a sealant coat. Depending on the room, drying can take a day or longer, so plan this step ahead of the decorating day.
Once dry, run a finger along the rim and the back of each shell, wearing work gloves, and smooth any sharp spots with fine sandpaper. Sand lightly and only where needed, since heavy sanding can flatten the ridges that give the shell its character. Brush away sanding dust with a dry cloth before moving on.
4. Plan Your Design Before You Decorate
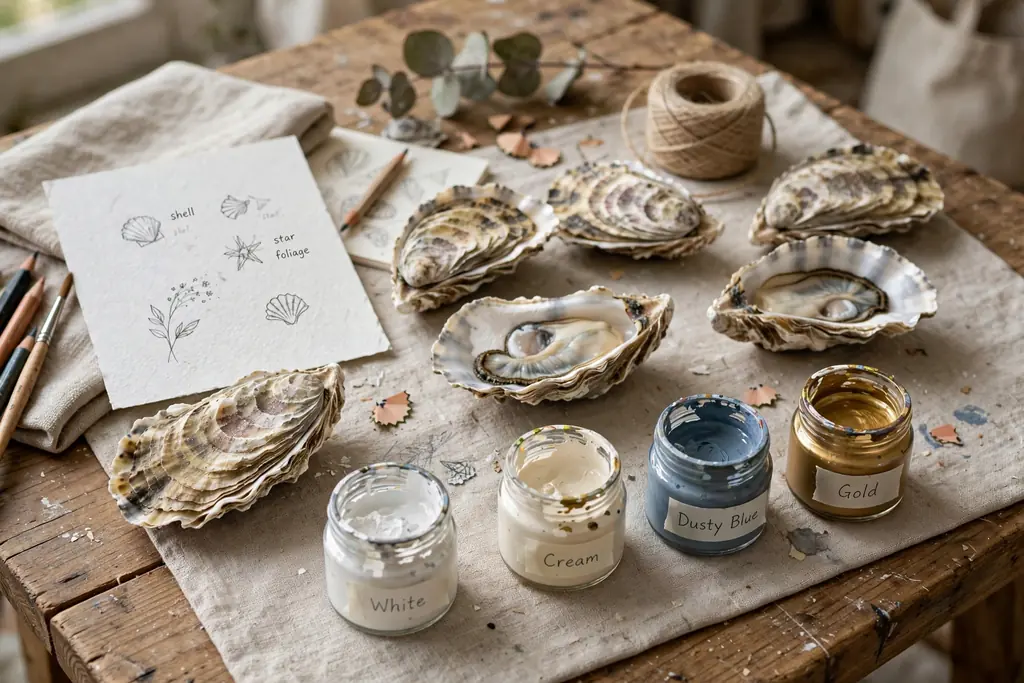
Lay the shells out on a table and plan one design per shell before you open any paint. Simple coastal motifs work best at this size, such as a small sprig of greenery, a starfish shape, a pine branch, a snowflake, a monogram, or a short word. Sketch the motif lightly in pencil on the inner surface if it helps you keep the size right.
Decide on the palette at the same time. A white or cream base with one accent color, such as dusty blue, sage, or soft gold, gives a calm set that reads as coastal without looking busy. If you plan a mixed set, keep two or three colors across the whole group, and repeat the gold edge on every shell so the set holds together.
5. Drill a Hanging Hole with Care
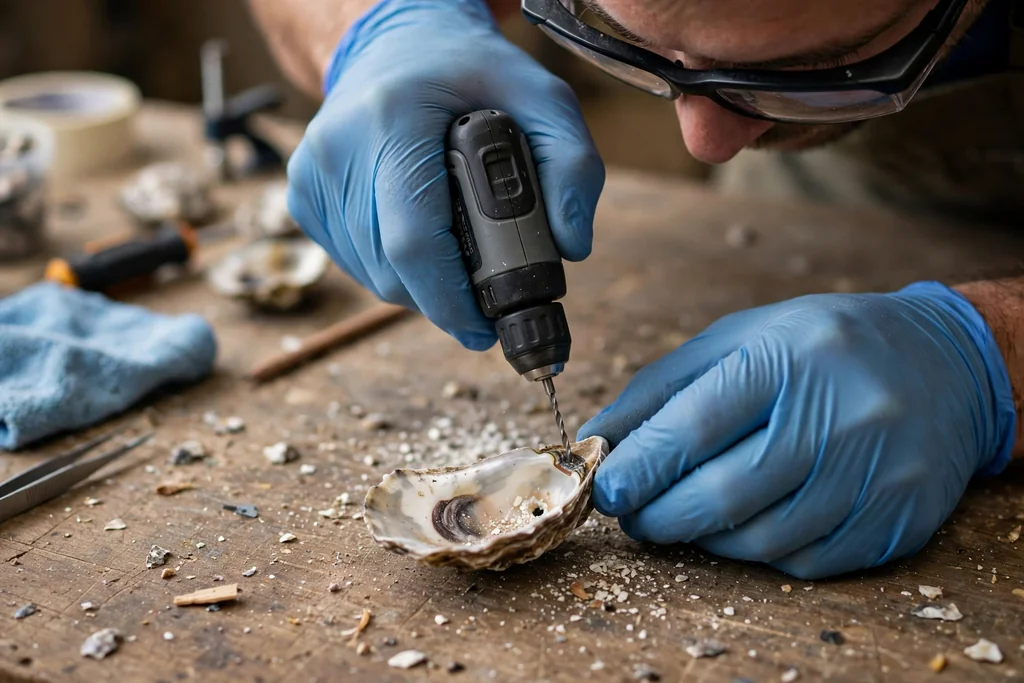
If you want a drilled hanger, mark a spot near the top of the shell, close to the hinge, where the shell is thickest. Clamp the shell gently to a work surface or hold it steady in a small tray, wear eye protection and a dust mask, and drill slowly with a fine bit, letting the bit do the work rather than pressing hard. Stop often to check progress, since shells can crack if forced.
If a shell cracks, set it aside for a tabletop display instead of hanging it. If you prefer not to drill, skip this step and use a small metal loop glued firmly to the back of the shell, as described in step 10. Either method works, so choose the one that suits your tools and your comfort level.
6. Apply a Whitewash or Base Coat
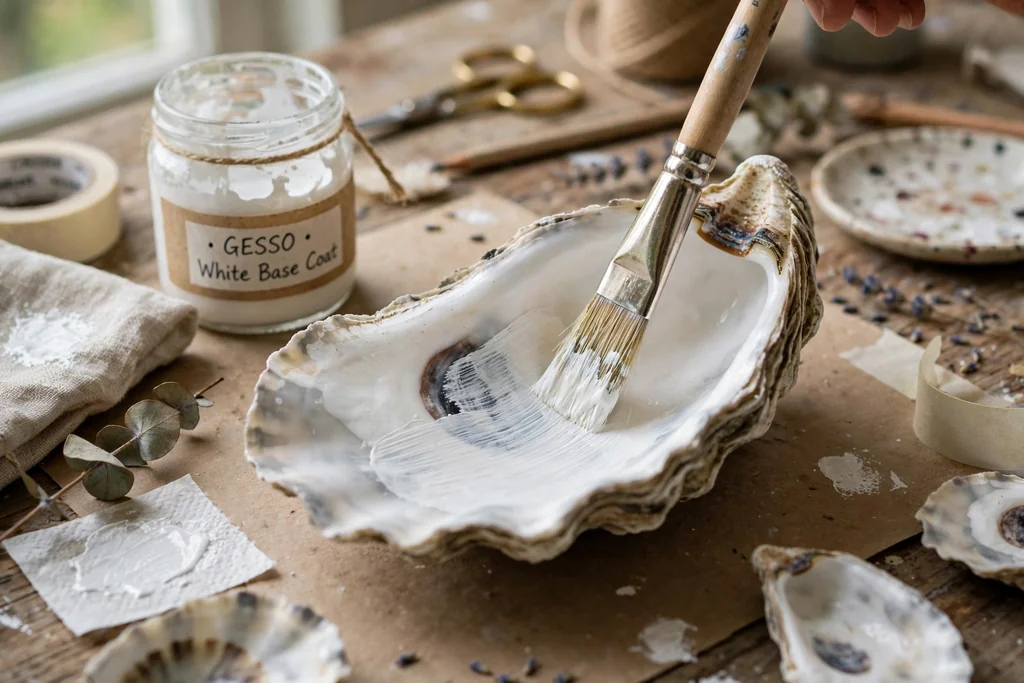
Brush a thin coat of white acrylic paint or whitewash over the inner surface of each shell, following the ridges rather than filling them. One thin coat is usually enough to give paint and decoupage a clean base, and it keeps the shell texture visible. If the first coat looks patchy, let it dry fully, then add a second thin coat rather than one thick coat.
Let the base coat dry fully before decorating. Thick or tacky paint can smear a motif and trap brush marks under a sealant coat, so check that the surface feels dry and smooth to the touch. Paint the back of the shell too if you want a finished look from behind, using the same thin coat method.
7. Paint or Decoupage a Coastal Motif
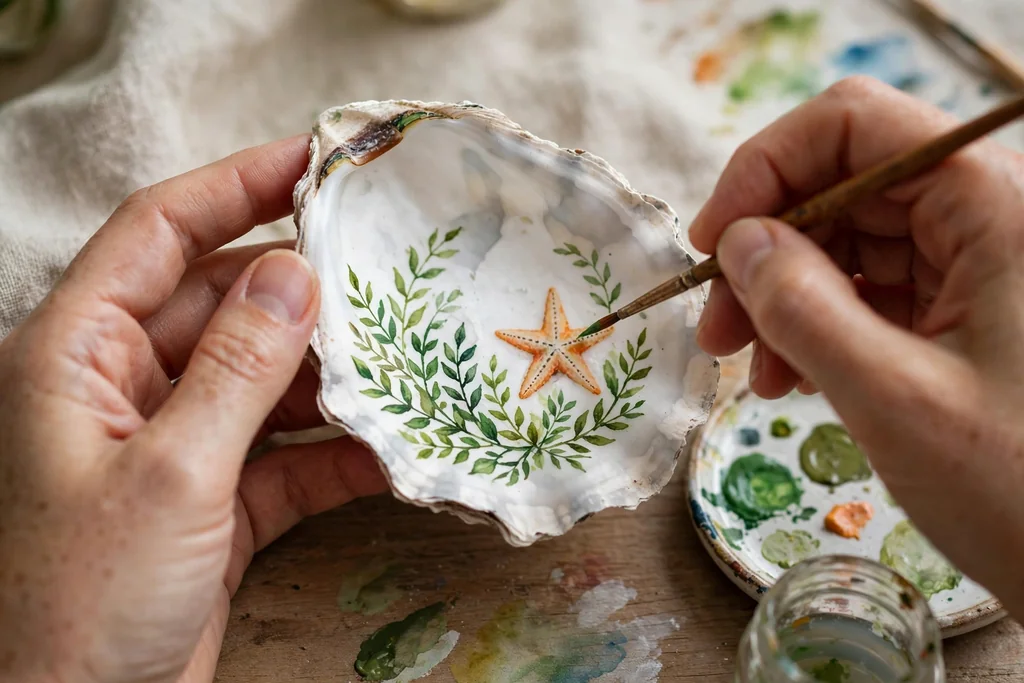
Paint the motif by hand with a small brush, working from the largest shape to the smallest detail, and letting each color dry before adding the next. Small brushes give better control on a curved shell surface than large ones, and a little paint goes a long way on a shell this size. Keep the motif centered or slightly off center, with plain shell showing around it, so the design reads clearly from a short distance.
For a decoupage motif instead, cut a small design from a paper napkin, peel away the extra layers, and glue the single printed layer onto the shell with decoupage glue, smoothing it gently from the center outward. Work slowly over the ridges, since the paper can tear if pulled. Let the motif dry fully before adding any edging or sealant.
8. Add Gold Edging and Pearl Accents
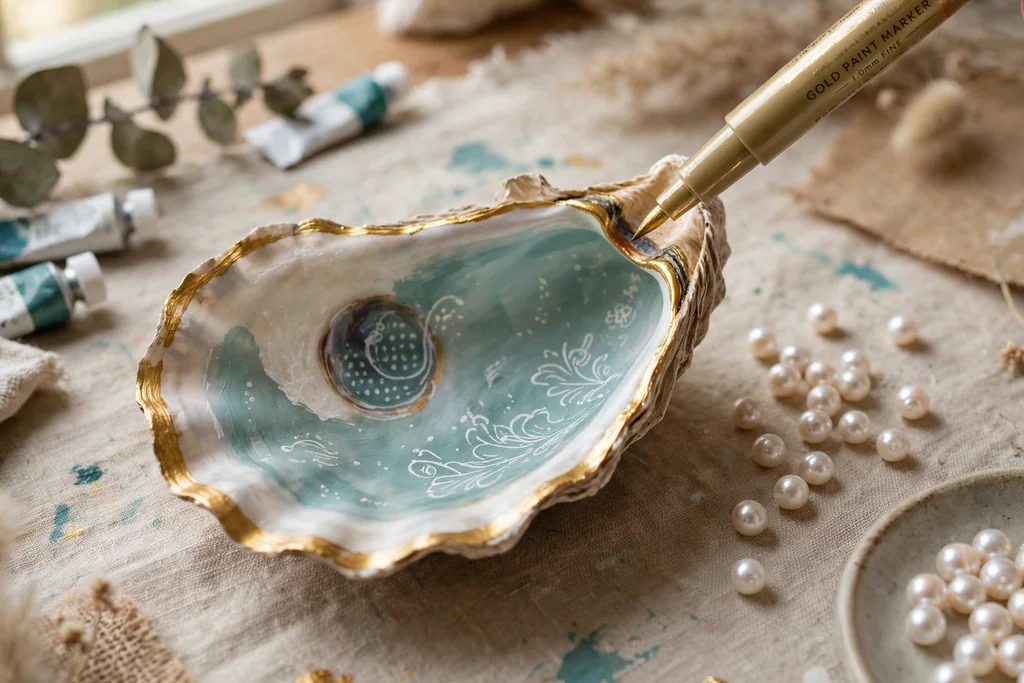
Trace the rim of each shell with metallic gold paint or a gold paint pen, using a steady hand and a thin line. A thin gold edge frames the shell and ties the set together, while a thick or uneven edge can draw attention away from the motif. If a line wobbles, let it dry, then touch it up with a small brush rather than wiping wet paint across the shell.
Add small accents sparingly once the gold edge is dry. A single flat back pearl at the hinge, a tiny bead beside the motif, or a small starfish charm can finish a shell, but each extra piece adds weight and bulk. Glue accents with a small amount of craft glue, press them in place, and let them set before you turn the shell over.
9. Seal Both Sides with a Clear Coat
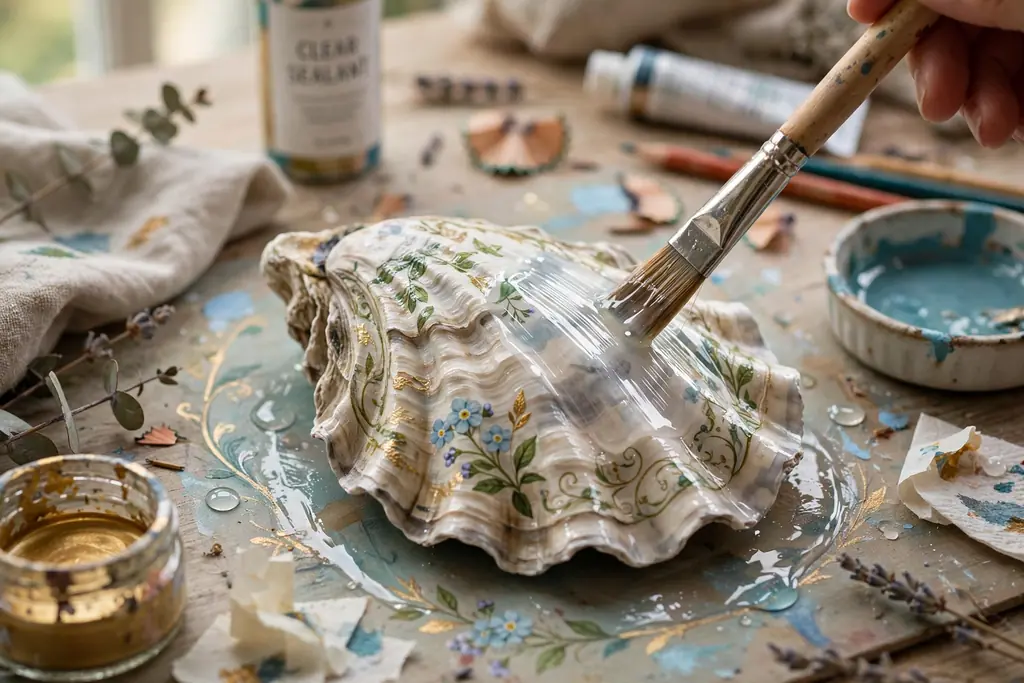
Brush or spray a thin coat of clear sealant over the decorated surface, following the directions for the sealant you are using, and work in a well ventilated area. A matte or satin finish suits a coastal look better than a high gloss finish, which can look hard next to natural shells and greenery. Seal the back of the shell as well, so moisture and handling do not wear the finish unevenly.
Let the first coat dry fully, then add a second thin coat if the surface still looks patchy. Two thin coats protect the design better than one thick coat, which can pool in the ridges and dry cloudy. Do not hang or stack shells until the sealant is fully dry and no longer tacky to the touch.
10. Attach a Ribbon or Twine Hanger
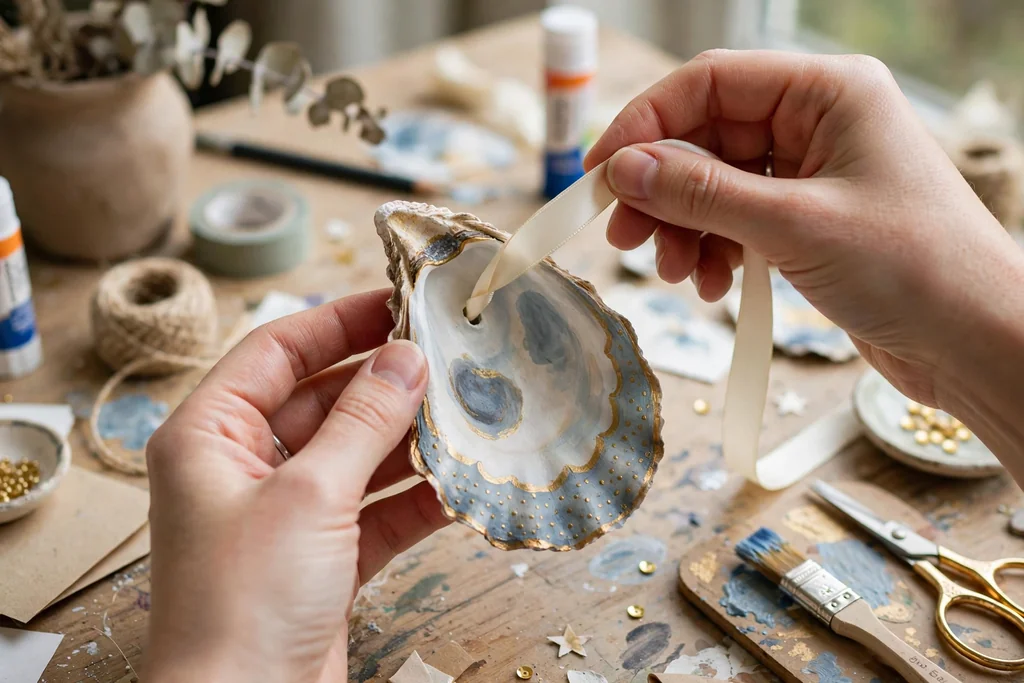
Thread a short length of thin ribbon or twine through the drilled hole, tie a firm knot, and trim the ends neatly. For shells without a drilled hole, glue a small metal loop or a folded ribbon loop firmly to the back of the shell with strong craft glue, and let it dry fully before hanging. Test the loop by holding the shell by the hanger over a soft surface, so a weak join shows up before the shell reaches the tree.
Choose a hanger length that lets the shell hang clear of nearby branches and lights, and keep the hanger light so the shell hangs face forward rather than tipping. A small bead threaded onto the hanger, or a tiny bow tied at the top, can finish the look, but keep it small so the shell stays the focus.
11. Hang and Balance Ornaments on the Tree
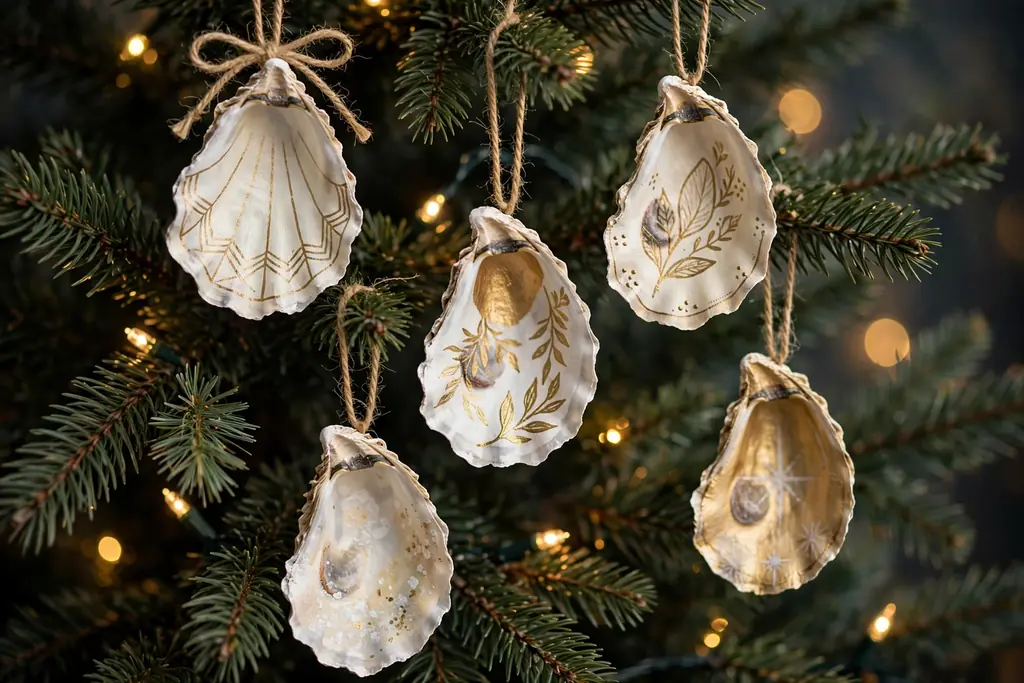
Hang oyster shell ornaments on sturdy branches, starting with heavier shells lower on the tree and lighter shells higher up. Space shells so light can pass between them and so each motif stays visible rather than hidden behind branches or other decorations. Turn each shell so its decorated side faces the room, and check the tree from across the room before adding more.
Check each branch after hanging. If a branch dips sharply, move the shell to a stronger branch closer to the trunk or swap it for a lighter shell. Keep shell ornaments away from walkways and from branches that pets or small children can reach easily, since shells can break if dropped, and place lighter ornaments in those spots instead.
12. Store Oyster Shell Ornaments for Next Year
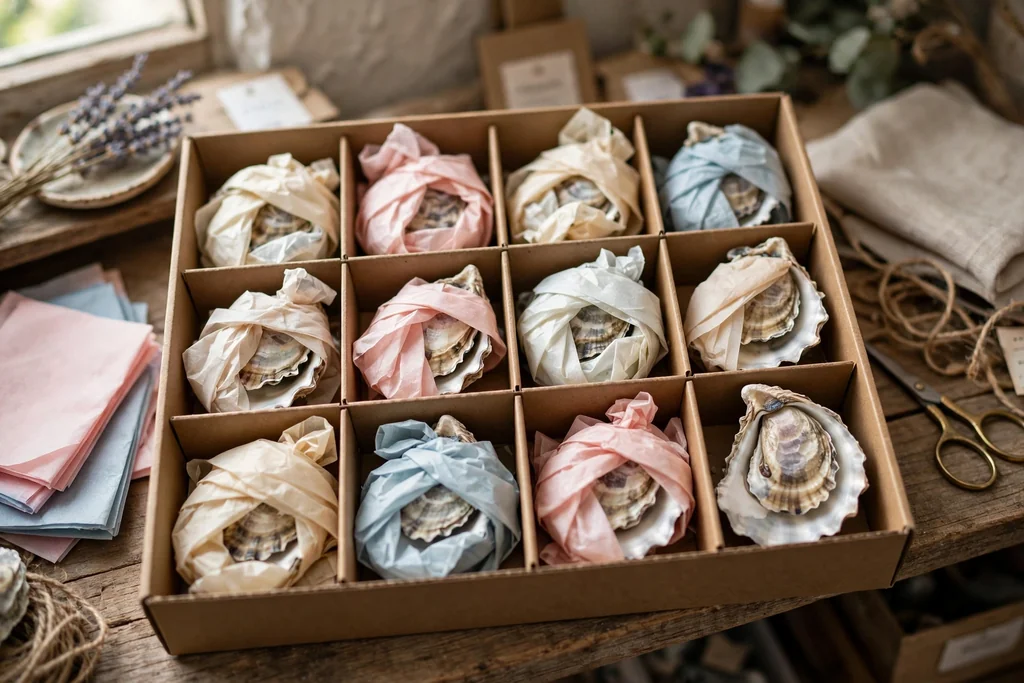
Store finished shells in a lidded box with separate compartments, wrapping each one in tissue paper so painted surfaces and gold edges do not rub against other ornaments. Keep the box in a cool, dry place away from damp rooms and direct sun, which can fade paint over time. Label the box so you can find the set without opening and handling each shell.
Check the set before the next season. Look for loose hangers, chipped gold edges, or lifted sealant, and repair only the pieces that need it. A well stored set can be used again, and you can add one or two new shells each year to refresh the tree without remaking the whole set.
Conclusion
Oyster shell ornaments are a simple handmade project that rewards careful work at each stage: sturdy shells, a full clean and dry, a light base coat, one clear motif, a thin gold edge, a firm seal, and a balanced place on the tree. Start with one test shell, learn how your paint and sealant sit on the ridges, and then make the rest of the set to match. With gentle handling and dry storage, the finished shells can return to the tree year after year, carrying a calm coastal note into each Christmas.
FAQs
Can I use shells I collected at the beach for ornaments?
Yes, you can use beach collected oyster shells for ornaments, as long as they are clean, dry, sturdy, and free of cracks. Wash them well, dry them fully, and smooth sharp edges before painting, and follow local rules about collecting shells where you found them.
Do I have to drill oyster shells to hang them?
No, you do not have to drill oyster shells to hang them. A small metal loop or a folded ribbon loop glued firmly to the back of the shell works well, and it suits shells that are thin or likely to crack under a drill.
What kind of paint works best on oyster shells?
Acrylic paint works well on oyster shells, since it sticks to a clean, dry shell surface and dries to a firm finish. Use thin coats over a white base coat, let each coat dry fully, and finish with a clear sealant so the design holds up through the season.
How do I keep decoupage paper from tearing on a curved shell?
Keep decoupage paper from tearing by cutting a small motif, using a single thin printed layer, and smoothing it gently from the center outward with a soft brush. Work slowly over the ridges, avoid pulling the paper, and let the glue dry fully before adding edging or sealant.
Will oyster shell ornaments break easily on the tree?
Oyster shell ornaments can break if dropped, but they hold up well on the tree when hung on sturdy branches with a firm hanger. Hang heavier shells lower, keep them clear of walkways and easy reach, and store each shell wrapped in tissue in its own compartment.
How should I store oyster shell ornaments after Christmas?
Store oyster shell ornaments wrapped in tissue paper in separate compartments inside a lidded box, kept in a cool, dry place away from damp rooms and direct sun. Check hangers, gold edges, and sealant before the next season, and repair only the pieces that need it.