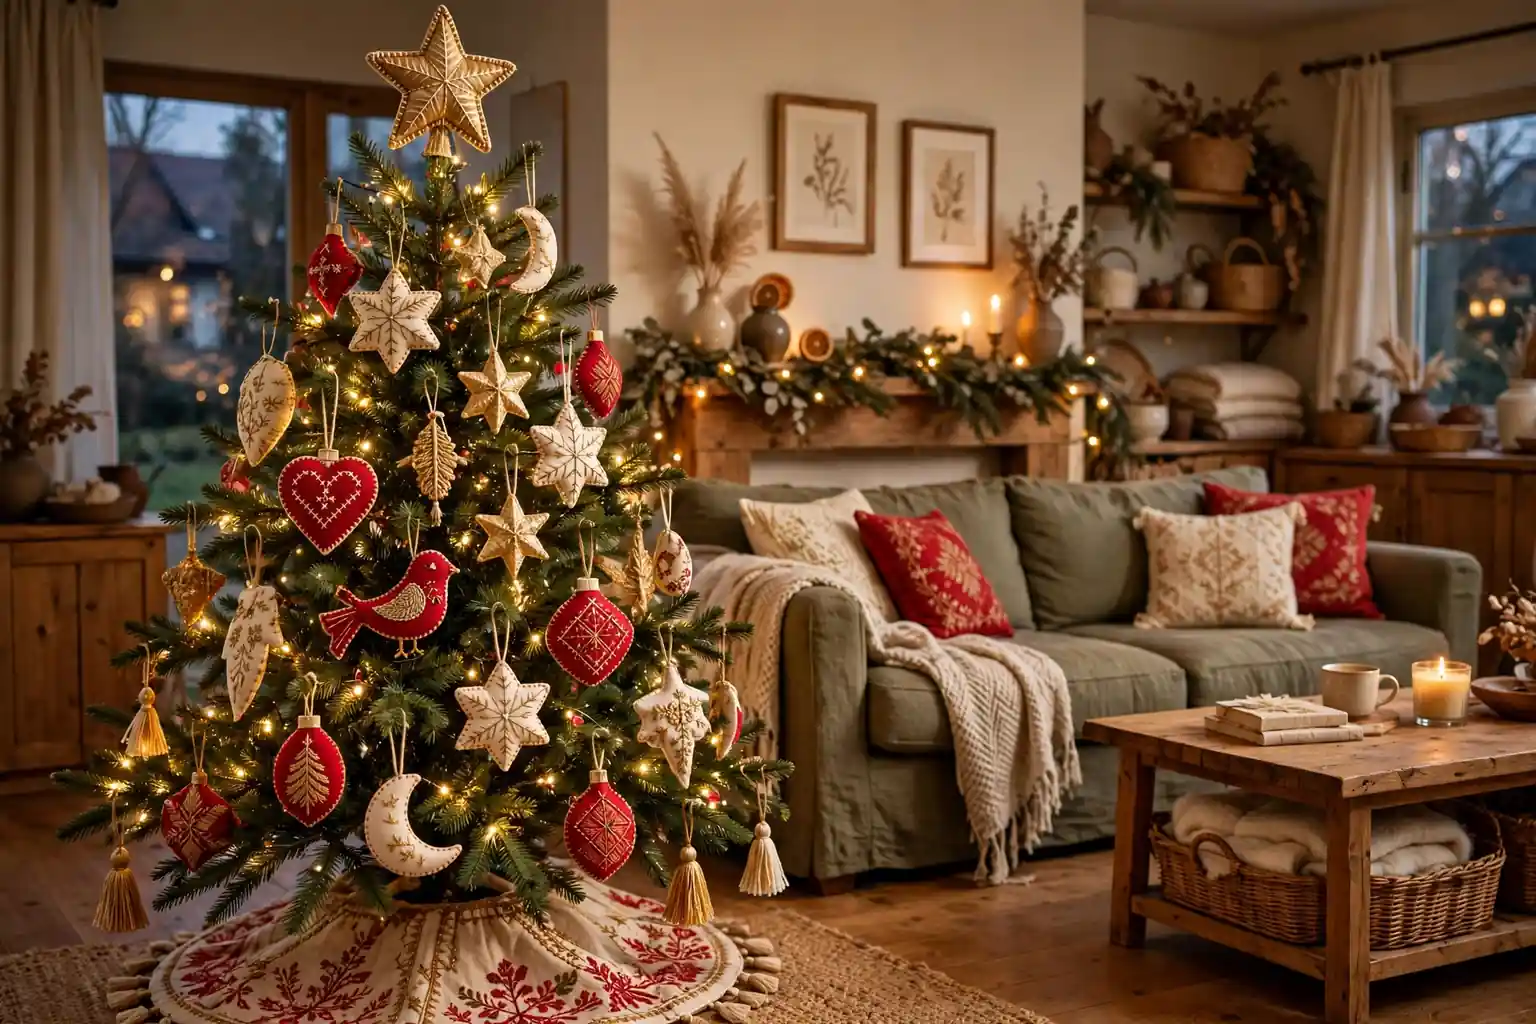
Embroidered ornaments are handmade Christmas decorations made by stitching designs onto fabric, felt, or linen, then shaping the piece into a ball, star, hoop, or keepsake. Choose a simple pattern and sturdy fabric, then finish each ornament with a hanging loop and a neat backing so it holds its shape on the tree.
Start with one easy design, such as a star or a snowflake, before moving to detailed pieces like birds or cottages. Use a hoop to keep fabric taut while you stitch, and keep thread lengths short so stitches stay even and do not tangle. For more seasonal ideas to pair with these handmade pieces, see the vintage Christmas decor ideas and browse the Dwell Ovell decor ideas index. Group finished ornaments by color or theme on the tree, and keep heavier pieces on strong lower branches.
Key Takeaways
- Start with a simple pattern and a short stitch list, then build skill with each ornament.
- Use sturdy fabric or felt, a hoop for tension, and short thread lengths for even stitches.
- Finish every ornament with a hanging loop and a backing so it holds its shape and hides raw edges.
- Repeat one or two thread colors through the set for a calm, collected look on the tree.
- Date or initial keepsake ornaments so they carry family meaning from year to year.
- Store embroidered ornaments flat or in divided boxes with tissue between pieces to protect stitches.
1. Classic Cross Stitch Baubles
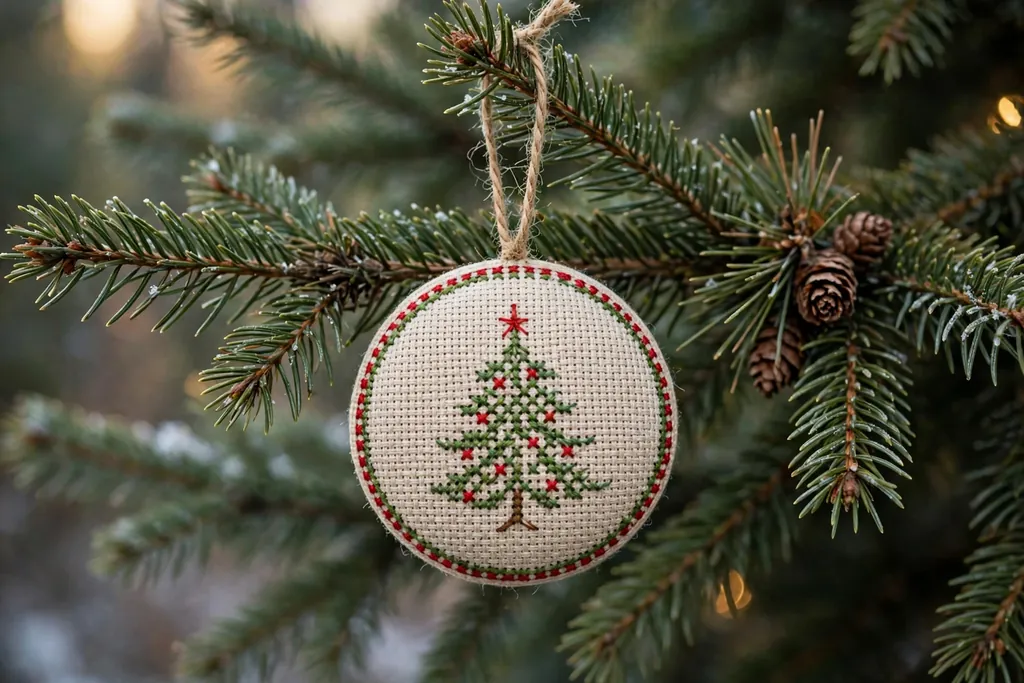
Stitch a small cross stitch motif, such as a tree, a star, or a snowflake, onto evenweave fabric, then gather the fabric over a plain bauble form or pad it into a round pillow shape. Keep the motif centered and use two or three thread colors so the design reads clearly from across the room. Add a ribbon loop at the top and a plain felt backing.
Work the full motif before shaping the bauble, and press the stitched piece lightly from the back. If the fabric puckers, loosen the hoop tension on the next piece and use shorter thread lengths. These baubles suit a tree with a mix of glass and handmade ornaments, since their flat stitch texture stands out against shiny surfaces.
2. Felt Stars with Blanket Stitch Edges
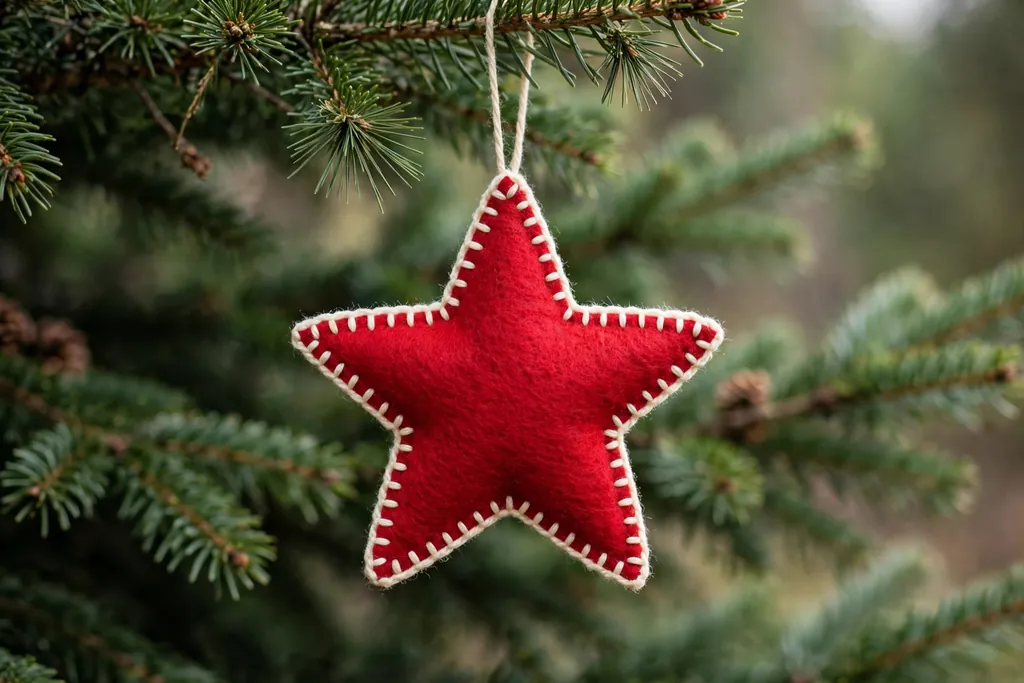
Cut two star shapes from wool felt, stitch a simple motif on the front star, then join the pair with blanket stitch around the edge, leaving a small gap for light stuffing. Use a contrasting thread color for the edge so the star shape stays bold. Add a hanging loop of ribbon or twine at one point.
Keep stuffing light so the star stays flat enough to hang well and does not pull the tree branch down. Felt stars work well for a first embroidery project, since felt does not fray and small mistakes are easy to hide in the edge stitching. Make a set in one color family for a calm tree, or mix red, green, cream, and gold.
3. Mini Embroidery Hoop Ornaments
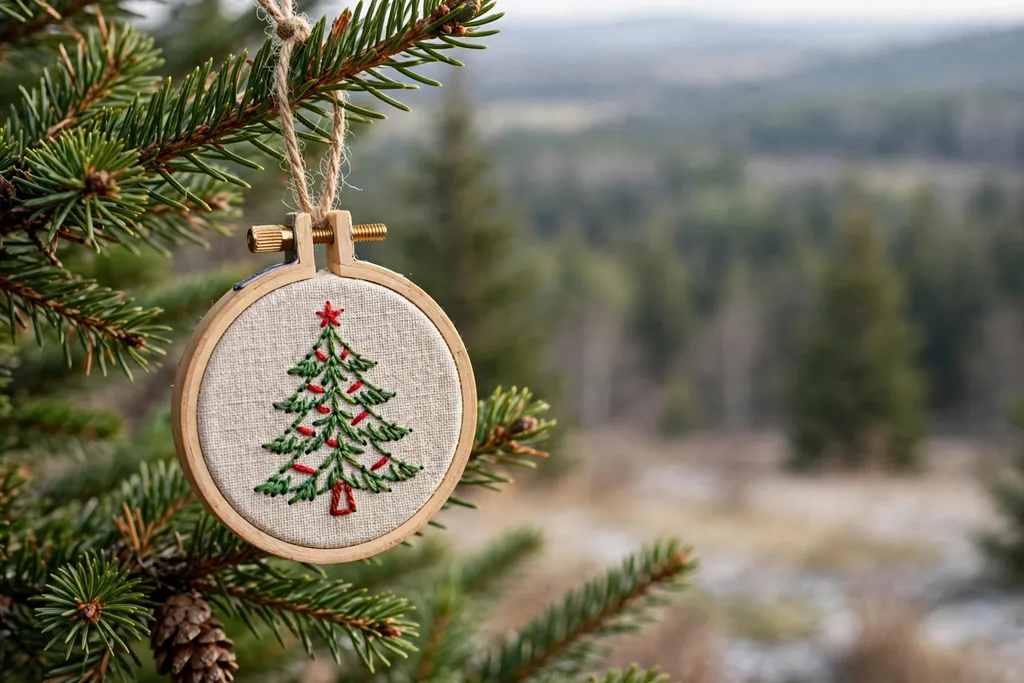
Stitch a small design inside a mini wooden hoop, trim the fabric at the back, and glue or stitch a felt circle over the back to cover raw edges. Add a ribbon loop through the hoop screw or tied around the top. Hoop ornaments suit tiny scenes, single words, initials, and simple motifs such as trees, bells, or snowflakes.
Keep the design smaller than the hoop opening so no stitch is hidden under the wood rim. Tighten the hoop screw gently, since overtightening can crack a small hoop or distort the fabric. Hang hoop ornaments near the outer tips of branches, where their round frames catch light and show the stitching clearly.
4. Monogrammed Initial Ornaments
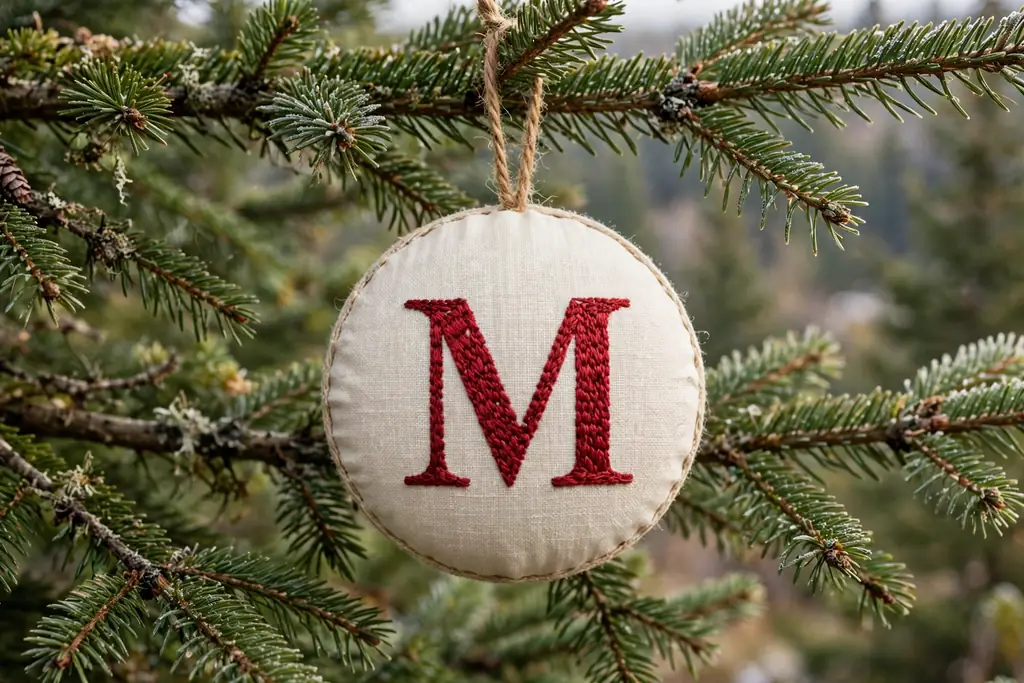
Stitch one large initial in backstitch, chain stitch, or satin stitch on a small round or oval of linen, then back it with felt and add a loop. A single letter makes a clear personal gift and a simple tree ornament, and it suits beginners who want one strong focal stitch rather than a busy scene. Add a small sprig, star, or dot motif beside the letter for balance.
Choose a thread color that contrasts with the fabric, such as deep red on cream or gold on green. Keep letter stitches even by marking the letter lightly on the fabric first. These ornaments also work as gift tags tied to wrapped presents, then hung on the tree after the gift is opened.
5. Linen Snowflakes with French Knots
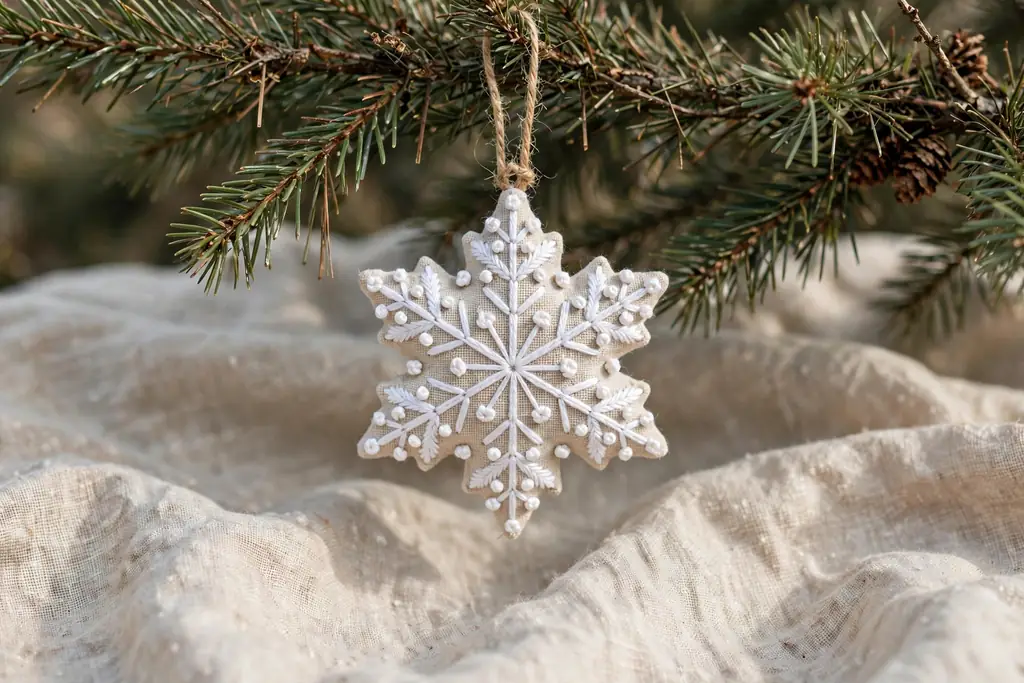
Stitch a six point snowflake on natural linen using straight stitches for the arms and French knots for the points and center. Keep each arm the same length and space the knots evenly so the snowflake looks balanced. Back the linen with felt, cut the pair into a circle or a snowflake outline, and add a fine loop for hanging.
Snowflakes in white or pale blue thread suit a tree with silver, white, and green ornaments. If French knots feel tricky at first, practice a row on scrap fabric, and keep the thread wrapped the same number of times for knots of the same size. A set of snowflakes in matching thread gives a quiet, wintry layer to the tree.
6. Redwork Christmas Trees
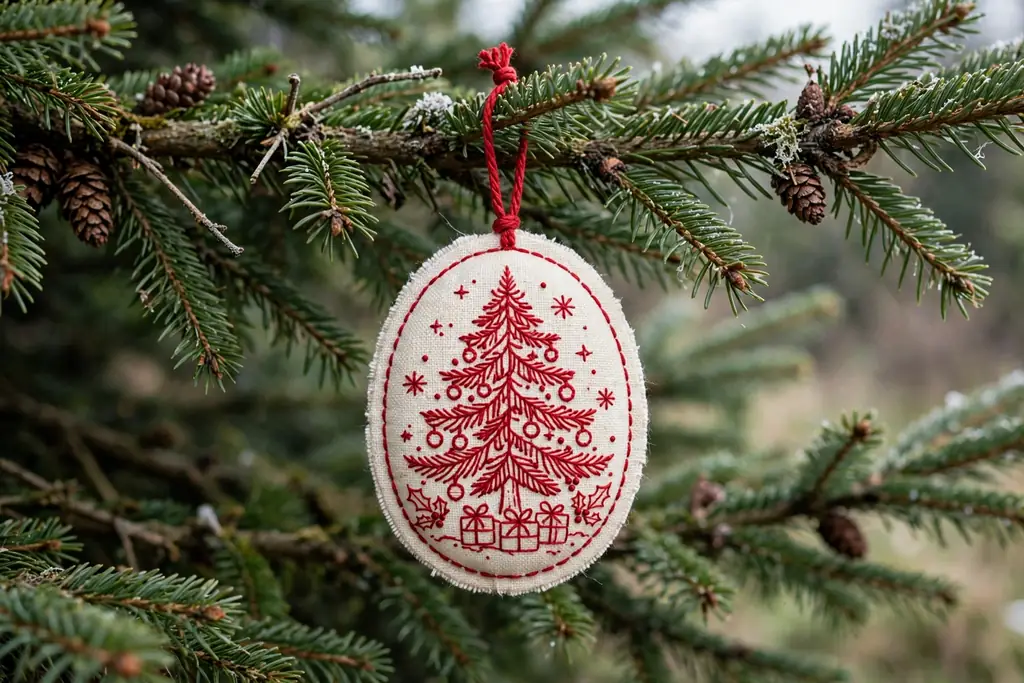
Redwork uses one color of red thread on white or cream fabric, so a simple tree outline, ornaments, and a star become the whole design. Stitch the tree with backstitch or stem stitch, then add small redwork details such as dots for baubles and a short line for the trunk. Finish the piece as a round, square, or tree shaped ornament with a plain backing.
Redwork suits a tree with a red and cream palette, and it pairs well with plain red baubles and wooden ornaments. Keep stitches small and even, since a single color leaves every stitch visible. Press the finished piece from the back before backing it, so the red thread stays crisp against the light fabric.
7. Embroidered Cardinal Birds
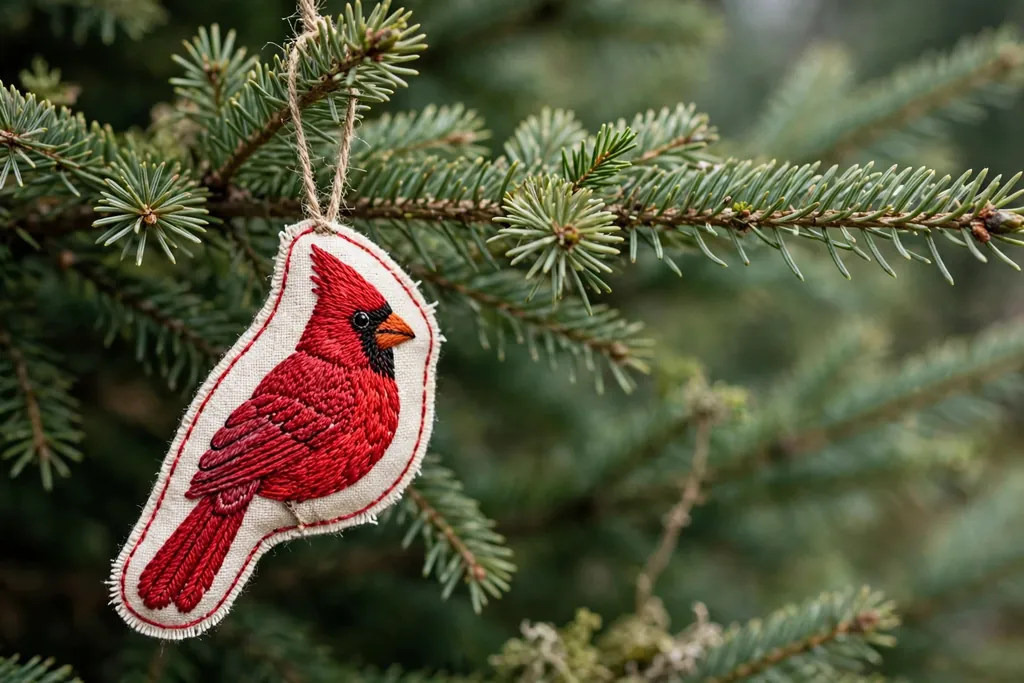
Stitch a cardinal in red thread on a cream or pale green ground, using satin stitch for the body, backstitch for the outline, and a small black stitch for the eye and beak area. Add a branch in brown stem stitch and a few green leaves so the bird has a perch. Shape the finished piece as a round ornament or a bird shaped ornament with felt backing.
Cardinals stand out on a green tree, so hang them near the outer branches where the red can be seen. Keep the bird design simple, with a clear body shape and few colors, so it reads as a bird from a short distance. These ornaments make thoughtful gifts for bird lovers and for anyone who likes a natural theme at Christmas.
8. Embroidered Angel Ornaments
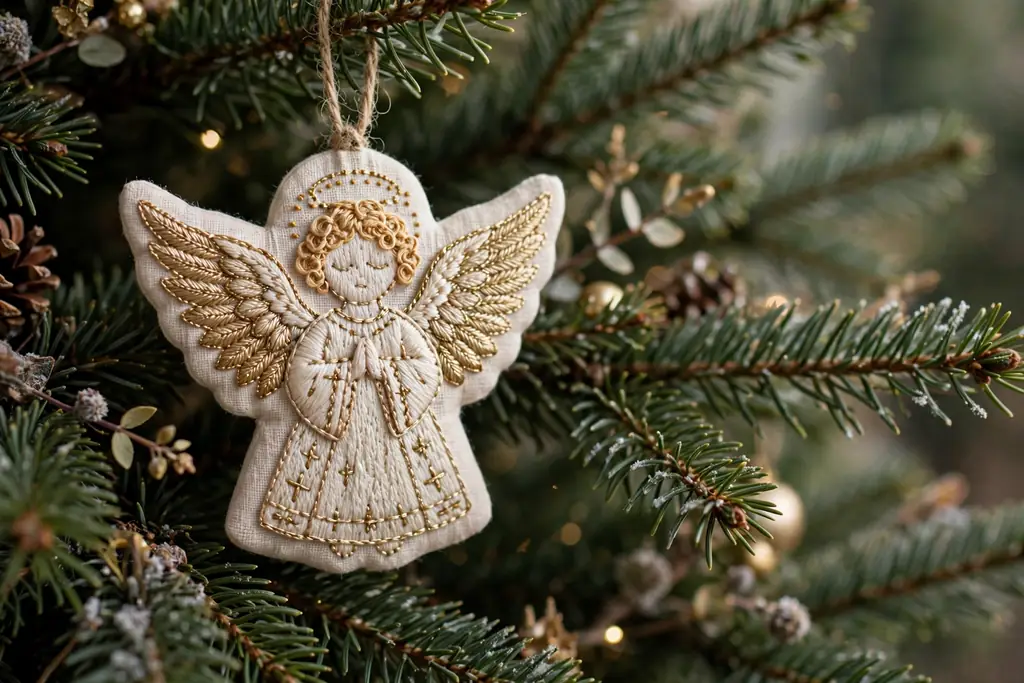
Stitch an angel with a simple dress shape, wings in chain stitch or feather stitch, and a small halo in gold thread or a single French knot ring. Use soft colors such as cream, gold, and pale blue on a light ground, and keep the face blank or marked with two tiny stitches, so the angel stays gentle and folk style rather than detailed. Back the piece with felt and add a loop.
Angel ornaments suit the top of a small tree, a mantel garland, or a window display, where they can be seen at eye level. Keep wings symmetrical by stitching one wing, then mirroring the stitch count on the other side. A set of angels in matching thread colors gives a calm, unified look to a tree or a branch display.
9. Embroidered Wreath Ornaments
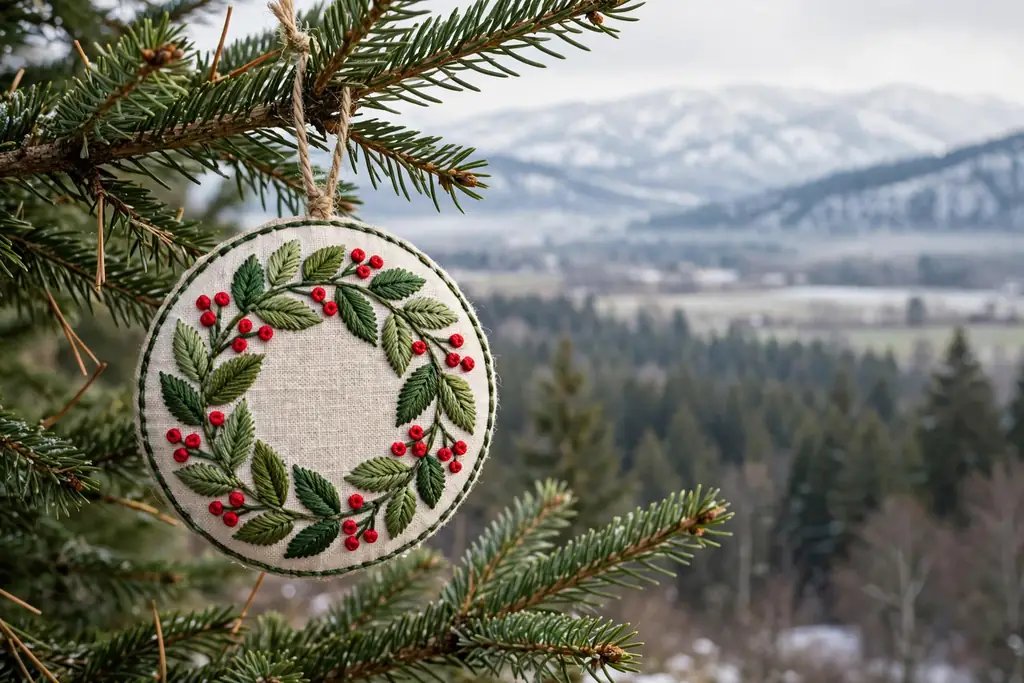
Stitch a round wreath of leaves in stem stitch or lazy daisy stitch, then add small berries in French knots and a bow at the bottom in red thread. Use two greens for depth, and keep the wreath ring even by marking a circle on the fabric first. Finish the piece as a round ornament, or cut the wreath shape out and back it with felt.
Wreath ornaments echo a front door wreath on a small scale, and they suit trees with greenery, pinecones, and wooden ornaments. Hang them on plain branches so the ring shape stays visible, and avoid crowding them with large baubles. A wreath ornament also works tied to a gift or hung on a door handle for a small seasonal touch.
10. Embroidered Cottage Ornaments
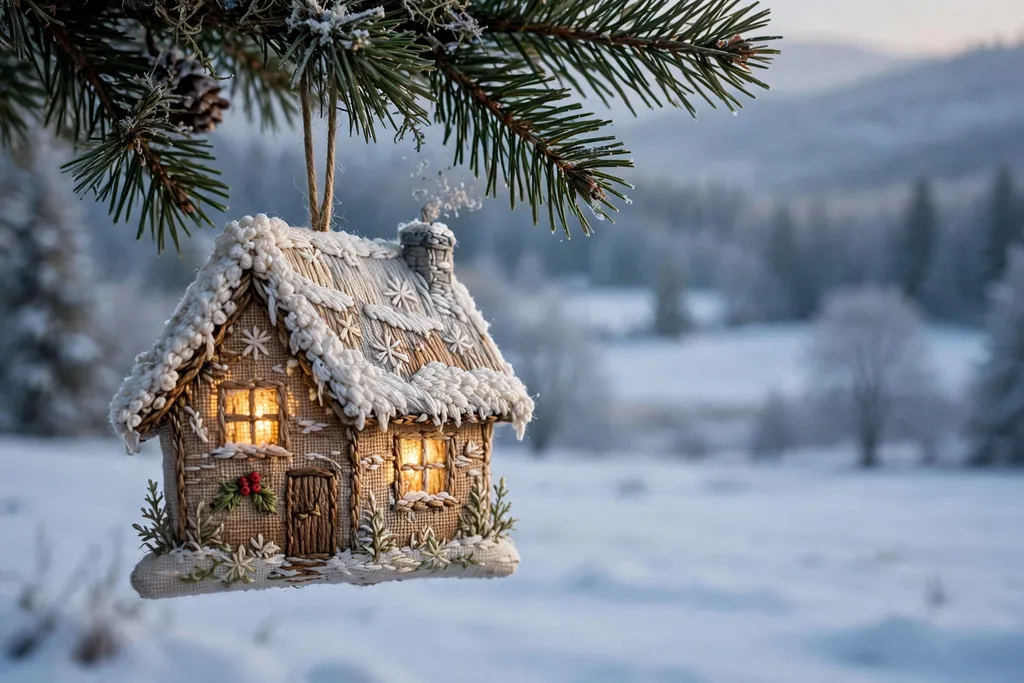
Stitch a small cottage with a pitched roof, a door, two windows, and a wisp of smoke in stem stitch, using warm colors for the house and white for snow on the roof. Add a tiny tree beside the house and a path of straight stitches to the door. Keep the cottage small and simple, since too much detail will blur at ornament size. Back it with felt and add a loop.
Cottage ornaments suit a village themed tree or a mantel display with small houses and bottle brush trees. Hang cottages together in one area of the tree to suggest a small street, or spread them out so each one can be noticed. These ornaments pair well with plain wooden houses and cream or gold baubles.
11. Embroidered Hearts with Names and Dates
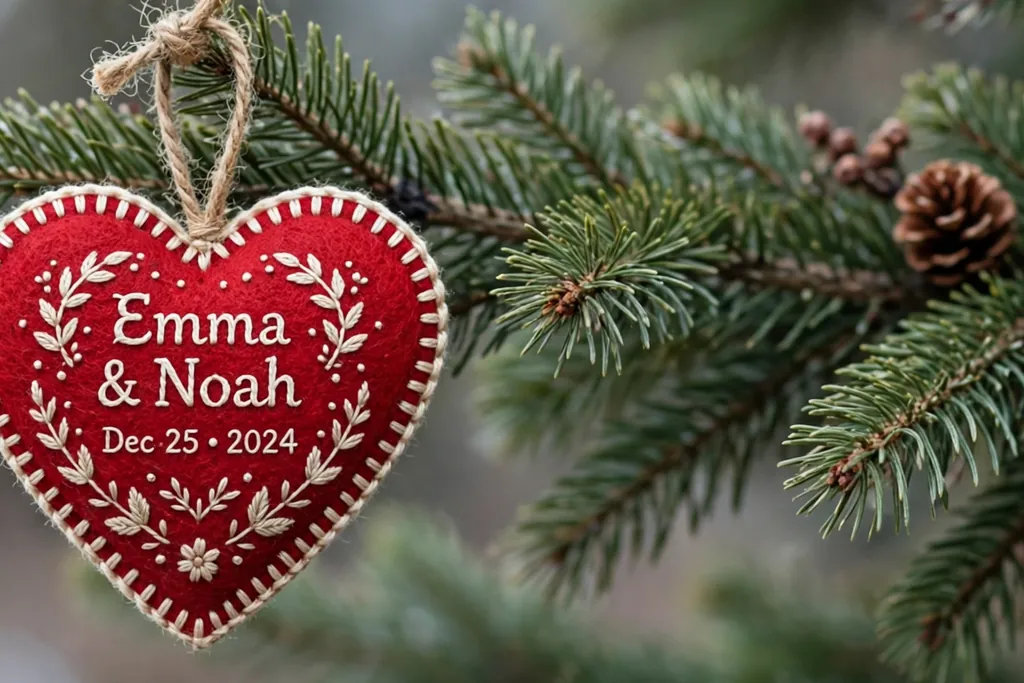
Stitch a heart outline in chain stitch or backstitch, fill it with a name, a date, or a short word such as joy or peace, and add a small motif such as a star or a sprig above the word. Use one thread color for the heart and a second color for the lettering so the name stays easy to read. Pad the heart lightly and back it with felt.
Name and date hearts make lasting keepsakes for weddings, first Christmases, and family milestones, and they are easy to spot on the tree each year. Keep lettering large and simple, since small script is hard to read on fabric. Store keepsake hearts in tissue so the stitching stays clean and the padding keeps its shape.
12. Embroidered Mitten Ornaments
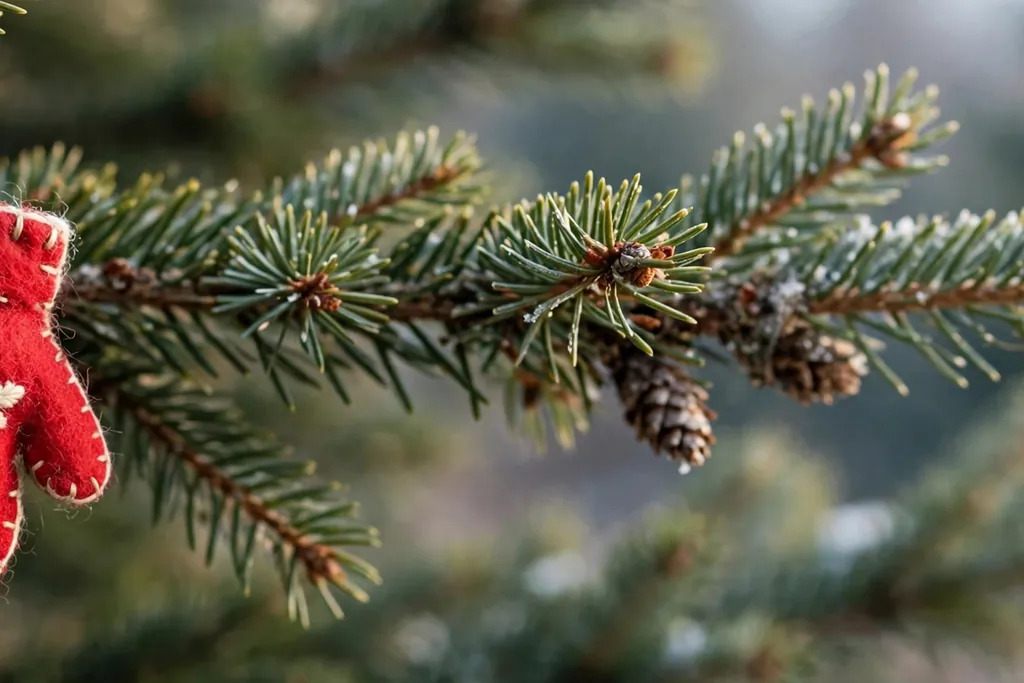
Cut a mitten shape from felt or sturdy fabric, stitch a snowflake, a tree, or a stripe pattern on the front, then join front and back with blanket stitch, leaving the cuff open or closed with a stitched band. Add a loop at the cuff so the mitten hangs with the fingers pointing down. Use red, green, cream, or blue felt with contrasting thread.
Mitten ornaments suit a cozy tree with knit stockings, wooden ornaments, and plaid ribbon. Make pairs in matching colors for a balanced look, or make single mittens in different colors for a playful set. Keep stuffing light so mittens stay flat, and check that the loop is stitched through both layers so it does not pull free.
13. Embroidered Woodland Mushroom Ornaments
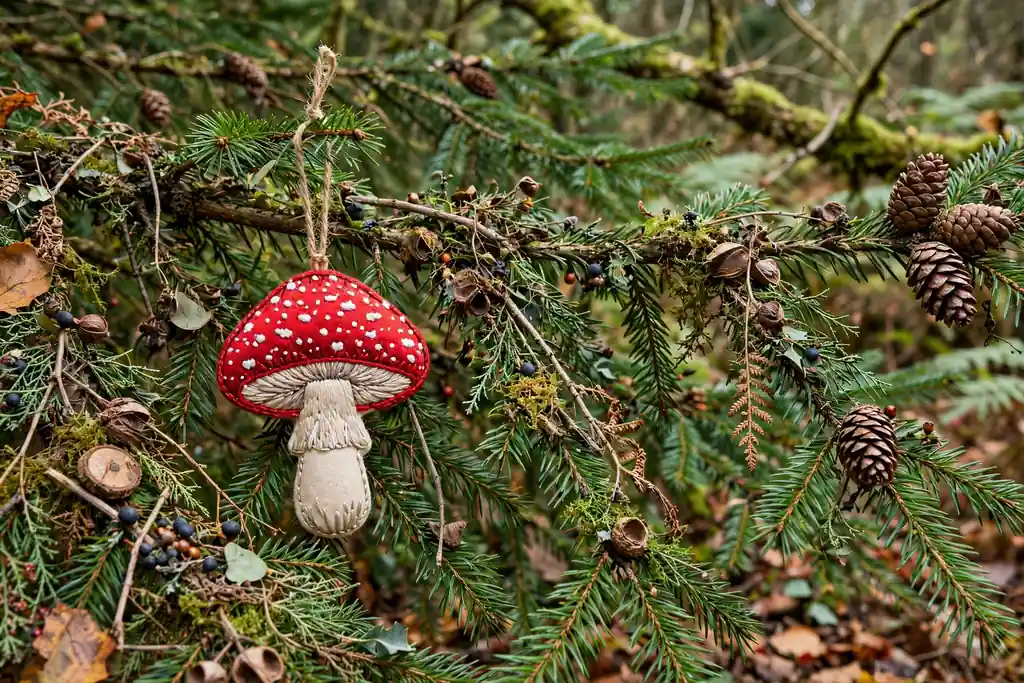
Stitch a mushroom with a red or rust cap in satin stitch, white dots in French knots, and a cream stem in stem stitch, then add a small leaf or fern beside it. Keep the mushroom shape simple and bold so it reads clearly on a tree. Finish the piece as a round ornament or cut it into a mushroom outline backed with felt.
Mushroom ornaments suit a woodland themed tree with pinecones, acorns, moss tones, and wooden ornaments. Hang them low enough to be seen up close, since their small details reward a closer look. A woodland set also works on branches in a vase on a side table, where the ornaments can be enjoyed without a full tree.
14. Embroidered Gingerbread Figures
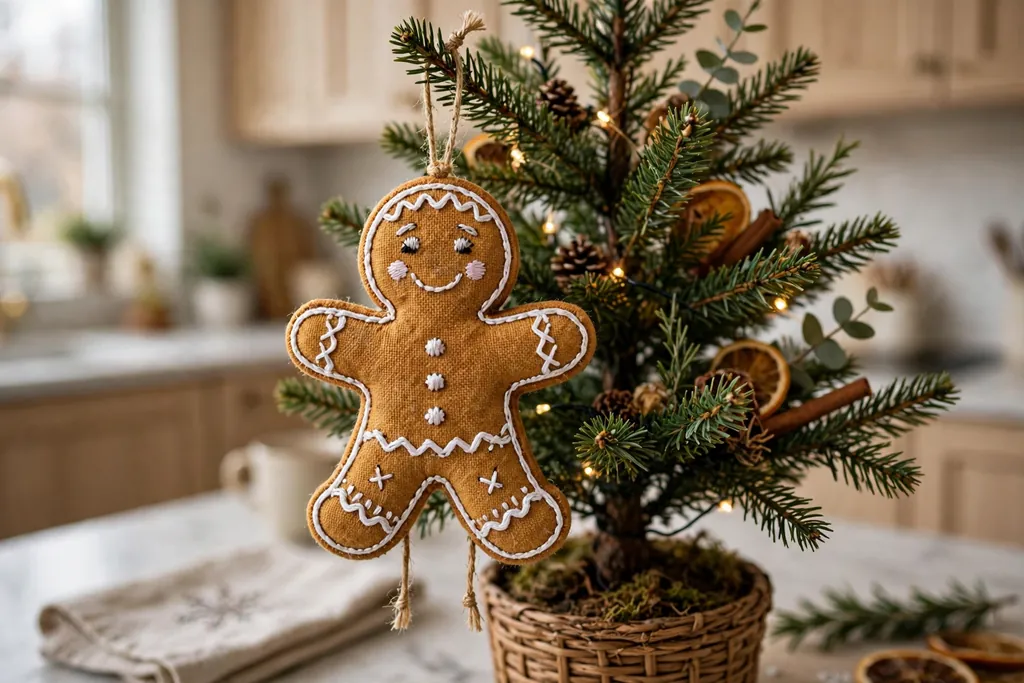
Stitch a gingerbread person shape in brown thread on cream fabric, or stitch the outline and details of a gingerbread figure onto felt, using white thread for icing lines, dots for buttons, and a small bow at the neck. Keep the figure simple, with a clear head, body, arms, and legs, and a smiling face in two tiny stitches. Back it with felt and add a loop.
Gingerbread ornaments suit a kitchen tree, a tree near the dining table, or a tree with cookie and candy themed decorations. They pair well with plain brown and cream baubles and with wooden cookie cutters hung as ornaments. These ornaments are also good gifts for bakers, since they echo holiday baking without using food.
15. Mini Embroidered Stocking Ornaments
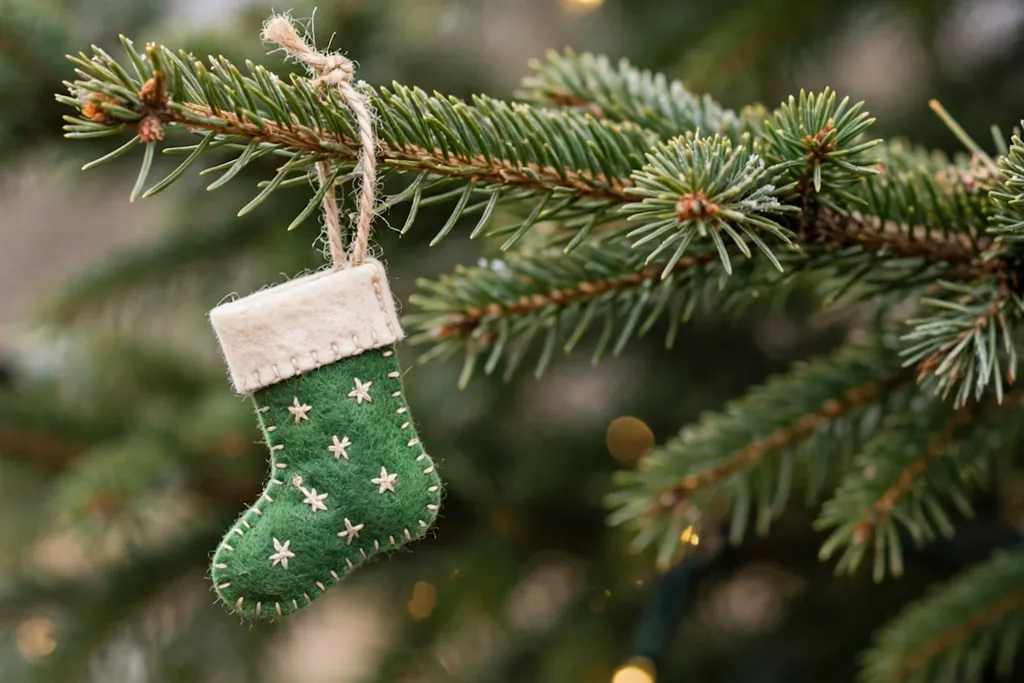
Cut a small stocking shape from felt or fabric, stitch a cuff band, a tree, a star, or an initial on the front, then join front and back with blanket stitch. Add a loop at the cuff for hanging, and keep the stocking small enough to hang on a branch without drooping. Use classic colors such as red, green, and cream, or one color per family member.
Mini stockings suit a tree with a mantel stocking theme, and they make sweet place markers when tied to a chair or a napkin at the Christmas table. Make one per person with an initial on the cuff for a personal touch. Keep the design on the front only, so the back stays flat against the branch or table setting.
16. Embroidered Snowman Ornaments
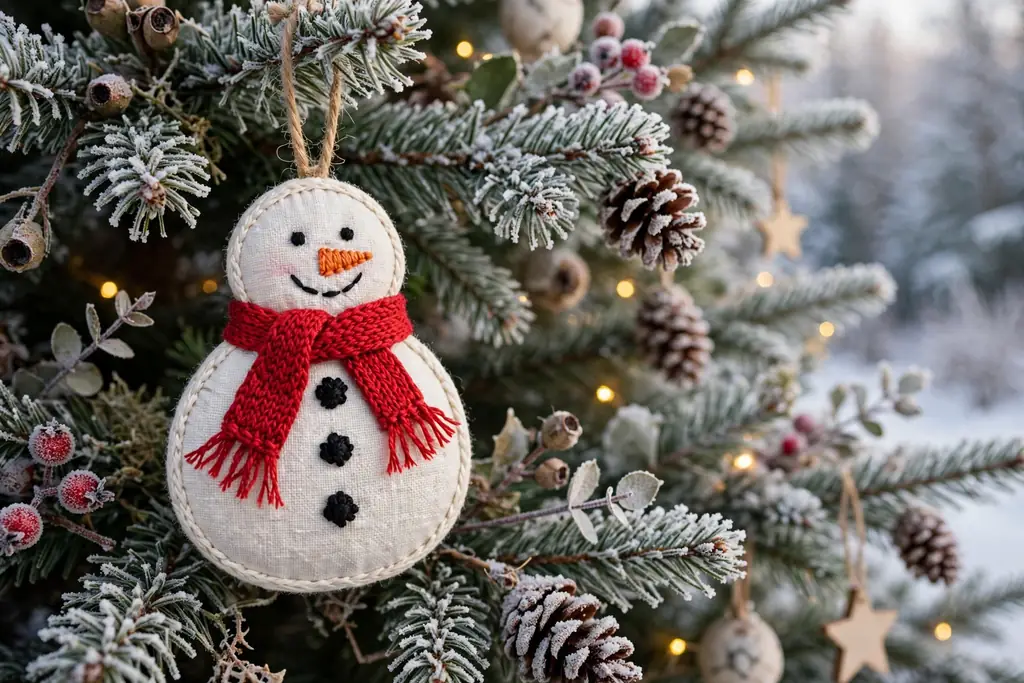
Stitch a snowman from three stacked circles in white thread on a blue or cream ground, using black French knots for eyes and buttons, orange thread for a carrot nose, and a scarf in red or green stem stitch. Add a small hat in black or brown thread and a few snow dots around the figure. Finish as a round ornament with felt backing.
Snowman ornaments suit a tree with a winter theme, white and blue baubles, and snowflake ornaments. Keep the snowman centered and the scarf simple so the figure stays clear at a small size. These ornaments work well for children to help choose colors for, and they hang well near the middle of the tree where they can be seen from across the room.
17. Embroidered Star Tree Topper

Stitch a large star in gold or cream thread on sturdy fabric or felt, using satin stitch for the points and French knots or small beads at the center for sparkle. Pad the star lightly, back it with felt, and add a cone or a loop at the back so it can sit on top of a small tree or hang as the largest ornament on a full tree. Keep the star size in proportion to the tree.
A star topper in embroidery gives a handmade finish to the whole tree, and it ties together the smaller embroidered ornaments below. Check the fit on the tree before finishing the back, since a topper that is too heavy will tilt. For a tall tree, use the star as a large hanging ornament instead, and top the tree with a plain star or angel.
Conclusion
Embroidered ornaments give a Christmas tree a handmade layer that glass and store bought ornaments cannot match, since each stitch shows time, care, and personal choice. Start with one simple design, finish it well, and add a few more each year so the collection grows with meaning. Choose colors and themes that suit your home, keep ornaments stored with care, and enjoy a tree that tells your own story each December.
Frequently Asked Questions
What fabric is best for embroidered ornaments?
Linen, cotton, and wool felt are good choices for embroidered ornaments, since they hold stitches well and keep their shape when backed. Linen suits detailed cross stitch and redwork, cotton suits printed or drawn patterns, and felt suits simple shapes that do not fray. Choose a fabric weight that is firm enough to hold its shape but light enough to hang on a branch.
What stitches should a beginner learn first for embroidered ornaments?
Backstitch, stem stitch, chain stitch, and French knots cover most simple ornament designs, so start with those four stitches. Backstitch gives clean outlines, stem stitch gives smooth curves, chain stitch gives bold lines and filling, and French knots give dots for berries, eyes, and snow. Practice each stitch on scrap fabric before starting an ornament.
How do you finish the back of an embroidered ornament?
Cut a felt circle or shape to match the front, stitch or glue it over the raw edges, and add a hanging loop caught between the front and back layers. A felt backing hides thread ends, keeps the ornament flat, and protects the stitching when the ornament is stored. Press the front lightly from the back before adding the backing.
How do you keep embroidered ornaments from fading or getting dusty?
Keep embroidered ornaments out of strong sunlight, brush dust off gently with a soft dry brush, and store them in tissue in a dry box between seasons. Avoid washing stitched ornaments unless the thread and fabric are known to be washable, since water can dull thread colors and distort padding. Spot clean only with a dry cloth when possible.
Can embroidered ornaments be washed?
Most embroidered ornaments should not be washed, since water, heat, and agitation can distort stitches, fade thread, and flatten padding. If an ornament must be cleaned, test a hidden spot first, use cool water only on washable cotton thread and fabric, and dry it flat away from heat. In most cases, gentle dry dusting and careful storage are safer.
How long does it take to make one embroidered ornament?
A simple embroidered ornament usually takes one to three hours, depending on the size of the design and the number of stitches. Small felt stars and snowflakes are often the quickest, while detailed birds, cottages, and angels take longer because they use more colors and stitches. Work in short sessions and keep the project in a hoop between sessions so the fabric stays taut.