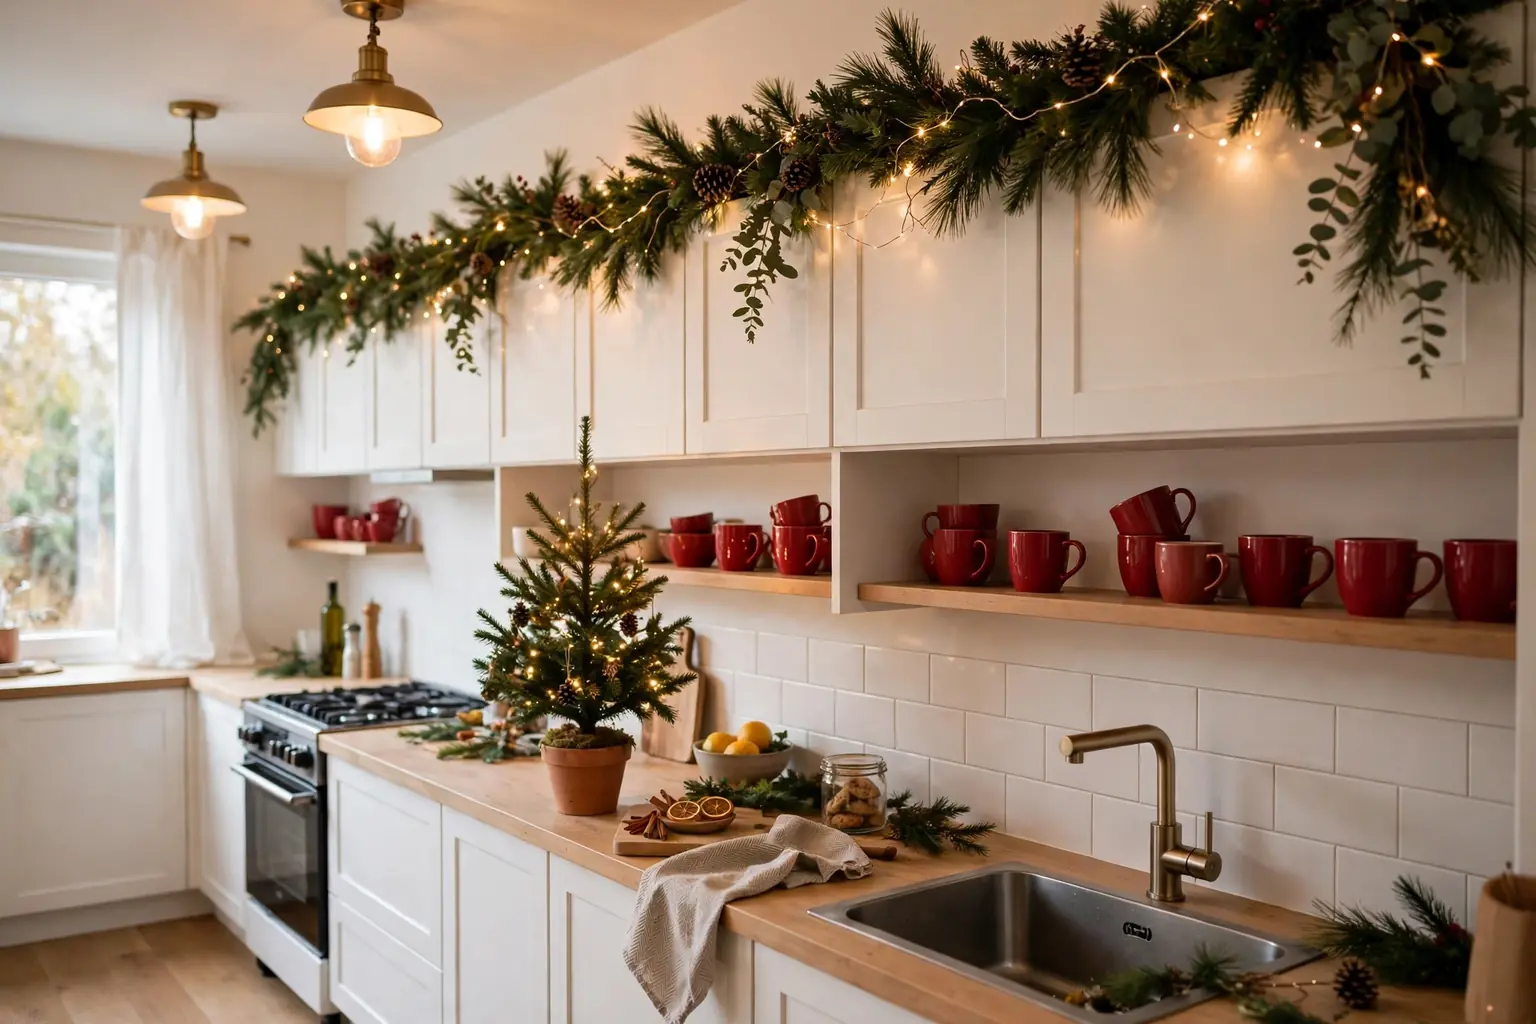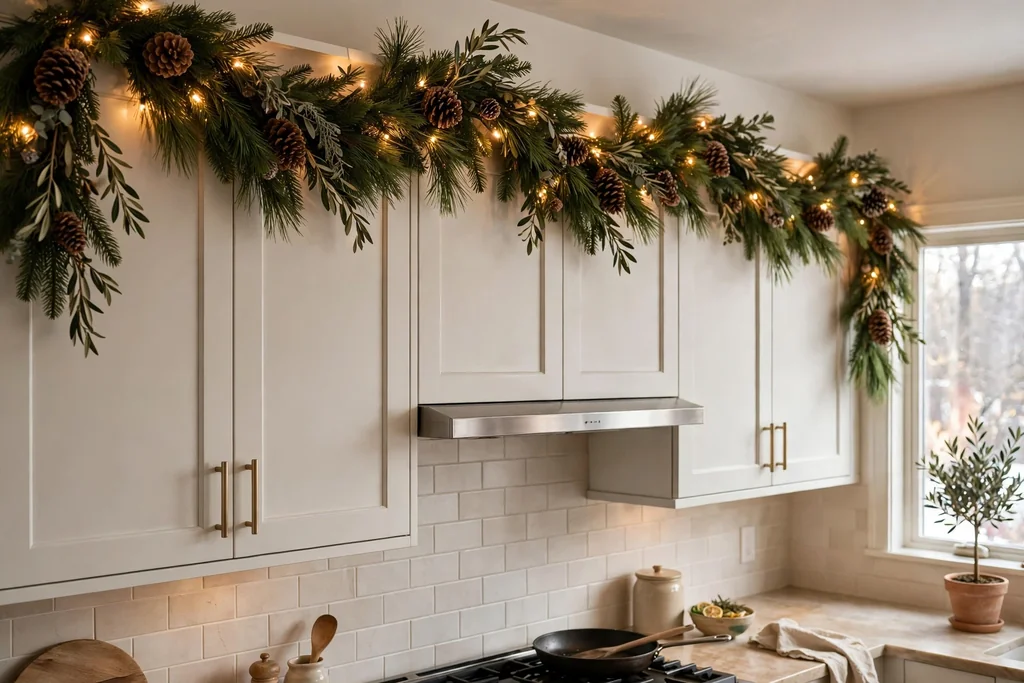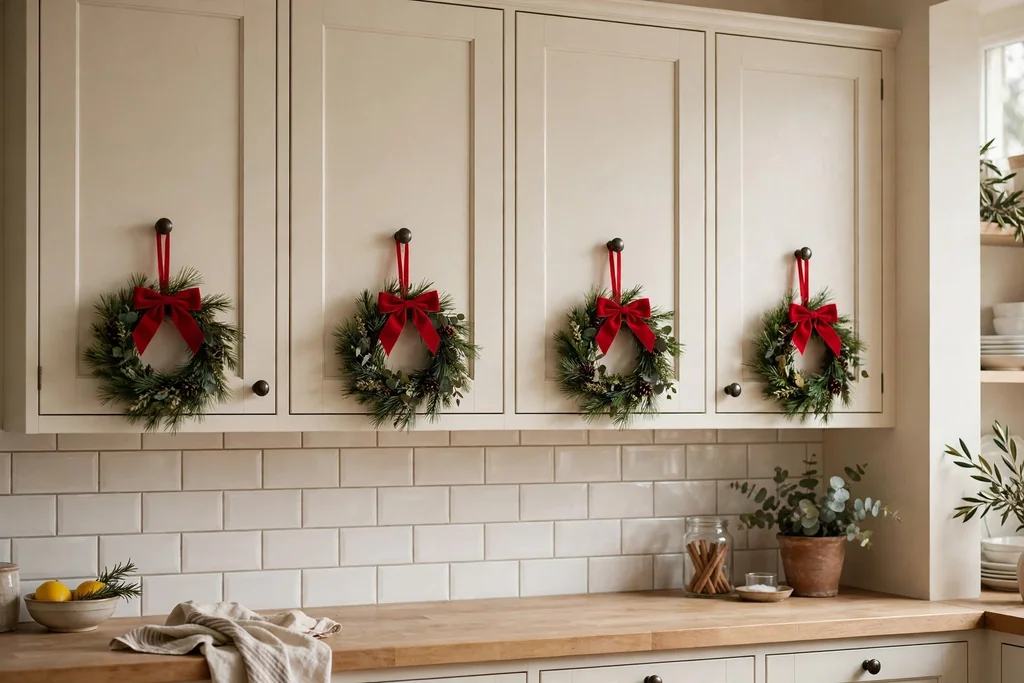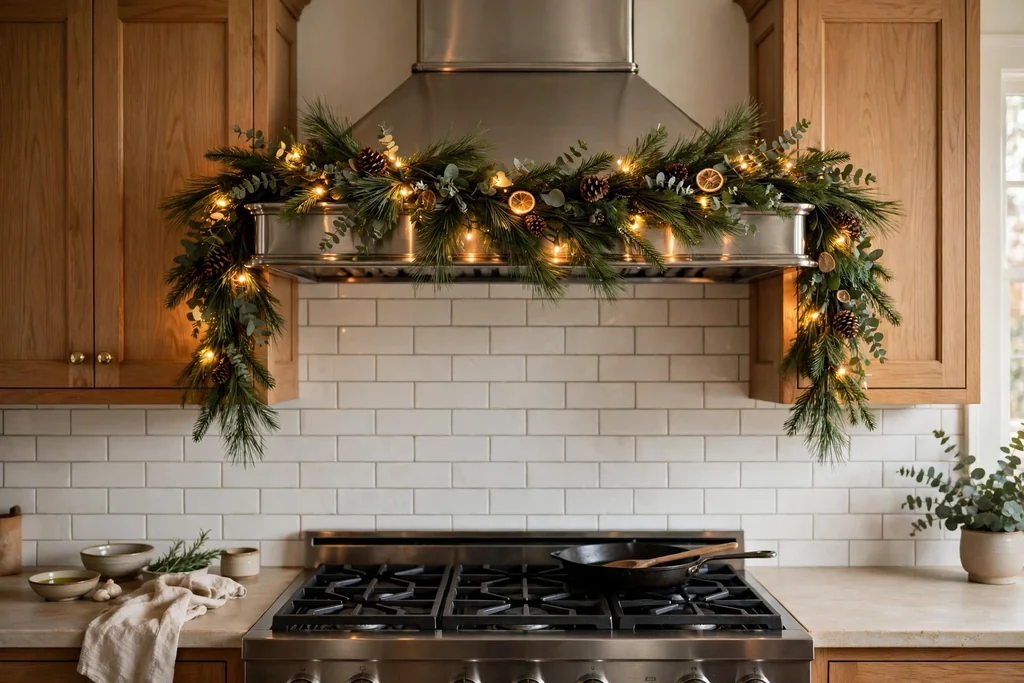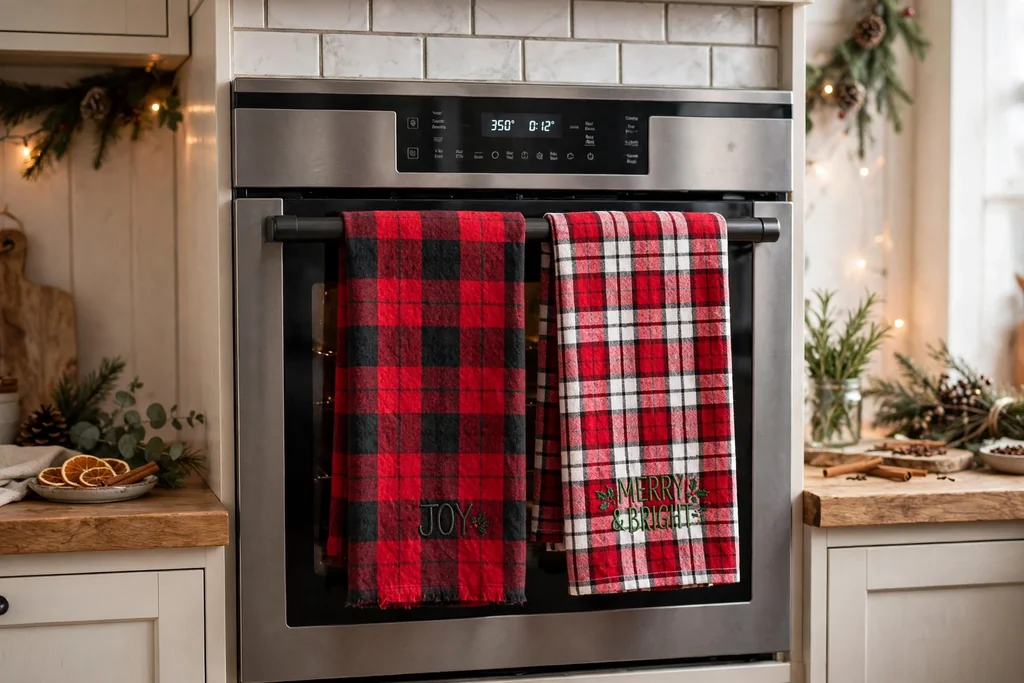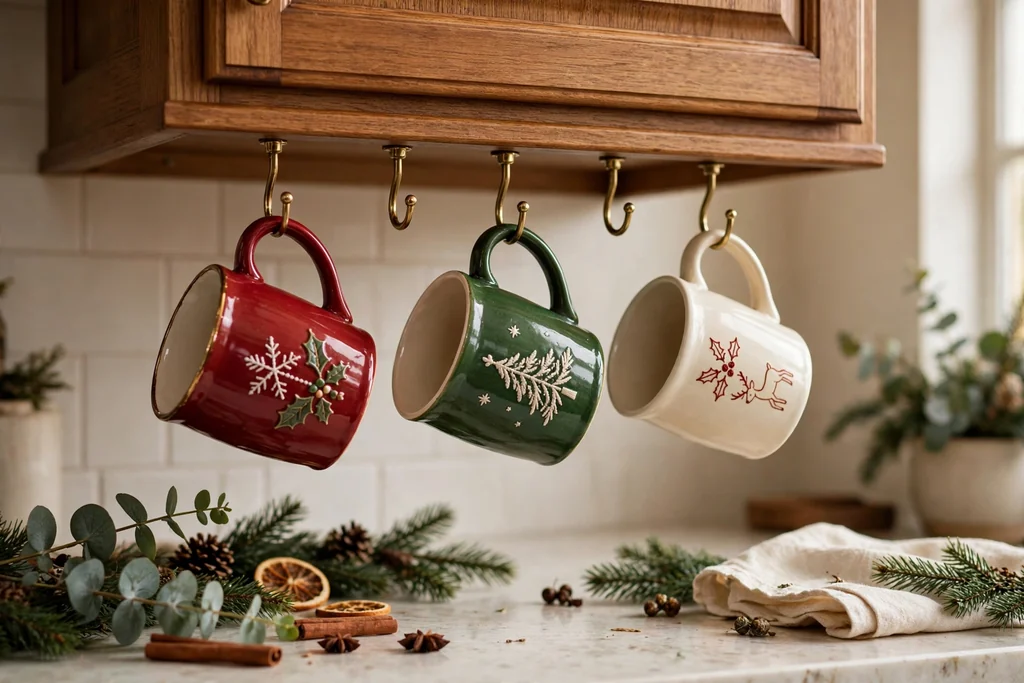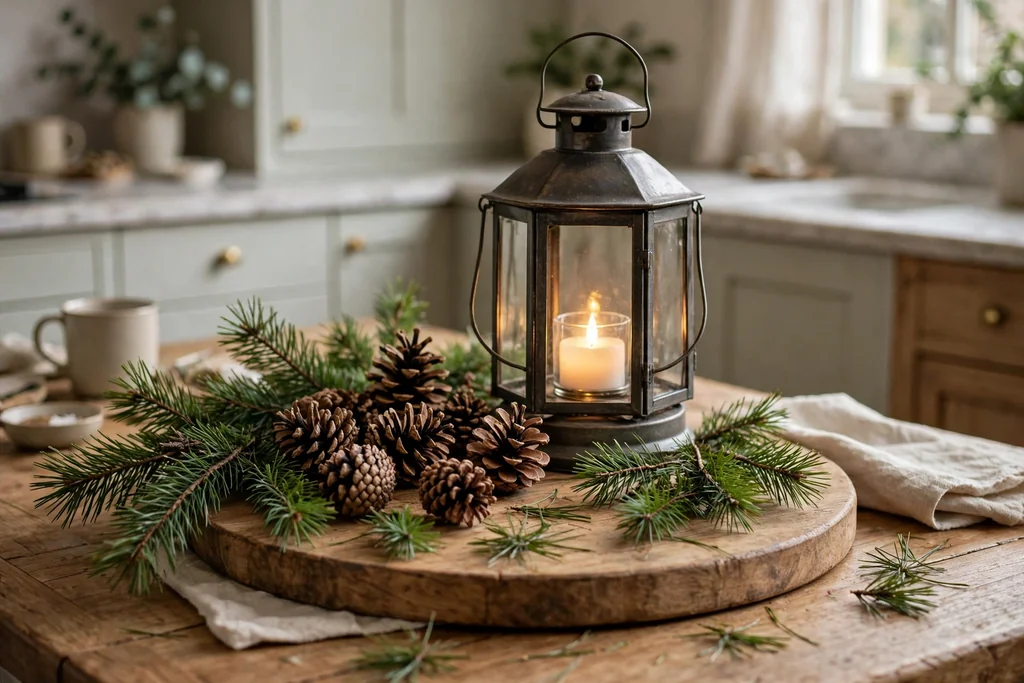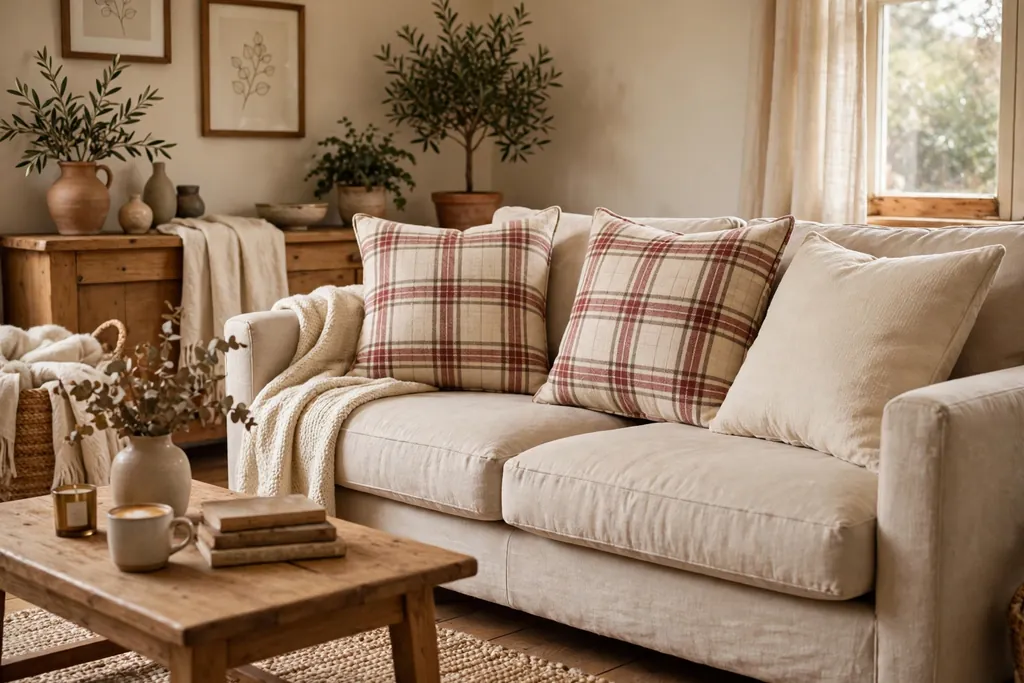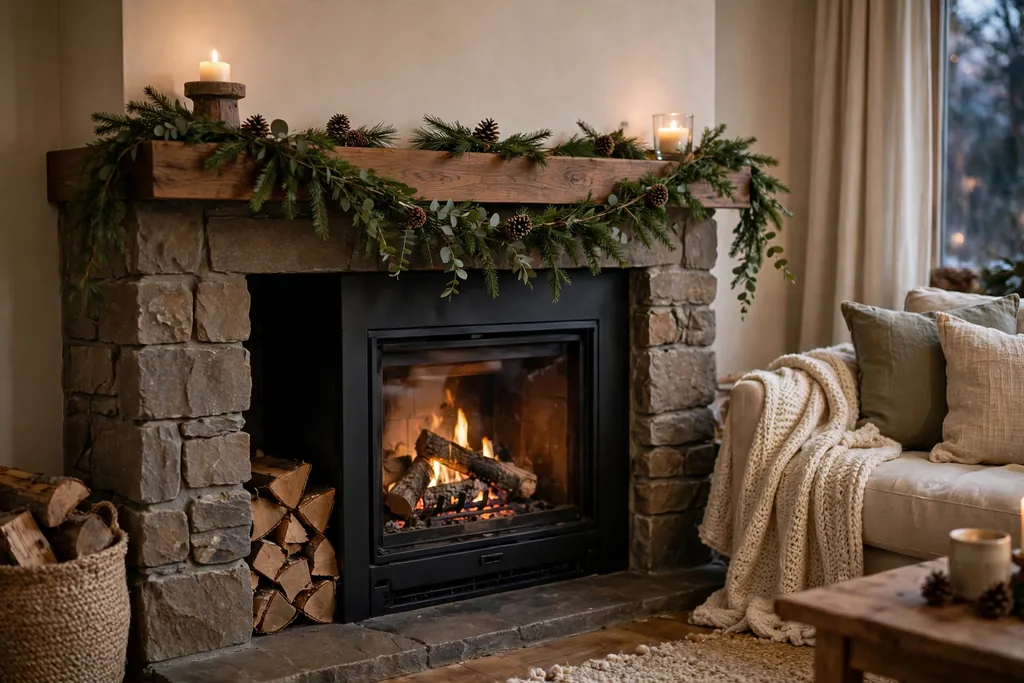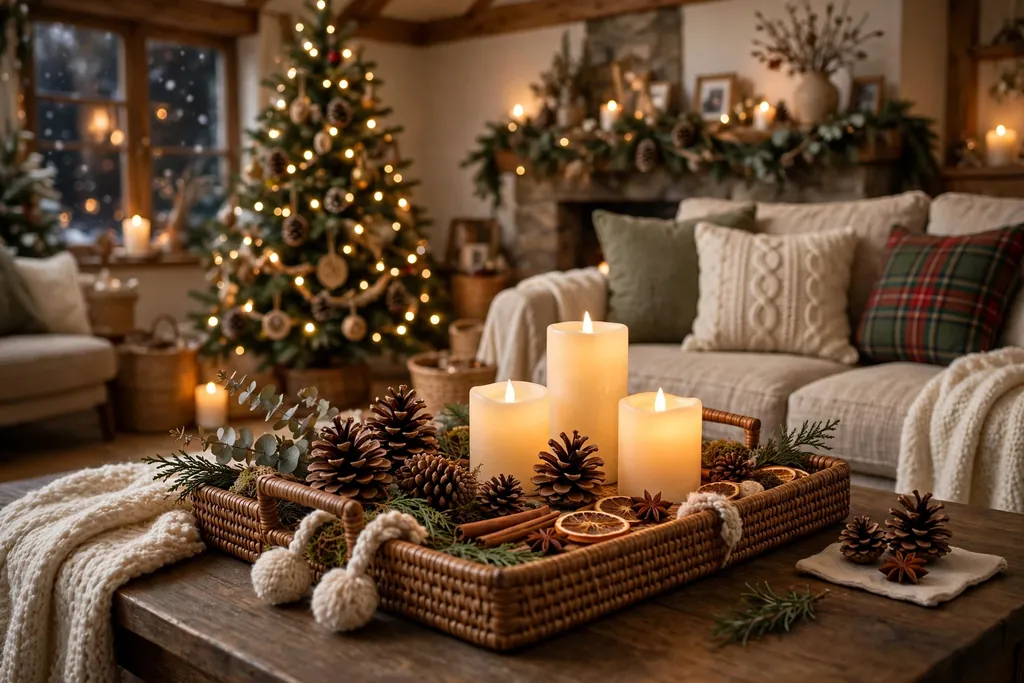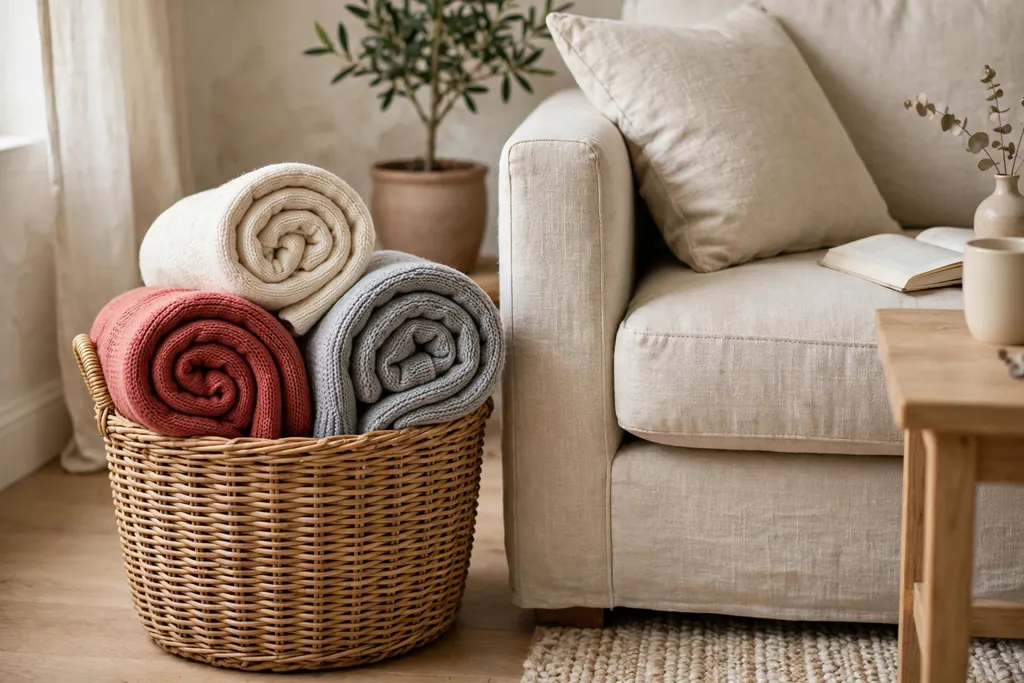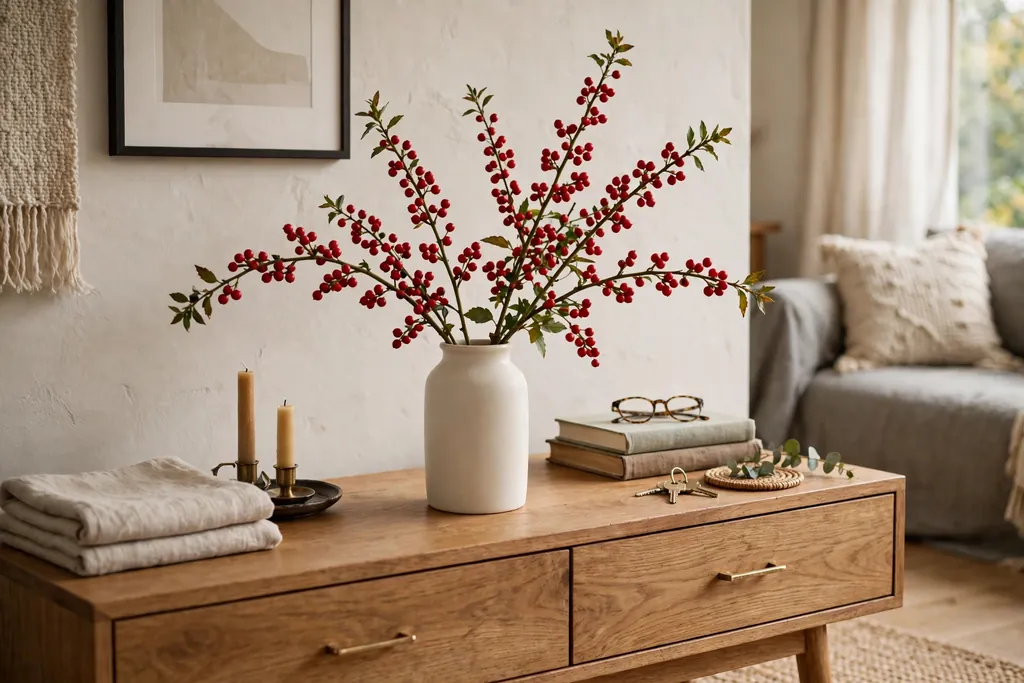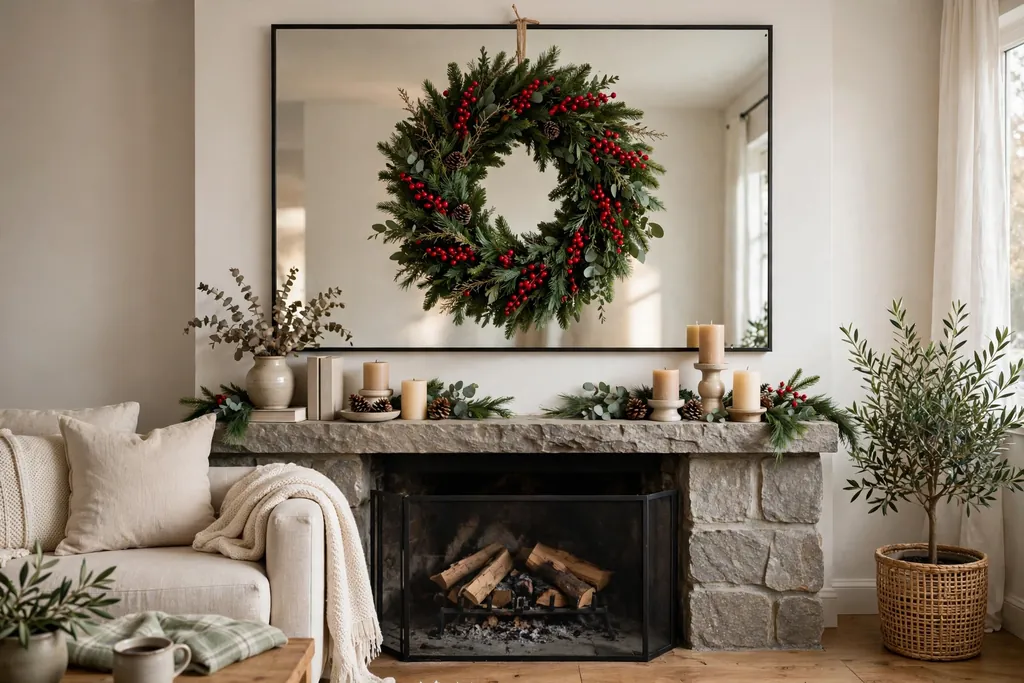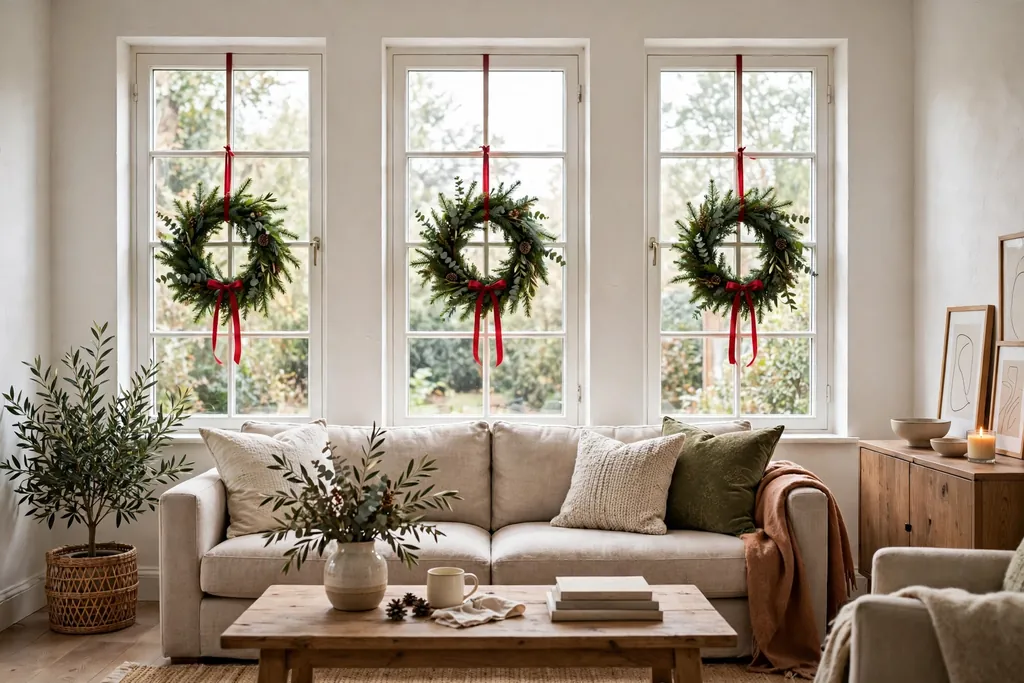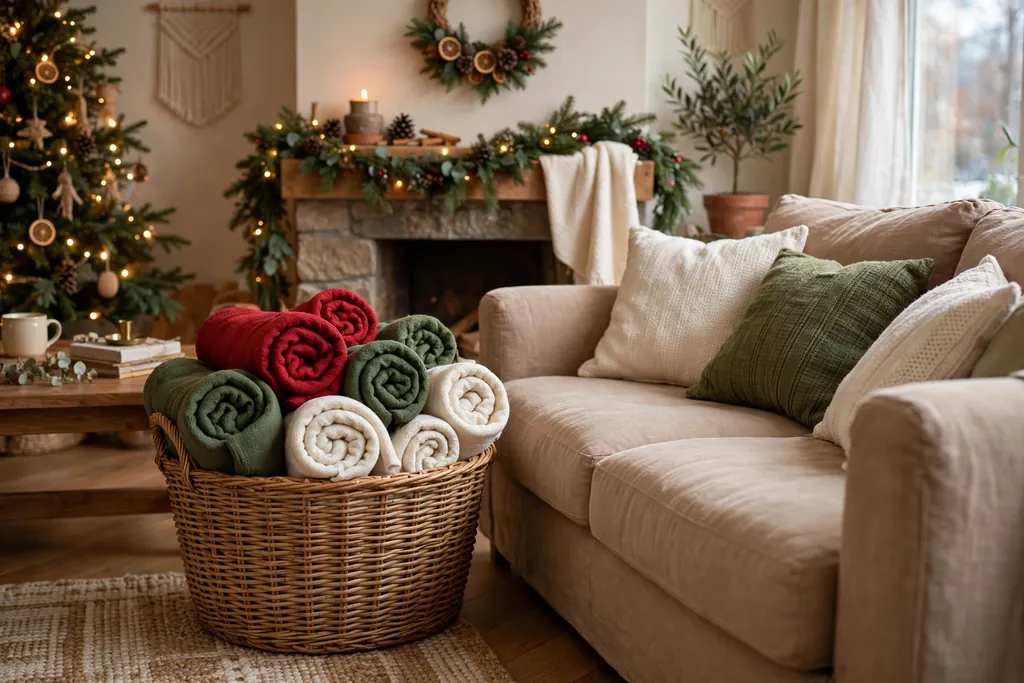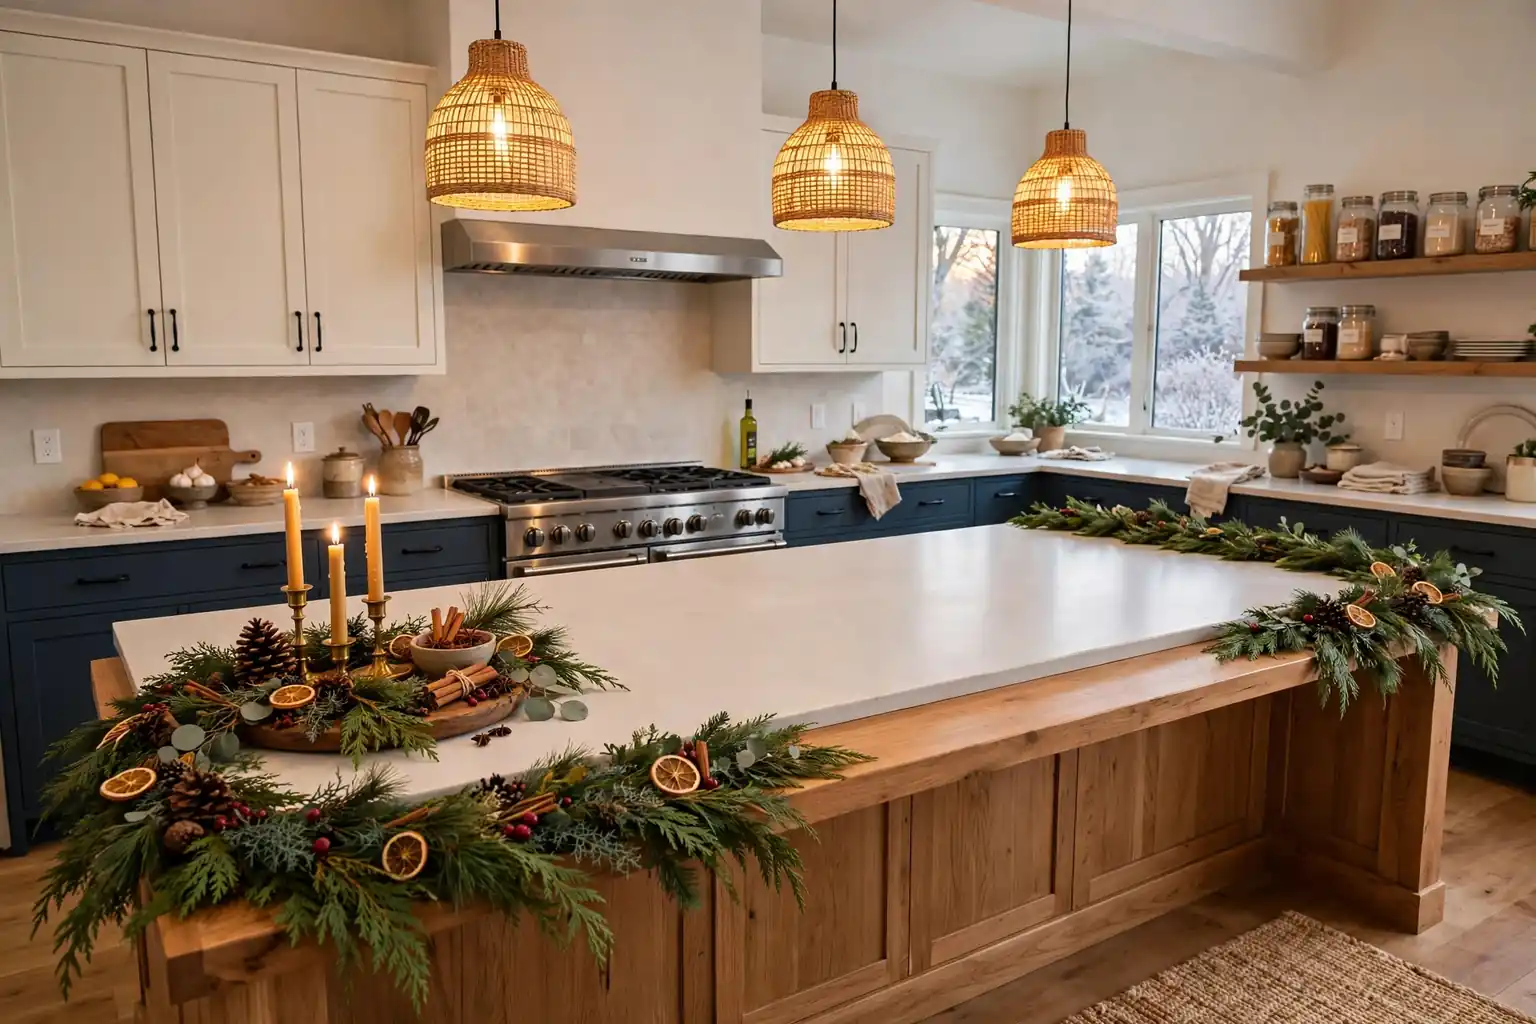
Kitchen island Christmas decor works best when it stays low, light, and easy to move, so cooking space stays open. Keep displays at the ends and back edge, use one lift-away tray, choose battery candles, and leave the middle clear for boards, bowls, and hot pans.
An island is a work surface first, so treat decor as a border, not a blanket. Put tall pieces at one end, flat pieces along the back edge, and nothing in the path between the stove, sink, and fridge. The same keep-it-clear rule runs through these fall kitchen decor ideas, and for a wider seasonal palette, see these vintage Christmas decor ideas.
Key Takeaways
- Keep the middle of the island clear for prep, and put decor at the ends, the back edge, or above the island.
- Use one lift-away tray so the whole display moves in one motion when you need space.
- Keep displays low, below eye level when standing, so people can see and talk across the island.
- Choose battery candles and keep all decor, fabric, and dried greenery away from burners and hot pans.
- Use a small palette, such as green, red, cream, and wood, repeated in two or three places only.
- Pick one tall piece and one low piece per island, rather than filling every inch.
1. A Low Cedar Garland Along the Back Edge
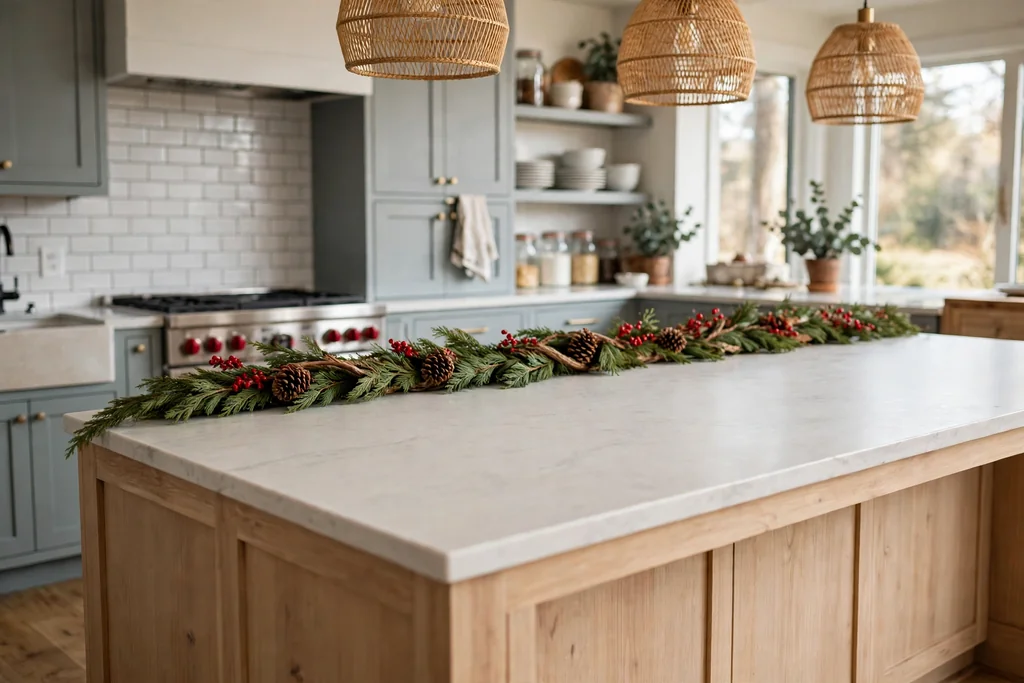
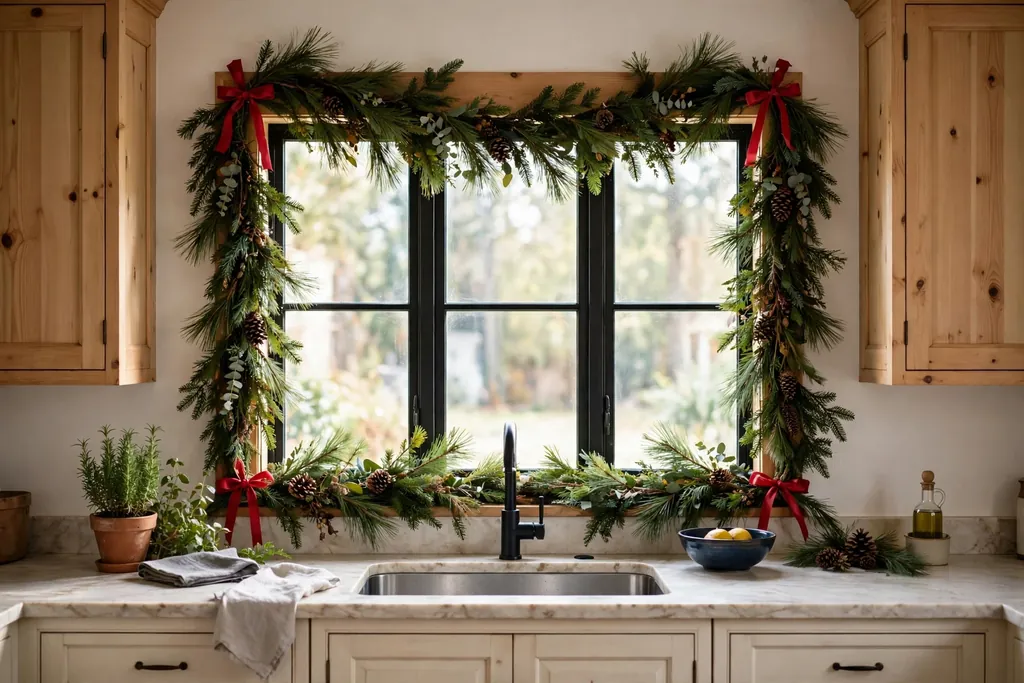
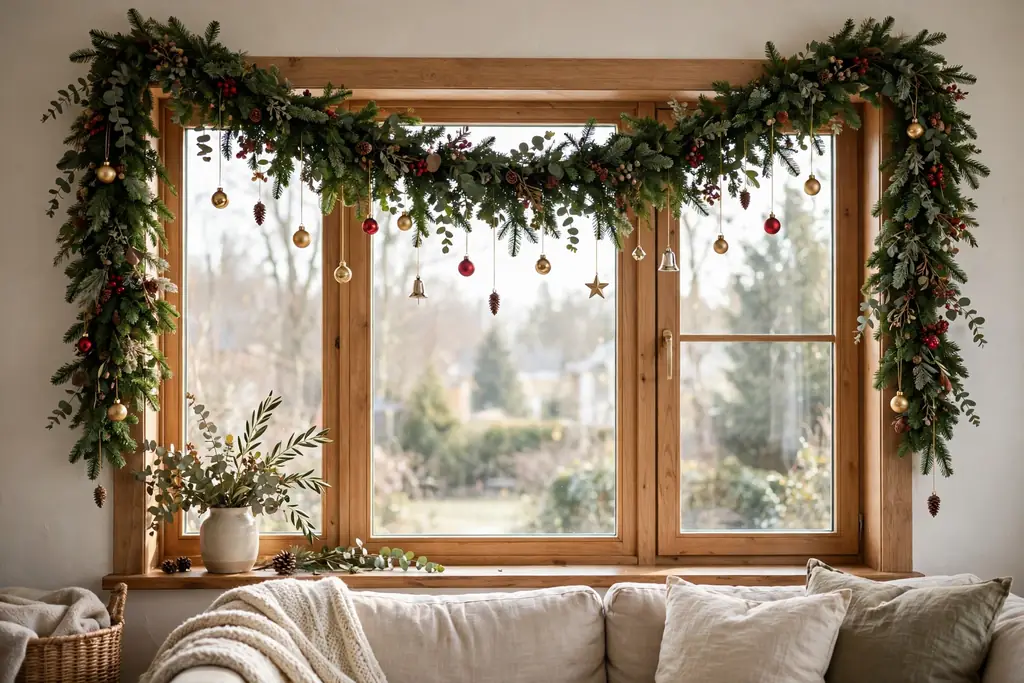
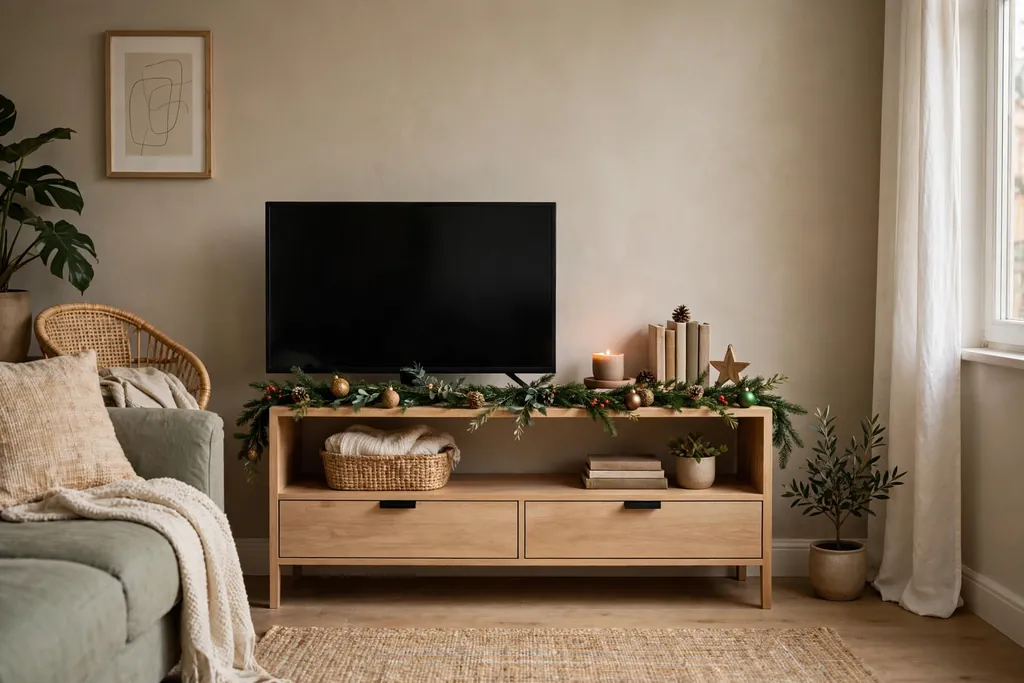
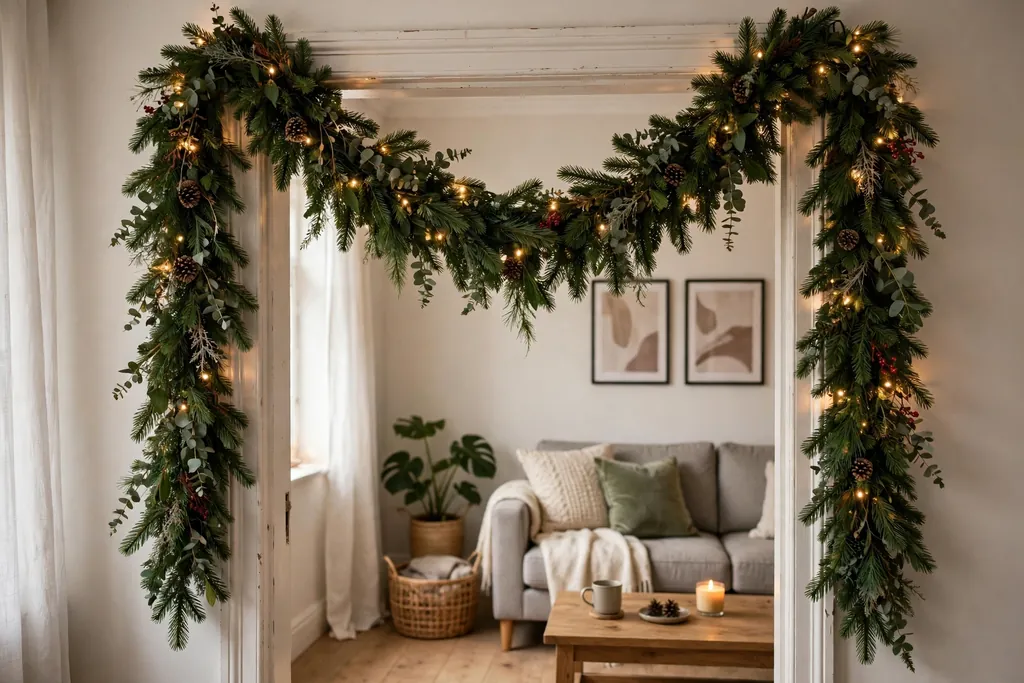
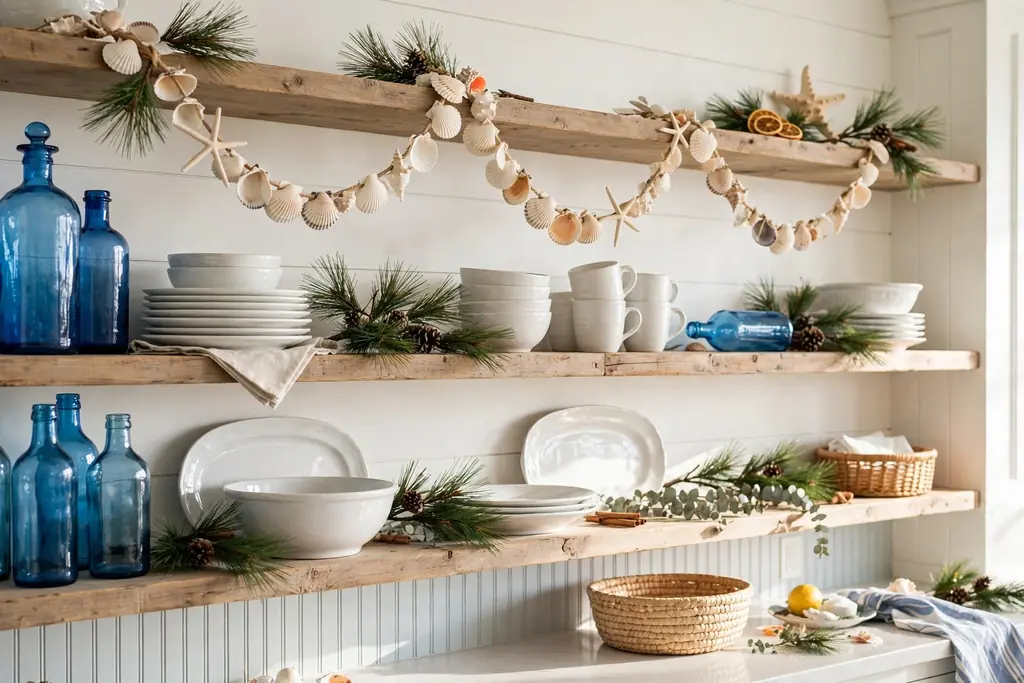
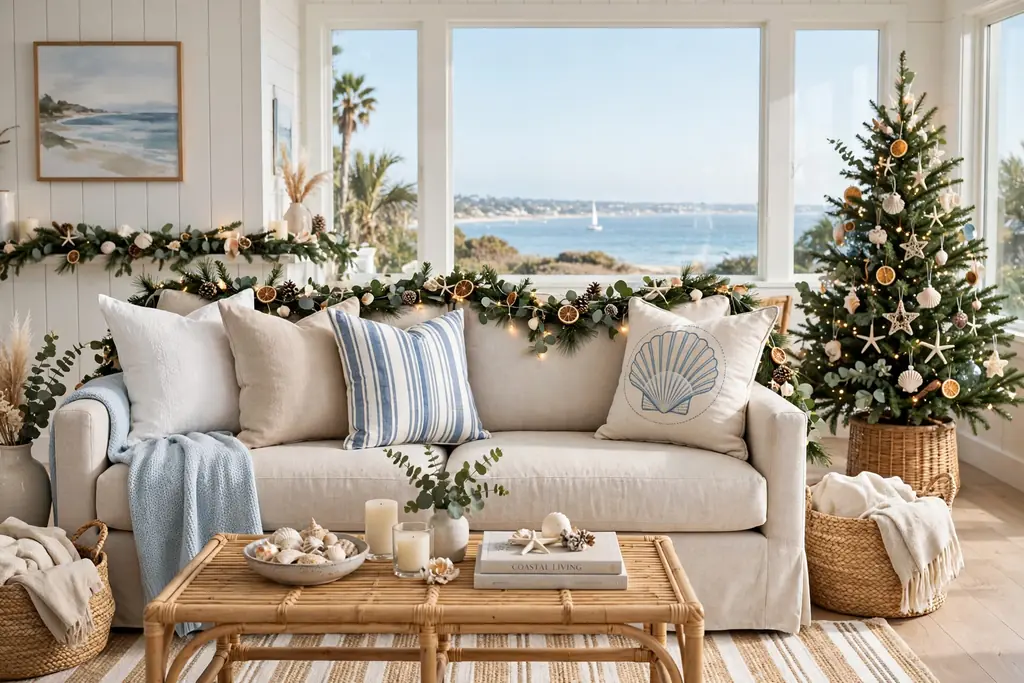
Lay a low cedar garland along the back edge of the island, where it frames the display without sitting in the prep zone. The flat garland adds green, scent, and a clear Christmas shape, and it stays below eye level, so it never blocks sight lines across the island. Tuck in a few pinecones or small red berries for color, and keep the garland to one layer deep.
Fix the garland with small removable clips or a strip of tape underneath, so it does not slide when you wipe the counter. Keep the garland clear of the stove end of the island and away from any burner or toaster. At the end of the season, shake the garland outdoors, then store it flat in a box so the branches keep their shape.
2. A Single Lift-Away Tray Vignette
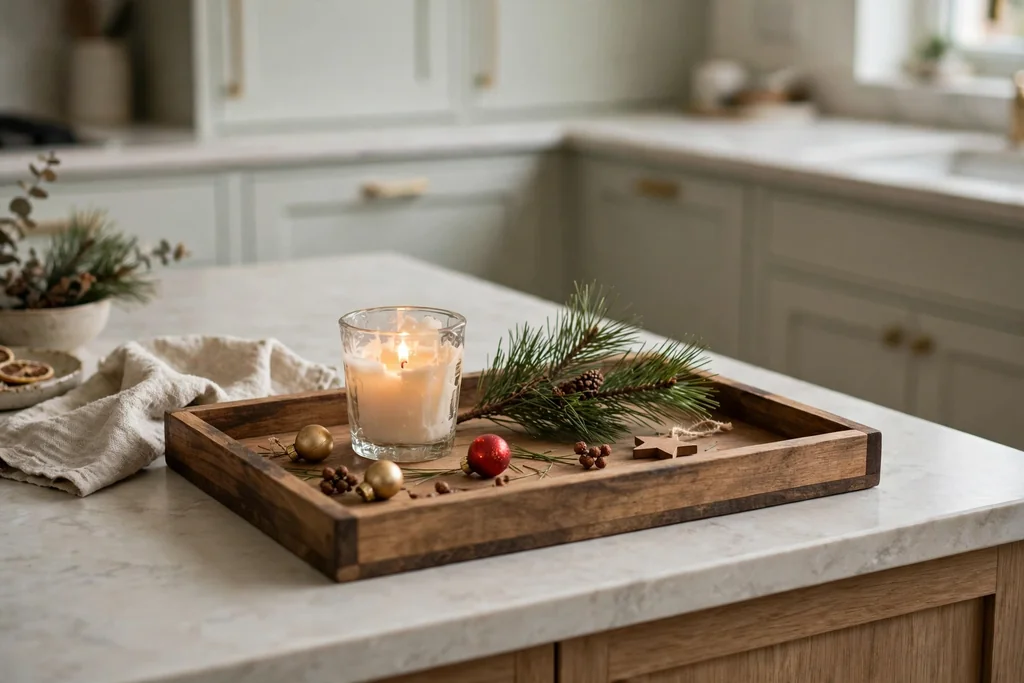
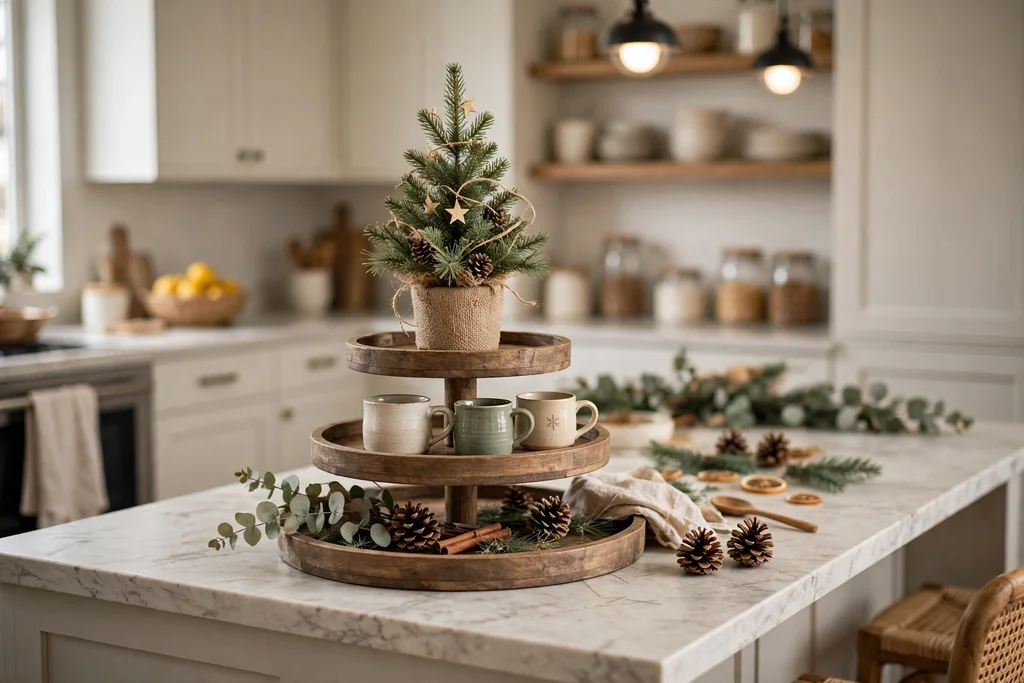
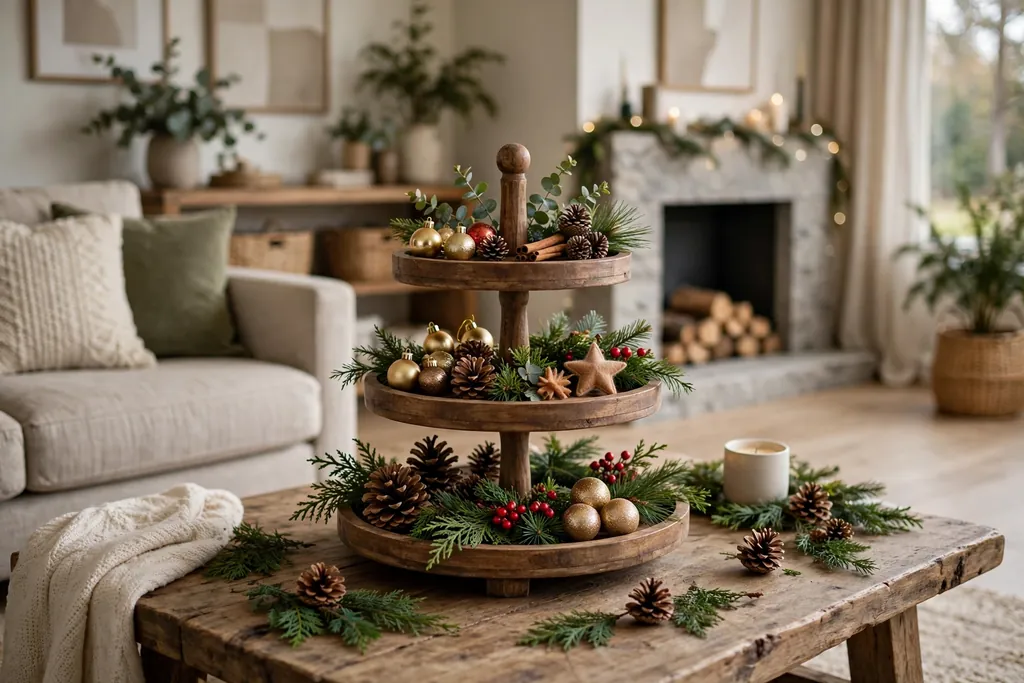
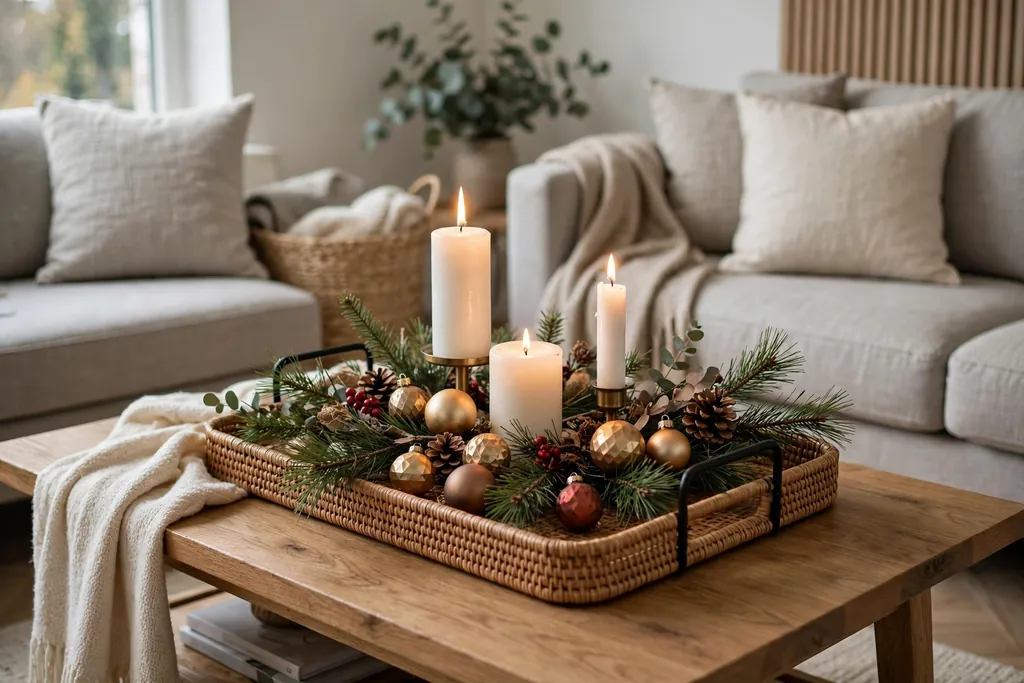
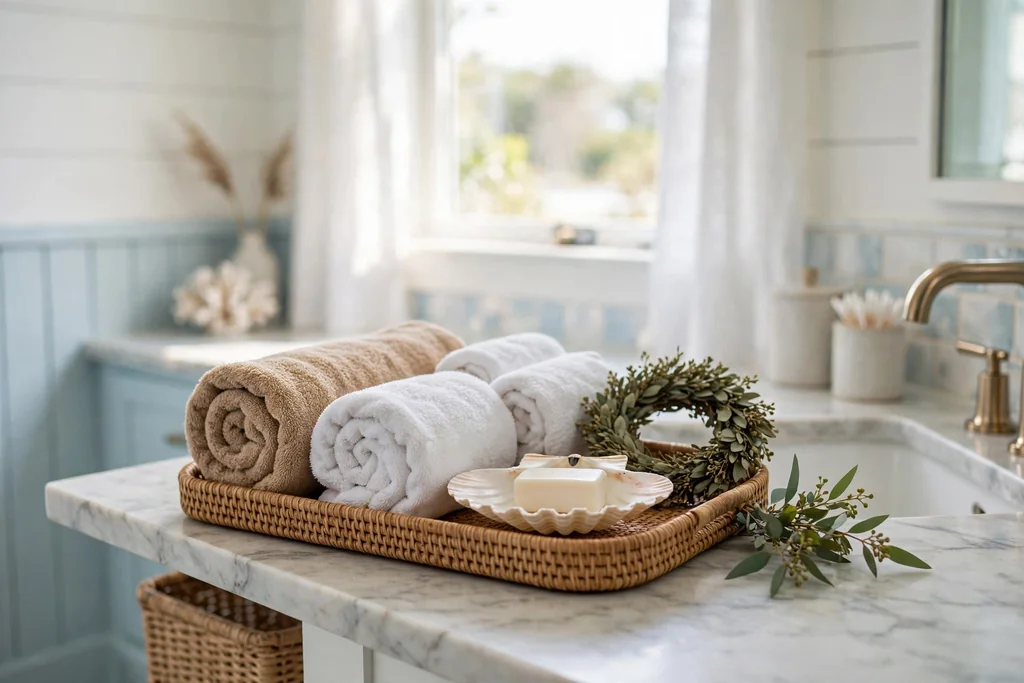
Set one wood or metal tray on the island, with a small candle holder, a pine sprig, and two or three small ornaments grouped inside it. The tray turns a scattered display into one unit, and when cooking starts, you lift the whole tray to a side counter or shelf in one motion. Choose a tray that fits with room to spare on all sides, so it never crowds the board or mixing bowl beside it.
Keep the tray contents low and stable, with heavier pieces at the center and nothing that rolls. Wipe the tray before setting it down, and use a felt pad underneath if the island top marks easily. If the tray starts to collect extra items during the week, clear it back to the original three or four pieces, so it stays easy to lift.
3. A Small Potted Pine at the Far End
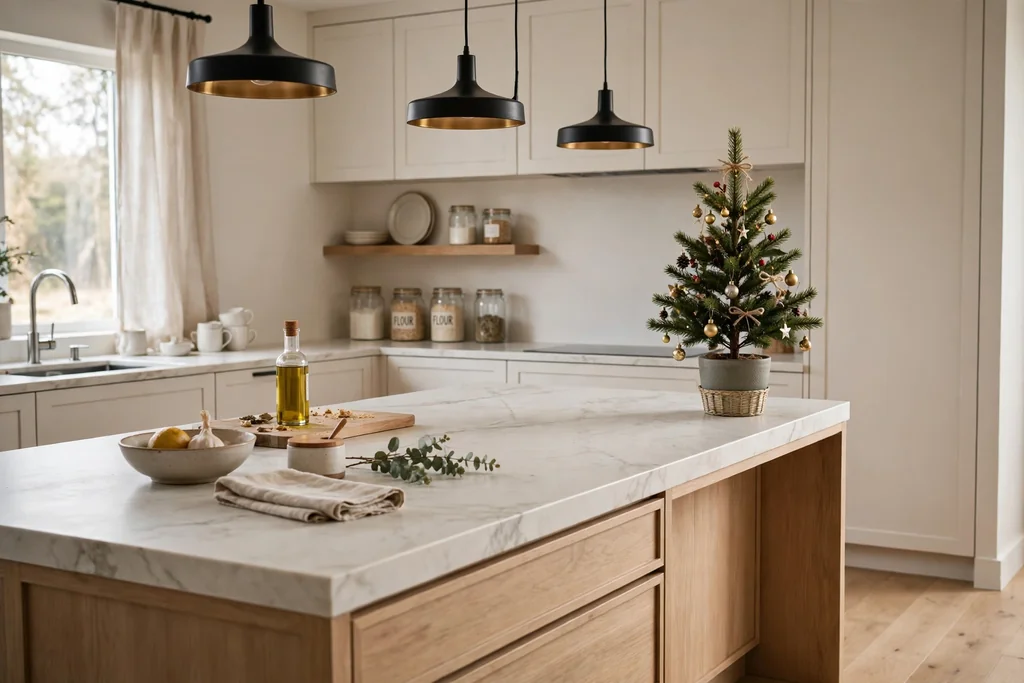
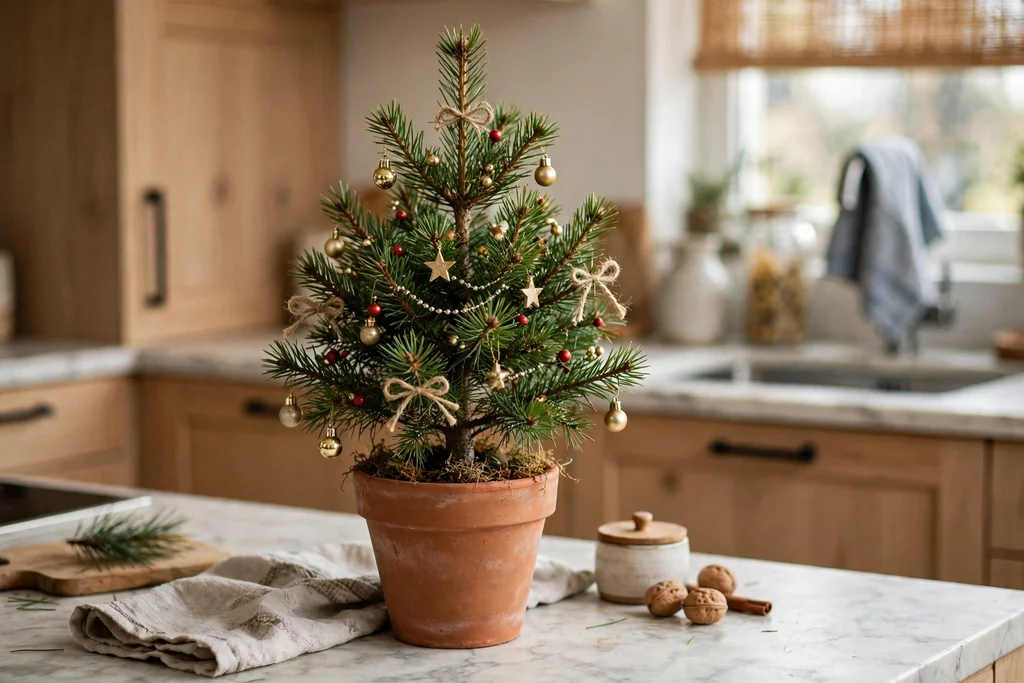
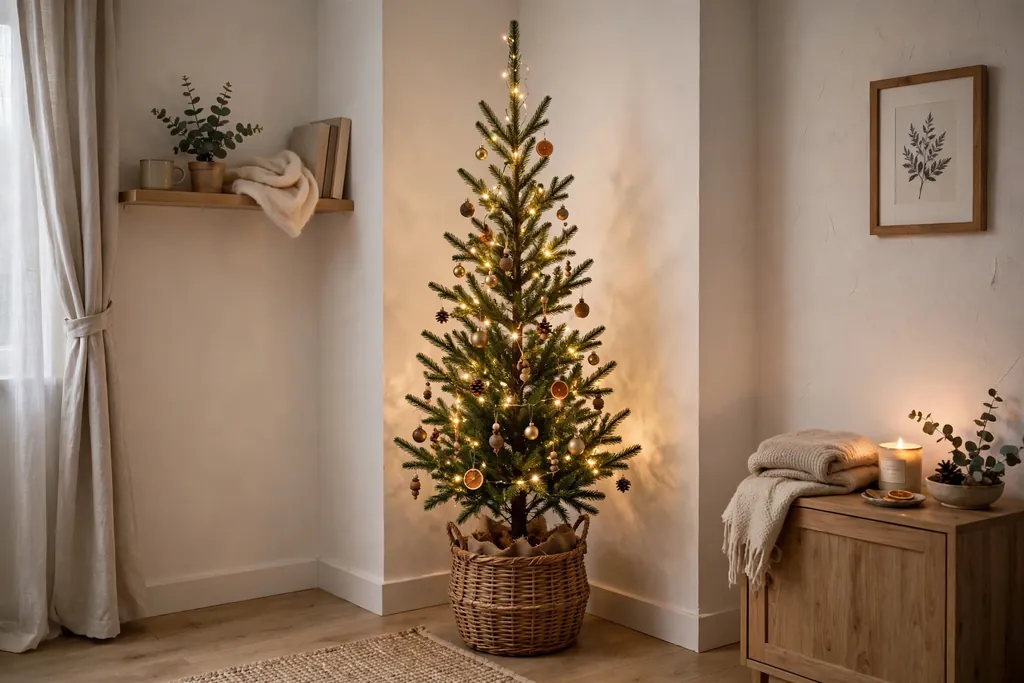
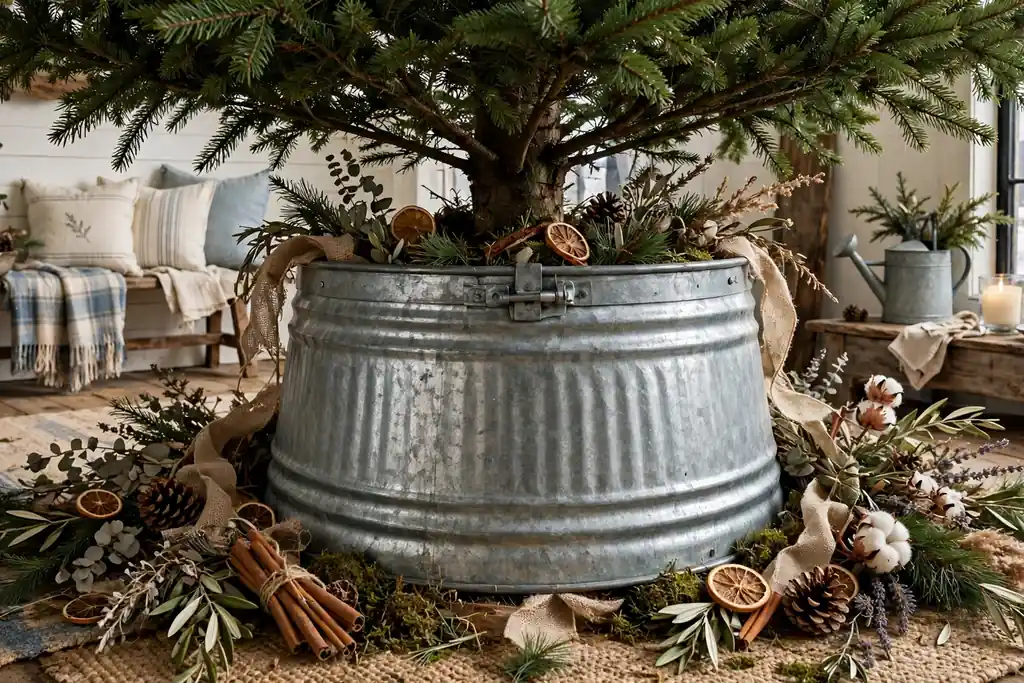
Place a small potted pine at the far end of the island, away from the main prep area, where it acts as a living Christmas tree in miniature. The pot gives the display weight and a finished look, and the tree adds height at a spot where height does not block work. Choose a pot in terracotta, cream ceramic, or galvanized metal to match the kitchen, and add a few tiny ornaments or a short string of battery lights.
Water the pine sparingly, following the care note that comes with the plant, and set a saucer under the pot to protect the counter. Keep the tree clear of the stove and of any spot where a pan handle could knock it. After the season, move the pine to a bright windowsill or plant it outdoors if the variety and local weather allow.
4. Battery Candles in Glass Hurricanes
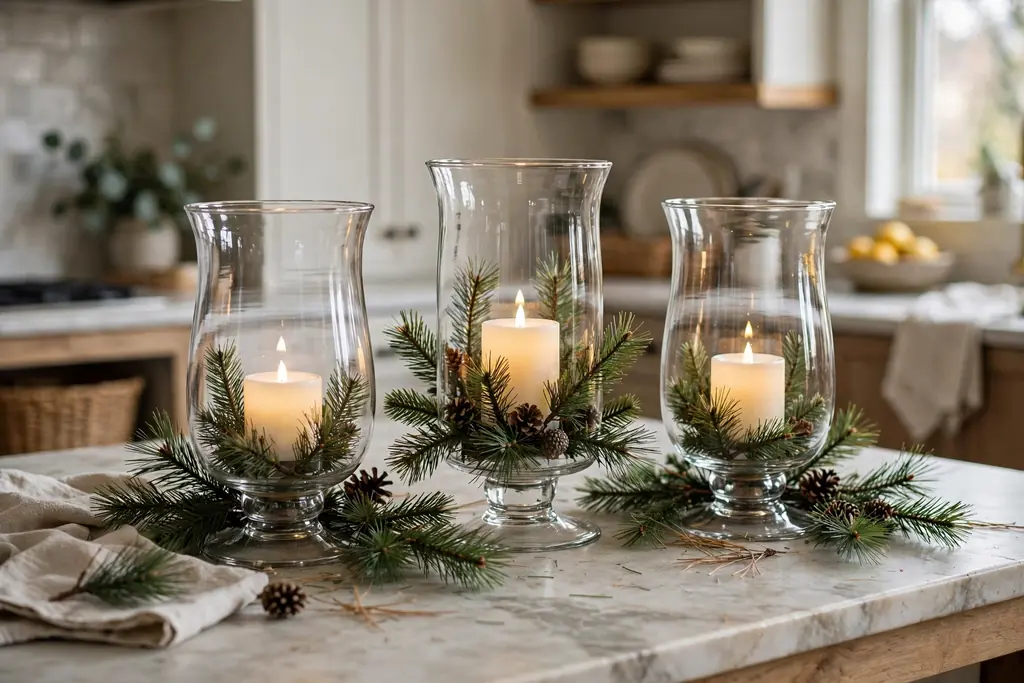
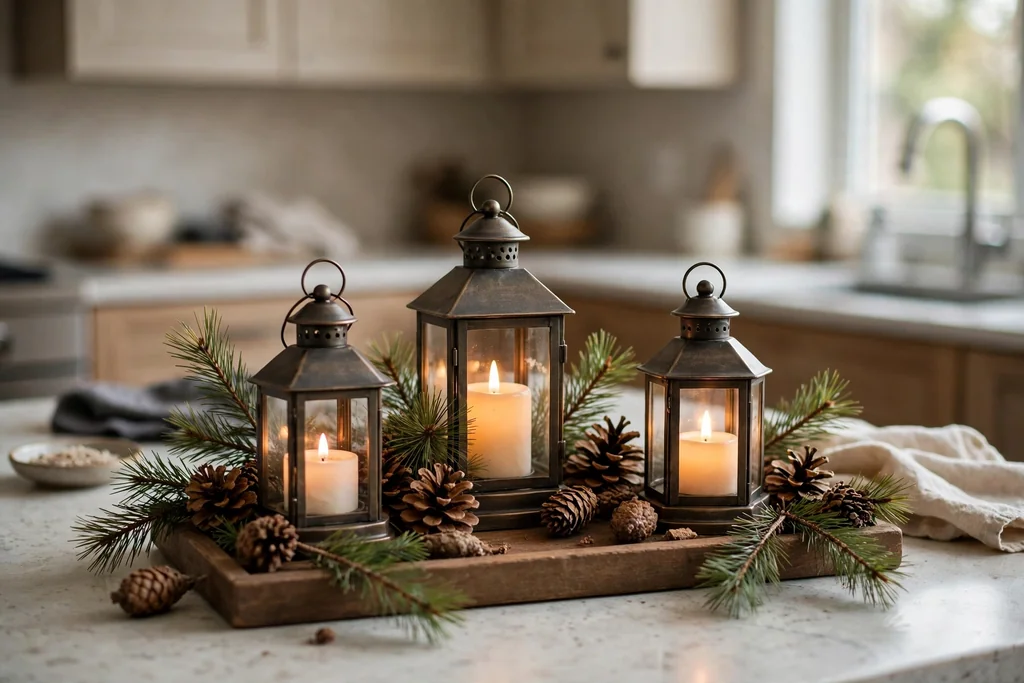
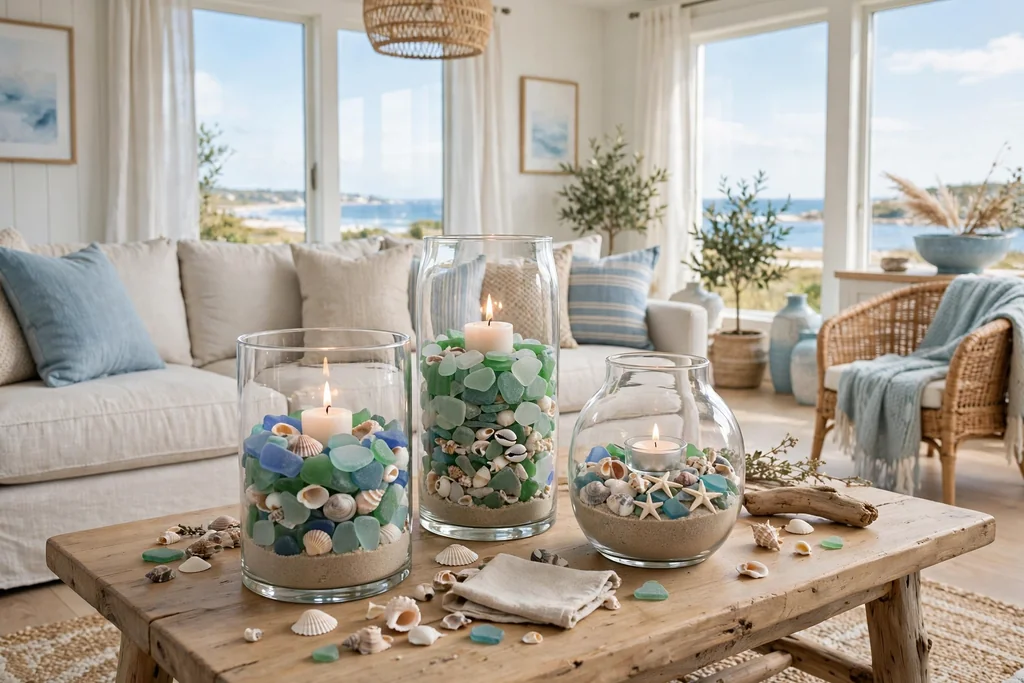
Group two or three battery candles inside glass hurricane holders on the island, with a short pine sprig or a few berries at the base of each holder. The glass gives a warm glow and a finished look, while battery candles remove the open flame risk near towels, paper, and dried greenery. Use candles of different heights for a layered look, and keep the group at one end or along the back edge.
Turn the candles on with a timer or remote in the evening, and switch them off when the kitchen is empty. Wipe the glass before the season, and check batteries at the start of December so the set does not fade mid month. Keep real candles off the island work surface, and save them for a table or mantel away from cooking.
5. A Plaid Runner on the Seating Side Only
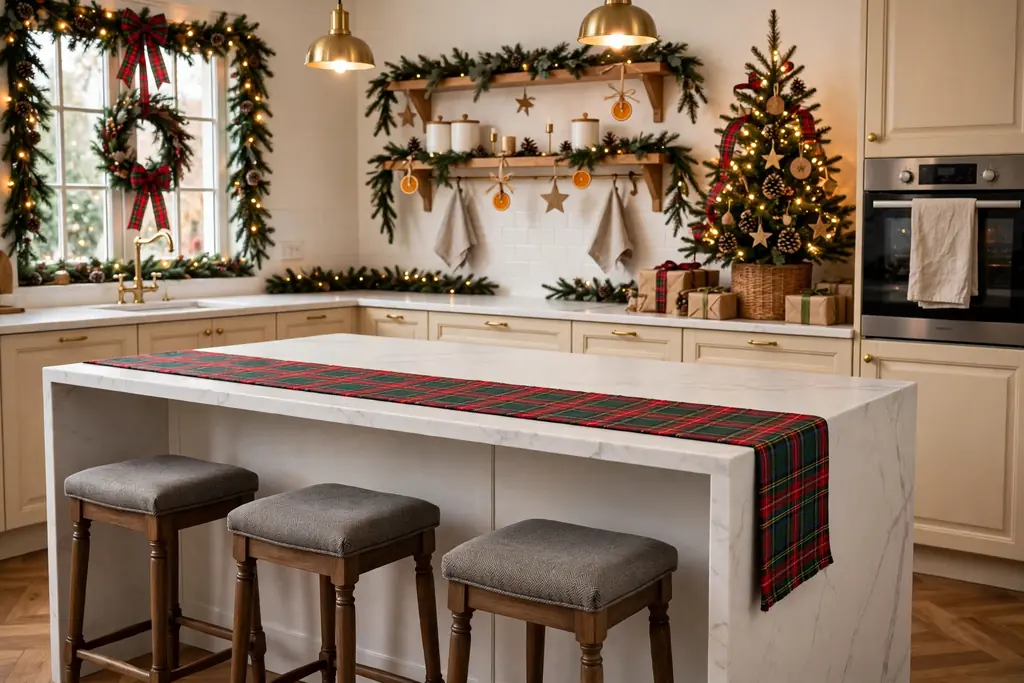
Lay a plaid runner along the seating side of the island, under the stools, rather than down the middle of the work surface. The runner adds red, green, or cream pattern where guests sit, while the prep side stays bare for boards and bowls. Choose a washable runner in cotton or a wipe clean fabric, so spills from drinks or snacks clean up fast.
Measure the seating run first, and leave the runner short of both ends, so it does not catch on stool legs or hang where feet can snag it. Shake the runner outdoors once a week, and wash it before storing it at the end of the season. If the island has no seating overhang, skip the runner and use plaid seat pads instead, as in idea 13.
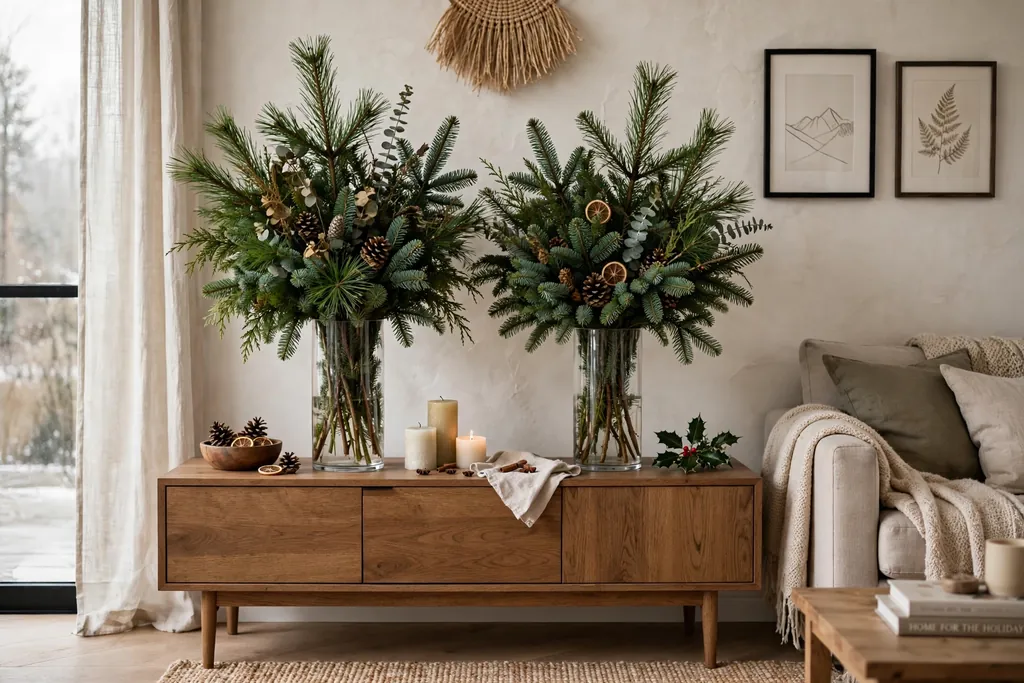
6. Pine Sprigs in a Heavy Stoneware Jug at the End
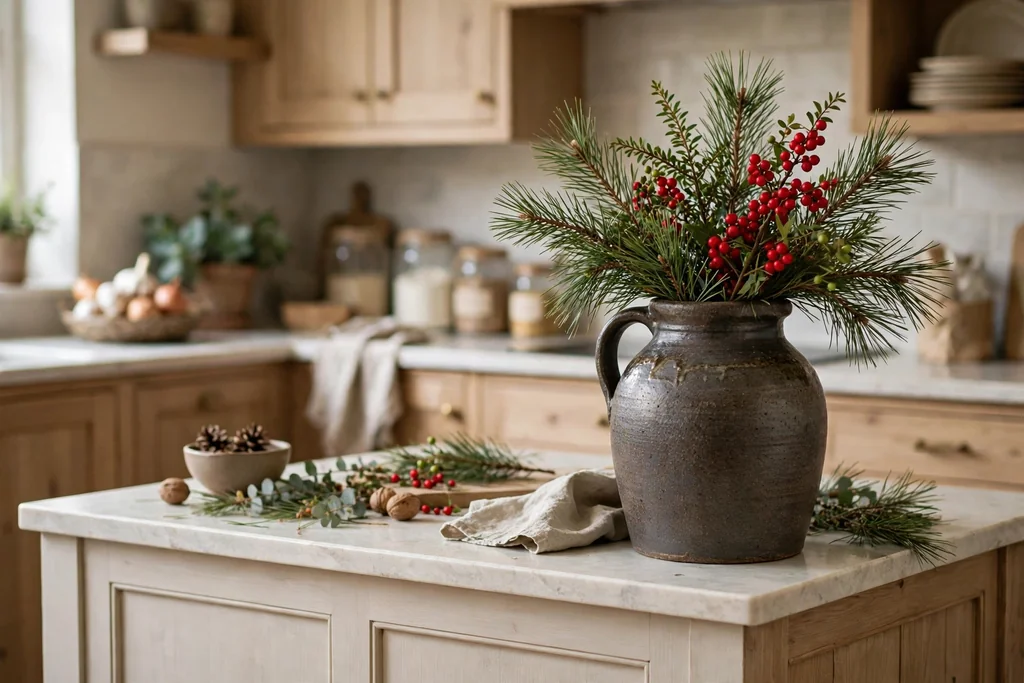
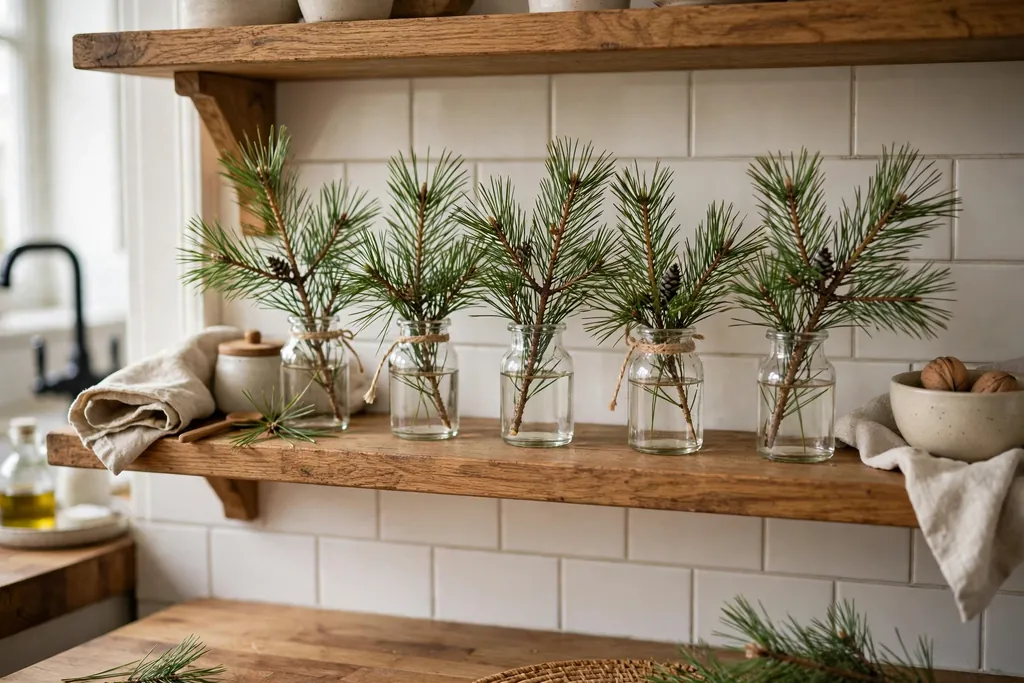
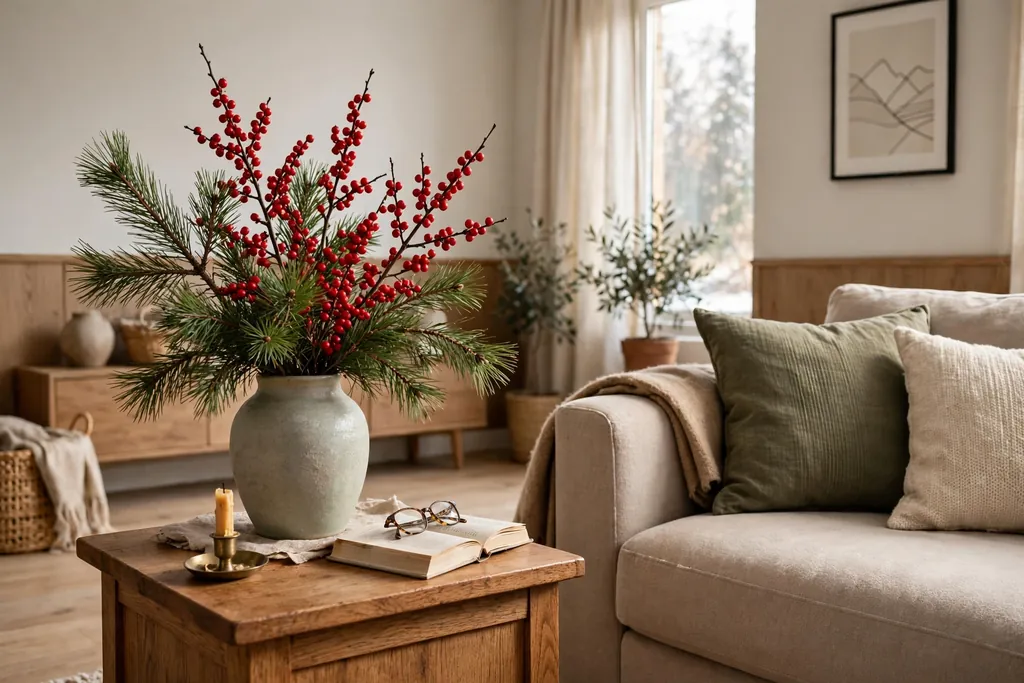
Set a heavy stoneware jug filled with fresh or faux pine sprigs at one end of the island, where its weight keeps it steady. The jug adds height and green without taking much counter space, and the narrow neck holds stems upright so they do not flop onto the work surface. Trim stems so the arrangement sits below eye level when you stand at the island, and add two or three red berry picks for color.
Fill a jug for fresh stems with a small amount of water, and change it every few days, wiping any drips at once. For faux stems, dust them before setting them out, and keep the jug away from the stove, since dried stems catch fire easily. If the jug feels top heavy, add a few stones at the base before adding stems.
7. Mini Ornaments Hung From Pendant Cords
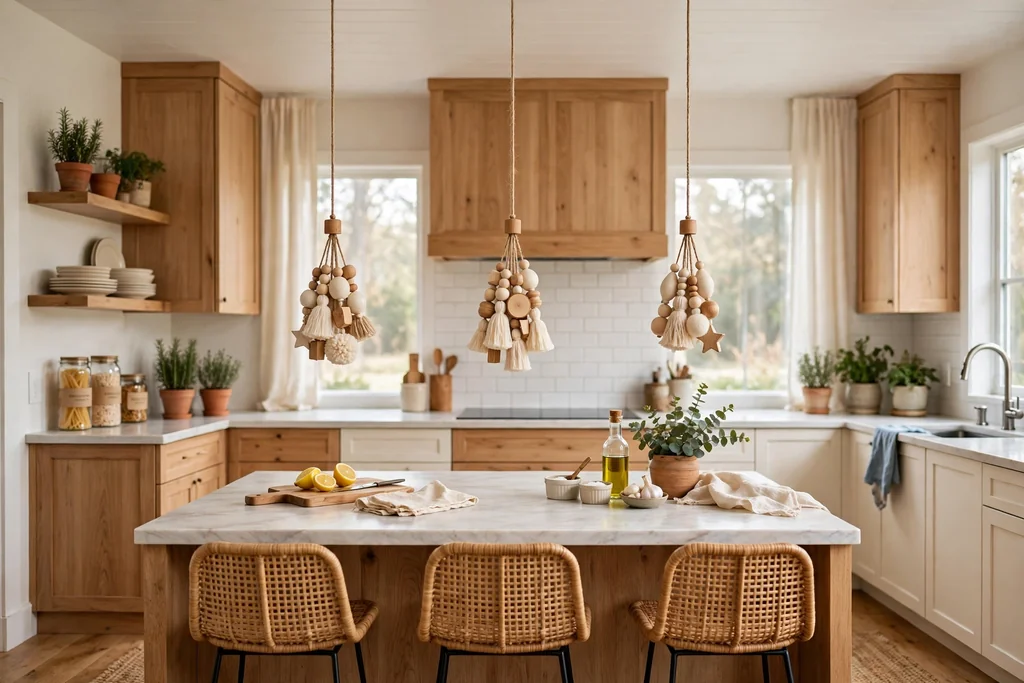
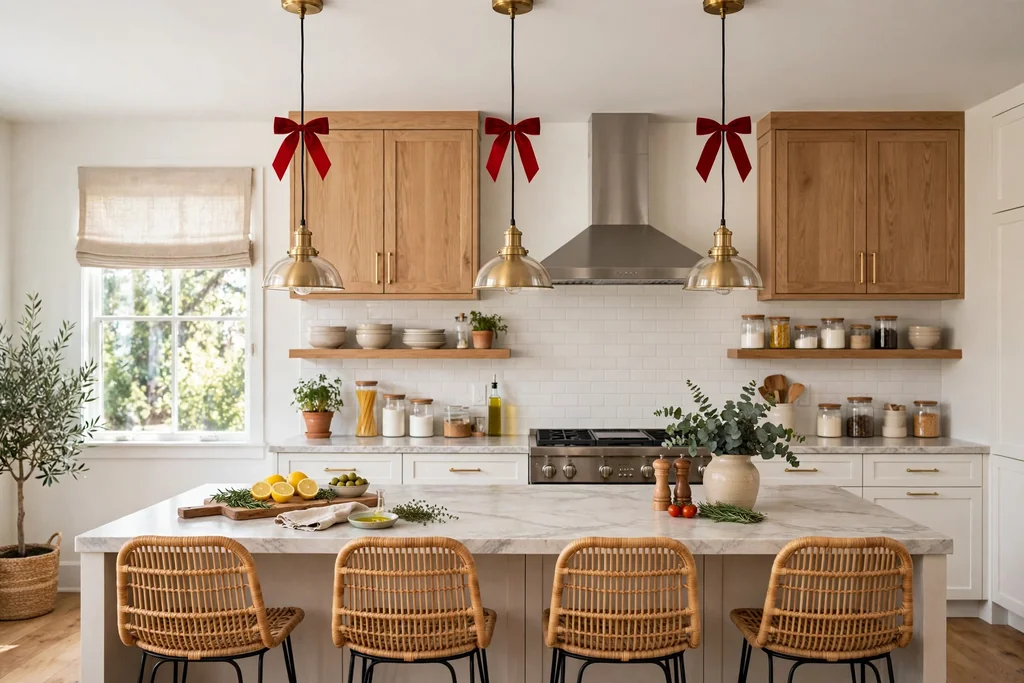
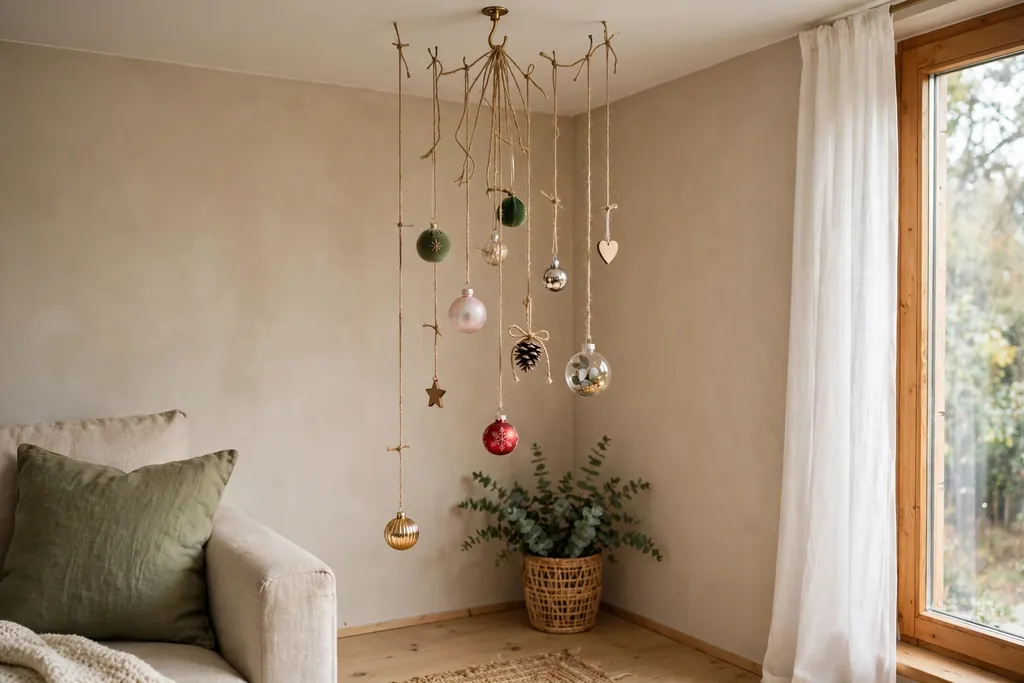
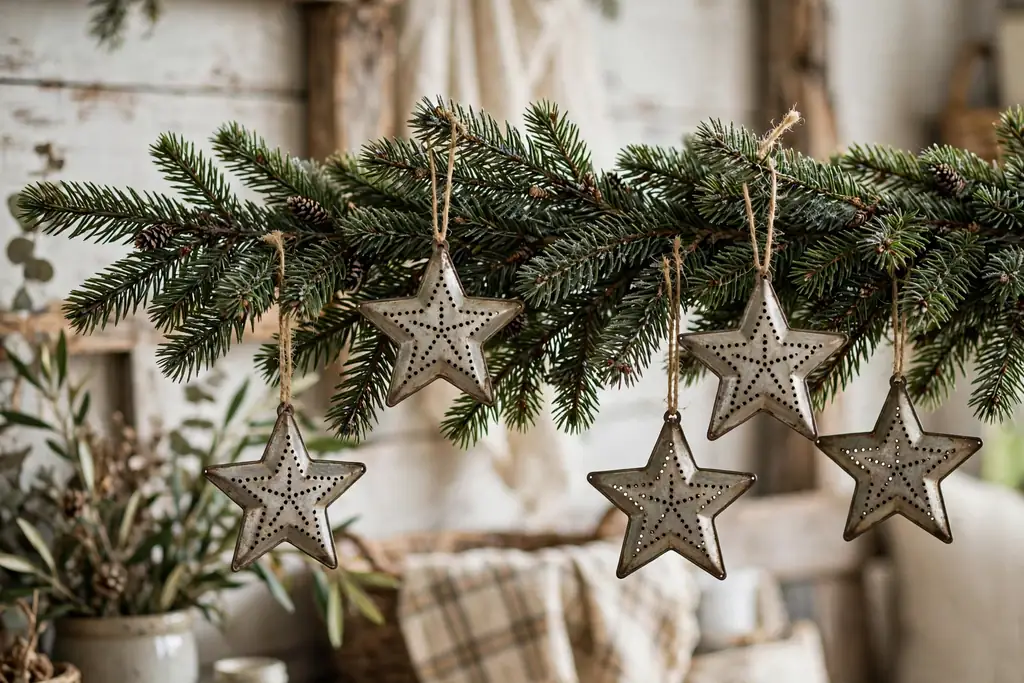
Hang small, light ornaments from the pendant cords above the island, using short loops of ribbon or twine, so the decor floats above the work surface and takes no counter space at all. The ornaments catch light and movement at eye level, and they leave the whole island free for cooking. Use ornaments in one palette, such as wood, cream, and muted red, and space them evenly along the cords.
Keep ornaments light and small, so they do not pull cords or swing into the pendant shades, and keep them clear of hot bulbs. Check that no ornament hangs low enough to bump heads or block sight lines for people standing at the island. Take ornaments down by the loop, not by pulling the cord, and store them in a small box with tissue between pieces.
8. A Low Bowl of Red Berries and Pinecones
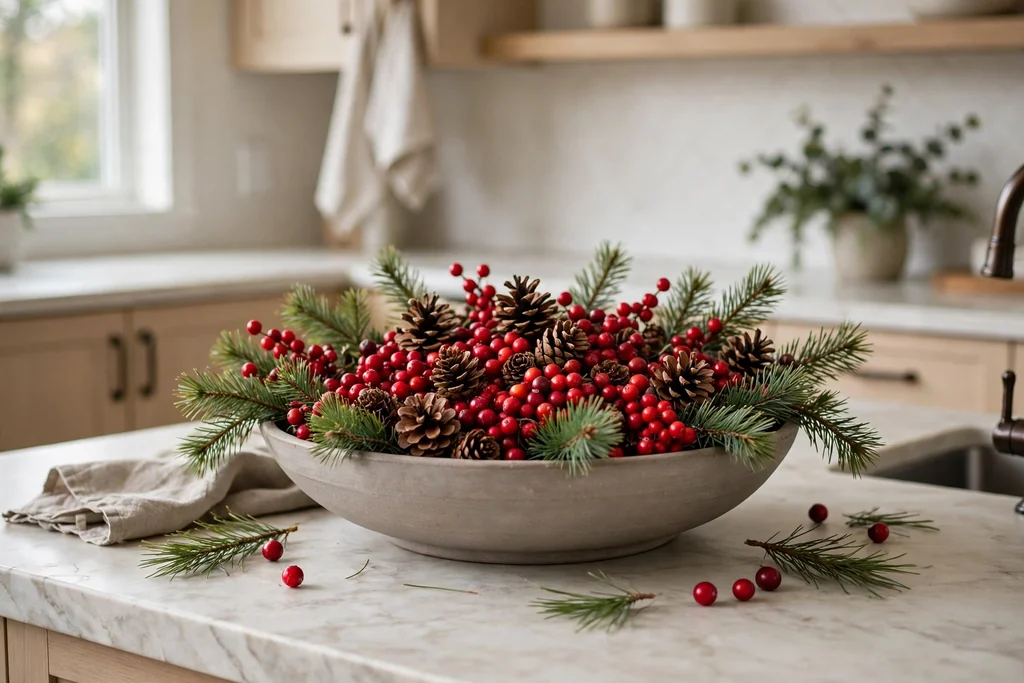
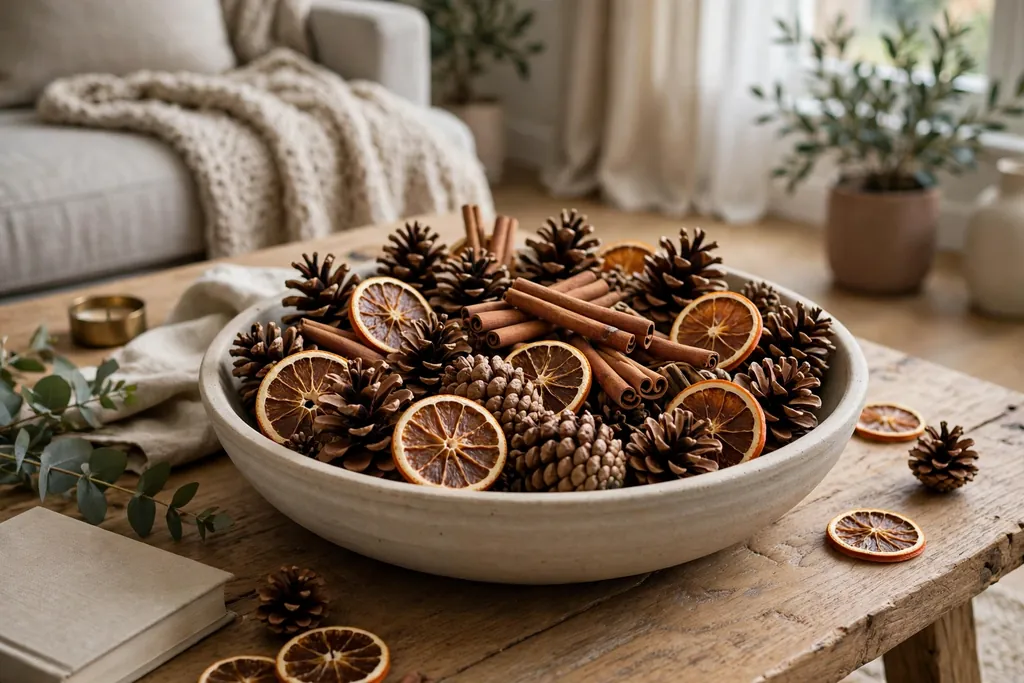
Fill a low, wide bowl with red berries, pinecones, and a few short pine sprigs, and set it at one end of the island or along the back edge. The bowl gives a full, festive look in a small footprint, and its low shape keeps sight lines open across the island. Choose a bowl in wood, ceramic, or metal that matches the kitchen, and keep the contents below the rim, so nothing rolls out.
Place the bowl on a small mat or tray if pinecones shed or berries mark the counter. Keep the bowl away from the stove and from spots where it could be knocked by a chopping board. Refresh the bowl weekly, removing any berries that soften and replacing sprigs that dry out, so the display stays neat through the season.
9. A Cake Stand With Cookies and Greenery
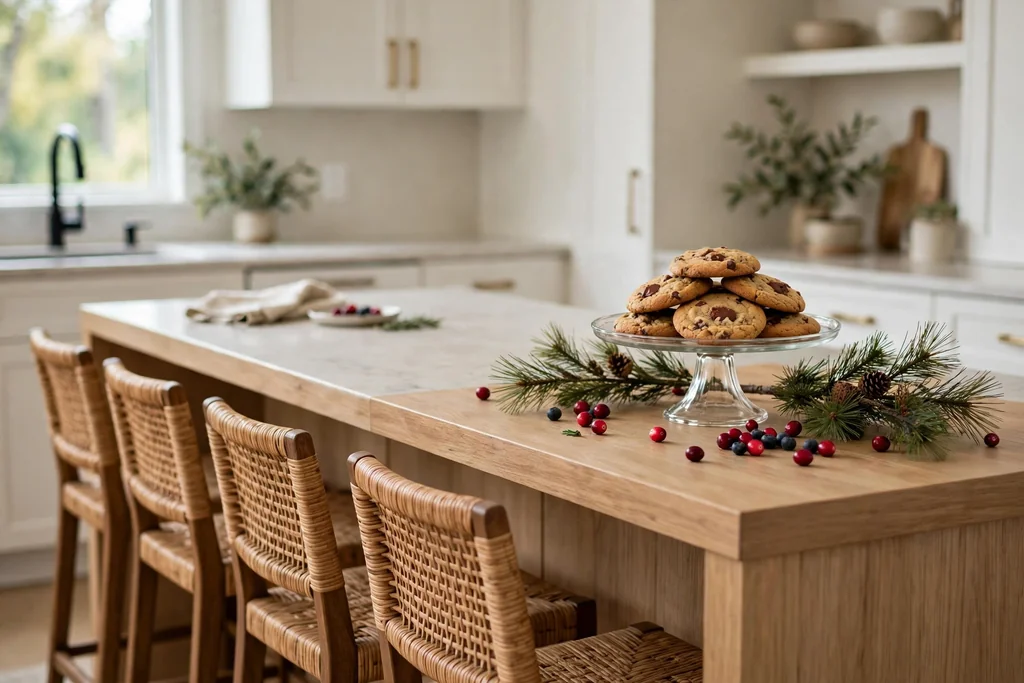
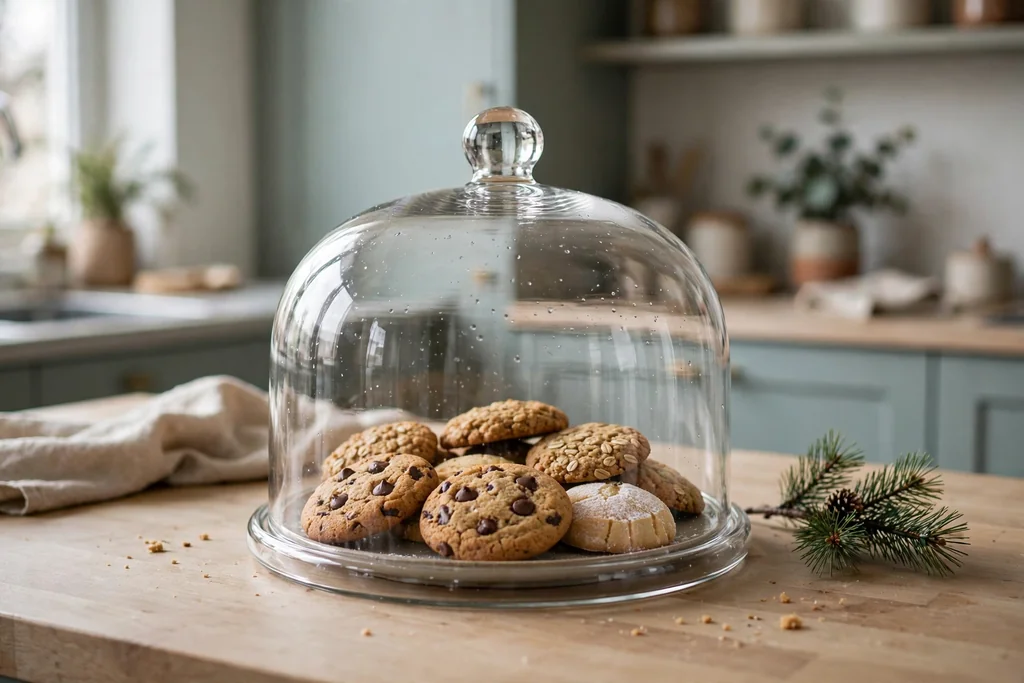
Use a cake stand to hold a small stack of cookies, with a short pine sprig and a few berries tucked around the base, at the seating end of the island. The stand lifts the display off the counter, so it reads as a serving piece rather than clutter, and guests can help themselves without reaching across prep space. Keep the stand low, with one tier only, and keep cookies in a single layer so they stay fresh and easy to take.
Cover the cookies with a clean cloth or a glass dome between servings, and replace them daily if the kitchen is warm. Wash the stand before each refill, and keep it clear of the stove end of the island. If the household prefers no food on display, swap the cookies for small wrapped gifts or plain ornaments on the same stand.
10. A Garland Draped on the Island Front Panel
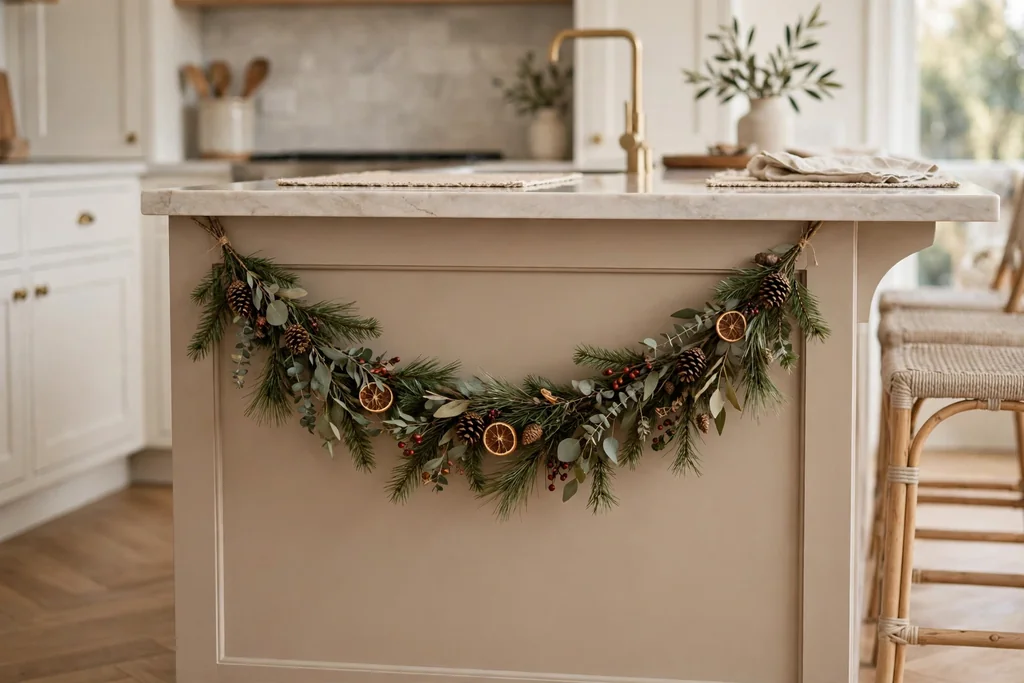
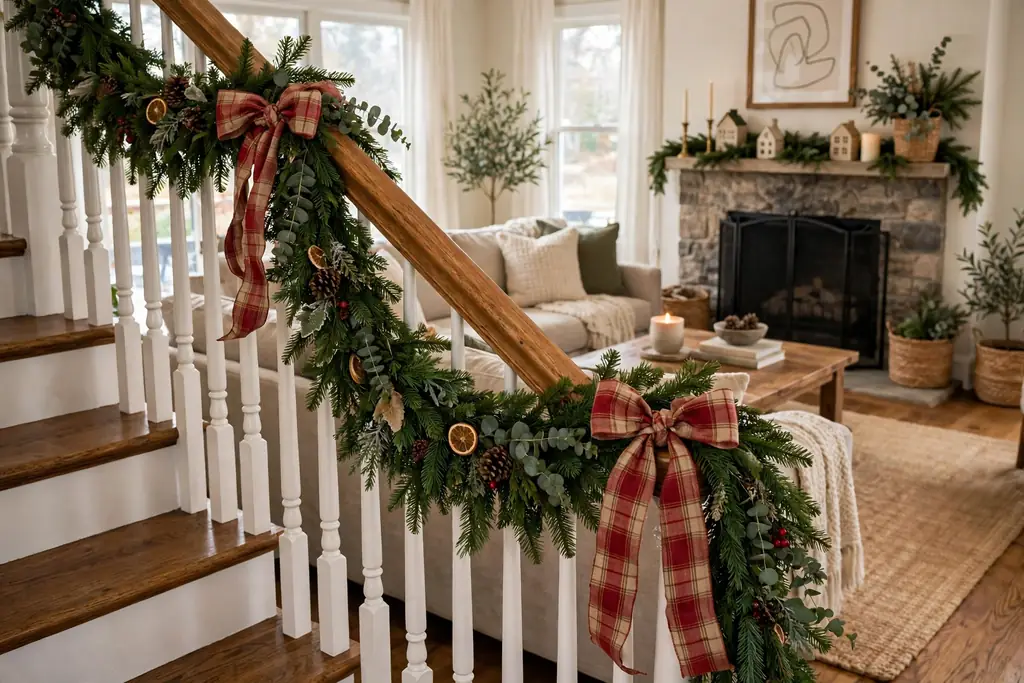
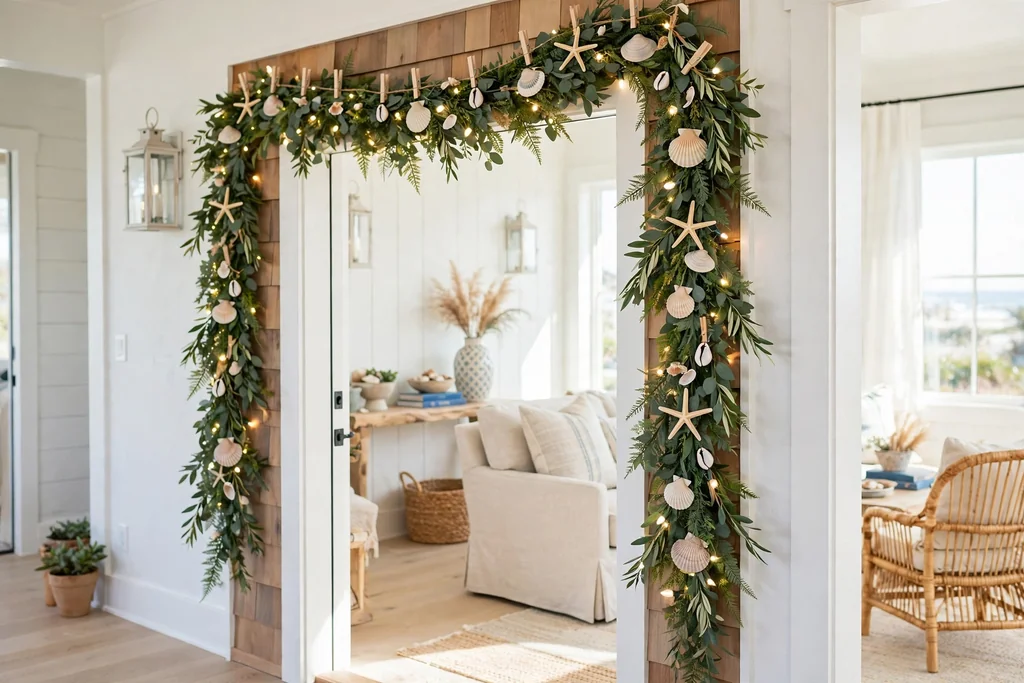
Drape a short garland along the front panel of the island, below the counter edge, so the festive detail faces the room while the top stays completely clear. This placement suits islands with a flat end or front panel, and it works well when the top must stay free for a large cooking session. Use a light garland of pine, eucalyptus, or faux greenery, with small ornaments or a ribbon bow at each end.
Fix the garland with removable hooks or clips rated for its weight, and check that it does not block drawers, cabinet doors, or stool space. Keep the garland clear of the floor, so it does not catch feet or a mop, and keep it away from any heat vent at the base of the island. Take it down by unclipping, not pulling, so the panel finish stays clean.
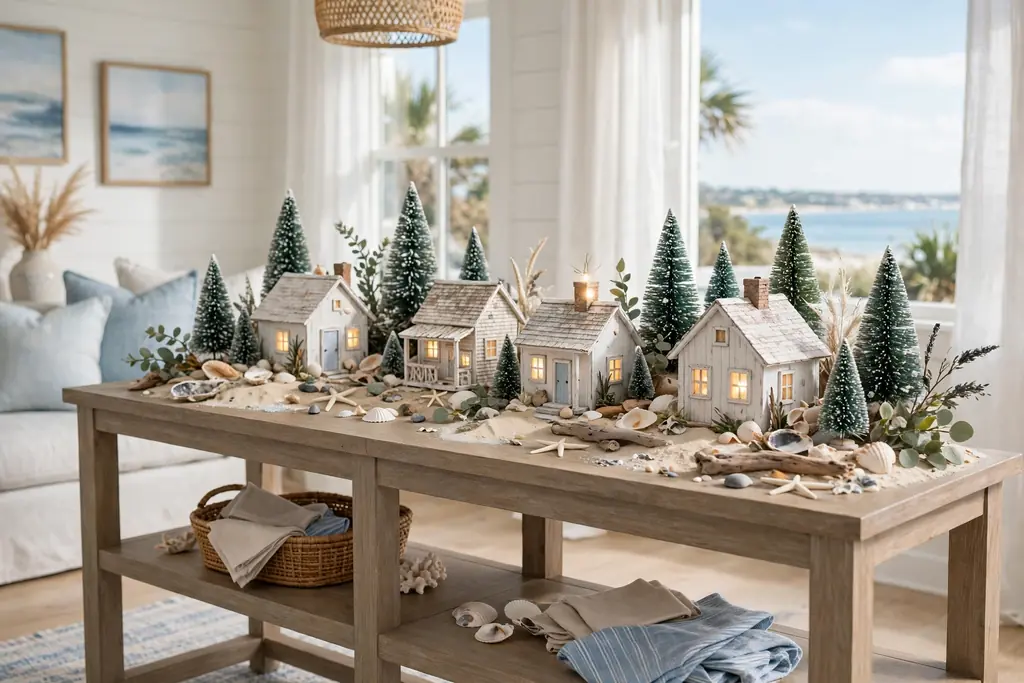
11. A Row of Bottle Brush Trees Along the Back
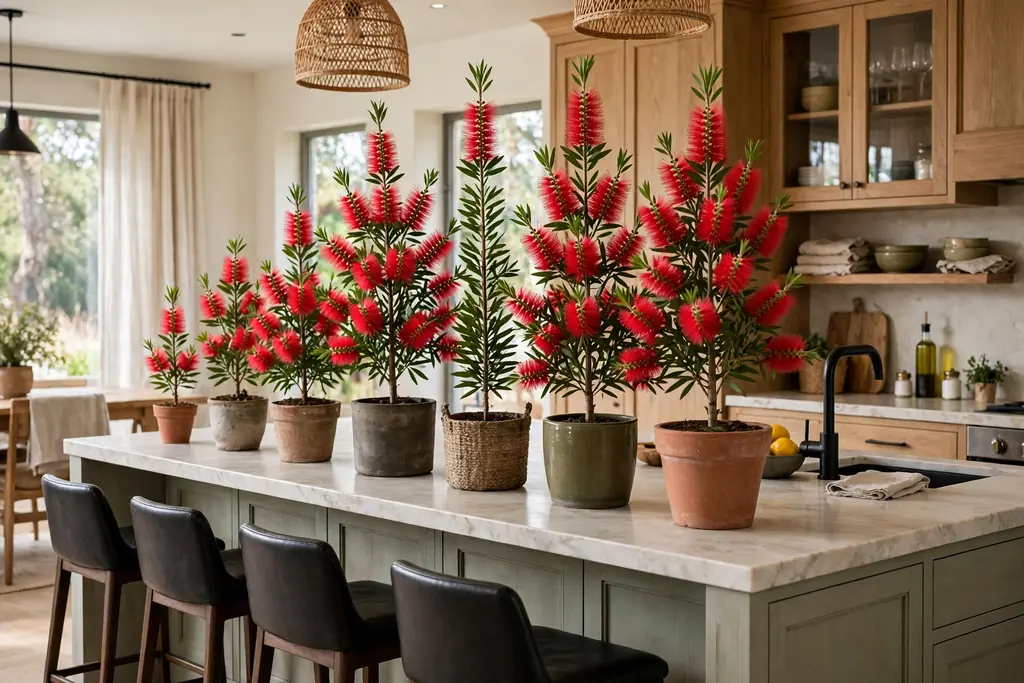
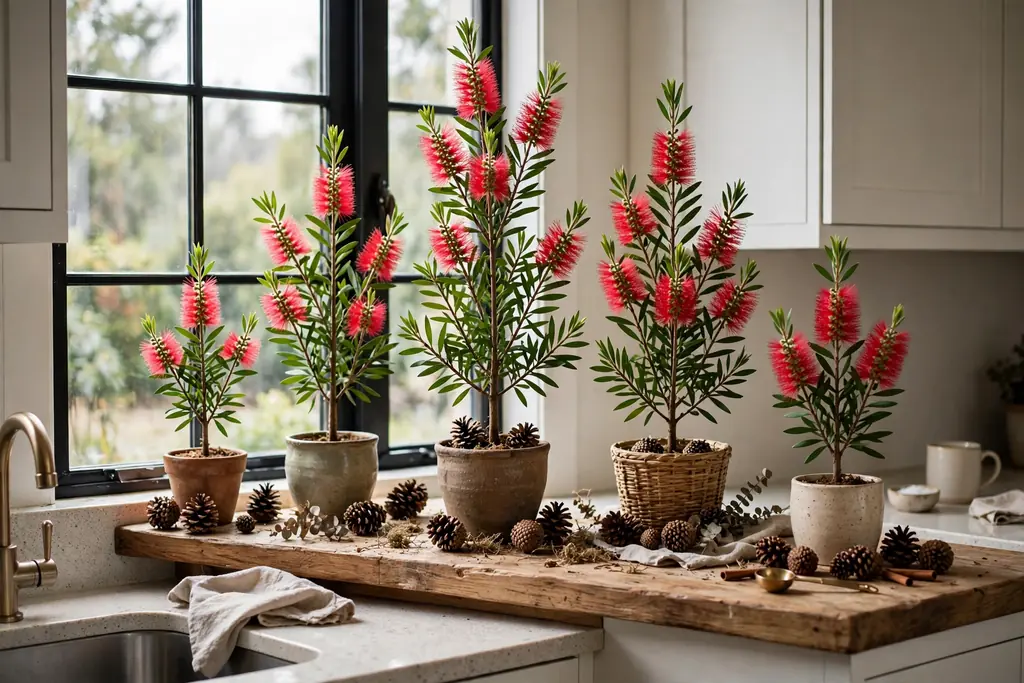
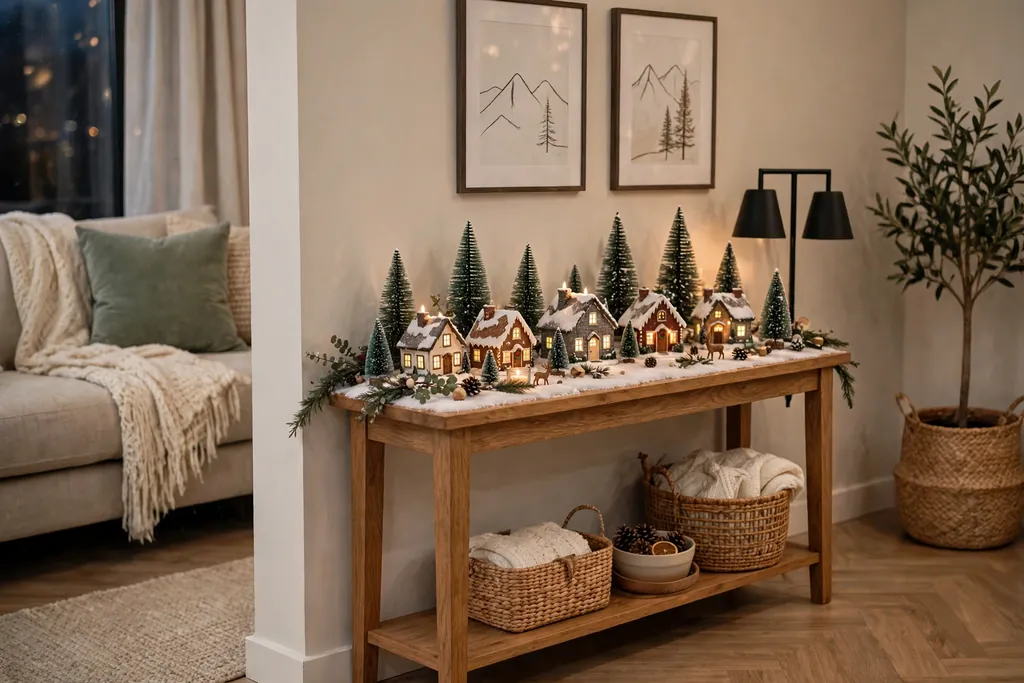
Line up bottle brush trees in different heights along the back edge of the island, in green, white, and one accent color, with a small gap between each tree. The row gives a clear Christmas skyline without taking prep space, and the trees are light, so they move aside in seconds. Keep the tallest trees at the ends and shorter trees toward the center, so the row looks settled from across the room.
Set the trees on a narrow runner or a strip of felt, so they do not slide on a smooth counter, and keep them clear of the stove end. Dust the trees before setting them out, and store them upright in a tall box so bristles keep their shape. If the back edge is narrow, use three trees only, rather than crowding a full row into a short run.
12. A Wreath on the Island End Panel
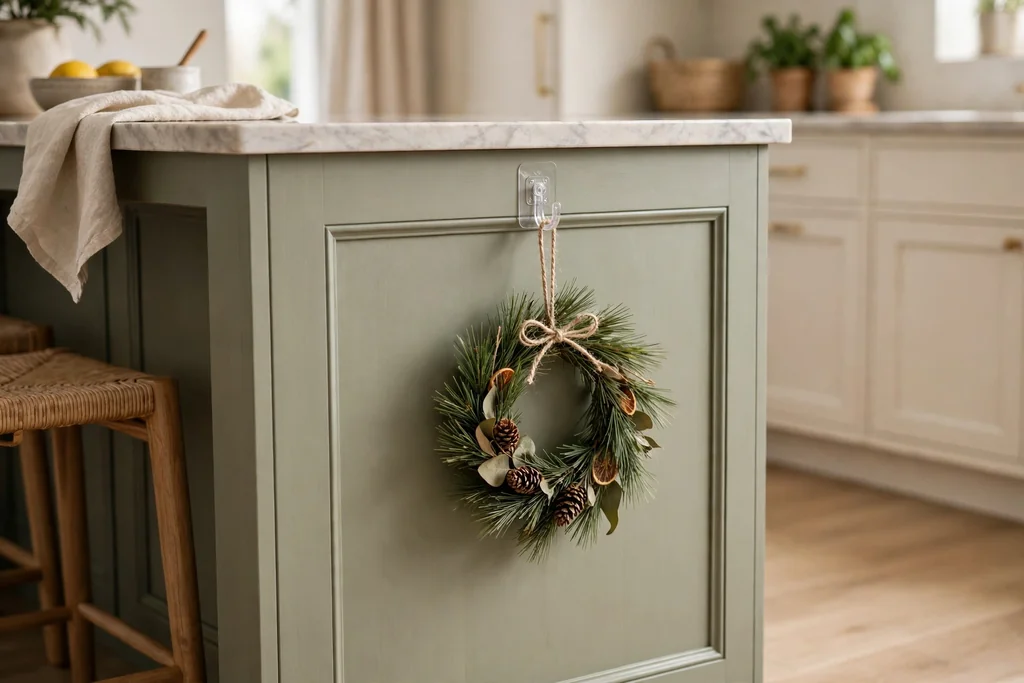
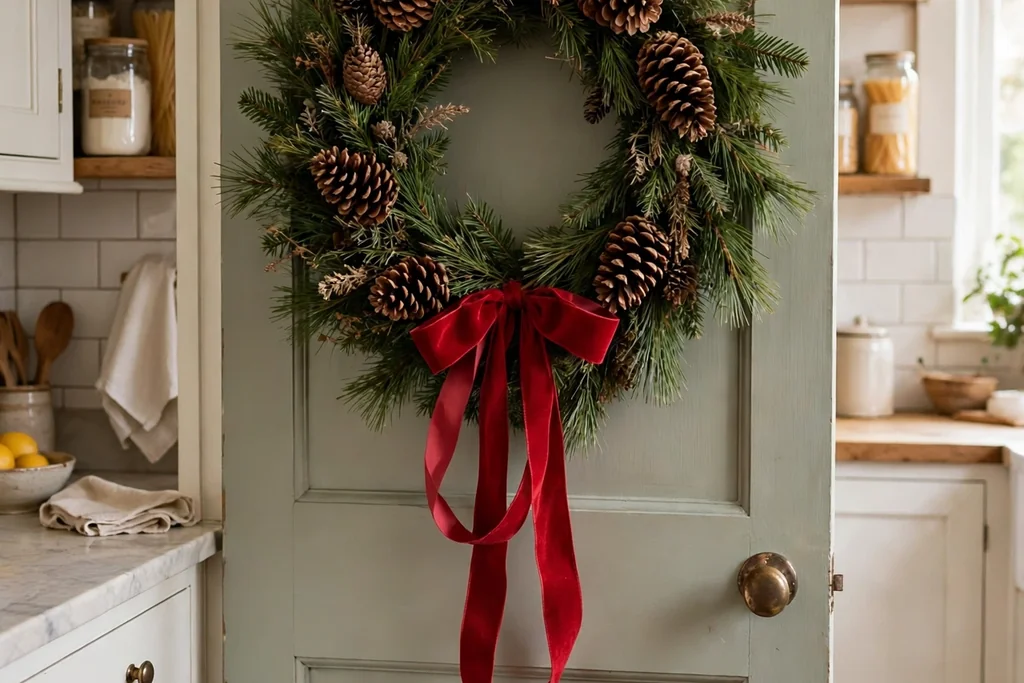
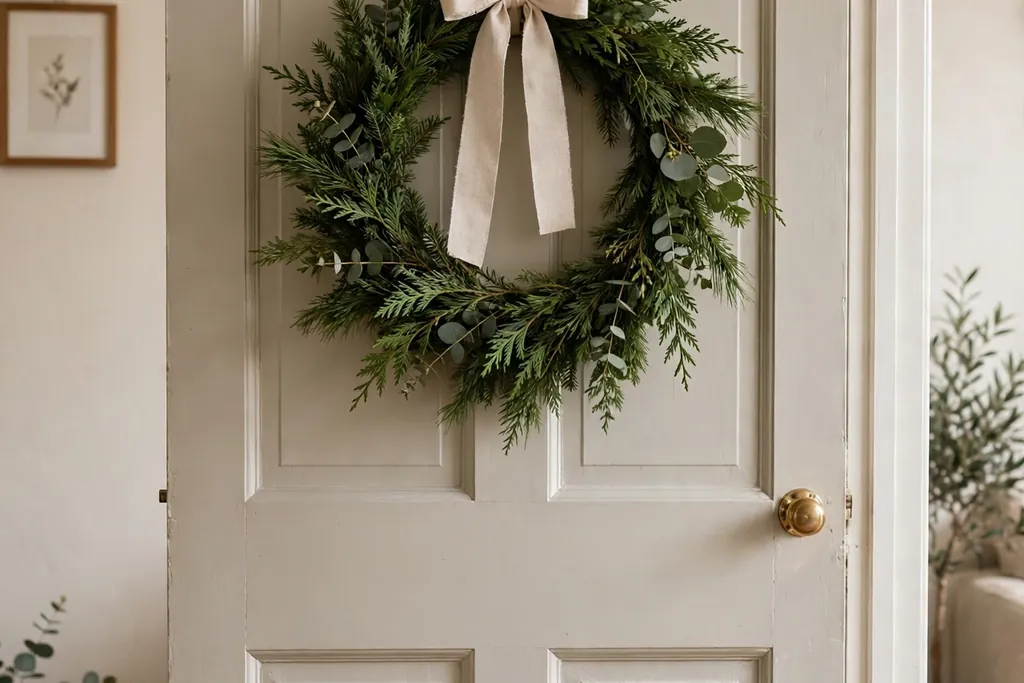
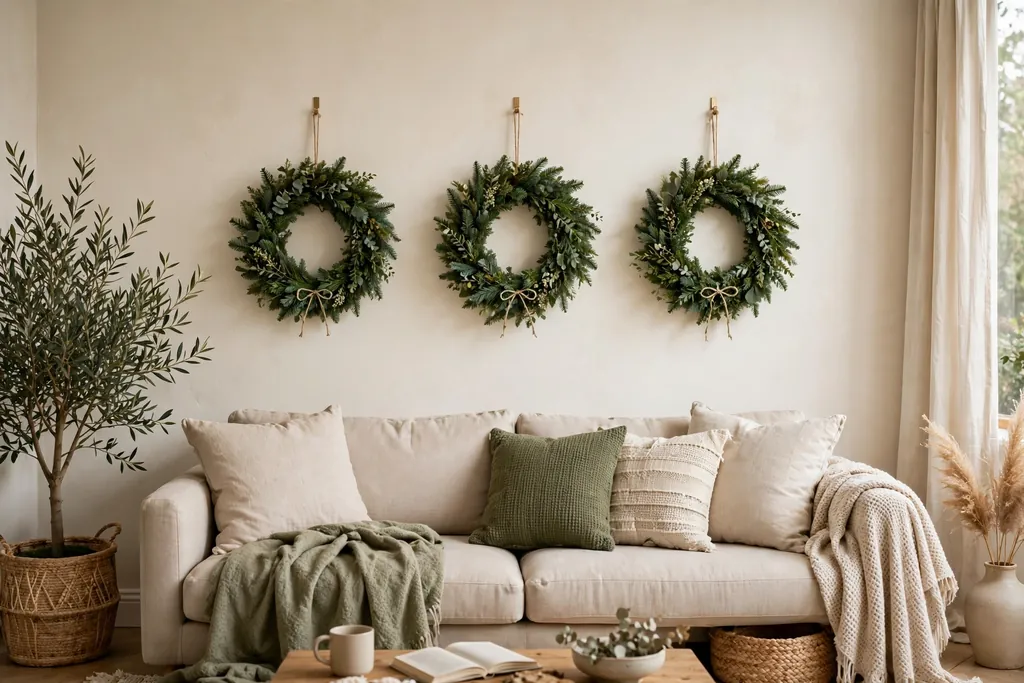
Hang a small wreath on the end panel of the island, using a removable hook, so the Christmas shape faces the room and the counter top stays free. A wreath on the end panel suits islands that face a living area or entry, since guests see it as they walk in. Choose a wreath in pine, mixed greenery, or a simple berry design, sized to the panel, with room to spare on all sides.
Check that the hook holds the wreath weight and that the wreath does not block a drawer, door, or stool. Keep the wreath clear of the stove and of any spot where steam from cooking could dampen it. If the end panel is narrow, choose a flat wreath with no deep bow, so it does not catch on passing bags or coats.
13. Red Seat Pads on the Island Stools
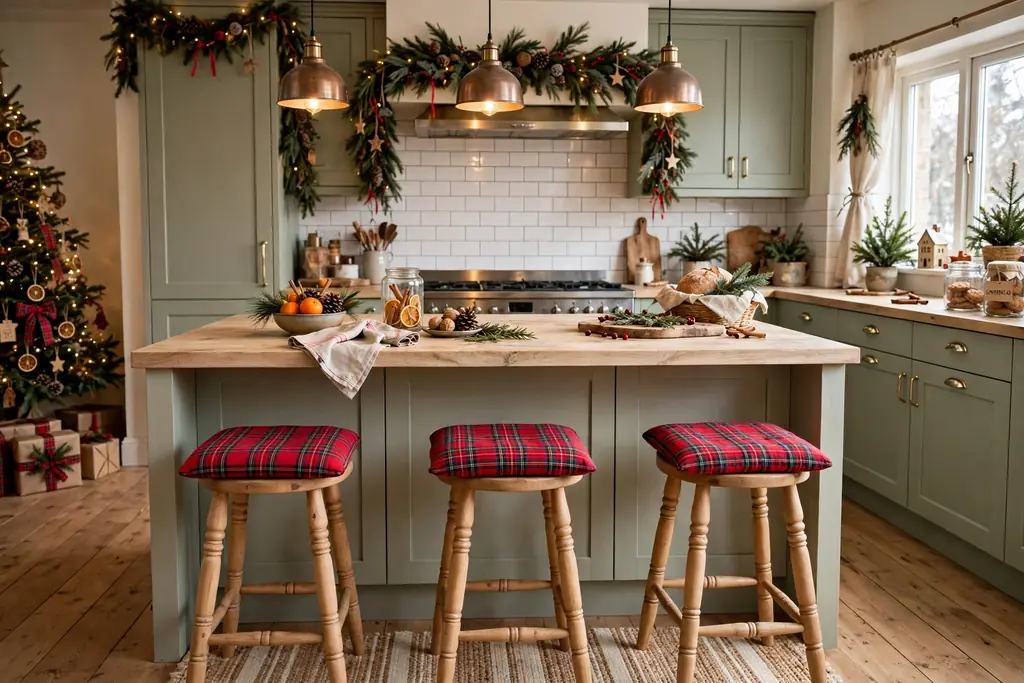
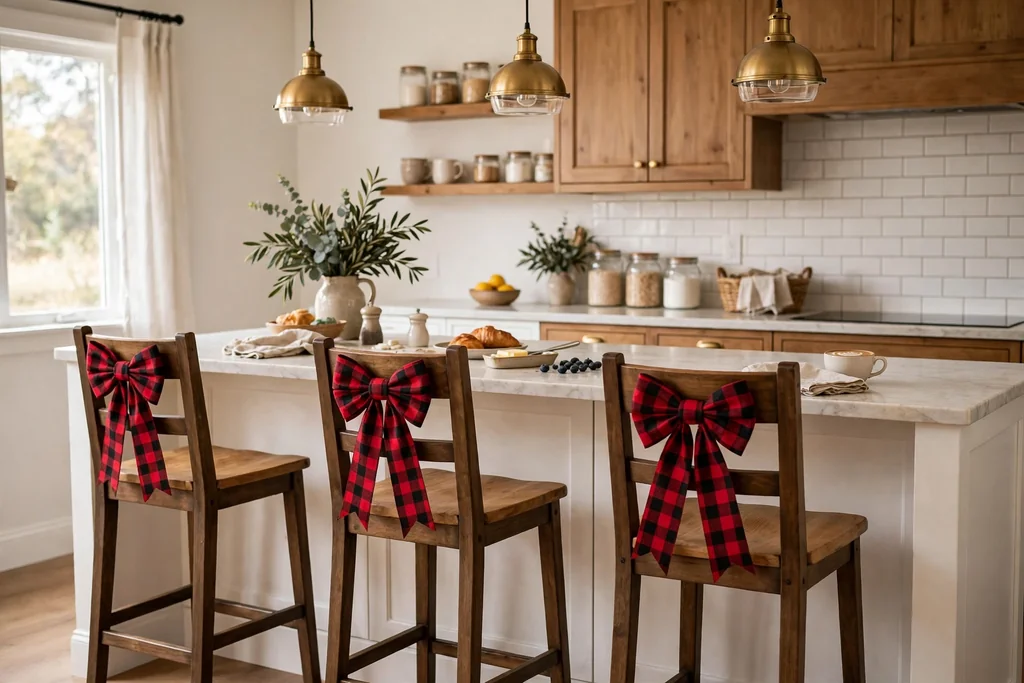
Add red, green, or plaid seat pads to the island stools, tied or fitted so they stay in place during meals. Seat pads bring Christmas color to the island without using any counter space at all, and they make long kitchen chats more comfortable. Choose washable pads with ties or a non slip base, and keep the palette to one pattern, repeated on every stool.
Tie pads firmly, and check ties weekly, since loose ties can slip underfoot. Wash pads before the season and again before storage, and keep a spare set if the household eats at the island daily. If stools have no pads, drape a folded plaid throw over one stool back only, rather than dressing every stool, so the look stays calm.
14. Warm White Pendant Glow Over the Island
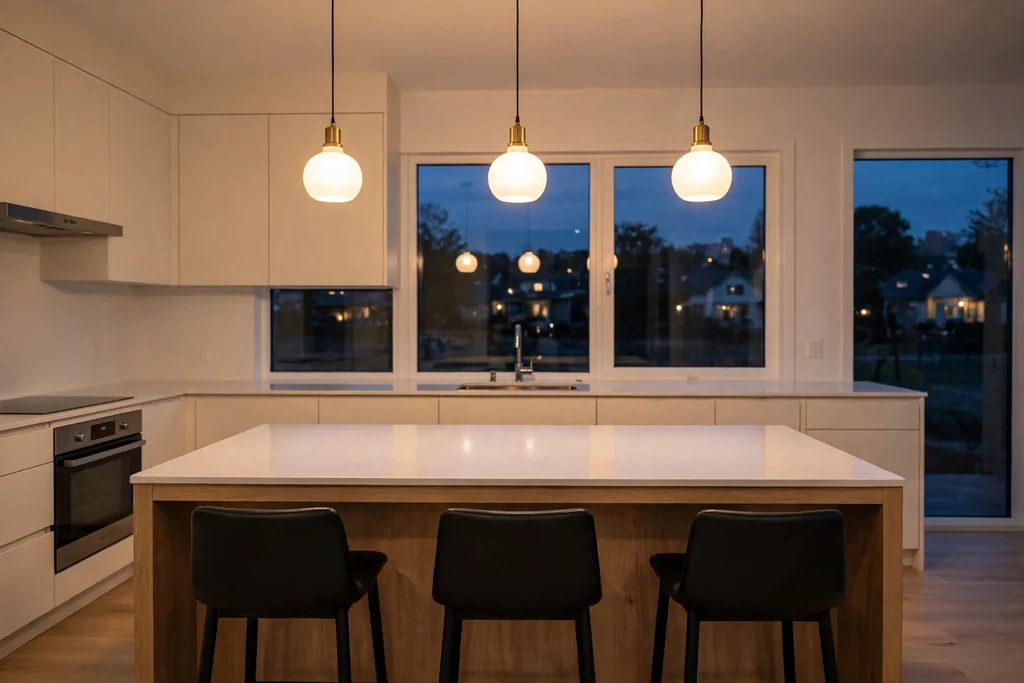
Swap cool white bulbs over the island for warm white bulbs that suit the existing pendant fittings, and dim the main overhead light in the evening so the pendants do the work. Warm light makes wood, greenery, and red accents look richer, and it changes the whole island feel without adding a single object to the counter. This is the easiest idea on the list for a busy cooking week, since it needs no daily tidying.
Check bulb type and wattage against the pendant fitting before swapping, and keep spare warm bulbs with the Christmas decorations. Clean pendant shades before the season, so light shows clearly, and keep shades clear of hanging ornaments that could trap heat. Return to everyday bulbs after the season, or keep warm bulbs if the household prefers them year round.
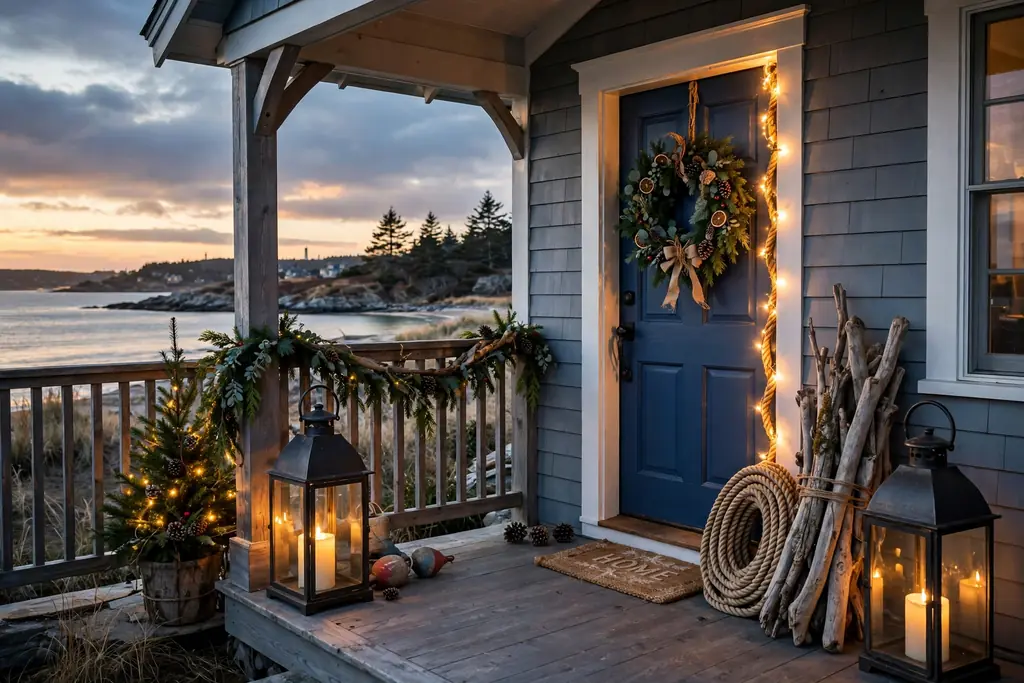
15. Small Lanterns at the Island Ends
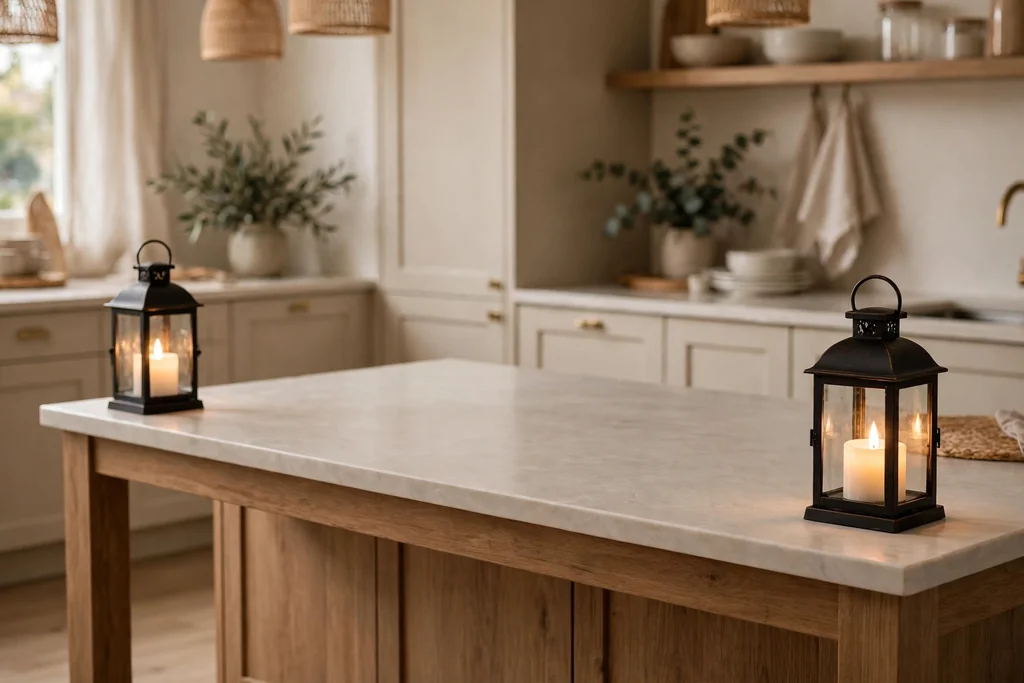
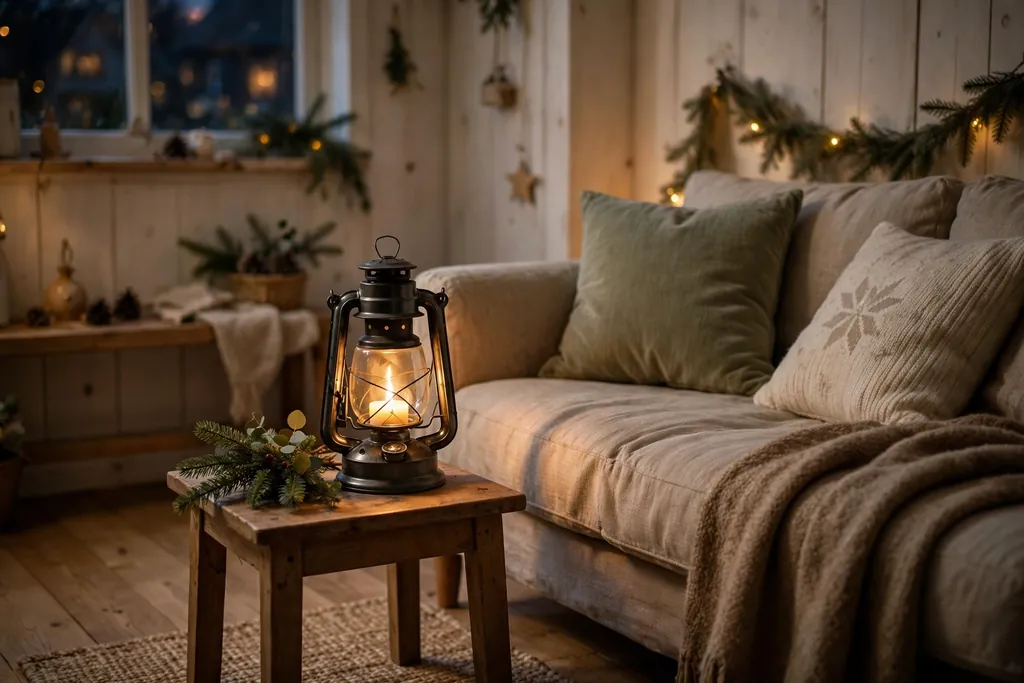
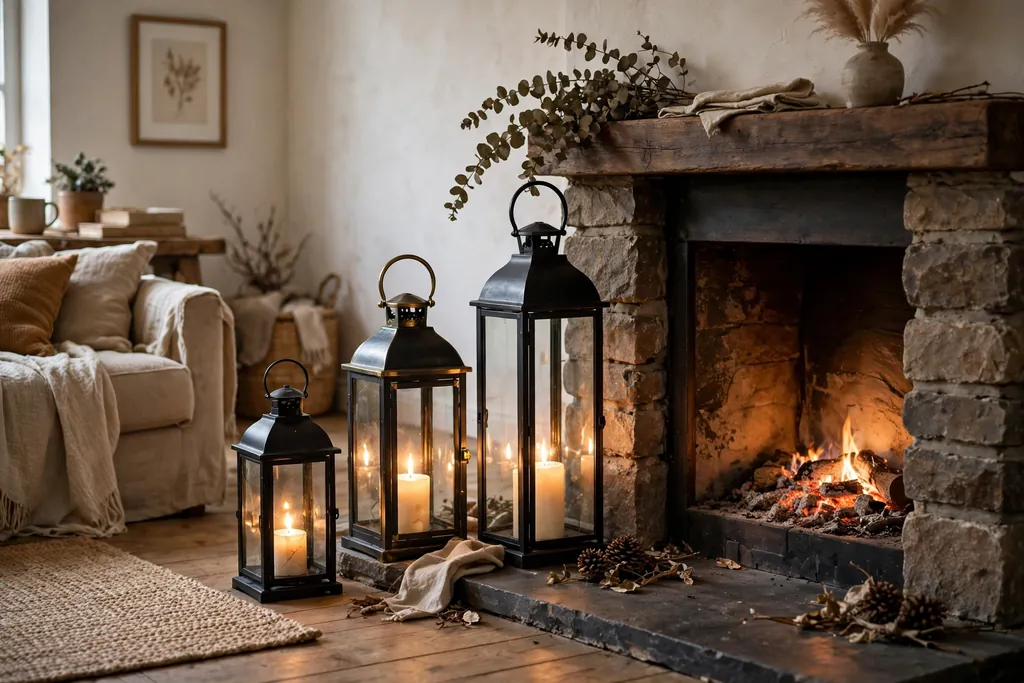
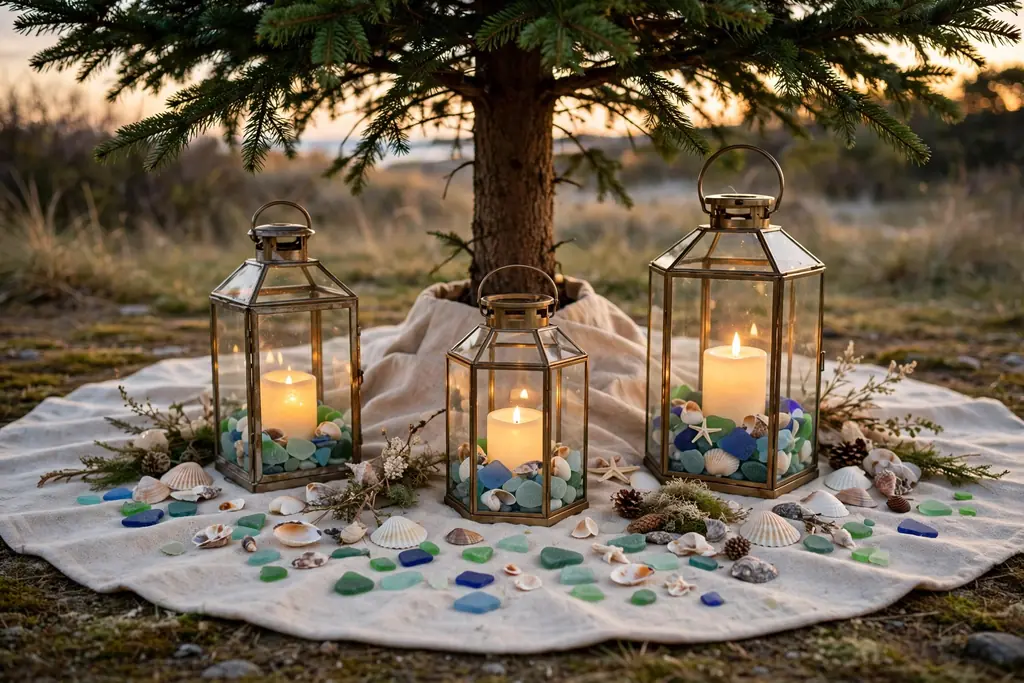
Place one small lantern at each end of the island, with a battery candle inside, so the ends feel finished while the middle stays open for work. Lanterns in wood and glass, black metal and glass, or cream ceramic suit most kitchens, and their enclosed shape keeps the candle glow steady. Keep lanterns low and stable, with a flat base, and keep them clear of the stove end and of spots where a board could knock them.
Use battery candles only, and switch lanterns off when the kitchen is empty. Wipe lantern glass before the season, and check hinges and handles so lanterns lift cleanly when you need the end space. Store lanterns with candles removed and batteries out, so they are ready for next year without leaks.
Conclusion
Kitchen island Christmas decor works when the work surface leads and the decor follows. Keep displays low, at the ends, along the back edge, or above the island, use one tray that lifts away, and choose battery light over open flame near cooking. Start with a garland or a jug of pine, add one serving display and one lighting change, then stop and cook in the space for a day before adding more. The island should still feel like a kitchen at Christmas, with room for boards, bowls, and hot pans, and with festive detail exactly where it does not get in the way.
FAQs
What is the best Christmas decor for a kitchen island?
Kitchen island Christmas decor should be low, light, and easy to move, such as a garland along the back edge, a lift-away tray, a small potted pine at one end, or ornaments hung from pendant cords. Keep the middle clear for prep, and avoid tall or wide displays that block sight lines or work space.
How do I decorate a kitchen island for Christmas without losing counter space?
Put decor at the ends, along the back edge, on the front or end panel, or above the island, and leave the middle free for boards and bowls. Use one tray that lifts away in one motion, and keep seating side textiles, such as a runner or seat pads, off the prep surface entirely.
Is it safe to use candles on a kitchen island at Christmas?
Battery candles are the safer choice on a kitchen island, since they give warm light without an open flame near towels, paper, dried greenery, and cooking heat. Keep any candle display at an end or along the back edge, away from burners, and switch battery candles off when the kitchen is empty.
What should I put in the middle of a kitchen island at Christmas?
Leave the middle of the island clear for cooking, or use it only for a serving piece that moves easily, such as a cake stand at mealtime. A clear middle lets you set down hot pans, roll dough, and serve food without moving a full display first.
How high should kitchen island Christmas decor be?
Kitchen island Christmas decor should stay below eye level when you stand at the island, so people can see and talk across it. Keep tall pieces, such as a jug of pine sprigs or a potted pine, at one end only, and keep center displays low and flat.
How do I keep kitchen island Christmas decor tidy while cooking?
Use one lift-away tray, keep displays to the ends and back edge, and clear the tray back to three or four pieces when extras creep in during the week. Wipe the island after cooking, return the tray to its spot, and store anything that cannot be moved in one motion off the work surface.