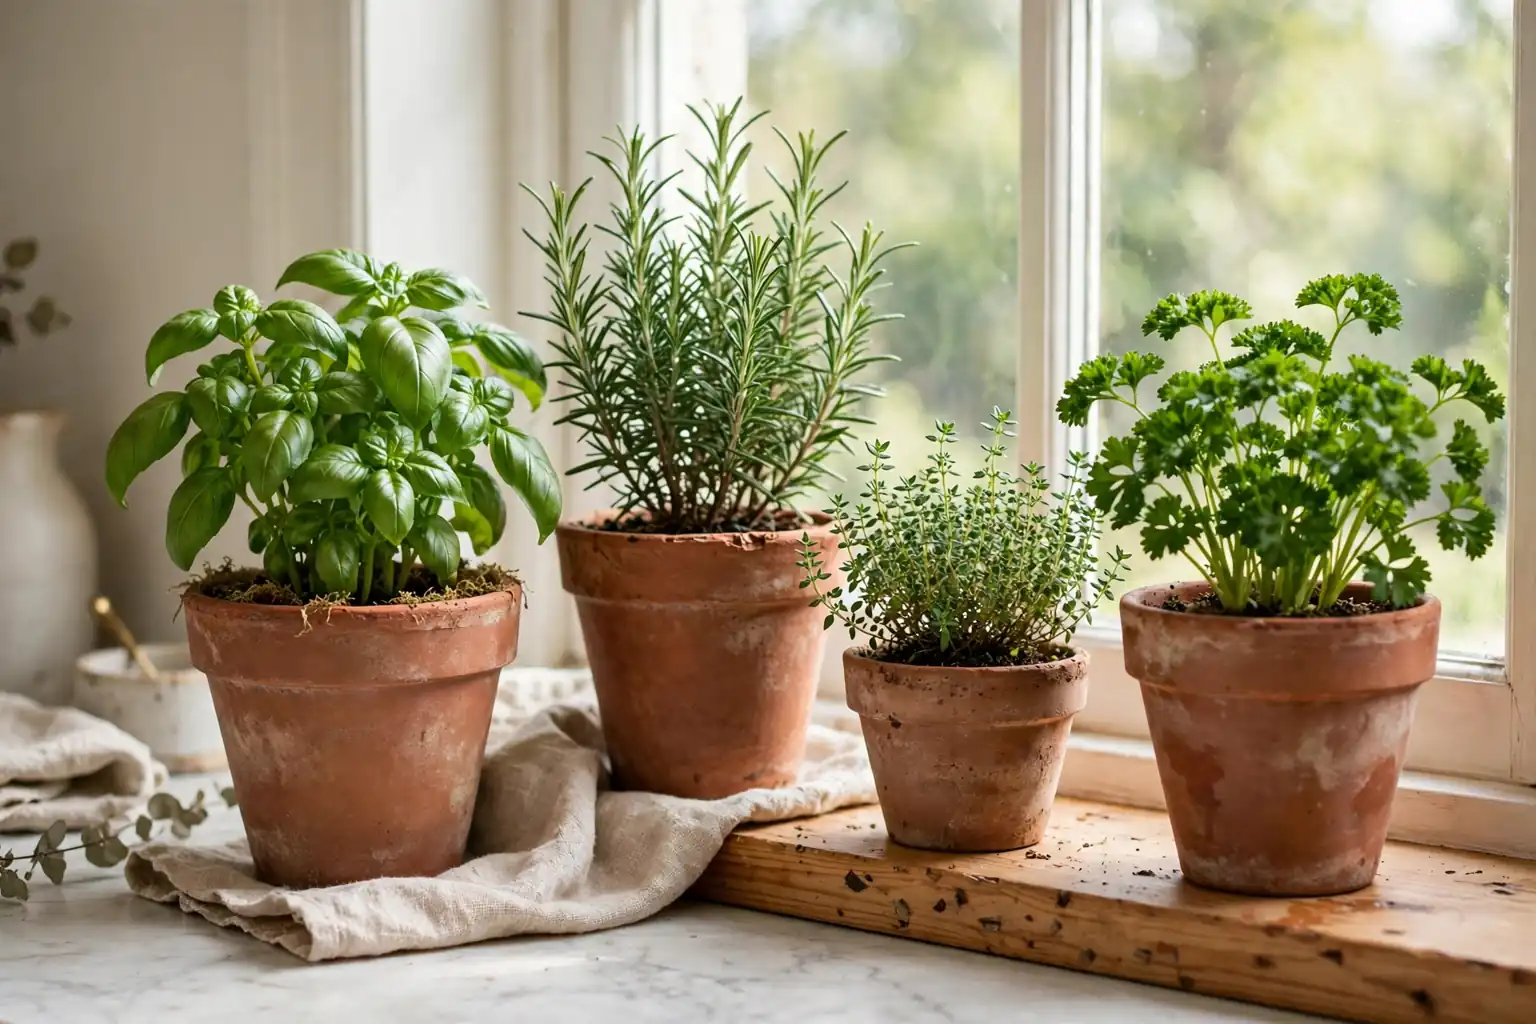
To create a terracotta herb pot display, choose a sunny spot, pick pots with drainage holes, and plant one herb per pot in a free draining soil mix. Group the pots by height and water needs, label each herb, and place the display where you can reach it easily for cooking and care.
Terracotta suits herbs well because the porous clay lets excess water move out through the pot wall, which helps soil dry between waterings. That same quality means pots dry faster than plastic pots, so a display needs a steady watering check, especially in sun or wind. This guide walks through the whole process in order, from picking a spot and herbs to planting, arranging, and keeping the display in good shape through the seasons.
Key Takeaways
- Pick a spot with at least four to six hours of direct sun for most common kitchen herbs, and check the light at different times of day before you plant.
- Use terracotta pots with drainage holes, one herb per pot, so plants with different water needs do not share the same soil.
- Use a free draining soil mix and water only when the top inch of soil feels dry, since herbs suffer more from wet roots than from a short dry spell.
- Group pots by height, with taller herbs at the back and trailing herbs at the front, so every plant gets light and air.
- Label each pot at planting time, because young herbs can look alike before they grow their full leaves and scent.
- Check water, light, and growth weekly, and prune little and often to keep plants bushy and useful for cooking.
Supplies You May Need
- Terracotta pots in two or three sizes, each with at least one drainage hole
- Saucers or trays to catch water under indoor pots, and a tray or stand for a patio group
- A free draining potting mix, plus coarse grit or perlite if your mix holds a lot of water
- Small stones or broken pot pieces to cover drainage holes without blocking them
- Herb plants or seeds, such as basil, parsley, chives, mint, rosemary, thyme, and oregano
- Plant labels and a waterproof marker, or small wooden markers
- A watering can with a fine rose, and a small trowel
- Pruning snips or clean kitchen scissors
- A tray, crate, shelf, or plant stand to group the pots into a display
- Gloves, if you prefer them for potting work
1. Choose a Sunny Spot You Can Reach Every Day
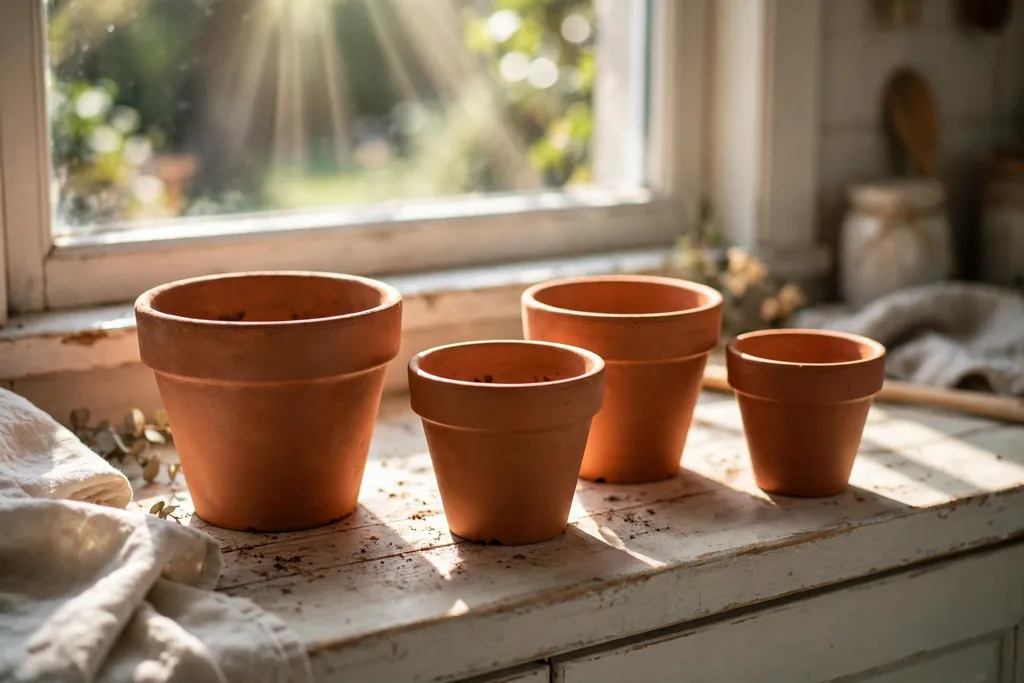
Start with light, because light decides which herbs will thrive and where the display will work best. Most kitchen herbs, including basil, rosemary, thyme, and oregano, need at least four to six hours of direct sun each day. A south facing kitchen windowsill, a bright counter near a window, or a patio spot that gets morning and midday sun all fit that need. Watch the spot through a day before you commit, since a place that looks bright at noon can sit in shade by mid afternoon.
Reach matters as much as light. You will water, snip, and check these plants often, so place the display where you pass it daily, close to the kitchen door for a patio group or near your cooking counter indoors. Avoid spots right beside a heat vent, a hot stove, or a door that slams in wind, since sudden heat and strong drafts dry terracotta pots fast. If your only sunny spot is small, plan a compact group of three to five pots rather than a large display that crowds the space.
2. Pick Herbs That Suit Your Cooking and Your Spot
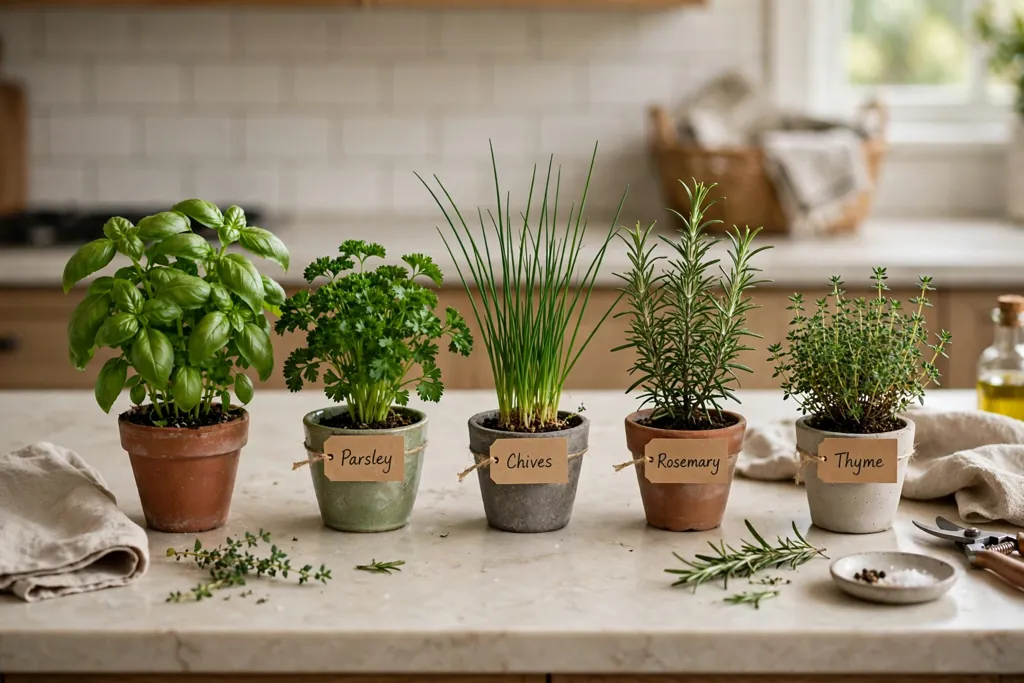
Choose herbs you actually cook with, so the display earns its place and gets used. Basil, parsley, and chives suit frequent kitchen use, while rosemary, thyme, and oregano suit roasts, soups, and salads and cope well with drier soil. Mint is useful but grows fast and spreads, so it always needs its own pot, never a shared container. If you are new to herbs, start with four or five reliable kinds and add more once you know how they grow in your spot.
Match each herb to the light and water your spot offers. Mediterranean herbs such as rosemary, thyme, and oregano prefer sun and soil that dries out between waterings, while parsley and chives prefer steadier moisture and cope with a little less sun. Basil likes warmth and regular water, and it suffers in cold drafts, so keep it indoors or in a sheltered patio spot until nights stay warm. Grouping herbs by these needs later, at the arranging stage, is much easier when you plan the groups now.
3. Choose Terracotta Pots With Drainage and Room to Grow
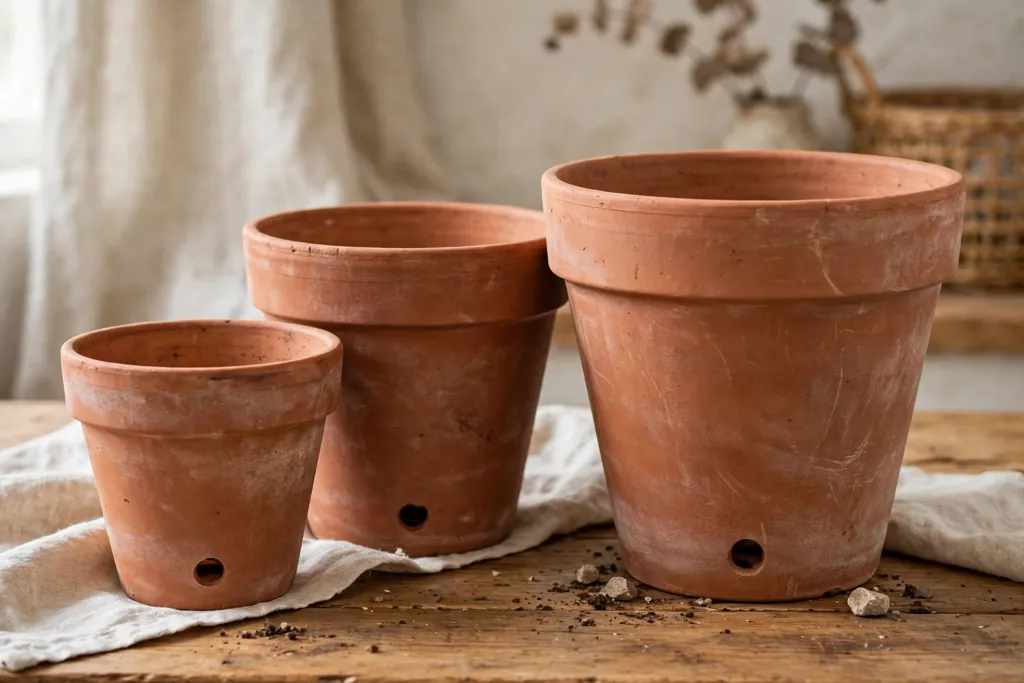
Pick pots with at least one drainage hole in the base, since herbs in pots without drainage soon sit in wet soil and their roots rot. Standard round terracotta pots work well, and a mix of sizes adds shape to the display: small pots for chives and thyme, medium pots for basil and parsley, and a larger pot for rosemary, which grows into a woody shrub over time. Check that each pot sits level and does not rock, and that a saucer fits under it without blocking the drainage hole.
Soak new terracotta pots in water for a few hours before planting, or at least wet them well, because dry clay pulls moisture straight out of fresh potting mix. If you reuse old pots, scrub them clean and rinse them, since old soil and salts can carry pests or disease to new plants. Avoid pots with cracks through the base or a glazed inside that stops the clay from breathing, and keep pot sizes close enough that the group still reads as one display rather than a random collection.
4. Gather Trays, Stands, and Labels Before You Plant
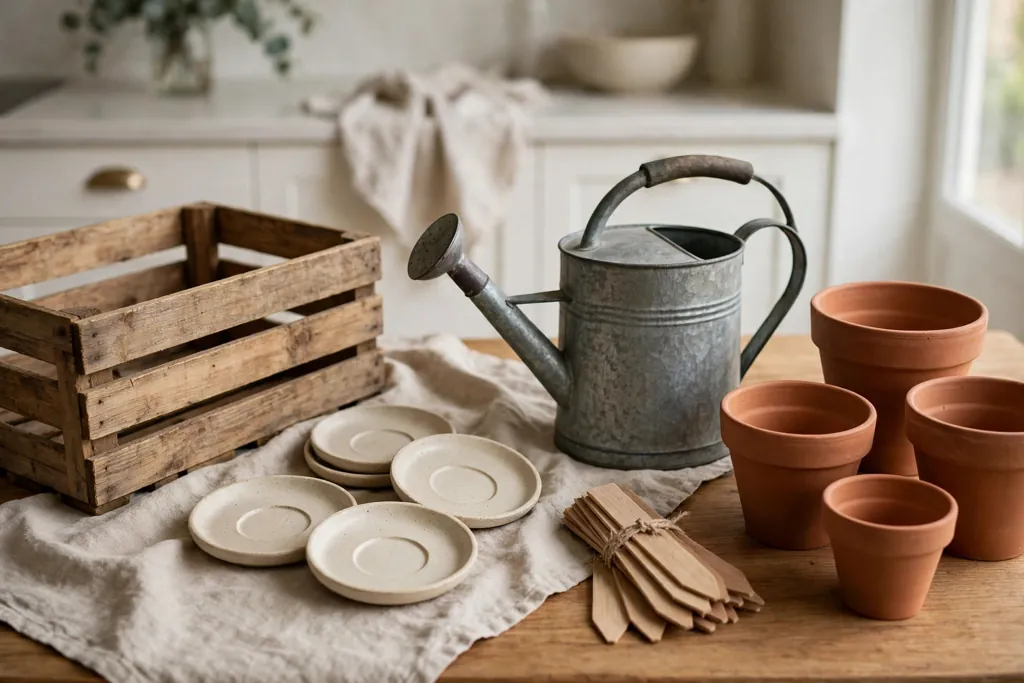
Set out everything you need before you open the soil bag, so planting stays quick and tidy. You need saucers for indoor pots, a tray or stand for the group, labels for each herb, and a watering can filled and left to reach room temperature. A shallow tray under a kitchen group protects counters and lets you move the whole display for cleaning. Outdoors, a wooden crate, a tiered stand, or a low bench lifts pots off cold or wet ground and improves air flow around them.
Prepare labels at this stage, not after planting, when soil on your hands makes writing hard. Write each herb name clearly on a label or marker, and add the planting date if you like to track growth. Keep a few spare labels, since markers fade outdoors and pots sometimes move. Having the display base ready also helps you judge spacing: set the empty pots on the tray or stand and check that each pot has room for its plant to spread without crowding its neighbors.
5. Prepare Drainage So Water Can Leave the Pot
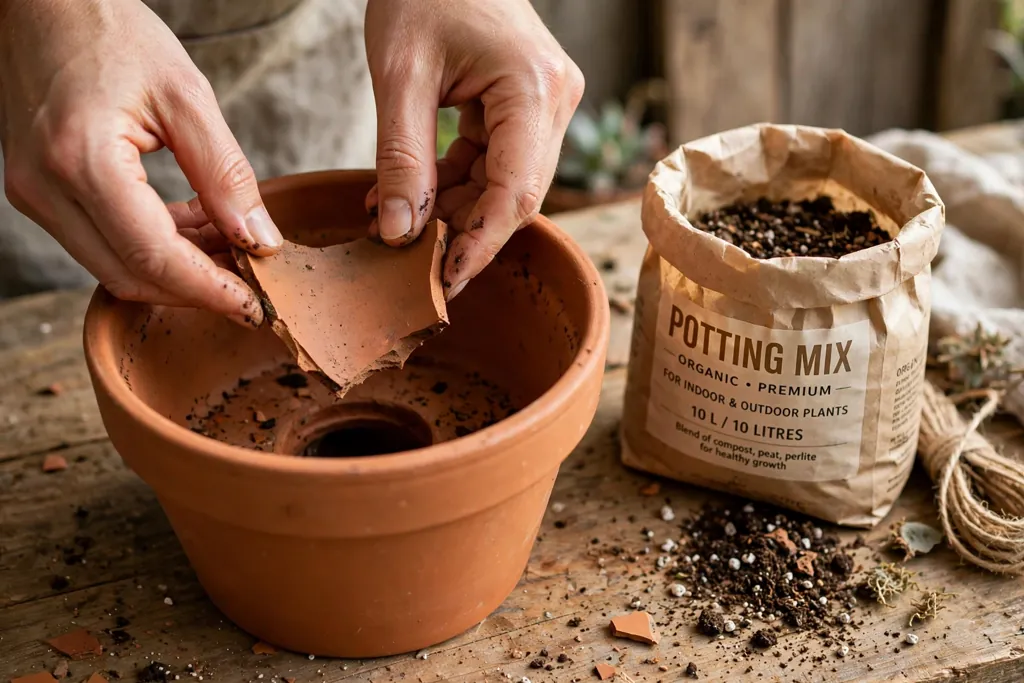
Good drainage starts at the base of the pot. Place a small piece of broken pot or a flat stone loosely over each drainage hole, so soil does not wash out while water still flows through. Do not fill the bottom of the pot with a deep layer of gravel, since that layer can trap water just above it and leave roots sitting wet. A single cover over the hole is enough, with the potting mix doing the rest of the drainage work.
Use a free draining potting mix, not heavy garden soil, which compacts in pots and holds too much water. A general potting mix with added coarse grit or perlite drains better and keeps air around the roots. Mix it in a bucket or tray before filling, and moisten it lightly so it holds together when squeezed but breaks apart easily. Dry potting mix can repel water at first, so damp mix gives new roots a better start and helps water spread evenly at the first watering.
6. Fill the Pots and Set the Planting Depth
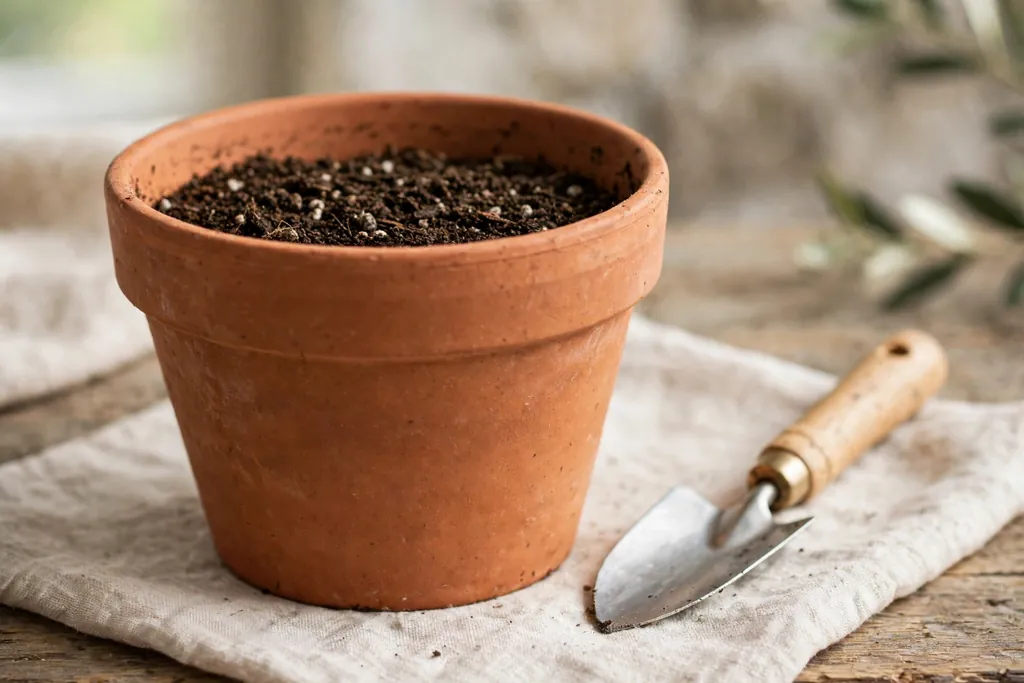
Fill each pot with damp potting mix to about an inch below the rim, leaving room for watering without soil spilling over the edge. Press the mix down gently with your fingers to remove large air pockets, but do not pack it hard, since compacted mix drains poorly and roots struggle to spread. Check the depth against the herb plant: the top of its root ball should sit level with the soil surface, not buried deep and not perched high above it.
If you plant from seed, follow the depth on the seed packet as a guide, and sow only a few seeds per pot, thinning to the strongest seedling later. Seeds need steady moisture until they sprout, so cover the pot loosely or check it daily and mist when the surface dries. For bought plants, tease out any roots that circle tightly around the root ball, since loosened roots grow outward into the new mix faster. Set the plant in the center of the pot, fill around it, and firm the mix lightly.
7. Plant One Herb Per Pot and Water It In Well
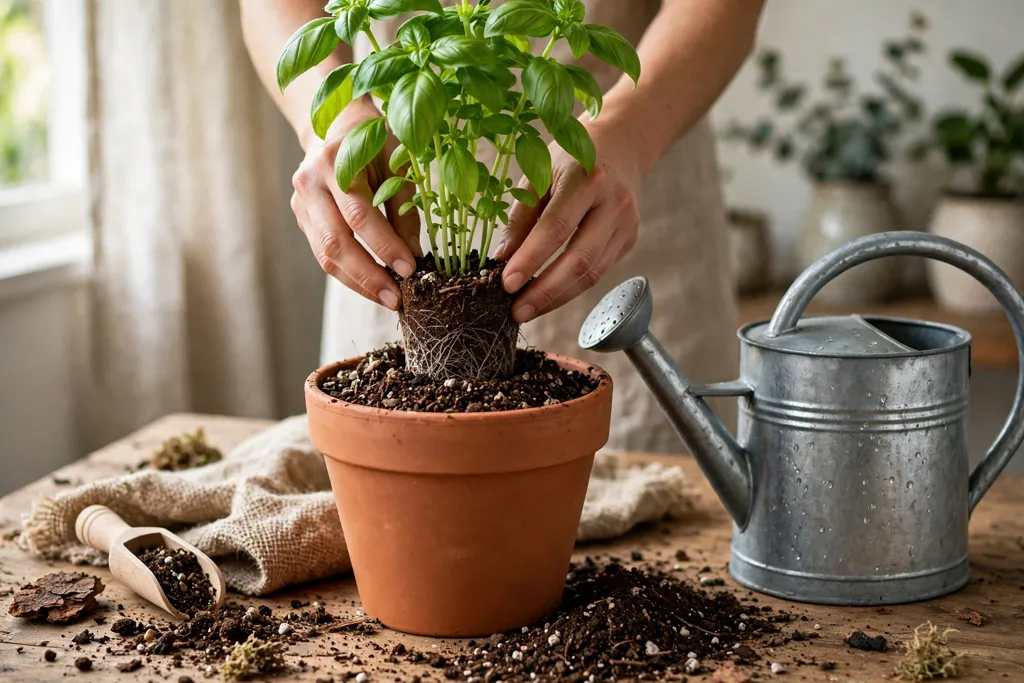
Plant one herb per pot, even when small plants make a shared pot tempting. Herbs grow at different speeds, and a fast grower such as mint or basil soon shades a slower neighbor, while different water needs mean one plant stays too wet or too dry. A single herb per pot also lets you move a plant that struggles, replace one that fails, and harvest without disturbing its neighbors. For a fuller look, use more pots, not fuller pots.
Water each pot well right after planting, until water runs from the drainage hole, then let the pot drain fully before you place it on a saucer or tray. This first watering settles the mix around the roots and shows you whether drainage works. Empty saucers after watering so pots do not stand in water, and check indoor pots again after half an hour, since terracotta can keep draining for a while. A plant that wilts in the first day often needs shade and water, not more soil, so move it out of harsh midday sun until it settles.
8. Label Every Pot While the Herbs Are Young
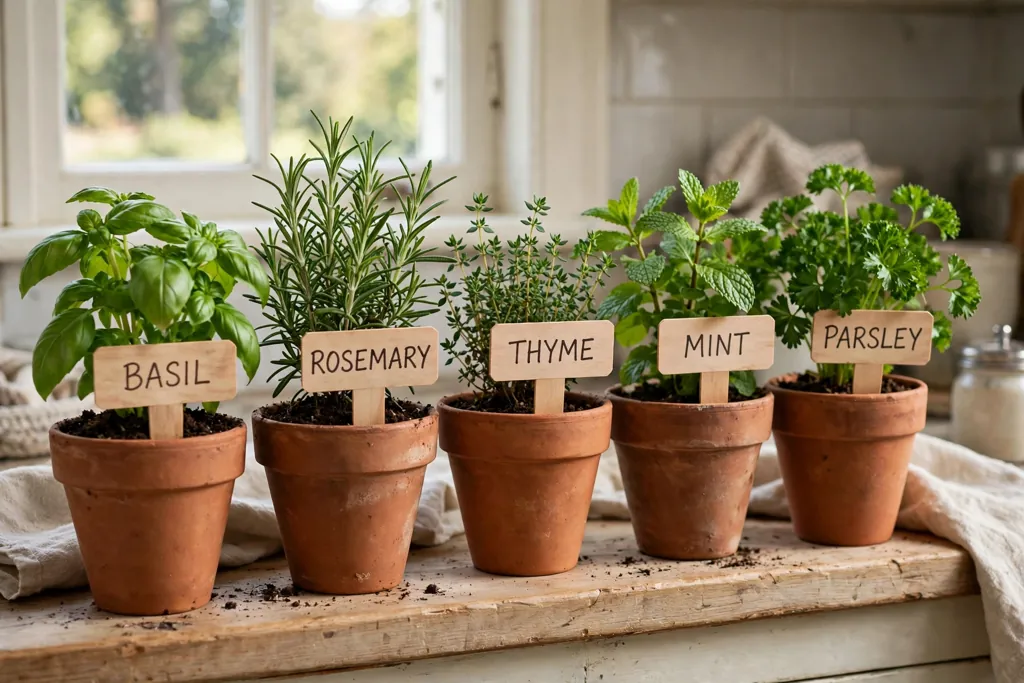
Push a label into each pot at planting time, near the edge so it does not crowd the plant or block watering. Young basil, oregano, and mint seedlings can look much alike, and labels stop you from snipping the wrong herb for a recipe. Place labels on the same side of each pot, facing outward, so you can read the whole display at a glance from your usual cooking or patio spot.
Use labels that survive your setting: wooden markers suit a sheltered kitchen, while plastic or metal markers last longer outdoors in rain and sun. Rewrite faded labels promptly, and add a note for herbs with special needs, such as mint in its own pot or rosemary that prefers drier soil, if that helps you remember the care each plant needs. Labels also help guests and family members harvest the right herb, which keeps the display useful for the whole household.
9. Arrange the Display by Height and Water Needs
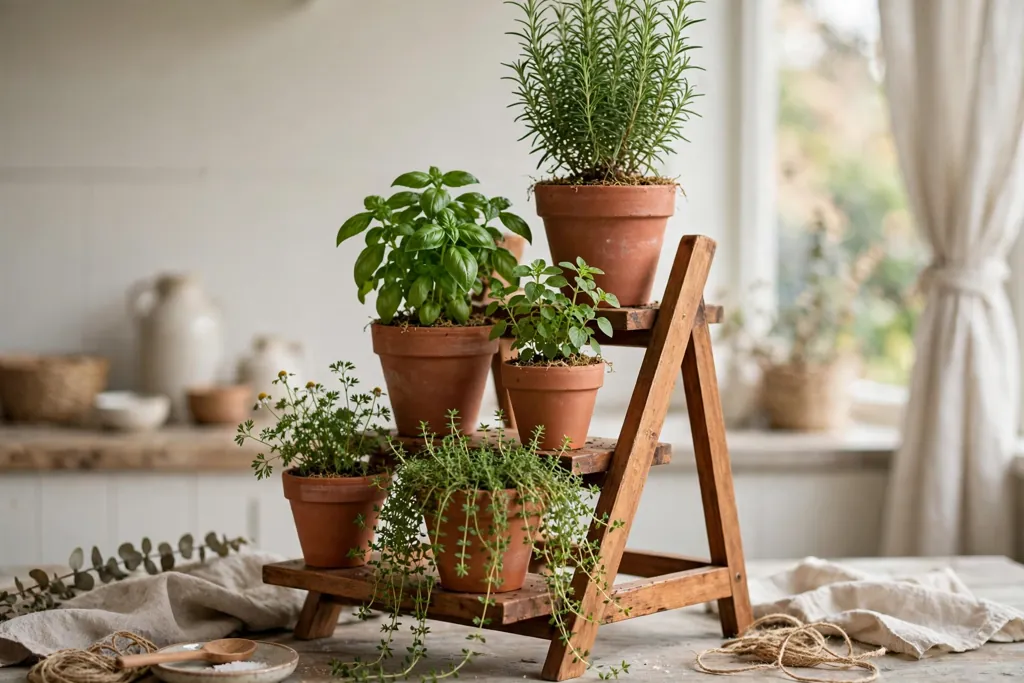
Arrange the pots as a group, not as a row of equal pots, so the display looks planned and every plant gets light. Put taller herbs such as rosemary and basil toward the back or the center of a stand, medium herbs such as parsley in the middle, and low or trailing herbs such as thyme and oregano at the front or the edges. On a tiered stand, place sun lovers on the top tier and herbs that cope with a little shade lower down, and leave a small gap between pots for air to move.
Group by water needs as well as height, so watering stays simple: keep rosemary, thyme, and oregano together where soil can dry out, and keep parsley, chives, and basil together where you check moisture more often. Step back and look at the group from the side you see most often, then adjust any pot that hides behind a taller neighbor. A display that looks good from the kitchen door or the patio chair is the one you will enjoy and keep up.
10. Place the Kitchen Display for Light and Easy Snipping
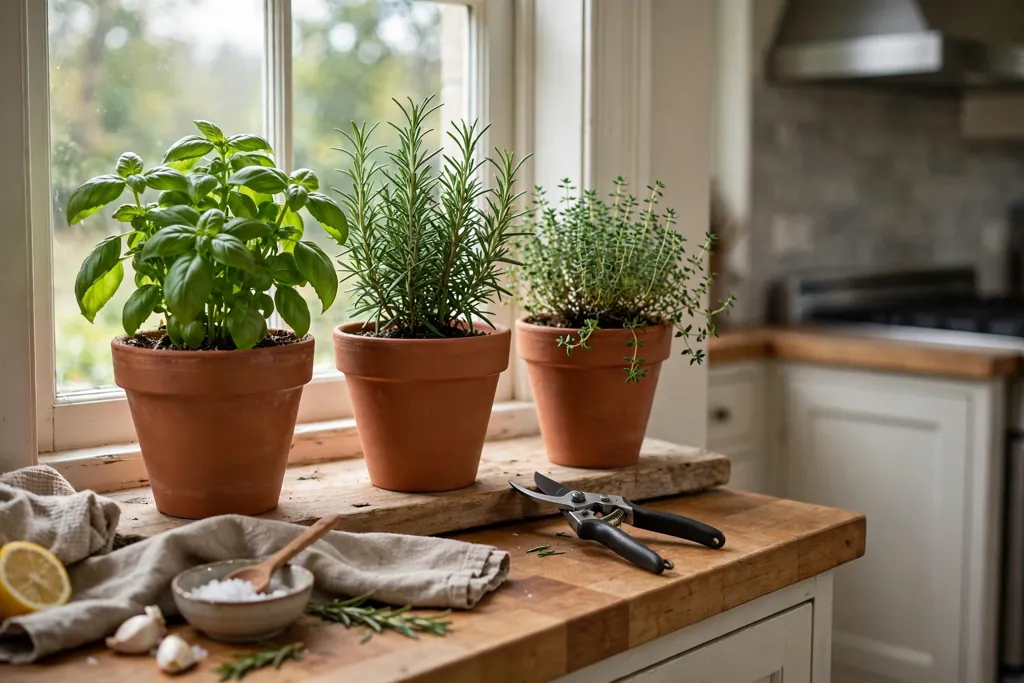
In the kitchen, place the display on a windowsill, a shelf by a window, or a counter that gets direct sun for part of the day. Keep pots close to where you cook, so snipping a handful of basil or parsley becomes part of meal prep rather than a trip to another room. Turn each pot a quarter turn every few days, since herbs lean toward the window and turning keeps growth even and full on all sides.
Protect the surface under the pots with saucers or a tray, and wipe up spills promptly, since terracotta can leave damp marks on wood. Keep pots away from the stove, where heat and steam dry soil fast and can scorch leaves, and away from a sink splash zone that keeps soil constantly wet. If winter light drops, move the display to your brightest window and cut back on watering, since plants grow slowly in low light and wet soil causes more harm than a dry spell.
11. Place the Patio Display for Sun, Shelter, and Drainage
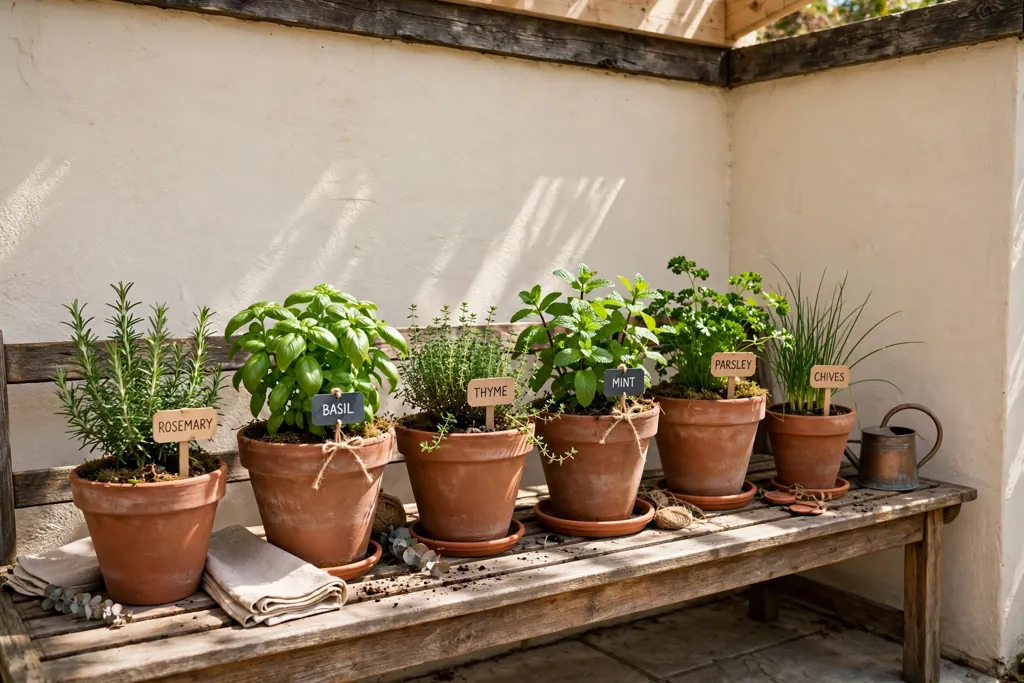
On a patio, choose a spot with sun for most of the day and some shelter from strong wind, which dries terracotta pots fast and can topple light pots. A spot against a wall or near a rail often gives both sun and shelter, and a bench, crate, or stand lifts pots off the ground so water drains away instead of pooling under them. Check that rain can run off the surface under the pots, and move pots off a spot where water puddles after storms.
Outdoor pots dry faster than indoor pots, so check soil daily in hot weather and water early in the day, when less water evaporates and leaves dry before night. Bring tender herbs such as basil indoors or into shelter when nights turn cold, and move the whole display if a storm brings heavy wind. In a small patio, a vertical stand or a wall mounted shelf keeps the display compact while still giving each pot sun and air.
12. Water by Checking the Soil, Not by a Fixed Schedule
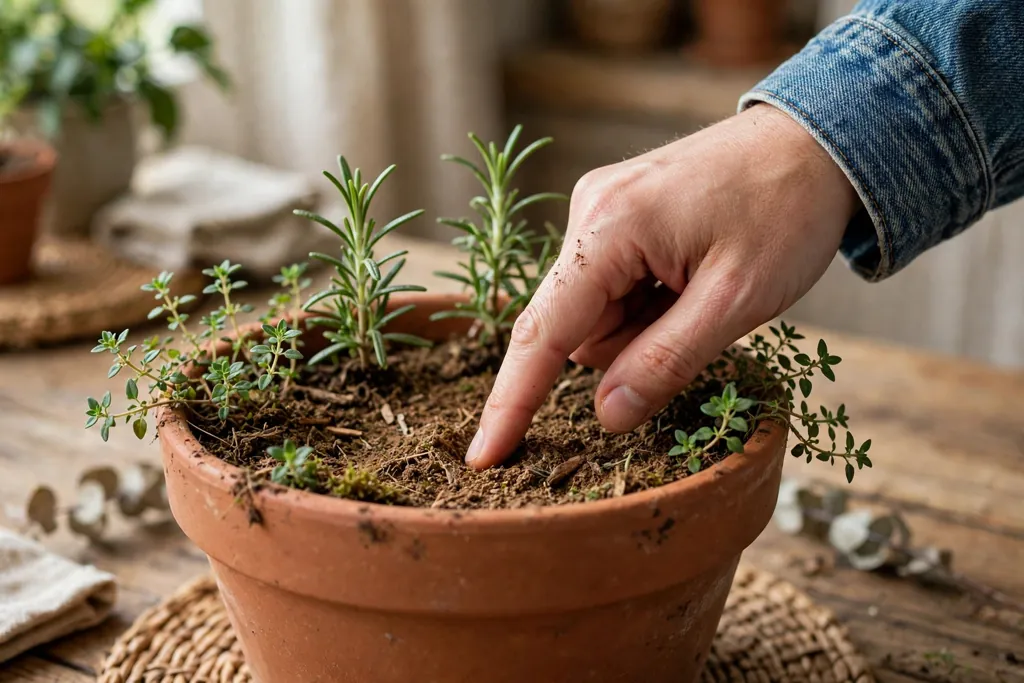
Water herbs when the top inch of soil feels dry to your finger, not on a fixed day each week, since sun, wind, pot size, and plant growth change how fast soil dries. Push your finger into the mix: if the top inch feels dry, water slowly until water runs from the drainage hole, then empty the saucer. If the mix still feels damp, wait and check again the next day. Terracotta pots dry from the outside as well as the top, so a pot that looks dry on the surface may still hold moisture deeper down.
Water at the soil level, not over the leaves, to reduce disease and keep foliage dry. Morning watering suits most herbs, giving leaves time to dry and roots time to take up water before the heat of the day. In winter, water far less, since growth slows and pots dry slowly indoors. Watch for signs of trouble: yellow leaves and soft stems often point to too much water, while dry, crisp leaf edges and wilting that lifts after watering point to too little.
13. Feed Lightly, Prune Often, and Harvest for Cooking
Feed herbs lightly, since too much fertilizer produces soft, weak growth with less flavor. A half strength liquid plant food once every four to six weeks during active growth is enough for most potted herbs, and many herbs need no feed at all in winter when growth slows. Skip feeding a newly planted herb for the first few weeks, while roots settle, and always water first so fertilizer does not sit on dry roots.
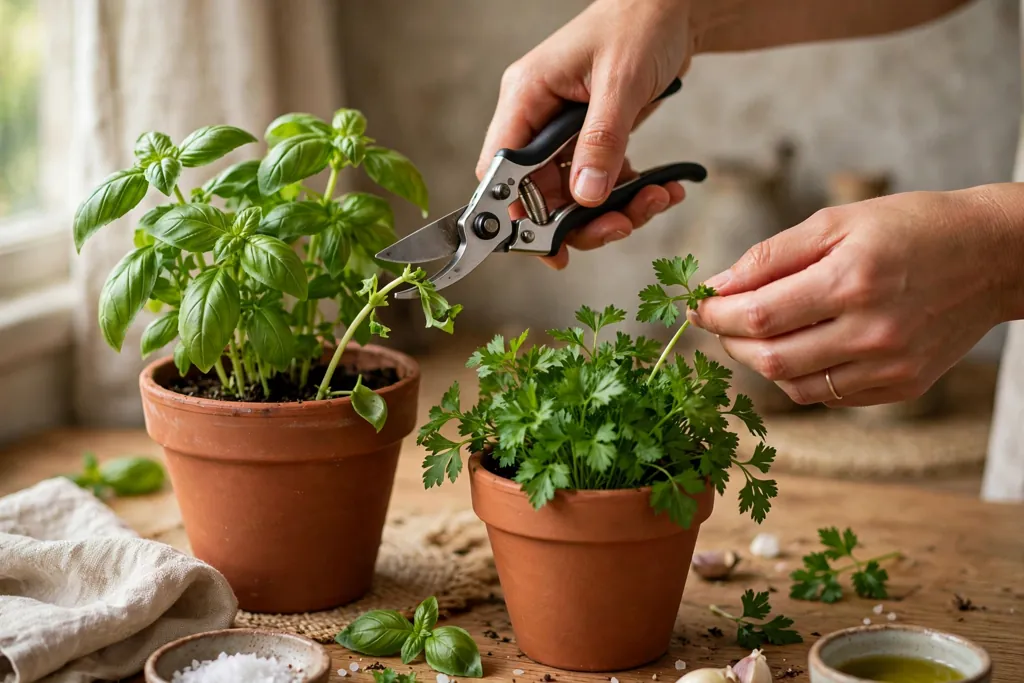
Prune little and often to keep plants bushy and productive. Pinch the top few inches of basil and mint regularly, snip parsley stems from the outside of the plant, and trim rosemary and thyme lightly after a flush of growth. Harvest in the morning when leaves hold the most scent, using clean snips, and never take more than about a third of a plant at once. Regular snipping stops herbs from growing tall and bare at the base, and it keeps fresh growth coming for cooking through the season.
14. Refresh the Display Through the Seasons
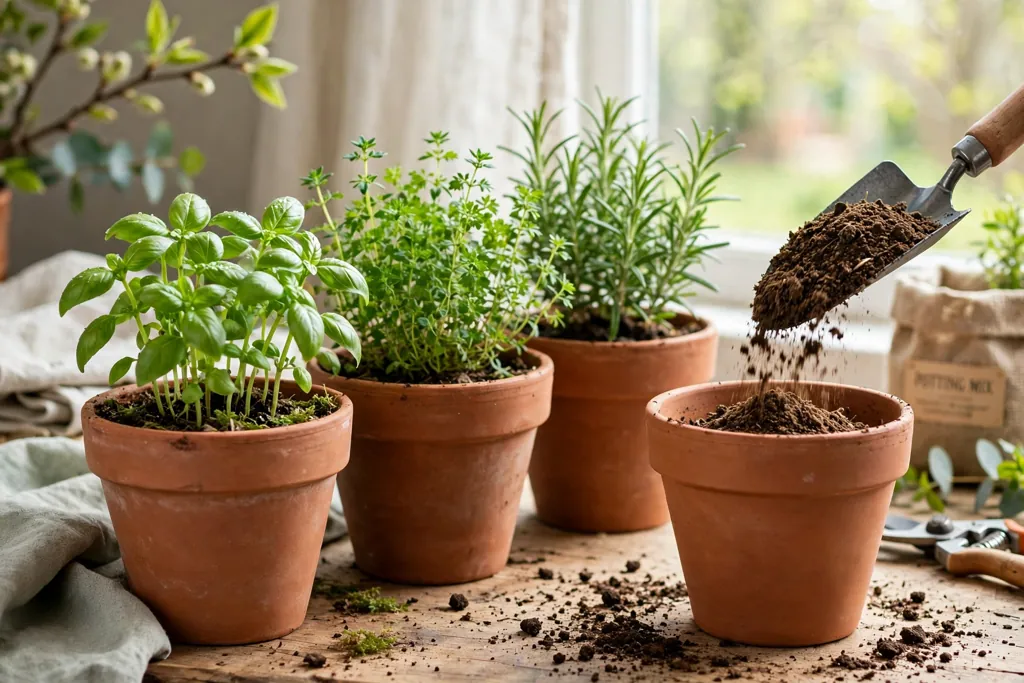
Refresh the display as seasons change, so it stays useful rather than tired. In spring, replace any herb that did not survive winter, top up pots where soil has settled, and move tender herbs outside only after cold nights pass. In summer, check water daily, prune fast growers, and harvest often to stop plants from flowering too early, since flowering can change flavor in herbs such as basil. Remove spent stems promptly and keep pots spaced for air in humid weather.
In autumn, bring tender herbs indoors before frost, cut back woody herbs lightly, and reduce watering as growth slows. In winter, keep the display in your brightest spot, water sparingly, and accept slower growth until spring returns. Every year or two, repot herbs that have outgrown their pots into the next size up with fresh mix, and replace cracked or salt stained pots. A display refreshed this way can last for years, with the same terracotta pots holding new herbs each season.
Conclusion
A terracotta herb pot display works best when the basics stay simple: a sunny spot, pots with drainage, one herb per pot, and soil that dries between waterings. Arrange the group by height and water needs, label each pot, and place it where you can reach it for cooking and care. With light feeding, regular pruning, and a seasonal refresh, the display gives you fresh herbs close at hand in the kitchen or on the patio. Start with a few herbs you cook with often, learn how they grow in your spot, and add more pots as your confidence grows. For more ideas from Dwell Ovell, browse the home page for home decor guides.
FAQs
How many hours of sun do terracotta herb pots need?
Most kitchen herbs need at least four to six hours of direct sun each day, so place the display on a sunny windowsill or a patio spot that gets morning and midday sun. Herbs such as parsley and chives cope with a little less sun, while rosemary, thyme, and oregano do best in full sun. If your spot gets less light, choose shade tolerant herbs and expect slower growth.
Why do terracotta pots dry out faster than plastic pots?
Terracotta is porous, so water moves through the clay wall and evaporates from the outside of the pot as well as from the soil surface. This helps soil dry between waterings and reduces the risk of wet roots, but it means you must check soil moisture more often, especially in sun or wind. Soaking new pots before planting and watering at soil level help keep moisture even.
Should I plant more than one herb in a terracotta pot?
Plant one herb per pot, because herbs grow at different speeds and need different amounts of water, so a shared pot often leaves one plant too wet or too dry. Mint in particular spreads fast and should always have its own pot. Use more pots for a fuller display, grouped by height and water needs, rather than crowding several herbs into one container.
How often should I water herbs in terracotta pots?
Water when the top inch of soil feels dry to your finger, then water slowly until water runs from the drainage hole and empty the saucer. In hot or windy weather this may mean daily checks outdoors, while indoor pots in winter may need water only once a week or less. Always check the soil first, since a fixed schedule ignores changes in sun, wind, and growth.
Which herbs grow best in terracotta pots?
Basil, parsley, chives, mint, rosemary, thyme, and oregano all grow well in terracotta pots with drainage holes and free draining soil. Mediterranean herbs such as rosemary, thyme, and oregano prefer sun and drier soil, while parsley and chives prefer steadier moisture. Start with herbs you cook with often, and keep mint in its own pot so it does not crowd its neighbors.
What do I do with terracotta herb pots in winter?
Bring tender herbs such as basil indoors before frost, move the display to your brightest window, and water sparingly while growth slows. Hardy herbs such as rosemary, thyme, and chives may survive a mild winter outdoors in a sheltered spot, but pots can crack in hard frost, so move them to shelter or wrap the pots when a hard freeze is forecast. In spring, replace any herb that did not survive and refresh the soil.