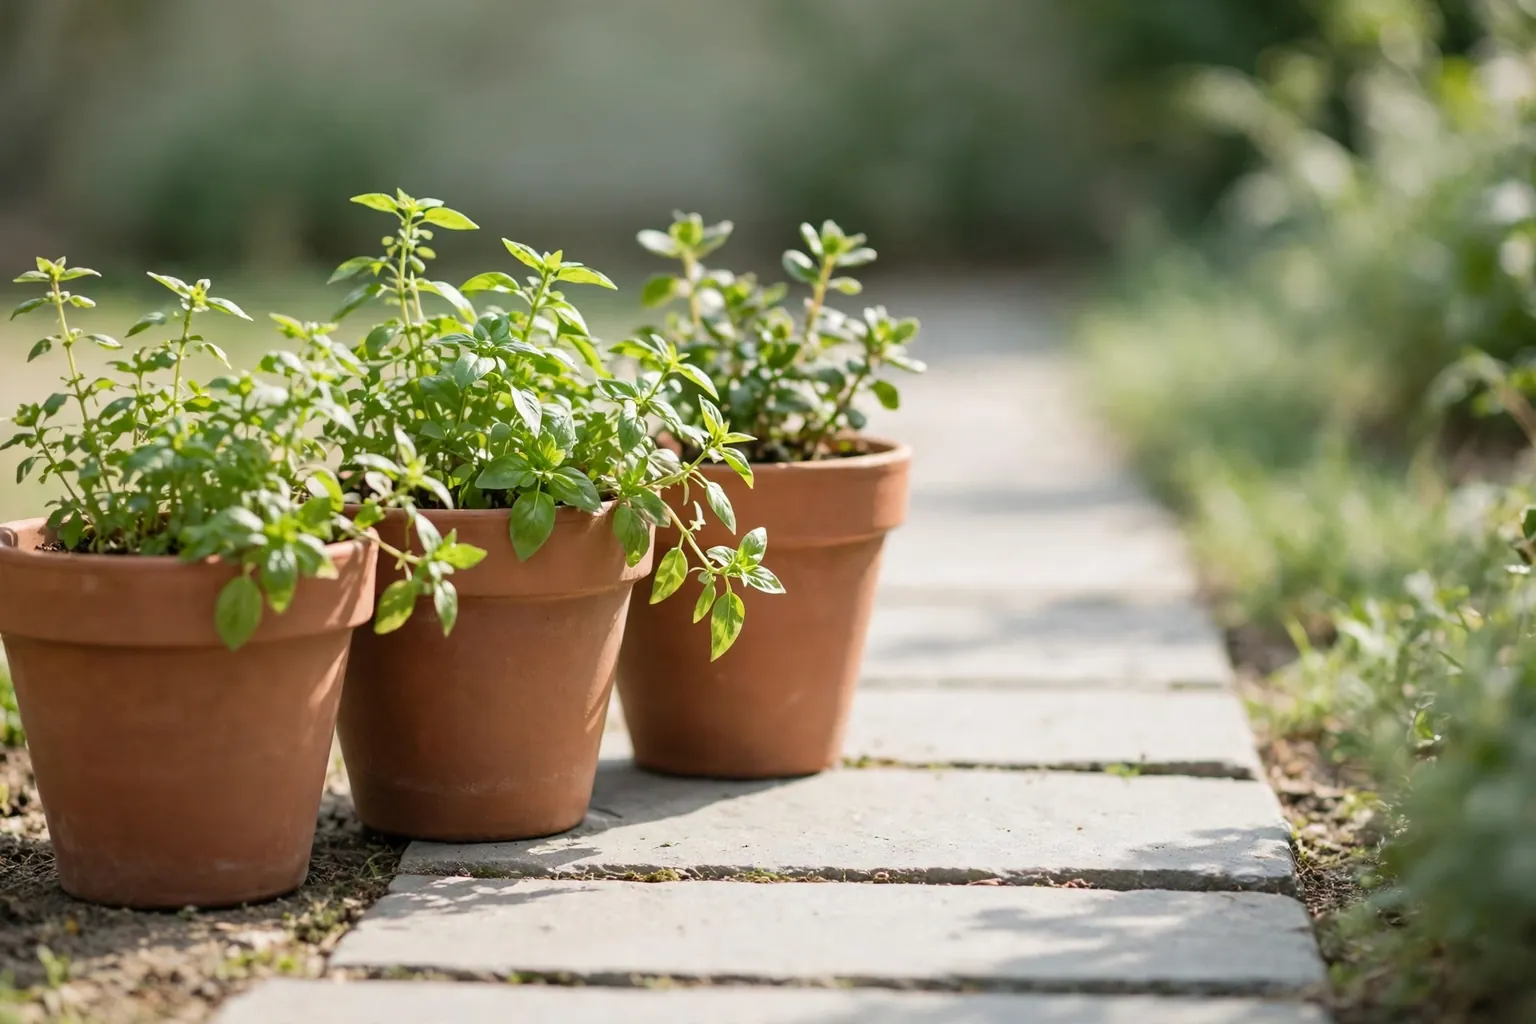
To style terracotta pots in your garden, group pots in varied sizes, match plants to sun and water needs, and repeat the warm clay color in two or three spots so beds, paths, and patios read as one plan. Start with one anchor pot, then add smaller companions.
Terracotta suits a garden because the clay color sits well beside soil, stone, wood, and green leaves, and the pots age gently outdoors. The risk is a scattered look, with single pots dotted around beds and patios that never quite connect. A few simple habits fix that: repeat pot sizes, keep one color thread, vary heights, and leave clear space around each group so plants can grow. For porch styling that pairs well with clay pots, see these fall front porch decor ideas.
Key Takeaways
- Start with one anchor pot, then add smaller companions in the same clay tone, so each group has a clear focal point.
- Group pots in odd numbers and varied heights, and repeat terracotta in two or three spots across the garden.
- Match each plant to the sun and water of its spot, and check drainage before planting, since clay pots dry out faster than plastic pots.
- Keep paths and steps clear, with pot groups set to the sides, so the garden stays easy to walk through and water.
- Use saucers, pot feet, and a level base to keep pots stable, protect surfaces, and help water drain away.
- Rotate seasonal plants, tidy spent blooms, and group tender pots together for winter shelter when frost is forecast.
1. Flank the Entrance With a Matching Pair
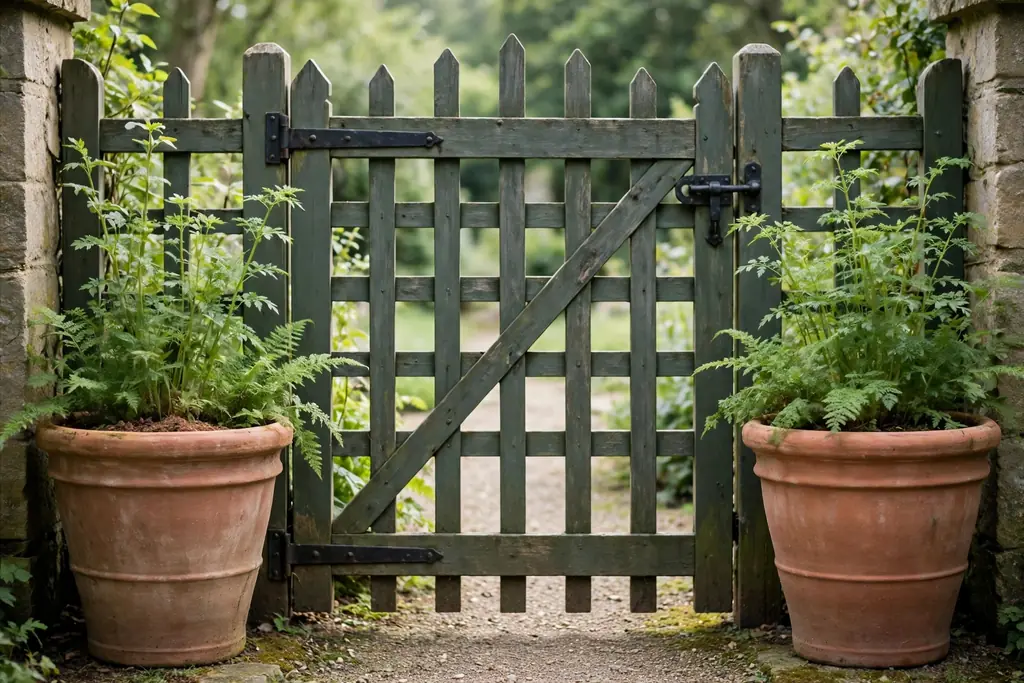
Place one large terracotta pot on each side of a garden gate or front door, planted with the same plant in both pots, for a calm and balanced entrance. A pair works because the eye reads the two pots as one idea, even when the rest of the garden is informal. Choose pots tall enough to be seen from the path, and set them back from the walking line so the door stays easy to reach.
Plant both pots on the same day, with the same soil mix and plant size, so they grow at a similar rate. Water them on the same routine, and trim them together, since one full pot beside one thin pot breaks the pair at once. If only one side has room, use a single large pot plus a smaller companion beside it, rather than forcing a pair into a narrow space.
2. Build a Tiered Tower From Stacked Pots
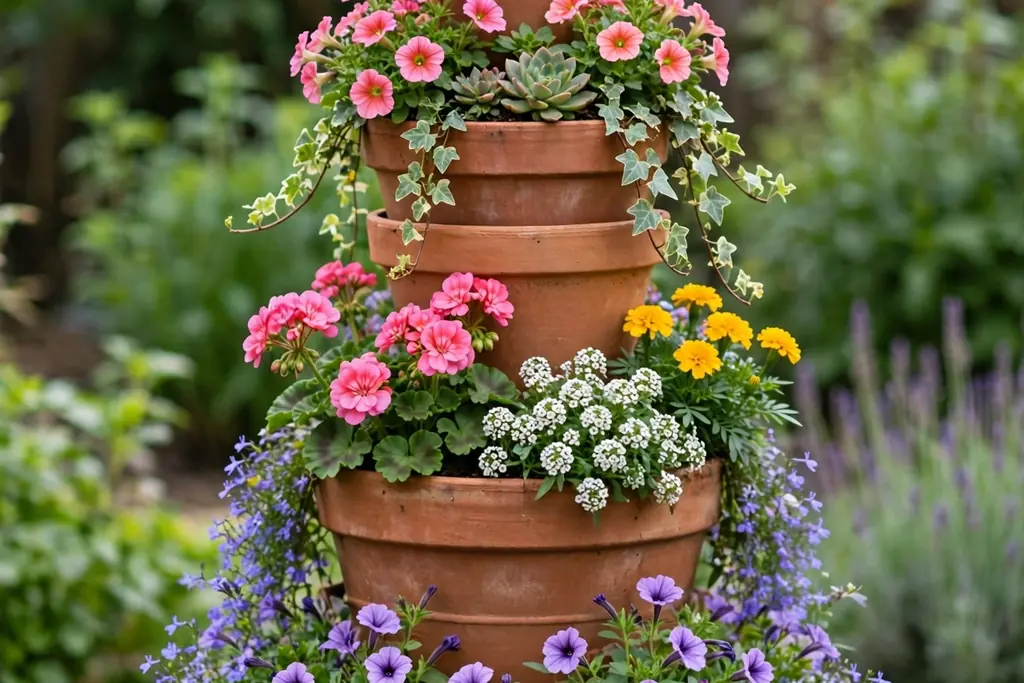
Stack terracotta pots in decreasing sizes to make a tiered tower that adds height in a small footprint. A central rod through the drainage holes keeps the stack stable, and each tier can hold a different plant, such as trailing leaves at the top and compact flowers below. A tower suits a patio corner, a porch step, or the end of a path, where a wide bed would block movement.
Fill each tier with soil as you build, and plant the top tier last, so soil does not spill onto lower plants. Water the top tier slowly, since water will drain down through the stack, and check the lower tiers before watering again. Keep the tower away from a spot where children or pets bump into it, and set the base pot on level ground so the stack does not lean.
3. Gather Herbs in a Cluster by the Kitchen Step
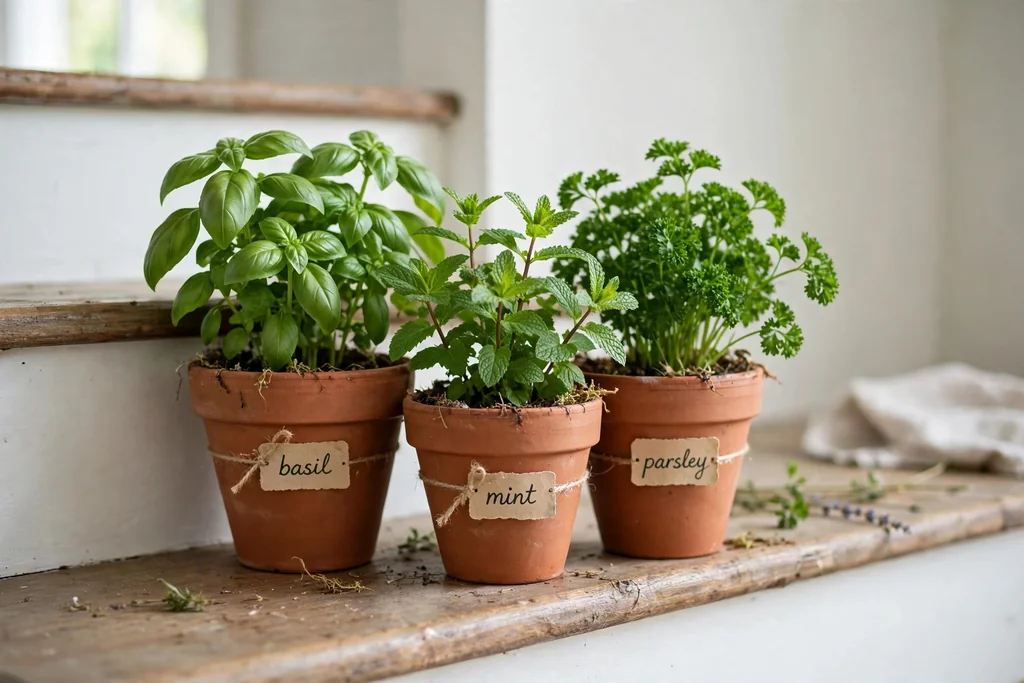
Gather terracotta herb pots in a cluster by the kitchen step or back door, so herbs are easy to pick while cooking and easy to water in one trip. Use one large pot for a vigorous herb, such as mint, which can crowd smaller plants, and smaller pots for herbs that stay compact. A cluster by the door also keeps herbs in sight, so they are used rather than forgotten in a far bed.
Label each pot if the herbs look alike when young, and keep the cluster on a tray or saucers so water does not stain the step. Trim herbs often, since regular picking keeps plants bushy rather than tall and thin. In hot weather, check the cluster daily, because small clay pots dry out faster than beds, and move the most tender pots into light shade during a heat spell.
4. Line a Path With a Row of Pots
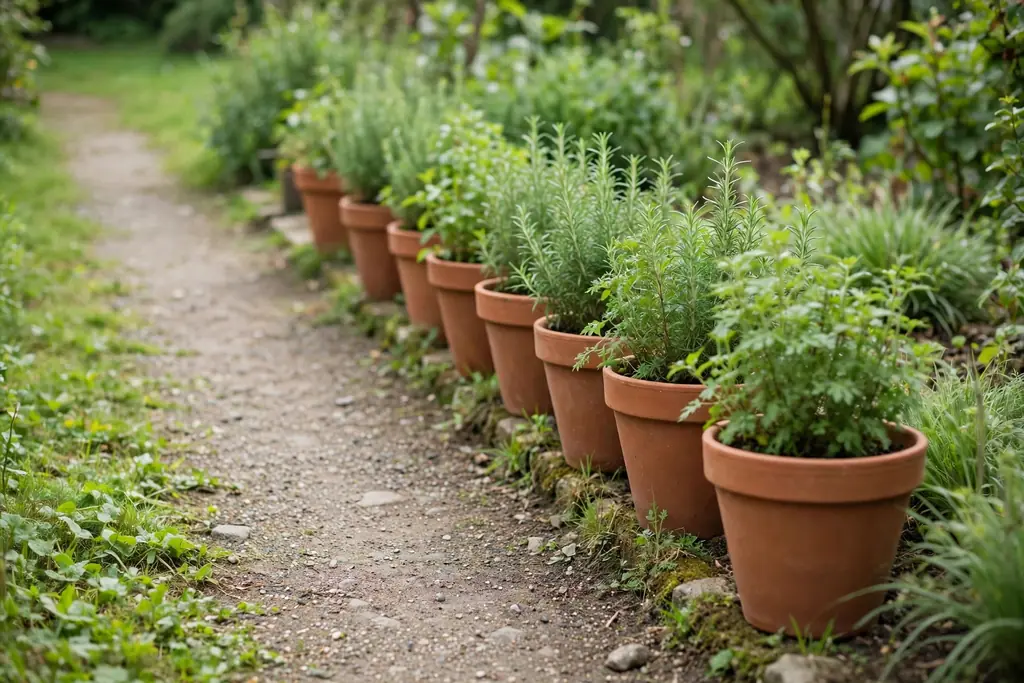
Line one side of a garden path with terracotta pots in a repeated size, planted with the same plant or a shared color, to guide the eye along the walk. A row works best when the pots sit at even spacing on a level edge, with low plants that do not block the path or brush against legs. Keep the row on one side only, so the path stays open and the display reads as an edge, not a barrier.
Choose plants that suit the path light, since a sunny path and a shaded path need different plants even in the same pots. Water the row in order, from one end to the other, and check the pots at the sunny end first, since they dry out first. If the path is narrow, use smaller pots set back from the edge, and keep one pot-free gap where a hose or wheelbarrow needs to pass.
5. Mix Sizes in a Corner Group
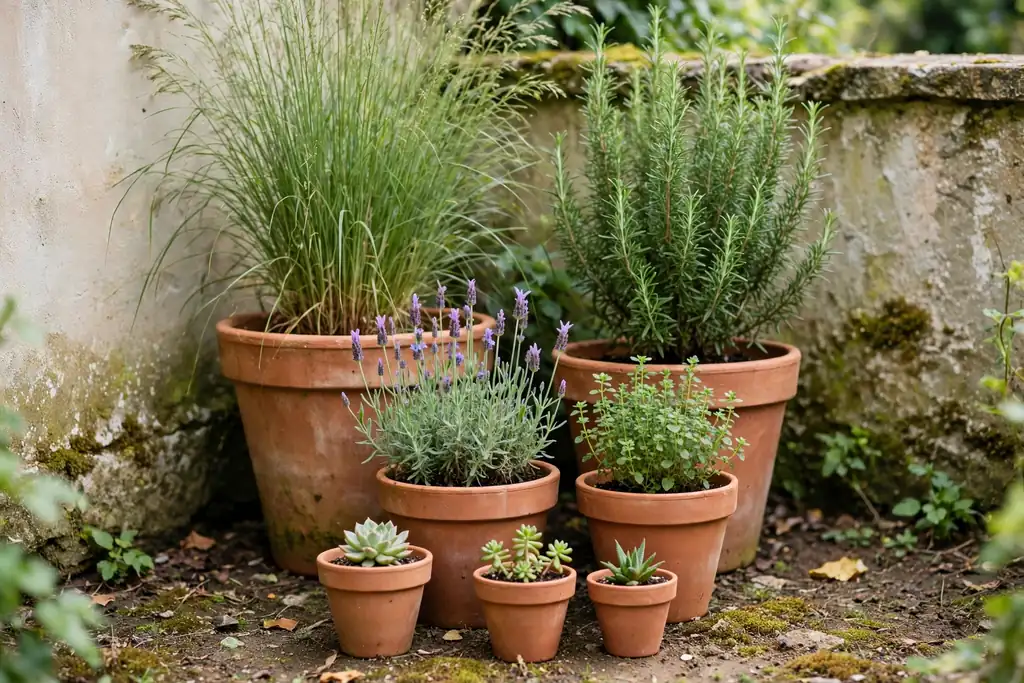
Mix three or five terracotta pots of different sizes in a garden corner, with the tallest at the back and the smallest at the front, so the group looks collected rather than lined up. A corner group fills a spot that is hard to plant, such as where a fence meets a wall, and it gives a small garden a focal point without a new bed. Vary plant heights as well, with a taller plant in the back pot and trailing plants in the front pots.
Set the pots on a level base, such as a flat stone slab, so they do not sink into soft soil after rain. Leave a small gap between pots for air and watering, rather than packing them tight, since crowded pots hide each other and make watering awkward. Step back and check the group from the main viewing spot, such as a patio chair, and move one pot at a time until the shape reads well from there.
6. Plant One Specimen Tree in a Large Pot
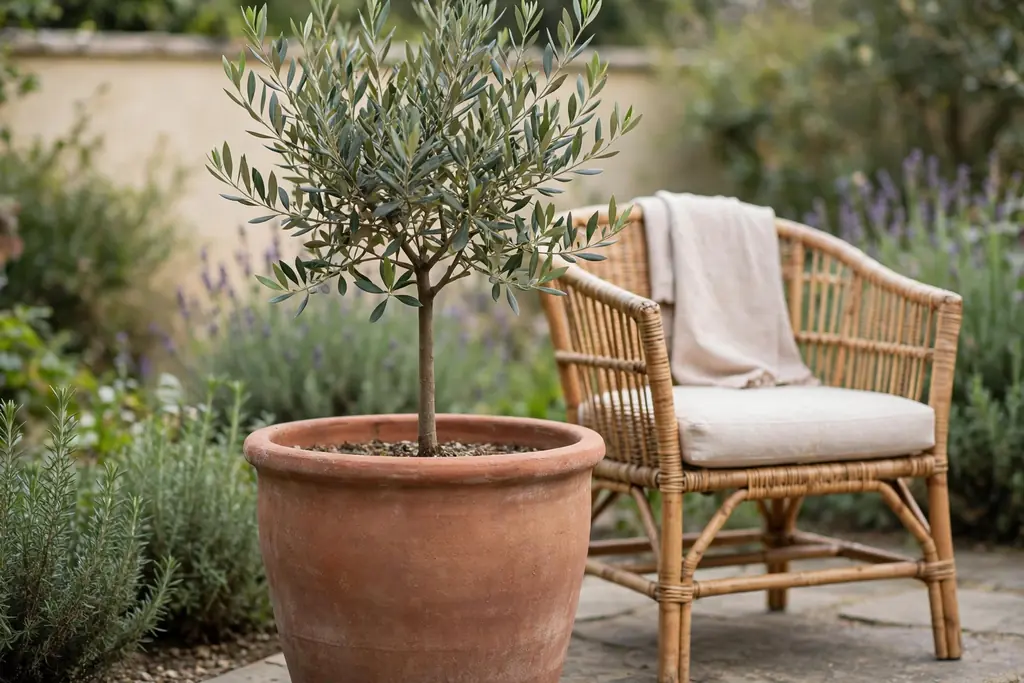
Plant one specimen tree, such as a small olive, citrus, or bay tree suited to a pot, in a single large terracotta pot as a garden anchor. A large pot gives the tree room for roots and weight for stability, and the clay color grounds the tree in the garden better than a bright container. Place the anchor where it can be seen from a seating area, and leave clear space around it so the canopy can grow without brushing a wall or fence.
Check the plant label for pot size, sun, and frost needs before planting, since a tree that outgrows its pot quickly will need frequent repotting. Water deeply but less often than for small pots, and check drainage each season, since a blocked hole in a large pot is hard to fix once the tree is established. Feed and prune only as the plant label directs, and plan how the pot will be moved, since a large planted pot is heavy.
7. Let Trailing Plants Spill Over the Rim
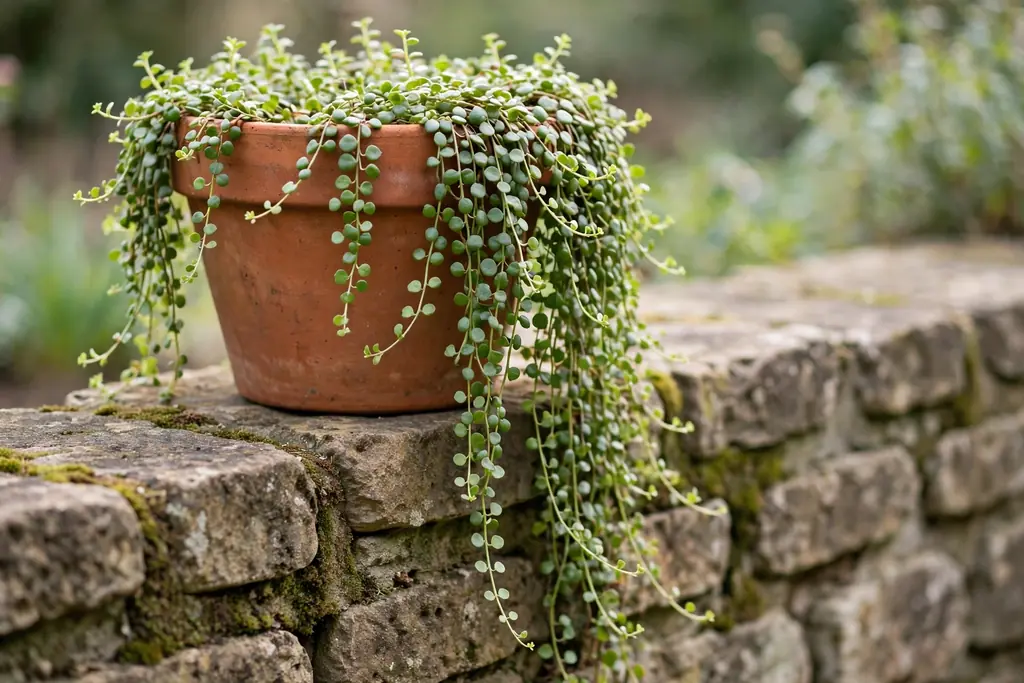
Let trailing plants spill over the rim of a terracotta pot, so a plain pot gains softness and height without extra structure. Trailing stems suit a pot set on a wall, a step, or a high shelf, where the stems can hang freely and be seen from below. Pair one trailing plant with one upright plant in the same pot, so the pot has height in the center and softness at the edge.
Trim trailing stems when they grow thin at the base, and pinch back the tips to encourage fuller growth, following the plant label for that plant. Water the pot from the top slowly, so water reaches the roots rather than running down the trailing stems. If the pot sits on a step, keep the trailing stems clear of the walking surface, so they are not stepped on or tripped over.
8. Collect Succulents in a Dry Corner
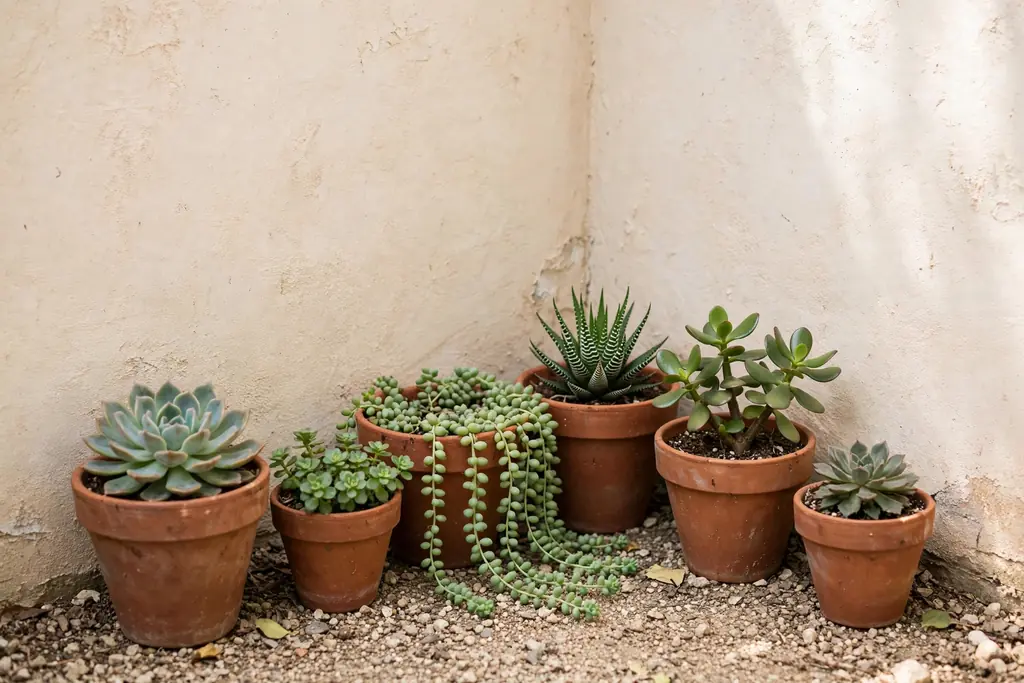
Collect succulents in terracotta pots in a dry, sunny corner, where the clay helps soil dry between waterings and the warm pot color suits the plants. Group succulents of different shapes, such as rosettes, upright stems, and low spreading types, in pots of similar clay tone, so the group reads as a collection rather than a random set. A dry corner near a south facing wall often suits succulents, since the wall reflects warmth and shelters the pots from cold wind.
Use a free draining soil mix suited to succulents, and water only when the soil feels dry well below the surface, since overwatering is the most common problem for potted succulents. In cold areas, plan to move the pots under cover before frost, since many succulents are tender and clay pots can crack in a hard freeze. Keep the pots on pot feet, so rain drains away instead of pooling under the base.
9. Rotate Seasonal Flowers Through the Year
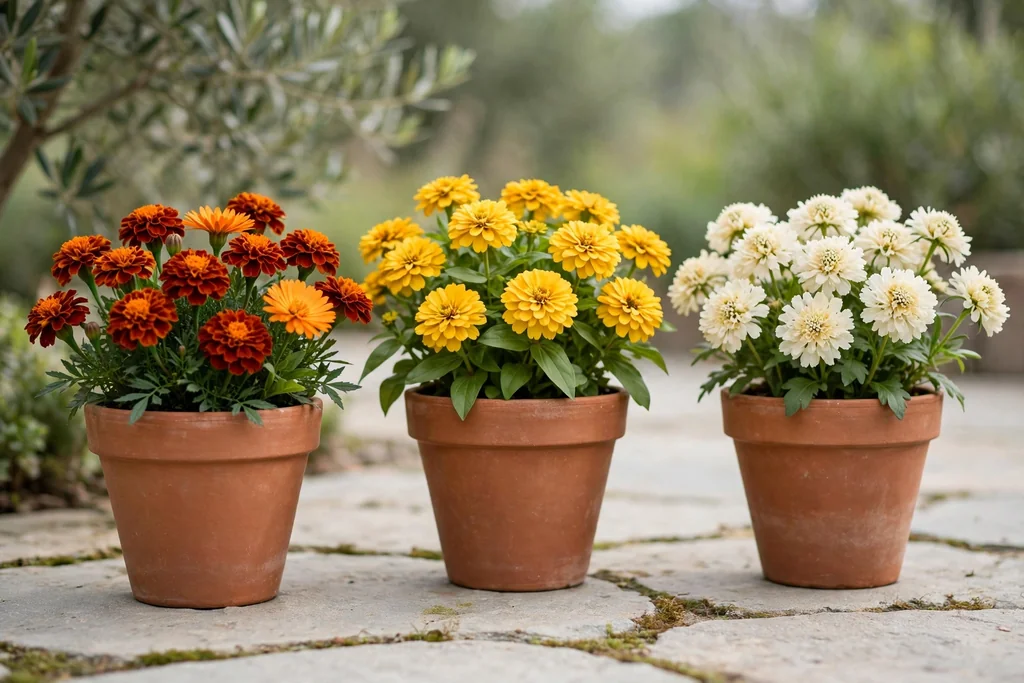
Rotate seasonal flowers through terracotta pots, so the same pots look fresh in spring, summer, and fall without buying new containers each season. Start with spring bulbs, follow with summer bedding plants, and finish with fall flowers such as mums, changing only the plants and the top layer of soil. A shared color thread, such as warm rust, gold, and cream, keeps the rotation calm even when the flowers change.
When one season ends, remove spent plants, loosen the top soil, and check drainage before replanting, since old roots can block the hole. Keep a note of which plants did well in each pot, so the next rotation repeats the successes and drops the plants that struggled. For seasonal styling beyond the garden, see these summer decor ideas for light, warm weather looks that pair well with clay pots.
10. Whitewash a Few Pots for a Light Corner
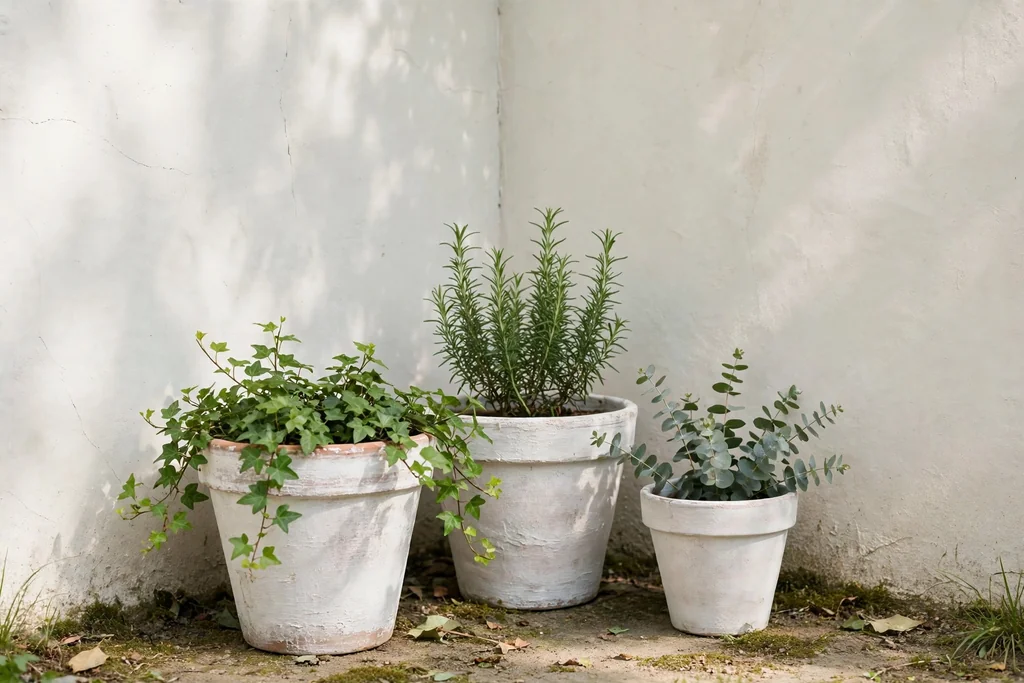
Whitewash a few terracotta pots for a light corner, such as a shaded seating area or a pale wall, where plain clay can look dark. A thin whitewash lets the clay texture show through while lifting the color, so the pots still read as terracotta rather than as painted plastic. Use whitewash only on a few pots in one area, and keep the rest plain, so the light pots act as an accent rather than a new color scheme.
Test the whitewash on one pot first, and let it dry fully before planting, since a wet finish can flake onto soil. Seal the finish only if the product label directs it, and keep whitewashed pots out of the wettest spots, since constant damp can wear the finish faster. Pair whitewashed pots with green plants and pale gravel or stone, so the light color has a calm base to sit on.
11. Age Pots Naturally in a Sheltered Spot
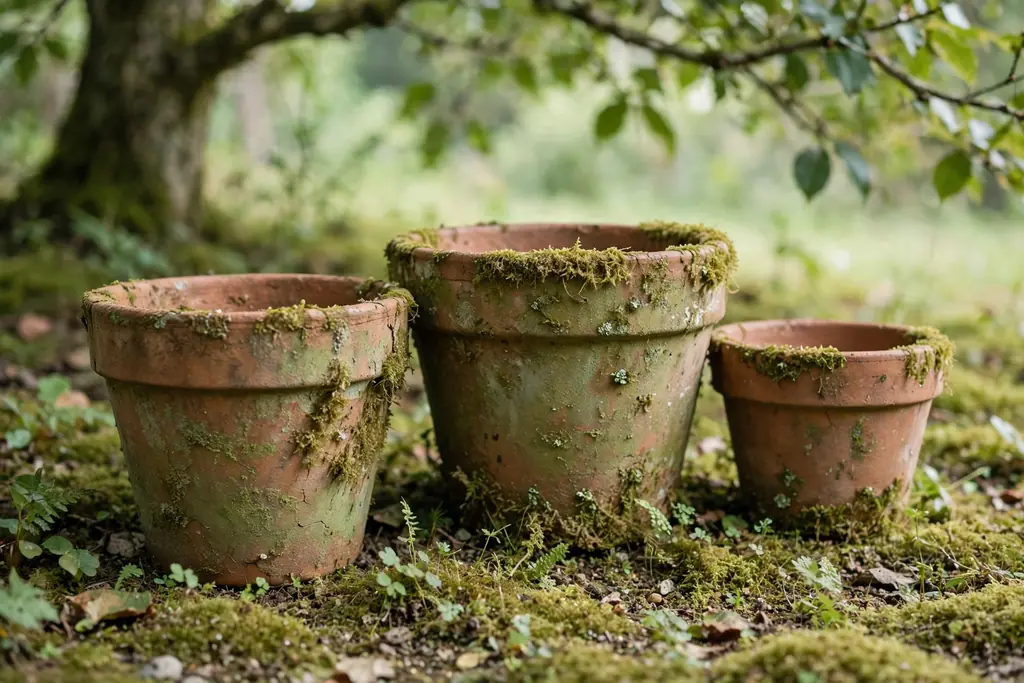
Age terracotta pots naturally by placing them in a sheltered, damp spot, such as under a tree or beside a north facing wall, where moss and a soft patina can form over time. Aged pots suit a cottage garden, a woodland edge, or a bed of ferns, where a new, bright clay pot can look too fresh. The aging process takes a season or more, so set the pots where they can stay undisturbed while the surface changes.
Do not force aging with harsh treatments, and avoid sealing a pot you want to age, since a seal stops the surface from changing. Check the pots each season for cracks, since a pot left damp through winter can crack in frost, and move aged pots under cover in a hard freeze if they are small. Mix one or two aged pots with plain pots, so the weathered look reads as part of the garden rather than as neglect.
12. Edge a Bed With a Low Pot Border
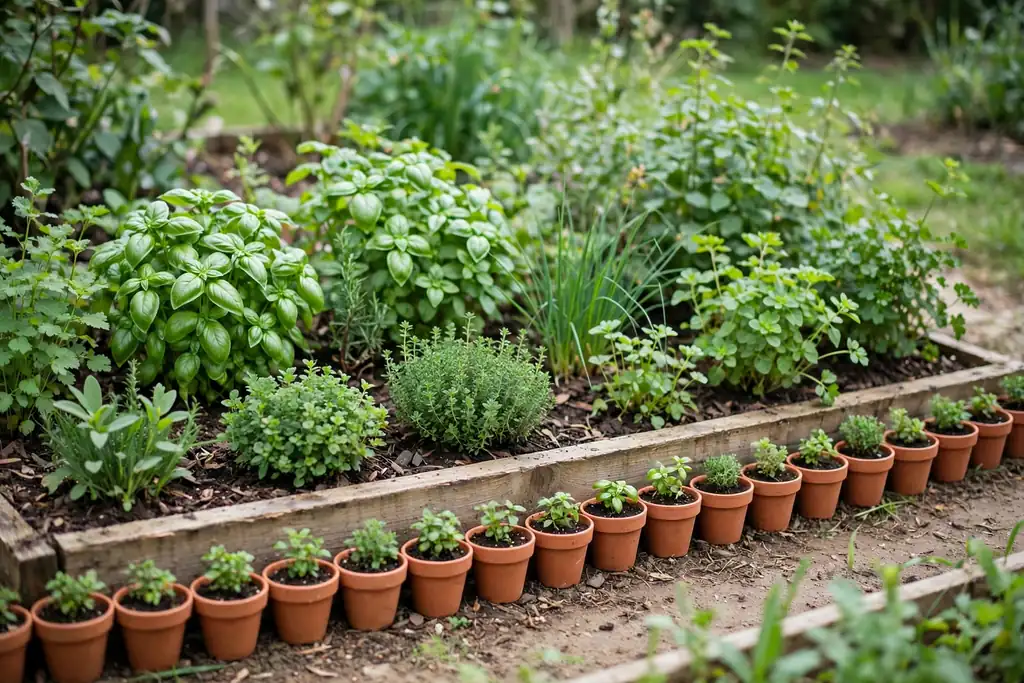
Edge a garden bed with a low border of small terracotta pots, set rim to rim along the bed edge, planted with compact herbs or low flowers. A pot border marks the edge clearly, keeps soil in the bed, and lets you change the edge planting without digging a new border. It suits a vegetable bed, a herb bed, or a cottage bed where a formal stone edge would look too hard.
Bury each pot to about half its depth, so the rim sits just above soil level and the pots do not tip when brushed. Plant the border pots with plants that stay low, and trim them often, since a tall border plant will hide the bed behind it. Water the border pots on the same routine as the bed, and check them after heavy rain, since small pots at a bed edge dry out and wash out faster than the bed itself.
13. Cluster Pots as a Patio Table Centerpiece
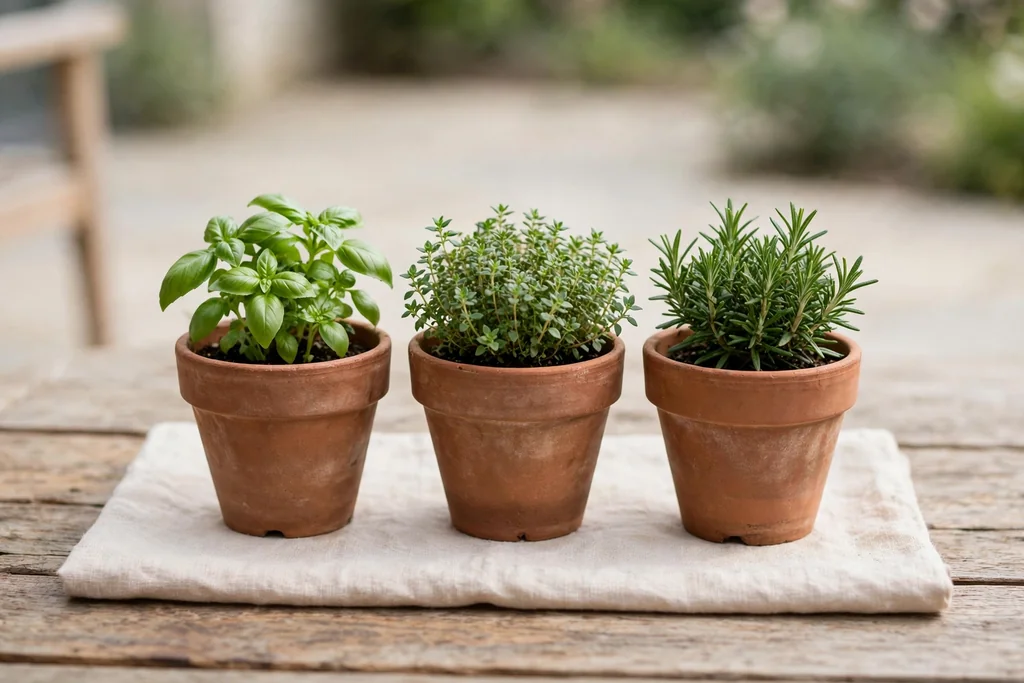
Cluster three small terracotta pots as a patio table centerpiece, with one taller pot in the center and two lower pots beside it, planted with compact herbs or flowers. A table cluster brings the garden onto the patio table without blocking talk across the table, since the plants stay low and the pots stay within the center of the table. Choose plants with a light scent or no scent, so the centerpiece suits a meal as well as a quiet coffee.
Keep the cluster on a tray, so water does not mark the table and the pots can be lifted off together when the table is needed for serving. Trim the center plant often, so it does not grow tall enough to block the view across the table. At the end of the day, check the tray for standing water, and tip it out, since pots sitting in water can rot roots and stain the tray.
14. Hang and Mount Pots on a Fence or Wall
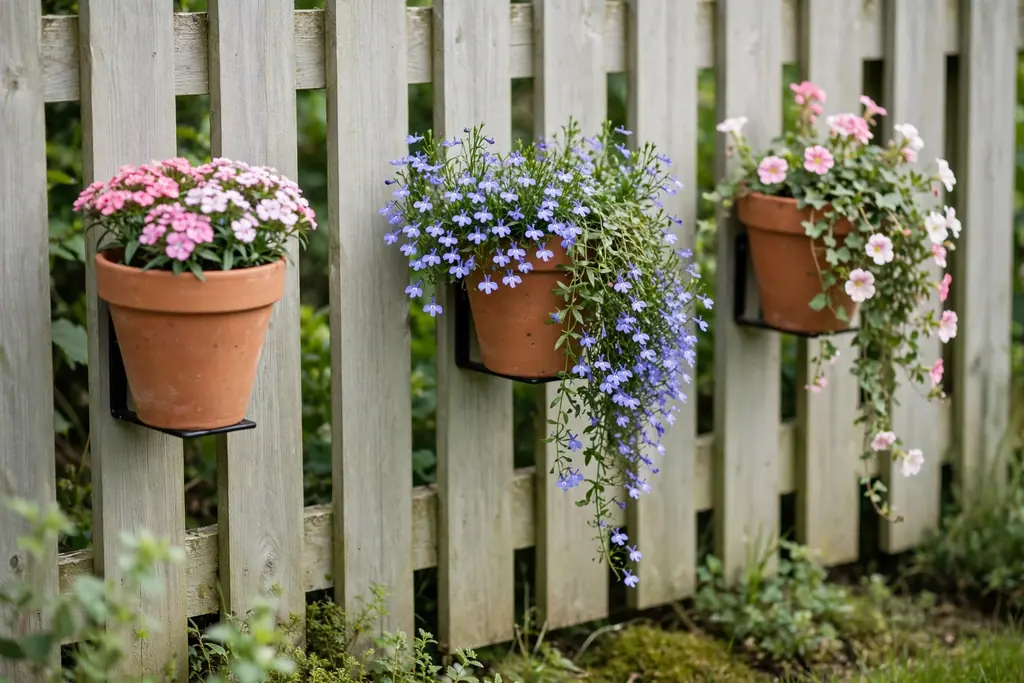
Hang and mount terracotta pots on a garden fence or wall, using brackets made for pots, to add planting height without taking floor space. Wall pots suit a small garden, a narrow side passage, or a bare fence that needs softening, and they bring flowers and herbs to eye level. Use small or medium pots only, since a large planted pot is heavy and can pull a weak bracket from the fence.
Fix each bracket firmly, following the bracket instructions, and check the fixings each season, since wet soil adds weight and wind adds movement. Plant wall pots with compact or trailing plants, and water them slowly, since water runs out of a wall pot fast and can splash the wall below. Keep wall pots clear of gates and hinges, so they do not block movement or catch on a swinging gate.
15. Stage Pots on Steps and a Plant Shelf
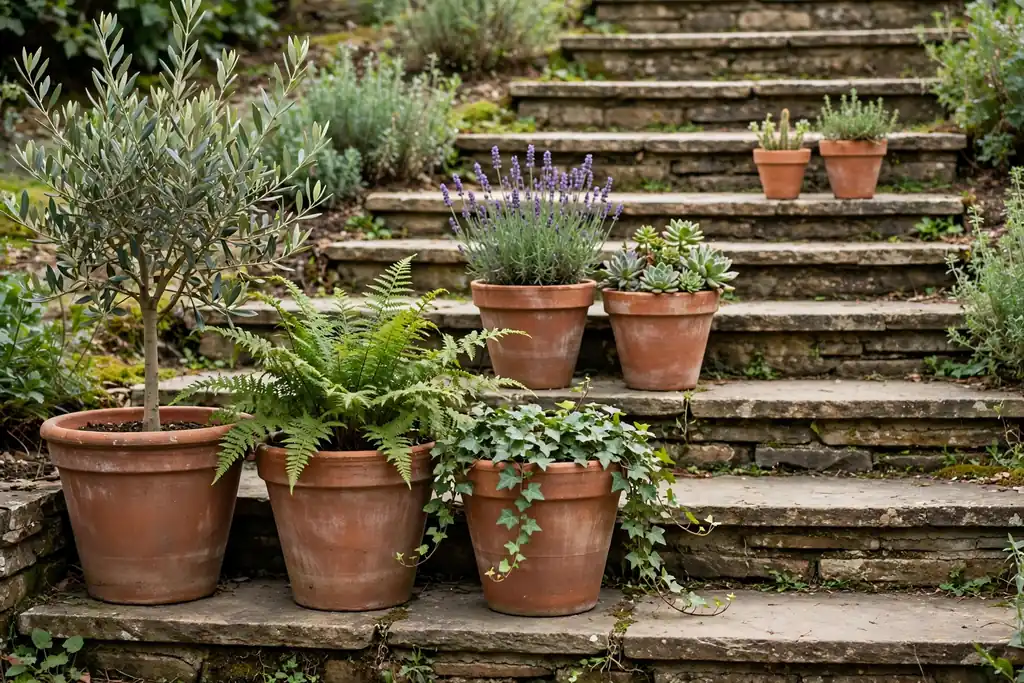
Stage terracotta pots on garden steps and a plant shelf, with larger pots low and smaller pots high, so the display rises in steps and each pot can be seen. A step display suits a porch, a patio edge, or a slope, where the steps themselves give height without a new structure. Keep one step clear for footing, and set pots to the sides of steps, so the display never blocks a safe path.
Use a sturdy shelf rated for outdoor use, and set the heaviest pots on the lowest shelf, so the shelf stays stable. Water the top shelf first, and check the lower pots before watering again, since drips from above can keep lower soil wet longer than expected. Move the shelf display under cover in strong wind if the pots are small, since a shelf of light pots can tip more easily than pots on the ground.
16. Turn One Large Pot Into a Water Bowl
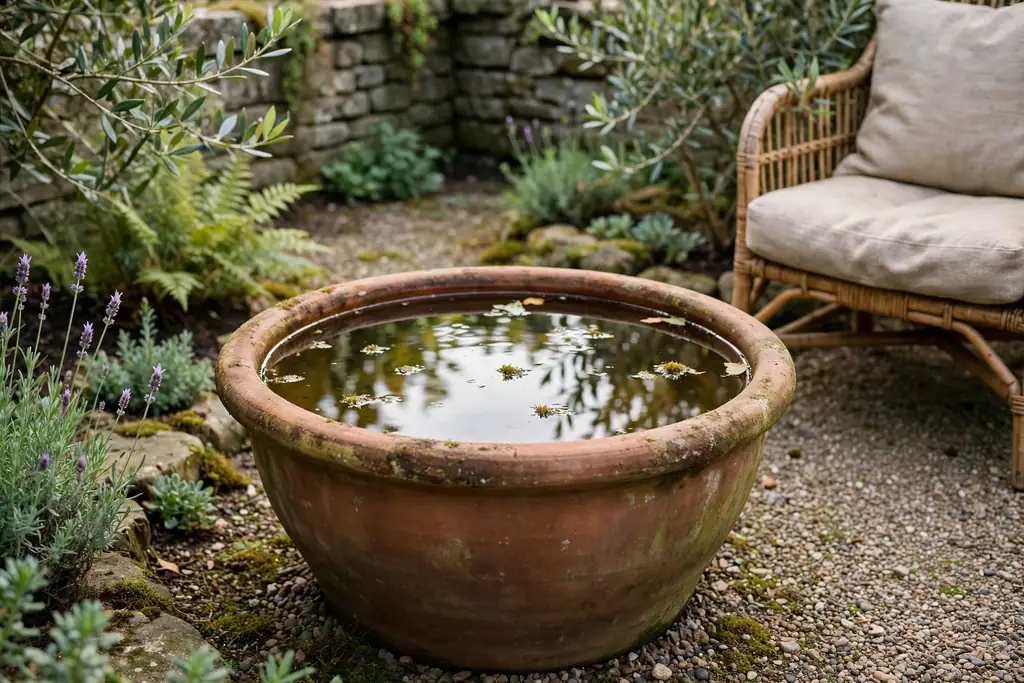
Turn one large, watertight terracotta pot into a simple water bowl, by sealing the drainage hole as the sealant label directs and setting the pot in a calm, level spot. A water bowl adds a still, reflective surface to a garden, and birds may visit it, so it suits a quiet corner near seating. Keep the bowl shallow enough to be safe and easy to clean, and set it where it can be reached for topping up and cleaning.
Change the water often, and scrub the bowl when algae forms, since still water left unchanged can smell and attract insects. In winter, empty the bowl before a hard freeze, since ice can crack a clay pot, and store the pot under cover if it is not frost hardy. If a watertight pot is not available, use a bowl insert inside the pot instead, so the clay pot acts as a holder rather than as the water container itself.
17. Grow Vegetables in Large Pots on a Sunny Patio
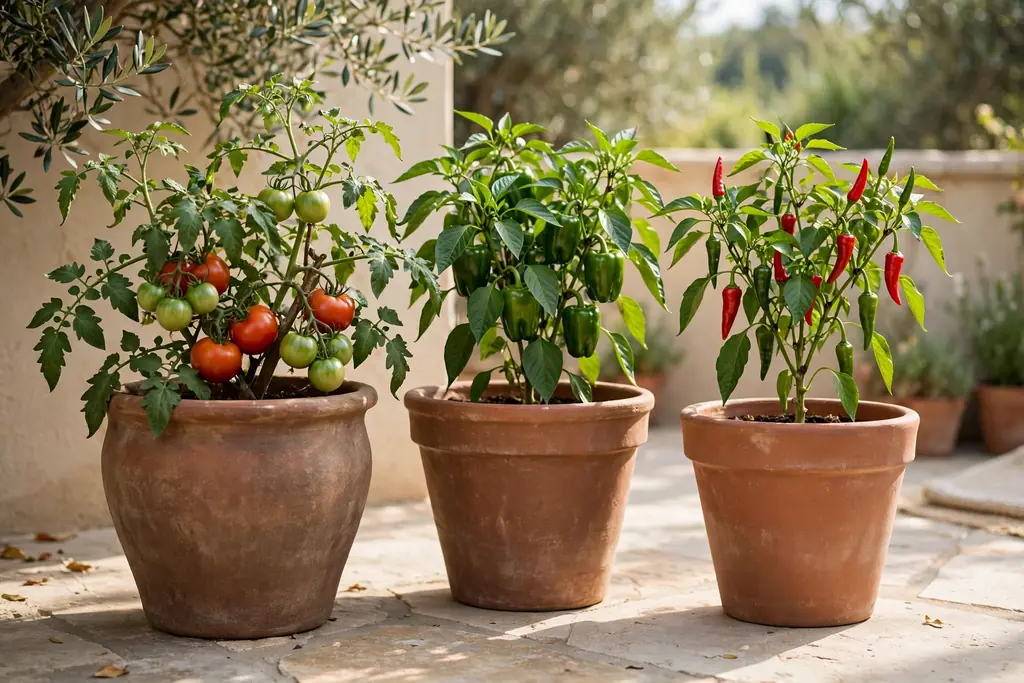
Grow vegetables in large terracotta pots on a sunny patio, with one plant per large pot for crops such as tomatoes, peppers, or courgettes, following the plant label for pot size and support. Large pots give roots room and keep vegetables close to the kitchen, and the patio warmth can help sun loving crops. Place the pots where they get the sun the crop needs, and leave space between pots for air, picking, and watering.
Support tall crops with a stake or cage fixed in the pot, and tie stems loosely as they grow, so wind does not snap them. Water vegetable pots deeply and check them daily in hot weather, since large clay pots on a sunny patio dry out fast, and a dry pot can stress a fruiting plant. Feed only as the plant or feed label directs, and harvest often, since regular picking keeps many vegetable plants producing.
18. Fill a Shade Corner With Ferns and Hostas
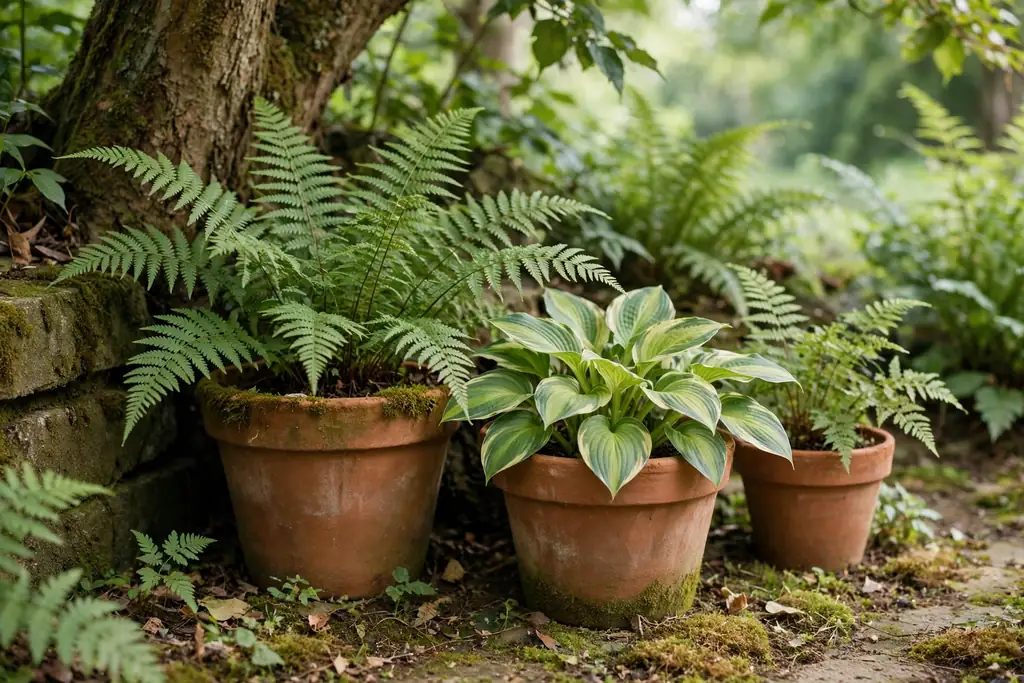
Fill a shade corner with terracotta pots planted with ferns and hostas, where the warm clay color lifts a dark spot and the plants suit low light. A shade corner under a tree or beside a north facing wall often stays damp, so check drainage and use pot feet to keep pots out of standing water. Group the pots at varied heights, with taller ferns at the back and low hostas at the front, so each plant can be seen.
Water shade pots less often than sunny pots, and check the soil before watering, since shade soil stays damp longer and overwatering can rot roots. Watch for slugs on hostas, and check leaves often, since a shaded, damp corner suits slugs as well as plants. In winter, move tender shade pots under cover if frost is forecast, and leave hardy ferns in place only if their label says they suit winter outdoors in a pot.
19. Group Pots for Winter With Evergreens
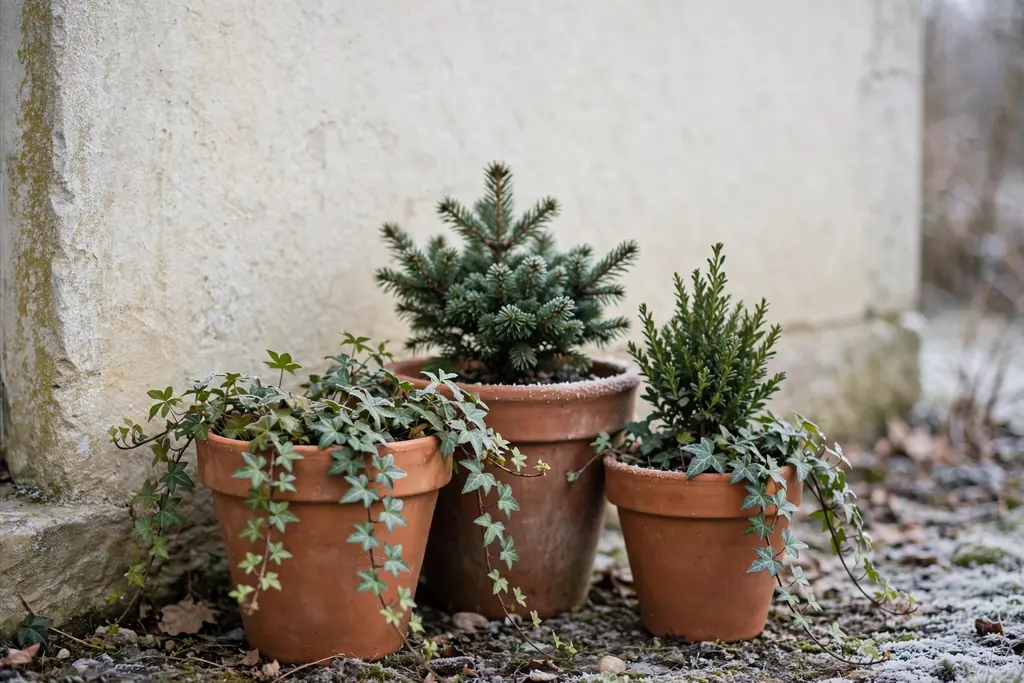
Group terracotta pots for winter with evergreens, such as small conifers, ivy, and winter heather suited to pots, so the garden keeps structure when summer plants end. A winter group near the door or a patio seating area gives color and shape through the cold months, and grouping pots together shelters each pot a little from wind. Wrap tender pots in frost protection as the plant label directs, and set the group close to a house wall for extra shelter.
Water winter pots sparingly, only when the soil is dry and the weather is above freezing, since wet soil in a freeze can crack clay pots. Check the group after storms, and clear fallen leaves from pot surfaces, so evergreens get light and air. For more seasonal outdoor styling, see these easter outdoor decorations for spring porch and garden ideas to plan once winter ends.
Conclusion
Terracotta pots work best in a garden when they are grouped with intent, matched to sun and water, and repeated in a few calm spots rather than scattered singly. Start with an entrance pair or a single anchor tree, add a herb cluster and a mixed corner group, and keep paths clear and pots stable on level bases. Rotate seasonal flowers, protect tender pots in winter, and let trailing plants and shade plants soften the edges. Follow those habits, and clay pots will look settled in every season, from spring bulbs to winter evergreens. For more ideas from Dwell Ovell, browse the home page for home decor guides.
FAQs
How do I style terracotta pots in a garden?
Style terracotta pots in a garden by grouping them in odd numbers and varied heights, repeating the clay color in two or three spots, and matching each plant to the sun and water of its spot. Start with one anchor pot, add smaller companions, keep paths clear, and leave space around each group so plants can grow.
Do terracotta pots need drainage holes?
Yes, terracotta pots need drainage holes in most cases, since water that cannot drain away can rot roots and, in winter, freeze and crack the pot. Check the hole before planting, keep it clear of soil with a small stone or mesh cover if needed, and set the pot on feet or a saucer that lets water drain away.
Why do terracotta pots dry out so fast?
Terracotta pots dry out fast because unglazed clay is porous, so water moves through the pot wall as well as draining from the base, and small pots hold less soil than beds. Water clay pots more often than plastic pots in hot weather, check the soil daily in summer, and group pots together to slow drying in wind.
How do I keep terracotta pots from cracking in winter?
Keep terracotta pots from cracking in winter by emptying water bowls before a freeze, moving tender and small pots under cover, and grouping hardy pots close to a house wall for shelter. Water sparingly in winter, avoid letting pots sit in standing water, and check pots for cracks each spring before replanting.
What plants grow best in terracotta pots?
Plants that grow best in terracotta pots include herbs, succulents, trailing plants, seasonal flowers, and small trees suited to pots, since clay pots suit plants that like soil to dry a little between waterings. Match each plant to the pot size, sun, and frost needs on its label, and use one large pot per vigorous plant, such as mint or a tomato plant.
How many terracotta pots should I group together?
Group terracotta pots in threes or fives for most displays, since odd numbers read as planned and varied heights keep the group from looking like a row. Use a pair only at an entrance, where symmetry suits the door, and keep each group small enough that every pot can be watered and reached without moving other pots.