Category: Kitchen & Dining

Everyday kitchen organization and welcoming dining spaces.

  • 27 Halloween Kitchen Decor Ideas for a Welcoming, Lived-In Look

    27 Halloween Kitchen Decor Ideas for a Welcoming, Lived-In Look

    A kitchen works hard every day, so Halloween decor here has to earn its place without blocking cooking, washing up, or a family meal. These Halloween kitchen decor ideas use a calm palette of black, cream, rust, and warm wood, with most pieces grouped on trays, hooks, and shelves so surfaces stay clear. Start with towels, a runner, and one counter group, then add table and wall touches only where you have room. If you are decorating the whole home this season, pair this list with our Halloween living room decor ideas so the palette carries from room to room.

    Key Takeaways

    • Use black, cream, rust, and warm wood as the base palette, and repeat each color at least twice so the kitchen looks planned rather than random.
    • Keep decor on trays, boards, hooks, and shelves. Counters near the stove and sink need to stay clear for cooking and washing up.
    • Change textiles first: dish towels, a runner rug, a table runner, and placemats give the biggest visual shift and store flat.
    • Choose flameless candles and battery lights near towels, curtains, and paper garlands.
    • Plan one labelled storage box before you buy, so every seasonal piece has a home in November.

    1. Start With a Limited Palette of Black, Cream and Rust
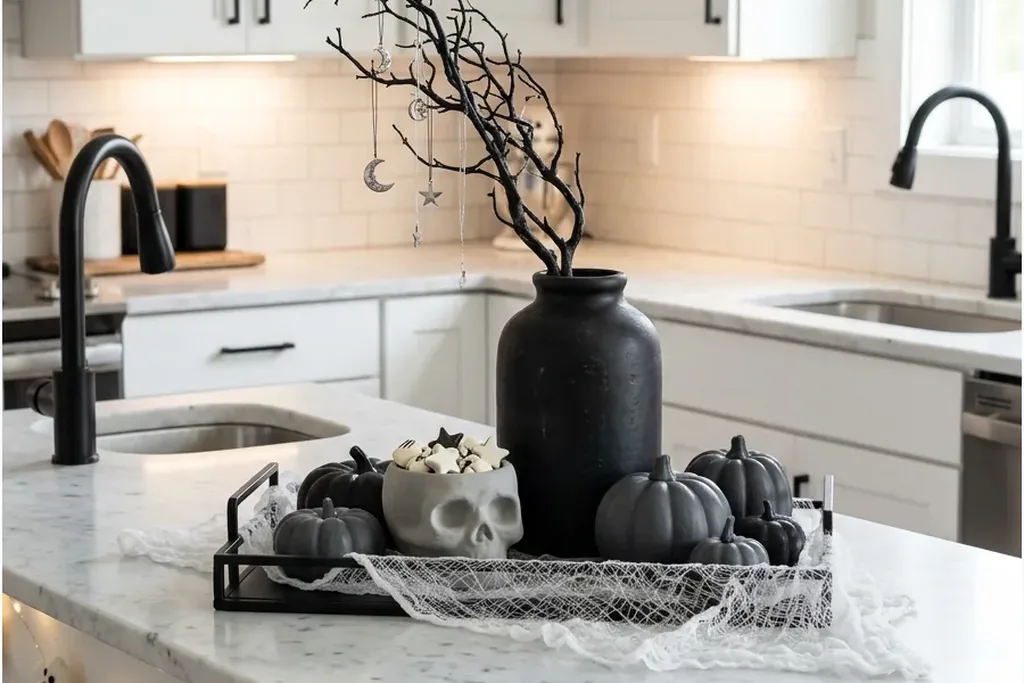
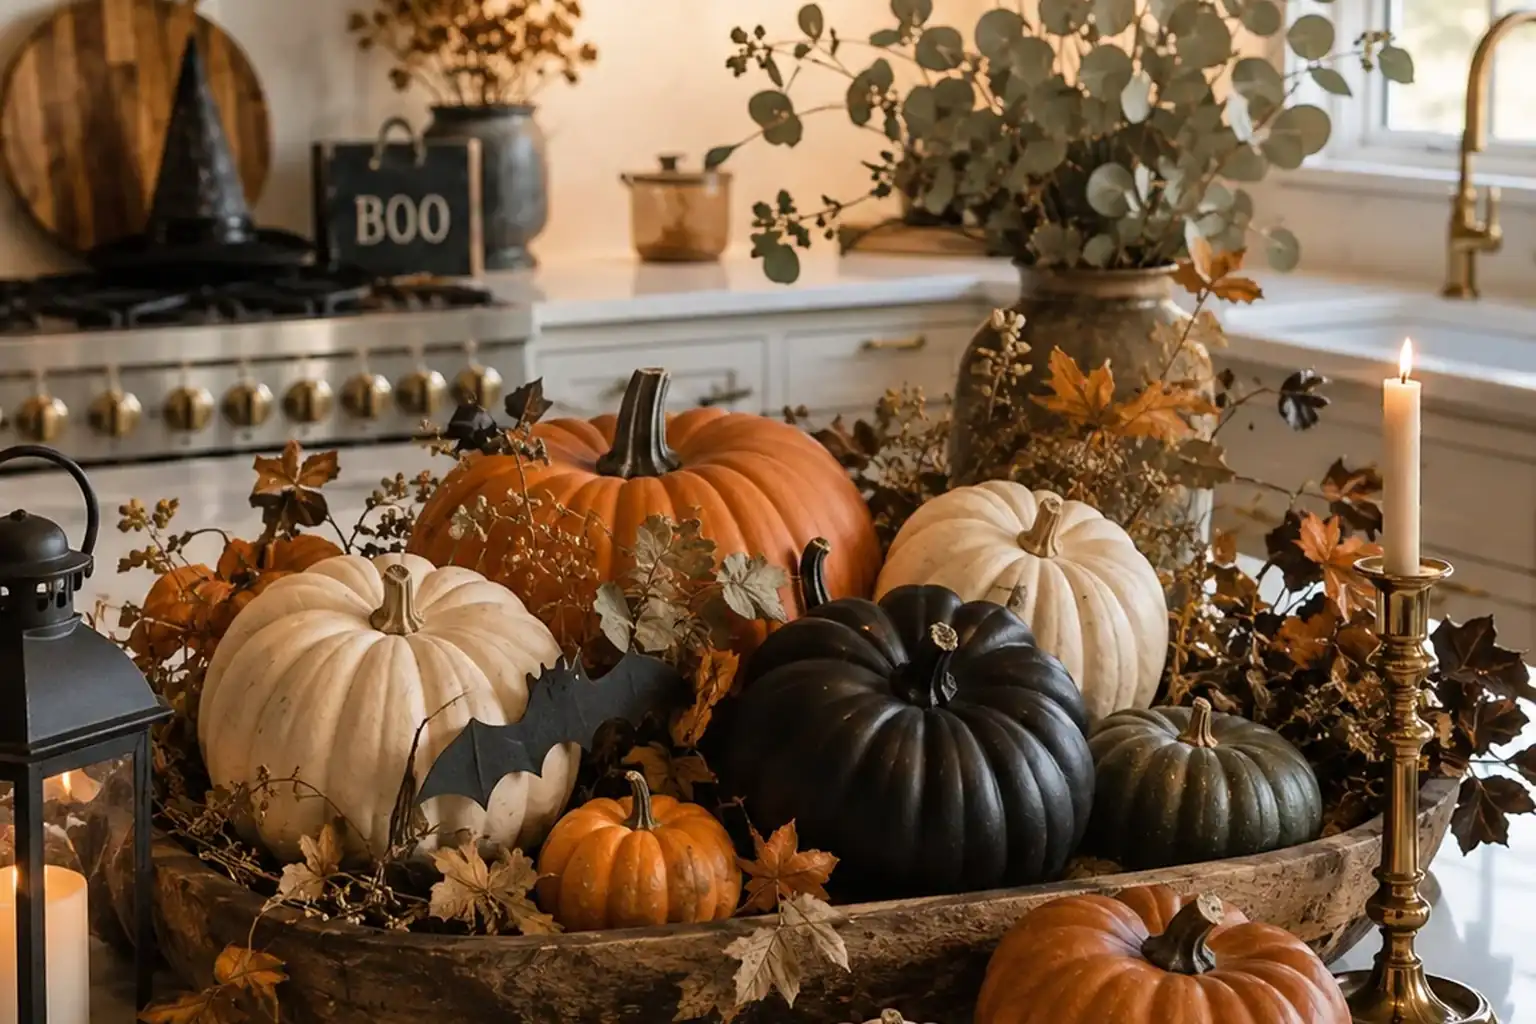
    White kitchen island with a black vase, bare branches, and dark pumpkins on a tray.

    Pick three or four colors before you buy or unpack anything: black, cream, rust, and the warm wood already in the room work well together. Repeat each color at least twice, for example black towels and a black tray, so the mix looks planned. Keep large items, such as the runner and table linen, in the quiet colors, and let pumpkins or one novelty piece carry the stronger note. A limited palette also makes it easier to spot what does not belong and put it back in storage.

    2. Group Mini Pumpkins on a Tray by the Sink
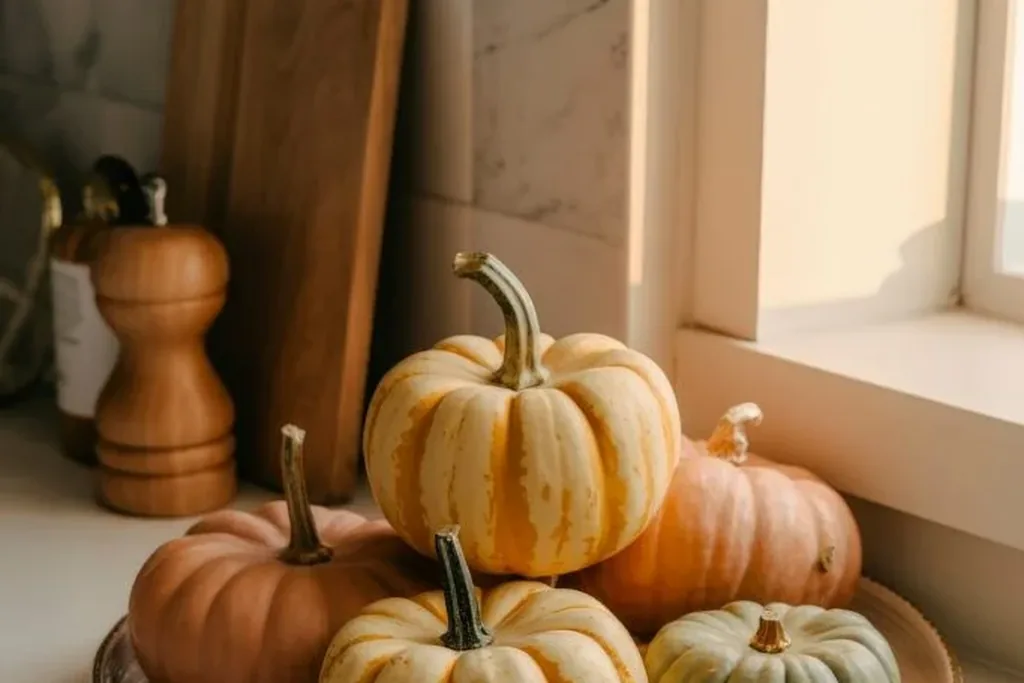
    Small orange and green pumpkins grouped on a tray on a kitchen counter.

    Set three to five small pumpkins on a tray or shallow board near the sink, where they are seen often but stay out of the splash zone. Grouping them on one base keeps the counter easy to wipe and lets you move the whole display in seconds. Mix real mini pumpkins with fabric or ceramic ones if you want the group to last the full season. Keep the tray away from the stove, and check real pumpkins weekly for soft spots.

    3. Swap in Black and Cream Dish Towels
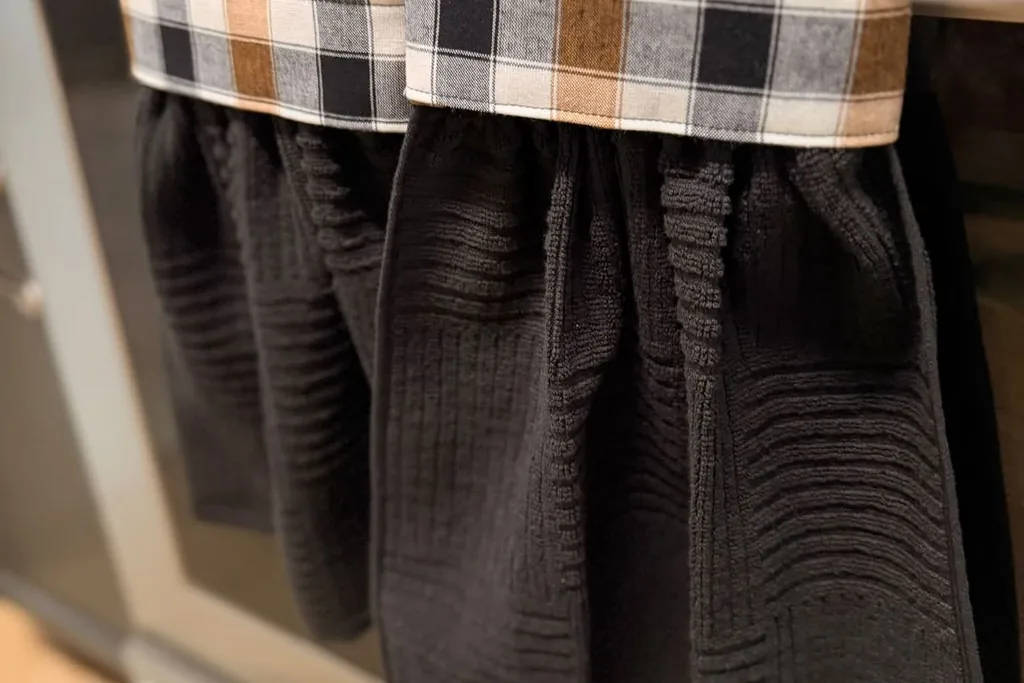
    Black dish towels with plaid tops hanging on an oven handle.

    Hang two fresh dish towels in black, cream, or a simple check over the oven handle or a hook, and fold a spare set in the same colors for rotation. Towels are the fastest kitchen change because they are used and seen all day. Choose cotton or linen towels that still dry dishes well, since a towel that only looks good will end up pushed aside. Wash seasonal towels with everyday loads, and store them flat with the table linens after Halloween.

    4. Add a Washable Runner Rug in a Muted Fall Pattern
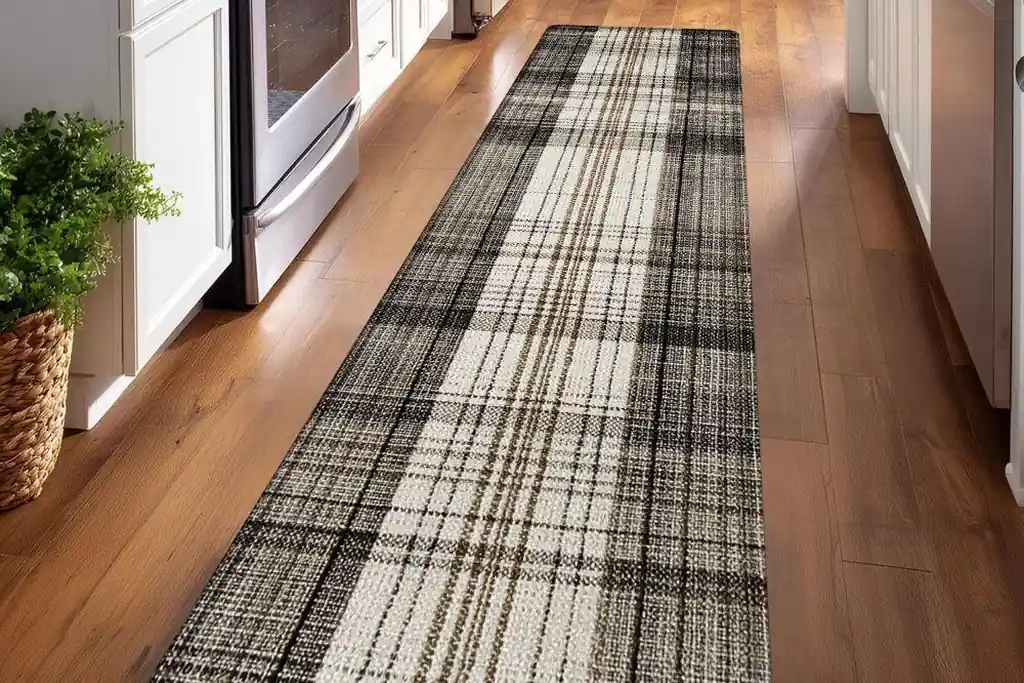
    Black and cream plaid runner rug along a kitchen floor.

    Lay a low pile, washable runner in front of the sink or stove in a muted plaid, stripe, or plain rust tone. It softens the floor, catches small spills, and sets the seasonal base for the whole room. Measure the run first and leave room for cabinet and dishwasher doors to open fully. Use a rug pad so the runner does not slide while you carry hot pans. If your kitchen floor is small, a single mat at the sink gives the same effect with less washing.

    5. Fill a Wooden Bowl With Apples and Small Pumpkins
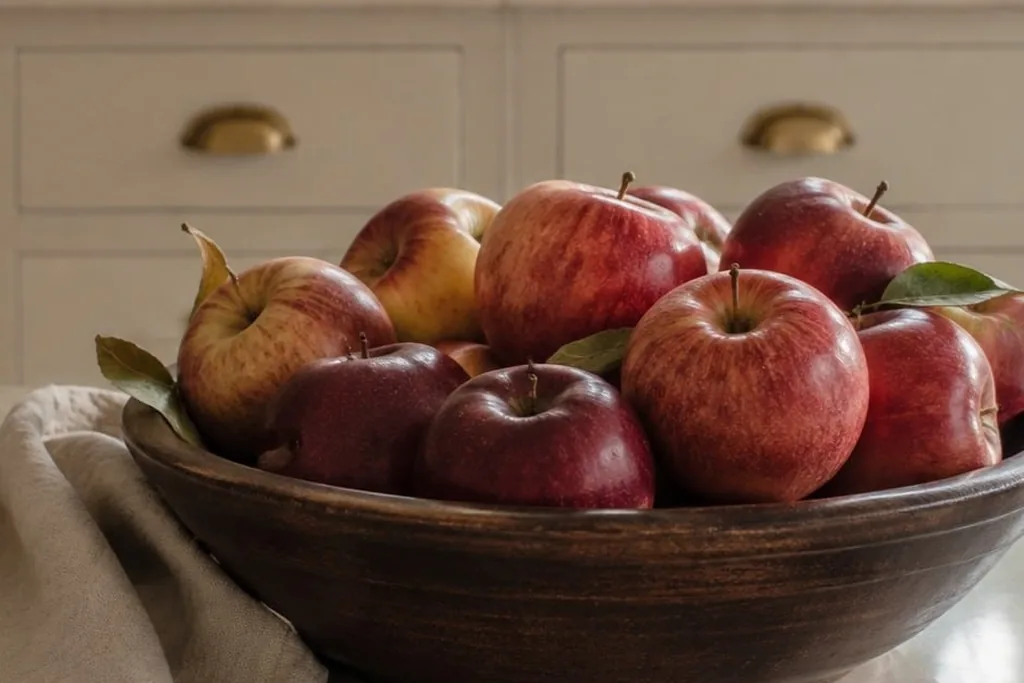
    Wooden bowl filled with red apples on a kitchen counter.

    Place a wooden or ceramic bowl on the counter or island and fill it with apples, pears, and two or three small pumpkins. Fruit you will actually eat keeps the display from feeling like clutter, and the bowl contains the group in one footprint. Keep the bowl away from direct heat so the fruit lasts longer, and remove any piece that softens. When guests come, the same bowl can hold bread rolls or napkins, which makes it a working piece rather than pure decoration.

    6. Set a Seasonal Crock for Utensils by the Stove
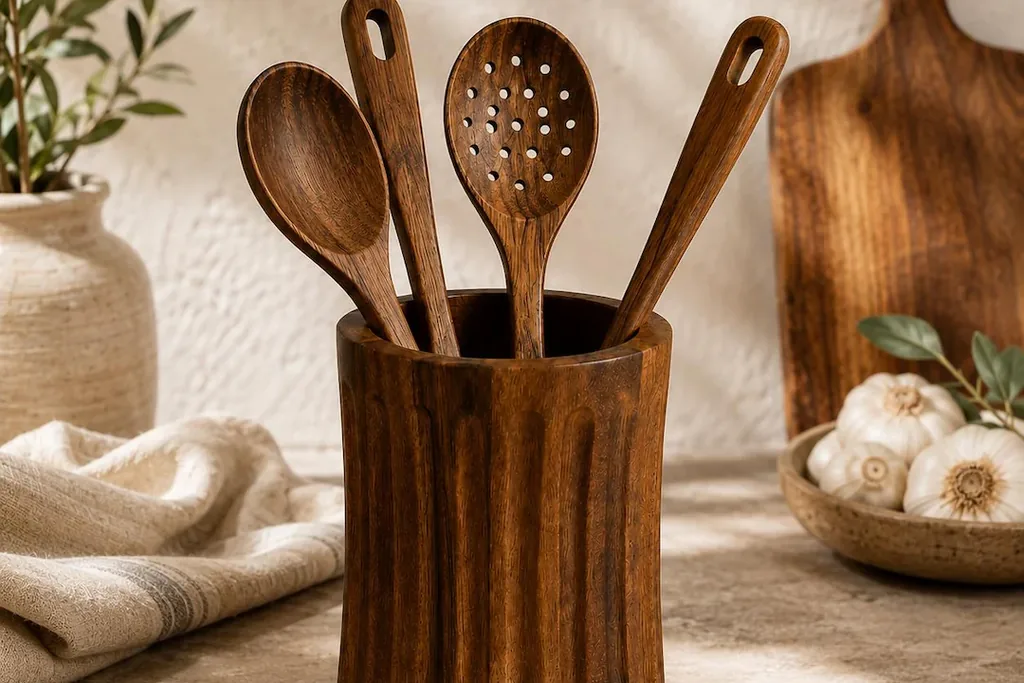
    Wooden utensil holder with wooden spoons on a kitchen counter.

    Move everyday utensils into a black, cream, or stoneware crock beside the stove, and tie a small plaid ribbon or tag on the handle if you want one quiet seasonal note. A crock keeps tools in reach while you cook and frees a drawer for seasonal extras. Choose a heavy crock that will not tip when you pull out a spoon, and keep the tallest utensils at the back. Keep the crock a safe distance from open burners, and never let towel edges or ribbons hang near the heat.

    7. Build the Table Centerpiece on a Board or Tray
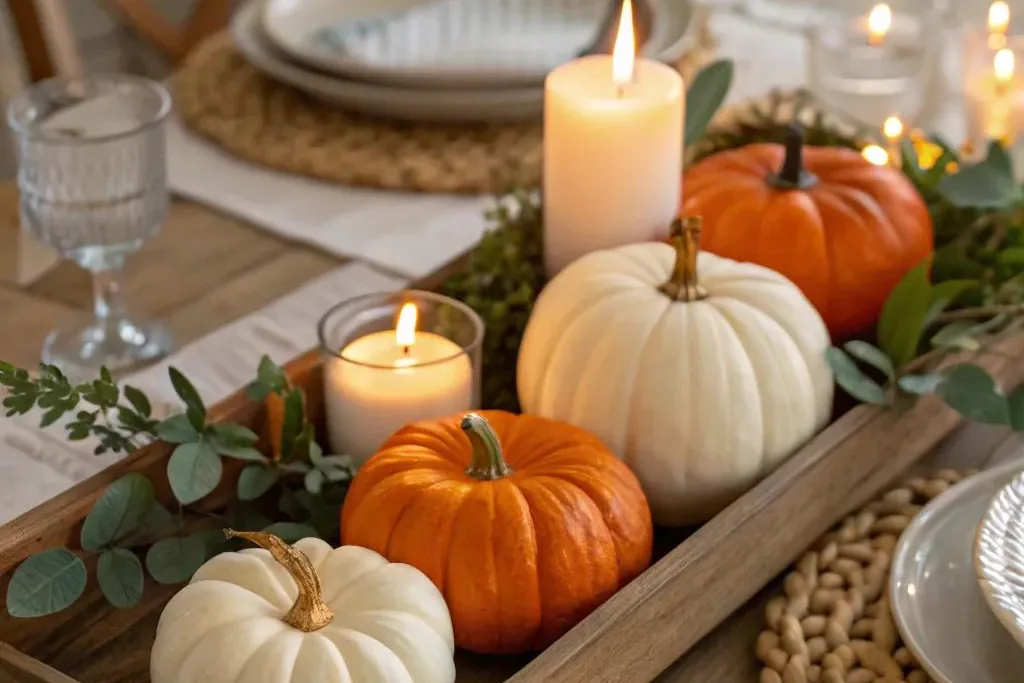
    Dining table centerpiece with pumpkins and candles arranged on a wooden tray.

    Arrange the table center on a wooden board or tray: a small pumpkin group, a candle alternative, and one low plant or branch. A base piece means the whole center lifts off in one move before homework, board games, or a big serving dish. Keep the height low so people can see each other across the table. For more everyday table basics you can reuse between seasons, see our guide to everyday dining table decor.

    8. Layer a Linen Runner With Plain Placemats
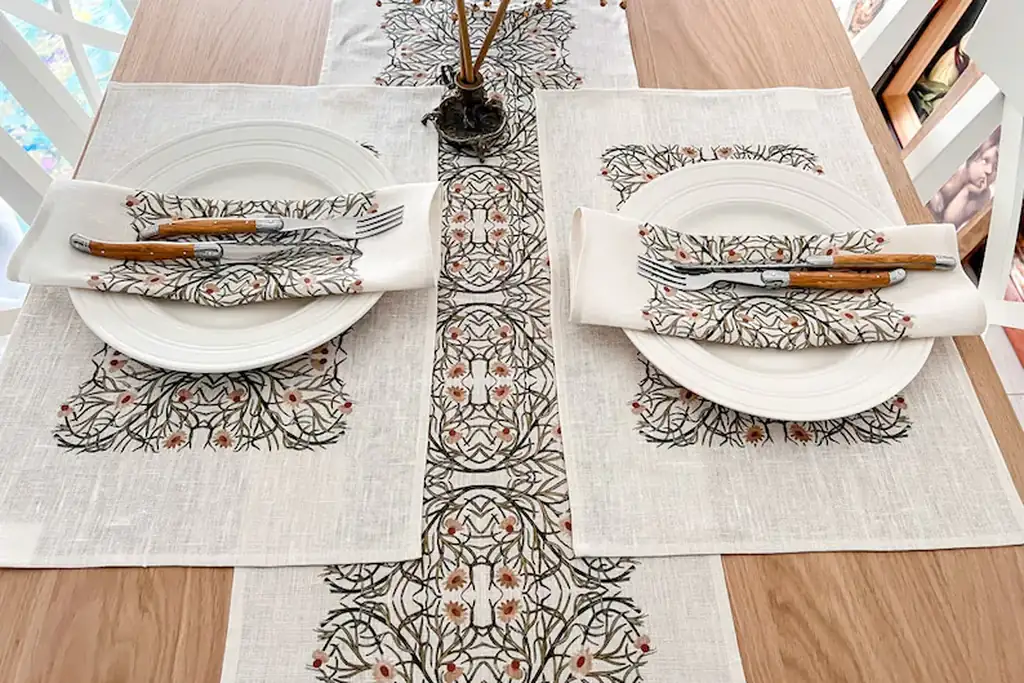
    Dining table with a patterned runner and placemats set with plates and napkins.

    Run a cream or natural linen runner down the center of the table and set plain placemats in rust, charcoal, or black at each seat. The runner carries the seasonal color while the placemats protect the table and define each setting. Choose washable fabrics, because kitchen tables collect crumbs and spills daily. When the runner needs washing, the placemats alone still keep the table looking finished. Store both flat in one drawer or box so the set stays together for next year.

    9. Add Plaid or Checked Cushions to Kitchen Chairs
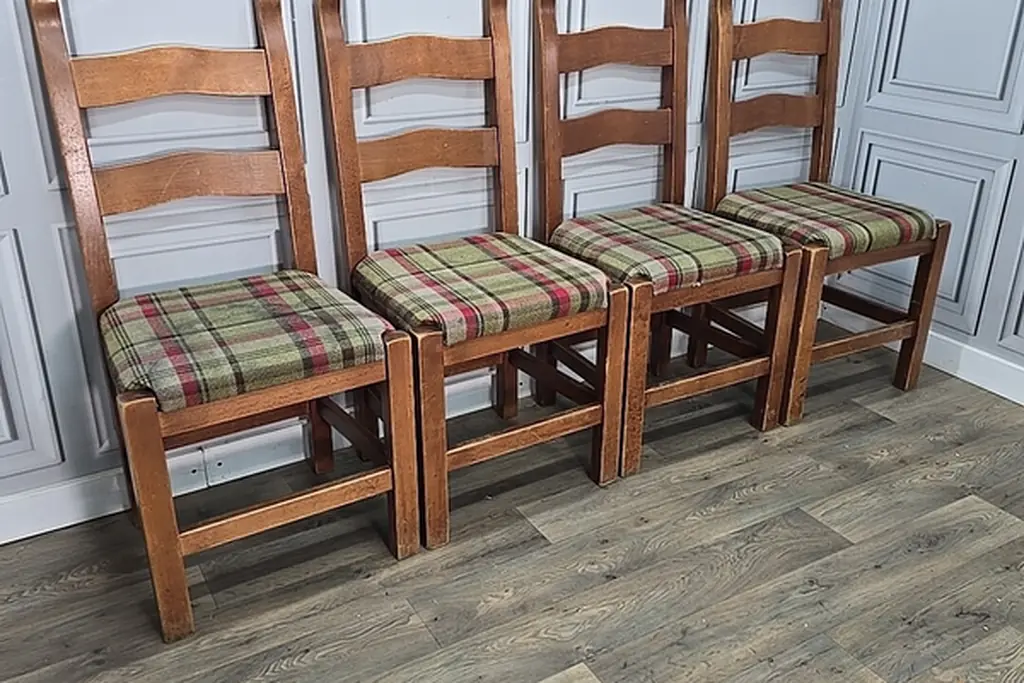
    Wooden dining chairs with green and red plaid seat cushions.

    Tie simple seat cushions in a muted plaid or small check onto kitchen or dining chairs. Cushions add pattern at seat level, which balances the pumpkins and garlands higher up, and they make long meals more comfortable. Pick covers you can unzip and wash, and check that ties hold the cushion still when people slide in and out. If your chairs cannot take cushions, drape one folded plaid throw over a single chair back instead and keep the rest plain.

    10. Use Amber or Smoked Glassware for Evening Meals
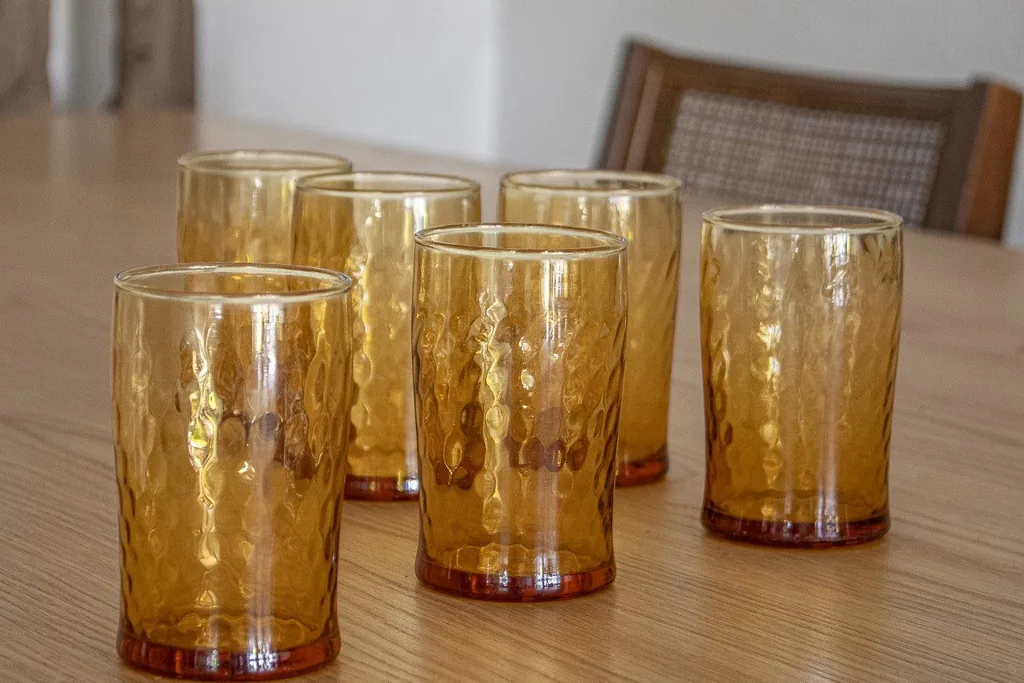
    Amber drinking glasses standing on a wooden table.

    Set out amber, smoked, or simple black stemmed glassware for evening meals during October. Colored glass catches low light and makes an ordinary weekday dinner feel seasonal without any extra objects on the table. Keep everyday clear glasses for mornings if the darker glass feels heavy in daylight. Wash colored glass by hand if the maker advises it, and store it where it will not chip against heavier mugs. One set of six is enough; you do not need a full cabinet change.

    11. Place One Small Pumpkin at Each Setting for a Gathering
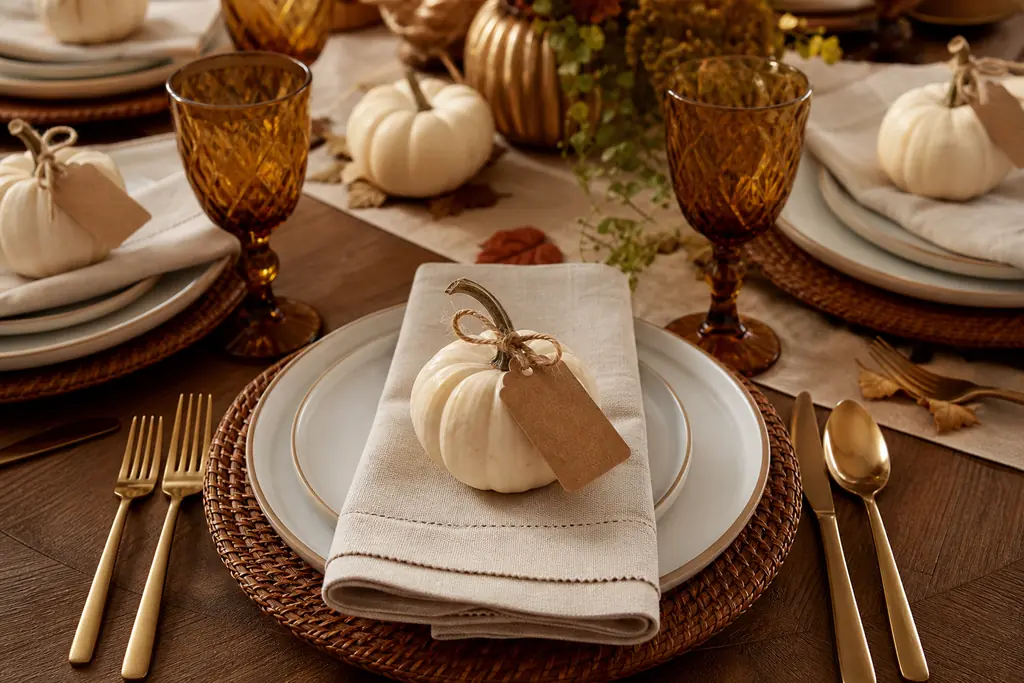
    Place setting with a small white pumpkin resting on a folded napkin.

    For a family dinner or a small gathering, set one mini pumpkin on each plate or napkin as the place marker. It is a simple gesture guests notice, and the pumpkins can go home with them or gather into the counter bowl afterward. Write names on small paper tags and tie them to the stems if you want assigned seats. Keep the rest of the setting plain so the pumpkin stands out, and remove the pumpkins to a side tray before hot dishes reach the table.

    12. Hang a Small Fall Wreath Inside a Kitchen Door
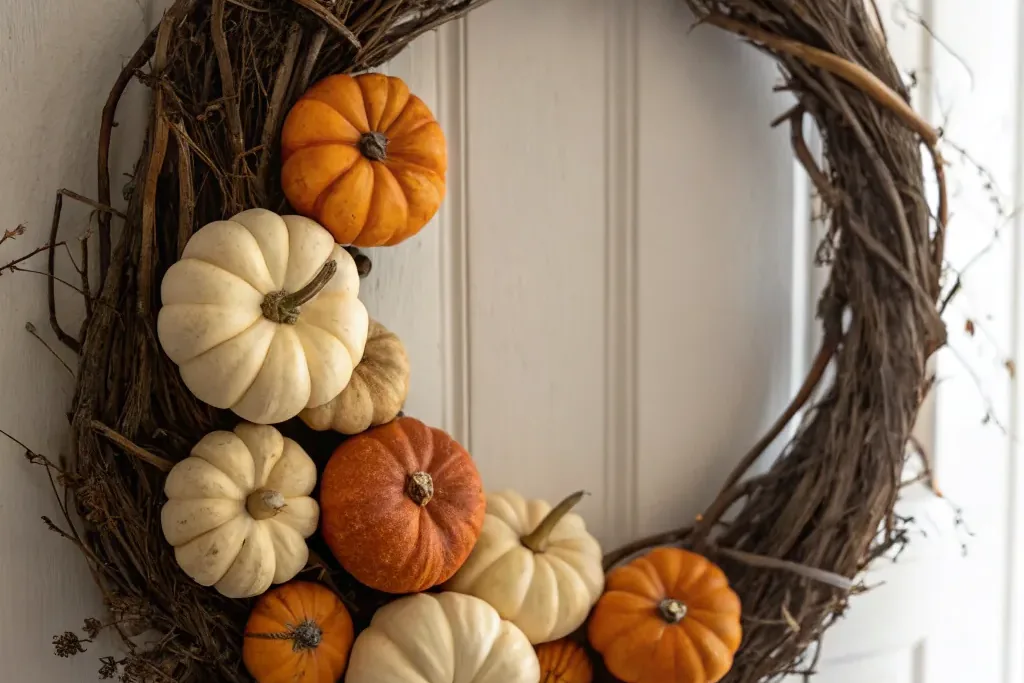
    Twig wreath with small white and orange pumpkins hanging on a white door.

    Hang a small wreath of dried look leaves, mini pumpkins, or plain branches on the inside of a pantry, back, or kitchen door. It greets you every time you enter and uses no counter or wall space. Use an over door hook so you add no new fixings, and check the door still closes fully with the wreath in place. Choose unscented faux foliage if real dried pieces would shed near food prep areas, and wipe it down before you hang it.

    13. Drape a Paper or Felt Garland Along a Shelf Edge
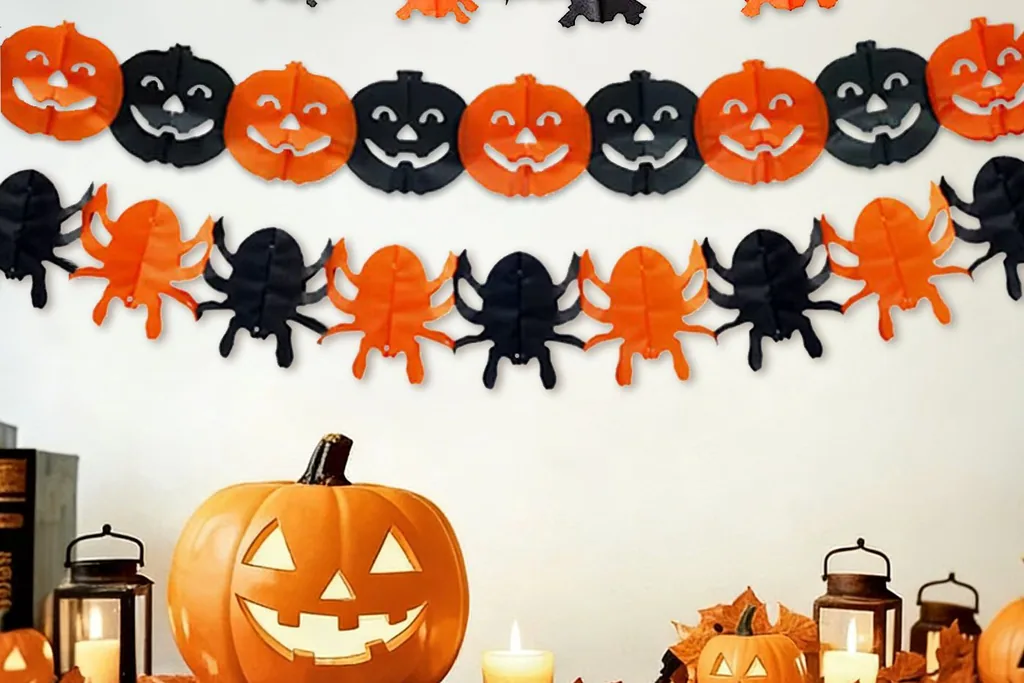
    Felt Halloween garland with pumpkins, bats, and spiders above a mantel shelf.

    Run a simple paper or felt garland of bats, moons, or pumpkins along the front edge of a shelf or across the top of a window frame. Fix it with removable hooks or small clips, and keep it well clear of the stove, steam, and open flames, since paper and heat do not mix. A single run is enough; more than one can make a working kitchen feel busy. Choose shapes in your palette colors so the garland links to the towels and table linen.

    14. Swap in One Framed Halloween Print
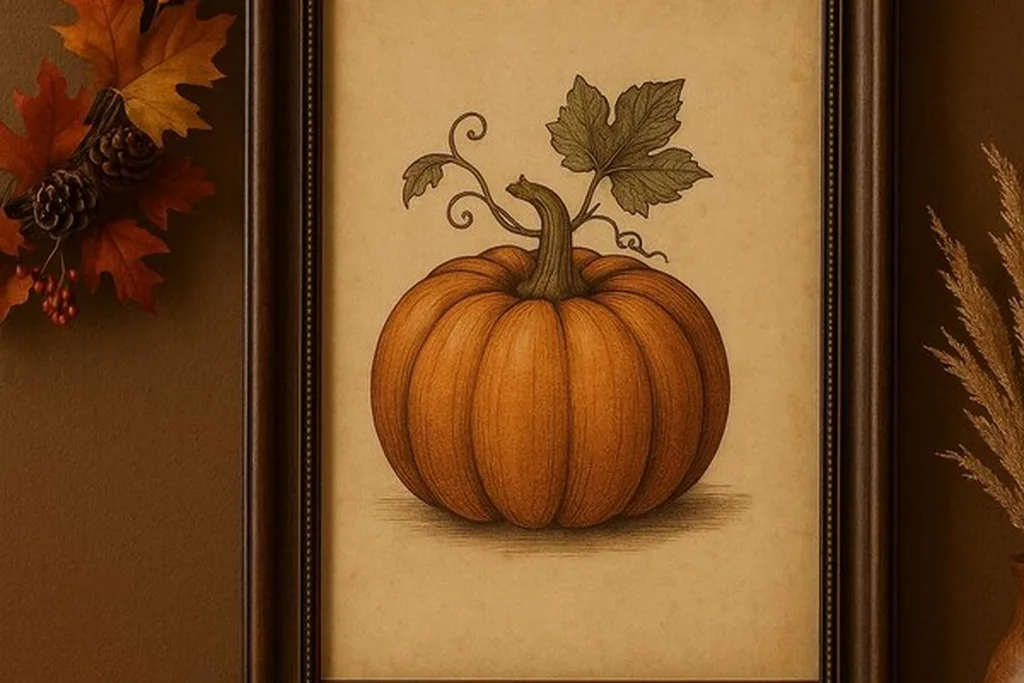
    Framed print of an orange pumpkin on a wall with fall leaves.

    Replace one everyday kitchen print with a Halloween themed picture in the same frame: a simple pumpkin illustration, a moon print, or a black cat silhouette. Using the same frame keeps the nail and layout unchanged, and the print stores flat in a folder in November. Lean the frame on a shelf if you do not want to touch the wall hanging at all. Keep the swap to one frame so the kitchen still feels like a place to cook, not a display wall.

    15. Style Open Shelves With Dark Mugs and Jars
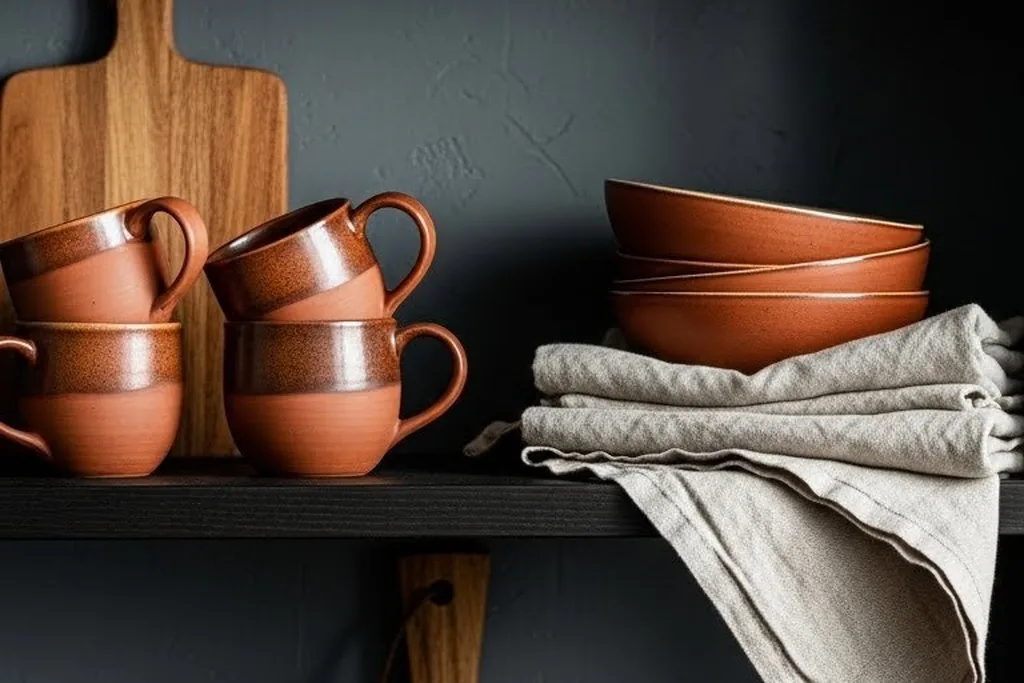
    Open kitchen shelves with copper mugs, bowls, and wooden boards.

    On open shelves, group dark mugs, black or amber jars, and a couple of small pumpkins at one end of a shelf run. Dark everyday pieces read as seasonal once they are grouped, so you may not need to buy anything new. Leave gaps between groups so the shelves stay easy to dust and items are simple to reach. Keep the items you use daily at the front, and put purely decorative pieces higher, away from steam and splashes.

    16. Hang a Row of Seasonal Tea Towels on Hooks
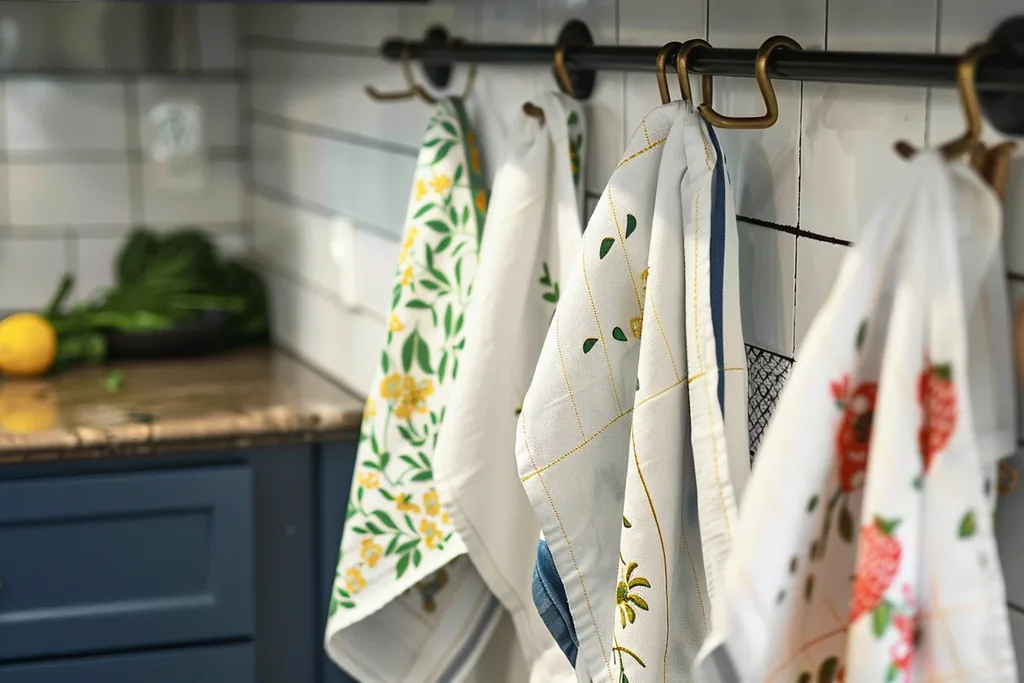
    Tea towels hanging from hooks on a kitchen rail.

    Fit a short row of hooks near the sink or oven and hang three seasonal tea towels in a line: one plaid, one plain black, one cream. The row looks planned, keeps towels off counters, and puts fresh towels in reach as others go into the wash. Use removable hooks in a rental, and check they hold the weight of damp towels. Rotate the set through the laundry together so colors fade at the same pace.

    17. Put Potted Herbs in Dark Pots on the Windowsill
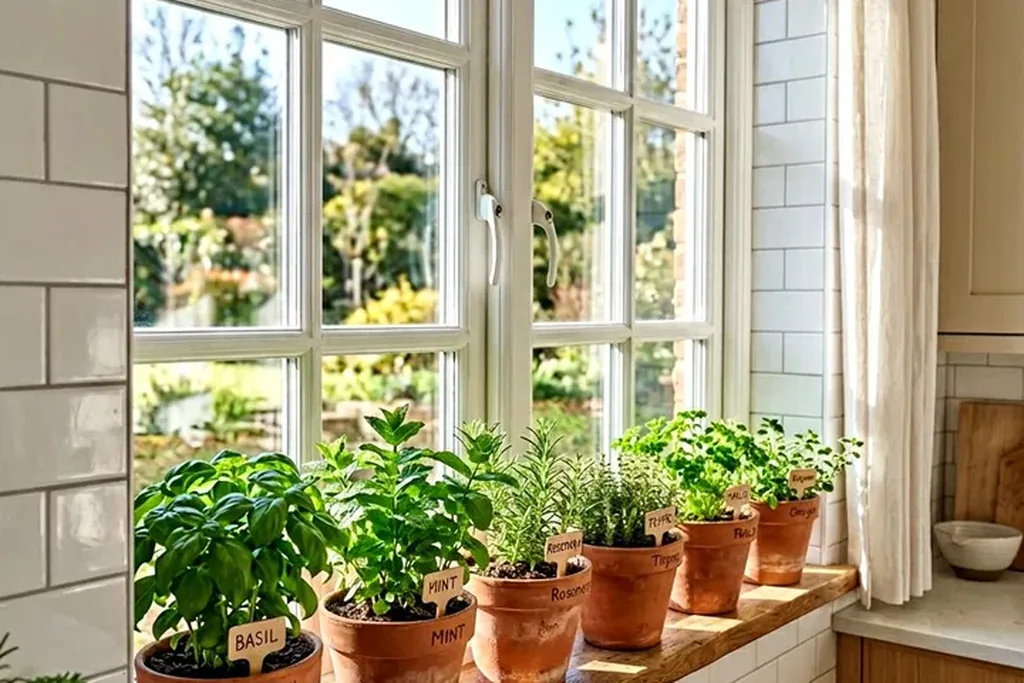
    Potted herbs in terracotta pots lined along a kitchen windowsill.

    Move everyday herbs such as parsley, chives, or mint into black, charcoal, or deep rust pots and line them along the kitchen windowsill. The dark pots supply the Halloween note while the herbs keep earning their place in daily cooking. Check each pot has drainage or an inner pot so roots do not sit in water. Keep the sill arrangement low and narrow so the window still opens and the sink area below stays easy to clean.

    18. Lean a Small Chalkboard With a Seasonal Note
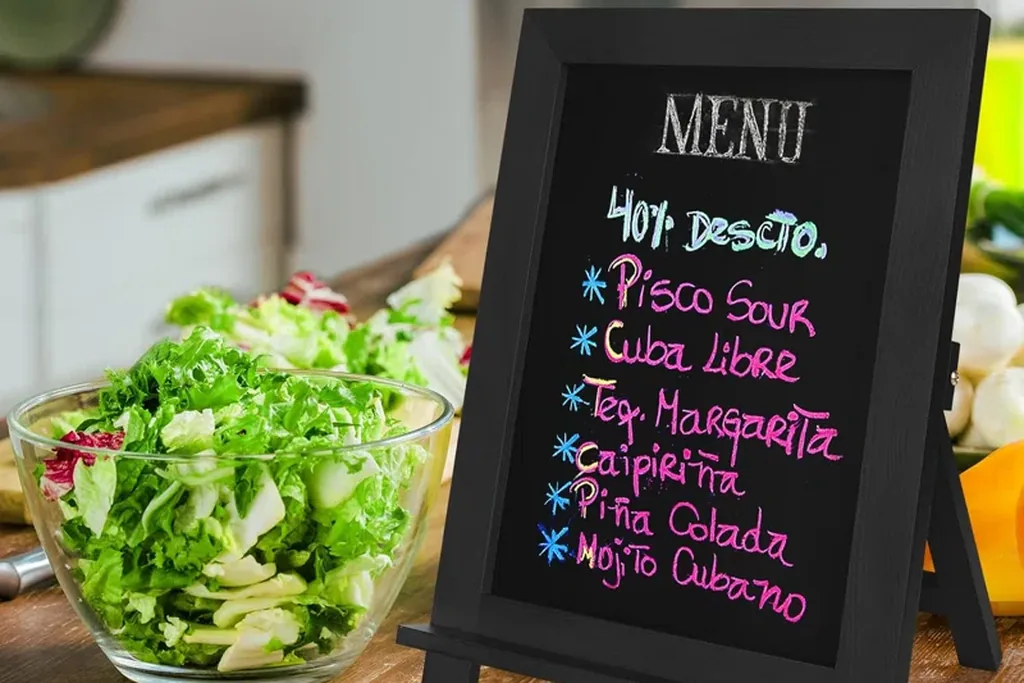
    Small framed chalkboard with a handwritten menu on a kitchen counter.

    Lean a small chalkboard or letter board on the counter against the backsplash, or hang it on a side wall, with a short seasonal line, a dinner menu, or a simple pumpkin drawing. It is a practical piece the family can use for lists and notes all year; only the message changes for October. Keep chalk dust away from open food by placing the board near the door or fridge rather than beside the stove. Wipe it fully clean at the end of the season.

    19. Cluster Flameless Candles on a Heat Safe Tray
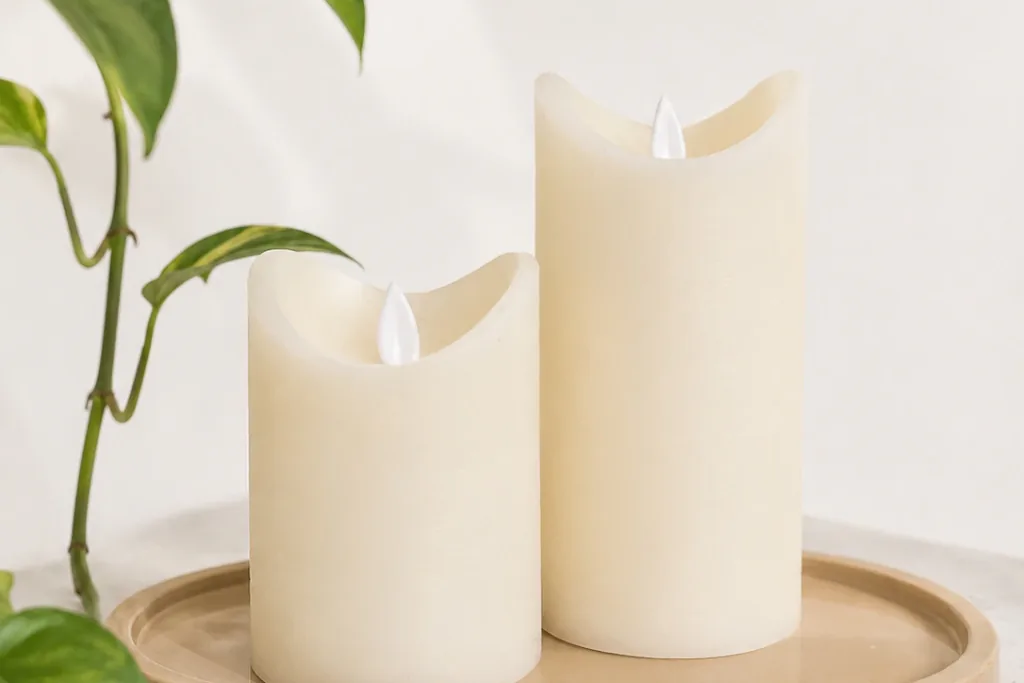
    Two flameless pillar candles on a tray beside a green plant.

    Group two or three flameless candles in different heights on a tray on the island or a side counter, away from the stove. You get a warm evening glow while you cook or clear up, with no live flame near towels, paper, or curtains. Real candles and cooking are a risky mix, so for general guidance see the NFPA candle safety information. Set a timer if the candles offer one, and replace batteries before a gathering.

    20. String Warm Battery Lights Along a Shelf
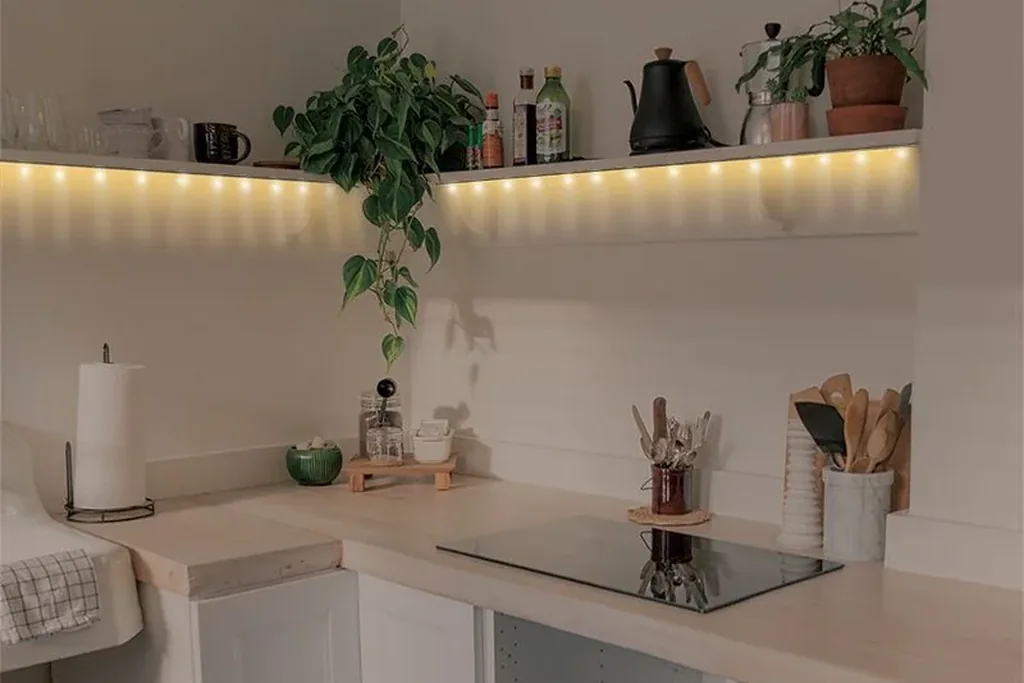
    Warm LED light strip glowing under a kitchen shelf above a counter.

    Fix a short string of warm white battery lights along the underside of a shelf or cabinet run, keeping the battery pack where you can reach it. The light pools on the counter below and makes evening tasks feel calmer. Keep cords tidy and away from the sink, stove, and any water source, and switch the lights off when the kitchen is empty. If your kitchen already has under cabinet lighting, skip this and use the shelf edge for the garland from Idea 13 instead.

    21. Add a Small Lamp in a Counter Corner
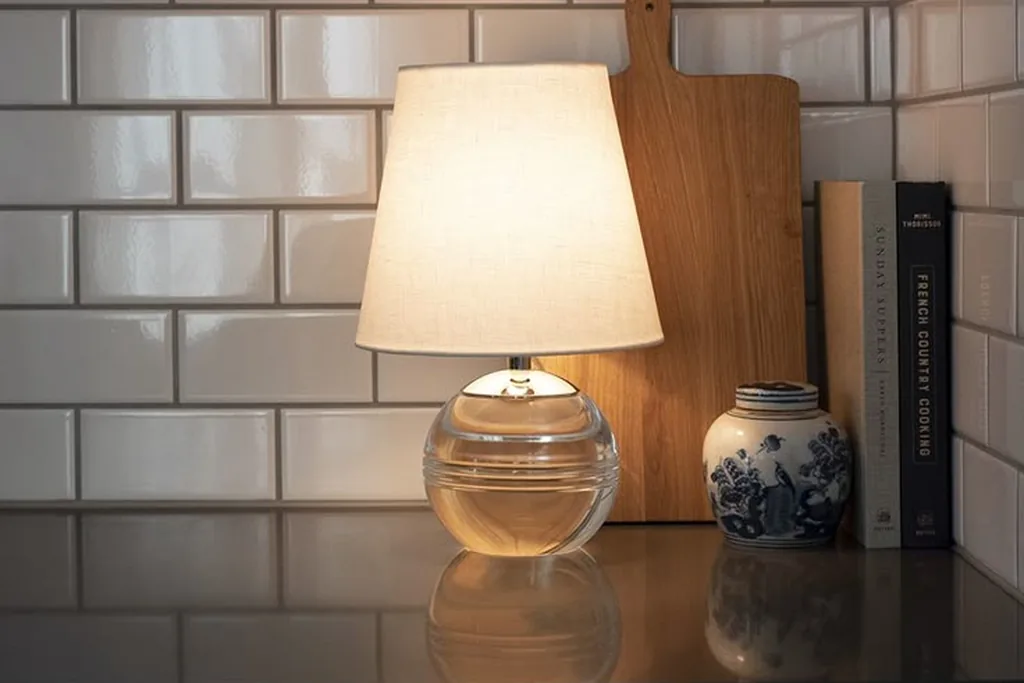
    Small lamp with a cream shade glowing on a kitchen counter.

    Place a small lamp with a cream or linen shade in an unused counter corner, such as beside the fridge or at the end of a run. A low lamp changes the evening feel of a kitchen more than most decor, and it gives soft light for a late drink or snack without the overhead light. Keep the cord run short and dry, and make sure the lamp base is stable and clear of the sink splash zone. Choose a shade color that matches your palette.

    22. Keep a Hot Drink Station on One Tray
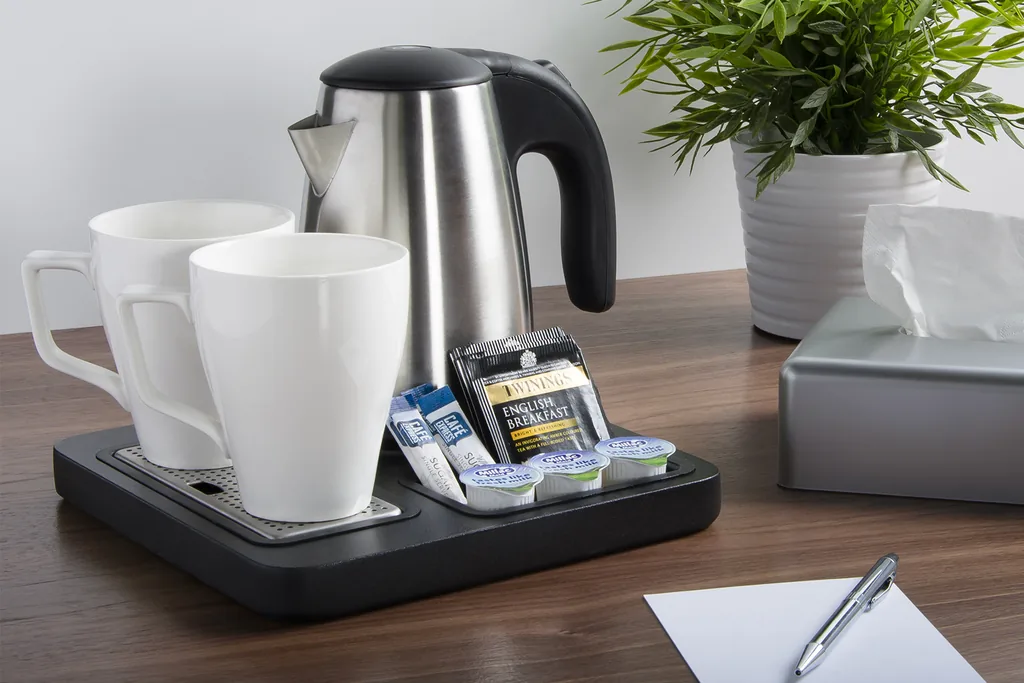
    Electric kettle and white mugs arranged on a tray for hot drinks.

    Set up one tray near the kettle or coffee maker with mugs, a small jar for tea or cocoa, and a folded seasonal towel. A defined station keeps morning and evening drinks in one spot and stops supplies spreading across the counter. Add one small pumpkin or a plaid coaster set for the Halloween note. Guests can help themselves without opening every cabinet, which suits the welcoming feel of the room. Restock the tray during your weekly shop so it never turns into clutter.

    23. Add a Scent Option Without an Open Flame
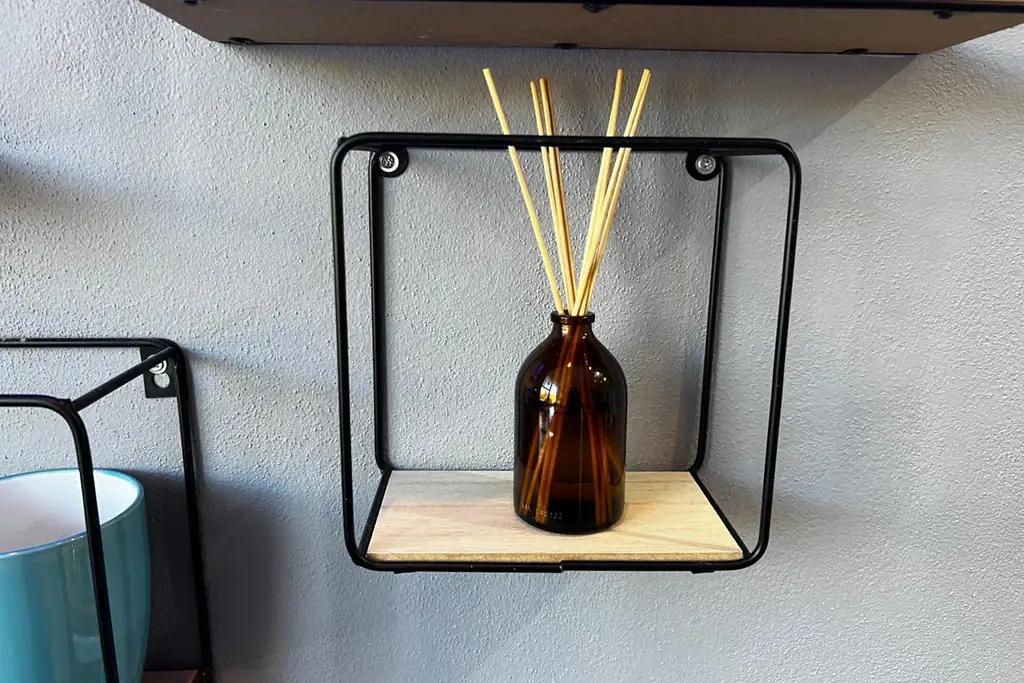
    Amber reed diffuser bottle on a small wall mounted shelf.

    If you like a seasonal scent while you cook, use a small reed diffuser on a high shelf, a sachet in a drawer, or simply simmer water with orange peel and spices on the stove while you are in the room. Keep scent light so it does not fight with food smells, and never leave a simmer pot unattended. Place diffusers where they cannot spill onto food surfaces or wood finishes. If anyone at home dislikes fragrance, skip this idea; fresh air from an open window works just as well.

    24. Store Extra Seasonal Pieces in One Basket
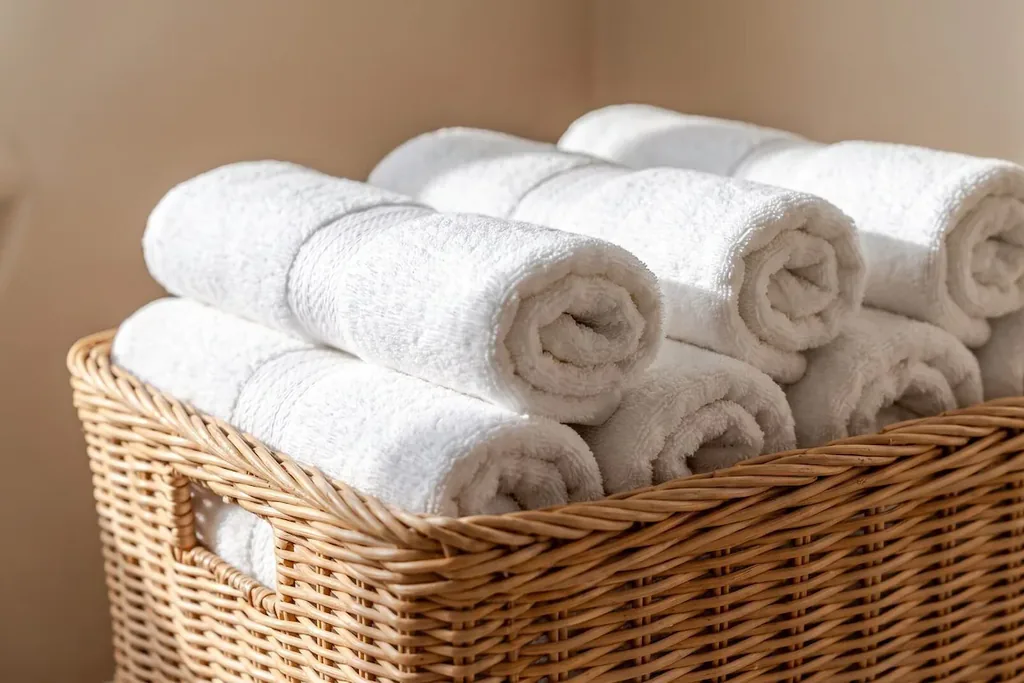
    Woven basket holding rolled white towels.

    Keep one basket or lidded box in a cabinet or on top of the fridge for the seasonal pieces you rotate: spare towels, placemats, garlands, and small pumpkins. One home for extras stops decor spreading into every drawer and makes setup and pack away faster. Choose a box that fits the space before you fill it, and label it so anyone can find or return pieces. If an item does not fit in the box, it is a sign the collection has grown past what the kitchen can hold.

    25. Style the Entry With a Hook, Apron and Tote
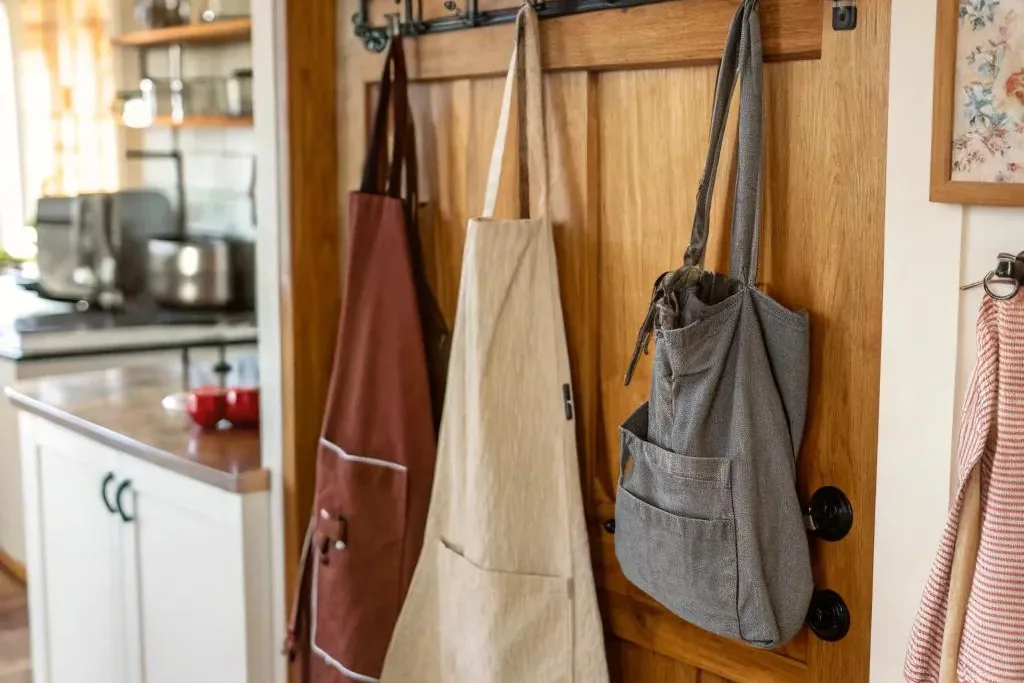
    Aprons and tote bags hanging on hooks by a wooden kitchen door.

    Use one hook near the kitchen door for a plaid apron, a market tote, and a small seasonal item such as a felt pumpkin. These are pieces you use daily, so the entry looks seasonal without adding objects that only sit there. Keep the hook clear of the door swing and do not overload it. For guests, the same hook holds a spare apron and a clean towel, which keeps the welcoming, lived-in feel the room is aiming for.

    26. Add a Black Cat or Ghost Accent in One Spot Only
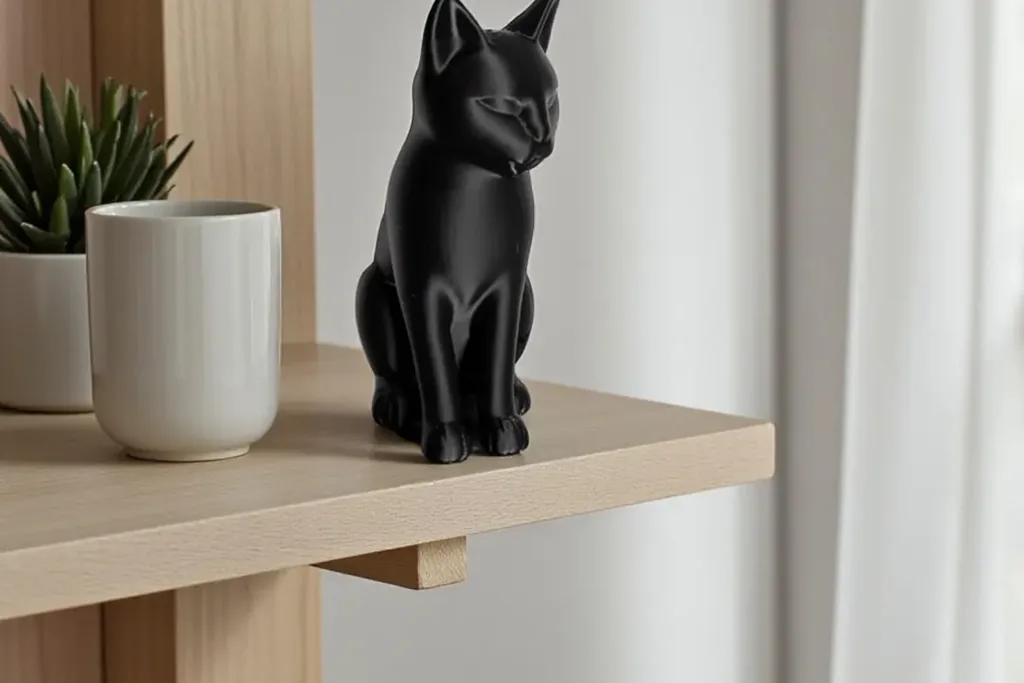
    Black cat figurine sitting on a wooden shelf beside a pot and mug.

    Choose one novelty accent for the whole kitchen: a small black cat figure on a shelf, a ghost shaped mug by the drink station, or a single ghost towel in the towel row. One piece reads clearly and raises a smile; five pieces compete with each other and with the food prep happening around them. Place it where it will not be knocked into a sink or pan, and choose something washable or easy to wipe, since kitchen surfaces gather grease over time.

    27. Finish With a Low Windowsill Arrangement
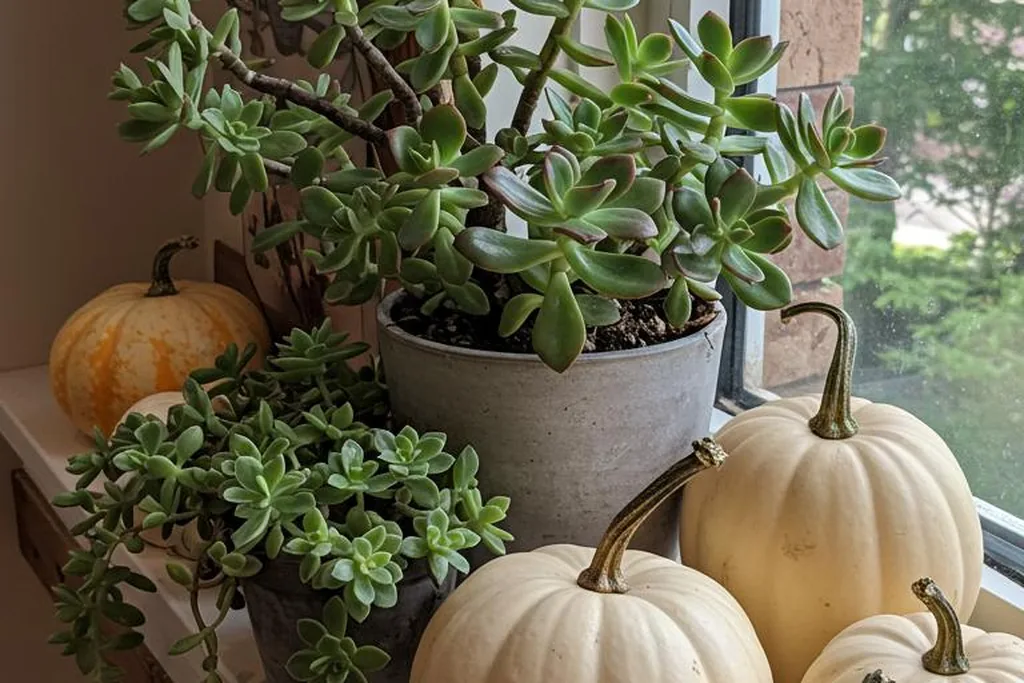
    White pumpkins and potted plants arranged on a kitchen windowsill.

    End with a low tray on the windowsill holding a small pumpkin, a tiny plant, and a stack of seasonal coasters. A windowsill display sits at eye level when you wash up, so it is the view you will enjoy most. Keep it low so it does not block light, and group it with the herb pots from Idea 17 if the sill is wide. This same calm approach works in the rest of the home, as in our Halloween bedroom decor ideas and Halloween bathroom decor ideas.

    Conclusion

    A welcoming Halloween kitchen comes from a few linked choices, not a full makeover. Set the palette first, change the textiles you touch every day, and keep every display on a tray, hook, or shelf so cooking never has to work around the decor. Use flameless light near fabric and paper, keep scents optional, and store the whole set in one box when November comes. With clear counters and warm, lived-in touches, the kitchen can join the season and still do its real job well.

    FAQs

    How can I decorate a kitchen for Halloween and still cook comfortably?

    Keep every display on a tray, board, hook, or shelf so it lifts away or hangs clear of work zones. Leave the areas beside the stove and sink empty, choose flameless candles instead of real flames, and keep garlands and towels away from heat. If a piece gets moved three times while you cook dinner, it belongs in storage, not in the kitchen.

    What colors work best for Halloween kitchen decor?

    Black, cream, charcoal, rust, and warm wood give a clear Halloween feel without bright orange on every surface. Repeat each color at least twice, such as black towels with a black crock, so the room looks planned. Add muted gold or deep green in one or two small places if you want a third accent. Quiet colors also mix well with the stainless steel and white finishes most kitchens already have.

    Is it safe to use candles in a Halloween kitchen?

    Flameless candles are the safer choice in a working kitchen, where towels, paper, steam, and hot pans are close by. If you use real candles anywhere at home, keep them on a stable, heat safe surface, well away from flammable items, and put them out before leaving the room. Never leave a lit candle or a simmer pot unattended, and check current guidance from a fire safety authority for your area.

    How do I decorate a small kitchen for Halloween without clutter?

    Change textiles first: dish towels, a runner rug, and a table runner give the biggest change for the least space. Then add one tray group on the counter and use the door for a wreath instead of adding floor or counter items. Choose pieces that store flat, like prints and garlands. Remove one everyday object from view for each seasonal piece you add, so the room stays balanced.

    Can renters decorate a kitchen for Halloween without damage?

    Yes. Most of these ideas need no fixings at all: textiles, tray displays, a wreath on an over door hook, a print swapped into an existing frame, and removable hooks for towels. Test removable hooks and clips on a hidden spot first and follow the maker guidance for your wall or tile type. Keep receipts and original items if you swap any hardware, so you can restore the kitchen later.

    How should I store Halloween kitchen decor after the season?

    Wash towels, runners, and placemats, let them dry fully, and pack them flat in one labelled box with garlands and prints. Wrap ceramic pumpkins and glassware in soft fabric or paper, and remove batteries from lights and flameless candles before storage, following maker guidance. Keep real pumpkin pieces out of the box; compost them instead. Storing everything together makes next October setup quick and helps you avoid buying duplicates.

    Save this list on Pinterest for later, and pick three ideas to try this weekend: one textile swap, one tray display, and one warm light.
  • 22 Christmas Kitchen Island Decor Ideas for a Cozy Seasonal Update

    22 Christmas Kitchen Island Decor Ideas for a Cozy Seasonal Update

    A kitchen island works hard in December. It holds groceries, hot dishes, homework, and guests with a drink in hand, so its decor has to earn its place. These 22 Christmas kitchen island decor ideas keep the center simple, group small items so they lift away in seconds, and leave clear space at the edges for cooking and serving. Start with one centerpiece, then add seating and lighting touches only where you have room. If you are decorating the living room too, these christmas tree corner ideas use the same greenery and warm light approach.

    Key Takeaways

    • Build one clear centerpiece first, using a garland, a tray, or a bowl, and keep the island edges free for cooking and serving.
    • Group small decor on trays and stands so the whole display lifts off in one move when you need the full counter.
    • Use flameless candles and battery lights near food, paper, and greenery, and keep real flames away from busy prep areas.
    • Add seasonal touches to stools, shelves, and place settings so the island itself can stay simple.
    • Choose washable, food safe pieces near work zones, and store everything in one labeled box in January.

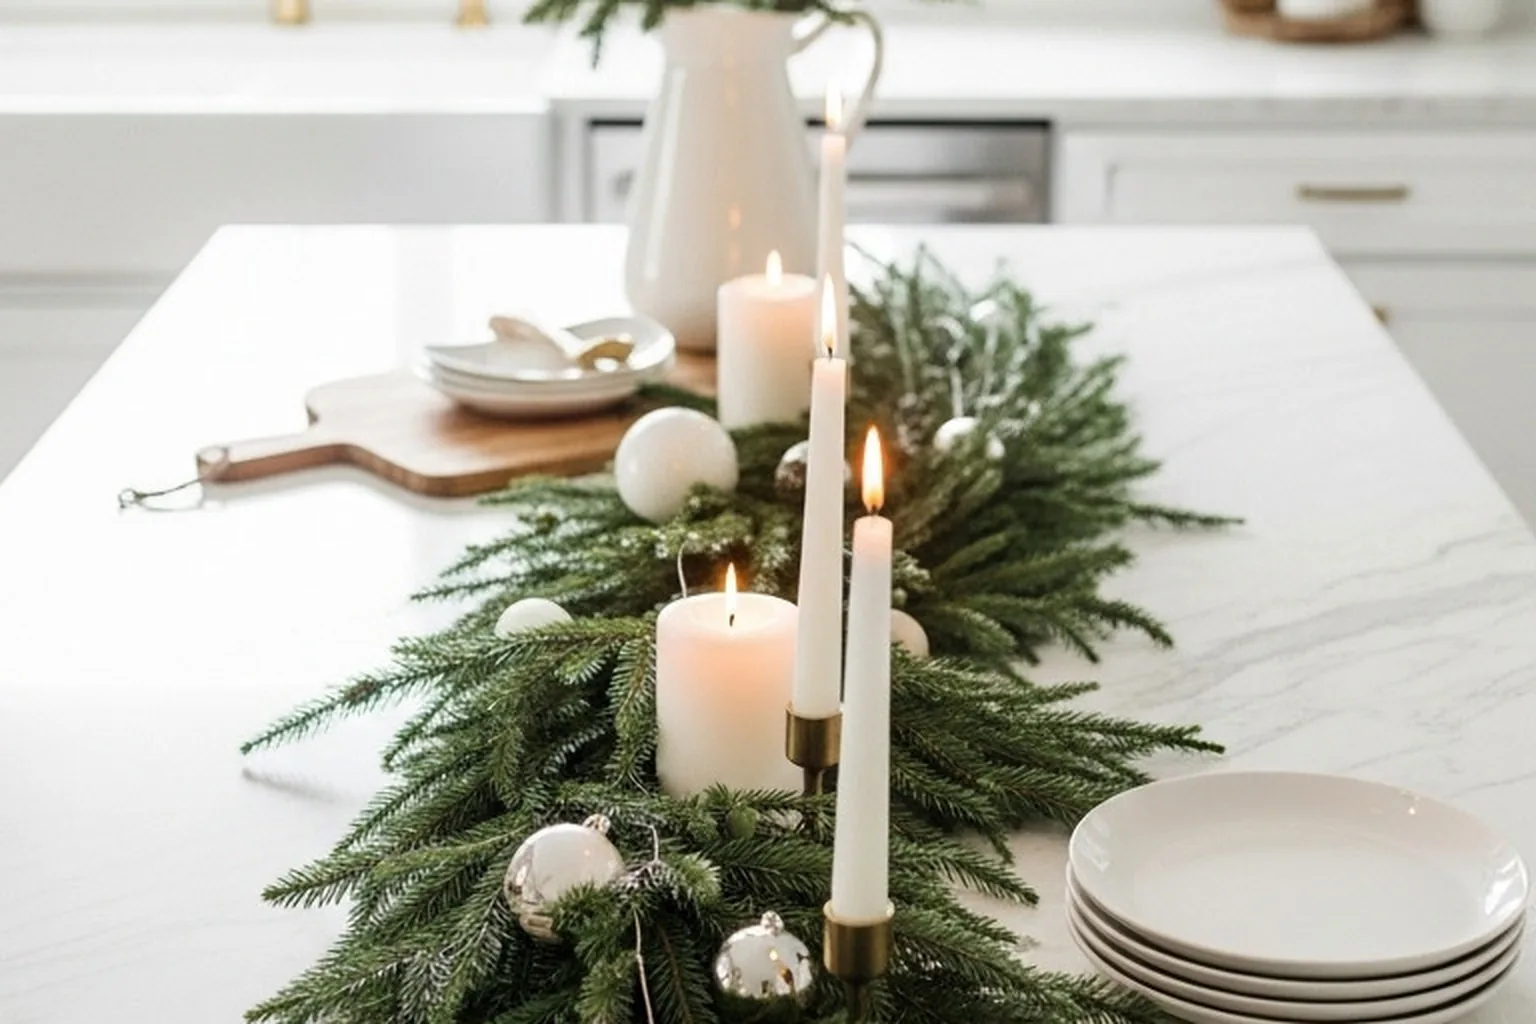
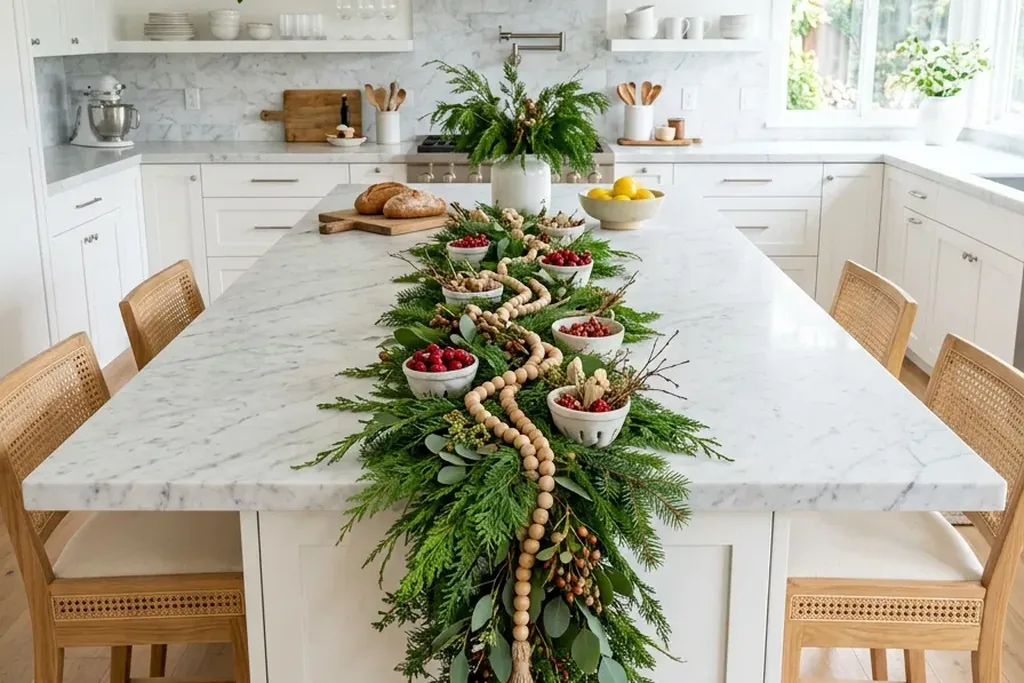
    1. Lay a Greenery Garland Down the Center

    Long greenery garland running down the center of a white kitchen island.

    Run one garland, real or faux, along the center line of the island and let the ends stop short of the edges. This gives the whole island a seasonal base without blocking seats or work space. Tuck the garland flat so plates and boards can still sit beside it, and keep it clear of the cooktop and sink. Fresh garland sheds and dries out, so mist it only if the material allows and keep it away from heat. A good faux garland is easier in a busy kitchen and stores for reuse.

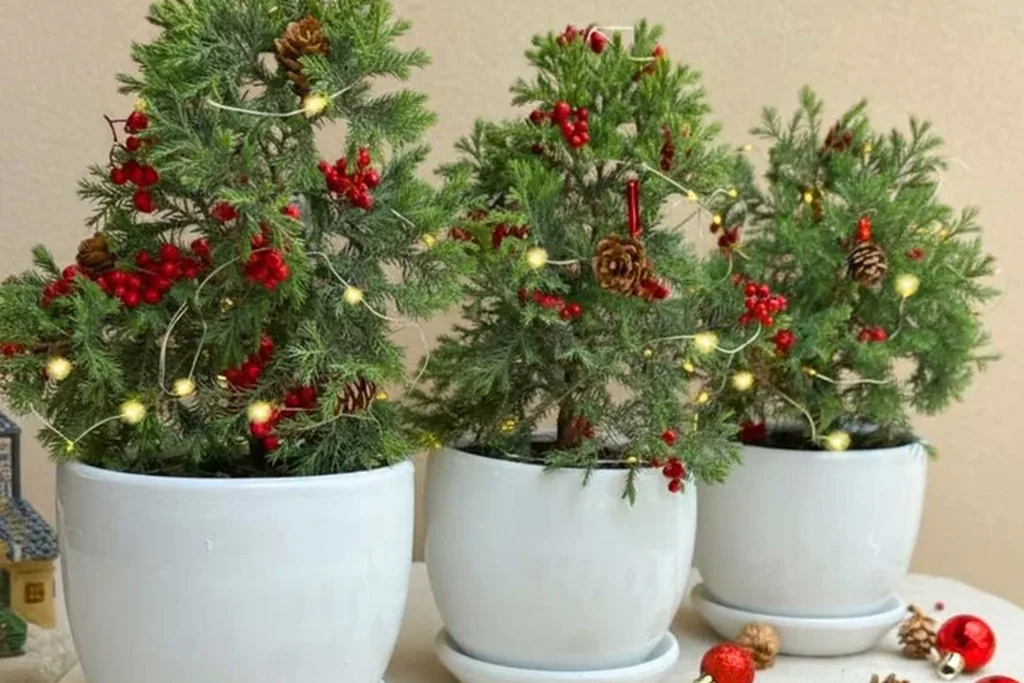
    2. Line Up Three Small Potted Evergreens

    Three small potted evergreen trees with red berries in white pots.

    Set three small potted evergreens in a row along the island, in matching pots so the line looks planned. Odd numbers read well from across the room, and small pots are easy to move when you need the counter. Use saucers under real plants to protect the surface from water marks. If counter depth is limited, use two pots at one end instead of a full row. Choose sturdy, low pots that will not tip when someone sets down a heavy dish nearby.

    3. Fill a Wide Bowl With Ornaments and Pinecones

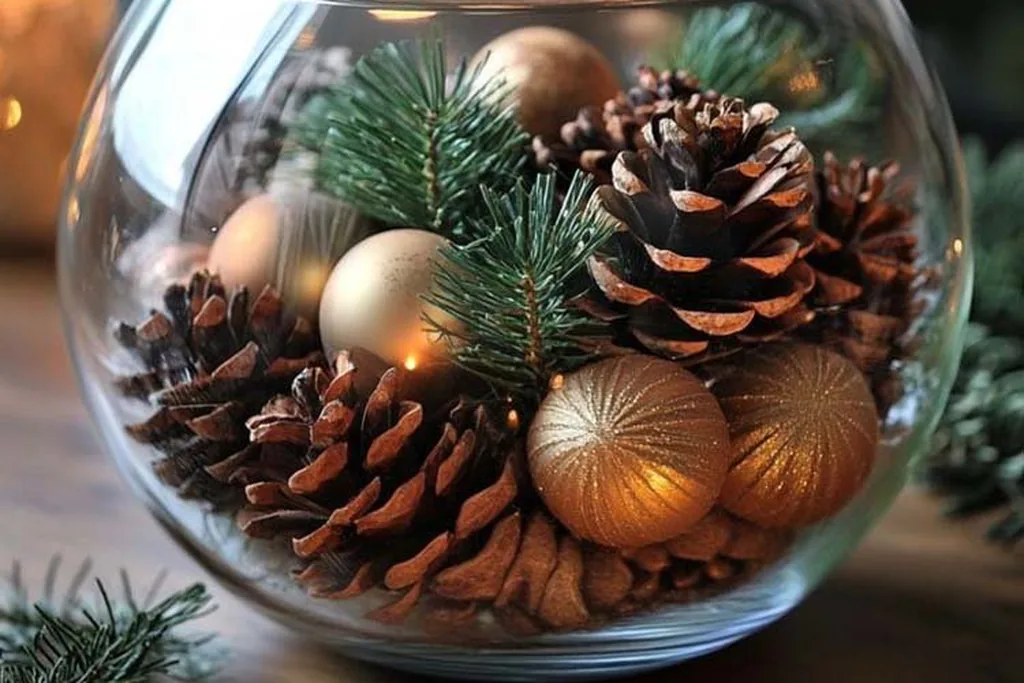
    Glass bowl filled with pinecones, gold ornaments, and evergreen sprigs.

    A wide, low bowl filled with spare ornaments, pinecones, and short evergreen clippings makes a fast centerpiece from items you may already own. Mix matte and shiny finishes so the bowl catches the light, and keep the fill below the rim so it reads as one piece. Place the bowl on a folded cloth or felt pad if the base could scratch the counter. Use shatterproof ornaments if children or pets can reach the island. This is a good first idea to try before buying anything new.

    4. Build the Whole Display on a Long Wooden Tray

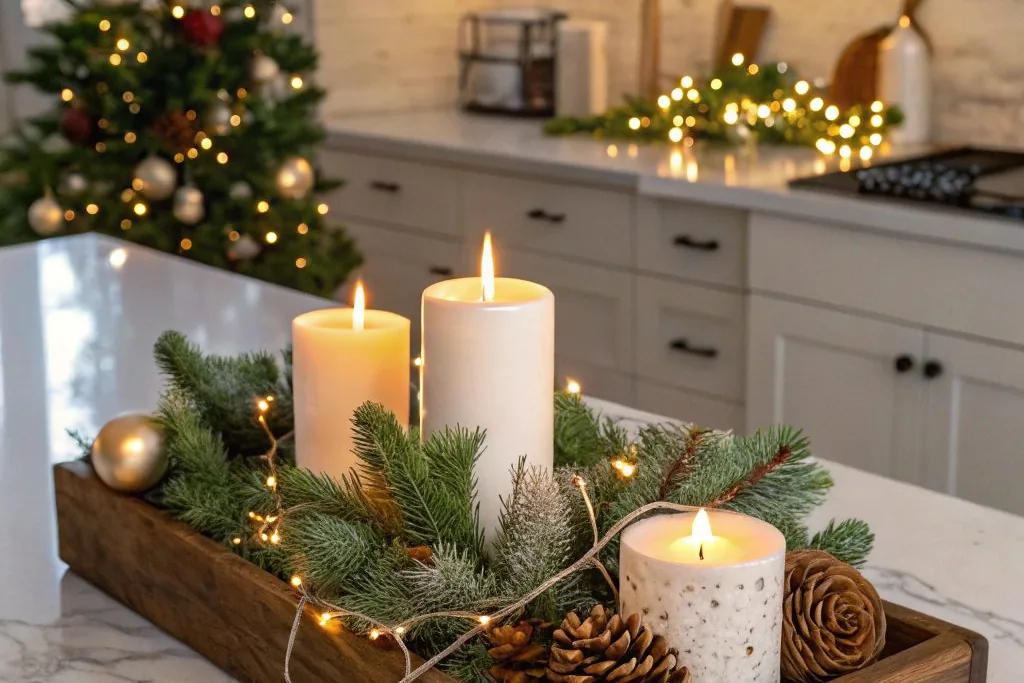
    Wooden tray holding pillar candles, greenery, and pinecones on a kitchen counter.

    Place a long wooden tray or board in the center of the island and arrange your candles, greenery, and small pieces on it instead of directly on the counter. The tray holds the display together visually, and when you need the full island for baking or serving, you lift one tray instead of moving ten items. Choose a tray with handles and check that it sits flat. Keep the arrangement low enough to see seated guests over it. Wipe the tray after food events so crumbs do not collect under the decor.

    5. Cluster Flameless Candles in Glass Hurricanes

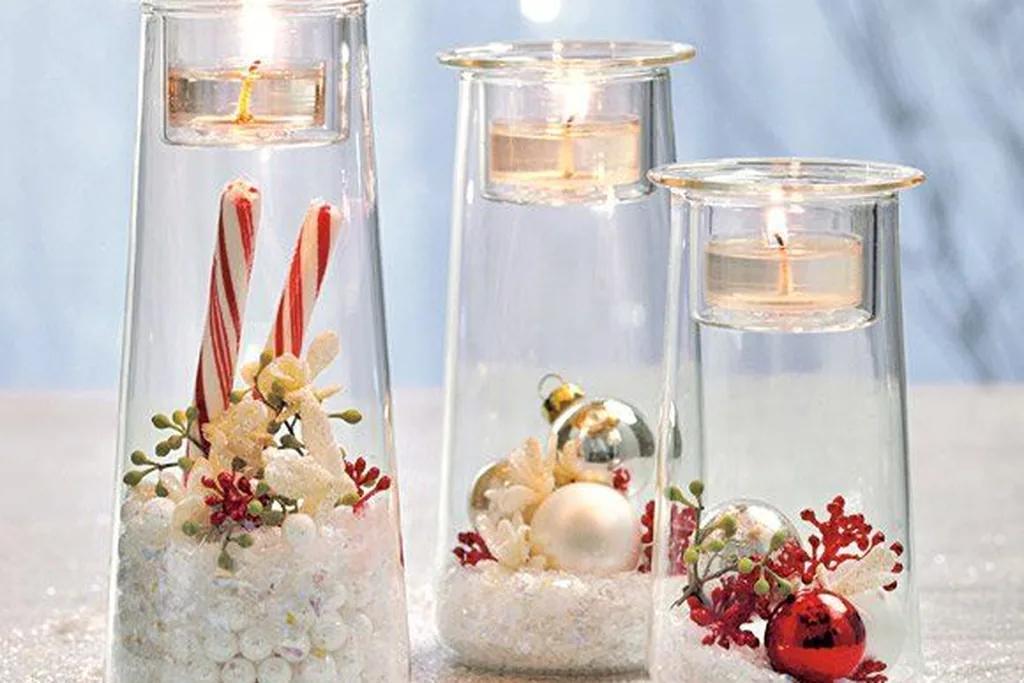
    Glass hurricane vases with floating candles, candy canes, and small ornaments.

    Group two or three glass hurricanes with flameless candles inside along the island center. The glass gives height and protects the glow from drafts, and flameless candles are the safer choice near food, paper, and greenery in a working kitchen. If you use real candles anywhere in the home, follow the NFPA candle safety guidance and never leave a flame unattended. Set timers if your candles have them, so the island lights itself at dusk. Keep hurricanes away from the cooktop edge where sleeves and towels pass.

    6. Hang Small Wreaths on the Backs of Island Stools

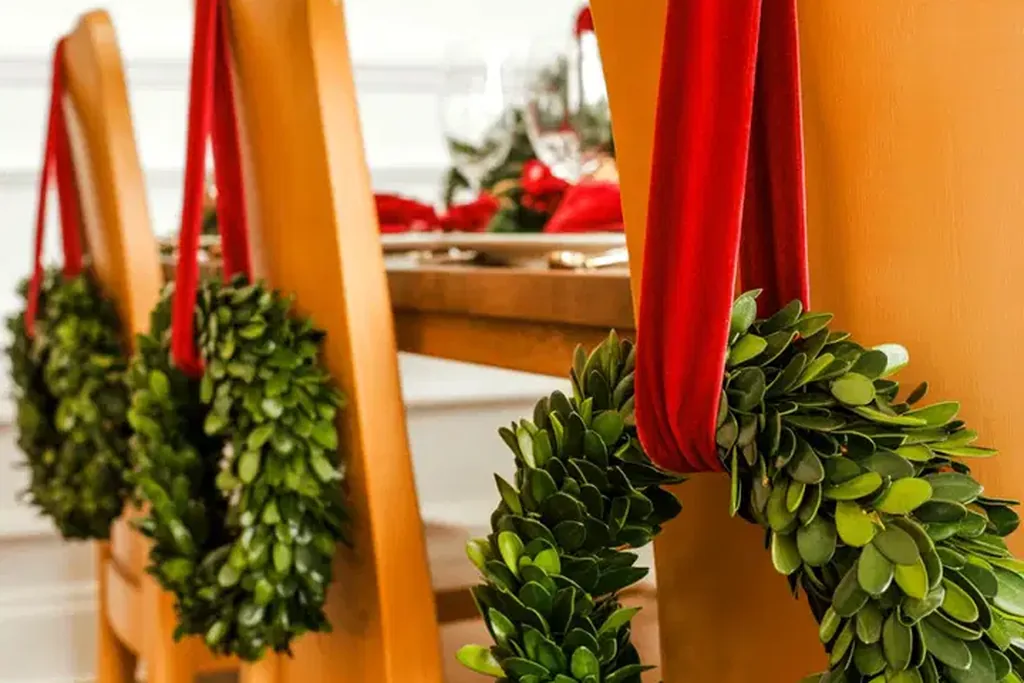
    Small green wreaths with red ribbons hanging on the backs of wooden chairs.

    Tie a small wreath to the back of each island stool or counter chair with a wide ribbon. The wreaths decorate the side of the island people see most, the seating side, without using any counter space at all. Keep them small and light so they do not bang against the island when stools move, and fix them so they cannot slide into the walkway. Plain green or boxwood style wreaths work with most kitchen colors. Remove them before stacking or storing stools.

    7. Run a Plaid Runner Beneath the Centerpiece

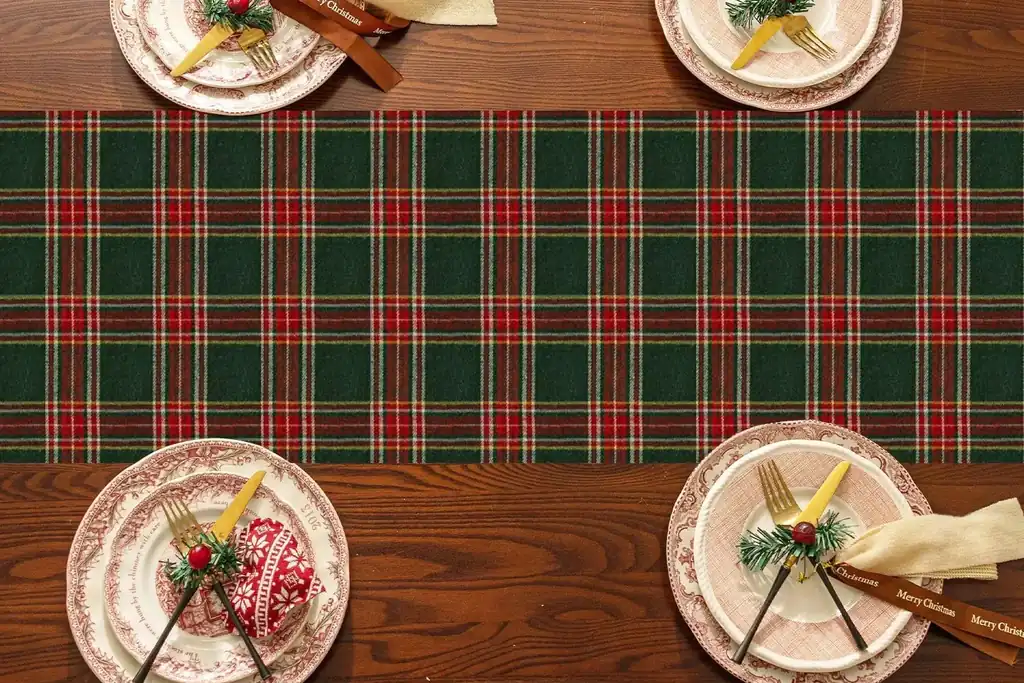
    Green and red plaid runner on a wooden table with place settings.

    Lay a plaid or checked runner lengthwise under your centerpiece to add pattern and protect the counter from candle wax drips and vase marks. Choose a washable runner, because a kitchen island runner will catch splashes and crumbs. Keep the runner flat and fully on the surface so nothing catches on a hanging edge near stools. If your island is stone and you prefer a cleaner look, use the runner only under the tray display from Idea 4. One plaid item is usually enough pattern for the whole island.

    8. Add a Tiered Stand for Treats and Small Decor

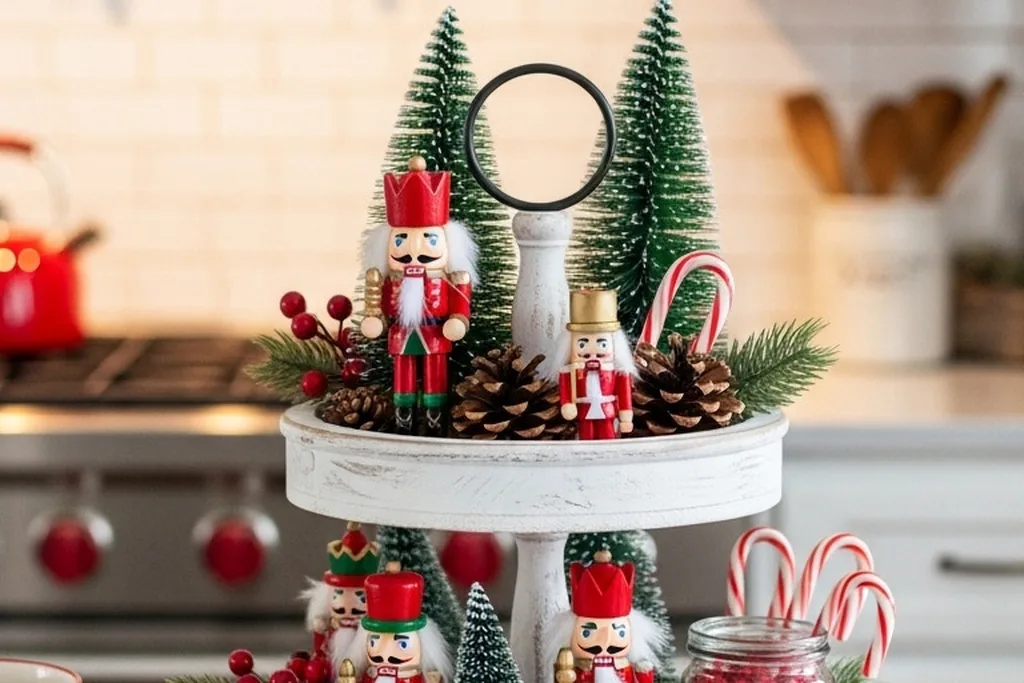
    Tiered stand with nutcrackers, mini trees, and candy canes in a kitchen.

    A two or three tier stand uses vertical space, so it holds a lot of seasonal detail in a small footprint. Fill it with a mix of useful and decorative pieces: cookies or wrapped treats on one level, mini trees, ornaments, or a small plant on another. Place the stand at the end of the island rather than the middle if people work on both sides. Check that the top tier stays low enough to reach comfortably. Restyle it after the holidays instead of storing it, since the stand itself is not seasonal.

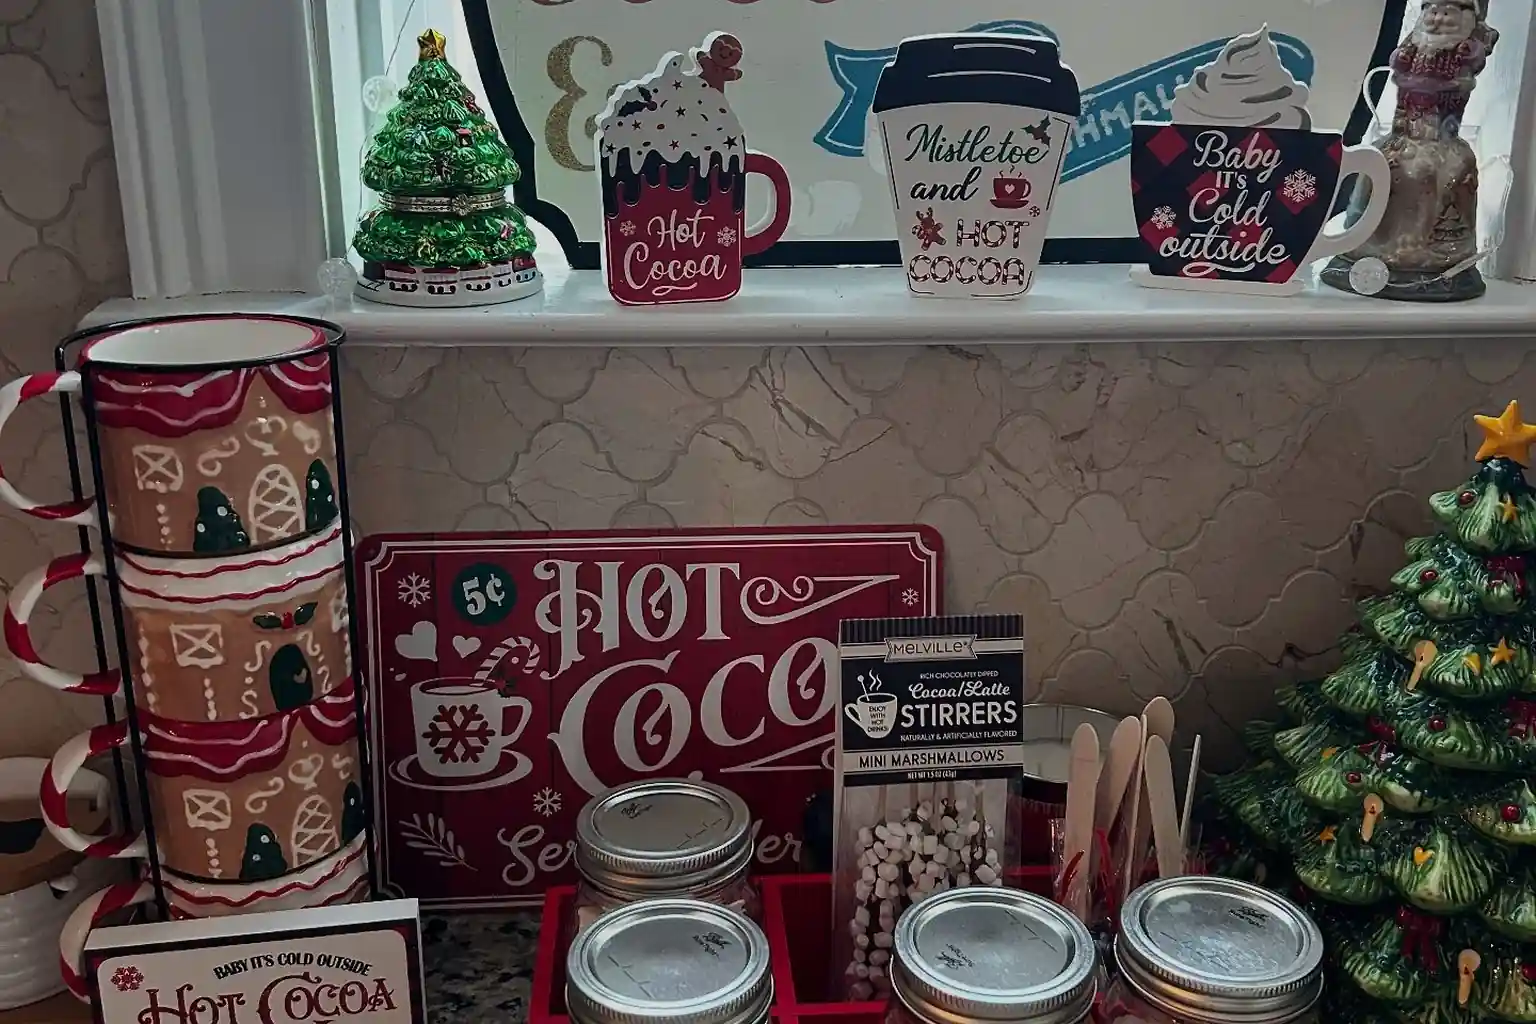
    9. Set Up a Hot Cocoa Station at One End

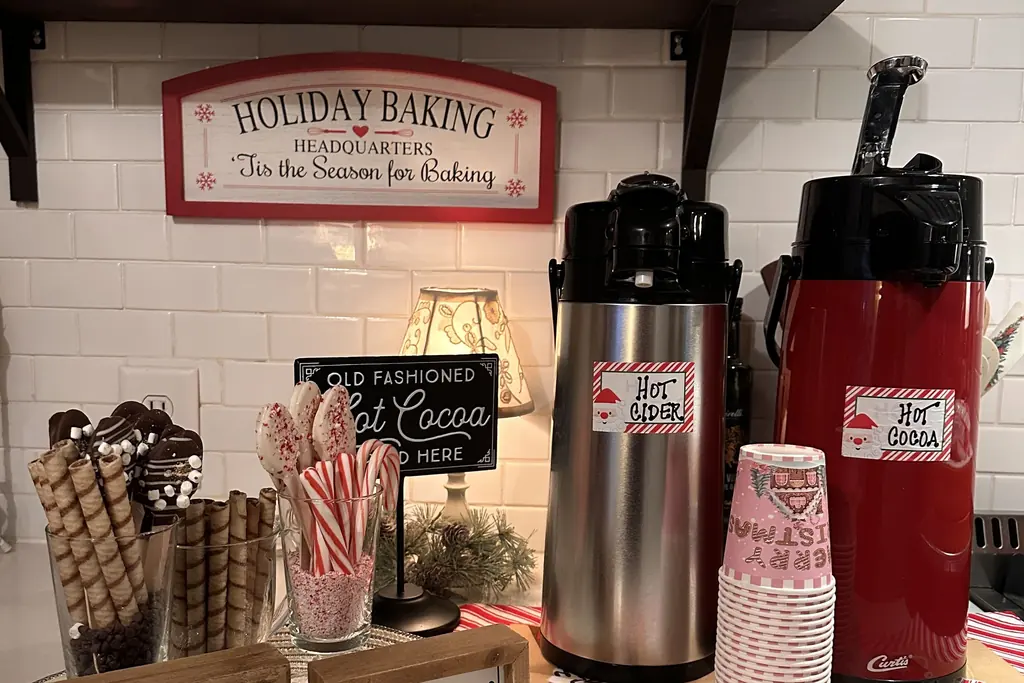
    Hot cocoa station with drink dispensers, candy canes, and a holiday baking sign.

    Use the last section of the island for a simple cocoa station: a tray with mugs, a jar of cocoa mix, spoons, and one seasonal item such as candy canes or a small sign. Keeping everything on one tray stops the station spreading across the counter during parties. Set it at the end nearest the kettle or coffee maker to shorten the trip with hot water. Keep the station away from the main prep zone, and wipe spills the same day so sugar does not mark the surface.

    10. Fill a Fruit Bowl With Oranges, Pomegranates, and Greenery

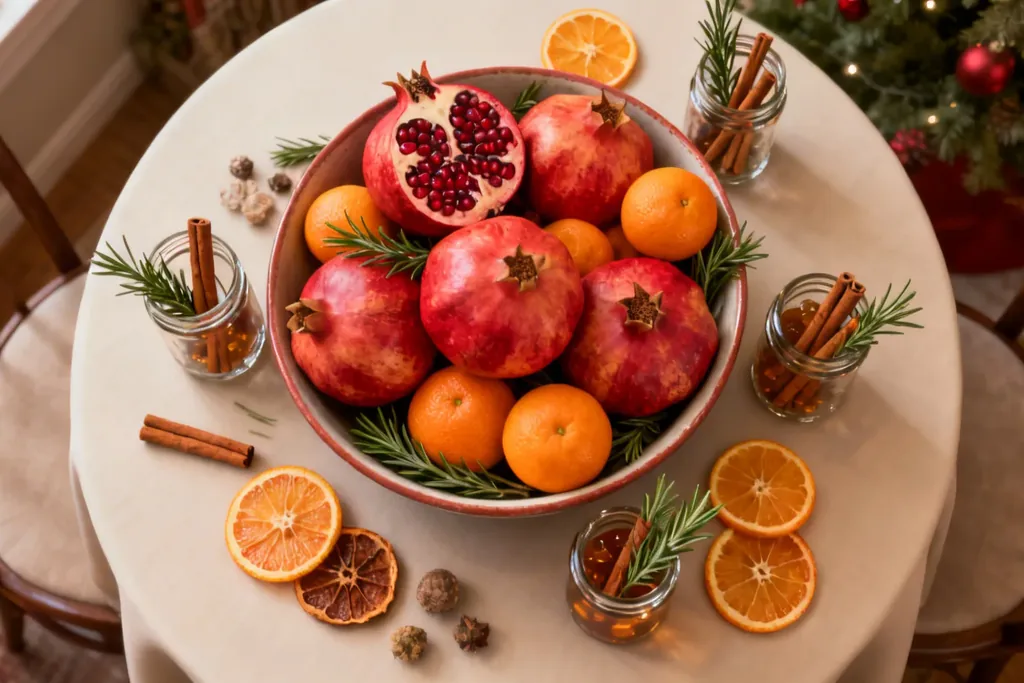
    Bowl of pomegranates and oranges with cinnamon sticks on a table.

    A bowl of whole oranges, clementines, or pomegranates with a few evergreen sprigs and cinnamon sticks brings color that is also food. It suits an island because it can move to the table at mealtime and come back after. Check the fruit every few days and use or replace pieces before they soften. Keep the bowl out of the direct prep path so cooking splashes do not reach it. This is one of the lowest cost centerpieces on the list and needs no storage in January.

    11. Use Tall Candlesticks to Add Height

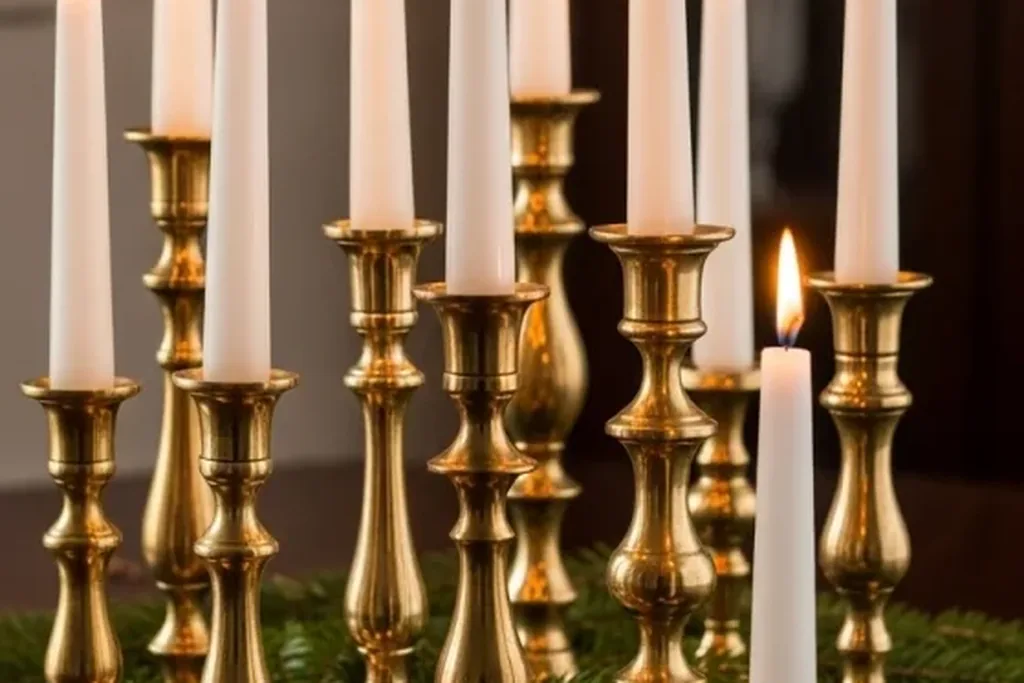
    Row of brass candlesticks with tall white taper candles.

    Most island decor is low, so a pair of tall candlesticks at the center or back edge adds the height that makes a display feel finished. Brass, wood, or black holders all work; match them to your cabinet hardware or faucet finish for a linked look. Use flameless taper candles if the island is a busy work space, and keep tall holders stable on a tray if the counter is often bumped. Leave space between the candlesticks and any hanging pendants or shelving above.

    12. Place a Small Tabletop Tree at the Far End

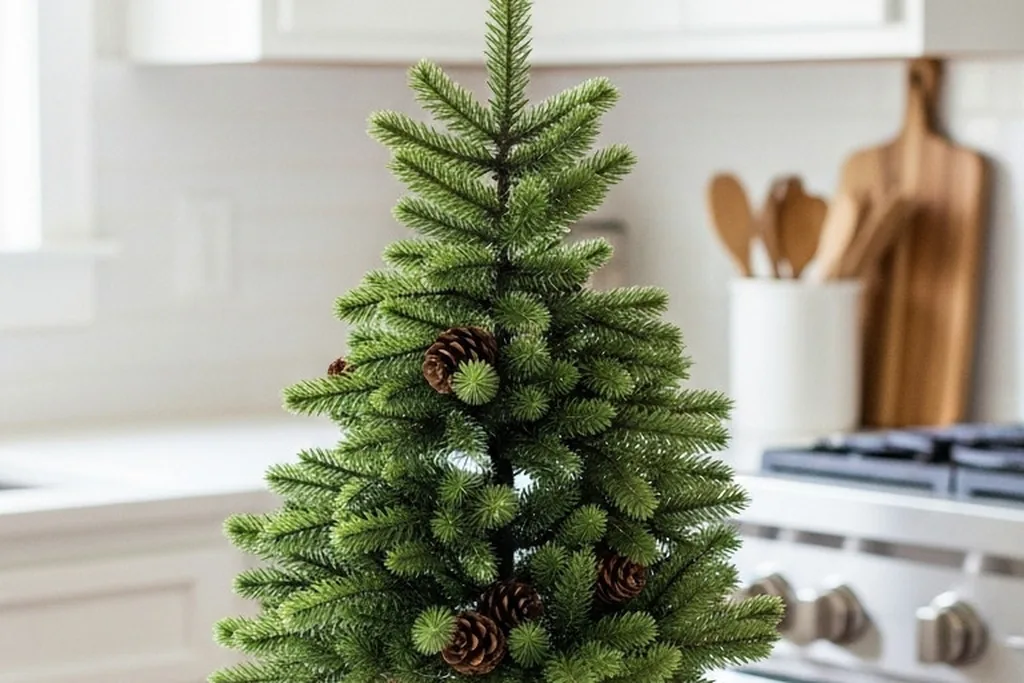
    Small tabletop evergreen tree on a kitchen counter near the stove.

    Set one small tabletop tree at the end of the island, in a pot, basket, or wrapped base that suits your kitchen. It marks the season from the doorway without a full size tree in the cooking area. Keep it away from the cooktop, the sink spray, and the edge where bags and boards slide on and off. A plain tree with no ornaments can stay through January as winter decor. If your island is short, one tree at the end replaces a centerpiece entirely and keeps the middle clear.

    13. Hang Stockings Along the Side of the Island

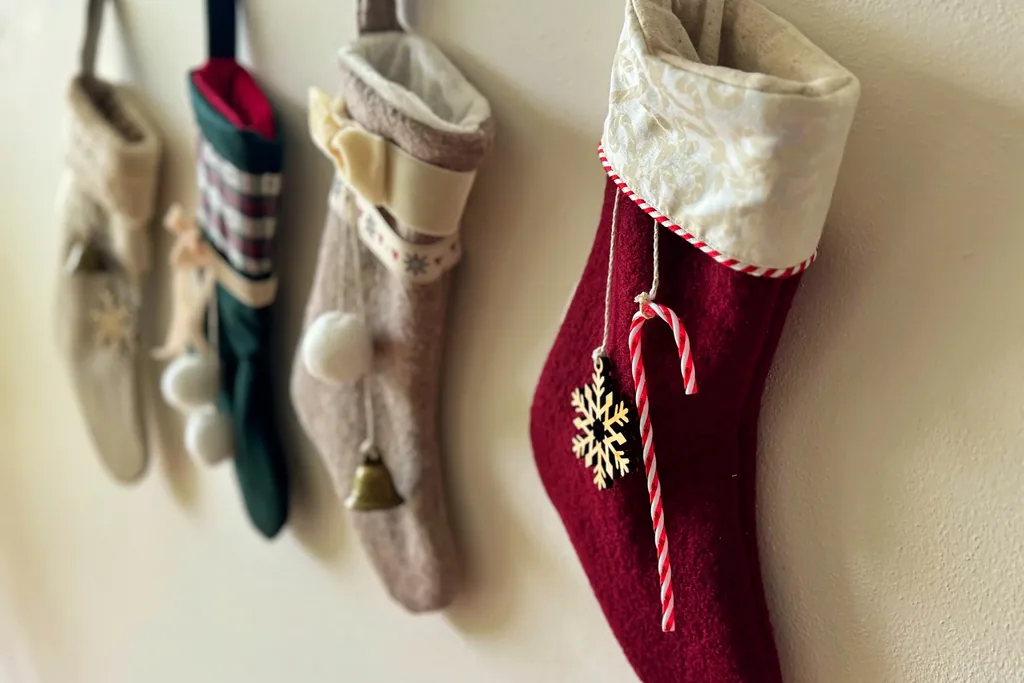
    Christmas stockings in red, cream, and green hanging from wall hooks.

    If your home has no fireplace, the side of the island is a practical place for stockings. Hang them from removable hooks on the seating side or the end panel, spaced evenly, and keep them empty until Christmas Eve so they do not pull or swing into the walkway. Check that hooks suit your cabinet or panel finish before you commit, and test with one stocking first. Keep stockings away from oven doors and heat vents on the cooking side of the island.

    14. Weave Battery String Lights Through the Garland

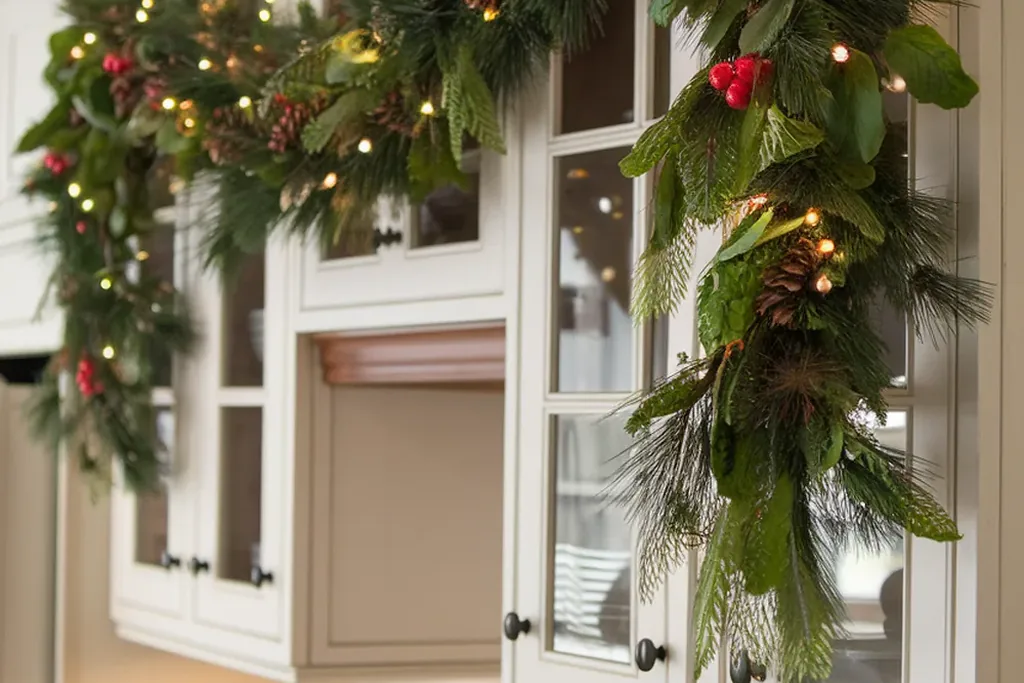
    Greenery garland with warm string lights draped over kitchen cabinets.

    Small warm white battery lights woven through the center garland give the island a soft evening glow without a cord crossing the counter. Hide the battery pack inside the garland or under the tray, where you can reach the switch. Choose lights made for indoor use and keep the battery pack dry and away from the sink area. Turn them off overnight and when the kitchen is empty. If your garland sits near the cooktop, skip lights on that section and light only the seating half.

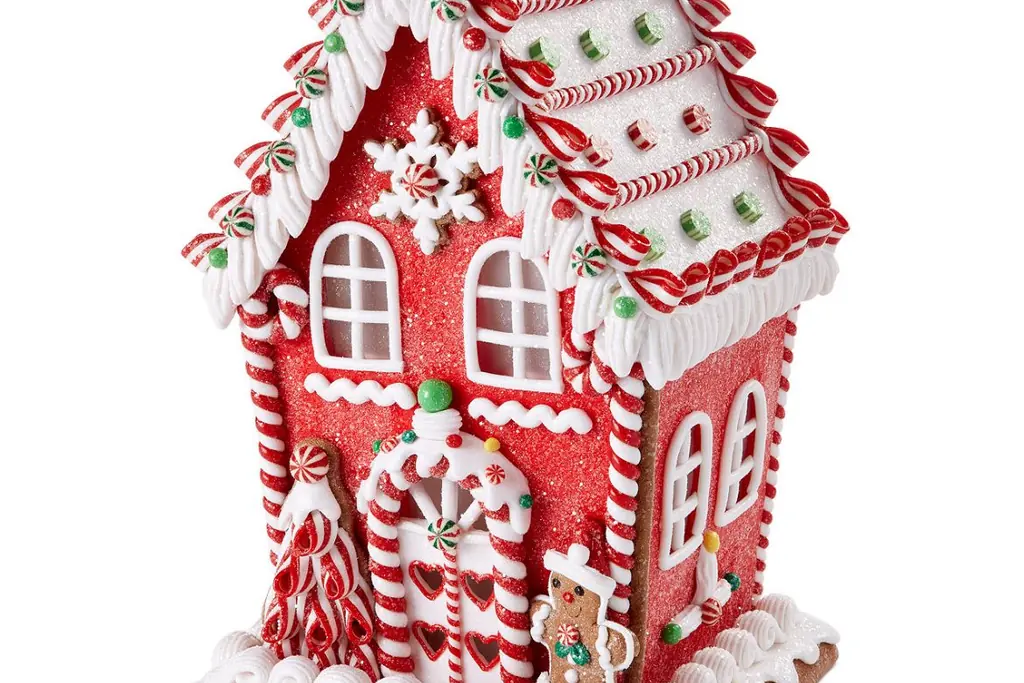
    15. Make a Gingerbread House the Focal Point

    Red and white gingerbread style house decoration with candy details.

    Set a gingerbread house, homemade, from a kit, or a ceramic look version, on a cake stand or board at the center of the island. It gives guests and children one clear focal point, so the rest of the island can stay plain. Raise it slightly so it reads above bowls and boards, and keep it out of the splash zone if it is real and meant to be eaten later. Photograph it early in the season, since a real house softens and fades as December goes on.

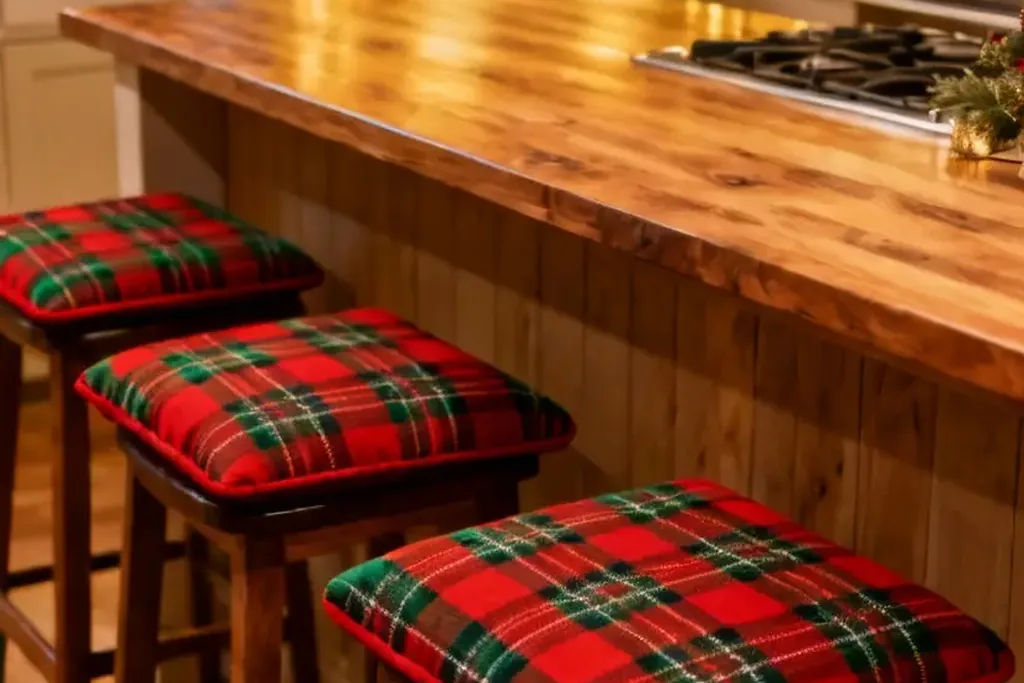
    16. Add Seasonal Cushion Covers to Island Stools

    Kitchen island stools with red and green plaid seat cushions.

    Swap the seat cushions or covers on your island stools for a plaid, red, or deep green set for the season. The change is large when you look at the kitchen, because the seating side is what you see from the next room, yet it uses no counter space and stores flat. Choose washable covers with zips, since kitchen seating catches drips and crumbs. Keep the original covers in the same storage box so the swap back in January takes minutes.

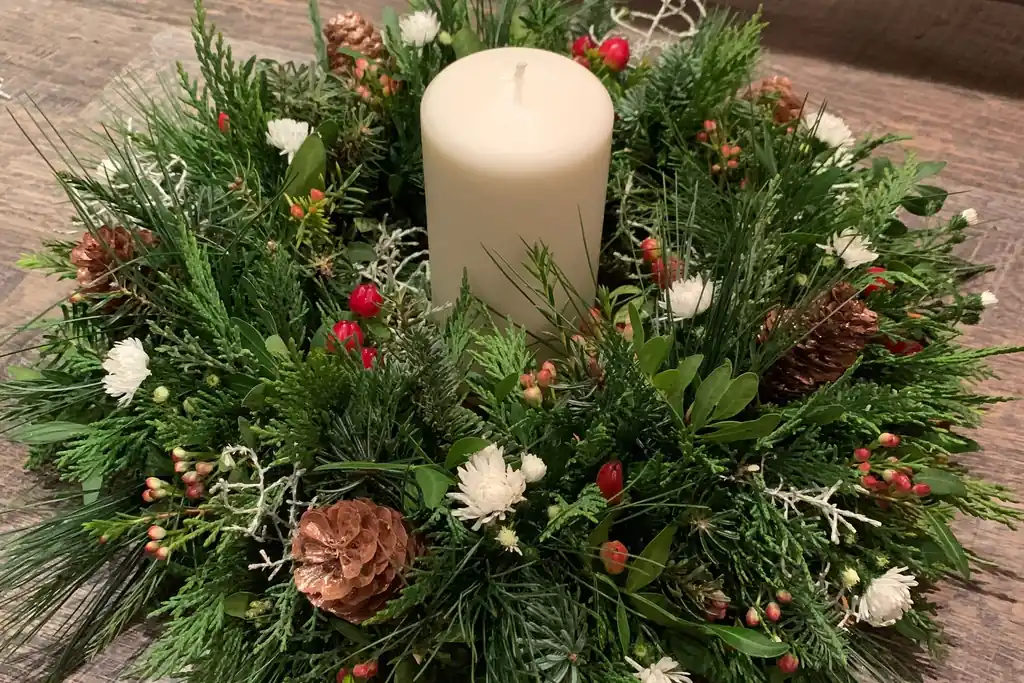
    17. Lay a Wreath Flat Around a Central Candle Group

    Evergreen wreath laid flat with a large cream pillar candle in the center.

    Place a medium wreath flat on the island and set a group of flameless candles or a hurricane in its center. Used flat, a wreath works as a ready made base that hides the gap between candles and fills the center of a wide island where a single bowl can look lost. Add a few pinecones or ornaments into the greenery if it needs more detail. Check the wreath diameter against your island so place settings and boards still fit around it.

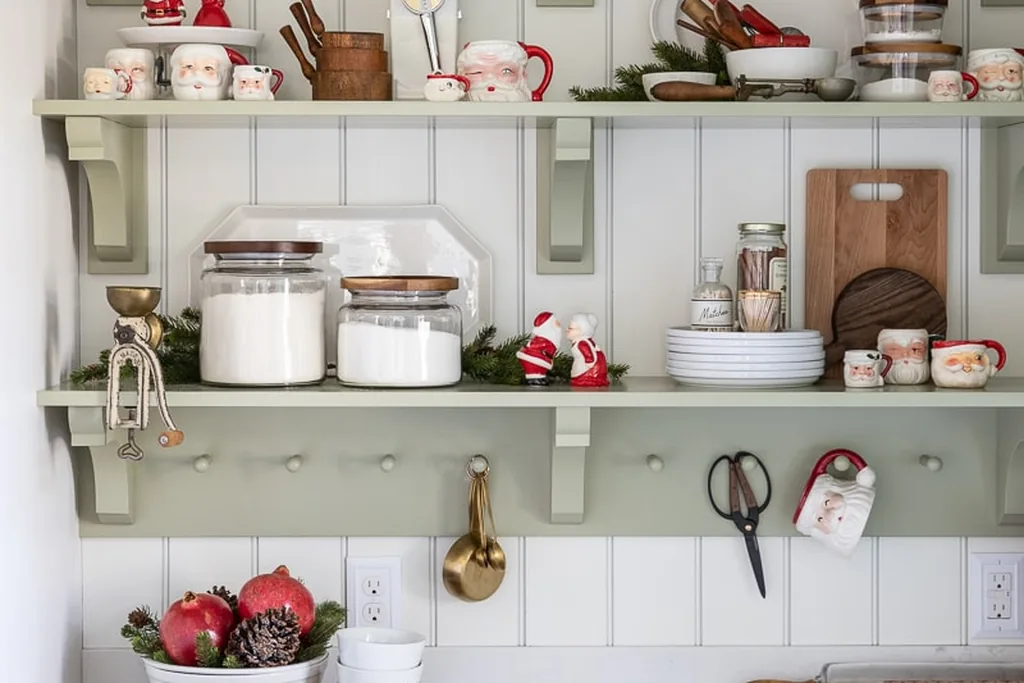
    18. Style the Island Shelving and End Panels With Holiday Pieces

    Kitchen open shelves with glass jars, mugs, and small Christmas accents.

    If your island has open shelving, an end recess, or a book shelf, style one section of it for Christmas: stacked seasonal cookbooks, a small plant, jars of treats, and one ornament or figure. Keeping decor in the built in storage zones leaves the worktop fully clear, which suits small kitchens and keen cooks. Leave the everyday items you reach for daily in their usual spots and decorate only one shelf, so the island still works the same all season.

    19. Hang Festive Tea Towels Where They Are Used

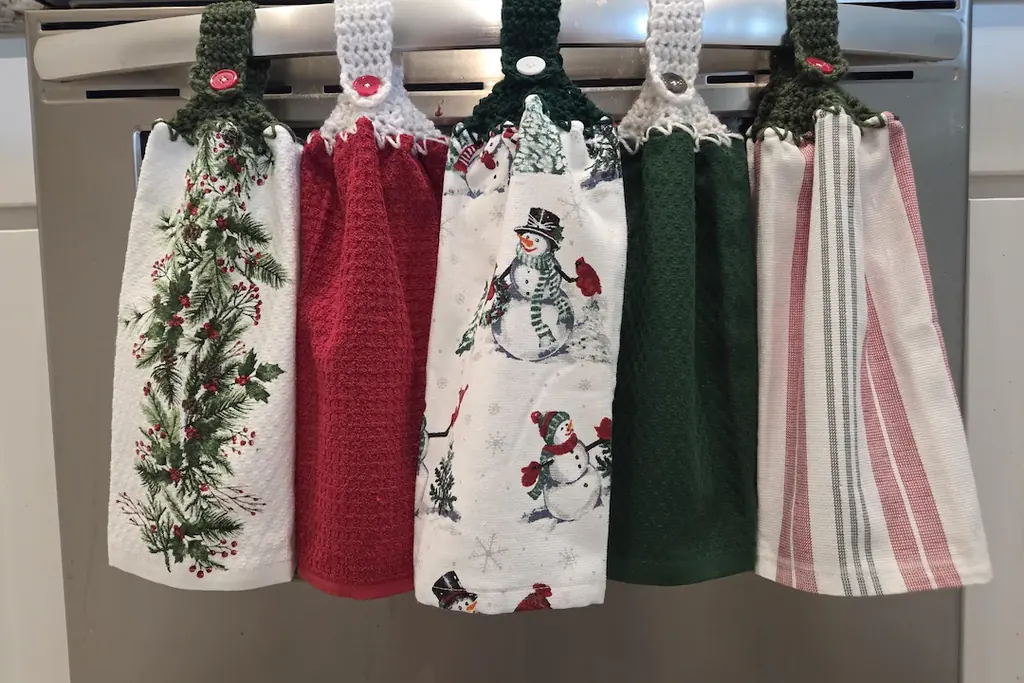
    Christmas themed kitchen towels hanging from an appliance handle.

    A folded Christmas tea towel over the sink edge, an appliance handle, or a hook on the end of the island adds color in a spot that already holds a towel. It is decor you use every day, so it earns its place and washes with the normal laundry. Choose towels that are mostly one color with a small motif if your island display is already busy. Keep spare plain towels nearby for heavy cooking days, and save the seasonal set for serving and guests.

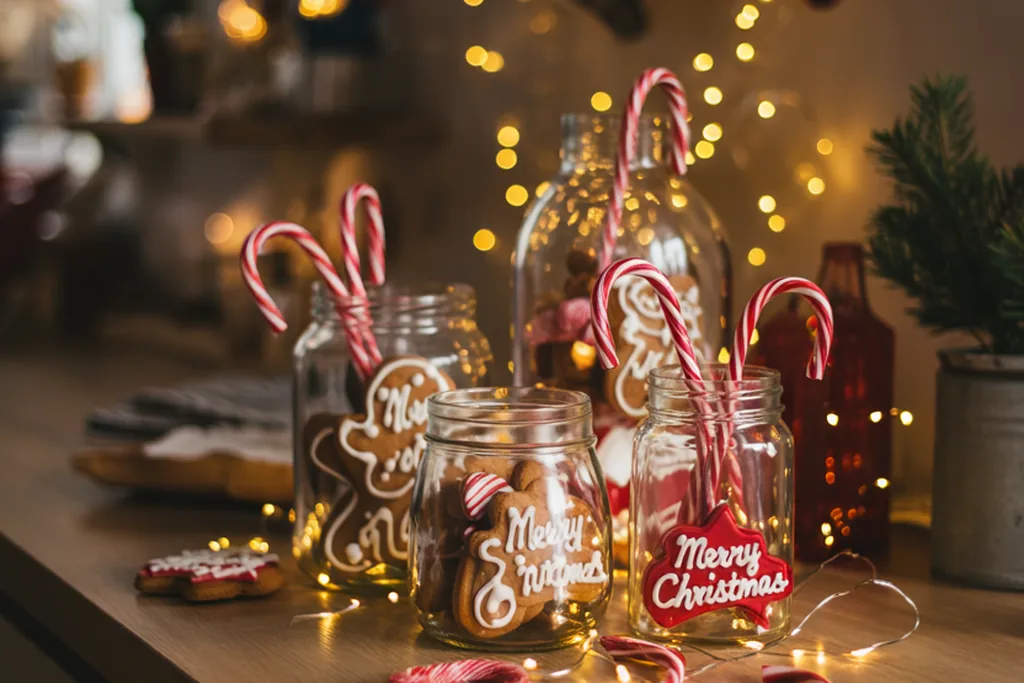
    20. Fill Glass Jars With Cookies and Candy Canes

    Glass jars filled with candy canes and treats on a counter with string lights.

    Clear glass jars with lids, filled with cookies, candy canes, or wrapped sweets, line up well along the back of an island. You can see what is inside, the lids keep food covered, and the jars double as the treat supply for guests. Group jars of two or three heights and leave the front half of the counter clear. Label jars if you bake for people with different needs, and keep one jar for non food items such as spare batteries for the flameless candles.

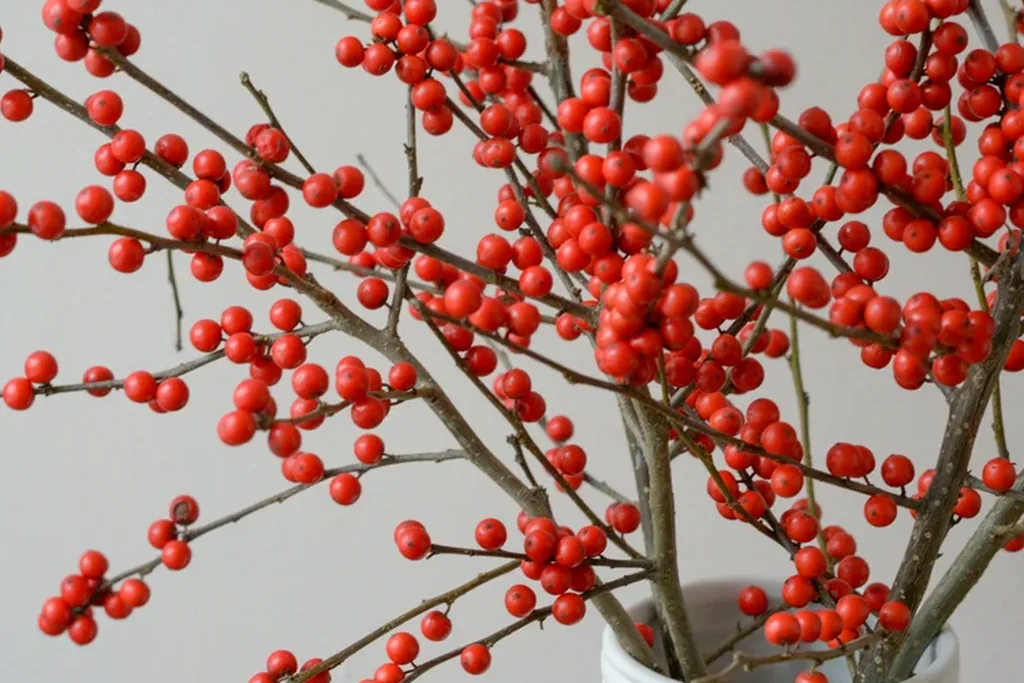
    21. Stand Red Berry Stems in a Tall Vase

    Branches of bright red winter berries in a vase.

    A tall vase of red berry stems, real or faux, at one end of the island adds strong color and height with a very small footprint. The narrow base leaves work space free, and the berries link with garland and wreaths in the same red range. Set the vase where it will not be knocked by boards or bag handles, ideally against the back edge or in a corner of the counter. Real berries drop as they age, so use faux stems if the island is your main food prep surface.

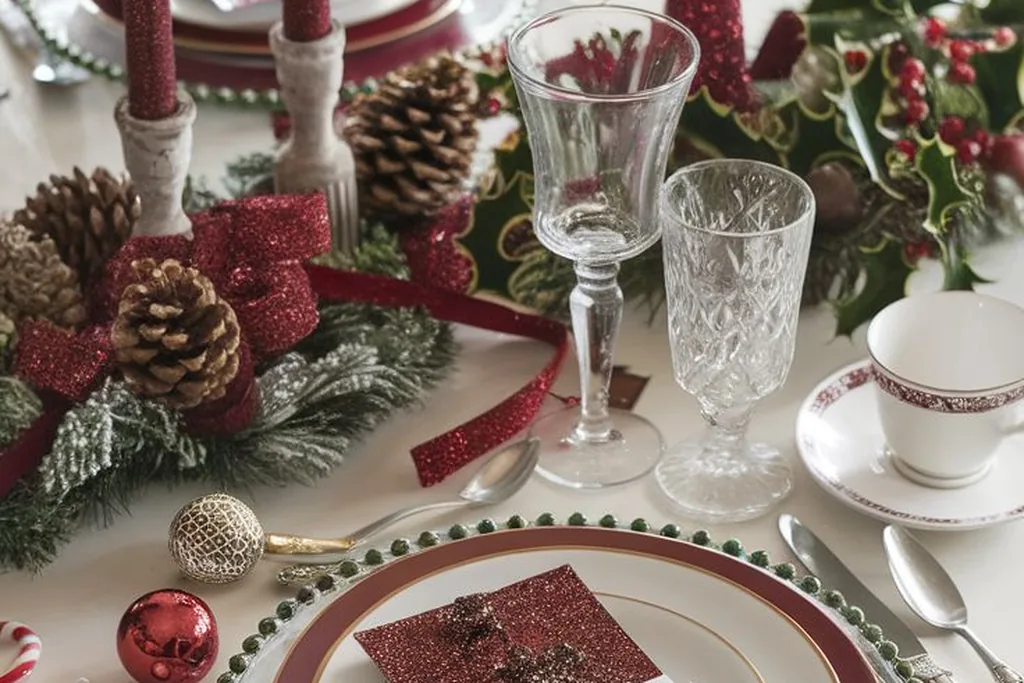
    22. Set Simple Seasonal Place Settings at the Island Seats

    Christmas place setting with pinecones, greenery, and glassware on a table.

    If people eat at the island daily, simple seasonal place settings do more than any centerpiece. Use a woven or plaid placemat at each seat, a plain napkin, and one small sprig of greenery or a cinnamon stick laid on top. The settings stack or wash easily and come off in seconds when you need the counter. For more table styling ideas that pair with this approach, see these everyday dining table decor basics and adjust the palette for December.

    Conclusion

    A Christmas island works best when the decor is grouped, low in the middle, and easy to move. Pick a tray, a garland, or a bowl as your base, add light with flameless candles or string lights, then use stools, shelves, and place settings for the rest of the seasonal detail. Keep the cooking edges clear and the food zones washable, and the island will serve every meal and gathering of the season without a daily rearrange. For the rooms guests move through next, these winter living room ideas and holiday guest bathroom ideas follow the same simple approach.

    Save this list on Pinterest before you start decorating, and build your island in layers: base first, light second, small details last.

    FAQs

    How do I decorate a kitchen island for Christmas without losing prep space?

    Group everything onto one tray, stand, or garland line in the center of the island, and keep the outer edges completely clear. Choose items you can lift away in one move, such as the tray display or a tiered stand, and put larger pieces at the ends rather than the middle. If you cook a big meal, move the whole display to a side counter for the day and bring it back after. Decor that moves easily is decor you will keep up all season.

    What is the best centerpiece for a kitchen island at Christmas?

    The best centerpiece is low, stable, and easy to clean around. A garland runner, a wide bowl of ornaments and pinecones, or a wreath laid flat around flameless candles all work well. Long islands suit a runner or tray that stretches along the center, while square islands suit one round bowl or wreath. Avoid anything tall in the middle of a seating island, because it blocks sight lines between people sitting opposite each other.

    How can I decorate a small kitchen island for Christmas?

    Use fewer, grouped pieces. One small tabletop tree at the end, a single bowl, or a short garland section gives a clear seasonal signal without crowding a short counter. Move the rest of the detail off the worktop: wreaths on stool backs, seasonal cushion covers, and a festive tea towel carry the theme while the surface stays free. Measure your island and leave at least the front half clear for everyday use.

    Are candles safe on a kitchen island?

    Flameless candles are the safer everyday choice on a working island, because there is no open flame near towels, paper, packaging, or sleeves. If you use real candles, set them inside hurricanes or on a stable tray, keep them away from the cooktop and anything that can catch fire, and put them out before leaving the kitchen. Never leave a burning candle unattended, and keep matches and lighters away from children.

    When should I put up and take down Christmas kitchen island decor?

    Put up the durable pieces, such as garlands, wreaths, jars, and cushion covers, whenever you decorate the rest of the home, and add fresh items like fruit bowls and real greenery closer to the days you will host. Take food based decor down as soon as it softens, and pack the rest away in one labeled box when you clear the other rooms in January. Storing the island pieces together makes next year faster.

    How do I keep island decor clean and food safe?

    Keep decor out of the direct prep zone, use washable textiles, and choose lidded jars for anything edible. Wipe trays and stands when you wipe the counter, and shake garlands and wreaths over a bin before you set them out. Keep real greenery, berries, and potpourri away from food surfaces if anyone in the home may be sensitive to them, and wash fruit before eating it even if it has been on display.


  • 22 Hot Cocoa Bar Ideas to Make Small Spaces Work Harder

    22 Hot Cocoa Bar Ideas to Make Small Spaces Work Harder

    A hot cocoa bar does not need a full counter, a spare room, or a large serving table. In a small home, the best setup is compact, easy to clear, and close to water and mugs. These hot cocoa bar ideas use carts, trays, shelves, and vertical storage so a winter drink station can fit a kitchen corner, a dining wall, or the space beside a sofa. Start with one base, add storage for mixes and toppings, then keep only the mugs and extras you use each week.

    Key Takeaways

    • Give the bar one small base first: a slim cart, a tray on a counter corner, or a narrow table against a wall.
    • Build up, not out. Tiered stands, floating shelves, mug rails, and a mug tree hold more in the same footprint.
    • Store mixes and toppings in clear, labelled containers that stack or line up in a single row.
    • Keep hot water, mugs, and perishable toppings close to the serving spot so the station stays tidy in daily use.
    • Plan the pack away step before you set up, with one basket or box that holds the seasonal extras.

    1. Start With a Slim Rolling Cart

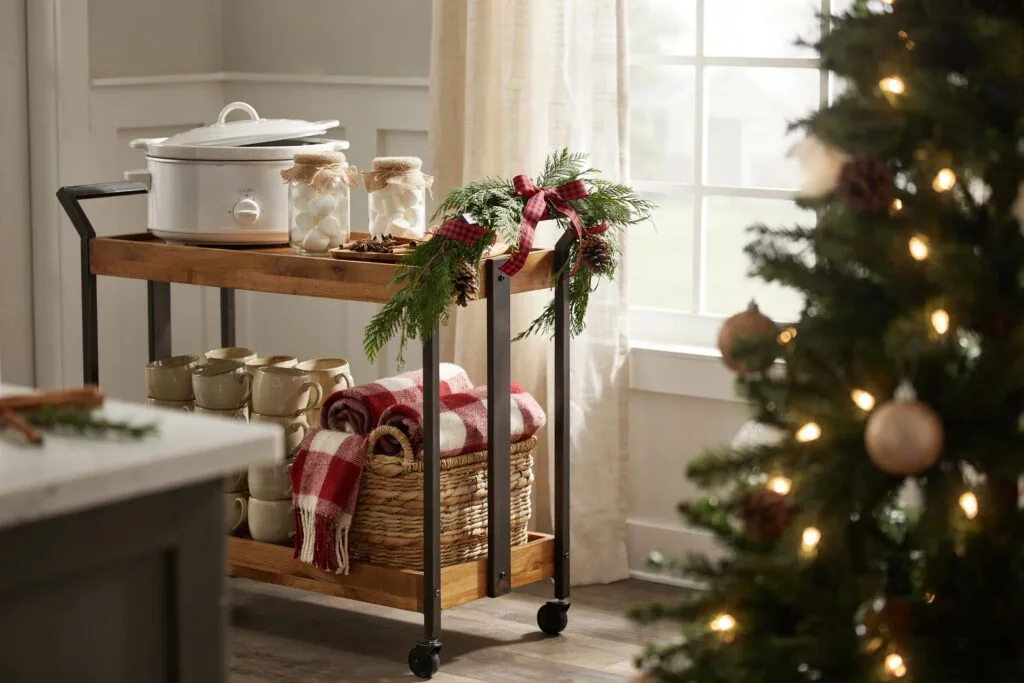
    Two tier rolling cart with jars, mugs, and a basket set up as a cocoa bar beside a Christmas tree.

    A narrow three tier cart can hold the whole bar in the floor space of a single chair. Put the kettle or carafe and mugs on the top tier, jars of mix and sugar on the middle tier, and extra toppings and napkins on the bottom tier. Roll the cart beside the counter when you serve, then park it in a pantry gap, beside the fridge, or in a hallway corner. Measure the parking spot before you buy, and choose a cart with locking wheels if your floor slopes.

    2. Claim One Counter Corner With a Large Tray

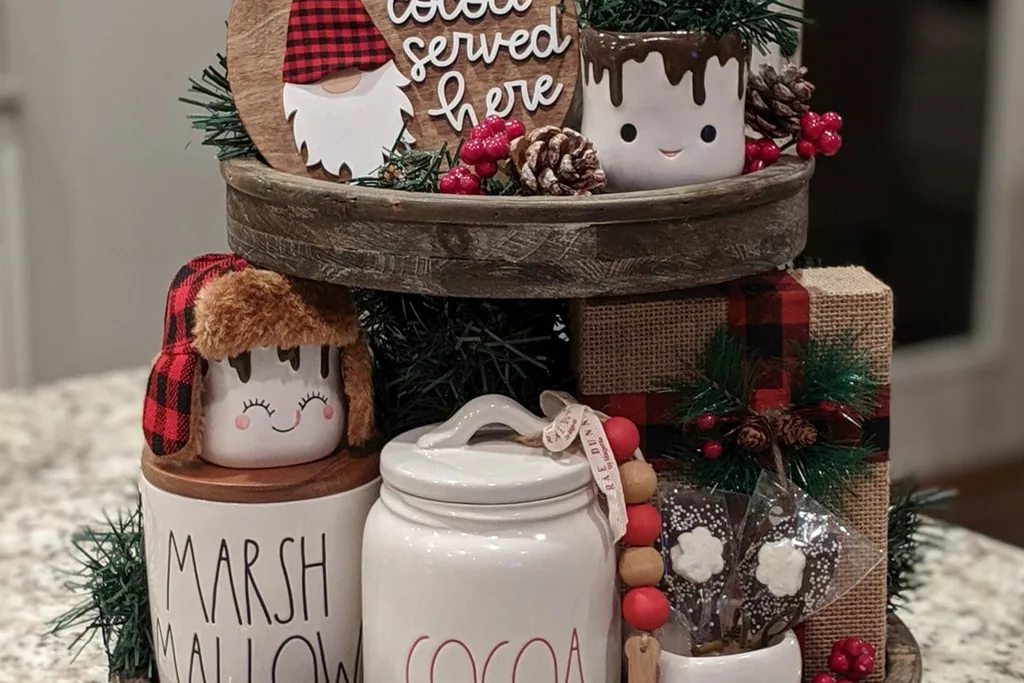
    Tiered tray on a kitchen counter with cocoa canisters, mugs, and Christmas accents.

    If counter space is your only option, set the bar on one large tray in the corner you use least. The tray edge marks the limit, so jars, mugs, and a small kettle stay inside one clear zone instead of spreading across the worktop. A tray with handles also lets you lift the whole station away when you need the counter for cooking. Choose a tray that fits the corner with room to open nearby cabinets, and wipe it after each use, because cocoa powder shows on every surface.

    3. Build Up With a Tiered Stand

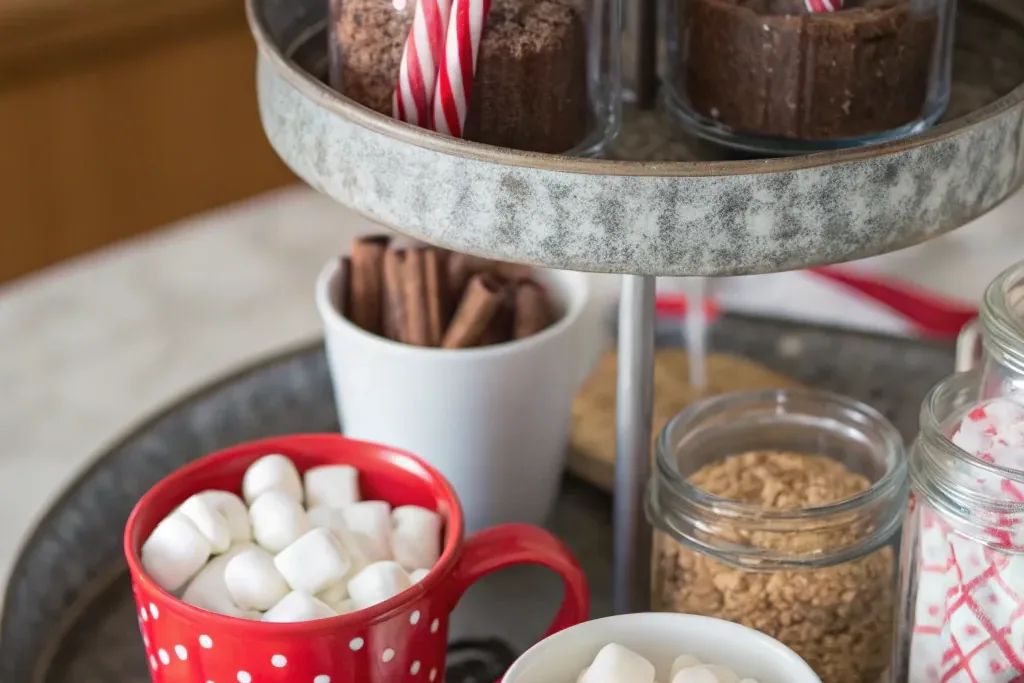
    Two tier stand with jars of cocoa, a cup of marshmallows, and cinnamon sticks.

    A two or three tier stand turns a small square of counter into stacked serving space. Place cups or small jars on the top level, toppings in the middle, and cookies or stirrers on the widest bottom level. Keep the heaviest items low so the stand stays steady when people reach across it. A stand with a central handle is easy to carry to a table for guests. If you already own a cake stand, use that first and add a smaller raised plate beside it.

    4. Add Floating Shelves Above a Short Counter

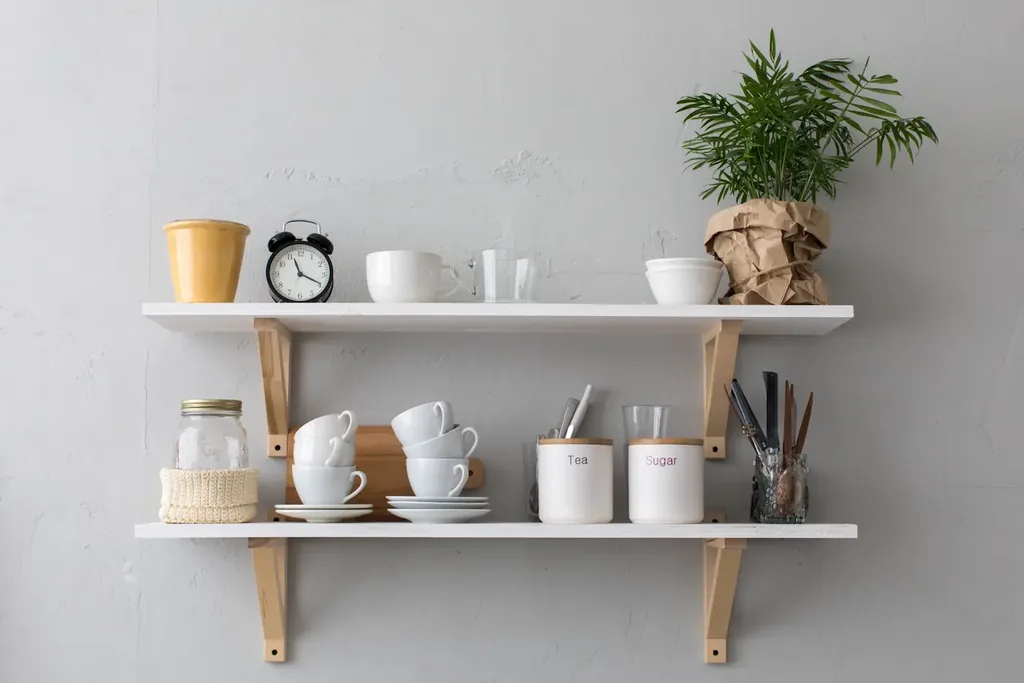
    Two white floating shelves with cups, jars, and a small plant on a kitchen wall.

    Wall space above a counter, a sideboard, or a utility shelf is often empty, and two short floating shelves can hold the whole dry side of the bar. Line up labelled jars on the lower shelf and stack spare mugs or small bowls on the upper one. Keep everyday mugs on the shelf you can reach without stretching, and store guest extras higher up. Follow the shelf maker guidance for your wall type, and keep shelves clear of steam from a kettle placed directly below.

    5. Hang Mugs From an Under Cabinet Rail

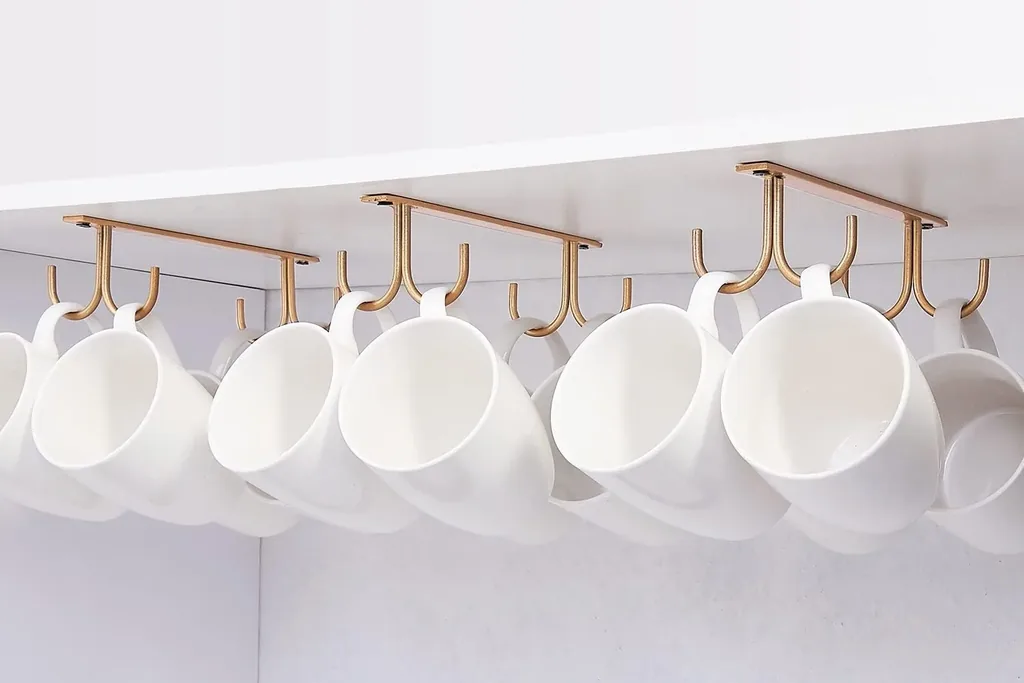
    White mugs hanging from gold hooks on a rail under a cabinet.

    A rail fixed under a cabinet, with hooks for mugs, frees the counter and keeps cups in sight. Hang four to six mugs you use most, handles facing the same way, and leave a gap so each mug lifts off without knocking the next one. A tension rod inside a deep cabinet can do the same job for renters who cannot drill. Check the weight limit of the rail and hooks before you add heavy stoneware, and keep one or two mugs on the counter for daily use if reaching is hard.

    6. Turn One Cabinet Shelf Into the Bar

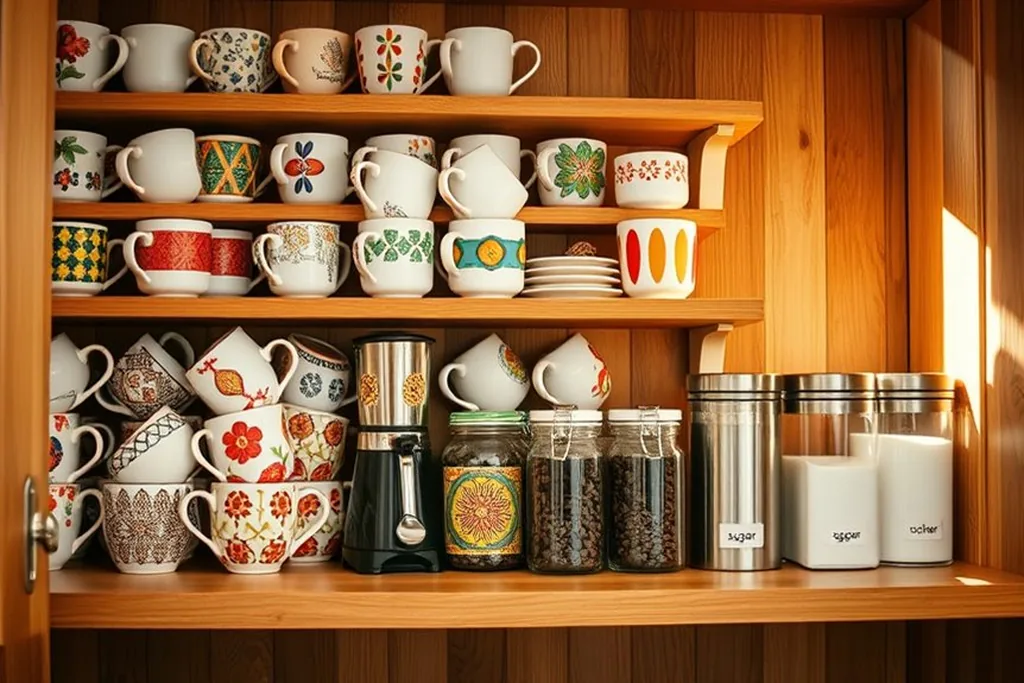
    Open wooden cabinet filled with mugs, jars, and canisters on its shelves.

    A single kitchen cabinet shelf can hold a complete cocoa station behind a closed door. Stand jars of mix, sugar, and marshmallows in one row, stack mugs beside them, and place a shallow tray underneath to catch drips and make the set easy to pull forward. This suits homes where counter space is too tight for a display. Label the shelf edge if other people share the kitchen, and keep the kettle on the counter nearby so hot water is still close at hand.

    7. Use a Narrow Console Table Against a Wall

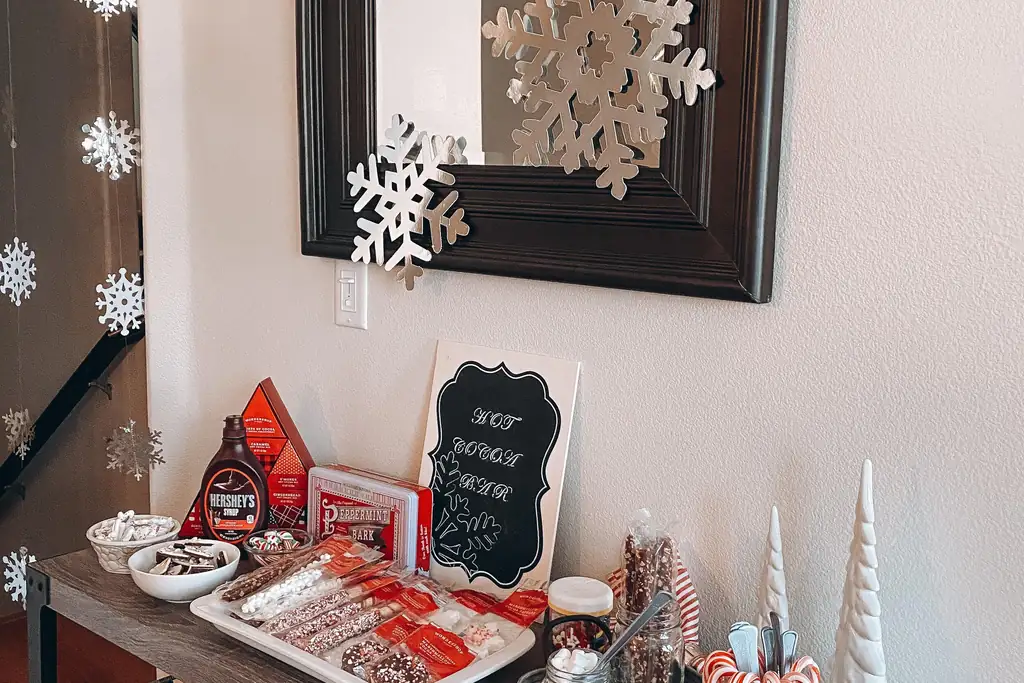
    Table against a wall with a cocoa tray, toppings, bottles, and a small chalkboard sign.

    A slim console or hall table against a dining or living room wall makes a bar that does not touch kitchen counters at all. Set a tray with the carafe and cups on top, and use the lower shelf or the floor space below for a basket of blankets and extra mugs. This works well near seating, where people can help themselves during a film or a visit. Keep the walkway in front clear, and choose a table depth that leaves the room easy to cross at night.
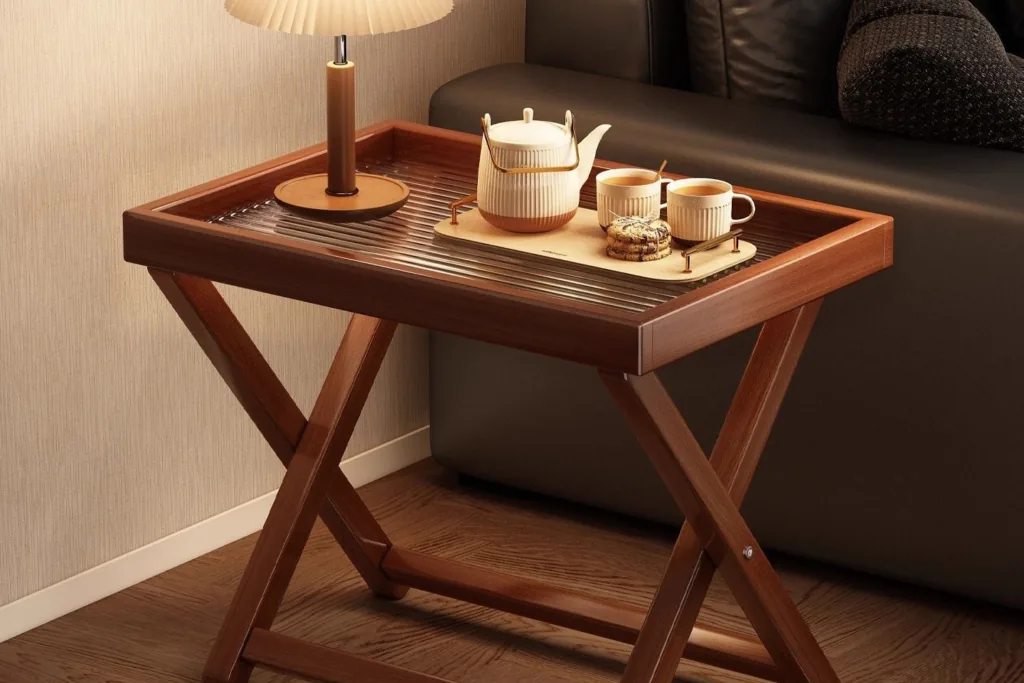
    8. Set Up a Folding Tray Table You Can Put Away

    Wooden folding tray table beside a sofa with a teapot, two cups, and cookies.

    A folding tray table gives you a bar only when you need one. Set it up beside the sofa or at the end of the counter for guests, load it with a carafe, mugs, and one toppings tray, then fold it flat behind a door or beside the fridge when the evening ends. Check that the table locks open and stands firm on your floor before you trust it with hot drinks. This is a good option for studio homes where every fixed surface already has a daily job.

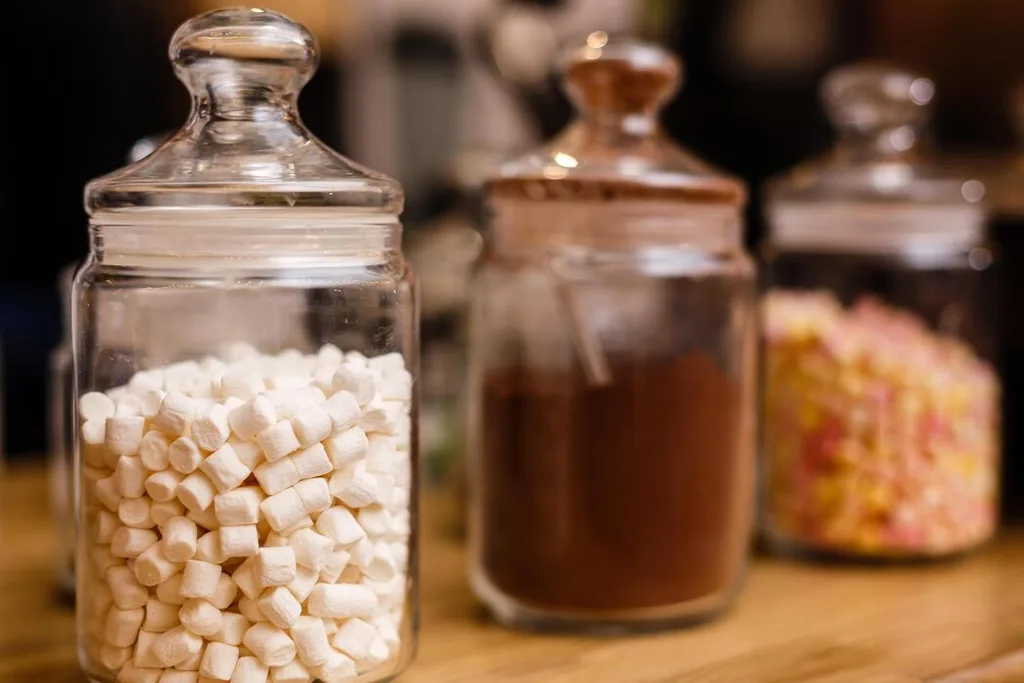
    9. Store Mixes in Clear Jars With Simple Labels

    Glass jars filled with marshmallows and cocoa powder on a wooden counter.

    Decant cocoa mix, sugar, and mini marshmallows into clear jars of a similar size so they line up in one row on a shelf, cart, or tray. You can see at a glance what is running low, and matching jars take less room than mixed packets and boxes. Add a plain label with the contents and the date you opened the original pack. Keep scoops small and give each jar its own spoon, or use one scoop stored in a cup beside the jars and wash it often.

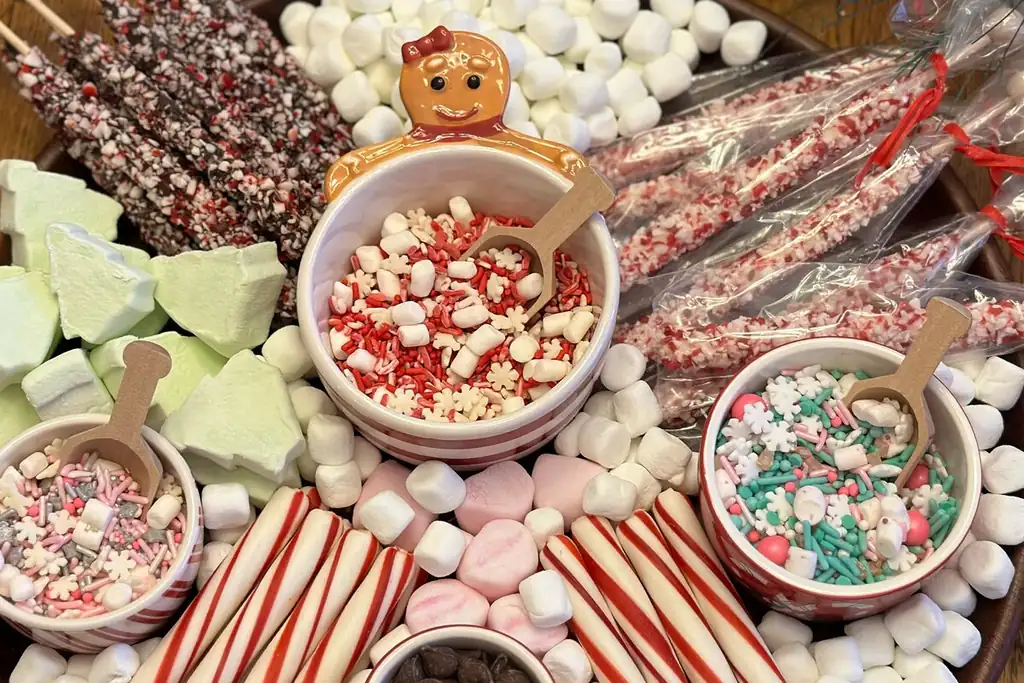
    10. Keep Toppings in a Divided Caddy

    Bowls of sprinkles, crushed candy, marshmallows, and candy canes laid out as cocoa toppings.

    Small toppings lose space fast when each one sits in its own bag or box. Use one divided caddy, a muffin tin set inside a tray, or a row of small ramekins on a plate to hold marshmallows, chocolate chips, crushed candy cane, and sprinkles in a single block. Guests can see every choice without opening packets, and the whole set lifts away in one move. Refill from larger bags stored in a cupboard, and keep the caddy covered or lidded if pets or young children can reach it.

    11. Serve Perishable Toppings in Small Chilled Bowls

    Mug of hot cocoa topped with whipped cream and a dusting of cocoa.

    Whipped cream, milk based toppings, and opened creamers belong in the fridge until serving time, not on the counter all evening. Put a small amount in a chilled bowl set over a second bowl of ice, and refill it in small amounts as needed. The U.S. Food and Drug Administration shares food safety guidance for the kitchen that covers safe storage and handling at home. Return leftovers to the fridge promptly, and throw out cream that has sat out through a long party.

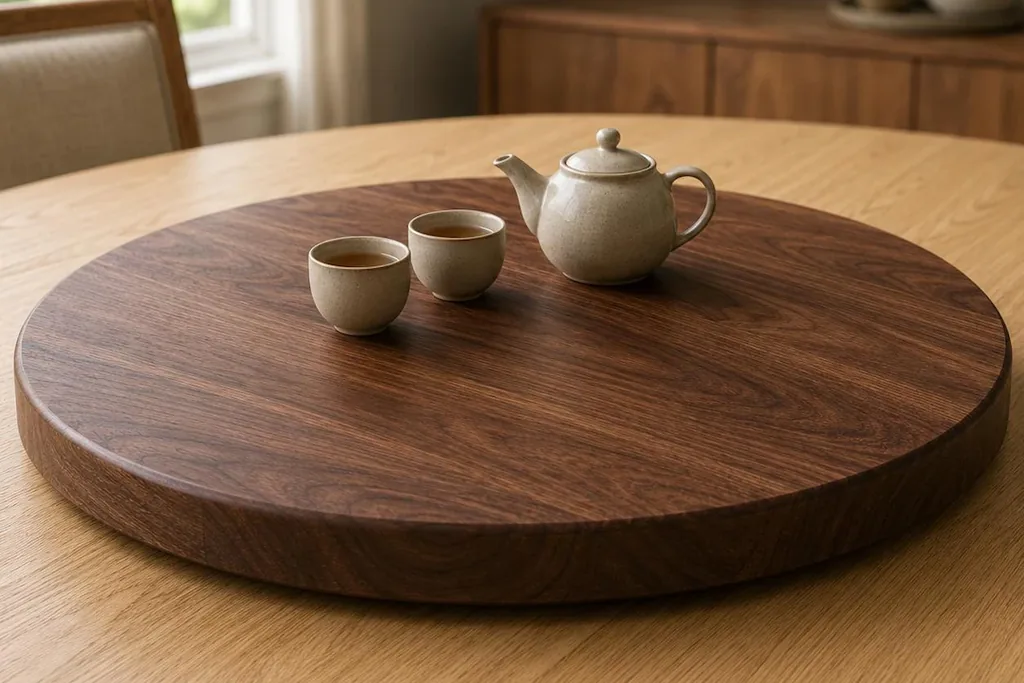
    12. Use a Lazy Susan in a Deep Corner

    Round wooden lazy Susan turntable on a table with a teapot and two cups.

    A small turntable makes a deep counter corner or a low cabinet shelf usable instead of wasted. Place jars and toppings on the turntable in a single ring, heaviest jars near the center, and turn it slowly rather than reaching past bottles. Choose a turntable with a low rim so tall jars stay in place. This works well for households that share the station with coffee or tea supplies. Keep the turntable smaller than the shelf depth so it spins without catching the cabinet frame.

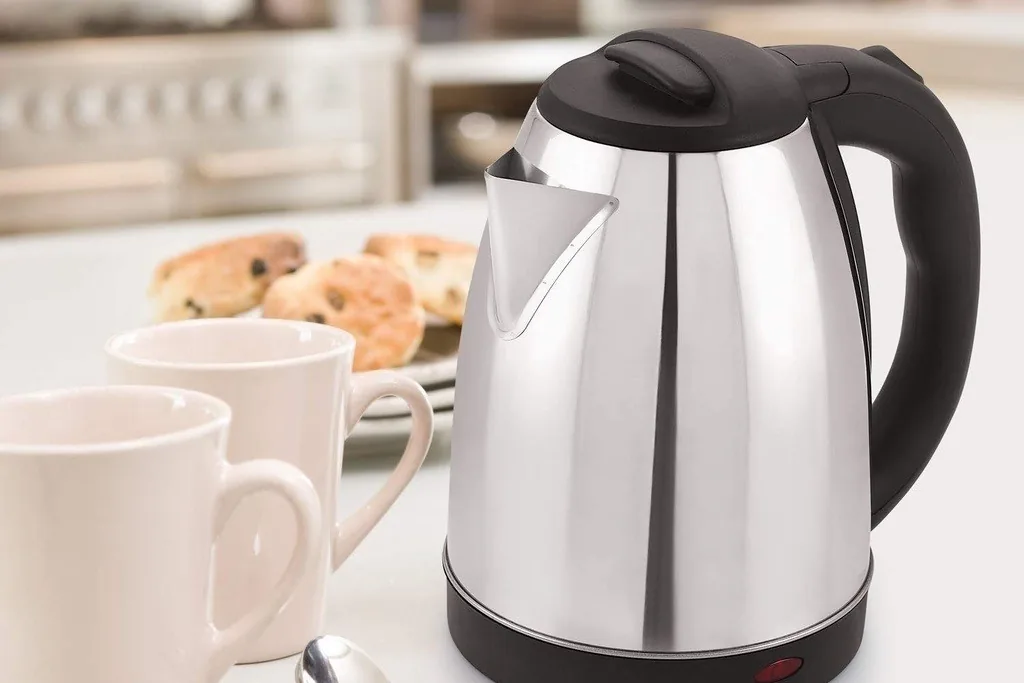
    13. Keep Hot Water Small and Close

    Stainless electric kettle on a counter with two white mugs.

    The bar works better when hot water lives at the station instead of across the kitchen. Use a compact electric kettle on a heat safe surface, or fill an insulated carafe with hot water or ready made cocoa and set it on a trivet on the tray. A carafe suits rooms without a spare socket and keeps drinks warm while guests serve themselves. Keep cords short and away from the tray edge, and leave space around a kettle spout so steam does not reach shelves or walls.

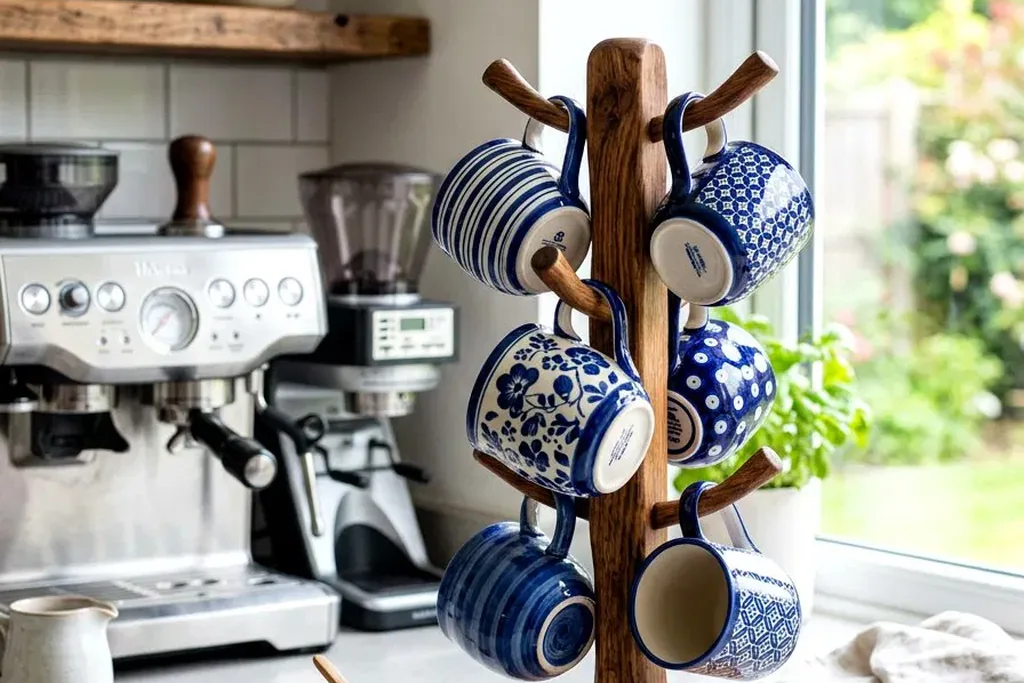
    14. Stand Mugs on a Mug Tree

    Wooden mug tree holding blue and white mugs beside a coffee machine.

    A counter mug tree holds six or more mugs in the footprint of one mug, which makes it one of the simplest space savers in this list. Place it at the back of the tray or beside the kettle so the front of the station stays clear for pouring. Mix mug sizes carefully, with the largest at the bottom, so the stand stays balanced. If a tree feels unstable on your counter, use a wall rail from Idea 5 instead and keep the counter for jars and toppings.

    15. Put a Mini Bar on a Fireplace Side Table

    Mug of hot cocoa with marshmallows in front of a lit fireplace.

    If your living room has a fireplace, a small side table beside it can hold a two person cocoa station without using the kitchen at all. Set a tray with a filled carafe, two mugs, and one small toppings dish on the table, and keep the main supplies in the kitchen for refills. The setup pairs well with these fireplace seating ideas when you arrange chairs for guests. Keep the tray well away from the hearth, sparks, and stockings or garlands that hang nearby.

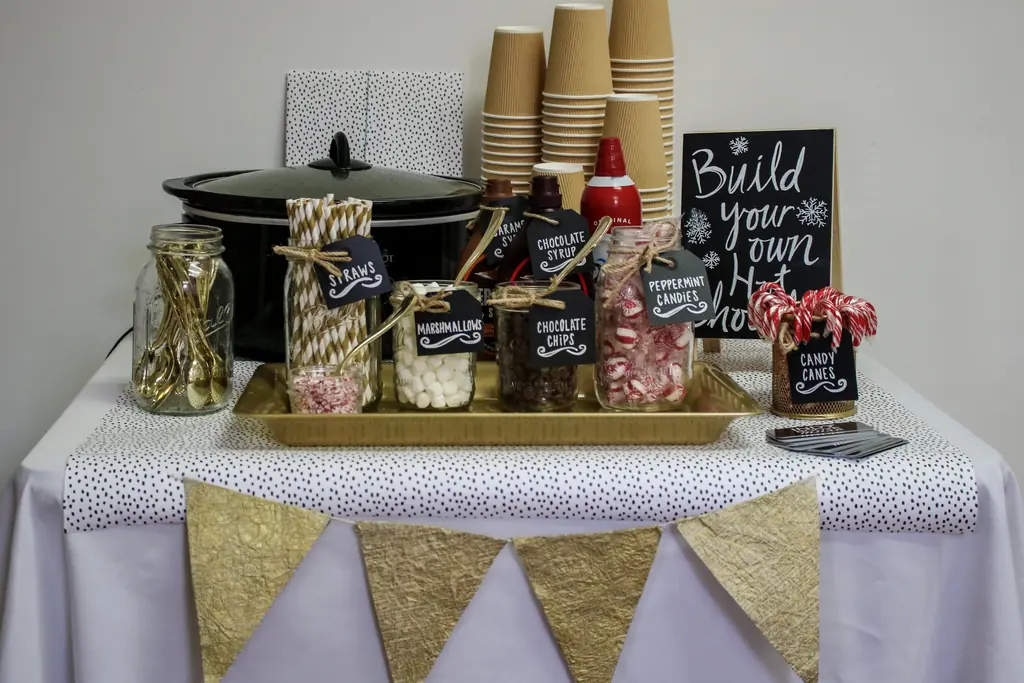
    16. Turn the Dining Table Center Into a Party Bar

    Dining table with a central tray of cocoa jars, paper cups, and a build your own sign.

    For a gathering, run the bar down the center of the dining table instead of crowding the kitchen. Place a long tray or runner in the middle with the carafe at one end, mugs on small plates, and toppings in a single row of bowls, leaving each seat clear for guests to sit down with their drinks. The approach follows the same clear surface logic as this everyday dining table decor guide. After the party, the whole bar lifts back to the kitchen in two trips.

    17. Use a Window Nook With a Small Table

    Two mugs of hot cocoa on a table beside a snowy window with a lit candle.

    A wide window ledge or a small table tucked under a window makes a bright serving spot that does not compete with cooking space. Set a tray with jars and mugs on the table, and keep curtains tied back so fabric stays clear of hot drinks. Daylight shows off glass jars and makes the station easy for guests to find. Avoid blocking a radiator or a heat vent with the table, and move the station if the ledge gets direct sun that warms cream or chocolate left out in bowls.

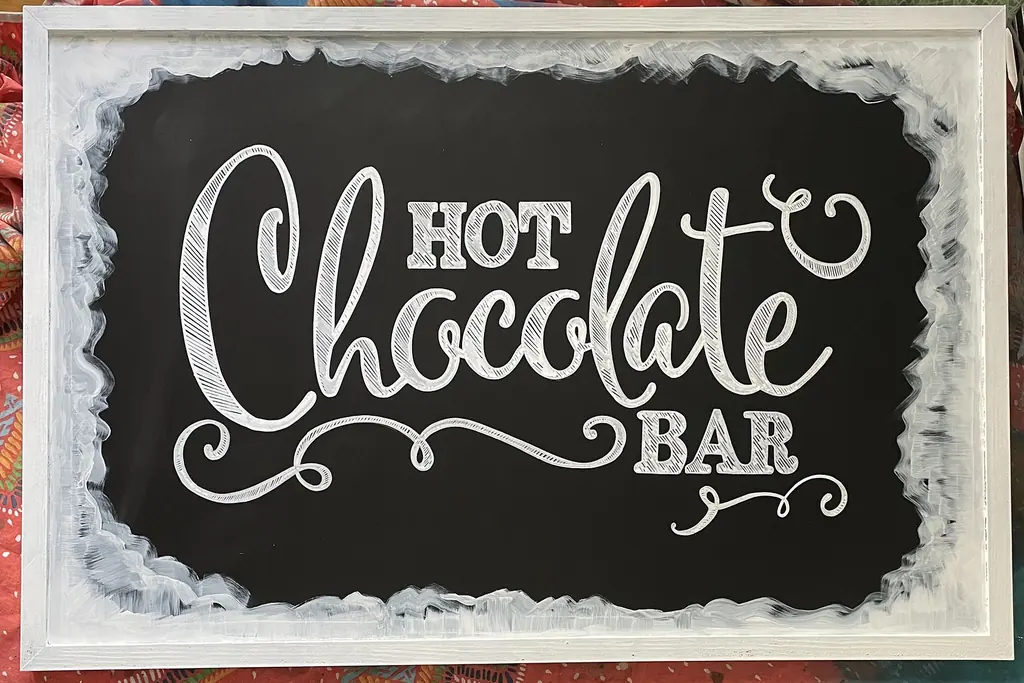
    18. Write the Menu on a Small Chalkboard

    Chalkboard sign with Hot Chocolate Bar written in white chalk lettering.

    A small chalkboard or letter board on the wall above the bar, or propped on the back of the tray, tells guests what is on offer without taking any counter space. List the cocoa, the toppings, and simple options such as extra marshmallows or a plain cup for children. A board also fills the blank wall zone above a cart or console table, so the station looks finished. Keep the writing short and large, and rest the board where it cannot slide into mugs or the kettle.

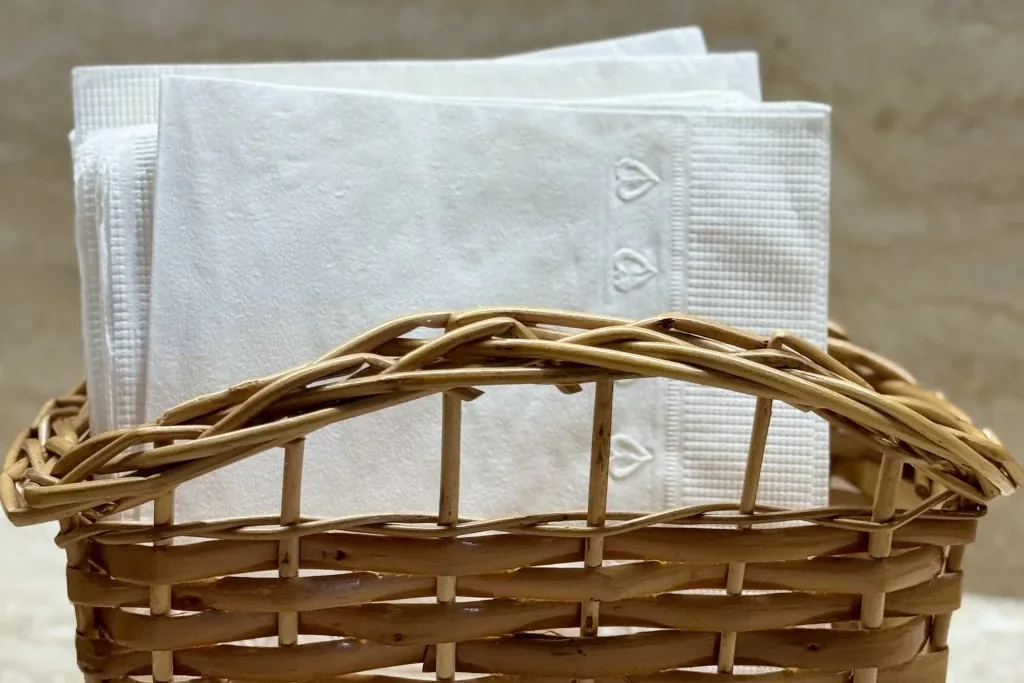
    19. Keep a Basket Below for Linens and Extras

    Wicker basket holding folded white napkins and linens.

    The space under a console table, on the bottom tier of a cart, or beside a cabinet often sits empty. Use one basket there for napkins, stirrers, spare spoons, a clean cloth for drips, and extra mugs for guests. Keeping the support items in one basket means the serving surface holds only food and drinks, which makes the bar look calmer and wipes down faster. Choose a basket that slides in and out easily, and check it weekly so damp cloths and used napkins do not pile up.

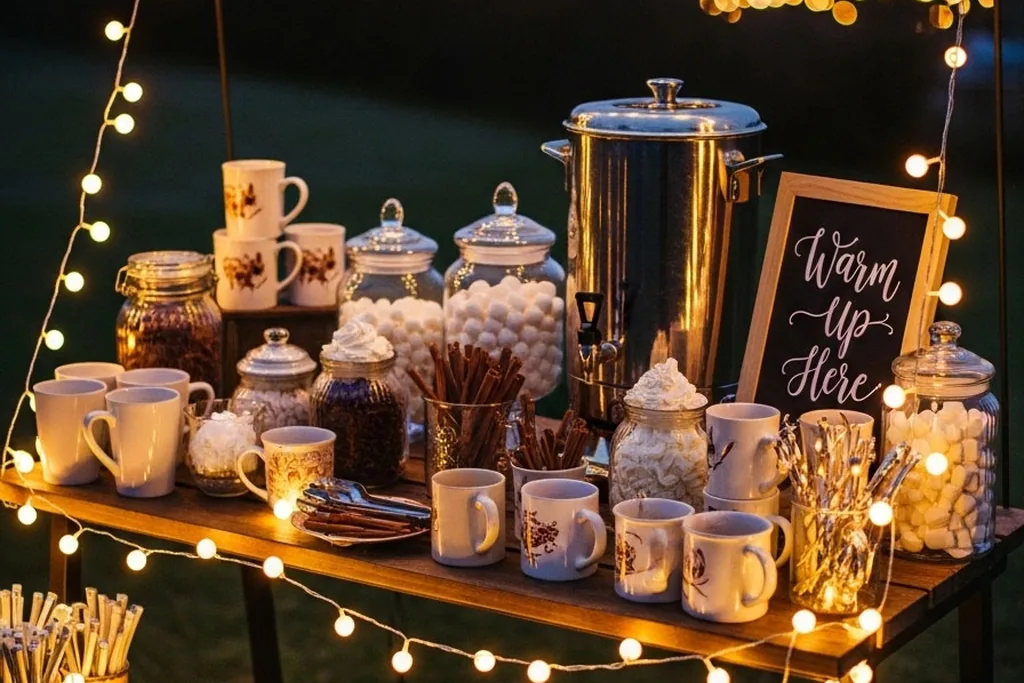
    20. Add Warm Light at the Station

    Hot cocoa bar table at night with string lights, jars, mugs, and a small sign.

    A small lamp, a short string of battery lights along a shelf edge, or candles placed well away from the serving area can make a compact bar feel like a planned corner instead of a pile of supplies. Warm light suits the winter mood of these winter living room ideas and helps guests see mug handles and toppings in the evening. Keep lights and cords clear of water, steam, and the path of a hot carafe, and switch battery lights off when the room is empty.

    21. Make the Lowest Level a Station Children Can Reach

    Mug of hot cocoa topped with snowman shaped marshmallows.

    If children serve themselves, give them the lowest and safest part of the setup. Put unbreakable cups, marshmallows, and sprinkles on the bottom tier of the cart or on a low tray, and keep the kettle, carafe, and hot drinks on the adult level above or on the counter. A clear split means children can join in without reaching past hot water. Use small cups that are easy to carry with two hands, and keep a cloth in the basket from Idea 19 for quick cleanups.

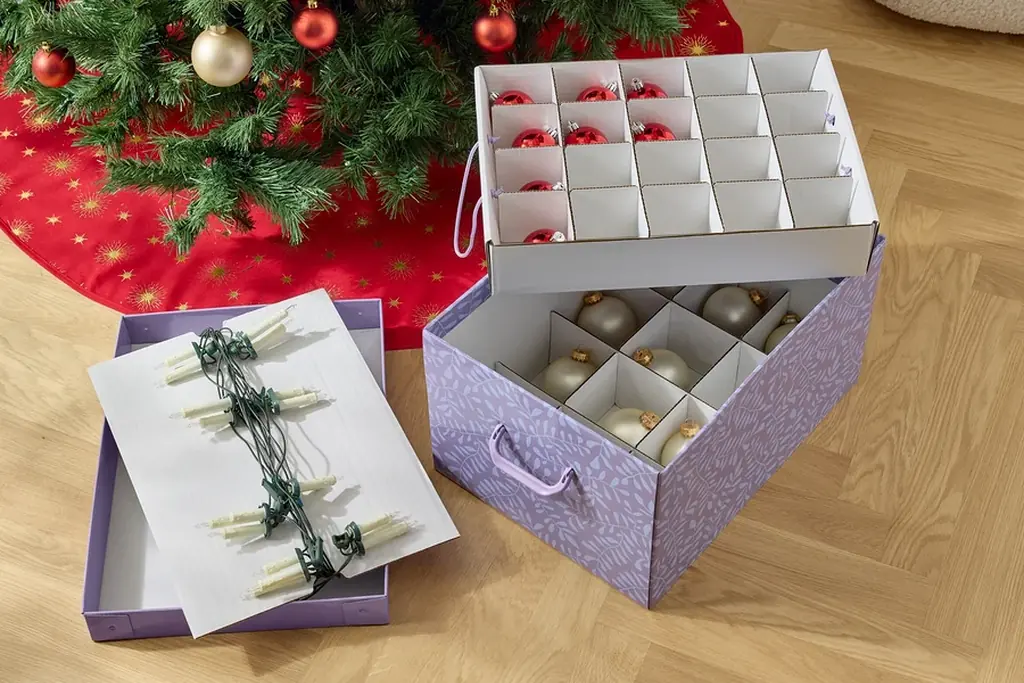
    22. Pack the Whole Bar Into One Box

    Divided storage box being packed with seasonal items beside a Christmas tree.

    Choose one box or lidded bin that holds the seasonal parts of the bar: jars once emptied and washed, the toppings caddy, stirrers, the chalkboard, and spare mugs you only use for guests. At the end of the season, or during a busy cooking week, the station clears in minutes and the counter returns to normal. Label the box and store it where you keep seasonal kitchen items. The same compact thinking that shapes these cozy living room ideas works here too: keep what you use, store the rest in one place.

    Conclusion

    A small space hot cocoa bar works when it has one clear base, storage that goes up instead of out, and a serving order that keeps hot water, mugs, and toppings within reach of each other. Pick the base that fits your home, a cart, a tray, a shelf, or a narrow table, then add jars, one toppings set, and a place for extras below. Keep perishable toppings chilled, keep walkways clear, and keep the pack away box ready. A station that takes five minutes to set up is one you will use all winter.

    Save this list on Pinterest for the next cold weekend, and start with the base you already own before you buy any storage.

    FAQs

    How much space does a hot cocoa bar need?

    Very little. A large tray on a counter corner, one tier of a rolling cart, or a folding tray table can hold a kettle or carafe, four mugs, two or three jars, and a small toppings set. The ideas in this list are built around one compact base with vertical storage above or below it. If you can clear a space about the size of a large cutting board, you can run a simple bar and add shelves or a mug rail when you want more room.

    What should I put on a hot cocoa bar first?

    Start with the basics in this order: a way to heat or hold hot water, cocoa mix, sugar if you use it, mugs, spoons or stirrers, and one or two toppings such as marshmallows and chocolate chips. Add extra toppings, a chalkboard menu, and seasonal decor only after the basics fit your space with room to pour safely. A short list that fits well looks better and gets used more than a crowded station with items you have to move before every cup.

    How do I keep a small cocoa bar tidy during daily use?

    Give every item a fixed home inside the tray, cart tier, or shelf row, and return it there after each use. Wipe the tray daily, because cocoa powder and drips collect fast in a small area. Keep refill bags and spare supplies in a cupboard or the pack away box, not at the station. Once a week, check jars, wash scoops and spoons, and move anything that has not been used back into general kitchen storage.

    Can I set up a hot cocoa bar without a kitchen counter?

    Yes. A rolling cart, a narrow console table against a wall, a folding tray table, or the center of the dining table all work without kitchen counter space. Use an insulated carafe filled in the kitchen so the station does not need a socket or a kettle. Keep the setup on a tray so spills stay contained and the whole bar can move back to the kitchen at the end of the evening.

    How do I make a cocoa bar safe for children?

    Keep hot water and hot drinks on the adult level, on a counter or the top tier of a cart, and give children a low station with unbreakable cups and dry toppings they can add themselves. Pour for younger children rather than letting them carry a kettle or carafe. Keep small toppings that could be a choking risk away from very young children, following guidance for your own household, and keep a cloth nearby for spills on the floor.

    What toppings keep best at a cocoa station?

    Dry toppings keep best at room temperature in sealed jars or a lidded caddy: mini marshmallows, chocolate chips, crushed candy cane, cocoa powder for dusting, and sprinkles. Keep jars closed between uses so marshmallows stay soft and powders stay dry. Whipped cream and other perishable toppings should stay in the fridge and come out in small chilled bowls, as covered in Idea 11, rather than sitting at the station all day.


  • 32 Thanksgiving Kitchen Decor Ideas to Add Character to Your Space

    32 Thanksgiving Kitchen Decor Ideas to Add Character to Your Space

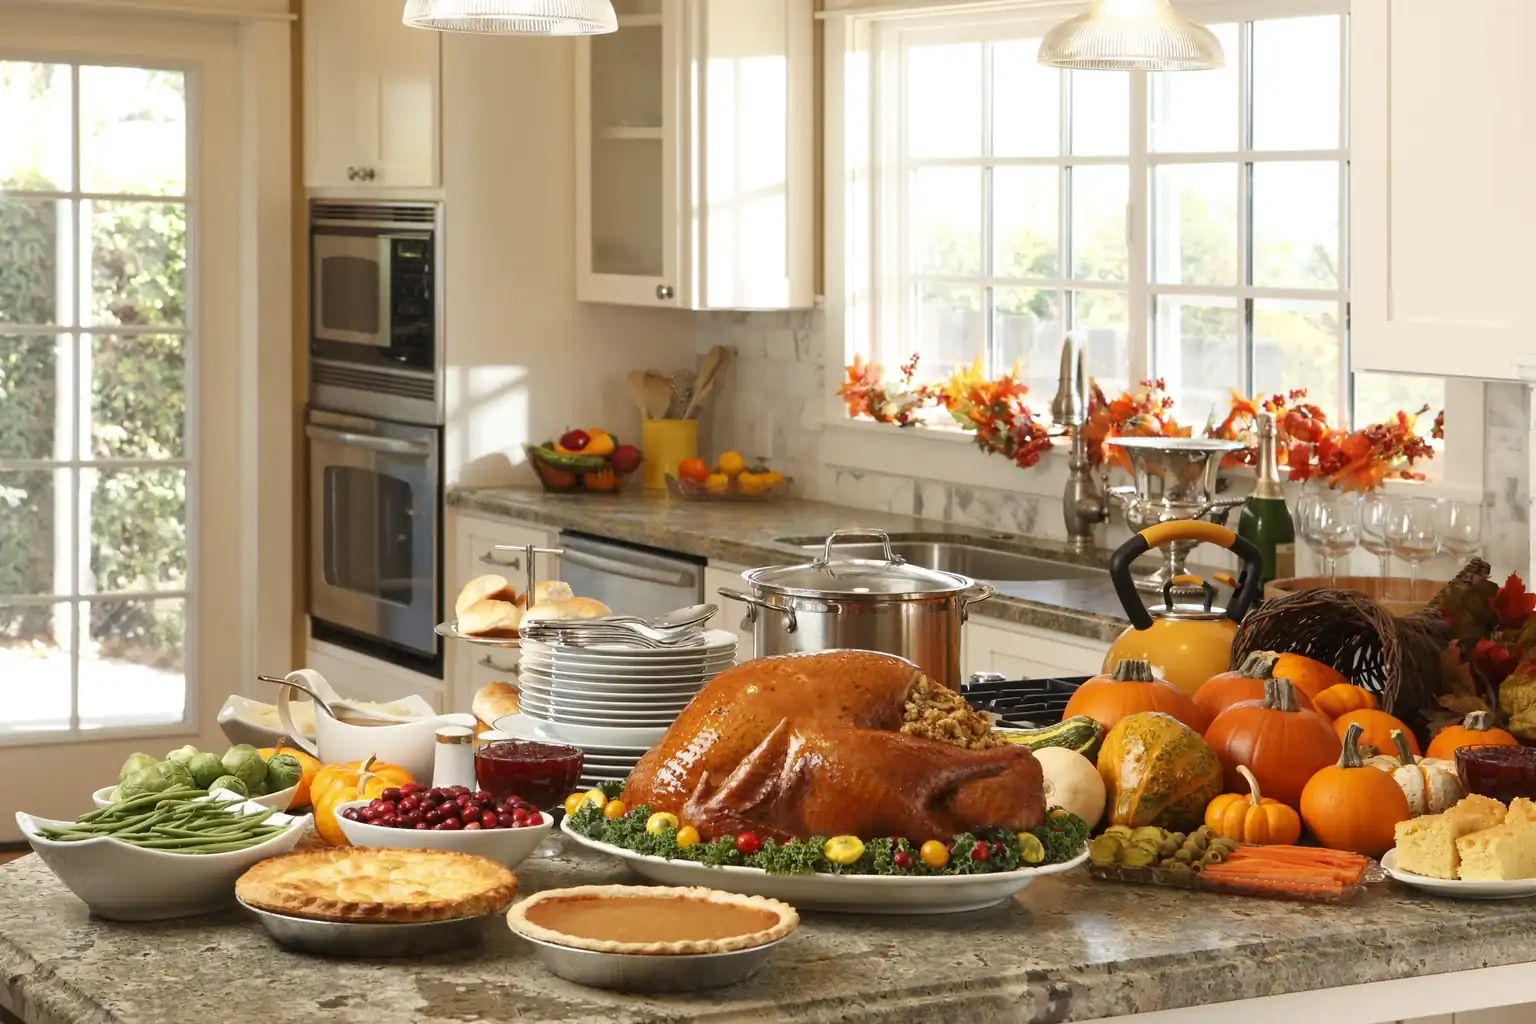
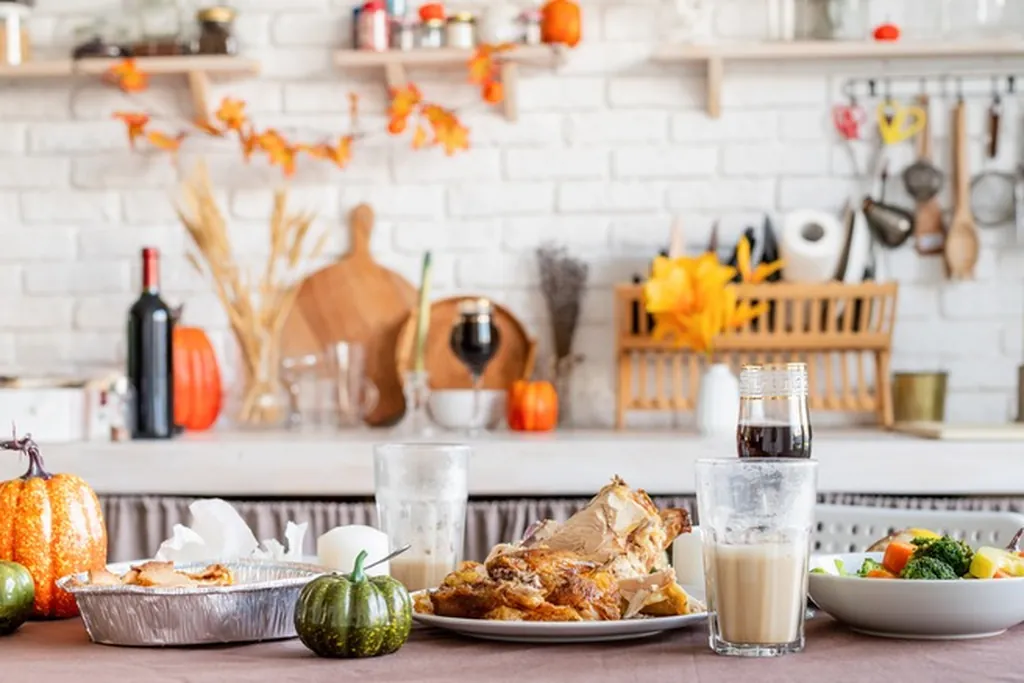
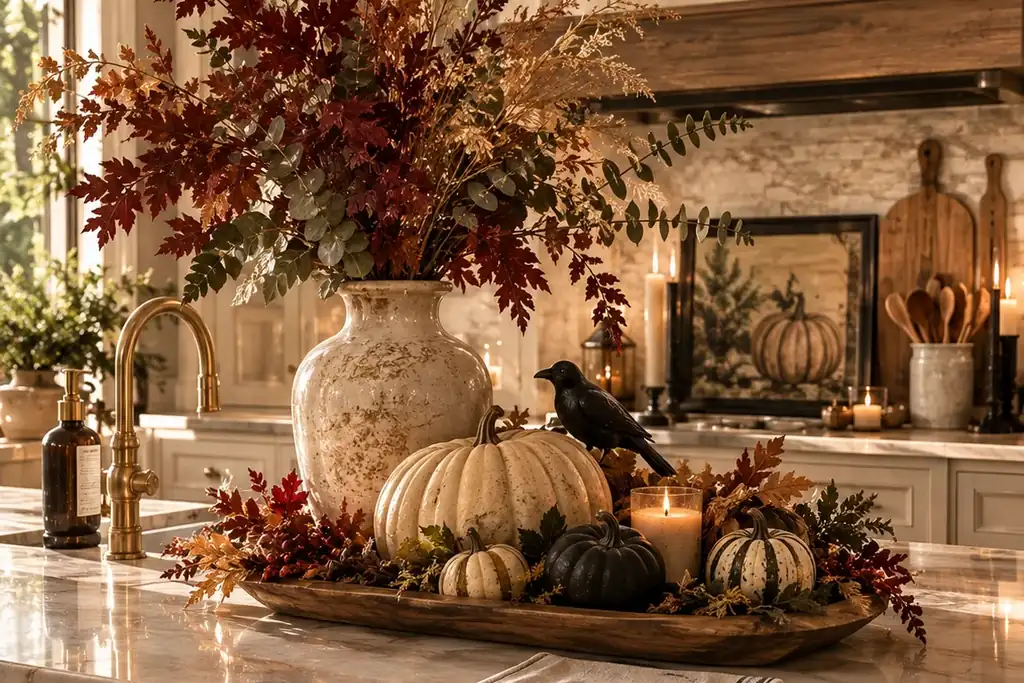
    The kitchen does the hardest work on Thanksgiving, so its decor has to earn its place. These thanksgiving kitchen decor ideas keep prep counters clear, put seasonal color where it will not be splashed or crowded out, and carry the same warm palette onto the table where everyone lands. Start with the counters and sink, then move to the table and serving spots once the cooking plan is set. If your wider home needs the same treatment first, begin with these simple cozy fall decor ideas and bring the palette into the kitchen from there.

    Key Takeaways

    • Keep working counters clear and limit counter decor to one styled zone that stays out of the prep path.
    • Use pumpkins, gourds, greenery, and warm wood in two or three repeated colors so the room reads as planned.
    • Put fresh herbs, fruit, and bread on display so the decor doubles as ingredients for the meal.
    • Choose flameless candles and keep all decor away from burners, oven doors, and the sink splash zone.
    • Carry the kitchen palette onto the table with a garland, chargers, cloth napkins, and simple place cards.
    • Pick items that store flat or stack, so the whole set packs into one box after the holiday.

    1. Start With One Styled Zone and Clear Working Counters

    Kitchen counter styled in one zone with pumpkins, dishes, and a fall garland.

    Pick one short stretch of counter, such as the run beside the stove or the end of the island, and let that be the only decorated surface. Everything else stays clear for chopping, resting hot pans, and cooling pies. A single styled zone reads as intentional and keeps the decor out of the splash and steam path. If your kitchen is small, shrink the zone to one tray that can move to the table when prep starts.

    2. Lay a Fall Runner Along the Island or Counter

    Kitchen island with a fall runner, a tray of pumpkins, and greenery.

    A narrow runner in a muted fall stripe, plaid, or plain rust or ochre adds color to a long island without covering the work surface. Center it along the island and set one low arrangement on top, keeping the edges free for seating and serving dishes. Choose a washable cotton runner, because it will sit near gravy and cranberry sauce. On a counter run, fold the runner to half length so it stays clear of the sink.

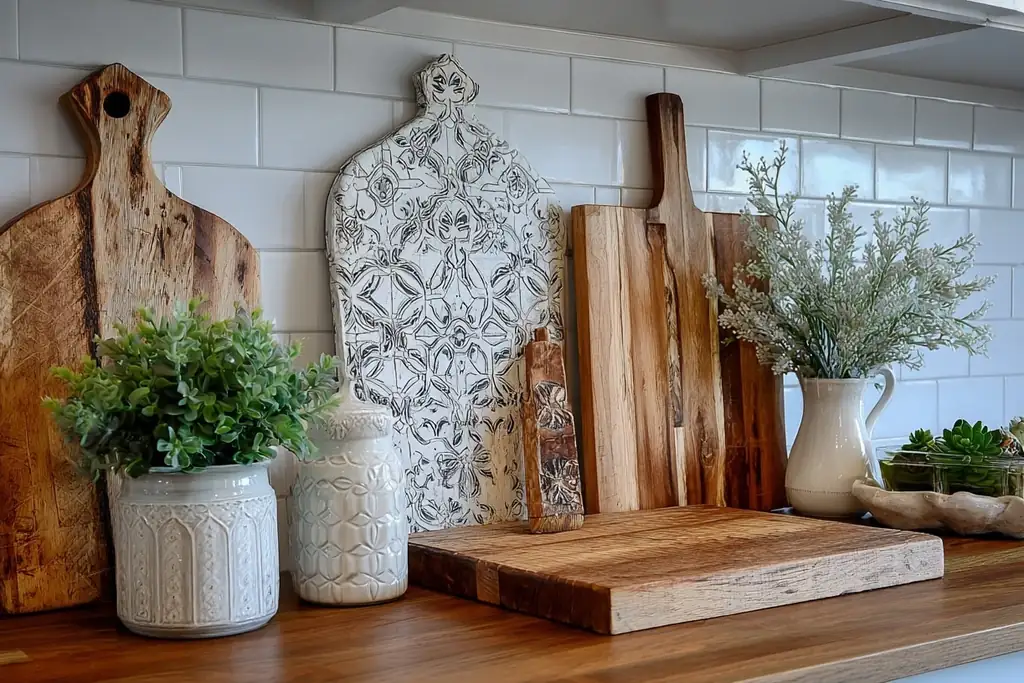
    3. Lean Wood Cutting Boards Against the Backsplash

    Wood cutting boards of different shapes leaning against a tiled kitchen backsplash.

    Stand two or three wood cutting boards of different heights against the backsplash behind a clear section of counter. The layered boards add warm grain and height, and they are already tools you own, so nothing new needs storing later. Keep daily use boards in the rotation and wash them as usual. If your backsplash is busy tile, use one large board only so the wall does not look crowded.

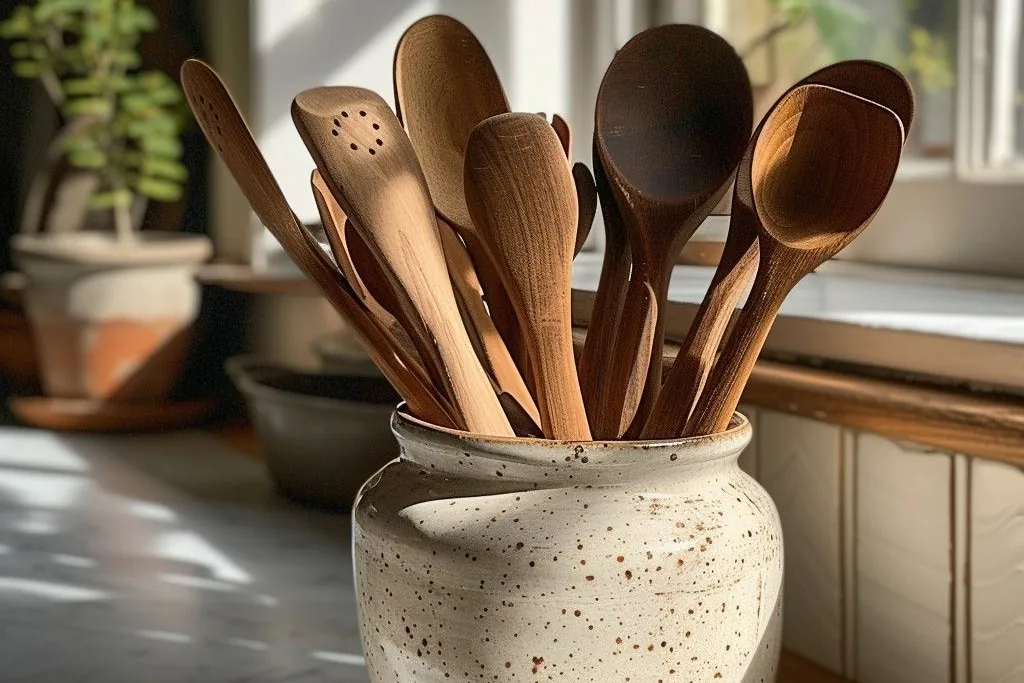
    4. Fill a Stoneware Crock With Wooden Utensils

    Speckled stoneware crock filled with wooden spoons on a kitchen counter.

    Move your wooden spoons, spatulas, and servers into a wide stoneware or ceramic crock beside the stove. The handles add height and warm tones, and the tools stay within reach while you cook. Pick a crock heavy enough not to tip when a spoon is pulled out at an angle. If you already use a utensil drawer, keep the crock for serving pieces that come out for the holiday meal.

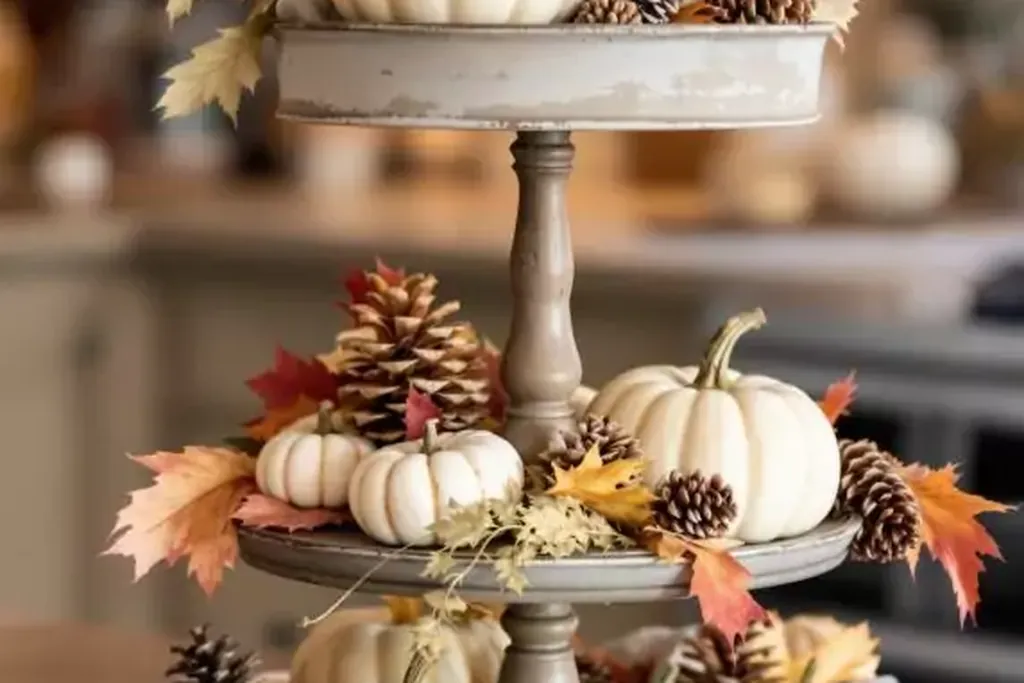
    5. Build a Tiered Tray With Small Pumpkins and Gourds

    Three tier tray filled with white pumpkins, pinecones, and fall leaves.

    A two or three tier tray gives seasonal pieces a vertical home on the counter without spreading them across it. Put small pumpkins and gourds on one tier, a candle or small plant on another, and leave the top tier for wrapped treats or napkins. Keep the overall height below your upper cabinets. Choose real mini pumpkins for the week of the holiday and switch to fabric or ceramic ones if you decorate earlier.

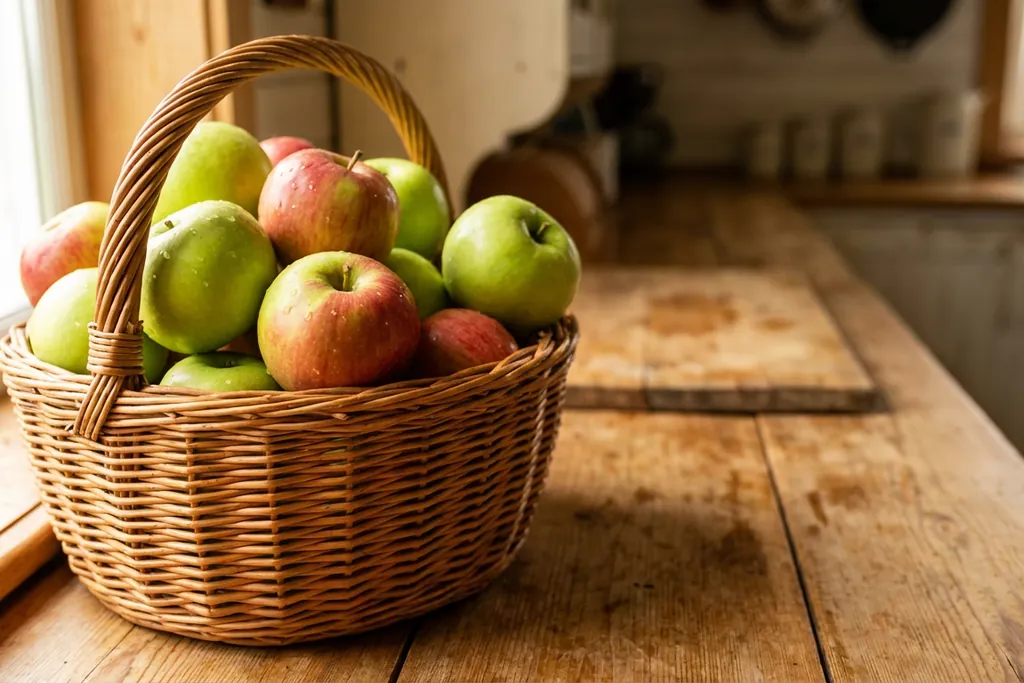
    6. Use a Basket of Apples or Pears as an Edible Display

    Wicker basket of red and green apples on a wood kitchen counter.

    Fill a woven or wood basket with firm apples, pears, or pomegranates and set it in the styled zone or at the end of the island. Fruit brings deep red and green color, needs no extra shopping trip beyond the grocery list, and can go straight into pies, salads, or a cheese board. Check the fruit every few days and move any soft pieces to the fridge. Line the basket with a plain cloth to protect the fruit and the finish.

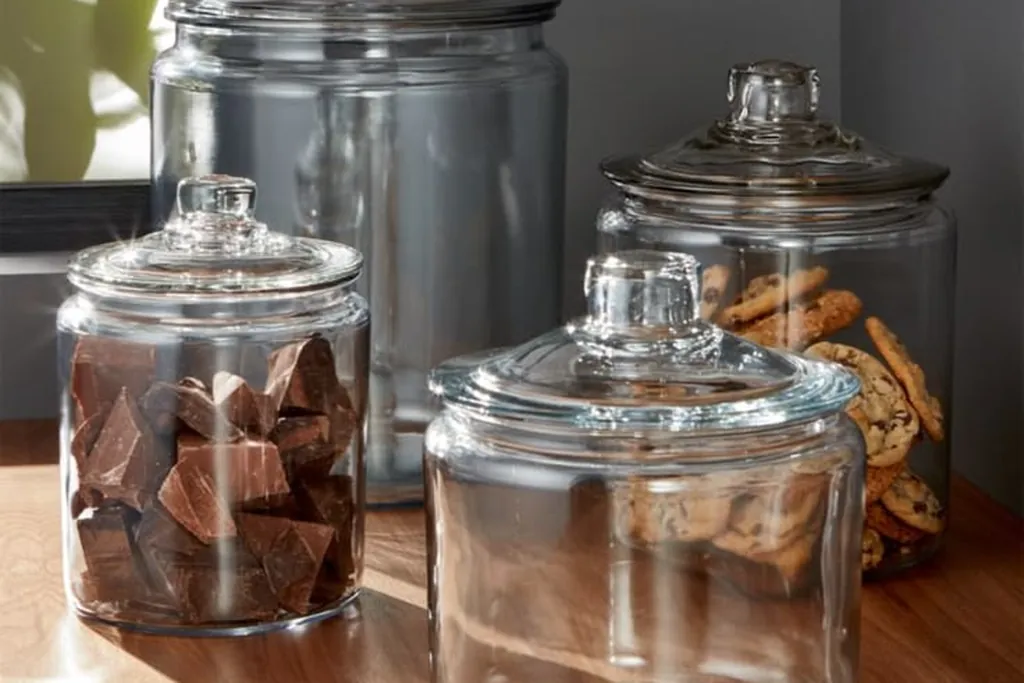
    7. Fill Glass Canisters With Fall Baking Staples

    Glass canisters with lids holding baking staples on a wood counter.

    Swap the contents of clear counter canisters to ingredients the season uses most, such as flour, brown sugar, dried beans, or whole nuts in the shell. The amber and cream tones read as quiet fall color, and everything on display gets used. Label the canisters if guests will be helping in the kitchen. Keep canisters away from the hottest counter edge beside the stove, where steam can cloud the glass and soften the contents.

    8. Bring In Copper and Brass Accents

    Copper kettle with a woven handle on a kitchen counter.

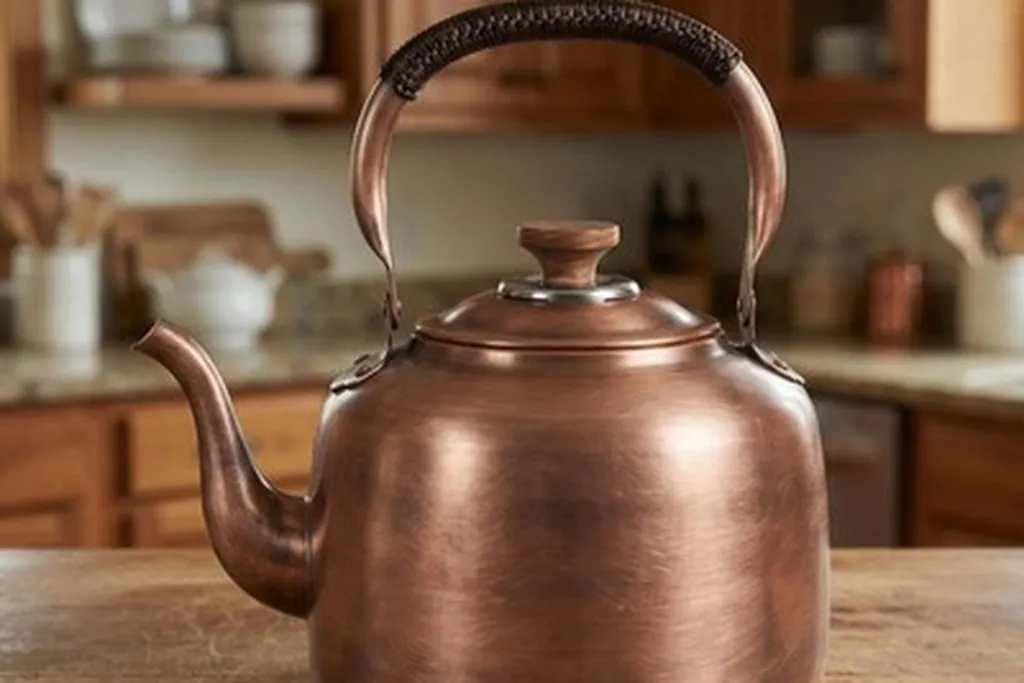
    A copper kettle on the stove, brass measuring cups on a hook, or a metal tray under the fruit basket adds warm shine that suits the season. You only need two or three metal pieces, repeated so they look chosen rather than random. Polish is optional, since a soft patina fits the harvest palette well. If you do not own copper, use warm wood and amber glass to get a similar effect.

    9. Set Out a Lidded Pumpkin Dish or Tureen

    White ceramic pumpkins with gold stems on a marble kitchen counter.

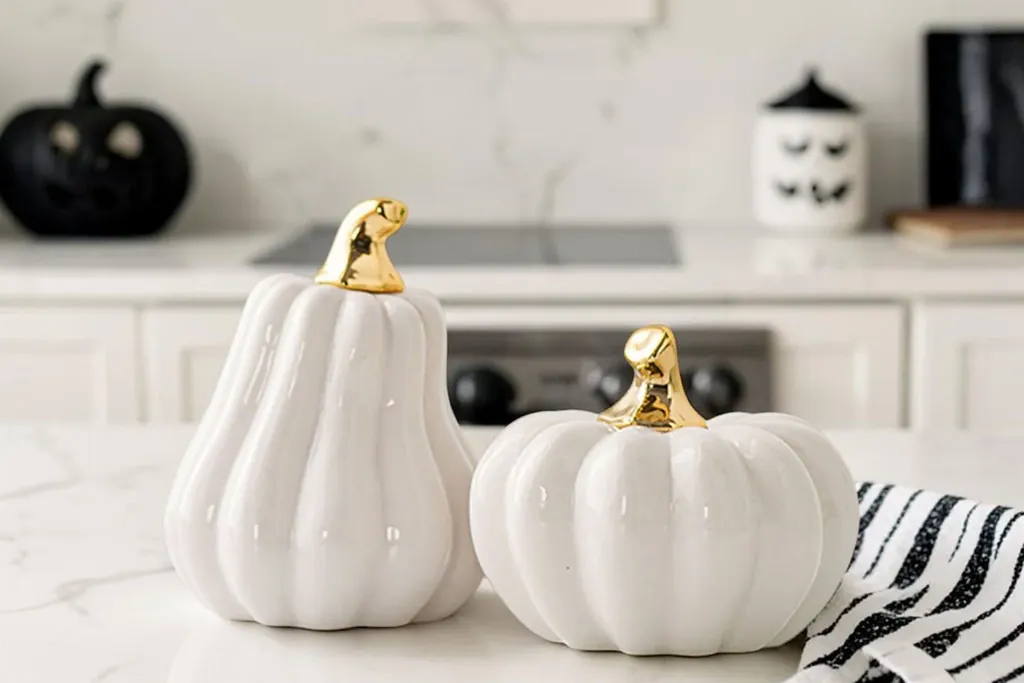
    A ceramic pumpkin tureen or a lidded pumpkin dish makes a strong single statement on the island or sideboard, and it can hold soup, rolls, or wrapped leftovers during the meal. Choose white, cream, or a muted orange so it works with your everyday dishes. Store it filled with the cloth napkins from this set so the inside space is not wasted. One larger piece like this replaces several small items.

    10. Pot Fresh Herbs on the Windowsill

    Terracotta pots of fresh herbs on a windowsill above a kitchen sink.

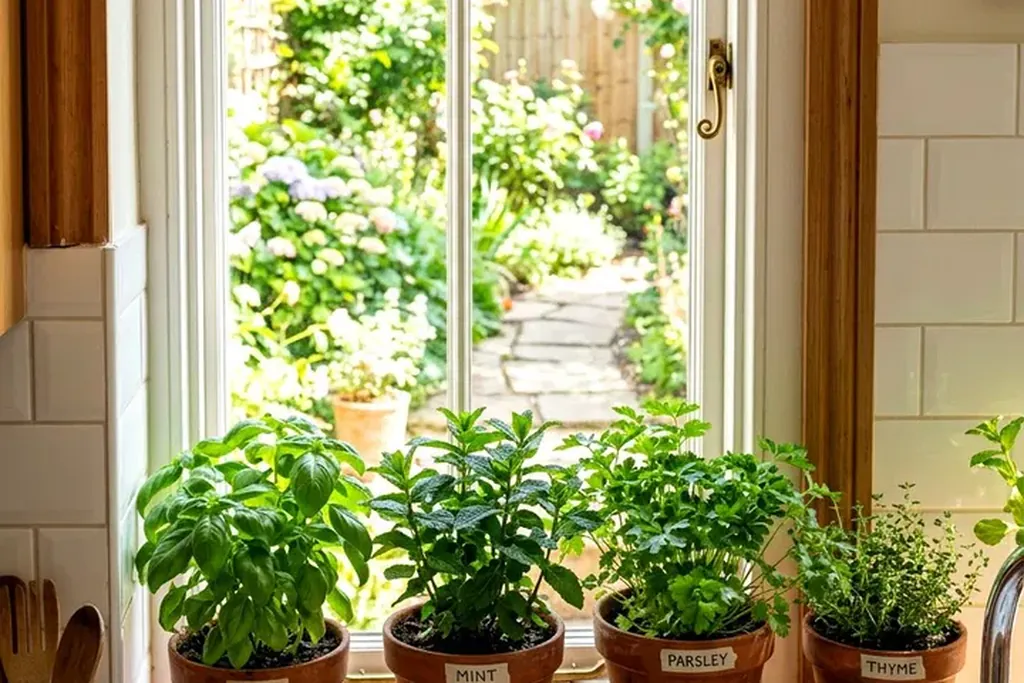
    Small pots of rosemary, sage, and thyme on the kitchen windowsill add living green at eye level and supply the exact herbs Thanksgiving cooking calls for. Use matching simple pots or one long planter that fits the sill. Snip what you need as you cook, then move the pots to a sunny spot to keep growing after the holiday. If your sill gets little light, rotate the pots with a brighter window every few days.

    11. Arrange Dried Wheat in a Stoneware Pitcher

    Dried wheat stems arranged in a white vase.

    A bunch of dried wheat, oats, or grasses in a sturdy pitcher brings harvest texture to the counter or table without any watering or upkeep. Trim the stems so the heads sit well above the pitcher rim and the arrangement stays under cabinet height. Keep it away from open burners, since dried stems catch easily. Store the bunch upright in the same pitcher after the holiday so the stems do not bend.
    12. Hang a Fall Wreath Over the Sink Window

    Leaf wreath hanging on the window above a farmhouse kitchen sink.

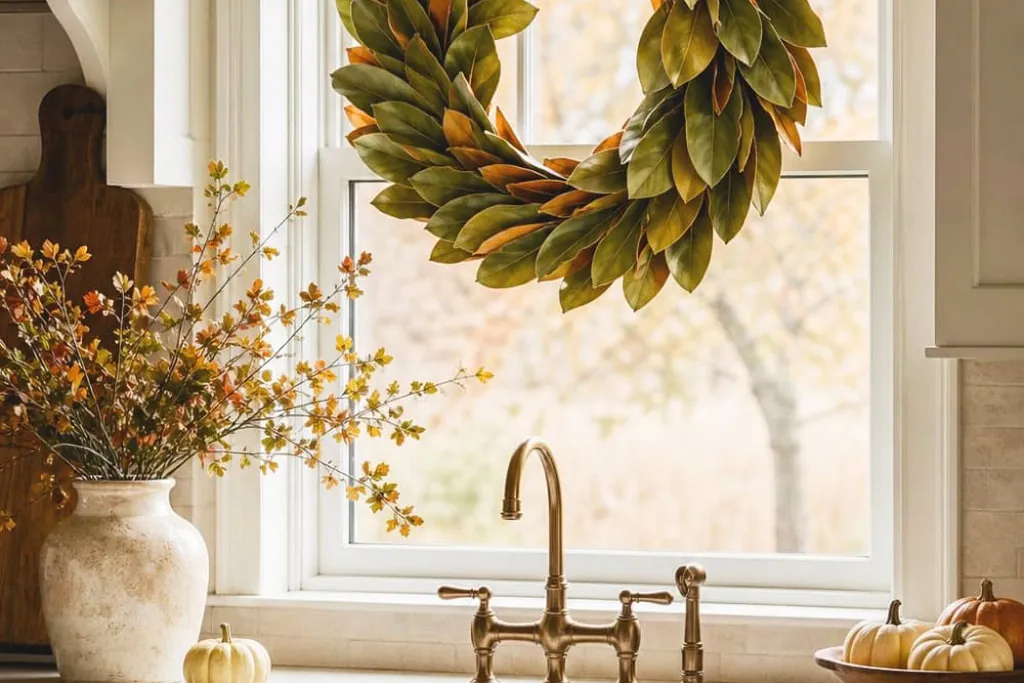
    A wreath of dried look leaves, wheat, or mini pumpkins hung on the window over the sink puts seasonal color in the spot you face most while cooking and washing up. Hang it from the window frame or a suction hook rated for the weight, centered on the glass. Keep the wreath clear of the faucet swing and out of the splash zone. A smaller wreath also works on a pantry door if the window is too low.

    13. Drape a Leaf Garland Along Cabinet Tops or a Window Frame

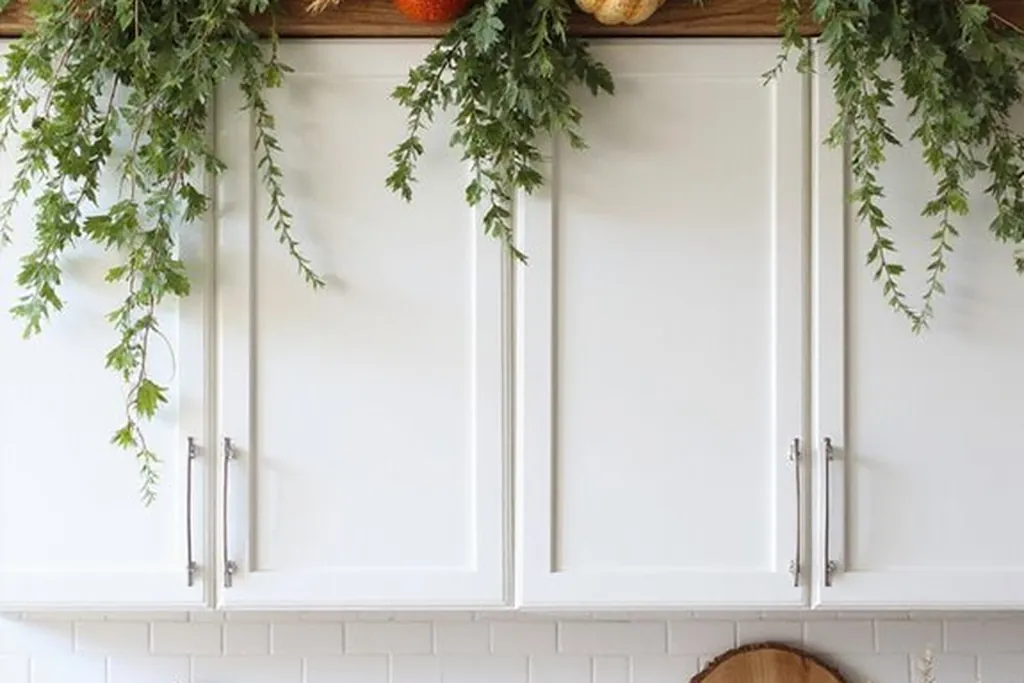
    Pumpkin, wheat, and greenery garland along the top of white kitchen cabinets.

    Run a faux or dried leaf garland along the top of the upper cabinets or around the kitchen window frame to carry fall color up high, where it never competes for counter space. Secure it with small removable hooks so it does not slide. Dust it before hanging, since cabinet tops collect grease and dust through the year. Keep garlands well away from stove heat and under cabinet lights that run hot.
    14. Swap Dish Towels for Plaid and Warm Fall Tones

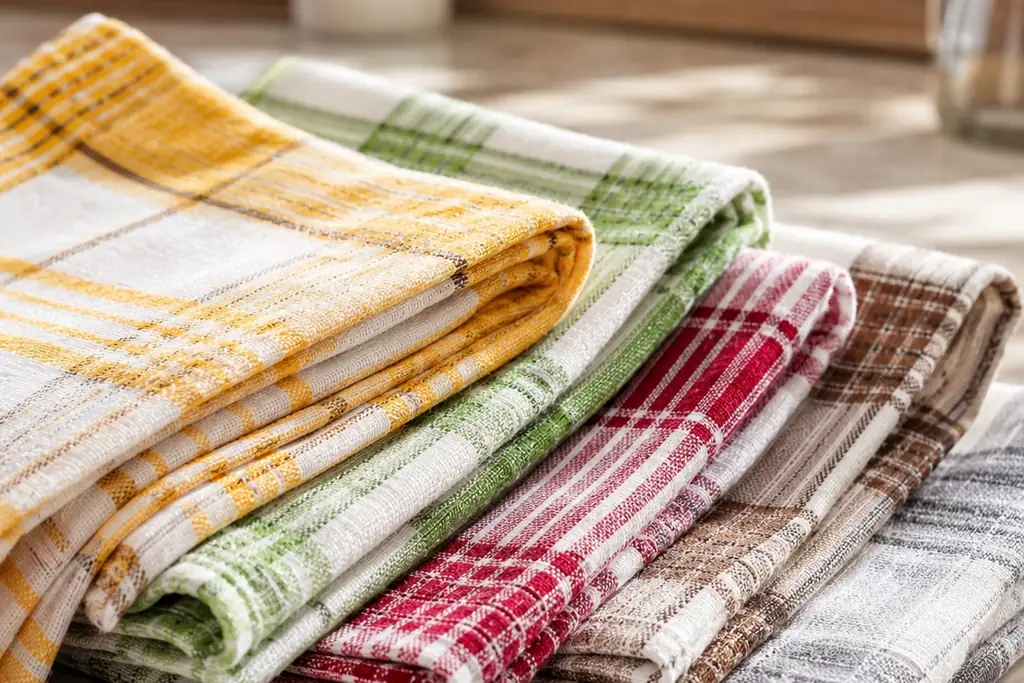
    Folded plaid dish towels in warm fall tones on a counter.

    Fresh dish towels are the fastest change in this whole list. Hang a plaid or warm striped set on the oven handle and a hook near the sink, and fold a spare stack on the counter in the same palette. Towels work hard on Thanksgiving, so pick cotton or linen that absorbs well instead of thin decorative prints. Wash and dry the set before the day so lint does not end up on glassware.

    15. Put Amber Glass Dispensers by the Sink

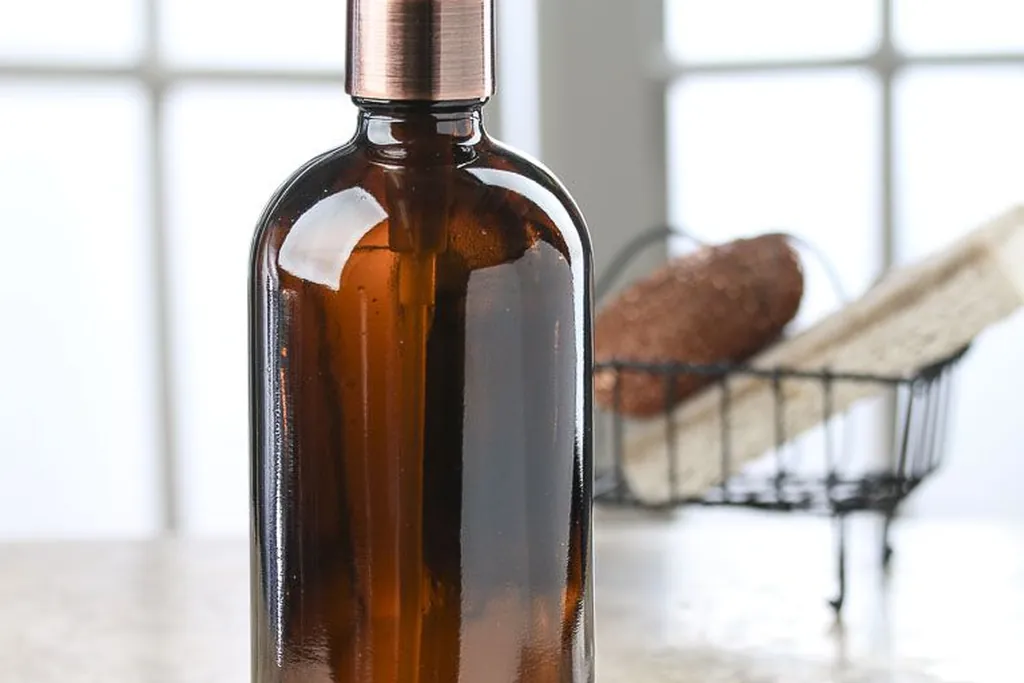
    Amber glass soap dispenser with a pump on a kitchen counter near a window.

    Refill soap and lotion into amber or dark glass dispensers beside the sink to quiet the visual noise of mixed plastic bottles. The warm glass tone links with copper accents and fall colors without adding a themed object. Use a small tray under the dispensers to catch drips and protect the counter. If you prefer to skip new bottles, group your current ones on the same tray for a tidier line.

    16. Hang a Small Framed Thanksgiving Print

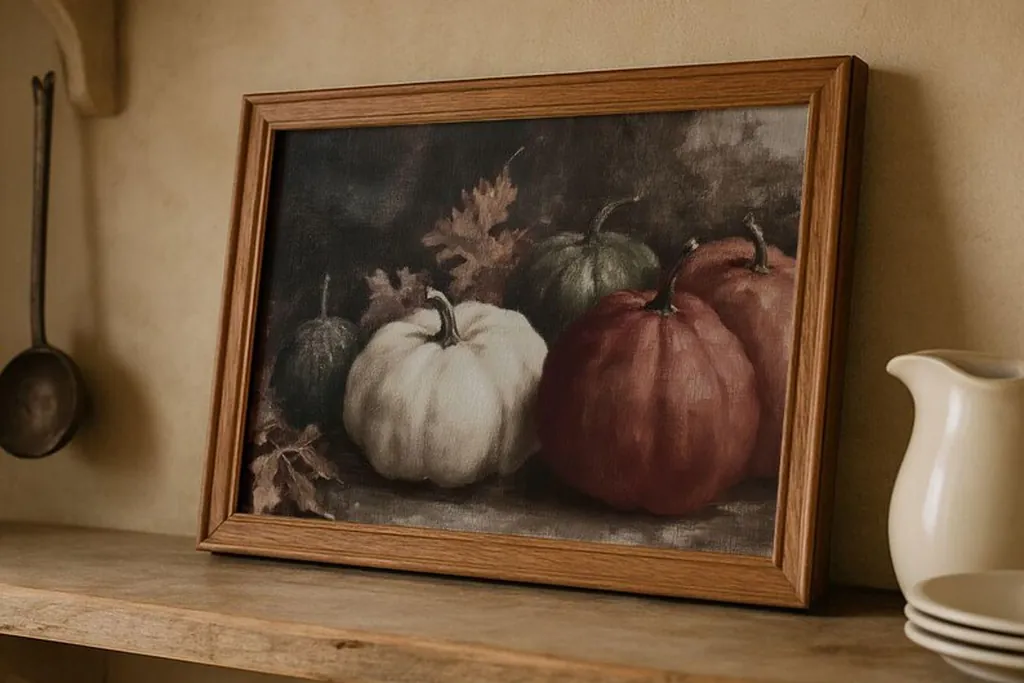
    Framed painting of pumpkins propped on a kitchen shelf.

    One framed print on a blank kitchen wall or propped on an open shelf adds a clear holiday note: a simple pumpkin illustration, a harvest quote you print yourself, or a vintage style food poster you own. Using a frame you already have keeps the swap easy and the print stores flat afterward. Keep the size modest so it suits a working room. Avoid hanging glass frames directly over a prep surface.

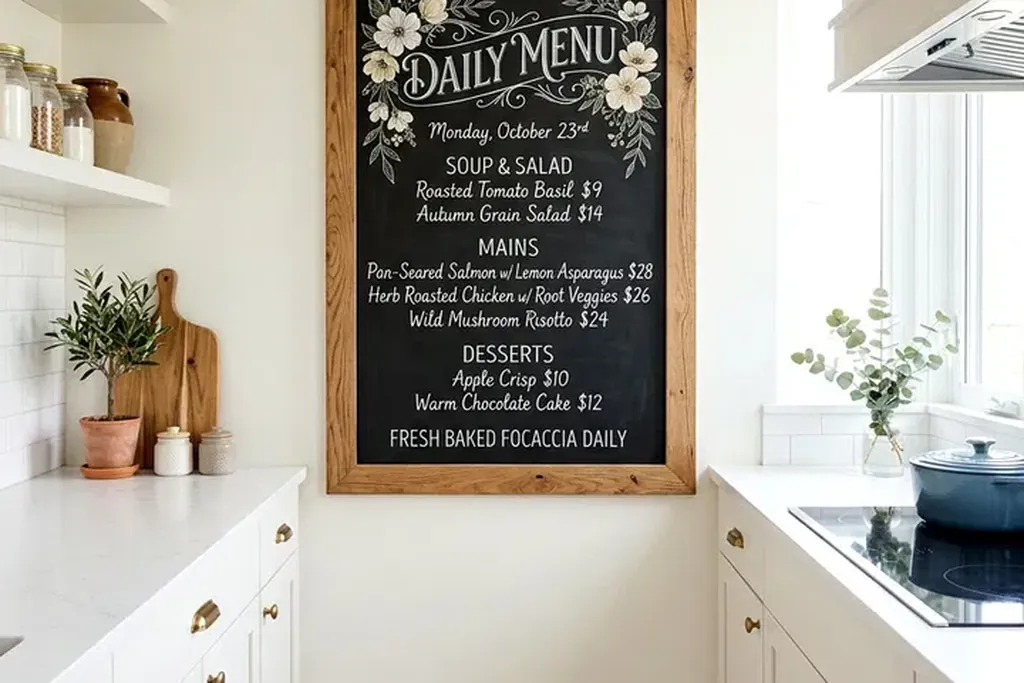
    17. Write the Menu on a Chalkboard or Letter Board

    Framed chalkboard menu hanging on a kitchen wall between counters.

    Set a small chalkboard or letter board on the counter or hang it near the dining doorway with the Thanksgiving menu written out. Guests can see what is coming, helpers can check what still needs doing, and the board itself adds a chalky black accent to the palette. Keep the writing large and short. After the meal, the same board can carry a note about leftovers or the next day brunch plan.

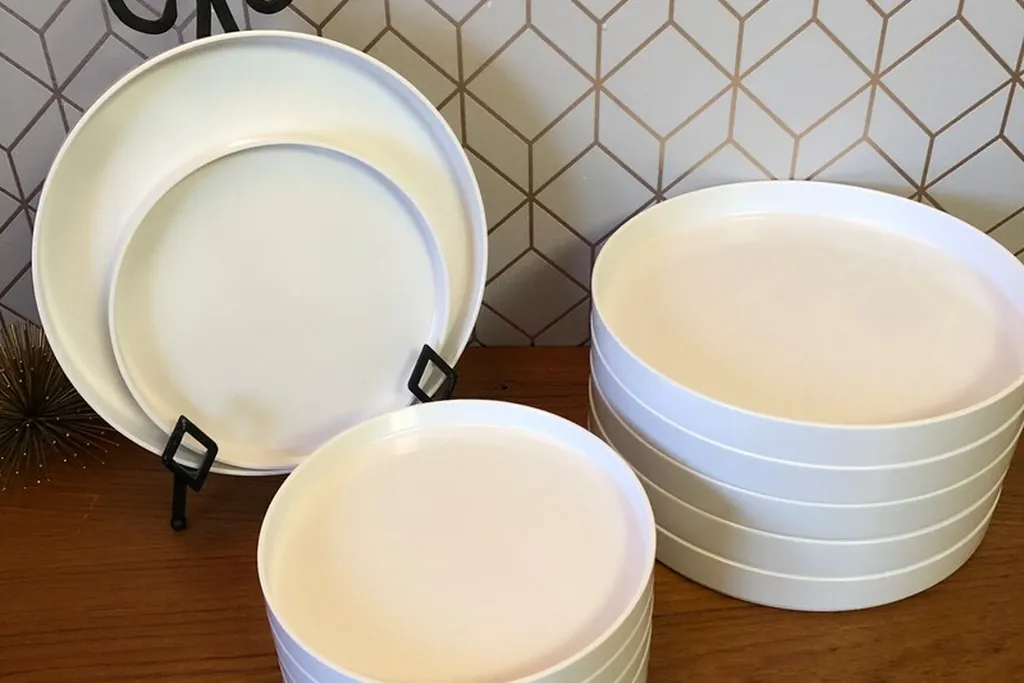
    18. Stack Serving Platters Where Guests Can See Them

    Stacks of white serving bowls and plates on a wood surface.

    Gather your largest serving platters, a gravy boat, and serving spoons a few days ahead and stack them on the sideboard or a clear counter end. The stack looks abundant, proves you own enough pieces before the shops get busy, and keeps the cook from hunting through cabinets with hot pans in hand. Wash everything when you set it out. Leave a folded towel under the stack to protect polished wood.

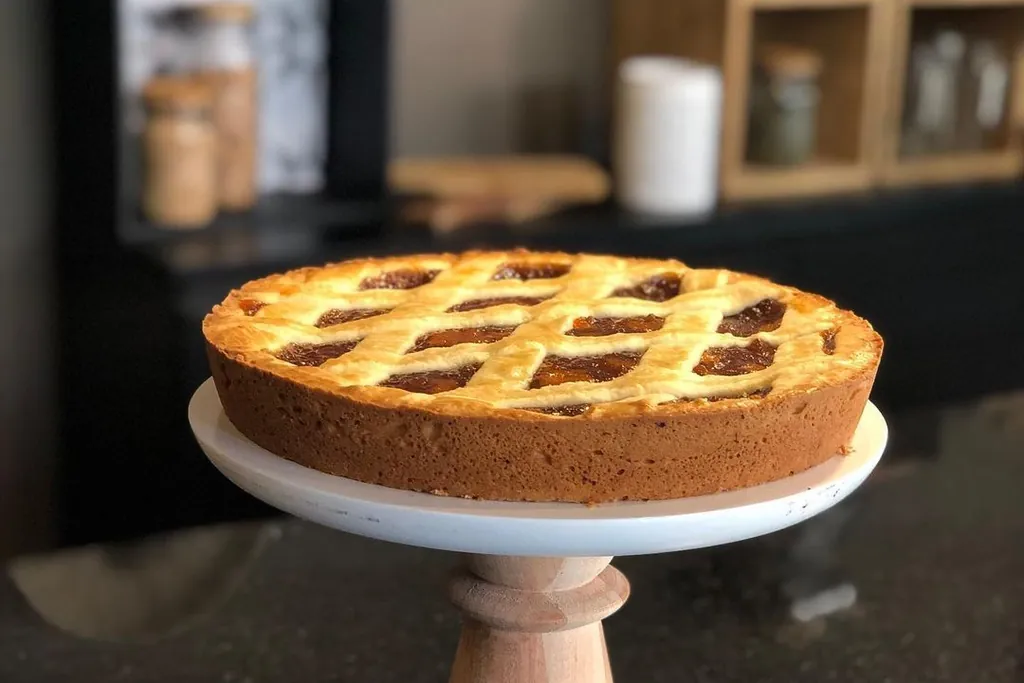
    19. Use a Cake Stand as a Raised Display

    Lattice topped pie on a raised pedestal cake stand.

    A cake stand or raised pie plate lifts whatever it holds into a display: a pumpkin pie on the day, or a cluster of small pumpkins and a candle before it. Height helps a sideboard or island arrangement feel layered instead of flat. Choose a stand with a steady base, since it will be bumped in a busy room. Keep the stand out of the main walking path between stove and sink.

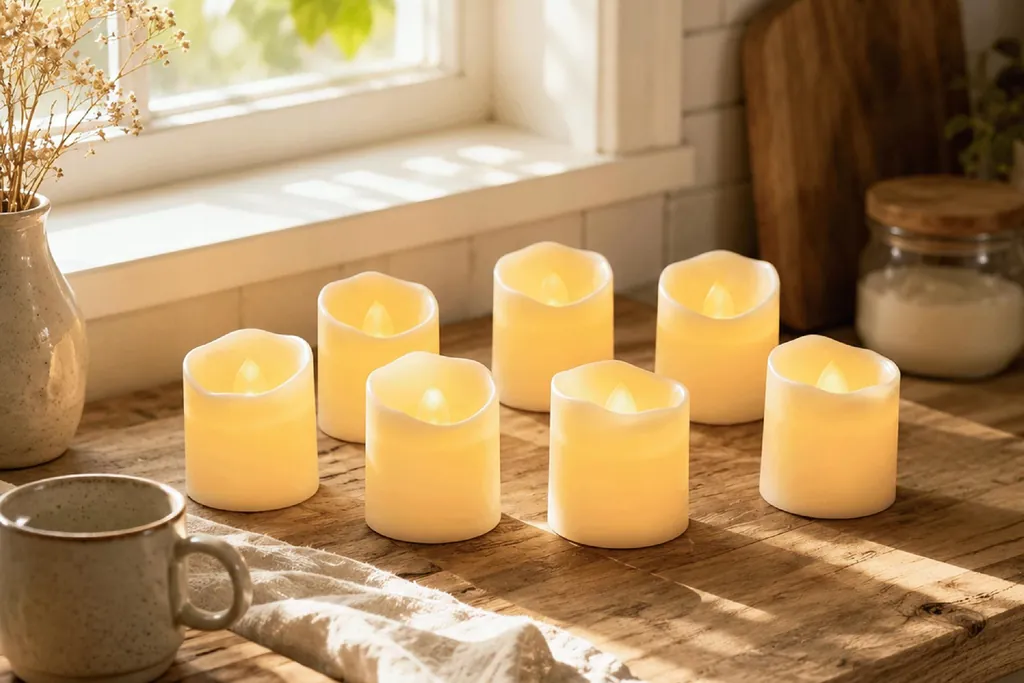
    20. Choose Flameless Candles for a Safe Counter Glow

    Flameless candles glowing on a wood kitchen counter by a window.

    Cluster two or three flameless candles on the tiered tray, the sideboard, or a shelf to get warm evening light without a live flame near towels, paper goods, and dried stems. Set timers if the candles offer them so the glow comes on as guests arrive. The NFPA notes in its candle safety guidance that candles near anything that can burn are a leading risk, which is why flameless versions suit a working kitchen. Keep real candles for the table center, away from reach and never left burning.

    21. Style Open Shelves With Fall Pottery

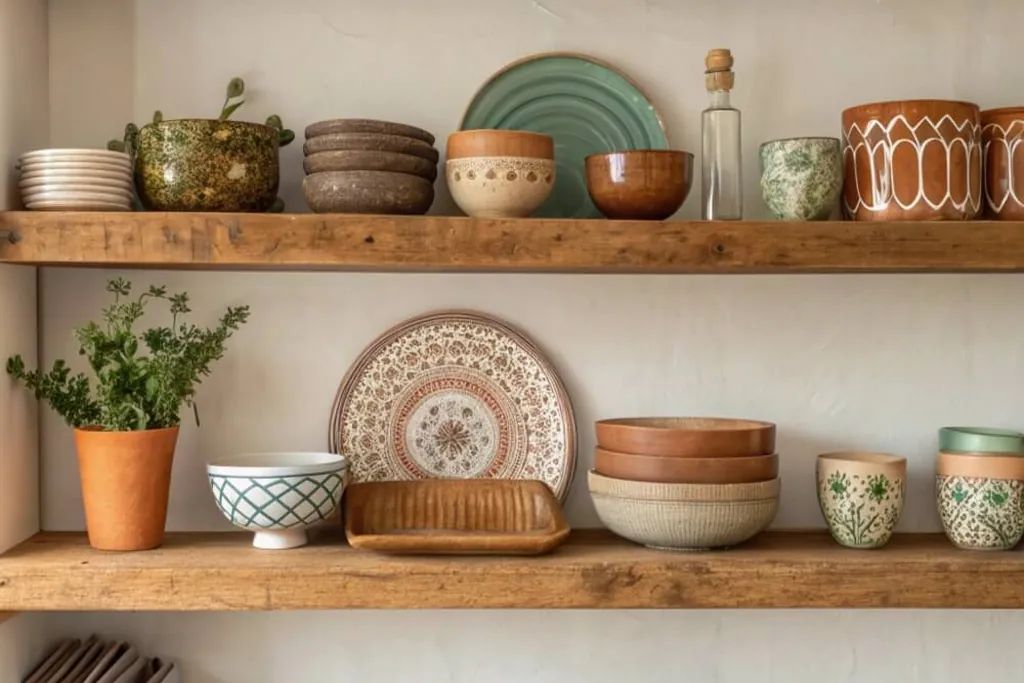
    Open wood kitchen shelves styled with stoneware bowls, plates, and jugs.

    If your kitchen has open shelves, restyle one shelf for the season: stoneware bowls, a small stack of fall tone plates, a pumpkin, and a plant. Leave gaps between groups so the shelf still looks light and daily items stay easy to grab. Everyday white dishes can stay, with the seasonal pieces mixed in rather than replacing them. Step back and check the shelf from the doorway, which is the view guests get.

    22. Add a Washable Runner Rug in Front of the Sink

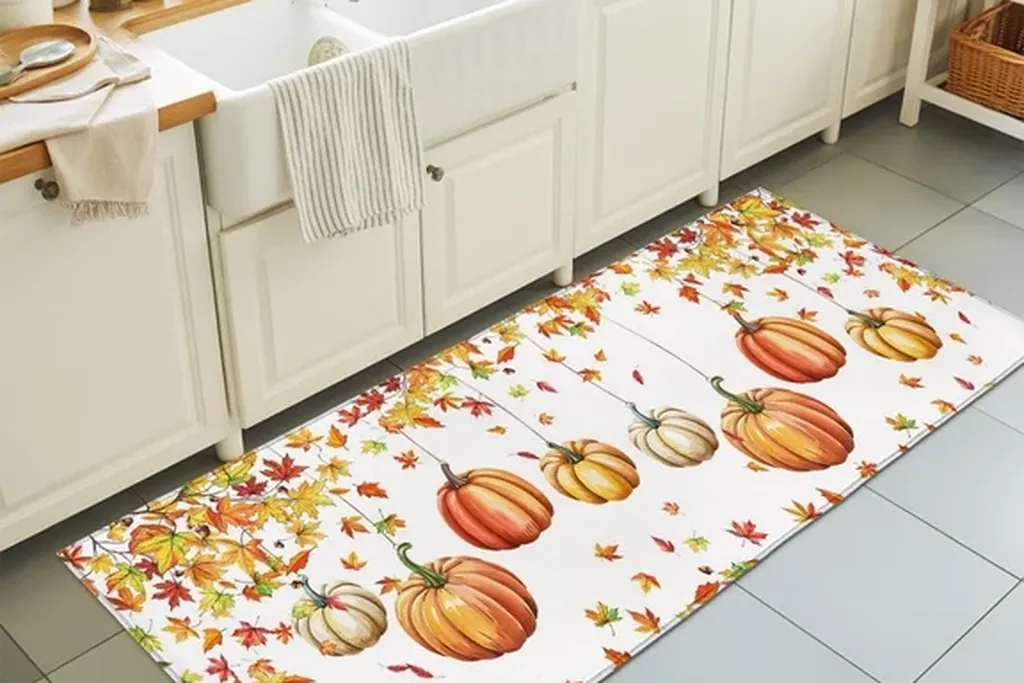
    Pumpkin print runner rug in front of a white farmhouse kitchen sink.

    A low pile runner in a warm fall pattern in front of the sink or stove softens long standing time and adds the biggest single block of color on the floor. Pick a washable rug with a nonslip back, because this spot takes splashes all day. Measure so cabinet doors and the dishwasher still open over it. Shake it out outside after the holiday and wash it before storing the rest of the set.

    23. Run a Greenery Garland Down the Dining Table

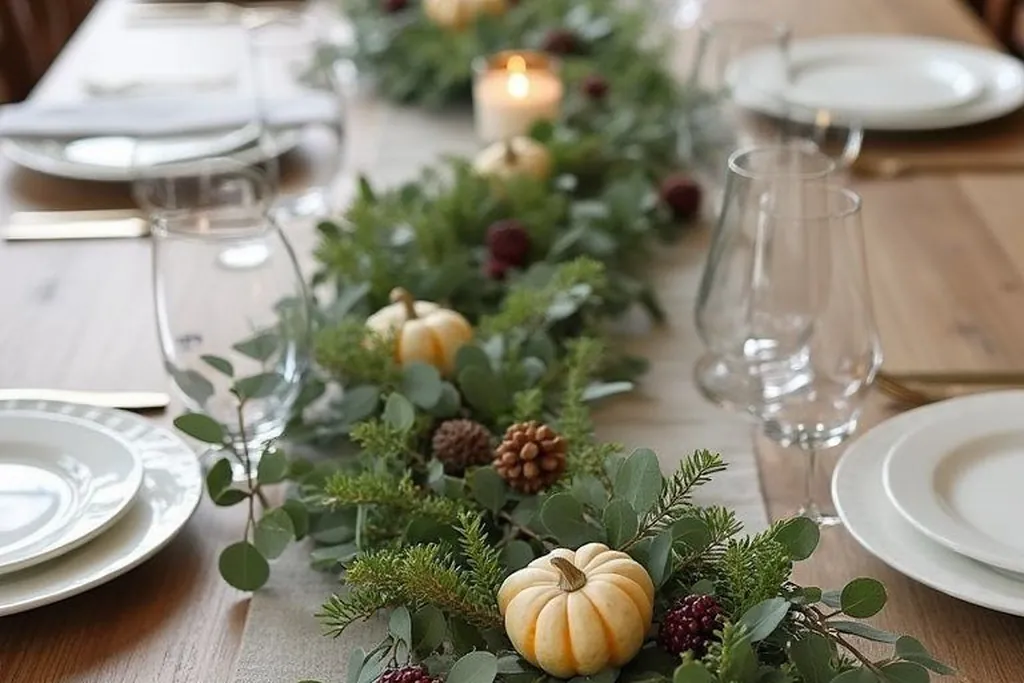
    Greenery garland with small pumpkins and candles down the center of a dining table.

    Lay a faux eucalyptus, magnolia leaf, or mixed greenery garland down the center of the dining table as the base of your centerpiece, then tuck in small pumpkins and flameless candles along its length. A ground hugging garland keeps sight lines open across the table and leaves room for serving dishes at both ends. This base pairs well with the table basics in our guide to everyday dining table decor, restyled for the season.

    24. Set Chargers and Layered Placemats at Each Seat

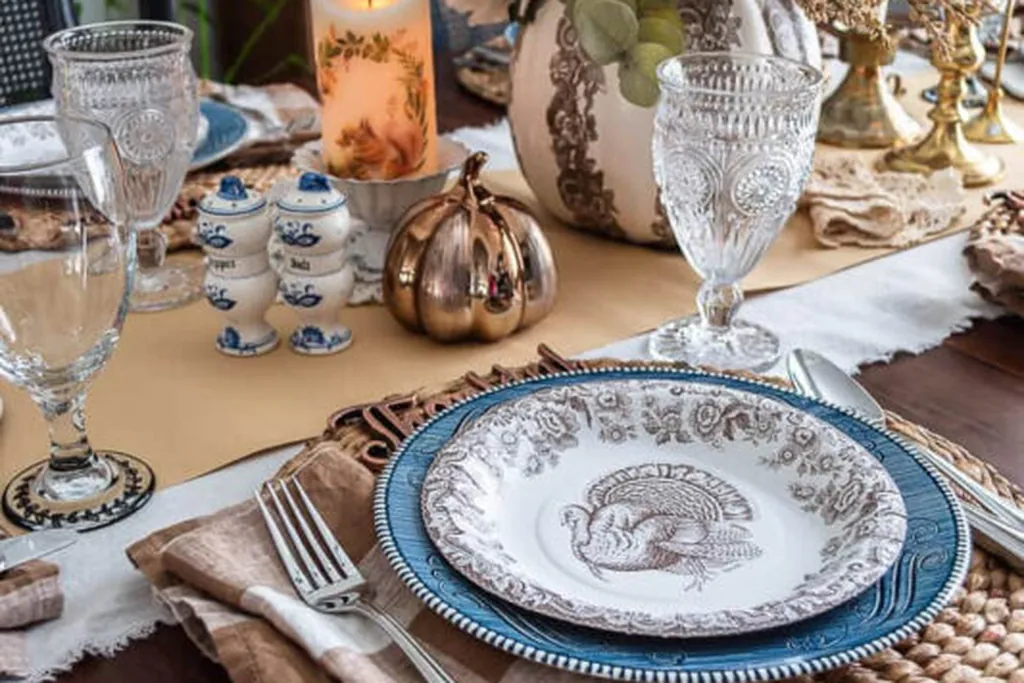
    Place setting with layered plates on a woven round placemat.

    Chargers or woven placemats under each plate give the Thanksgiving table its structure before any food arrives. Use natural woven, wood, or muted metal chargers that suit the garland and runner colors. Placemats also protect the table from hot plates and are easier to shake out than a full tablecloth. If seats are tight, skip chargers and use placemats alone so elbows have room.

    25. Fold Cloth Napkins in Warm Fall Colors

    Cloth napkins with a fall leaf print folded at place settings.

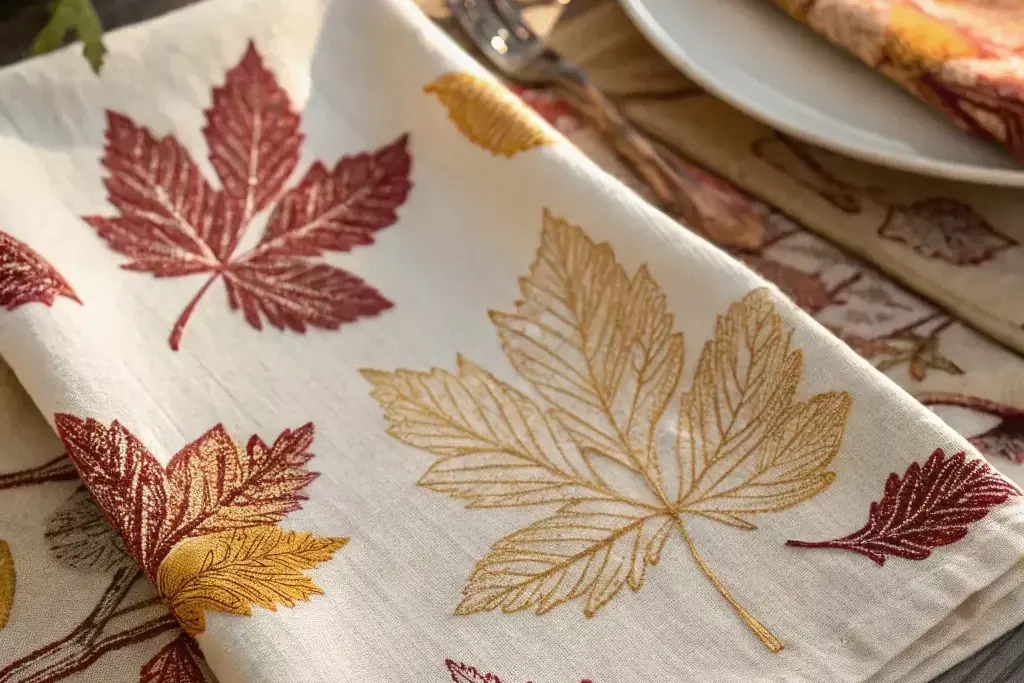
    Cloth napkins in rust, ochre, deep green, or a small plaid bring the palette to every place setting at once. A simple fold tucked under the plate or laid across it is enough; elaborate folds slow down setting a big table. Iron or smooth them the day before and keep a few spares ready for spills. Choose cotton or a cotton blend that washes well, since these will earn their keep.

    26. Add Handwritten Place Cards or Gratitude Cards

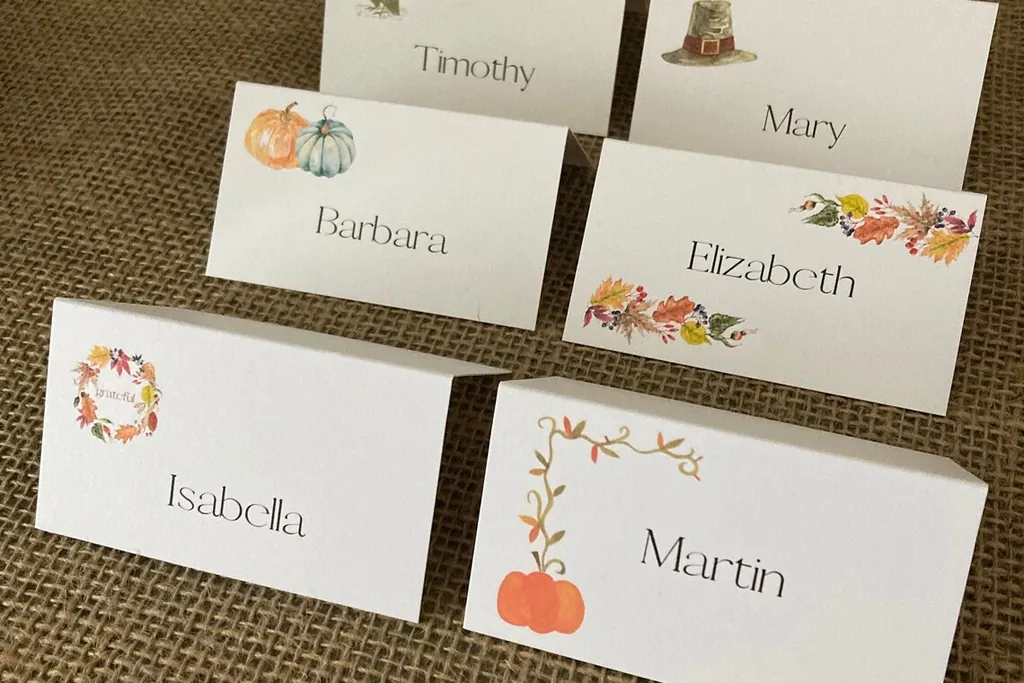
    Handwritten tent place cards with guest names and small fall designs.

    Small tent cards with each guest name solve the where do I sit question and make the table feel planned. A matching blank card or leaf shaped tag at each setting, with a pencil, invites guests to write one thing they are thankful for before dessert. Keep the cards plain and the handwriting relaxed. Read a few aloud over coffee if your group enjoys it, and send the cards home as the favor.

    27. Line a Bread Basket With a Linen Napkin

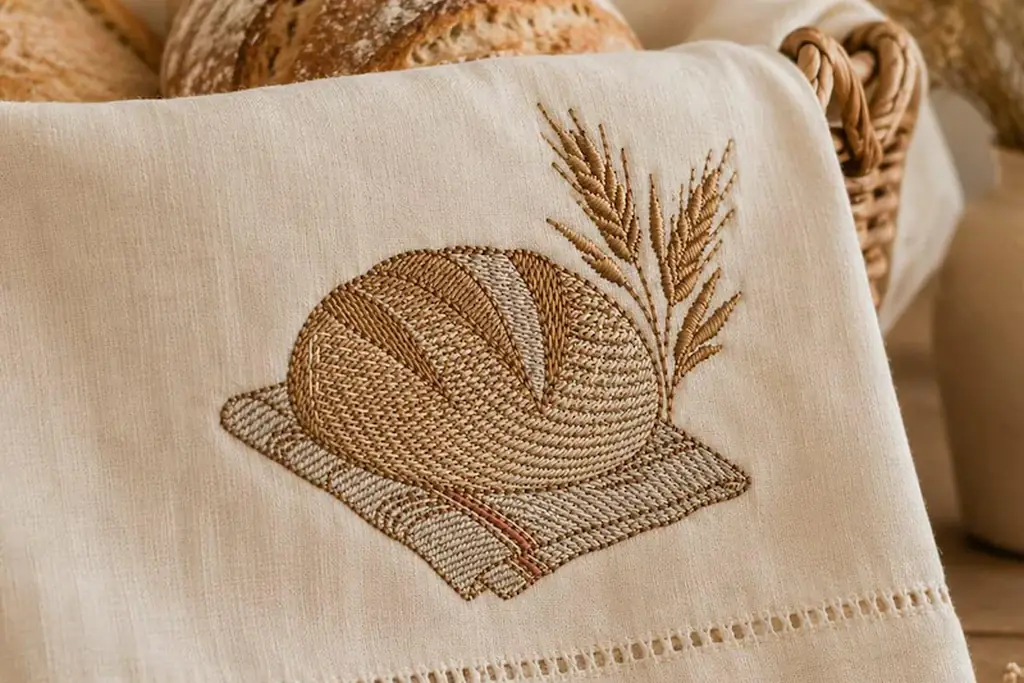
    Basket of bread loaves lined with an embroidered linen cloth.

    Serve rolls and sliced bread in a wide basket lined with a linen or cotton napkin, folding the corners over the top to keep the bread warm. The basket can sit on the table or the sideboard and moves easily when dishes need to pass. Choose a basket with no loose splinters or rough weave near food. After the meal, the same basket holds fruit for the rest of the weekend.

    28. Create a Self Serve Drink Station

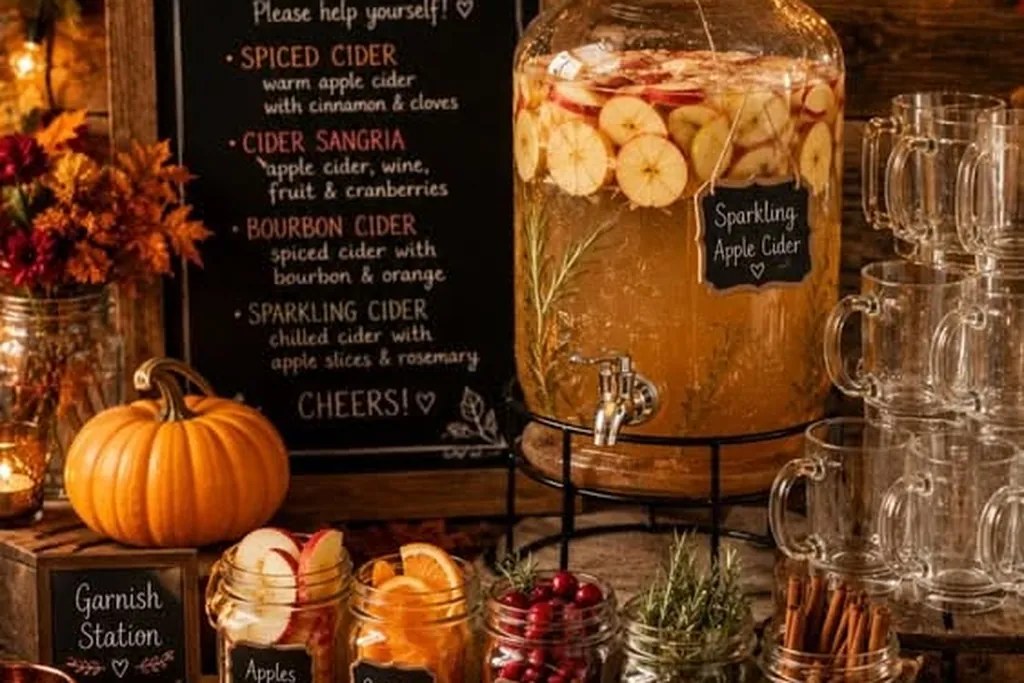
    Apple cider bar with a drink dispenser, mugs, jars, and small pumpkins.

    Set drinks away from the cooking zone so guests are not crossing the prep path: a tray or small table with a pitcher of cider or water, glasses, mugs for coffee, and a small bowl of cinnamon sticks or citrus slices. A drink station frees the host from pouring all evening and gives early arrivals something to do. Refill ice and cups once during the meal. Keep the station off the floor path to the table.

    29. Turn a Sideboard or Bar Cart Into a Pie Station

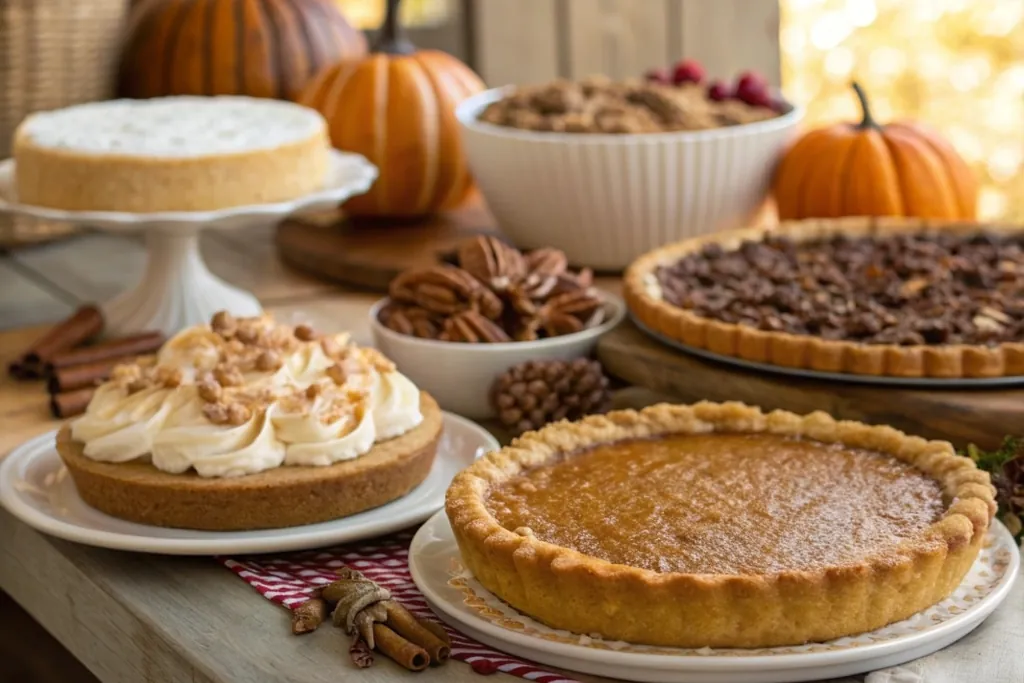
    Dessert table with pies on plates and stands, bowls of nuts, and pumpkins.

    Give desserts their own surface: pies on stands or boards, a stack of small plates, forks, and a can of whipped cream or a small pitcher for coffee. A pie station keeps sweet dishes out of the kitchen crush and turns dessert into a moment guests gather around. Add one small pumpkin or a short garland offcut to link it to the table. Cover pies with a clean cloth if they sit out while the main meal runs long.

    30. Make a Gratitude Branch With Paper Leaves

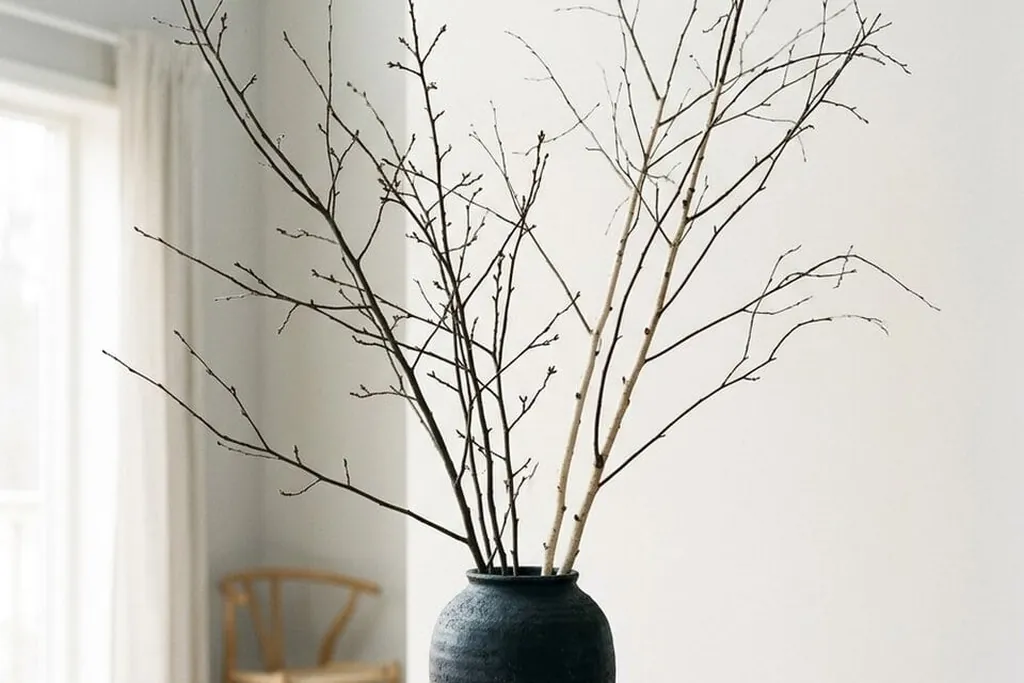
    Bare branches in a dark vase on a dining table.

    Stand a bare branch in a heavy vase or pitcher and set out paper leaves and string so guests can write a thankful note and hang it on the branch through the day. By dessert the branch is full and becomes the centerpiece story of the meal. Keep the vase weighted and out of the serving path. This is a good job to hand to an older child, who can pass out leaves and read a few at the table.

    31. Hang a Plaid Apron and Oven Mitts on Hooks

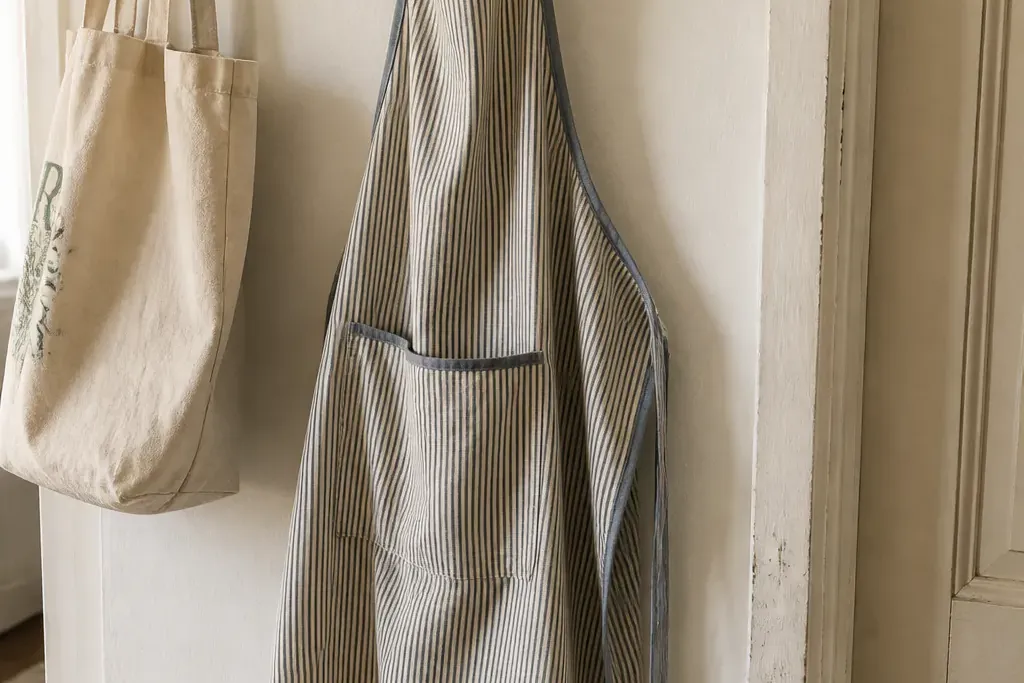
    Linen apron and a tote bag hanging on wall hooks beside a door.

    A clean plaid or fall tone apron hung on a hook by the pantry or door is working decor: it gets used all day and adds pattern to a plain wall the rest of the time. Match it with oven mitts in the same family of colors and hang them together as a set. Keep hooks clear of the stove and out of the swing of the oven door. Wash the set after the holiday before it goes back on display.

    32. Finish With a Small Tray by the Stove

    Round wood tray with olive oil bottles and small jars on a kitchen counter.

    End the styling where cooking starts: a small wood or metal tray beside the stove holding olive oil, a salt cellar, and a pepper grinder. Grouping these daily tools tidies the busiest counter edge and echoes the warm wood used across the room. Keep the tray small enough to lift and wipe under. If your stove area is cramped, use a narrow tray on the back edge of the counter instead.

    Conclusion

    A Thanksgiving kitchen works best when the decor stays in its lane: one styled counter zone, color carried up high and onto the table, and every pretty thing either useful or easy to move. Set the surfaces a few days early, lay the table the night before, and keep flames, garlands, and towels well clear of the cooking. When the meal is done, the same palette carries into the rooms guests drift to next, as in these fall living room decor ideas, and a quick reset of the guest space using these holiday guest bathroom ideas covers the last stop of the day.

    Save this list on Pinterest while you plan the menu, and work through it in order: counters first, walls and shelves next, and the table last.

    FAQs

    When should I start decorating the kitchen for Thanksgiving?

    Set the lasting pieces, such as the runner, garland, wreath, and canisters, one to two weeks ahead so the room feels settled before cooking starts. Add real pumpkins, fruit, and fresh herbs in the final few days so they stay firm and bright. Lay the table the night before if it is not used for daily meals. Leaving the last day for food only makes the whole holiday calmer.

    How do I decorate for Thanksgiving without losing counter space?

    Use height and walls instead of surfaces. A tiered tray, garland along the cabinet tops, a wreath on the window, and boards leaning on the backsplash all add seasonal color while using almost no counter. Limit flat counter decor to one tray that can move in one trip. Anything that cannot be moved quickly should not sit in the prep zone on the day itself.

    What colors work best for Thanksgiving kitchen decor?

    Warm harvest tones suit most kitchens: rust, ochre, cream, deep green, warm wood, and muted orange, lifted with copper or brass. Pick two main colors plus one metal or wood tone and repeat them across towels, the runner, and the table so the room looks planned. If your kitchen is cool toned, lean on cream, green, and wood and use orange only in the pumpkins themselves.

    How can I decorate a small kitchen for Thanksgiving?

    Choose three changes only: fall dish towels, one styled tray or tiered stand, and a wreath or small garland. Carry the rest of the holiday feeling to the dining table, where there is usually more room. Edible displays help in small spaces because the fruit basket and herb pots decorate and then get used. Skip floor runners if the rug would bunch underfoot in a tight work triangle.

    What Thanksgiving kitchen decor is safe around cooking?

    Keep all decor away from burners and oven vents, choose flameless candles near towels and dried arrangements, and secure garlands so nothing hangs toward heat. Dried wheat, leaves, and paper items catch easily, so place them on shelves, windows, and the table instead of near the stove. Check that wreath hooks and board stacks are steady before the busy day, and keep handles, mitts, and towels off open oven doors while cooking.

    How do I store Thanksgiving kitchen decor after the holiday?

    Wash towels, napkins, and the runner first, then pack hard items in one labeled box: prints flat at the bottom, the wreath on top, and small pieces grouped in a bag. Store ceramic pumpkins wrapped in the cloth napkins they sat with. Real pumpkins, fruit, and dried stems that have faded should be composted or discarded rather than stored. One box in a dry cupboard keeps next year simple.