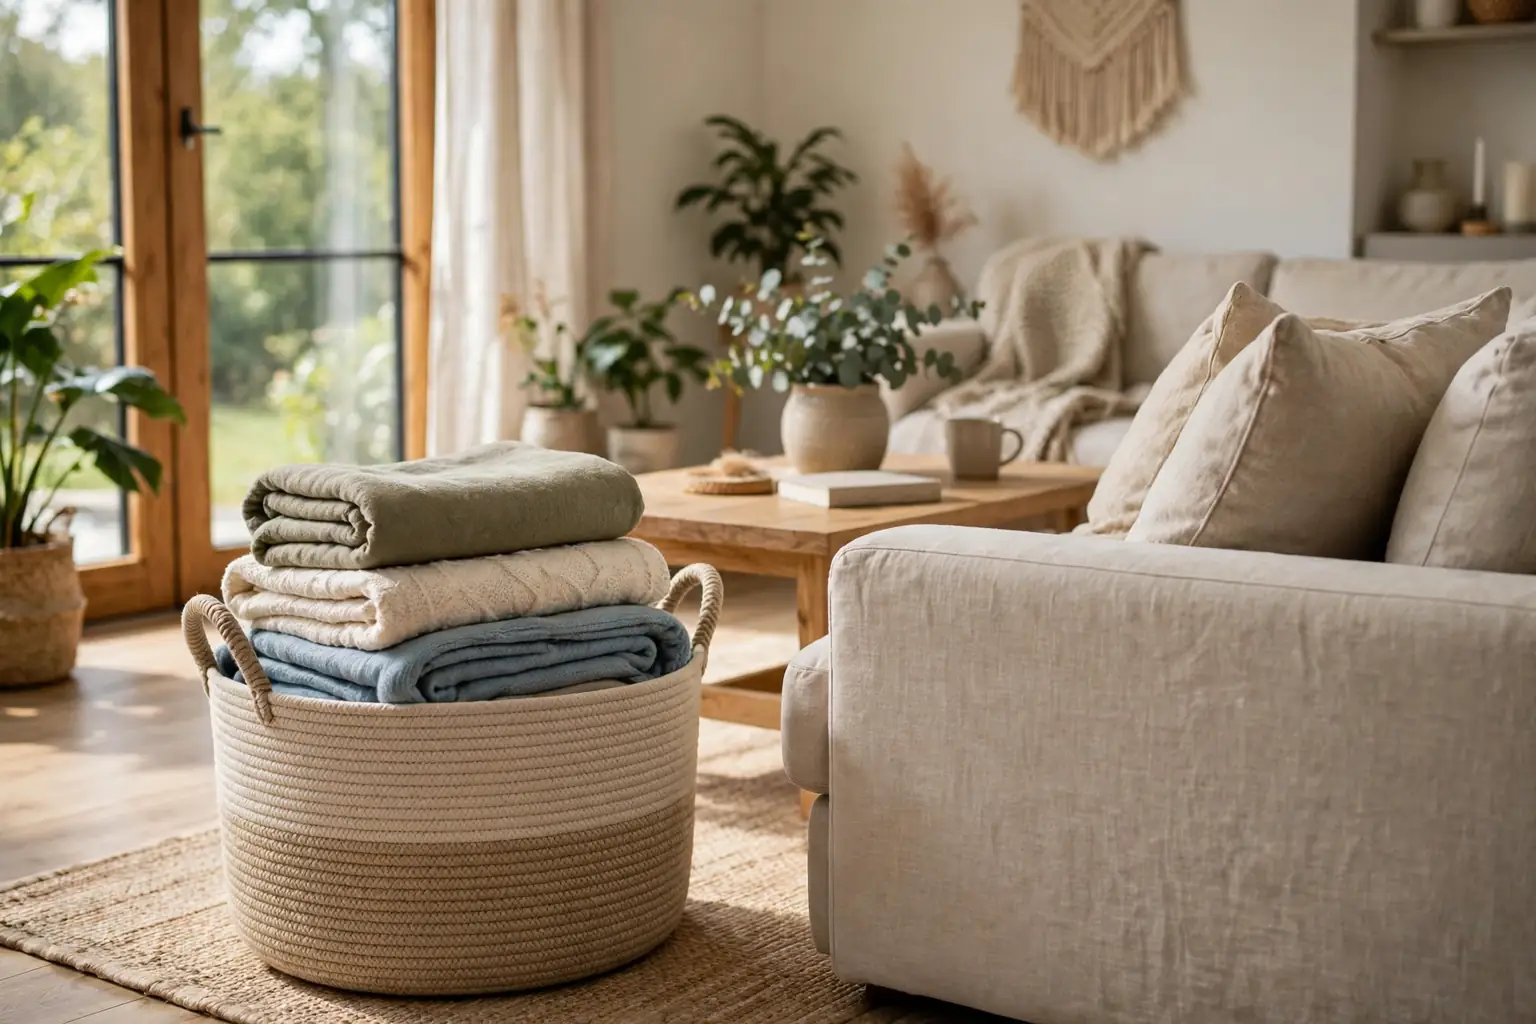
To make a DIY rope basket, coil cotton rope in a flat spiral for the base, then coil upward to form the walls, joining each row with glue or stitches as you go. Add handles, trim the end, and let the basket dry before use. The process takes a few hours and needs only rope, glue or thread, and scissors.
A coiled rope basket is a practical first rope project because the method stays the same from start to finish: each new row sits beside the last one and is fixed in place before you move on. That repetition makes it easy to control the size and shape as you work, and it leaves room to change direction, add a color accent, or stop at any height that suits the spot. This guide walks through the process in order, from planning the size to finishing the rim and handles, so the basket holds its shape and stands up to daily use.
Key Takeaways
- Decide the basket size and job first, since the base width and wall height follow from what the basket will hold.
- Use soft cotton rope that coils easily, and test a short coil before you commit to a full basket.
- Join each row as you go with glue or stitches, rather than coiling first and fixing later, so rows stay tight and even.
- Build the walls slowly, checking the shape from the side often, so the basket rises straight instead of leaning or flaring.
- Finish the rim and handles with care, since the top edge and handles take the most strain in daily use.
- Let glue dry fully before you load the basket, and spot clean it rather than soaking it.
Supplies You May Need
- Cotton rope, soft and flexible, in one main color
- A smaller amount of rope in a second color, if you want accent rows
- A hot glue gun and glue sticks, or a large needle and strong thread for stitching rows together
- Sharp scissors or a craft knife for cutting rope cleanly
- A bowl, bucket, or pot to use as a mold for shaping the basket
- Cling film or a plastic bag to cover the mold so glue does not stick to it
- Clips, clothespins, or binder clips to hold rows in place while glue sets
- A tape measure or ruler for checking base width and wall height
- A fabric remnant and a needle and thread, if you plan to add a liner
- A lighter or matches for sealing cut rope ends, used with care and kept away from the glue gun
1. Decide the Size, Shape, and Job
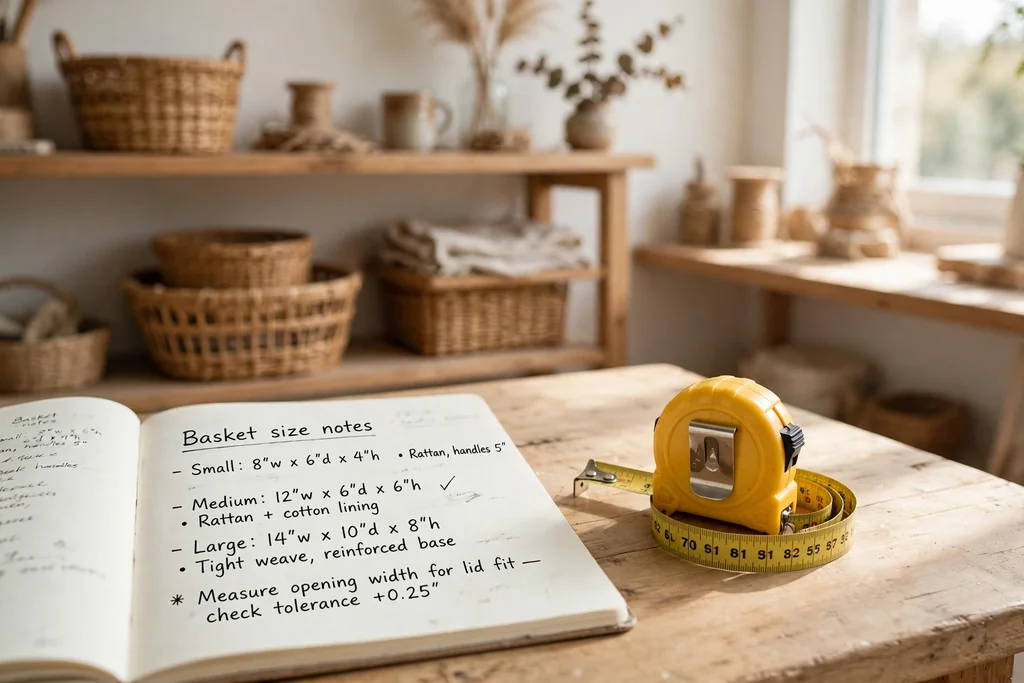
Start by deciding what the basket will hold, since that choice sets the base width and wall height. A small basket for keys, remotes, or craft tools needs a base of about six to eight inches and low walls, while a basket for blankets or toys needs a base of ten to twelve inches and taller walls. Measure the shelf, table, or floor spot where the basket will sit, and note the largest width and height that fit without blocking a drawer or door.
Choose a shape that suits the spot and your skill level. A round basket is the simplest first shape, because the coil turns evenly and the walls rise in a steady circle. An oval basket works well on a narrow shelf, but it needs more care to keep both sides even. Write down the target base width and wall height before you buy rope, so you can judge how much rope the project needs and stop coiling at the right point rather than guessing as you go.
2. Gather Rope and Supplies
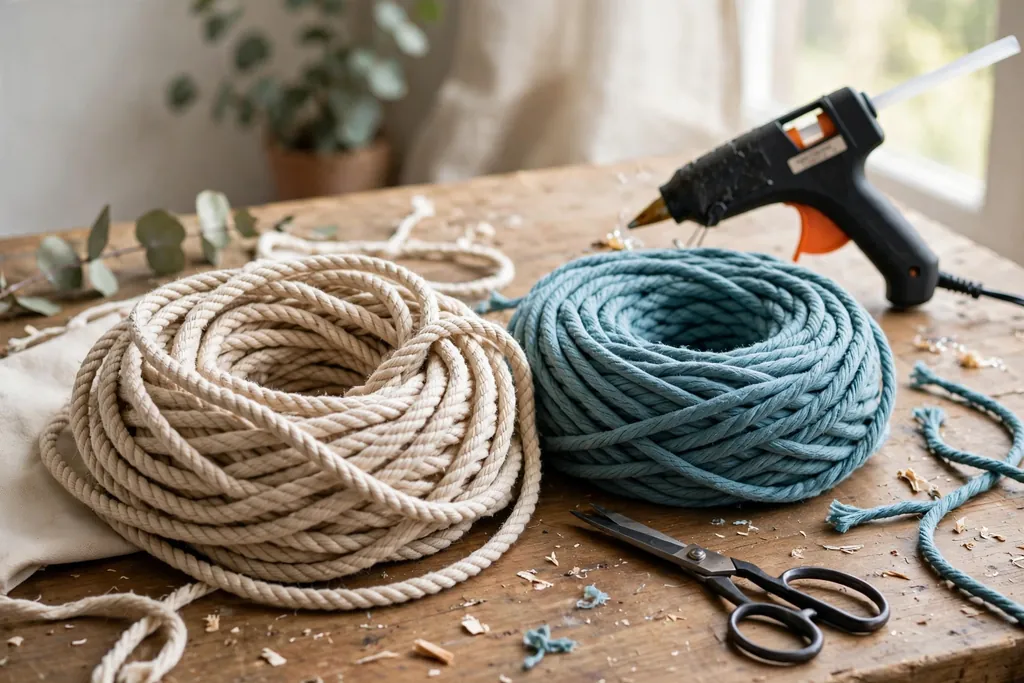
Choose soft cotton rope that bends into a tight coil without springing back or cracking. Rope around one quarter to three eighths of an inch thick suits most home baskets: thinner rope gives a finer look but takes more rows, while thicker rope builds height fast and gives a chunkier result. Check the rope by coiling a short length in your hand; it should lie flat against itself without gaps and hold a curve without kinking.
Set out all supplies before you start, so you do not pause mid coil with glue cooling or rows slipping. You need the rope, glue gun or needle and thread, scissors, clips, and the mold you plan to use, plus a clear work surface large enough to turn the basket as it grows. If you plan accent rows, keep the second color rope beside the main rope and decide now where the accents will fall, such as two rows near the rim or a band partway up the wall.
3. Choose a Mold and Protect Your Work Surface
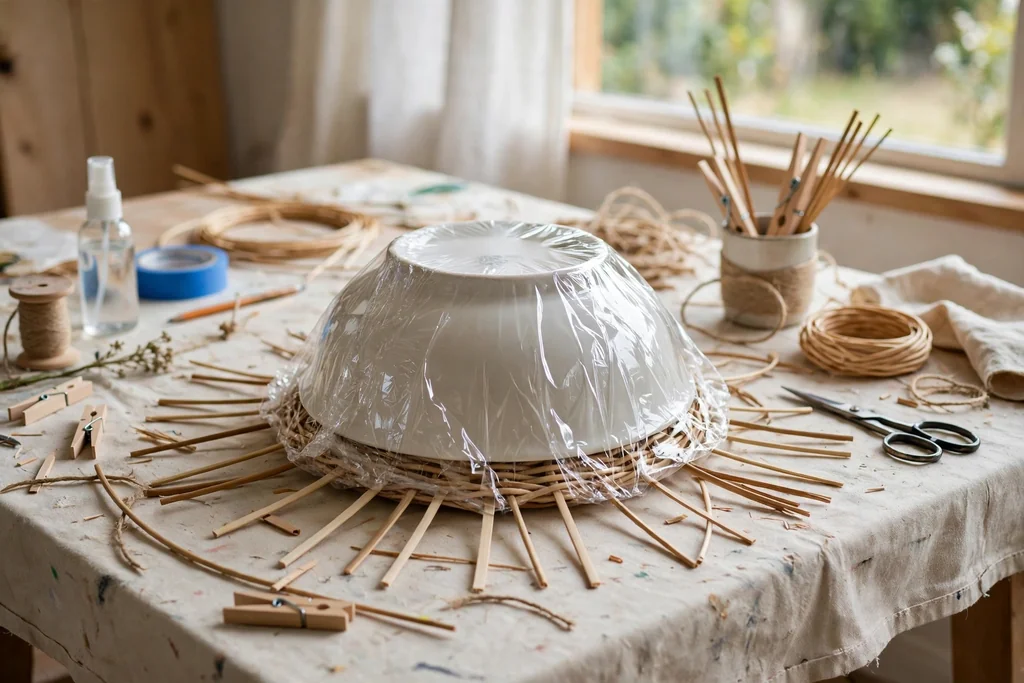
A mold helps a first basket keep a steady shape, especially while the walls rise. Find a bowl, bucket, or pot close to the base width you planned, with sides that slope gently outward or run straight, so the finished basket slides off easily. A mold with a narrow neck or a sharp inward curve will trap the basket, so test the fit by picturing the basket lifting straight up off the mold.
Cover the mold with cling film or a plastic bag, smoothing it over the outside so glue cannot bond the rope to the mold. Protect your table with an old cloth or cardboard, since hot glue drops and loose fibers land on the surface as you work. Set the mold upside down on the table if you plan to coil the base on its flat bottom, or right side up if you prefer to coil the base flat on the table and use the mold only for shaping the walls.
4. Start the Coil for the Base
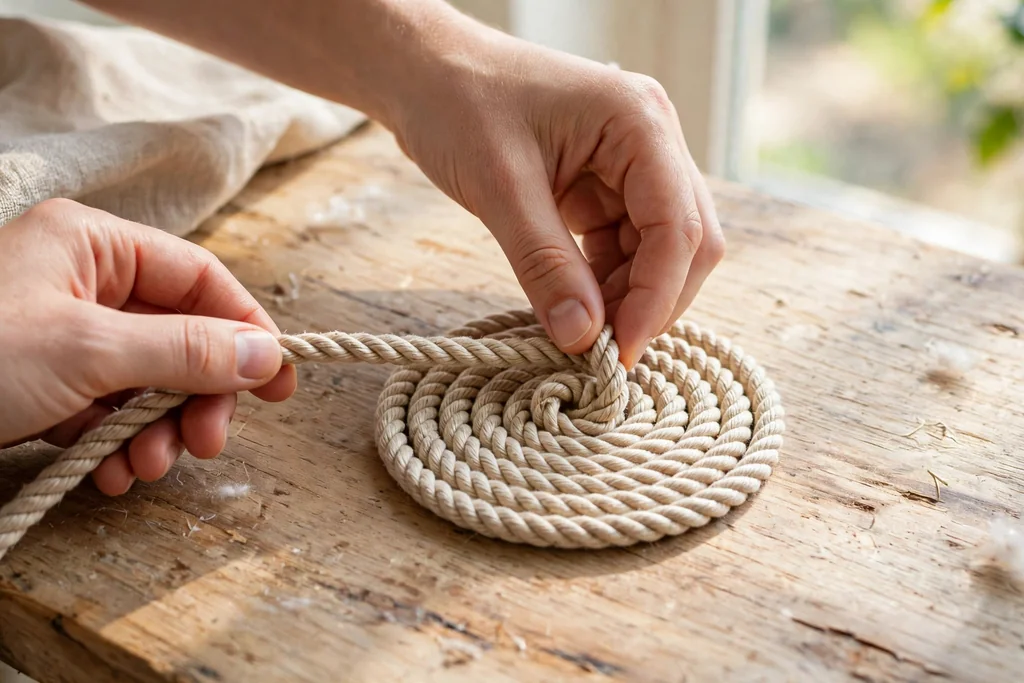
Begin the base with a tight flat spiral, since a neat center gives the whole basket a steady start. Fold the rope end back on itself for about two inches and glue or stitch the fold in place, so the raw end sits hidden inside the coil rather than sticking out. Then wind the rope around that folded end, pressing each new loop flat against the last one and fixing it with a dot of glue or a few stitches at regular points around the circle.
Work slowly for the first few rounds, since gaps or overlaps at the center show in the finished base and tilt the rows that follow. Keep the coil flat on the table, pressing it down lightly after each round, and check from above that the spiral stays round. If a gap opens, pull the row back, add a little more glue or an extra stitch, and press the rows together before moving on. A firm, flat start makes every later step easier.
5. Coil the Base to Full Width
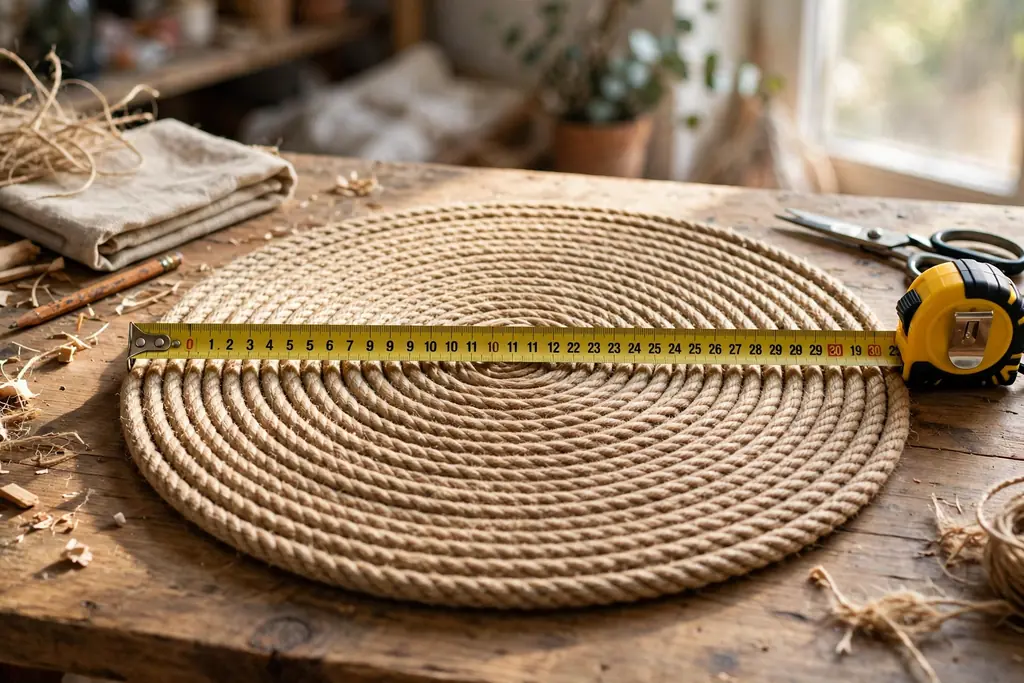
Keep coiling outward, row by row, until the flat base reaches the width you planned in step 1. Measure across the base after every few rows, since it is easy to coil past the target while focused on keeping rows tight. Fix each row to the last one as you go, with glue dots spaced a few inches apart or stitches at matching intervals, and clip each new row in place for a moment when the glue sets.
Keep the tension even as you coil: rope pulled too tight curls the base upward at the edges, while rope left too loose leaves gaps between rows. If the base starts to cup, ease the tension on the next rows and press the coil flat; if gaps appear, press the rows together and add an extra fixing point. Stop when the base measures the planned width, and mark that point in your mind, since the next step changes the direction of the coil.
6. Turn the Coil Up to Form the Walls
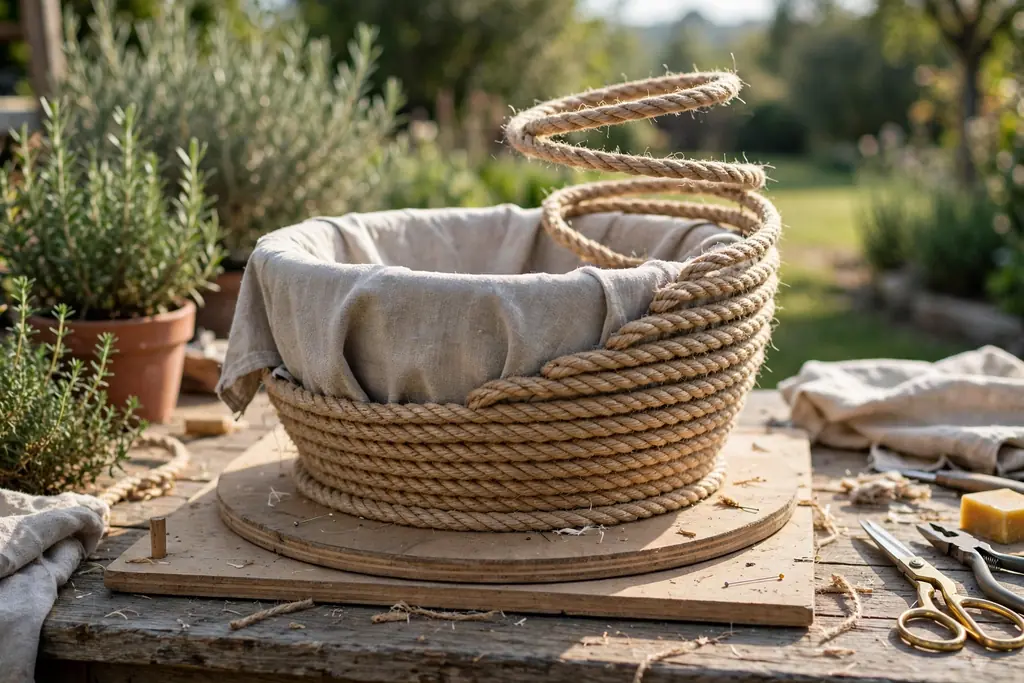
To form the walls, start stacking each new row on top of the last row instead of beside it, so the coil rises instead of spreading. Place the next row on the outer edge of the base, angle it slightly upward, and fix it to the row below with glue or stitches. The first wall row sets the angle for the rest, so take time with it: a row that leans outward makes a flared basket, while a row stacked straight up makes a tall, straight sided basket.
If you use a mold, slide the base over the mold now, with the base sitting on the mold bottom and the wall rows rising against the mold sides. The mold guides the angle and stops the walls from leaning as they grow. Keep the coil snug against the mold, but not so tight that the finished basket cannot slide off. Check the first two wall rows from the side before you continue, and adjust the angle while the glue is still easy to correct.
7. Keep Rows Tight and Even as You Build Height
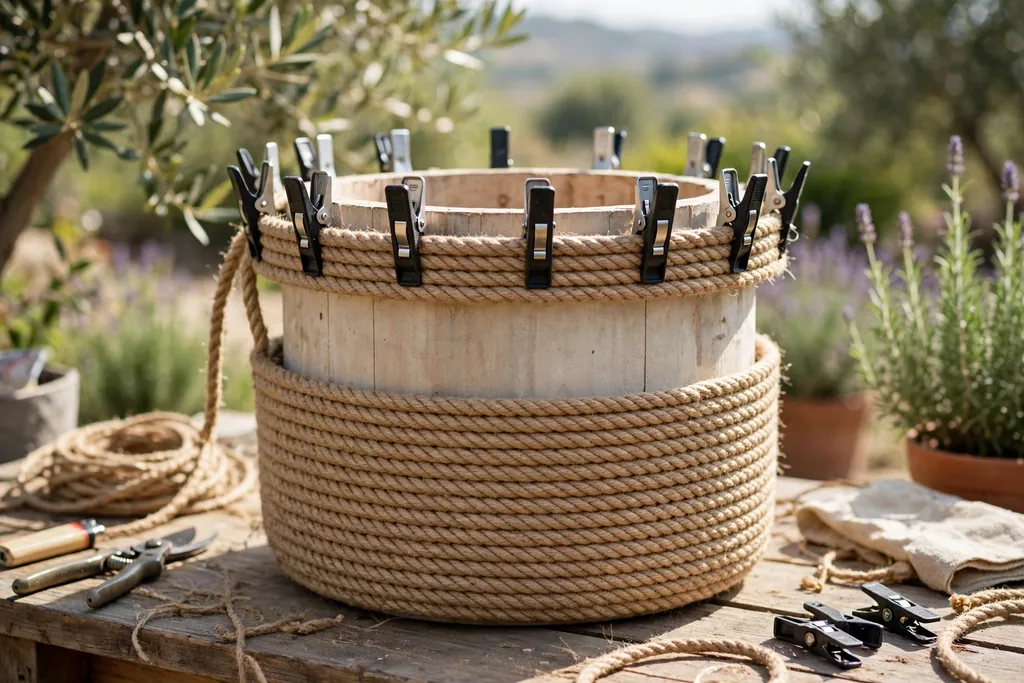
Continue coiling upward, row by row, until the walls reach the height you planned. Fix each row to the one below it at regular points, and check the height at several spots around the basket after every few rows, since one side often grows faster than the other when you favor one hand. Turn the basket as you work, so you always fix the row in front of you and can see the shape from the side.
Watch for two common faults as the walls grow. If rows drift apart, press them together and add extra glue or stitches at the gap before the next row covers it. If the wall starts to lean, ease the coil back toward the mold and hold it with clips until the glue sets. Work in short stretches rather than rushing the full height at once, and pause to compare the basket with your planned height, so you stop at the right row rather than coiling past it.
8. Add a Color Accent or Wrapped Row
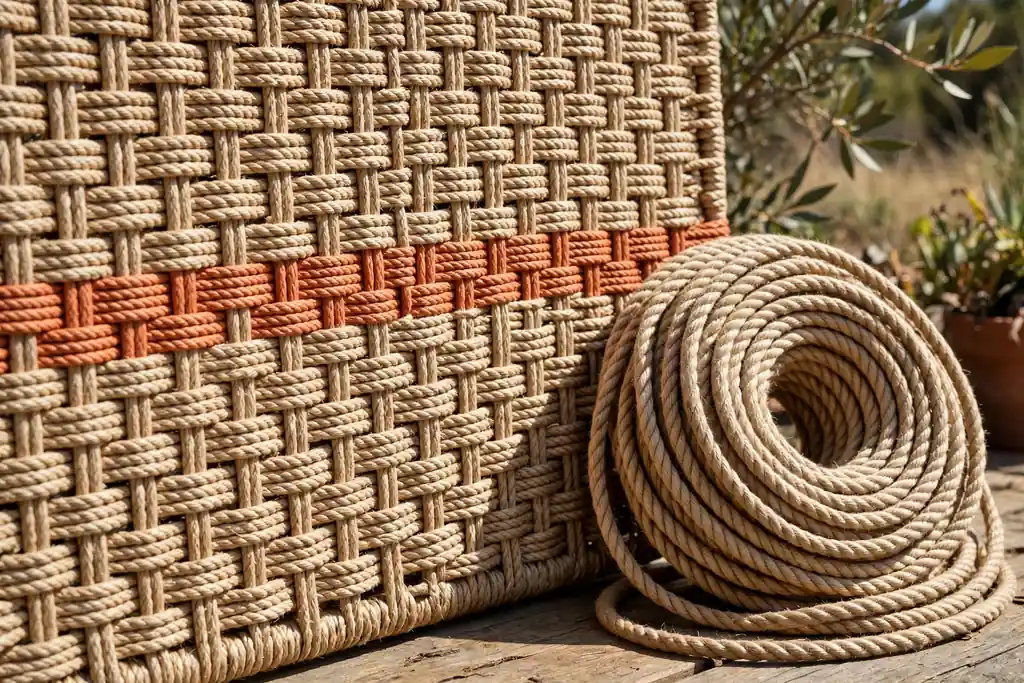
An accent row adds interest without changing the method, and the simplest place for one is near the rim or as a band partway up the wall. To add an accent, cut the main rope, seal the cut end, and join the accent rope with glue or a few stitches, hiding the join on the inside of the wall where it will not show. Coil the accent rope for one or two rows, fixing it like every other row, then switch back to the main rope the same way.
Keep accents simple on a first basket: one or two rows in a second color, or a single row wrapped in fabric or twine, reads clearly and does not break the rhythm of the coil. Avoid switching colors every row, since each join is a weak point and a place where the coil can slip. If you use dyed rope, check that the color does not rub off on your hands or on light items the basket will hold, and keep accent rows away from the base, where they wear fastest.
9. Finish the Top Edge Cleanly
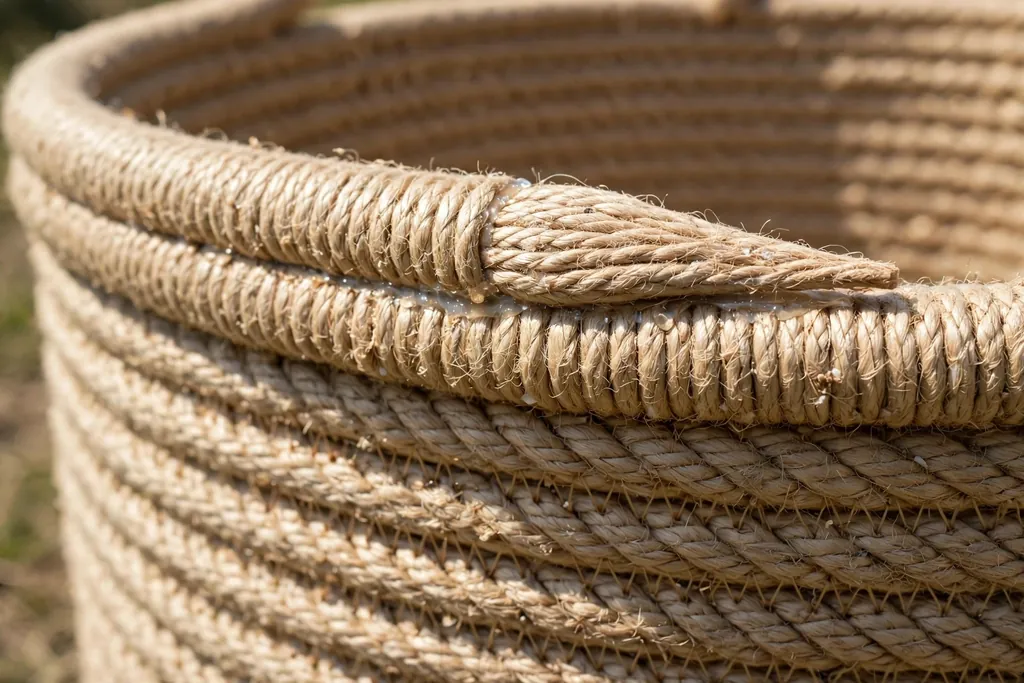
The top edge takes the most handling, so finish it with care. Coil the last row at the planned height, then taper the rope end by cutting it at an angle so it tucks neatly against the row below instead of ending in a blunt step. Glue or stitch the tapered end firmly in place, pressing it flat against the wall and holding it with a clip until the glue sets or the stitches hold.
Run your finger around the rim to check for loose spots, gaps, or a raised end that could catch on clothes or skin. Add a small extra dot of glue or an extra stitch anywhere the rim feels loose, and trim any stray fibers with scissors for a tidy edge. A clean, firm rim also makes the next step easier, since handles attach best to a rim that holds its shape when pulled.
10. Make and Attach Rope Handles
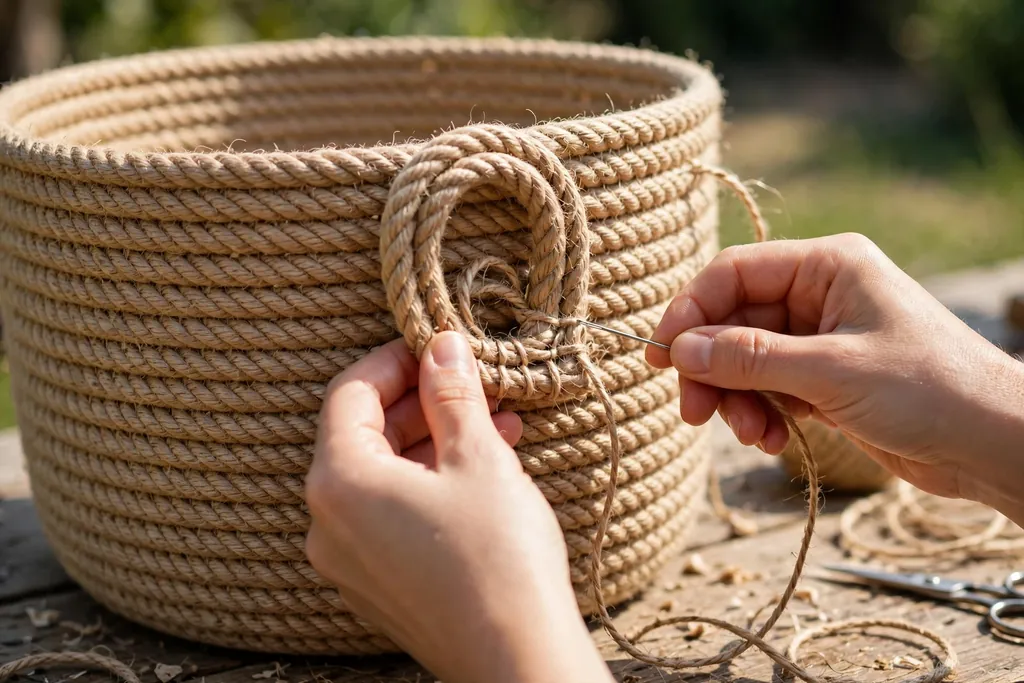
Handles make the basket easy to lift, and simple rope loops suit the coiled style. Cut two equal lengths of rope for the handles, each long enough to arch a few inches above the rim with enough spare at each end to fix to the wall. Seal the cut ends, then shape each length into a loop and hold it against the outside of the basket, opposite sides for balance, with the ends sitting flat against the wall just below the rim.
Fix each handle end with several stitches through the wall rows, or with a generous amount of glue held by clips until set, and add a second fixing point a row lower for strength. Test each handle by lifting the empty basket, then by lifting it with a light load, and check that the handle ends do not pull away from the wall. If a handle shifts, add more stitches before the basket goes into use, since a handle that fails under load drops the contents.
11. Trim Loose Ends and Secure the Last Row
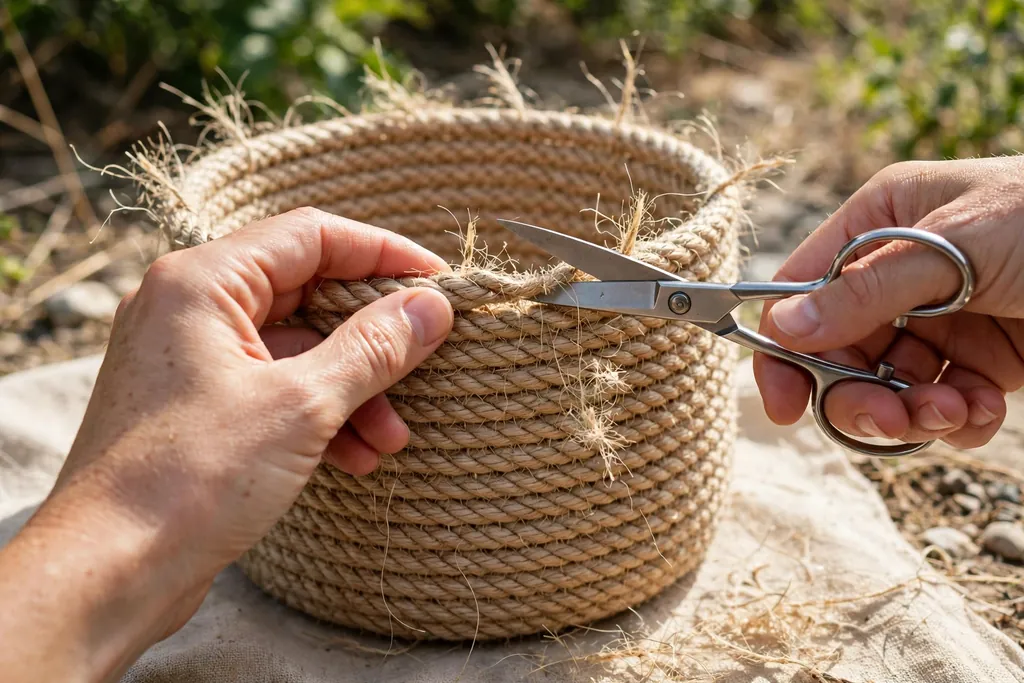
With the rim and handles in place, inspect the whole basket for loose ends, stray fibers, and rows that need an extra fixing. Trim thread ends close to the wall, snip loose rope fibers flush with the coil, and seal any fresh rope cuts with a quick pass of heat, keeping the flame away from glue and thread. Press each row once more, and add glue or stitches anywhere two rows still part when you press them gently.
Pay close attention to the join points where you changed colors or started the handles, since those spots carry extra strain. A few extra stitches at a join cost little time and stop a row from peeling later. When the basket feels firm all around, with no row lifting and no handle end shifting, the structure is done, and the remaining steps cover removing the mold, adding a liner, and putting the basket to use.
12. Remove the Mold and Check the Shape
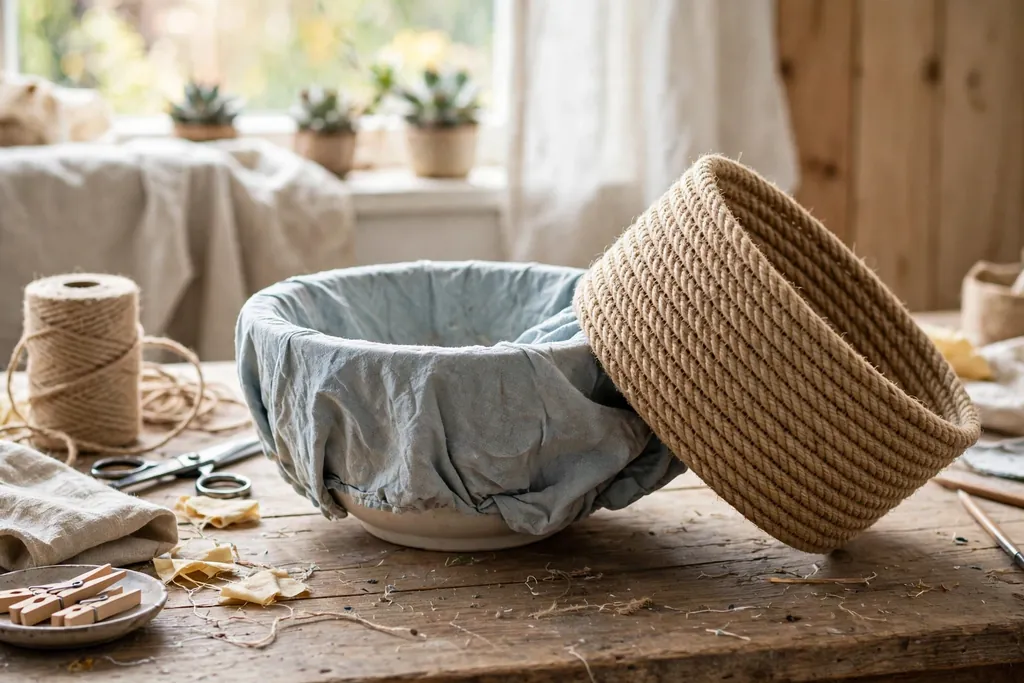
Slide the basket gently off the mold, easing it upward and turning it slightly as you lift, rather than forcing it straight off. Remove the cling film or plastic bag, and check the inside of the basket for glue strings or film scraps, trimming or peeling them away. Set the basket on a flat surface and look at it from the side and from above: the base should sit flat without rocking, and the rim should sit level all around.
If the basket rocks, press the base flat and check whether one wall row sits lower than the rest, then add a small fixing to hold the low side in place. If a wall leans slightly, push it back toward the mold shape and hold it with clips while you add a few extra stitches. Leave the basket empty overnight so glue sets fully and the shape settles, and do not load it until the structure feels firm and dry to the touch.
13. Add a Fabric Liner
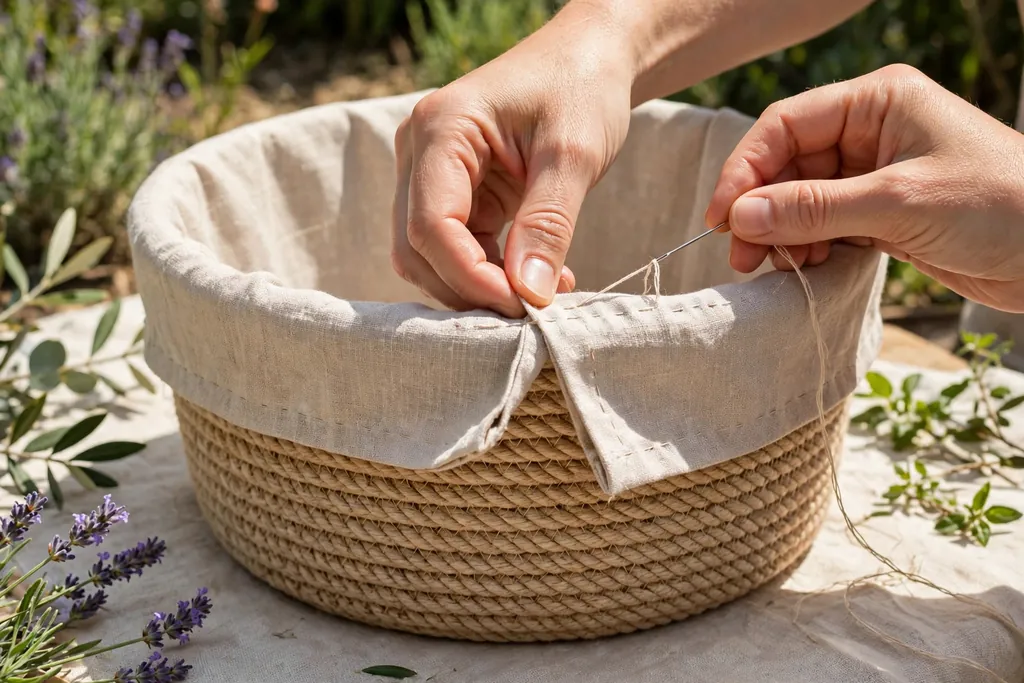
A liner is optional, but it suits baskets that hold small items, snacks, or toiletries, since it stops small things from slipping through gaps between rows. Measure the inside of the basket, then cut a fabric piece a little larger than the inside, with enough extra at the top to fold over the rim. Sew a simple open topped bag shape, with seams on the outside, and press the seams flat before fitting it.
Set the liner inside the basket, fold the top edge over the rim, and fix it in place with a few stitches through the rim rows or with small clips that you can remove for washing. Keep the liner loose enough to lift out for cleaning, rather than gluing it to the basket, since a removable liner lasts longer and lets you wash it on its own. If you skip the liner, the basket still works well for larger items such as blankets, toys, and magazines that cannot slip through the coil.
14. Style, Use, and Care for the Basket
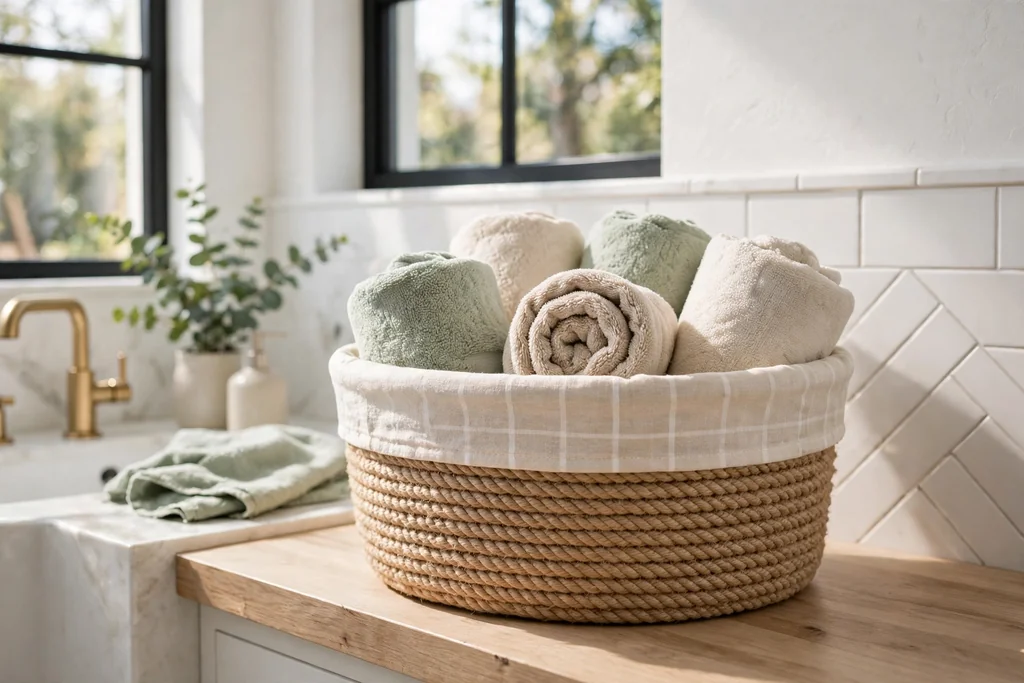
Place the finished basket where it will earn its keep, such as beside a sofa for blankets, in an entryway for keys and small daily items, in a bathroom for rolled towels, or in a bedroom for craft supplies. Group it with the room rather than hiding it: a rope basket suits natural textures, wood, linen, and plants, and it works best when the items inside match its size, so nothing overflows the rim or strains the handles.
Care for the basket with simple habits. Spot clean marks with a damp cloth and mild soap, then let the basket air dry fully before you put items back, since trapped damp softens glue and can leave a musty smell. Avoid soaking the basket or putting it in a washing machine, and keep it out of constant damp, such as a spot right beside a shower. Empty it now and then, shake out dust and fibers, and check the rim, handles, and joins, adding a stitch or a dot of glue at the first sign of wear.
Conclusion
A DIY rope basket comes down to one repeated action: coil the rope, fix each row to the last, and keep checking the size and shape as you go. Plan the size first, start with a flat, tight base, turn the coil up into even walls, and finish with a firm rim and strong handles. A liner adds a neat finish for small items, and simple care keeps the basket useful for a long time. Start with a small round basket to learn the coil, then adjust the size, height, and accent rows for the next one. For more storage ideas from Dwell Ovell, browse the home page, and see how a craft storage cabinet groups supplies by use, or how to organize a small bedroom with zones and fixed places for daily items.
FAQs
How much rope do I need for a DIY rope basket?
The amount of rope depends on the basket size and rope thickness, so buy more than you expect to use and keep the spare for repairs or a second basket. A small basket with a six to eight inch base needs far less rope than a large blanket basket, and thicker rope builds height with fewer rows. Measure your planned base and wall height first, then check the rope length on the label before you start coiling.
What kind of rope works best for a rope basket?
Soft cotton rope works best for a first rope basket, because it coils flat, bends without kinking, and holds glue and stitches well. Rope around one quarter to three eighths of an inch thick suits most home baskets, giving a balance of fine detail and steady height. Avoid stiff synthetic rope for a first basket, since it springs back from the coil and leaves gaps between rows.
Should I glue or sew the rows of a rope basket?
Both methods work, and the choice depends on the tools you have and how much strain the basket will take. Hot glue is fast and suits a basket that holds light items, while stitching with strong thread takes longer but holds better under heavier loads and survives more handling. Many makers use glue to hold rows in place while they work, then add stitches at the rim, handles, and joins for strength.
Why does my rope basket lean or flare as I coil?
A basket leans when one side grows faster than the other, or when the wall rows drift away from the mold or the planned angle. Turn the basket as you work, check the height at several points around the rim after every few rows, and keep each new row snug against the mold. If a lean appears, ease the coil back into line and hold it with clips until the glue sets, before you add more rows on top of it.
How do I keep a rope basket clean?
Spot clean a rope basket with a damp cloth and mild soap, then let it air dry fully before you put items back inside. Avoid soaking the basket or machine washing it, since water softens glue, loosens stitches, and can leave damp trapped between rows. A removable fabric liner helps, because you can lift it out and wash it on its own while the basket stays dry.
Can I use a DIY rope basket for heavy items?
A rope basket suits light to medium items such as blankets, toys, magazines, towels, and craft supplies, but it is not the best choice for very heavy items such as books or tools. Heavy loads strain the handles and the rim, and they can pull rows apart over time. For heavier storage, keep loads modest, carry the basket by its base as well as its handles, and check the handle fixings often.