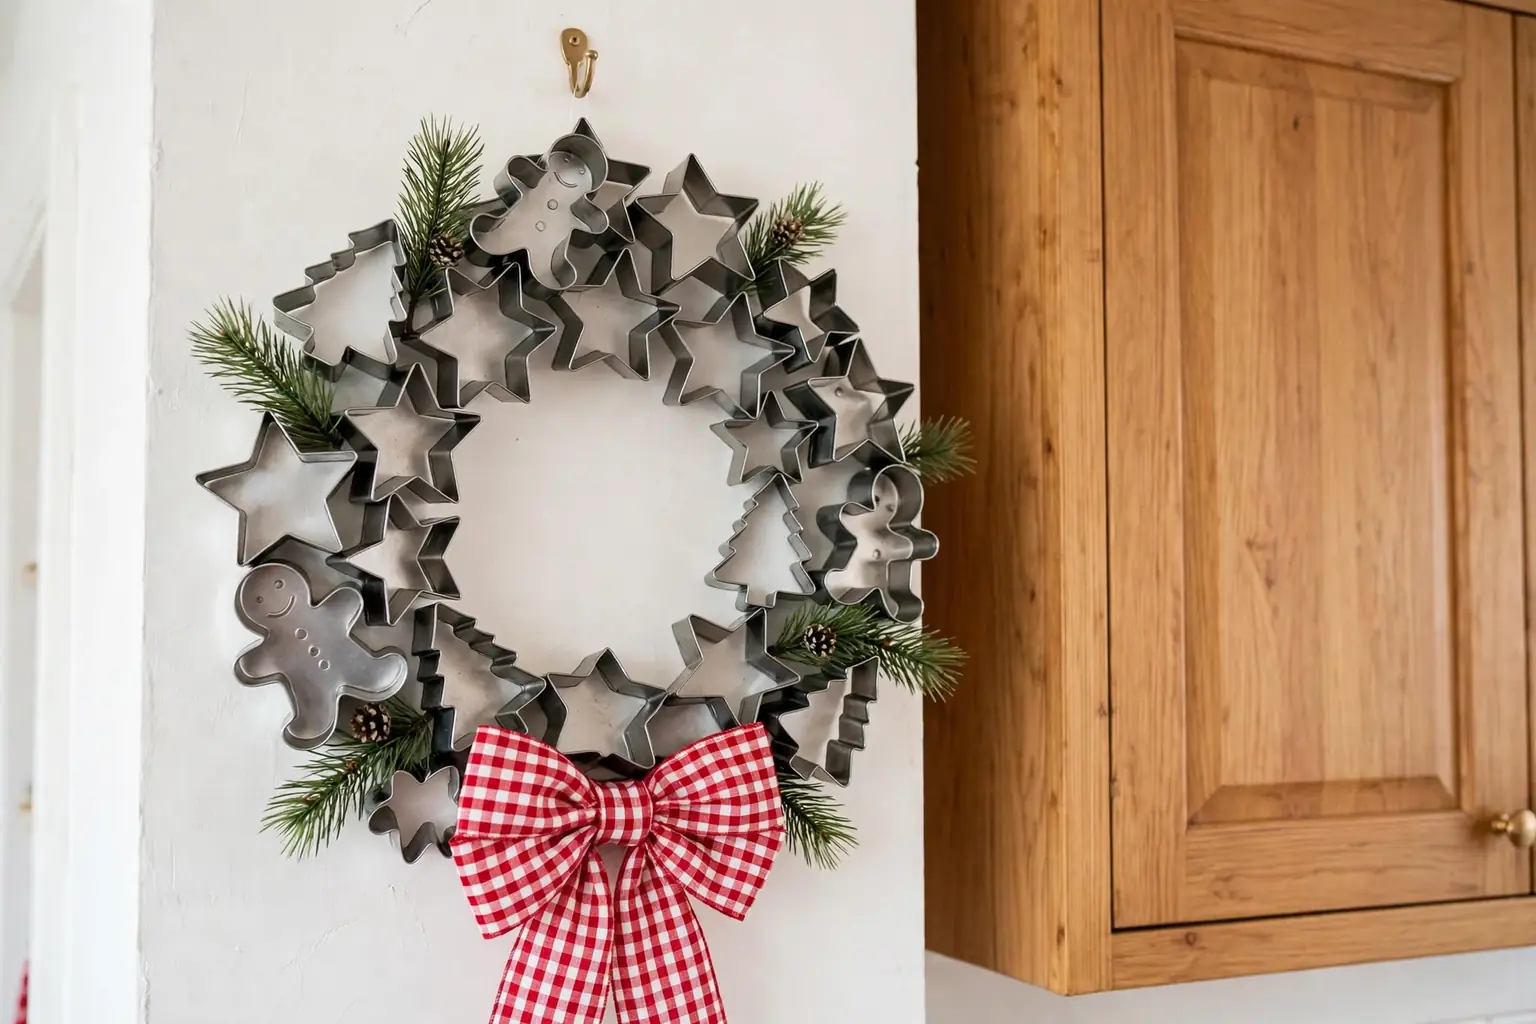
To make a cookie cutter wreath, arrange metal cookie cutters around a wire or grapevine ring, wire each cutter in place, fill gaps with small cutters and greenery, add a ribbon bow, and hang the ring with a sturdy loop. The full guide below walks through each step, from choosing cutters to storing the finished wreath.
A cookie cutter wreath suits a kitchen because it nods to baking without taking counter space. Metal cutters in stars, trees, hearts, and gingerbread shapes read clearly from across the room, and a simple ring keeps the project light enough to hang on a wall, a door, or a pantry cabinet. Work on a table covered with newspaper or a cutting mat, and keep the wreath flat until the hanging loop goes on.
Key Takeaways
- Choose metal cutters in two or three sizes so the ring fills evenly, with large shapes for the main layer and small shapes for gaps.
- Wire each cutter to the ring rather than relying on glue alone, so the wreath holds its shape when hung.
- Test the full layout flat on a table before attaching anything, and step back to check balance and spacing.
- Add greenery and ribbon after the cutters are fixed, so the soft details fill gaps instead of hiding the shapes.
- Keep the wreath away from stove heat and steam, and hang it with a loop rated for its weight.
- Set aside the crafting cutters from baking cutters once glue, paint, or wire touches them.
What You Will Need
- 12 to 18 metal cookie cutters in mixed shapes and sizes
- A wire wreath frame or a grapevine wreath ring, about 12 to 14 inches across
- Floral wire or thin craft wire, plus wire cutters and pliers
- Faux greenery sprigs, such as pine, eucalyptus, or boxwood
- Ribbon for a bow and a hanging loop, about 1 to 2 inches wide
- Small seasonal accents, such as wood beads, dried orange slices, or small bells (optional)
- A hot glue gun and glue sticks, for small accents only
- Scissors, a ruler or tape measure, and a pencil for marking placement
1. Choose a Theme and Pick Your Cutters
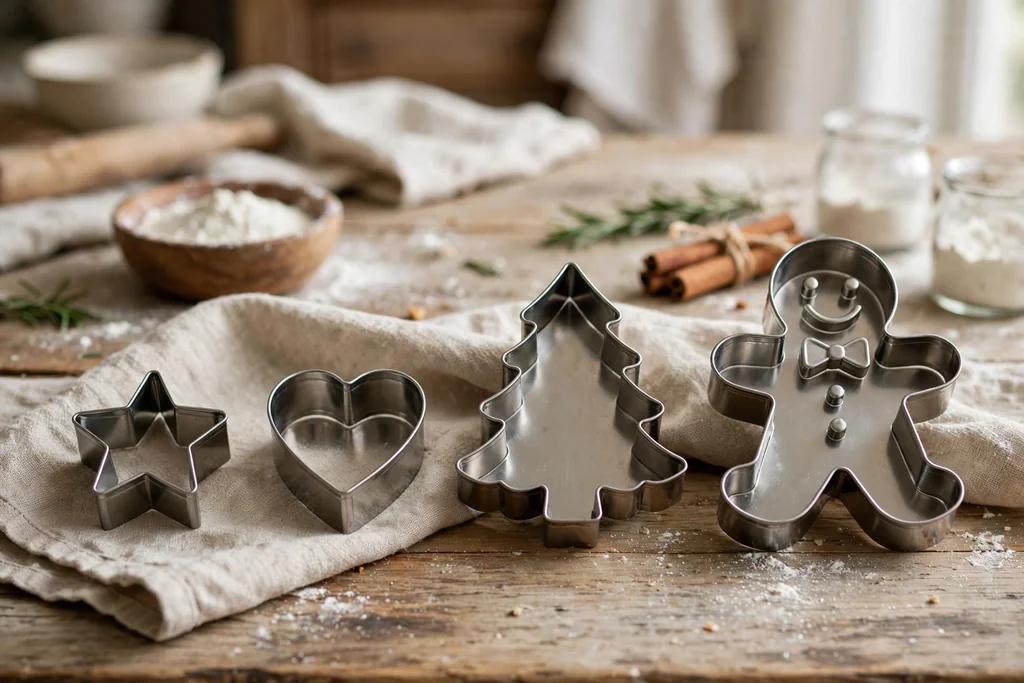
Start with a theme, since it decides which cutters to buy or pull from the drawer. A Christmas theme calls for trees, stars, candy canes, and gingerbread people, while a year round baking theme suits hearts, whisks, rolling pins, and houses. Pick one theme and stick to it, so the wreath reads as one idea rather than a random collection.
Lay the cutters out and sort them by size. Aim for four to six large cutters for the main ring, six to eight medium cutters to sit between them, and four to six small cutters for gaps. Metal cutters work best for this project, since they hold their shape, take wire well, and catch light in a kitchen. Skip plastic cutters if you can, as they bend and glue poorly.
2. Clean, Dry, and Inspect Each Cutter
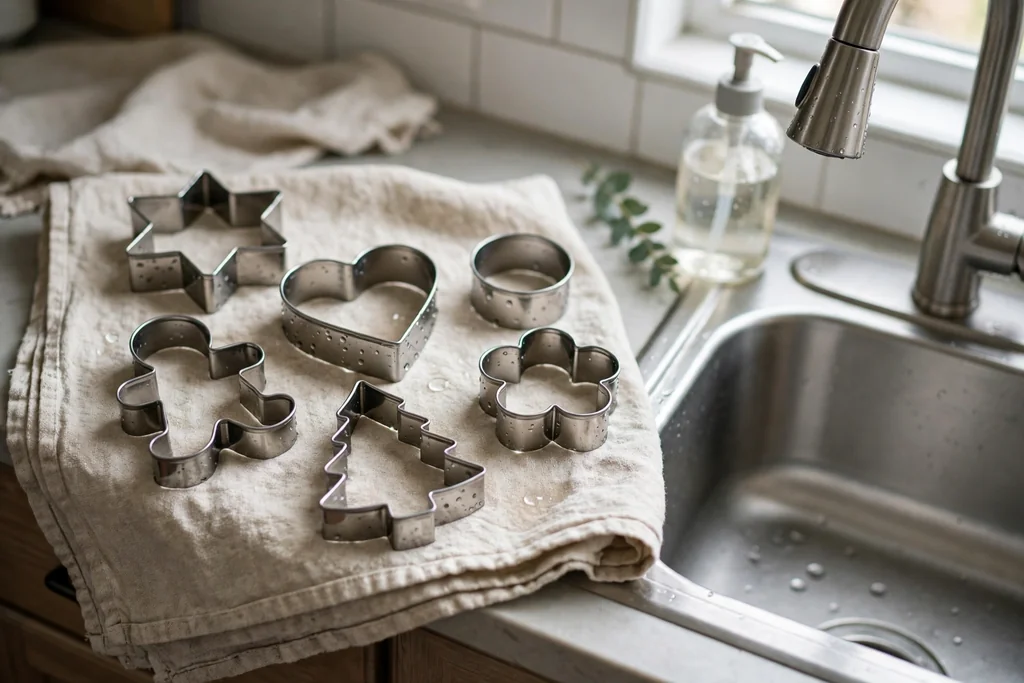
Wash the cutters in warm soapy water, rinse them, and dry them fully with a towel before you start. This removes flour dust, storage grime, and any sticky residue, and it gives wire and glue a clean surface to grip. Let the cutters air dry for a few minutes after toweling, so no damp spots hide inside rolled edges or joints.
Inspect each cutter as you dry it. Check that the cutting edge is even, the shape is not bent, and any handle or joint feels firm. Straighten a bent cutter gently by hand, and set aside any cutter with a sharp broken edge or loose joint. A quick inspection now avoids a wobbly cutter that shifts after the wreath is hung.
3. Lay Out the Ring and Test the Arrangement
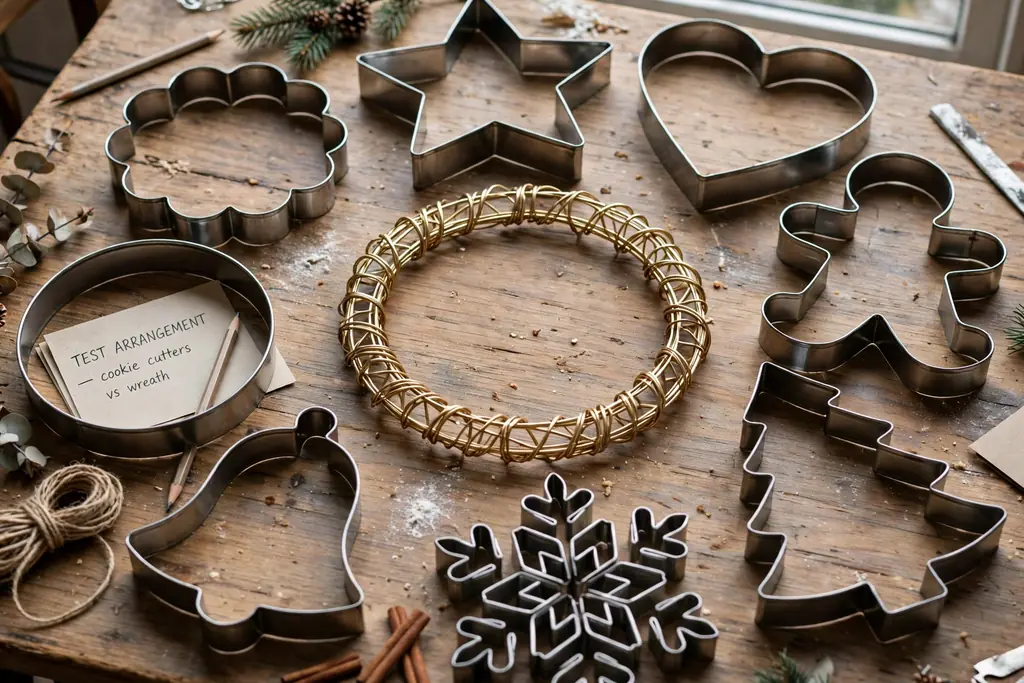
Place the wreath ring flat on the table and set the large cutters around it, evenly spaced, with each cutter overlapping the ring. Turn some cutters at slight angles so the ring does not look like a row of identical shapes. Leave a small gap between neighbors at this stage, since medium cutters and greenery will fill those spaces later.
Step back and look at the ring from a few feet away, which is how it will be seen on a wall. Check that no side looks heavier than the rest and that the shapes vary around the ring. Move cutters until the ring feels balanced, and mark the planned spot of each large cutter lightly with a pencil dot on the ring or a quick phone photo for reference.
4. Prepare the Base Ring
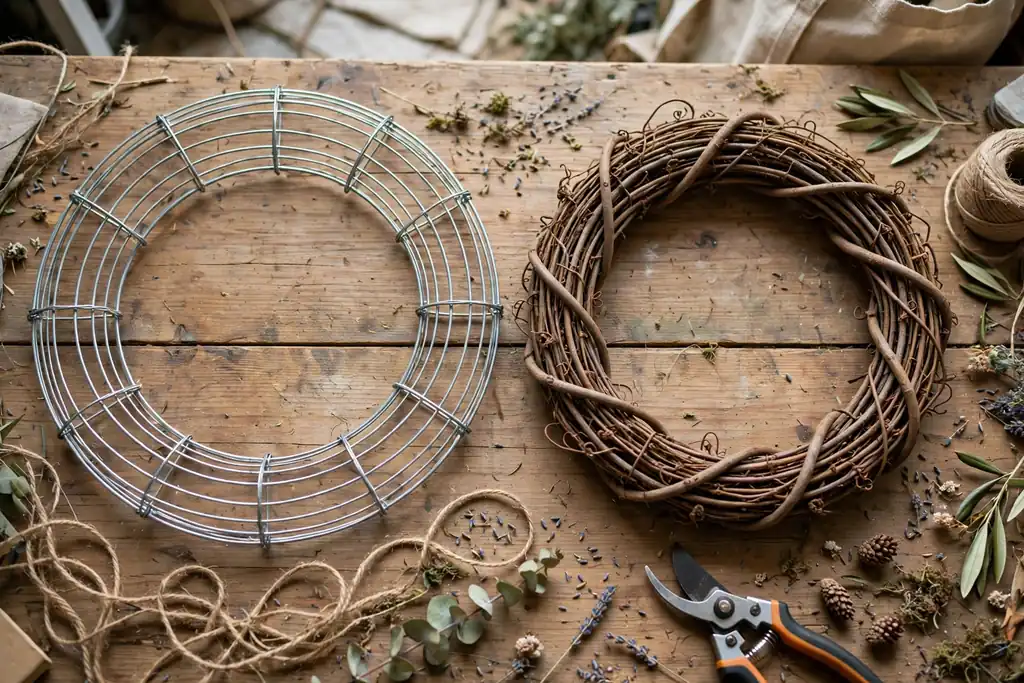
If you use a wire frame, check that the frame is round and the wires are firm, and bend any warped section back into shape by hand. A wire frame suits a neat, flat wreath and lets you wire cutters on from the front or back. If you use a grapevine ring, shake off loose twigs and trim any long stray vine with scissors, so the ring sits flat against a wall.
Decide which side of the ring will face the room, and keep that side up for the whole build. For a grapevine ring, the fuller side usually faces out, while the flatter side rests against the wall. A quick pass with a dry cloth removes dust from the ring before you attach anything.
5. Attach the First Layer of Cutters
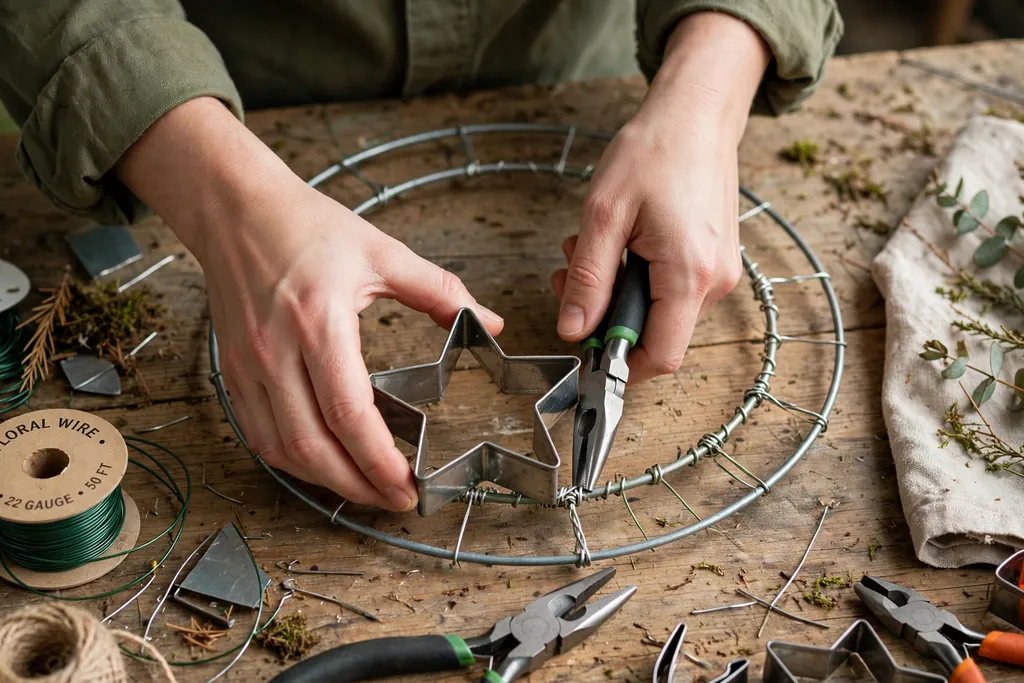
Start with the large cutters, working around the ring in order. Hold a cutter against the ring, thread a short length of floral wire through or around the cutter, and twist the wire ends tightly around the ring at the back. Use pliers to press the twisted ends flat, so nothing snags a wall or a hand when the wreath hangs.
Attach one cutter, then move to the opposite side of the ring before filling in the rest, which keeps the ring balanced as weight builds up. After each cutter, press it flat and check that it does not rock. If a cutter wobbles, add a second wire tie at another point on the cutter, since two anchor points hold far better than one.
6. Fill Gaps with Medium and Small Cutters

Once the large cutters are fixed, add the medium cutters in the gaps between them, overlapping the edges of neighbors slightly so the ring looks full. Wire each one the same way, with the twist at the back of the ring, and keep the cutter faces pointing forward. Vary the shapes in each gap, so no two matching cutters sit side by side.
Finish with the small cutters, tucking them into any remaining holes, especially near the top and bottom of the ring where gaps show most. Small stars, hearts, and circles work well here, since they read as detail rather than new focal points. Step back again and check that the ring looks covered from a distance, with no bare ring showing through in large patches.
7. Add Greenery Between the Cutters

Cut faux greenery sprigs into short pieces, about 4 to 6 inches long, and tuck them behind and between the cutters. Pine suits a Christmas wreath, while eucalyptus or boxwood suits a year round kitchen wreath. Push each sprig under a wired cutter or wire it to the ring, so it stays put when the wreath moves.
Keep the greenery low and close to the ring, so the cutter shapes stay the stars of the wreath. A few sprigs peeking out between cutters add color and soften the metal, while too much greenery hides the shapes you just arranged. Trim any sprig that sticks out far past the outer edge, unless you want a fuller, wilder outline.
8. Weave in Ribbon and Make a Bow

Choose a ribbon that matches the theme, such as red gingham for Christmas or plain linen for a year round kitchen look. Weave a length of ribbon loosely through the cutters near the bottom of the ring, or wrap it once around the ring between two cutters, and secure the ends at the back with wire. The ribbon should read as an accent, not a wrap that covers the cutters.
Make a simple bow from a separate length of ribbon, with two loops and two tails, and wire it to the bottom center of the ring or slightly off center. Trim the tails at an angle for a neat finish, and fluff the loops so the bow holds its shape. If the bow flops forward, add a small wire tie from the bow center to the ring to hold it upright.
9. Add Small Seasonal Accents
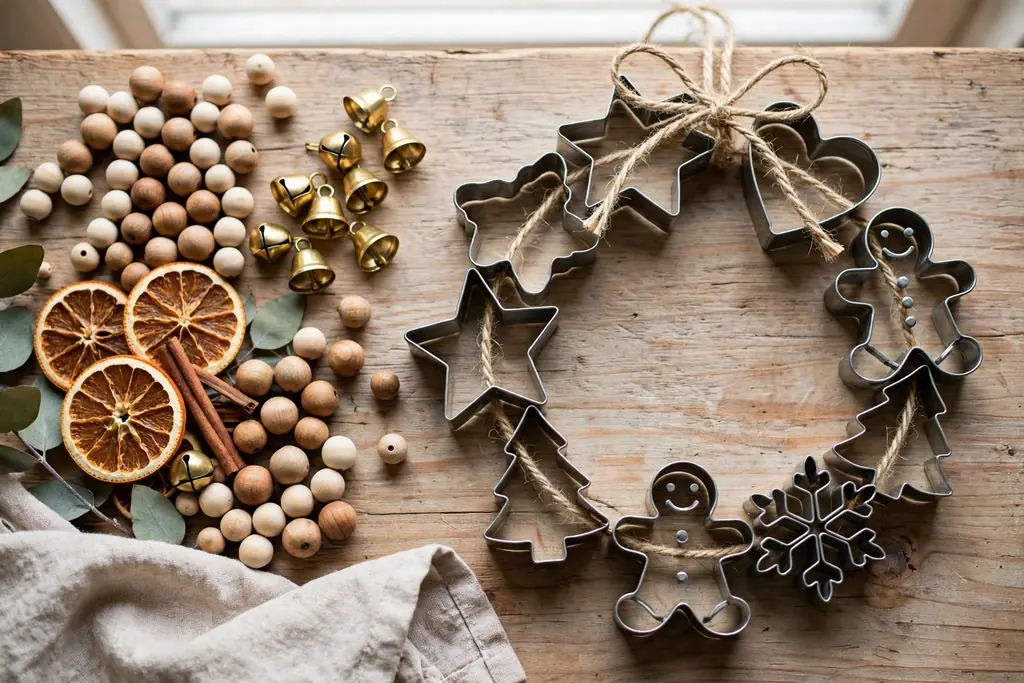
Add accents sparingly, one type at a time, so the wreath stays about cutters rather than clutter. Wood beads threaded on wire, small bells, dried orange slices, or tiny pinecones all suit a cookie cutter wreath. Place accents in small groups of two or three, tucked beside greenery or at the base of the bow, rather than scattered evenly around the ring.
Use a hot glue gun only for light accents, and press each piece in place until the glue sets. Never glue a main cutter in place of wiring it, since glue alone can fail under the weight of metal. Keep accents away from the hanging loop area at the top, where extra bulk can tilt the wreath forward.
10. Check Balance, Spacing, and Stability

Hold the wreath upright by the top of the ring and look at it straight on. Check that the cutters sit flat, the greenery does not droop, and the bow stays centered where you placed it. Turn the wreath slowly and listen for rattles, which point to a loose cutter that needs a second wire tie.
Lay the wreath flat again and press each cutter, sprig, and accent gently to confirm it is fixed. Fix any wobble now, since a loose piece will only loosen further once the wreath hangs. Also check the back of the ring: trim wire ends, press twists flat, and remove any glue strings, so the back sits cleanly against a wall or door.
11. Add a Strong Hanging Loop

Thread a sturdy ribbon or wire loop through the top of the ring, and secure it with a tight knot or a wire twist at the back. The loop should be long enough to hang over a hook or nail, usually 4 to 6 inches of visible loop above the ring, but short enough that the wreath does not swing far from the wall. Test the loop by lifting the wreath from it and holding it up for a few seconds.
Weigh the finished wreath in your hands to judge the hook you need. A metal cutter wreath is heavier than a greenery wreath, so use a hook or nail rated for the weight, and avoid adhesive hooks unless they are rated for that load. If the wreath tilts forward when hung from the loop, move the loop slightly or add a small pad behind the bottom of the ring.
12. Hang and Adjust the Wreath
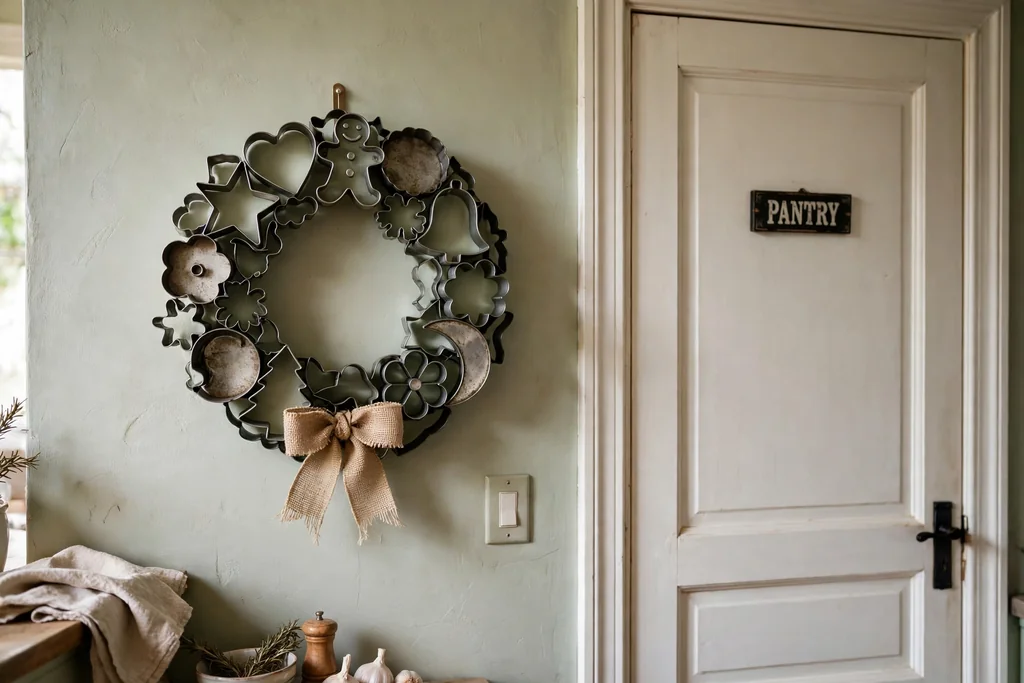
Choose a spot away from direct stove heat, steam, and splashes, such as a wall beside the table, a pantry door, or the side of a cabinet. A kitchen wall at eye level shows the cutter shapes best, while a door needs a wreath flat enough to clear the frame when it opens. Hang the wreath, step back, and check it from the table and from the doorway.
Adjust the tilt by shifting the loop or adding a small felt pad behind the bottom edge, so the wreath hangs straight rather than leaning forward. Straighten the bow, fluff any flattened greenery, and turn any cutter that twisted during hanging. Leave the wreath in place for a day, then check once more that the hook holds and nothing has slipped.
13. Keep the Wreath Clean and Safe in the Kitchen
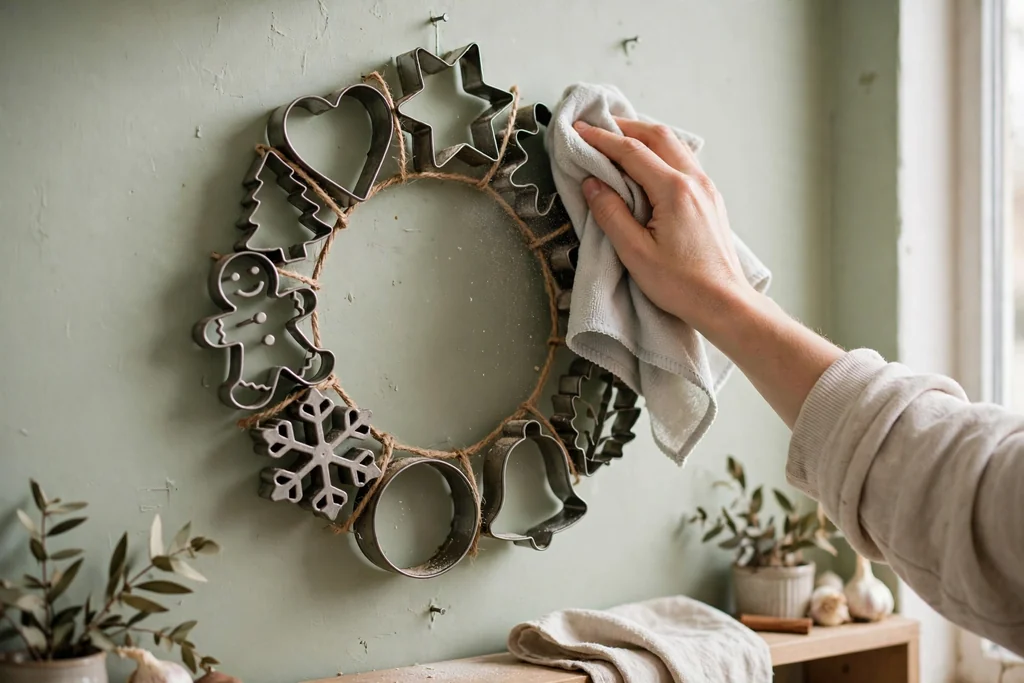
Dust the wreath every few weeks with a dry cloth or a soft brush, working around the cutters and greenery. Wipe metal cutters with a dry cloth only, since water can dull the finish and damp greenery can hold kitchen grease. Keep the wreath clear of the stove, the kettle steam path, and any open flame, and never hang it above a burner.
If the kitchen gets steamy during cooking, move the wreath to a drier wall or take it down during heavy cooking sessions. Check the hanging loop and wire ties once a season, and tighten anything that feels loose. Keep the wreath out of reach of small children, since metal edges and small bells can be a hazard if pulled down.
14. Store the Wreath for Next Season
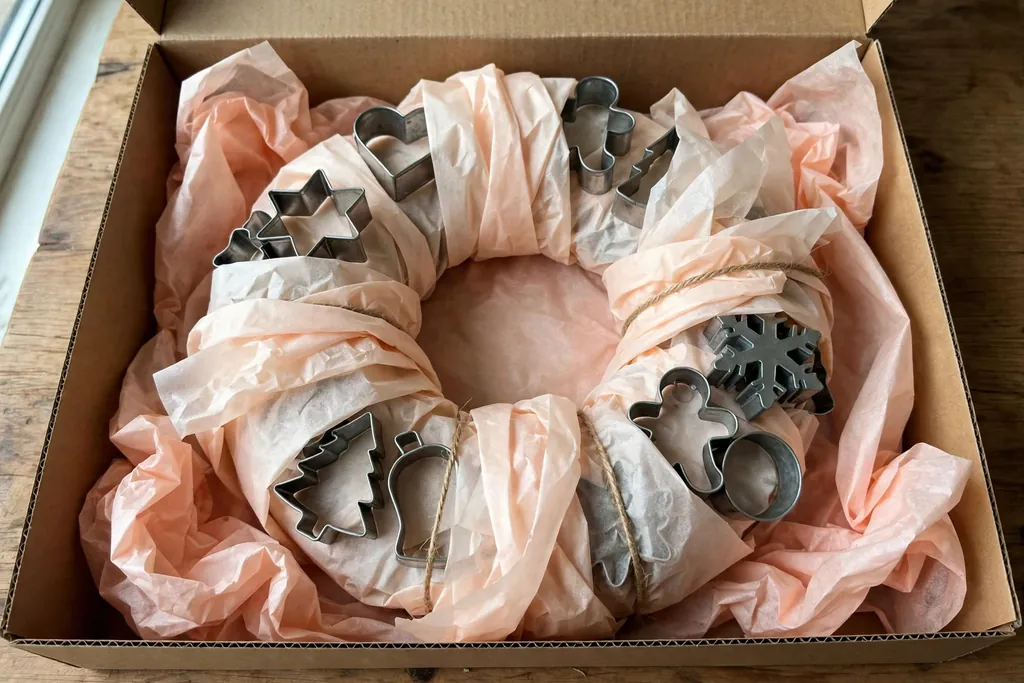
When the season ends, or when you want a change, take the wreath down and brush off dust before packing it. Wrap the wreath in tissue paper, lay it flat in a box slightly larger than the ring, and fill gaps with crumpled tissue so cutters do not press against each other. Store the box flat, not on edge, so the ring keeps its shape.
Label the box with the theme and the year, and store it in a dry spot away from heat and damp. Do not stack heavy boxes on top of the wreath box, since the weight can bend cutters and flatten the bow. Next season, unwrap the wreath, fluff the greenery and bow, tighten any loose ties, and hang it again.
Conclusion
A cookie cutter wreath is a simple kitchen project that rewards a little planning: pick a theme, lay out the cutters before fixing them, wire each one firmly, and finish with greenery, ribbon, and a strong loop. The steps above keep the wreath balanced, safe to hang, and easy to store, so it can come back season after season. Start with the cutters you already own, build the ring flat on the table, and hang it where the shapes show best, away from stove heat. For more seasonal kitchen styling, see the fall kitchen decor ideas on Dwell Ovell, and browse the home page for more room by room guides.
FAQs
What kind of cookie cutters work best for a wreath?
Metal cookie cutters work best for a wreath, since they hold their shape, wire neatly to a ring, and catch light in a kitchen. Choose a mix of large, medium, and small cutters in one theme, and avoid thin plastic cutters, which bend and glue poorly. Check each cutter for bent edges before you start, and straighten them gently by hand.
What size wreath ring should I use for a cookie cutter wreath?
Use a wire or grapevine ring about 12 to 14 inches across for a standard kitchen wreath, since that size fits a wall or pantry door and holds 12 to 18 cutters without crowding. A smaller ring suits a cabinet door, while a larger ring needs more cutters and a stronger hook to hold the extra weight. Measure the hanging spot before choosing the ring, so the wreath fits with room around it.
How do I attach cookie cutters to a wreath ring?
Attach cookie cutters with floral or craft wire, threading the wire through or around each cutter and twisting it tightly around the ring at the back. Use two wire ties for large or heavy cutters, and press the twisted ends flat with pliers. Wire holds metal cutters far better than glue alone, which can fail under their weight once the wreath hangs.
Can I use the cookie cutters for baking after making a wreath?
Do not use cutters for baking once glue, paint, or wire has touched them, since residues and rough edges can end up in food. Keep one set of cutters for crafting and a separate set for baking, and label the crafting set if the two sets look alike. If a cutter was only wired and never glued or painted, wash and dry it fully before any food use, and check it for sharp spots first.
Where should I hang a cookie cutter wreath in the kitchen?
Hang a cookie cutter wreath on a wall beside the table, a pantry door, or the side of a cabinet, at eye level where the shapes show clearly. Keep it away from stove heat, kettle steam, and splashes, and make sure a door wreath is flat enough to clear the frame. Use a hook or nail rated for the wreath weight, since metal cutters make it heavier than a greenery wreath.
How do I store a cookie cutter wreath?
Store a cookie cutter wreath flat in a box slightly larger than the ring, wrapped in tissue paper with crumpled tissue filling the gaps between cutters. Label the box with the theme, keep it in a dry spot away from heat and damp, and do not stack heavy boxes on top. Before hanging it again, fluff the greenery and bow and tighten any loose wire ties.