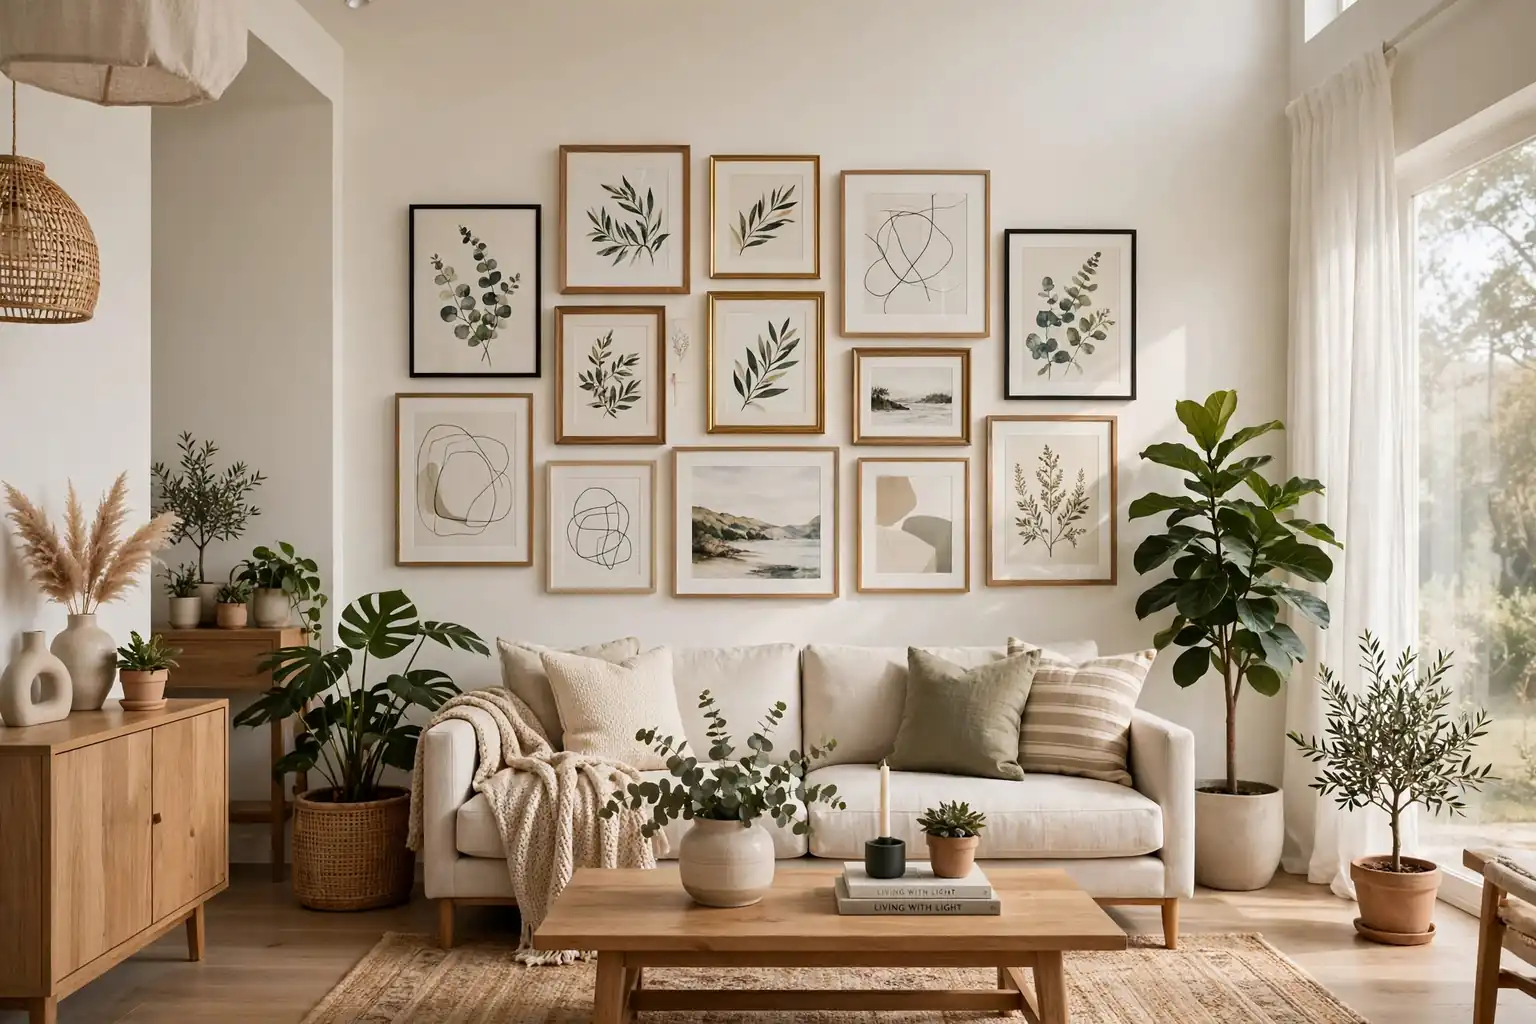
A picture wall gives a living room a finished feel that a single print often cannot. It can hold family photos, travel prints, and art you already own, and it lets you shape a plain wall around the sofa, the fireplace, or a reading corner. These 13 chic picture wall ideas cover neat grids, relaxed salon galleries, ledges, and mantel displays, so you can pick a layout that fits your wall size, your frame collection, and how often you like to change things. Before you hang anything, measure the wall, mark the layout with painter tape, and check the view from your usual seat.
Key Takeaways
- Size the display to the furniture below it: a wall above a sofa usually looks best when it spans about two thirds of the sofa width.
- Keep spacing even inside one display, usually 2 to 4 inches between frames, so a mixed collection still reads as one arrangement.
- Hang the center of the display at eye level from where you see it most, and lower above a sofa or mantel, with the bottom edge 6 to 8 inches above the furniture.
- Use one unifying choice, such as matching frames, one frame finish, or one color family, to calm a varied collection.
- Lay frames on the floor first and mark the wall with painter tape before you make holes, especially for grids and salon galleries.
- Pick a changeable format, such as ledges or a clip rail, if you like to swap prints with the seasons or as new photos arrive.
1. Symmetrical Grid Above the Sofa
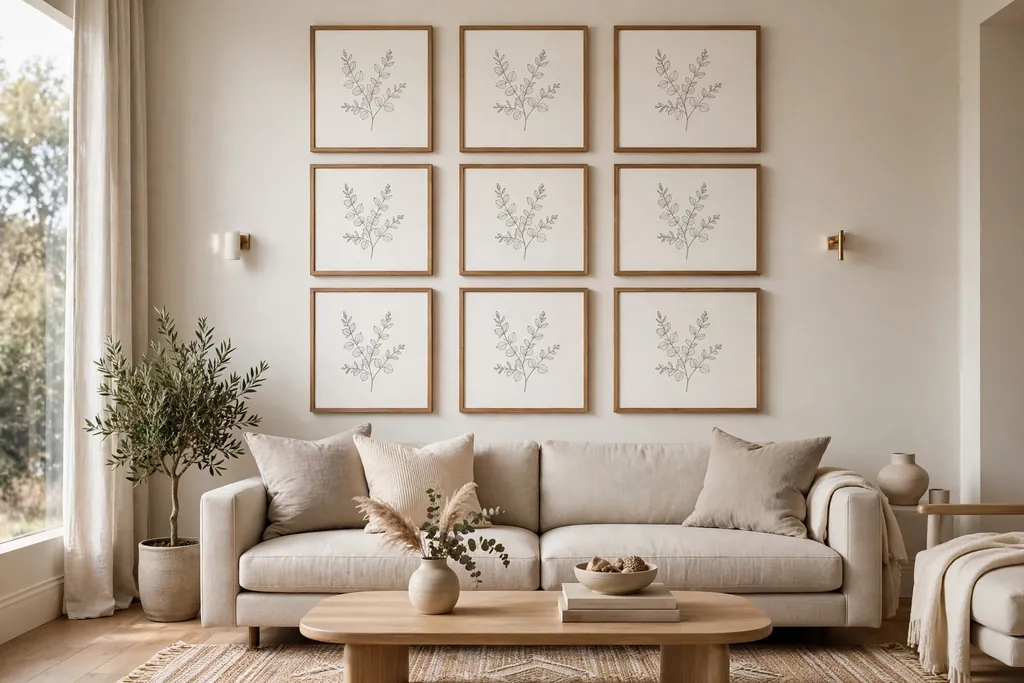
A symmetrical grid is the calmest way to fill the wall above a sofa. Use nine frames in three rows of three, or six frames in two rows of three, all in the same size and frame finish, with equal gaps of 2 to 3 inches between them. The even spacing gives instant order, which helps in a room that already has pattern in cushions or a rug.
Keep the prints varied only in subject, so the block reads as one piece rather than nine separate pictures. Lay the frames on the floor first, measure the full block, and mark its outer edges on the wall with painter tape. Center the block on the sofa, and keep its total width close to two thirds of the sofa width.
2. Salon Style Gallery From Floor to Ceiling
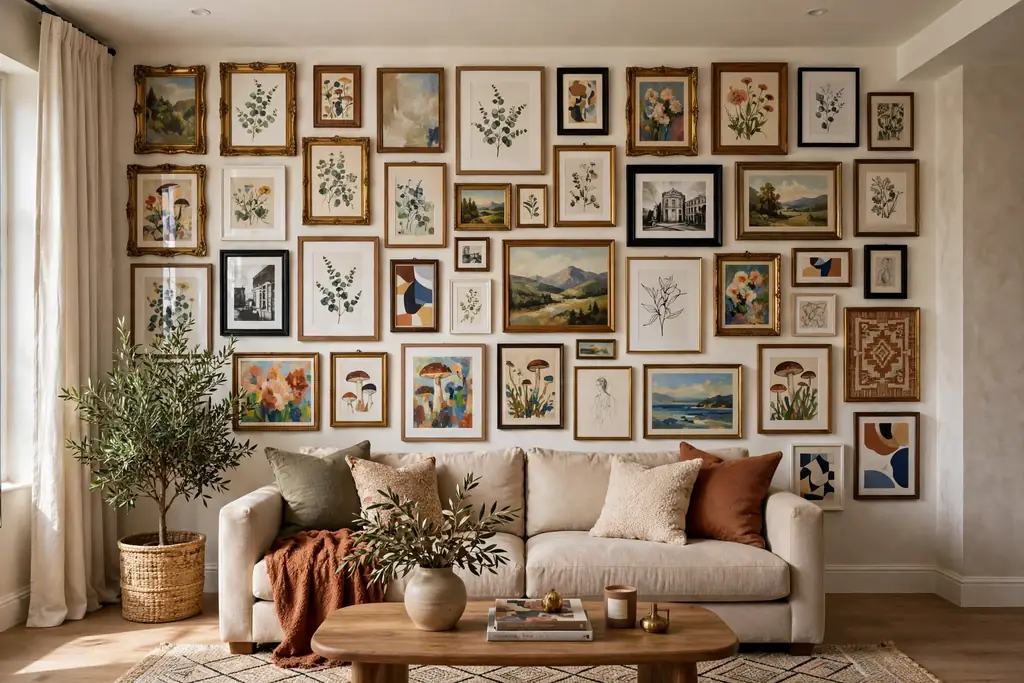
A salon style gallery fills a whole wall with frames of different sizes, hung close together from near the ceiling down to sofa height. Start with the largest piece near the center, then fill around it with smaller frames, keeping gaps of 2 to 4 inches. This layout suits a tall wall, a stair wall beside the living room, or a wall with no large furniture in front of it.
Mix frame finishes only if one element stays consistent, such as a shared mat color or a shared subject family. Step back often as you hang, since a salon wall is easy to unbalance with one heavy frame at an edge. Leave a clear margin at the wall edges so the display does not crowd the corners or the ceiling.
3. Picture Ledges for a Swap Friendly Row
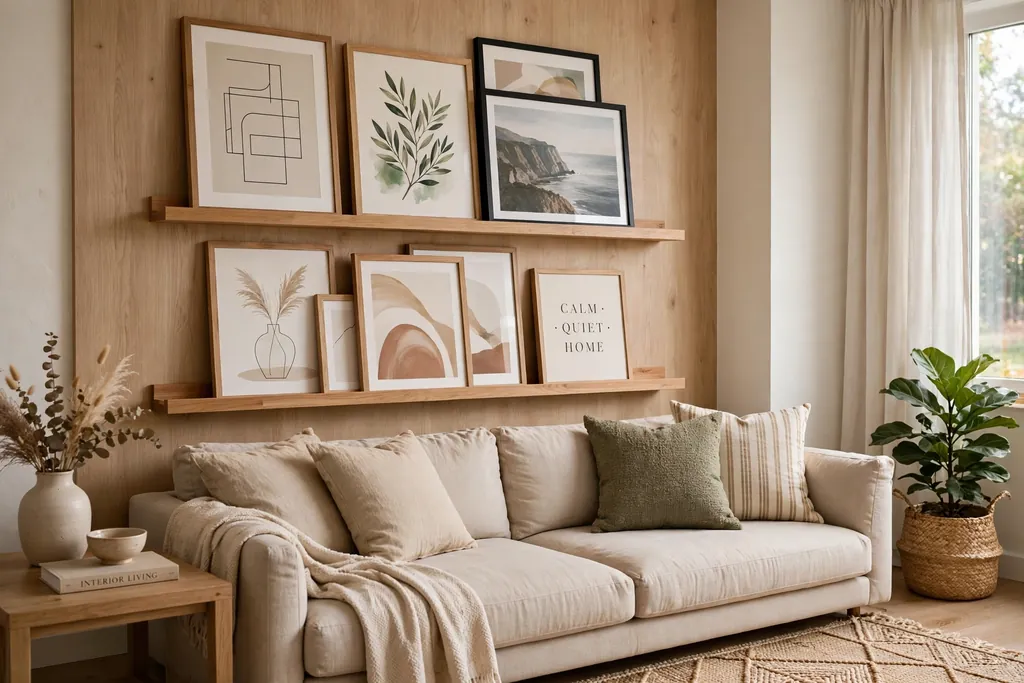
Picture ledges let you build a picture wall without committing to a fixed layout. Fit one or two long ledges above a sofa or console, then stand frames on them, with larger pieces at the back and smaller ones layered in front. You can swap a print in minutes, which makes ledges ideal for seasonal changes or for testing a gallery before you hang it properly.
Keep the ledge depth in mind: shallow ledges suit flat frames, while deeper ones hold small objects too. Leave one end of each ledge partly empty so the display does not look packed, and use a small lip or rail on the ledge so frames cannot slide forward. This format suits renters well, since it needs far fewer holes than a full gallery.
4. Black and White Photo Wall
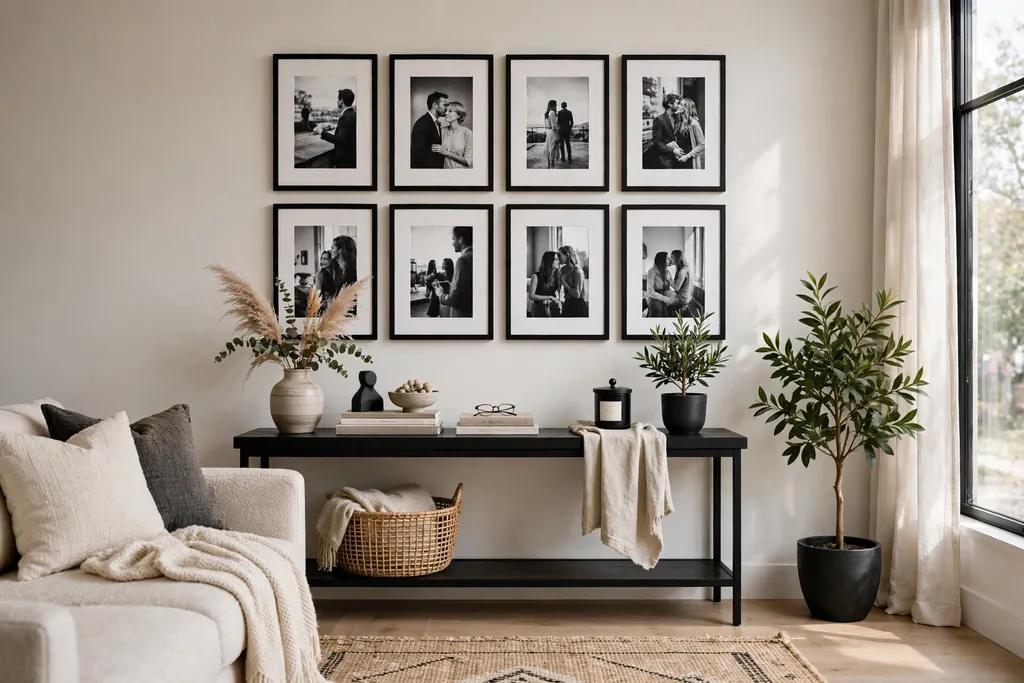
Black-and-white photographs give a living room a calm, personal feel, and they suit almost any sofa color. Print family photos, travel shots, or portraits in the same size range, and use simple black or white frames so the images stay the focus. A loose, even arrangement above a console feels collected, while a strict grid feels tidier.
Print at a decent size, since small phone prints can look lost on a large wall, so group small prints tightly or choose fewer, larger ones. Keep the mat color consistent across the set, and avoid mixing warm and cool black-and-white tones in the same display. For sizing and grouping help, the gallery spacing ideas in these bedroom wall art ideas apply just as well to a living room photo wall.
5. One Large Anchor Print With Smaller Satellites
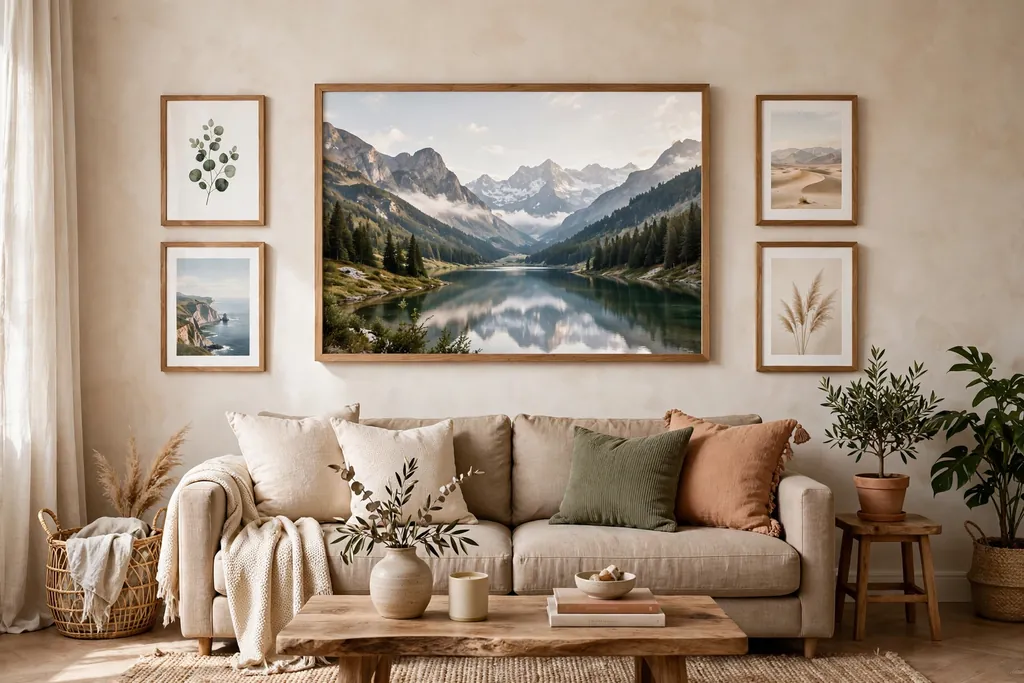
One large print can anchor a picture wall, with smaller frames grouped around it like satellites. Hang the anchor first, centered on the sofa or the wall section, then add two to five smaller pieces on one or both sides, keeping the gaps even. This layout suits a room where you own one print you love and want it to lead, rather than compete with a dozen equals.
Keep the smaller pieces in a frame finish close to the anchor, or in the same mat color, so the group holds together. Avoid placing a second large piece beside the anchor, since two leaders split the eye. If the anchor has strong color, keep the satellites quieter, with simpler subjects and paler backgrounds.
6. Family Photo Timeline in Matching Frames
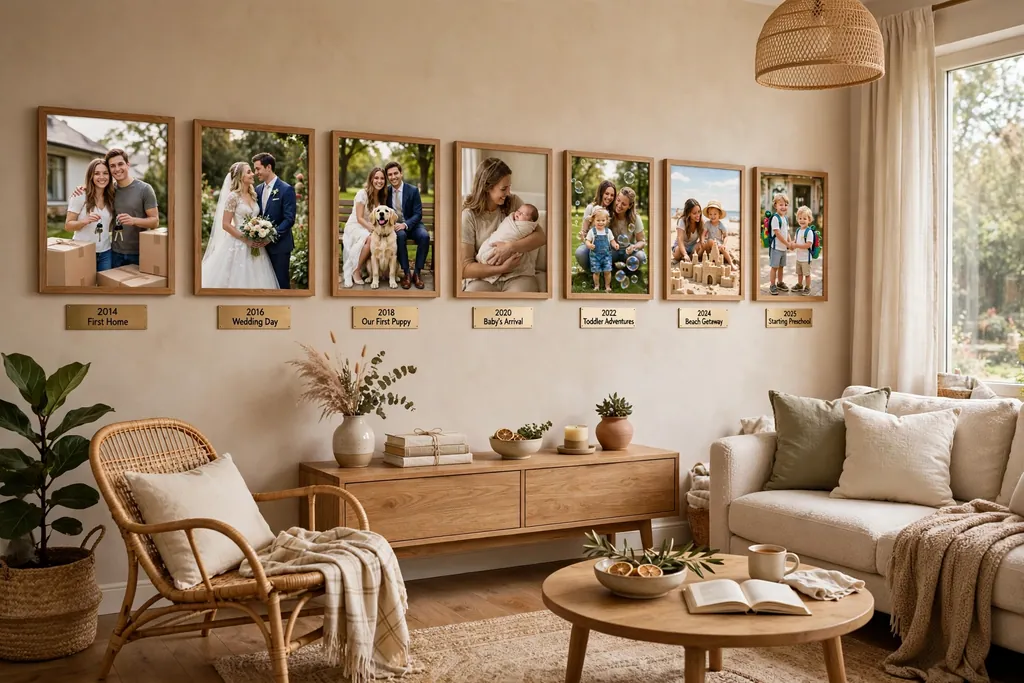
A family photo timeline turns a living room wall into a record of years, trips, and milestones. Use matching frames in one finish, hung in a single row, a neat grid, or a gentle stair step that follows the wall, with photos in date order from left to right. The shared frames keep a long span of years looking planned rather than random.
Leave one or two empty spots at the end of the row for future photos, rather than filling the wall at once. Print photos in a consistent tone, either all color or all black and white, so a photo from ten years ago sits well beside a recent one. Label the backs of frames with dates as you hang them, so a future rearrangement keeps the order clear.
7. Wide White Mats With Slim Frames
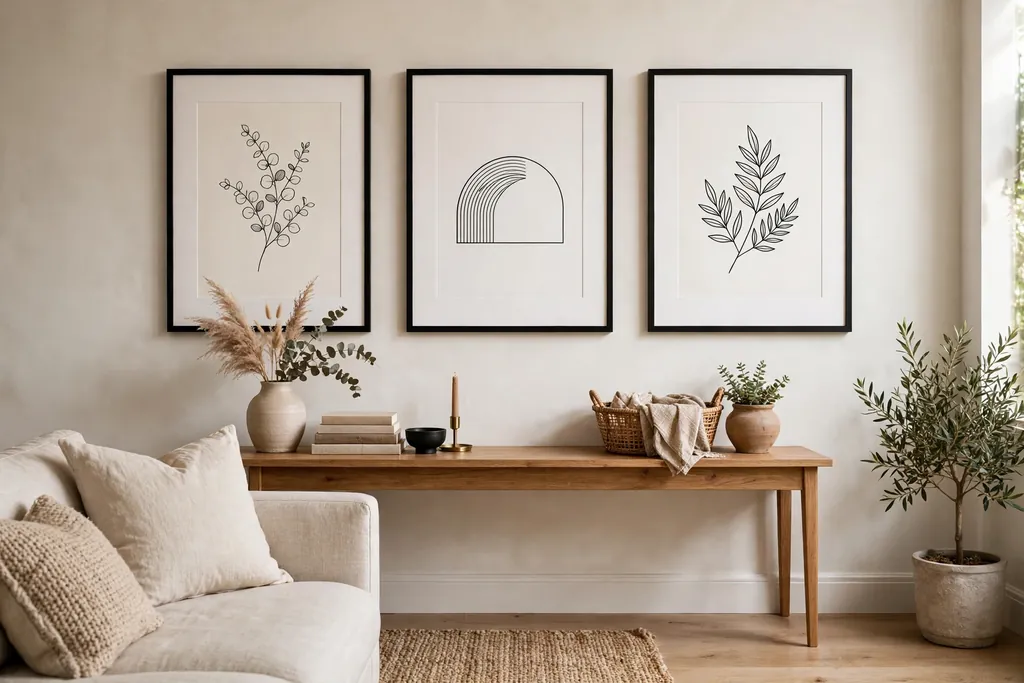
Wide white mats and slim frames give a picture wall an airy, gallery feel, even with modest prints. The generous mat lets each image breathe, and the slim frame keeps the focus on the picture rather than the border. Use the same mat width and frame finish across the set, and hang the frames in a grid or a single row above a console.
This look suits a small or busy living room, since pale mats and thin frames add little visual weight. Choose prints with some pale background or light tones, so the mats and the images work together rather than fighting. Keep the wall color pale too, so the white mats do not stand out as harsh blocks against a dark wall.
8. Corner Gallery That Wraps Two Walls
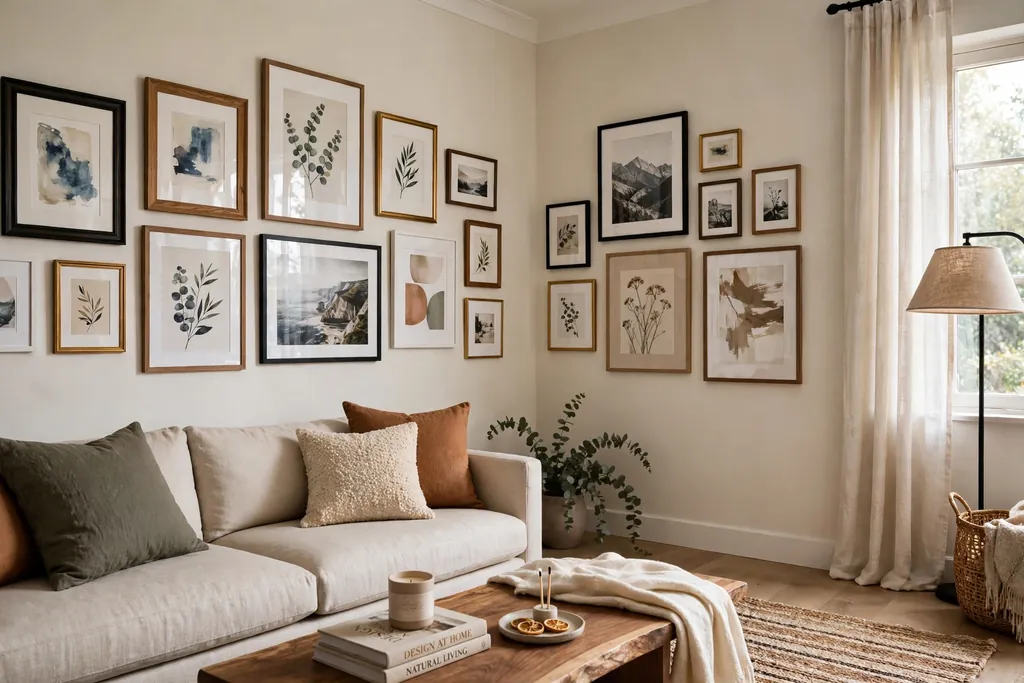
A corner gallery wraps a picture wall around two adjoining walls, which suits a reading corner, a sofa tucked into a corner, or a room with one short wall. Start the display on the longer wall, then carry two or three smaller frames around the corner onto the short wall, keeping the same spacing and frame finish. The wrap makes the corner feel deliberate instead of awkward.
Hang the corner frames at the same height as the main wall, and avoid placing a large frame right on the corner seam, where it will be hard to see from either side. Check the view from the sofa, since a corner display is seen at an angle, and keep the smallest prints on the wall you face most directly.
9. Mixed Art, Mirrors, and Shelf Objects
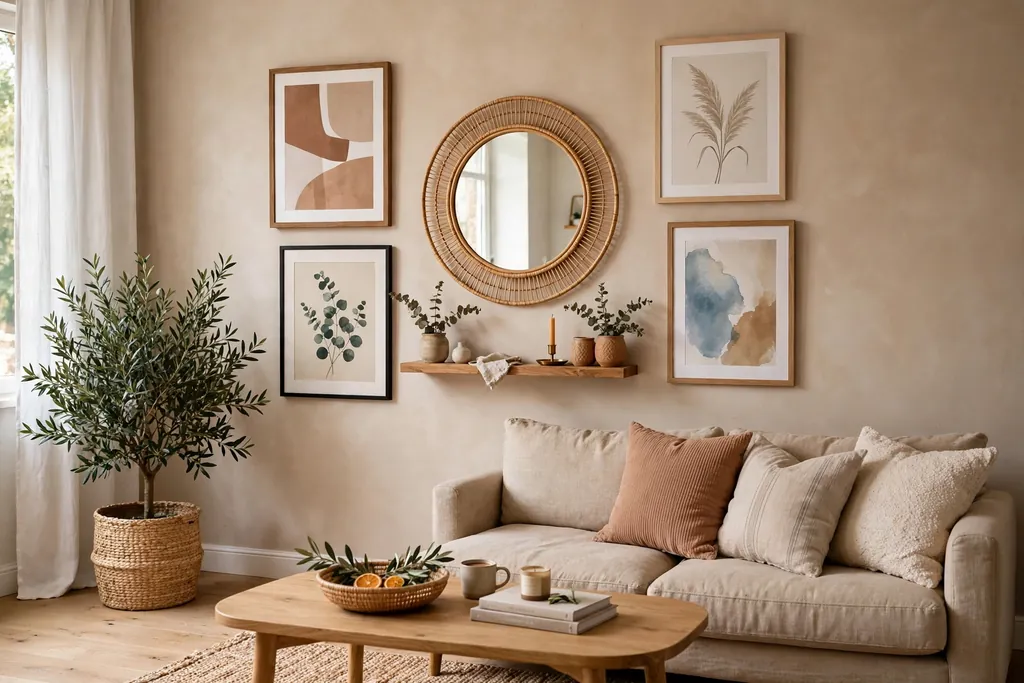
A picture wall does not have to hold pictures alone. Mix framed prints with one or two small mirrors, a small wall shelf, and a simple object such as a small vase or a woven piece, and the wall gains depth and light. Hang the largest frame first, then place a mirror where it reflects a window or a plant, not clutter, and keep objects to one shelf so the wall does not turn into storage.
Keep one element consistent, such as brass frames and a brass mirror frame, so the mix reads as planned. For mirror placement and sizing, the advice in these mirror wall decor ideas pairs well with a mixed gallery. Check the weight of every piece and use fixings rated for that weight and your wall type.
10. Colour Pulled Gallery Tied to the Rug and Sofa
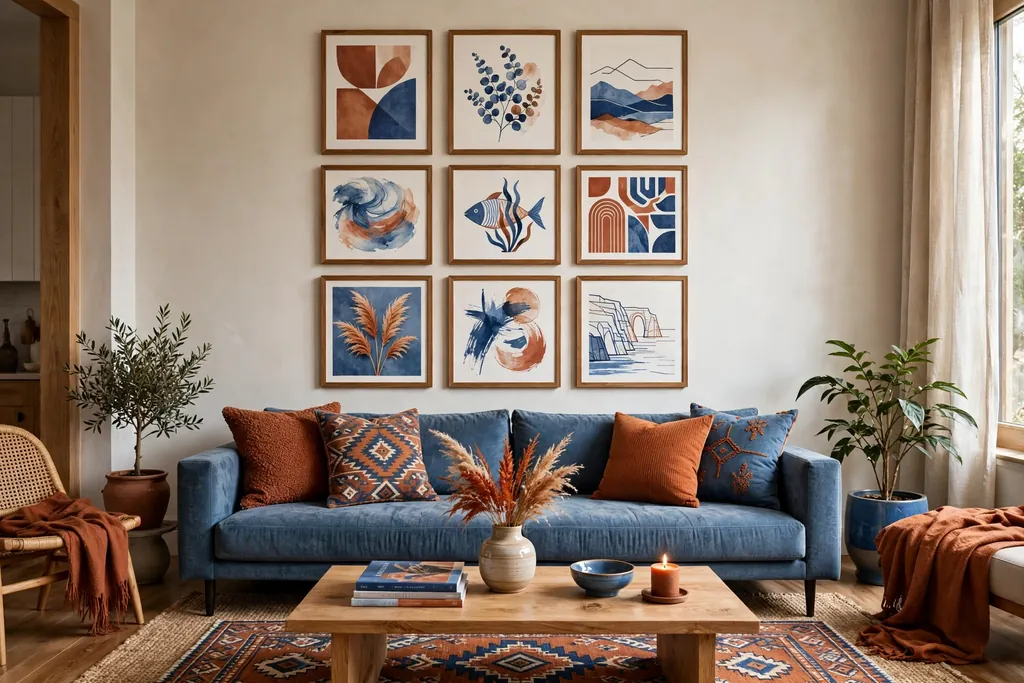
A colour pulled gallery repeats one or two colors already in the room, such as a rust cushion, a blue throw, or the tones in the rug. Choose prints that share that color family, even if their subjects differ, and keep frames in one finish so the color does the linking work. This approach makes a mixed collection of prints feel like part of the room scheme, not a separate display.
Pull the color from the rug if the rug is the strongest color in the room, since it covers the most floor area. For rug size and placement advice, see these living room rug ideas. Avoid pulling in a third strong color through the art alone, since a new color with no echo in cushions or throws can make the wall feel detached from the seating group.
11. Vintage Gilt and Thrifted Frames Mix
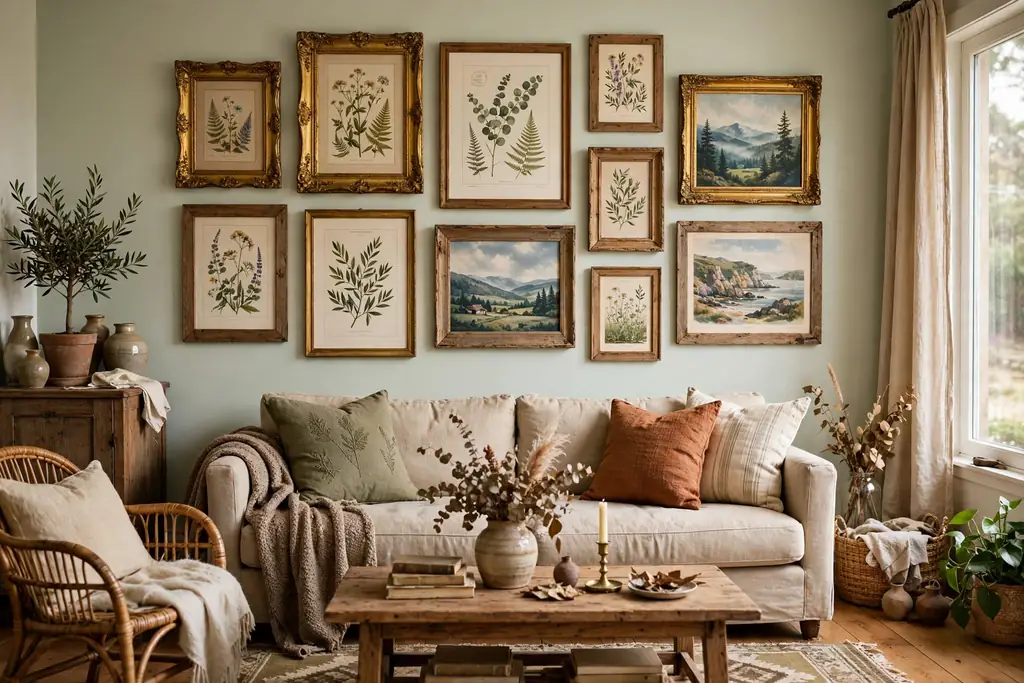
Vintage gilt frames and thrifted frames give a picture wall a collected, lived in character that new matching frames cannot match. Look for frames with sound joints and clean glass, in gold, dark wood, or painted finishes, and mix sizes while keeping the hanging heights and gaps even. Pair the frames with prints in a shared tone family, such as warm landscapes, botanical prints, or sepia photographs, so the varied frames still sit together.
Check the weight of older frames, since thick wood and old glass are often heavier than they look, and use fixings rated for the weight and your wall type. If a frame is damaged, hang it where it can be seen up close and admired, rather than high on a wall where its detail is lost. One or two gilt frames are enough to set the tone; a wall of gilt alone can feel heavy.
12. Clip Rail for a Changeable Display
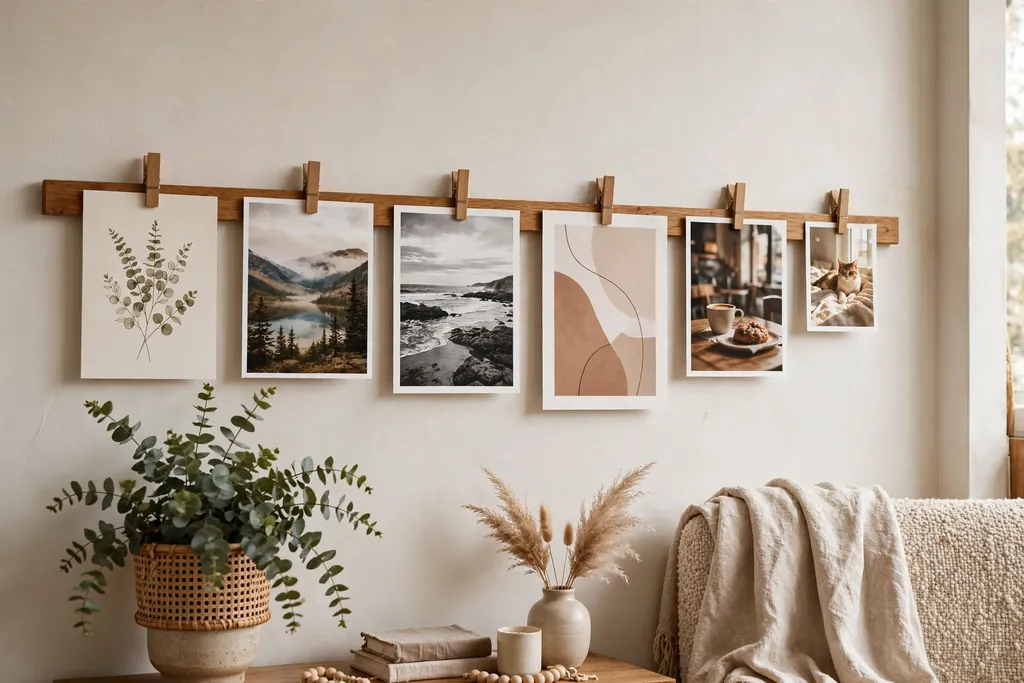
A clip rail gives you a picture wall you can change without new holes, new frames, or a full rehang. Fit a wooden rail, a metal rail, or a wire with clips along one stretch of wall, then clip prints, photos, and postcards to it at even intervals. Rotate the pieces every few weeks, or with the seasons, and keep the rail to one wall so the room still feels calm.
Use prints of a similar paper weight so they hang flat, and keep heavier framed pieces off the rail. This format suits a family living room, a teen corner, or a rental, where art changes often. Frame one favorite piece properly each year, and store the rest flat in a folder so the best work is kept even after it leaves the wall.
13. Mantel Gallery With Leaned and Hung Frames
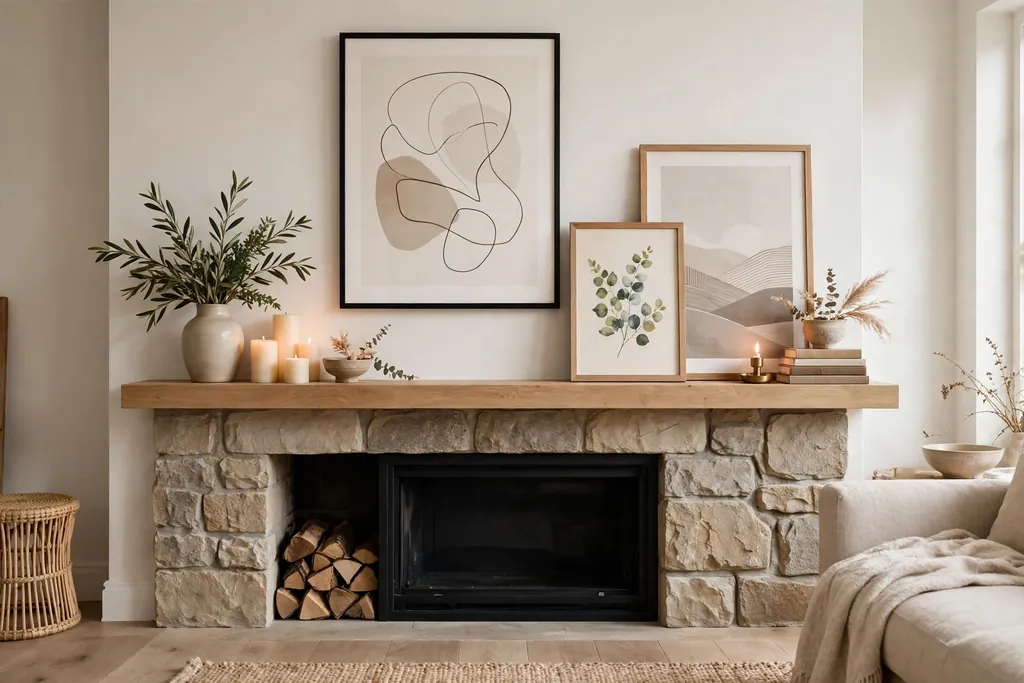
A mantel gallery pairs frames leaned on the mantel shelf with one or two frames hung on the wall above it. Lean the largest frame against the wall on the mantel, layer a smaller frame in front of it, then hang a matching piece above, centered on the mantel. This layered look suits a fireplace wall, where a single hung piece can feel small above a wide mantel.
Keep mantel objects low and to the sides, so they do not block the leaned frames, and keep anything flammable clear of the fire opening. If the fireplace is used often, hang frames high enough that heat and soot do not reach them, and wipe glass regularly, since mantel displays show dust fast. Use a small non slip pad behind leaned frames so they cannot slide forward.
Conclusion
A chic picture wall starts with the wall and the furniture below it, not with the frames alone. Measure first, pick one layout that fits the space, and hold the collection together with even spacing and one shared choice, whether that is matching frames, one frame finish, or one color family. Start with the largest piece, build outward in small steps, and live with the display for a week before adding more. Save the ideas that fit your wall size, your light, and how often you like to change things, and build the wall in stages so each step still feels finished.
FAQs
How high should I hang a picture wall above a sofa?
Hang the display so its center sits at eye level from where you see it most, and above a sofa, keep the bottom edge 6 to 8 inches above the sofa back. For a grid or gallery, measure the full block, not a single frame, and center that block on the sofa. Step back to your usual seat and check the height before you fix the final frame.
How far apart should frames be on a picture wall?
Keep gaps of 2 to 4 inches between frames in most galleries, with 2 to 3 inches suiting neat grids and 3 to 4 inches suiting looser salon walls. Even spacing matters more than the exact gap, since uneven gaps make a mixed collection look random. Lay the frames on the floor first and mark the layout with painter tape to check the spacing at full size.
How do I plan a picture wall without making too many holes?
Lay all frames on the floor in the planned layout, measure the full block, and mark its outer edges and each frame center on the wall with painter tape. Cut paper templates to frame size and tape them to the wall to test the arrangement from your seat. For a changeable option, use picture ledges or a clip rail, which need far fewer fixings than a full hung gallery.
Should all frames match on a picture wall?
Matching frames give the calmest result, especially for a grid, a timeline, or a black-and-white photo wall. Mixed frames can still work, as long as one element stays consistent, such as a shared mat color, one frame finish family, or one color family in the prints. If the frames vary widely, keep the spacing even and the subjects related so the wall reads as one display.
What size should a picture wall be above a sofa?
Aim for a display that spans about two thirds of the sofa width, so it looks sized to the furniture rather than lost above it or wider than the sofa. On a very wide wall, a display that spans the sofa width can work if the frames are large and the gaps are even. Measure the sofa, mark two thirds of that width on the wall with tape, and build the layout inside those marks.
Can I mix photos and art on the same picture wall?
Yes, photos and art mix well when they share one linking choice, such as matching frames, the same mat color, or one color family. Keep the print sizes in a similar range, and avoid placing a very small photo beside a very large canvas, since the size jump breaks the grouping. Start with the largest piece, then add photos and art around it in even steps.