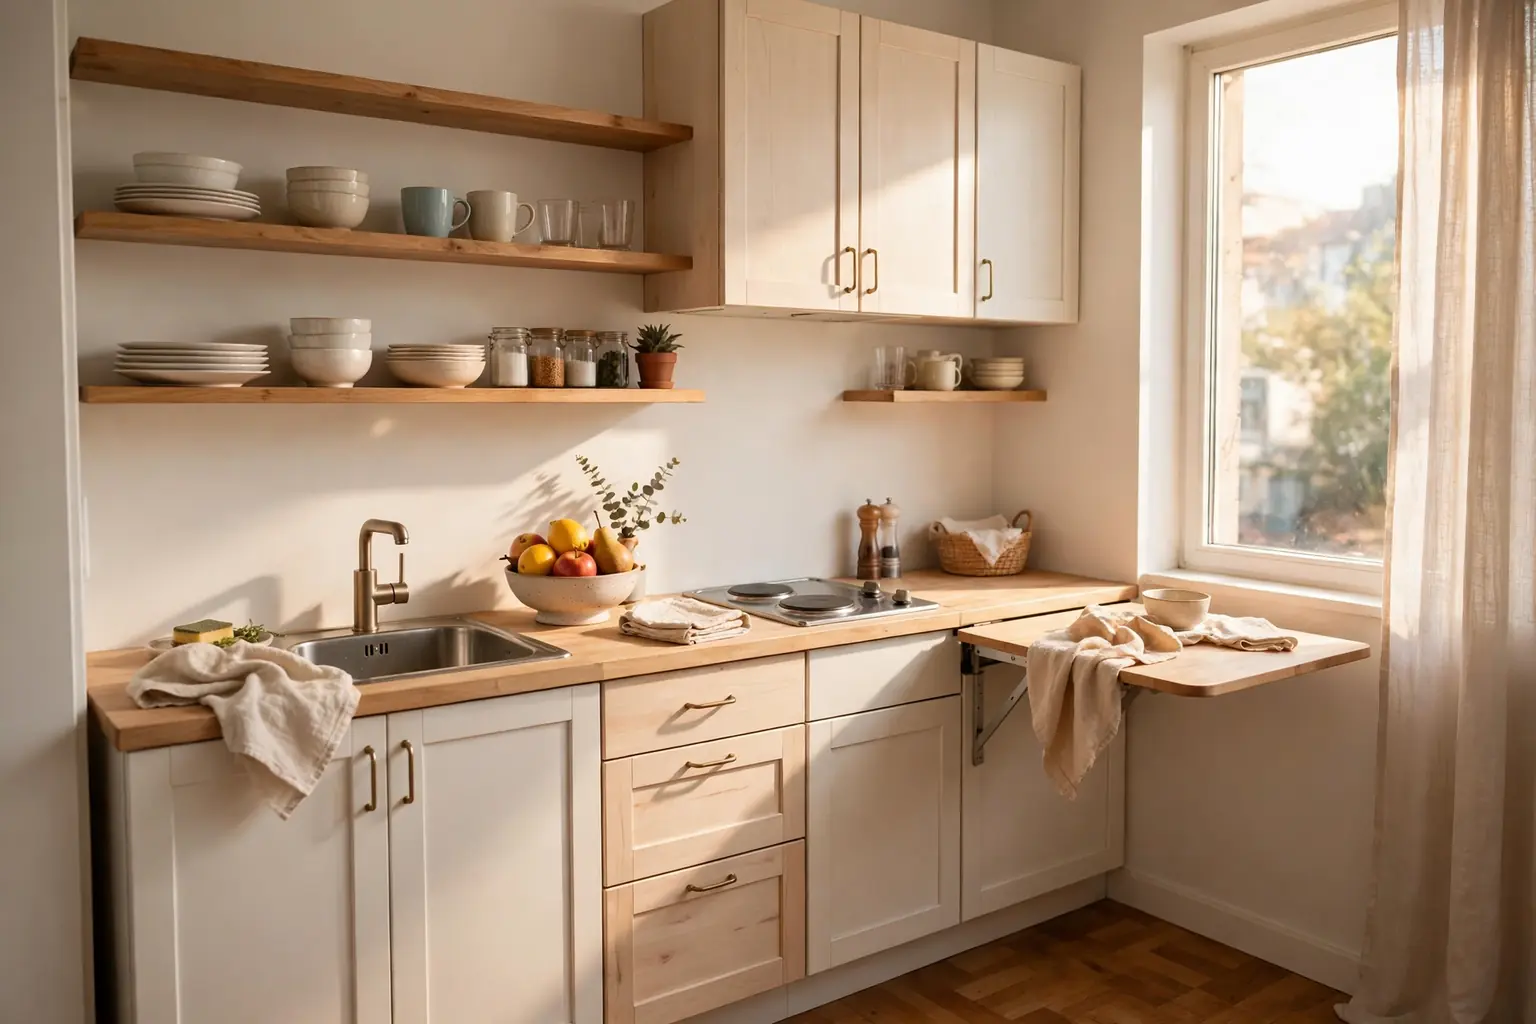
A studio kitchen has to do a lot in a small footprint. It is often one wall of cabinets, one counter, and a table that also serves as a desk, all in view from the bed and the sofa. That closeness can feel cluttered, but it also means one small change has a big effect. These 28 studio kitchen ideas cover layout, storage, cooking zones, and cozy seasonal touches, so you can pick one fix for the spot that bothers you most, then add a warm seasonal layer on top. Start by clearing one counter, measure before you buy, and keep daily tools within easy reach.
Key Takeaways
- Plan the studio kitchen in zones for prep, cooking, washing, and eating, even if each zone is only a short stretch of counter.
- Choose pieces that do two jobs, such as a fold-down table, a rolling cart, or stools that tuck away, so the floor stays clear.
- Keep daily items open and visible, and move rarely used items higher, into a tall cabinet, or out of the kitchen area.
- Use light colors, clear counters, and warm under-cabinet light to keep a small kitchen feeling open and calm.
- Make the seasonal update small and easy to swap: towels, a rug, a fruit bowl, and one shelf display, changed in minutes.
1. Plan a One-Wall Layout in Clear Zones
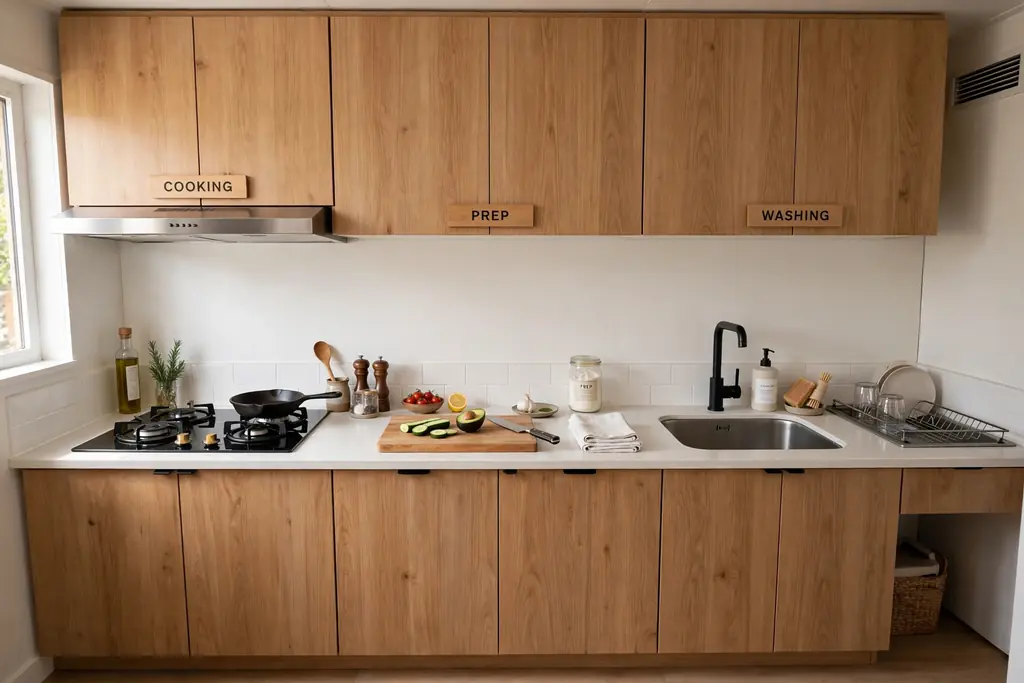
Start with the layout you have and mark four zones along the wall: fridge and storage, prep, cooking, and washing. Keep the prep zone between the sink and the stove if you can, since that is where most chopping happens. Move anything that does not belong in a zone, such as mail or keys, to a hook or tray by the door. A clear zone plan stops the whole counter from becoming one mixed pile, and it shows which zone needs the next fix first.
2. Add a Fold-Down Table on a Free Wall
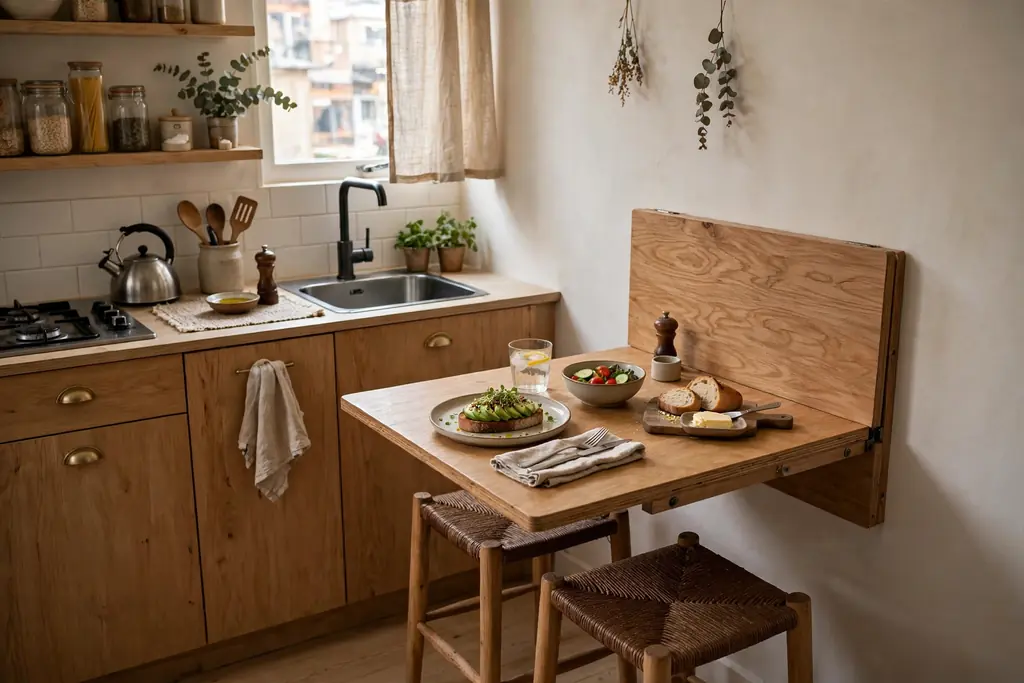
A fold-down table gives a studio kitchen a dining spot without giving up floor space all day. Fix it to a wall near the kitchen at table height, with sturdy brackets rated for the load, and fold it flat when you are done eating. Pair it with one or two stools that tuck under a counter, so the table area stays clear between meals. Keep a small tray for salt, a candle in a jar, and napkins nearby, so setting the table takes a minute.
3. Use a Rolling Cart as a Movable Counter
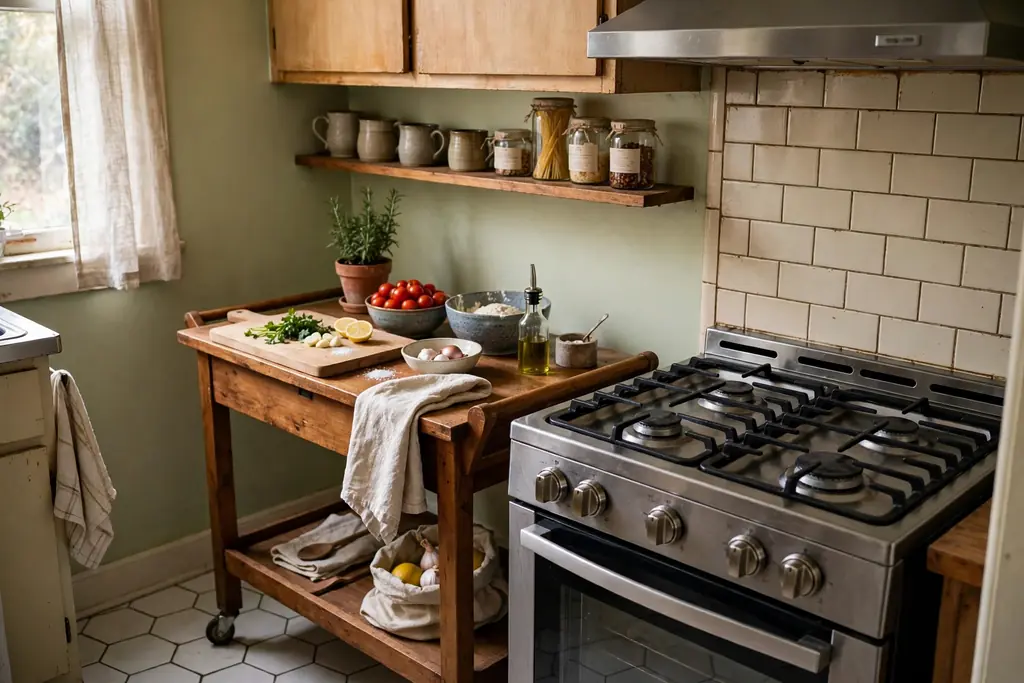
A rolling cart adds counter space exactly where you need it, then rolls aside when you need the floor back. Use it as a prep station beside the stove, a serving cart at dinner, or a coffee station in the morning. Choose a cart with a lock on at least two wheels, a lower shelf for bowls, and a top you can wipe clean. In a studio, a cart also works as a soft boundary between the kitchen and the living area, without blocking light.
4. Create a Breakfast Bar at the End of the Counter
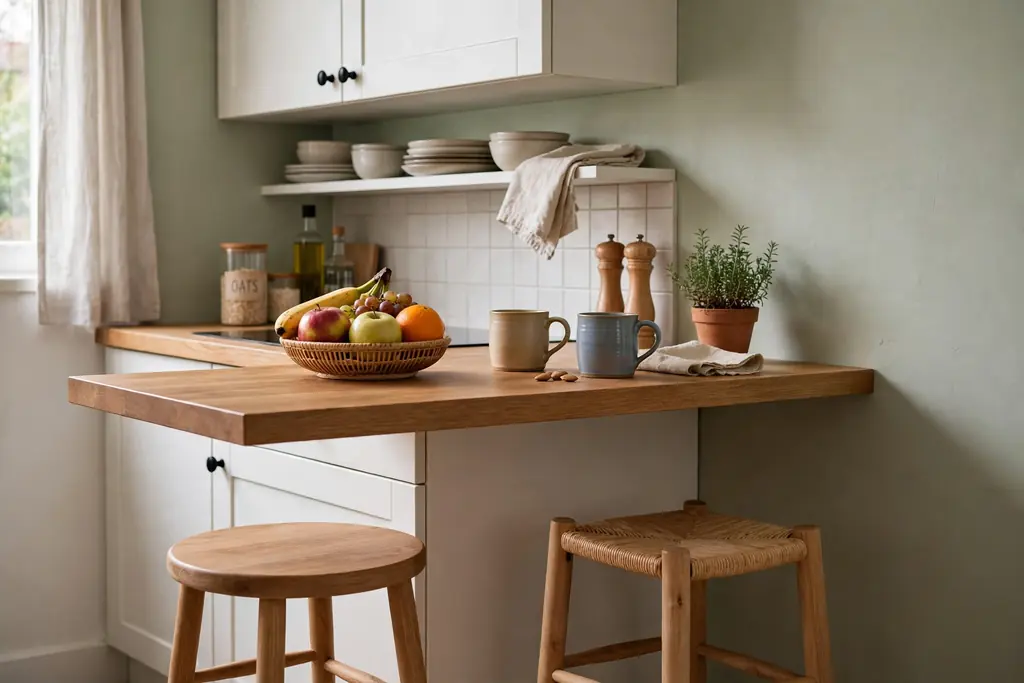
If the counter ends in open floor, add a short overhang or a narrow bar table at that end for breakfast and quick meals. Two stools at the end keep eating in the kitchen zone and leave the main table free for work or guests. Keep the bar clear except for a small tray with mugs and a fruit bowl, so it does not collect papers and keys. This setup suits a studio because it gives a place to eat without adding a full dining table.
5. Choose Stackable Stools That Tuck Away
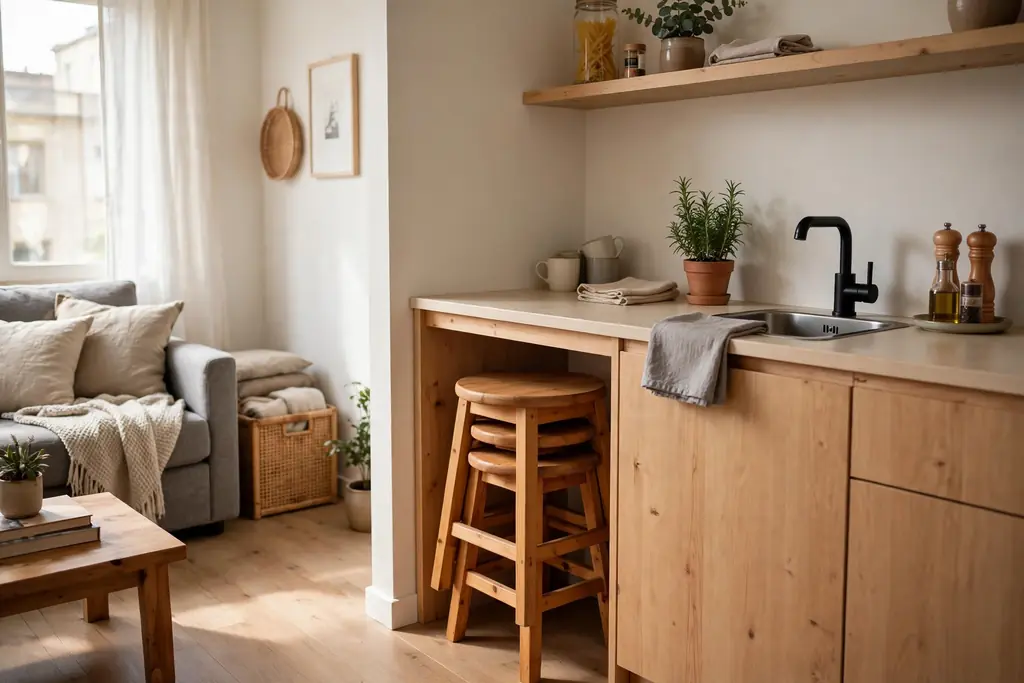
Stackable stools solve the studio seating problem: you need seats for guests, but you cannot leave four chairs out all week. Pick stools that stack neatly, fit under a counter overhang, or hang on wall hooks when not in use. Keep two out for daily use and stack the rest in a closet or on top of a tall cabinet. Light stools in wood or metal suit most kitchens, and a cushion tied on top adds comfort without bulk.
6. Divide the Room With an Open Shelf Unit
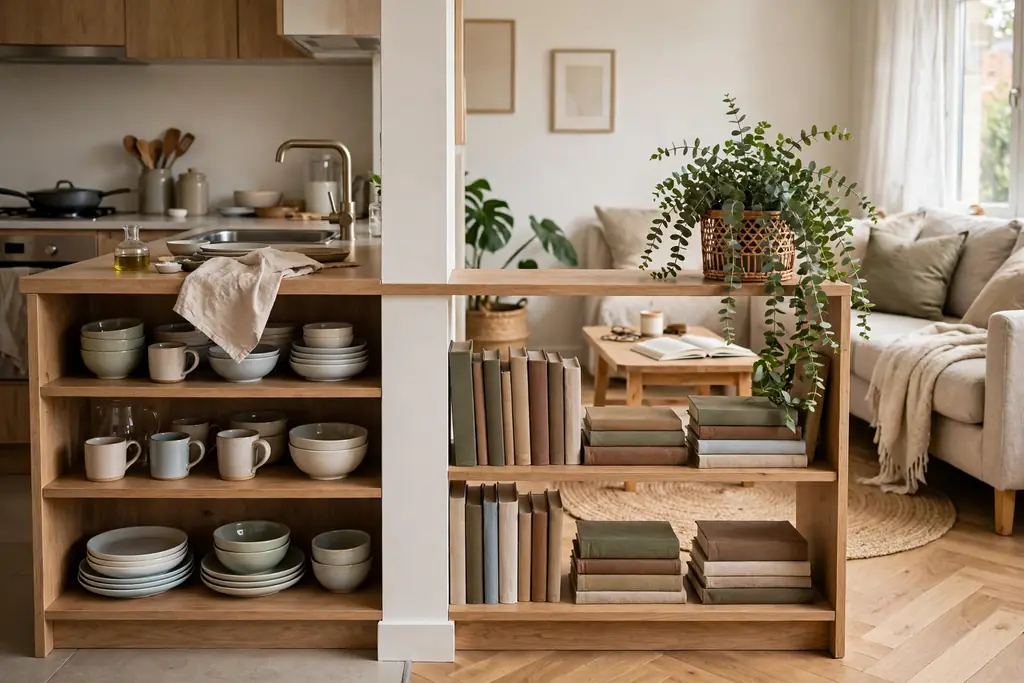
An open shelf unit set at right angles to the kitchen wall can mark the edge of the kitchen without closing off the studio. Use the kitchen side for dishes and cookbooks, and the living side for books and a plant, so both sides look planned. Keep the unit low enough to see over, and leave some shelves partly empty, so it reads as a divider, not a wall. Anchor it to the floor or wall if it is tall, and keep heavy items low for safety.
7. Keep Daily Dishes on Open Shelves
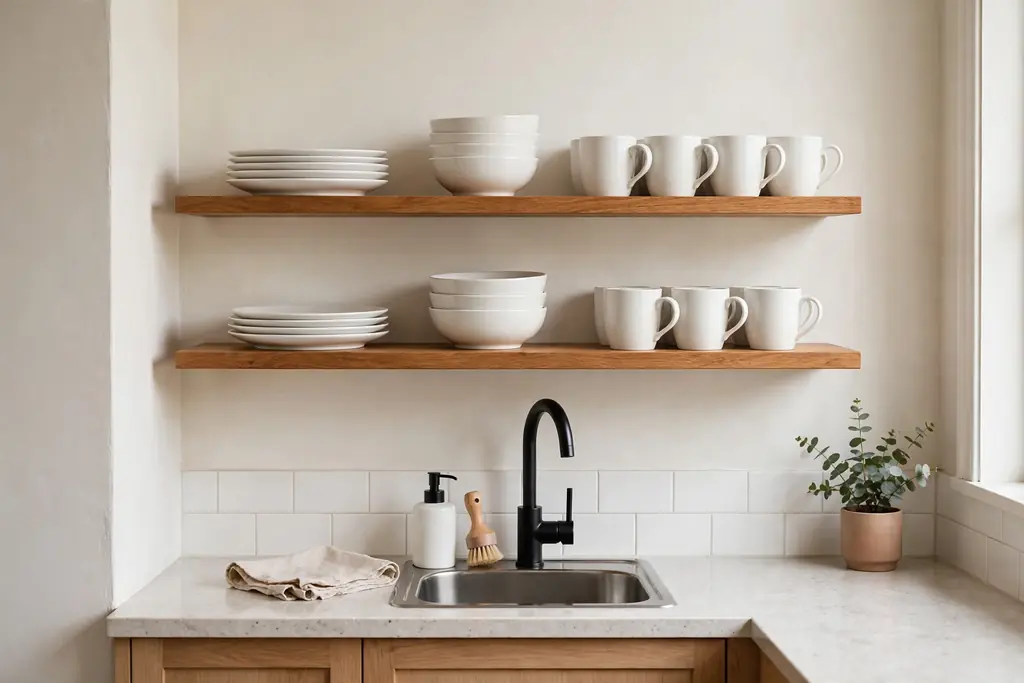
Open shelves put daily plates, bowls, and mugs where you can see and grab them, which matters when cabinet space is tight. Use one or two shelves near the sink for the daily set only, and keep spares and party pieces in a closed cabinet. Group plates in one stack, bowls in another, and mugs in a row, with space at each end. Our guide to how to style open shelves shows how to leave breathing room so a shelf reads as storage, not clutter.
8. Hang a Rail for Knives, Tools, and Pans
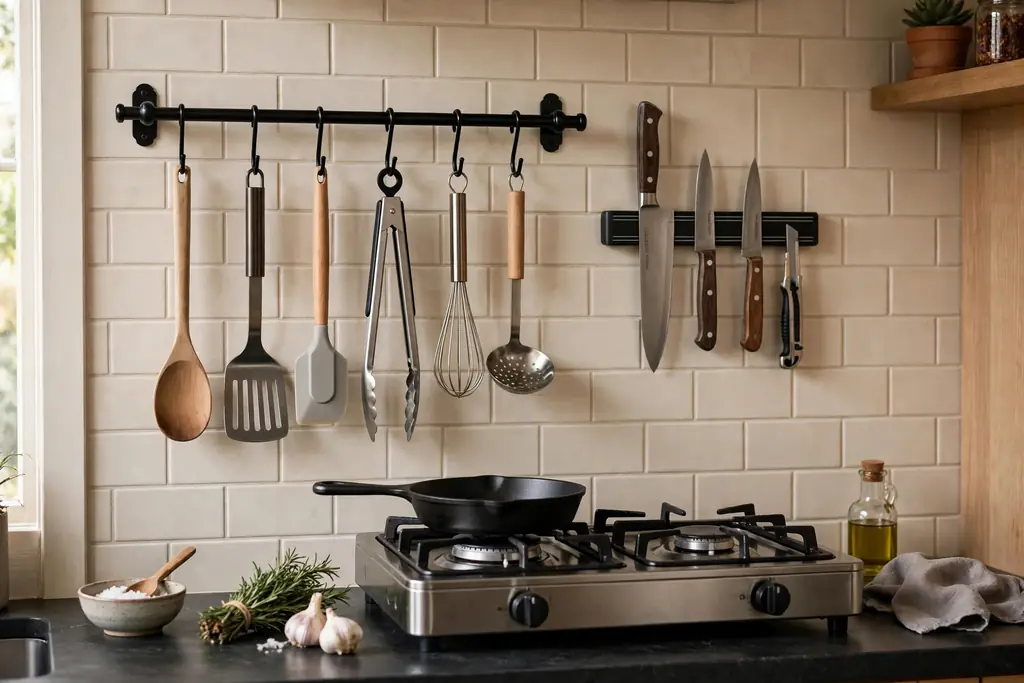
A wall rail with hooks frees a drawer and keeps cooking tools at hand. Hang a magnetic strip for knives on the same wall, away from the sink splash zone, and use S-hooks for a ladle, a spatula, and a small pan. Keep the rail near the stove but clear of burners, and hang only the tools you use weekly. Wipe the rail during your usual counter clean, since steam and grease settle on metal near the stove.
9. Fit a Narrow Pull-Out Pantry Beside the Fridge
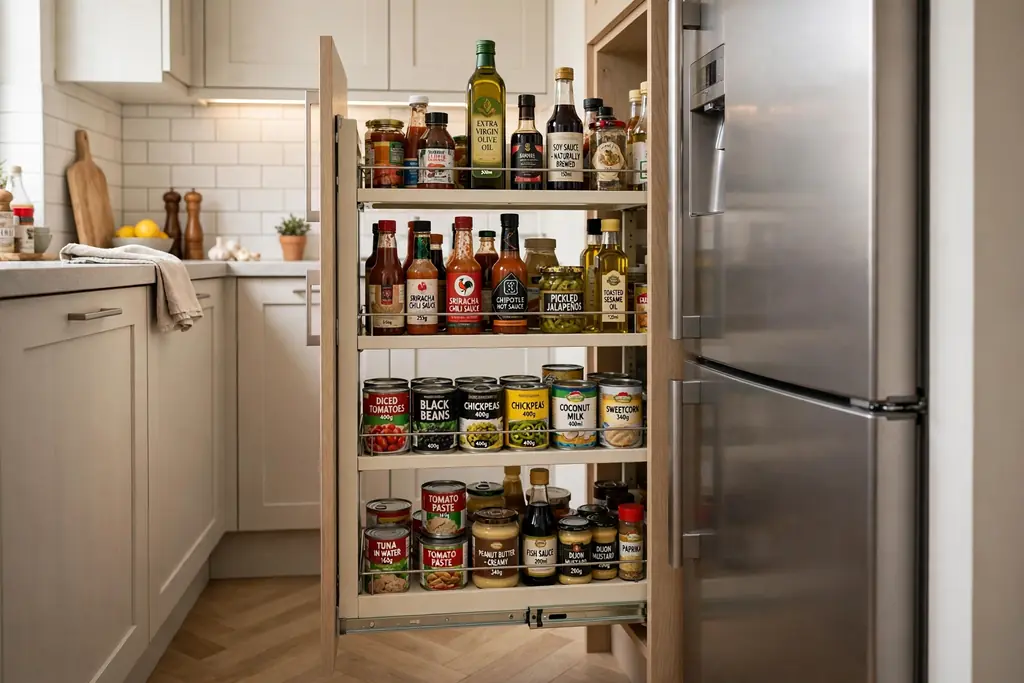
A narrow pull-out pantry uses a gap as small as 15 centimetres beside the fridge or stove for oils, sauces, and cans. The full pull-out shelf lets you see everything at once, which stops duplicate buying and forgotten jars at the back. Group tall bottles at the back of each shelf and short jars at the front, and label the front edge if several people cook. Measure the gap twice, including the door swing and handle depth, before you order a unit.
10. Use One Tall Cabinet for Bulk and Rarely Used Items
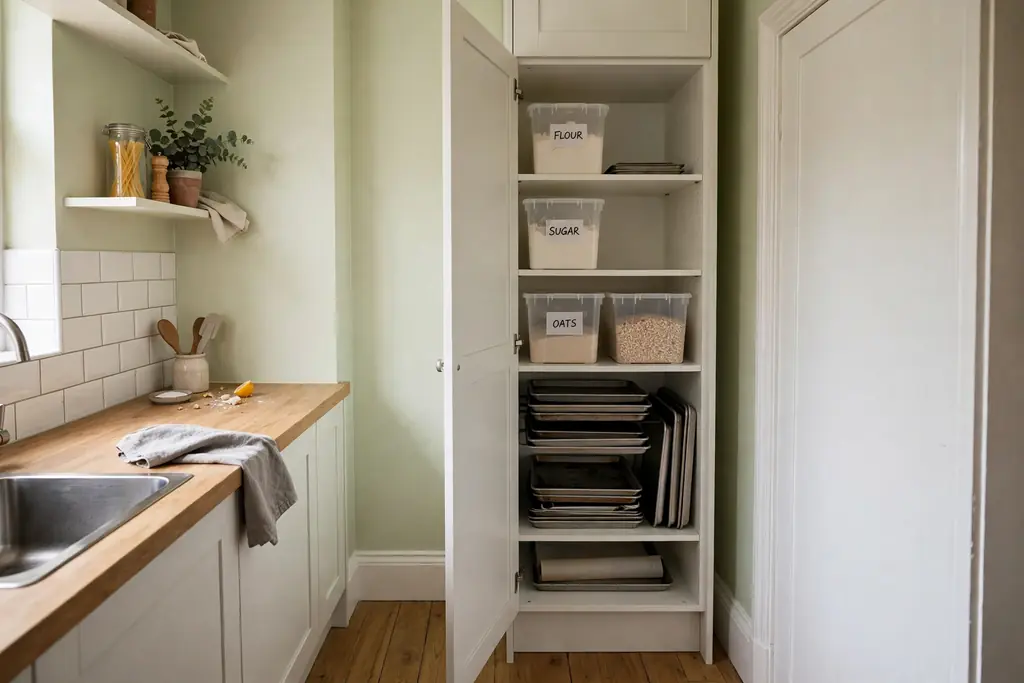
One tall cabinet at the end of the kitchen run can hold bulk packs, baking trays, a slow cooker, and seasonal pieces that do not fit daily shelves. Keep daily items at waist to eye level, bulk refills in the middle, and rarely used pieces up high, with a step stool kept nearby. Use bins inside the cabinet, one for baking, one for bulk dry goods, and one for party supplies, so a deep cabinet stays searchable. A tall cabinet also hides the visual bulk that makes a studio feel crowded.
11. Store Baking Sheets Upright With Dividers
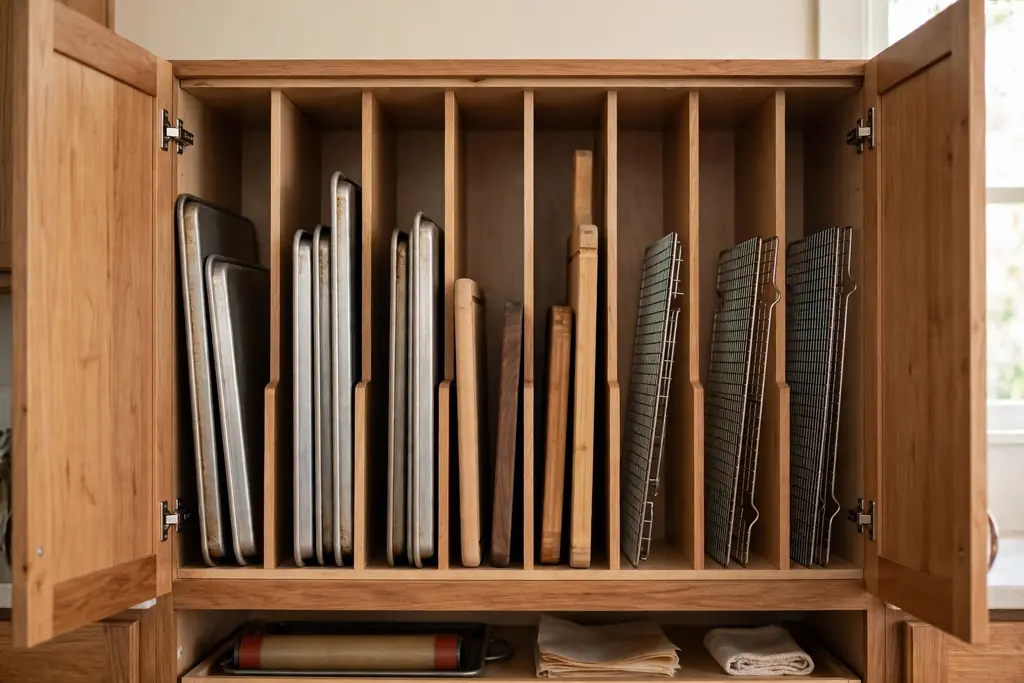
Baking sheets, cutting boards, and cooling racks stored flat in a stack are noisy and hard to pull out in a small kitchen. Stand them upright in a cabinet with vertical dividers, sorted by size, so you can slide one out without moving the rest. Keep the heaviest tray at the outer end or in a lower slot, where it is easier to lift. Wipe trays before you return them, since grease on one tray transfers to its neighbours in a tight rack.
12. Add an Over-Sink Board and Drying Rack
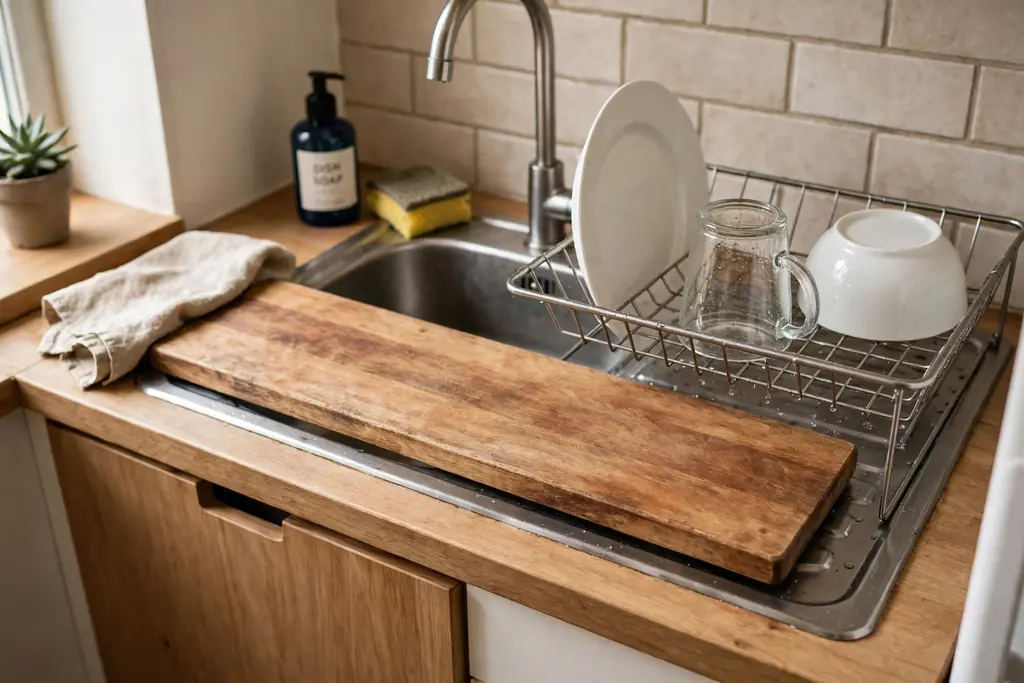
An over-sink cutting board and a rack that sits across the sink add work space without adding a counter. Use the board for chopping over the sink, which catches scraps, and the rack for drying a few dishes or rinsing vegetables. Choose a board and rack sized to your sink, with feet or edges that hold them steady. Put them away after use if the sink needs to stay clear, and dry them fully before storing so they do not mark the counter.
13. Put Spices on a Magnetic Wall or Fridge Side
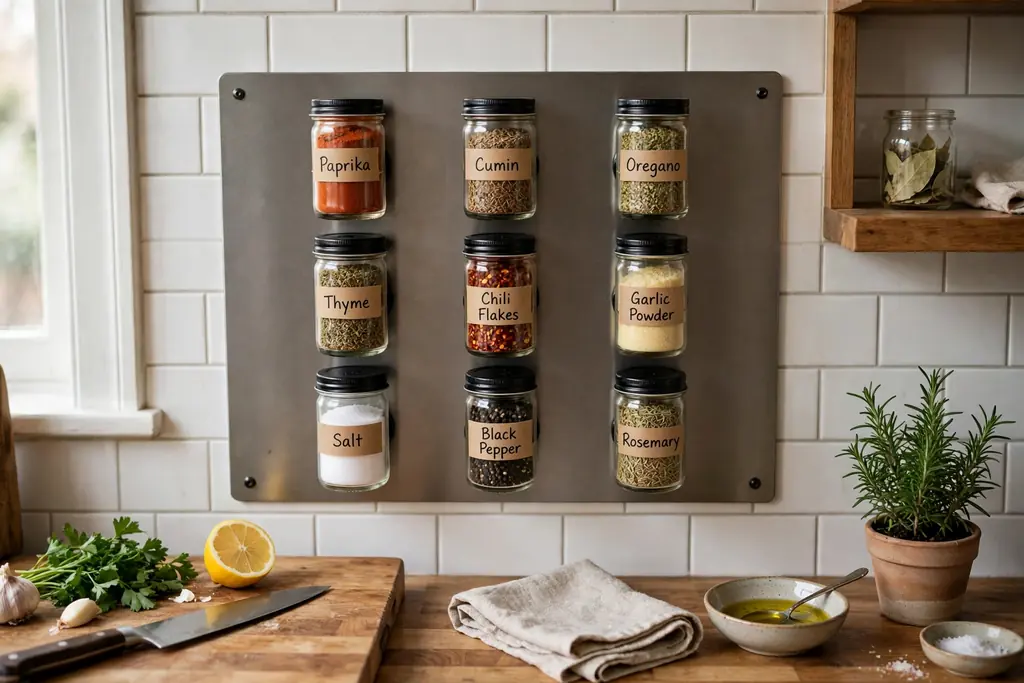
Magnetic spice jars on a steel board or on the side of the fridge keep spices at eye level and off the counter. Use jars of one size, labelled on the lid, grouped by use, such as everyday cooking, baking, and heat. Keep the board near the prep counter and away from stove heat, which dulls flavour. Refill from larger packs kept in the tall cabinet, and check dates twice a year. A board that holds 12 to 20 jars suits most studio cooks.
14. Decant Dry Goods Into Clear Labelled Jars
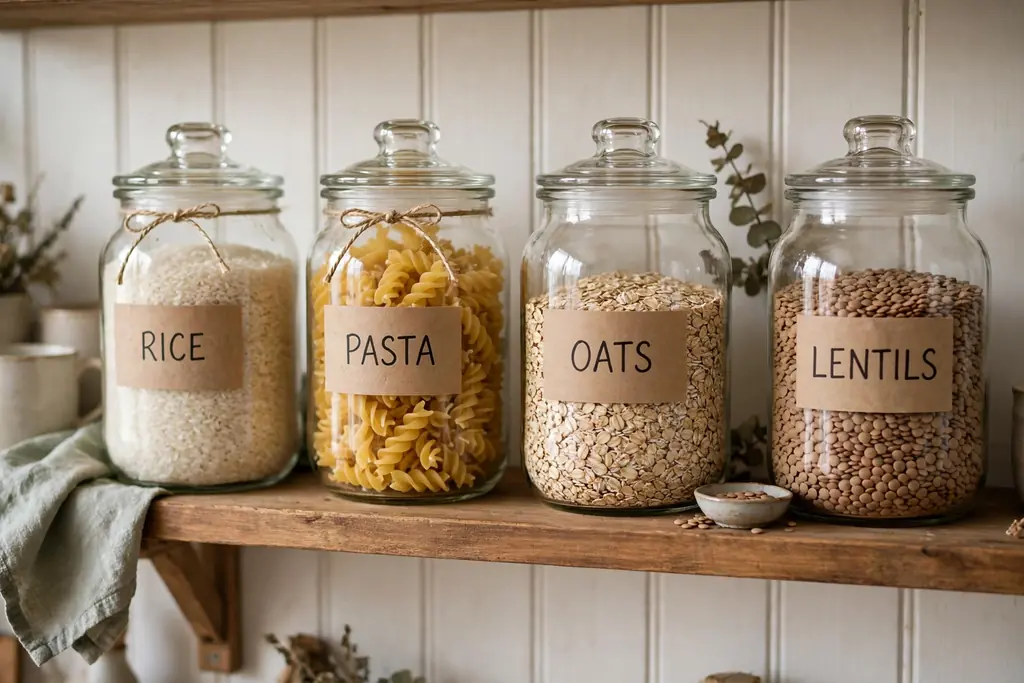
Clear jars for rice, pasta, oats, flour, and lentils let you see stock at a glance, which helps shopping in a small kitchen with no pantry room. Use jars with tight lids, one size for most goods, and label each jar with its contents and the date it was filled. Keep the jars on one shelf, with daily goods at the front and baking goods behind them. Wash jars fully before refilling with a different food, and keep bulk packs in the tall cabinet, not on the counter.
15. Add Under-Cabinet Light to Every Work Zone
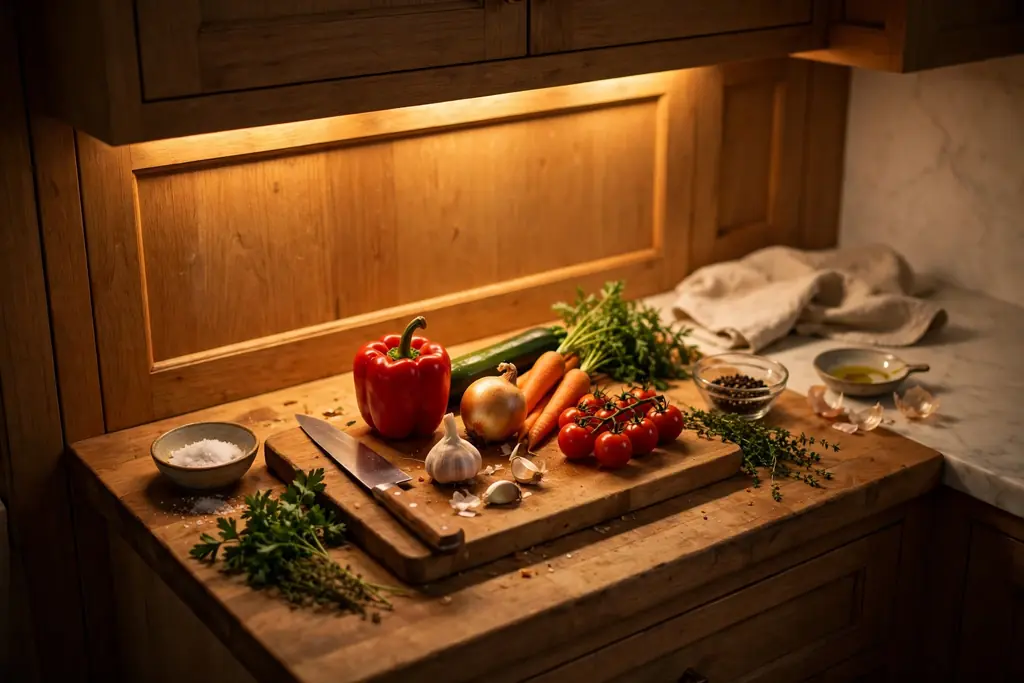
Under-cabinet light makes a small kitchen safer and calmer to cook in, because it lights the counter without lighting the whole studio. Use a slim battery or plug-in strip under each wall cabinet, focused on the prep and stove zones first. Warm white light suits a cozy kitchen, and a strip with a simple switch or remote avoids rewiring. Keep the light clear of steam and splashes, and wipe the strip when you clean the cabinets, since grease dulls the output over time.
16. Cook on a Compact Two-Burner Induction Hob
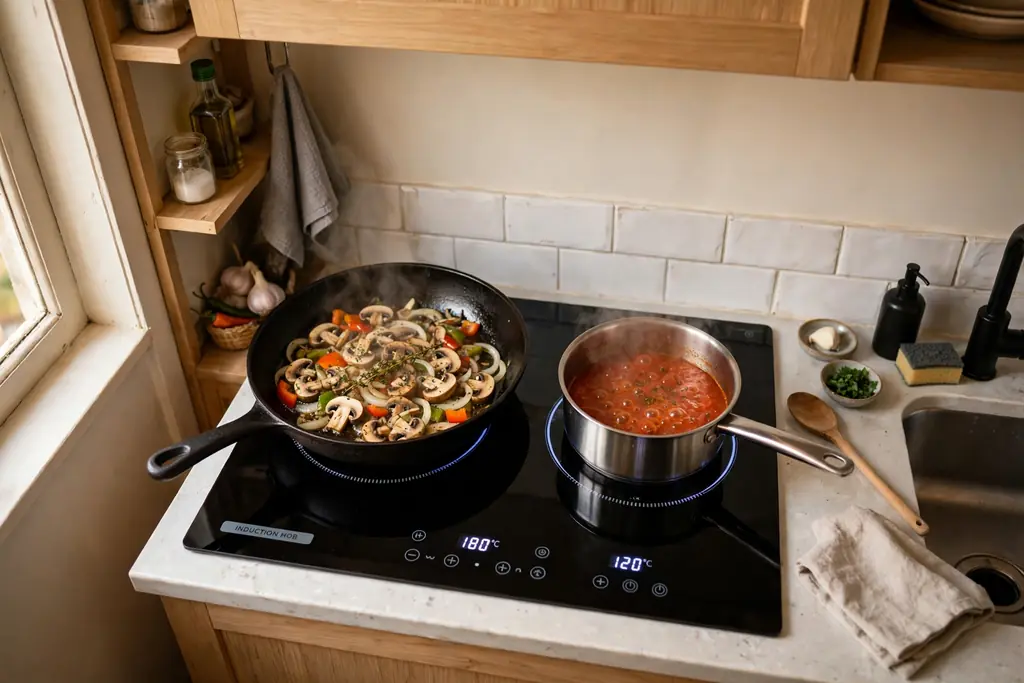
A compact two-burner induction hob suits a studio kitchen where a full range would crowd the counter and heat the whole room. Induction heats a pan fast and cools fast, which helps in a small space, and the flat top wipes clean and doubles as extra counter when it is off and cool. Keep one large pan and one small pan as your daily set, plus a lid that fits both. Check that your pans work with induction before you switch, since some older pans do not.
17. Build a Sheet Pan and One Pot Cooking Station
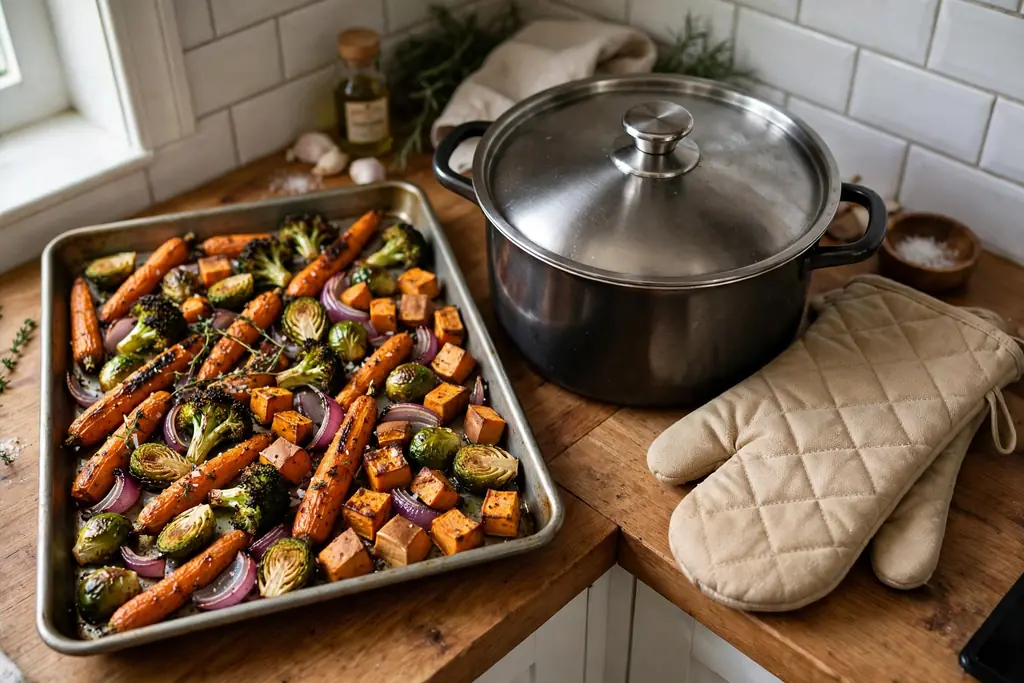
A sheet pan and one pot station keeps weeknight cooking simple in a small kitchen. Store one large sheet pan, one deep pot with a lid, and one oven-safe dish together, with a trivet and a pair of oven mitts beside them. Plan meals around these three pieces, such as roasted vegetables on the pan, soup in the pot, and a baked dish in the oven dish. Fewer pans mean less washing up, less storage, and a calmer counter after dinner.
18. Grow Herbs on the Windowsill Above the Sink
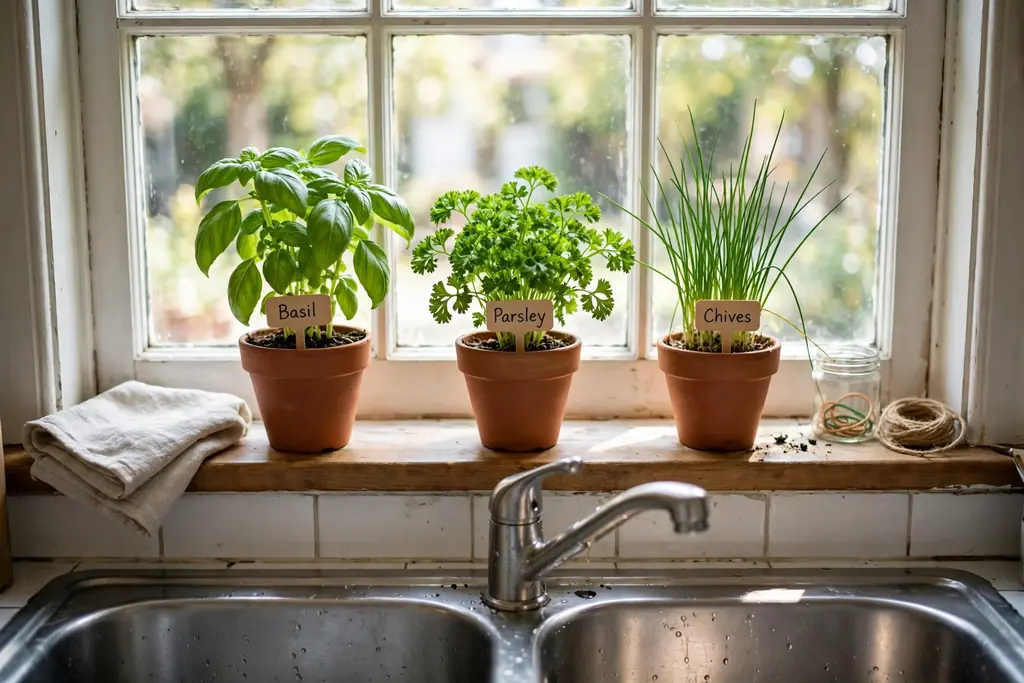
A windowsill herb garden puts fresh flavour within reach while you cook, and it suits a studio kitchen with one good window. Use small pots with drainage, a tray to catch water, and herbs you cook with most, such as basil, parsley, and chives. Snip little and often, rotate pots for even growth, and water only when the top of the soil feels dry. For more window ideas, see these kitchen window decor ideas, and keep pots clear of the window catch.
19. Display Wood Cutting Boards on the Wall
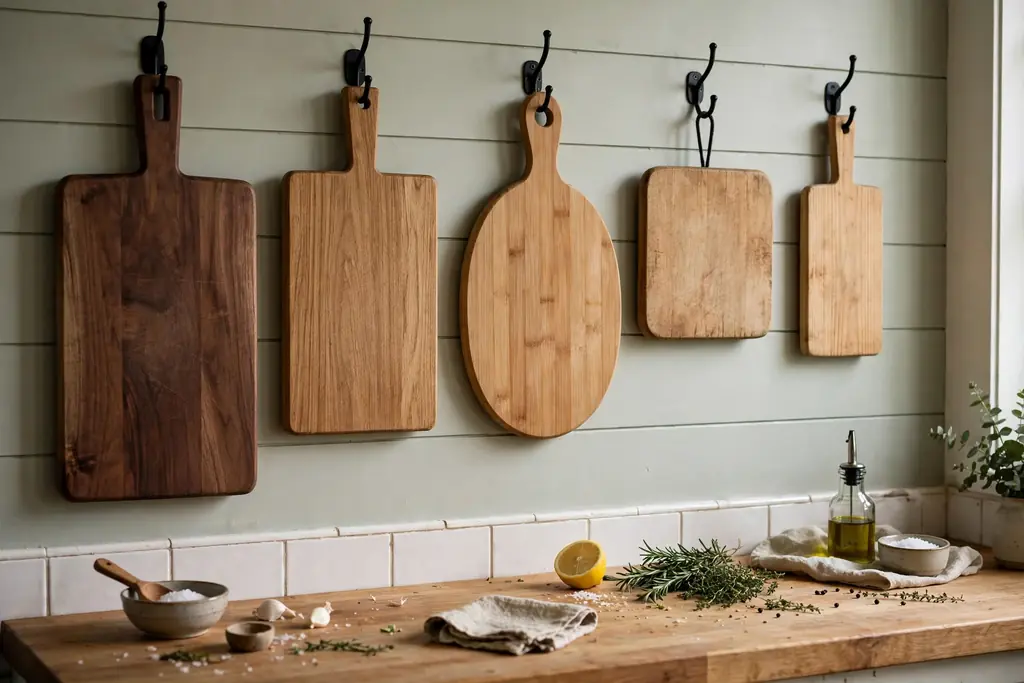
Wood cutting boards hung on a rail or a row of hooks add warmth and keep boards dry and visible. Sort boards by use, one for vegetables, one for bread, and one for cooked food, and hang them flat against the wall above the prep counter. Let boards dry fully before hanging, oil them as the maker directs, and sand any rough edge that could snag a cloth. A row of boards also softens a plain studio wall without adding a picture or a shelf.
20. Fix a Small Pegboard for Tools and Notes
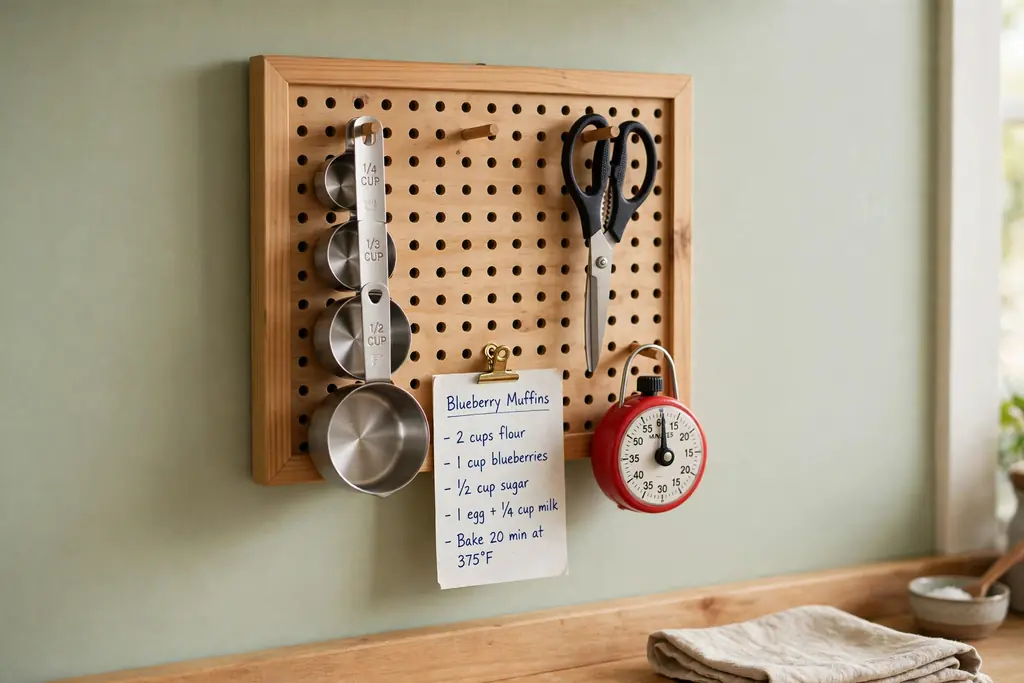
A small pegboard on a free wall holds measuring cups, scissors, a timer, and a recipe card, all in a layout you can change. Paint or stain the board to match the kitchen, frame the edges, and plan the layout on the floor first, with heavy items low. Keep the board to five or six items at first, and add only when a clear gap remains, since a crowded board looks busy in a studio. Clip a shopping list to the board so it does not drift onto the counter.
21. Layer Warm Light for Evenings in the Studio
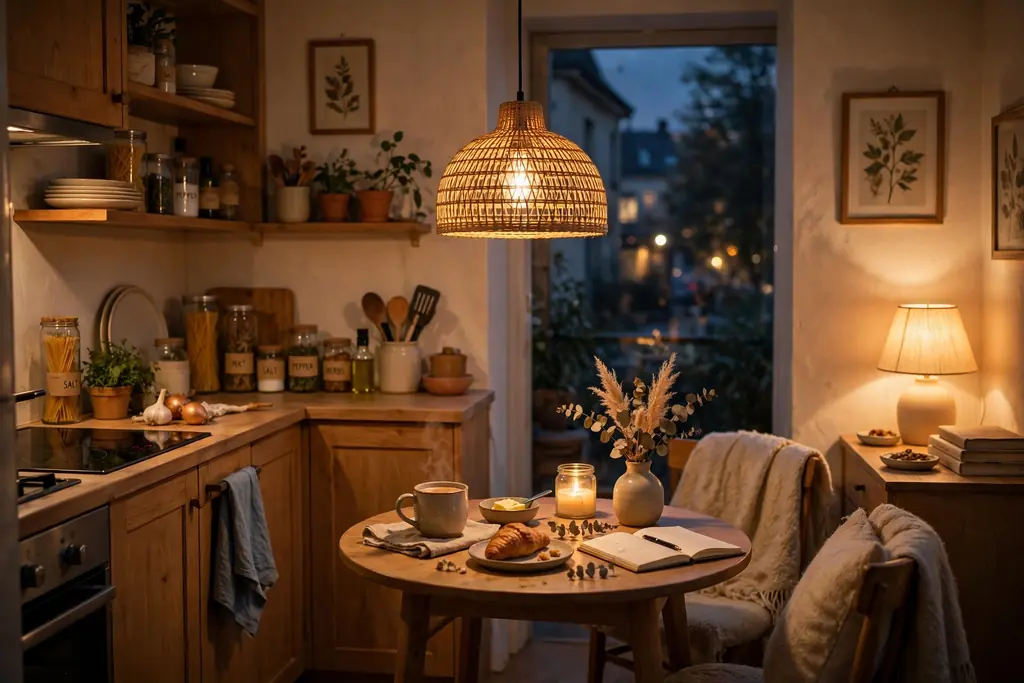
A studio kitchen needs different light for cooking and for evenings, since the same room is also the living room. Keep bright under-cabinet light for prep, then switch to a warm pendant or a small lamp over the table for dinner. Battery candles in jars add a cozy glow on a shelf without an open flame near curtains or paper. Keep cords tidy and bulbs warm white, so the evening light feels calm rather than harsh after a day of cooking light.
22. Swap Tea Towels, Rug, and Placemats for the Season
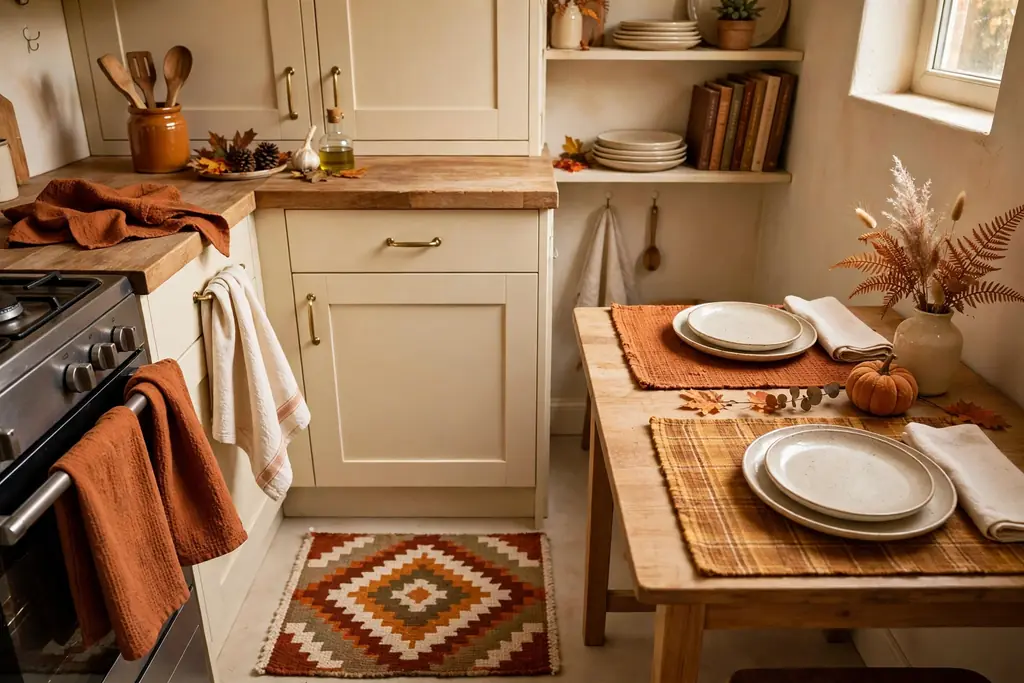
The fastest seasonal update in a studio kitchen is a swap of soft items you already wash often. Change tea towels, a small kitchen rug, and placemats to match the season, such as warm rust and cream for fall, or fresh green and white for spring. Store the out-of-season set in one labelled bin in the tall cabinet, so the swap takes minutes. Wash the rug often, since a small kitchen rug collects crumbs and spills, and keep the colour palette to two or three shades.
23. Style a Fruit Bowl and Small Vase as the Centerpiece
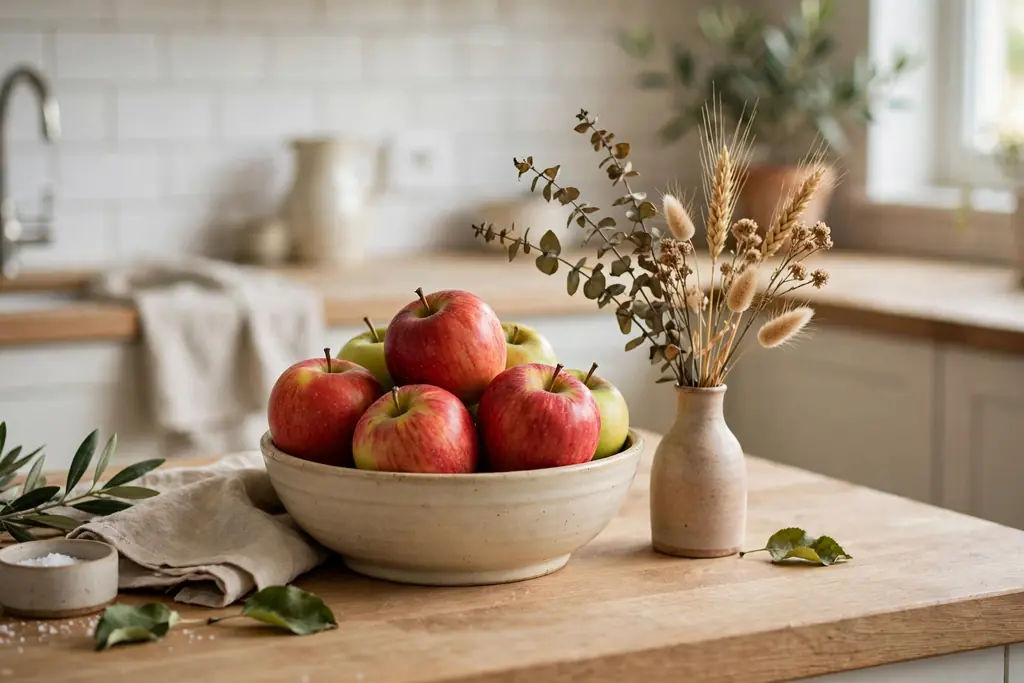
A fruit bowl and a small vase give a studio kitchen a seasonal centerpiece that changes without new furniture. In fall, use apples or small pumpkins beside a vase of dried stems, and in spring, use lemons with fresh stems from the market. Keep the display to one bowl and one vase on the counter or bar, so it does not eat prep space. These fall kitchen decor ideas show how a simple bowl and vase can carry a seasonal scheme in a small room.
24. Set a Cozy Breakfast Nook With Mugs and Placemats
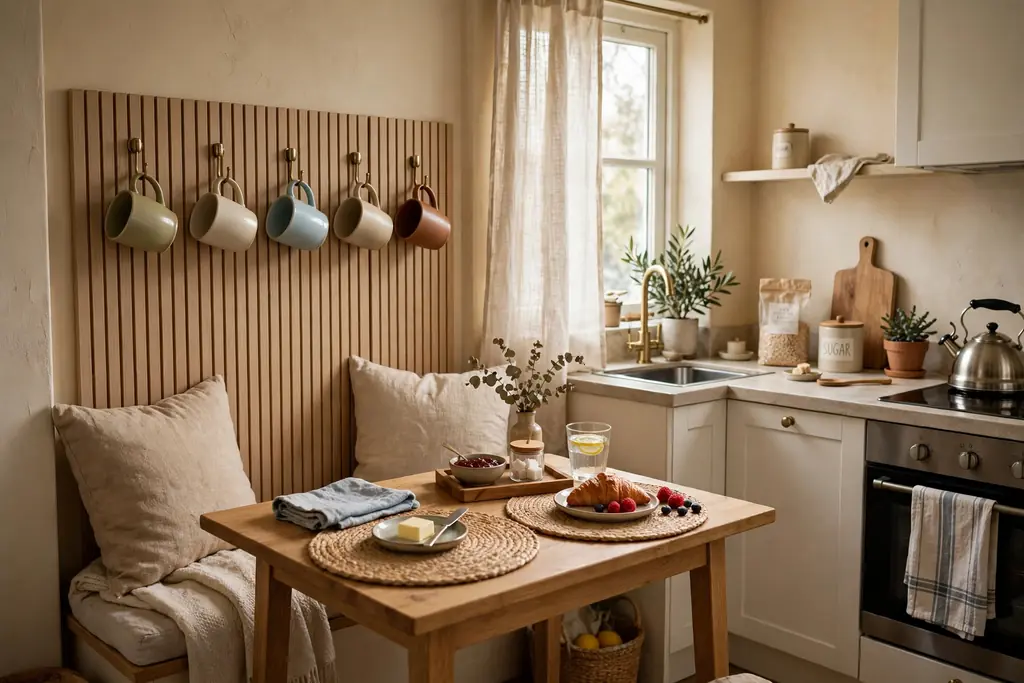
A cozy breakfast nook in a studio can be as simple as a fold-down table, two placemats, and a mug shelf within reach. Hang daily mugs on hooks under a shelf, keep a small tray for sugar and spoons, and add a cloth placemat that wipes or washes easily. In the morning, the nook is ready without clearing work papers or cooking tools first. For table styling that works in a small space, see these everyday dining table decor ideas.
25. Restyle One Open Shelf for Each Season
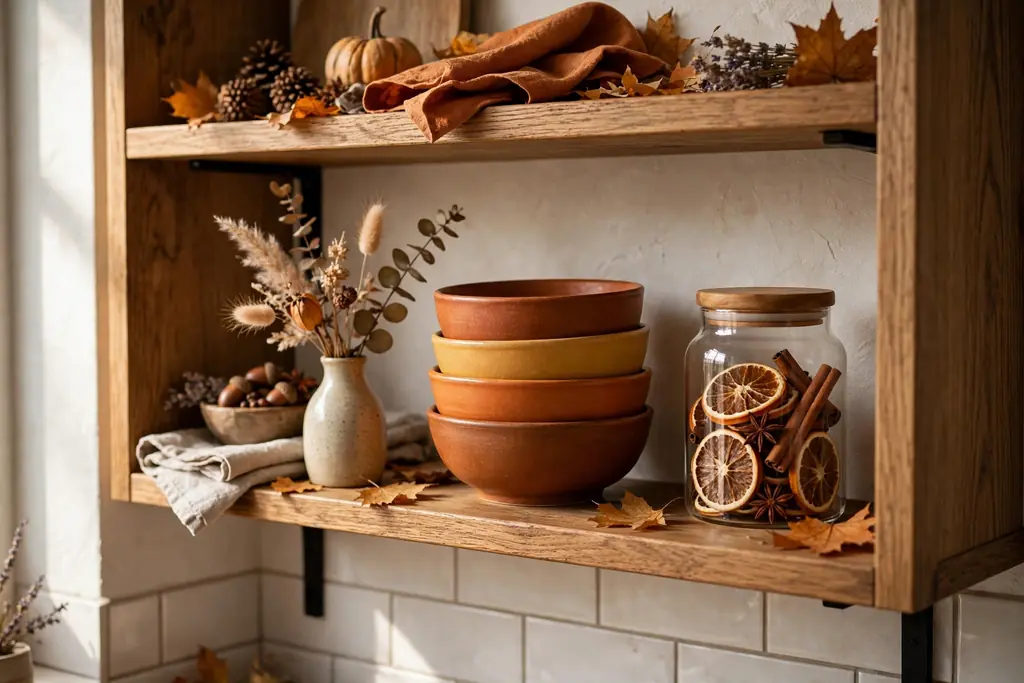
Restyling one open shelf each season gives a cozy update without changing the whole kitchen. Swap three items only: a small vase, a stack of bowls in a seasonal colour, and a jar of dry goods or a candle in a jar. Keep daily dishes in place, so the shelf stays useful, and move the swapped items to the tall cabinet until next year. Photograph the shelf after each change if you want to repeat a layout you liked, and keep the shelf simple enough to dust in a minute.
26. Plan a Small Thanksgiving Table in the Studio
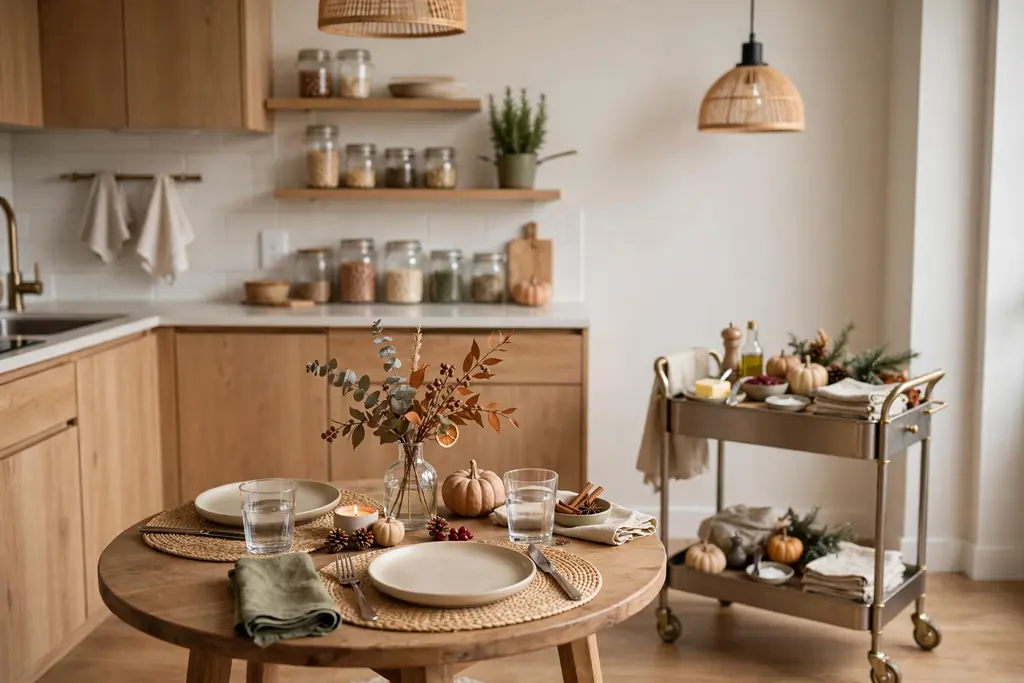
A studio Thanksgiving table works when you plan for the guest count, not for a full dining room. Use the fold-down table or the breakfast bar, add the rolling cart as a serving station, and keep hot dishes in the oven until serving time. Set places with simple placemats, one small vase, and candles in jars, and keep the sink clear for washing up between courses. These thanksgiving kitchen decor ideas help a small table feel festive without crowding the room.
27. Add a Hot Drink Station for Cold Months
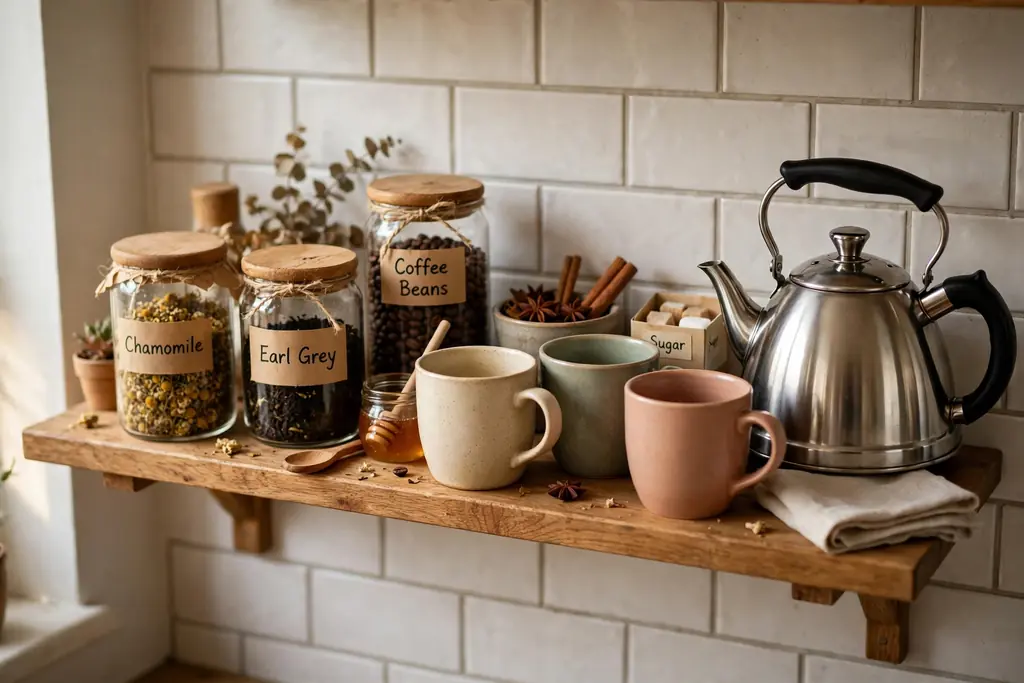
A hot drink station gathers mugs, tea, coffee, cocoa, and a kettle or coffee maker on one shelf or cart, ready for cold mornings. Keep the station near a power point but clear of the sink splash zone, and store beans or tea in sealed jars on the shelf. Add a small basket for filters and spoons, and wipe the shelf often, since coffee grounds and cocoa dust scatter. In winter, add a jar of cinnamon sticks and a small stack of cozy mugs, then swap them out in spring.
28. End Each Season With a One-Hour Kitchen Reset
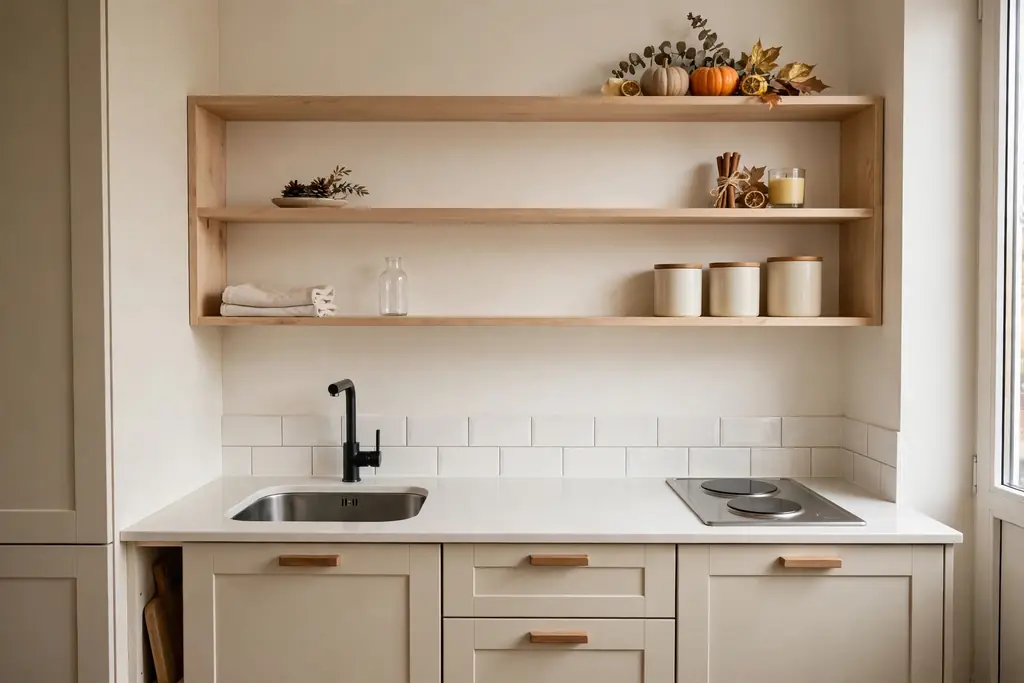
A one-hour reset at the end of each season keeps a studio kitchen from slowly filling up. Set a timer and work in order: clear the counters, wipe shelves and the rail, check spice and jar dates, return rarely used items to the tall cabinet, and swap the seasonal towels and shelf display. Note one fix for next season, such as a new hook or a better bin, and add it to a shopping list. A short, regular reset beats a large clear-out, and it keeps the cozy seasonal update feeling fresh rather than cluttered. For winter warmth, these christmas kitchen island decor ideas and halloween kitchen decor ideas show how small seasonal pieces can work in a compact space, and the colors for your kitchen cabinets guide can help if a paint refresh is part of your next seasonal change.
Conclusion
A studio kitchen works best when every piece earns its place and the seasonal update stays small. Start with layout and storage, add light where you work, and finish with soft, swappable touches that make the room feel warm in any season. You do not need a larger kitchen to cook well or to host a small meal. You need clear zones, tools within reach, and a reset routine that keeps counters clear. Pick one idea from this list this week, live with it for a few days, and add the next change only when the first one feels natural.
FAQs
How do I plan a studio kitchen layout in a small space?
Measure the wall, the door swing, and the floor space, then mark zones for storage, prep, cooking, and washing along the counter. Keep the prep zone between the sink and the stove, keep a clear path to the door, and choose fold-down or rolling pieces for eating and extra counter space. Test the layout for a week before buying fixed storage, since a small change in a studio affects the whole room.
What storage works best in a studio kitchen?
Open shelves for daily dishes, a rail for tools, a narrow pull-out pantry for bottles, and one tall cabinet for bulk and rarely used items cover most studio kitchens. Use clear labelled jars for dry goods, stand baking sheets upright, and keep daily items at waist to eye level. Avoid adding storage for items you rarely use, since every new shelf or bin takes space from cooking and eating.
How can I make a small kitchen feel cozy without clutter?
Use warm under-cabinet light, wood boards, a small rug, and one seasonal display, such as a fruit bowl and a vase, rather than many small decorations. Keep the colour palette to two or three shades, leave gaps on shelves, and clear the counter after each meal. A cozy kitchen feels warm because of light, wood, and soft textiles, not because every surface is filled.
Can a studio kitchen host a holiday meal?
Yes, if you plan for the guest count and use movable pieces. Use a fold-down table or breakfast bar for eating, a rolling cart as a serving station, and the oven to hold hot dishes until serving time. Keep the sink clear, wash up between courses, and set a simple table with placemats and one small centerpiece. Guests will remember the food and the welcome, not the size of the room.
How often should I update seasonal decor in a studio kitchen?
A small swap four times a year works well: change tea towels, a rug, placemats, and one shelf display at the start of each season. Store the out-of-season set in one labelled bin, so the swap takes minutes and nothing piles up. If a seasonal piece is still useful, such as a fruit bowl, keep it and change only what sits beside it.
What is the cheapest way to refresh a studio kitchen?
Start with a clear-out and a clean, then swap tea towels and a rug, add under-cabinet light, and restyle one open shelf. Paint is a larger step, so test a sample on one door first and check it in morning and evening light. Small, washable changes give the most visible result for the least cost, and they are easy to reverse if the look does not suit the room.