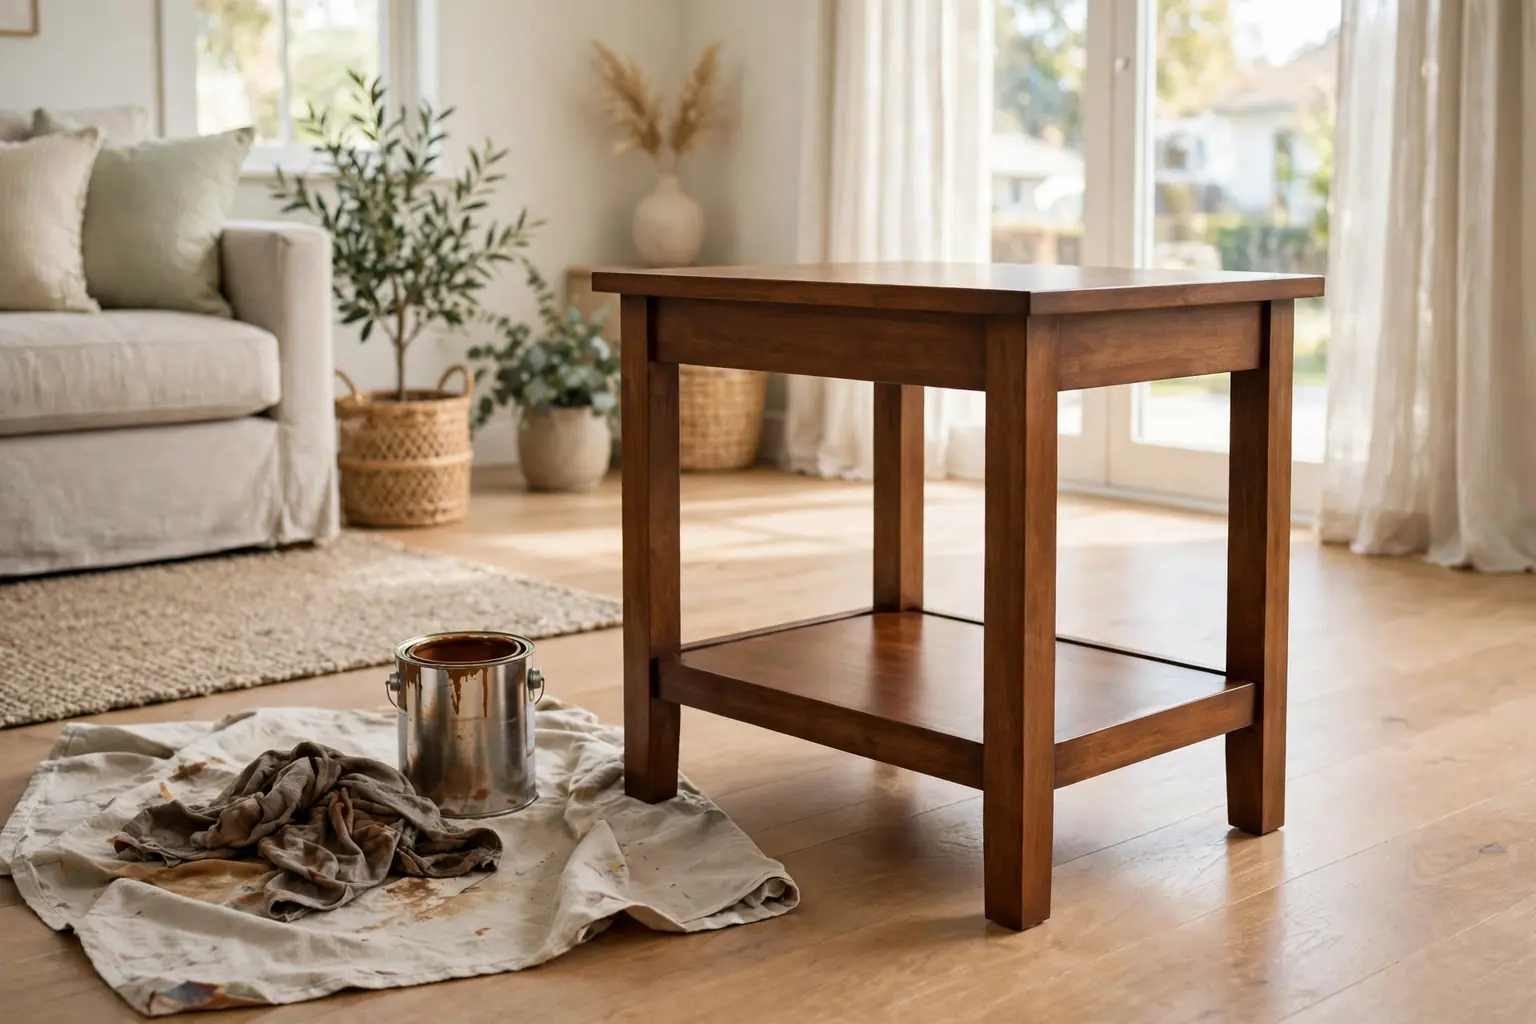
To choose a wood furniture stain, match the tone to your room, check whether the wood is warm or cool, test two or three samples on a hidden spot, and pick a stain type that suits the piece and how it will be used. Then prepare the surface, apply thin coats, and seal the result.
That short answer covers the whole process, and the steps below slow it down so each choice is easy to make. A stain does two jobs at once: it adds color, and it lets the grain show through. That is why the same stain can look different on two pieces, and why a sample test matters more than a color name on a can. Work through the steps in order, test before you commit, and give each coat time to dry. For rooms where warm wood sets the tone, see these farmhouse decor ideas and these living room color schemes.
Key Takeaways
- Match the stain tone to the room first, then to the wood, so the finished piece sits well with floors, walls, and other furniture.
- Warm woods and warm rooms suit warm stain tones, while cool rooms suit cooler, greyer stain tones.
- Always test two or three samples on a hidden spot or a scrap of the same wood before staining the whole piece.
- Oil based, water based, and gel stains behave differently, so pick the type that fits the piece and your experience.
- Prepare the surface well, since stain shows sanding marks, glue spots, and old finish that paint would hide.
- Apply thin coats, wipe off the excess, and let each coat dry fully before judging the color.
- Seal stained furniture with a clear topcoat, especially pieces that get daily use such as tables and chairs.
- Work in a ventilated area, wear protective gear, and check old finishes for lead before sanding.
Materials and Supplies
- Wood furniture stain in the tested shade, plus a clear topcoat for sealing
- Sample stain pots or small cans for testing, in two or three candidate shades
- A scrap piece of the same wood, or a hidden spot on the piece, for testing
- Sandpaper in a few grits, such as coarse for stripping and fine for smoothing
- A tack cloth or a clean, lint free cloth for removing sanding dust
- Clean cotton rags or a foam brush for applying stain, as directed on the product
- A natural bristle brush or foam brush for the topcoat, as directed on the product
- Painter tape, for protecting parts you do not want stained
- Gloves, eye protection, and a dust mask or respirator, as suited to the task
- Drop cloths, to protect the floor and nearby surfaces
- A screwdriver, for removing knobs, hinges, and other hardware before staining
- A lead test kit, if the piece has an old finish of unknown age
1. Identify the Wood and Its Current Finish

Start by finding out what wood you have and what is already on it. Look at the grain, the color, and the weight of the piece. Open grained woods such as oak show a strong pattern, while close grained woods such as maple look smoother and take stain more evenly. Pine and other soft woods soak up stain unevenly, which matters when you pick a stain type later.
Check the current finish next. Run a hand over the surface and look for shine, flaking, or worn patches. A glossy, sealed surface will resist new stain, while bare or worn wood will soak it up fast. If the piece is painted, the paint must come off before stain can work, since stain needs bare wood to show grain. If you are unsure about the wood type, a sample test on a hidden spot will still tell you more than a guess.
Note any repairs, glue spots, or filler on the surface. Stain colors filler and glue differently from bare wood, and those spots often show up darker or lighter than the rest. Plan to sand or work around them, and keep your expectations realistic for a piece with heavy repairs.
2. Decide the Look You Want for the Room
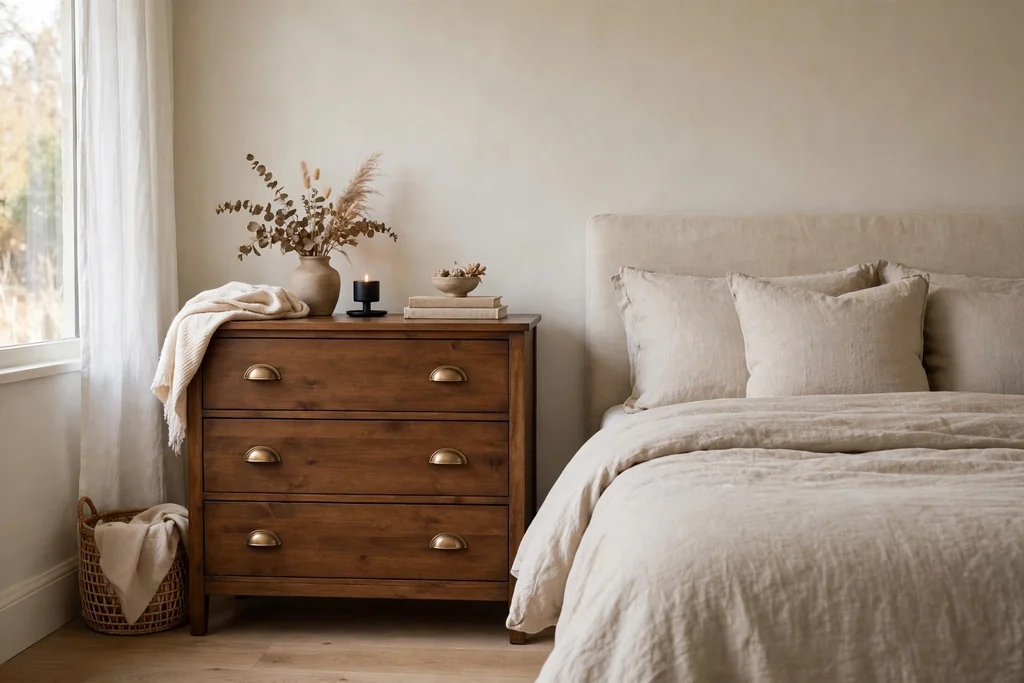
Before you pick a shade, decide what job the piece will do in the room. A dining table that anchors a room can carry a deeper tone, while a small side table may look better in a lighter tone that blends in. A bedroom dresser should sit calmly beside bedding and curtains, while a living room console can echo the tone of the floor or the coffee table.
Look at the largest wood surfaces already in the room, such as floors, beams, or a dining table. Stained furniture does not need to match those tones exactly, and in fact an exact match can look flat. Aim for tones in the same warm or cool family, with one clear step lighter or darker, so the piece relates to the room without disappearing into it. For ideas on keeping wood tones in one family across a room, see these living room color schemes.
Also think about light. A room with strong daylight will make a stain look lighter and warmer than the same stain in a dim hallway. Check your samples in the room where the piece will live, in both daylight and evening light, before you make a final choice.
3. Learn the Main Stain Types
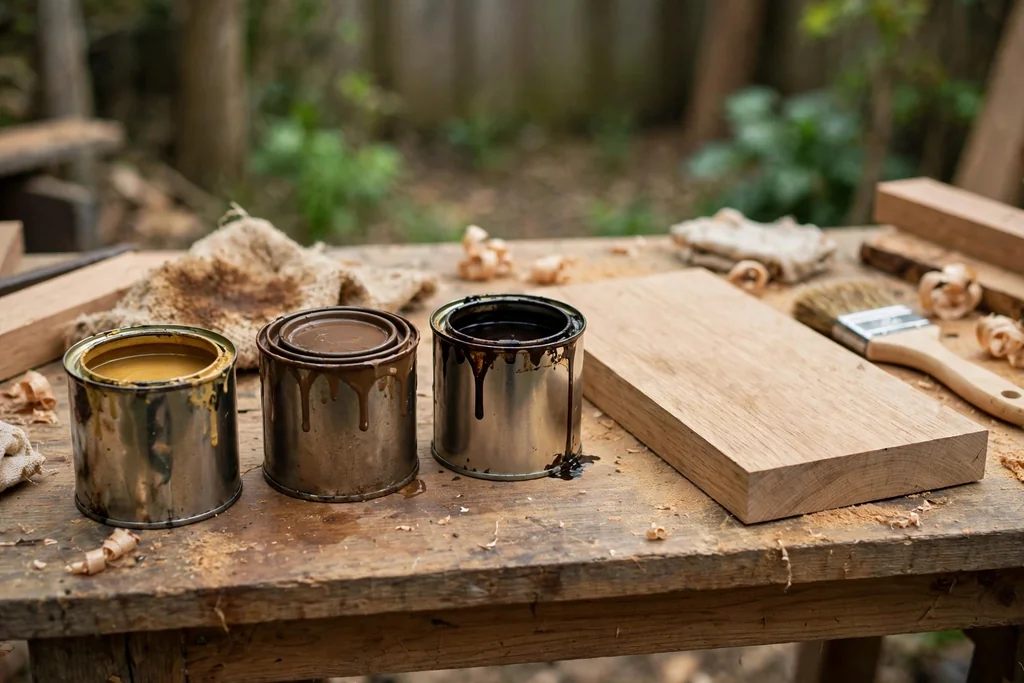
Stains for furniture generally fall into three types, and each suits different pieces. Oil based stains soak in slowly, which gives you more working time to wipe and even out the color. That longer open time helps on larger pieces such as tabletops, but it also means longer drying times and stronger fumes, so ventilation matters more.
Water based stains dry faster, have lower odor, and clean up with water. They can raise the grain of the wood slightly, which may call for a light sanding between coats. They suit smaller pieces and indoor work where drying time matters, and they work well when you want a lighter, less amber tone.
Gel stains sit more on the surface than they soak in, which makes them useful on woods that stain unevenly and on pieces where stripping the old finish fully is not practical. They are thicker, so they can be easier to control on vertical surfaces such as chair legs and cabinet doors. Read the directions on the product you buy, since drying times and application methods differ by type.
4. Choose Warm, Cool, or Neutral Tones
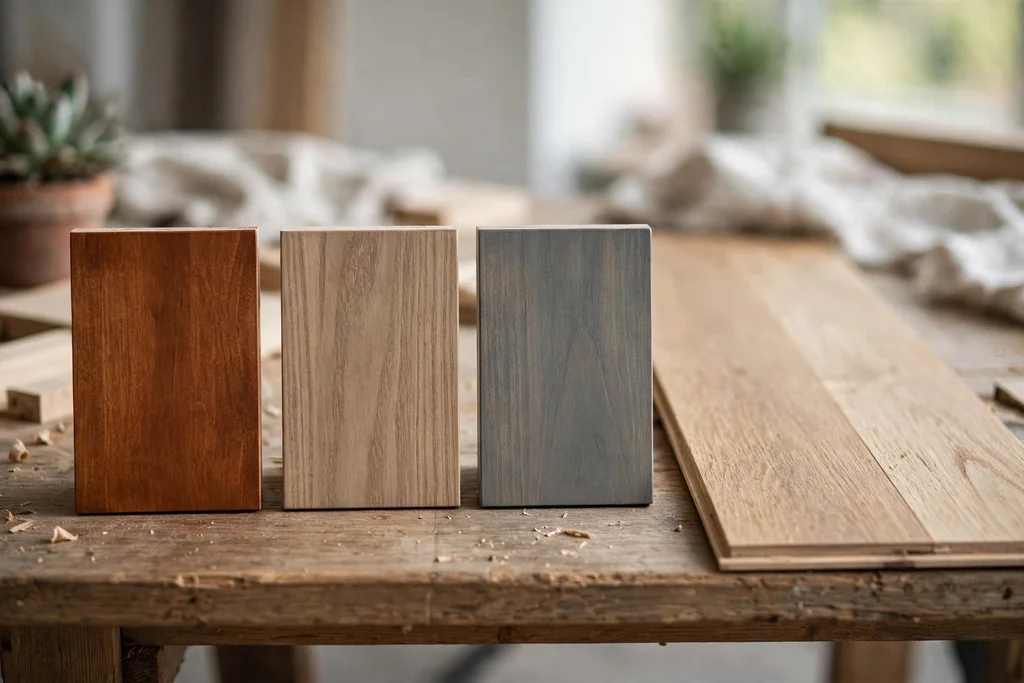
Stain tones fall into warm, cool, and neutral families, and the family matters as much as the depth of color. Warm tones carry red, orange, or golden notes, and they suit rooms with warm white walls, brass details, and honey toned floors. Cool tones carry grey, ashen, or slightly blue notes, and they suit rooms with cool greys, silver details, and pale floors.
Neutral tones sit between the two, with brown notes that read neither strongly warm nor strongly cool. They are a safe choice when a room mixes warm and cool elements, or when you plan to move the piece between rooms later. If you are unsure, hold your sample boards against the floor, the wall, and the largest nearby furniture piece, and pick the family that looks settled beside all three.
Avoid choosing a tone only because you like it on its own. A warm walnut tone can clash with a cool grey room, and a grey washed tone can look cold beside honey oak floors. The room test in step 5 will catch this before the whole piece is stained.
5. Pick a Depth: Light, Medium, or Dark
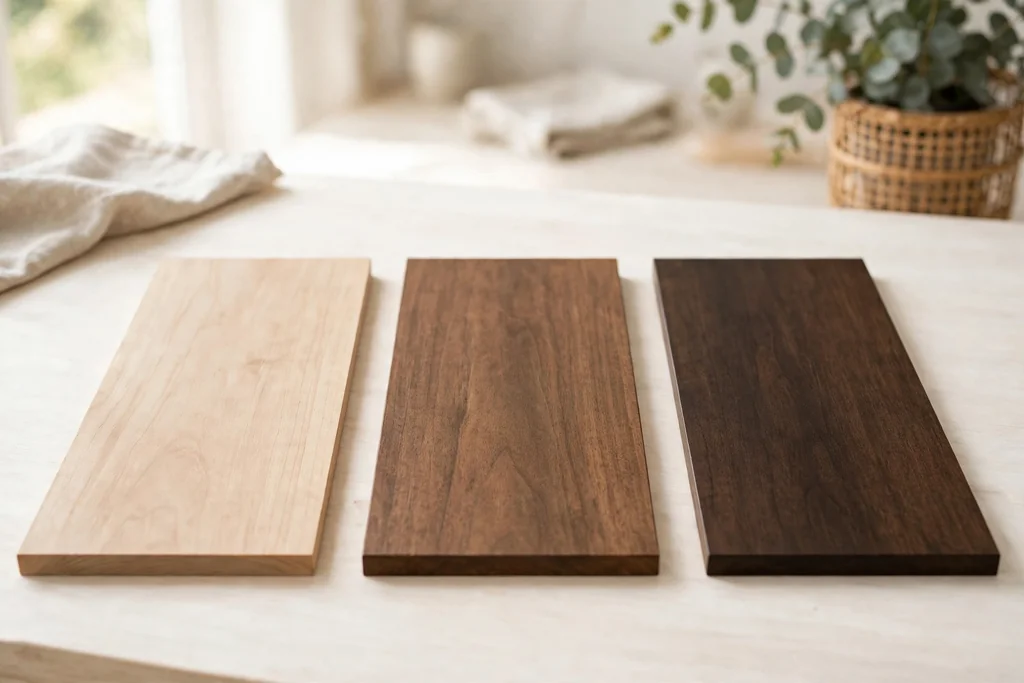
Depth means how dark the stain looks, and it changes the feel of a piece more than most people expect. Light stains keep a room feeling open and show the most grain detail, which suits small rooms and pale decor. They also show wear and marks more readily on pieces that get heavy daily use.
Medium stains are the most forgiving choice for most furniture. They add clear color and richness, hide minor wear, and still let grain show through. If you are staining your first piece, a medium tone is a sensible place to start, since it is easier to judge and easier to live with than a very dark finish.
Dark stains give a piece weight and a formal feel, and they can pull together mixed woods by evening out their color differences. They also show dust and scratches more clearly, and they darken a room if used on many large pieces at once. Use dark tones on one anchor piece at a time, and check the sample in the room before committing.
6. Set Up Safely and Check Old Finishes for Lead
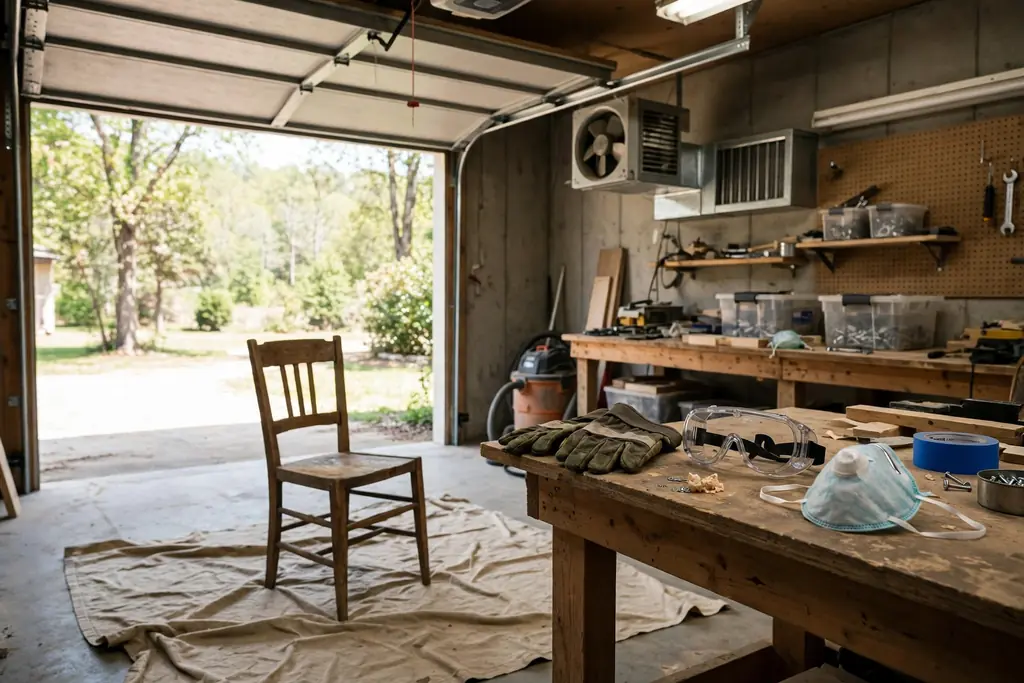
Set up your workspace before you open any stain. Work in a ventilated area, such as a garage with the door open, a covered outdoor space, or a room with windows open and air moving through. Keep the space clear of open flames and heaters, since stain and its rags can be flammable. Lay drop cloths under the piece and keep rags flat or in a safe container as directed on the product, never bunched up in a pile.
Wear protective gear for the whole job: gloves to keep stain off your skin, eye protection when sanding, and a dust mask or respirator when sanding or working with strong fumes. Change gloves if they tear, and wash your hands after handling stain, even if you wore gloves.
If the piece has an old finish and you do not know its age, check for lead before sanding. Older painted or varnished finishes can contain lead, and sanding lead paint creates dust that is hazardous to breathe. Use a lead test kit as directed, and if the test is positive, do not sand the piece yourself. Seek advice on safe removal or choose a different piece. This check costs little time and prevents a serious health risk.
7. Test Samples on a Hidden Spot or Scrap Wood
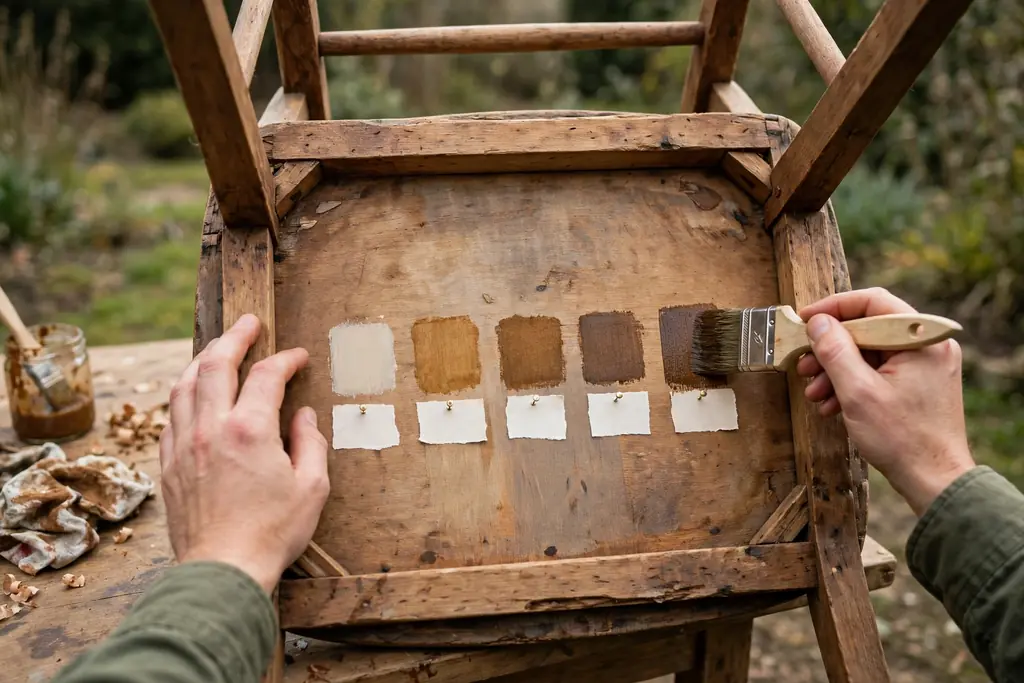
Testing is the step that saves the most regret. Apply your two or three candidate shades to a hidden spot, such as the back of a leg, the inside of a drawer front, or the underside of the piece. If no hidden spot exists, test on a scrap piece of the same wood, sanded the same way as the furniture.
Apply each sample the same way you plan to stain the piece, with the same number of coats, and let each sample dry fully. Stain looks much darker when wet, so judge the color only after it dries, and after a clear topcoat sample if you plan to seal it, since topcoat can deepen the tone slightly. Label each sample with the shade name and the number of coats, so you do not mix them up.
Live with the samples for a day if you can. Check them in daylight and in evening light, beside the floor and the wall, and from across the room. The shade that looks right in all three checks is the one to use, even if it was not your first pick in the shop.
8. Prepare the Surface: Clean, Sand, and Remove Dust
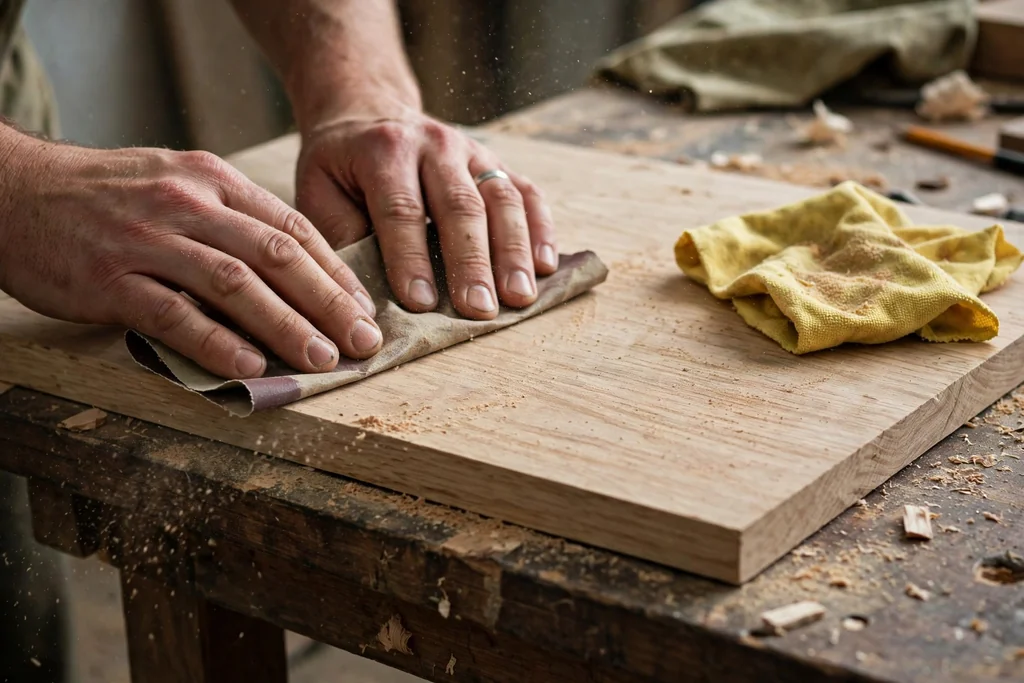
Good preparation decides how even the stain looks. Remove all hardware, including knobs, hinges, and pulls, and set the screws aside in a labeled bag so refitting is simple. Clean the piece with a damp cloth to remove dust and grease, and let it dry fully before sanding.
Sand with the grain, never across it, starting with a coarser grit to remove the old finish or rough spots, then moving to finer grits to smooth the surface. Cross grain scratches show up clearly under stain, so keep your strokes along the grain and check your work in raking light. Sand edges and corners lightly, since they wear through fast and will take stain darker if over sanded.
After sanding, remove every trace of dust. Wipe the piece with a tack cloth, then with a clean, slightly damp cloth, and let it dry. Dust left on the surface can block stain and leave pale spots, so this step is worth doing twice on large flat areas such as tabletops.
9. Use Wood Conditioner on Soft or Porous Woods
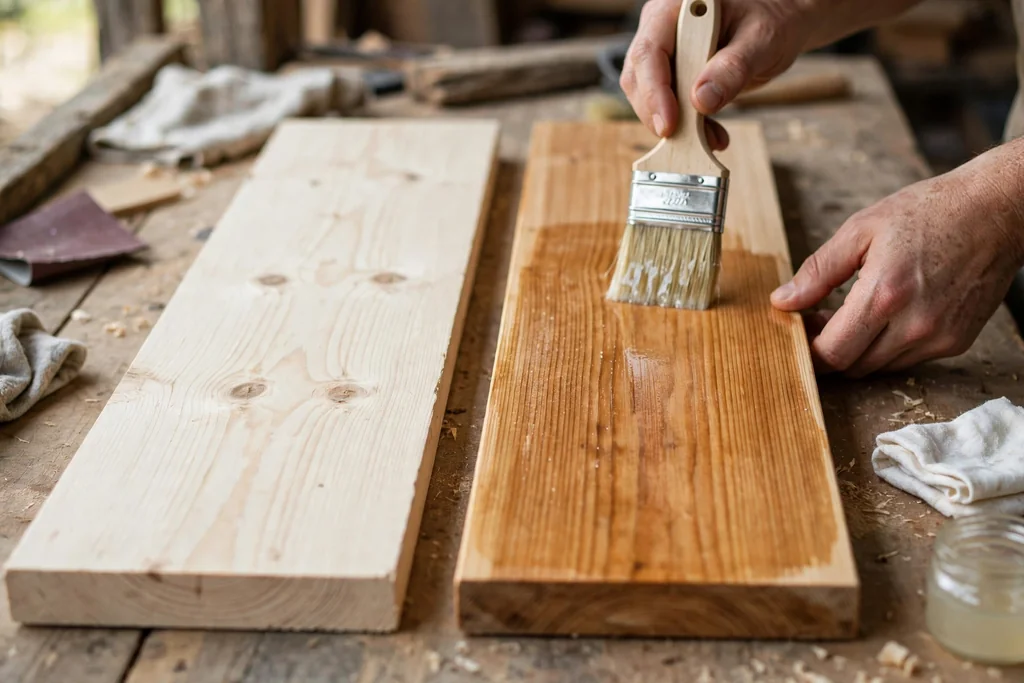
Some woods soak up stain unevenly, leaving dark blotches beside pale patches. Pine, fir, and other soft woods are the usual cases, as are some close grained woods with uneven density. A pre stain wood conditioner helps even out absorption, so the stain goes on more uniformly.
Apply conditioner as directed on the product, usually with a brush or cloth, and let it sit for the stated time before staining. Stain soon after the conditioner window opens, since waiting too long can reduce its effect. Conditioner does not change the final color much on its own, but it does change how evenly the stain takes, so judge the color after the stain coat, not after the conditioner.
If your test samples on scrap wood already look even without conditioner, you may skip it. If the samples look blotchy, conditioner is worth trying on a fresh sample before you stain the whole piece. Test both ways on scrap wood when you have time, since the comparison shows the difference clearly.
10. Apply the First Coat Evenly and Wipe Off the Excess
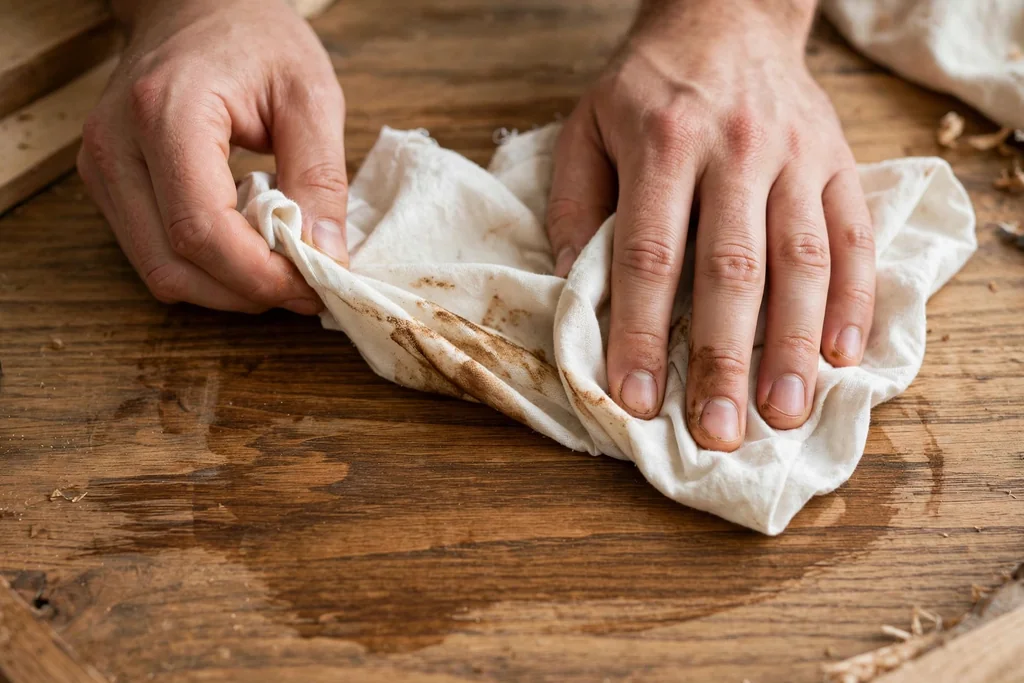
Stir the stain well before you start, since the color pigments settle at the bottom of the can. Apply a thin, even coat with a clean rag, a foam brush, or a bristle brush, working with the grain and covering one section at a time. Work on flat surfaces first, then legs and edges, so drips on vertical parts can be caught while the stain is still wet.
Let the stain sit for the time stated on the product, usually a few minutes, then wipe off the excess with a clean rag, again working with the grain. Wiping is what sets the final color: stain left sitting on the surface dries darker and stickier, while wiped stain leaves a thinner, more even tone. Use a fresh section of rag often, so you are wiping off excess rather than moving it around.
Check the piece in good light after wiping. Look for puddles in corners and carvings, dry patches where the rag took too much off, and lap marks where two sections meet. Fix these now, while the coat is still workable, rather than after it dries.
11. Let It Dry, Judge the Color, and Add a Second Coat If Needed
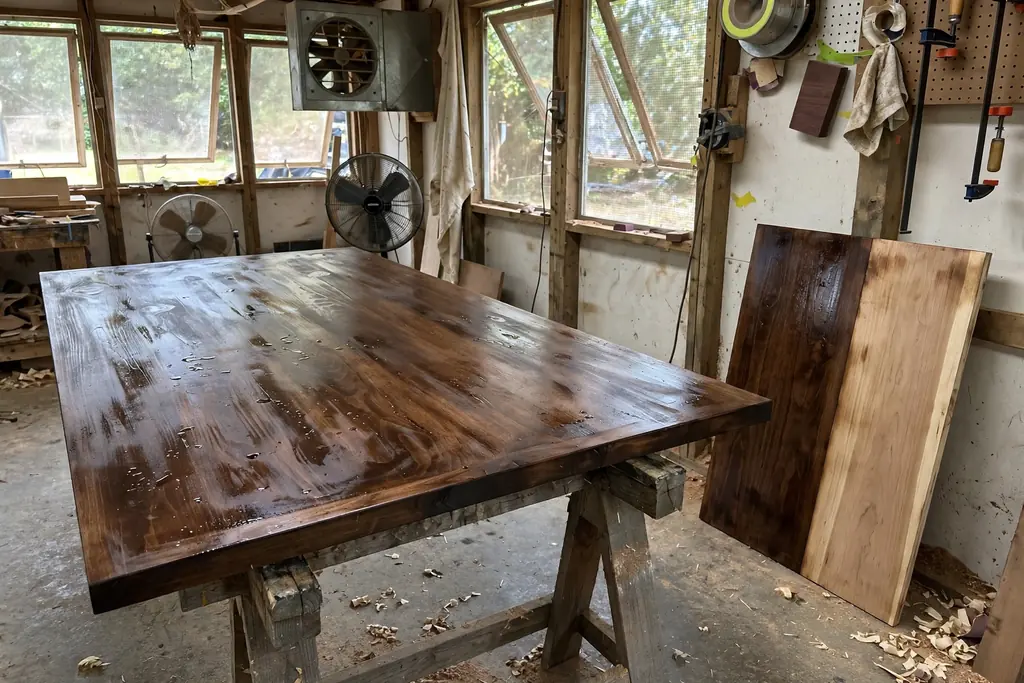
Let the first coat dry fully before you judge it or add another coat. Drying times vary by stain type, temperature, and humidity, so follow the directions on the product and allow extra time in cold or damp weather. A coat that feels dry to a light touch may still be soft underneath, and a second coat applied too soon can lift the first.
Once dry, check the color in the room where the piece will live, in daylight and in evening light. If the tone is right but a little light, a second thin coat will deepen it. Apply the second coat the same way as the first, wipe off the excess, and let it dry fully again. Two thin coats almost always look better than one thick coat, which can hide grain and dry unevenly.
If the color is too dark after the first coat, do not try to lighten it by sanding patches, since that creates uneven spots. A light overall sanding and a fresh thin coat is a better fix, or accept the darker tone and move to sealing. Note the number of coats you used, so touch ups later match.
12. Seal With a Clear Topcoat
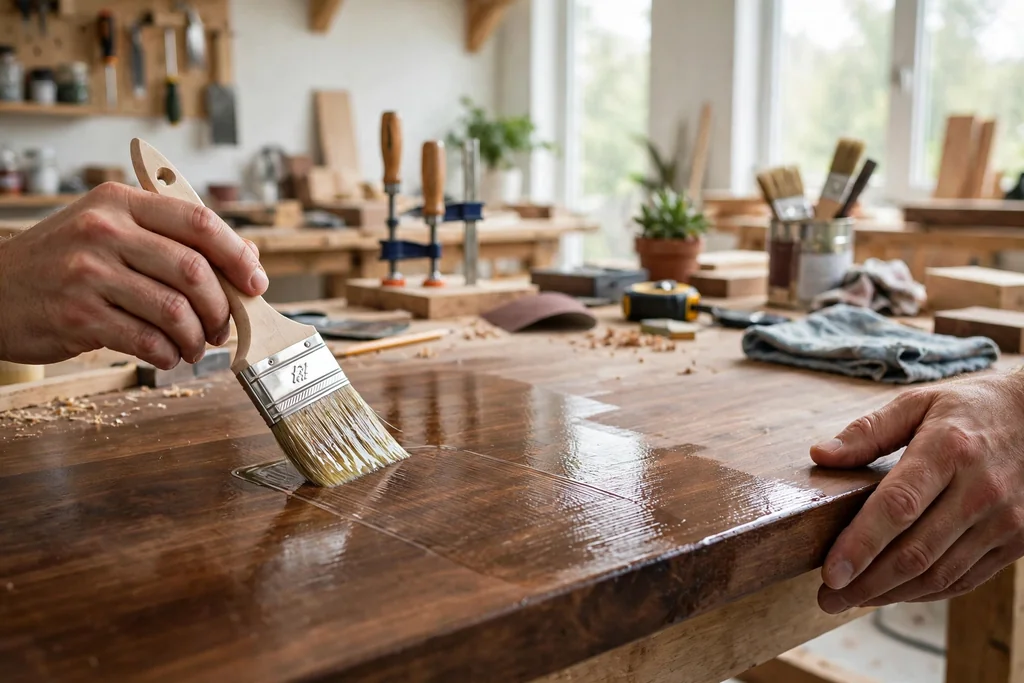
Stain adds color, but it does not protect the surface on its own. Seal the piece with a clear topcoat, such as polyurethane, in a sheen that suits the room: matte or satin for a soft look, semi gloss for pieces that need wiping often. Apply the topcoat in thin, even coats with a clean brush, working with the grain and avoiding puddles.
Let each topcoat dry fully, then sand very lightly with fine sandpaper to smooth any dust nibs, wipe off the dust, and apply the next coat. Two or three thin topcoats give better protection than one thick coat, especially on tabletops, chair seats, and other surfaces that get daily use. Follow the drying and recoat times on the product, since they differ by type.
Check the sheen in the room before the final coat. A topcoat can deepen the stain tone slightly and add shine, so the finished piece may look a little different from the unstained sample. That is normal, and it is another reason to seal your test sample in step 7 before making a final shade choice.
13. Refit Hardware, Cure, and Place the Piece in the Room
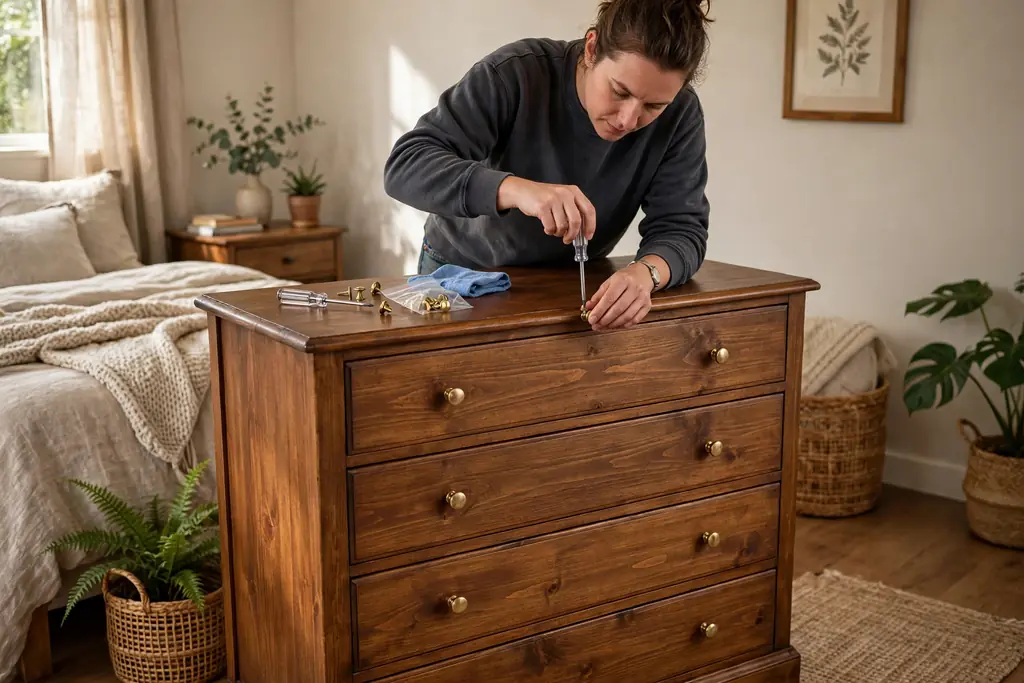
Once the final topcoat is dry, refit the hardware using the labeled screws from step 8. Tighten screws gently, since over tightening can crack a fresh finish around the screw holes. If you replaced knobs or pulls, check that the new hardware suits the stain tone and the room, and that it sits flat against the surface.
Let the piece cure before heavy use. Drying and curing are different: a finish can feel dry while it is still soft underneath, and placing hot dishes, heavy books, or damp items on it too soon can mark it. Follow the curing time on the topcoat product, and keep the piece in a ventilated spot during that time.
Place the piece in its room and live with it for a few days before judging the result. Check it beside the floor, the wall, and the nearby furniture, in daylight and in evening light. Small differences from your sample are normal, since grain varies across a single piece. For woven texture that pairs well with warm stained wood, see these rattan decor ideas.
14. Maintain the Finish and Touch Up Wear
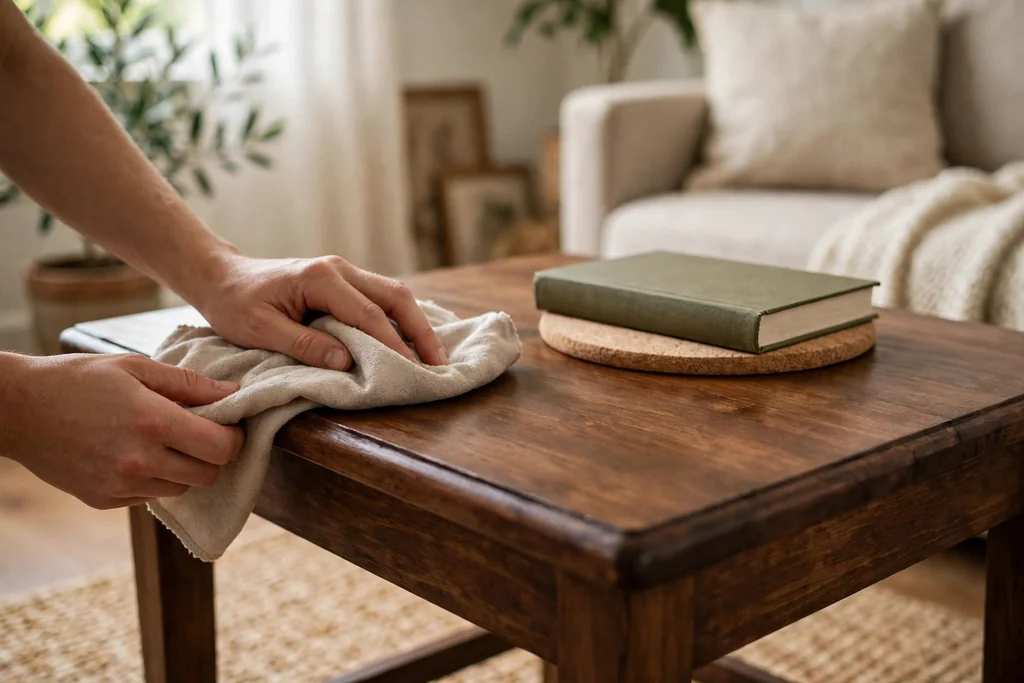
Stained and sealed furniture needs only simple care to last well. Dust with a soft, dry cloth, and wipe spills promptly with a slightly damp cloth, then dry the surface. Avoid harsh cleaners and abrasive pads, which can dull the topcoat and wear through to the stain. Use coasters under hot or wet items on tabletops, and felt pads under objects that sit in one spot for a long time.
When wear appears, usually on edges, chair arms, and table rims, touch it up early rather than waiting for bare wood to show. Lightly sand only the worn spot with fine sandpaper, wipe off the dust, dab on a small amount of matching stain, let it dry, and seal the spot with a thin topcoat. Feather the edges of the touch up so it blends into the surrounding finish.
If the whole topcoat looks dull or scratched after years of use, a fresh topcoat over a cleaned and lightly sanded surface can renew the piece without a full strip and restain. That is one of the practical benefits of sealing well in the first place: the stain stays protected, and only the clear coat needs renewing.
Conclusion
Choosing a wood furniture stain comes down to a steady order: know the wood and its finish, pick a tone family that suits the room, choose a light, medium, or dark depth, and test samples on a hidden spot before you commit. Set up in a ventilated area with protective gear, check old finishes for lead before sanding, prepare the surface well, apply thin coats, and seal the result with a clear topcoat. With that routine, a stained piece shows its grain, sits well in the room, and stands up to daily use.
FAQs
How do I choose a wood furniture stain color?
Choose a wood furniture stain color by matching the tone family to your room first, then picking a depth that suits the piece. Warm rooms suit warm tones, cool rooms suit cooler tones, and neutral tones suit mixed rooms. Test two or three samples on a hidden spot, check them in daylight and evening light, and pick the shade that looks settled beside your floor and walls.
Should I use oil based or water based wood stain on furniture?
Use oil based stain when you want a longer working time on a large piece and can ventilate well, since it dries slowly and has stronger fumes. Use water based stain when you want faster drying, lower odor, and easier cleanup, and when a lighter, less amber tone suits the room. Gel stain suits uneven woods and vertical surfaces, since it sits more on the surface than it soaks in.
Do I need to test wood stain before staining furniture?
Yes, test wood stain on a hidden spot or a scrap of the same wood before staining the whole piece. Stain looks darker when wet and varies by wood type, so a sample is the only reliable way to judge the final color. Apply the sample the same way you plan to stain the piece, let it dry fully, and seal a test patch if you plan to seal the furniture.
How do I stop wood stain from looking blotchy?
Stop wood stain from looking blotchy by sanding evenly with the grain, removing all dust, and using a pre stain wood conditioner on soft or porous woods such as pine. Apply thin coats, wipe off the excess evenly, and work one section at a time so no area dries before it is wiped. Testing on scrap wood first shows whether conditioner helps for your piece.
Do I need to seal stained wood furniture?
Yes, seal stained wood furniture with a clear topcoat, since stain alone does not protect the surface from spills, scratches, and daily wear. Apply two or three thin topcoats, sanding lightly between coats, and let the finish cure before heavy use. Tabletops, chair seats, and other high use surfaces need sealing most, while low use decorative pieces can use fewer coats.
How do I fix a wood stain that came out too dark?
Fix a wood stain that came out too dark by first checking whether the sealed finish softens the look once it is fully dry and in the room, since wet stain always looks darker. If it is still too dark, lightly sand the whole surface evenly and apply a fresh thin coat in a lighter shade, or strip and restain for a full correction. Avoid sanding only patches, since that creates uneven spots that show through the next coat.