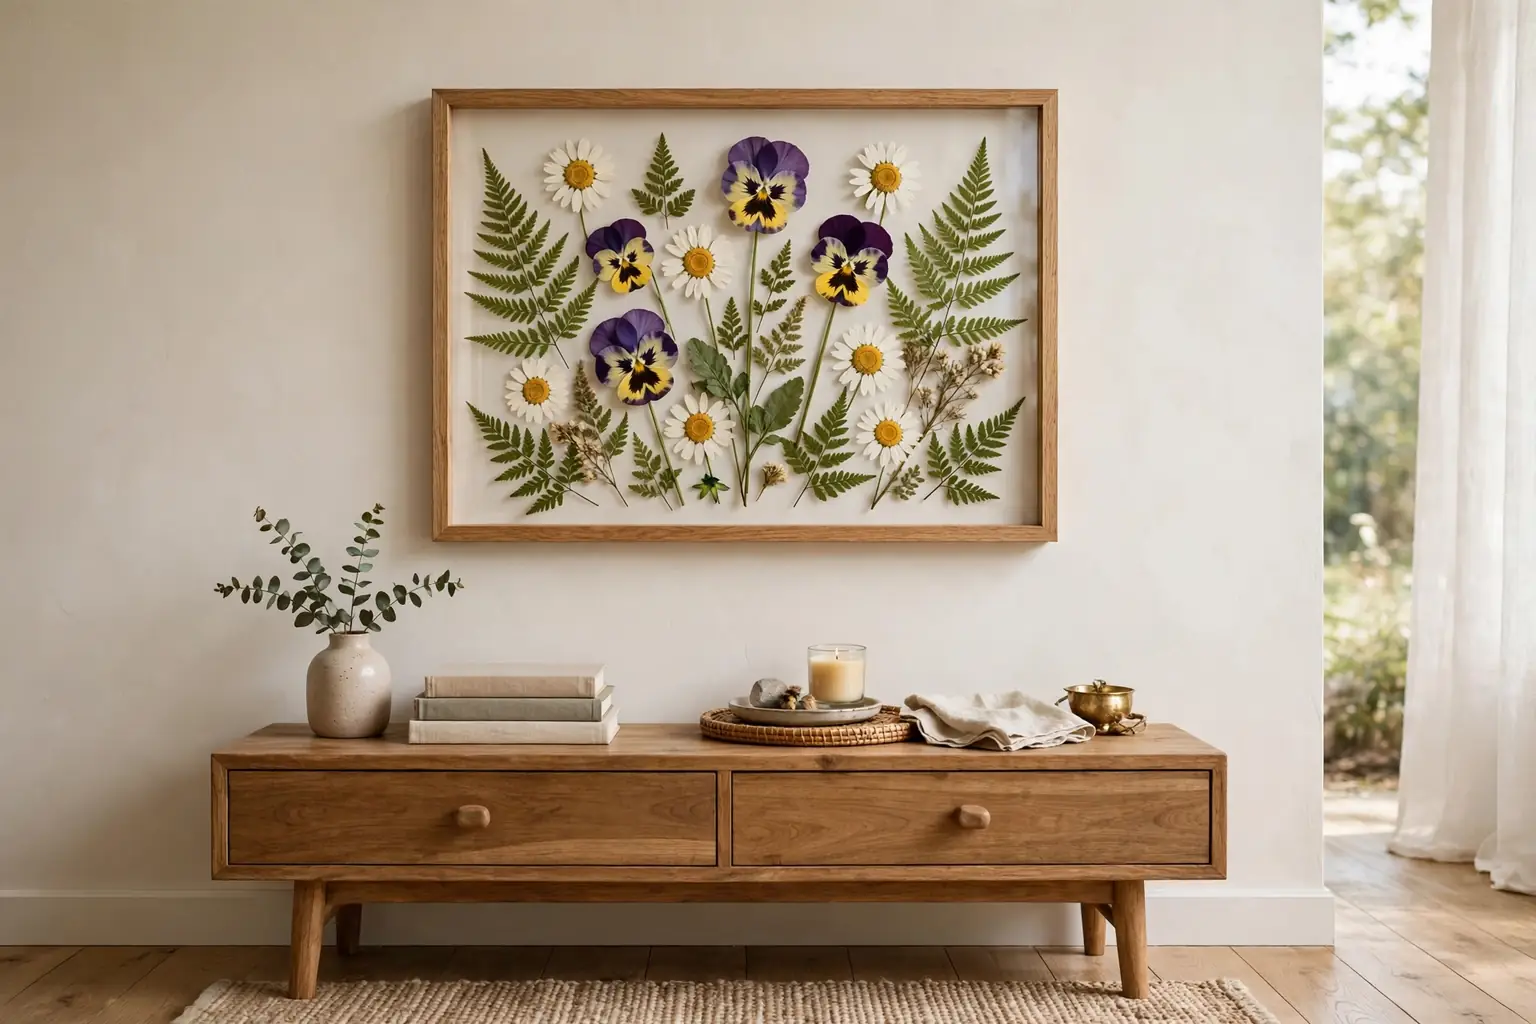
To make pressed flowers, pick blooms at their peak, trim the stems, and lay each flower face down between absorbent paper sheets. Press them flat under weight or in a flower press for two to four weeks, changing the paper during the first week. Once the blooms feel dry and papery, seal them and arrange them in a frame.
Pressed flowers turn a garden bunch, a bouquet, or a few stems from a walk into flat art you can frame, mount on cards, or use on bookmarks and ornaments. The process needs patience more than skill, since most of the work is waiting while the paper draws moisture out of the petals. Flat blooms with thin petals press best, while thick, fleshy flowers need more time and often lose their shape. If you are choosing stems for a fresh display first, see these fall flower arrangements for ideas on pairing blooms before you press the leftovers.
Key Takeaways
- Pick flowers at their peak, on a dry day, and press them the same day when you can.
- Flat blooms with thin petals, such as pansies, violas, daisies, and ferns, press more evenly than thick flowers.
- Lay each bloom face down on absorbent paper, and keep petals flat and separated so they do not stick together.
- Press for two to four weeks, changing the paper during the first week, until the blooms feel dry and papery.
- Seal finished flowers before framing, and hang framed pressed flowers out of direct sun to slow fading.
- Handle dried blooms by the stem or with tweezers, since dry petals break easily.
Supplies You May Need
- Fresh flowers at their peak, plus leaves and ferns if you want them in the design
- Sharp scissors or garden snips
- Absorbent paper, such as blotting paper, watercolor paper, or plain unprinted paper
- A heavy book, a stack of books, or a wooden flower press with straps or bolts
- Cardboard pieces cut to fit the book or press
- Tweezers for placing small blooms and petals
- Clear sealant spray made for paper crafts, or clear-drying craft glue thinned with water
- Acid-free card or heavy paper for mounting
- A frame with glass, plus a mat if you want space between the flowers and the glass
- Craft glue, a small brush, and a pencil for planning the layout
- Labels or notes to record the flower type and the date pressed
1. Choose Flowers That Press Well
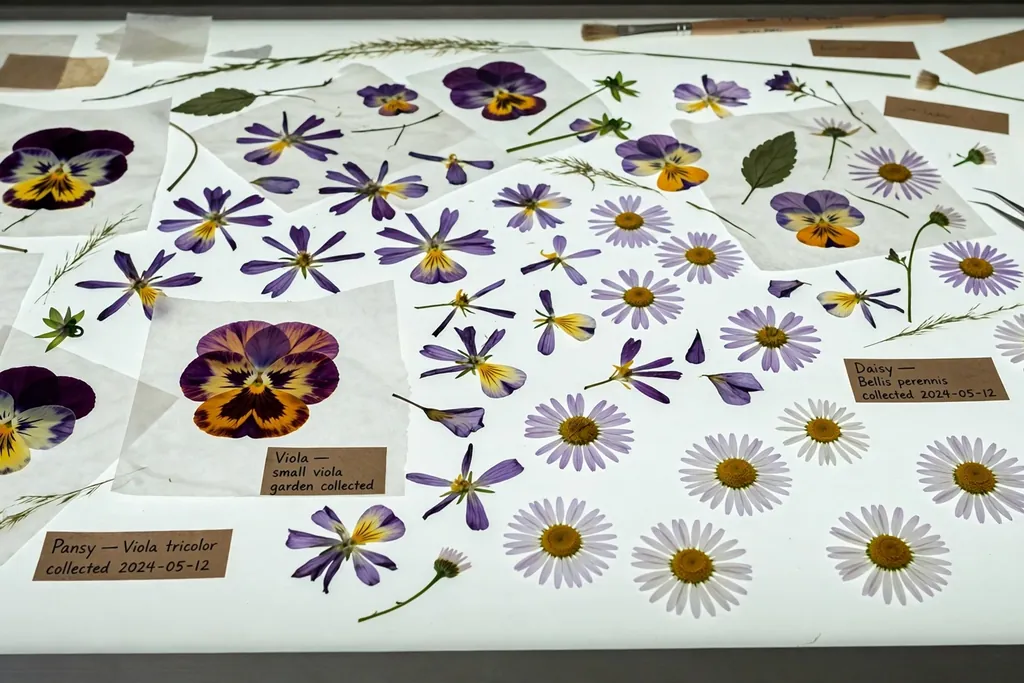
Start with flowers that are naturally flat or have thin petals. Pansies, violas, daisies, buttercups, forget-me-nots, ferns, and leaves press evenly and keep a clear shape. Small wildflowers and single-petaled blooms also work well, since there is less bulk to flatten.
Thick flowers such as roses, peonies, and large dahlias are harder to press whole. You can press single petals from these flowers, or split a thick bloom in half lengthwise before pressing, so it lies flatter. Avoid flowers with fleshy stems or very wet petals, since they take longer to dry and may mold. If you are unsure about a flower, press one test bloom first and check it after a week before pressing a full batch.
2. Pick Flowers at the Right Time
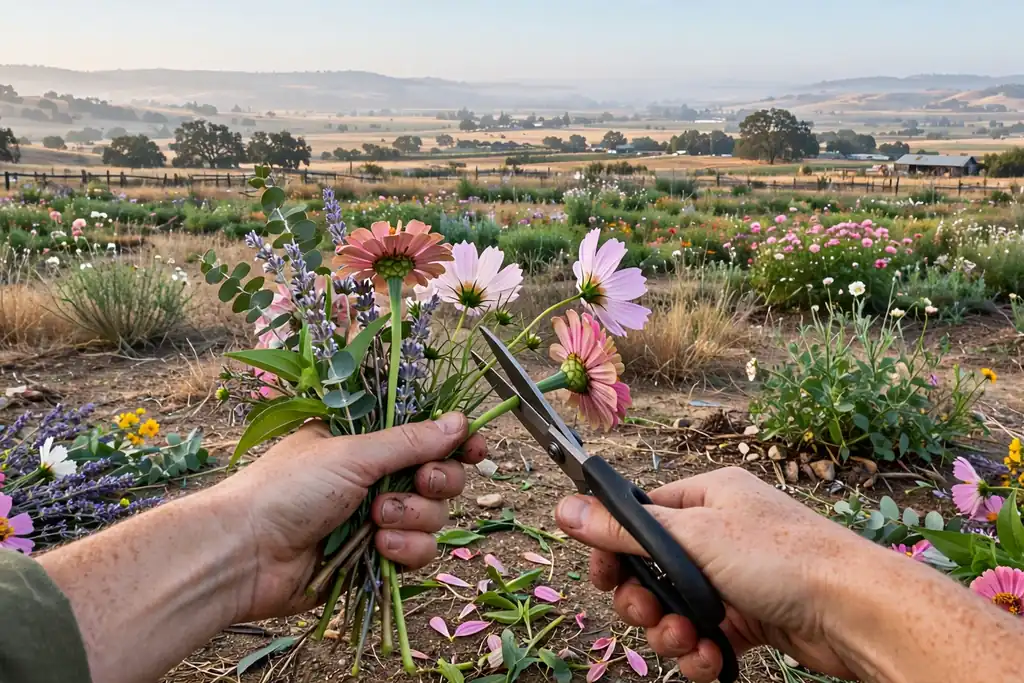
Pick flowers when they are fully open but still fresh, with firm petals and no brown edges. Mid-morning on a dry day is a good time, after dew has dried but before strong sun wilts the blooms. Cut stems with sharp scissors, leaving enough stem to hold the flower while you arrange it.
Press flowers the same day you pick them when you can. Fresh blooms flatten cleanly, while blooms left in water for days may bruise or start to wilt in a way that shows in the finished piece. If you must wait, keep the stems in a cool room out of direct sun, and press them as soon as you are able. Keep a note of each flower type, since labels help when you plan a frame later.
3. Gather Your Supplies Before You Start
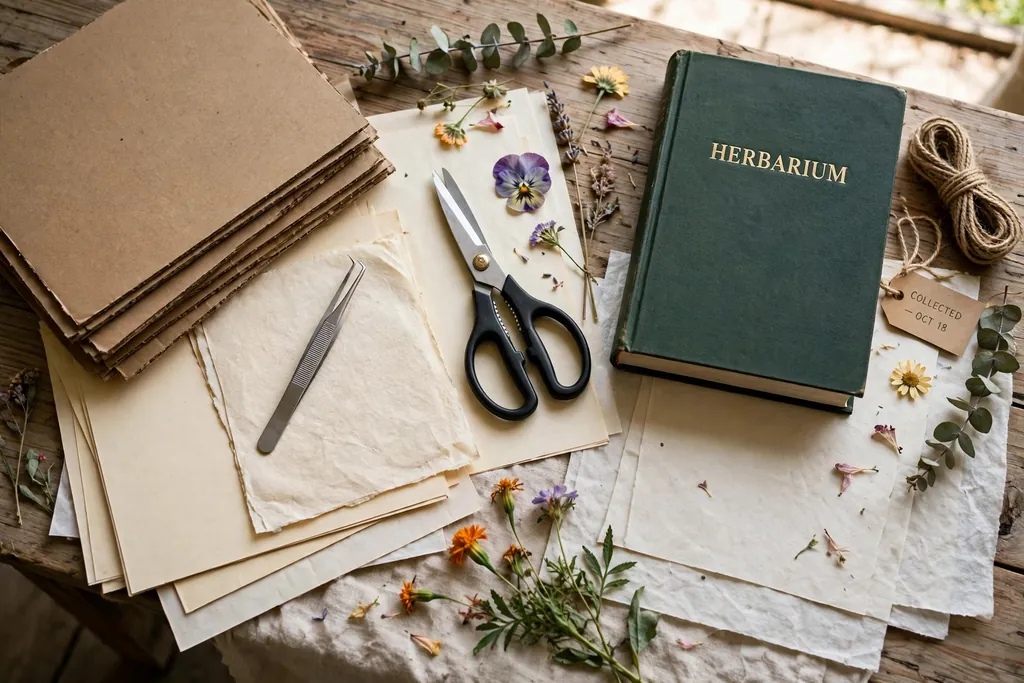
Set out everything you need before you open the first bloom, since flowers dry out and wilt once cut. Lay out absorbent paper, cardboard, a book or flower press, tweezers, scissors, and labels on a clean, dry table. Work in a room with low humidity when you can, since damp air slows drying.
Choose paper that will not print onto the petals. Plain unprinted paper, blotting paper, or watercolor paper all work, while newspaper can leave ink marks on light petals. Cut the paper and cardboard to a size that fits inside your book or press, so the edges do not fold over. Having a second set of dry paper ready makes the first paper change quick and simple.
4. Trim and Prepare Each Bloom
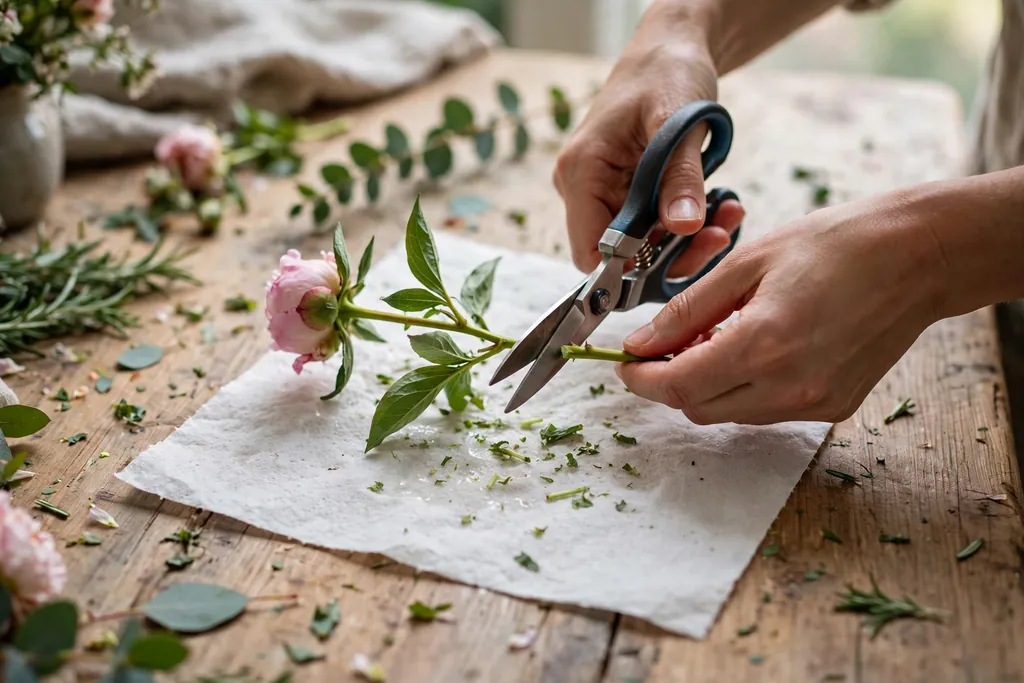
Trim each stem close to the bloom, leaving only a short length if you want the stem in the design, or none at all for a flat flower head. Remove leaves you do not plan to press, and trim away any damaged petals. For a thick bloom, split it in half lengthwise with a sharp knife or scissors, and press the flatter half face down.
Lay the bloom on a sheet of absorbent paper and check its shape from above. Petals should lie flat without folding under, and the center of the flower should face up or down as you want it to appear in the frame. Small adjustments now matter, since a petal pressed over another petal will stay in that position. Work with one bloom at a time, and keep the rest in a cool spot while you work.
5. Arrange Blooms Face Down on Absorbent Paper
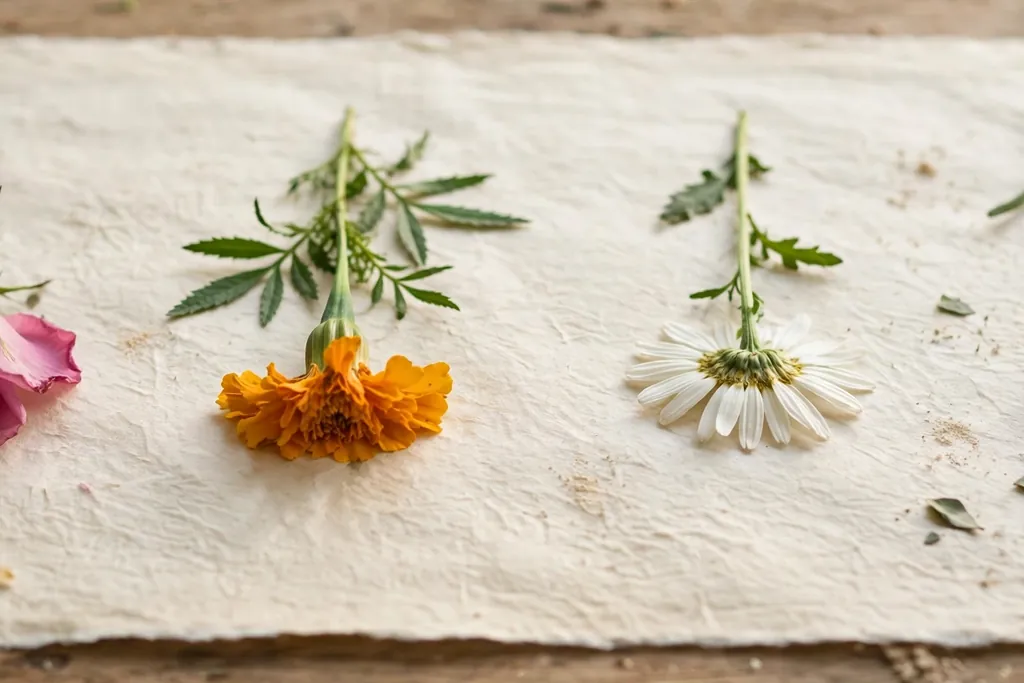
Place each prepared bloom face down on a sheet of absorbent paper, spacing blooms so no two touch. Face down pressing keeps the front of the flower smooth and flat, which suits framed art. Add leaves and ferns in the same layer, and keep stems straight or in a gentle curve you like.
Lay a second sheet of absorbent paper over the blooms, then a piece of cardboard on top of that. The cardboard keeps the layer flat and stops the shape of one layer from marking the next. Label the paper or cardboard with the flower type and the date, so you can track drying time for each batch. If you press in a book, use the same paper and cardboard layers between the pages.
6. Press Blooms in a Heavy Book

A heavy book is the simplest way to press flowers, and it suits a small batch. Open the book near the middle, lay your paper and cardboard sandwich inside, and close the book gently so the blooms do not shift. Stack one or two more heavy books on top for extra weight.
Leave the book in a dry, warm spot, and do not open it every day to check, since moving the blooms can crack or shift petals. The book method works best for flat, thin flowers, and it suits a first batch of pansies, violas, or ferns. Note that moisture can mark book pages, so use a book you do not mind marking, and keep the paper layers between the blooms and the pages.
7. Use a Wooden Flower Press for Larger Batches
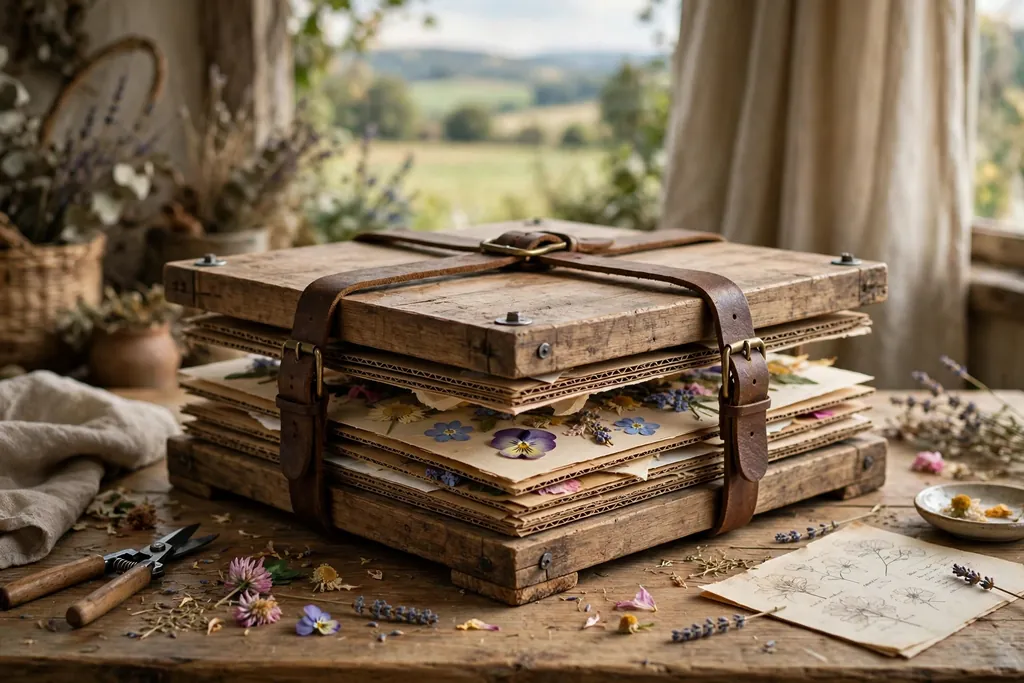
A wooden flower press holds more blooms than a book, and it gives even pressure across each layer. Build up layers of cardboard, absorbent paper, blooms, absorbent paper, and cardboard again, and repeat for each layer of flowers. Tighten the straps or bolts firmly, but not so hard that stems crush and leak moisture into the paper.
Set the press in a dry, warm spot, and tighten the straps again after a day or two, since the layers settle as moisture leaves the blooms. A press suits a larger project, such as a set of frames for one wall, or a batch of blooms saved from a bouquet. For table ideas that pair well with framed flower art, see these Thanksgiving flower arrangements for seasonal color pairings you can echo in a frame.
8. Try the Microwave Method for Quick Results
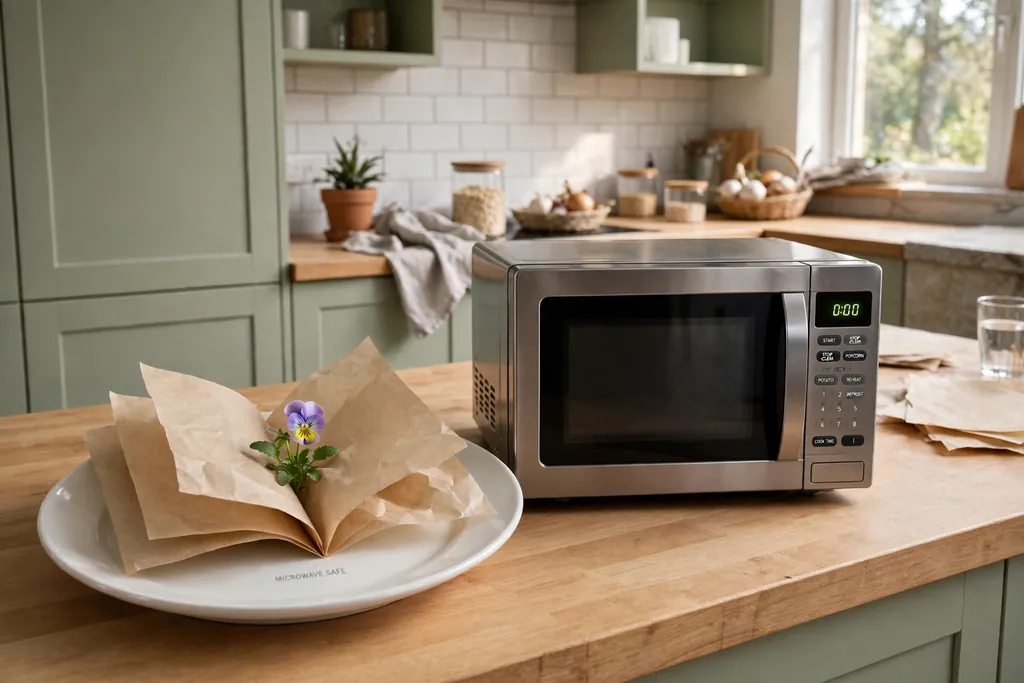
The microwave method dries flowers in minutes rather than weeks, and it suits a single bloom you want to use soon. Place the bloom face down between two sheets of absorbent paper, then between two microwave-safe tiles or plates. Heat in short bursts, checking the bloom between bursts, and stop when the petals feel dry.
Microwave drying works best for small, thin flowers, and it can change color more than slow pressing, so test one bloom first. Let the bloom cool fully before you move it, since hot petals are soft and tear easily. If the bloom still feels damp or cool to the touch, give it another short burst and check again. Keep this method away from flowers with thick centers, which may heat unevenly.
9. Change the Paper and Check Progress
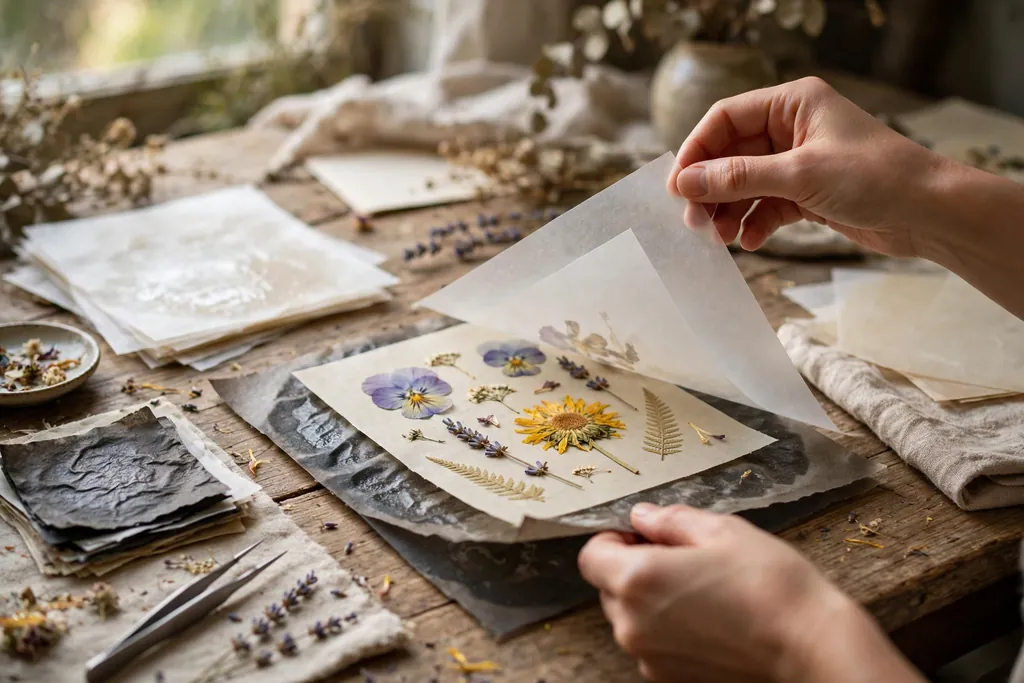
During the first week, change the absorbent paper every two or three days, or sooner if the paper feels damp. Lift the top sheet gently, and if a bloom sticks to the paper, leave it in place and change only the outer sheets, so you do not tear the petals. Fresh dry paper draws out more moisture and lowers the chance of mold.
After the first week, check the blooms once a week. Petals should feel thinner and stiffer each time, and colors may soften slightly, which is normal for pressed flowers. If you see damp spots, dark marks, or a musty smell, change the paper at once and move the press to a drier spot. Throw away any bloom that shows mold, so it does not spread to the rest of the batch.
10. Know When Flowers Are Fully Dry
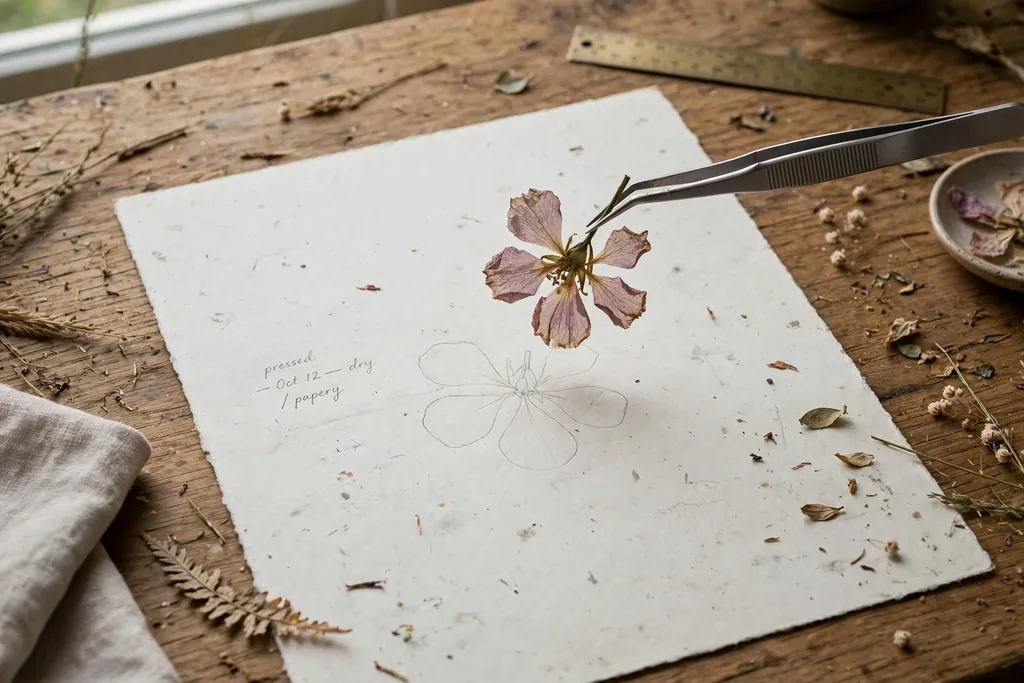
Flowers are ready when they feel dry and papery all the way through, with no cool or damp spots in the center. Thin flowers may reach this stage in two weeks, while thicker blooms can take four weeks or longer. A bloom that still bends softly or feels cool in the middle needs more time in the press.
Test dryness by lifting a bloom with tweezers and touching the center gently. A fully dry bloom holds its shape and feels crisp, while a damp bloom may curl or stick to the paper as it dries further. Do not rush this step, since a bloom framed while still damp can mold behind the glass. When in doubt, leave the batch in the press for a few more days.
11. Seal Pressed Flowers to Protect Color
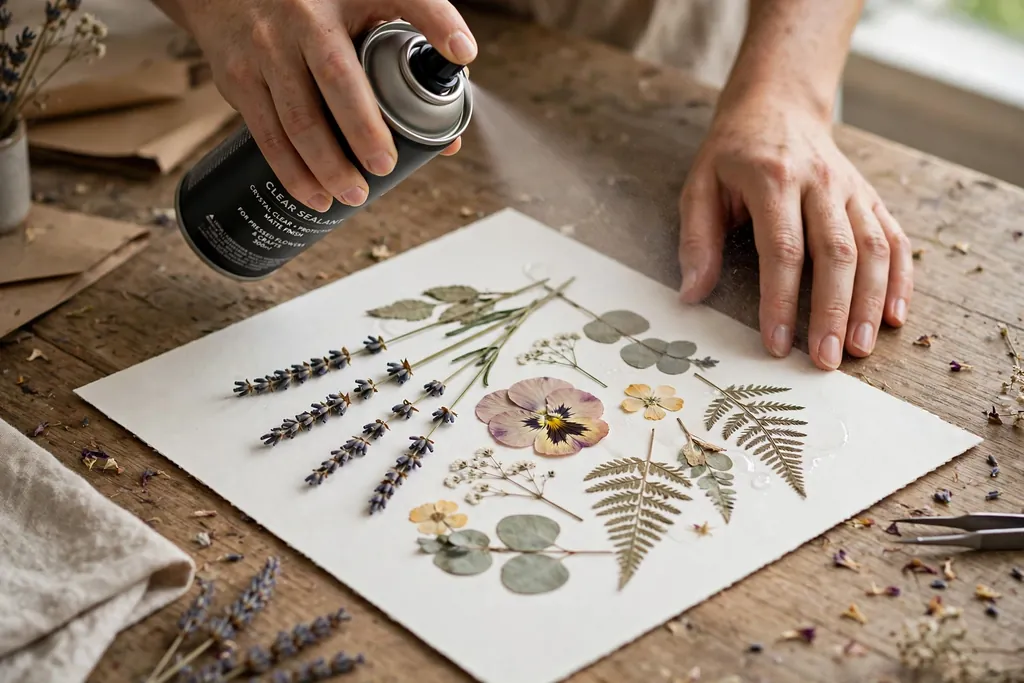
Sealing helps pressed flowers hold their color and resist moisture once framed. Spray a light coat of clear sealant made for paper crafts over each bloom, holding the can at the distance the product label directs, and let the bloom dry fully before you move it. One light coat is enough for most blooms, and a second light coat can be added once the first is dry.
If you do not have spray sealant, brush on a thin coat of clear-drying craft glue thinned with a little water, and let it dry flat. Sealed blooms are still fragile, so handle them by the stem or with tweezers, and keep them away from water. Sealing will not stop fading completely, but it slows color loss and keeps petals from absorbing damp air in the room.
12. Arrange a Layout for Framed Art
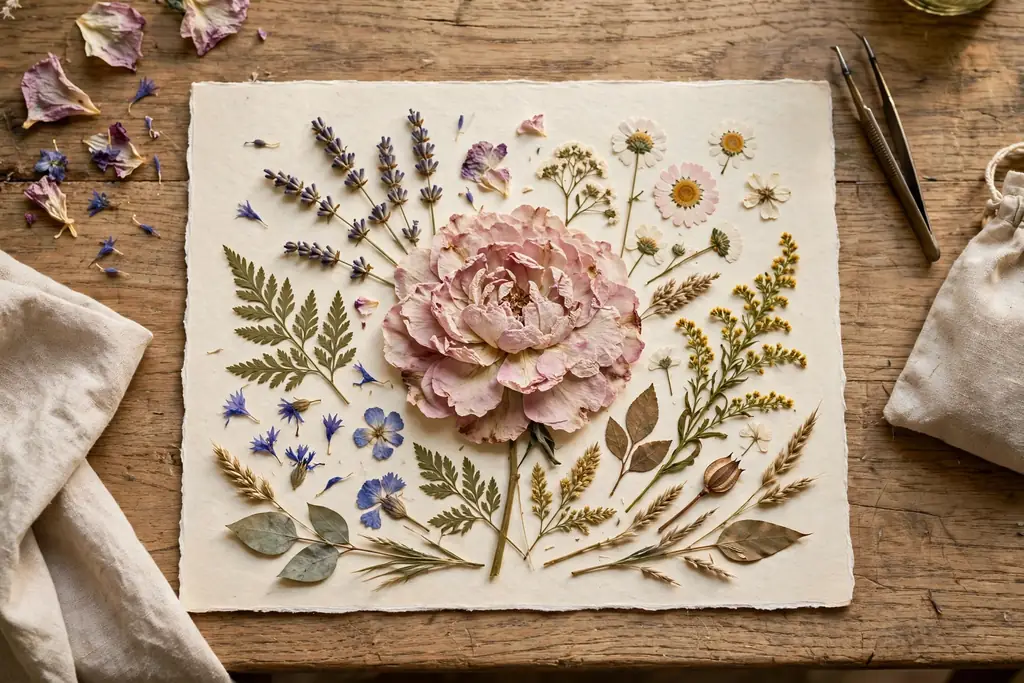
Plan the layout on a plain sheet of paper before you glue anything down. Set the mounting card on the table, and arrange the blooms on it without glue, starting with the largest bloom as the focal point and adding smaller blooms and leaves around it. Leave space between blooms so each shape reads clearly, and step back to check the balance from a normal viewing distance.
Try a simple group of three to five blooms for a first frame, or a single large bloom with two leaves for a quiet design. Keep stems pointing in a natural direction, and avoid crowding the edges, since the frame and mat will cover the outer edge of the card. Take a photo of the layout before you lift the blooms, so you can rebuild it if a piece shifts while you glue.
13. Frame and Hang Your Pressed Flower Art
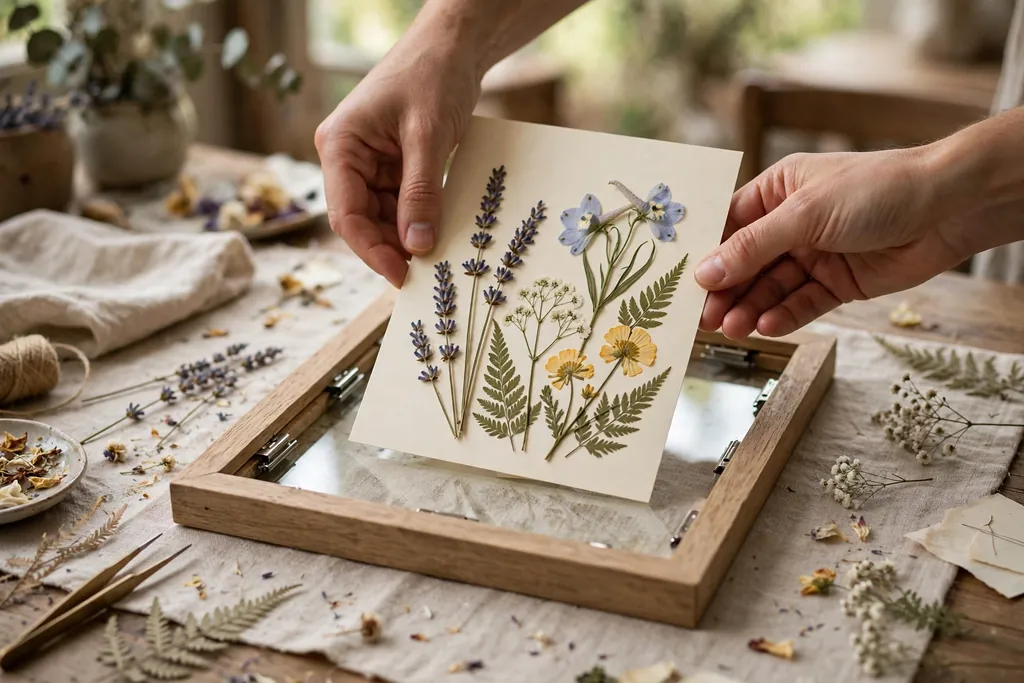
Glue each bloom to the mounting card with tiny dots of craft glue placed on the back of the bloom, using tweezers to set it in place. Start with the focal bloom, then add the surrounding blooms and leaves, and let the glue dry fully before you move the card. Set the card in the frame, add a mat if you are using one, and close the frame so the glass sits clear of the blooms where possible.
Hang the frame on a wall out of direct sun, since sun fades pressed flowers faster than any other factor. A hallway, a bedroom wall away from a south-facing window, or a shelf with indirect light suits pressed flower art well. Check the frame after a few weeks for any damp or curling, and move it to a drier spot if needed. For more ideas from Dwell Ovell, browse the home page for home decor guides.
14. Store and Care for Finished Pieces and Extras
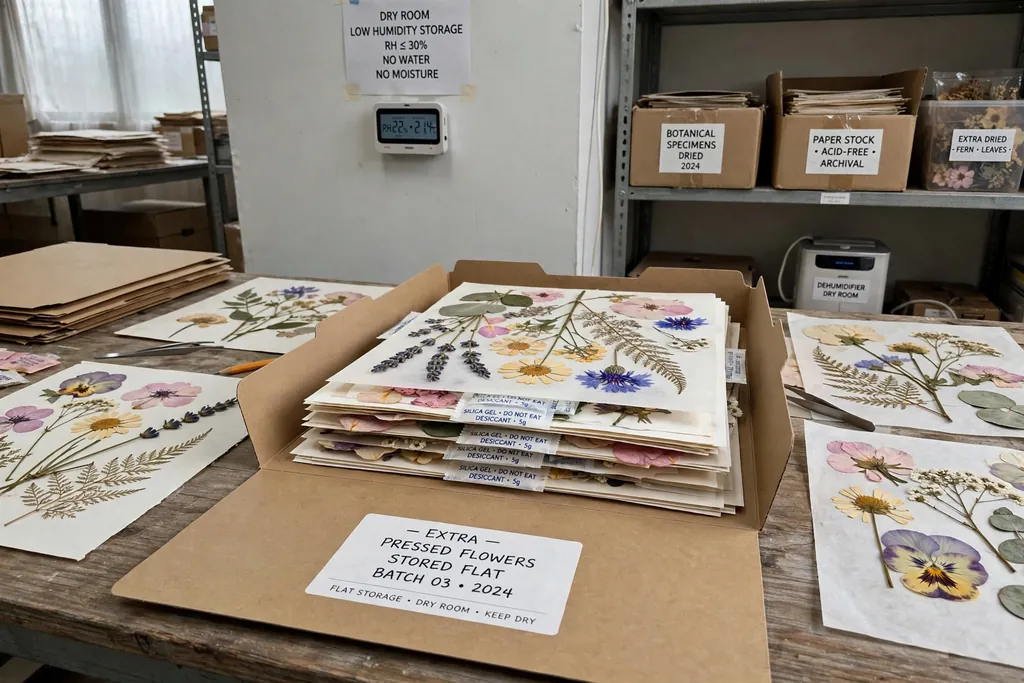
Store extra pressed flowers flat between sheets of absorbent paper, inside a folder or a shallow box, in a cool, dry place. Label each sheet with the flower type and the date pressed, and keep the box out of damp rooms such as a bathroom. Flat storage stops blooms from bending, and dry storage stops mold from forming on finished pieces.
Care for framed pieces by dusting the frame and glass with a dry cloth, and keeping the room at a steady, dry temperature when you can. Do not hang pressed flower art in a steamy room, and do not clean the inside of the glass with spray cleaner while blooms are in the frame. With dry storage and a spot out of direct sun, pressed flowers can stay clear and flat for years, and extras kept flat can be used for cards, bookmarks, and small gifts later.
Conclusion
Making pressed flowers starts with picking flat, thin blooms at their peak, trimming and arranging them face down on absorbent paper, and pressing them flat for two to four weeks with regular paper changes. Once the blooms feel dry and papery, a light seal protects their color, and a simple layout with a clear focal bloom makes a frame that suits a wall, a shelf, or a gift. Work in small batches, label each batch, and hang finished pieces out of direct sun so the colors last. With one test bloom and a little patience, you can turn garden flowers and leftover bouquet stems into framed art for your home.
FAQs
How long does it take to make pressed flowers?
It takes two to four weeks to make pressed flowers with a book or a flower press, with thin flowers ready sooner and thicker blooms taking longer. Change the absorbent paper every two or three days during the first week, then check weekly until the blooms feel dry and papery all the way through. The microwave method dries small, thin flowers in minutes, but it can change color more than slow pressing.
What flowers are best for pressing?
Flat blooms with thin petals press best, such as pansies, violas, daisies, buttercups, forget-me-nots, ferns, and leaves. Small wildflowers and single-petaled blooms also keep a clear shape when pressed. Thick flowers such as roses and peonies are harder to press whole, so press single petals from them, or split a thick bloom in half lengthwise before pressing.
Can you press flowers in a book?
Yes, you can press flowers in a heavy book by laying each bloom face down between sheets of absorbent paper, with cardboard on either side, and closing the book gently. Stack one or two more heavy books on top for extra weight, and leave the book in a dry, warm spot. Use a book you do not mind marking, since moisture can mark the pages, and keep paper layers between the blooms and the pages.
How do you keep pressed flowers from molding?
Change the absorbent paper every two or three days during the first week, and keep the book or press in a dry, warm spot with low humidity. Space blooms so none touch, and throw away any bloom that shows mold, so it does not spread to the rest of the batch. Do not frame a bloom until it feels dry and papery all the way through, since damp blooms can mold behind glass.
Should you seal pressed flowers before framing?
Yes, seal pressed flowers before framing with a light coat of clear sealant made for paper crafts, or a thin coat of clear-drying craft glue thinned with a little water. Let the sealant dry fully before you move or glue the bloom, and handle sealed blooms with tweezers or by the stem. Sealing slows color loss and keeps petals from absorbing damp air, though it will not stop fading completely.
How do you stop pressed flowers from fading in a frame?
Hang framed pressed flowers out of direct sun, in a room with steady, dry air, since sun is the main cause of fading. Use a mat so the glass sits clear of the blooms where possible, and keep the frame out of steamy rooms such as a bathroom. Sealing the blooms before framing and storing extras flat in a cool, dry place also helps colors last longer.