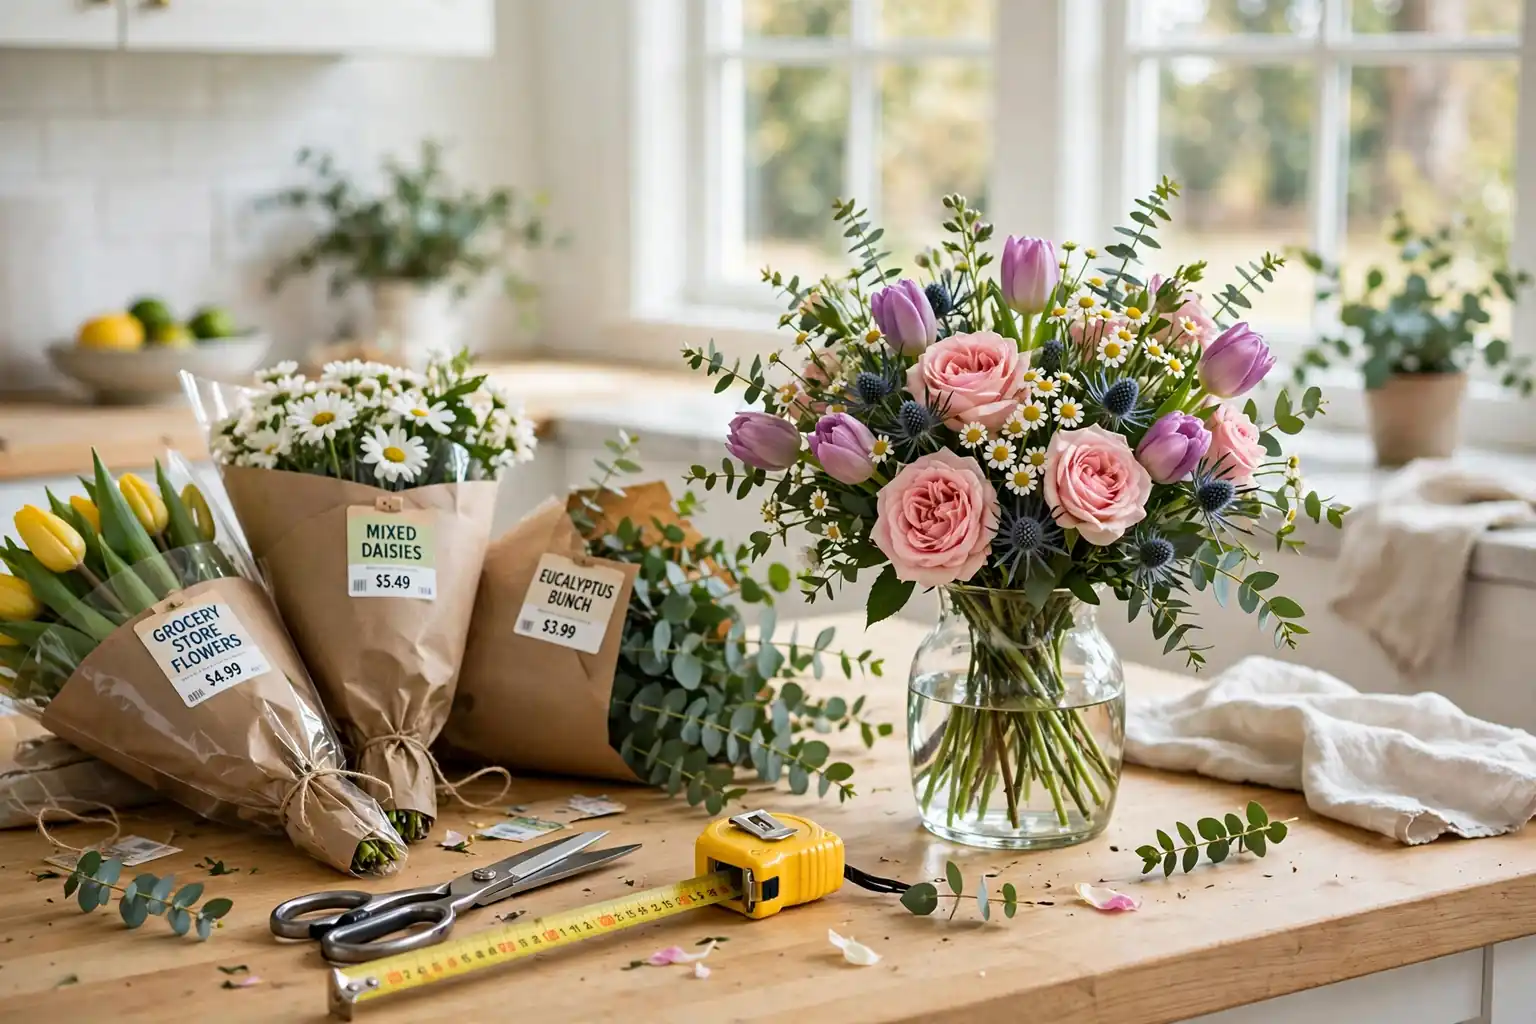
Buy one bunch of focal flowers, one bunch of supporting blooms, and filler or greenery, then trim the stems at an angle, strip leaves below the waterline, and build the arrangement in layers: greenery first, focal blooms next, then supporting blooms and filler to close gaps. Check the shape from all sides before it goes on the table.
Grocery store bunches make good arrangements because they are sold in clear groups: one bunch of large blooms, one bunch of smaller blooms, and one bunch of greenery or filler. The work is not finding rare flowers. It is choosing bunches that work together, trimming them well, and placing them in an order that gives the arrangement a clear shape. This guide walks through that order, one step at a time, so a first arrangement looks planned rather than crowded.
One note before you start: Trader Joe’s is mentioned here only as a place many readers buy flower bunches. This guide is not affiliated with or endorsed by the company, and no prices or store claims are made. The steps work with bunches from any grocery store or flower shop. For seasonal arrangement ideas to pair with these steps, see these fall flower arrangements.
Key Takeaways
- Buy in three groups: focal blooms, supporting blooms, and filler or greenery, and keep the palette to two or three colors.
- Measure the spot first, since a dining table needs a low arrangement and a console can take height.
- Trim stems at an angle, strip leaves below the waterline, and change the water every two days.
- Build in layers: greenery base, focal blooms at varied heights, then supporting blooms and filler to close gaps.
- Check the shape from every side and from a seated view before the arrangement goes in its final spot.
- Save leftover stems for small bud vases instead of crowding them into the main arrangement.
- Keep fresh arrangements out of direct sun and away from heat vents and ripening fruit.
Materials and Supplies
- Three bunches of flowers: one focal bunch, one supporting bunch, and one filler or greenery bunch
- A clean vase or container that holds water, sized for the spot where the arrangement will sit
- Sharp scissors or stem snips
- Clean, cool water
- A tape measure, to check the height of the spot and the finished arrangement
- A small tray or mat, to protect the table under the vase
- A trash bowl or bag, for trimmed leaves and stem ends
- Optional: floral tape or a small grid of tape across a wide vase mouth, to hold stems in place
1. Measure the Spot and Choose a Container Size
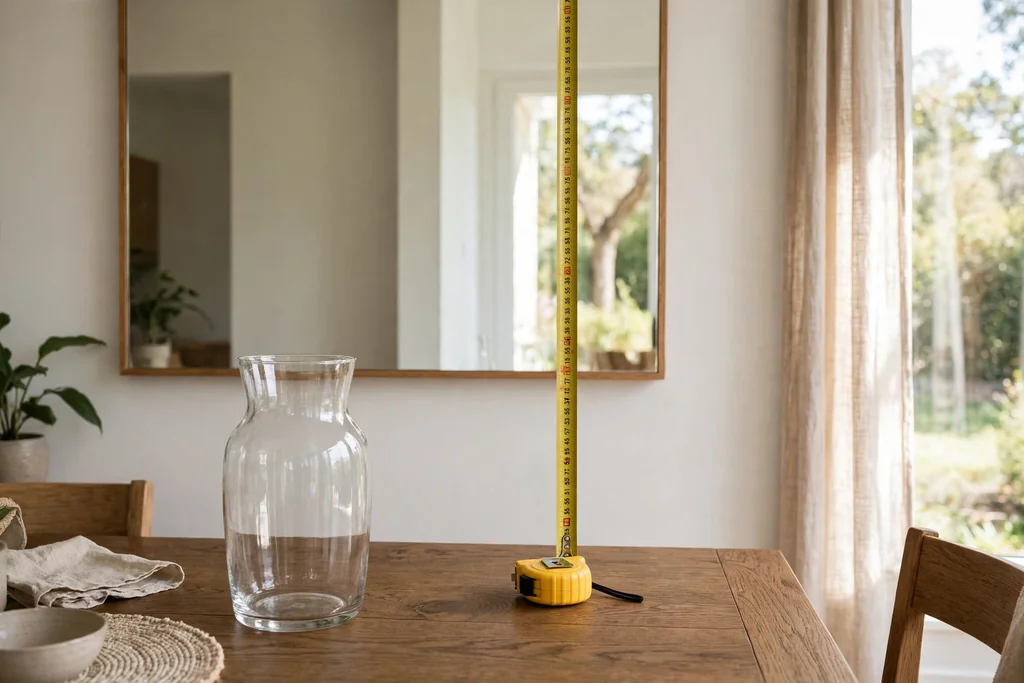
Start with the spot, not the flowers. A dining table arrangement should stay low enough that guests can see each other across it, usually with the tallest bloom below eye level when seated. A console, sideboard, or entryway table can take a taller arrangement, since no one sits across from it. A windowsill or bedside table needs only a small vase with a few stems.
Measure the height available above the surface, including any mirror, shelf, or light fixture overhead. Then choose a vase that leaves room for the flowers to rise above its rim without crowding that space. A vase that is too large for a small bunch looks empty, and a vase that is too small for a large bunch looks strained and can tip.
Set the empty vase in the spot before you buy or arrange anything. This one check prevents the most common mistake: an arrangement that is finished, then found to be too tall for the table or too wide for the shelf it was meant for.
2. Set a Palette of Two or Three Colors
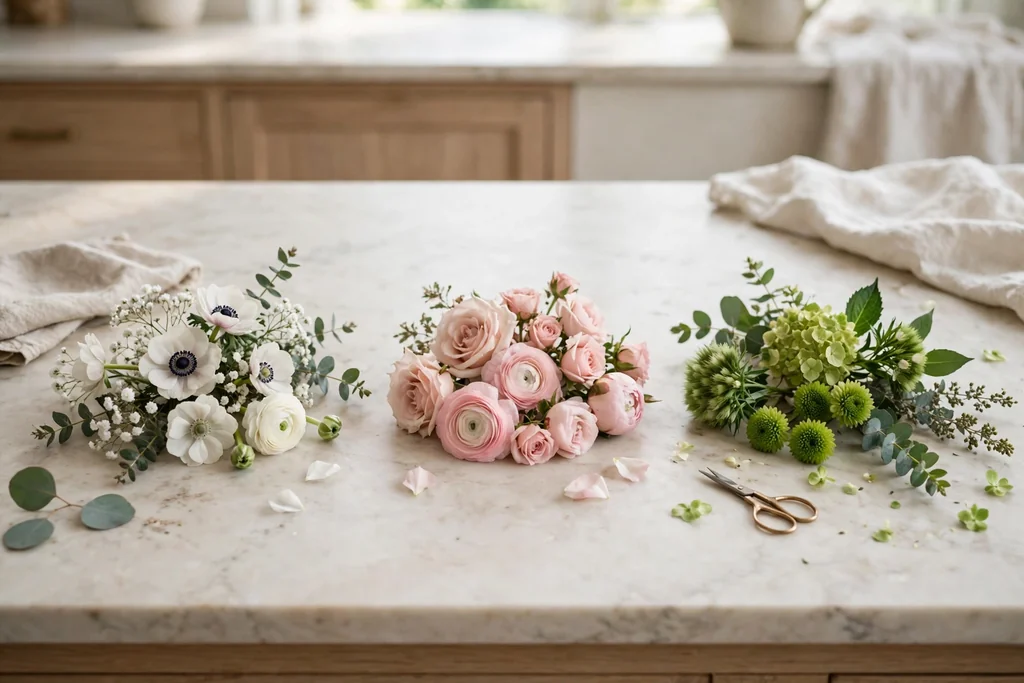
Pick two or three colors before you shop, and let every bunch fit inside that palette. A simple plan, such as white and green, blush and cream, or rust and gold, keeps mixed bunches looking like one arrangement instead of a pile of unrelated flowers. The vase and the table setting count as part of the palette too, so a strong vase color pairs best with a quiet flower palette, and a quiet vase lets a bolder palette lead.
Shop with the palette written down, even if it is only a note on your phone. Grocery displays make it easy to add one more color that looks good alone but breaks the plan at home. If a bunch you love falls outside the palette, save it for a second, smaller arrangement rather than forcing it into the first one.
Seasonal palettes are an easy starting point. Spring suits pale pinks, whites, and greens. Summer suits bright mixed colors with plenty of green. Autumn suits rust, gold, burgundy, and cream, as in these Thanksgiving flower arrangements. Winter suits white, deep red, and dark green.
3. Shop for Focal Flowers First
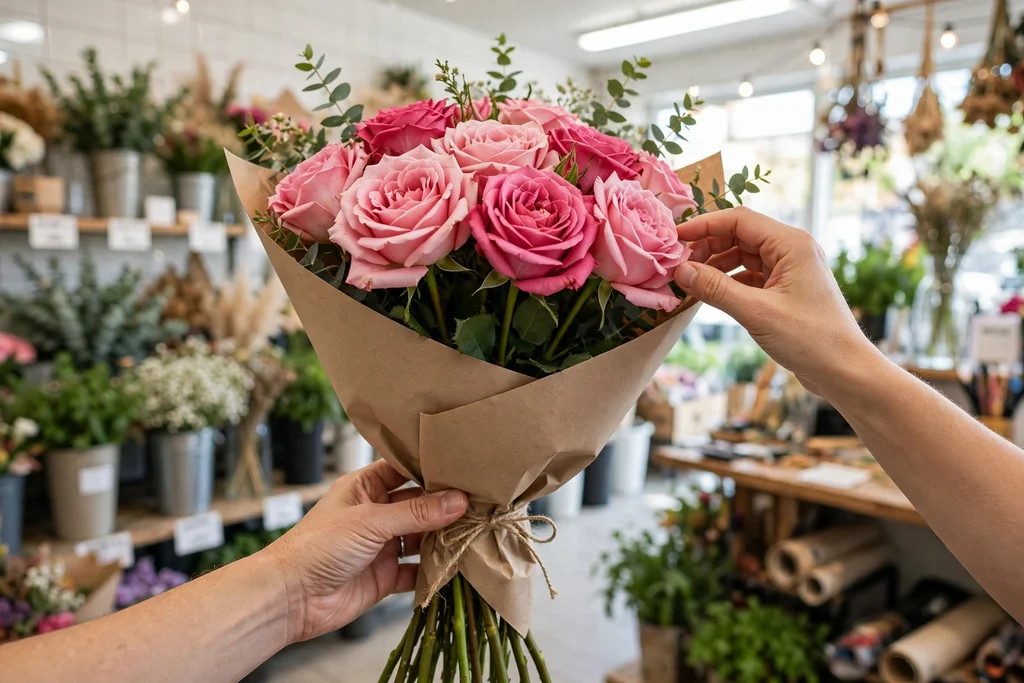
Focal flowers are the large, eye catching blooms that the arrangement is built around: roses, peonies, sunflowers, dahlias, or lilies, depending on the season. Buy these first, since they set the color, the scale, and the number of supporting stems you will need. One bunch of focal blooms is usually enough for a single table arrangement, and two bunches suit a large console display.
Check each bunch before it goes in the cart. Look for firm petals, tight buds that are just starting to open, and stems that feel sturdy rather than soft or bent. Skip bunches with brown petal edges, drooping heads, or leaves that are already yellow, since those blooms will fade first and shorten the life of the whole arrangement.
Ask yourself where the focal blooms will sit in the vase. Large blooms need room around them to open, so a focal bunch with very wide heads needs a vase with a mouth wide enough to hold them without crushing. Keep the receipt or note the variety, so you can buy the same focal flower again when a mix works well.
4. Add Supporting Blooms in a Second Layer
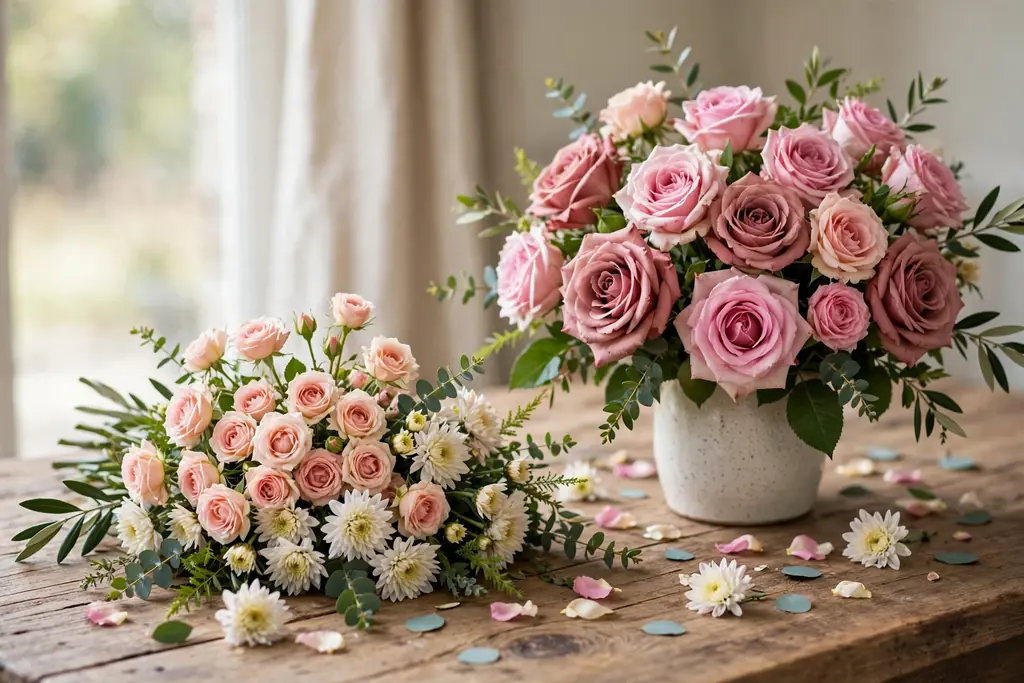
Supporting blooms are smaller flowers that fill out the arrangement around the focal blooms: spray roses, carnations, chrysanthemums, ranunculus, or lisianthus. Choose one supporting type in a color from your palette, ideally a shade lighter or darker than the focal blooms, so the two layers read as related but distinct. One bunch is usually enough for a table arrangement.
Supporting blooms do two jobs. They fill the space between focal blooms so the arrangement looks full from the side, and they soften the outline where a large bloom alone would look too round or too flat. Place them slightly lower than the tallest focal blooms, so the focal blooms stay the highest points and the eye still lands on them first.
If you are unsure how much support a bunch needs, buy one supporting bunch and one filler bunch, then build the arrangement and see what is left. It is easier to add a second small bunch later than to thin out an arrangement that was overfilled from the start.
5. Add Filler Flowers and Greenery
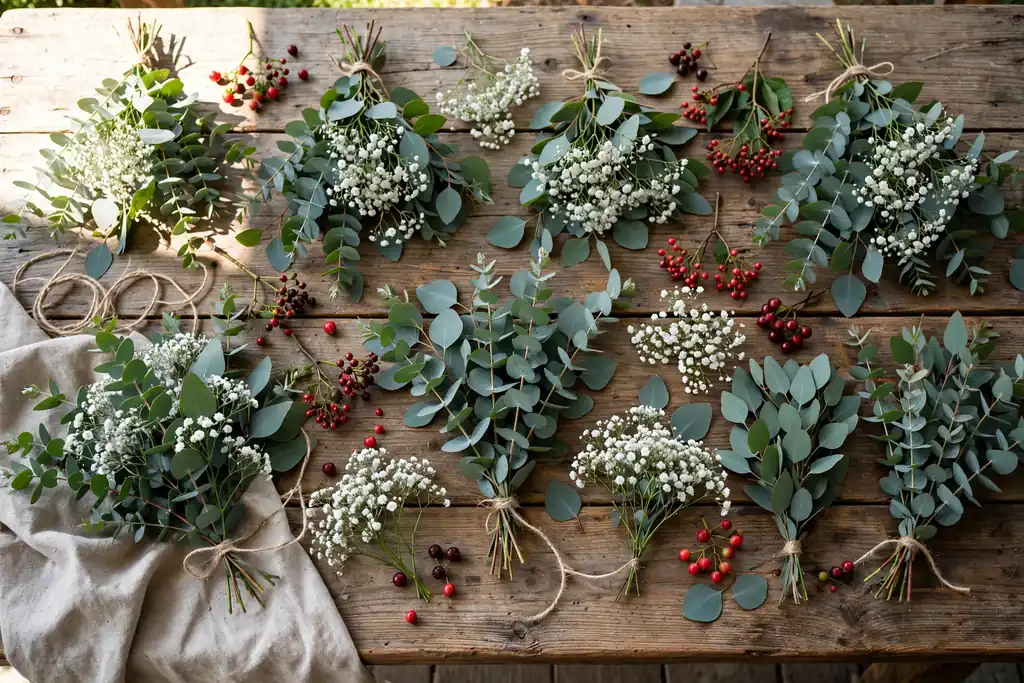
Filler flowers and greenery close the gaps and give the arrangement its outline. Good fillers include baby’s breath, waxflower, limonium, and small berries, while eucalyptus, ruscus, and fern fronds work as greenery. Choose one filler and one greenery, or one bunch that combines both, and keep both inside the palette.
Greenery should frame the blooms, not hide them. Long greenery stems set the outer shape of the arrangement, and short filler sprigs sit between blooms to soften hard edges. Too much greenery makes an arrangement look like a leafy bush with flowers stuck in it, so start with fewer stems than you think you need and add more only where a gap shows.
Greenery also helps the arrangement last. Sturdy greenery holds its shape as blooms open and settle, so the arrangement keeps its outline even after a few focal blooms are removed. Keep a few spare greenery stems in water, so you can replace a wilted sprig without rebuilding the whole display.
6. Prep Every Stem Before Arranging
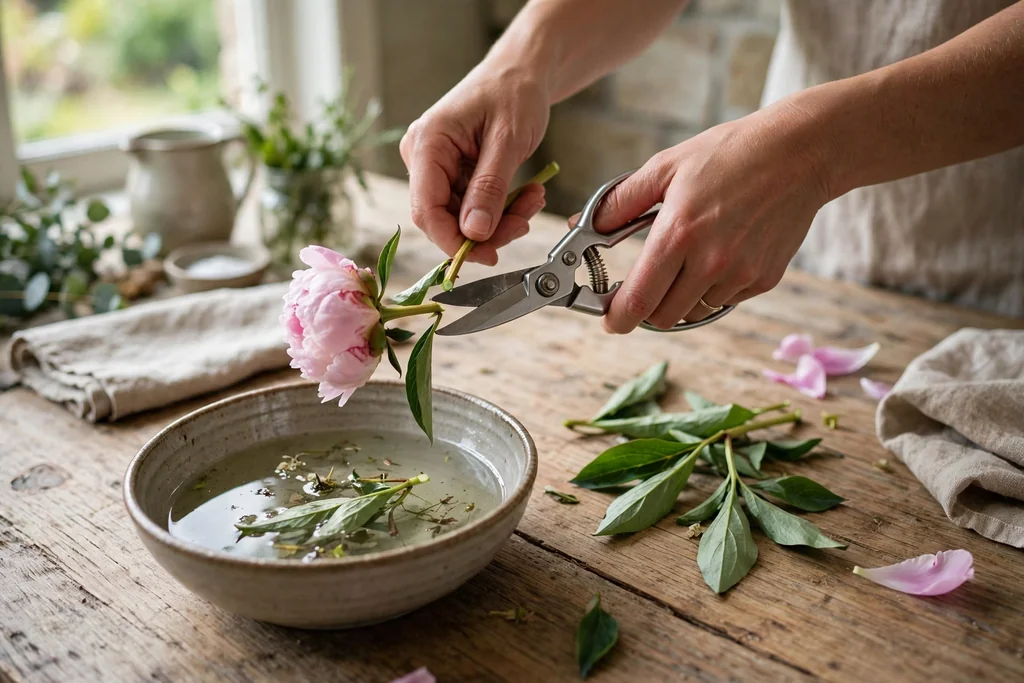
Prep is the step most beginners skip, and it is the step that most affects how long the arrangement lasts. Work over a trash bowl, and handle one bunch at a time. Strip off every leaf that would sit below the waterline, since submerged leaves cloud the water and shorten bloom life. Remove damaged outer petals gently, but leave healthy guard petals in place until the bloom opens.
Trim each stem at an angle with sharp scissors or snips, cutting off about half an inch. An angled cut gives the stem more surface to drink from than a flat cut, and sharp tools keep the stem end clean instead of crushed. Recut stems that have been out of water for a while, since a dry stem end seals over and drinks poorly.
Sort the trimmed stems into three groups on the table: focal blooms, supporting blooms, and filler with greenery. Sorting before arranging keeps you from hunting through a mixed pile mid build, and it shows at once whether one group is short. If a group looks thin, that is the time to plan a second small arrangement from leftovers, not to crowd the main vase.
7. Build the Base with Greenery
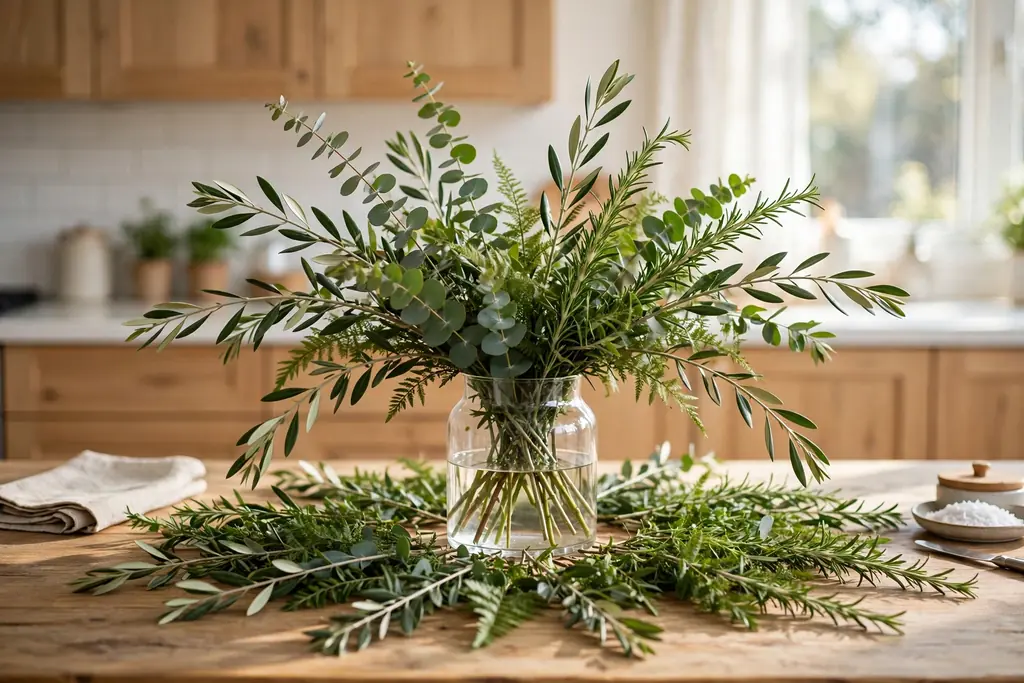
Fill the clean vase with cool water, then start with greenery, not flowers. Place the longest greenery stems first, angling them outward to set the outer shape and the finished height of the arrangement. Turn the vase as you work, so the greenery spreads evenly instead of leaning to one side.
Add shorter greenery stems next, filling in the middle of the shape without packing it tight. The base should look like a loose frame with clear spaces where blooms will sit, not a dense ball of leaves. If the vase mouth is wide and stems keep falling outward, lay a grid of floral tape across the mouth first, and thread stems through the grid to hold them in place.
Step back and look at the greenery base from the distance it will be seen from. A dining table base is seen from a seat nearby, while a console base is seen from across the room. Adjust any stem that sticks out past the planned outline now, while the vase is still light and easy to turn.
8. Place Focal Blooms at Varied Heights
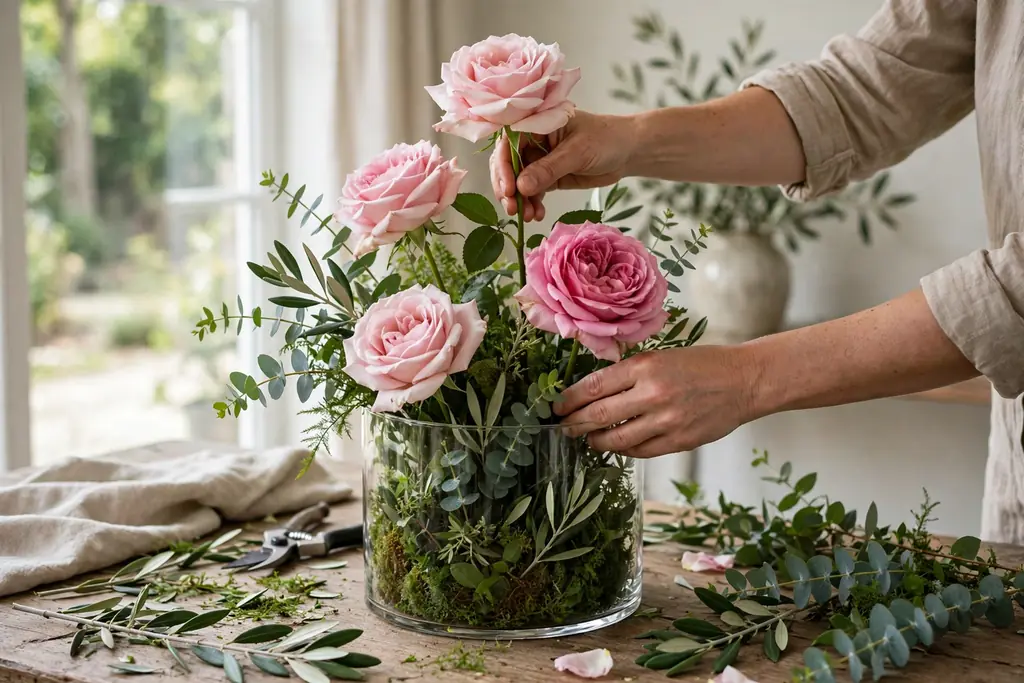
Set the focal blooms into the greenery base one at a time, starting with the tallest stem in the center or slightly off center. Place the next focal blooms a little lower and a little outward, so the heights vary instead of forming a flat top. Odd numbers of focal blooms, such as three or five, usually read more naturally than an even row.
Give each focal bloom room to open. If two large blooms touch, one will crush the other as it opens, and both will fade faster. Leave a small gap between focal blooms, and plan to fill those gaps with supporting blooms in the next step, rather than pushing focal blooms together for fullness.
Turn the vase a quarter turn after every two or three focal blooms, and check the shape from the back as well as the front. An arrangement that looks full from one side and empty from the other usually has its focal blooms grouped too tightly on the front. Move one bloom to the thin side now, while the arrangement is still easy to adjust.
9. Fill Gaps with Supporting Blooms and Filler
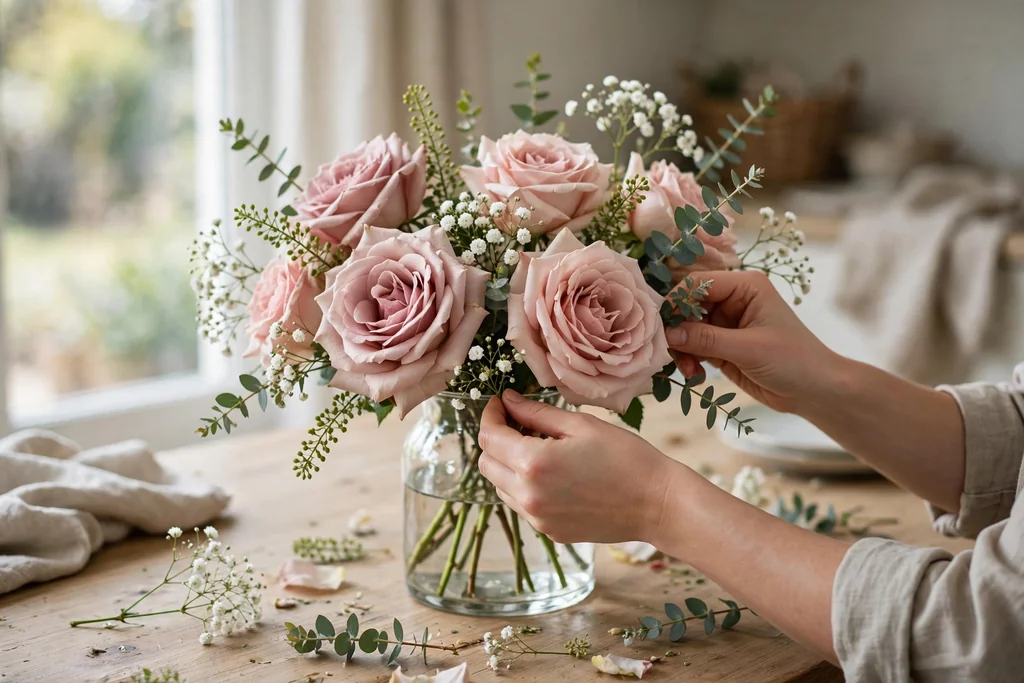
Add supporting blooms into the gaps between focal blooms, keeping them slightly lower than the focal blooms so the focal layer stays on top. Work around the vase in turns, adding one supporting stem, stepping back, and adding the next, instead of filling one side completely before starting the other. This keeps the arrangement balanced as it fills out.
Tuck filler sprigs last, into any small gaps where vase, tape, or stem ends still show. Filler should sit between blooms and at the outer edges, softening the outline without covering focal blooms. Pull out any filler stem that hides a focal bloom, and move it to a gap at the side where it can add texture without blocking the main flowers.
Stop when the arrangement looks full from every side but you can still see individual blooms. Overfilling is the most common beginner mistake, and it makes stems compete for water and air. If stems are left over, set them aside for bud vases, as described in step 14, rather than forcing them into a finished arrangement.
10. Check the Shape from Every Side and Adjust
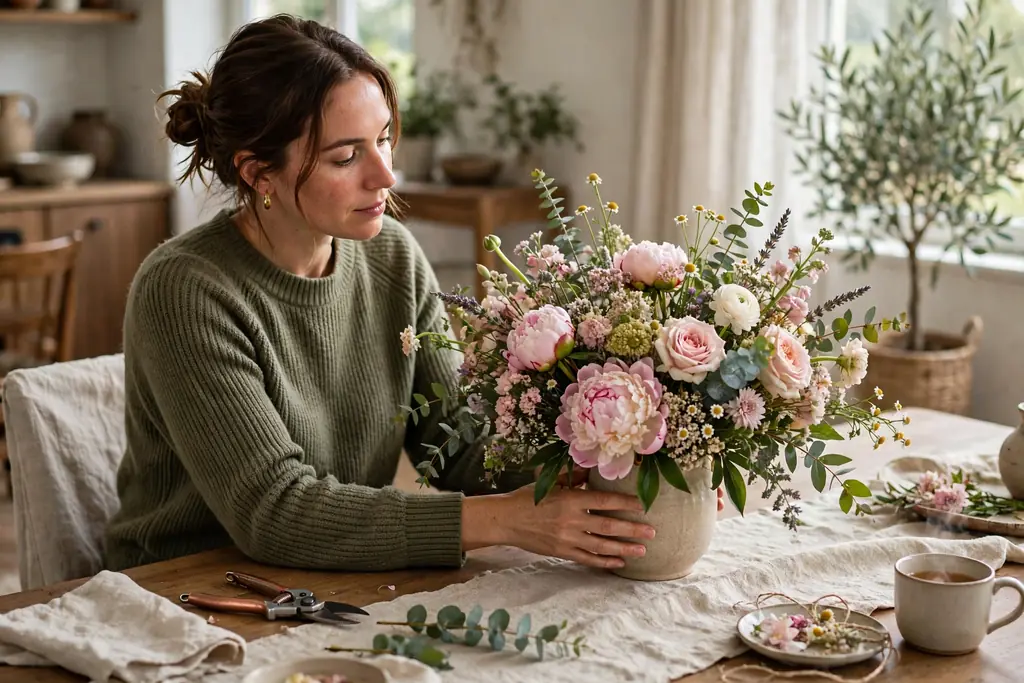
Lift the finished arrangement to its spot, or set it on a table at the same height, and check it the way guests will see it. Sit down if it is a dining table arrangement, and check sightlines across it. Stand at the room door if it is a console arrangement, and check it from across the room. Look for one side that is heavier than the other, a stem that sticks out past the outline, or a gap where the vase shows through.
Turn the vase slowly and fix one issue at a time. Trim a stem that is too long, rather than bending it. Move a supporting bloom into a gap, rather than adding a new stem. Remove a filler sprig that blocks a focal bloom, rather than adding more blooms around it. Small moves at this stage make a bigger difference than adding more flowers.
Leave the arrangement for an hour, then check it again. Fresh stems settle as they drink, and a shape that looked full at first can open out or lean as stems relax. Top up the water, trim any stem that droops below the line you want, and add one filler stem where a new gap appears.
11. Style a Low Version for a Dining Table
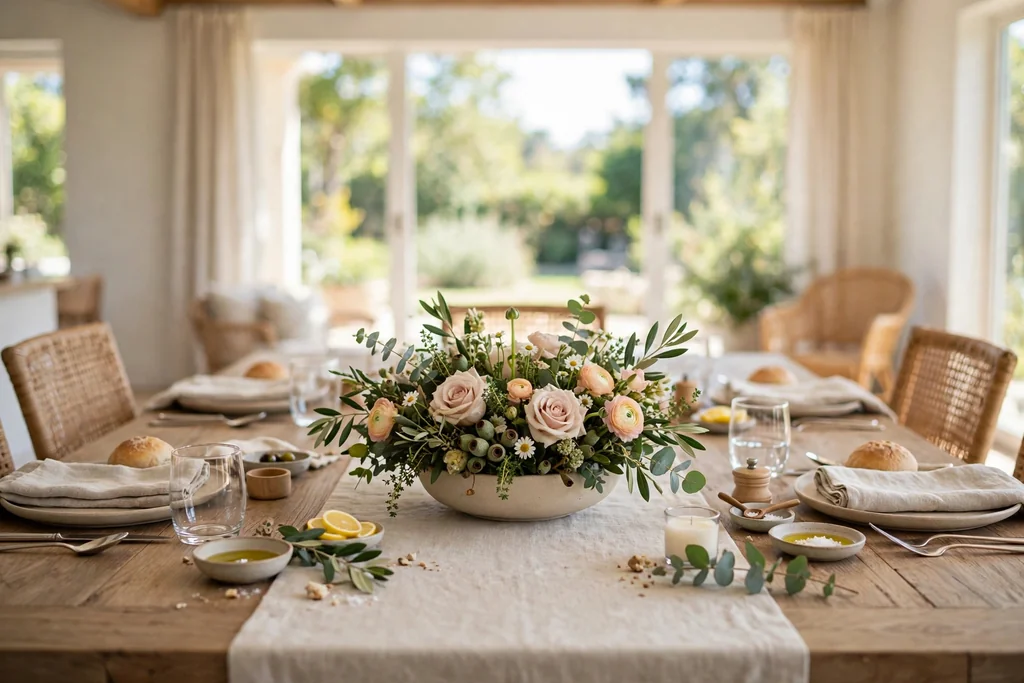
A dining table version of this arrangement should stay low, narrow, and easy to see across. Use a low bowl, a short cylinder, or a trio of small vases instead of one tall vase, and keep the tallest bloom below eye level when guests are seated. Leave clear space at each place for plates, glasses, and serving dishes, and keep the arrangement narrow enough that it does not crowd the table edges.
Build the low version with the same layer order, but trim stems shorter and use fewer focal blooms. Three focal blooms with supporting blooms and filler can carry a small table, while a long table suits a repeated trio of small arrangements spaced down the center, each built the same way. For more table styling ideas, see these Valentine centerpieces, which use the same low, narrow logic for a different season.
Keep candles, if you use them, in holders and clear of blooms and greenery, and use flameless candles near dried material or paper decor. When the meal ends, lift the arrangement off in one move if it sits on a tray or board, so clearing the table stays simple.
12. Style a Tall Version for a Console or Entryway
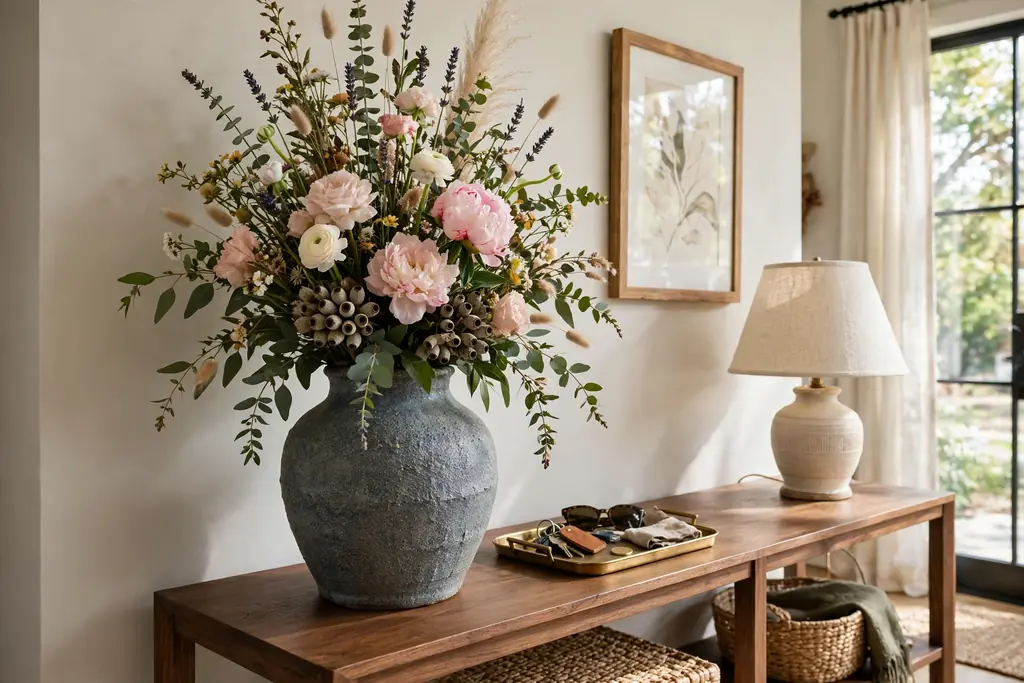
A console or entryway version can go taller and fuller, since no one sits across from it. Use a tall cylinder, a heavy ceramic vase, or a pitcher, and let greenery and a few tall stems set a height that frames the surface without crowding a mirror or artwork above it. Keep at least a hand width of clear space above the tallest stem.
Weight matters more in a tall arrangement. A heavy vase holds top heavy blooms steady, and a vase that sits near a door or a walkway should be sturdy enough to take a bump from bags and keys. Set the vase at one end of the console when the surface also holds a tray or a lamp, so the display frames the surface instead of filling it.
Tall arrangements suit stems left over from a low table build, since longer stems that would crowd a dining table work well here. Mix the same palette across both spots, and the entryway and the table will read as one plan, even though the two arrangements are different heights.
13. Keep the Arrangement Fresh Day by Day
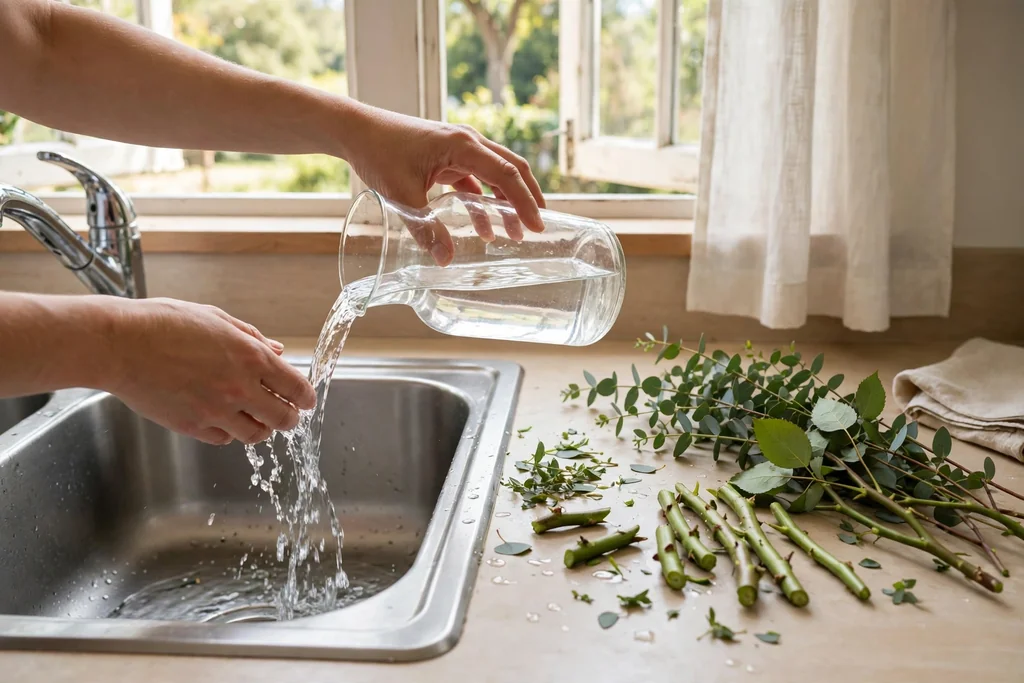
Fresh arrangements last longer with a short daily routine. Change the water every two days, recutting about half an inch off each stem end at an angle before returning it to clean water. Remove spent blooms promptly, so they do not stain nearby petals or cloud the water, and strip any leaf that slips below the waterline.
Keep the arrangement in a cool spot out of direct sun, away from heat vents, radiators, and ripening fruit, which gives off gas that speeds fading. If the room is warm, move the arrangement to a cooler room overnight. Top up the water daily for heavy drinkers such as sunflowers and roses, since a vase that runs dry for even a few hours shortens the life of the whole bunch.
When focal blooms fade but greenery and filler still look good, replace only the faded blooms. Buy one small bunch of fresh focal blooms, trim them, and set them into the existing base. This refresh costs less than a full rebuild and keeps the arrangement going for a second week of use.
14. Reuse Leftover Stems in Small Bud Vases
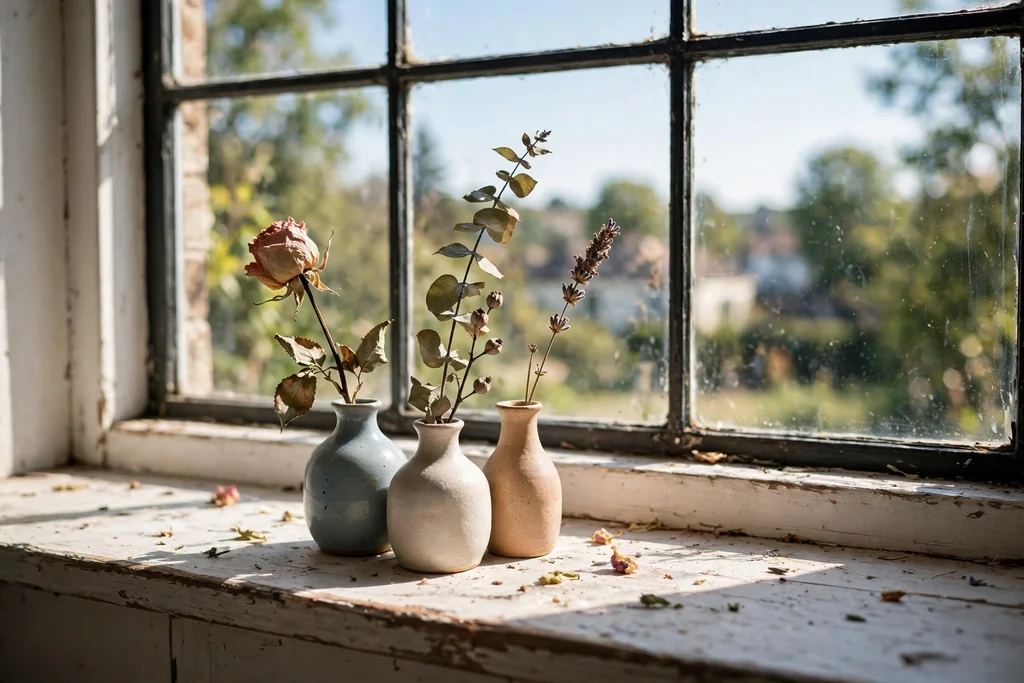
Leftover stems are not waste. A single rose, a short spray of supporting blooms, or a sprig of greenery each make a small display in a bud vase, a jam jar, or a teacup. Group two or three bud vases on a windowsill, a bathroom shelf, or a bedside table, and one bunch of flowers can serve three or four spots in the house.
Keep bud vase stems short, so the bloom sits just above the rim, and change their water every two days, since small containers run dry fast. Use the same palette across the bud vases, so they read as a set rather than a random collection of spares. If a stem is too short for a bud vase, lay it flat in a shallow bowl of water as a floating bloom for a day.
This step also teaches what to buy next time. Note which leftover stems lasted longest in bud vases, and which focal blooms opened best. That note, kept on your phone, makes the next shopping trip faster, since you will know which bunches gave you both a main arrangement and a few small extras.
Conclusion
Making flower arrangements from grocery store bunches comes down to a steady order: measure the spot, set a small palette, buy focal blooms first, then supporting blooms and filler, prep every stem, and build in layers from greenery to focal blooms to filler. Check the shape from every side, keep table versions low and console versions tall and steady, and refresh the water and stems every couple of days. With that order, a few bunches become an arrangement that looks planned, lasts well, and leaves enough stems for small bud vases around the house.
FAQs
How many bunches do I need for one flower arrangement?
One bunch each of focal blooms, supporting blooms, and filler or greenery is enough for most table arrangements. Buy a second focal bunch only for a large console display or a very long table, and save leftover stems for bud vases instead of crowding them into the main vase.
What are focal, supporting, and filler flowers?
Focal flowers are the large blooms the arrangement is built around, such as roses, peonies, or sunflowers. Supporting blooms are smaller flowers that fill out the shape around them, such as spray roses or chrysanthemums. Filler flowers and greenery, such as baby’s breath or eucalyptus, close small gaps and set the outer outline.
How do I trim stems so cut flowers last longer?
Trim about half an inch off each stem end at an angle with sharp scissors or snips, and strip off every leaf that would sit below the waterline. Change the water every two days, recut the stems each time, and keep the arrangement out of direct sun and away from heat vents and ripening fruit.
How tall should a dining table flower arrangement be?
Keep the tallest bloom below eye level when guests are seated, so people can see and talk across the table. Use a low bowl, a short cylinder, or a trio of small vases for a dining table, and save tall vases for consoles, sideboards, and entryways where no one sits across from them.
Can I mix flowers from different stores in one arrangement?
Yes, as long as every bunch fits the same two or three color palette and the stem lengths work together. Mix focal blooms from one shop with supporting blooms and greenery from another, prep all stems the same way, and build in the same layer order, and the finished arrangement will read as one plan.
Do I need floral foam to make a flower arrangement?
No, most home arrangements do not need floral foam. A clean vase of water, a greenery base, and a simple tape grid across a wide vase mouth will hold stems in place. Foam suits only arrangements in containers that cannot hold water, or shapes that need stems fixed at exact angles, and it must be kept wet for fresh flowers.