
DIY snowflake ornaments are handmade winter tree decorations in a six point snowflake shape, made from paper, felt, wood, beads, clay, or yarn. Fold, cut, stitch, string, or paint them with everyday tools, then hang them with ribbon, twine, or hooks. The 19 ideas below cover quick paper crafts and sturdier keepsakes for every skill level.
Start with one snowflake shape you like, then repeat it in two or three colors so the tree looks planned rather than busy. Make one test ornament first to check its size, weight, and hanging length on a real branch, then make the rest in a batch. Place heavier ornaments on inner branches, close to the trunk, and keep light paper ornaments away from heat and damp rooms.
Key Takeaways
- Every snowflake starts from a six point shape, so one simple template can guide many different materials.
- Make a test ornament first to check size, weight, and hanging length before batching.
- Match the project to your time: folded paper and pipe cleaners are quick, while crochet, clay, and resin need drying or stitching time.
- Use a small palette of two or three colors across the whole tree for a calm, planned look.
- Hang heavier ornaments on inner branches and light ornaments near the branch tips.
- Store flat ornaments in layers of tissue and round ornaments in divided boxes so they keep their shape.
1. Classic Folded Paper Snowflakes
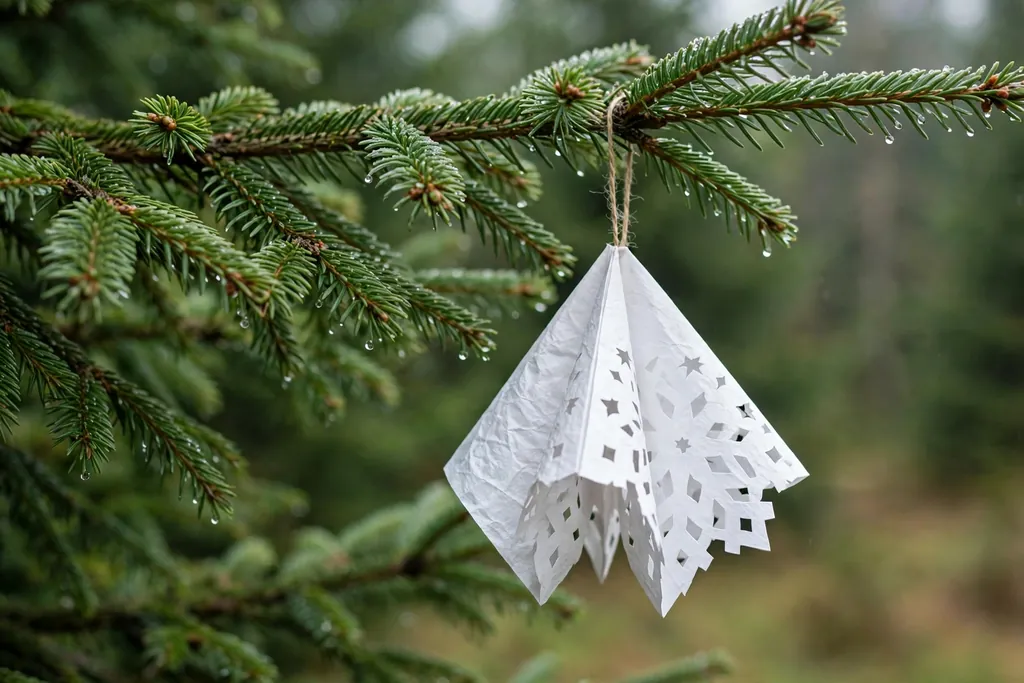
Fold a square of white or pale blue paper into triangles, cut small shapes from the folded edges, then open it to reveal a six point snowflake. This is the quickest snowflake ornament and a good first project, since it needs only paper, scissors, and thread. Iron the finished snowflake flat under a book for a crisp look, or leave it slightly folded for depth.
Cut a small hole near one point, thread a loop of white thread or fine ribbon through it, and hang the snowflake where it can catch light. Paper snowflakes are light enough for thin branch tips and for windows, but keep them away from water, damp rooms, and open flame. Make several in the same paper color for a matched set, or mix white and pale blue for a frosty tree.
2. Dyed Coffee Filter Snowflakes
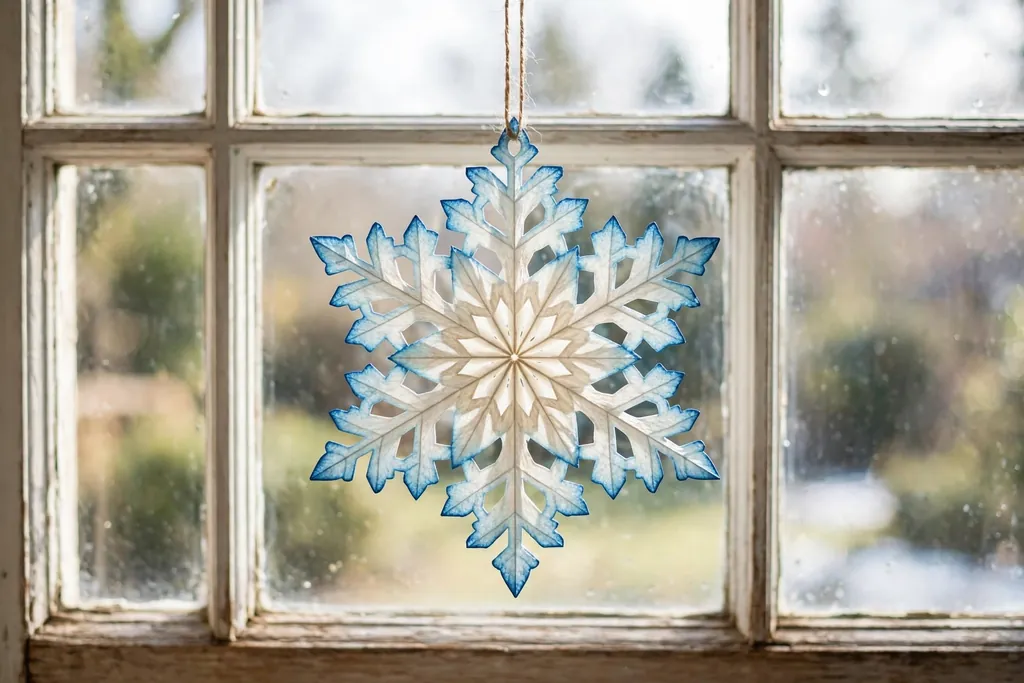
Flatten round coffee filters, fold and cut them like paper snowflakes, then dip the edges in diluted food coloring for soft, watercolor color. Coffee filters are thinner and more absorbent than copy paper, so the color spreads gently and each snowflake has a slightly different tint. This project suits a soft, pastel tree and works well as a group craft.
Dip only the folded edges, let the color spread for a few seconds, then open the filter carefully and dry it flat on a tray. Once dry, press it lightly, add a thread loop, and hang it on the tree or in a window where light passes through. Keep dyed filters dry after hanging, since water will blur the color, and store them flat between sheets of tissue.
3. Popsicle Stick Snowflakes

Glue craft sticks into a six point star shape, paint them white, silver, or a tree color, and add a button, bead, or pompom at the center. Popsicle stick snowflakes are sturdy, cheap to batch, and easy for beginners, since the sticks set the shape for you. They suit a rustic tree, a classroom tree, or a tree with other wood crafts.
Lay three sticks across each other at even angles, glue each crossing point, and let the frame dry fully before painting. Paint both sides, add glitter or small beads while the paint is still tacky if you want sparkle, and glue a ribbon loop to the back. Hang stick snowflakes on mid-level branches, since they are heavier than paper snowflakes.
4. Beaded Wire Snowflakes
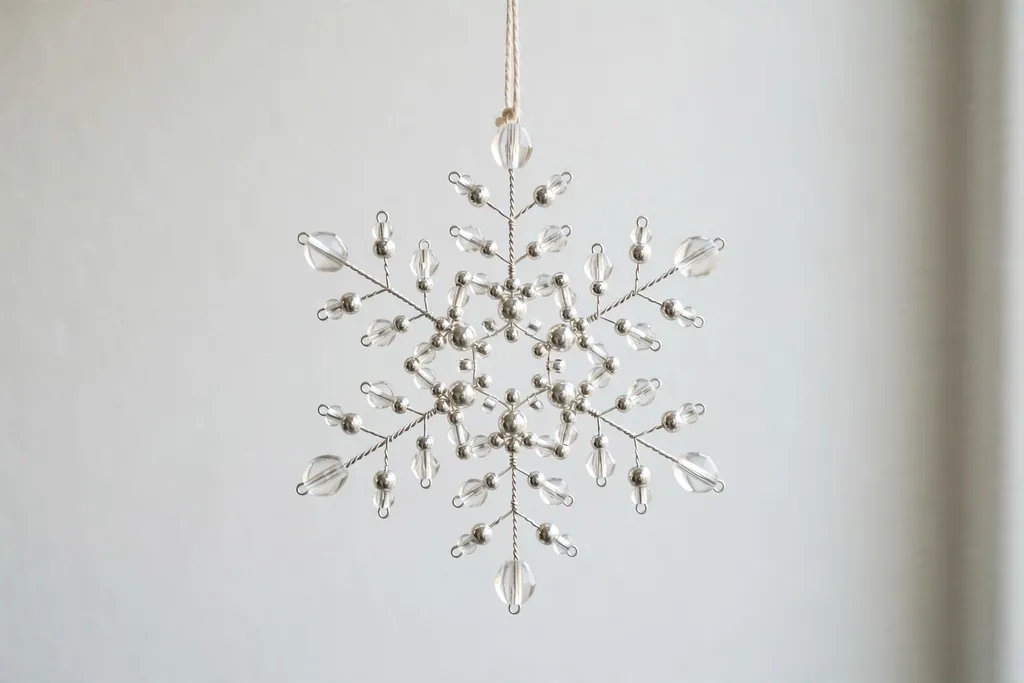
Thread glass, crystal, or wooden beads onto craft wire in a six point pattern, twisting the wire at the center and at each point to hold the shape. Beaded wire snowflakes catch tree light well and suit a winter white tree, a silver tree, or a tree with glass ornaments. They also hang well in windows, where light passes through the beads.
Cut six equal wire lengths, twist them together at the center, and thread beads in a repeated pattern on each arm so the snowflake stays balanced. Bend the wire ends into small loops at the points, trim any sharp ends, and add a hanging loop at the top point. Store beaded snowflakes flat in tissue so the wire arms do not bend.
5. Felt Snowflakes with Blanket Stitch
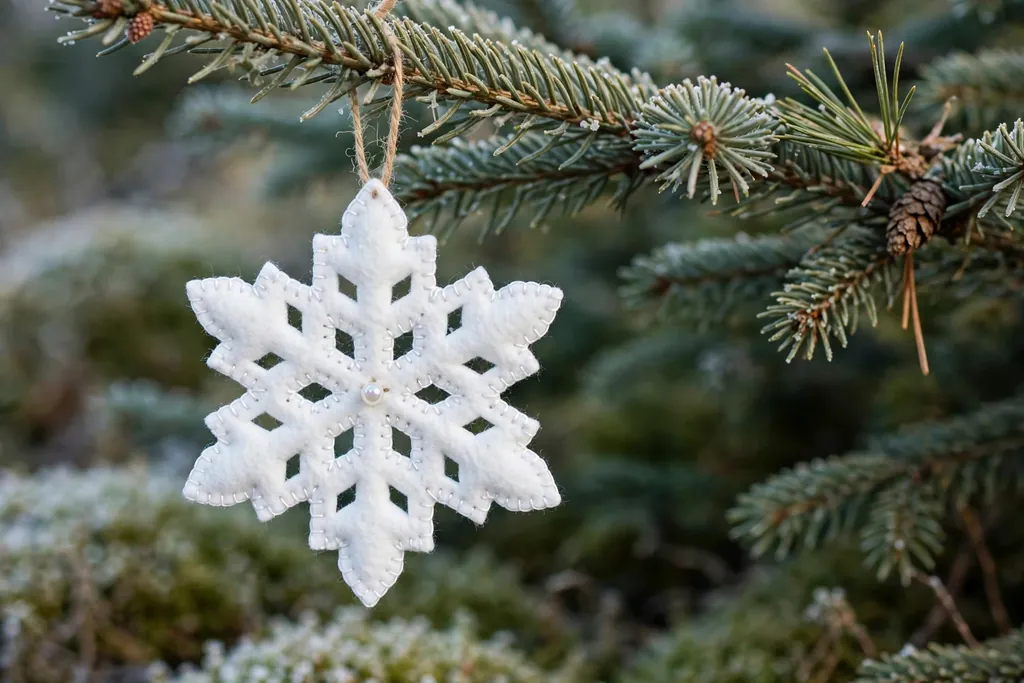
Cut two matching snowflake shapes from felt, stitch around the edges with blanket stitch in a contrast thread, and stuff lightly or leave flat. Felt snowflakes are soft, light, and safe for thin branches, and the stitched edge gives a finished, handmade look. They suit a cozy tree, a pastel tree, or a tree where children help decorate.
Use a paper template for each snowflake, cut carefully around the points, and keep stitches even so the edge reads clearly. Add a small bead or French knot at the center, sew a ribbon loop to one point, and press the finished snowflake flat. Keep felt ornaments away from open flame and store them flat so the points do not curl.
6. Painted Wood Slice Snowflakes
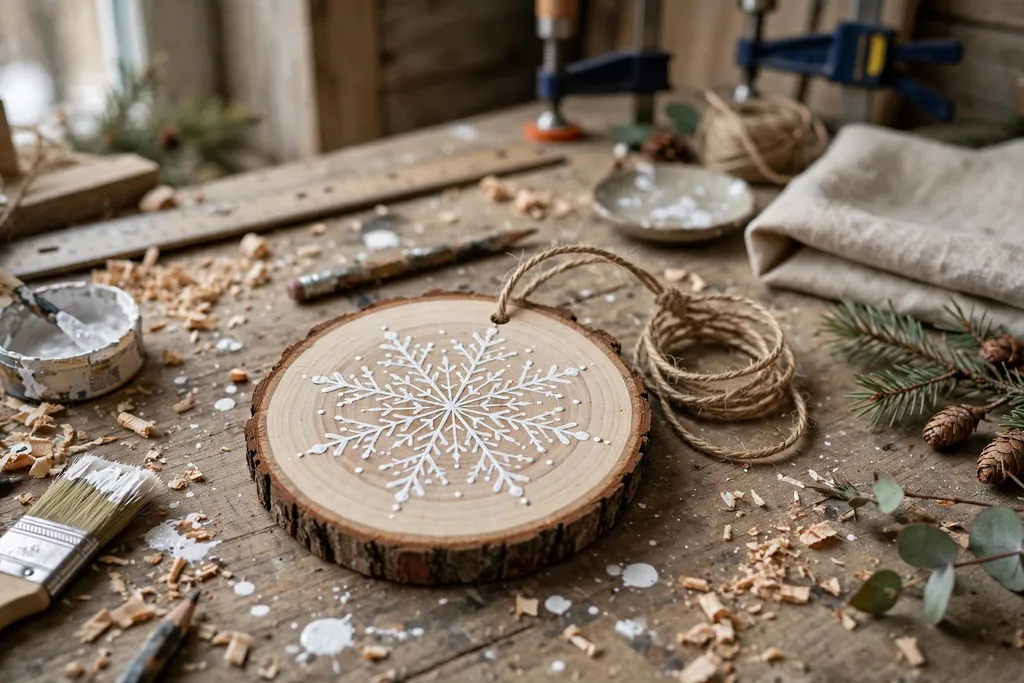
Paint a snowflake design onto a thin wood slice with white or silver acrylic paint, using a fine brush or a stencil for even points. The natural wood edge gives a warm, rustic frame, and each slice has slightly different grain, so no two ornaments match exactly. This project suits a woodland tree, a cabin tree, or a tree with other natural materials.
Sand the slice smooth, sketch the snowflake lightly in pencil, and paint one arm at a time, letting each section dry before adding detail. Seal with a light clear coat once the paint is fully dry, then thread twine through a pre-drilled hole or glue a loop to the back. Hang wood slices on inner branches, since they are heavier than paper or felt ornaments.
7. Salt Dough Snowflakes

Roll salt dough from flour, salt, and water, cut snowflake shapes with a cutter or a knife, and bake at low heat until hard. Salt dough snowflakes can be painted, dusted with glitter, or left plain, and they make sturdy keepsakes that can be dated on the back. They suit a family tree, a gift exchange, or a tree with other baked ornaments.
Roll the dough evenly, make a hanging hole with a straw before baking, and bake slowly until the pieces are fully dry through the center. Paint after cooling, seal with a clear coat, and thread ribbon through the hole. Store salt dough ornaments in a dry place, since damp air can soften them over time.
8. Air-Dry Clay Snowflakes
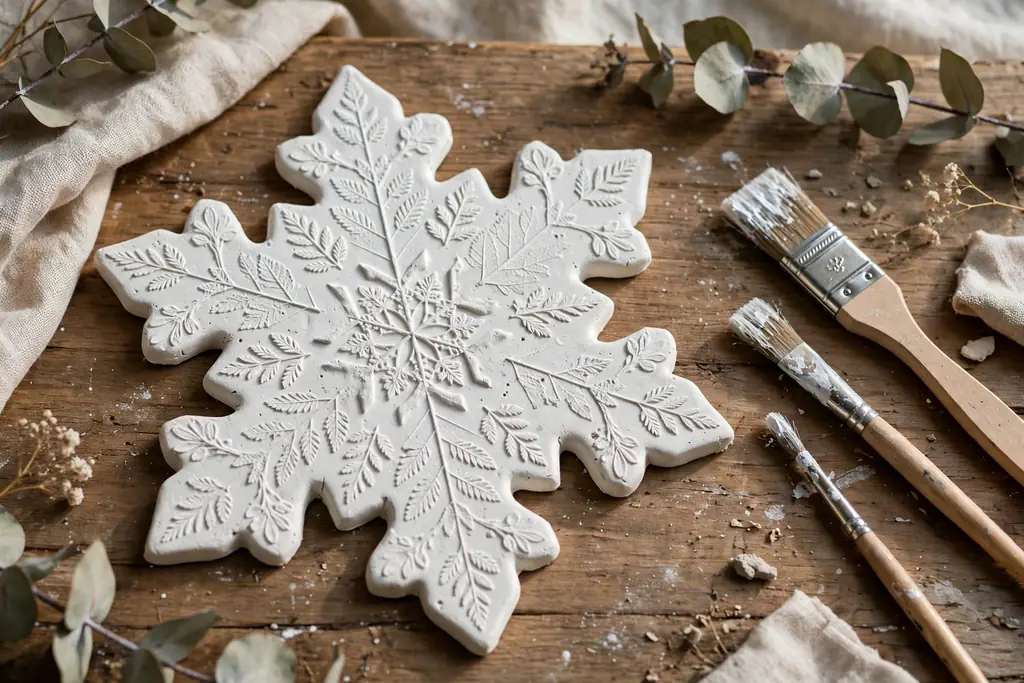
Roll air-dry clay flat, cut snowflake shapes, press in texture with a stamp or lace, and let the pieces dry slowly before painting. Clay snowflakes are heavier and more solid than salt dough, with a smooth finish that takes paint well. They suit a white tree, a minimal tree, or a mantel display grouped with candles and greenery.
Roll the clay to an even thickness, cut with a steady hand, and make the hanging hole before the clay starts to set. Turn the pieces as they dry so both sides dry evenly, then paint and seal them. Hang clay snowflakes on strong inner branches and store them in divided boxes, since clay can chip if pieces knock together.
9. Pipe Cleaner Snowflakes
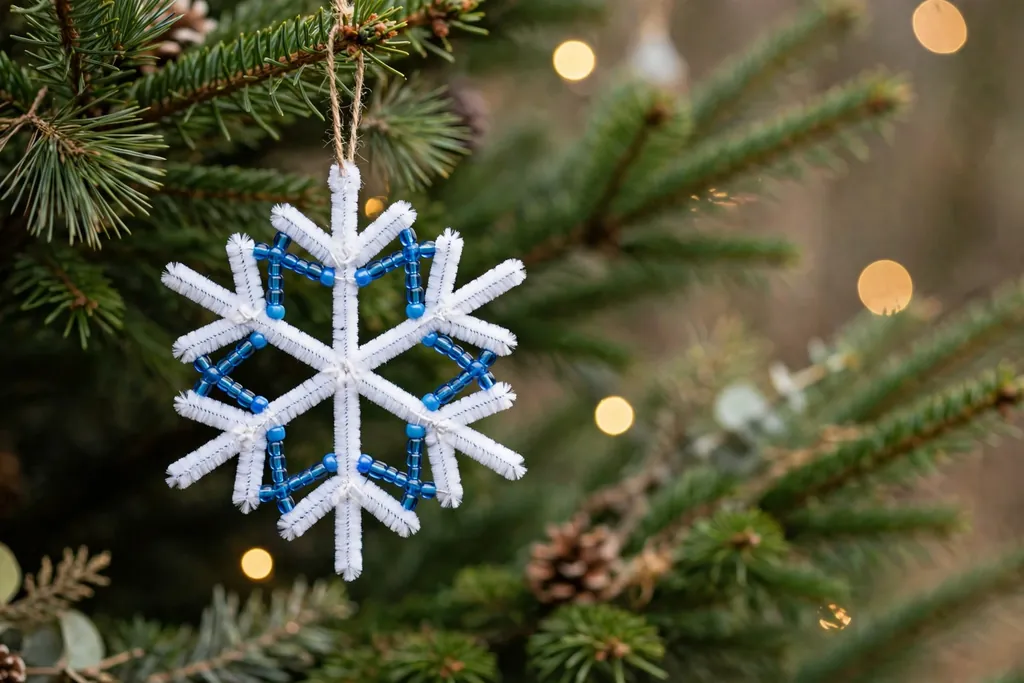
Twist chenille pipe cleaners into a six point shape, curl the ends into small spirals, and add beads for sparkle. Pipe cleaner snowflakes are fast, flexible, and easy to shape by hand, so they suit beginners and short craft sessions. They work well on a small tree, a classroom tree, or as gift toppers that later hang on a tree.
Twist three pipe cleaners together at the center, spread the six arms evenly, and bend the ends into matching curls. Thread a few beads onto each arm, twist the ends to hold them, and shape a hanging loop from one arm. Keep the arms even in length so the snowflake hangs straight, and store these flat so the arms do not get crushed.
10. Glitter Foam Snowflakes
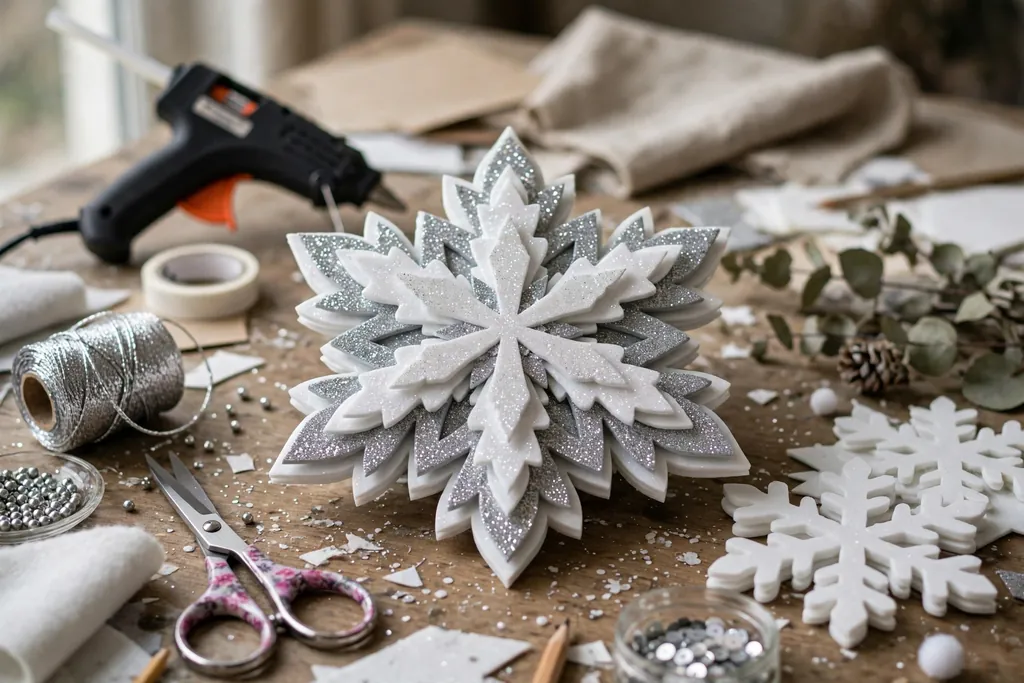
Cut snowflake shapes from glitter foam sheets, layer two colors for depth, and add a ribbon loop for hanging. Glitter foam is light, holds its shape, and needs no drying time, so these ornaments are ready to hang as soon as they are cut. They suit a bright tree, a children’s tree, or a tree with bold color.
Trace a template onto the back of the foam, cut slowly around the points, and glue a smaller snowflake on top in a second color for a layered look. Punch a small hole near one point, thread ribbon through it, and hang the snowflake near the branch tips. Shake off loose glitter outdoors before hanging, and store foam snowflakes flat.
11. Crochet Snowflakes
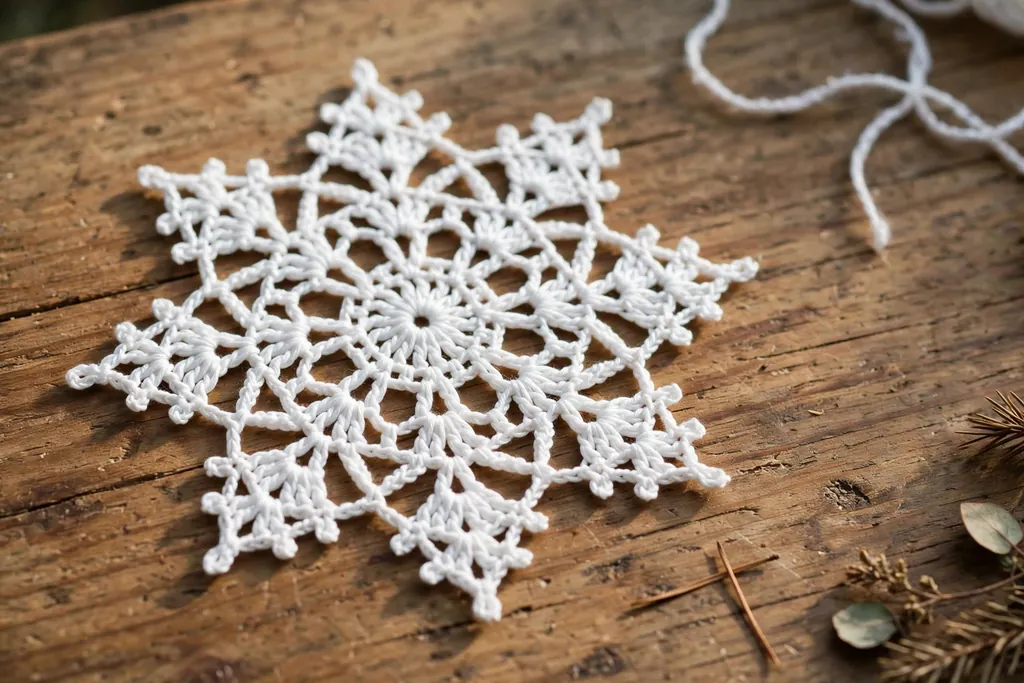
Crochet a small snowflake in white or cream cotton thread, following a simple six point pattern, then stiffen it lightly so it holds its shape on the tree. Crochet snowflakes have fine, lacy detail that reads well against dark green branches, and they suit a vintage tree, a white tree, or a tree with other textile ornaments. This project needs basic crochet skill and more time than paper crafts.
Work the pattern in rounds, keep tension even so the points match, and block the finished snowflake flat while it dries. Stiffen it with a light starch or fabric stiffener if you want a crisp shape, add a thread loop at one point, and hang it where the lace detail shows. Store crochet snowflakes flat in tissue so the points do not bend.
12. Perler Bead Snowflakes
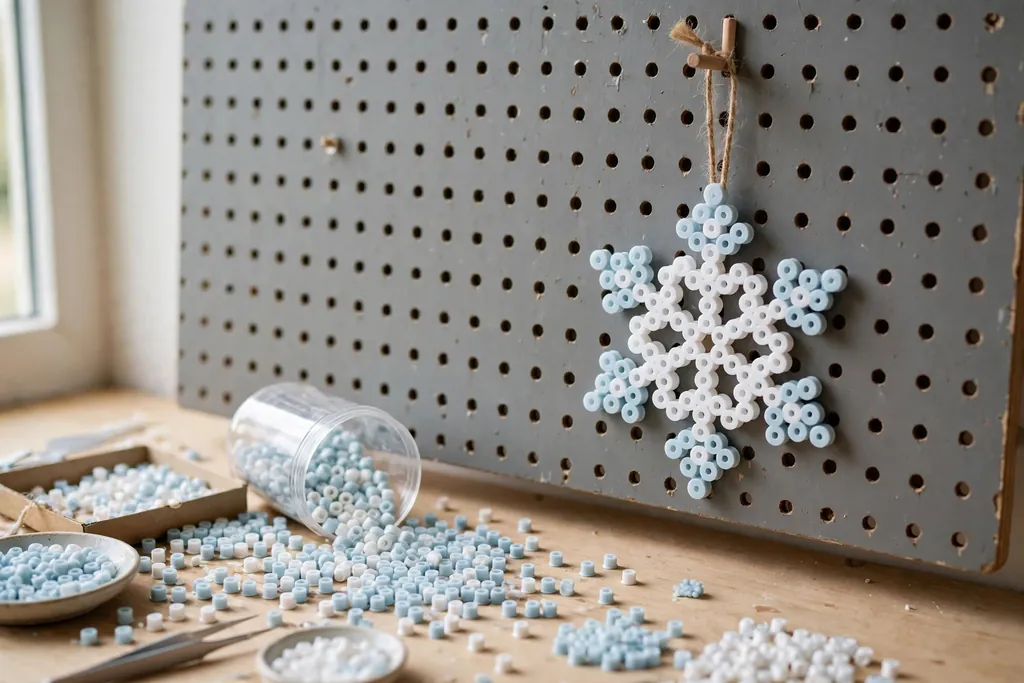
Arrange small fuse beads on a pegboard in a snowflake pattern, iron them to fuse, and add a hanging loop once the piece is cool. Perler bead snowflakes give a clean, pixel style shape in any color mix, and they are sturdy enough to reuse year after year. They suit a colorful tree, a modern tree, or a family craft session.
Plan the pattern on paper first, place beads in matching arms so the snowflake stays even, and iron with parchment paper following the bead instructions. Let the piece cool fully before removing it from the board, then thread a loop through an outer bead hole. Hang perler snowflakes on mid-level branches, since fused beads have some weight.
13. Twig Snowflakes
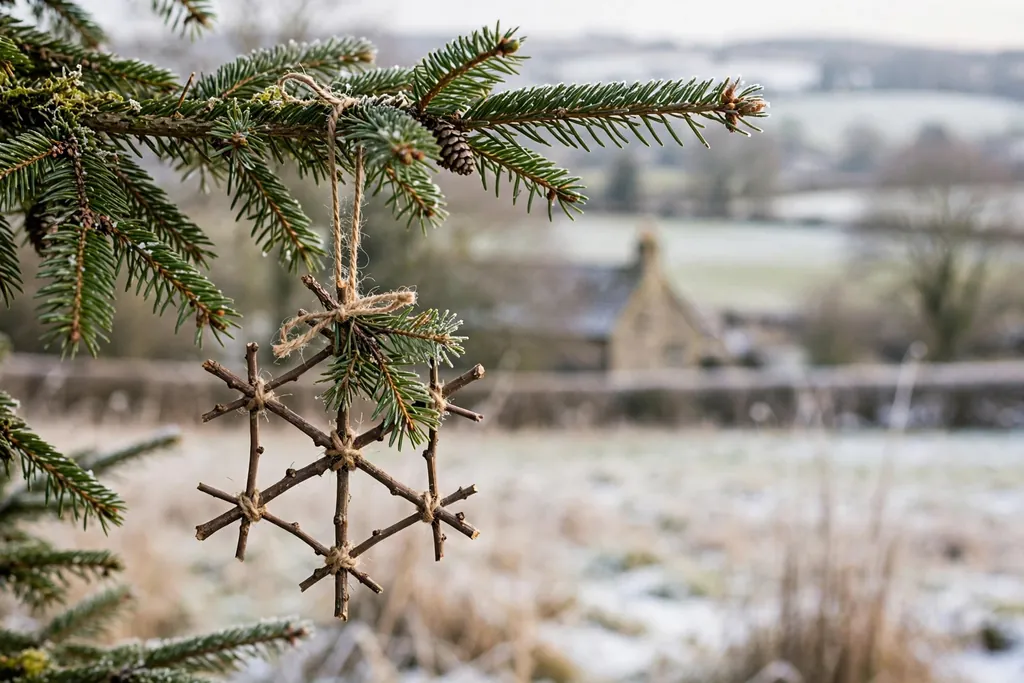
Tie short, straight twigs into a six point shape with twine, then add a small pine sprig, a berry cluster, or a bow at the center. Twig snowflakes bring a natural, woodland look to the tree and cost little, since the main material can be gathered from the garden. They suit a rustic tree, a porch tree, or a tree with dried citrus and wood slices.
Choose twigs of similar length and thickness, lay them in a star pattern, and bind each crossing point tightly with twine. Trim the twine ends neatly, glue or tie the center decoration in place, and add a twine loop for hanging. Hang twig snowflakes where they will not snag nearby ornaments, and keep them away from open flame.
14. Button Snowflakes

Glue buttons of one color family onto a felt or card backing cut in a snowflake shape, then add a bead at the center and a ribbon loop. Button snowflakes use up spare buttons and give a charming, vintage look, with each ornament slightly different depending on the buttons used. They suit a craft room tree, a pastel tree, or a tree with other sewn ornaments.
Sort buttons by size and color, lay them out on the backing before gluing, and place larger buttons near the center and smaller ones toward the points. Glue each button firmly, let the piece dry fully, and sew or glue a ribbon loop to the back. Hang button snowflakes on sturdy branches, since layers of buttons add weight.
15. Quilled Paper Snowflakes
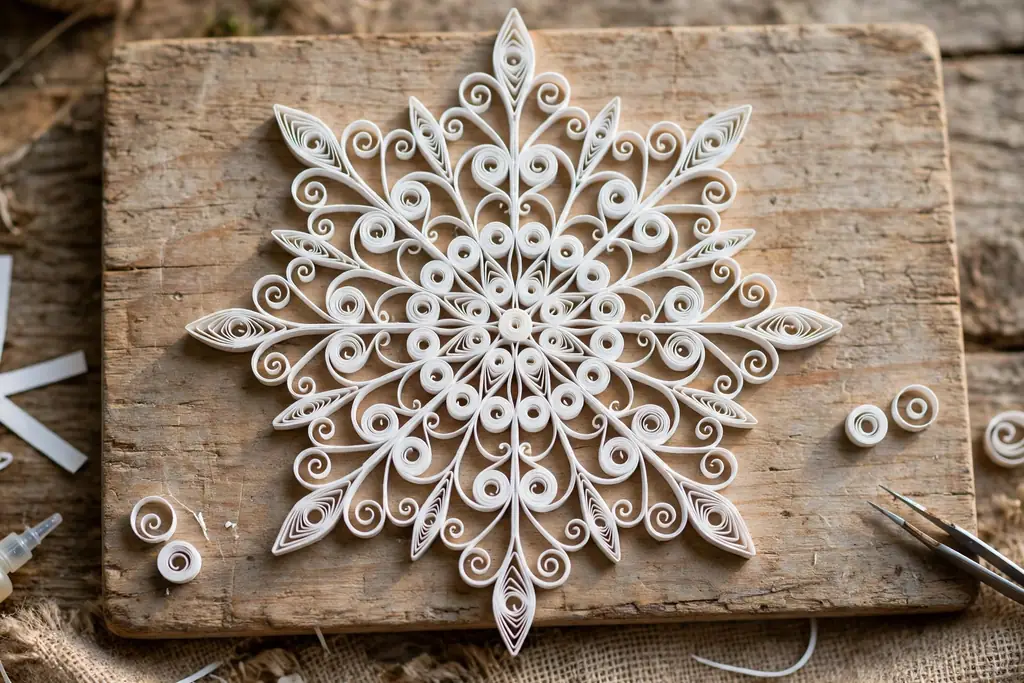
Roll narrow paper strips into coils, pinch them into teardrop and eye shapes, and glue them into a snowflake form on a flat board. Quilling gives a delicate, lacy paper snowflake with more depth than a folded paper cut, and it suits a white tree, a gold and cream tree, or a framed display. This project needs patience but only simple tools.
Roll coils with a quilling tool or a toothpick, glue the ends, and let each shape dry before joining them. Use a template under the work to keep the arms even, glue the shapes to a small center circle, and add a thread loop at one point. Keep quilled snowflakes dry and store them flat in a rigid box, since the coils can crush.
16. Cinnamon Stick Snowflakes

Glue cinnamon sticks into a six point star, add a small star anise or a wooden bead at the center, and hang the piece with twine. Cinnamon stick snowflakes add scent as well as shape, and they suit a rustic tree, a kitchen tree, or a tree with dried orange slices. They are quick to batch for gifts.
Choose sticks of similar length, glue them in pairs at even angles, and let the frame dry fully before adding the center piece. Tie twine around the center crossing for extra hold, trim the ends, and add a hanging loop at the top point. Keep cinnamon ornaments away from open flame and damp rooms, and replace them each season if the scent fades.
17. Embroidery Hoop Snowflakes
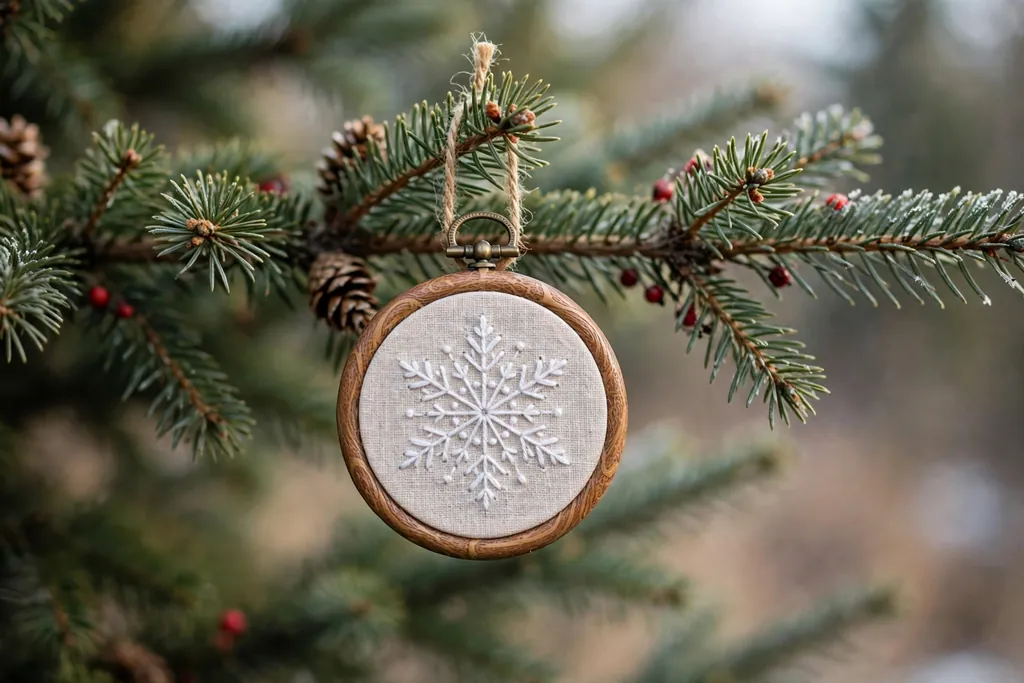
Stitch a snowflake design onto fabric stretched in a small wooden hoop, finish the back with felt, and hang the hoop as an ornament. Embroidered hoop snowflakes suit a slow craft evening and a tree with other textile pieces, and they also work as small wall pieces after the season. Keep the design simple so it reads clearly from a distance.
Choose a simple six point pattern, stitch in one or two thread colors, and keep stitches even. Trim the fabric at the back, glue a felt circle over it, and add a ribbon loop at the top of the hoop. Hang hoops on strong branches, since wood hoops are heavier than paper or felt ornaments.
18. Yarn Wrapped Snowflakes

Cut a snowflake shape from stiff card, wrap it fully in yarn, and add a pompom or bead at the center. Yarn wrapped snowflakes are soft, colorful, and easy to make in any yarn color, so they suit a cozy tree, a bright tree, or a tree with other yarn crafts. Wrapping also hides rough card edges for a neat finish.
Cut the card shape with clean points, tape the yarn end to the back, and wrap each arm evenly, keeping tension steady so the card does not bend. Glue the yarn end at the back, add the center decoration, and attach a yarn loop for hanging. Store yarn snowflakes flat so the wrapped arms keep their shape.
19. Clear Resin Snowflakes with Glitter
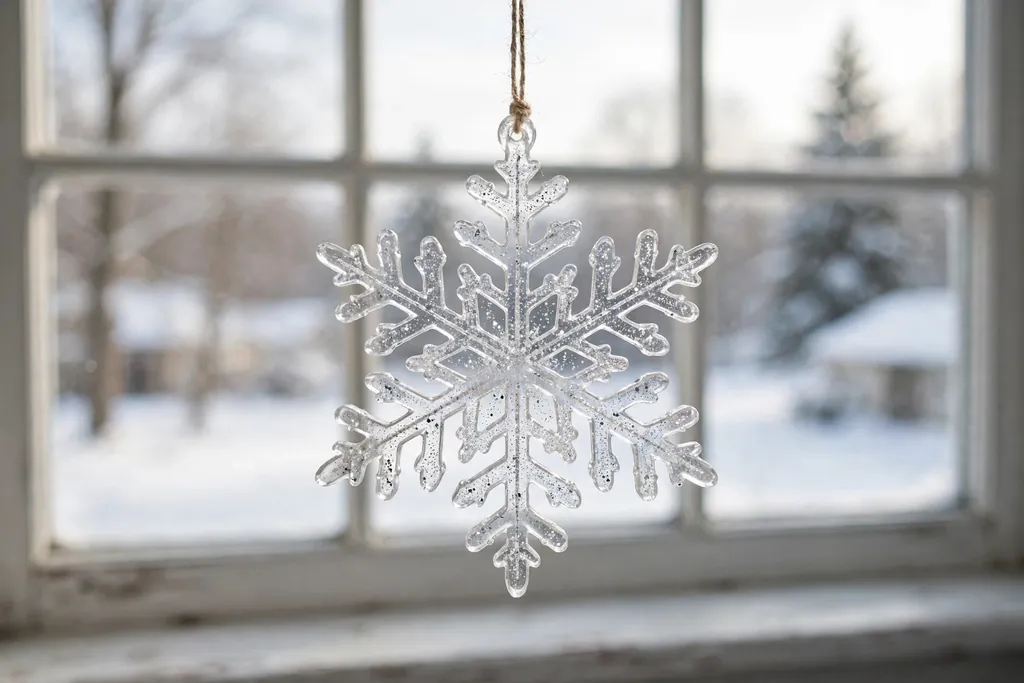
Pour clear resin into a snowflake mold, stir in fine glitter, and let the piece cure fully before adding a ribbon loop. Resin snowflakes look like ice, catch light from every angle, and last well from year to year. They suit a winter white tree, an icy blue tree, or a window display in winter light.
Mix resin following the product instructions, pour in thin layers if the mold is deep, and remove bubbles before curing. Work in a ventilated space, allow the full curing time, and check that the hanging hole is clear before threading ribbon. Hang resin snowflakes where light passes through them, and store them flat with tissue between pieces.
Conclusion
Snowflake ornaments work on a winter tree because one simple shape can carry many materials, from paper and felt to wood, beads, and clay. Start with a quick project such as folded paper or pipe cleaners, then add one sturdier keepsake, such as clay or resin, each year. Keep your palette small, test each ornament on a real branch, and store pieces carefully so the set grows rather than needing to be remade. Save the ideas you like, gather materials in one box, and set aside an evening for making, so the work stays relaxed and enjoyable.
FAQs
What is the easiest DIY snowflake ornament to make?
Folded paper snowflakes are the easiest, since they need only paper, scissors, and thread, and each one takes a few minutes. Pipe cleaner snowflakes and glitter foam snowflakes are also quick, since they need no drying time and can be shaped by hand.
What materials do I need for DIY snowflake ornaments?
The basic tools are scissors, glue, thread or ribbon, and a template for the six point shape. Beyond that, each project needs its own main material, such as paper, felt, craft sticks, beads and wire, clay, yarn, or resin. Start with materials you already own, then buy only what a chosen project needs.
How do I hang snowflake ornaments so they do not fall off?
Use short loops of ribbon, twine, or thread, and hook them over a branch rather than balancing them on branch tips. Place heavier ornaments on inner branches, close to the trunk, and light ornaments near the tips. Check each ornament after hanging by giving it a gentle tug.
How can I make paper snowflake ornaments last longer?
Press paper snowflakes flat, keep them dry, and store them flat between sheets of tissue in a rigid box. For sturdier paper ornaments, mount the snowflake on card before hanging, or spray it lightly with a clear sealant once it is fully dry. Replace torn paper snowflakes each season rather than trying to repair them.
What colors work best for snowflake ornaments on a winter tree?
White, silver, and pale blue give a frosty look on a green tree, while gold and cream suit a warm, classic tree. Use one main color with one accent, such as white with silver, so the snowflakes read as a set. Add a single bold color, such as red, only in small amounts if you want contrast.
Can I use DIY snowflake ornaments outside the tree?
Yes, snowflake ornaments also work on windows, mantel garlands, wreaths, and wrapped gifts. Hang light paper, felt, and beaded snowflakes in windows where light passes through them, and use sturdier wood, clay, or resin pieces on a porch or mantel. Keep paper and felt ornaments indoors and away from rain and damp air.