
You can make ornaments with flowers by placing small dried or pressed blooms inside clear baubles, sealing the cap, and hanging each ornament where light can pass through the petals. Choose blooms that fit the opening, work in small layers, and keep the design light so the ornament hangs evenly on the tree.
Flower filled ornaments suit many tree styles because the flowers add color without hiding the lights or the branches. You can use one flower type for a calm, matching set, or mix small blooms for a fuller look. This guide walks through each stage in order, so you can test one ornament first and then make the rest of the set.
Key Takeaways
- Choose small, flat blooms that fit through the ornament opening without bending or tearing.
- Dry or press flowers fully before use so petals keep their shape and color inside a closed ornament.
- Build the design in thin layers and check it against the light as you go.
- Keep each ornament light and balanced so it hangs straight and does not pull a branch down.
- Seal the cap firmly, add a strong hanger, and store finished ornaments in separate compartments.
Materials and Supplies
- Clear ornaments with removable caps, in glass or shatterproof plastic
- Small dried flowers, pressed flowers, or small faux flowers
- Small pieces of dried greenery, such as baby’s breath or tiny fern tips
- Fine tweezers and a small funnel or rolled paper cone
- Clear craft glue or small clear adhesive dots
- Thin ribbon, string, or ornament hooks for hanging
- Soft cloth, mild soap, and water for cleaning
- A tray or shallow box to hold flowers while you work
- Tissue paper and a lidded box or ornament storage tray for finished pieces
1. Choose Small Blooms That Fit the Opening
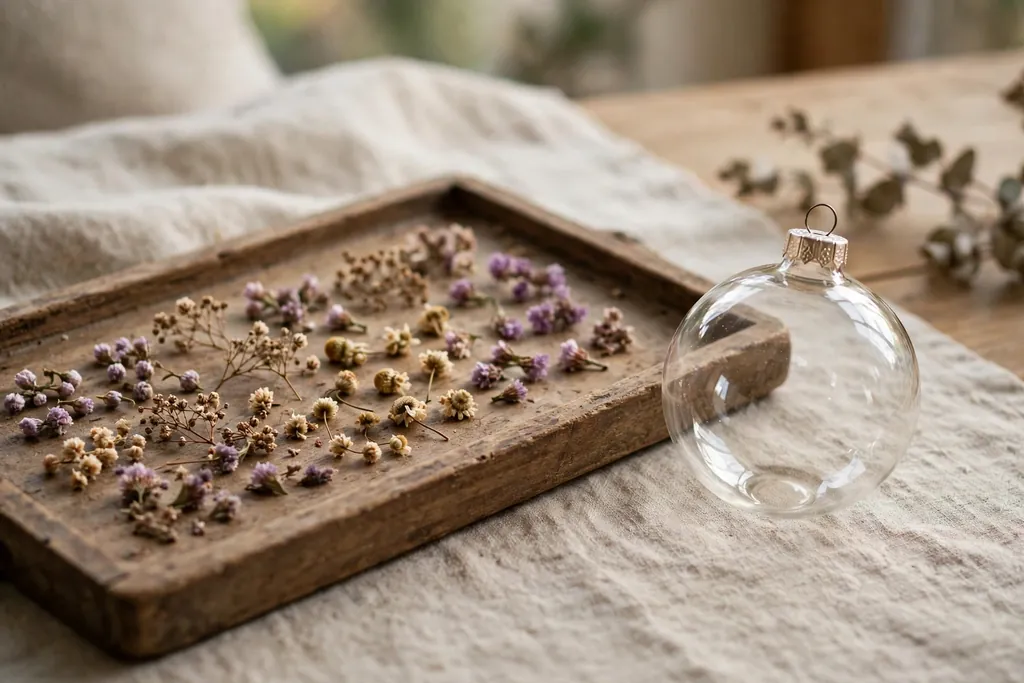
Start with blooms that are smaller than the ornament opening. Small flowers such as violets, small daisies, lavender buds, baby’s breath, and tiny dried rosebuds are easier to place than large blooms. Hold each flower next to the opening before you begin, and set aside any bloom that must be folded hard to fit.
Think about color as well as size. One main flower color with a small amount of greenery gives a clear, readable design inside a clear bauble. If you mix colors, keep the mix to two or three shades so the ornament does not look crowded. Lay your chosen blooms on a tray in the order you plan to use them.
2. Dry and Press Flowers Until Fully Dry

Use flowers that are fully dry before they go inside a closed ornament. Fresh flowers can lose color, soften, and trap moisture, which can cloud the inside of the bauble over time. To dry small blooms, hang them upside down in a dry room away from direct sun, or press them flat between sheets of paper under a heavy book for one to two weeks.
Check each bloom before use. Petals should feel dry and papery, not soft or damp, and stems should snap rather than bend. Discard any bloom that feels damp, smells musty, or has dark spots. If you use faux flowers instead, trim them to a small size and remove any loose glitter or backing that could fall inside the ornament.
3. Pick a Clear Ornament Shape and Size
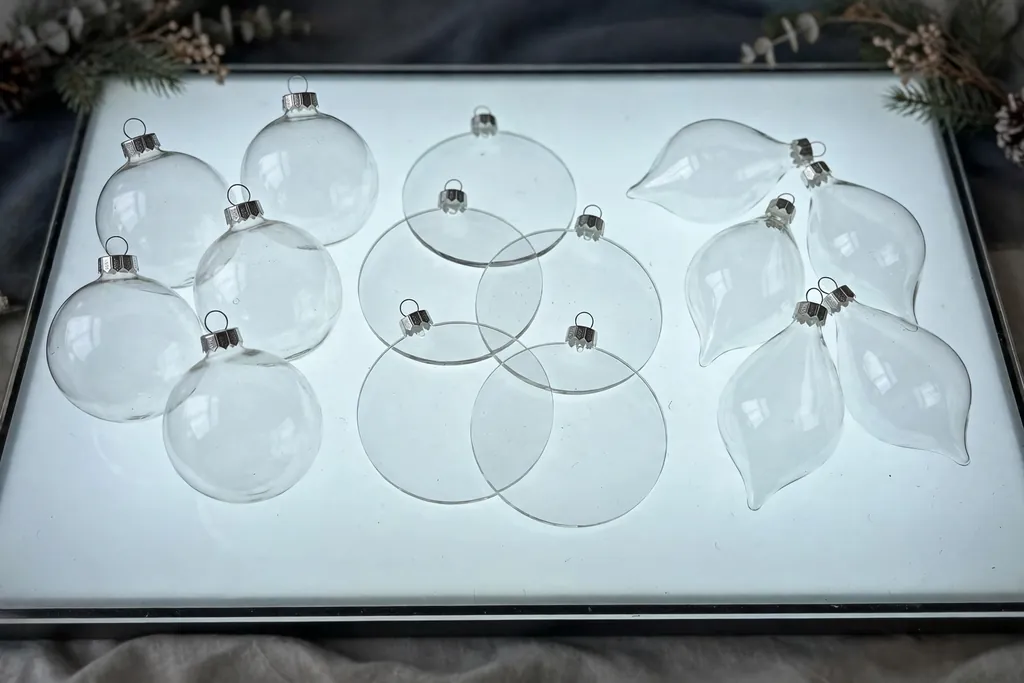
Choose a clear ornament shape that shows the flowers well. Round baubles suit a loose, gathered look, while flat disc ornaments suit pressed flowers laid in a single layer. Teardrop and oval shapes work well for a small upright spray of blooms and greenery. Try one of each shape with the same flowers if you want to compare the result before making a full set.
Check the cap and opening on each ornament. A wider opening makes filling easier, while a narrow opening suits smaller blooms and pressed petals. Make sure the cap fits snugly and that the hanging loop is secure. Set aside any ornament with a cracked cap, a loose loop, or a scratched surface that would blur the flowers inside.
4. Clean the Inside and Outside of Each Ornament
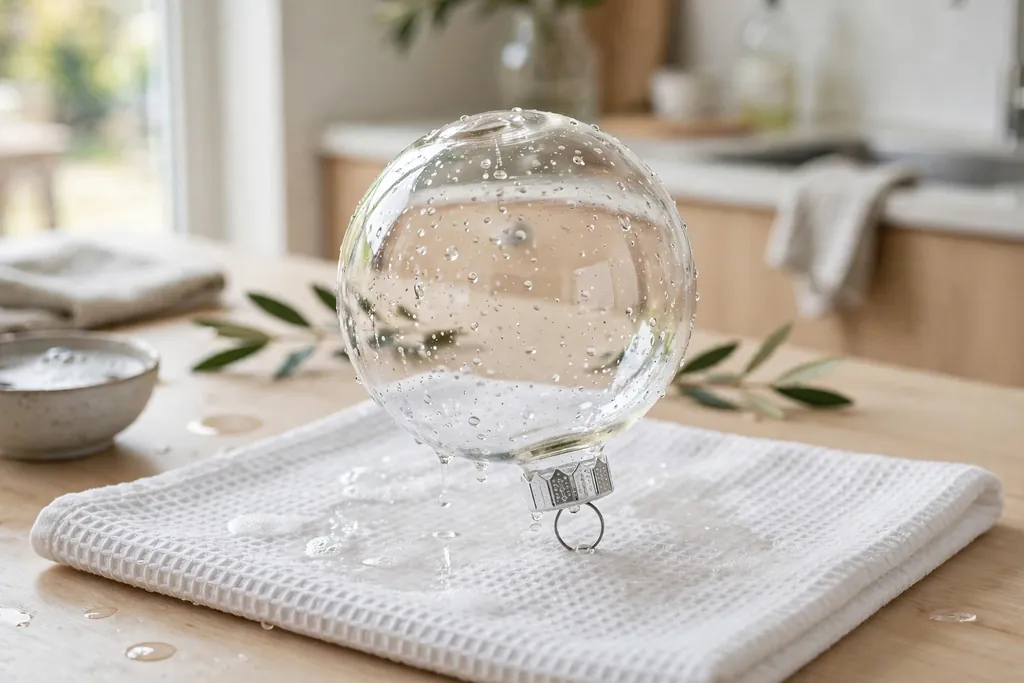
Wash each ornament in warm water with a small amount of mild soap, then rinse it well and let it dry fully with the cap removed. A soft cloth can remove dust and fingerprints from the outside, and a rinse can clear dust from the inside. Do not use rough cloths or harsh cleaners, which can scratch clear plastic or glass.
Let the ornament air dry upside down on a clean towel until no moisture remains inside. Moisture left inside a sealed ornament can fog the surface and affect dried petals. If you see streaks after drying, wipe the outside again with a dry soft cloth and check the inside against a light before you start filling.
5. Lay Out Your Design Before Filling
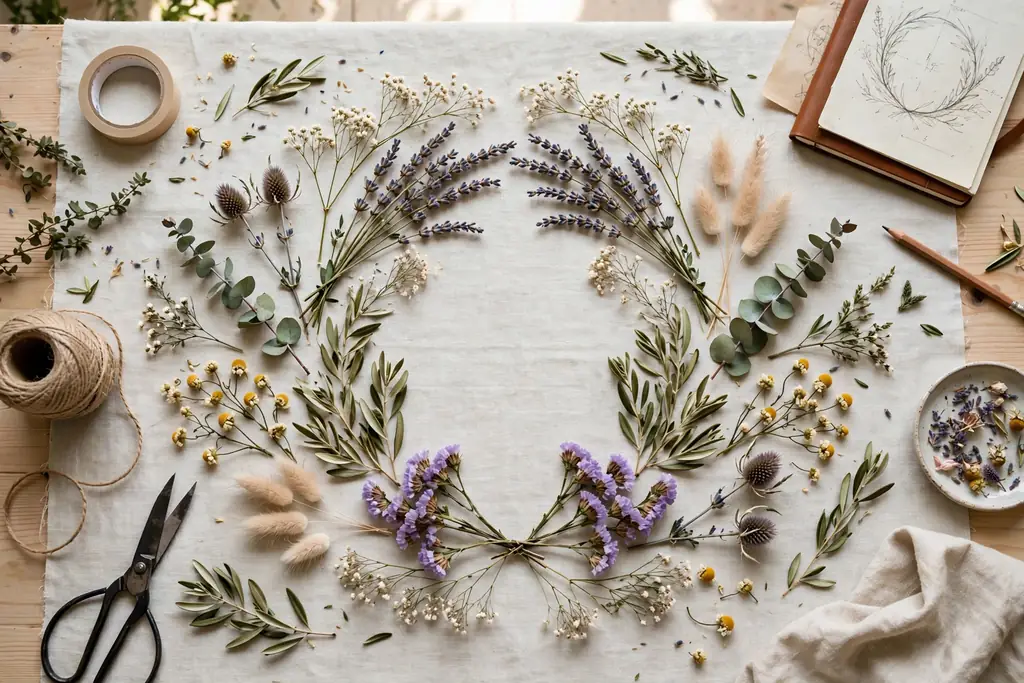
Plan the design outside the ornament first. Place the blooms and greenery on a light colored surface in the shape you want, with the largest flower in the center or slightly off center and smaller pieces around it. This step helps you see whether the colors balance and whether any piece is too large for the opening.
Take a quick look at the layout from a short distance, as it will appear on the tree. Remove one piece if the group looks crowded, and add a small sprig of greenery only if the layout needs height or a softer edge. Keep the planned group small enough to enter the ornament in two or three gentle steps rather than all at once.
6. Fill the Ornament in Thin Layers
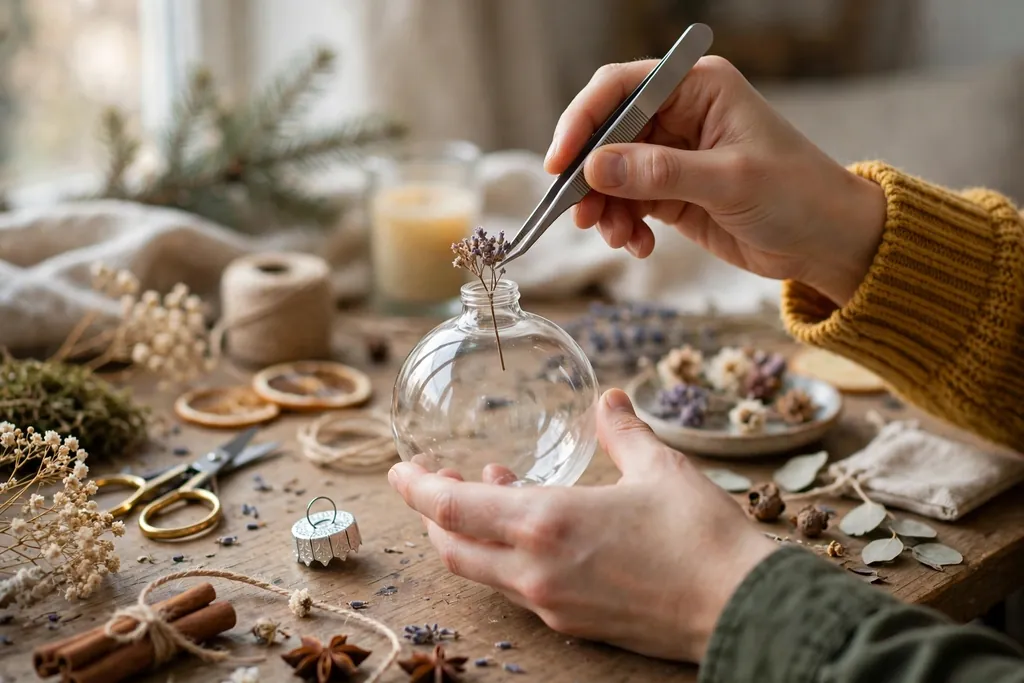
Work with the ornament cap removed and the opening facing up, or hold a flat ornament open on a tray. Use fine tweezers to place the first flower, and guide it into position with a gentle twist rather than pushing it hard. A small funnel or rolled paper cone can help guide tiny petals and buds through a narrow opening without crushing them.
Add the next layer only after the first layer sits where you want it. Turn the ornament slowly and look through it from different sides, since a design that looks right from the front can look empty or crowded from the back. Keep adding small pieces until the ornament looks full from the front, but stop before the inside feels packed, as packed petals lose their shape.
7. Add Greenery and Filler for Shape
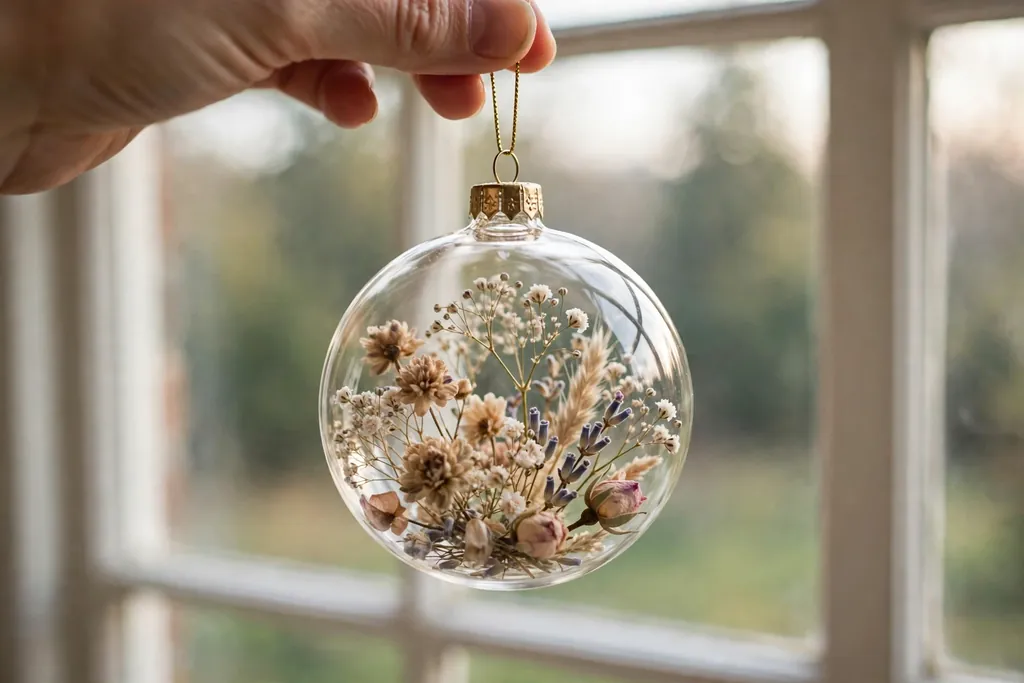
Add small pieces of greenery after the main flowers are in place. A few tips of baby’s breath, a tiny fern tip, or a short piece of dried grass can frame the blooms and fill gaps without hiding them. Place greenery near the edges of the design so the main flowers stay visible in the center.
Use filler sparingly. Too much filler can block light and make the ornament look dense, while a small amount adds depth and keeps the design from looking flat. If a piece of greenery sits in front of a main flower, move it with tweezers to the side or behind the bloom. Step back and check the ornament against a light once more before moving on.
8. Fix Loose Petals in Place
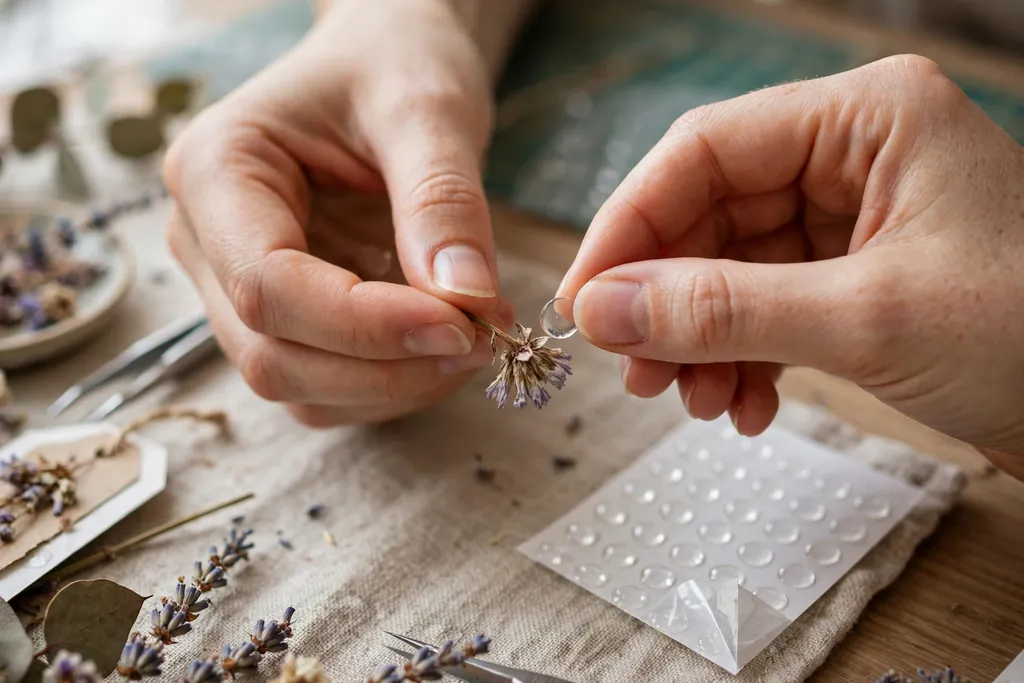
If a flower shifts each time you turn the ornament, fix it with a tiny clear adhesive dot or a very small amount of clear craft glue on the back of the bloom. Press the bloom lightly against the inside wall of the ornament or against a neighboring stem, and hold it for a few seconds until it stays in place. Use the smallest amount of glue that will hold, since excess glue can show through clear plastic or glass.
Let any glue dry fully before you close the ornament. Glue that is still wet can smear when the ornament moves, and it can pull a petal out of place. Check the design again after drying, and remove any loose petal fragments with tweezers so they do not rattle inside the finished ornament.
9. Seal the Cap and Attach a Strong Hanger
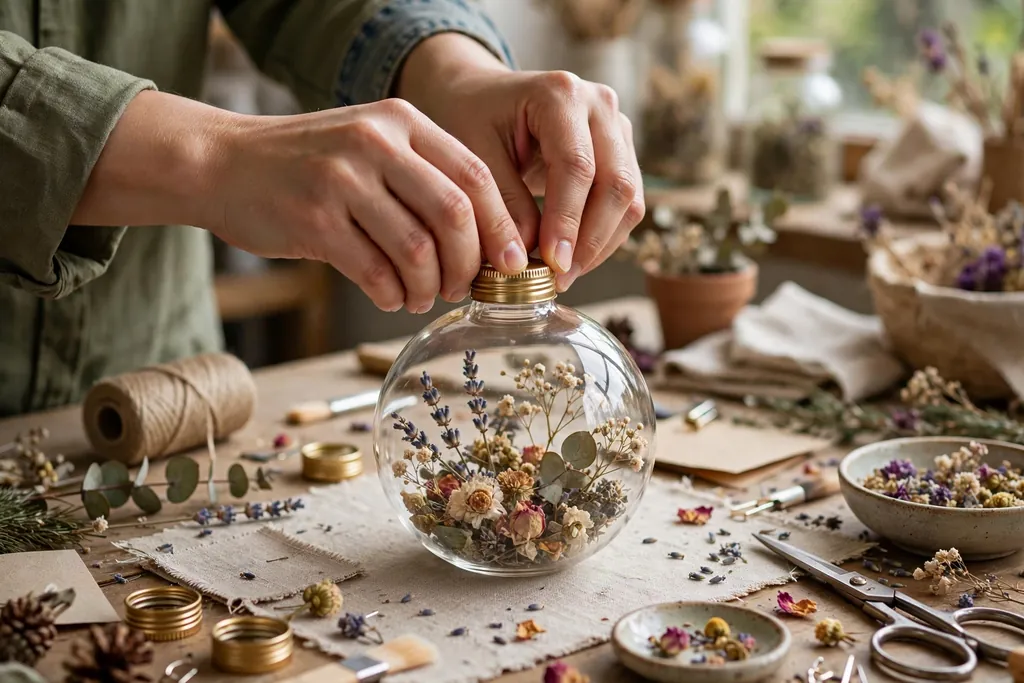
Replace the cap and press it firmly until it sits flat and does not wobble. If the cap feels loose, add a small ring of clear tape around the join or a thin line of clear glue at the rim, and let it dry fully before hanging. A loose cap can open on the tree and spill dried petals, so test the seal by turning the ornament gently upside down over a tray.
Thread ribbon, string, or a hook through the hanging loop, and tie or close it securely. Choose a hanger length that lets the ornament hang clear of nearby branches and lights. For heavier glass ornaments, use a sturdy hook rather than a thin loop of thread, and check that the loop on the cap is not bent or cracked.
10. Add Ribbon and Finishing Touches
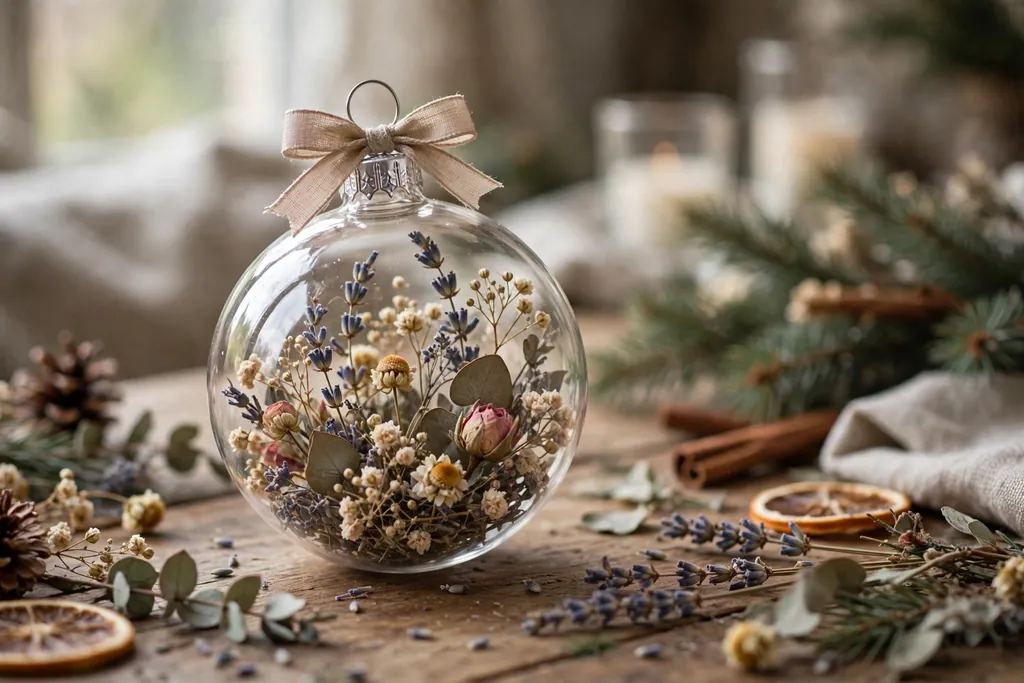
Add a small bow at the top of the ornament if you want a finished look. A short length of thin ribbon in a color that matches one flower in the design works well, and it should sit above the cap rather than covering the flowers. Tie the bow tightly, trim the ends at a slant, and check that the bow does not pull the ornament to one side.
Keep other finishing touches simple. A tiny tag, a single small bead on the hanger, or a thin gold or silver thread can add detail, but each extra piece adds weight. Step back and look at the finished ornament in daylight and in lamplight, since colors and light passing through petals can look different in each setting.
11. Hang Ornaments Safely on the Tree
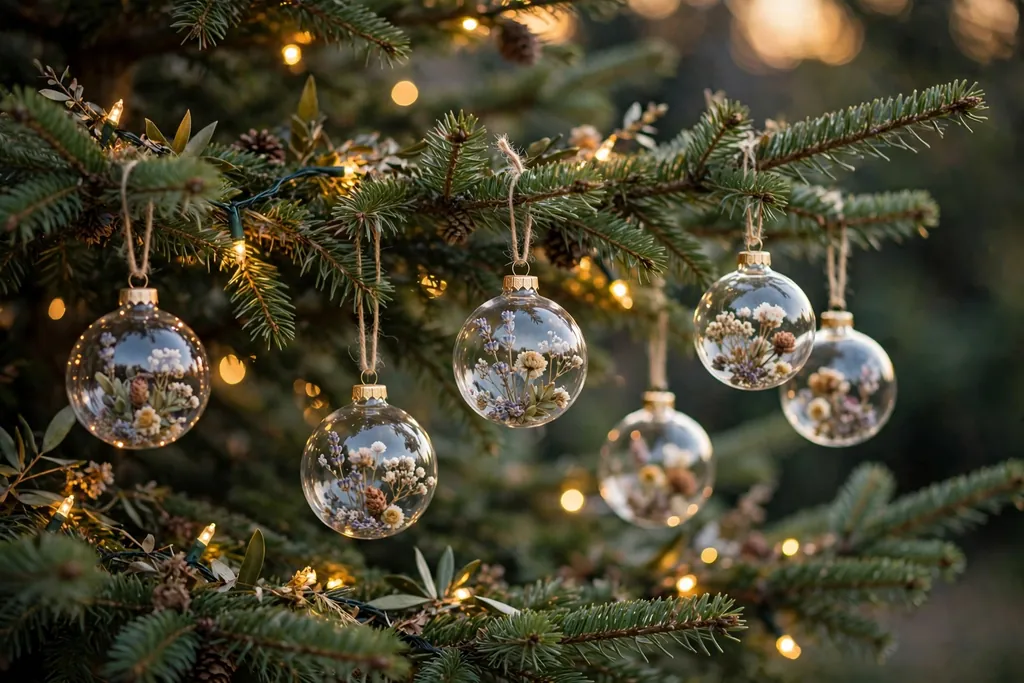
Hang flower filled ornaments on sturdy branches, starting with the larger or heaviest pieces lower on the tree and lighter pieces higher up. Space ornaments so light can pass between them and so flowers remain visible rather than hidden behind branches or other decorations. Turn each ornament so its best side faces the room.
Check each branch after hanging. If a branch dips sharply, move the ornament to a stronger branch closer to the trunk or swap it for a lighter ornament. Keep glass ornaments away from walkways and from branches that pets or small children can reach easily, and place shatterproof ornaments in those spots instead.
12. Store Ornaments for Next Year
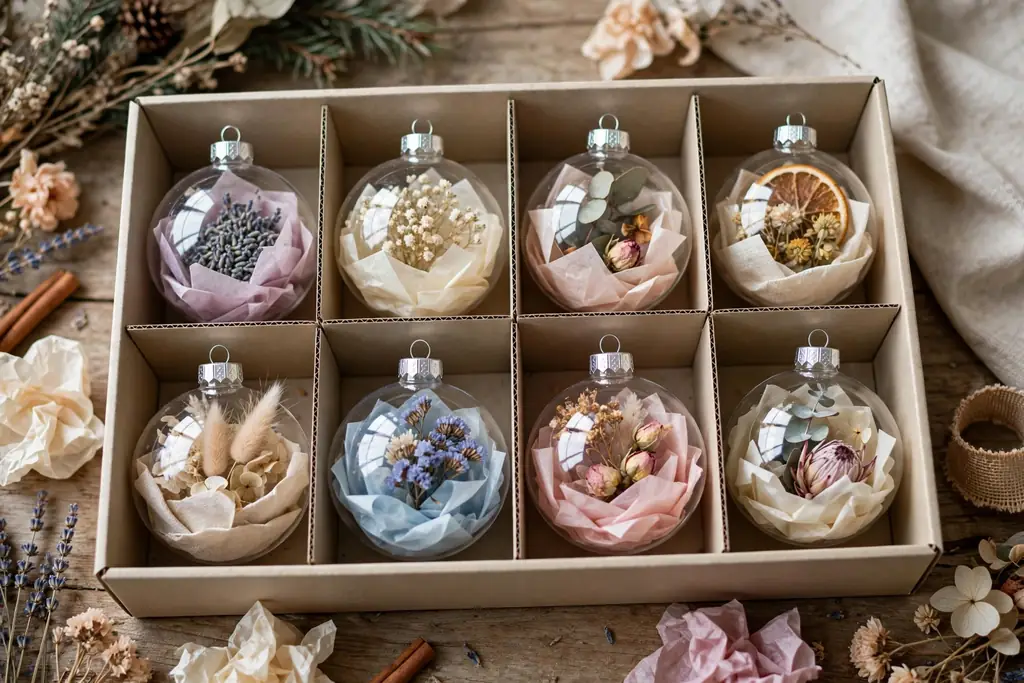
Store finished ornaments in a lidded box with separate compartments, wrapping each one in tissue paper so petals and caps do not rub against other ornaments. Keep the box in a cool, dry place away from damp rooms and direct sun, which can fade dried flowers over time. Label the box so you can find the set without opening and handling each ornament.
Check the set before the next season. Look for loose caps, faded petals, or cracked hangers, and repair or replace only the pieces that need it. A well stored set can be used again, and you can add one or two new ornaments each year to refresh the tree without remaking the whole set.
Conclusion
Ornaments with flowers are a simple handmade project that rewards careful choices at each stage: small dry blooms, a clear ornament that shows them well, thin layers, a firm seal, and a balanced place on the tree. Start with one test ornament, learn how your flowers sit inside the shape you chose, and then make the rest of the set to match. With gentle handling and dry storage, the finished ornaments can return to the tree year after year. For more ideas from Dwell Ovell, browse the home page for seasonal decorating guides.
FAQs
Can I use fresh flowers in clear Christmas ornaments?
No, fresh flowers are not a good choice for closed ornaments because they can lose color, soften, and trap moisture inside the bauble. Use fully dried flowers, pressed flowers, or small faux flowers instead, and check that dried blooms feel dry and papery before you place them inside.
What size flowers work best inside a clear ornament?
Small, flat blooms work best, such as violets, small daisies, lavender buds, baby’s breath, and tiny dried rosebuds. Each bloom should pass through the ornament opening without hard folding, and the full design should be built in two or three thin layers rather than packed in all at once.
Are glass or plastic ornaments better for flower filled ornaments?
Both can work well, so choose based on where the ornament will hang. Glass shows flowers clearly and suits branches away from walkways, while shatterproof plastic is safer for lower branches, homes with small children or pets, and spots near doors. Check the cap fit and hanging loop on either type before filling.
How do I stop dried flowers from moving inside the ornament?
You can stop dried flowers from moving by placing a tiny clear adhesive dot or a very small amount of clear craft glue on the back of a bloom and pressing it lightly against the inside wall or a neighboring stem. Let the glue dry fully before closing the cap, and remove loose petal fragments with tweezers.
How do I hang flower filled ornaments so the flowers stay visible?
Hang flower filled ornaments on sturdy branches with space around them, turn the best side toward the room, and keep them clear of dense branches and other decorations. Place heavier ornaments lower on the tree and lighter ones higher up, and move any ornament that makes a branch dip sharply to a stronger branch near the trunk.
How should I store flower filled ornaments after Christmas?
Store flower filled ornaments wrapped in tissue paper in separate compartments inside a lidded box, kept in a cool, dry place away from damp rooms and direct sun. Check caps, hangers, and petals before the next season, and repair or replace only the pieces that need it so the set lasts from year to year.