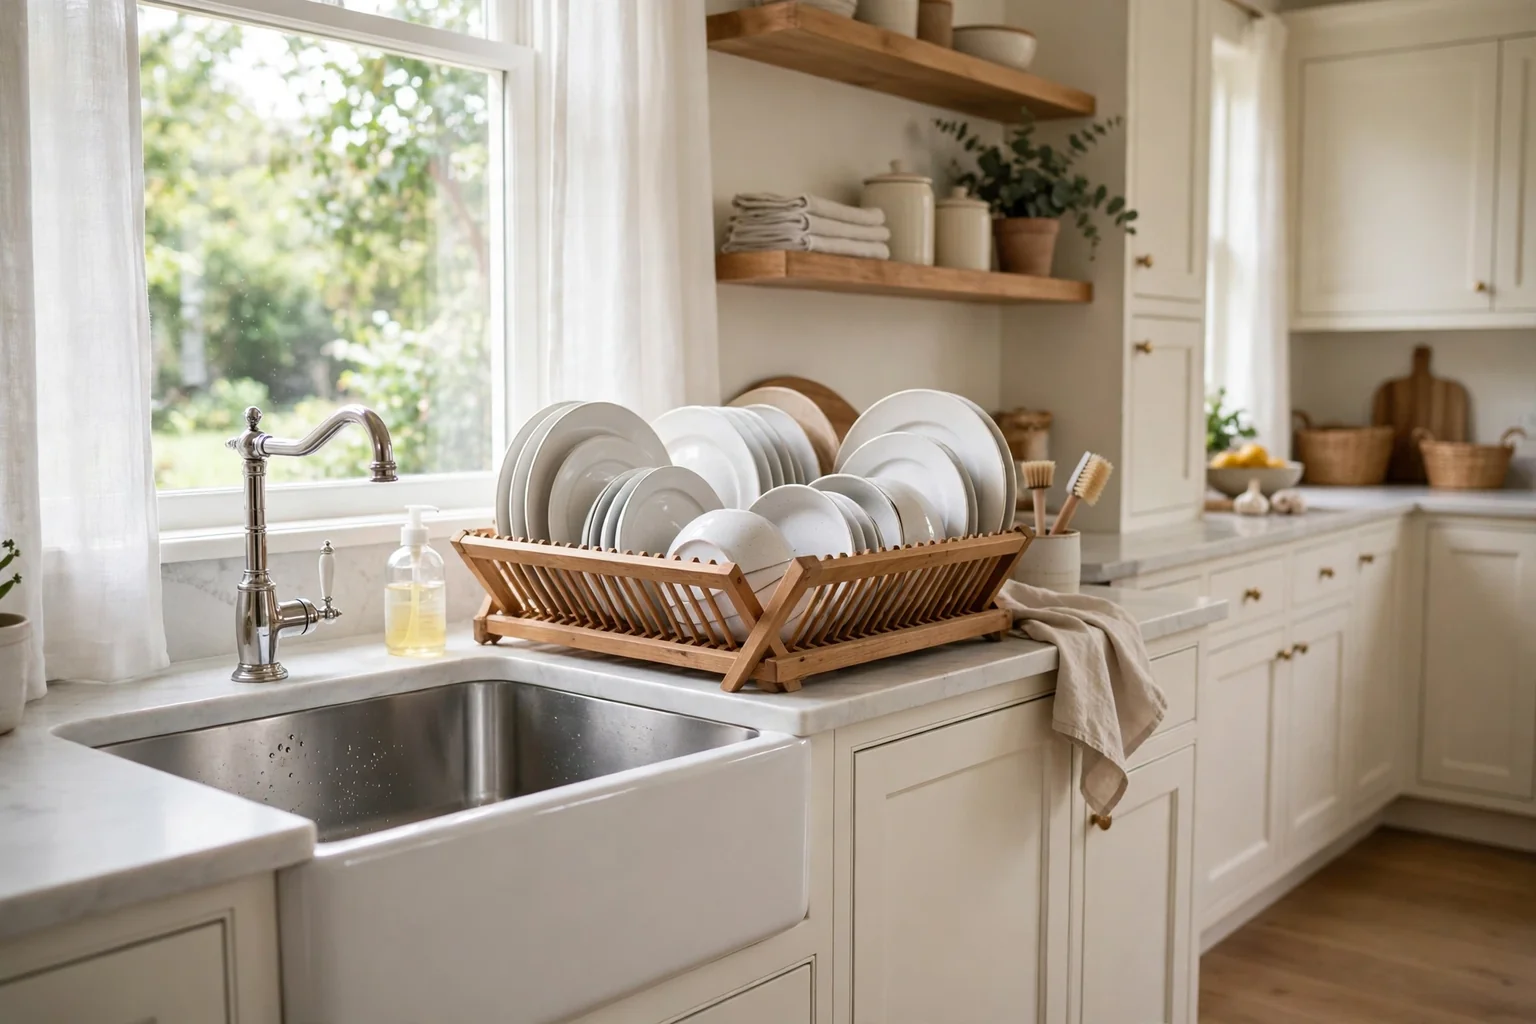
A wooden dish drying rack warms up the sink area in a way that plastic and wire racks rarely do. It suits farmhouse kitchens, modern kitchens with wood accents, and small kitchens where the rack stays on show all day. These 30 wooden dish drying rack ideas cover countertop racks, wall-mounted racks, over-sink racks, and full drying stations, so you can pick a rack that fits your sink, your daily dish count, and how much counter you are willing to give up. Before you choose, measure the counter beside the sink, count the plates and bowls from a normal meal, and check where the water will drain.
Key Takeaways
- Size the rack to a normal meal, not a dinner party: a rack that holds your daily plates, bowls, and cups dries faster and stays tidier than an oversized one.
- Give water somewhere to go, with a drip tray, a sloped base, or a spot over the sink, so the counter stays dry and the wood stays sound.
- Match the wood to the kitchen: light bamboo suits pale kitchens, teak suits wet zones, and dark walnut suits kitchens with dark cabinets or wood floors.
- Keep air moving around the dishes, with gaps between plates and space between the rack and the wall, so dishes dry fully instead of staying damp.
- Wipe the rack dry and clean the tray often, and reseal or oil the wood when water starts to darken it, since damp wood wears out far faster than dry wood.
- Put daily dishes within easy reach of the sink, and move rarely used pieces to a cabinet, so the rack works as a drying spot rather than a second storage shelf.
1. Classic Slatted Countertop Rack Beside the Sink
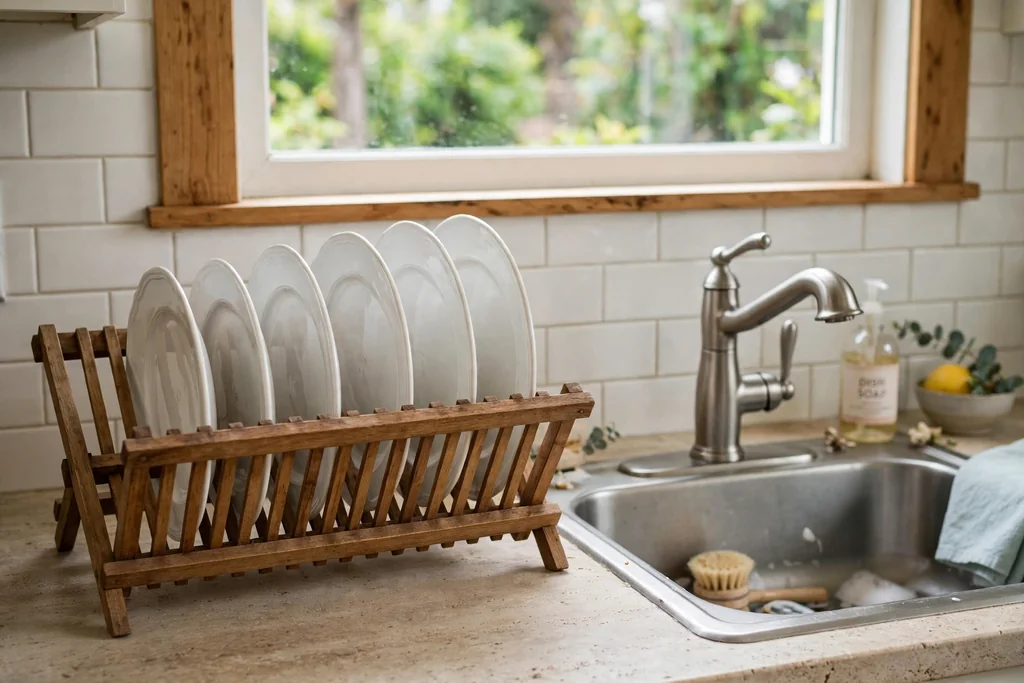
A classic slatted rack is the simplest wooden dish rack, and often the best place to start. It sits on the counter beside the sink, with slats that hold plates upright and a flat section for bowls and cups. The open slats let air move under the dishes, which helps them dry without a cloth, and the wood adds warmth beside a steel sink or a stone counter.
Choose a rack wide enough for your daily plates, with slats spaced so plates stand without leaning on each other. Place it on the side of the sink you naturally move toward when washing up, and leave a small gap between the rack and the wall so air can reach the back row. Wipe under the rack when you wipe the counter, since water collects there first.
2. Two Tier Rack for Plates and Bowls
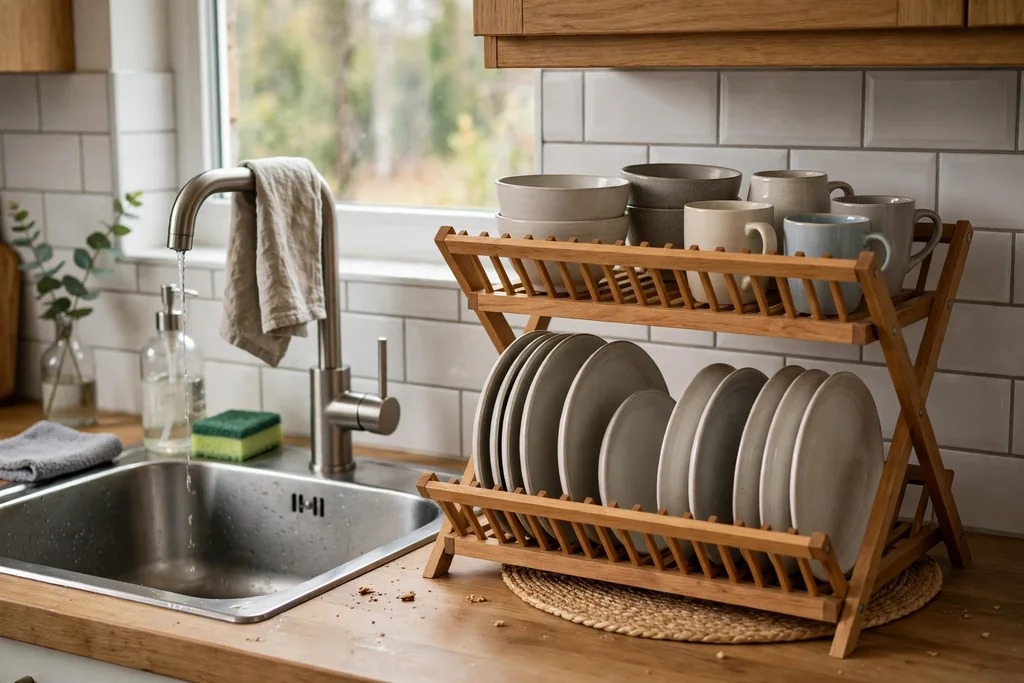
A two-tier rack stacks drying space upward instead of outward, which suits a kitchen with a short counter run. Plates stand in the lower tier, while bowls, cups, and small items sit on the upper tier, and the whole rack takes up little more counter than a single-tier rack of the same width. The tiered shape also keeps bowls from shading plates, so both levels get air.
Check the height between the tiers before you buy or build, since tall bowls and mugs need more clearance than flat plates. Load heavy plates low and light cups high, so the rack stays steady when you add a wet plate. If the upper tier sits near a window or a shelf, measure that clearance too, so tall items still fit.
3. Wall Mounted Fold Down Rack
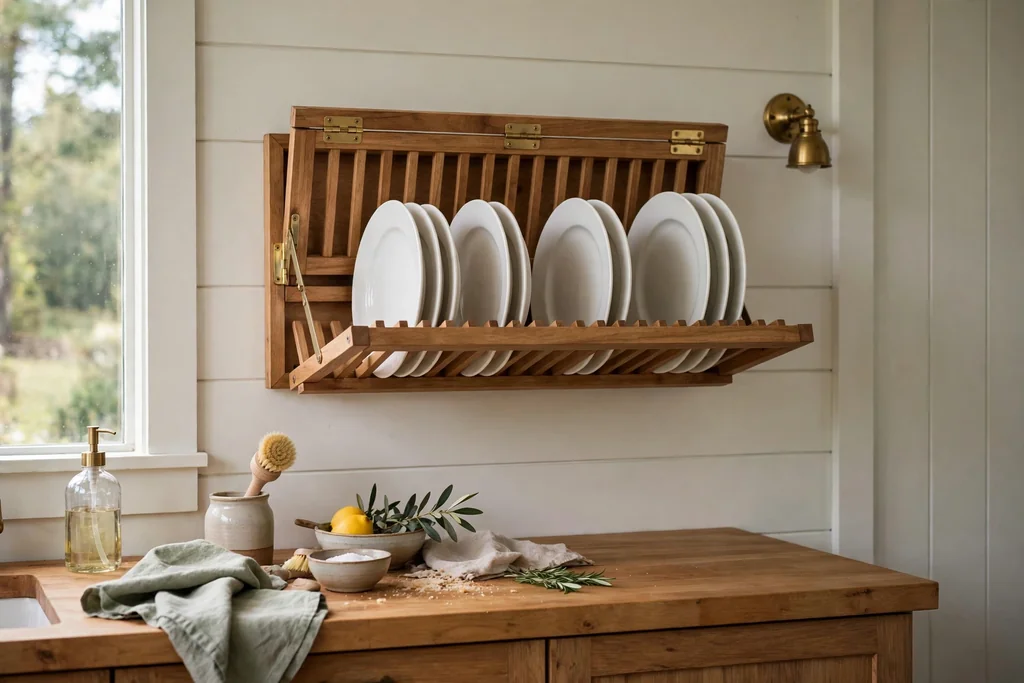
A wall-mounted fold-down rack folds flat against the wall when it is not in use, then drops down to hold dishes after washing up. This suits a small kitchen where counter space matters more than anything else, since the rack takes no counter at all when folded away. When it is down, plates stand in slots along the frame, with a tray or a sloped board below to catch drips.
Fix the rack into wall studs or with fixings rated for a full load of wet dishes, since wet plates are heavy. Mount it at a height where you can load plates without reaching overhead, and close to the sink so the carry is short. Fold it up once dishes are dry, so the wall stays clear and the rack does not become a permanent shelf.
4. Over Sink Rack That Spans the Basin
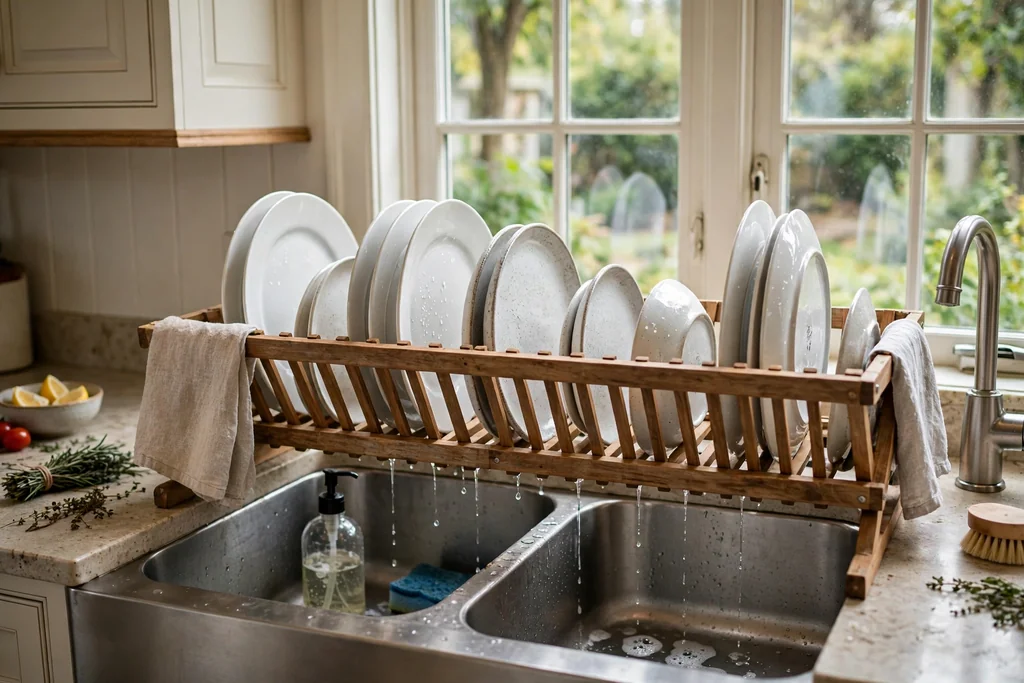
An over-sink rack rests across the sink itself, so water drips straight into the basin and never reaches the counter. The rack frame sits on the sink rim or on rails across the top, with plate slots running along its length and space for bowls at one end. This layout suits kitchens with very little free counter, and it keeps the drying dishes right where they were washed.
Measure the sink width and rim shape before choosing, since the rack must sit level and steady on both sides. Keep one side of the sink clear if you need to rinse hands or fill a kettle while dishes dry. Dry the rack frame after use, since a frame that sits over a wet sink stays damp longer than a countertop rack.
5. Corner Rack for a Tight Counter
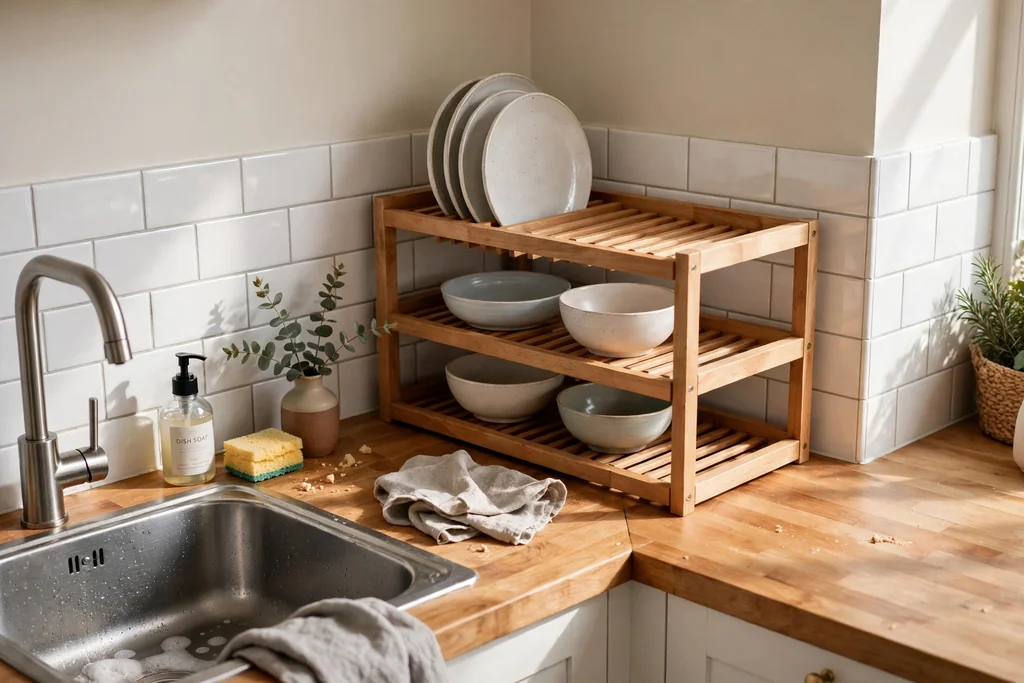
A corner rack is shaped to fit into the corner where two counters meet, a spot that often holds nothing but a sponge bottle. The triangular or L-shaped frame uses that dead corner for plates and bowls, freeing the straight counter run for prep. Corner racks suit galley kitchens and kitchens where the sink sits near a corner.
Place the rack so its open side faces the sink, making loading a short, straight move. Keep the plate rows shallow, since reaching into a deep corner for a heavy plate is awkward, and put daily plates at the front edge. Check that the rack does not block a cabinet door or a drawer below the corner, since a blocked drawer quickly becomes annoying.
6. Light Bamboo Rack for Small Kitchens
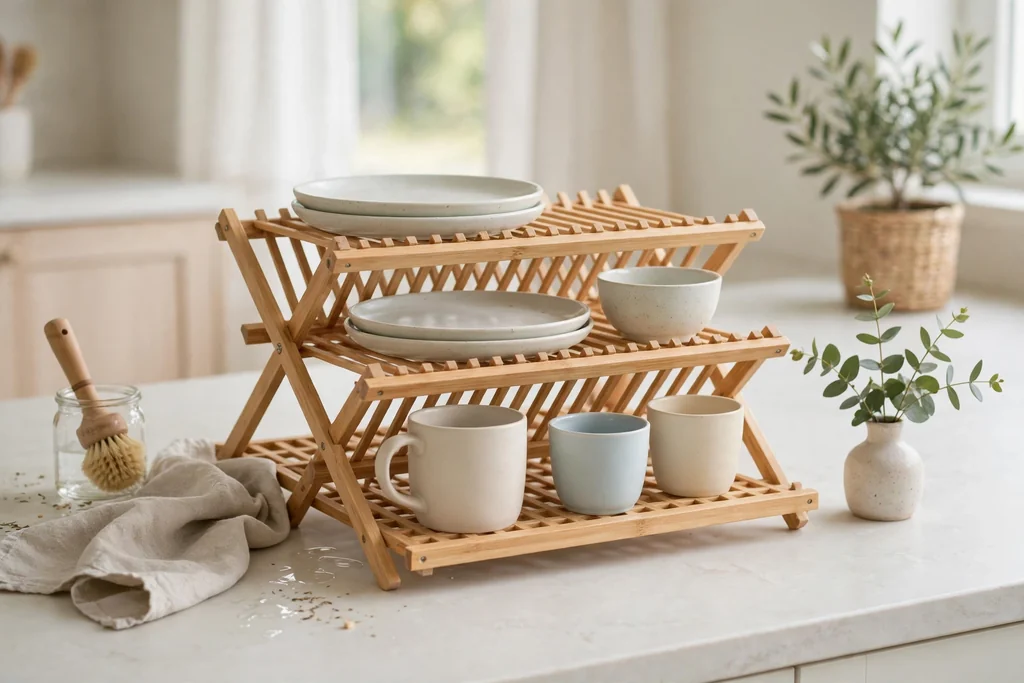
Bamboo is light, pale, and quick to dry, which makes it a good match for small kitchens and pale cabinets. A bamboo rack feels less heavy on the counter than a thick hardwood rack, and its light tone pairs well with white tile, light counters, and plants. Bamboo racks also tend to cost less than teak or walnut, which suits a first rack or a rental kitchen.
Bamboo still needs care near water, so wipe it dry after heavy use and keep it out of standing water. Choose a rack with sealed joints if you can, since water that sits in joints wears bamboo faster than water on a flat slat. If the bamboo starts to look dry or pale, a light coat of food-safe oil brings back its color.
7. Teak Rack With a Matching Drip Tray
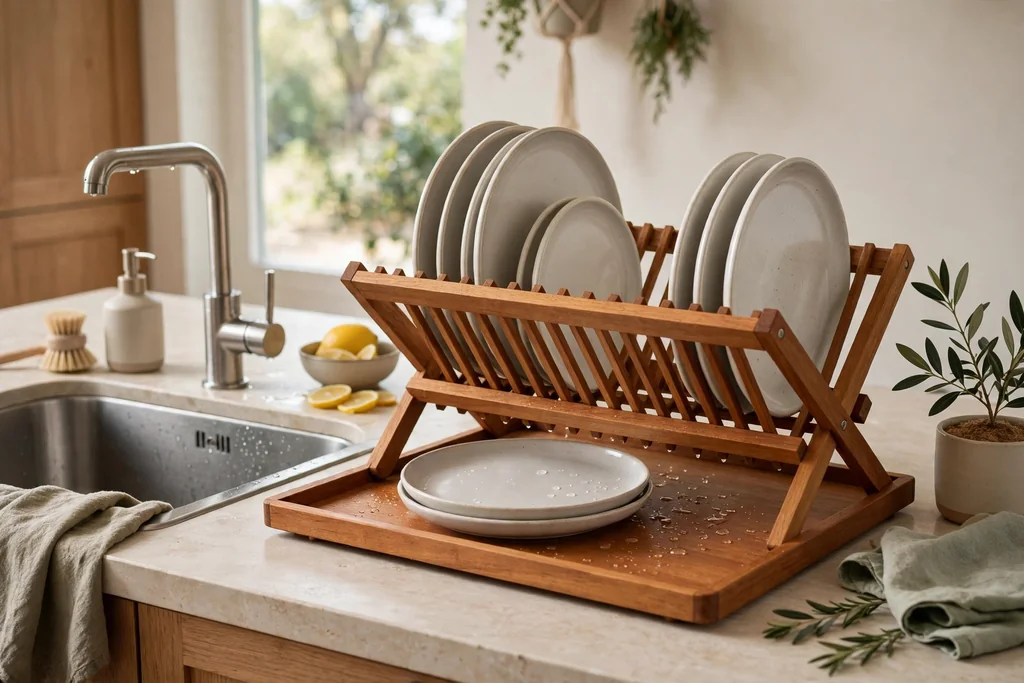
Teak handles water better than most woods, which is why it suits a rack that lives beside the sink all day. A teak rack with a matching teak drip tray looks like one piece, and the tray catches water that runs off plates and bowls. The tray also protects the counter from damp marks, which matters on wood or laminate counters.
Empty and wipe the tray after each wash-up, since water left standing in a tray defeats the point of a good wood choice. Slide the tray out for cleaning, and check the corners, where water and soap film collect. If the teak darkens with use, that is normal for wet wood, and a light sand and oil coat restores a more even tone.
8. Dark Walnut Rack for a Moody Kitchen
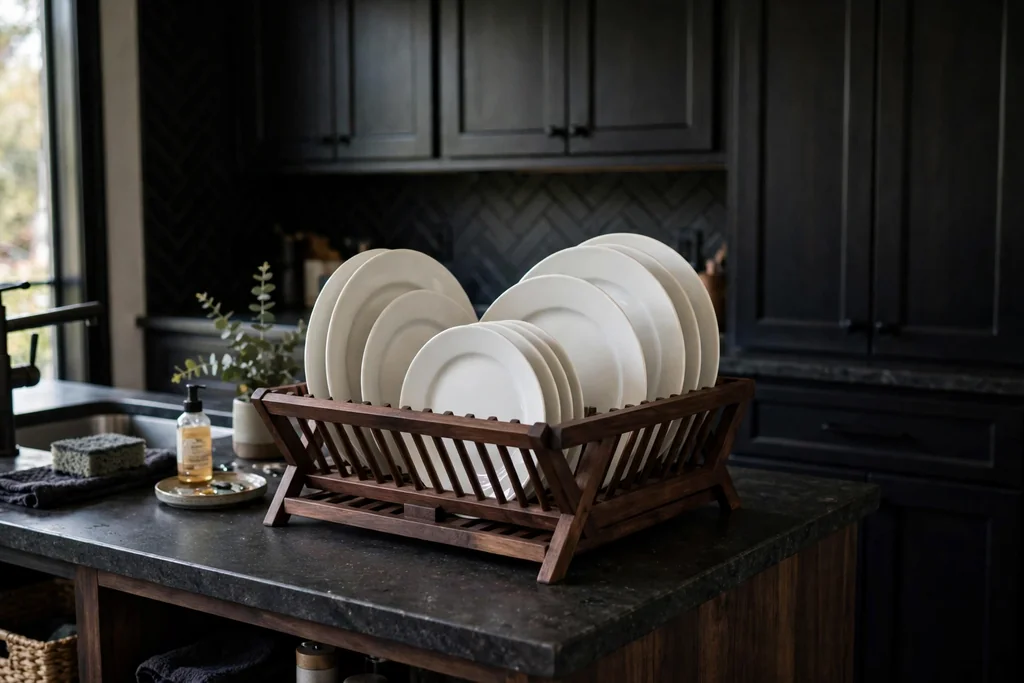
Dark walnut gives a dish rack a furniture look, which suits kitchens with dark cabinets, dark wood floors, or black hardware. A walnut rack reads as part of the room rather than a utility item, so it can stay on show without clashing with the rest of the kitchen. The dark tone also hides tea and coffee marks better than pale wood.
Seal walnut well before it goes beside the sink, since dark wood shows water marks clearly once the seal wears thin. Wipe spills promptly, and avoid leaving wet cast iron or dark-stained items on the rack, since they can mark the wood. Pair the rack with one other walnut item, such as a chopping board, so the dark tone looks planned rather than random.
9. Rustic Reclaimed Wood Rack
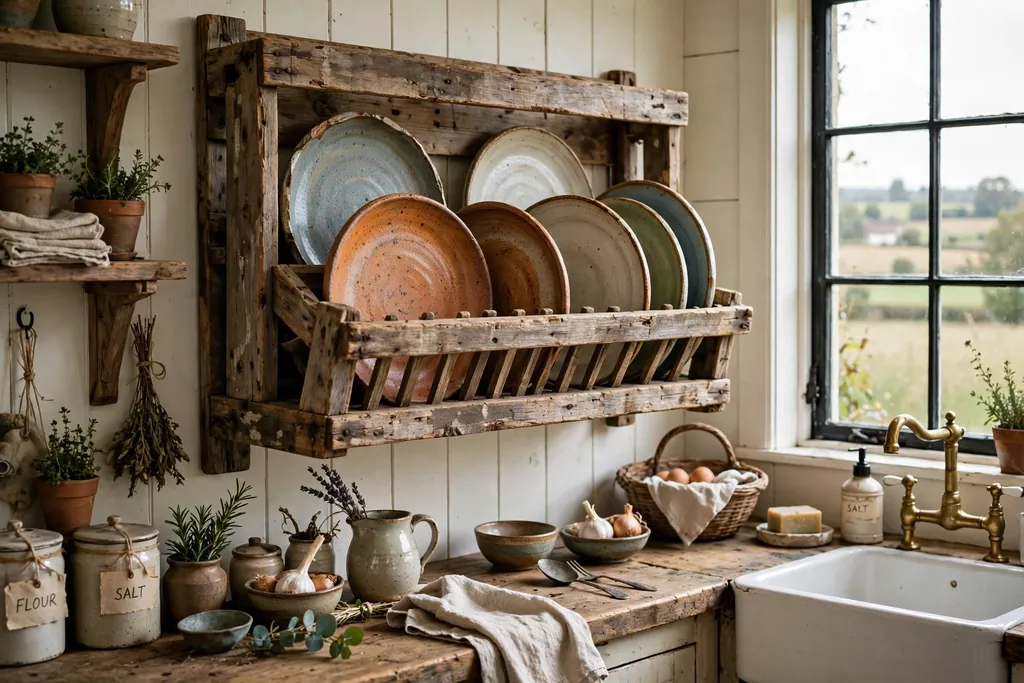
A reclaimed wood rack brings grain, knots, and small marks that new wood does not have, which suits farmhouse and cottage kitchens. Each rack looks slightly different, since the wood carries its past use in its surface, and that variation pairs well with open shelves, stone counters, and handmade pottery. A rustic rack can also be a weekend build from salvaged boards.
Check reclaimed boards for old nails, splits, and rough edges before they go near dishes, and sand every surface that touches plates or hands. Seal the wood with a food-safe finish, since old wood can be more open to water than new boards. Keep the rack away from constant standing water, since reclaimed boards may already carry small cracks where water can sit.
10. Rack With a Built In Cutlery Cup
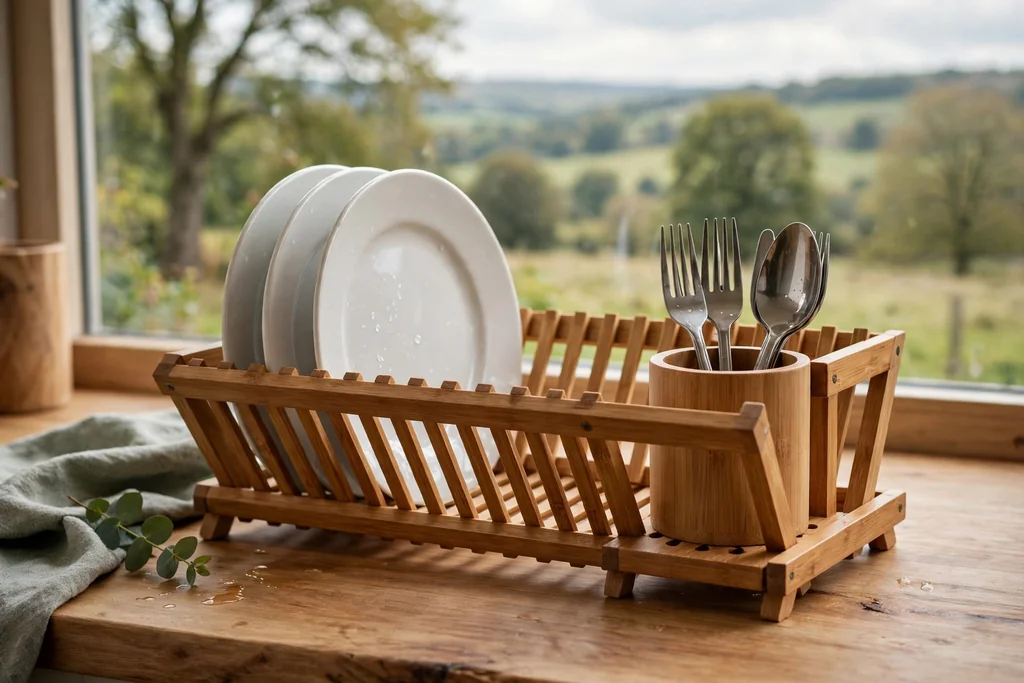
A rack with a built-in cutlery cup keeps forks, knives, and spoons upright in one spot, instead of loose in a side compartment or balanced on a plate. The cup usually hangs on the end of the rack or sits in a slot at one corner, with holes or slots in the base so water drains out. This layout suits households where cutlery piles up beside the sink after every meal.
Keep the cup near the sink edge, so drips fall where they can be wiped easily, and empty it once cutlery is dry, since damp cutlery left in a cup can spot. Choose a cup wide enough that handles do not jam together, and rinse it weekly, since food residue collects at the base. If the cup is removable, lift it out for a quick wash with the dishes.
11. Rack With Plate Slots and a Bowl Cradle
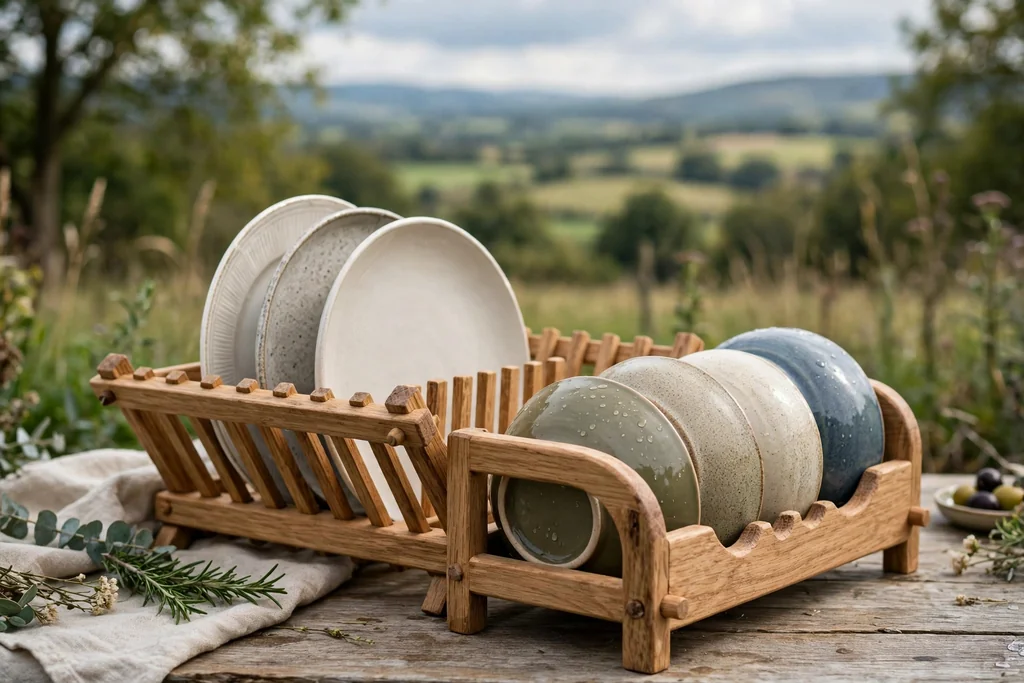
A rack that pairs upright plate slots with a shallow bowl cradle handles the two shapes that cause most drying trouble. Plates stand in narrow slots, while bowls sit upside down in a cradle section with raised rails that hold them off the base, so air reaches inside each bowl. This split layout dries both shapes faster than a flat rack where bowls sit face down on a solid board.
Load plates in the slots first, then set bowls in the cradle with space between them, since bowls stacked together trap water. Check the cradle width against your largest cereal bowl, since a cradle sized for small bowls leaves big bowls balanced on the rails. Wipe the cradle rails after use, since water pools along rails more than on open slats.
12. Rack With a Slot for Chopping Boards
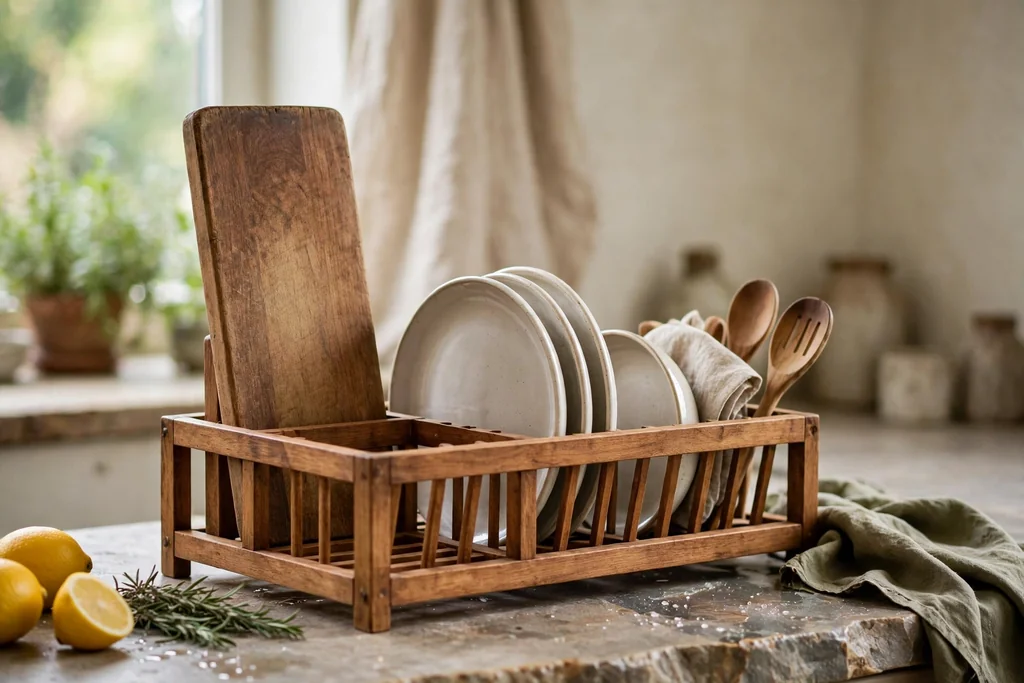
A rack with a tall slot for chopping boards gives boards a drying spot beside the plates, instead of leaning against the backsplash or lying flat on a towel. The slot sits at one end of the rack or along the back, wide enough for a thick board, and the board stands upright so both faces get air. This layout suits kitchens where boards are washed daily and have no drawer tall enough to hold them.
Keep the board slot at the end farthest from the tap, so splashes do not keep the board damp, and dry the slot base after use, since water runs down a standing board. Use the slot only for boards that fit without force, since a tight slot traps water against the board edge. If you own several boards, reserve the slot for the daily board and store the rest flat in a cabinet.
13. Rack With Cup Hooks Underneath
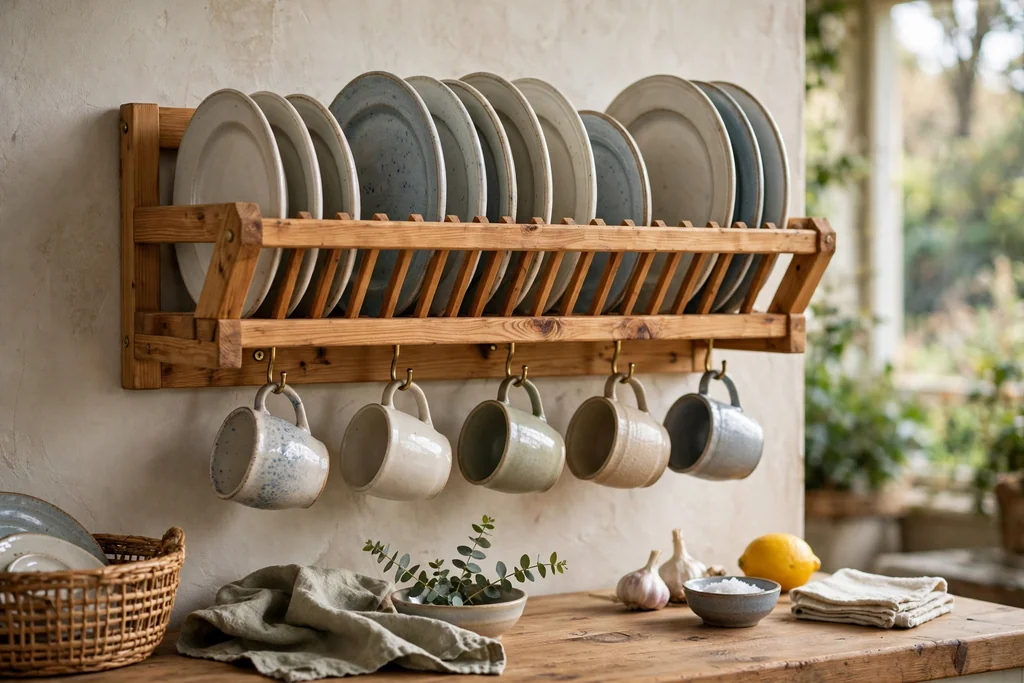
A rack with cup hooks underneath uses the space below the frame that usually goes to waste. Cups hang by their handles from hooks fixed under a raised rack or under a shelf-mounted frame, so they drip dry clear of the plates above. This layout suits kitchens with a strong mug habit, where cups otherwise fill the plate area and slow drying for everything else.
Hang cups with the opening facing down or outward, so water drains out instead of pooling inside. Space the hooks wide enough that handles do not lock together, and keep the row to daily mugs, since a full row of spare mugs blocks air under the rack. Wipe the hooks after use, since steam and drips leave marks on wood hooks faster than on the flat frame.
14. Pull Out Drawer Rack That Hides Away
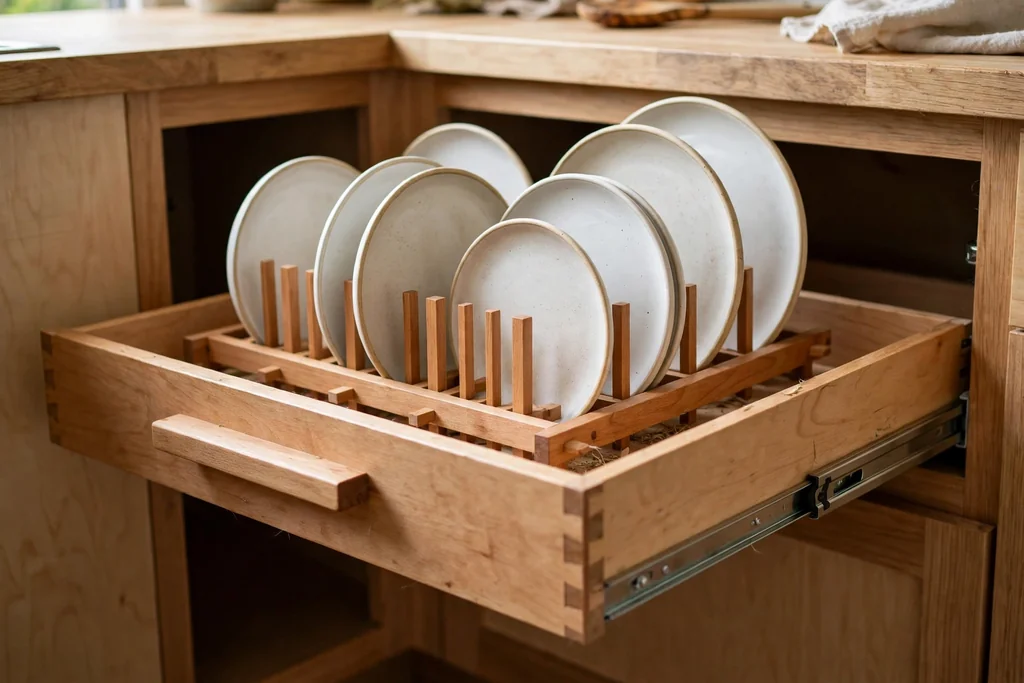
A pull-out drawer rack fits inside a deep drawer beside the sink, so the drying dishes hide behind a drawer front when the drawer closes. The rack insert holds plates upright in slots, with a tray below to catch drips, and it slides out for loading and back in for drying. This layout suits kitchens where a rack on the counter feels like clutter, and it keeps the sink run clear for prep.
Line the drawer base with a waterproof tray, and never close a drawer full of soaking dishes, since trapped damp air slows drying and can mark the drawer. Leave the drawer open a crack while dishes dry if the kitchen allows it, and empty the tray often. Measure the drawer depth and height before choosing an insert, since plate slots need clearance to stand a dinner plate upright.
15. Windowsill Rack That Uses Sun and Air
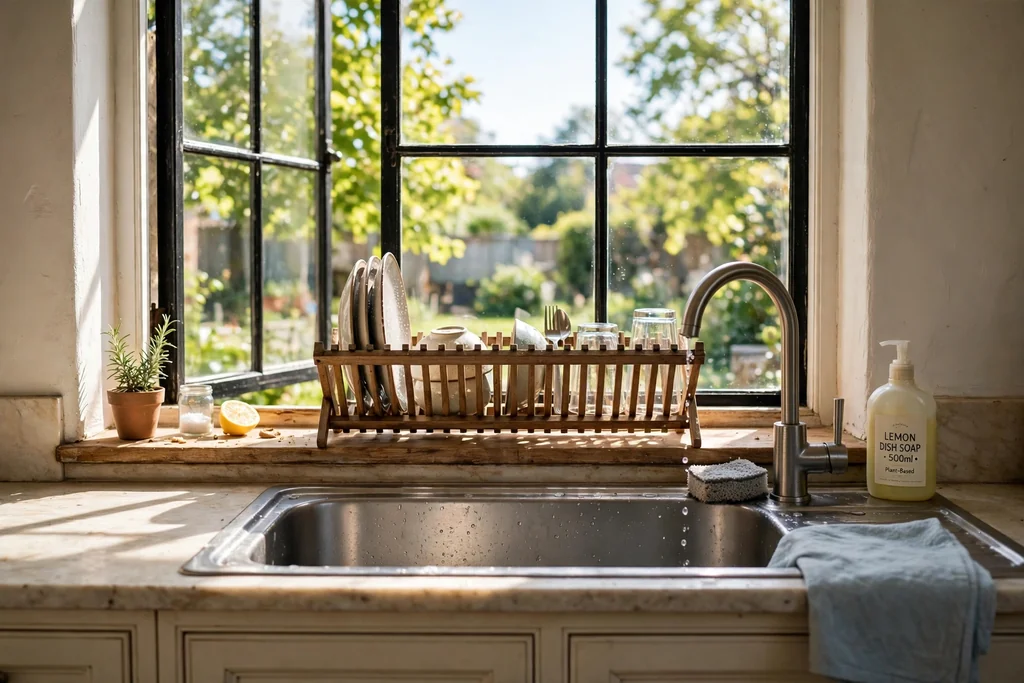
A windowsill rack sits on a deep sill above or beside the sink, where sun and moving air dry dishes faster than a shaded counter spot. The rack is usually narrow and low, sized to the sill, with a tray to protect the sill from drips. This layout suits kitchens with a wide sink window and a sill deep enough to hold a rack without crowding the window latch.
Check the sill depth and the window opening before placing a rack there, since a rack that blocks the window catch or the latch quickly becomes a nuisance. Keep the rack to light items on a sill, such as cups and small bowls, and heavy plates on the counter below. For window styling that pairs with a sill rack, these above kitchen sink ideas cover light, privacy, and sill storage around the sink.
16. Rack on a Drying Mat for Extra Protection
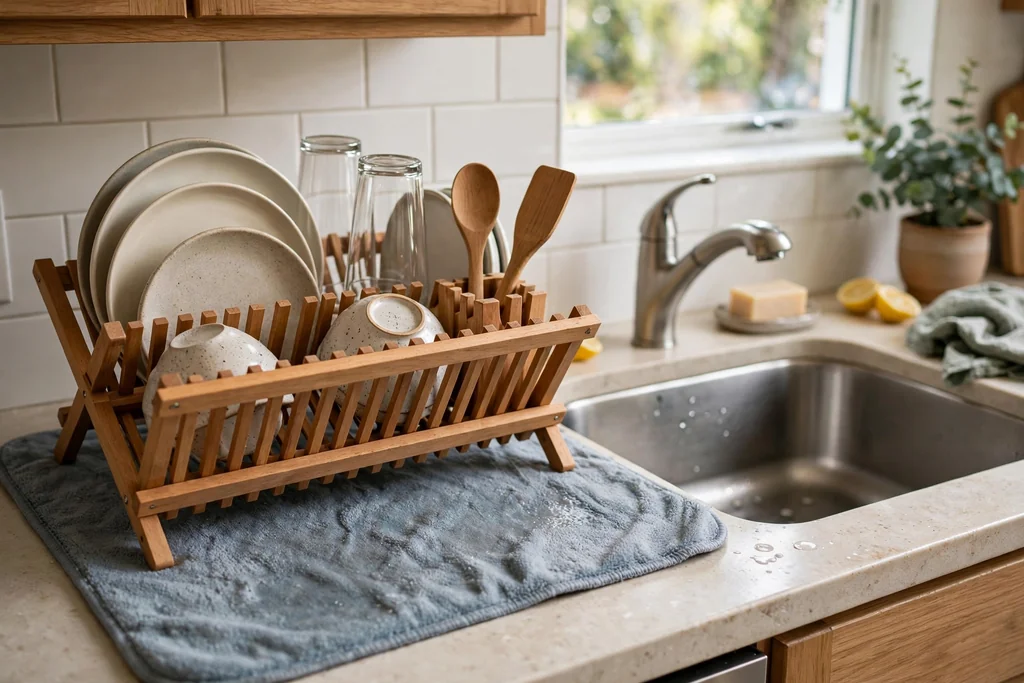
A rack set on a drying mat gains a soft, absorbent layer between the wood and the counter, which protects stone, wood, and laminate counters from damp marks. The mat catches drips that run past the rack slats, and it adds grip, so the rack stays put when you load a heavy plate. This pairing suits counters that mark easily, and renters who want to avoid water damage.
Choose a mat slightly larger than the rack base, so drips land on the mat rather than on bare counter at the edges. Wash or hang the mat to dry between uses, since a damp mat under a wood rack keeps the rack base wet and can cause dark marks. Replace a mat once it stays damp or smells musty, since a worn mat protects neither the rack nor the counter.
17. Compact Rack for One or Two People
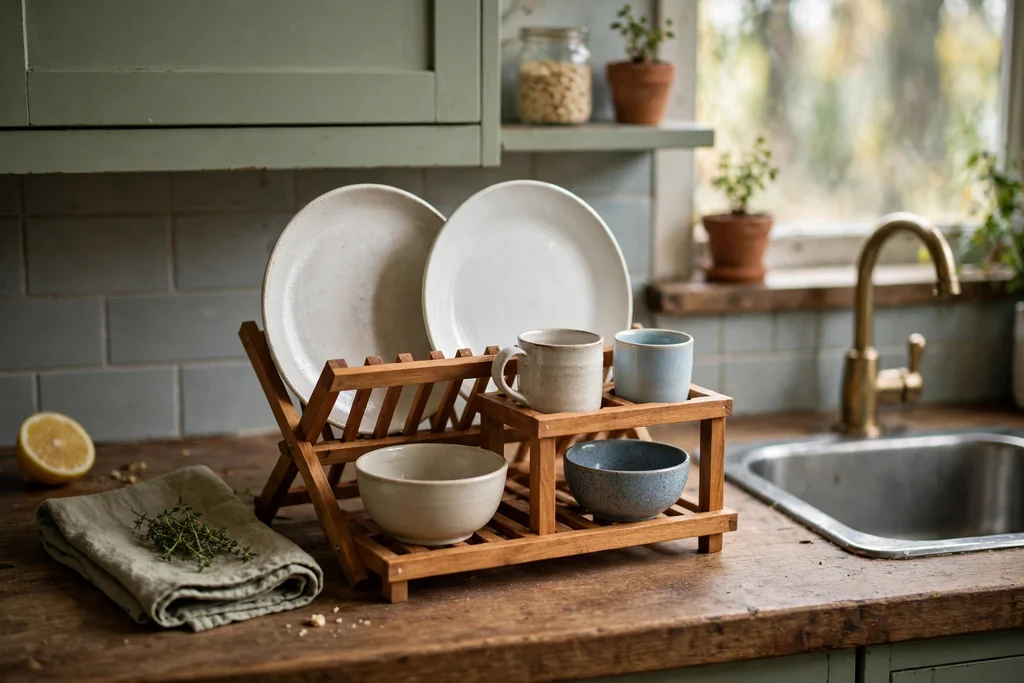
A compact rack holds the dishes from one or two people, with room for a few plates, two or three bowls, and a handful of cups. It takes up a small patch of counter, which suits studio kitchens, small flats, and households where most cooking is for one or two. A compact rack also dries faster than a large rack, since fewer dishes mean more air per dish.
Resist the urge to overload a compact rack after a bigger meal, since stacked plates dry slowly and can tip the light frame. Wash larger items, such as pots and baking trays, by hand and dry them on a towel instead, keeping the rack for daily dishes. Store the compact rack in a cabinet between uses if the counter is very tight, since its small size makes that easy.
18. Wide Family Rack With Extra Plate Rows
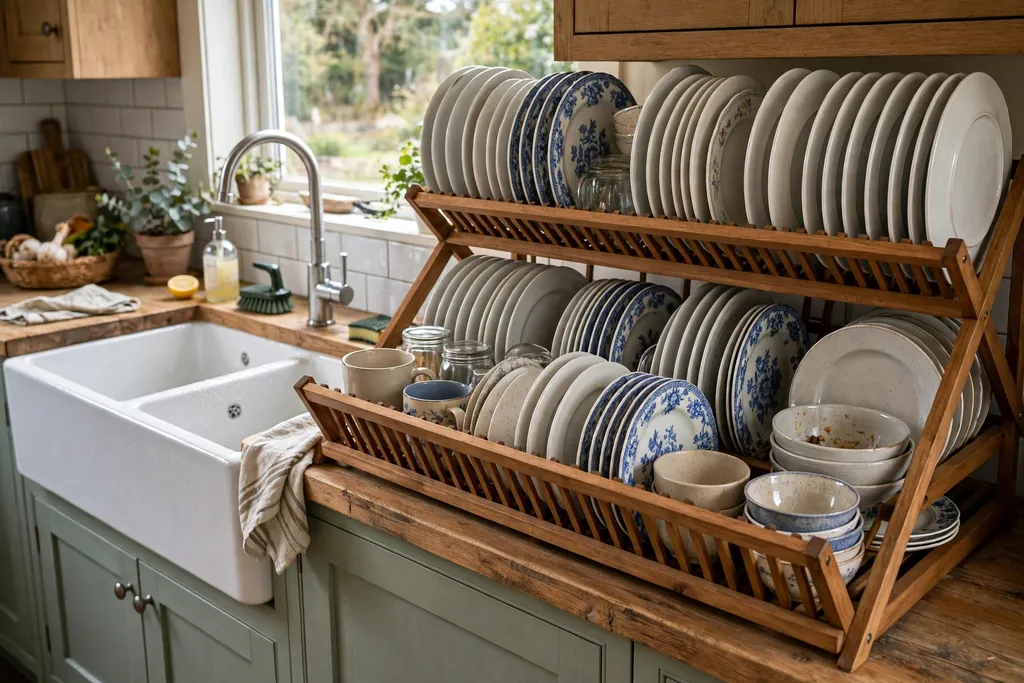
A wide family rack adds extra plate rows to handle the dishes from a full household meal, with space for dinner plates, side plates, bowls, and cups in one unit. The wide frame sits along the counter beside a large sink, and its plate rows run the full length, so no one has to stack plates to fit them in. This layout suits family kitchens where the rack fills up at every meal.
Measure the full counter run before choosing a wide rack, and leave a clear stretch of counter beside it for prep, since a rack that eats the whole run slows cooking. Load plates evenly across the rows, so one end does not grow heavy and tip the frame. If the rack still fills up, add a second small rack for cups rather than stacking dishes in the main rows.
19. Rack With Pegs for Mugs
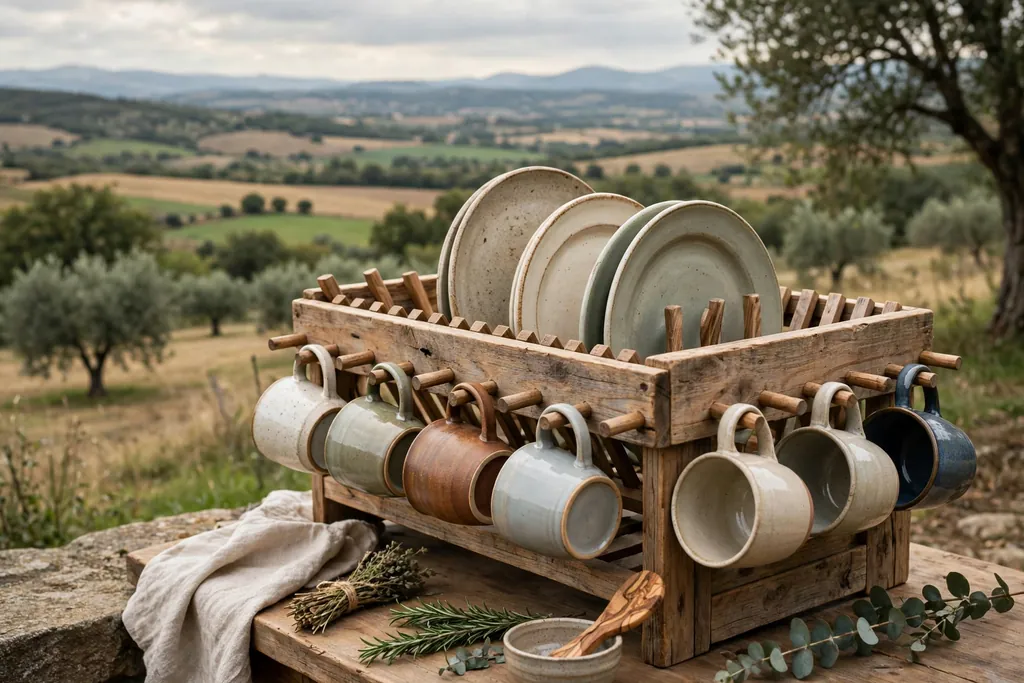
A rack with wooden pegs for mugs turns the side or the back of the frame into mug storage, with each mug hanging upside down on its own peg. The pegs keep mugs off the plate area, and hanging mugs dry faster than mugs left upright in a cup section. This layout suits kitchens where mugs outnumber plates, such as households with a strong tea or coffee routine.
Space the pegs so mug handles clear each other, and keep the peg row to the mugs used daily, since spare mugs add weight and block air. Check the peg strength before hanging heavy stoneware mugs, since a thin peg can snap under a wet, heavy mug. Wipe the pegs after use, since drips run down a hanging mug onto the peg base.
20. Rack Beside a Farmhouse Sink
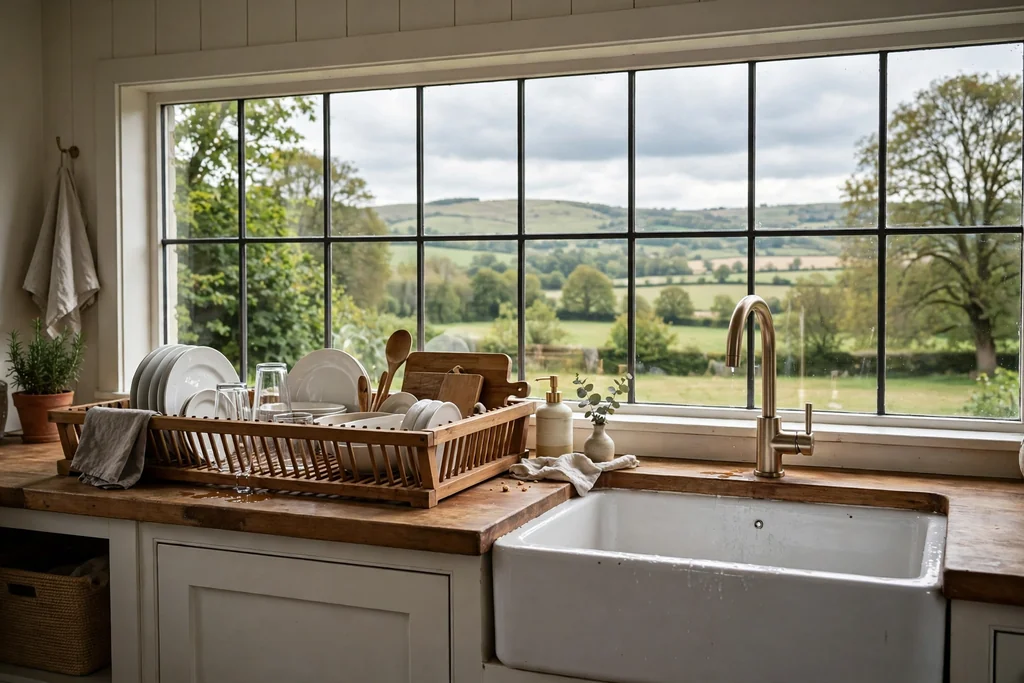
A rack beside a farmhouse sink works with the wide, deep basin that defines this sink style, sitting on the counter to one side of the apron front. The rack is usually long and low, matching the sink width, so the carry from basin to rack is short and level. Farmhouse sinks suit wood racks well, since the apron front and the wood frame share a warm, handmade feel.
Place the rack on the side you use for rinsing, and keep its height below the window sill or shelf above, so tall plates still clear. Use a tray under the rack, since farmhouse sinks splash more than inset sinks and the counter beside them stays wet longer. Pair the rack wood with the counter or the open shelves, so the sink run reads as one plan rather than a set of separate pieces.
21. Rack on a Rolling Cart for a Flexible Drying Station
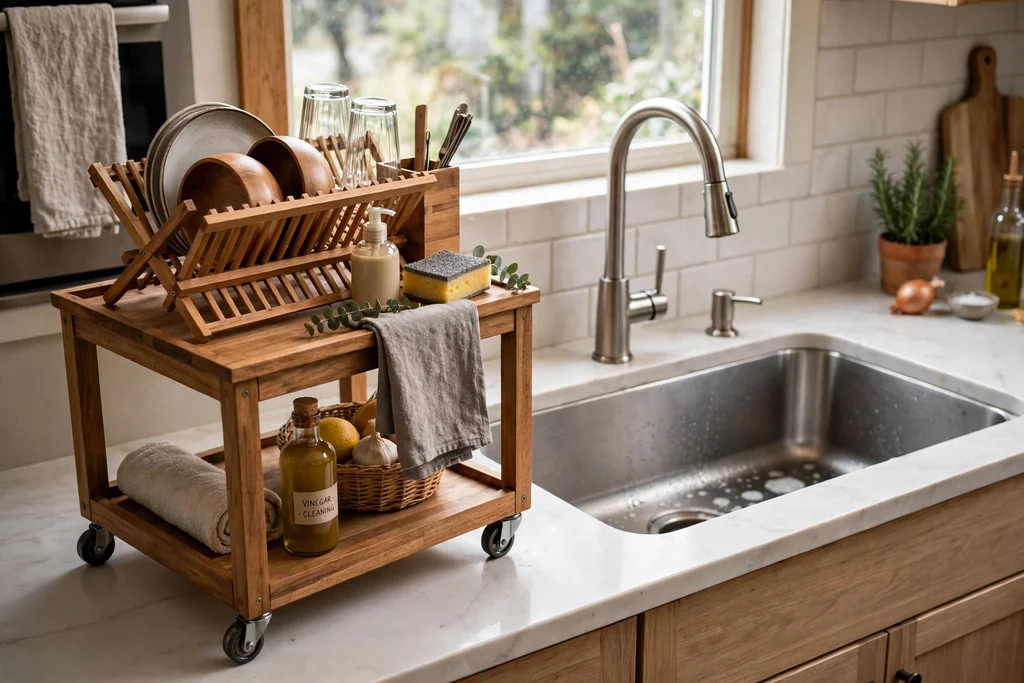
A rack fixed to a small rolling cart turns dish drying into a station you can move, rolling it beside the sink for washing up and away to a sunny spot for drying. The cart base holds the rack, a tray, and often a lower shelf for towels or soap, so everything for the wash-up stays in one place. This layout suits kitchens with an awkward sink position, and households that like to clear the main counter for cooking.
Lock the cart wheels before loading wet dishes, since a cart that rolls when you set down a plate can tip the rack. Keep the load low and even, with heavy plates on the rack and light items on the lower shelf, so the cart stays steady. Wipe the cart tray after use, and roll the cart clear of the cooking zone when it is not needed.
22. Rack With a Removable Tray for Easy Cleaning
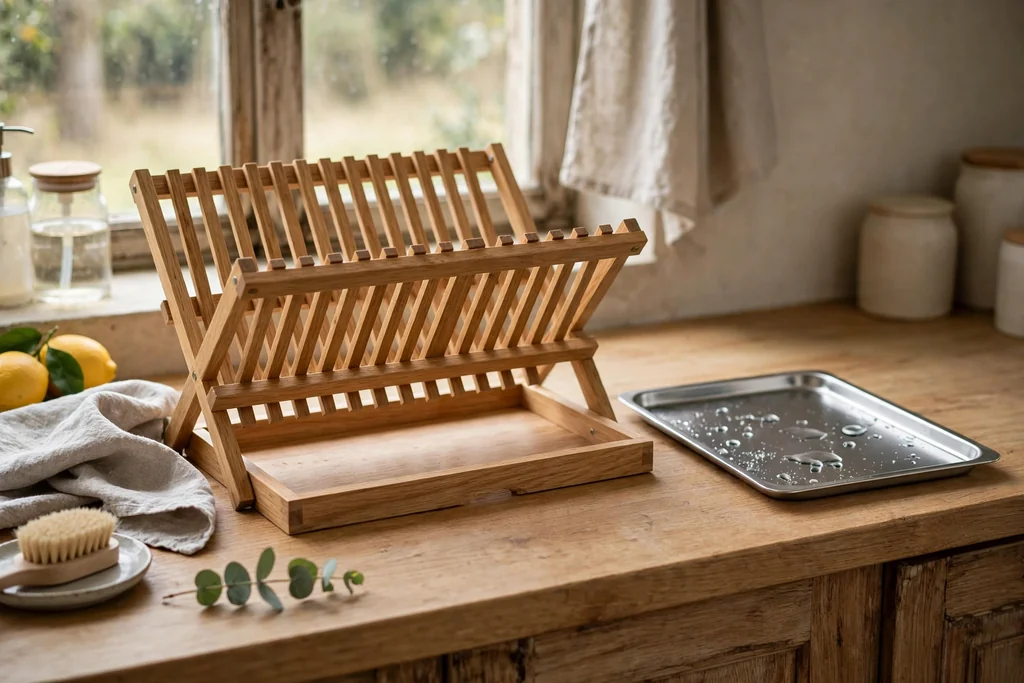
A rack with a removable tray separates the drying frame from the drip tray, so the tray lifts out for a quick wash in the sink. Soap film, food residue, and water marks collect in a tray faster than on open slats, and a fixed tray is hard to clean in place. A removable tray solves that, and it also lets you empty standing water without lifting a rack full of dishes.
Slide the tray out after each wash-up, rinse it, and dry it before sliding it back, since a wet tray left in place keeps the rack base damp. Check that the tray slides freely when the rack is loaded, since a tray that jams under weight is rarely used. Choose a tray with raised edges, so water stays in the tray instead of running onto the counter when you lift it out.
23. Rack Mounted Under Open Shelving
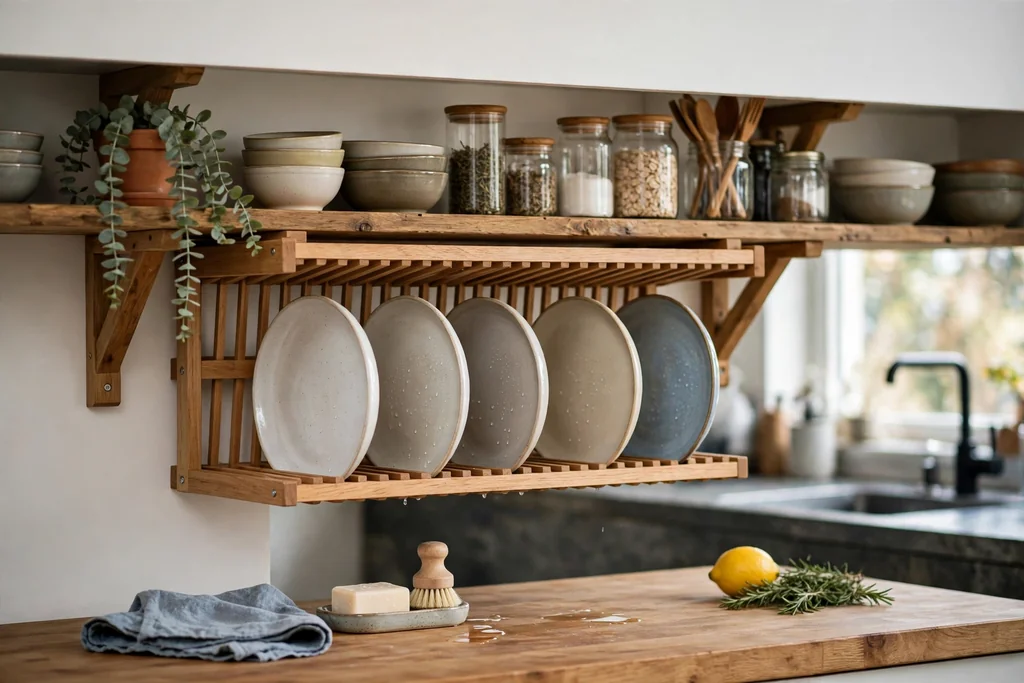
A rack mounted under open shelving hangs below the lowest shelf, using the gap between shelf and counter that often holds nothing. The rack frame fixes to the shelf underside or to brackets below it, with plate slots facing forward, so dishes dry within reach of the shelf where they will be stored. This layout suits kitchens with open shelves near the sink, since it shortens the trip from drying to putting away.
Check the clearance between shelf and counter before mounting, since plates need room to stand upright and be lifted out without hitting the shelf above. Fix the rack into solid shelf brackets or studs, since a full rack of wet plates is heavy for a shelf alone. For shelf layout and spacing help, these kitchen wall storage ideas cover open shelves, rails, and racks on kitchen walls.
24. Portable Rack for Renters and Small Spaces
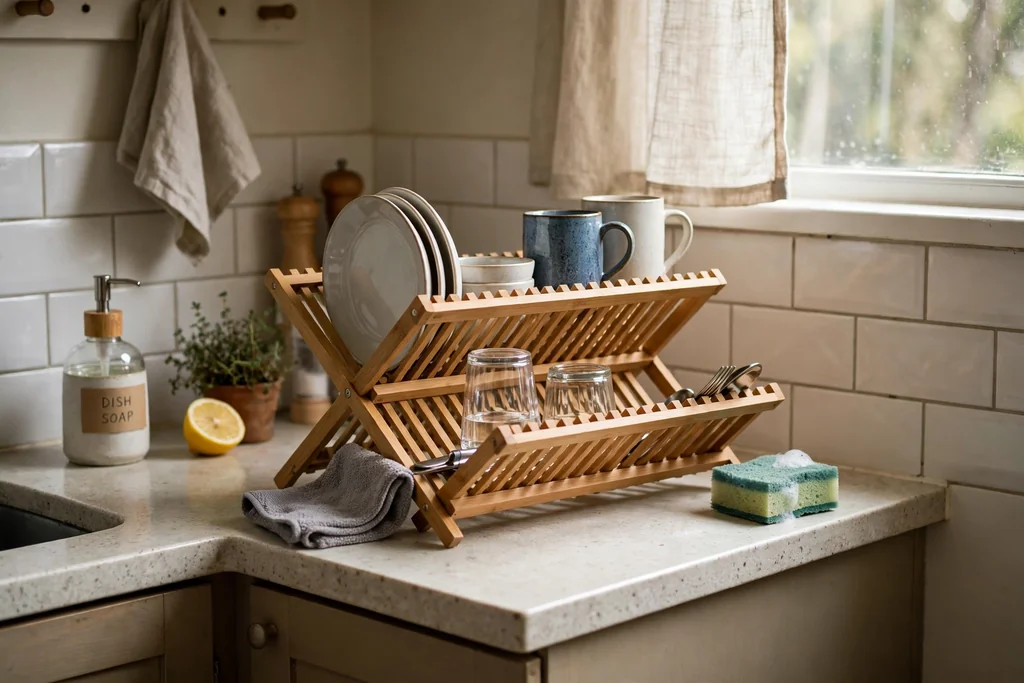
A portable rack needs no fixings, no wall mounts, and no permanent spot, so it suits renters and anyone who moves often. The light frame folds flat or breaks down for storage, and it sets up on any clear counter in seconds. Portable racks suit small spaces because they can live in a cabinet between uses, leaving the counter fully clear for prep.
Choose a portable rack with a stable base, since light folding frames can wobble under wet plates, and test it with a full load before relying on it daily. Keep the rack to daily dishes, and store it dry, since a folding rack left damp in a cabinet can develop marks at its joints. If the frame folds, check the hinges often, since hinges are the first part to loosen on a folding rack.
25. Rack With Angled Dividers for Platters
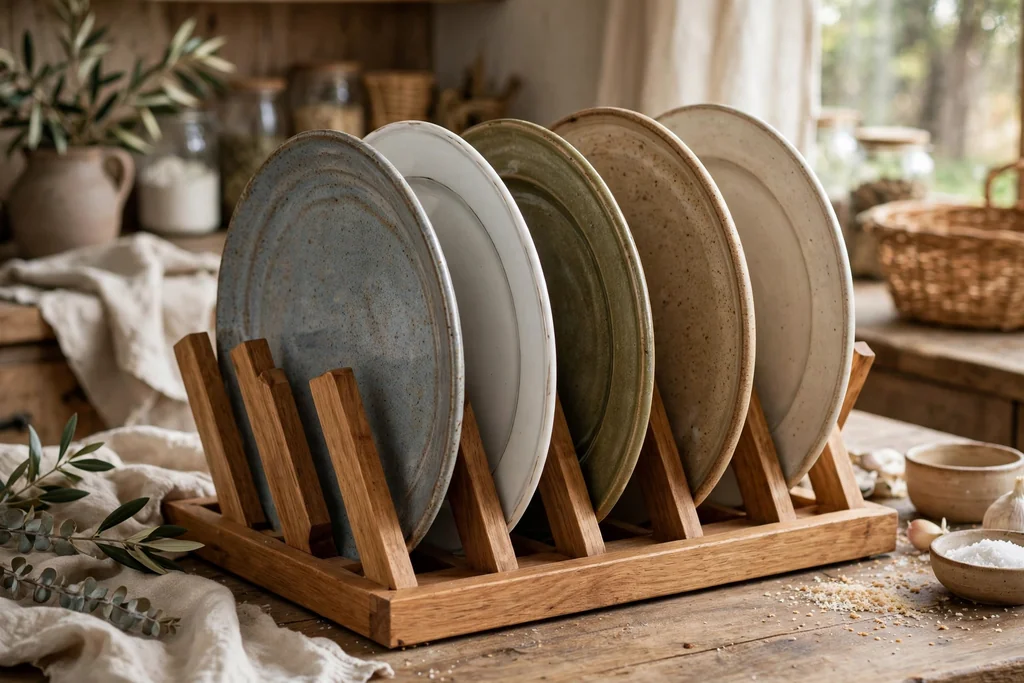
A rack with angled dividers holds large platters, baking trays, and serving boards upright at a slight tilt, instead of flat in a stack. The angled slots keep wide items from leaning on each other, and the tilt lets water run off toward the tray rather than pooling on a flat surface. This layout suits households that use platters often, for roasts, salads, and shared meals.
Set the divider spacing to your widest platter, since a divider sized for dinner plates leaves a platter balanced on top of the slots. Load platters one per slot, and keep heavy stoneware platters near the center of the rack, where the frame is strongest. Dry the divider bases after use, since water runs down an angled platter and collects at the base of each slot.
26. Rack With a Separate Glassware Section
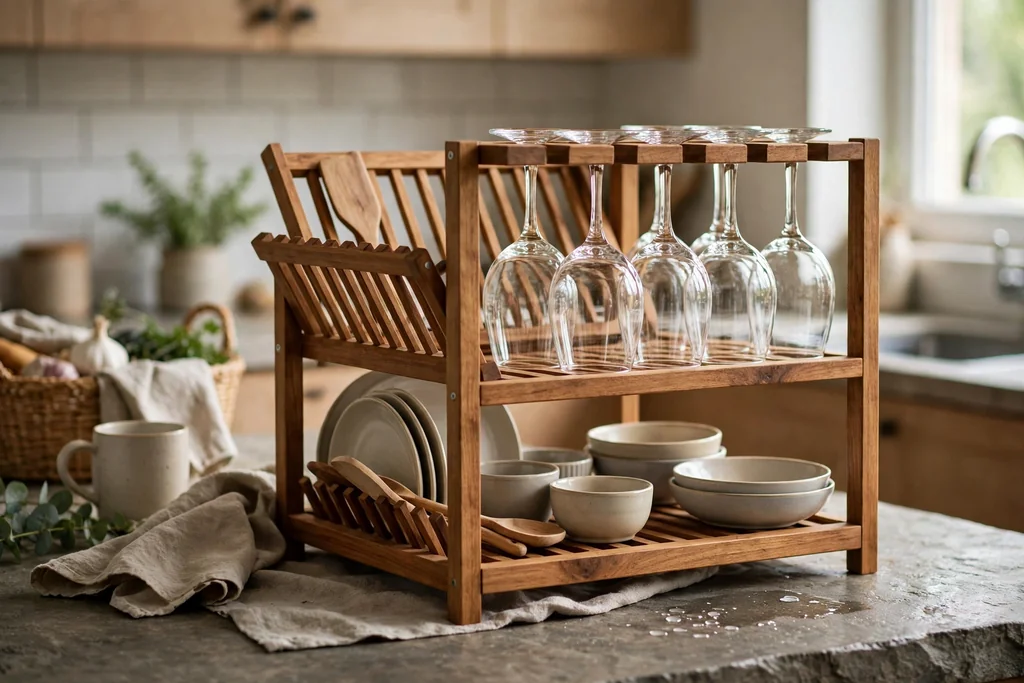
A rack with a separate glassware section keeps wine glasses, tumblers, and jars apart from plates and bowls, so fragile items do not knock against heavy stoneware. The glassware section usually has wider slots or a flat rail area, where glasses sit upside down with space around each one. This layout suits households with a lot of glassware, and kitchens where broken glasses have been a problem.
Place glasses in the section with space between them, since glasses that touch can chip when you add or remove a plate nearby. Keep the glassware section at the end farthest from the plate loading side, so heavy plates are not carried over fragile glasses. Dry the glassware section first when you put dishes away, since glasses left in a rack are easy to knock.
27. Rack Stained to Match the Cabinets
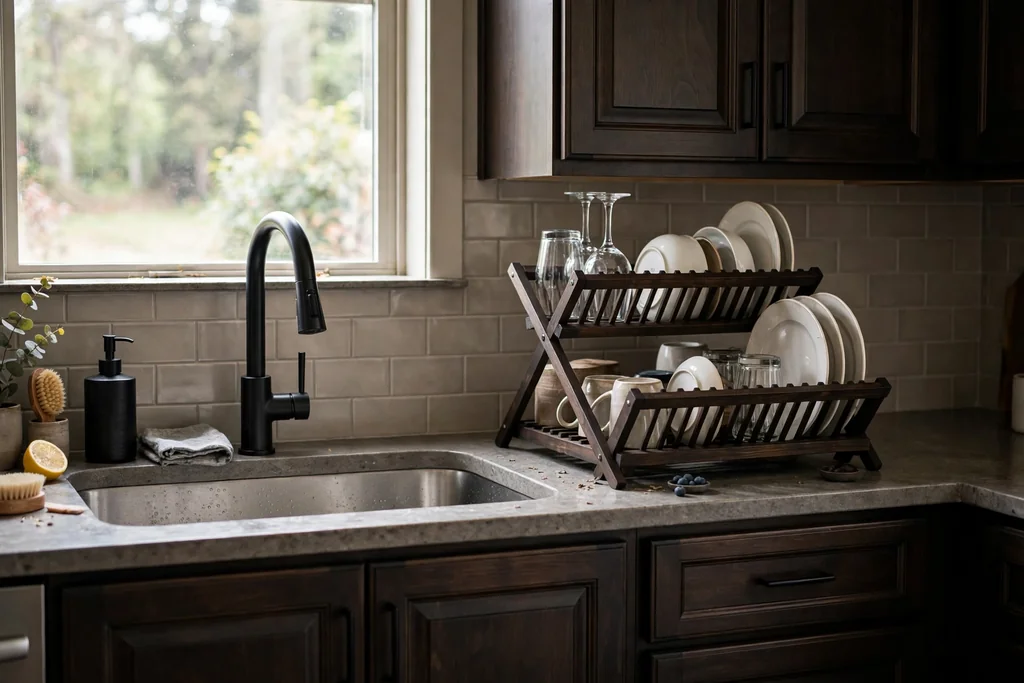
A rack stained to match the cabinets reads as part of the kitchen joinery rather than an add-on, which suits kitchens where the rack stays on show. The stain can match painted cabinets, wood cabinets, or the island base, and the match ties the sink area to the rest of the room. This idea works best when the cabinet color is a standard stain or paint shade that can be matched closely.
Test the stain on a spare piece of the same wood first, since the same stain looks different on bamboo, teak, and walnut. Seal the stained rack with a water-resistant finish, since stain alone does not protect wood from sink water. If an exact match proves hard, choose a stain one shade darker than the cabinets, which reads as a deliberate accent rather than a near miss.
28. Rack With Handles You Can Carry
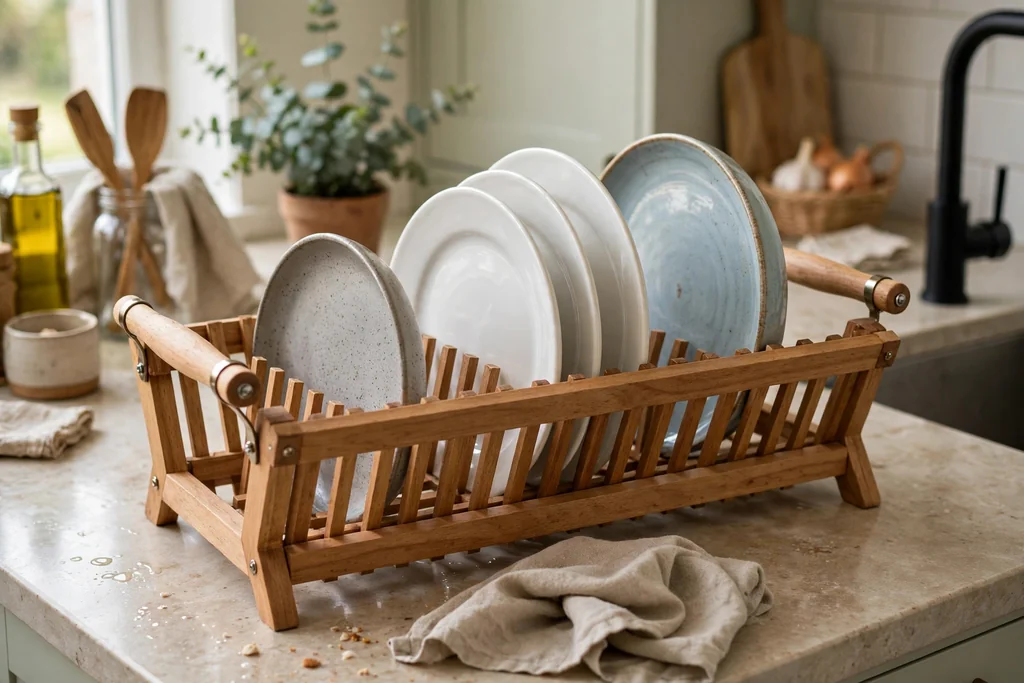
A rack with handles at each end can be carried from sink to table, to a drying spot by the window, or into a cabinet for storage. The handles make a full rack easier to move without tipping plates, and they help when the sink area is needed for prep while dishes are still drying. This layout suits kitchens where the rack must move often, and households that dry dishes in a sunny spot away from the sink.
Grip both handles when you lift a loaded rack, and keep the rack level, since a tilted rack slides plates toward one end. Check that the handles are fixed through the frame, not just glued to the surface, since a full rack of wet dishes is heavy. Choose handles that sit flush with the frame ends, so they do not catch on the tap or on cabinet doors.
29. Rack With a Towel Rail at the Front
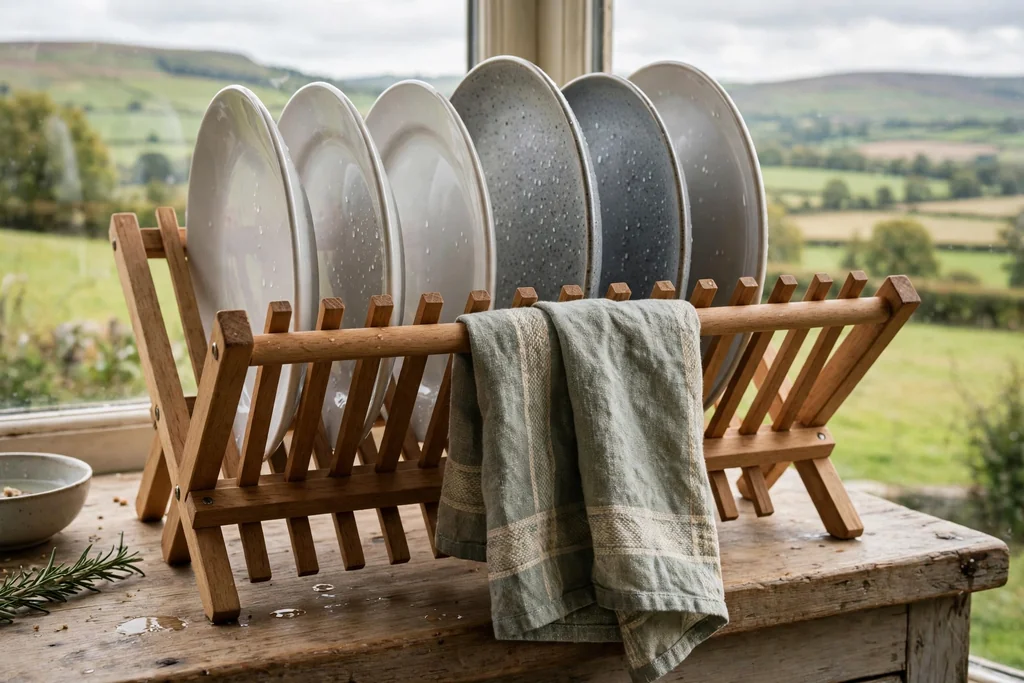
A rack with a towel rail at the front adds a bar along the front edge for a tea towel or a drying cloth, keeping the cloth within reach while you wash up. The rail holds the towel clear of the counter, so it dries between uses instead of sitting in a damp pile. This layout suits kitchens where the tea towel always ends up draped over the tap or lost behind the sink.
Hang only a dry or lightly damp towel on the rail, and swap it for a fresh one often, since a towel that stays damp on a wood rail can mark the wood. Keep the rail clear of the plate slots, so the towel does not block loading or catch on plates. If the rail is removable, lift it off for cleaning when it collects soap film.
30. Full Drying Station With Soap Dish and Sponge Holder
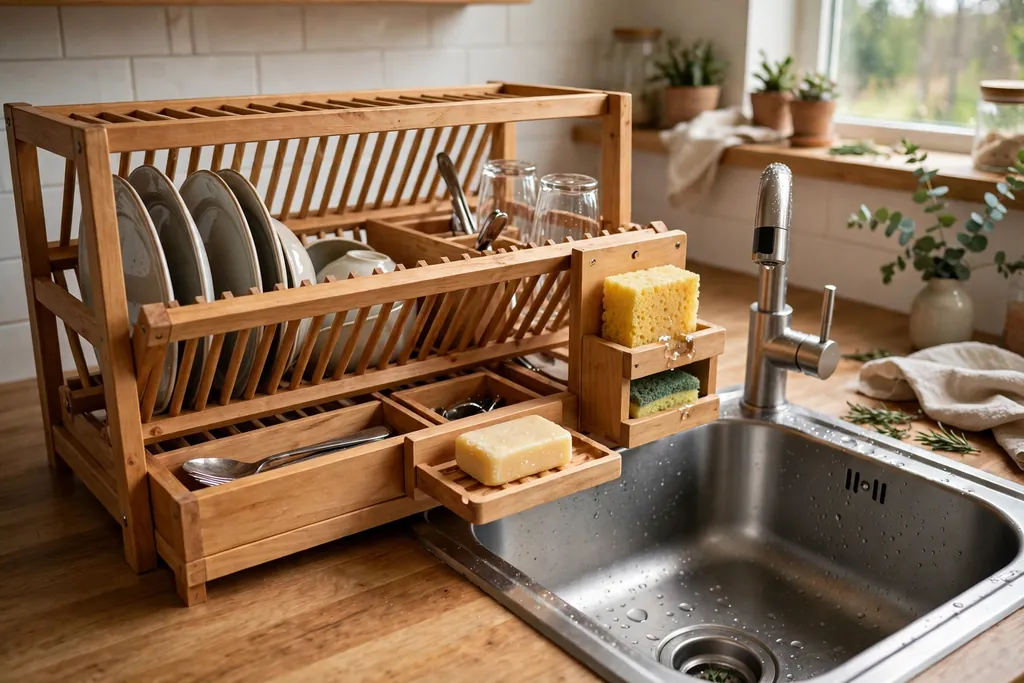
A full drying station combines a wooden rack with a soap dish, a sponge holder, and sometimes a small brush cup, so everything for washing up sits in one unit beside the sink. The station keeps the sink edge tidy, since soap, sponge, and brush no longer spread across the counter, and it makes the wash-up routine faster, since each item has a fixed spot. This layout suits busy kitchens where the sink area collects clutter fast.
Keep the soap dish drained, since soap sitting in water turns soft and messy, and rinse the sponge holder often, since it collects food residue. Place the station on the side of the sink you use least for rinsing, so it does not block the tap. For budget-friendly ways to refresh the whole sink run around a new station, these kitchen ideas on a budget cover paint, hardware, lighting, and storage fixes that cost little.
Conclusion
A good wooden dish drying rack starts with your sink, your dish count, and your counter, not with the wood alone. Measure the space beside the sink, count the dishes from a normal meal, and choose a rack that gives water somewhere to go and air room to move. Match the wood to the kitchen, whether that is light bamboo, water-friendly teak, or dark walnut, and keep the rack clean and dry between uses so the wood lasts. Start with one rack that fits daily life, and add a second piece, such as a mug peg row or a towel rail, only when the first rack stays tidy. Save the ideas that fit your kitchen size, your sink style, and how you like to wash up, and build a sink area that stays calm even on busy cooking days.
FAQs
What wood is best for a dish drying rack?
Teak handles water best, since its natural oils resist damp, while bamboo is light, pale, and dries quickly, and walnut suits kitchens where a dark, furniture-like look matters. All three need a water-resistant seal and regular wiping dry, since no wood lasts long sitting in standing water. Choose teak for a rack that stays wet all day, bamboo for a light and low cost rack, and walnut when the look matters most.
How do I stop a wooden dish rack from going mouldy?
Keep air moving around the rack, wipe it dry after heavy use, and empty the drip tray after each wash-up, since mould grows where water sits still. Do not push the rack hard against the wall, since the back row then stays damp, and do not leave wet dishes in the rack for days. If dark spots appear, wash the rack, dry it fully in moving air, and reseal or oil the wood before it goes back beside the sink.
What size wooden dish rack do I need?
Size the rack to the dishes from a normal meal, not to a dinner party, and measure the counter beside the sink before choosing. A compact rack suits one or two people, a standard rack suits a small household, and a wide rack with extra plate rows suits a family. Leave a clear stretch of counter beside the rack for prep, since a rack that eats the whole run slows cooking.
Can a wooden dish rack go over the sink?
Yes, an over-sink rack that spans the basin works well, since water drips straight into the sink and never reaches the counter. Measure the sink width and rim shape first, so the rack sits level and steady on both sides, and keep one side of the sink clear for rinsing hands or filling a kettle. Dry the rack frame after use, since a frame over a wet sink stays damp longer than a countertop rack.
How do I clean a wooden dish drying rack?
Wipe the rack with a damp cloth and mild soap, rinse it, and dry it fully in moving air, then clean the drip tray on its own in the sink. Avoid soaking the rack for a long time, since soaking swells wood joints, and avoid harsh scouring pads, which strip the seal. Once the wood is dry, apply a light coat of food-safe oil if the surface looks pale or water starts to darken it.
Is a wooden dish rack better than a plastic or metal rack?
Wood suits kitchens where the rack stays on show, since it adds warmth and pairs well with wood counters, open shelves, and farmhouse sinks. Plastic racks are lighter and cheaper, and metal racks drain fast and resist stains, but neither gives the same warm look as wood. The best choice depends on your kitchen: pick wood for looks and warmth, metal for heavy daily use with little care, and plastic for a low cost rack in a rental.