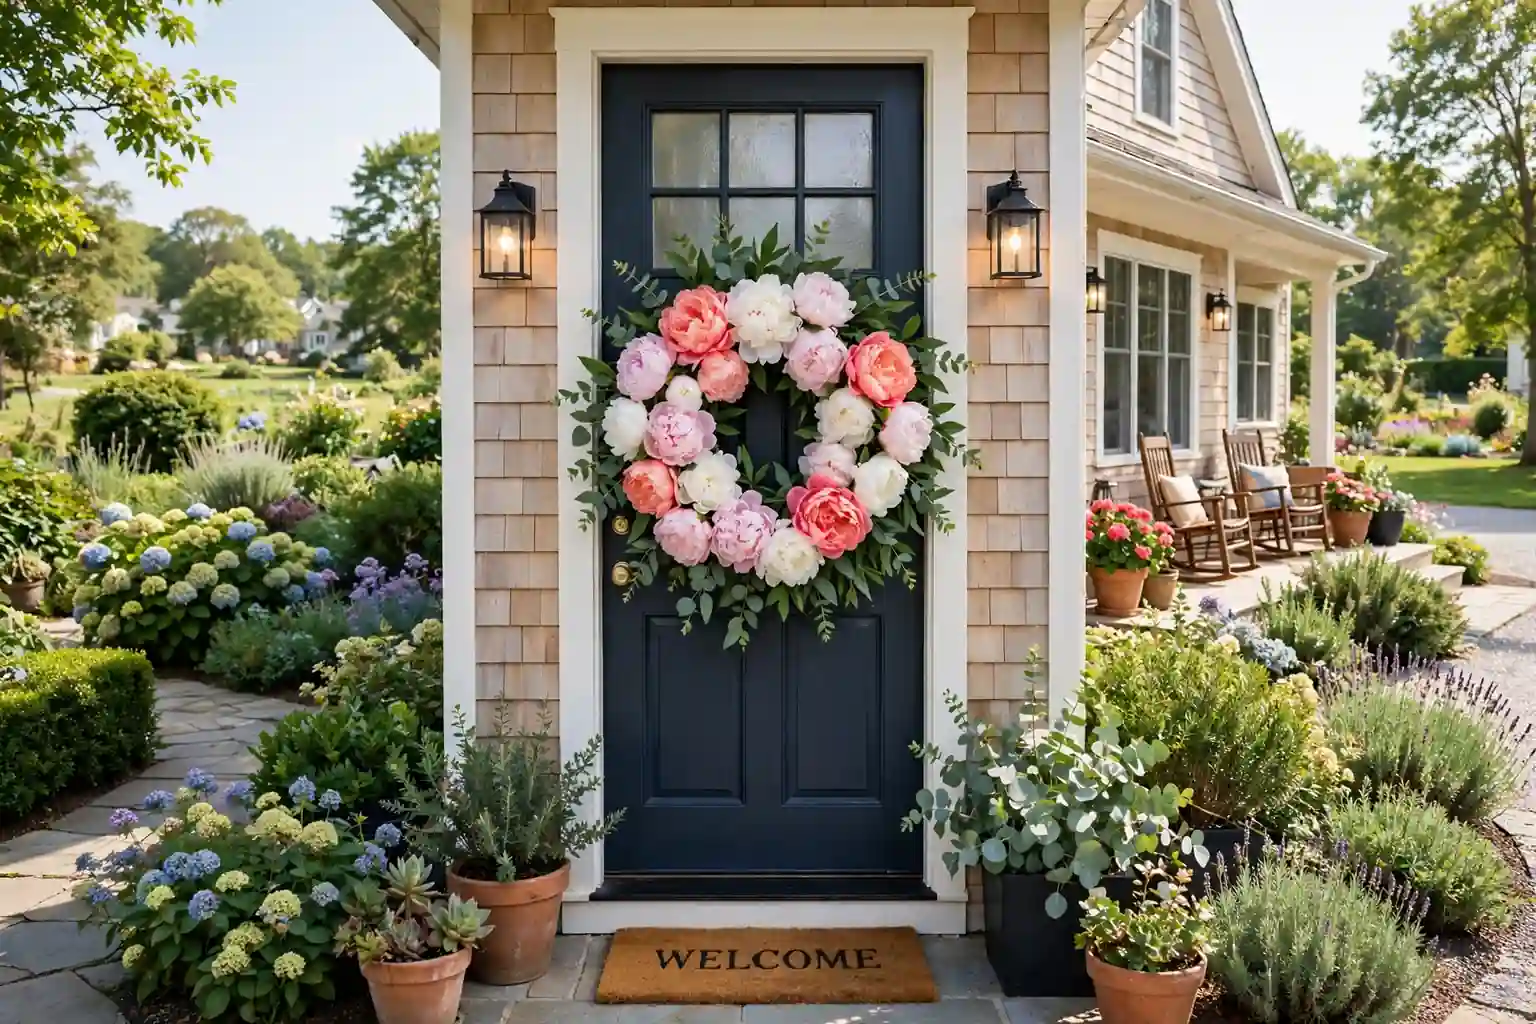
To make a peony wreath, build a greenery base on a sturdy frame, then wire or glue large peony blooms first, fill gaps with smaller blooms and buds, and finish with filler foliage and a bow. Work in one direction around the ring, step back often, and hang it where it stays out of strong sun.
A peony wreath works well because peony blooms are large and layered, so a small number of blooms can cover a ring quickly. The trick to a full look is order: greenery first, large blooms second, then buds and filler to hide stems, wire, and frame. This guide walks through that order step by step, and it works for fresh, silk, or dried peonies, with notes on where the method changes for each type.
Key Takeaways
- Choose the wreath size and placement first, since that decides the frame size and how many peonies you need.
- Build a greenery base before adding any blooms, so no frame shows through the finished wreath.
- Place the largest peonies first, spaced around the ring, so the fullness is planned rather than patched at the end.
- Fill gaps with buds, small blooms, and filler foliage, working in one direction around the ring.
- Wire silk and dried stems in place, and use floral glue or wire for fresh stems, so blooms stay put when the wreath is hung.
- Step back often to check the shape, and trim or move blooms before you add a bow or hang the wreath.
Materials and Tools
- A wire, grapevine, or foam wreath frame in your chosen size
- Peony blooms in two or three sizes: large open blooms, medium blooms, and buds, in fresh, silk, or dried form
- Greenery for the base: eucalyptus, ruscus, boxwood, or similar leafy stems, plus filler foliage such as small leaves or berry sprigs
- Floral wire or paddle wire, plus wire cutters
- Pruning shears or sturdy scissors for fresh stems, and scissors for silk stems
- A hot glue gun and glue sticks, or floral glue, for fresh and silk blooms where wiring alone is not enough
- Wide ribbon for a bow, plus narrow ribbon or twine for tying
- A hanging loop of wire, ribbon, or twine
- A wreath hook, nail, or over door hanger rated for the wreath weight
- Work gloves, a drop cloth or old sheet, and a bucket of water for fresh cuttings
1. Decide on the Wreath Size, Style, and Placement
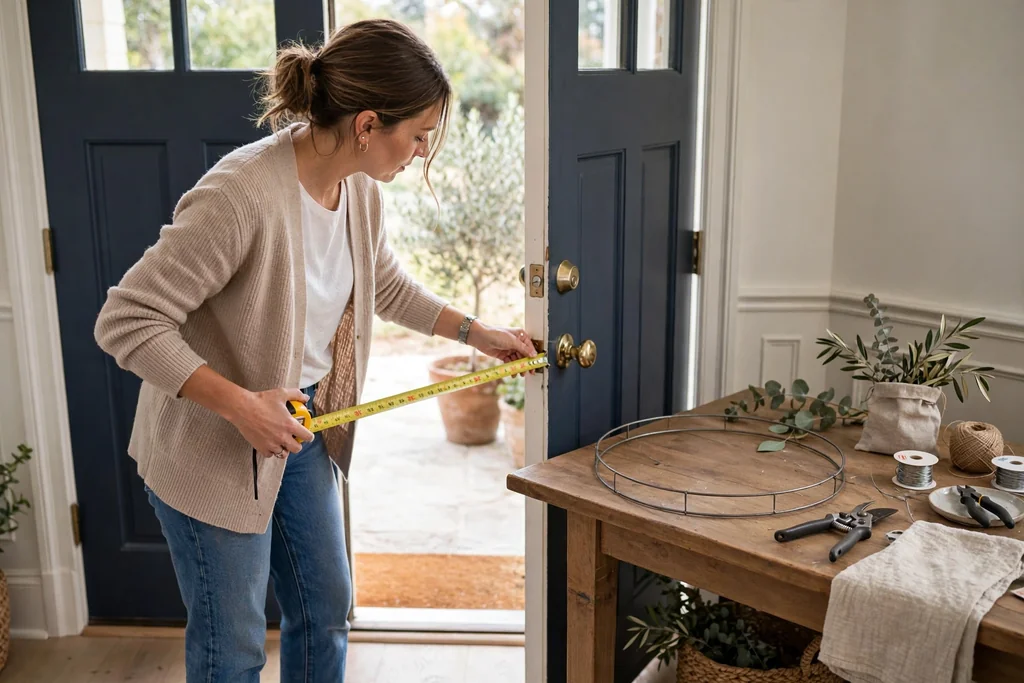
Start by choosing where the wreath will hang and how large it should be. A front door usually suits a wreath between 20 and 28 inches across once the blooms are added, while a wall, mirror, or window often suits a smaller wreath between 14 and 20 inches. Measure the space and leave a margin of several inches around the wreath so it does not crowd trim, handles, or nearby lights.
Next, pick a style to guide your colors and materials. A single color wreath in blush or white reads calm and classic, a mixed pink wreath reads soft and full, and a peony wreath with cream blooms and green foliage suits a neutral room or door. Writing down your size, placement, and color plan before you shop keeps the project focused and avoids buying blooms you will not use.
2. Gather Your Materials and Tools
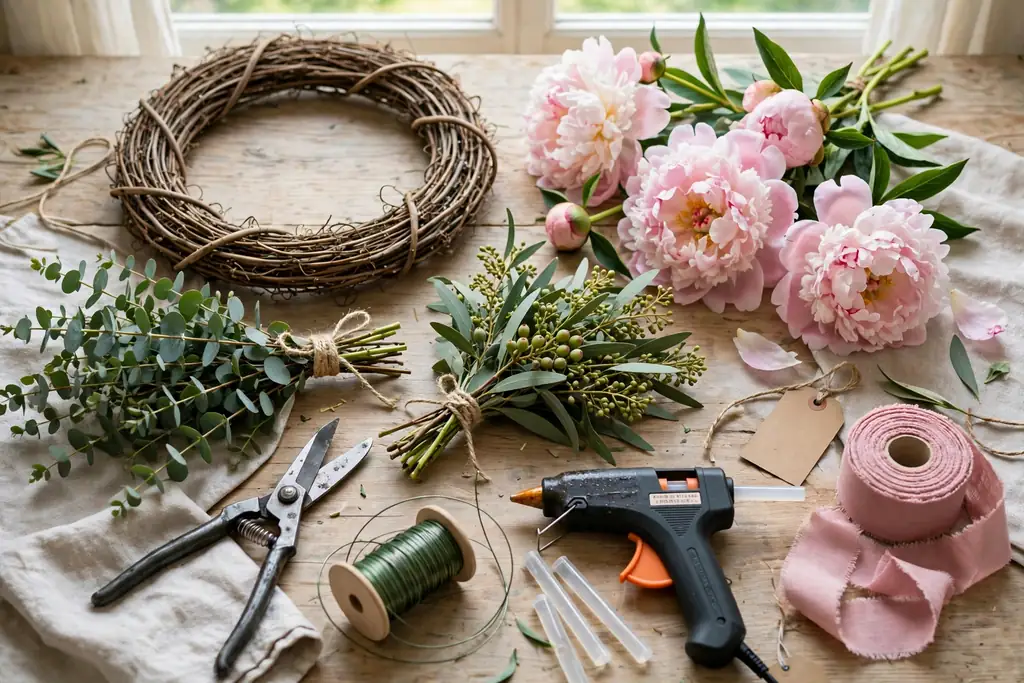
Lay out everything from the materials list before you start cutting stems. Check that your wire cutters cut cleanly, your shears are sharp, and you have enough floral wire and glue sticks, since stopping mid-build to search for tools breaks your rhythm and can leave fresh cuttings drying out. Keep a small container for wire offcuts so they do not end up on the floor.
If you are using fresh peonies, keep cut stems in a bucket of water in a cool spot until you need them. Buy a few more blooms and greenery stems than you think you need, since a full wreath uses more material than a first attempt usually suggests, and spare buds are useful for filling thin spots at the end.
3. Choose Your Peonies and Plan the Color Mix
Peonies come in fresh, silk, and dried forms, and each form changes how you attach blooms. Fresh peonies look soft and full but last days rather than months, silk peonies hold their shape and can be reused, and dried peonies are light and muted in color but fragile. Choose one form for the whole wreath so the blooms age and wear in the same way.
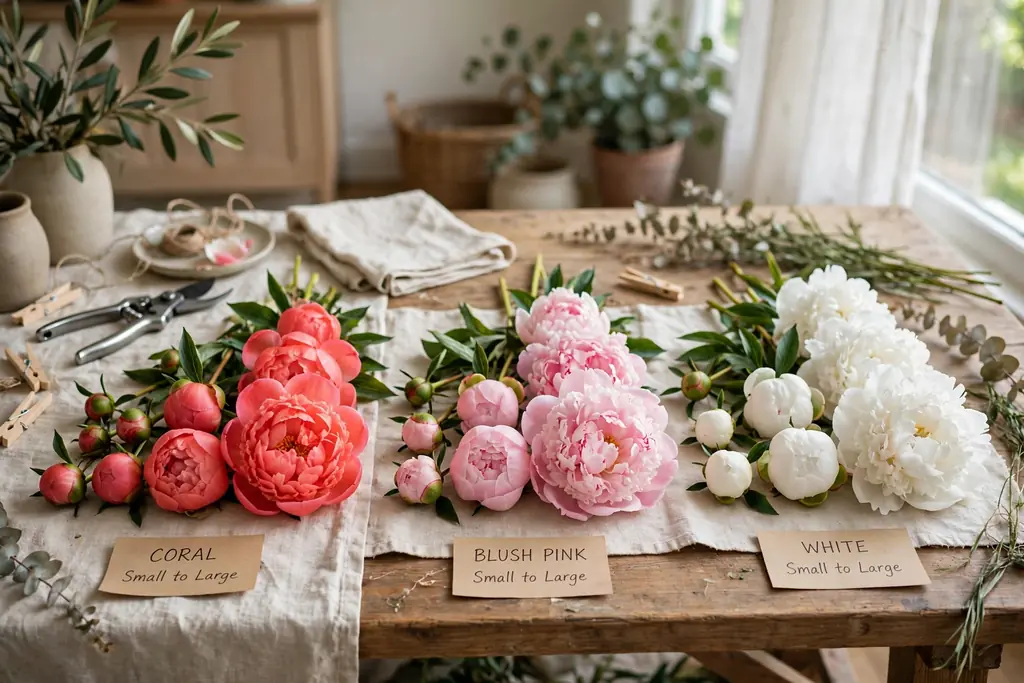
Plan the color mix before you build. A full look usually comes from one main bloom color, one supporting color, and green foliage, rather than many competing colors. Lay the blooms on a table in groups by size and color, count the large blooms, and decide roughly where each large bloom will sit around the ring. This short planning step stops the common problem of running out of large blooms on one side of the wreath.
4. Prepare the Wreath Frame
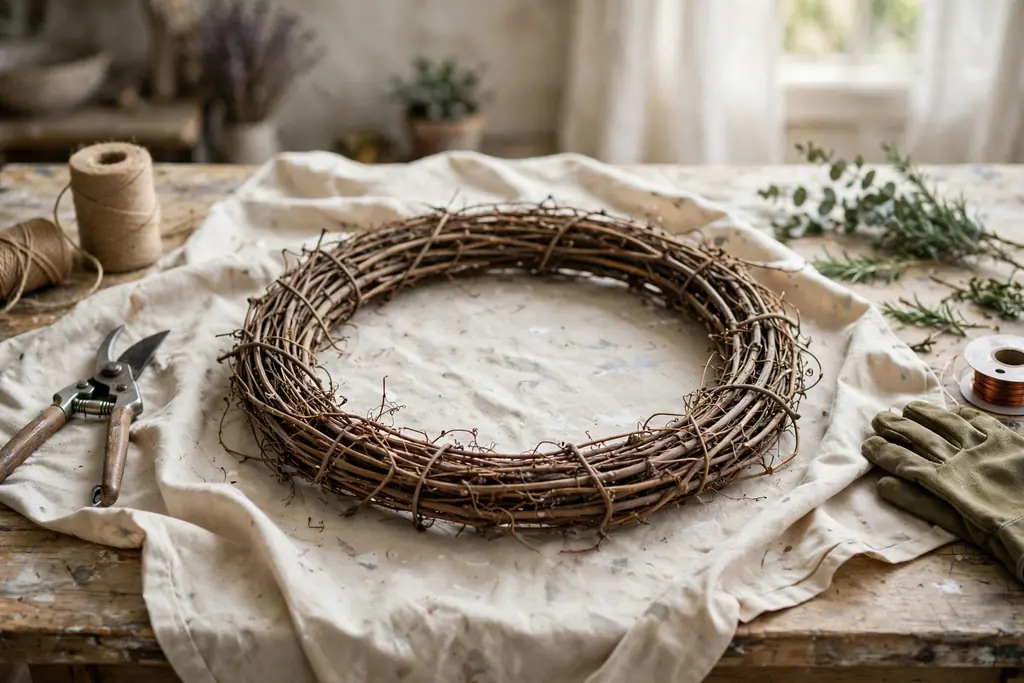
If you are using a wire frame, check that the rings are firm and the frame sits flat on your work surface. A wire frame gives a clear structure for wiring greenery and blooms, and it works well for full, layered wreaths. A grapevine frame already looks finished, so it suits a lighter wreath where some of the frame shows through the blooms.
If you are using a foam frame, wrap it in green floral tape or fabric first so the foam does not show through gaps in the greenery. For any frame, decide which side is the front and mark the top, since wreaths are usually built and viewed from one side. Place the frame on a drop cloth to catch leaves and petals while you work.
5. Attach a Hanging Loop
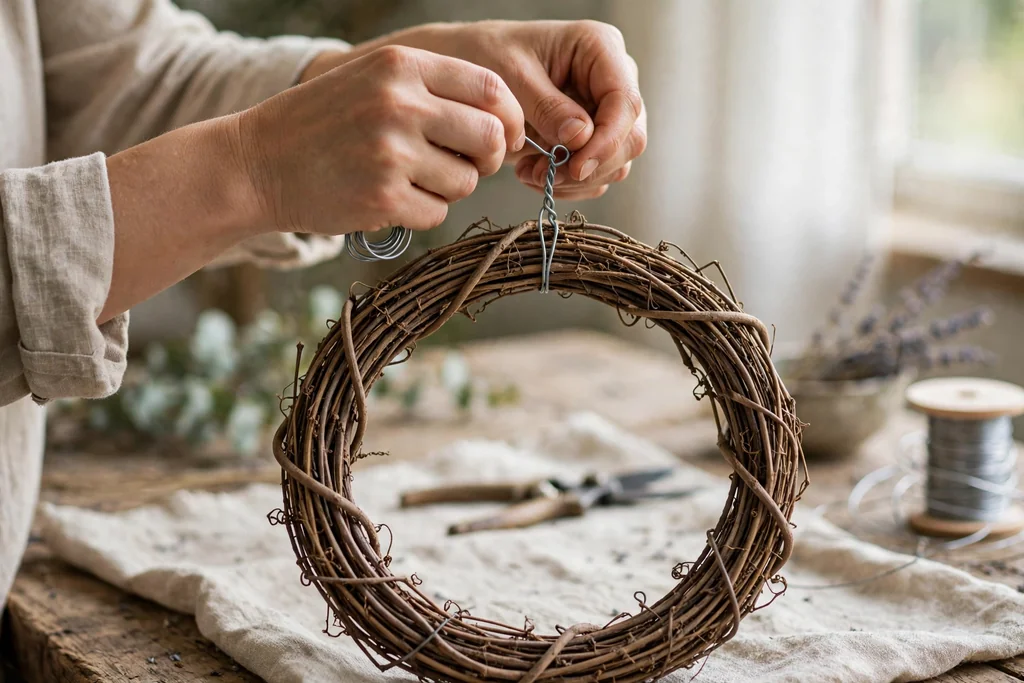
Make a hanging loop before you add greenery, since it is much harder to reach the frame once the wreath is full. Thread a length of sturdy wire, ribbon, or twine through the top of the frame and twist or knot it into a loop large enough to sit on a hook or nail. Test the loop by holding the frame up by it and checking that it hangs level.
For a heavy wreath, use wire rather than ribbon for the loop, and add a second loop as backup if the frame allows it. A loop that sits flat against the back of the wreath will keep the wreath close to the door, while a longer loop lets the wreath hang lower on a wall. Set the loop length now, since adjusting it later means working through layers of greenery and blooms.
6. Build the Greenery Base Layer
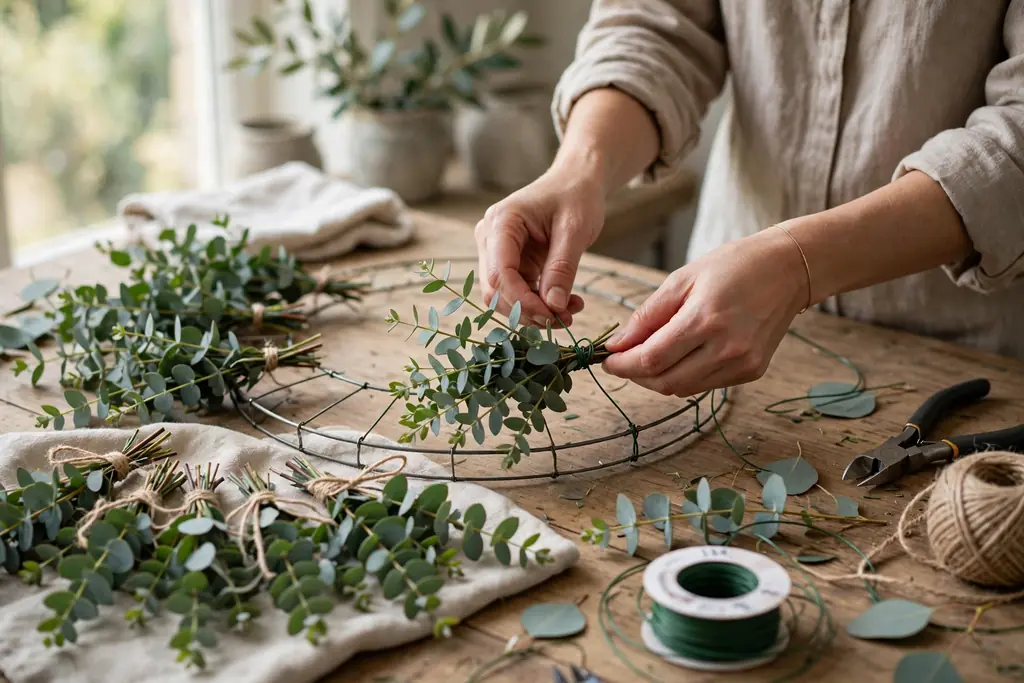
Start the base layer by making small bundles of two or three greenery stems, with the cut ends together and the leafy tips pointing outward. Lay the first bundle on the frame, then wire its stems tightly to the frame with two or three wraps of floral wire. Keep the wire snug but not so tight that it snaps the stems.
Place the next bundle so its tips cover the wired stems of the first bundle, and continue around the frame in the same direction. Overlapping each bundle this way hides the wire and gives the wreath a smooth, even flow. Work all the way around the frame, then check the back to make sure no wire ends stick out where they could scratch a door.
7. Add a Second Greenery Layer for Fullness
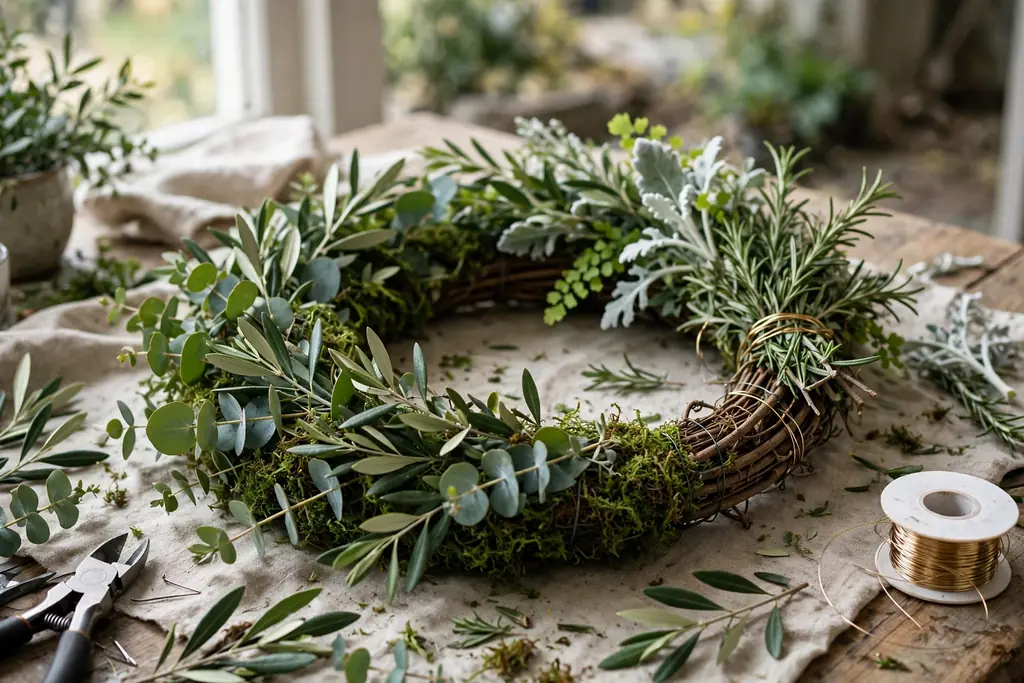
Once the base layer covers the frame, add a second layer using a different type of greenery or a mix of your remaining stems. Place these bundles slightly outward from the base layer so the wreath gains depth and looks full from the side as well as the front. Wire each bundle in the same direction as the base layer to keep the growth pattern consistent.
Use slightly shorter bundles for this layer if you want a neat outer edge, or longer stems if you want a looser, more natural outline. Step back after every few bundles and look at the wreath from the front, since it is easier to fix a thin spot now than after blooms are added. Fill any gaps with single stems wired in flat against the frame.
8. Place the Largest Peonies First
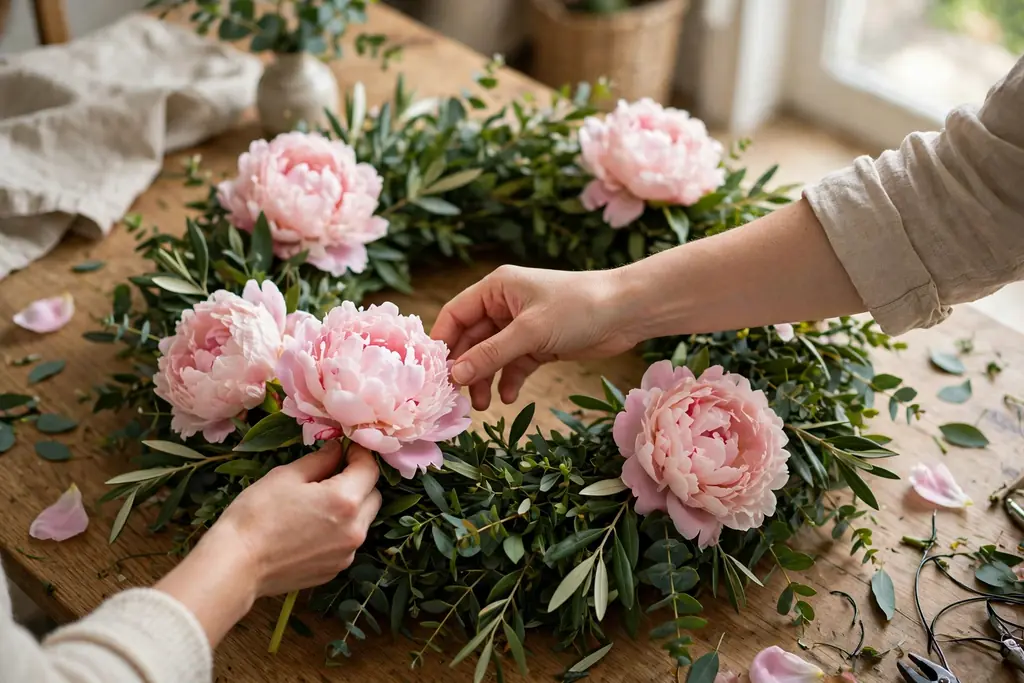
With the greenery base done, place the largest peony blooms before anything else. Set them on the wreath without fixing them first, spacing them evenly around the ring, with one at the bottom, one near the top, and others spread between them. This dry run shows whether you have enough large blooms and whether the spacing looks balanced.
Once the spacing looks right, fix each large bloom in place. Wire silk and dried stems to the frame, and wire or glue fresh stems, pushing each stem into the greenery so the bloom sits on top of the leaves rather than floating above them. Angle the blooms slightly outward so their faces show from the front, and keep them clear of the hanging loop at the top.
9. Fill Around the Large Blooms with Medium Blooms
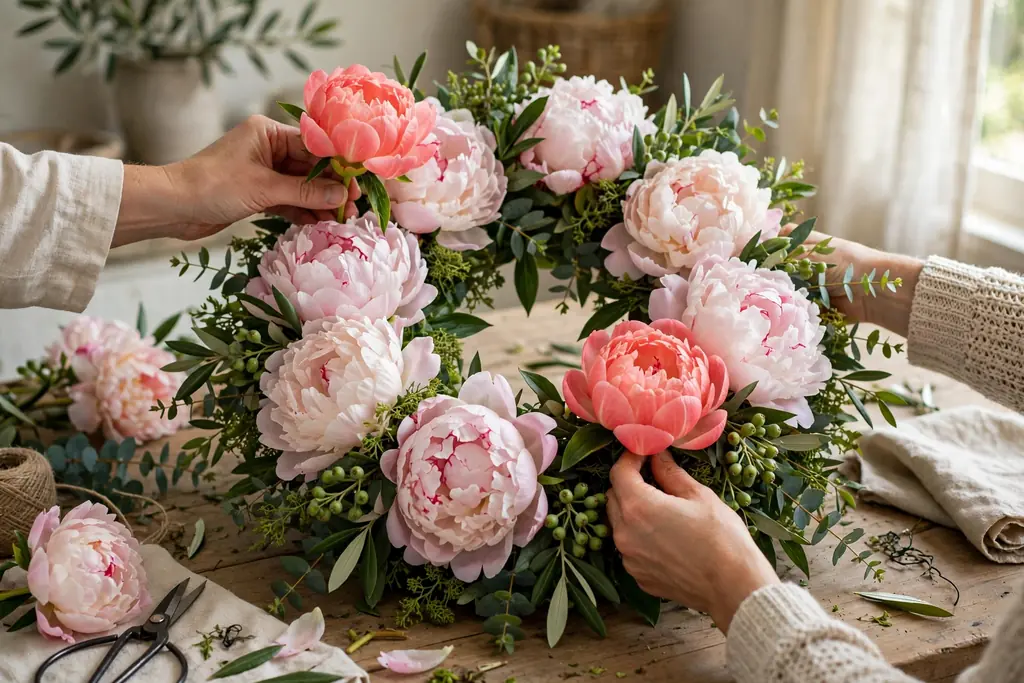
Next, add medium peony blooms in the spaces between the large blooms. Place them slightly lower or slightly inward from the large blooms so the wreath gains layers instead of a flat ring of same-size flowers. Work around the ring in one direction, checking the front of the wreath after every few blooms.
Vary the angle of the medium blooms: some facing forward, some angled to the side, so the wreath does not look like a row of identical flowers. If two blooms crowd each other, move one to a thinner spot rather than forcing both into the same gap. At this stage the wreath should look mostly floral, with only small gaps of greenery showing.
10. Add Peony Buds and Small Blooms to Close the Gaps
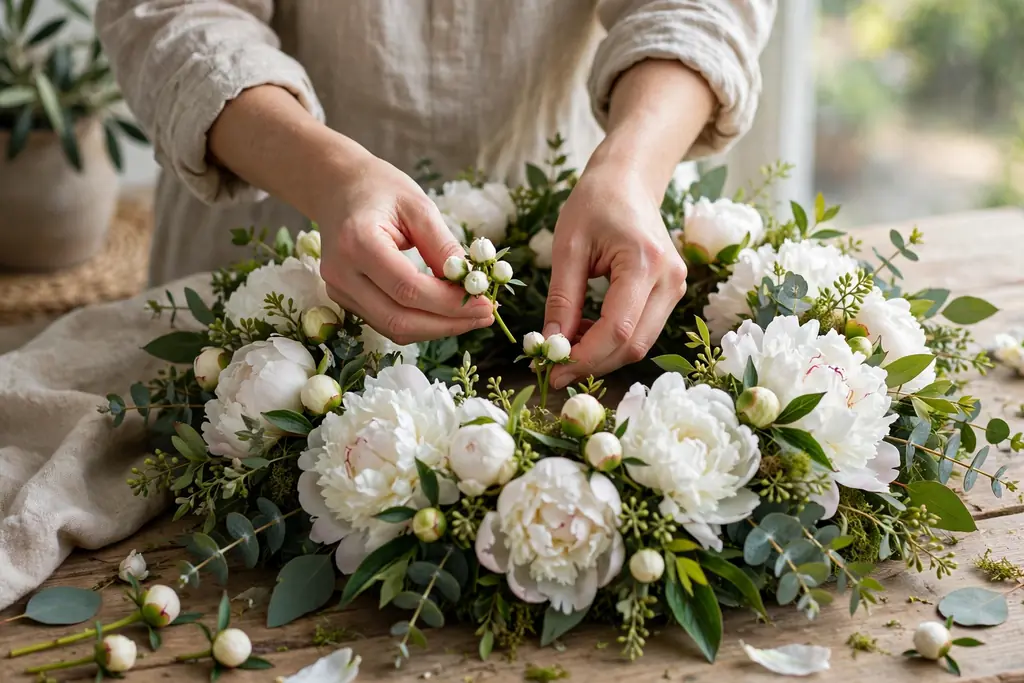
Buds and small blooms are what turn a wreath with spaced flowers into a full floral wreath. Tuck buds into the remaining gaps, pushing their stems under the larger blooms so they sit naturally among the petals and leaves. Use buds to soften the outer edge and the inner edge of the ring, where gaps show most clearly.
Keep the buds shorter than the main blooms so they read as supporting flowers, not as a competing layer. If a section looks crowded, remove a bud rather than adding more, since a wreath with breathing room shows its shape better than one packed tight. Step back after this step: the ring should now read as flowers first, with greenery as a backdrop.
11. Tuck in Filler Foliage and Accent Sprigs
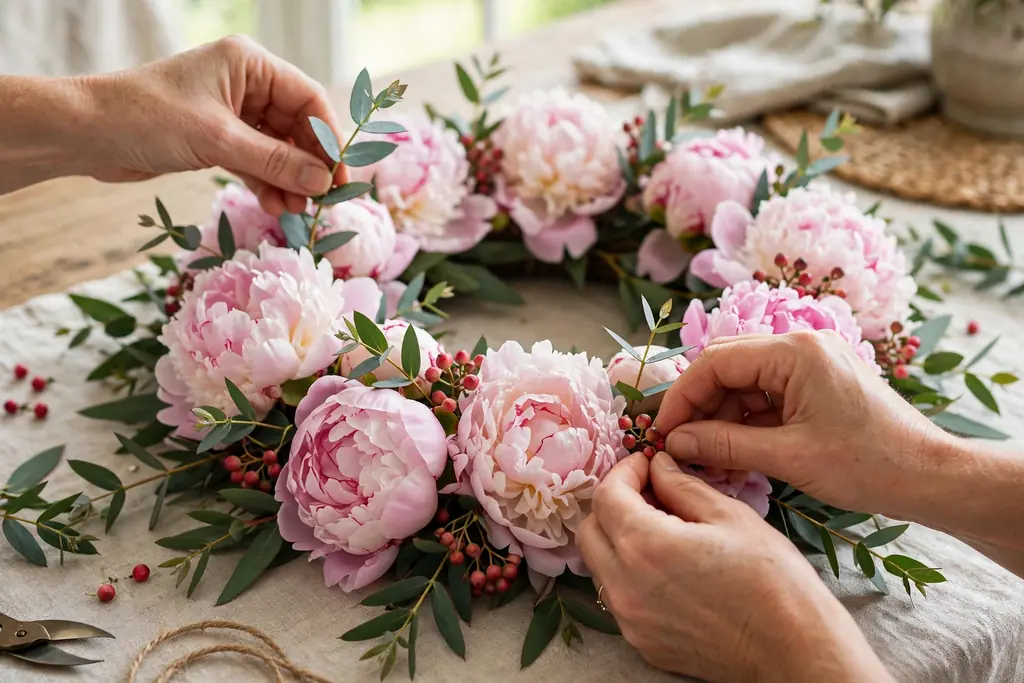
Filler foliage gives the wreath its detail and stops it looking flat. Tuck short sprigs of small leaves, eucalyptus tips, or berry sprigs into gaps between blooms, pushing the stems under the wired bundles so they sit naturally. Vary the filler around the wreath rather than grouping one type in a single spot.
Use filler sparingly around the faces of the large peonies, since covering a bloom defeats the point of placing it first. Filler works best at the edges of blooms, in narrow gaps, and along the outer rim, where it softens the outline. At this stage the wreath should look full and even before any ribbon goes on.
12. Make and Attach a Bow
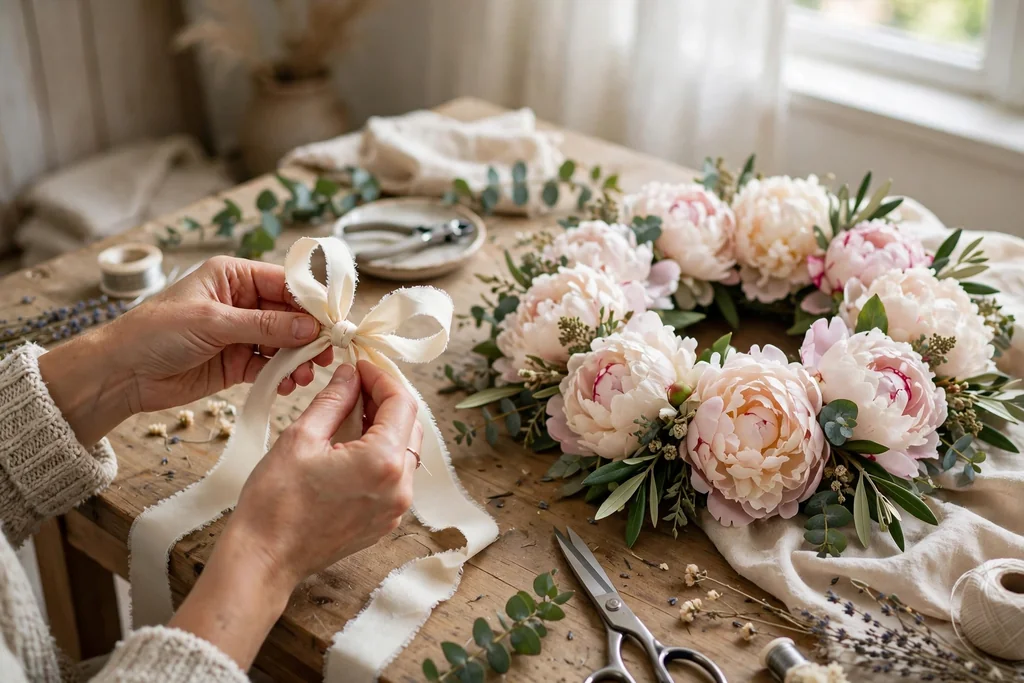
A simple looped bow starts with a length of wide ribbon. Form two loops of equal size, pinch them together at the center, and wrap floral wire tightly around the pinch to hold the shape. Add two more loops, one on each side, for a fuller bow, then trim the ribbon tails at an angle and notch the ends if you like a classic finish.
Fluff the loops by pulling them gently outward and adjusting them until the bow looks even from the front. Wire the bow to the frame at the bottom of the wreath, which is the usual spot, or at the top if your design calls for it. Check that the bow sits flat against the blooms and does not flop forward or hide a large peony when the wreath is held upright. A bow is optional: a wreath that already looks full can be left without one.
13. Check the Balance, Trim, and Secure Loose Stems
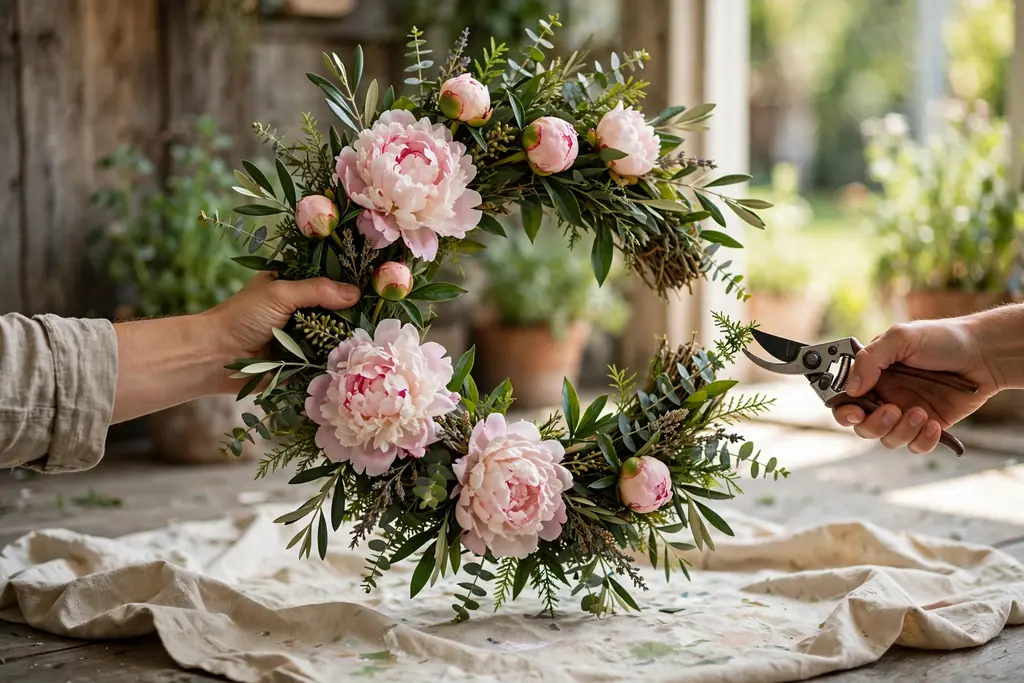
Hold the wreath upright at arm’s length and turn it slowly, looking for thin spots, stray stems, and blooms that sit at odd angles. Trim only the longest stray greenery tips with shears, cutting just above a leaf cluster so the cut blends in. Avoid trimming the whole outer edge into a circle, since that removes the natural shape you built layer by layer.
Next, check every join by giving each bloom and bundle a gentle tug. Tighten any loose wire, add a dab of glue where a stem still moves, and tuck sharp wire ends into the greenery so they cannot scratch a door or catch on clothing. Shake the wreath lightly over your drop cloth; if petals or leaves fall in large numbers, a bloom may be loose or a fresh stem may be dry.
14. Hang, Adjust, and Care for the Wreath
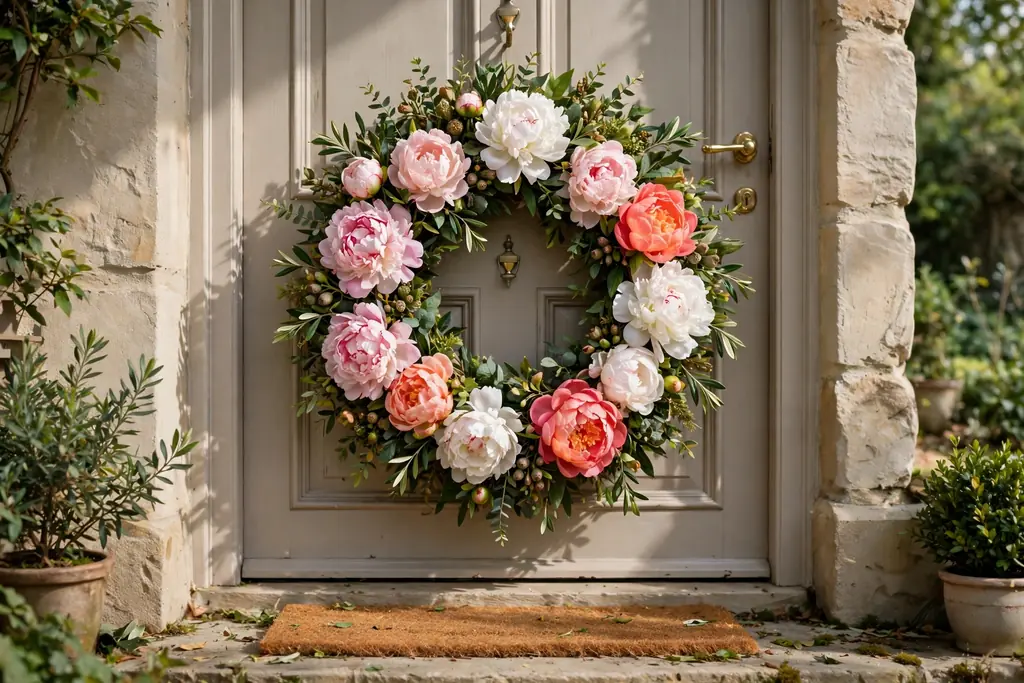
Hang the wreath on its hook, nail, or over door hanger, and step back to check its height and centering. On a front door, the wreath usually sits at eye level or slightly above, with equal space on each side. If the wreath tilts, adjust the hanging loop or add a small pad behind the lower edge so it sits flat against the door.
Check the wreath from across the room, since that is the view most people will see. Make small adjustments to the bow loops and any shifted blooms now, while you can still reach the wreath easily. For care, keep a fresh peony wreath in a cool, sheltered spot out of strong sun and wind, and mist the greenery lightly if the air is dry. Keep a silk or dried wreath indoors or under cover, out of rain and strong sun, and dust it gently. At the end of the season, remove wired blooms and ribbon, store them in a labeled box, and keep the frame flat for reuse.
Conclusion
Making a peony wreath for a full floral look comes down to a simple sequence: choose your size and style, build a greenery base on a sturdy frame, place the largest peonies first, fill gaps with medium blooms, buds, and filler, then add a bow and check the balance before hanging. Take your time with the greenery base and the large blooms, since those two stages decide how full the finished wreath looks. With the wreath hung and adjusted, you have a floral wreath made to fit your door or wall, and a frame and silk blooms ready to reuse next season.
FAQs
How many peonies do I need for a full wreath?
The number depends on the frame size and bloom size, but a full look usually needs a mix of large blooms, medium blooms, and buds rather than large blooms alone. Start with the large blooms spaced around the ring, then add medium blooms and buds until only small gaps of greenery show, and keep spares for thin spots found at the final check.
Should I use fresh, silk, or dried peonies for a wreath?
Fresh peonies give the softest, most natural look but last days rather than months, so they suit a short event or a wreath you plan to remake. Silk peonies hold their shape, can be reused, and suit a front door or a wreath that stays up for weeks. Dried peonies are light and muted in color but fragile, so they suit an indoor wreath kept out of rain and handling.
What frame is best for a peony wreath?
A wire frame is the easiest choice for a full layered wreath, since greenery and stems wire directly to it. A grapevine frame suits a lighter wreath where some of the frame shows through the blooms, and a foam frame wrapped in tape or fabric suits a wreath built mainly with glued silk blooms.
How do I keep peony blooms from falling off a wreath?
Wire silk and dried stems to the frame rather than relying on glue alone, since wire holds in wind and temperature changes. For fresh stems, wire the stem to the frame and add glue at the base of the bloom if it still moves, then tuck wire ends into the greenery so they do not scratch the door.
How do I make a peony wreath look full instead of sparse?
Build a greenery base first so no frame shows through, place large blooms first with even spacing, then close gaps with medium blooms, buds, and filler foliage. Working in one direction around the ring and stepping back often helps you spot thin spots early, when they are still easy to fill.
How long will a peony wreath last, and how do I store it?
A fresh peony wreath lasts days in a cool, sheltered spot out of strong sun and wind, while a silk wreath can last for seasons if kept indoors or under cover and dusted gently. To store a silk wreath, remove the bow if it crushes easily, place the wreath in a box that holds its shape, and keep it flat in a dry spot.