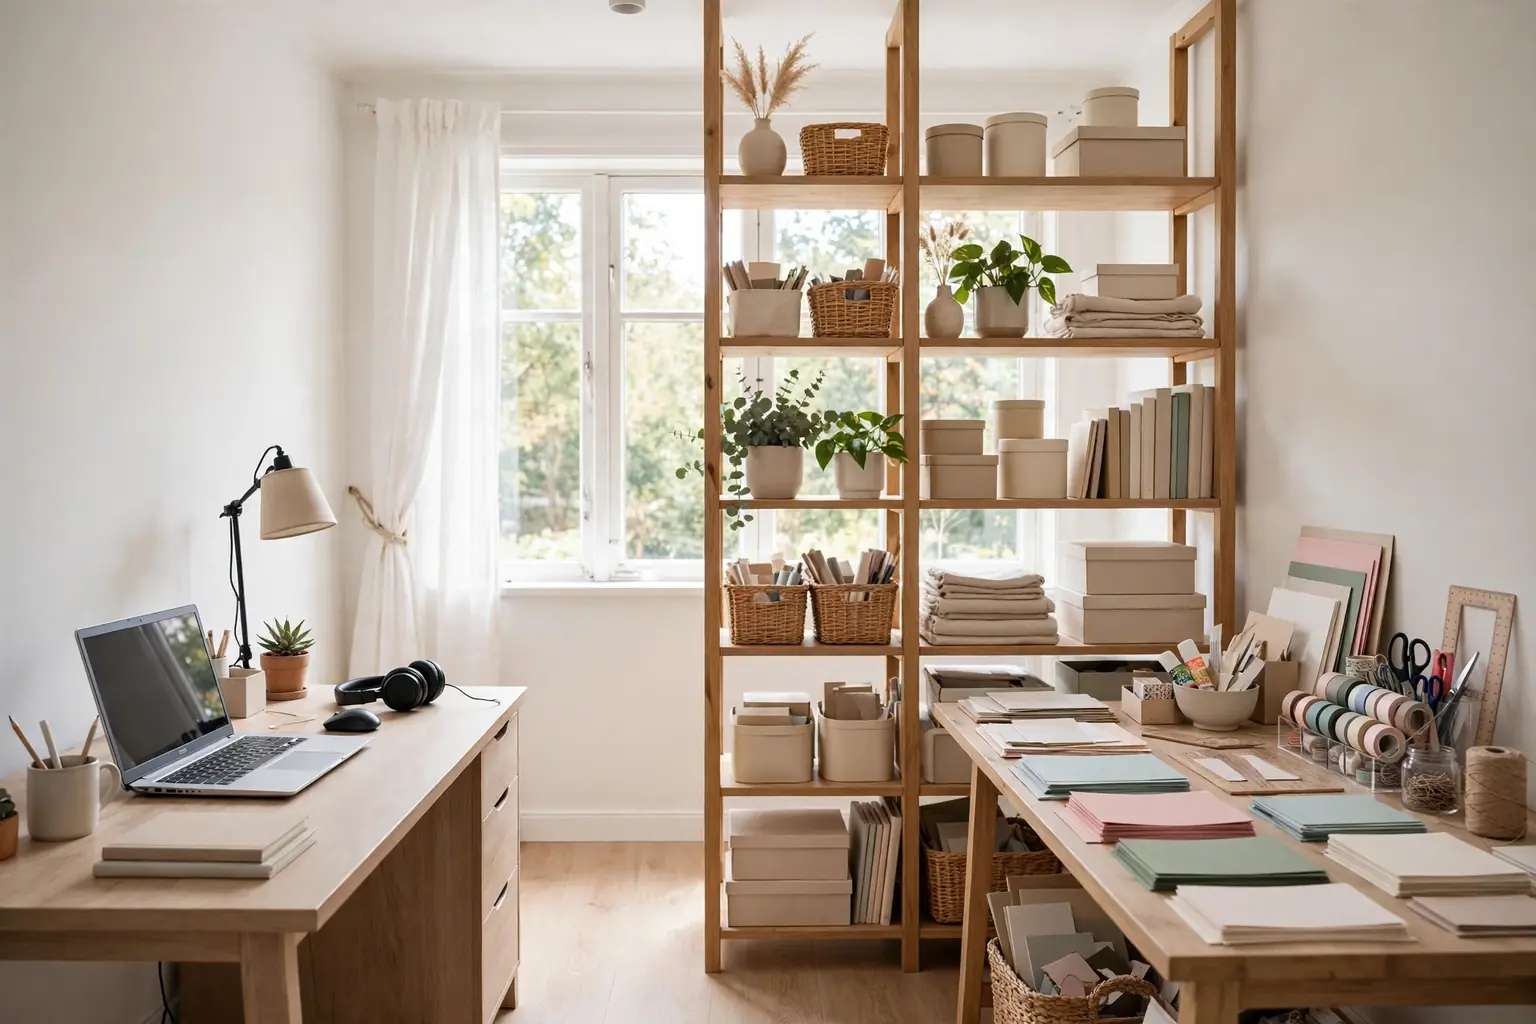
The best office craft room setup gives work and crafts separate zones in one room: a desk for focused tasks, a wipe-clean table for making, and closed storage for supplies. Put the desk near natural light, keep craft tools in labeled bins or a rolling cart, and leave a switch-over routine, so one room serves both jobs without clutter spreading.
Start by listing what each job truly needs. Work usually needs a screen, a keyboard, a notebook, and quiet. Crafts usually need a flat surface, good task light, and many small supplies within reach. When those two lists share one desk, the craft supplies win the surface and work slows down. Give each job its own surface, even a small one, and give each job its own storage, even a single bin or shelf. For storage tactics that work in tight rooms, see small storage ideas before you buy new furniture.
Key Takeaways
- Give work and crafts separate surfaces, even if one surface is small, so supplies never cover the keyboard.
- Zone the room by task, not by person: a work zone, a making zone, and a shared storage zone.
- Use closed storage for craft supplies and open storage only for daily work items, so the room looks calm at a glance.
- Put the work desk near the best light and the craft table where mess is easy to wipe up.
- Keep a five minute switch-over routine: clear the surface, park the tools, and reset the chair.
- Measure door swings, chair pull-out space, and table heights before buying a second desk or a storage unit.
1. L-Shaped Layout with a Work Leg and a Craft Leg
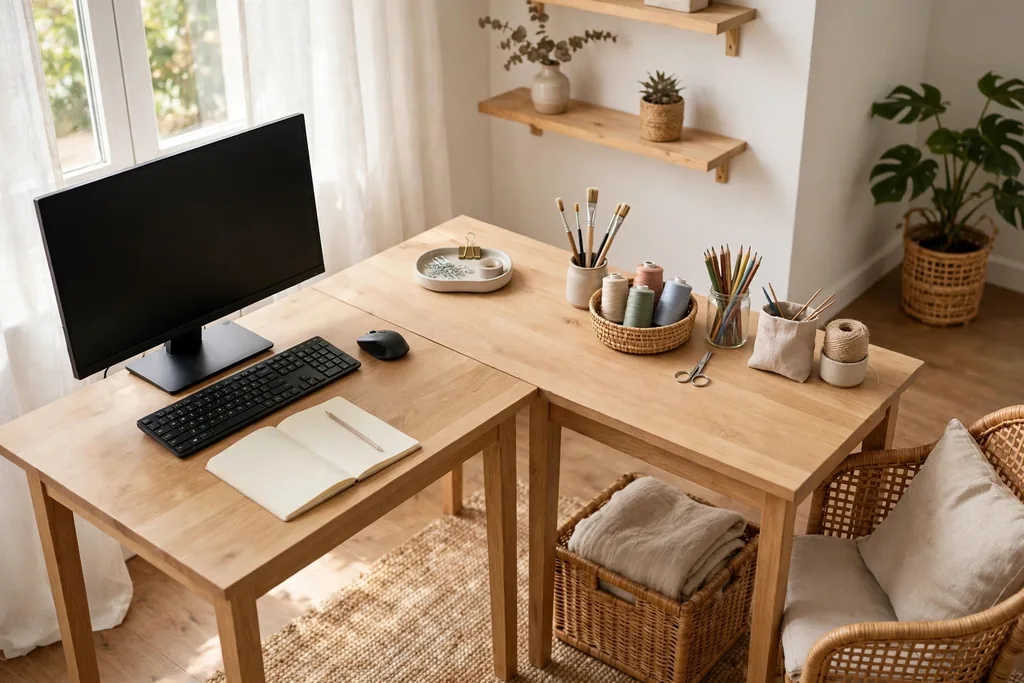
Set two desks at a right angle so one leg holds the computer and the other holds the craft project. The corner becomes the shared point, and each leg keeps its own tools, lamp, and storage. This layout suits a square room where one long desk would block the door or the window.
Keep the work leg near the window for daylight on the screen, and keep the craft leg on the wall with the most shelf space. Use a different mat or desk cover on each leg, so a glue spot or a paint mark never lands on work papers. A small turntable or a tray at the corner holds shared items, such as scissors, tape, and pens, without letting them spread across both legs.
2. Back-to-Back Desks Down the Middle of the Room
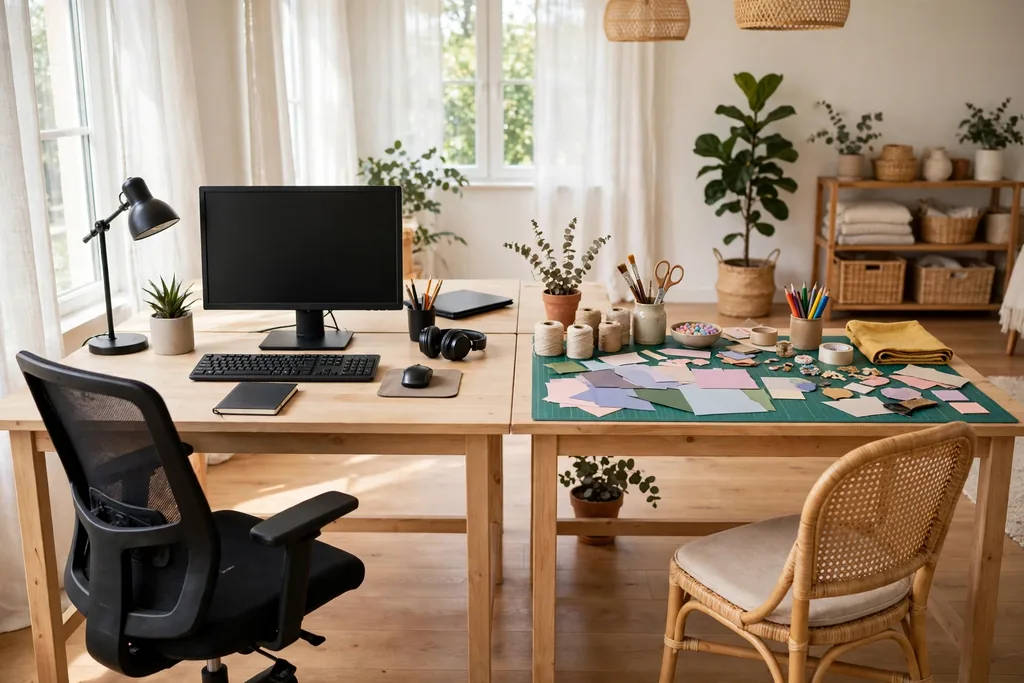
Place two desks back to back in the center of the room, one for work and one for crafts, so each side has its own front edge and chair. This suits a larger room, or a room shared by two people, since neither person faces a wall all day and both sides get equal light.
Run a low shelf or a narrow rail along the shared back edge for items both jobs use, such as a printer or a small plant, and keep tall items off that edge so sight lines stay open. Anchor both desks so they do not drift apart, and leave a clear walkway on at least one side. If the room is small, use narrow desks for this layout, since two deep desks back to back can eat the whole floor.
3. One Long Desk with a Centre Divider
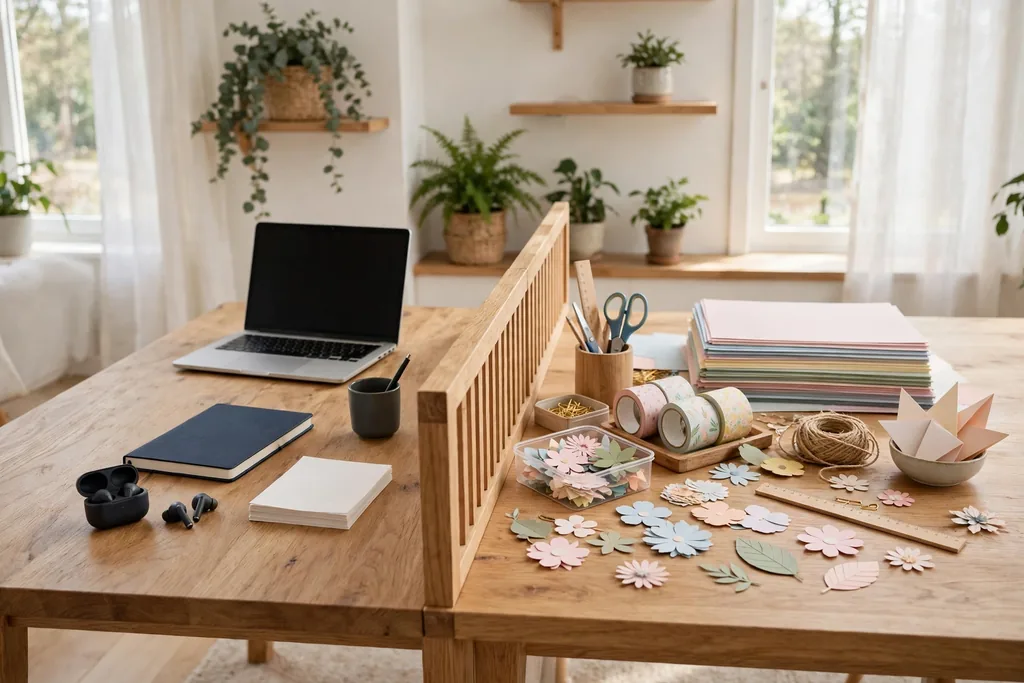
Use one long desk and divide it down the middle with a low divider, a monitor stand, or a row of small storage boxes. Work takes one half and crafts take the other, and the divider marks the boundary without a wall. This is the simplest shared setup for a room that fits only one desk.
Keep the work half clear except for the screen and a notebook, and keep craft tools in a tray on the craft half, so they can lift off in one move. Choose a desk surface that wipes clean, and protect the work half with a desk mat. If the divider is tall, it can block light, so keep it low, at or below monitor height, and store tall craft items on a shelf instead.
4. Closet Turned into a Craft Nook Beside a Work Desk
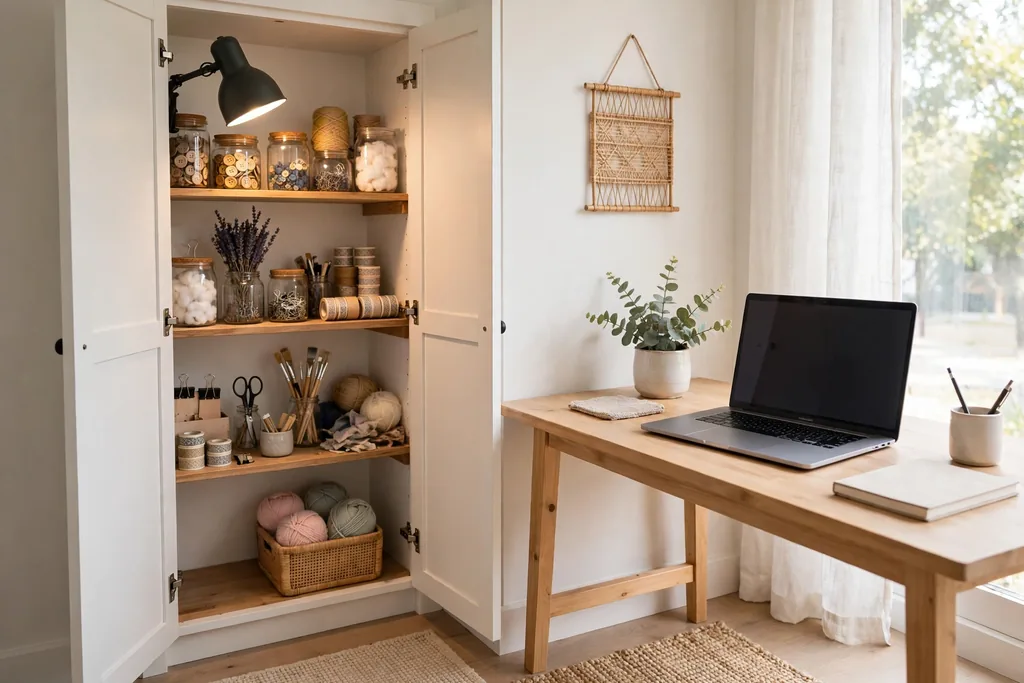
Remove the closet doors, or take them off their hinges, and fit a small table, shelves, and a task light inside the closet frame. The work desk stays in the main room, and the craft nook closes off visually when you step back, even without doors. This suits rooms where a spare closet already exists and floor space is short.
Fit shelves at craft height, not closet height, and add a power strip for a glue gun or a sewing machine. For closet systems that keep supplies sorted, see closet organization ideas for rails, bins, and shelf plans that fit a nook. Keep the nook shallow enough that you can reach the back without leaning over a project, and leave the floor under the nook clear so a chair or a stool can tuck in.
5. Pegboard Wall Above the Craft Bench
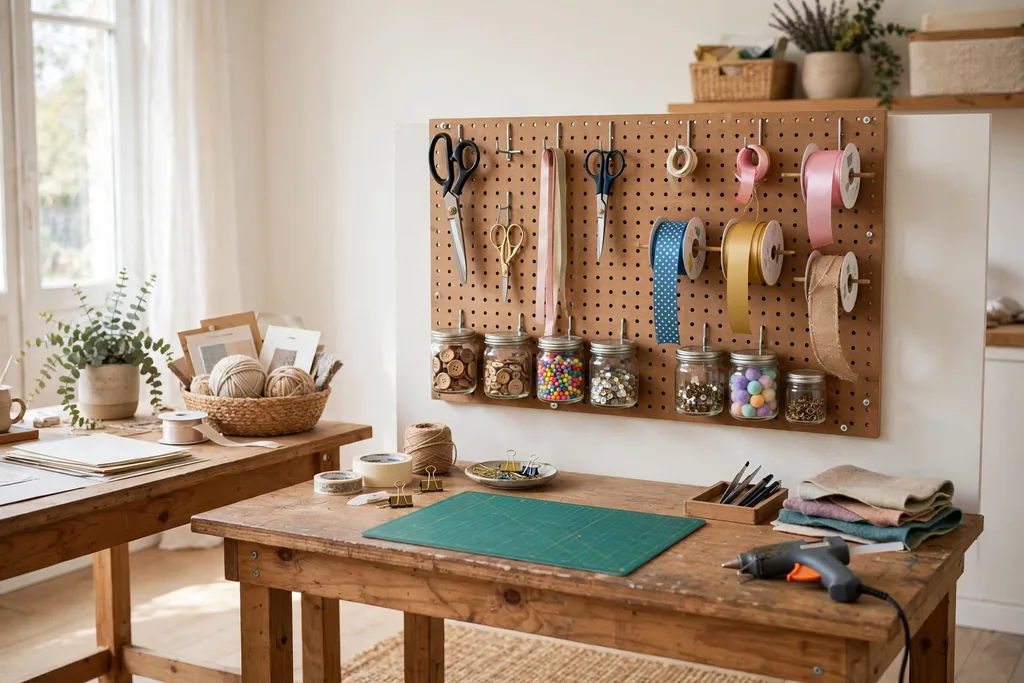
Hang a pegboard above the craft bench so tools, ribbons, scissors, and small jars hang in view instead of filling drawers. Work stays at the desk, and the pegboard makes the craft zone easy to read at a glance, which speeds up both starting and tidying a project.
Mount the board on battens so hooks have room behind them, and use fixings rated for the wall and the weight you plan to hang. Group tools by task, such as cutting tools together and painting tools together, and leave some pegs empty for new supplies. Keep sharp tools high and out of reach of small children, and keep the board to one wall section, so the room still has a calm wall for the work side.
6. Rolling Craft Cart That Docks Under the Desk
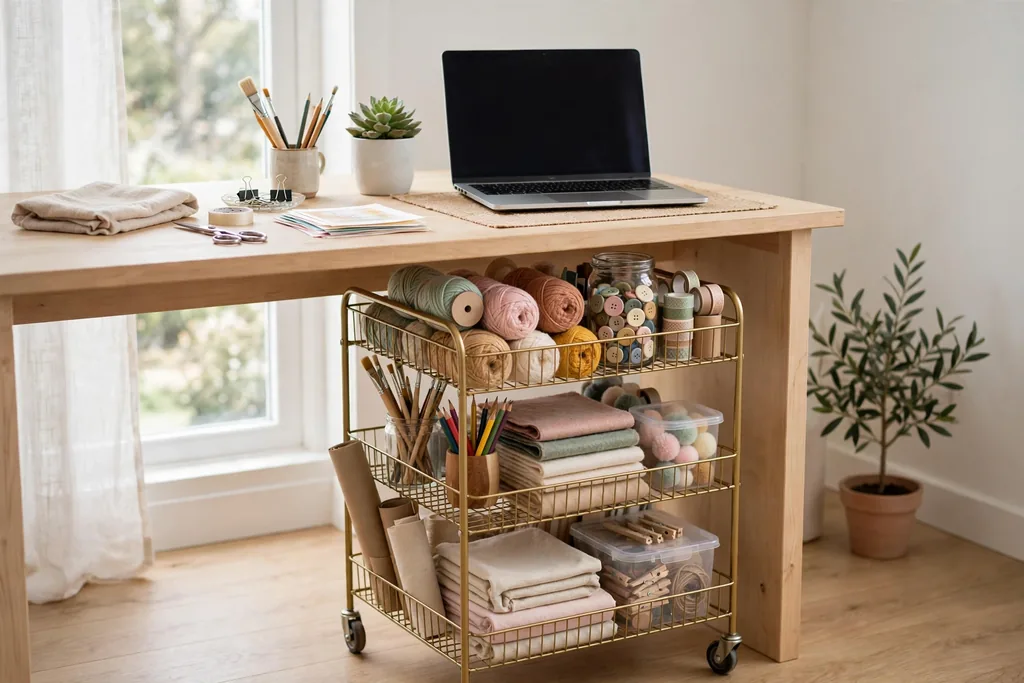
Use a tiered rolling cart for craft supplies, and park it under the desk or beside it when work is in progress. When it is craft time, roll the cart out to the table, and when work resumes, roll it back and close the loop. This suits renters, since it needs no wall fixings, and small rooms, since the cart uses dead space under a desk.
Sort the cart by tier, with daily tools on top and bulk supplies below, and keep heavier items low so it rolls steadily. Label each tier, and keep the cart to one project family at a time, such as paper crafts or sewing, so it never becomes a general dumping ground. Choose a cart with locking wheels, so it stays put while you cut, sew, or paint.
7. Fold-Down Craft Table Beside a Fixed Work Desk
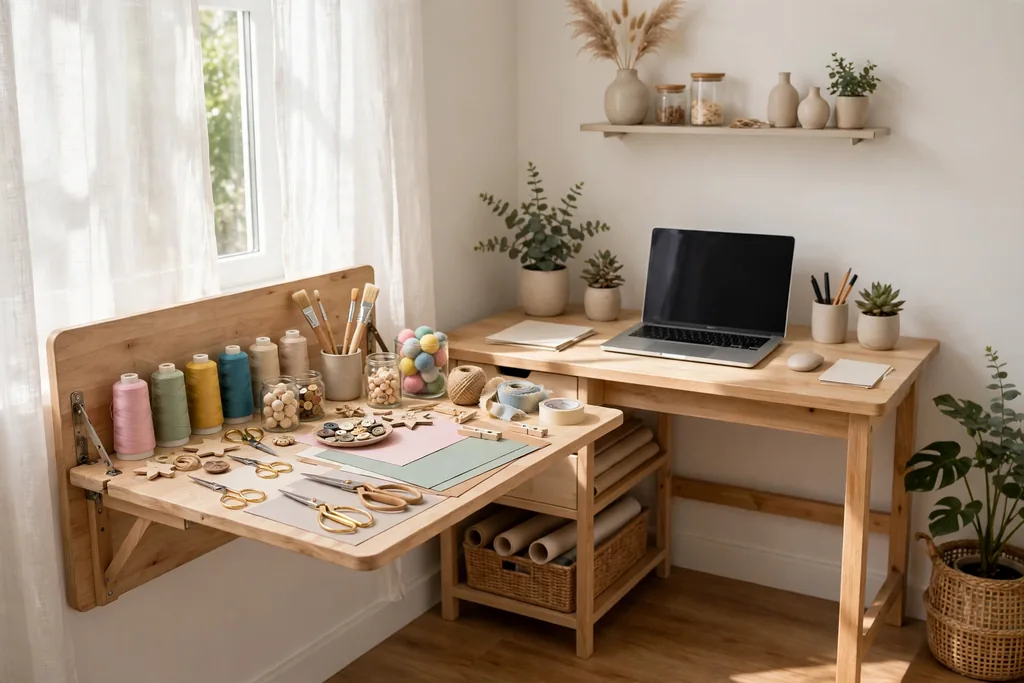
Fix a fold-down table to the wall beside a regular work desk, and fold it down only for craft sessions. The work desk stays set up all day, and the craft table appears when needed and disappears when the project is done. This suits a room where a second full table would block a walkway or a door.
Mount the fold-down table at a comfortable sitting or standing height, and check the fixings suit the weight of the table plus the project. Keep a folding chair nearby on a wall hook, so the whole craft station packs away together. Clear the table before folding it up, or loose items will slide, and store craft tools in a bin beside the table, not on it, so folding stays quick.
8. Opposite-Wall Layout: Work on One Wall, Crafts on the Other
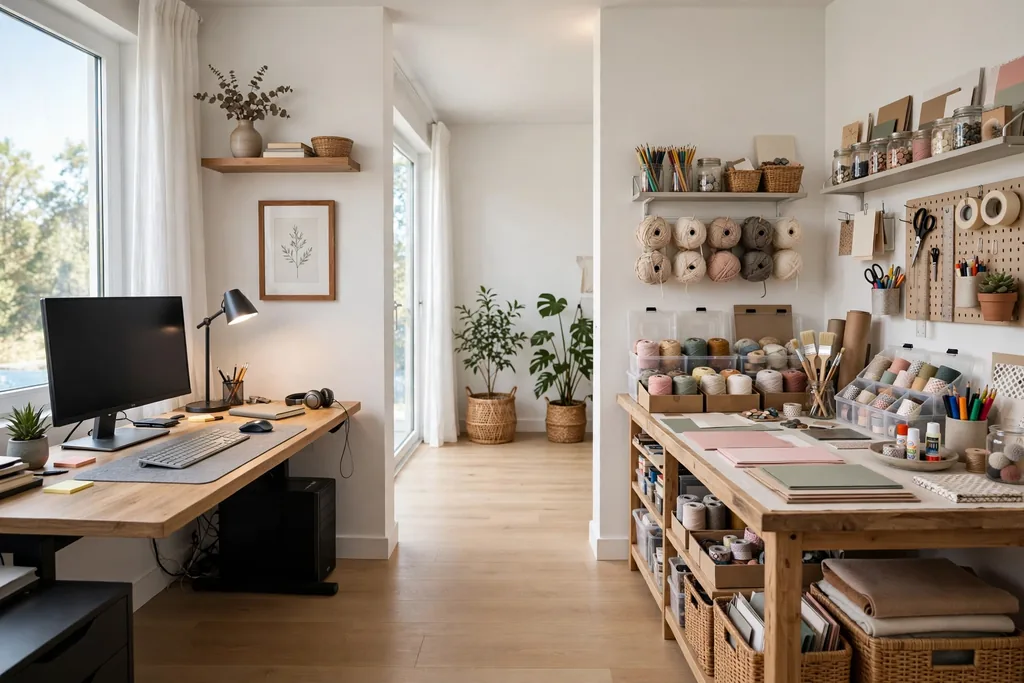
Put the work desk on one wall and the craft table on the opposite wall, so each job has its own wall, light, and storage. Walking between the two becomes the switch-over moment, which helps the brain change tasks, and neither job can slowly take over the other surface.
Give the work wall shelves for books and files, and give the craft wall shelves for jars, paper, and fabric. If the room is narrow, use slim tables on both walls and keep the middle clear for chairs. A rug or a different wall color on each side can mark the zones without any building work, and a shared bin in the middle holds items both jobs use, such as a recycling box.
9. Open Shelving Unit as a Room Divider
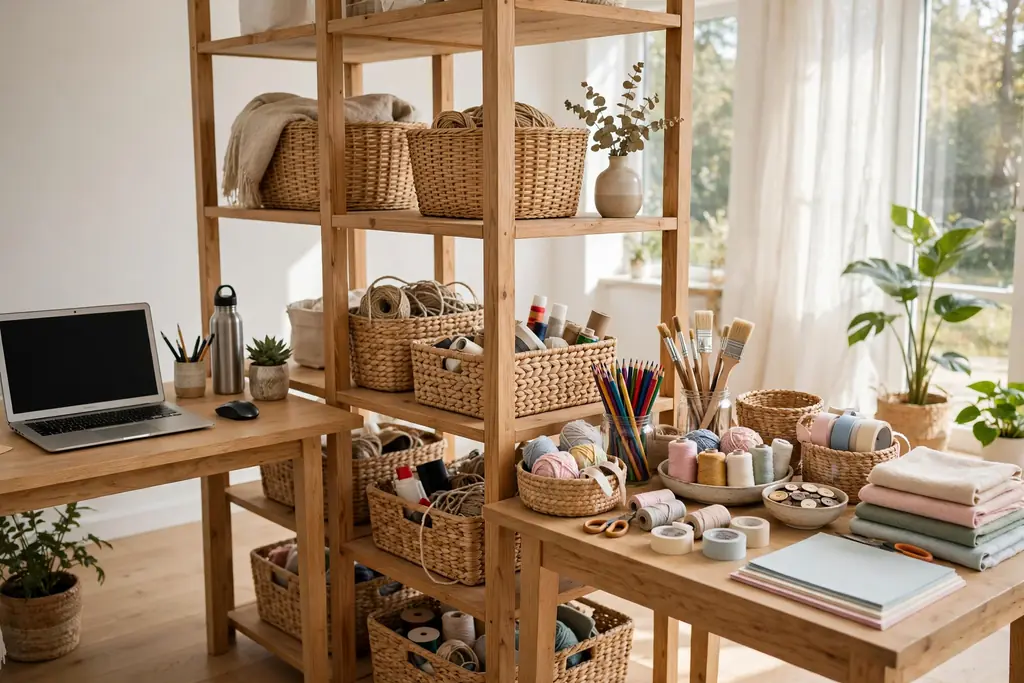
Stand an open shelving unit across the room, with its back to one zone and its front to the other, so it divides work from crafts without closing the room off. Work sits on one side, crafts on the other, and the shelves hold shared storage in the middle. This suits a long room that feels like one big space with no natural break.
Keep the shelves low enough to see over, or use a unit with open cubes, so light still crosses the room. Put closed baskets on the craft side to hide small supplies, and keep books and files on the work side. Anchor the unit to the floor or wall, especially in a home with children or pets, since a freestanding divider can tip if leaned on.
10. One Large Table Split by Task Lamps and Mats
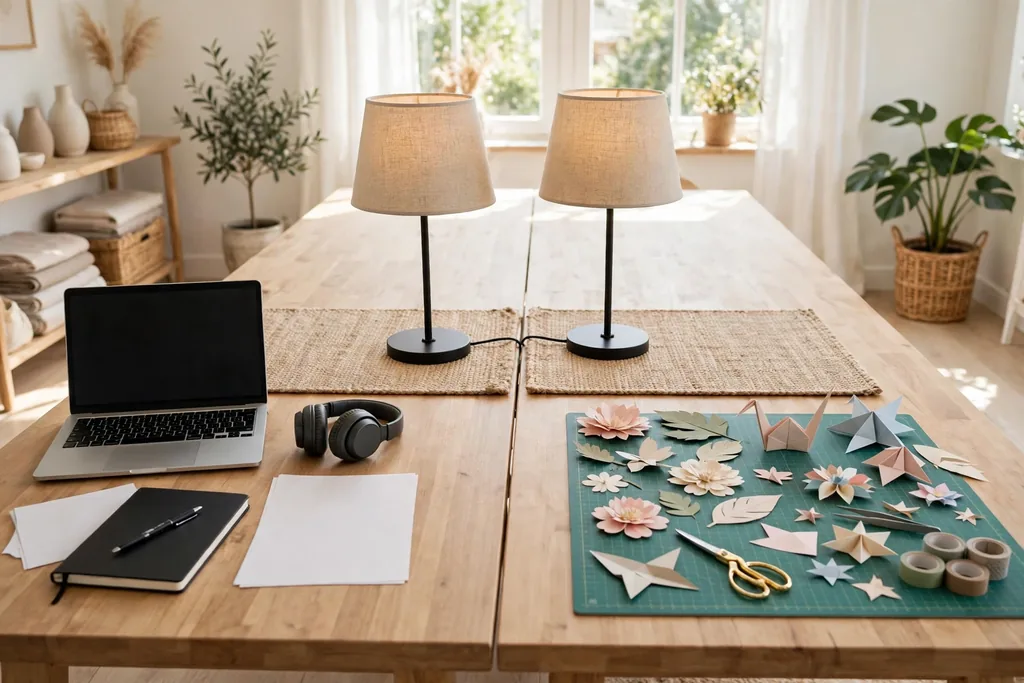
Use one large table and split it by task: a desk lamp and a plain mat mark the work end, while a bright task lamp and a cutting mat mark the craft end. The split is visual, not structural, so it suits a room that already has a good table and no space for a second one.
Set a rule for the middle line, such as no craft item crosses it during work hours, and keep a tray at each end for that job’s tools. At switch-over time, slide the work tray onto a shelf and slide the craft tray onto the table. This layout works best for crafts that pack into one tray or bin, such as card making or journaling, rather than large projects that need the whole table.
11. Built-In Desk Run with Closed Cabinets for Crafts Above
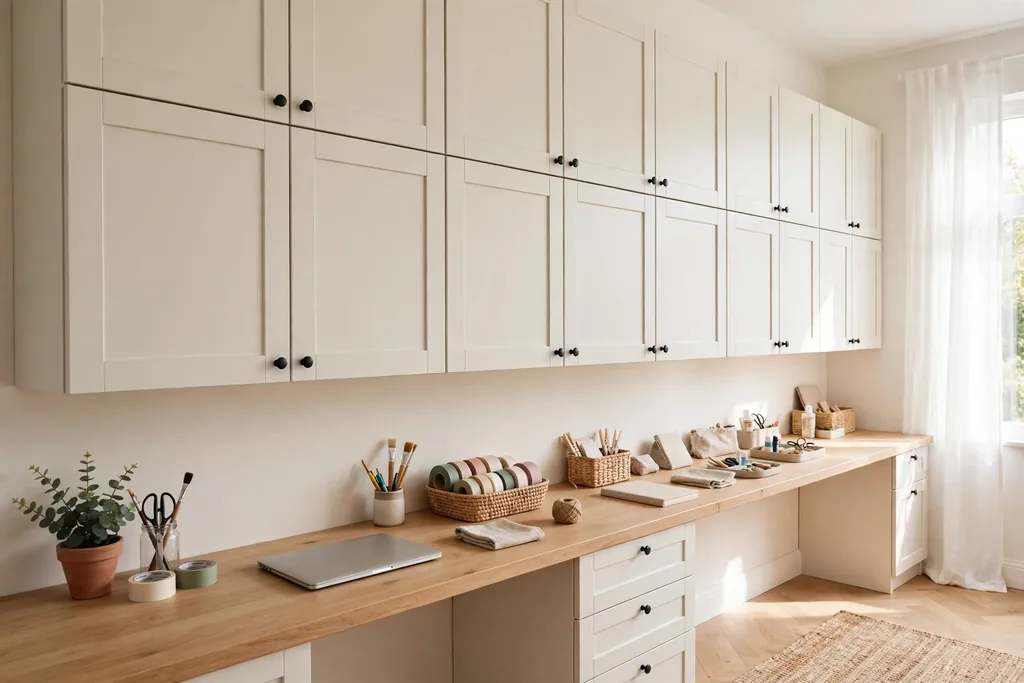
Fit a long desk run along one wall, with closed cabinets or cupboards above it for craft supplies. The desk surface stays shared, but the supplies live behind doors, so the room reads as an office until the cabinet opens. This suits a room where craft supplies look busy and work needs a calm backdrop for video calls.
Sort cabinets by craft type, one for paper, one for fabric, one for paint, and label the inside of each door with its contents. Keep daily work items in a desk drawer, not in the cabinets, so opening a cabinet never becomes part of the work routine. Choose cabinet doors that close fully and stay shut, since a door left ajar brings the craft clutter back into view.
12. Corner Work Desk Plus a Window-Side Craft Table
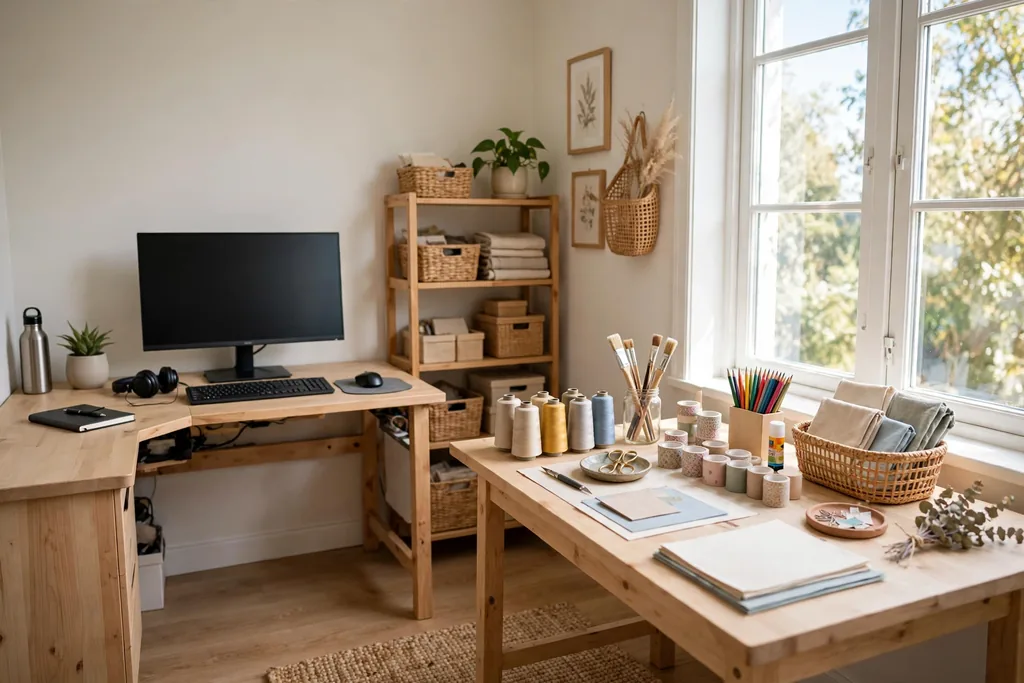
Place a compact corner desk for work, and put a separate craft table beside the window, where daylight helps with color matching and fine detail. The corner desk uses dead space, and the window table gets the best light for making, which is often the job that needs it most.
Keep the craft table near the window but clear of curtains, so fabric and paper never catch on fabric or block the window latch. A small stool at the craft table, rather than a second office chair, saves floor space and signals that the craft seat is for shorter sessions. If glare hits the work screen, angle the corner desk away from direct sun and use a blind on the window side.
13. Rolling Island That Serves Both Zones
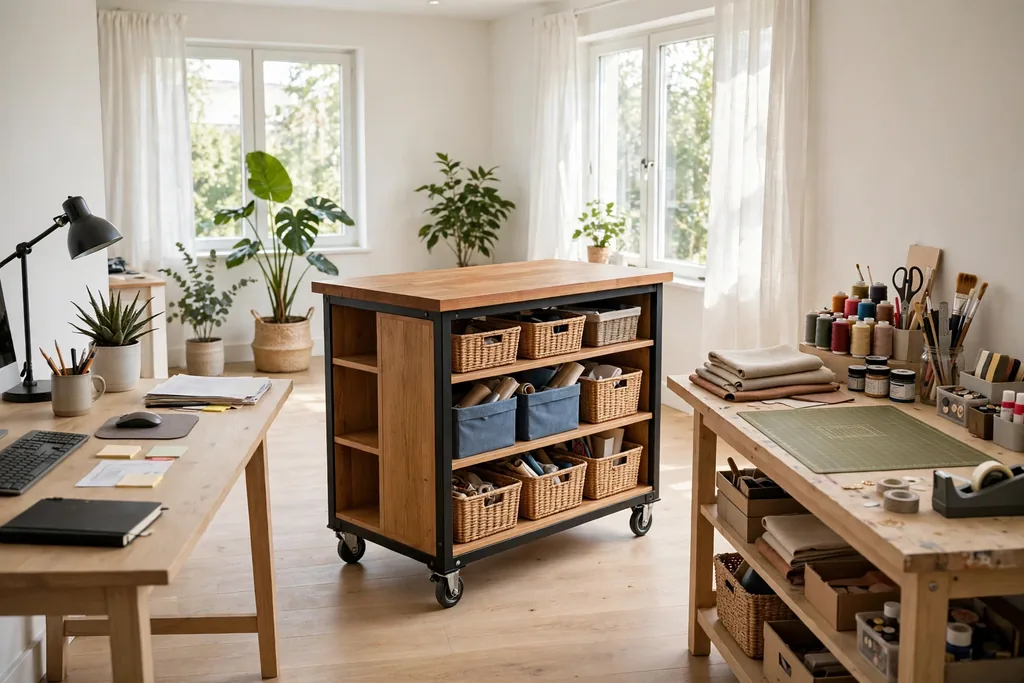
Add a rolling island or a kitchen style cart between the desk and the craft bench, with a flat top for cutting or assembling and shelves below for shared tools. Roll it to the desk when you need extra work surface, and roll it to the craft bench when a project needs room to spread out. This suits rooms where neither zone can spare a permanent extra table.
Choose an island at counter height or desk height, matching the job you will use it for most, and lock the wheels before cutting or pressing anything on it. Keep the top clear when it is parked, so it is always ready to roll to the job that needs it. For storage ideas that keep a rolling unit tidy, see small storage ideas for bins and baskets that fit narrow shelves.
14. Time-Share Layout: One Desk, Swap Bins Morning and Evening
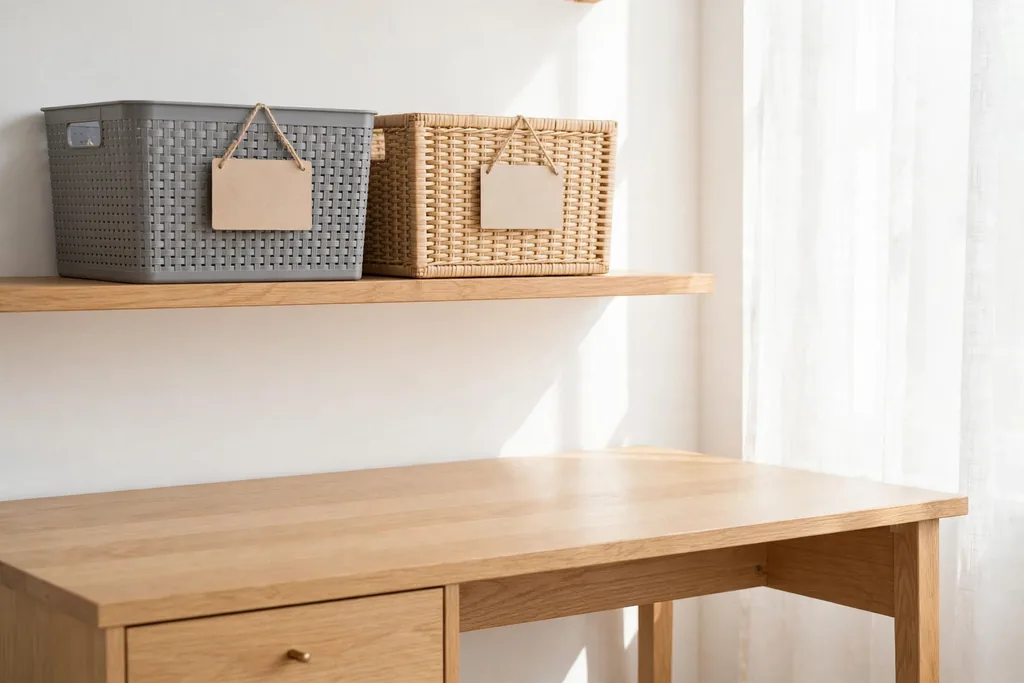
Use one desk for both jobs, but swap the setup by time of day: a work bin in the morning, a craft bin in the evening. Each bin holds everything that job needs, so the swap takes minutes and the desk never holds both jobs at once. This suits a very small room, or a household where only one person uses the room at a time.
Keep each bin labeled and packed the same way every time, so the swap becomes a habit rather than a sort. Store the off-duty bin on a shelf, in a closet, or under the desk, never on the floor where it blocks the chair. End each session by returning tools to the bin, since a half-packed bin makes the next swap slower and the desk messier.
15. Color-Coded Zones with Matching Bins and Chairs
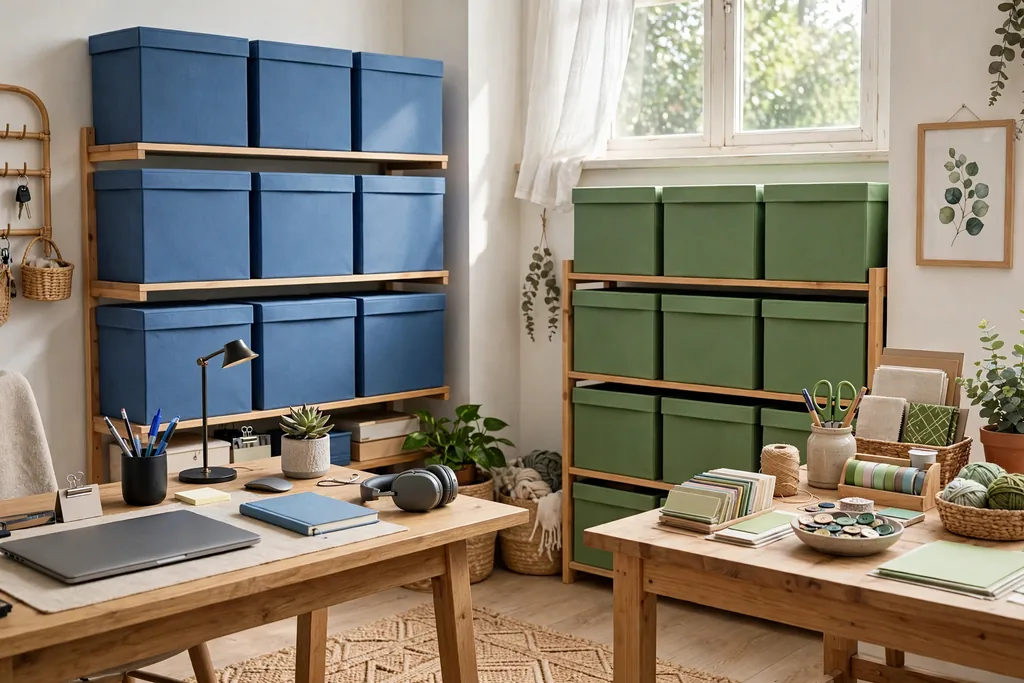
Give each zone its own color: for example, blue bins, a blue chair pad, and blue labels for work, and green bins and labels for crafts. Color makes the boundary obvious at a glance, even for children sharing the room, and it speeds up tidying, since every item has a color home.
Keep the colors to two, plus a neutral base for furniture and walls, so the room does not look like a classroom. Use the same color on the shelf edge, the bin label, and the tool tray for each zone, so the system works even when bins move. If two people share the room, color by job still works better than color by person, since jobs, not people, create the clutter.
16. Full-Height Storage Wall Dividing Work Shelves from Craft Cubbies
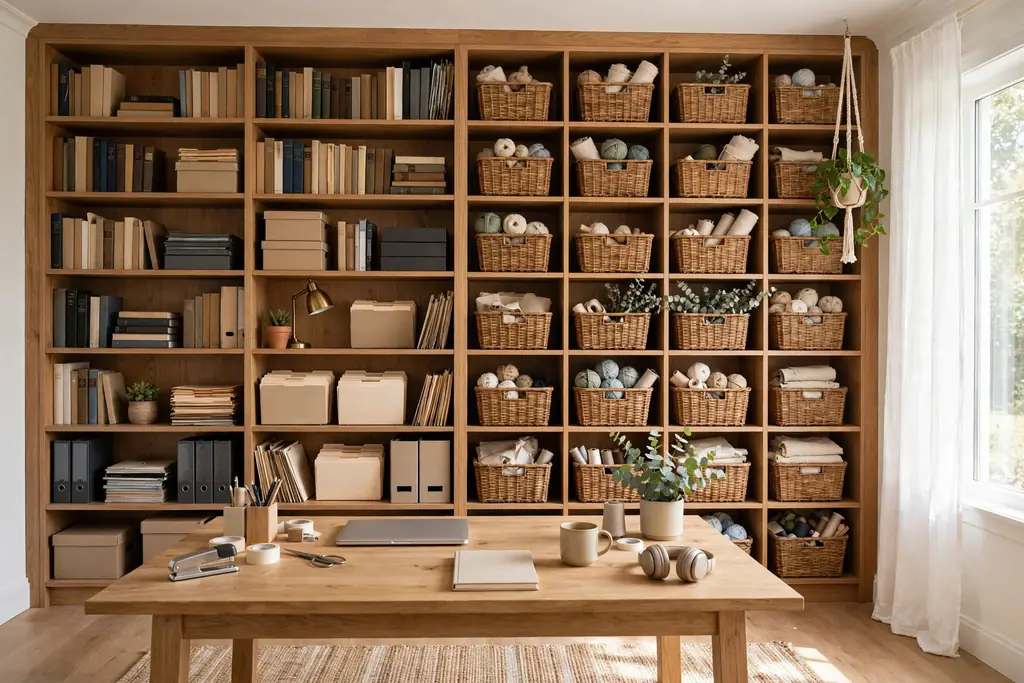
Fit a full-height storage wall, or a tall bookcase run, along one wall, with work shelves on one section and craft cubbies on another. The wall holds almost everything, so both desks stay clear, and the split between sections keeps the two jobs from mixing. This suits a room with one long blank wall and little closet space.
Put work files and books at desk height on the work section, and craft cubbies at standing height on the craft section, with bulk supplies up high. Label each cubby, and keep one cubby empty for a project in progress. For bedroom style storage that also works in a workroom, see bedroom storage ideas for baskets, bins, and shelf plans that fit a tall unit. Anchor tall units to the wall before loading them.
17. Fold-Away Wall Desk for Work Plus a Craft Armoire
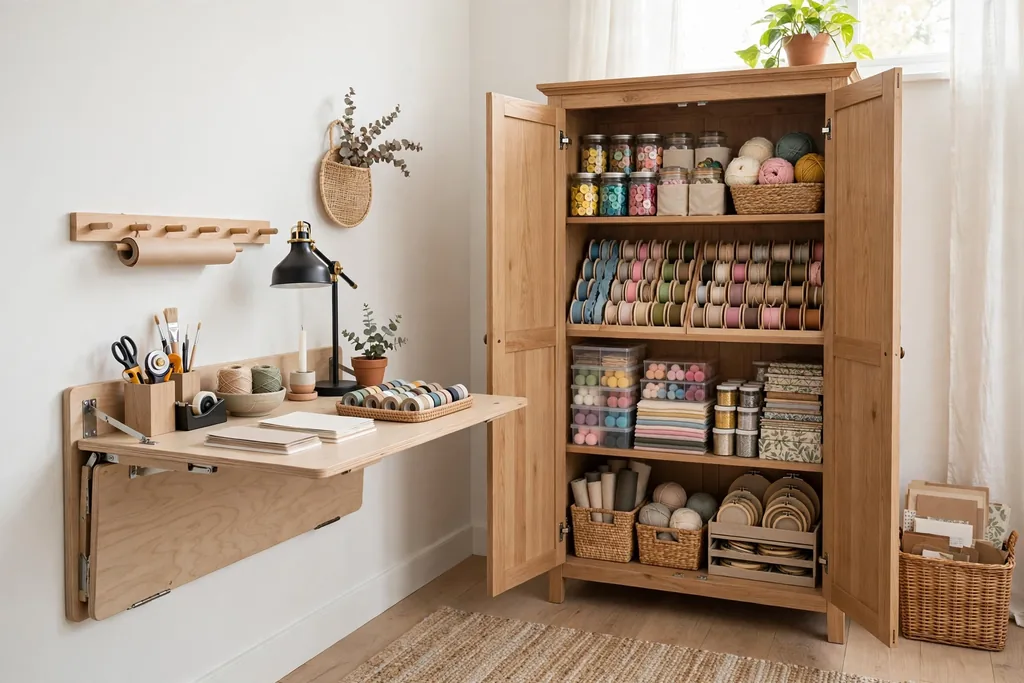
Mount a fold-away wall desk for work, and keep crafts in a tall armoire with doors that close over shelves, drawers, and a fold-out work surface inside. When the armoire doors close, the craft side vanishes, and when the wall desk folds up, the room becomes free floor again. This suits a spare room that must also host guests or exercise gear.
Keep the wall desk for light work only, such as a laptop and a notebook, since a fold-away desk suits less weight than a fixed desk. Inside the armoire, sort supplies by shelf, and keep the fold-out surface clear, so opening the armoire never means clearing a pile first. Test both folding parts fully loaded before relying on them daily, since a stiff hinge will discourage the routine.
18. Dedicated Sewing Corner Beside the Work Desk
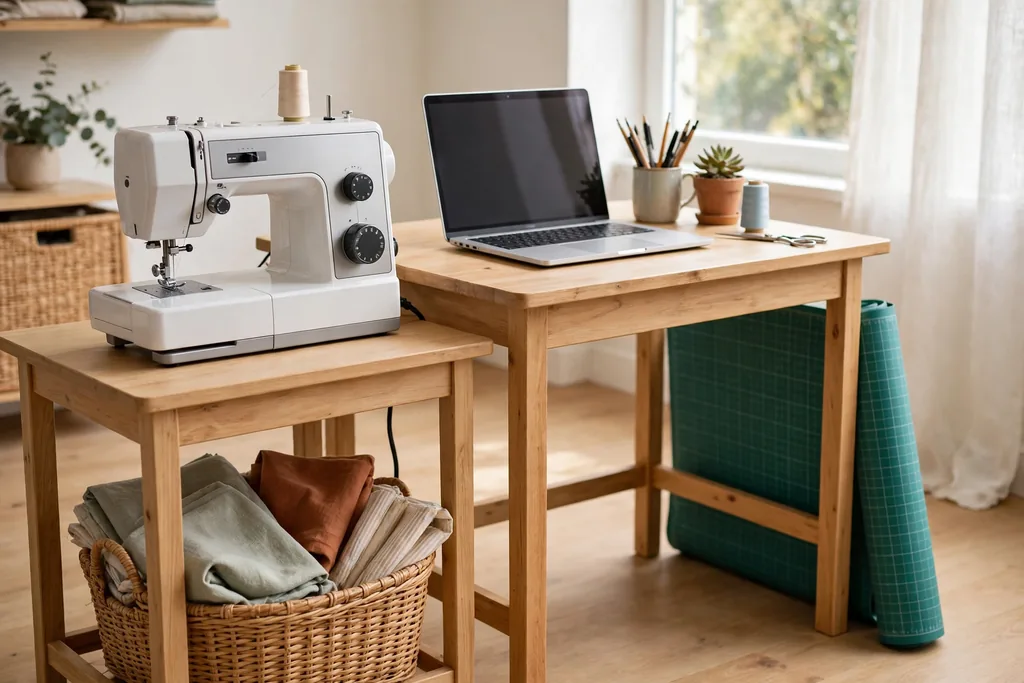
Set a sewing machine on its own small table beside the work desk, with a cutting mat that rolls away and a basket for fabric underneath. Sewing needs a stable surface and a little extra side room for fabric, so giving it a corner, rather than a share of the work desk, keeps both jobs usable. This suits makers who sew weekly and work daily in the same room.
Keep the sewing table at a height where your arms rest comfortably, and keep the iron or pressing mat on a separate heat-safe surface, never on the work desk. Store fabric in closed bins by color or project, so dust stays off it, and keep pins and needles in a lidded container. When sewing is done, roll the mat, close the basket lid, and the corner reads as tidy again.
19. Drying Rail and Display Shelf Above the Craft Zone
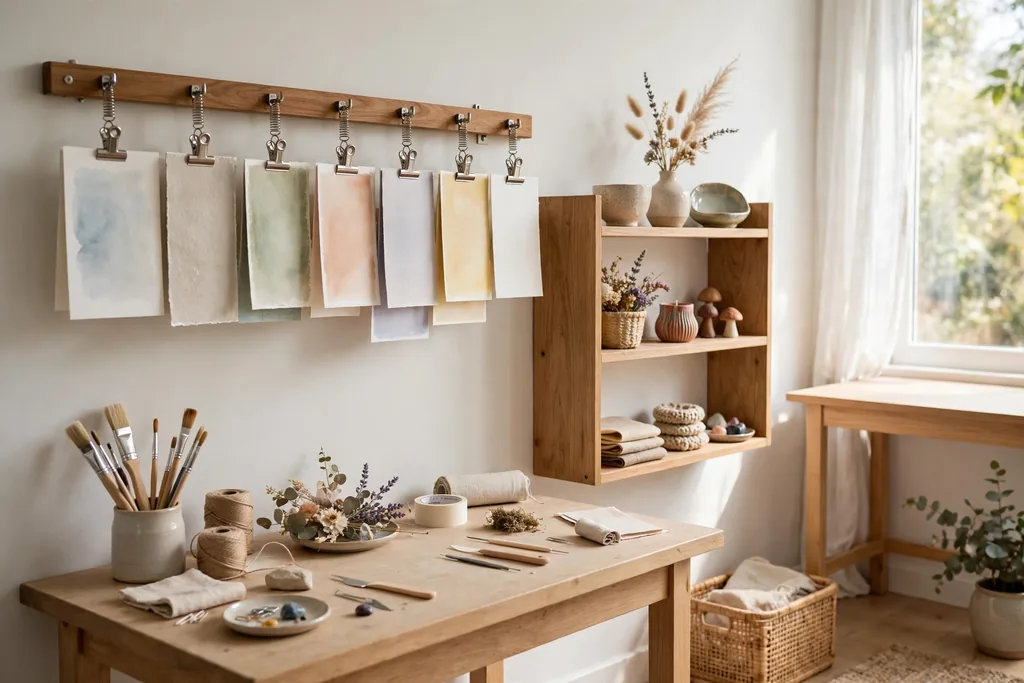
Fit a wall-mounted drying rail or a set of hooks above the craft zone, plus one display shelf for finished pieces, so wet or drying projects never sit on the work desk. Painted cards, printed sheets, and glued pieces can dry in the air while work continues below, and finished work gets a home instead of a pile.
Keep the rail away from the work screen and from direct sun, so drying pieces do not drip or fade onto work items. Use clips or pegs that hold pieces firmly, and put a washable mat or tray below the rail to catch drips. Rotate the display shelf often, keeping only recent favorites on show, and file older pieces in a flat box, so the shelf stays a display, not a second storage pile.
Conclusion
A shared office and craft room works when each job has its own surface, its own storage, and a clear switch-over step. Start with the layout that fits your room shape, add closed storage for the messiest supplies, and keep the work desk as the calmest surface in the room. Try one idea for a week, adjust the zones to match how you actually work and make, and the room will serve both jobs without either one taking over.
FAQs
How do you set up an office and craft room in one small room?
Give each job its own surface and its own storage, even if both are small, and use a switch-over routine to change the room between jobs. A fold-down table, a rolling cart, or a time-share bin system can make one small room serve both jobs without a second full desk.
What is the best layout for a shared office and craft room?
The best layout depends on the room shape: an L-shaped layout suits a square room, opposite walls suit a narrow room, and back-to-back desks suit a larger room. In every case, keep the work desk near good light, keep craft storage closed, and leave a clear walkway between zones.
How do you keep craft supplies from taking over a home office?
Store craft supplies in closed bins, cabinets, or a rolling cart, and keep only daily work items on the desk surface. Label each bin by craft type, keep one bin per project family, and return tools to their bin at the end of every craft session.
Can one desk work for both office work and crafts?
Yes, one desk can work if you swap setups by time of day, using a work bin and a craft bin that each hold everything that job needs. The swap only works if both bins have a fixed home off the desk, and if each session ends with tools returned to the bin.
What storage works best in a combined office and craft room?
Closed storage works best for crafts, since it hides many small items, while open shelves suit books and files used daily for work. Pegboards, labeled bins, cubbies, and a rolling cart cover most craft storage needs, and tall units use wall height that small rooms often waste.
How much space do you need for an office and craft room combo?
You can make a combo work in a spare bedroom or a large nook, as long as each job has a surface, a chair, and storage that does not block door swings or walkways. Measure the chair pull-out space and the table depths first, and choose slim or fold-away furniture if the room is tight.