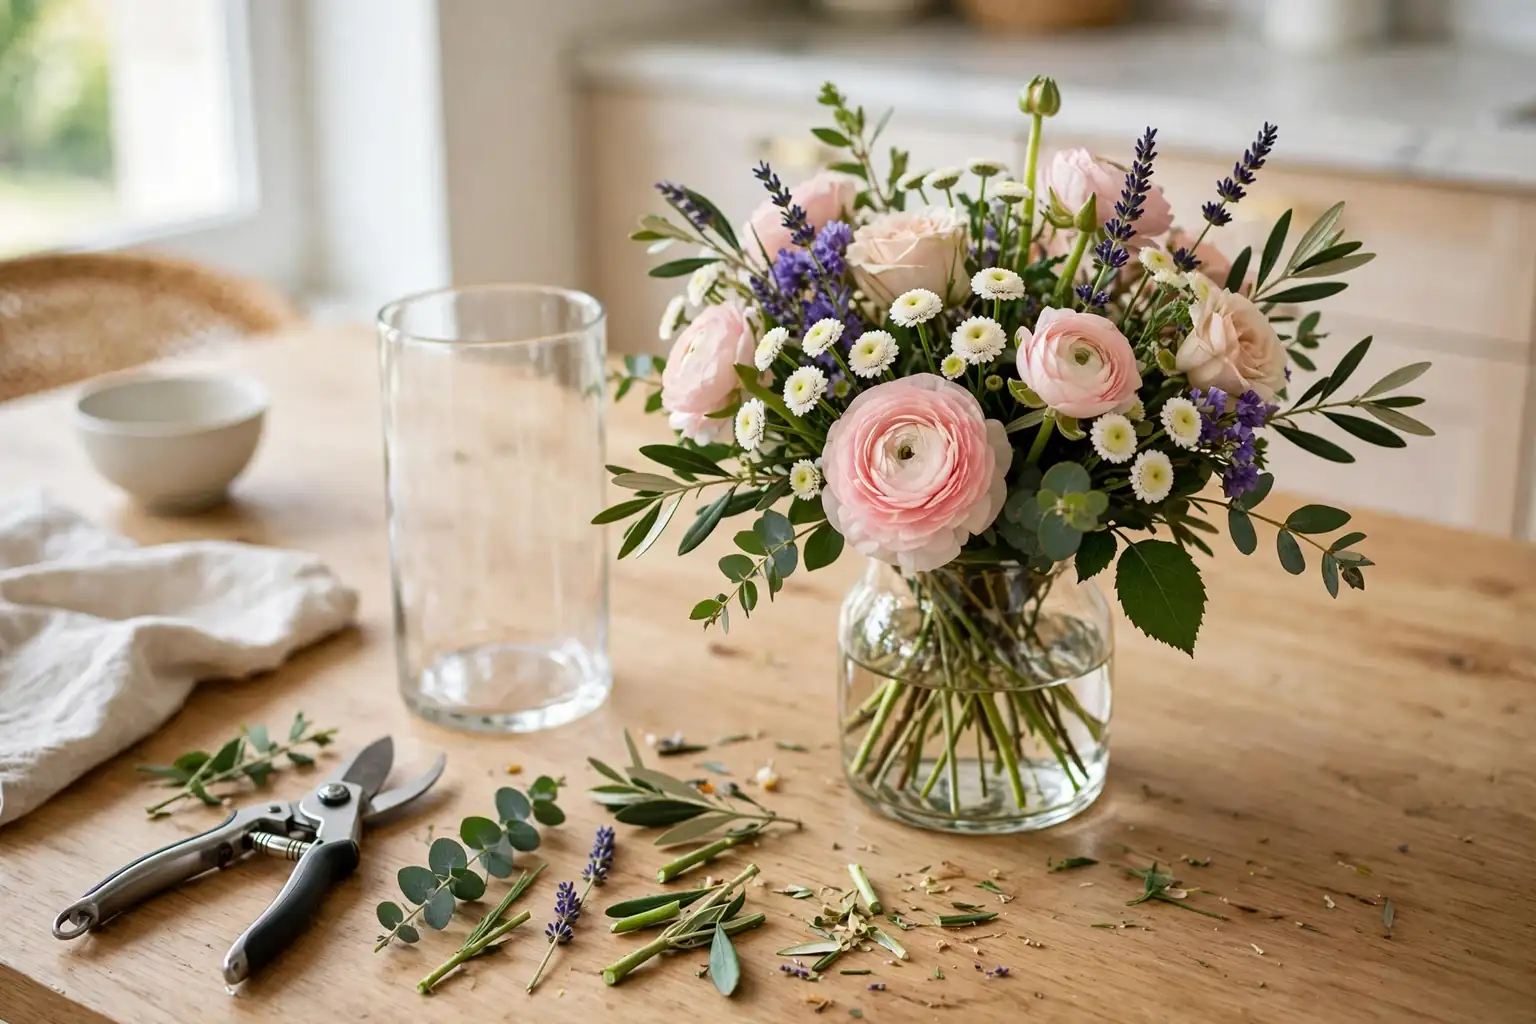
To put flowers in a vase, start with a clean vase filled with fresh water, trim the stems at an angle, remove leaves below the waterline, build a base of greenery, place large focal blooms first, add smaller flowers around them, fill gaps with filler stems, then turn the vase and adjust until the shape looks even from all sides.
That sequence is the whole method in one paragraph, and the steps below walk through it slowly so nothing is left to guess. A balanced display is not about rare flowers or a costly vase. It comes from clean water, stems cut to the right length, a greenery base that holds the shape, and a few minutes spent turning the vase and checking it from the side where people will see it. For seasonal arrangement ideas to try once you know the steps, see these fall flower arrangements and these Christmas vase styling ideas.
Key Takeaways
- Clean the vase and use fresh water before any stem goes in, since residue clouds water fast and shortens bloom life.
- Trim stems at an angle and remove every leaf that would sit below the waterline.
- Build a greenery base first, so later stems have something to rest against and the shape holds.
- Place large focal blooms first, then medium flowers, then filler stems to fill gaps.
- Keep the palette to two or three colors so a mixed bunch reads as one plan.
- Turn the vase often and check the shape from all sides, not only from the front.
- Keep dining table arrangements low and narrow enough to see across, and save tall displays for consoles and mantels.
- Change the water every two to three days and trim stem ends a little each time.
Materials and Supplies
- A clean vase suited to the bunch, with a mouth wide enough to hold the stems snug
- Fresh flowers: a few large focal blooms, several medium flowers, greenery stems, and filler stems
- Sharp scissors or stem snips, for clean angled cuts
- Fresh, cool water and a jug for topping up
- A small tray or mat, to protect the table while you work
- A clean cloth, for wiping the outside of the vase
- Flower food, if a packet came with the bouquet, used as directed on the packet
- Optional: clear floral tape, for a simple grid across a wide mouthed vase
1. Choose the Vase and the Spot First
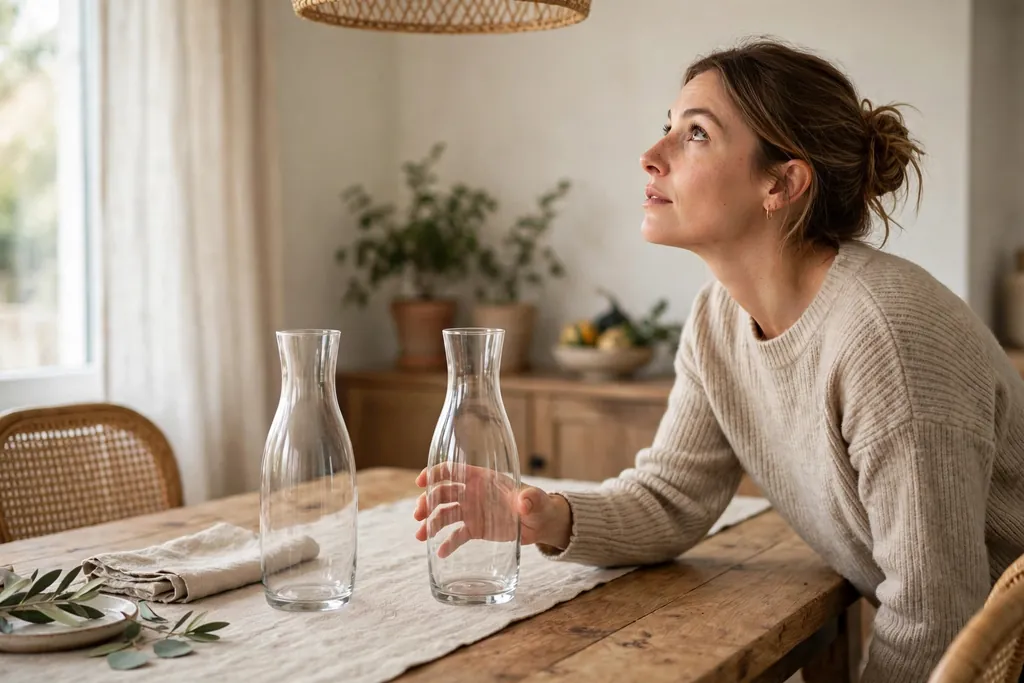
Pick the vase and the spot before you unwrap the flowers. A dining table needs a low, narrow arrangement so guests can see each other across it, while a console or a mantel can take more height. A side table or a windowsill suits a small vase with only a few stems. Measure the space above the spot as well, so tall stems do not press against a mirror, a shelf, or a light fitting.
Set the empty vase in its spot and look at it from the distance where people will see it. A vase that looks right up close can look lost from across a room, and a vase that looks full on a counter can crowd a small table. Check that the base sits level and that the vase is heavy enough for the bunch you plan to use, since a top heavy bunch in a light vase tips easily.
If the vase mouth is much wider than the bunch, plan a grid now rather than after the flowers are in. A simple grid of clear floral tape across the mouth, or a smaller jar of water set inside the vase, gathers the stems and keeps them from falling outward. This one check saves most of the adjusting later.
2. Gather and Sort the Flowers
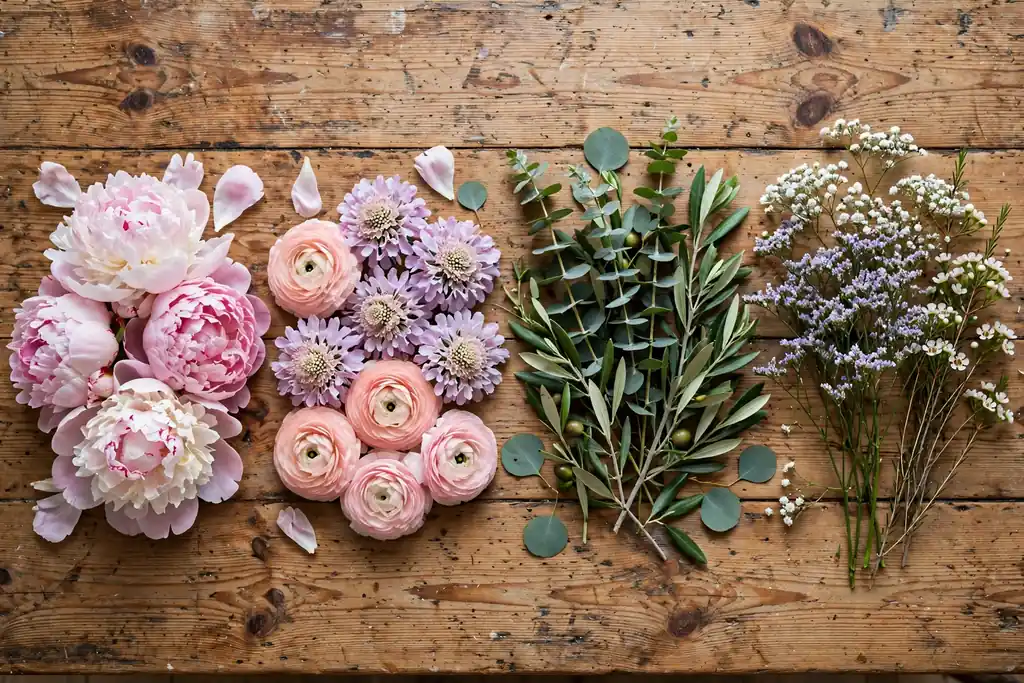
Unwrap the bunch gently and lay every stem on a clean table. Sort the stems into groups: large focal blooms, medium flowers, greenery, and small filler stems. Focal blooms are the largest, boldest flowers in the bunch, such as roses, dahlias, or sunflowers. Medium flowers support them, greenery gives shape, and filler stems such as berries or small buds fill the gaps between larger blooms.
Look at each stem before you cut anything. Set aside any stem that is broken, wilted, or badly bent, and keep spares in water in a cool spot in case a stem fades later. Note which stems are longest and which are shortest, since length decides where each stem will sit in the vase. A quick sort now keeps you from hunting through a pile with wet hands later.
Keep the palette in mind as you sort. If the bunch holds many colors, pick two or three to lead and use the rest sparingly, or the display can look busy. One shared color across the focal blooms, or one repeated greenery tone, is often enough to pull a mixed bunch together.
3. Clean the Vase and Fill It With Fresh Water
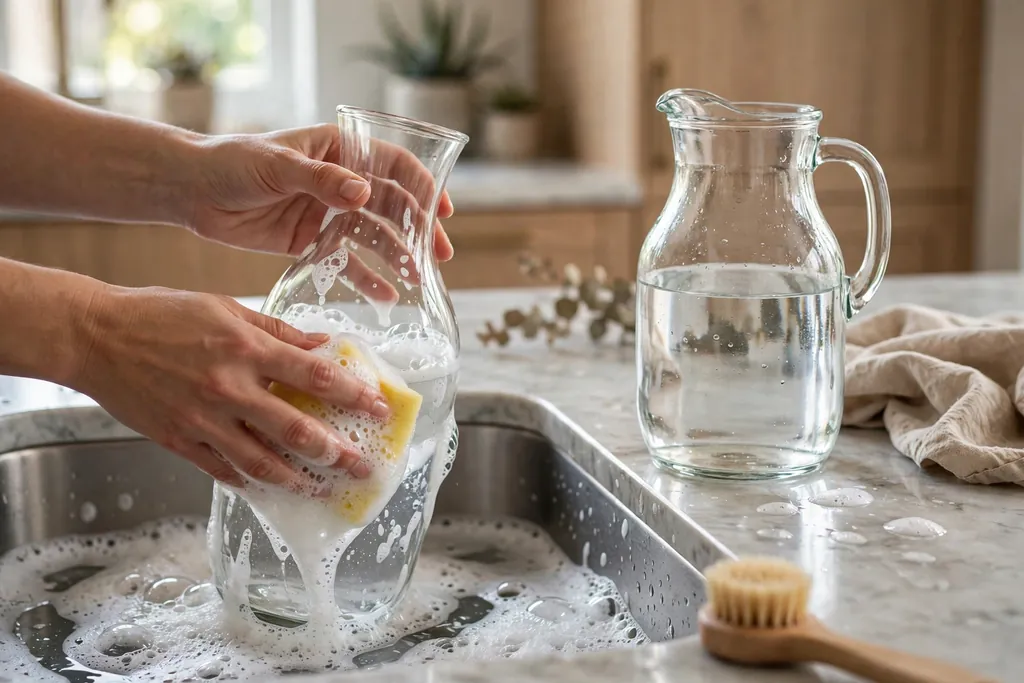
Wash the vase with warm soapy water, rinse it well, and dry the outside. Residue from a past arrangement clouds fresh water fast and can shorten bloom life, so a clean vase is worth the minute it takes. For a narrow necked vase, a bottle brush reaches the inside, and a soak in warm soapy water loosens residue that a cloth cannot reach.
Fill the vase about two thirds full with fresh, cool water. That level gives most stems enough water without forcing you to remove a large number of leaves, and it leaves room to top up later without spilling. If a flower food packet came with the bouquet, mix it in as directed on the packet and stir until it dissolves.
Check the vase for chips and cracks before you fill it, especially around the rim and the base. A chipped rim can cut stems and hands, and a cracked base can leak onto a table. Set the filled vase on a tray or mat while you work, so drips stay off wood and linen.
4. Remove Leaves Below the Waterline
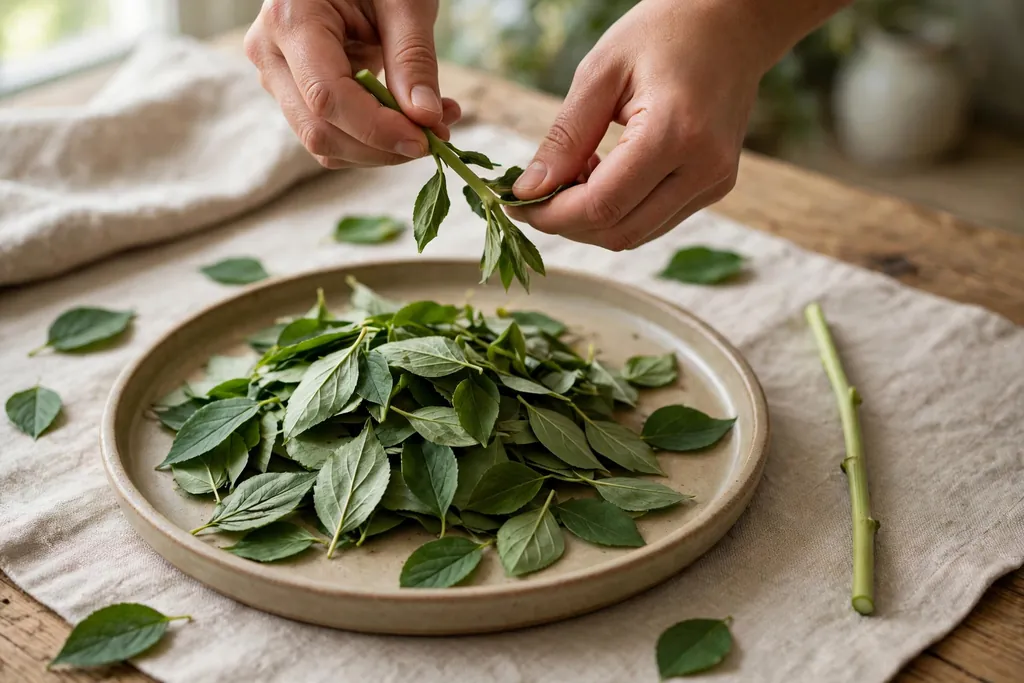
Strip every leaf that would sit below the waterline, one stem at a time. Leaves in water break down fast, cloud the water, and can cause stems to soften sooner. Pull leaves off by hand where they come away cleanly, or snip them off close to the stem where they resist.
Leave the leaves on the upper part of each stem in place. Upper leaves add fullness and help the arrangement look like a gathered bunch rather than bare stems with blooms on top. If a stem is very leafy near the top, thin out only the leaves that cross over a bloom or block the shape you want.
Work over a bin or a tray so stripped leaves do not pile up on the table. This step takes only a few minutes for a standard bunch, and it makes the largest single difference to how long the water stays clear and how long the flowers last.
5. Trim the Stems at an Angle
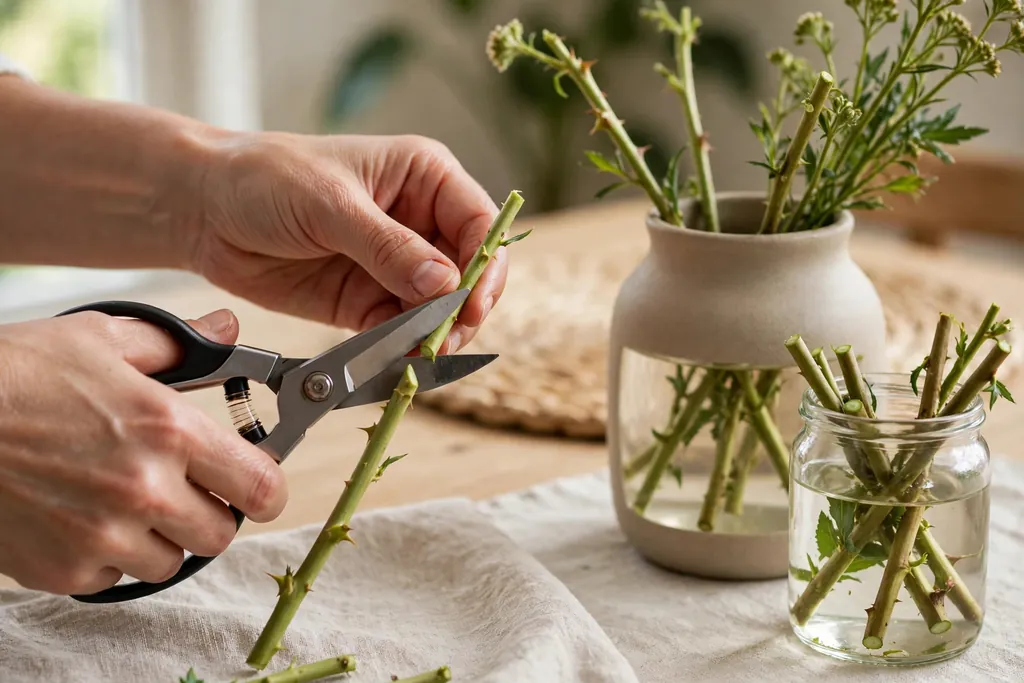
Trim each stem at an angle with sharp scissors or stem snips, cutting about one to two inches off the end, or more if the stem is too long for the vase. An angled cut gives the stem end more surface to take up water than a flat cut, and a sharp tool leaves a clean cut that drinks better than a crushed end from dull scissors.
Trim one stem, hold it beside the vase, and check the length before you cut the rest. The bloom should rise clearly above the rim, with enough stem inside the vase to keep the bunch steady. If the blooms barely clear the rim, the stems are too long for that vase, or the vase is too tall for that bunch, and trimming more will not fix a poor match.
Cut stems one at a time as you place them, rather than cutting the whole bunch to one length at the start. Stems placed at the back or the center often need to stay longer than stems at the front or the edges, and cutting as you go lets you set each height by eye. Drop each trimmed stem into the water at once, so cut ends do not dry out while you work.
6. Build a Greenery Base
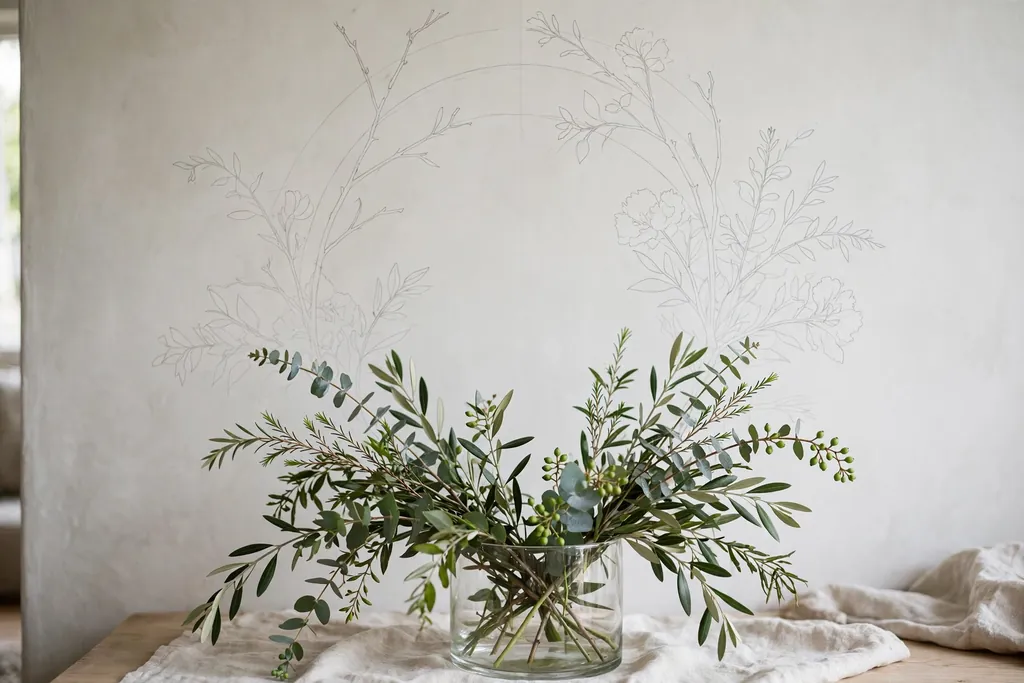
Start the arrangement with greenery, not with blooms. Place greenery stems around the rim first, angling them outward a little, then add a few taller greenery stems near the center. The greenery forms a loose frame that shows the outer shape of the finished display and gives later stems something to rest against.
Cross the greenery stems lightly inside the vase so they lock together and hold the shape. In a wide mouthed vase, the tape grid or inner jar from step 1 does the same job. The base should look full but not dense, since blooms still need room to sit between the leaves.
Step back and look at the greenery shape before you add any flowers. It should read as a rounded or gently domed outline, with no wide bare gap on one side. Add one more greenery stem where a gap shows, and pull back any stem that sticks far past the rest. A sound base makes the flower steps much easier.
7. Place the Focal Blooms First
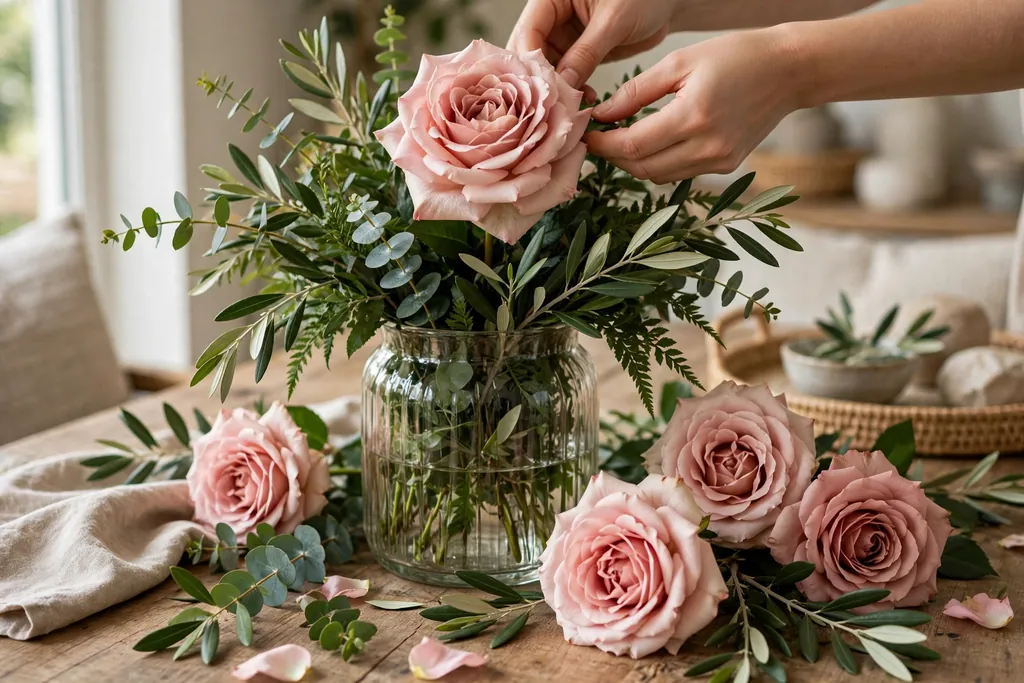
Place the large focal blooms next, since they set the focus of the whole display. Put the first focal bloom near the center or slightly off center, at the tallest height you want for the arrangement. Then place the remaining focal blooms around it in a loose triangle or an uneven group, at slightly varied heights, so the eye moves across the display instead of landing on one flat row.
Turn the vase a quarter turn after every two or three focal blooms, and check the shape from the new side. Focal blooms placed only from the front leave the back thin, and a display seen from all sides needs focal blooms on all sides. Keep at least a small gap between focal blooms, since the medium flowers and filler stems will fill those gaps later.
Resist the urge to pack focal blooms together in the center. A display with one clear group of large blooms and open space around them reads calmer and more planned than a tight ball of large blooms with no room to breathe. If a focal bloom faces the wrong way, turn the stem in the vase rather than bending the neck of the flower.
8. Add Medium Flowers Around the Focal Blooms
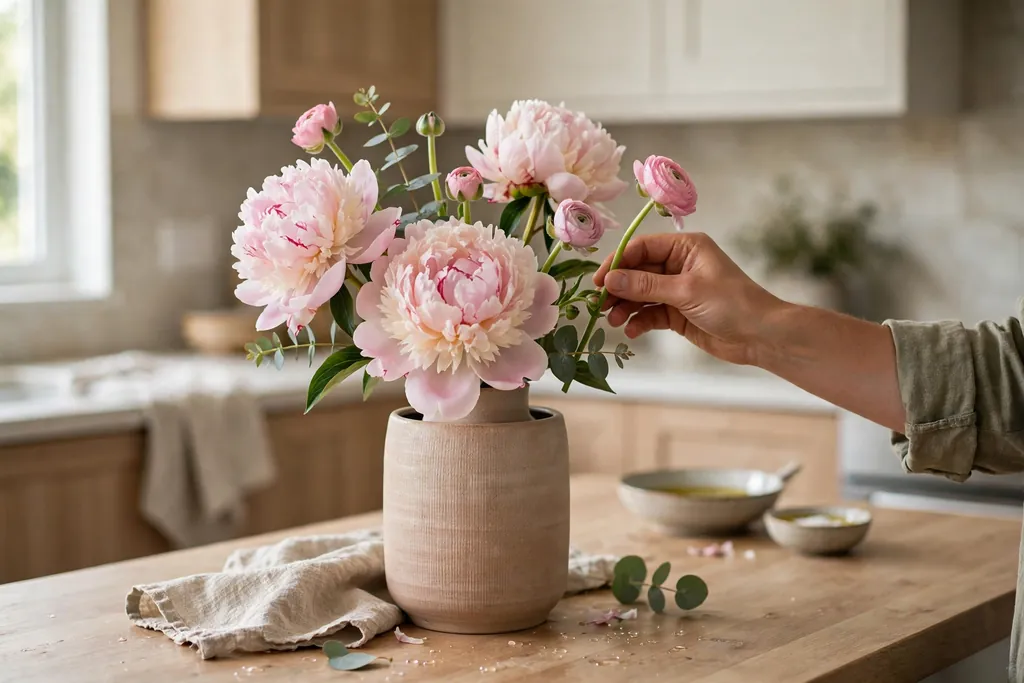
Add medium flowers next, placing them between and slightly below the focal blooms. These flowers link the large blooms together and set the middle layer of the display. Angle them outward a little more than the focal blooms, so the shape widens gently from the top toward the rim.
Vary the heights of the medium flowers rather than setting them all at one level. A few stems a little taller and a few a little shorter give the display depth, and the varied heights keep it from looking like a flat hedge. Place medium flowers on all sides as you go, turning the vase often, so no side ends up thin while another side looks crowded.
Check the color balance as you add this layer. If one color clusters on one side, move a stem or two to the opposite side to spread it around. A repeated color on at least two sides of the vase keeps the display from looking lopsided, even when the flower types differ from side to side.
9. Fill Gaps With Filler Stems
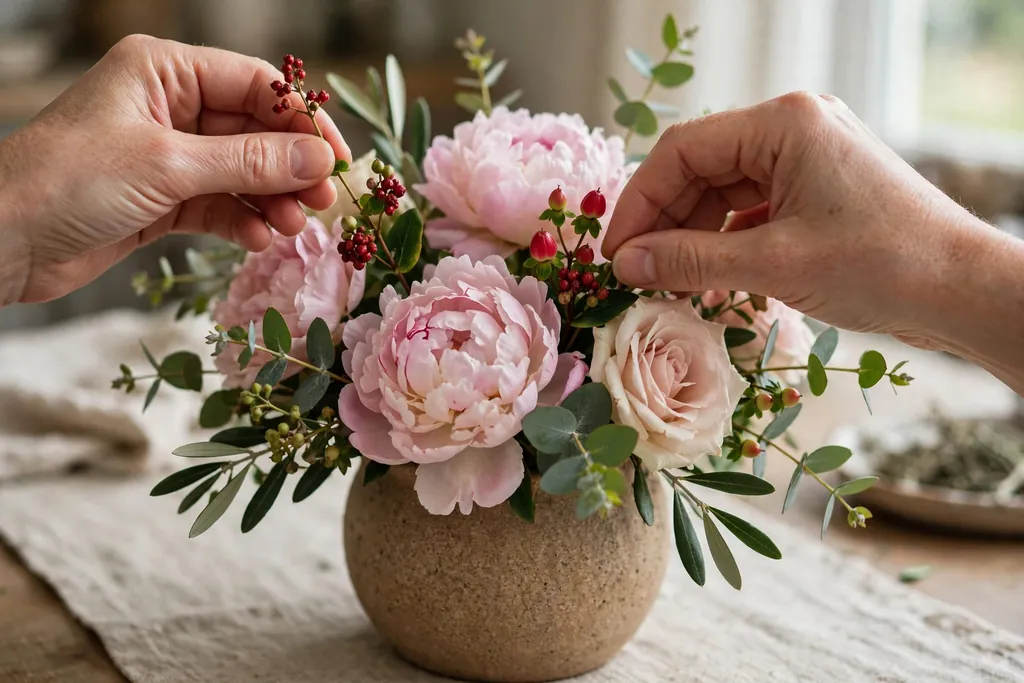
Fill the remaining gaps with small filler stems, such as berries, small buds, or airy sprigs. Tuck filler stems into bare spots between larger blooms, letting a few rise a little above the main shape and a few sit lower near the rim. Filler stems soften hard edges between blooms and make the display look gathered rather than assembled in rows.
Use filler stems sparingly at first, then add more where gaps still show. It is easy to add one more sprig, and much harder to pull a stem out of a finished display without disturbing the stems around it. Let a few filler stems lean outward past the rim, since that loose edge keeps the display from looking stiff.
Step back and look for three things: a gap that shows the vase mouth or bare stems, a spot where two large blooms crowd each other, and a side that looks thinner than the rest. A single filler stem in the right gap often fixes all three at once. If a gap is wide, a medium flower moved from a crowded spot fills it better than a thin filler stem.
10. Shape the Outline and Check the Balance
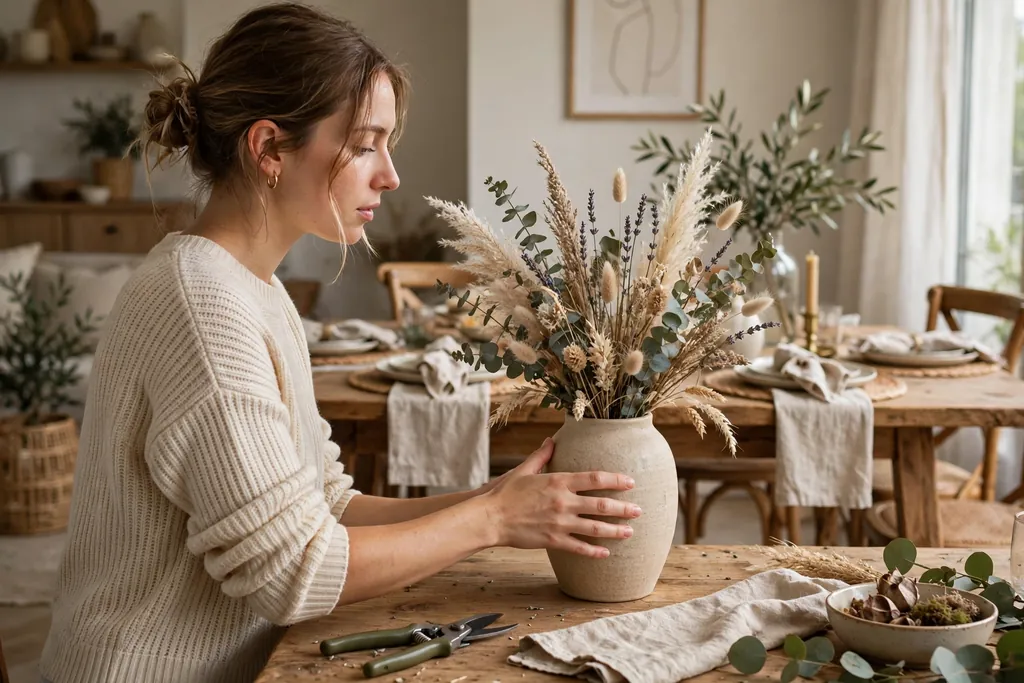
Shape the outline by looking at the display as one shape, not as separate flowers. A rounded, gently domed outline suits most tables, while a taller, looser outline suits a console or an entryway. Trim any stem that sticks far past the outline, and add a stem where the outline dips inward.
Check the balance from the front, from both sides, and from above. One side often looks heavier than the other, usually because most of the large blooms ended up on the side you faced while arranging. Turn the vase, shift one or two stems to the thin side, and check again. Balance does not mean perfect symmetry, it means no side looks empty and no side looks overloaded.
Also check the height against the spot. A dining table display should stay low enough to see across when seated, and a mantel display should leave clear space below a mirror or artwork above it. Trim the tallest stems down a little if the display crowds the space above it, rather than moving the whole vase to a spot where it does not belong.
11. Set the Height and Width for the Table
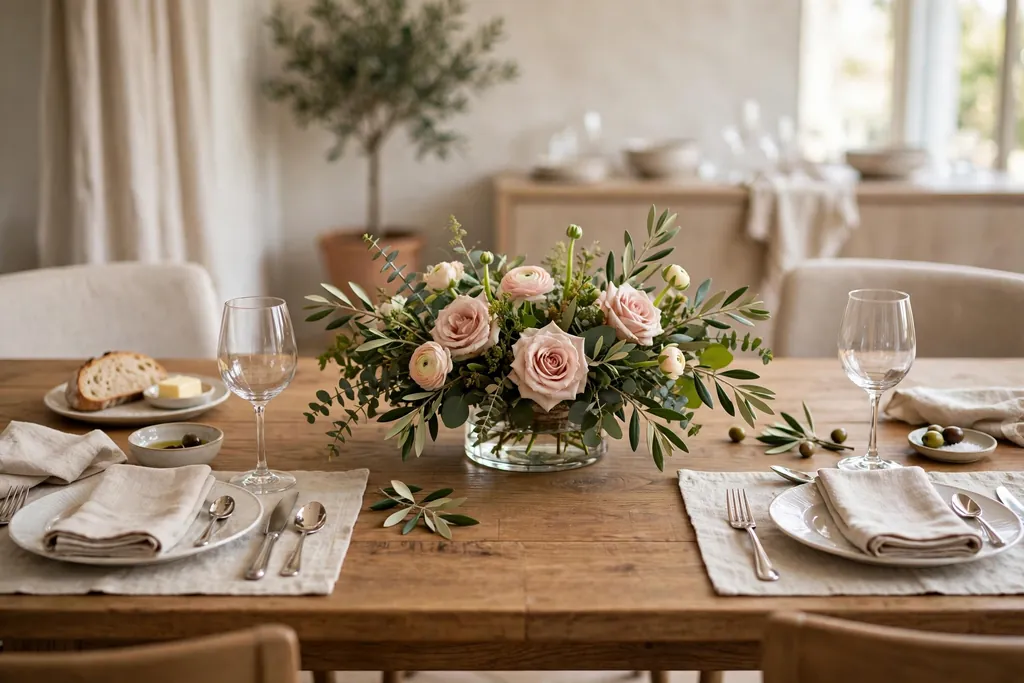
Set the final height and width with the table in mind. On a dining table, the display should leave clear room at each place for plates and glasses, and guests should be able to see each other across it without leaning around flowers. A low bowl, a small vase, or a trio of small vases often works better on a dining table than one tall, wide vase.
On a coffee table or a side table, the display can go a little wider, since no one sits across it to talk. Keep it narrow enough that it does not crowd books, cups, or a lamp on the same surface. On a console or a mantel, height is welcome, as long as the total height leaves clear space above and the base sits well back from the edge.
Test the display in its spot before you call it done. Sit at the dining table and check sightlines, stand at the room door and check the console display from there, and walk past the side table to check that the vase cannot be bumped easily. A display that works in its spot matters more than one that looks good only on a work counter.
12. Adjust Stem Lengths and Spacing
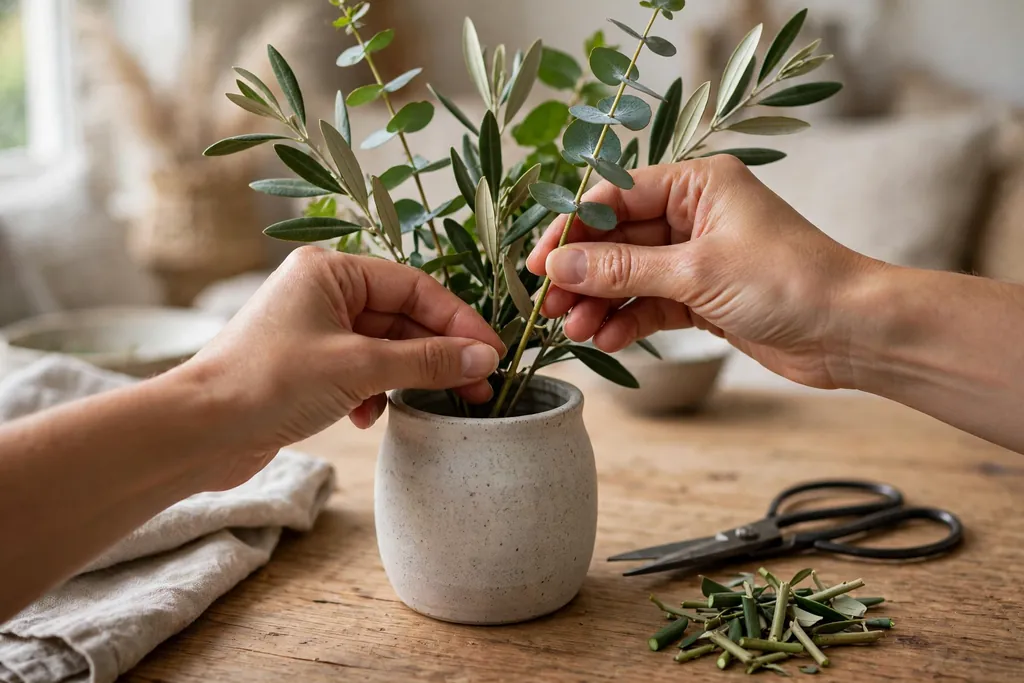
Make a final pass on stem lengths and spacing, one stem at a time. Pull a stem out, trim a little more if it sits too high, and return it to the same spot. Push a stem a little deeper if it floats above the shape, and pull a stem out a little if it sinks below its neighbors. Small changes at this stage have a large effect, since the shape is nearly set.
Space the stems so air can move between them and each bloom can be seen. Stems packed tight trap moisture and hide smaller blooms, while stems spaced too far apart let the display fall apart. Aim for blooms that touch lightly or sit close together, with greenery and filler stems bridging the space between them.
If a stem will not stay where you put it, the problem is usually the base, not the stem. Add one more greenery stem crossed against it inside the vase, tighten the tape grid, or move the stem to a spot where neighboring stems hold it. A stem that needs constant adjusting will keep moving after you walk away, so fix the support now.
13. Top Up the Water and Clean the Vase Outside
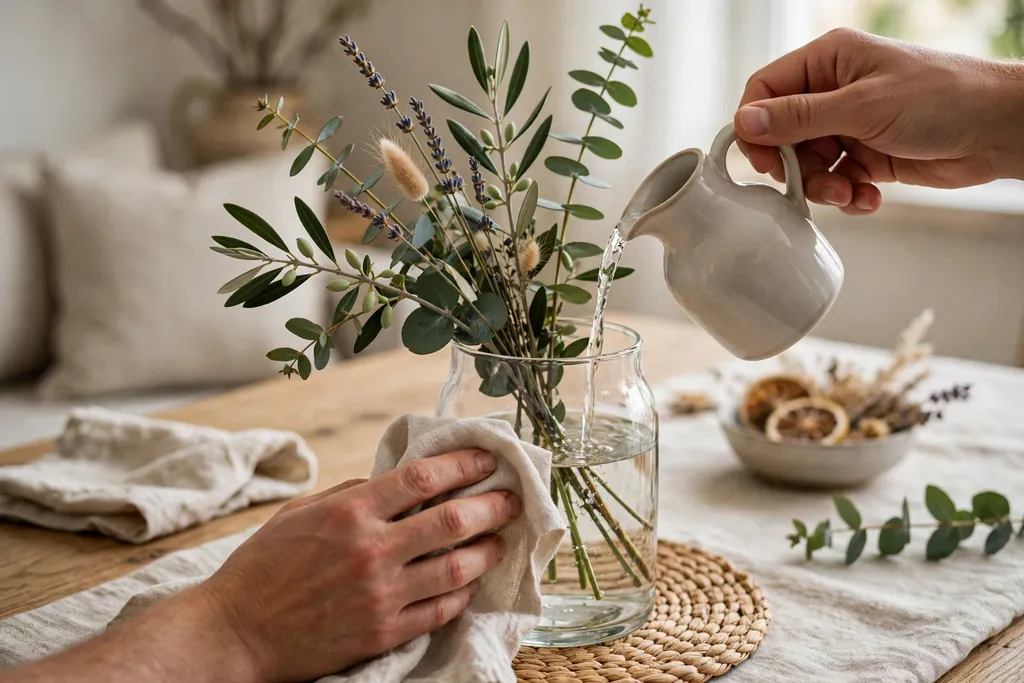
Top up the water to the level you set in step 3, since arranging always splashes a little out and stems drink as you work. Check that every stem end sits under water, and add flower food only as directed on the packet if you have not already mixed it in. Wipe the outside of the vase with a clean cloth, and wipe the table under it, so drips do not mark wood or linen.
Remove any petal, leaf, or bit of stem that fell into the water or onto the table. Debris in the water clouds it fast, and debris on the table makes a fresh display look untidy. Set the vase on a small tray or mat if the table marks easily, especially under ceramic, metal, or terracotta vases that can leave a ring when wet.
Take one last look at the display in its spot, from the side where people will see it most. A clean vase, clear water, and a tidy surface around it are part of the display, and they cost nothing beyond a minute of wiping.
14. Place the Display and Keep It Looking Fresh
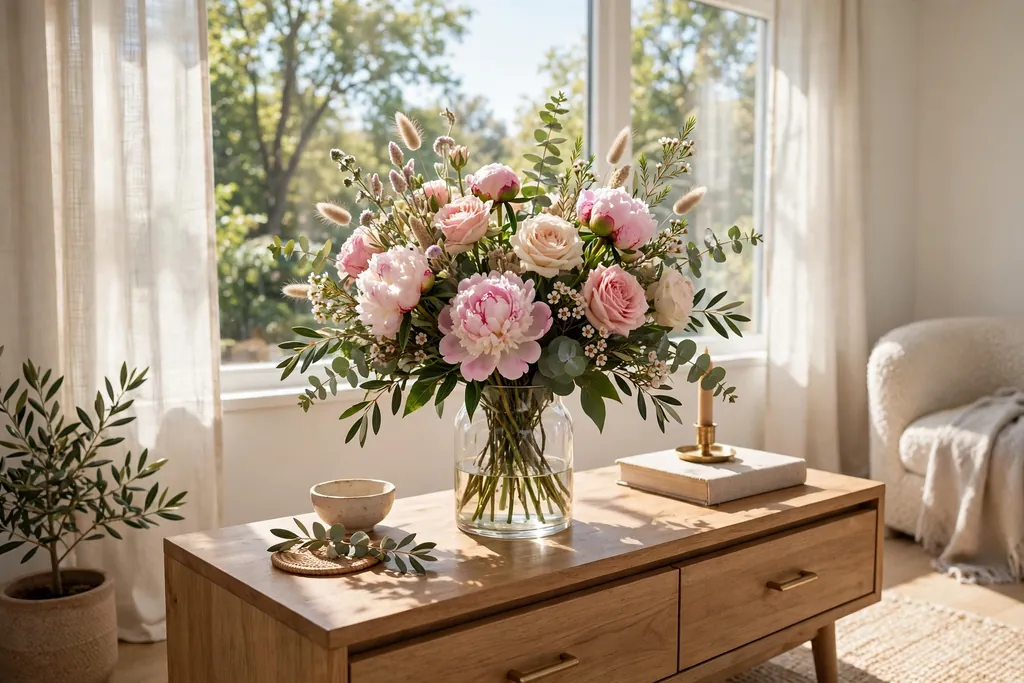
Place the finished display in its spot and leave it for an hour, then check it once more. Fresh stems settle as they drink, and a shape that looked full at first can open out or lean as stems relax. Trim any stem that droops below the line you want, add a filler stem where a gap appears, and top up the water before guests arrive.
Keep fresh displays out of direct sun and away from heat vents and ripening fruit, since heat and sun shorten bloom life. Change the water every two to three days, trimming a little off the stem ends each time, and remove spent blooms promptly so they do not stain nearby petals. Small vases run dry fast, so check their water level daily.
For a longer lasting version of the same display, swap faded stems for fresh ones and keep the greenery base, which often lasts longer than the blooms. For table styling that pairs with a finished vase display, see these Thanksgiving flower arrangements. When the last blooms fade, wash the vase, dry it fully, and store it clean, so the next bunch starts from a clean vase and fresh water.
Conclusion
Putting flowers in a vase comes down to a steady order: a clean vase and fresh water, stems trimmed at an angle with leaves below the waterline removed, a greenery base that holds the shape, focal blooms placed first, medium flowers and filler stems filling around them, and a final check from all sides in the spot where the display will live. Keep the palette to two or three colors, keep table displays low enough to see across, and change the water every few days with a small trim each time. With that routine, a simple bunch from a shop or a garden looks planned, stays upright, and lasts as well as the stems allow.
FAQs
How do you put flowers in a vase so they stay upright?
Put flowers in a vase so they stay upright by building a greenery base first, using a vase mouth that holds the bunch snug, and crossing stems lightly inside the vase so they lock together. A tape grid across a wide mouth, or a smaller jar of water inside the vase, also gathers the stems. Choose a vase heavy enough for the bunch, and check that the base sits level in its spot.
Should I cut flower stems before putting them in a vase?
Yes, trim flower stems at an angle with sharp scissors or stem snips before putting them in a vase, cutting about one to two inches off each end. An angled cut gives the stem more surface to take up water, and a sharp cut drinks better than a crushed end. Drop each trimmed stem into water at once, and trim a little more each time you change the water.
How much water should I put in a vase for flowers?
Fill the vase about two thirds full with fresh, cool water, so most stem ends sit well under water without forcing you to strip a large number of leaves. Check that every stem end stays under water after arranging, and top up the level as stems drink. Change the water every two to three days rather than only topping it up, since fresh water keeps stems firm longer.
What order should I put flowers in a vase?
Put greenery in first to form a base, then large focal blooms, then medium flowers, then small filler stems to fill gaps. Greenery shows the outer shape and holds later stems, focal blooms set the focus, medium flowers link the large blooms together, and filler stems soften edges and fill bare spots. Turn the vase often so every side gets flowers, not only the front.
How do I make a vase arrangement look balanced?
Make a vase arrangement look balanced by placing focal blooms at varied heights, spreading each color to at least two sides of the vase, and checking the shape from the front, both sides, and above. Trim any stem that sticks far past the outline, add a stem where the outline dips inward, and shift one or two stems to any side that looks thin. Balance means no side looks empty and no side looks overloaded, not perfect symmetry.
How long do flowers last in a vase?
Flowers in a vase usually last several days to about two weeks, depending on the flower type, the freshness of the bunch, and the care it gets. Clean water changed every two to three days, stem ends trimmed a little each time, leaves kept out of the water, and a cool spot away from direct sun and heat all help blooms last longer. Remove spent blooms promptly, and check small vases daily since they run dry fast.