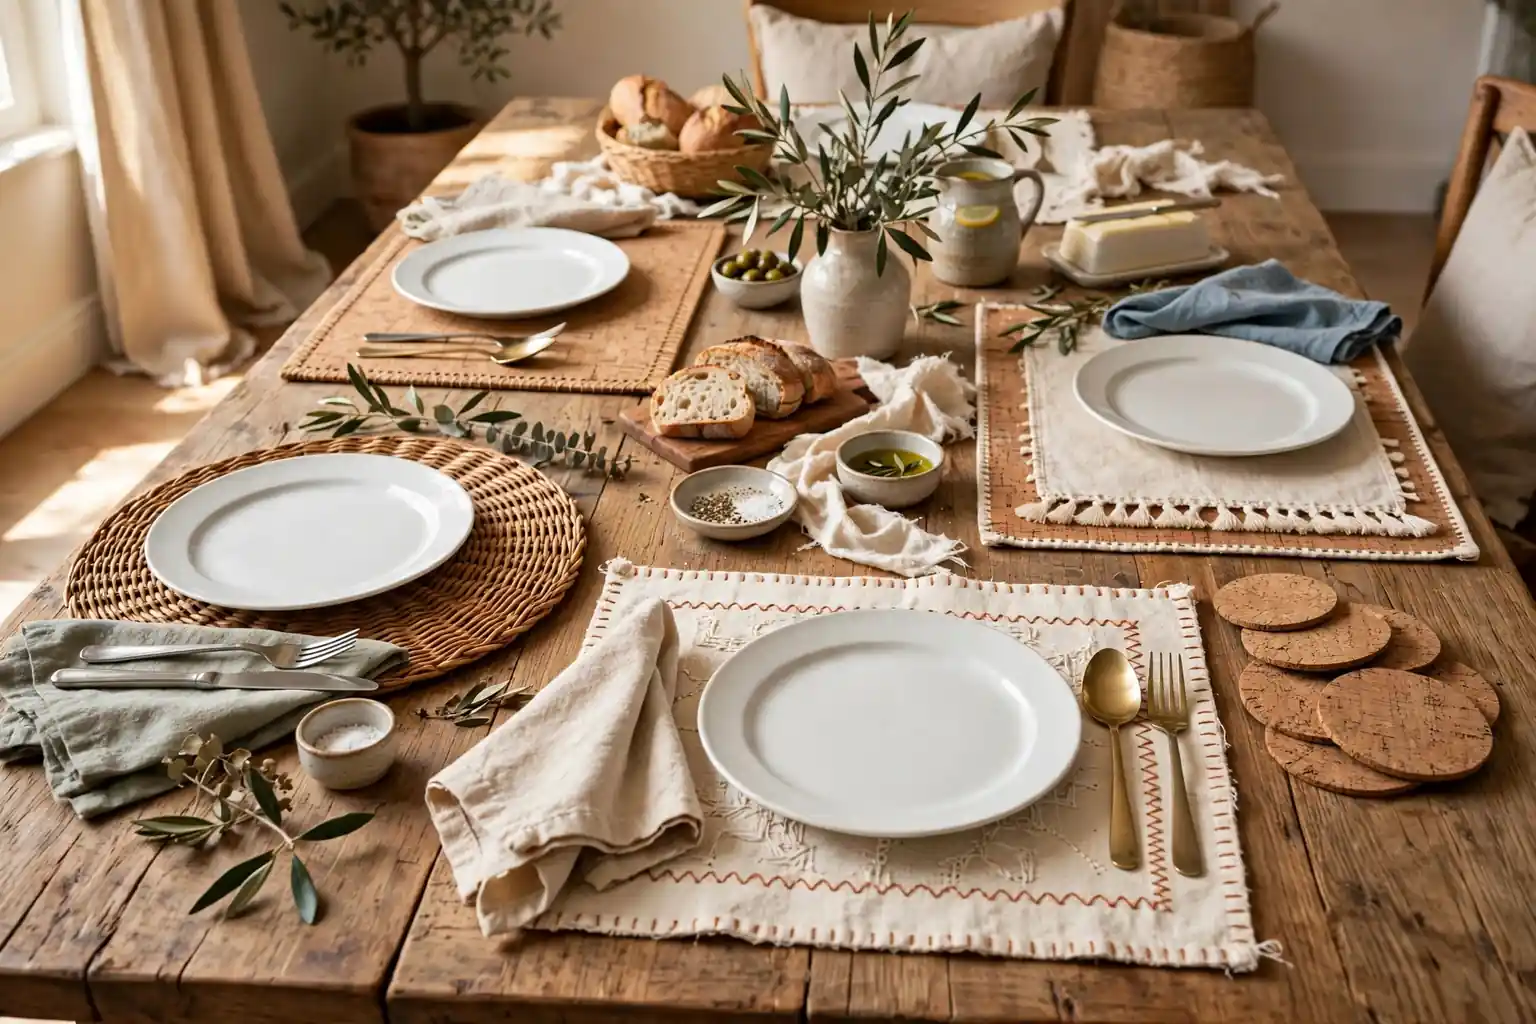
To make DIY placemats, pick a material that suits your table, cut it to about 12 by 18 inches, finish the edges, and use the same size at every place. Fabric, cork, rope, leather, and paper all work, and most projects need only basic tools and one test piece before you make a full set.
A placemat frames each plate, protects the table, and sets the color story for the whole setting, so it is one of the easiest ways to change how a dining table looks. You do not need a new dinner set or a full room refresh to get a different feel at dinner. Start with the table you already own, the plates you use most, and one material you enjoy working with, then make one test placemat before you cut fabric or board for a full set. The 17 ideas below cover sewn, no-sew, woven, printed, and upcycled projects, so you can pick a weekend project or a quick evening make. For seasonal table styling, see the fall table decor ideas and spring tablescapes on Dwell Ovell.
Key Takeaways
- Measure your largest dinner plate first, then choose a placemat at least 2 inches wider than the plate on each side, so cutlery and a glass fit without crowding the next place.
- Make one test placemat before a full set, and check that it lies flat, holds a plate steady, and washes or wipes clean the way you need it to.
- Match the material to the meal: washable cotton and oilcloth suit everyday family meals, while linen, leather, and embroidered styles suit slower, special dinners.
- Pair a patterned placemat with plain plates, and a plain placemat with patterned or colored dishes, so one layer leads at each place.
- Repeat one color or texture from the placemats in one other detail, such as napkins or a centerpiece, so the table looks planned rather than crowded.
- Store placemats flat or rolled, never folded hard across a printed, painted, or stitched design, so they keep their shape for the next meal.
1. Simple Sewn Cotton Placemats with Mitered Corners
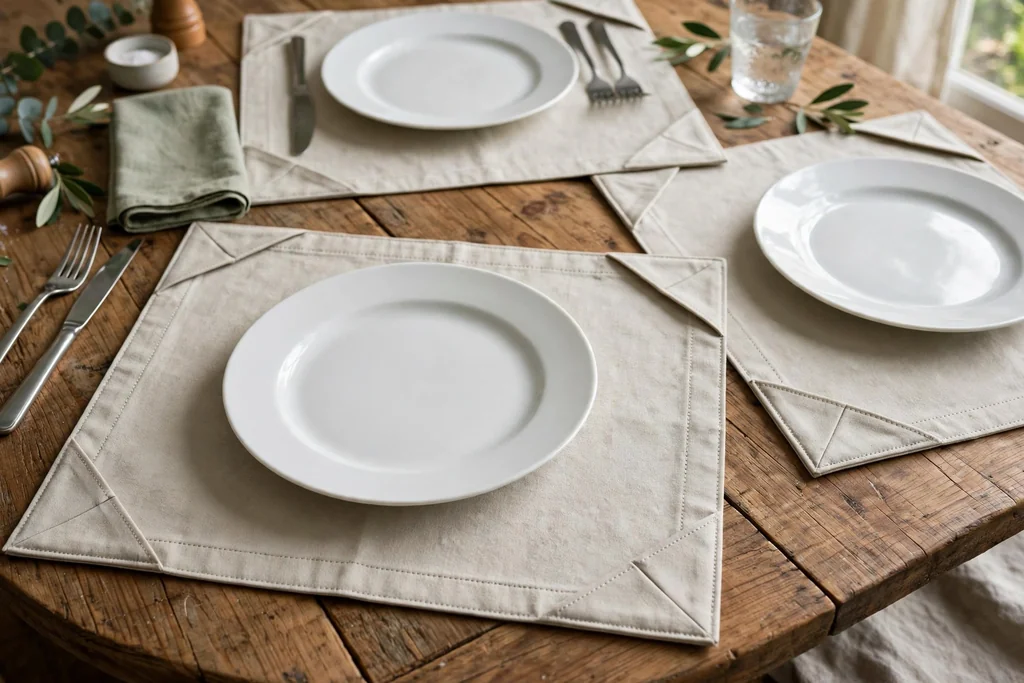
Cut cotton fabric into rectangles of about 12 by 18 inches, with a matching backing piece for each one, and sew around the edges with a mitered corner so each corner lies flat and square. Press the seams as you go, turn the placemat right side out through a small gap, and topstitch close to the edge to close the gap and add a neat finish. A plain cotton or a small print both work, and a solid backing keeps the placemat from looking unfinished when it shifts on the table.
This is a good first sewing project because the shape is simple and mistakes are easy to fix before you sew a full set. Wash and press the fabric before cutting, since cotton can shrink, and cut all pieces at the same time so the set matches. Use the same thread color throughout, and test the topstitch on a scrap piece first, so the stitch length looks even on the finished placemats.
2. No-Sew Fabric Placemats with Iron-On Hem Tape
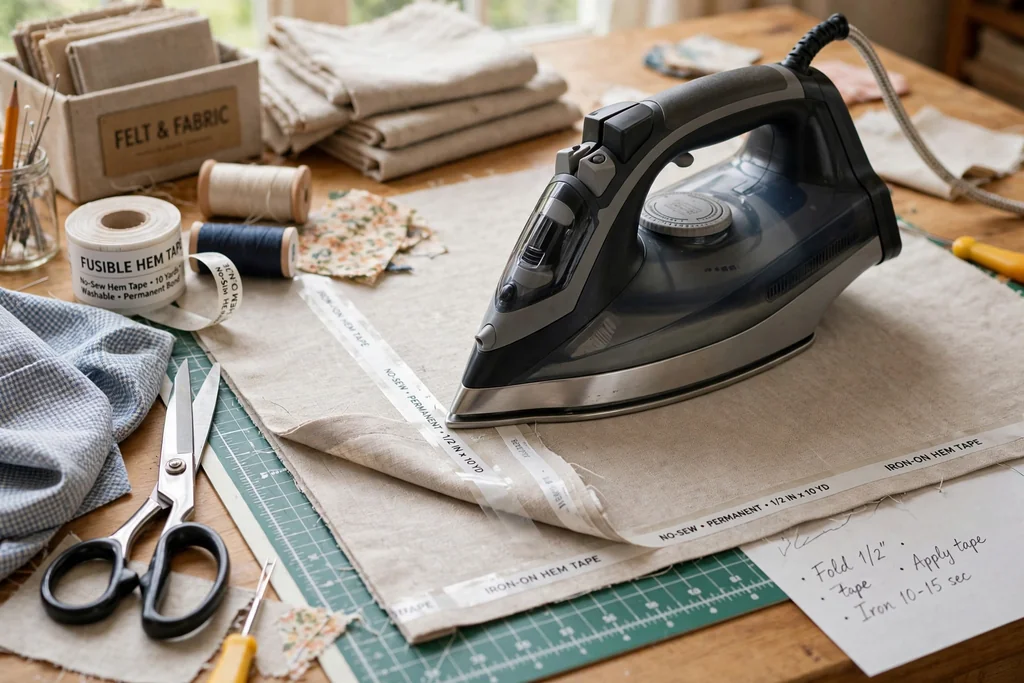
Lay a rectangle of cotton or linen face down, fold each edge in twice to hide the raw edge, and press iron-on hem tape inside each fold to hold it in place. Work one edge at a time, following the heat and time guidance on the hem tape pack, and let each edge cool before you move the placemat, so the bond sets fully. A firm press with the iron matters more than speed, and a pressing cloth protects delicate fabric from shine marks.
No-sew placemats suit a renter, a quick refresh before guests arrive, or anyone who does not own a sewing machine. Choose a medium weight fabric that holds a fold, since very thin fabric can ripple and very heavy fabric can resist the tape. Wash these placemats gently and check the hems after the first wash, since a loose corner can be re-pressed before it becomes a larger problem.
3. Quilted Patchwork Placemats from Fabric Scraps
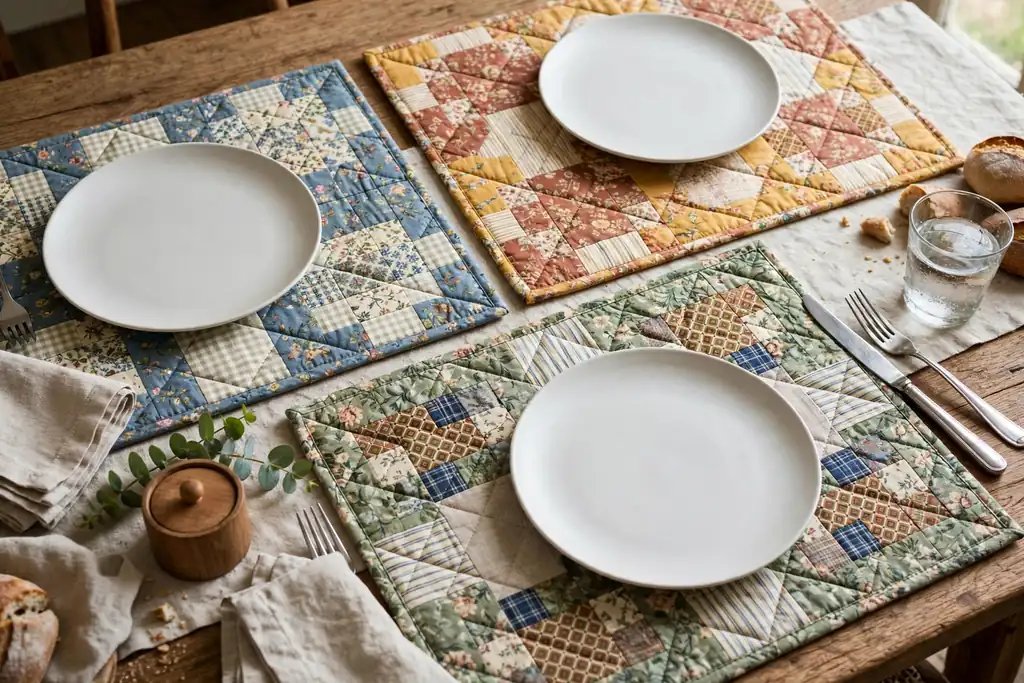
Sew small fabric squares into a patchwork top, add a thin batting layer and a backing fabric, then quilt through all three layers with straight lines or a simple grid. Bind the edges with a folded fabric strip, pressed and stitched in place, so the layers stay together through washing. The padding gives a soft base under plates and mutes sound on a hard table, which suits a busy family meal.
Patchwork placemats work well when you already have a scrap box, since each placemat can mix prints that share one color. Keep the pieces in a similar weight, press each seam open or to one side in the same way, and square up each placemat before binding, so the set sits evenly at the table. Use plain plates with a patchwork set, since the placemat already carries the pattern at each place.
4. Coiled Rope Placemats for a Natural Table
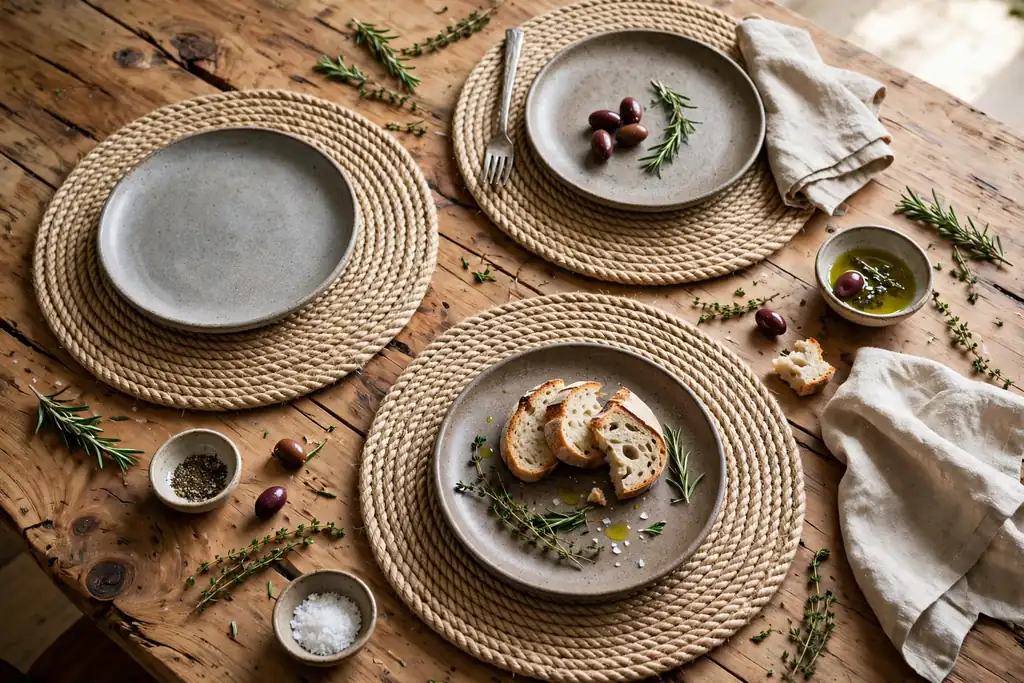
Wind thick cotton rope into a flat coil, stitching each round to the last with a sewing machine or by hand, until the mat reaches the size you need. Start with a tight center coil, keep the tension even so the mat stays flat, and finish the outer end by tucking it under and stitching it down firmly. A round or oval shape both suit this method, and a natural rope color pairs well with wood tables and plain stoneware.
Rope placemats add texture without pattern, so they suit tables that already have patterned plates or colored glass. Check that the finished mat sits level, since an uneven coil can rock a plate, and trim any loose fibers after the first use. Spot clean rope mats and let them dry flat, since a wet rope mat can curl at the edges if it dries folded or hung up.
5. Cork Placemats with a Fabric Backing
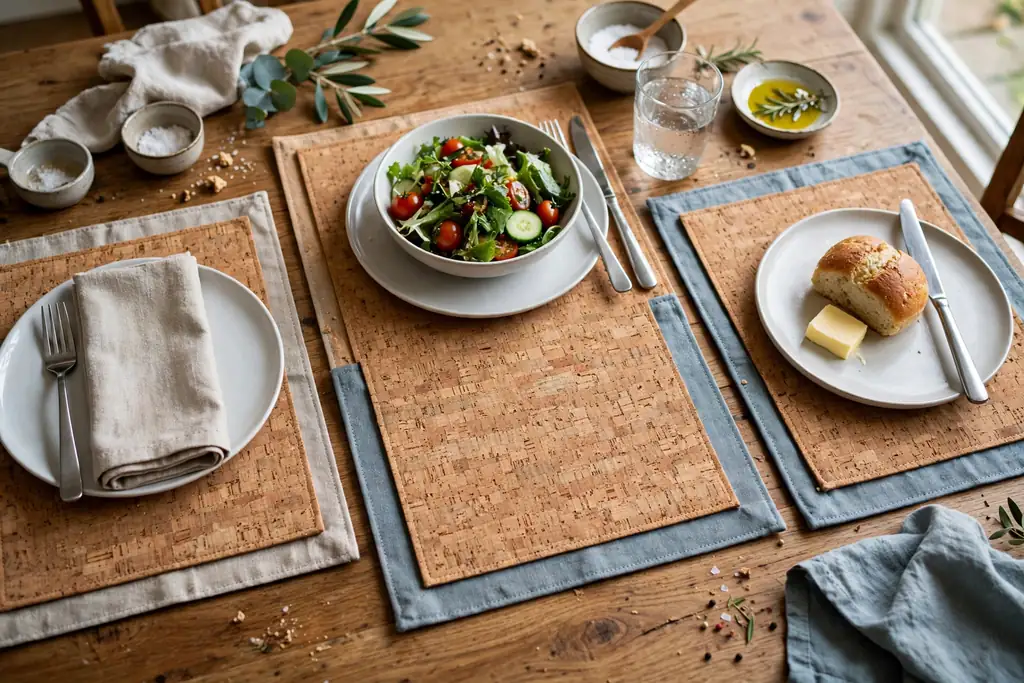
Cut cork sheet or thin cork tiles into rectangles, then glue a fabric backing to the underside so the mat grips the table and protects it from scratches. Seal the cork top with a clear sealant made for cork, following the drying time on the pack, and let the mats dry flat before you use them. Cork gives a warm, natural surface that wipes clean, and the fabric backing stops the mat from sliding on a polished table.
This project suits a table that sees hot plates and mugs, since cork handles heat better than many fabrics, but it still needs care with very hot dishes straight from the oven. Keep the cork layer thin enough to cut cleanly with a sharp craft knife and a straight edge, and sand the cut edges lightly so they feel smooth. If a corner lifts, re-glue it and press it flat under a heavy book overnight.
6. Stenciled Canvas Placemats in One Color
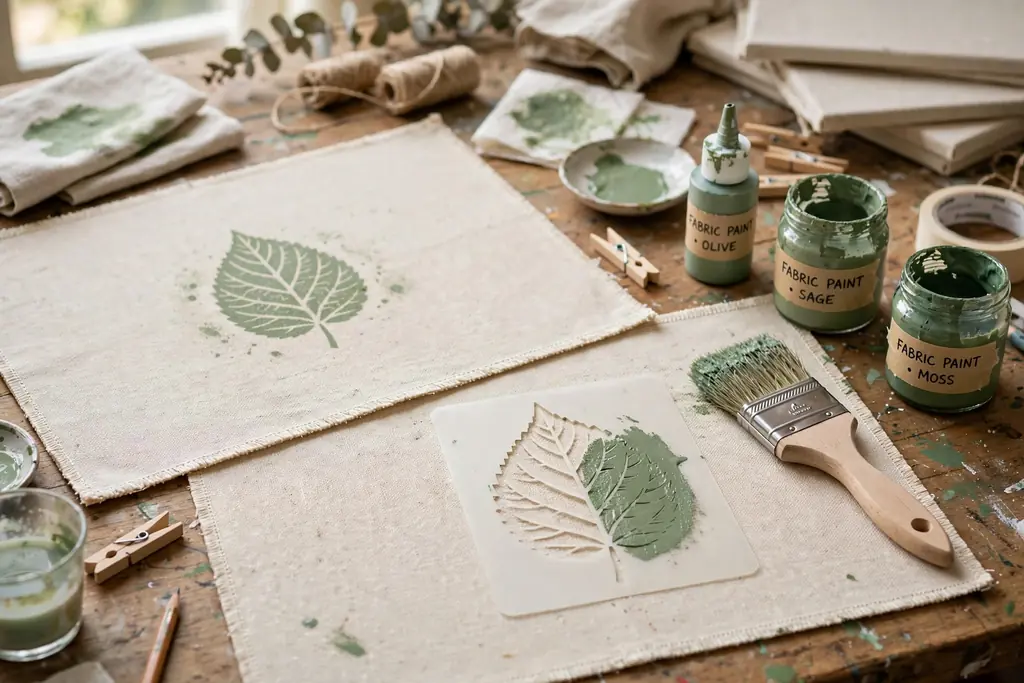
Cut heavy cotton canvas into rectangles, hem or bind the edges, then stencil a single motif, such as a leaf, a stripe, or a simple border, in one paint color made for fabric. Tape the stencil flat, dab paint on with a stencil brush rather than brushing back and forth, and lift the stencil straight up so the edges stay crisp. Let the paint dry fully, then heat set it if the paint maker advises that step, so the design survives washing.
One color keeps a stenciled set calm and easy to repeat at every place, and a single motif repeated in the same spot gives a matched set without a complex design. Test the stencil on scrap canvas first, since canvas texture can change how paint sits, and keep the motif clear of the area where the plate sits, so the design stays visible during the meal. Wash stenciled placemats gently and avoid harsh scrubbing on the painted area.
7. Hand-Stamped Cotton Placemats with Fabric Paint
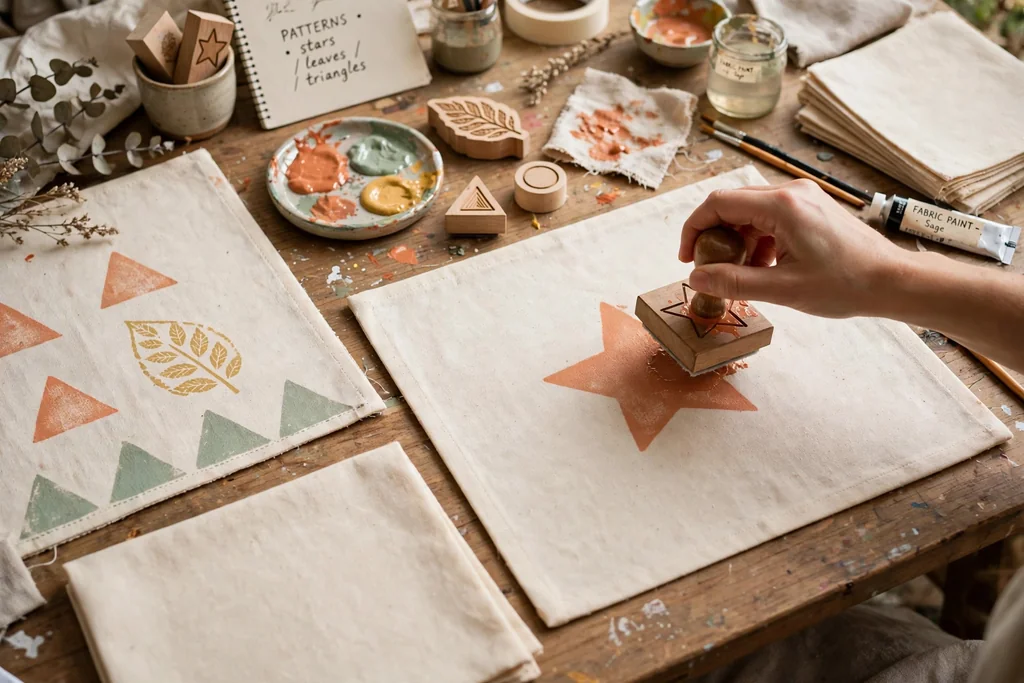
Stamp simple shapes onto plain cotton placemats with fabric paint, using a carved potato stamp, a foam shape, or a bought stamp. Load the stamp lightly, press it straight down without rocking it, and lift it cleanly, then space the shapes evenly across the mat, leaving the center clear for the plate. Let the paint dry fully and heat set it if the paint maker advises that step, before you wash or use the mats.
Hand stamping suits a family project, since each person can stamp their own place, and it suits a themed table where one repeated shape carries the whole idea. Keep to one or two paint colors for a tidy result, and test the stamp on scrap fabric first, so the shapes print cleanly and at the right size. For a related handmade table idea, see the hand stamped placemats in the Valentine’s Day placemat ideas on Dwell Ovell.
8. Embroidered Linen Placemats with a Simple Border
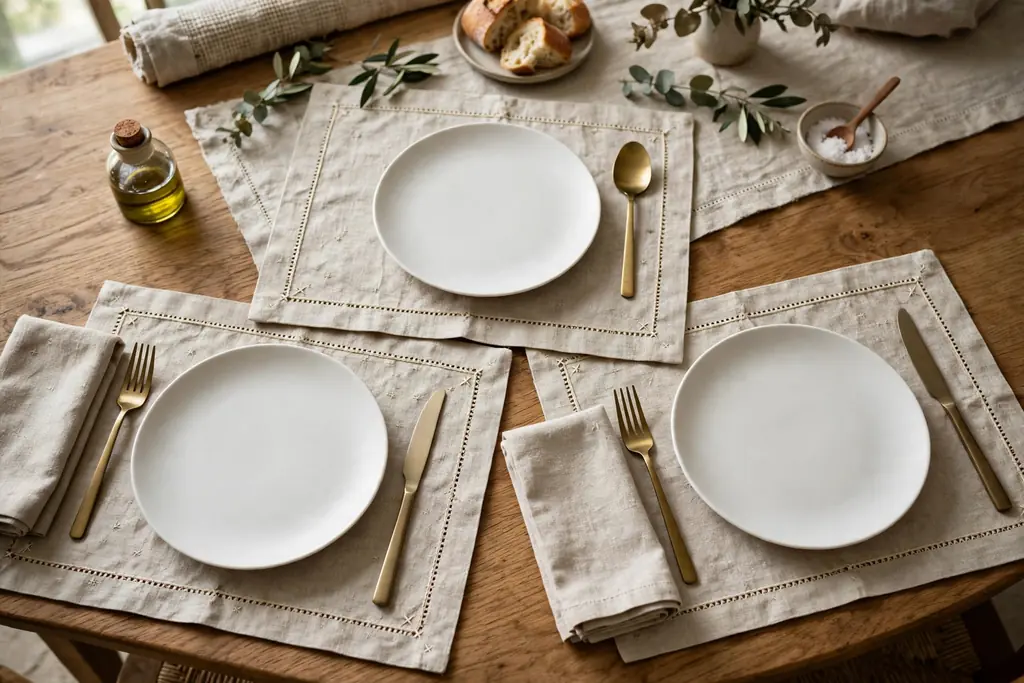
Choose plain linen placemats or hemmed linen rectangles, then stitch a simple border, such as a running stitch, a stem stitch line, or a small repeated motif, near the edge of each mat. Mark the border lightly with a washable fabric marker, work the same design at every place, and press the finished mats from the back so the stitches sit neatly. A single thread color, such as cream on natural linen or navy on white, keeps the set calm.
Embroidered placemats suit a slower dinner where the table is viewed up close and fabric texture matters, and they pair well with plain plates and clear glasses. Keep the stitching clear of the plate area, so plates sit level, and keep the design simple enough to repeat evenly across a full set. Wash linen placemats gently, press them while slightly damp, and store them flat so the stitched border does not crease.
9. Macrame Placemats with Knotted Cotton Cord
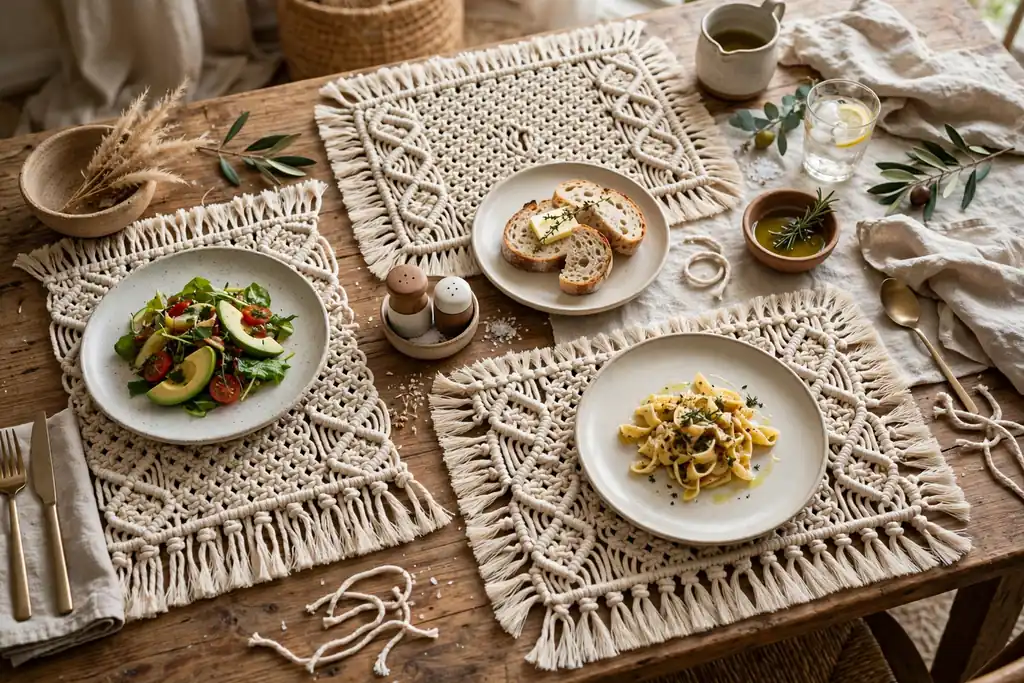
Knot cotton cord into a flat macrame panel using square knots and simple fringe-free edges, working from a top cord down to the finished length. Keep the knots even and the tension steady, since loose knots make a wavy edge and tight knots can pull the panel narrow. Finish the sides with a clean row of knots and trim any cord ends close, so the mat lies flat under a plate.
Macrame placemats suit a relaxed, natural dining room with wood, rattan, or woven chairs, and they read as a crafted piece rather than a plain mat. Use a cord thickness that still lets a plate sit steady, since very chunky cord can rock a plate, and test one mat with your largest plate before you knot a full set. Shake macrame mats outside after meals and spot clean spills promptly, since cord can hold crumbs in the knots.
10. Wipe-Clean Oilcloth Placemats for Everyday Meals
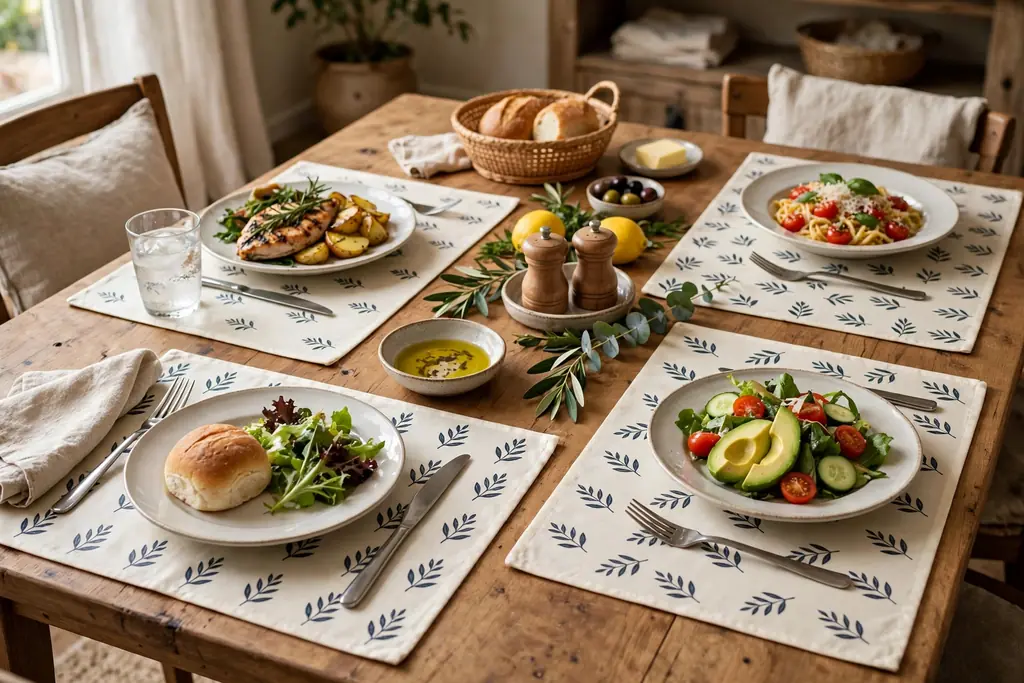
Cut oilcloth or vinyl coated fabric into rectangles, seal or bind the edges so the layers do not peel, and wipe the mats clean after meals instead of washing them. A simple straight cut works when the material is thick enough to hold its shape, while a bound edge gives a softer finish and suits a thinner oilcloth. Choose a print that suits your kitchen, and keep the same size at every place so the table looks even.
Oilcloth placemats suit everyday family meals, tables with young children, and outdoor dining, since spills wipe off and the mats dry fast. Avoid placing very hot dishes directly on vinyl, and keep sharp knives off the surface, since cuts show on coated fabric. Store oilcloth mats flat or rolled with the print facing out, since a hard fold can leave a lasting crease in the coating.
11. Round Braided Rag Placemats from Fabric Scraps
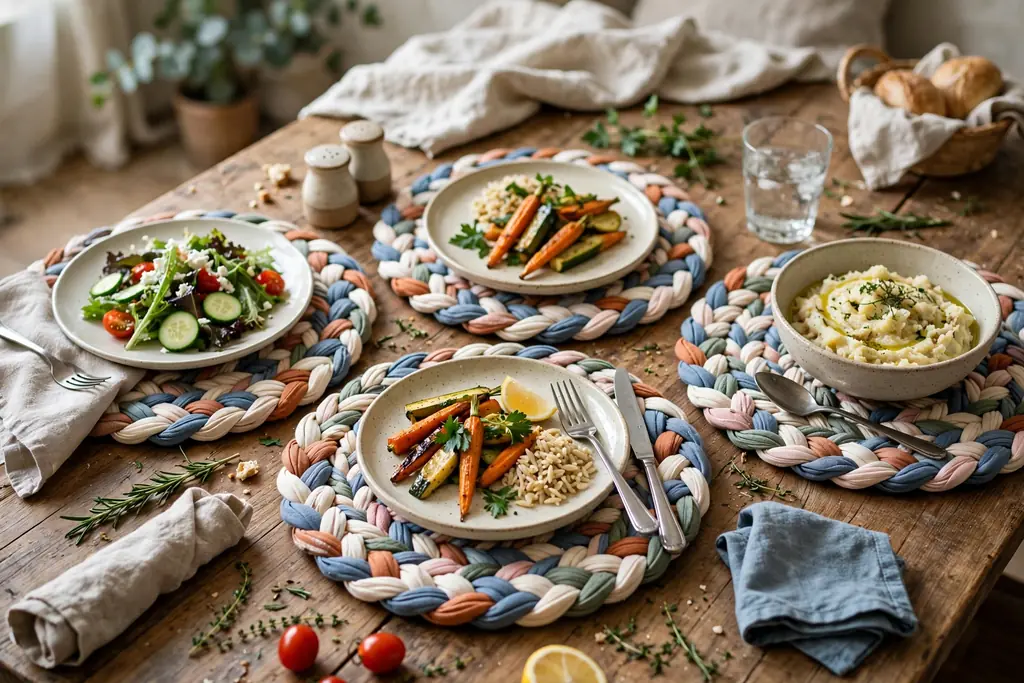
Braid three long fabric strips together, coil the braid into a round mat, and stitch each round to the last so the mat holds its shape. Use strips of similar weight, such as old cotton shirts or sheets, and join new strips with a small overlap so the braid stays even. A round mat suits a round table or a breakfast nook, and a mix of prints in one color family keeps the set from looking random.
Braided rag placemats use up fabric that would otherwise go to waste, and the thick braid protects a wood table from plates and mugs. Press the finished mat under a heavy book overnight if it curls after coiling, and check that it lies flat before you make the rest of the set. Wash rag mats gently and dry them flat, since a thick braid takes longer to dry than a single layer of cotton.
12. Burlap Placemats with a Stenciled Monogram
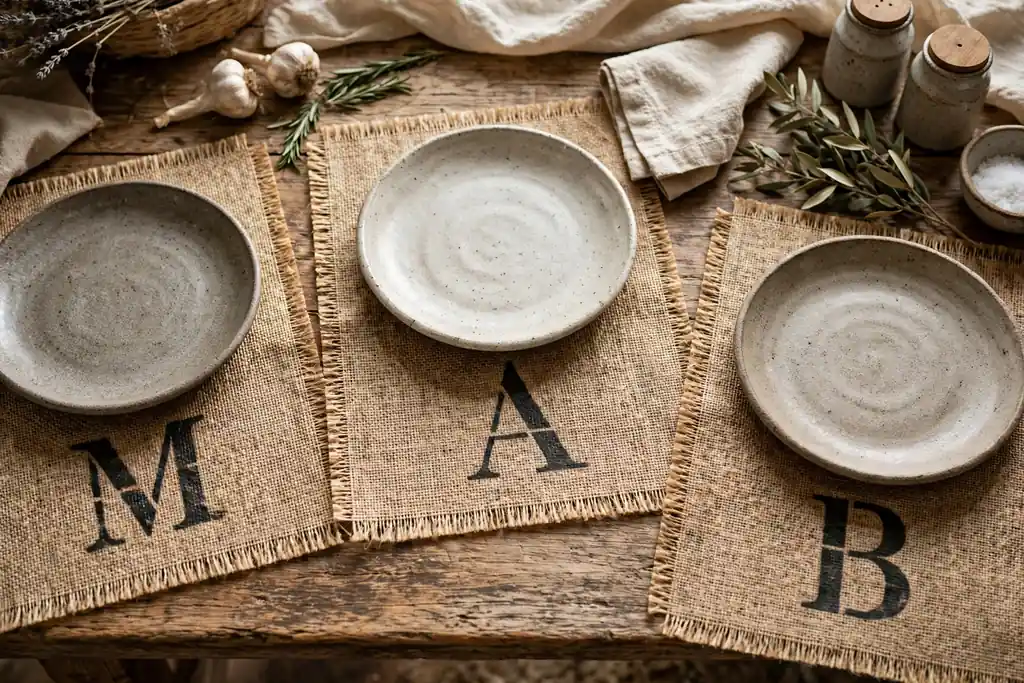
Cut burlap into rectangles, bind or hem the edges to stop fraying, and stencil one letter or a simple word at one corner in a contrasting fabric paint. Burlap sheds fibers, so shake each mat outside before use, press it flat, and keep the stenciled area clear of the plate so the letter stays visible. A plain stoneware plate and a simple napkin suit burlap well, since the coarse texture already carries the rustic note.
Monogrammed burlap placemats suit a farmhouse table, a gathering where each guest has a marked place, or a host who wants a personal detail without a full new setting. Use a bold stencil font that reads from across the table, and test the paint on scrap burlap first, since the open weave can let paint bleed. Layer a small white napkin on top of each placemat to soften the look, and avoid lace or velvet nearby, which would clash with the rustic tone.
13. Faux Leather Placemats Cut to a Clean Shape
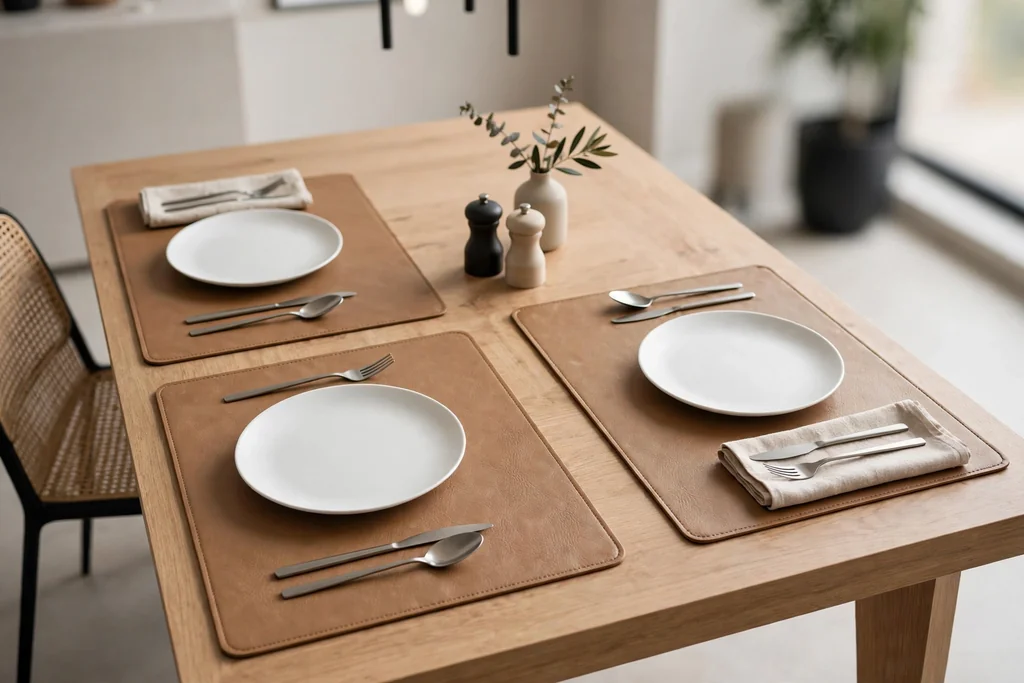
Cut faux leather into rectangles, ovals, or rounded corner shapes with a sharp rotary cutter and a straight edge, then finish the edges with edge paint or a simple topstitch. Faux leather needs no hemming, since it does not fray, so the cut edge itself becomes the finish, and a clean, steady cut matters more than any extra trim. Choose a color that repeats in one other detail on the table, such as napkins or candle holders, so the set feels planned.
Faux leather placemats suit a modern dining room and an evening meal, since the smooth surface wipes clean and pairs well with plain plates and simple cutlery. Keep the mats away from very hot dishes and open flames, and wipe them with a soft cloth after meals rather than soaking them. Store faux leather mats flat, since a fold can leave a crease that shows on the smooth surface.
14. Kraft Paper Placemats Guests Can Write On
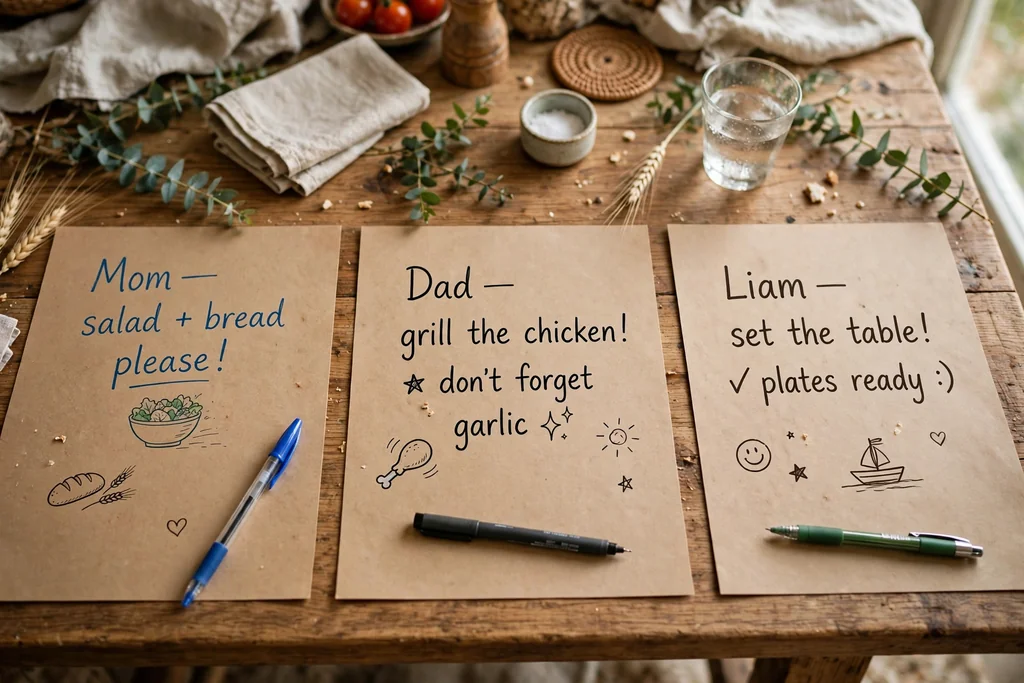
Cut kraft paper into placemat sized rectangles, or tear sheets from a kraft paper roll, and set out pens or crayons so guests can write names, notes, or small drawings on their own mat. The paper protects the table, and the personal notes become part of the decoration, which suits a casual family dinner, a gathering with children, or a relaxed celebration where formality would feel out of place. Use plain plates so the writing shows.
Paper placemats are single use, so they suit occasions rather than everyday meals, and they cost little to make for a large group. Keep the pens simple and non bleeding, so ink does not soak through to the table, and place a plain underlayer on a light wood table if you worry about marks. Recycle or compost the paper after the meal where local rules allow it.
15. Pressed Flower Placemats Sealed Under Clear Vinyl
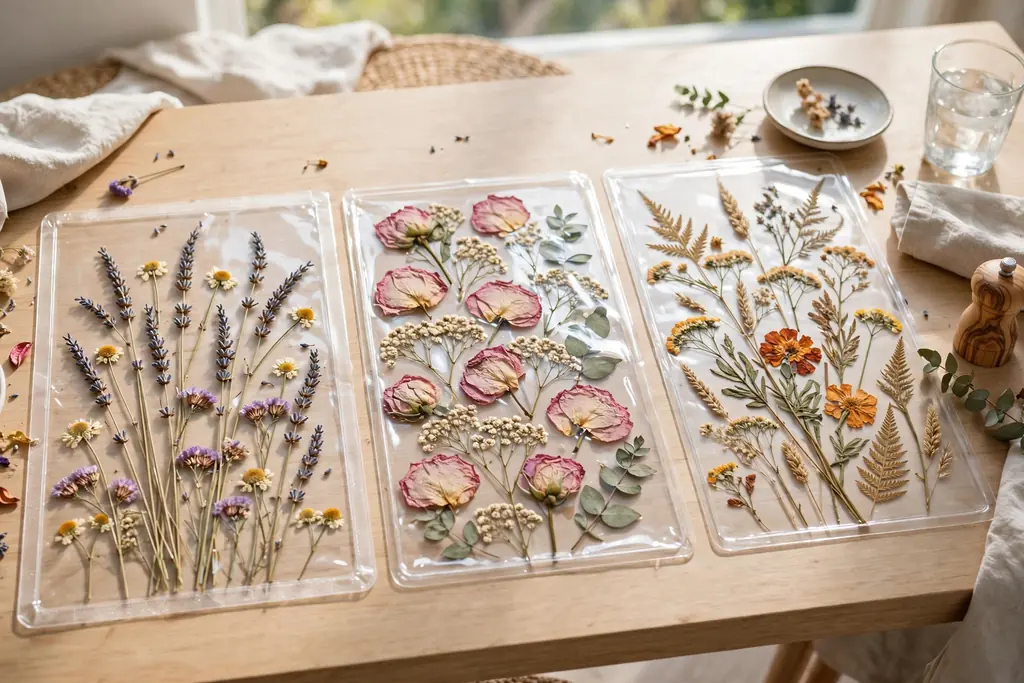
Arrange dried, pressed flowers and leaves on a fabric or paper base, cover the arrangement with clear vinyl, and stitch or seal the edges so the flowers stay flat and protected. Press the flowers fully before you start, since damp stems can mark the base, and keep the arrangement clear of the plate area, so the flowers stay visible during the meal. A clear cover lets the botanical shapes show while keeping the surface wipe clean.
Pressed flower placemats suit a spring or summer table, a brunch, or a garden room, where the floral detail ties the table to the season. Use flowers that press flat, such as small ferns, daisies, or leaves, rather than thick blooms that will not sit level under vinyl. Store these mats flat and out of direct sun, since strong sun can fade dried flowers over time, and wipe the vinyl gently rather than scrubbing it.
16. Denim Placemats Upcycled from Old Jeans
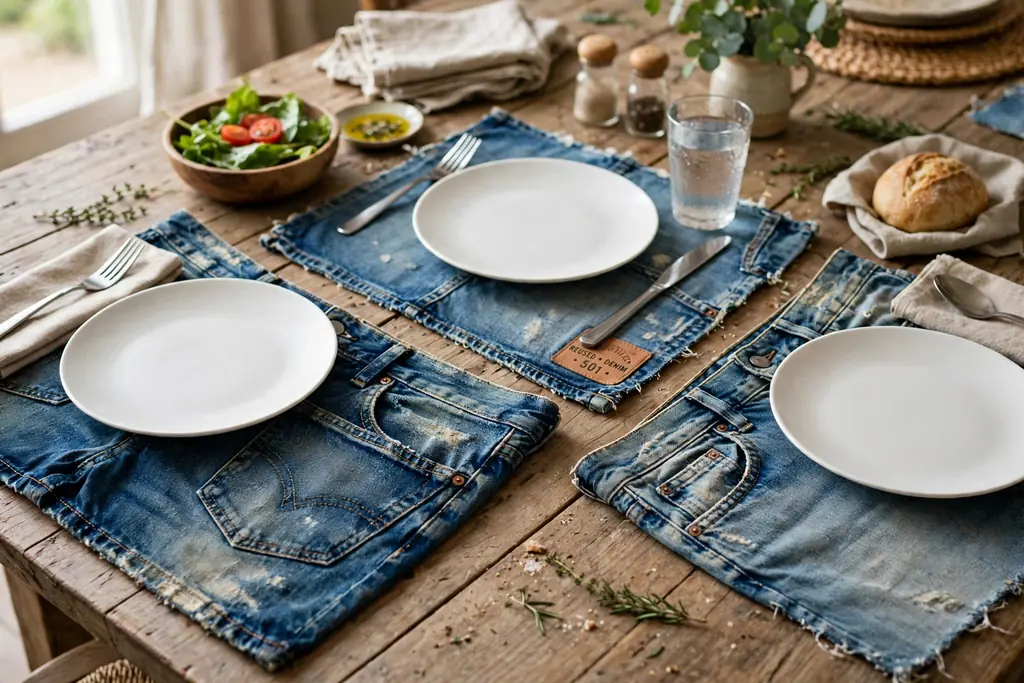
Cut the legs of old jeans into flat panels, join panels with a straight seam or a topstitched overlap, and hem or fringe the edges to finish each mat. Denim is sturdy, washes well, and suits a casual table, and details such as a pocket or a seam can become a feature if you plan where they sit, clear of the plate area. Wash the jeans before cutting, so the panels shrink before you sew them, not after.
Denim placemats suit a family kitchen, a casual dinner with friends, or a home where durability matters more than a formal look. Mix light and dark denim in one set only if the tones share a similar wash, so the table does not look patchy, and pair denim mats with plain plates and simple glasses. If a pocket sits at a place, use it for a napkin or cutlery only when it lies flat, since a bulky pocket can tilt a plate.
17. Placemats with a Sewn Cutlery Pocket
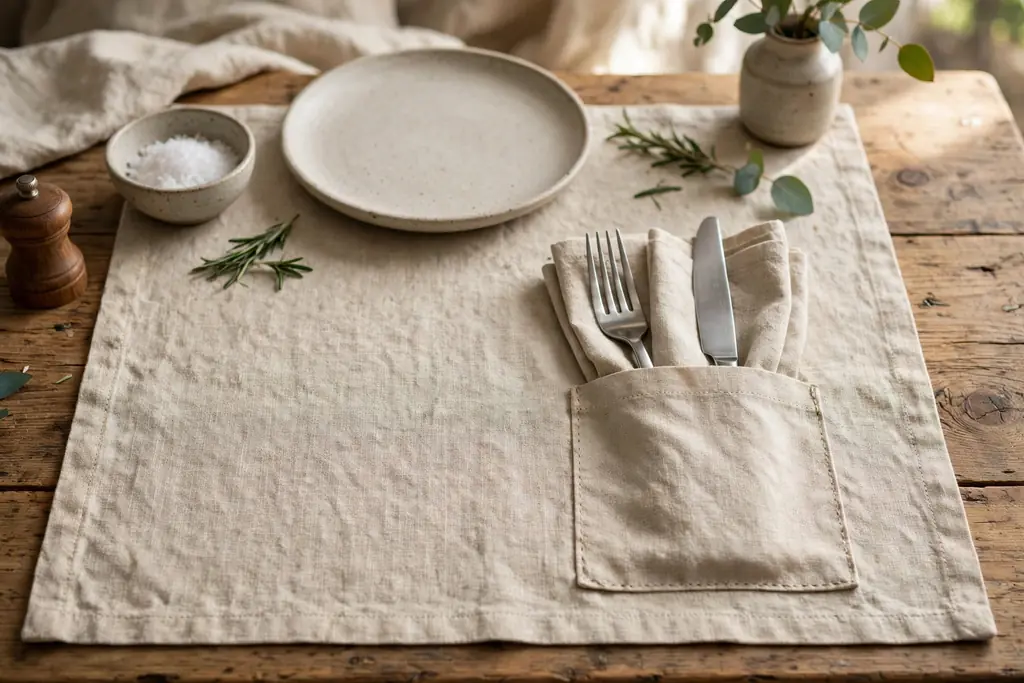
Sew a basic placemat in cotton or linen, then add a flat pocket on one side, sized to hold a knife, fork, and napkin, stitched on three sides and open at the top. Place the pocket at the right or left edge, matching how each guest sits, and keep the pocket shallow enough that cutlery handles do not slide out when the mat is lifted. Topstitch the pocket edges for strength, since this part gets the most pulling during meals.
A cutlery pocket turns the placemat into a complete place setting, which suits a buffet, an outdoor meal, or a table where space is tight and a separate cutlery roll would crowd the setting. Make the pocket from the same fabric or a contrast print, and test it with your actual cutlery before you sew a full set, since long handled cutlery needs a deeper pocket than short handled sets. Wash pocket placemats with the pockets open and dry them flat, so the pocket does not hold damp fabric against the mat.
Conclusion
DIY placemats work best when you start with one test piece, a size that fits your plates, and a material that matches how you actually use your table. A sewn cotton set suits everyday meals, a wipe-clean oilcloth set suits busy family tables, and a stitched, stamped, or pressed flower set suits a slower dinner where detail gets noticed. Pick one idea from this list, make a single placemat, and check how it looks and feels at your table before you commit to a full set. With that test done, the rest of the set is a repeat of a project you already know works. For more table ideas from Dwell Ovell, browse the home page for home decor guides.
FAQs
What size should DIY placemats be?
DIY placemats should be about 12 by 18 inches for a standard dinner place, so a dinner plate fits in the center with room for cutlery on either side. Check your largest plate first, then choose a placemat at least 2 inches wider than the plate on each side, so the setting does not look cramped. For a small table or a breakfast nook, a slightly smaller mat can work, as long as the plate and cutlery still fit without crowding the next place.
What is the easiest DIY placemat to make with no sewing?
No-sew fabric placemats with iron-on hem tape are the easiest option, since you only need fabric, hem tape, and an iron, with no sewing machine or hand stitching. Cut the fabric to size, fold each edge in twice, press the tape inside each fold, and let each edge cool before you move the mat. Oilcloth placemats are another simple no-sew option, since the coated fabric holds its shape with a straight cut and wipes clean after meals.
Which material is best for washable DIY placemats?
Cotton is best for washable DIY placemats, since it washes well, presses neatly, and suits everyday family meals. Wash and press cotton before cutting, so shrinkage happens before you sew, and use a medium weight fabric that holds its shape at the table. Oilcloth and vinyl coated fabric are better when you want a wipe-clean surface rather than a machine wash, since they dry fast and suit tables with young children.
How do I stop DIY placemats from sliding on the table?
You stop DIY placemats from sliding by adding a fabric backing, a thin non slip mat, or a small piece of shelf liner under each placemat, or by choosing a material with a textured back, such as cork. Test the grip before the meal, especially on a polished wood or glass table, and avoid loose cloth layers that can shift when plates are set down. A placemat that grips well also helps plates stay steady during the meal.
Can I make placemats from old clothes or fabric scraps?
Yes, you can make placemats from old clothes or fabric scraps, and quilted patchwork, braided rag, and denim placemats are all built for that purpose. Use pieces of similar weight, wash them before cutting so shrinkage happens early, and press each seam so the finished mat lies flat. Keep the prints in one color family for a matched set, and pair a busy scrap placemat with plain plates, so the pattern does not compete with patterned dishes.
How many placemats should I make for a full set?
You should make one placemat per guest, plus one or two spares, so a dinner for six needs eight placemats in total. Count the places at the table, not the chairs in the room, and make the spares in the same design, so a spill does not leave one place looking different from the rest. A test placemat counts as one spare when it matches the set, which gives you a useful backup from the first project.