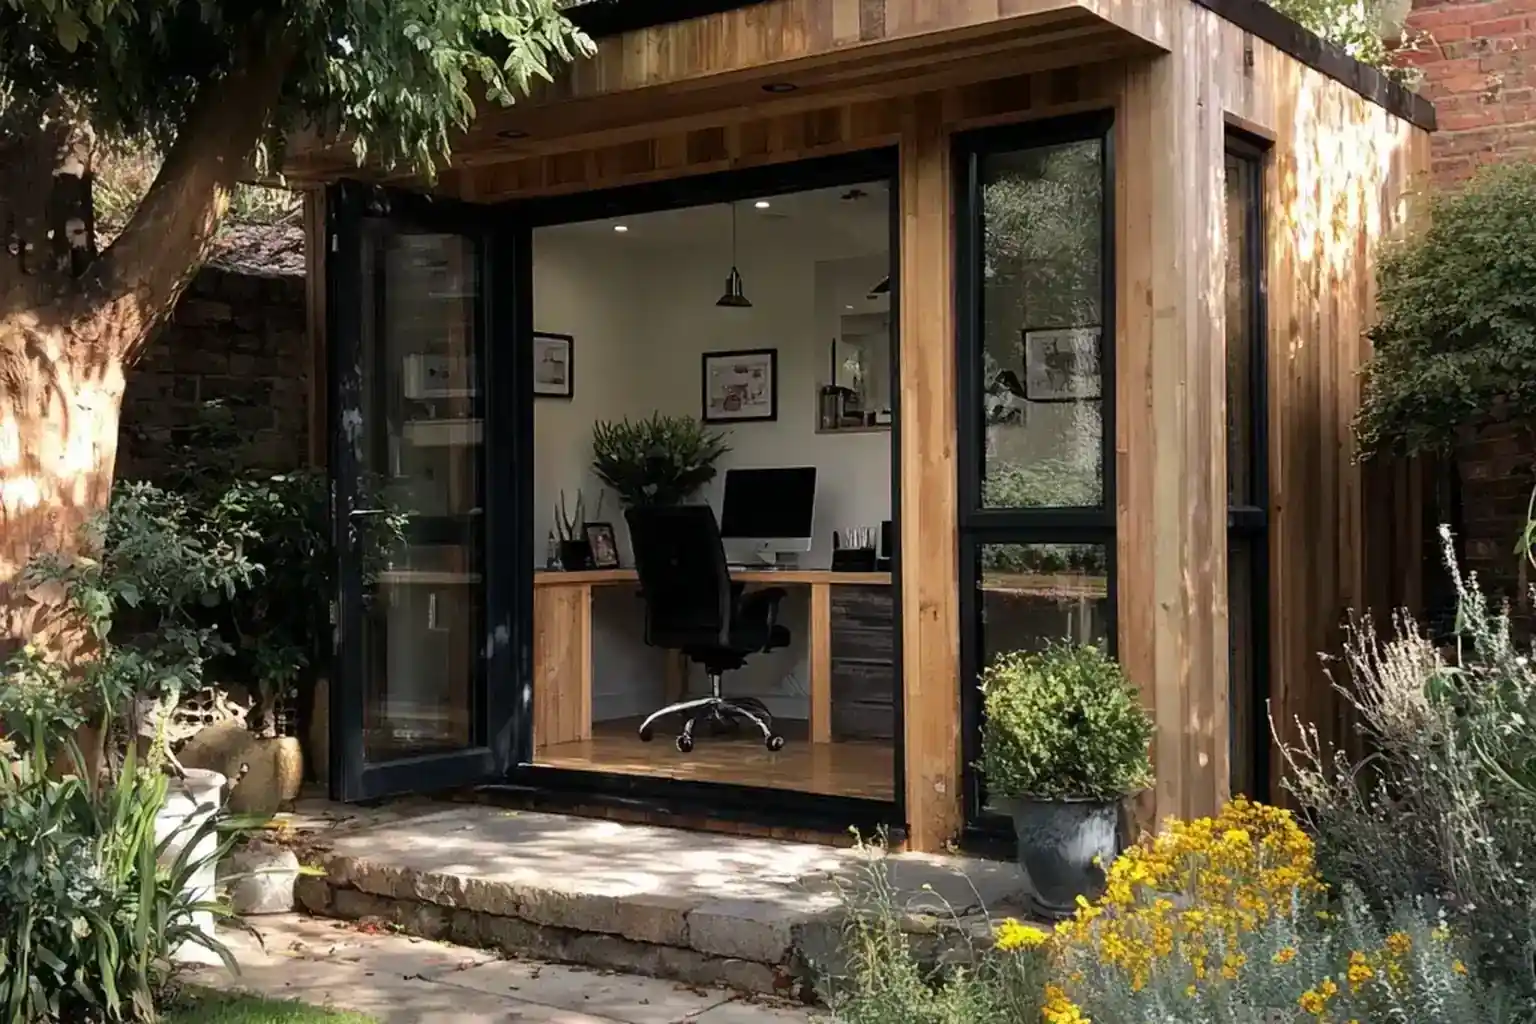
A garden studio gives you a room of your own without adding onto the house. It can hold a desk for focused work, a table for art or crafts, or one good chair for reading at the end of the garden. These garden studio ideas start with siting and layout, then cover daylight, insulation, power, storage, and simple styling. Choose the ideas that match the way you plan to use the space, start with the shell and the work surface, and check your local permit rules before you order a building or begin any groundwork.
Key Takeaways
- Decide the studio’s one main job first, because an office, an art table, and a reading room each need a different layout.
- Site the building for useful light, a short and dry path from the house, and a safe, properly installed power supply.
- Plan daylight first, then add blinds, a fan, and simple heating so the room works in every season.
- Store things by zone: open shelves and a pegboard at the worktop, a rolling cart between zones, and closed storage for clutter.
- Finish with garden-friendly colour outside, a lit path, and one welcome detail at the door so the studio feels part of the home.
1. Give the Studio One Clear Job First
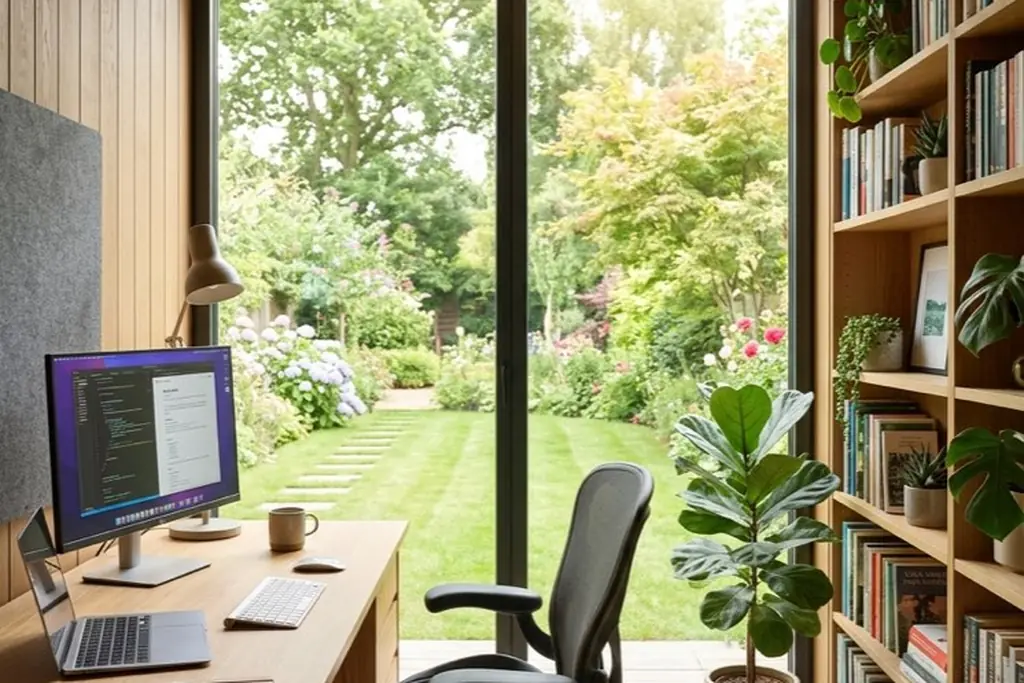
Decide whether the studio is mainly an office, an art or craft room, a music practice space, or a reading retreat before you choose furniture. One clear job keeps the building size, the budget, and the layout under control, because each use needs a different main piece: a desk, a large work table, or a comfortable chair. You can still add one secondary use later, such as a reading chair in an office, but let the main job set the window position, the storage, and where the power points go.
2. Choose a Spot With Light and a Short Path
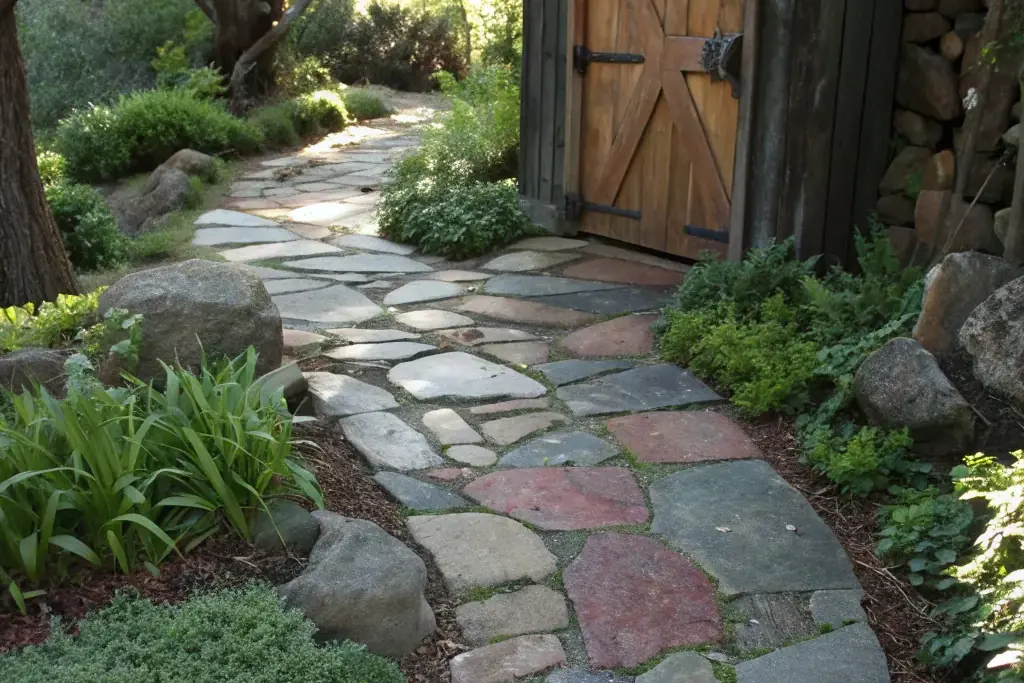
Place the studio where it gets useful daylight without sitting in deep shade all day, and keep the walk from the house short enough for wet or dark evenings. Avoid the lowest, wettest corner of the garden, and leave space around the building for gutters, ventilation, and future repairs. Rules for garden buildings vary by area, so check your local permit office before you build. The UK Planning Portal guide to outbuildings shows the kind of siting, size, and height points that rule sets usually cover.
3. Face the Work Seat Toward the Garden
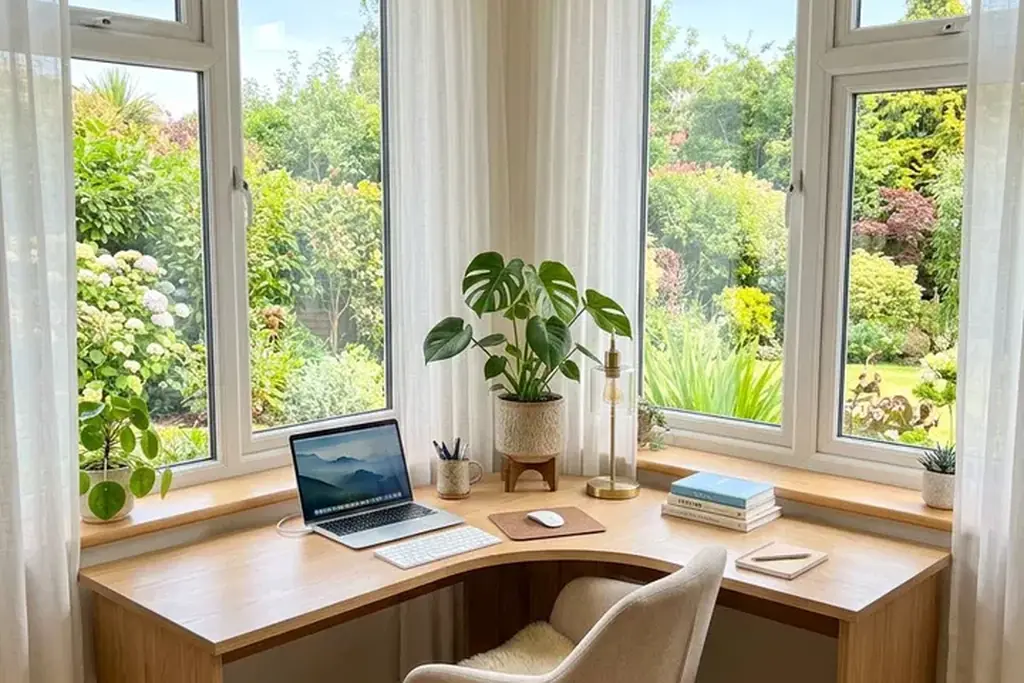
Set the desk or work chair so you look out over planting rather than at a fence or a blank wall. The view is the main advantage of a garden studio, and it makes a small room feel wider. Side light from the left or right usually works better than a window directly behind a screen, which can cause glare and reflections. If the only outlook faces a neighbour, raise the sill, use planting as a screen, or turn the desk at an angle so the view stays green but private.
4. Plan the Layout in Zones
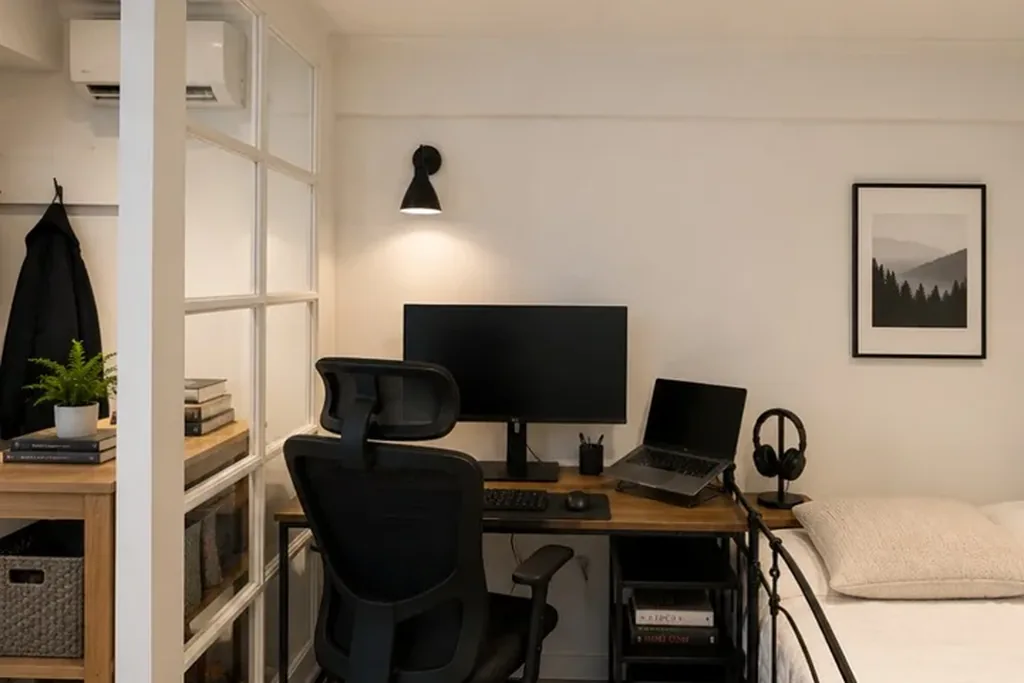
Divide the floor into a work zone, a storage zone, and a rest zone, even if each one is only a few feet wide. Keep the door swing and the route between zones completely clear, because a small building feels crowded fast when boxes collect in the walkway. The same thinking used in these small living room layout ideas scales down well: give the main activity the best light, push storage to the edges, and let one corner stay soft. Tape the zones on the ground before you buy furniture to test the fit.
5. Add a Small Deck or a Firm Entry at the Door
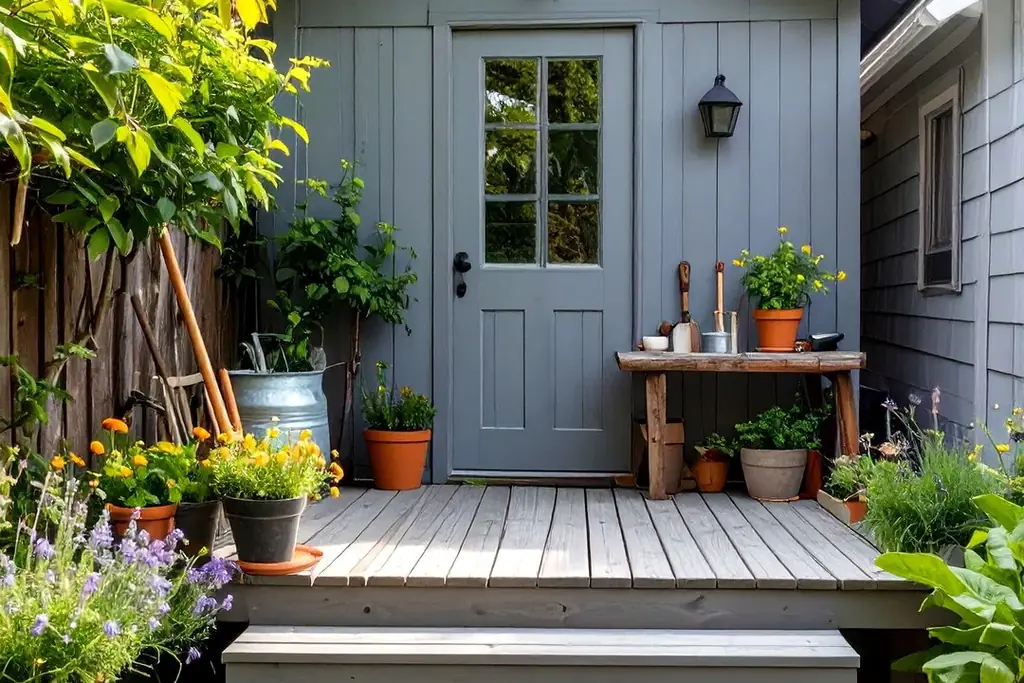
A small deck, a paved slab area, or a short run of stepping stones outside the door keeps mud off the studio floor and gives you a dry place to pause with a cup or a bag. Level the surface so a chair can sit outside on fine days, and keep the threshold step low and even. Firm footing matters more than size here. If a deck is too much work, a single row of wide pavers from the garden path to the door does the same job for less effort.
6. Insulate the Shell for Year Round Use
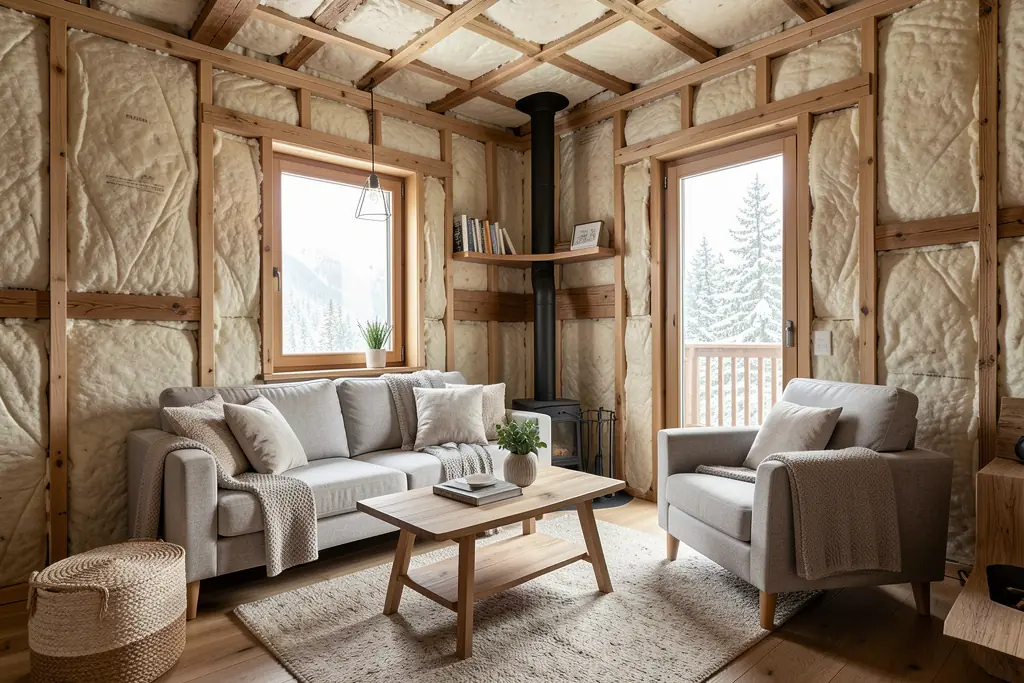
Insulation in the walls, roof, and floor is what turns a garden building from a summer room into a space you can use in January. Small buildings heat up and cool down quickly, so add draught sealing around the door and windows as well. Choose materials and finishes that suit a small, sometimes damp building, and leave an air gap where the system needs one. If you plan to fit a heater near insulated walls, follow the heater maker’s clearances and your local building rules rather than guessing at safe distances.
7. Use Wide Windows or Glass Doors for Daylight
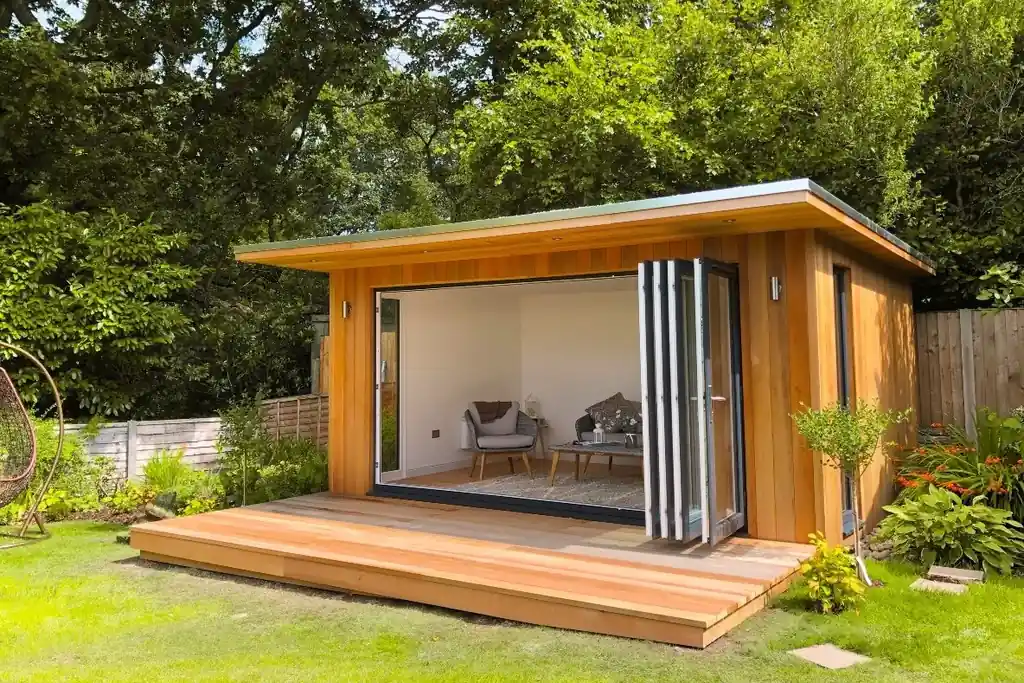
One wide run of glass usually lights a small studio better than several small windows, and glass doors make the room feel joined to the garden. Put the largest glazing on the side that gets light without the harshest midday sun if you can. Keep at least one solid wall for shelves, a pinboard, or tall storage, because a room glazed on every side leaves nowhere to store anything. In an existing shed conversion, one new window opening on the garden side is often enough to change the whole feel of the space.
8. Fit Blinds or Curtains for Glare and Privacy
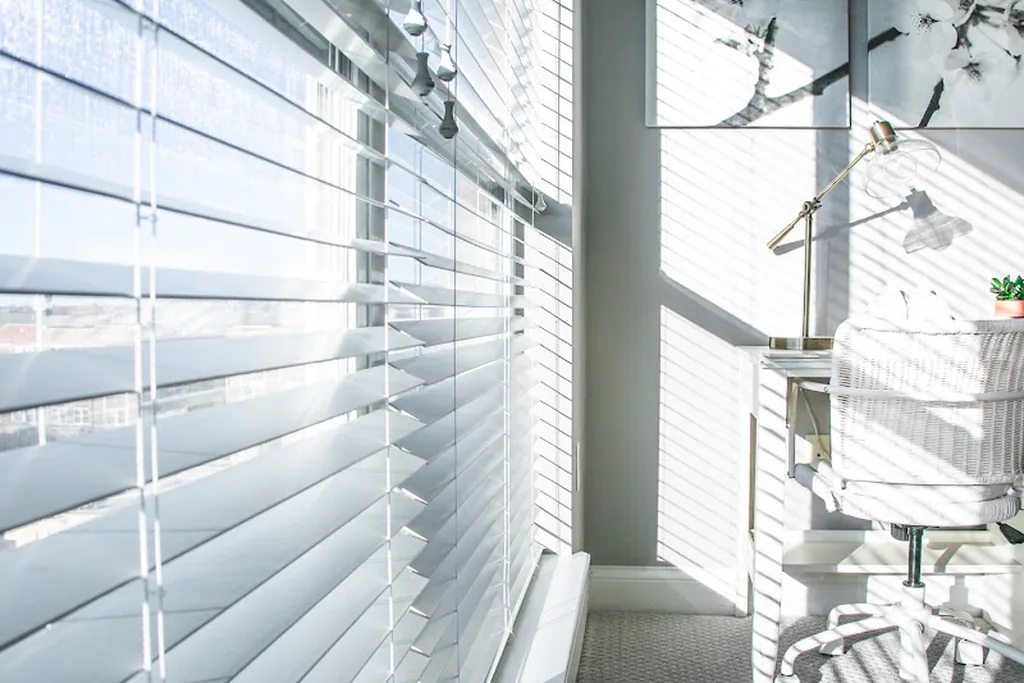
Daylight needs control as well as quantity. Simple roller blinds, venetian blinds, or a light curtain let you cut screen glare in the afternoon and close the room off at night so it does not feel exposed. Pale fabrics keep the room bright when they are drawn against strong sun. Fit blinds inside the window reveal so they do not eat into the small floor plan, and choose cordless styles or fit a cord safety device if children use the garden.
9. Keep Heating and Cooling Small and Simple
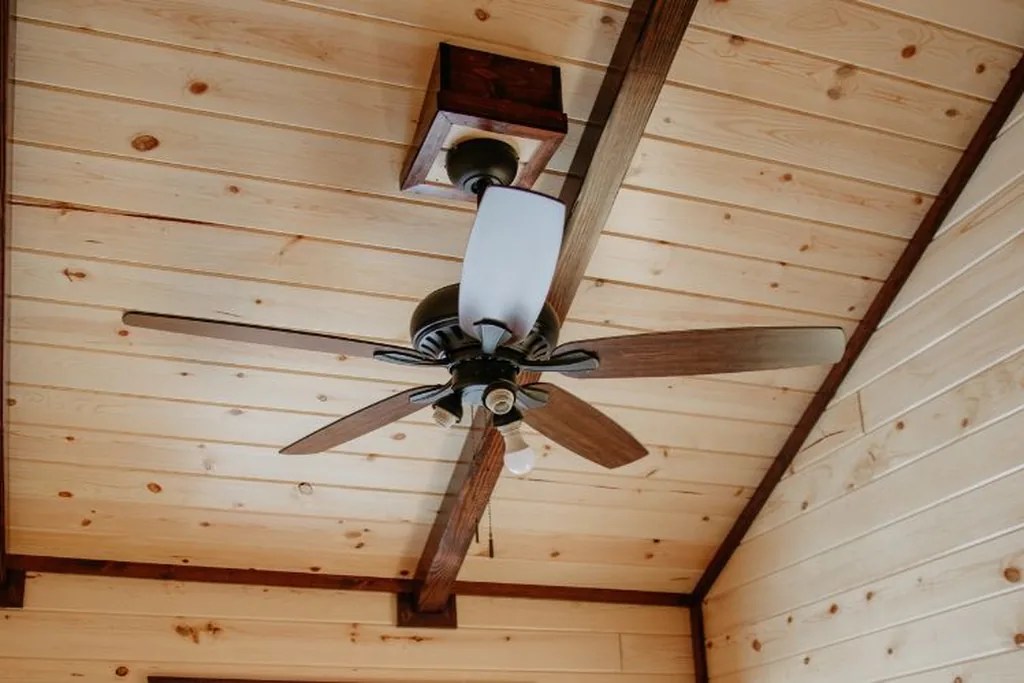
A compact room does not need a large system. A ceiling or desk fan moves air on warm days, opening windows give a through breeze, and a small heater sized to the room takes the edge off cold mornings. Place any heater on a firm, level surface with clear space around it, and never leave it running unattended. Thick curtains or blinds closed at dusk also help hold warmth in winter. If the studio still feels too hot in summer, outdoor shade from a small tree or a sail on the sunny side works better than stronger cooling.
10. Set Up Power and Internet at the Desk
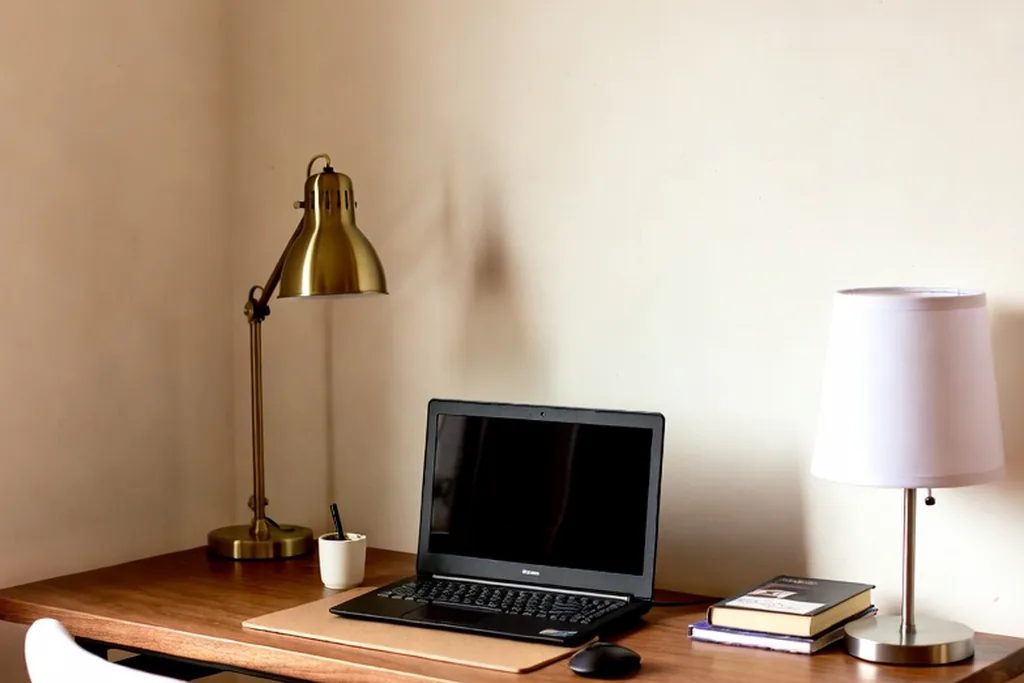
Plan the desk position around a proper power supply rather than a long extension lead trailed across the garden. A fixed outdoor supply should be installed and checked by a qualified electrician, with sockets where the desk, lamp, and chargers actually sit. Test the home wifi signal inside the finished building before you rely on it, because insulation and foil-backed boards can weaken it. If the signal is weak, a booster inside the house or a data cable run in with the power supply gives a steadier connection for calls and uploads.
11. Choose Flooring That Handles Garden Shoes
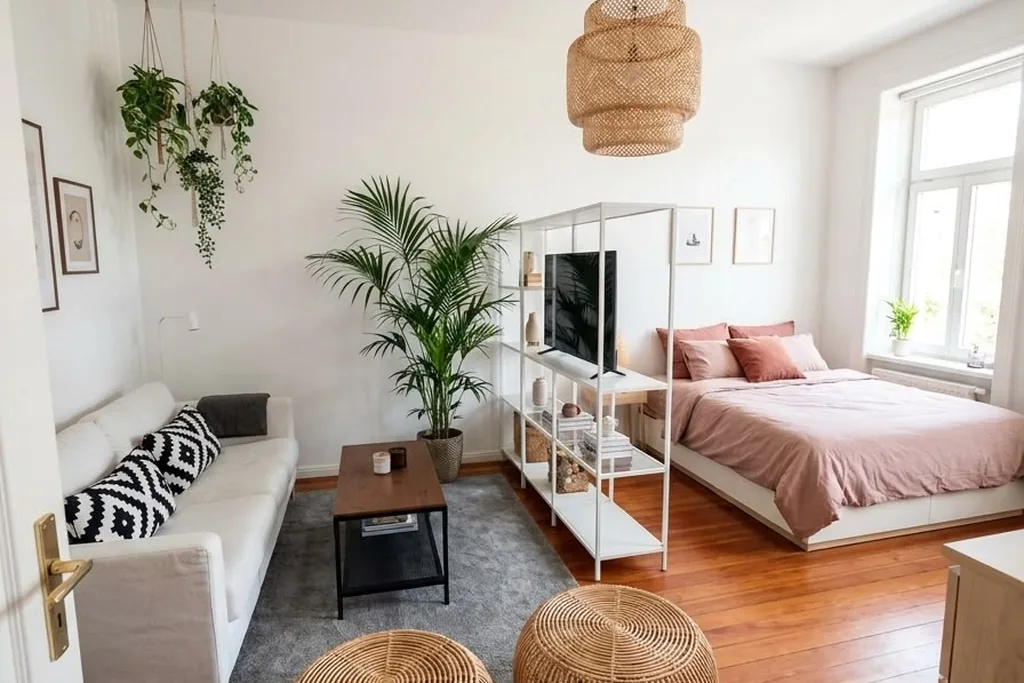
Pick a hard, washable floor such as vinyl, sealed boards, or painted concrete for the main area, because studio floors collect soil, paint, and plant debris. Add one removable rug under the desk or chair for comfort and quieter sound, and shake or wash it often. A boot tray and a stiff brush by the door stop most of the mud at the threshold. Avoid deep pile carpet in a working studio, since it traps grit and is hard to clean in a small space with no spare room.
12. Run a Worktop Along the Window Wall
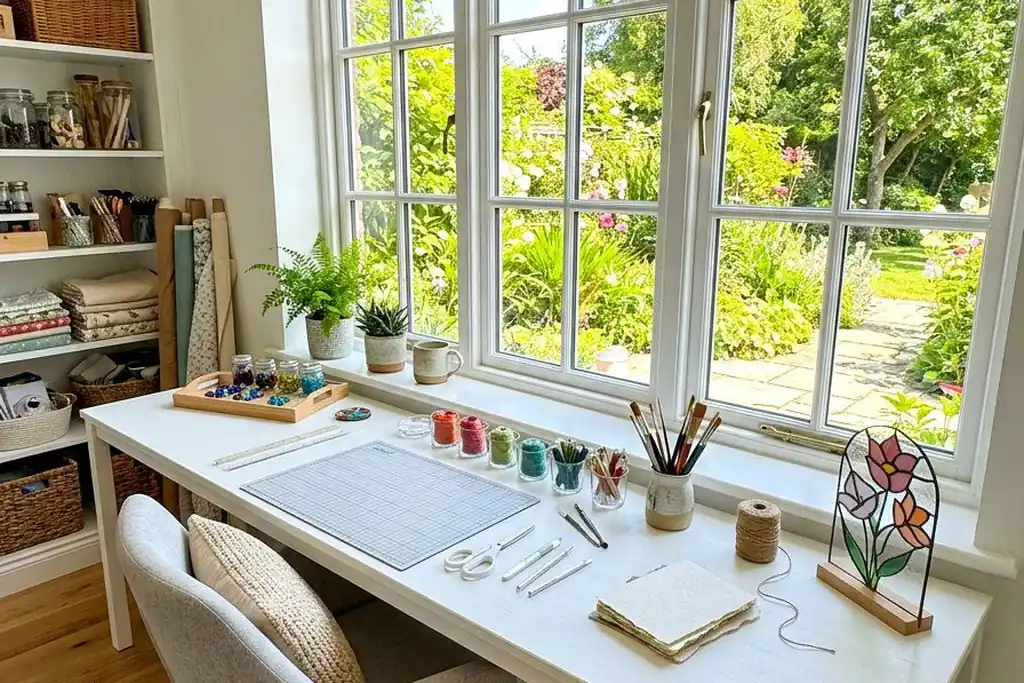
A single long worktop under the window gives you the deepest, best lit surface in the room for a desk, sewing, painting, or potting. Keep the space below it open for legs and a rolling cart, and fix the top securely so it does not flex when you lean on it. A plain slab door or a length of kitchen worktop can serve well here. Leave the ends clear rather than filling every inch, because one empty stretch of surface is what keeps daily projects manageable.
13. Put Open Shelves Above the Worktop
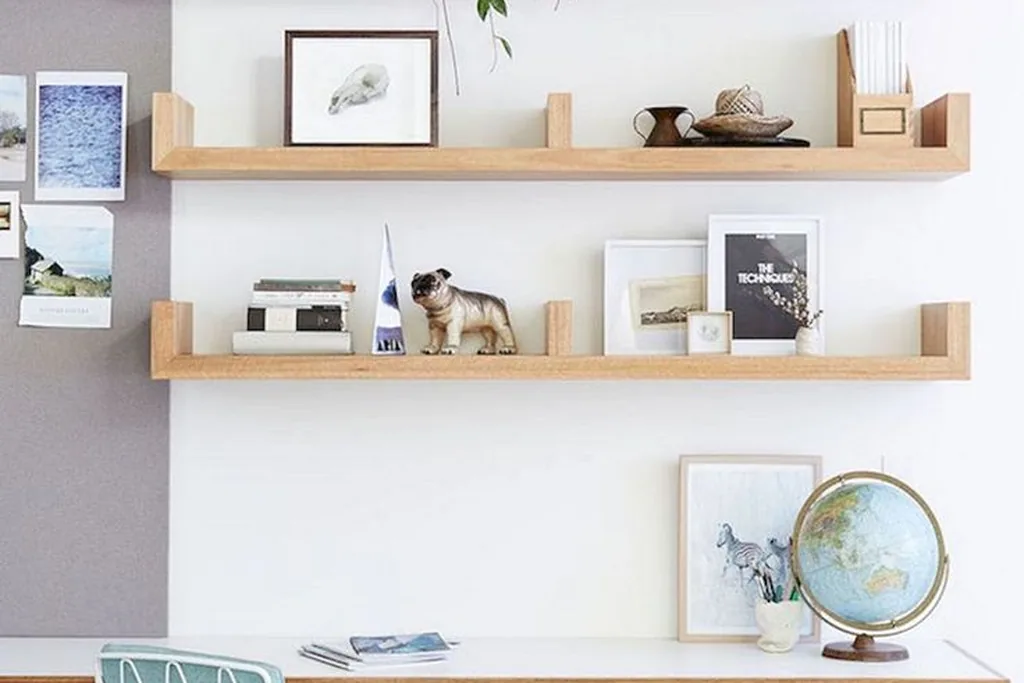
Open shelves above the work surface keep everyday tools, jars, and books in sight and within reach without using floor space. Keep heavy items on the lowest shelf, group small supplies in trays or boxes, and leave a little empty space so the wall does not feel packed. The grouping approach in this guide on how to style open shelves helps a working shelf stay tidy instead of turning into storage creep. Two shelves are usually enough for a studio worktop.
14. Add a Rolling Cart for Tools and Supplies
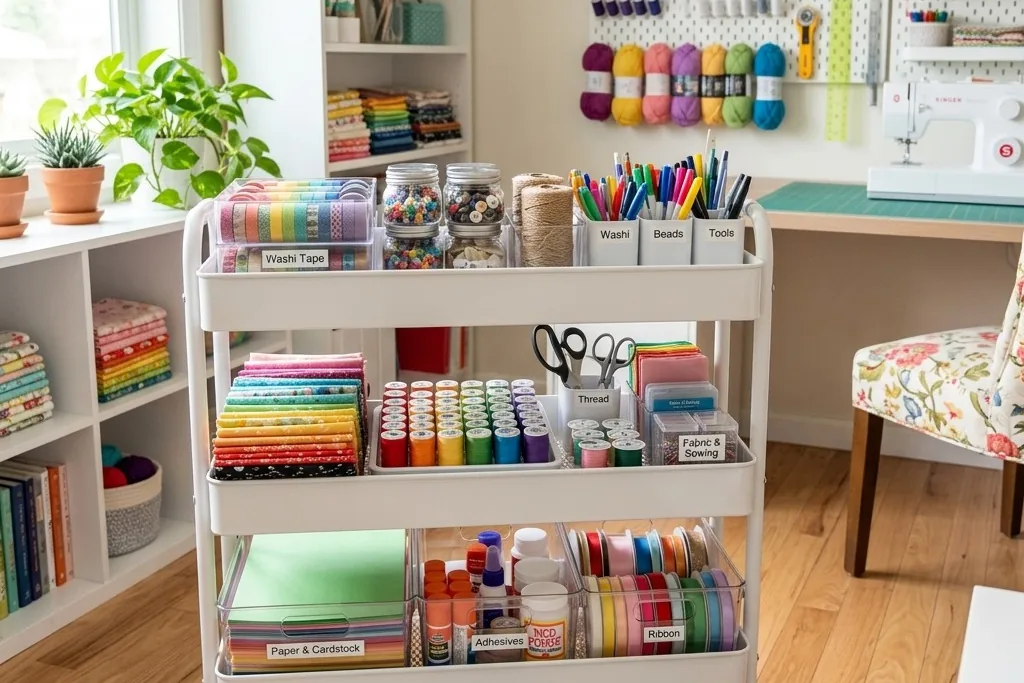
A rolling cart works as moving storage between the worktop, the door, and a rest corner. Load it with the supplies for one activity, such as paints, hand tools, or seed trays, then park it under the worktop or beside the desk when you finish. Carts suit shared studios because each person or project can have its own load that wheels away. Choose a cart with at least one locking wheel so it stays put on a slightly sloped floor, and check its height against the underside of your worktop before you buy.
15. Hide Clutter in a Storage Bench or Slim Cabinet
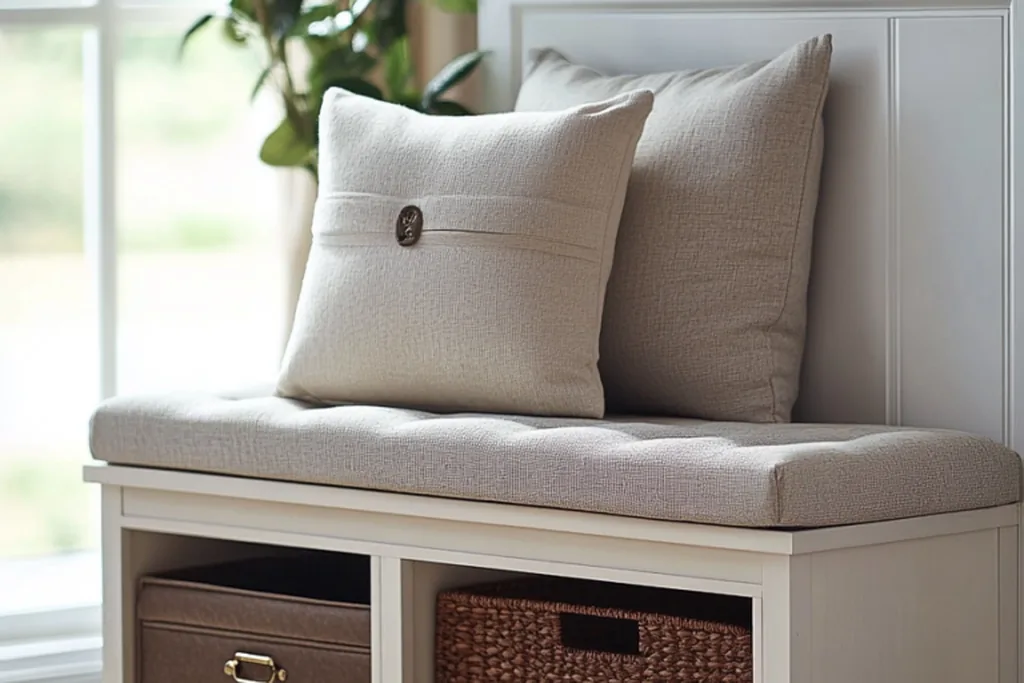
Closed storage keeps a small studio calm. A storage bench under a window holds cushions, blankets, or bulky supplies and gives you a second seat, while a slim cabinet on the solid wall swallows files, chargers, and cleaning items. Baskets inside open cubbies keep the contents sorted without labels everywhere. Measure the door width before ordering any cabinet, because garden studio doors are often narrower than house doors and large furniture may not go through.
16. Hang a Pegboard for Daily Tools
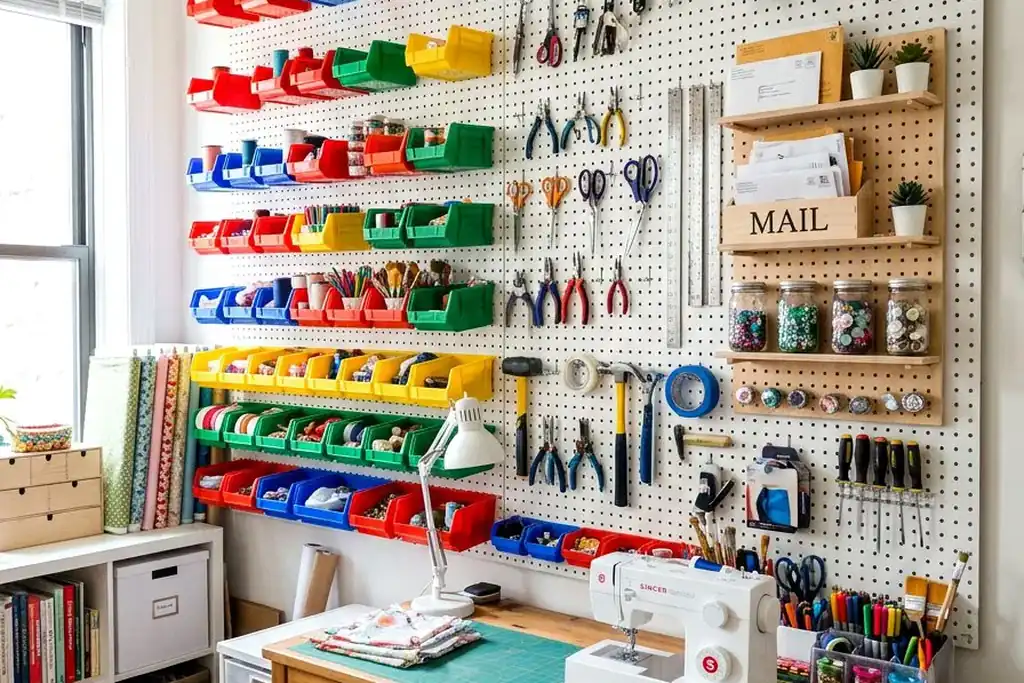
A pegboard above the worktop or inside the door puts daily tools where you can see and grab them: scissors, tape, brushes, hand tools, or headphones. Outline the layout loosely, hang the most used items at hand height, and leave spare hooks so the board can change as your work does. Keep sharp or heavy tools on secure hooks and out of reach of young children. If wall space is tight, a half-height pegboard strip under a shelf still holds the essentials without covering the whole wall.
17. Blend the Building Into the Garden With Colour
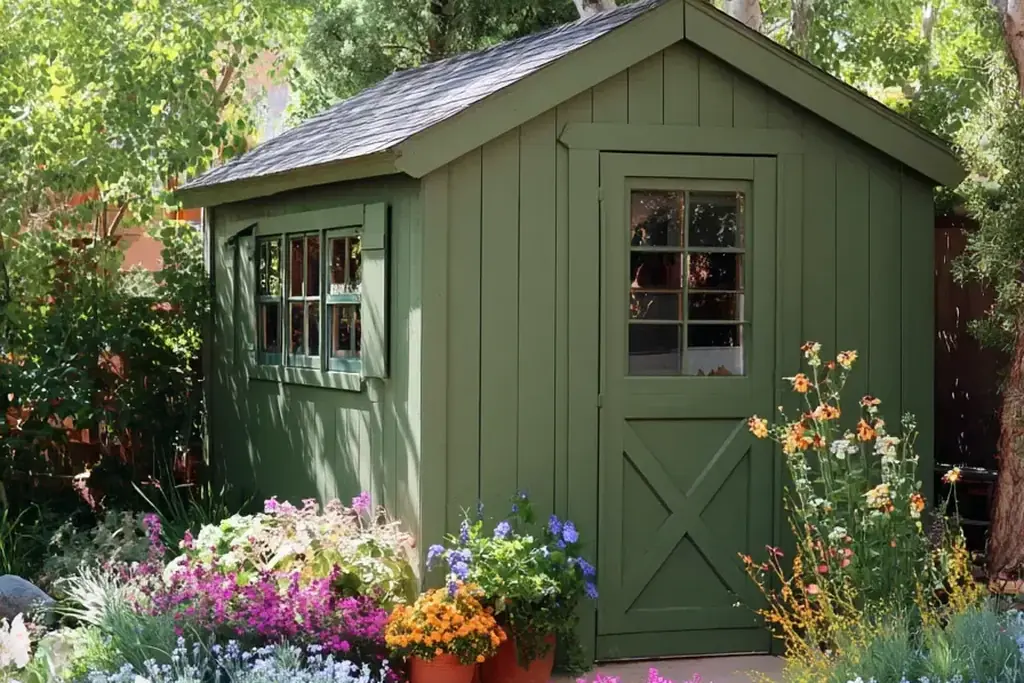
Painting the exterior in a colour drawn from the garden helps a new building settle in quickly. Deep green, soft black, warm grey, or natural timber stain all sit well behind planting, while a pale colour suits a small, shaded garden that needs the light. Repeat the colour on the door or trim of the house if you want a stronger link between the two. Test a painted board outdoors in sun and shade first, because exterior colours look lighter in full daylight than they do on a sample card indoors.
18. Create a Reading Corner With One Good Chair
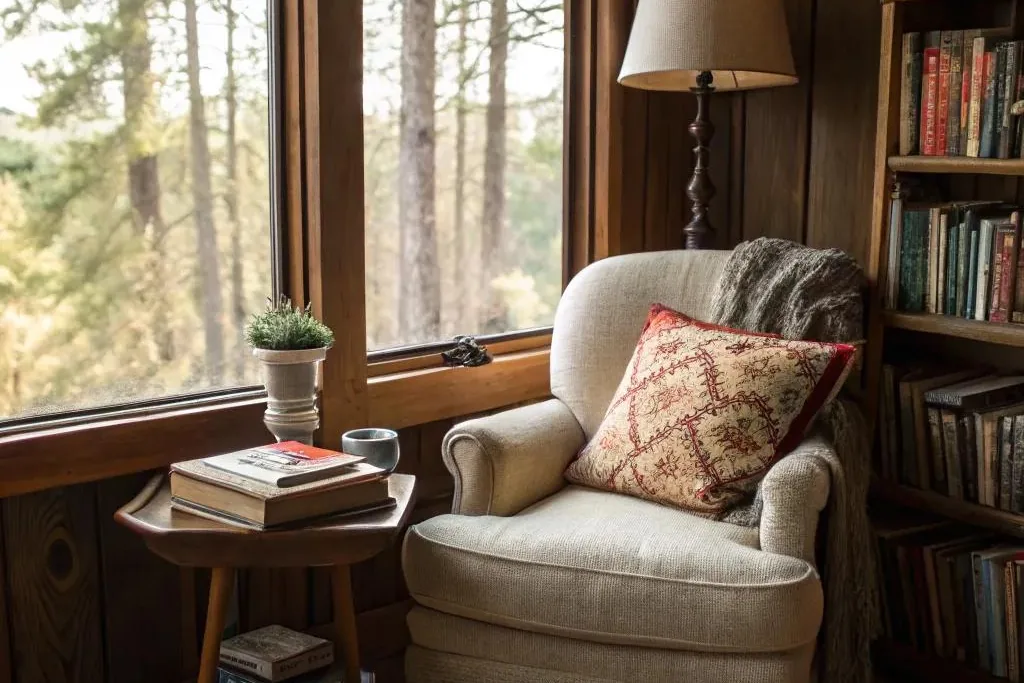
Every studio benefits from one seat that is not the work chair. A single armchair with a cushion, a small side table, and a lamp in the corner away from the door makes a place to read, plan, or take a break between tasks. Arranging one seat around a small focal point, as in these fireplace seating ideas, works outdoors too: angle the chair toward the window view so the garden becomes the feature. Keep the route to the desk clear so the corner stays a retreat rather than an obstacle.
19. Add Plants That Suit the Light You Have
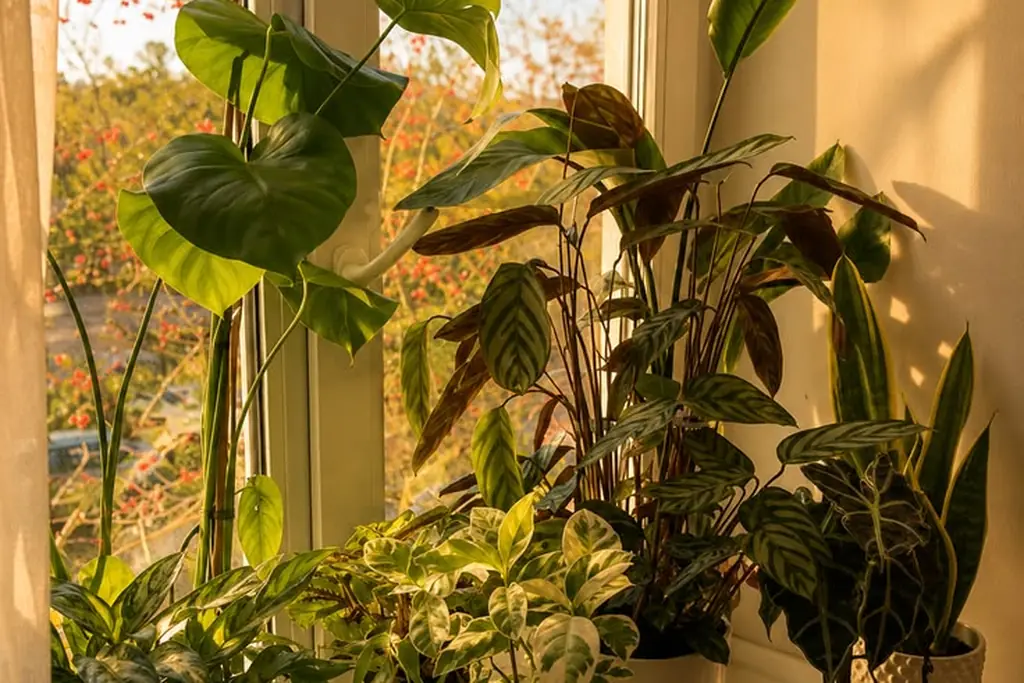
Match plants to the light each part of the studio actually gets instead of filling every surface with pots. Sun lovers belong on the bright sill, while ferns and other shade tolerant plants suit the wall away from the glass. Group two or three pots together for a fuller look, and keep one watering can in the studio so care becomes part of your arrival routine. In a work studio, keep plants off the main worktop and use the sill, a high shelf, or the floor beside the chair instead.
20. Light the Path From the House
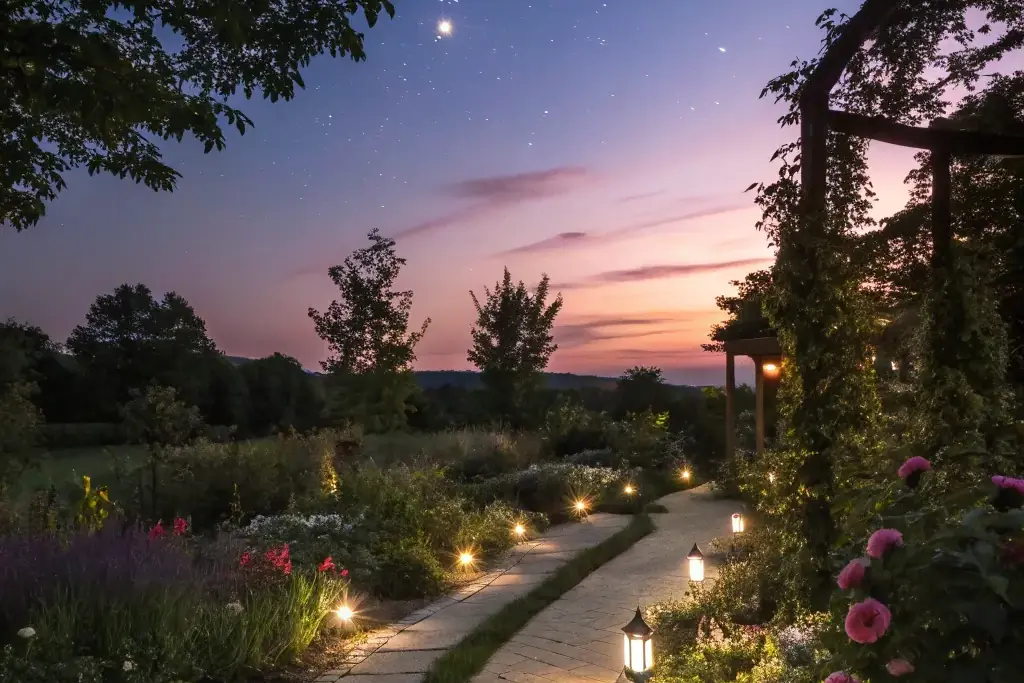
A few low lights along the route from the house make evening trips to the studio safer and more inviting. Space lights to mark changes of level, steps, and the studio threshold rather than lighting every inch of path. Warm white light is easier on the eyes at night and keeps the garden feeling calm. Solar lights are the simplest option where wiring is difficult, but place them where they still catch sun in winter. Whatever you choose, keep the fittings low so the light falls on the ground, not into your eyes.
21. Use One Wall for Art, Boards, and Work in Progress
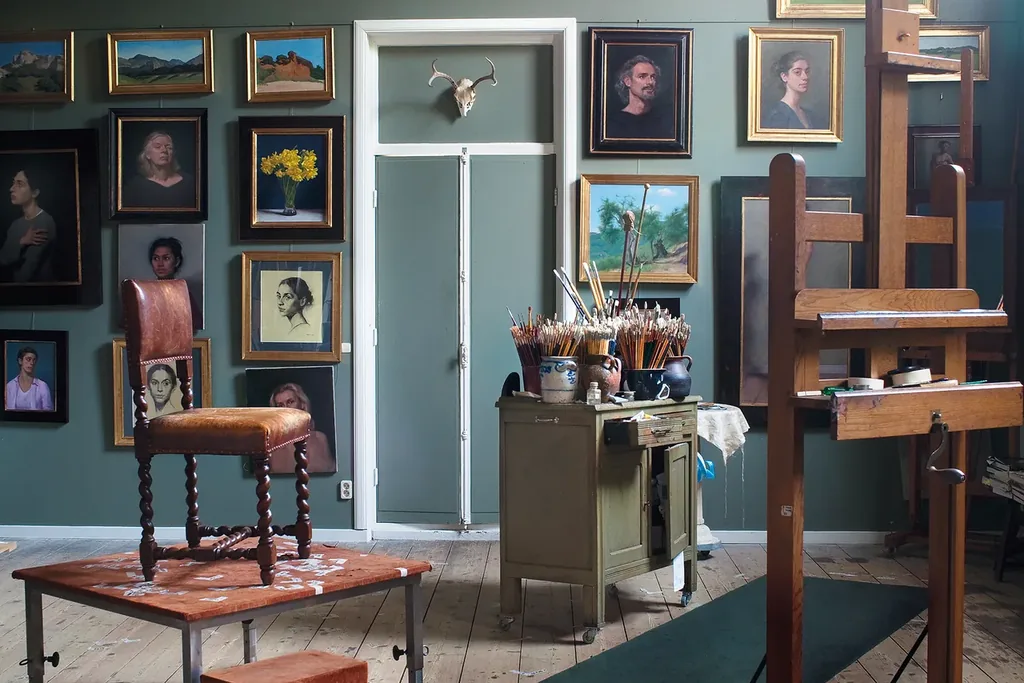
Give the solid wall a job: a pinboard for plans and references, a rail for work in progress, or a simple gallery of finished pieces. One organised display wall keeps inspiration visible without spreading paper across the worktop. Use frames or boards in a similar tone so the mix looks planned, and rotate pieces as projects change. In an art studio this wall can hold drying or finished work; in an office it works better as one board plus one or two framed prints, so calls still look tidy on screen.
22. Finish the Door With a Welcome Detail
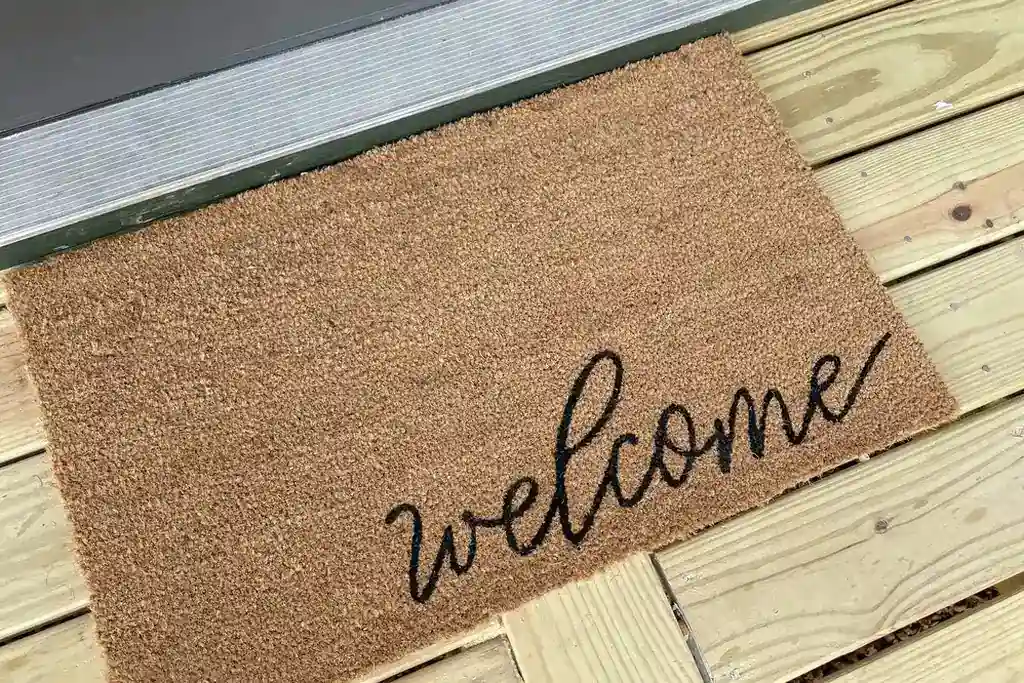
A small detail at the door makes the studio feel finished every time you arrive. A sturdy mat, a hook rail just inside for a coat and bag, and a boot tray below it handle most of what you carry in. Outside, one pot by the door or a simple wreath in season links the building to the house porch. Keep this area strict: if the mat and hooks stay clear, the whole studio tends to stay tidier. It is a small idea, but it is the one you will notice first and last each day.
Conclusion
A good garden studio is planned like a small room, not filled like a shed. Give it one clear job, a sensible spot with light and a short path, and a shell that stays comfortable through the seasons. Then build the inside around a window worktop, shelves, a pegboard, and closed storage, and finish with garden colour, a lit path, and a welcome at the door. Start with the ideas that fix comfort and layout first, and the studio will feel like a fresh part of the home rather than an extra building at the end of the garden.
Save this list on Pinterest for your next garden weekend, and work through it in order: job and spot first, then shell and light, then storage and styling.
FAQs
How big should a garden studio be?
Size it from the job, not from the largest building that fits. A desk, a chair, and shelves work in a compact footprint, while a craft or art studio needs room for a wide table and storage for materials in progress. Lay out your furniture measurements on the lawn with tape or chairs before you order, and leave space for the door swing and a clear walkway. A slightly smaller building that is well organised usually feels better than a larger one filled with overflow from the house.
Do I need permission for a garden studio?
It depends on where you live and on the size, height, position, and planned use of the building. Many areas allow small garden buildings under set conditions, while sleeping in the building, running a business with visitors, or building close to a boundary can bring extra rules. Check with your local planning or permit office before you order or start groundwork, and keep their answer with your paperwork. This article gives design ideas only and cannot confirm the rules for your address.
Can I use a garden studio all year round?
Yes, if the building is planned for it. Insulation in the walls, roof, and floor, draught sealing at the door, and a small heater sized to the room cover most cold weather needs. In summer, blinds, opening windows, and a fan keep the air moving, and outdoor shade on the sunniest side helps more than people expect. Very hot or cold climates may need stronger systems, so treat the studio like a small room of the house rather than a storage shed when you plan the build.
How do I get internet in a garden studio?
Start by testing your home wifi inside the finished building, because distance, walls, and foil-backed insulation can weaken the signal. If it drops, a wifi booster placed in the house near the garden wall may be enough for browsing and email. For steady video calls, a data cable run in at the same time as a proper power supply is the more reliable option, and both should be installed or checked by a qualified electrician. Avoid trailing ordinary indoor extension leads across the garden as a long term solution.
What is the difference between a garden studio and a shed?
A shed is built mainly for storage, with thin walls, small windows, and no insulation. A garden studio is built as a room for people, with insulation, larger windows or glass doors, a finished interior, and a proper power supply, so it stays comfortable for hours of work or rest. You can convert a sound shed toward studio use by adding insulation, better glazing, and safe power, but the structure and roof must be in good condition first. If the base building leaks or flexes, fixing that comes before any styling.
How can I keep a small garden studio tidy?
Work in zones and give everything a home in one of them: current tools on the pegboard or cart, daily supplies on the open shelves, and everything else in closed storage. Keep the worktop rule of one empty stretch, return the cart to its parking spot when you finish, and do a two minute reset of the door area before you lock up. Studios get untidy when house overflow moves in, so keep a firm rule that items with no role in the studio’s main job stay in the house.