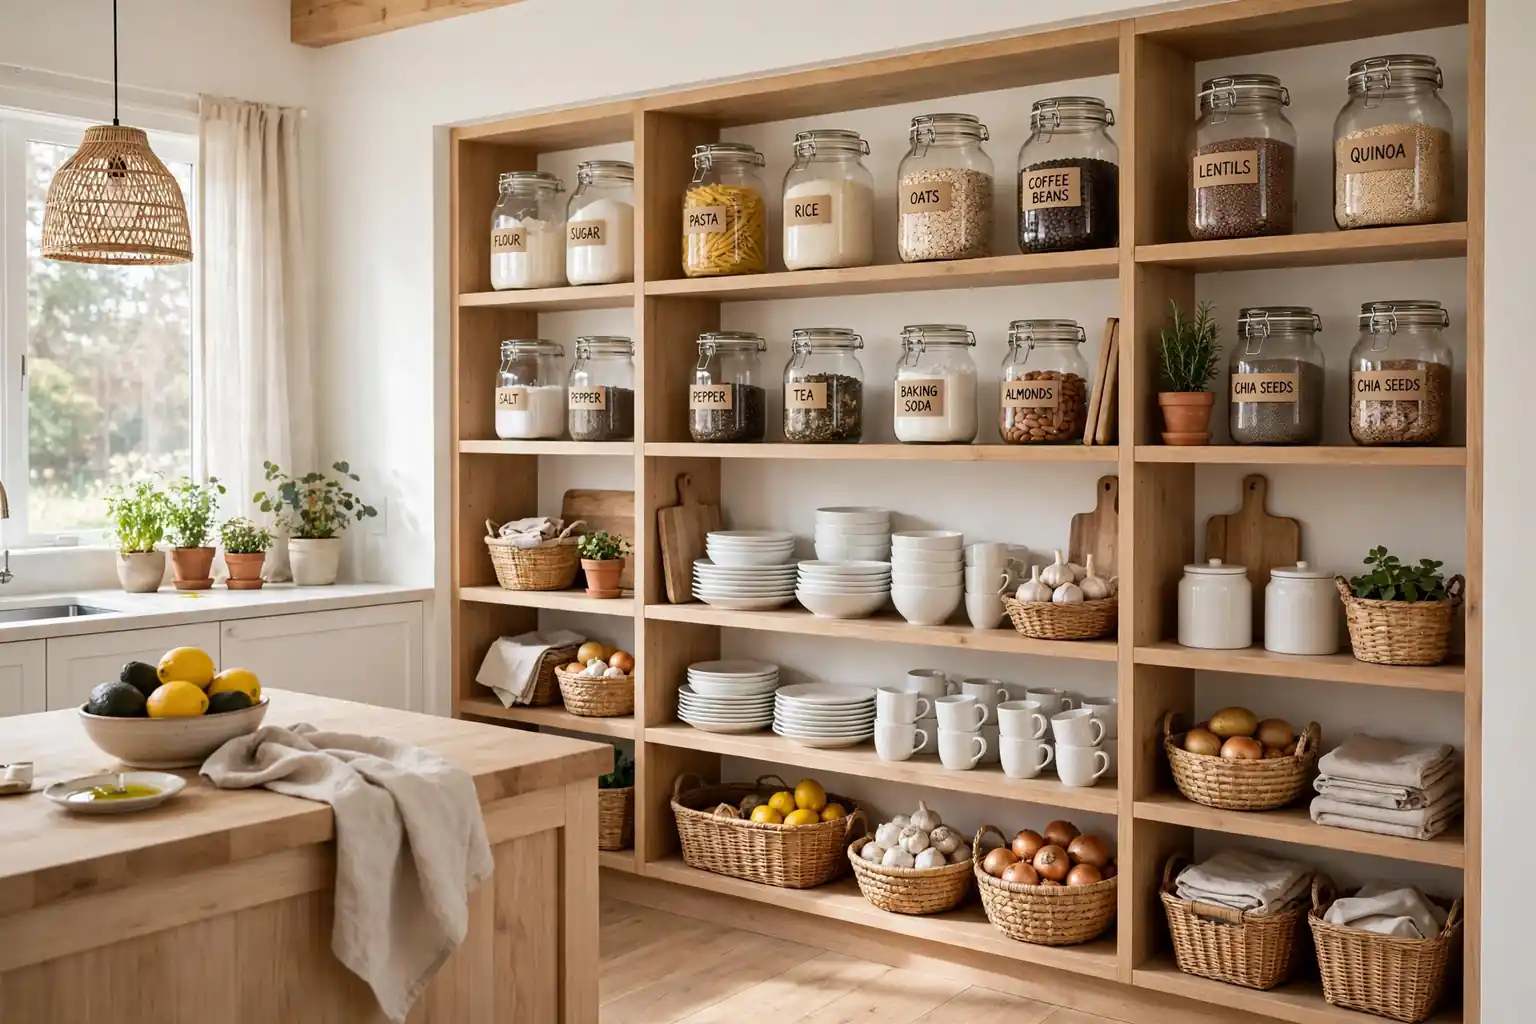
An open shelving pantry puts food where you can see it, which makes cooking faster and shopping easier. No more digging behind closed doors for the rice or buying a third jar of cumin because the first two were hidden. These 31 open shelving pantry kitchen ideas cover full pantry walls, walk-in pantries, corners, narrow gaps, small kitchens, and large family kitchens, so you can find a layout that fits your space. Start with the food you reach for daily, give it one clear shelf home, and keep closed storage nearby for the items that look better behind a door. For wider wall storage planning, these kitchen wall storage ideas pair well with the pantry layouts below.
Key Takeaways
- Start with daily food first: give everyday items one clear, reachable shelf before you style higher or deeper shelves.
- Keep open shelves shallow enough to see every item, and store only one row deep where possible so nothing hides behind another jar.
- Group food by use, such as breakfast, baking, cooking, and snacks, rather than by size or color alone.
- Use matching jars and baskets for loose or mixed items, and leave one gap on each shelf so the pantry reads as calm, not crowded.
- Fix heavy shelf runs into studs or with fixings rated for the load, and keep the heaviest jars low.
1. Everyday Dish and Pantry Shelves Beside the Sink
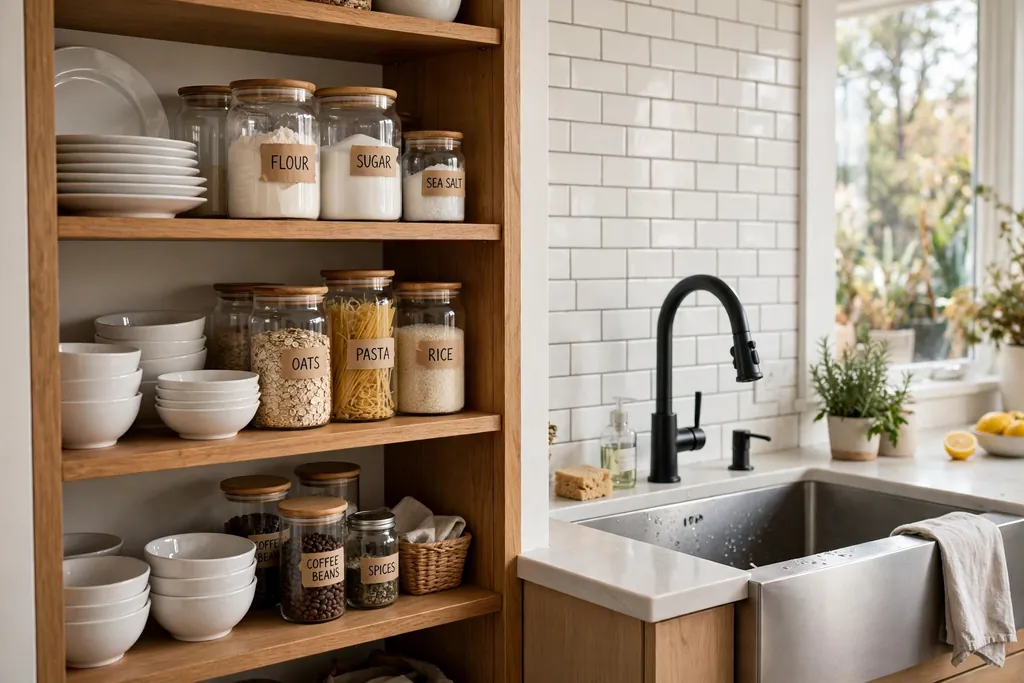
Put a short run of open shelves beside the sink for the plates, bowls, and pantry staples you use at every meal. This spot works because washing up, putting away, and cooking all happen within a few steps. Choose shelves deep enough for dinner plates, and keep the lowest shelf at a height you can reach without a step stool.
Group plates in one stack, bowls in another, and daily jars in a single row at the end. Keep heavy stacks low, and leave space at each end so you can pull one item out without knocking its neighbors over. If the sink splashes, keep paper goods and open boxes off the lowest shelf.
2. Floor to Ceiling Pantry Wall
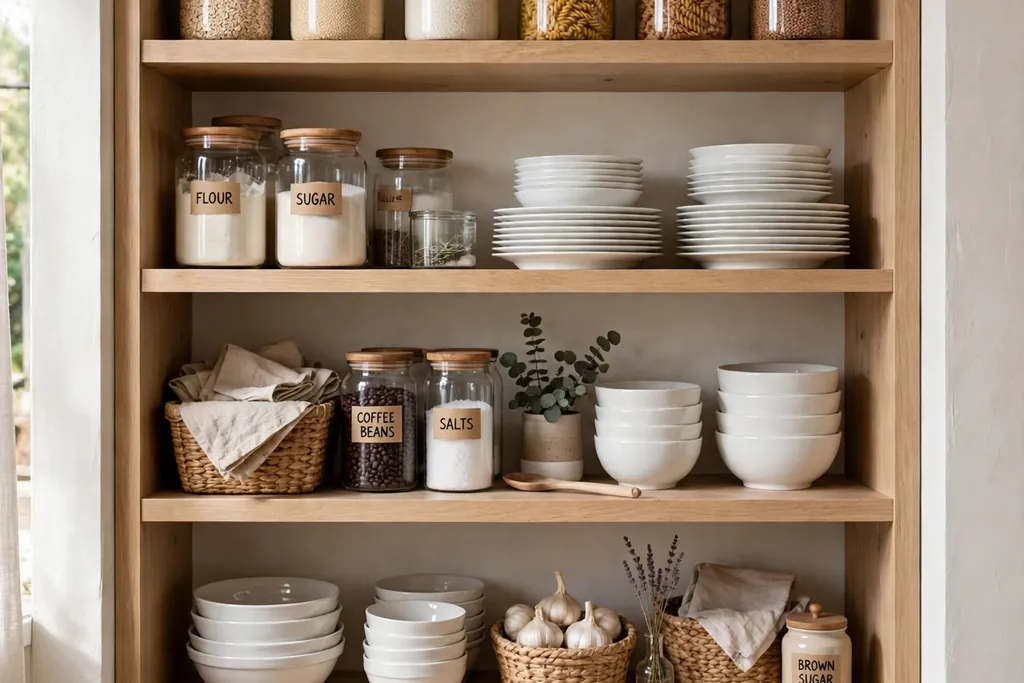
A floor to ceiling pantry wall turns one blank kitchen wall into the main food store for the whole household. Paint the shelves the same color as nearby cabinets for a fitted look, or use natural wood for contrast against painted walls. Put heavy items, such as large flour bins and bulk packs, on the lowest shelves, daily food at middle height, and light items, such as baskets and spare linens, up high.
This layout suits a wall beside the fridge or at the end of a galley kitchen, where a full wall unit will not block a walkway. Anchor the unit firmly, check that cabinet doors and drawers still open fully, and leave one shelf partly empty so a big shop has somewhere to go.
3. Walk-In Pantry With Open Shelves on Three Walls
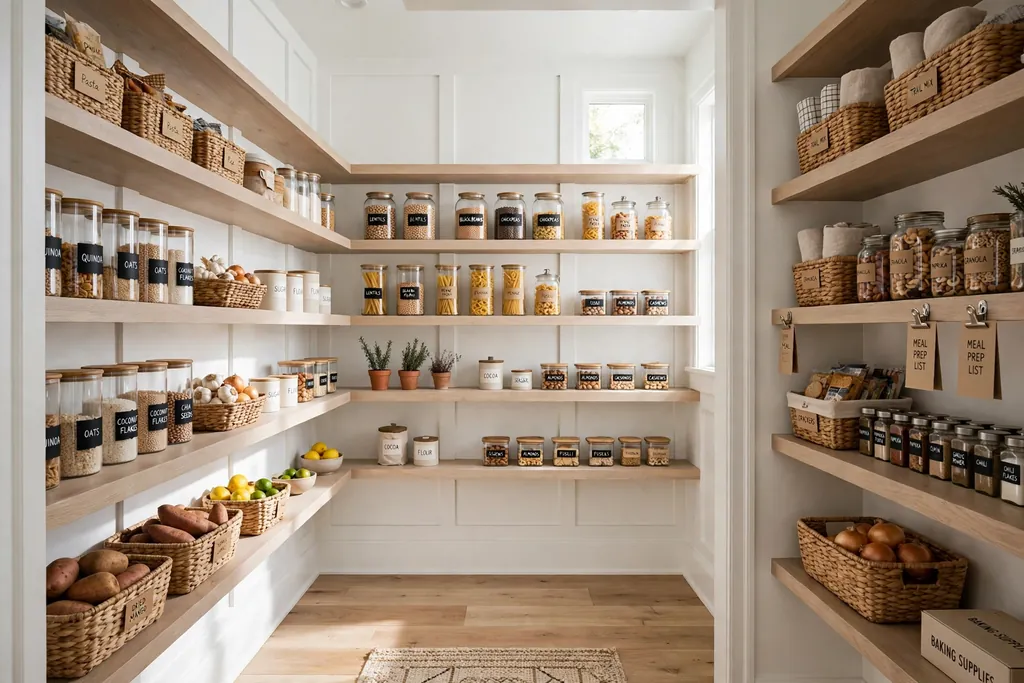
A walk-in pantry with open shelves on three walls gives every food group its own zone without a single deep cabinet. Use one wall for breakfast and snacks, one for cooking staples, and one for baking and bulk items, so anyone in the household can find what they need. Keep the center clear for a step stool and a basket for items on their way back to the kitchen.
Label each shelf run at eye level, and keep the most used wall nearest the door. This layout suits a spare closet or a small room beside the kitchen best, since it needs clear floor space to step inside and turn around. A single light inside the pantry matters more than decor here, because a dark corner hides food just as well as a closed door.
4. Labeled Glass Jars on One Shelf Run
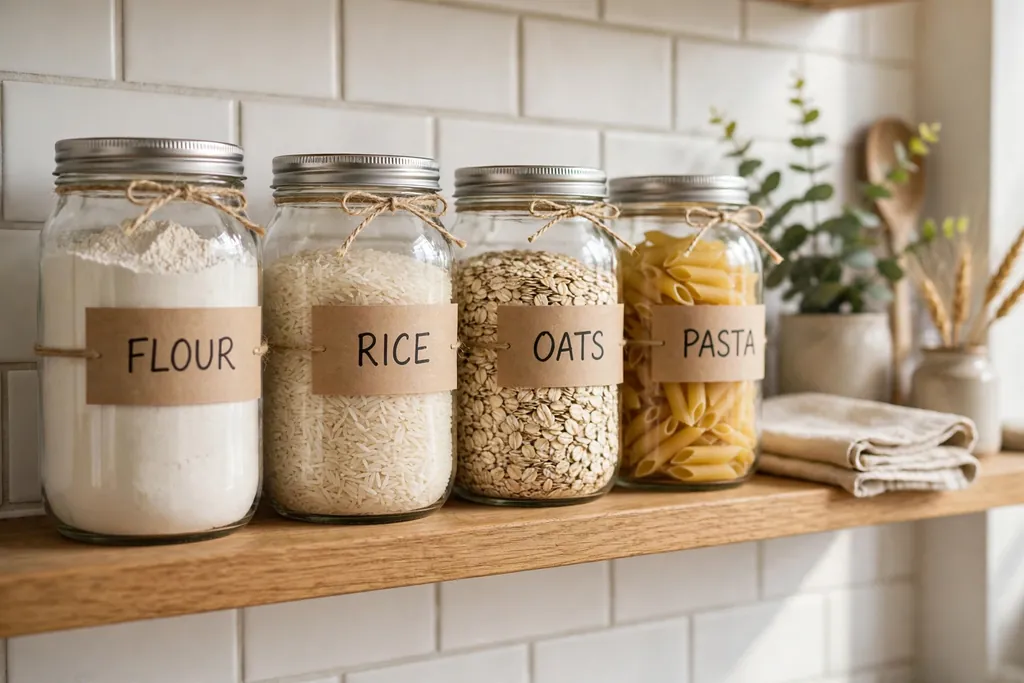
One shelf run of labeled glass jars turns loose staples into a pantry you can read at a glance. Decant flour, sugar, rice, oats, and pasta into jars of one or two sizes, and label each jar on the front with its name and date. Clear glass lets you see stock levels, so you know what needs refilling before you write a shopping list.
Keep jars of the same size together, and put the jars you use most at eye level. Wash and dry jars fully before refilling, and keep a scoop in the jars you use daily. If glass feels risky in a busy family kitchen, use sturdy clear containers with the same clean shape instead.
5. Wood Shelves With Woven Baskets
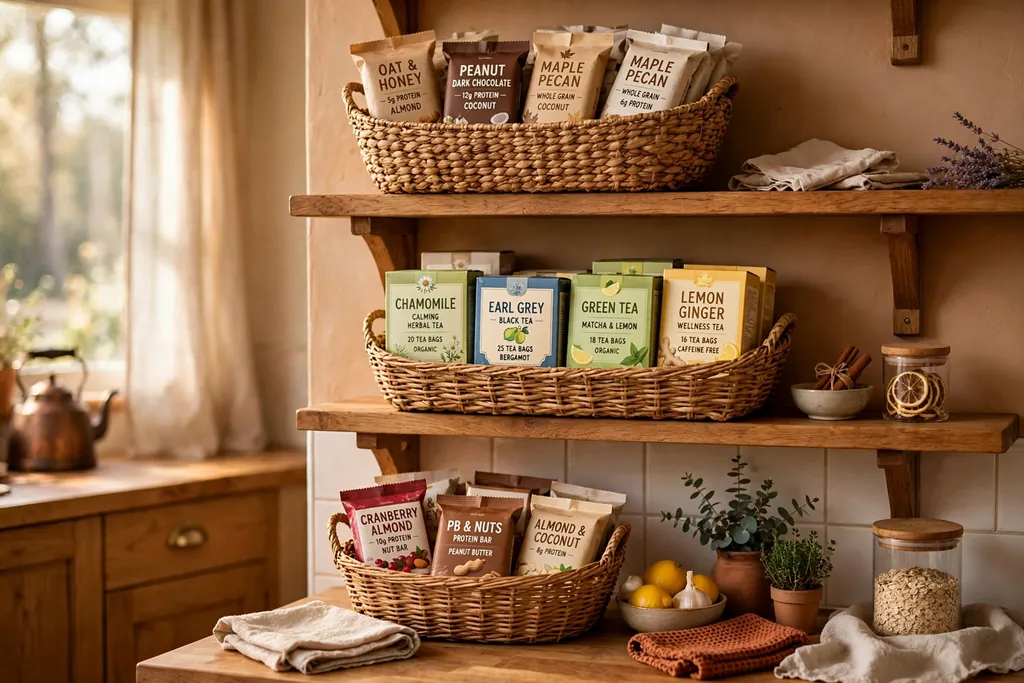
Wood shelves paired with woven baskets hide the mixed, small, or oddly shaped items that look untidy on open shelves. Use one basket per job, such as snack bars, sauce packets, or tea boxes, and set them on shelves where they are easy to reach. Keep baskets off damp surfaces and away from direct sink spray, since constant damp can damage natural fibers.
Label the front of each basket if they look alike, and empty them once a month to return only what you actually use. Rolled linen napkins or a small plant on top of one basket adds a warm finish without taking food space.
6. Corner Pantry Shelves in an L Shape
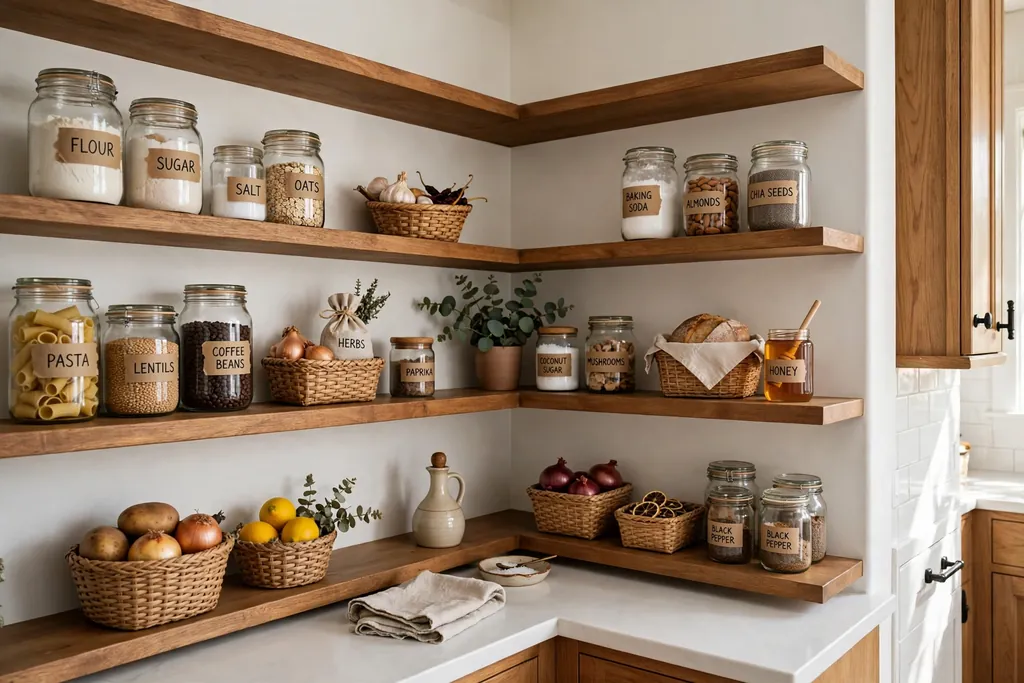
L shaped corner shelves use the kitchen corner that often holds nothing but dust. Two or three shelves running around the corner can hold jars, small baskets, and everyday staples, freeing the main counter for prep. Choose shelves sized to the corner so they do not stick out past the counter edge below.
Keep corner shelves light, since reaching into a deep corner for a heavy item is awkward. Put daily items near the front edge and lighter, less used items toward the back, and leave the lowest corner shelf clear if it sits above a small appliance. Corner shelves work best as a small addition to a pantry wall, not as the main food store.
7. Narrow Pantry Shelves Beside the Fridge
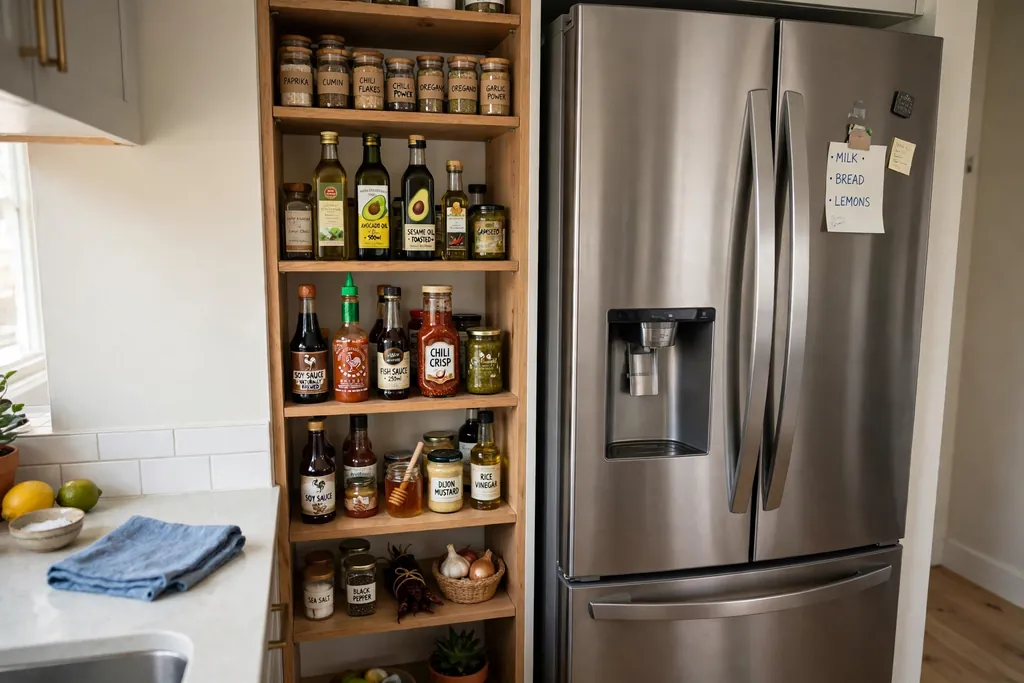
The narrow gap beside the fridge, the oven housing, or a tall cabinet can hold slim open shelves for oils, sauces, spices, and cans. Because the shelves are shallow, you can see every item without reaching to the back of a deep cupboard. Measure the gap carefully, including skirting boards and door handles, before you fit the shelves.
Group items by use, such as cooking oils together and baking items together, and put heavy jars low. A shallow shelf also helps in a galley kitchen, where every centimeter of wall storage counts. Keep the shelf clear of the fridge door swing so bottles do not get knocked when the door opens.
8. One Short Shelf Run for a Small Kitchen
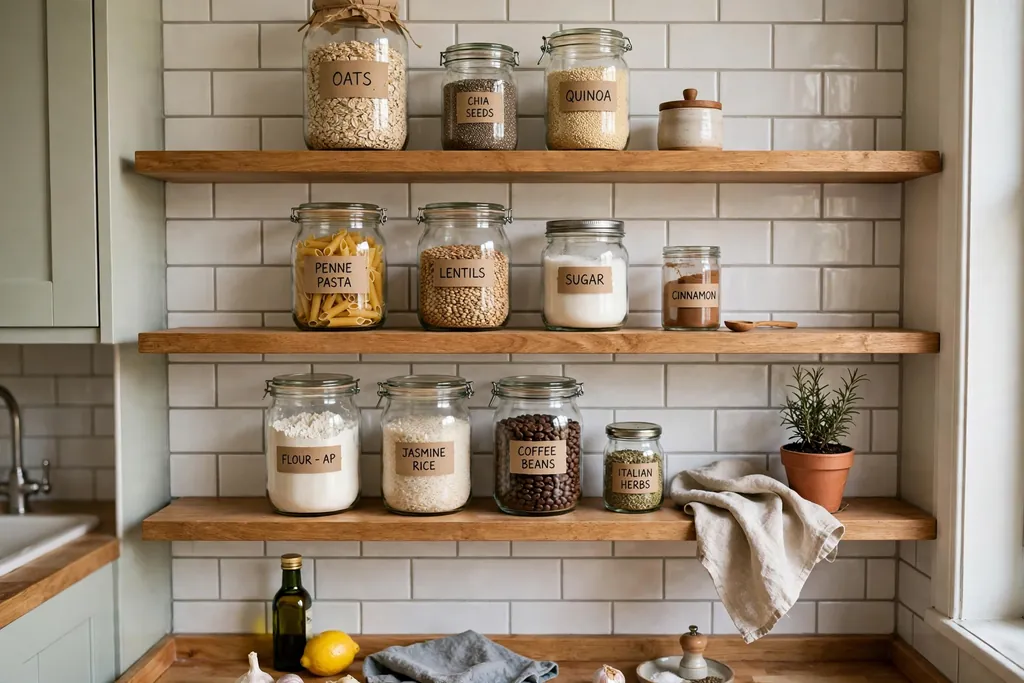
A single short run of two or three shelves can carry a whole small kitchen pantry if you choose the items with care. Pick the ten to fifteen staples you actually cook with, and give the rest of your food a home in a cabinet or a basket elsewhere. This restraint is the point: a short run stays neat because it cannot hold everything.
Place the run near the prep counter but clear of steam from pots and the kettle. Use matching jars for loose items, and leave one gap on each shelf so the run reads as planned. If the run fills up, move the least used item out rather than adding a fourth crowded shelf.
9. Open Shelves Above, Closed Cabinets Below
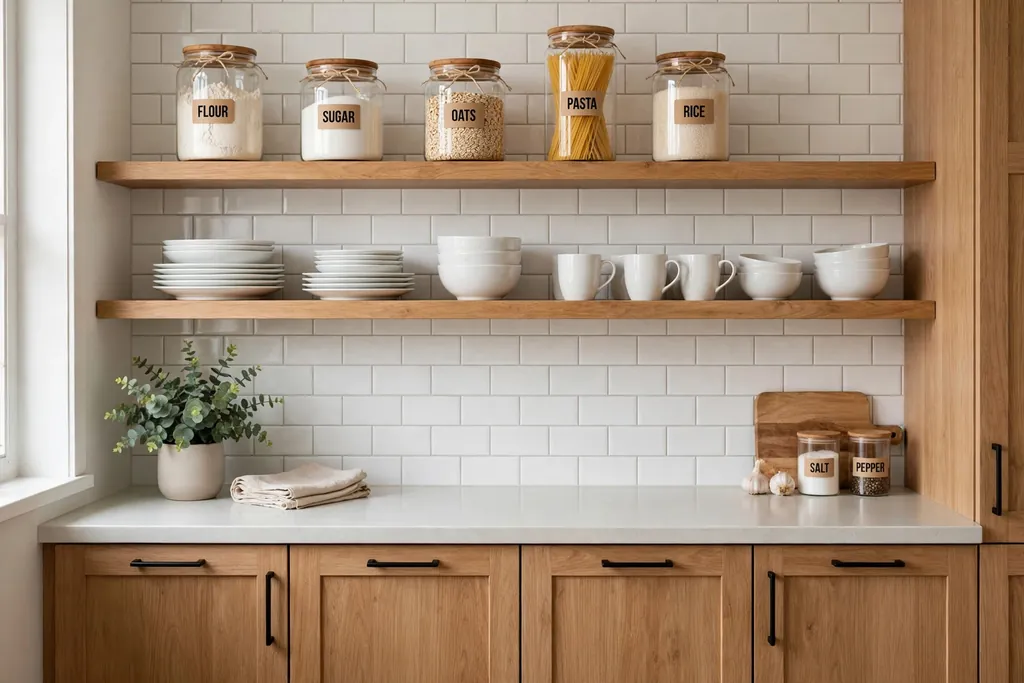
Open shelves above and closed cabinets below give you the best of both pantry styles. Daily dishes, jars, and pretty staples live on the open shelves where they are easy to grab, while cleaning supplies, oddly shaped packs, and spare stock hide behind the cabinet doors below. The closed base also anchors the wall visually, so the open shelves do not look like they are floating.
Keep the open run short, usually two or three shelves, so the display stays easy to manage and dust. Match the shelf finish to the cabinet color, or use natural wood for contrast, and keep the counter between them clear except for one or two daily items.
10. Bright White Shelves for a Small Dark Kitchen
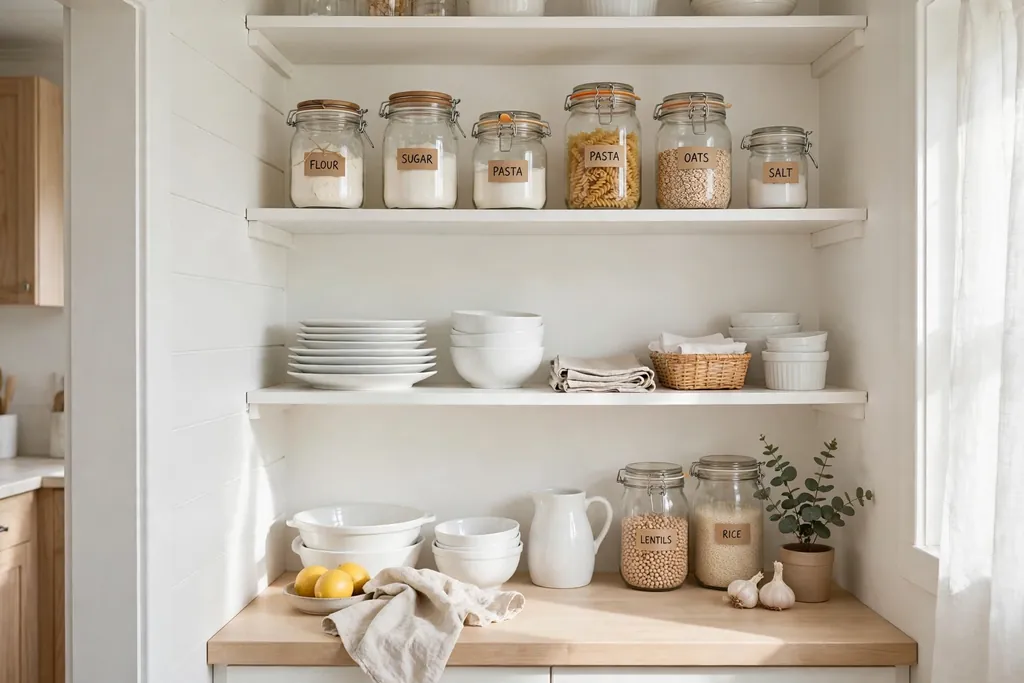
White open shelves keep a small or dark kitchen feeling light, even when they hold a full pantry. The white reflects light from the window and ceiling, and it makes jar labels and dish colors easy to read. Paint the shelves and brackets the same white as the walls for a clean, built-in look.
Keep the shelf styling simple: white dishes, clear jars, and one wood basket are enough. Avoid dark baskets or heavy rows of colored packs on white shelves, since they undo the brightness the white was meant to give. Wipe white shelves often, since kitchen grease settles on open surfaces faster than in closed cabinets.
11. Warm Dark Wood Shelves in a Rustic Kitchen
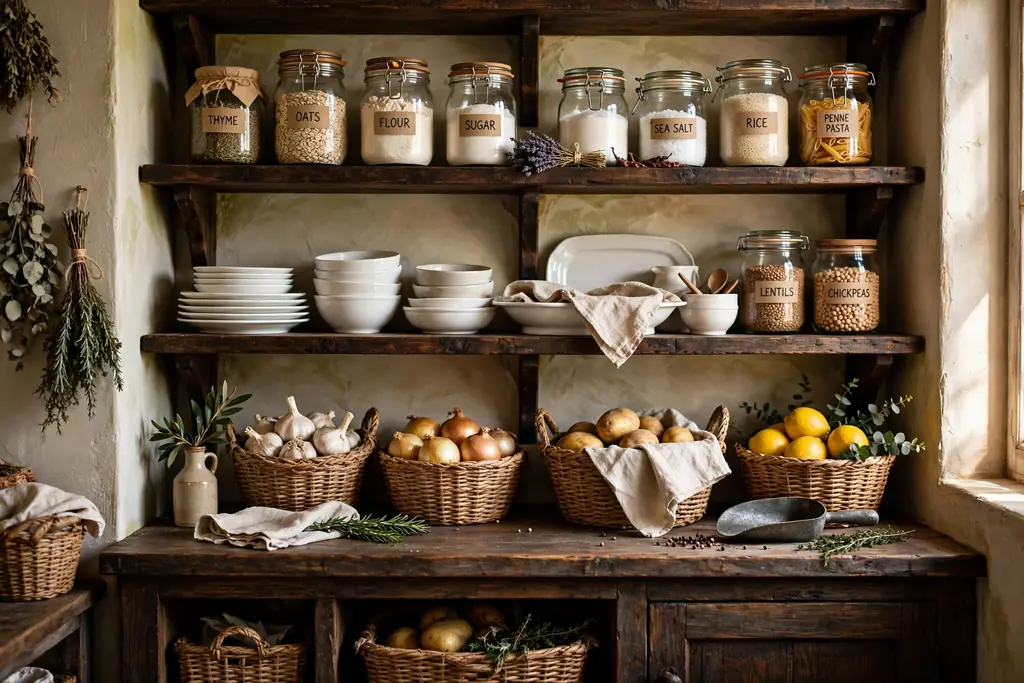
Dark wood shelves bring warmth to a rustic kitchen and suit stone counters, cream cabinets, and cast iron details. The deep tone pairs well with clear jars, white dishes, and woven baskets, and it softens a room full of tile and steel. Choose a sealed finish made for kitchen humidity, and wipe spills promptly so the surface lasts.
Keep the brackets simple, such as matte black metal, so the wood stays the focus. If the kitchen is small or dim, use dark wood for one shelf run only, and keep the other walls light so the room does not feel closed in.
12. Black Metal and Wood Shelves for an Industrial Look
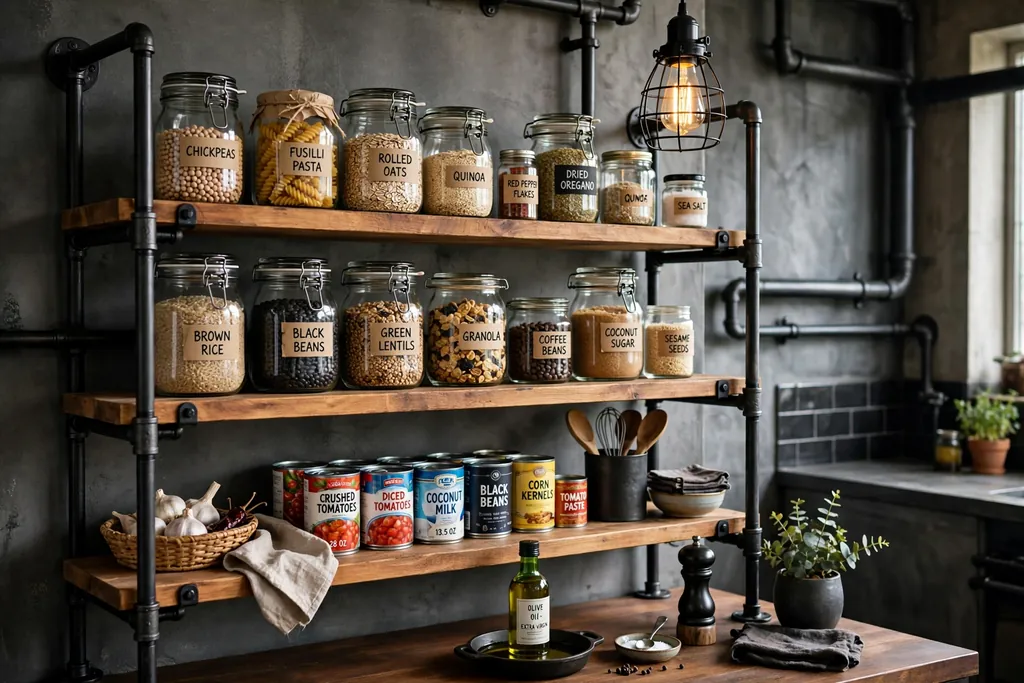
Black metal frames with wood boards give a pantry an industrial edge that suits brick walls, concrete counters, and steel appliances. The metal frame carries more weight than wood brackets alone, which helps when shelves hold rows of jars and cans. Check the weight rating of the frame before you load it, and fix it into studs.
Keep the boards in one wood tone, and use matching jars or plain cans so the shelf reads as tidy rather than busy. One metal shelf run is usually enough; pairing it with plain painted walls keeps the industrial detail from taking over the kitchen.
13. Cookbook Row Above the Pantry Shelves
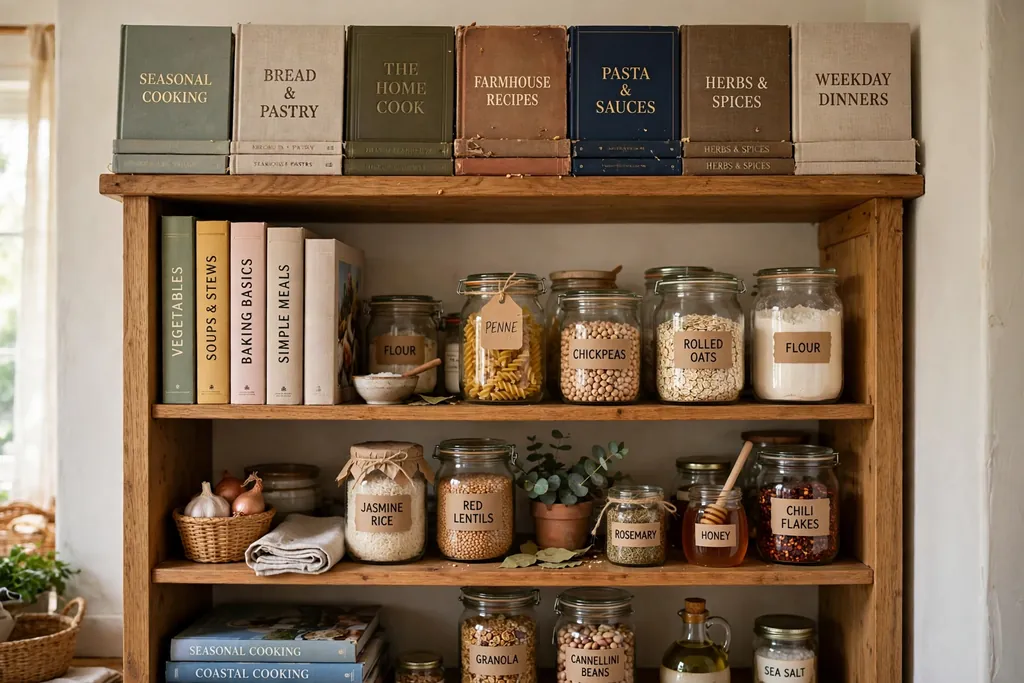
A cookbook row above the pantry shelves keeps recipes where ingredients are close at hand. This works best in a walk-in pantry or on a pantry wall with a shelf run that is not already full to the ceiling. Use bookends or a small rail to stop books from falling when the pantry door closes, and keep the row at eye level or just above the food shelves.
For more cookbook shelf layouts, these kitchen bookshelf ideas show how one strong row can carry a plain wall. Keep only the books you cook from often on the pantry row, and store the rest on a higher shelf or in another room, so the row stays easy to browse while you cook.
14. Breakfast Station Shelves for Coffee and Tea
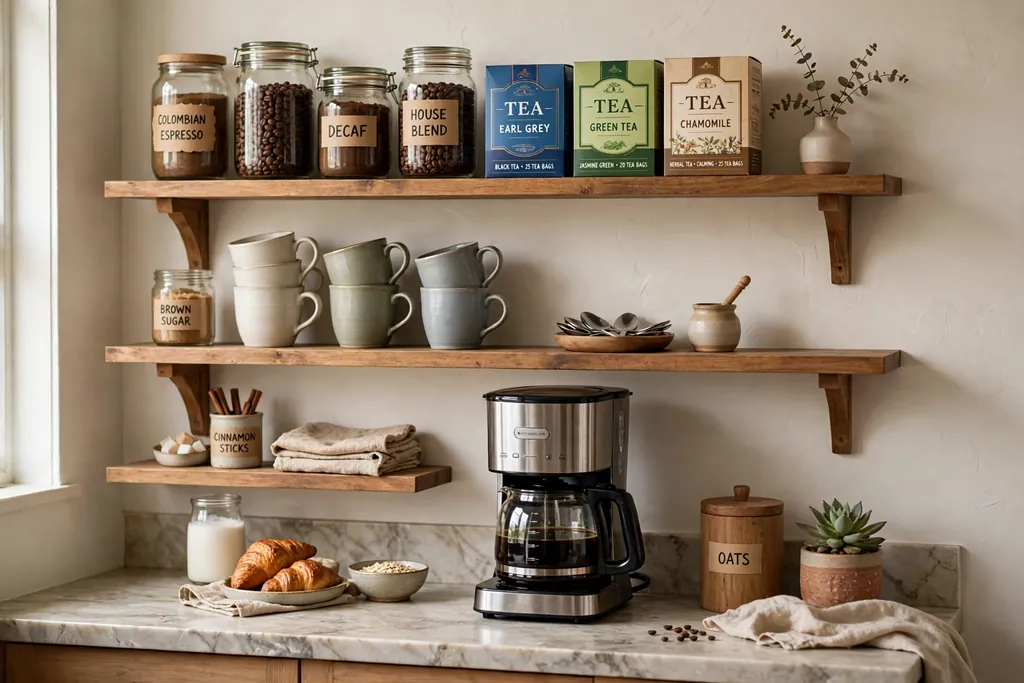
Breakfast station shelves gather coffee, tea, mugs, and breakfast food in one spot, so mornings run with fewer trips around the kitchen. Put the coffee maker or kettle on the counter below, mugs on hooks or on the lowest shelf, and coffee, tea, and breakfast jars above. A small tray under the machine catches drips and keeps the counter tidy.
Keep the station to one shelf run, and move spare stock to the main pantry so the breakfast shelves hold only what you use each morning. If more than one person makes breakfast, label the jars and keep each person’s mug in the same spot every day.
15. Baking Zone Shelves Near the Oven
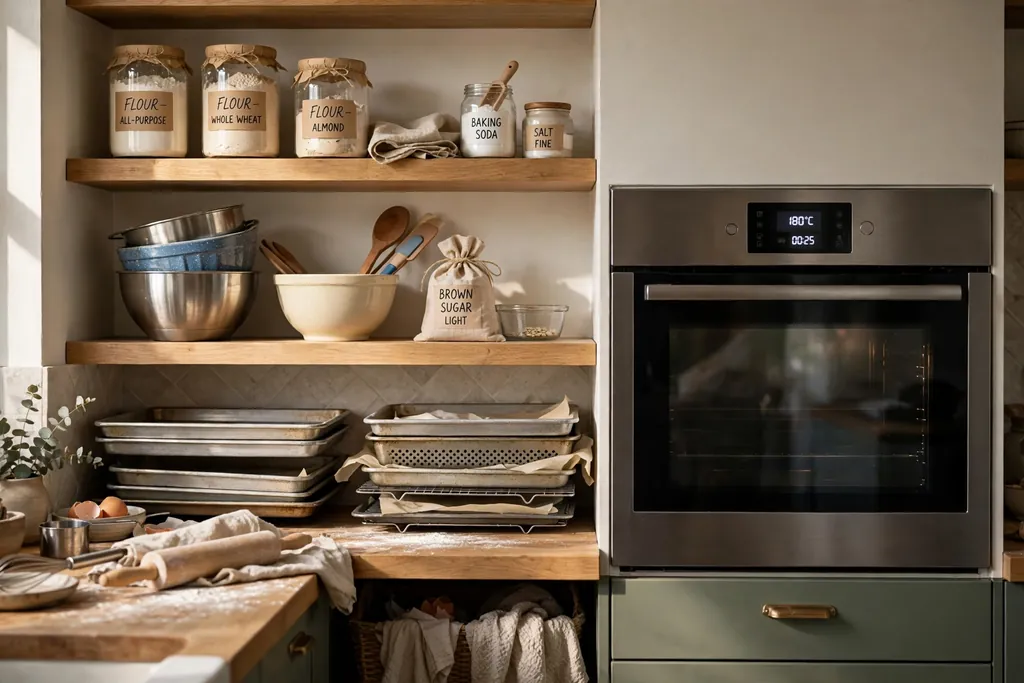
Baking zone shelves near the oven hold flour, sugar, baking powder, vanilla, mixing bowls, and baking trays in one place, so you can set up without crossing the kitchen. Keep the shelves clear of direct oven heat, and use sealed jars for flour and sugar so they stay fresh and free of kitchen dust. Stack mixing bowls by size, and stand baking trays upright in a rack at one end.
Label the baking jars clearly, especially if two white powders look alike, and keep a small scoop in each jar. Move finished bakes off the shelves promptly, so the baking zone stays ready for the next session rather than filling up with cooling racks.
16. Spice Shelves in One Tight Row
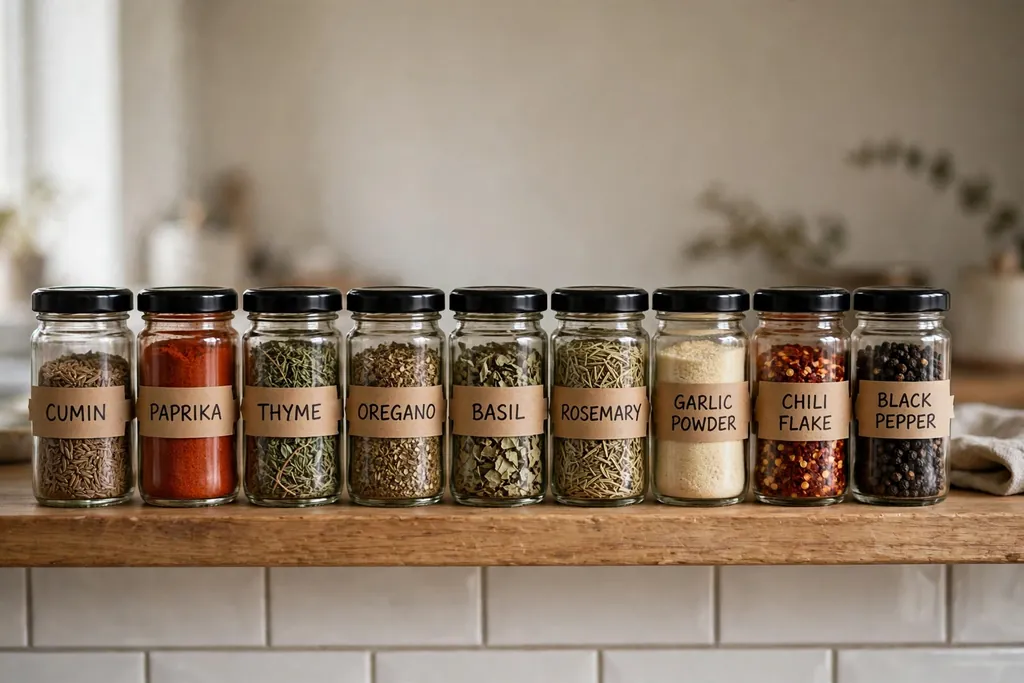
Spice shelves work best as one tight row of small, matching jars at eye level, away from stove heat. Use jars of one size so the row looks tidy and the jars sit flat, and label each jar on the lid or side. Group spices by use, such as everyday cooking, baking, and heat, and keep the row near the prep counter rather than above the stove.
Refill jars from larger store packs kept in a cabinet, and check dates twice a year. A row that holds twelve to twenty jars suits most home cooks. If the row grows past that, move the rarely used spices to a higher shelf and keep only the daily set at eye level.
17. Canned Goods Shelves With Front-Facing Rows
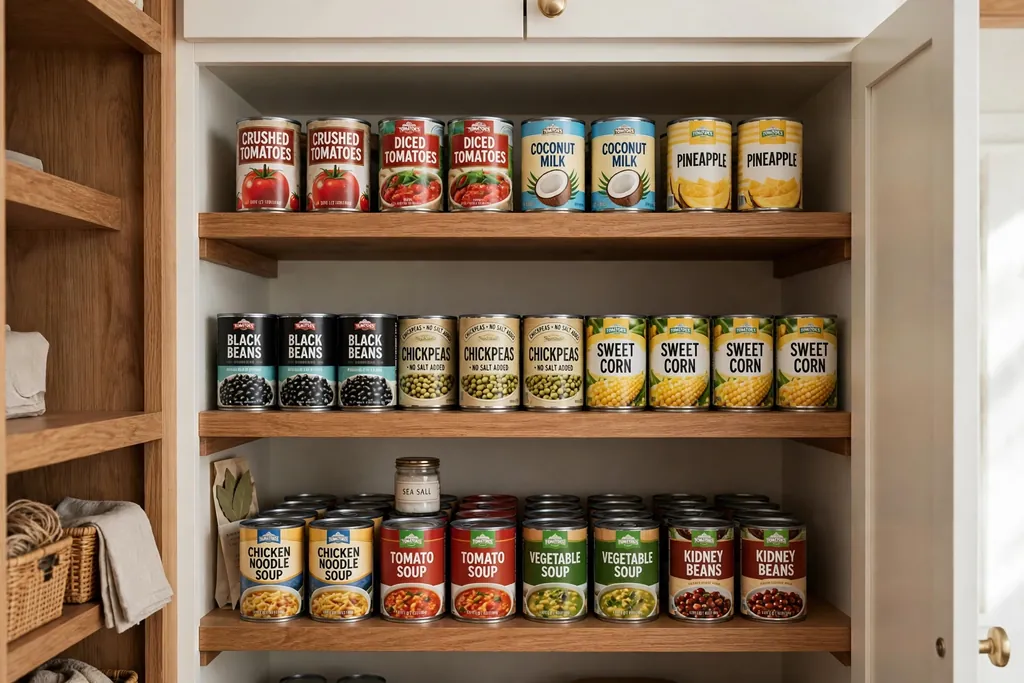
Canned goods stay easy to use when they sit in front-facing rows, one can deep, with labels facing out. Sort cans by type, such as tomatoes, beans, and soup, and keep the newest cans at the back so older cans get used first. A small shelf lip or rail stops cans from sliding forward when a nearby door closes.
Keep the shelf height tight, just above the tallest can, so you fit more rows in the same wall space. Count cans before shopping, since a front-facing row makes stock levels plain to see. If cans pile up in two rows, move the spares to a closed cabinet and keep only the working row on display.
18. Low Snack Shelf for Kids
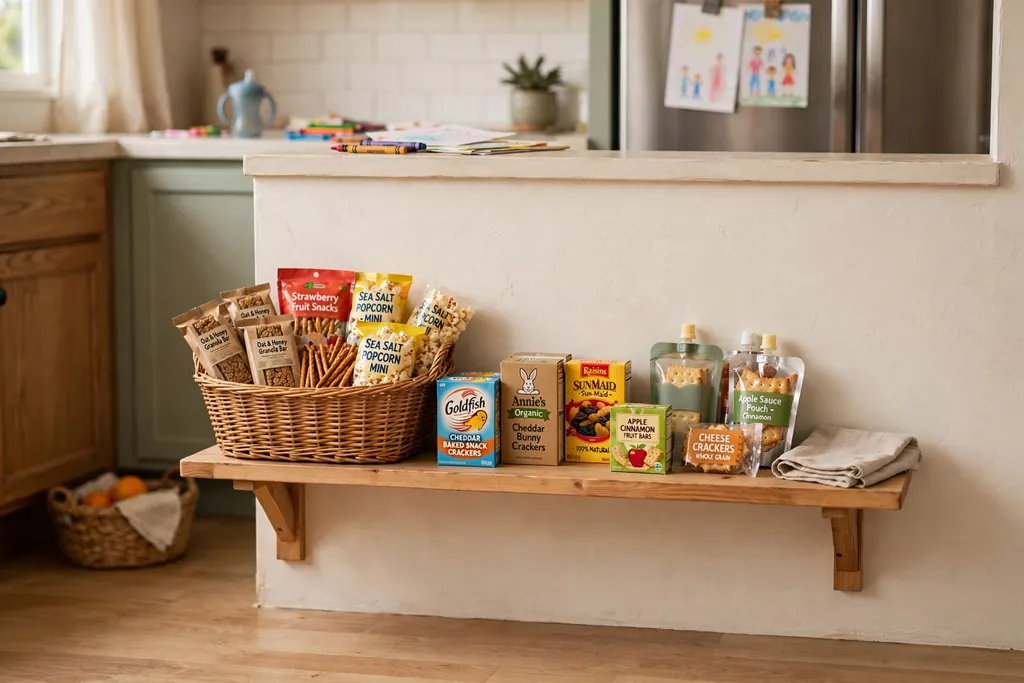
A low snack shelf at child height lets younger family members choose their own snacks without climbing or asking for help. Place it away from the stove and sharp tools, near a counter where snacks can be eaten with an adult nearby. Use sturdy, wipe clean shelves, and keep the snacks in one basket or a few small bins so small hands can pull one item out without toppling the row.
Stock the shelf with a few approved snacks, and refill it once a day rather than filling it for the whole week. Rotate the snacks every few weeks, so the shelf stays inviting and the collection does not outgrow the space. This shelf also teaches children where food belongs, which keeps the rest of the pantry tidier.
19. Pantry Shelves Above the Countertop
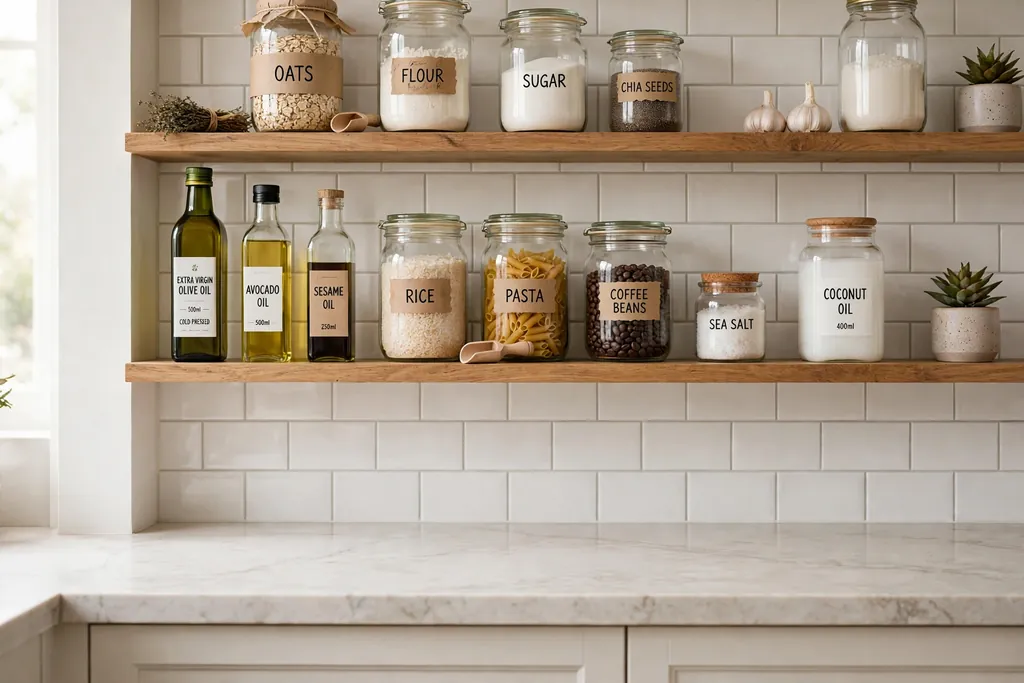
Pantry shelves above the countertop turn the wall over the work surface into daily food storage, with no extra floor space needed. Keep the lowest shelf within easy reach for daily jars and oils, and use higher shelves for serving pieces and less used staples. Leave a clear stretch of counter below, so the shelves help cooking instead of crowding it.
Fix the shelves into studs, since a shelf of jars is heavier than a shelf of ornaments, and keep them clear of the sink splash zone. Wipe the shelf tops often, since kitchen dust settles on open surfaces, and keep one shelf partly empty so a new jar always has a place to go.
20. Shelf-Lined Pantry Closet From a Spare Closet
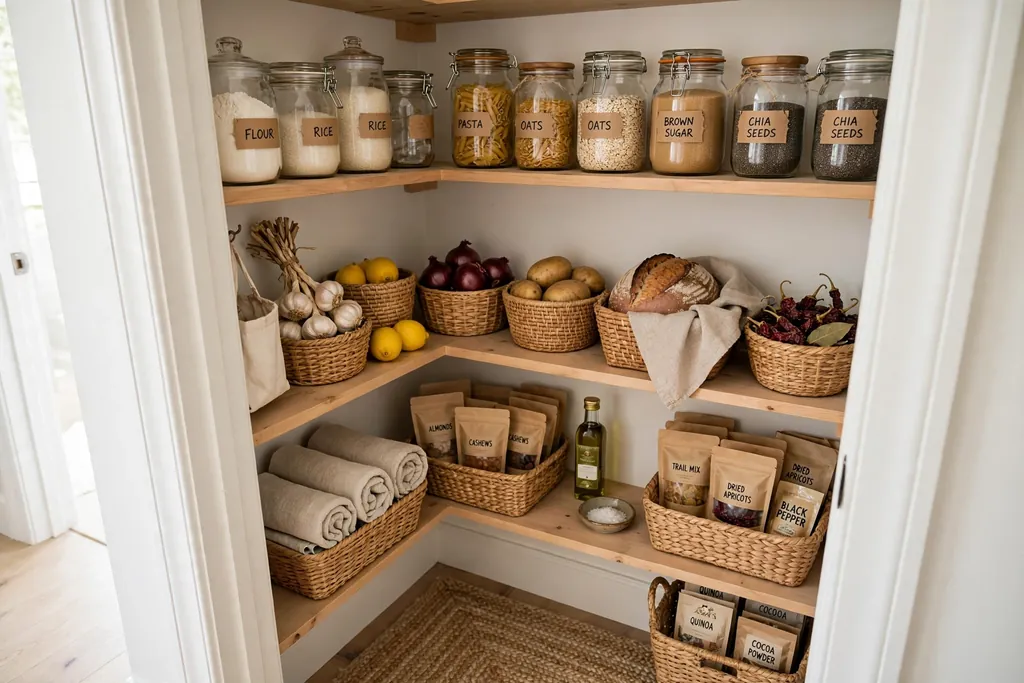
A spare hall closet, coat closet, or underused utility closet near the kitchen can become a shelf-lined pantry with a few runs of open shelving. Remove the hanging rail, fit shelves from floor to near the ceiling, and keep the door open or replace it with a curtain so the shelves stay easy to reach. This conversion suits homes where the kitchen itself has no free wall.
Keep heavy items low, daily food at middle height, and light spare stock up high, and add a battery light or a small wired light if the closet is dark. Because the closet is separate from the kitchen, label each shelf run so anyone fetching food can find it without opening every jar.
21. Under-Stair Pantry Shelves
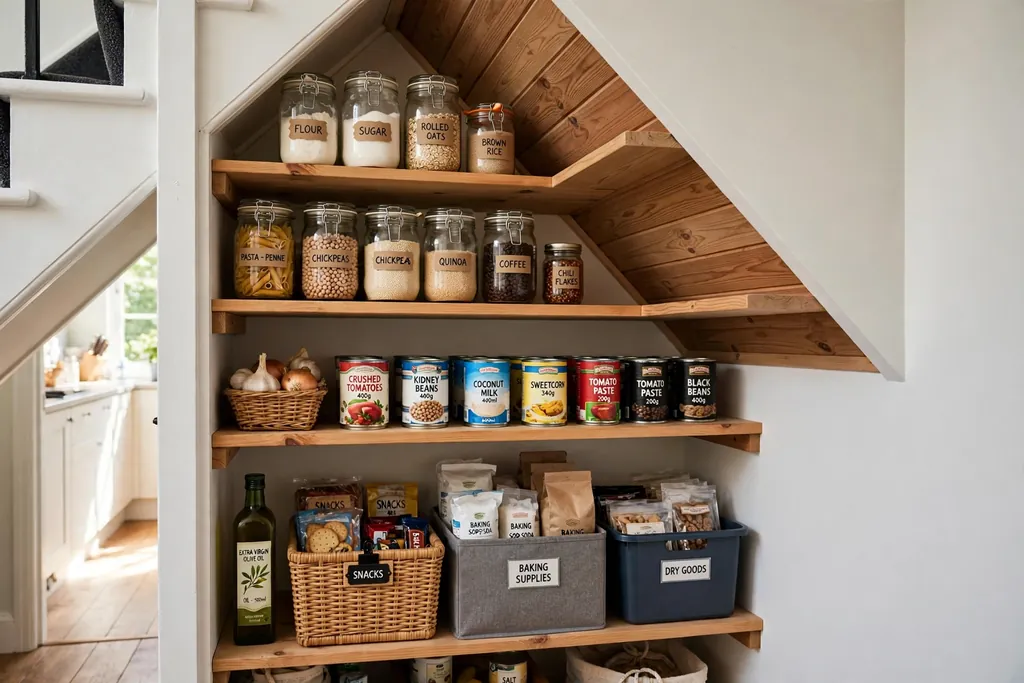
The space under the stairs, when it sits near the kitchen, can hold open pantry shelves fitted to the sloping ceiling. Use the tallest section for tall jars and bulk bins, and the lower sections for cans, baskets, and spare stock you reach for less often. Fit the shelves to the slope rather than forcing one straight run, so no space is wasted.
Keep the walkway into the under-stair space clear, and add a light at the entrance so the lowest shelves stay visible. This spot suits spare stock and bulk items best, since the slope makes daily access a little awkward. Keep daily food in the kitchen itself, and use the under-stair shelves as the overflow store.
22. Pantry Shelves in an Eat-In Dining Corner
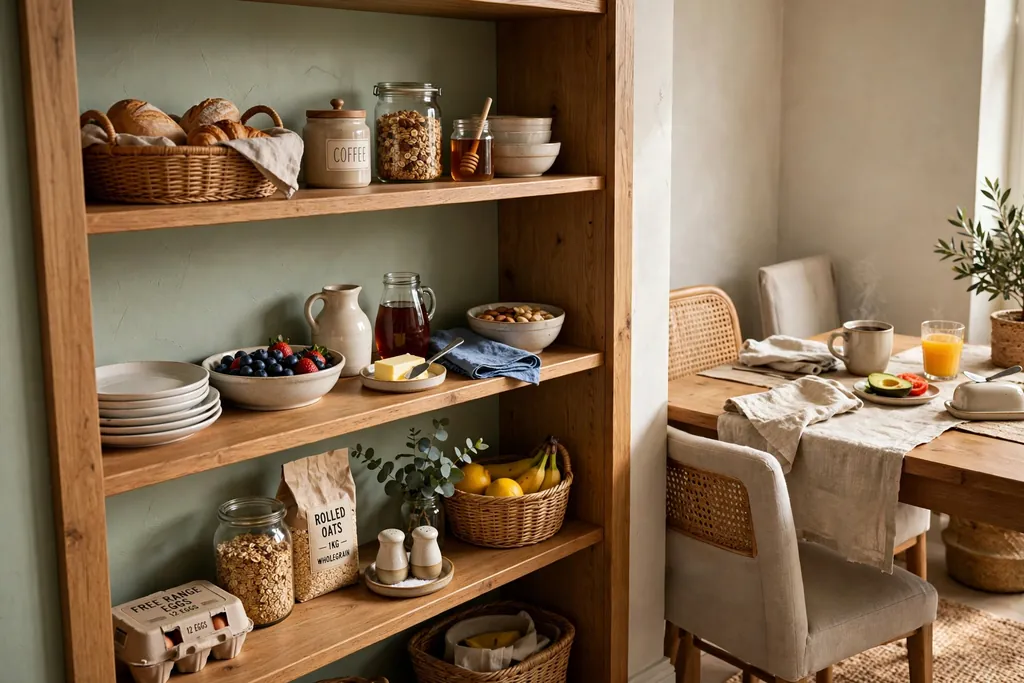
Pantry shelves in an eat-in dining corner keep food close to the table, which suits homes where the kitchen and dining space share one room. Use a short shelf run on the dining wall for breakfast food, table linens in a basket, and a few serving dishes, so setting the table needs no trip to another room. Keep the shelves clear of the dining chairs, so no one bumps a jar when they sit down.
Style this run a little more carefully than a kitchen pantry wall, since it faces the table: matching jars, one basket, and a small plant are enough. Keep cooking staples in the kitchen itself, and let the dining corner shelves hold only table-ready items.
23. Two-Wall Shelves for a Galley Kitchen
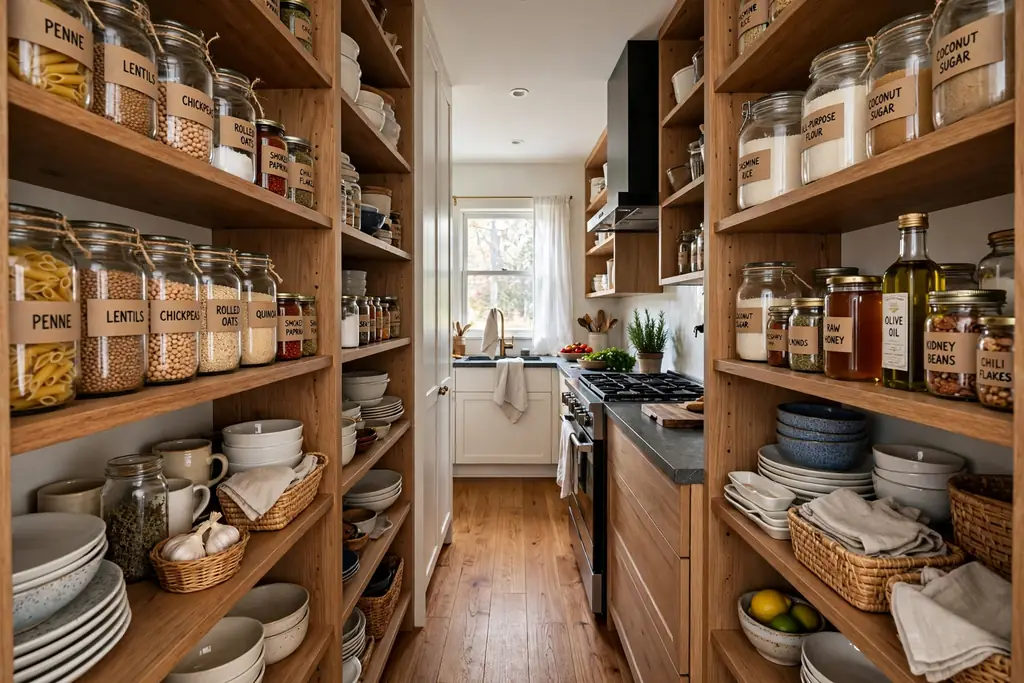
A galley kitchen suits pantry shelves on two facing walls, with one wall for daily food and the other for dishes and less used staples. Keep both runs short and shallow, so the walkway between them stays clear, and put the most used wall on the side you face while you cook. Shallow shelves matter here, because deep shelves on both sides would narrow the passage.
Use the same shelf finish on both walls so the galley reads as one planned room, and keep the ends of each run clear of door swings. If the galley feels tight, use open shelves on one wall only, and keep closed cabinets on the other, so the room still feels balanced.
24. Freestanding Pantry Shelving Unit for Renters
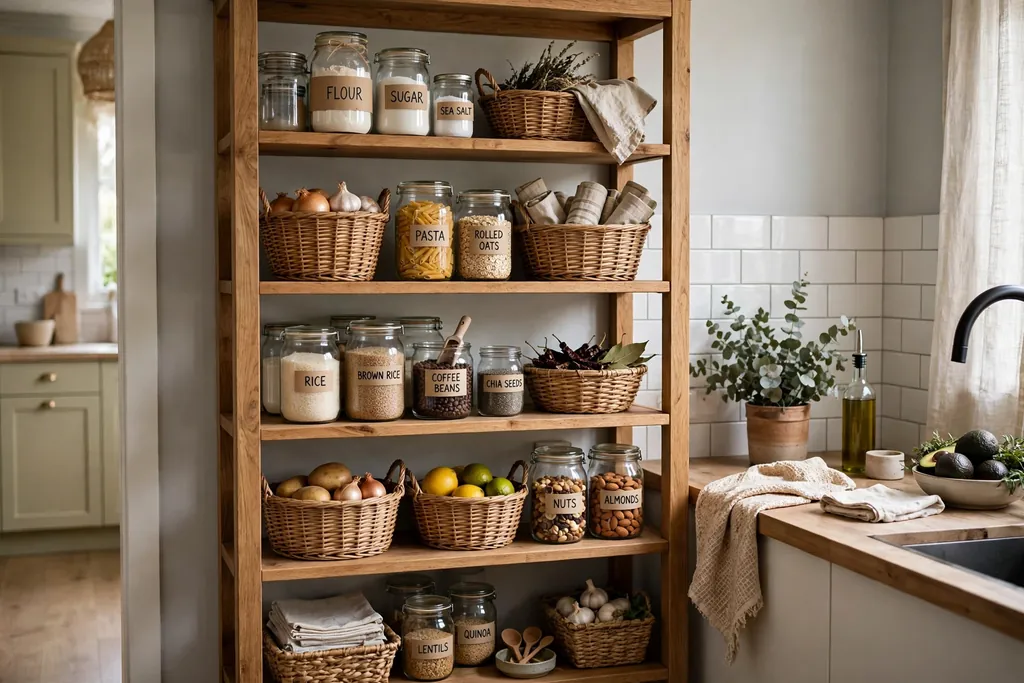
A freestanding pantry shelving unit needs no drilling, which makes it the best open pantry option for renters and for kitchens where wall fixings are limited. Choose a unit with adjustable shelves, so jar heights can change as your food changes, and anchor it to the wall with a small strap if the household includes children or pets, since a tall unit can tip.
Place it on a flat wall end or beside the fridge, where it does not block a walkway, and keep heavy items on the lowest shelf and light items up high. A wood unit warms a plain kitchen wall without a full renovation, and it can move with you when you move home.
25. LED Lit Pantry Shelves
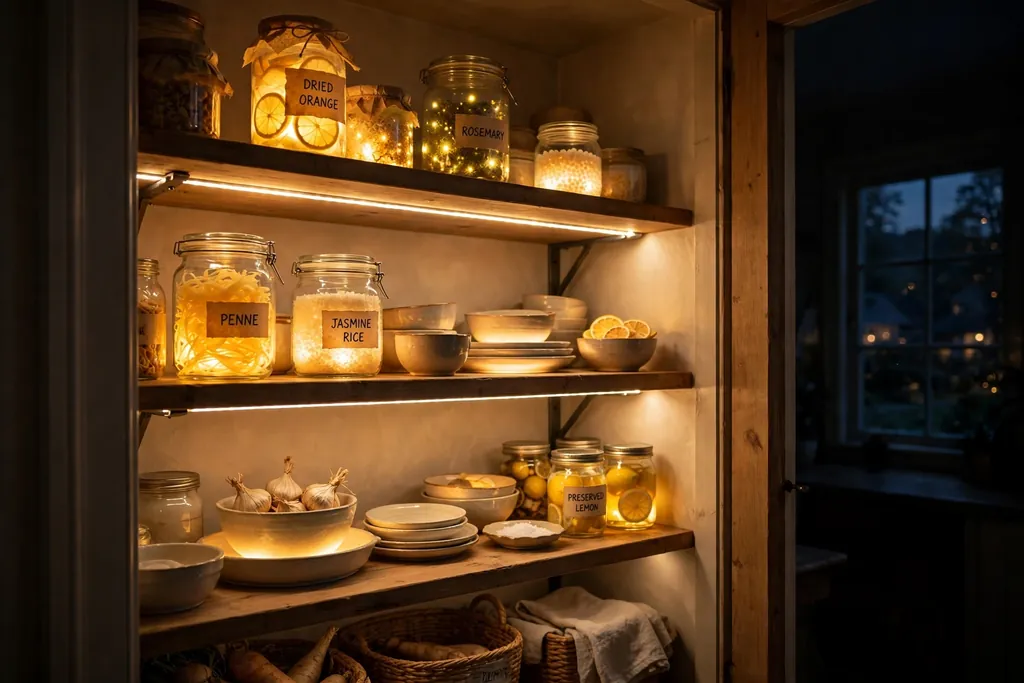
LED strips under each pantry shelf put light exactly where jar labels are, instead of lighting only the middle of the room. This helps most in a walk-in pantry or a deep pantry wall, where upper shelves would otherwise sit in shadow. Choose warm white light for a comfortable kitchen glow, and fit the strips with a simple switch or a door sensor near the pantry entrance.
Battery lights work as a trial, but wired lights give steadier light and no battery changes. Add a strip inside a glass front cabinet too, if you want dishes to show softly in the evening without a bright ceiling light. Keep the wiring neatly behind the shelves, and wipe the strips when you clean the shelves.
26. Bulk Bin Shelves With Scoops
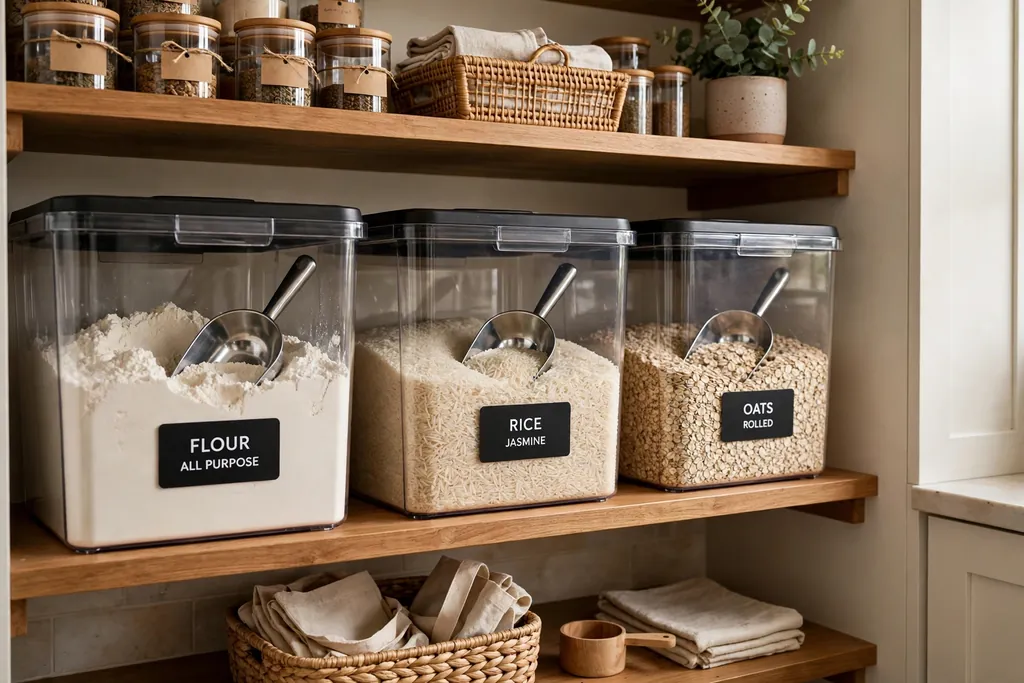
Bulk bin shelves hold large, clear bins for flour, rice, oats, and other staples bought in bulk, with a scoop in each bin. Clear bins show stock levels at a glance, and a scoop keeps hands out of the food, which stays fresher. Label each bin with its contents and date, and keep the bins on the lowest sturdy shelf, since a full bin is heavy.
Refill bins over a sink or a tray to catch spills, and wash and dry bins fully before refilling. If bulk buying is new to your household, start with two or three bins for the staples you use fastest, and add more only when the first bins earn their shelf space.
27. Produce Shelves With Ventilated Baskets
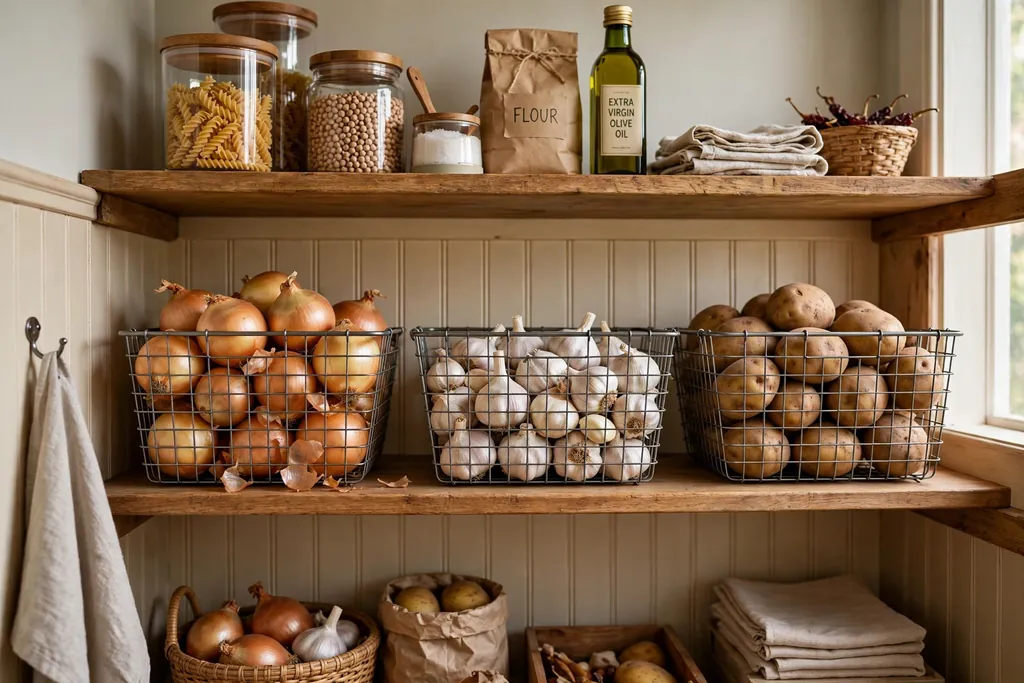
Produce shelves use ventilated wire or woven baskets so air can move around onions, garlic, potatoes, and fruit. Airflow matters for onions and garlic, which spoil faster in a closed bag, and a basket keeps them out of a dark cabinet where they are forgotten. Use one basket per type so you can see stock levels at a glance.
Hang or set the baskets away from the stove and sink, where heat and steam shorten storage life. Line a basket with a cloth if small items slip through the weave, and check contents weekly, removing any soft pieces before they affect the rest. This idea suits kitchens short on pantry shelf space, since baskets stack neatly on one shelf run.
28. Small Appliance Shelves Off the Counter
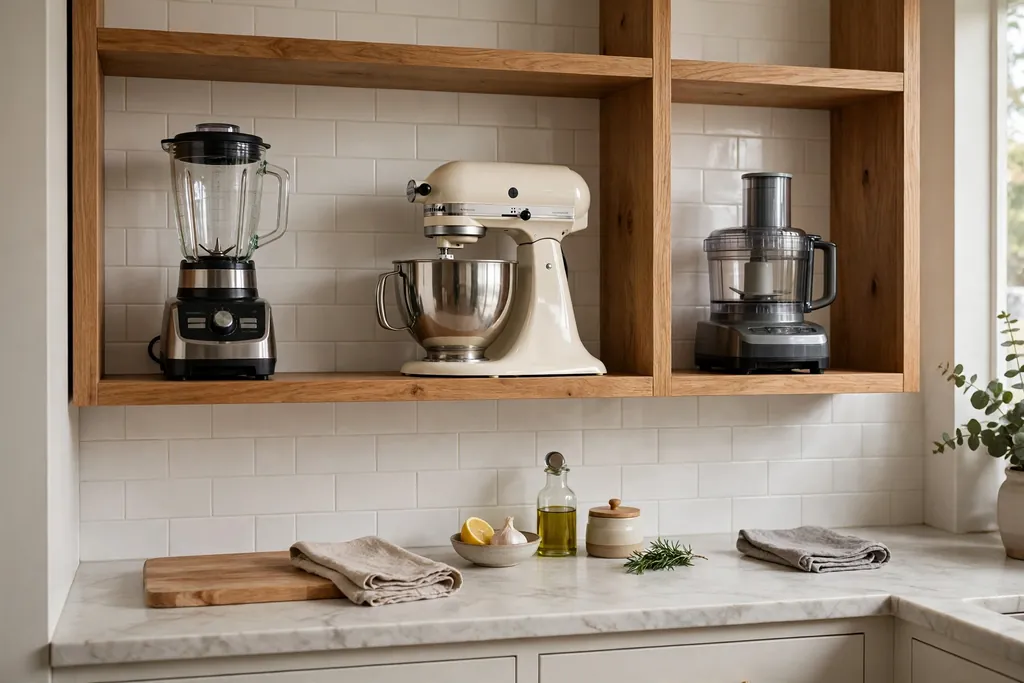
Small appliance shelves move the blender, food processor, stand mixer, and slow cooker off the counter and onto one sturdy shelf run, freeing the work surface for prep. Keep the shelf near a power outlet, and leave enough clearance above each appliance to lift it off without knocking the shelf above. Put the most used appliance at the front or at easy reach height.
Keep the shelf depth generous, since appliances are deeper than jars, and fix it into studs, since a shelf of appliances is heavy. Store lids and attachments in a basket on the same shelf, so each appliance stays complete and ready to use.
29. Chalk Label Strip Along the Shelf Edge
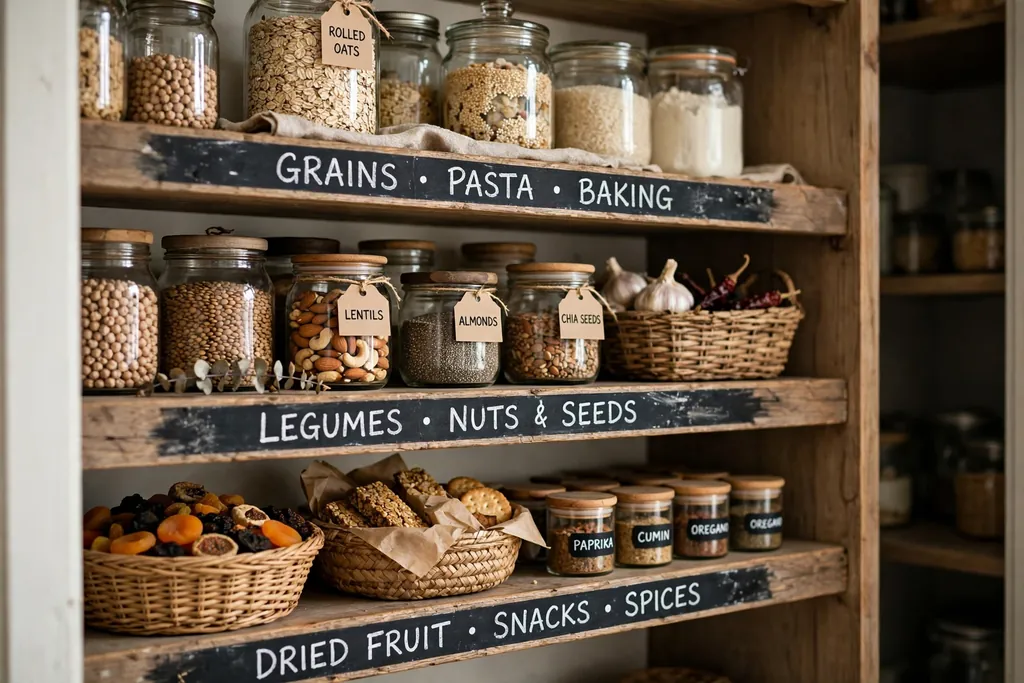
A chalk label strip along the front edge of each shelf gives every food group a clear name that you can change when the pantry changes. Use a narrow chalkboard strip, chalk labels on jars, or a painted chalk band on the shelf edge, and write the group name in plain letters. This helps most in a shared household, where more than one person puts food away.
Wipe the strip clean when a group moves, and rewrite it rather than layering new labels over old ones, so the pantry stays easy to read. Keep the strip away from the stove splash zone, and use a damp cloth rather than a dry eraser to avoid chalk dust settling on food.
30. Farmhouse Pantry Shelves With Beadboard Backing
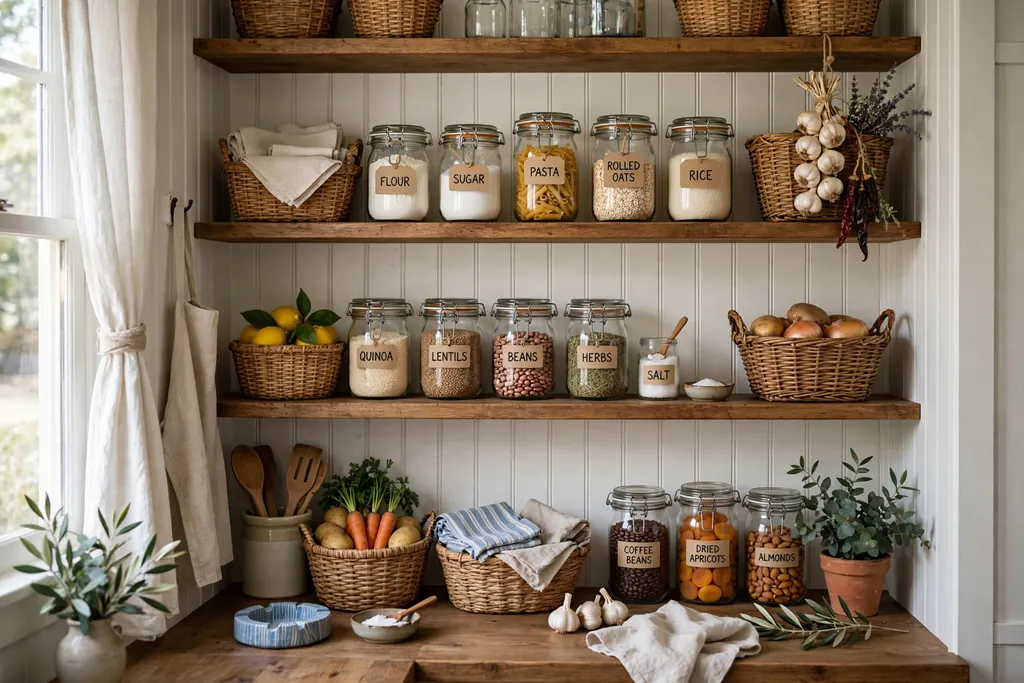
Beadboard backing behind open pantry shelves gives a farmhouse kitchen a finished, built-in look without new cabinets. Fix narrow beadboard panels to the wall first, then mount the shelves over them, so the boards show in the gaps between jars and baskets. Paint the beadboard the same color as the shelves for a calm look, or use a soft contrast color for the backing only.
Keep the shelf styling simple when the backing has texture, so the pantry does not feel busy from every angle. A single row of matching jars and one basket per shelf suits beadboard better than a crowded mix of packs and boxes.
31. Seasonal Rotation Shelf at the Top
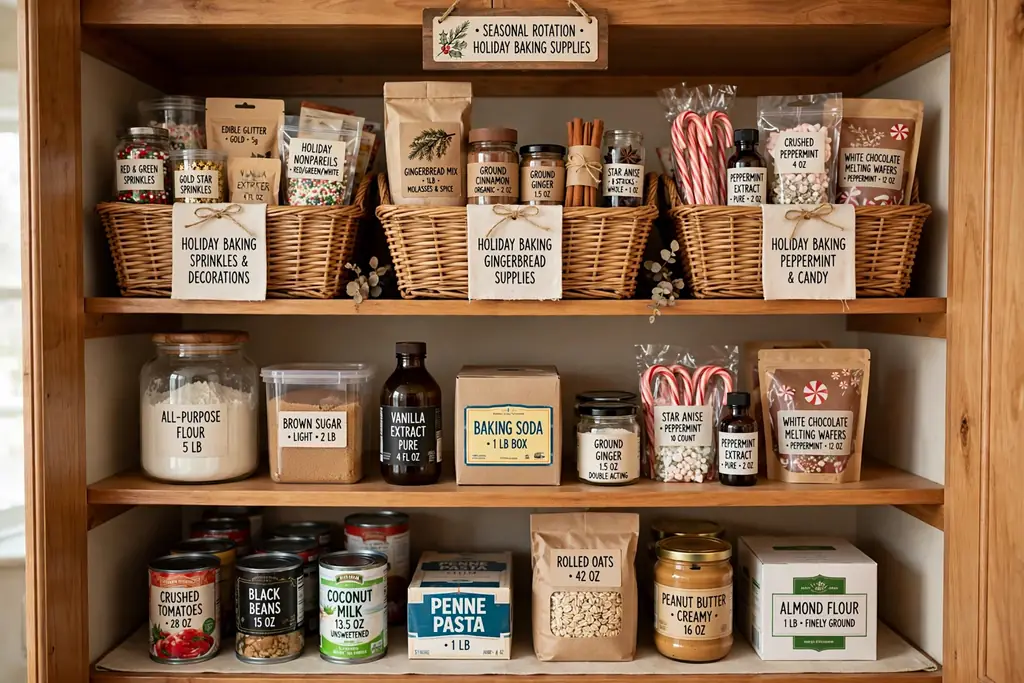
A top seasonal rotation shelf holds holiday baking, summer preserving, and party food that you need a few times a year, not every week. Because it sits highest, it needs a step stool for access, so reserve it for items you reach for a few times a year, not for daily cooking. Add a small rail or basket edge to keep items in place, and label each basket by season.
Rotate the shelf when the season changes: bring the current season down to easy reach, and move the last season up to the top. Measure the space above the shelf first, and fix it into studs, since it will carry a long row of baskets and boxes.
Conclusion
An open shelving pantry works best when the base stays simple and every item has one clear home. Shallow shelves, one row deep, grouped by use, and kept to the food you actually cook with give you a pantry that saves time every day, without needing a full remodel. Start with the change that will show up most in your kitchen, such as a labeled jar run, a short shelf above the counter, or a freestanding unit, then add one zone at a time. Save the ideas that fit your space, light, and household, and build the pantry in stages so each step still feels like a finished kitchen.
FAQs
How do I keep an open shelving pantry from looking cluttered?
Limit each shelf to one food group, use matching jars and baskets for loose or mixed items, and leave one gap on each shelf so the run reads as calm. Keep only the food you use often on open shelves, and move spare stock, oddly shaped packs, and cleaning supplies into closed cabinets. Repeat one jar style and one basket style across the pantry, rather than mixing many colors and shapes.
What shelf depth works best for a pantry?
A depth of about 25 to 30 centimeters suits most pantry shelves, since it holds dinner plates and standard jars without letting items hide in a second row. Deeper shelves suit bulk bins and small appliances, but they need baskets or bins pulled forward so food at the back stays visible. Measure your tallest jar and widest bin before you fit shelves, and keep the depth the same across one run so the wall looks planned.
How do I keep food fresh on open shelves?
Use sealed jars and bins for flour, sugar, rice, oats, and other loose staples, and keep them away from stove heat and sink splashes. Check dates twice a year, refill jars from larger store packs kept in a cabinet, and keep produce in ventilated baskets away from heat and steam. Open shelves suit dry, sealed food best; keep anything that needs a cool, dark, or airtight store in a closed cabinet instead.
Does an open shelving pantry suit a small kitchen?
Yes, an open pantry suits a small kitchen well, because shallow shelves use wall space without taking floor space, and visible food means fewer duplicate buys. Start with one short run near the prep counter, choose only your daily staples for it, and keep the rest in a cabinet or a freestanding unit. Keep the walkway clear, skip deep shelves that jut into the room, and use light shelf colors if the kitchen is dark.
How do I fix heavy pantry shelves safely?
Fix heavy shelf runs into wall studs, or use wall fixings rated for the full loaded weight, and test the hold before loading shelves fully. Put the heaviest jars and bins low, keep the shelf span short between brackets, and check that brackets sit level before you load them. For a tall freestanding unit, add a small wall strap, and keep heavy items off the top shelves so the unit stays stable.
How often should I clean open pantry shelves?
Wipe shelf tops and jar fronts weekly during your usual kitchen clean, since kitchen grease and dust settle on open surfaces faster than in closed cabinets. Empty and wipe one shelf run each month, check dates and stock levels as you go, and return only what you actually use. Wash jars and bins fully before refilling, and replace any basket that stays damp or smells musty.