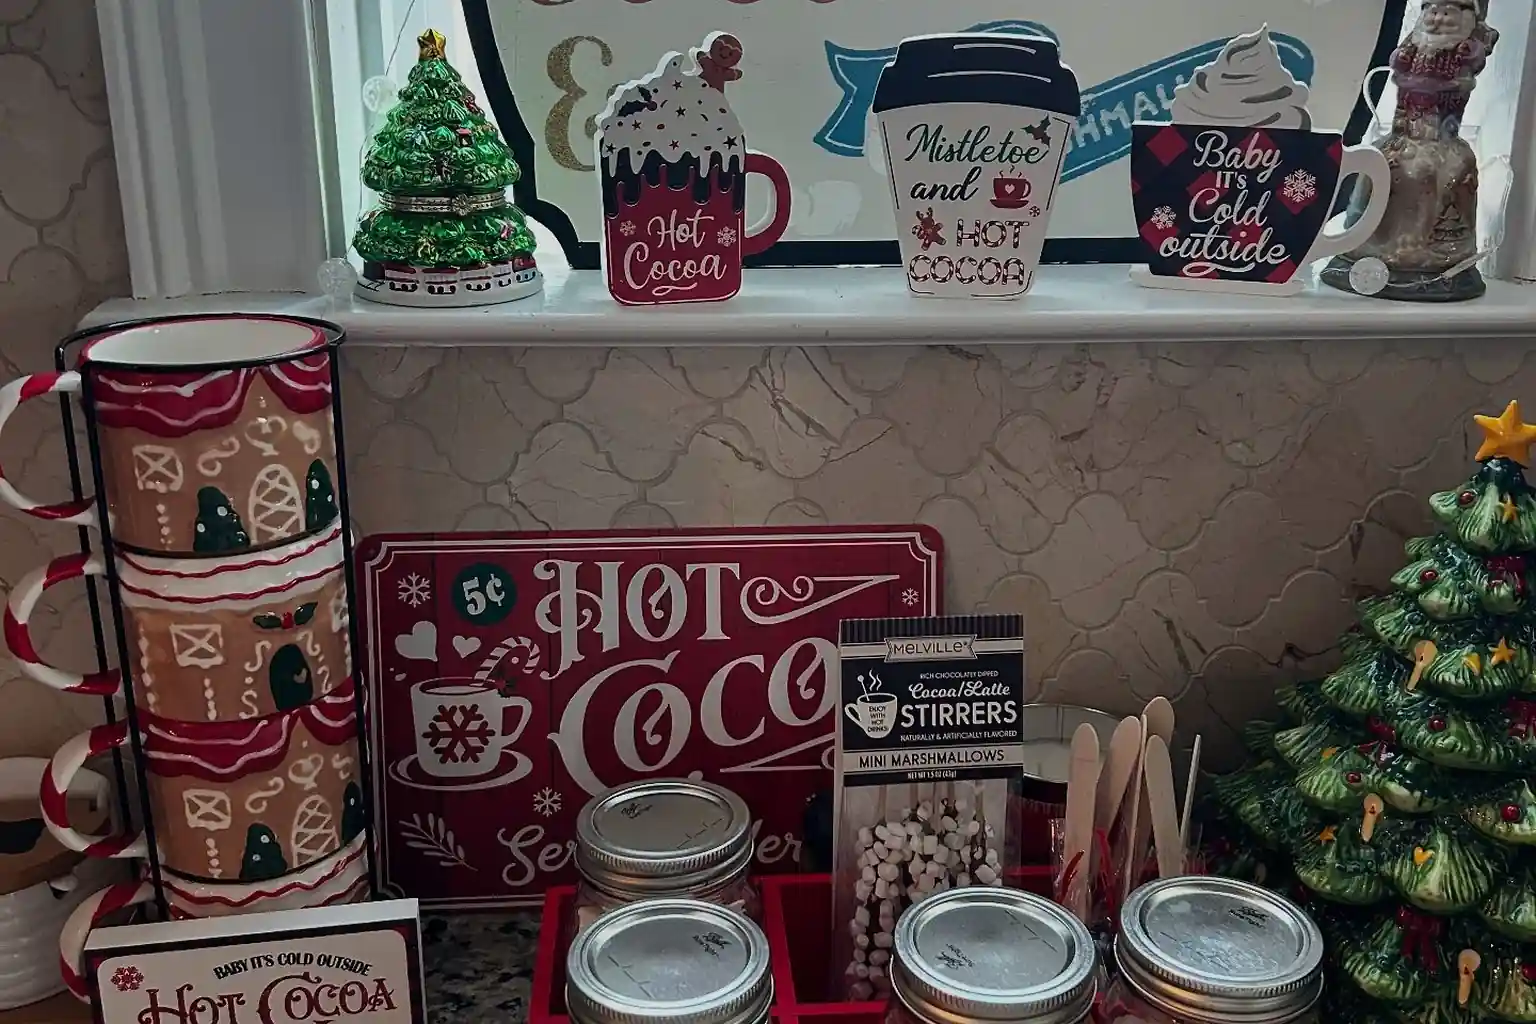
A hot cocoa bar does not need a full counter, a spare room, or a large serving table. In a small home, the best setup is compact, easy to clear, and close to water and mugs. These hot cocoa bar ideas use carts, trays, shelves, and vertical storage so a winter drink station can fit a kitchen corner, a dining wall, or the space beside a sofa. Start with one base, add storage for mixes and toppings, then keep only the mugs and extras you use each week.
Key Takeaways
- Give the bar one small base first: a slim cart, a tray on a counter corner, or a narrow table against a wall.
- Build up, not out. Tiered stands, floating shelves, mug rails, and a mug tree hold more in the same footprint.
- Store mixes and toppings in clear, labelled containers that stack or line up in a single row.
- Keep hot water, mugs, and perishable toppings close to the serving spot so the station stays tidy in daily use.
- Plan the pack away step before you set up, with one basket or box that holds the seasonal extras.
1. Start With a Slim Rolling Cart
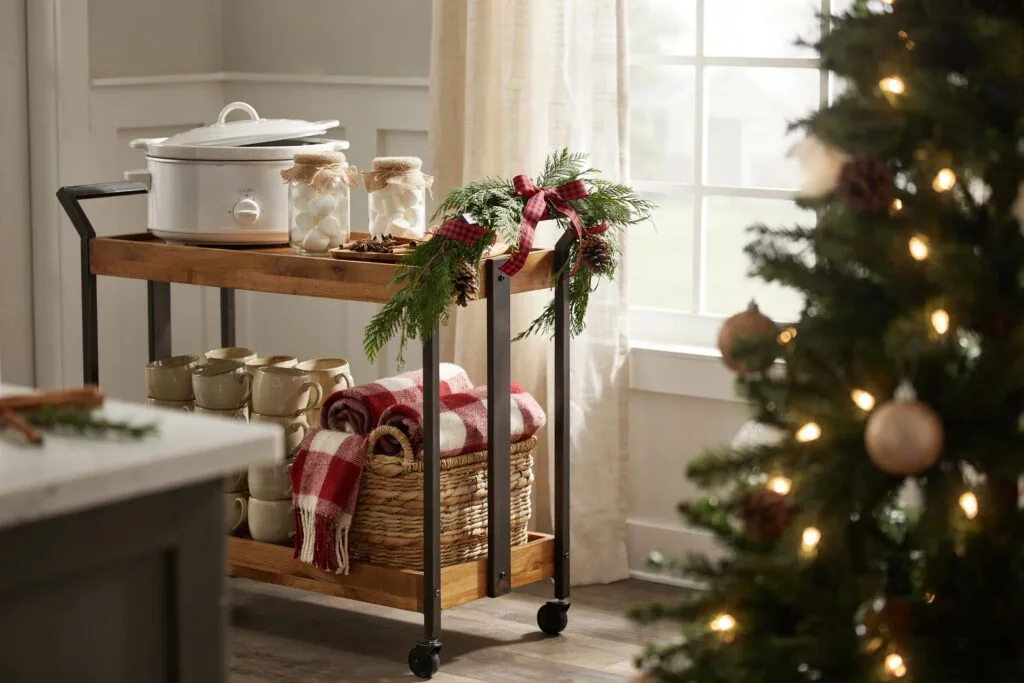
A narrow three tier cart can hold the whole bar in the floor space of a single chair. Put the kettle or carafe and mugs on the top tier, jars of mix and sugar on the middle tier, and extra toppings and napkins on the bottom tier. Roll the cart beside the counter when you serve, then park it in a pantry gap, beside the fridge, or in a hallway corner. Measure the parking spot before you buy, and choose a cart with locking wheels if your floor slopes.
2. Claim One Counter Corner With a Large Tray
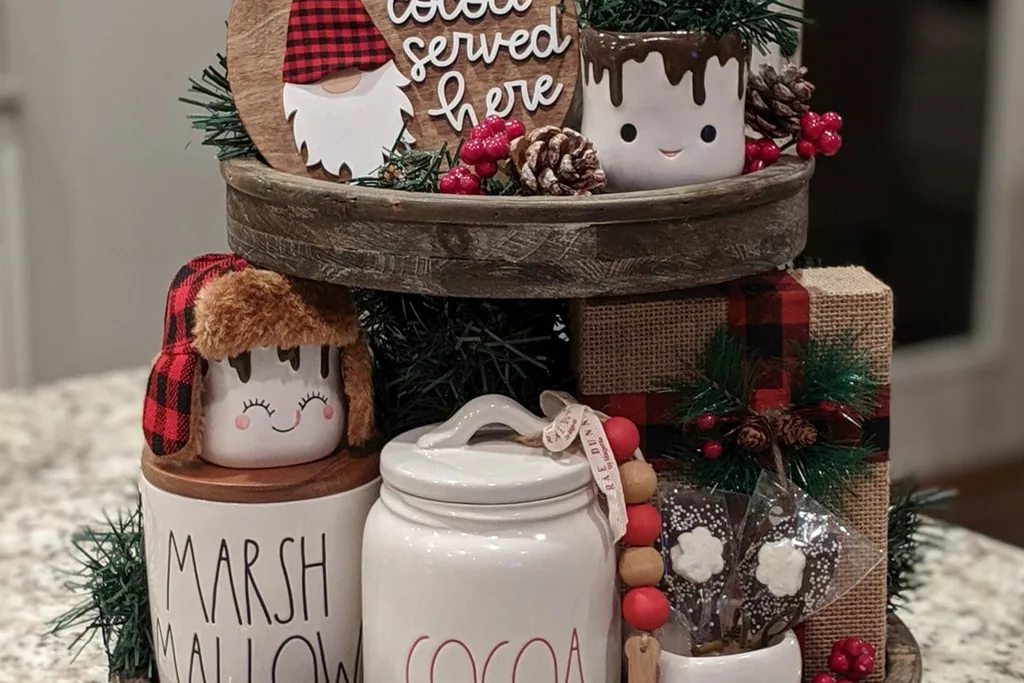
If counter space is your only option, set the bar on one large tray in the corner you use least. The tray edge marks the limit, so jars, mugs, and a small kettle stay inside one clear zone instead of spreading across the worktop. A tray with handles also lets you lift the whole station away when you need the counter for cooking. Choose a tray that fits the corner with room to open nearby cabinets, and wipe it after each use, because cocoa powder shows on every surface.
3. Build Up With a Tiered Stand
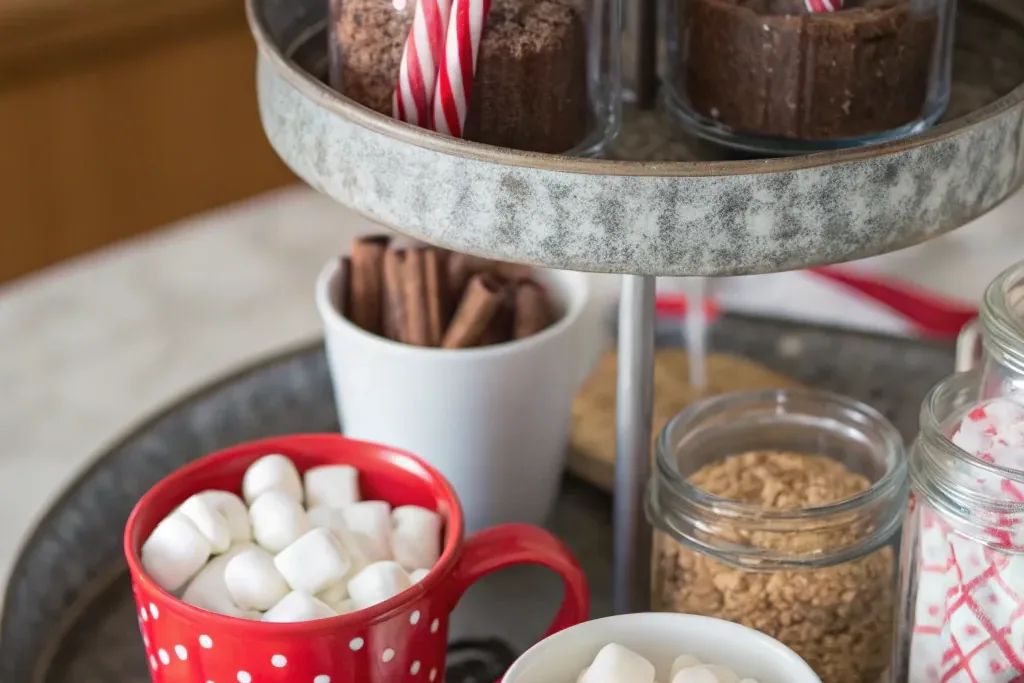
A two or three tier stand turns a small square of counter into stacked serving space. Place cups or small jars on the top level, toppings in the middle, and cookies or stirrers on the widest bottom level. Keep the heaviest items low so the stand stays steady when people reach across it. A stand with a central handle is easy to carry to a table for guests. If you already own a cake stand, use that first and add a smaller raised plate beside it.
4. Add Floating Shelves Above a Short Counter
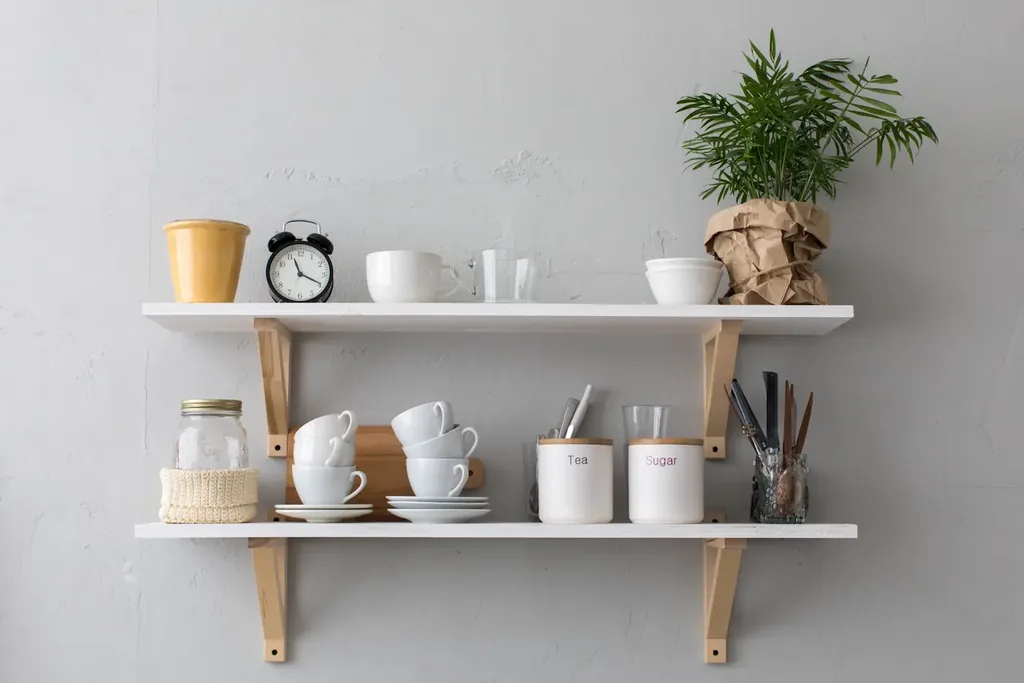
Wall space above a counter, a sideboard, or a utility shelf is often empty, and two short floating shelves can hold the whole dry side of the bar. Line up labelled jars on the lower shelf and stack spare mugs or small bowls on the upper one. Keep everyday mugs on the shelf you can reach without stretching, and store guest extras higher up. Follow the shelf maker guidance for your wall type, and keep shelves clear of steam from a kettle placed directly below.
5. Hang Mugs From an Under Cabinet Rail
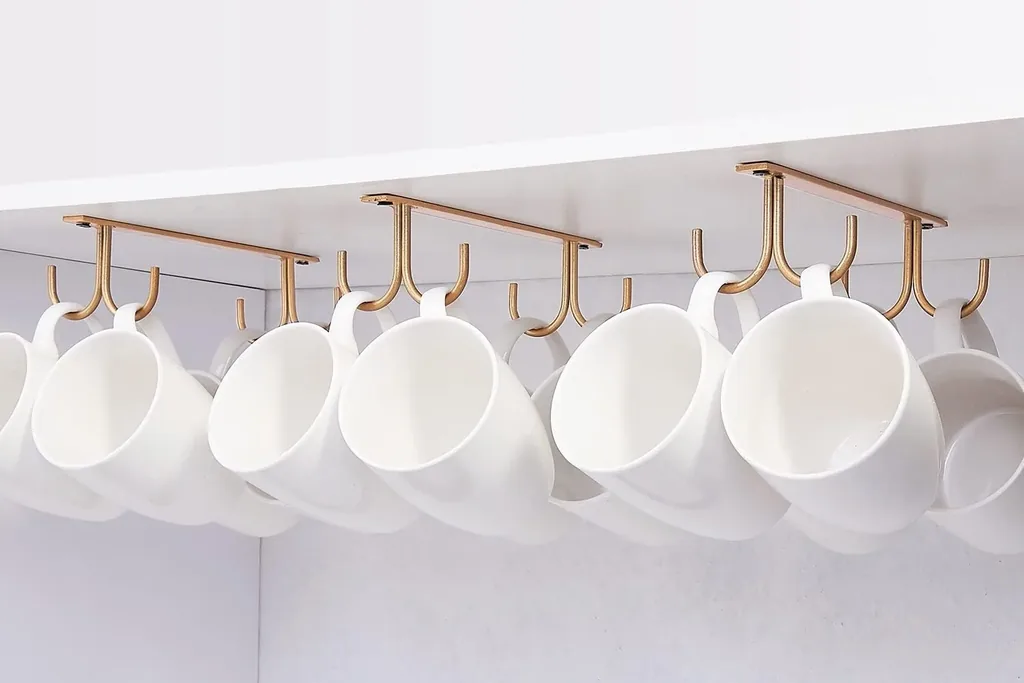
A rail fixed under a cabinet, with hooks for mugs, frees the counter and keeps cups in sight. Hang four to six mugs you use most, handles facing the same way, and leave a gap so each mug lifts off without knocking the next one. A tension rod inside a deep cabinet can do the same job for renters who cannot drill. Check the weight limit of the rail and hooks before you add heavy stoneware, and keep one or two mugs on the counter for daily use if reaching is hard.
6. Turn One Cabinet Shelf Into the Bar
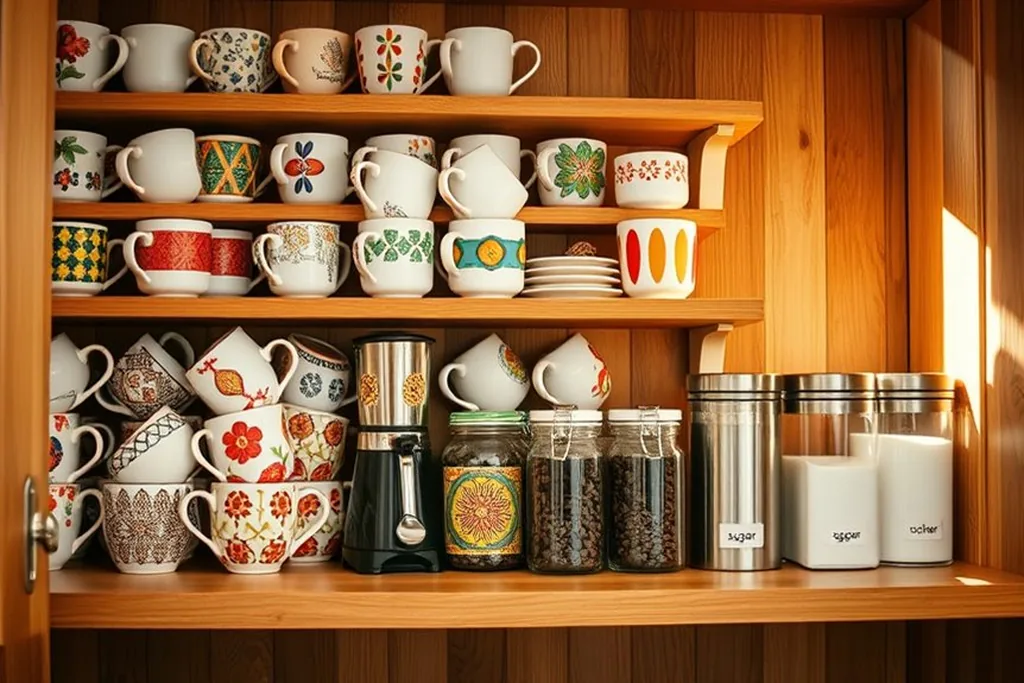
A single kitchen cabinet shelf can hold a complete cocoa station behind a closed door. Stand jars of mix, sugar, and marshmallows in one row, stack mugs beside them, and place a shallow tray underneath to catch drips and make the set easy to pull forward. This suits homes where counter space is too tight for a display. Label the shelf edge if other people share the kitchen, and keep the kettle on the counter nearby so hot water is still close at hand.
7. Use a Narrow Console Table Against a Wall
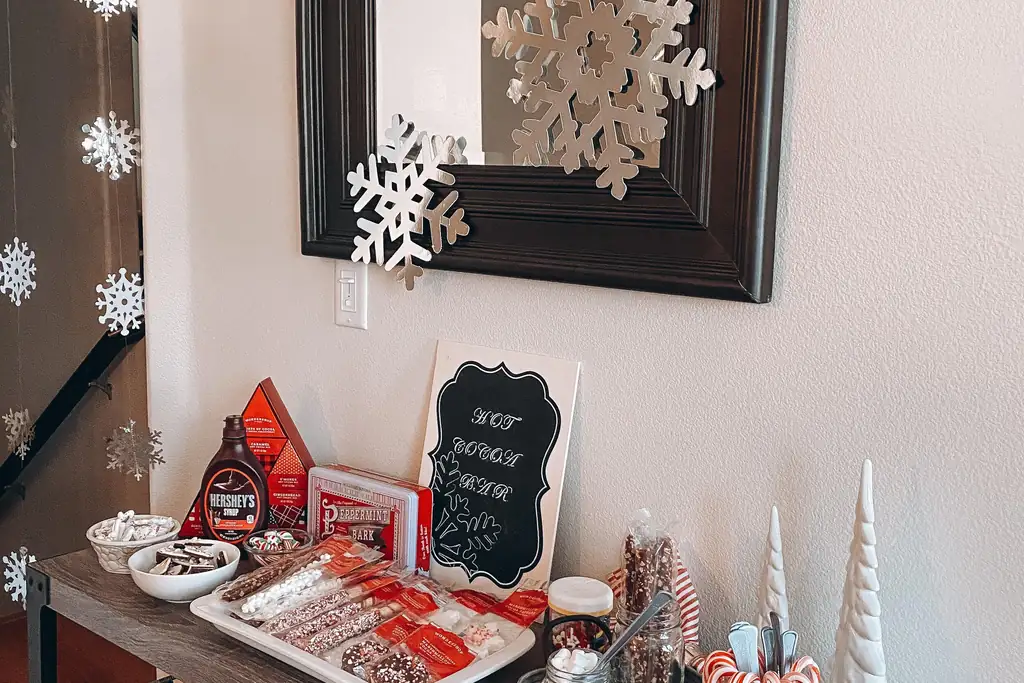
A slim console or hall table against a dining or living room wall makes a bar that does not touch kitchen counters at all. Set a tray with the carafe and cups on top, and use the lower shelf or the floor space below for a basket of blankets and extra mugs. This works well near seating, where people can help themselves during a film or a visit. Keep the walkway in front clear, and choose a table depth that leaves the room easy to cross at night.
8. Set Up a Folding Tray Table You Can Put Away
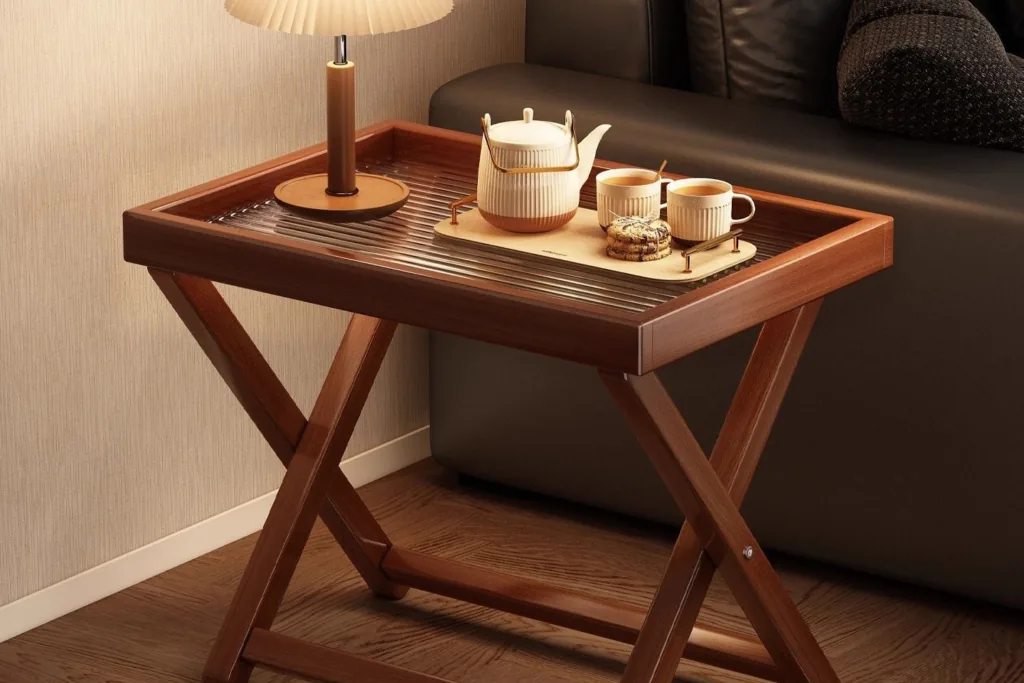
A folding tray table gives you a bar only when you need one. Set it up beside the sofa or at the end of the counter for guests, load it with a carafe, mugs, and one toppings tray, then fold it flat behind a door or beside the fridge when the evening ends. Check that the table locks open and stands firm on your floor before you trust it with hot drinks. This is a good option for studio homes where every fixed surface already has a daily job.
9. Store Mixes in Clear Jars With Simple Labels
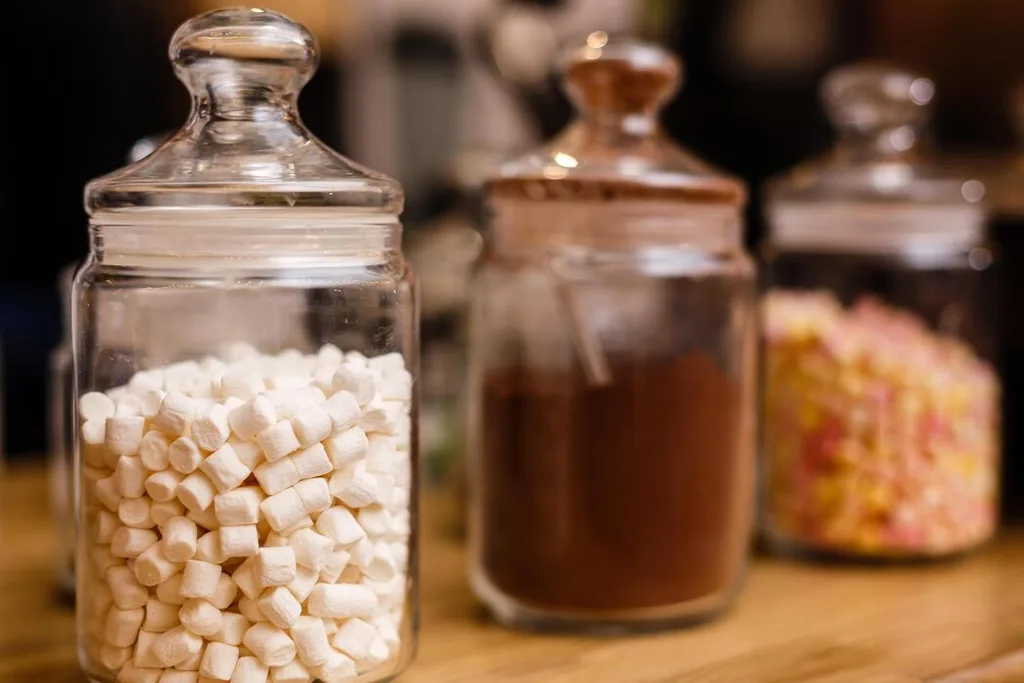
Decant cocoa mix, sugar, and mini marshmallows into clear jars of a similar size so they line up in one row on a shelf, cart, or tray. You can see at a glance what is running low, and matching jars take less room than mixed packets and boxes. Add a plain label with the contents and the date you opened the original pack. Keep scoops small and give each jar its own spoon, or use one scoop stored in a cup beside the jars and wash it often.
10. Keep Toppings in a Divided Caddy
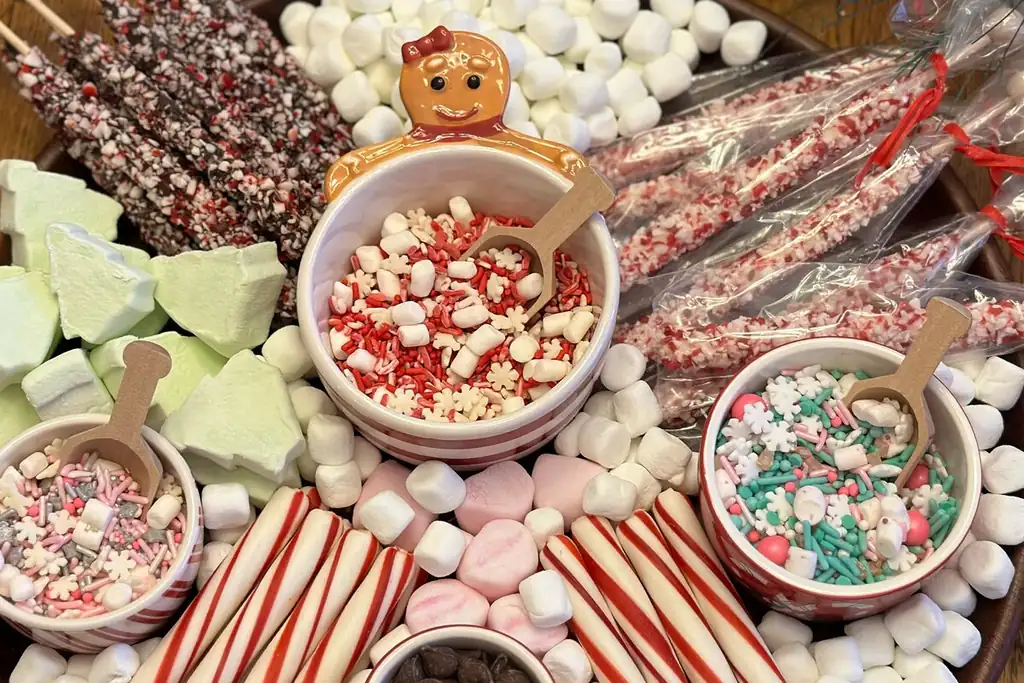
Small toppings lose space fast when each one sits in its own bag or box. Use one divided caddy, a muffin tin set inside a tray, or a row of small ramekins on a plate to hold marshmallows, chocolate chips, crushed candy cane, and sprinkles in a single block. Guests can see every choice without opening packets, and the whole set lifts away in one move. Refill from larger bags stored in a cupboard, and keep the caddy covered or lidded if pets or young children can reach it.
11. Serve Perishable Toppings in Small Chilled Bowls
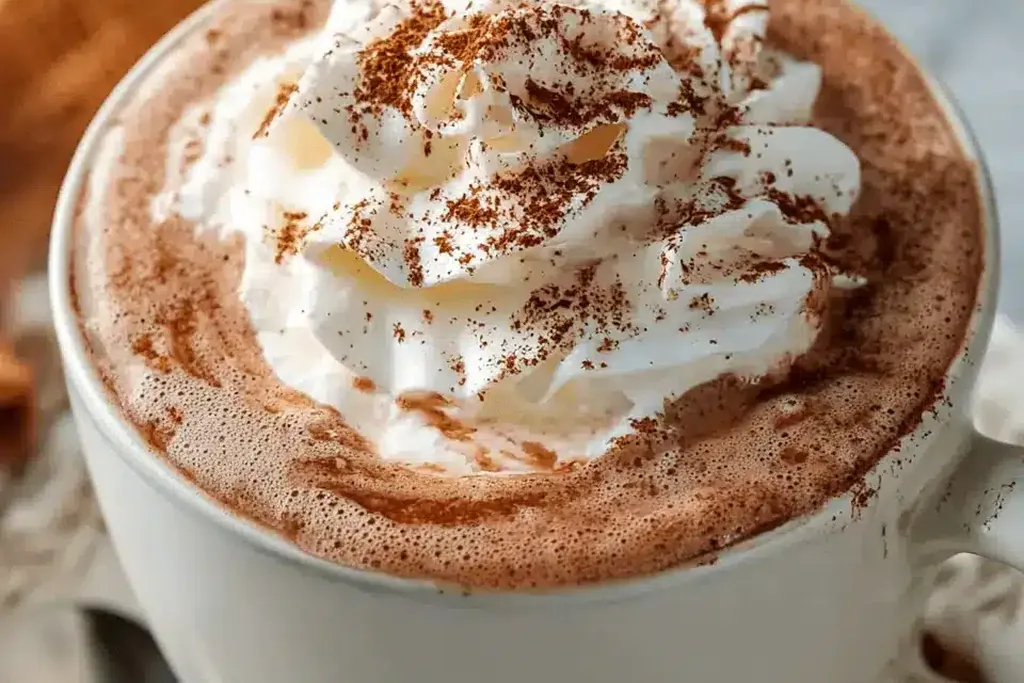
Whipped cream, milk based toppings, and opened creamers belong in the fridge until serving time, not on the counter all evening. Put a small amount in a chilled bowl set over a second bowl of ice, and refill it in small amounts as needed. The U.S. Food and Drug Administration shares food safety guidance for the kitchen that covers safe storage and handling at home. Return leftovers to the fridge promptly, and throw out cream that has sat out through a long party.
12. Use a Lazy Susan in a Deep Corner
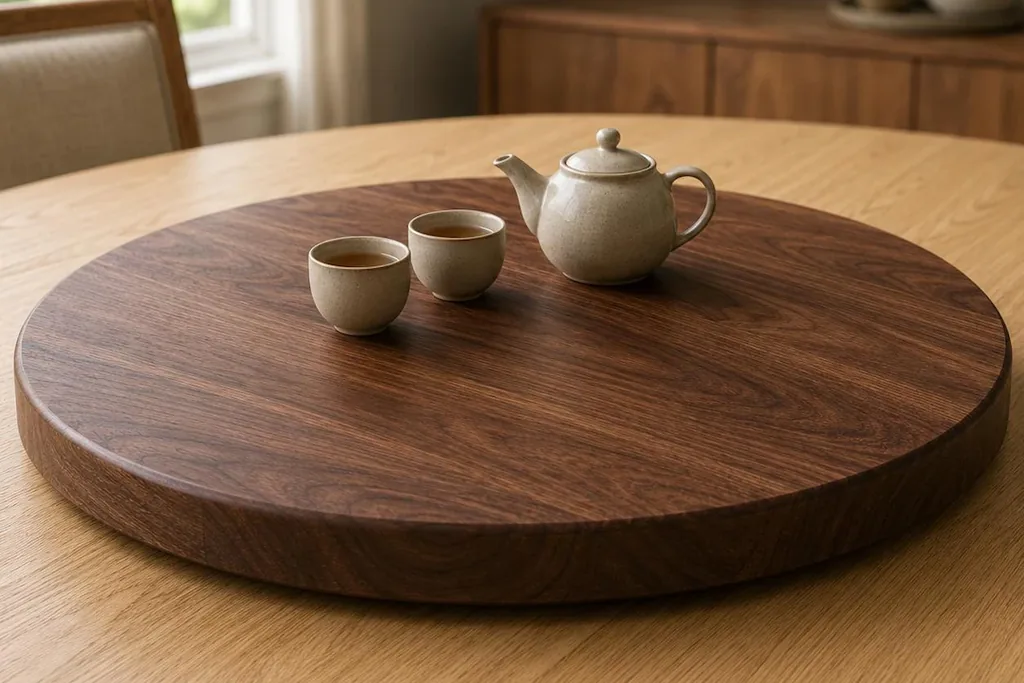
A small turntable makes a deep counter corner or a low cabinet shelf usable instead of wasted. Place jars and toppings on the turntable in a single ring, heaviest jars near the center, and turn it slowly rather than reaching past bottles. Choose a turntable with a low rim so tall jars stay in place. This works well for households that share the station with coffee or tea supplies. Keep the turntable smaller than the shelf depth so it spins without catching the cabinet frame.
13. Keep Hot Water Small and Close
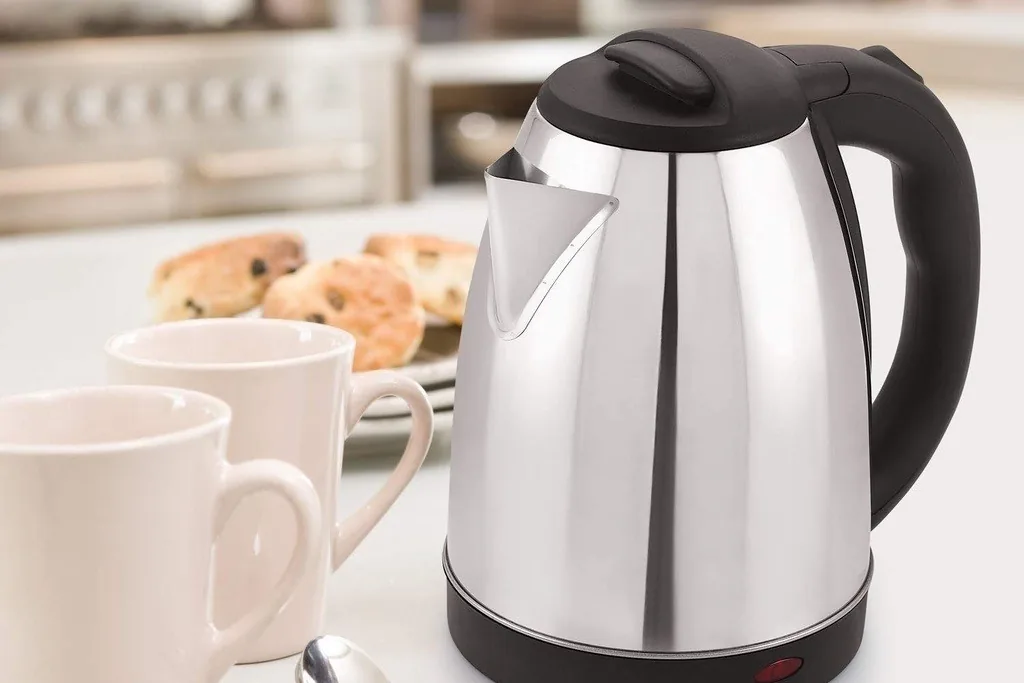
The bar works better when hot water lives at the station instead of across the kitchen. Use a compact electric kettle on a heat safe surface, or fill an insulated carafe with hot water or ready made cocoa and set it on a trivet on the tray. A carafe suits rooms without a spare socket and keeps drinks warm while guests serve themselves. Keep cords short and away from the tray edge, and leave space around a kettle spout so steam does not reach shelves or walls.
14. Stand Mugs on a Mug Tree
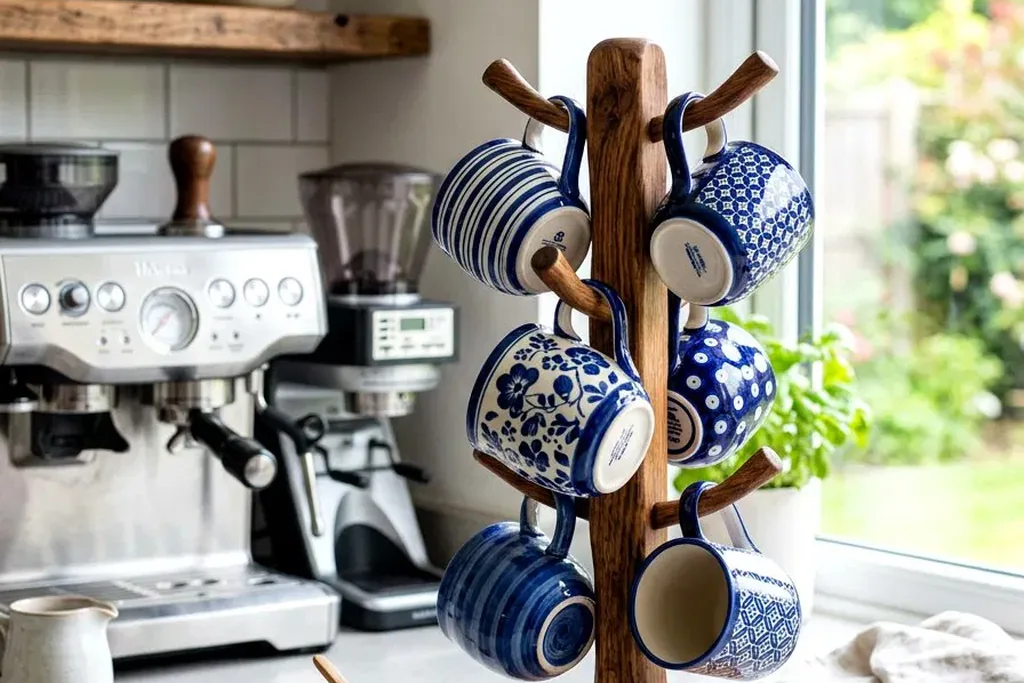
A counter mug tree holds six or more mugs in the footprint of one mug, which makes it one of the simplest space savers in this list. Place it at the back of the tray or beside the kettle so the front of the station stays clear for pouring. Mix mug sizes carefully, with the largest at the bottom, so the stand stays balanced. If a tree feels unstable on your counter, use a wall rail from Idea 5 instead and keep the counter for jars and toppings.
15. Put a Mini Bar on a Fireplace Side Table
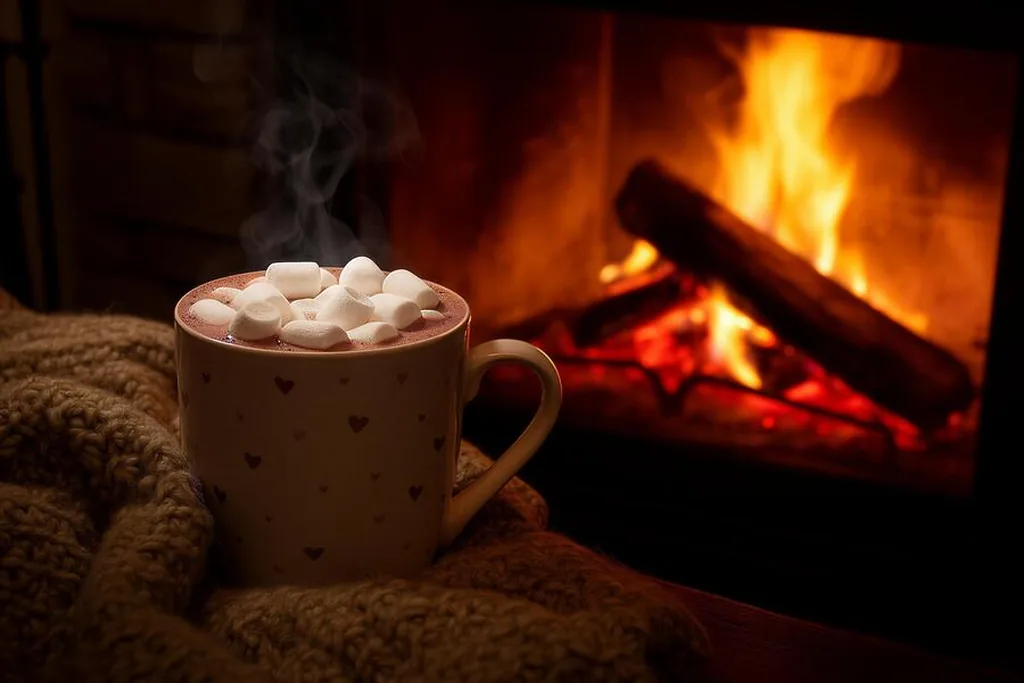
If your living room has a fireplace, a small side table beside it can hold a two person cocoa station without using the kitchen at all. Set a tray with a filled carafe, two mugs, and one small toppings dish on the table, and keep the main supplies in the kitchen for refills. The setup pairs well with these fireplace seating ideas when you arrange chairs for guests. Keep the tray well away from the hearth, sparks, and stockings or garlands that hang nearby.
16. Turn the Dining Table Center Into a Party Bar
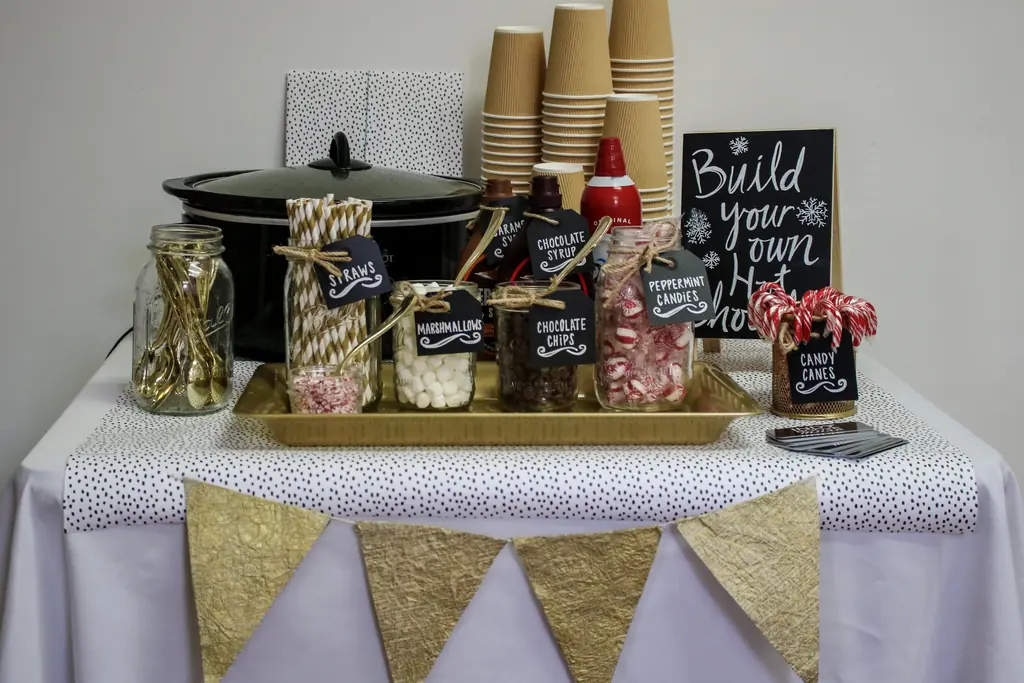
For a gathering, run the bar down the center of the dining table instead of crowding the kitchen. Place a long tray or runner in the middle with the carafe at one end, mugs on small plates, and toppings in a single row of bowls, leaving each seat clear for guests to sit down with their drinks. The approach follows the same clear surface logic as this everyday dining table decor guide. After the party, the whole bar lifts back to the kitchen in two trips.
17. Use a Window Nook With a Small Table

A wide window ledge or a small table tucked under a window makes a bright serving spot that does not compete with cooking space. Set a tray with jars and mugs on the table, and keep curtains tied back so fabric stays clear of hot drinks. Daylight shows off glass jars and makes the station easy for guests to find. Avoid blocking a radiator or a heat vent with the table, and move the station if the ledge gets direct sun that warms cream or chocolate left out in bowls.
18. Write the Menu on a Small Chalkboard
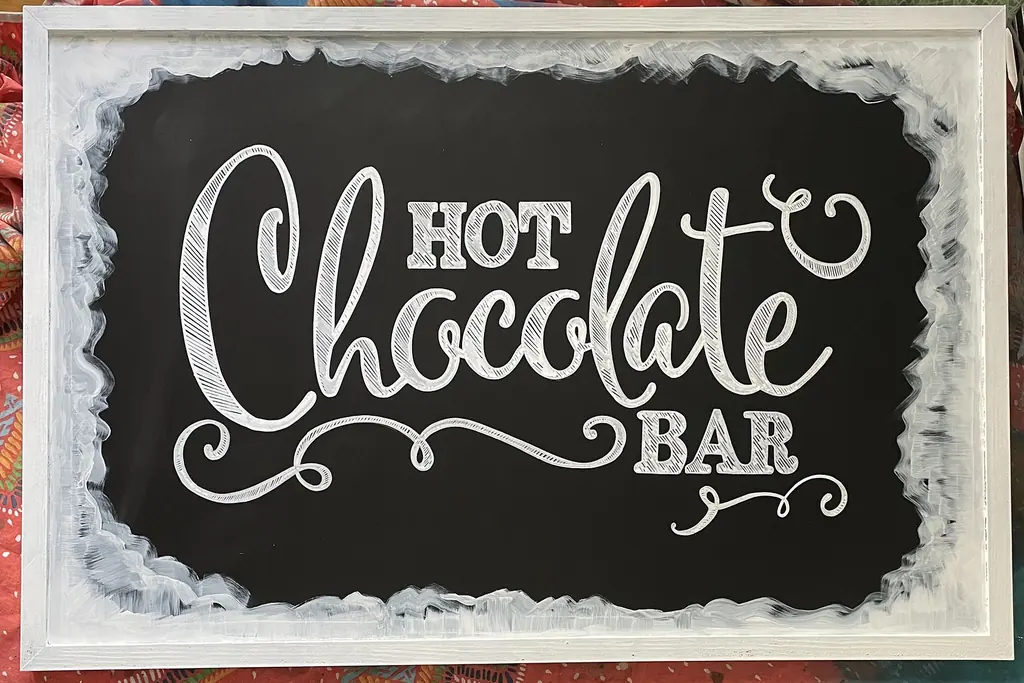
A small chalkboard or letter board on the wall above the bar, or propped on the back of the tray, tells guests what is on offer without taking any counter space. List the cocoa, the toppings, and simple options such as extra marshmallows or a plain cup for children. A board also fills the blank wall zone above a cart or console table, so the station looks finished. Keep the writing short and large, and rest the board where it cannot slide into mugs or the kettle.
19. Keep a Basket Below for Linens and Extras
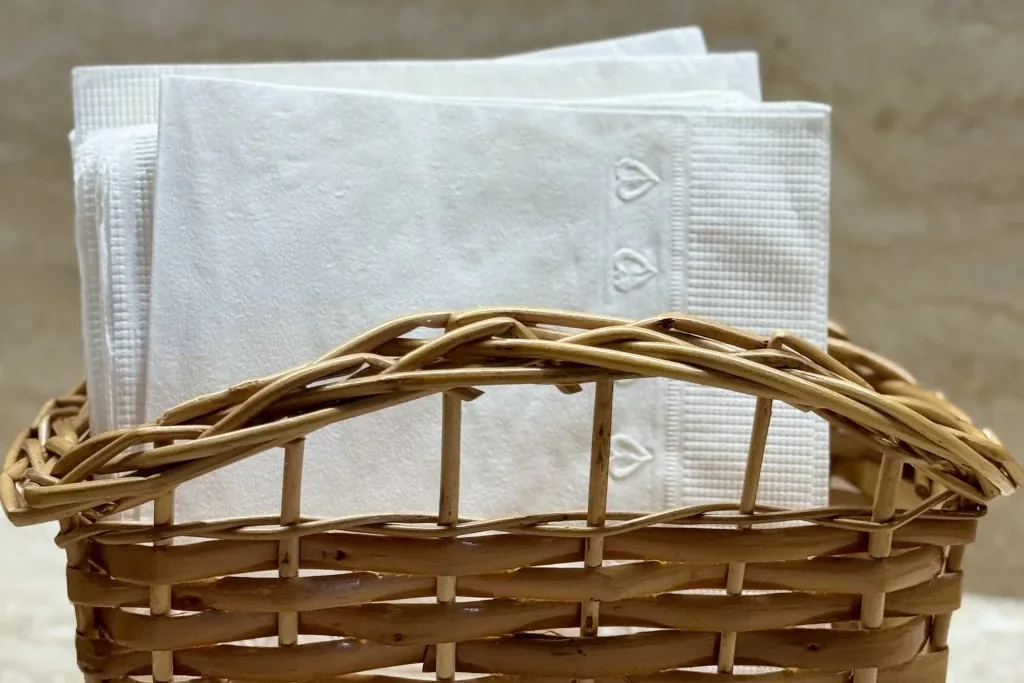
The space under a console table, on the bottom tier of a cart, or beside a cabinet often sits empty. Use one basket there for napkins, stirrers, spare spoons, a clean cloth for drips, and extra mugs for guests. Keeping the support items in one basket means the serving surface holds only food and drinks, which makes the bar look calmer and wipes down faster. Choose a basket that slides in and out easily, and check it weekly so damp cloths and used napkins do not pile up.
20. Add Warm Light at the Station
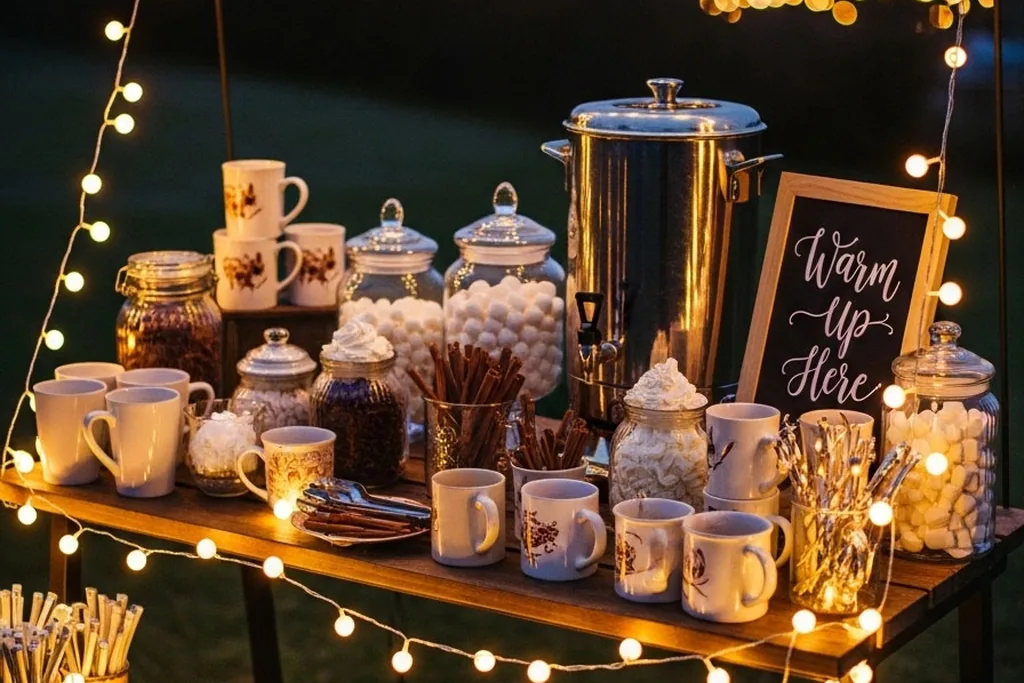
A small lamp, a short string of battery lights along a shelf edge, or candles placed well away from the serving area can make a compact bar feel like a planned corner instead of a pile of supplies. Warm light suits the winter mood of these winter living room ideas and helps guests see mug handles and toppings in the evening. Keep lights and cords clear of water, steam, and the path of a hot carafe, and switch battery lights off when the room is empty.
21. Make the Lowest Level a Station Children Can Reach
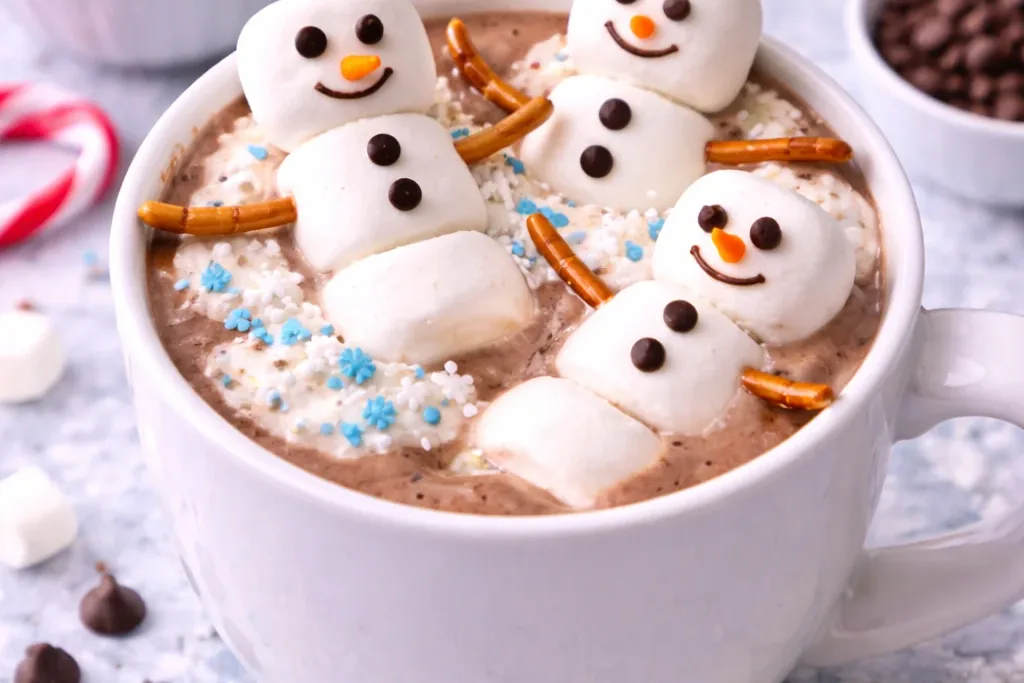
If children serve themselves, give them the lowest and safest part of the setup. Put unbreakable cups, marshmallows, and sprinkles on the bottom tier of the cart or on a low tray, and keep the kettle, carafe, and hot drinks on the adult level above or on the counter. A clear split means children can join in without reaching past hot water. Use small cups that are easy to carry with two hands, and keep a cloth in the basket from Idea 19 for quick cleanups.
22. Pack the Whole Bar Into One Box
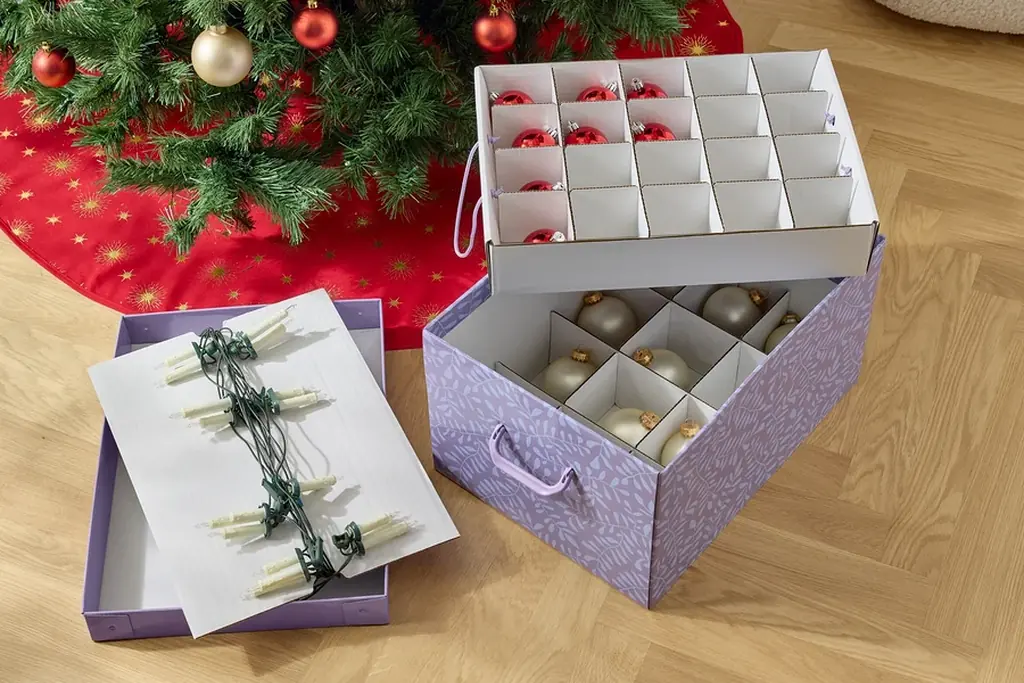
Choose one box or lidded bin that holds the seasonal parts of the bar: jars once emptied and washed, the toppings caddy, stirrers, the chalkboard, and spare mugs you only use for guests. At the end of the season, or during a busy cooking week, the station clears in minutes and the counter returns to normal. Label the box and store it where you keep seasonal kitchen items. The same compact thinking that shapes these cozy living room ideas works here too: keep what you use, store the rest in one place.
Conclusion
A small space hot cocoa bar works when it has one clear base, storage that goes up instead of out, and a serving order that keeps hot water, mugs, and toppings within reach of each other. Pick the base that fits your home, a cart, a tray, a shelf, or a narrow table, then add jars, one toppings set, and a place for extras below. Keep perishable toppings chilled, keep walkways clear, and keep the pack away box ready. A station that takes five minutes to set up is one you will use all winter.
Save this list on Pinterest for the next cold weekend, and start with the base you already own before you buy any storage.
FAQs
How much space does a hot cocoa bar need?
Very little. A large tray on a counter corner, one tier of a rolling cart, or a folding tray table can hold a kettle or carafe, four mugs, two or three jars, and a small toppings set. The ideas in this list are built around one compact base with vertical storage above or below it. If you can clear a space about the size of a large cutting board, you can run a simple bar and add shelves or a mug rail when you want more room.
What should I put on a hot cocoa bar first?
Start with the basics in this order: a way to heat or hold hot water, cocoa mix, sugar if you use it, mugs, spoons or stirrers, and one or two toppings such as marshmallows and chocolate chips. Add extra toppings, a chalkboard menu, and seasonal decor only after the basics fit your space with room to pour safely. A short list that fits well looks better and gets used more than a crowded station with items you have to move before every cup.
How do I keep a small cocoa bar tidy during daily use?
Give every item a fixed home inside the tray, cart tier, or shelf row, and return it there after each use. Wipe the tray daily, because cocoa powder and drips collect fast in a small area. Keep refill bags and spare supplies in a cupboard or the pack away box, not at the station. Once a week, check jars, wash scoops and spoons, and move anything that has not been used back into general kitchen storage.
Can I set up a hot cocoa bar without a kitchen counter?
Yes. A rolling cart, a narrow console table against a wall, a folding tray table, or the center of the dining table all work without kitchen counter space. Use an insulated carafe filled in the kitchen so the station does not need a socket or a kettle. Keep the setup on a tray so spills stay contained and the whole bar can move back to the kitchen at the end of the evening.
How do I make a cocoa bar safe for children?
Keep hot water and hot drinks on the adult level, on a counter or the top tier of a cart, and give children a low station with unbreakable cups and dry toppings they can add themselves. Pour for younger children rather than letting them carry a kettle or carafe. Keep small toppings that could be a choking risk away from very young children, following guidance for your own household, and keep a cloth nearby for spills on the floor.
What toppings keep best at a cocoa station?
Dry toppings keep best at room temperature in sealed jars or a lidded caddy: mini marshmallows, chocolate chips, crushed candy cane, cocoa powder for dusting, and sprinkles. Keep jars closed between uses so marshmallows stay soft and powders stay dry. Whipped cream and other perishable toppings should stay in the fridge and come out in small chilled bowls, as covered in Idea 11, rather than sitting at the station all day.