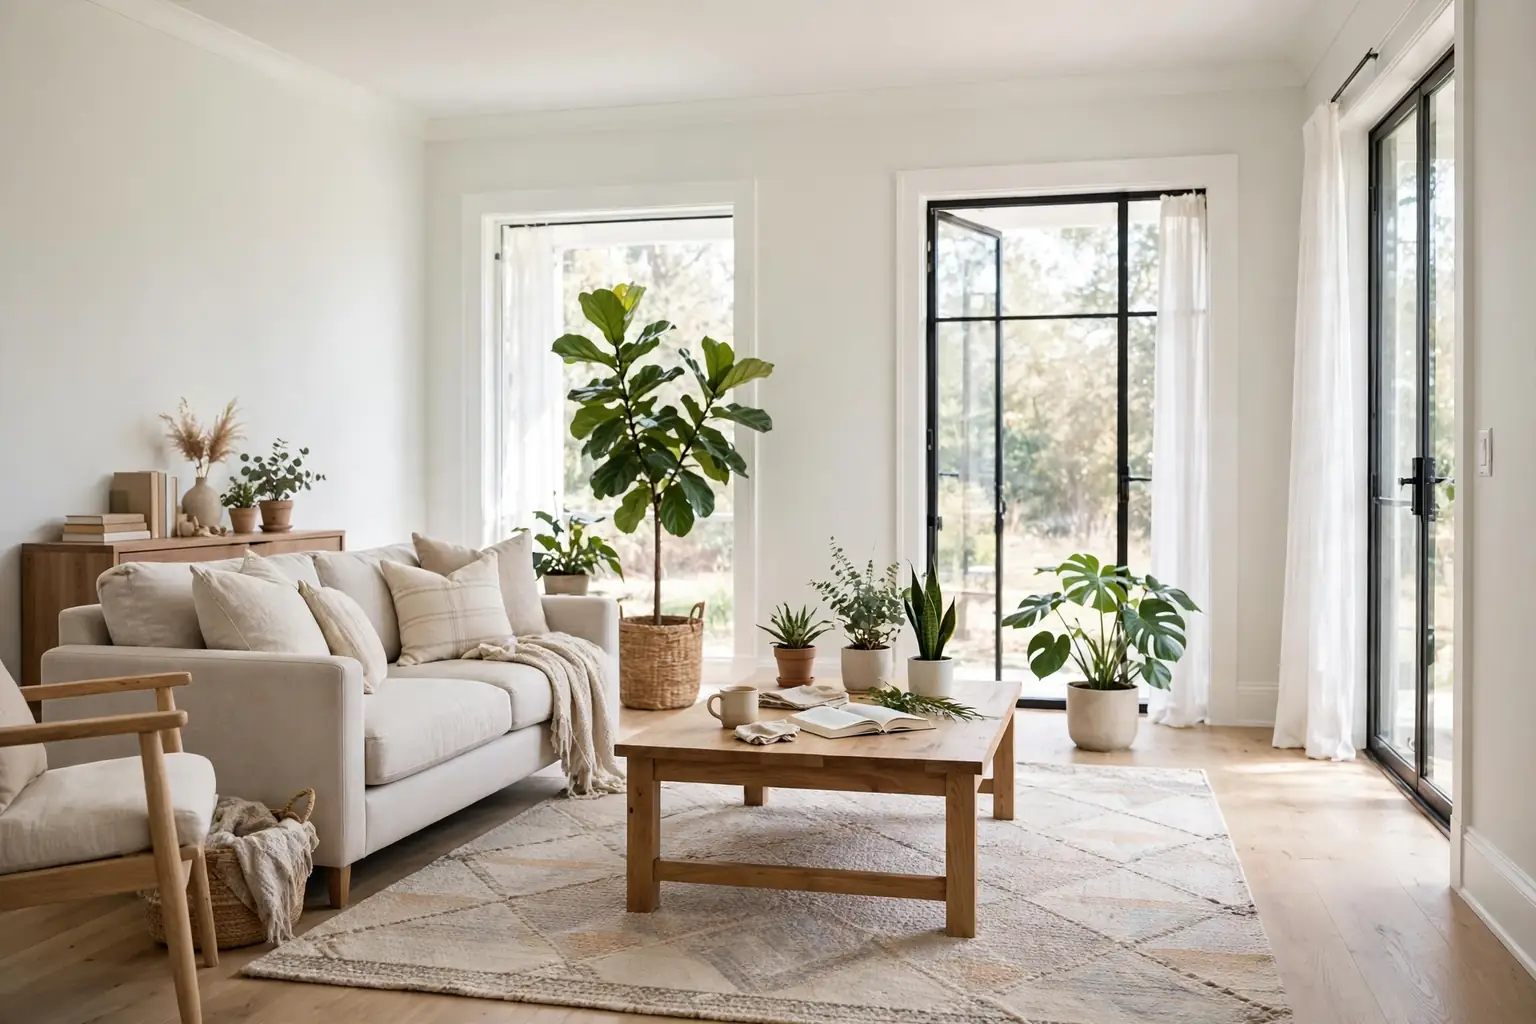
A home can feel fresher without a remodel. Paint, hardware, lighting, and a few careful styling moves do most of the work, and many of the best low cost changes take a single weekend. Start with the surface you notice most, usually a wall, a door, or a kitchen cabinet run, then add one lighting change and one storage fix. These 28 cheap and easy home improvement ideas cover walls, kitchens, bathrooms, lighting, storage, and outdoor entries, so you can pick one project or build a fuller refresh over time. If the kitchen is your starting point, these kitchen ideas on a budget cover cabinets, counters, tile, and storage in more detail.
Key Takeaways
- Start with the largest visible surface, usually walls, cabinets, or a front door, before buying small accessories.
- Keep one palette through the home: a wall color, a metal finish, and one wood tone, repeated in several rooms.
- Test paint, tile, and peel-and-stick samples in daylight and evening light before covering a large area.
- Favor reversible changes, such as hardware swaps, peel-and-stick tile, and window film, if you rent or plan a larger remodel later.
- Choose washable, wipeable finishes near stoves, sinks, and entries, since budget materials still need to survive daily use.
- Finish with one lighting fix and one storage fix, since a tidy, well lit home reads as more finished than a decorated but cluttered one.
1. Repaint One Room in a Light Neutral
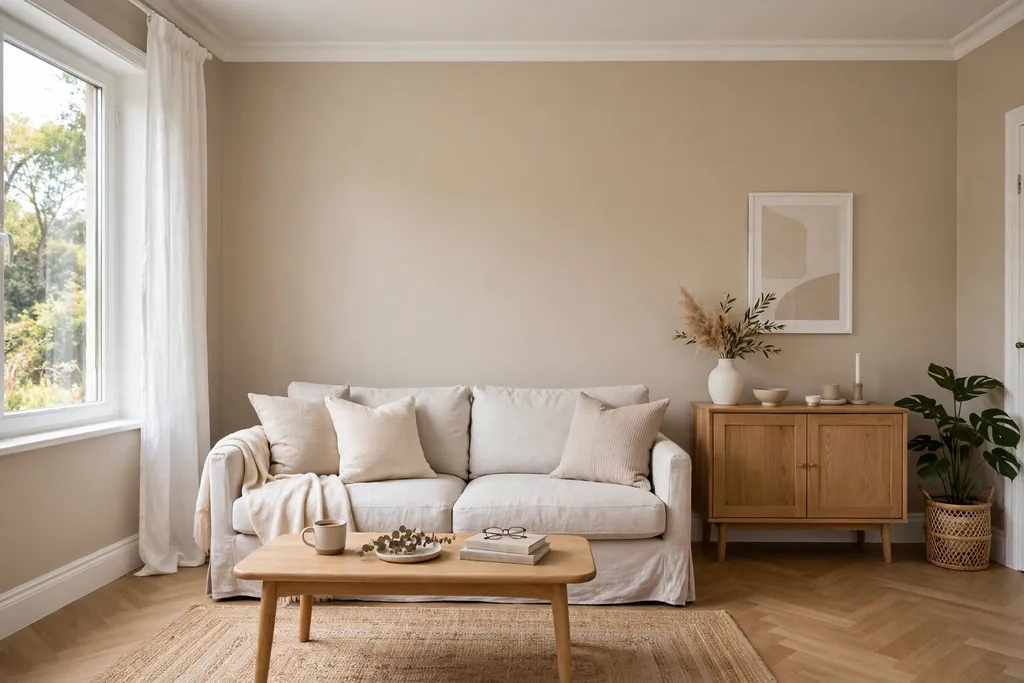
Paint is the single change that shifts a room most for the least cost. A light neutral, such as warm white, cream, or pale greige, brightens the walls and lets furniture, art, and wood do the rest of the work. Clear the room as much as you can, clean the walls, fill small holes, and cut in the edges before rolling the large areas.
Paint one wall first and check it in daylight and evening light before you commit to the full room. Keep the finish washable in hallways, kitchens, and rooms used by children or pets, since flat paint marks more easily. If you need help pairing the new wall color with trim and furniture, these wall color combinations show how a main color and a supporting color share a room.
2. Paint One Accent Wall
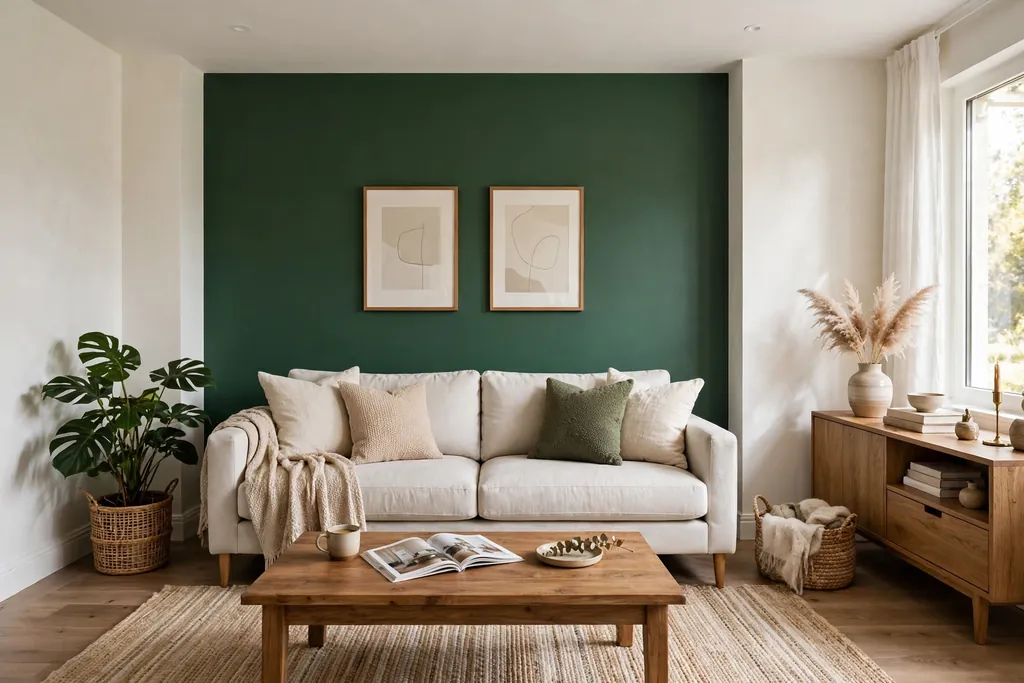
If repainting a whole room feels like too much, paint a single accent wall instead. One strong wall behind a sofa, a bed, or a sideboard gives the room a clear focal point, while the other walls stay calm. A deep green, navy, or terracotta suits a wall that already holds furniture, since the furniture breaks up the color.
Use white or cream trim and a pale rug so the accent wall reads as a backdrop, not a dark corner. Repeat the accent color once more, in a cushion or a throw, so the choice looks planned. In a small or dim room, pick a shade with a touch of warmth, and keep the ceiling white.
3. Swap Cabinet and Drawer Hardware
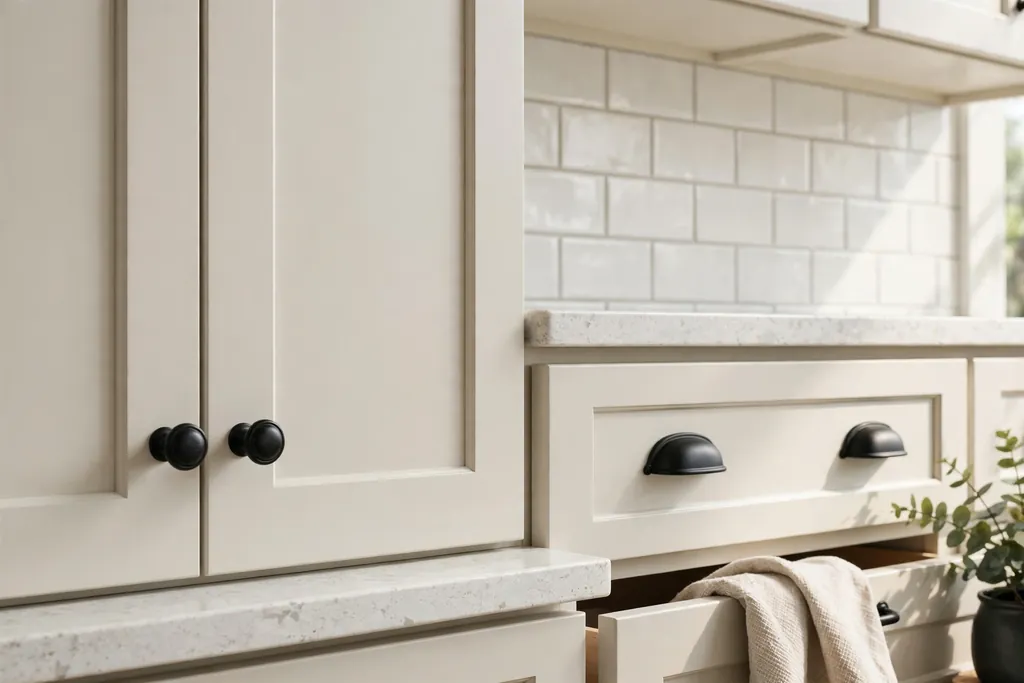
New knobs and pulls change how cabinets feel every time you open a door, and the job takes an afternoon. One finish through the home, such as matte black, brushed nickel, or brass, reads as a plan, while mixed finishes can look unfinished. Measure the screw spacing on your existing pulls before ordering, since that spacing decides which replacements fit without new holes.
Save the old hardware in a labelled bag, especially if you rent. Wipe new hardware near the stove each week, since kitchen grease dulls metal over time. If a few doors have knobs and others have pulls, keep that pattern and simply update the finish, so the change looks calm rather than busy.
4. Refresh Kitchen Cabinets With Paint
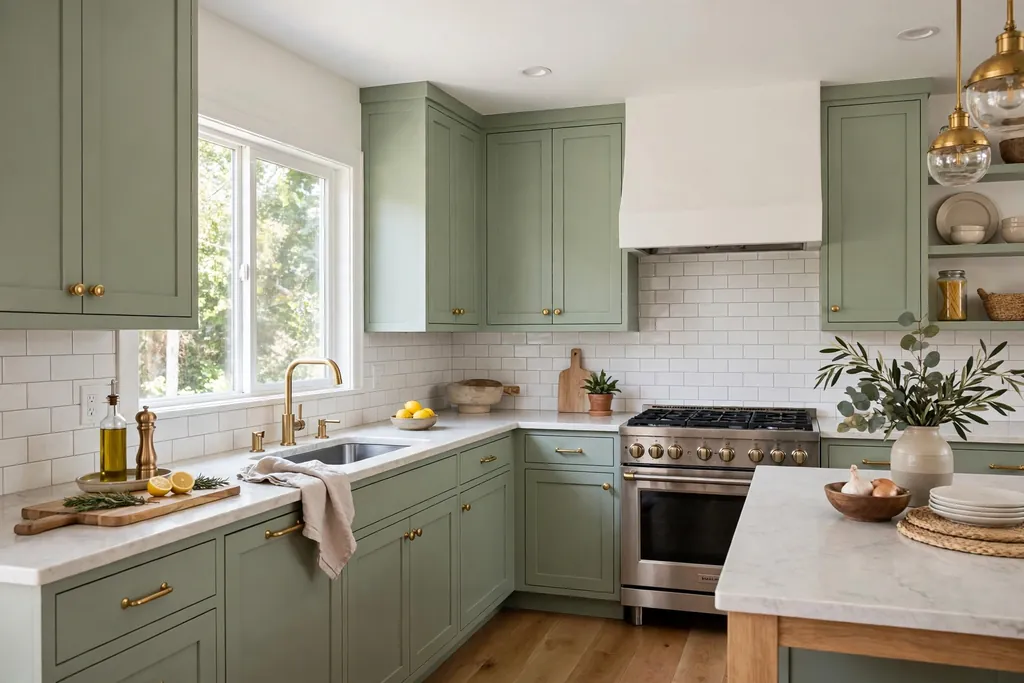
If your cabinet boxes are sound but the color dates the kitchen, paint the doors and drawer fronts. A light neutral brightens the room, while a soft green or deep blue on lower cabinets only gives a two tone look with less risk. Clean and sand the doors first, remove the hardware, and use a primer made for cabinets so the paint grips and wipes clean.
Paint one door as a test and check it beside your floor and counter in daylight and evening light. Label each door on the back as you remove it, so refitting takes minutes rather than a puzzle session. Keep the finish satin or semi gloss near the stove, since flat paint shows splashes and is harder to wipe.
5. Lay Peel-and-Stick Backsplash Tiles
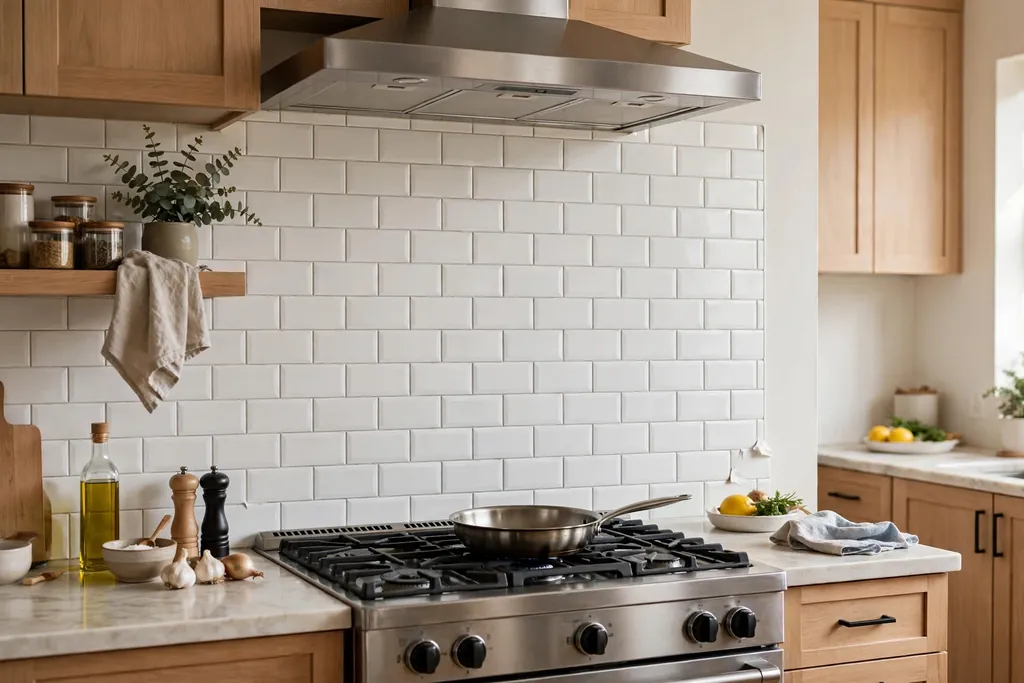
Peel-and-stick tiles give a tiled backsplash look with no grout, no wet cutting, and no tiler. Clean the wall, start from a level line above the counter, and press each tile firmly, trimming around sockets with a sharp knife. A white subway look suits most kitchens and pairs with painted cabinets and wood counters.
Check a sample tile beside your cabinets in daylight and evening light, since the printed finish can shift between lights. Keep peel-and-stick tiles clear of direct heat behind the cooker, and wipe them with a soft damp cloth. If a tile edge lifts near the sink, dry the wall fully and press it back, or replace that single tile.
6. Lay Peel-and-Stick Floor Tiles in a Small Room
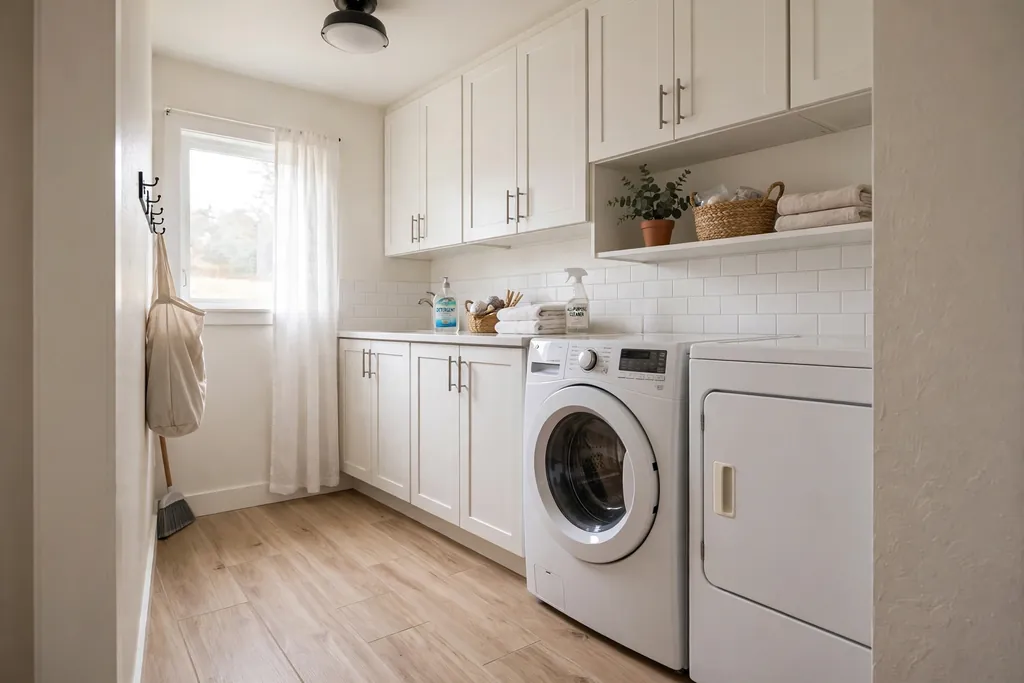
Peel-and-stick floor tiles suit a small room, such as a laundry room, a bathroom, or an entry, where a full new floor would cost far more. Clean the existing floor, start from the center of the room so the cut tiles at the edges look even, and press each tile firmly into place. A light stone or wood look keeps a small room bright.
This suits a smooth, sound floor, not a floor with deep damage or loose boards. Keep the tiles clear of standing water until you know how they handle your room, and wipe spills promptly. If one tile wears or lifts, you can replace that tile alone, which keeps this a low cost, low risk change.
7. Paint the Front Door a Fresh Color
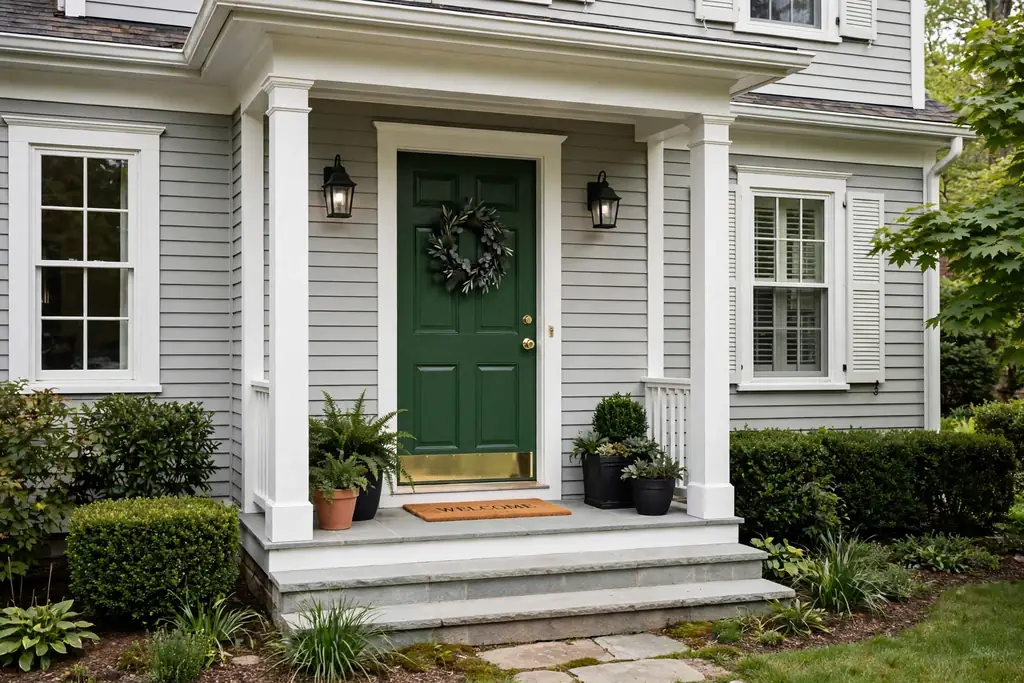
A front door is the first surface visitors see, and a fresh color changes the whole entry. A deep green, navy, red, or classic black suits many homes, and a satin or semi gloss finish stands up to weather and handprints. Clean the door, sand lightly, and remove the hardware or mask it carefully before painting.
Paint in mild, dry weather and leave the door open long enough for the paint to dry without sticking to the frame. Step back to the street and check the color beside your brick, siding, and roof before the second coat, since door colors look stronger at full size. Keep the rest of the entry simple, so the door stays the focal point.
8. Update Front Door Hardware and House Numbers
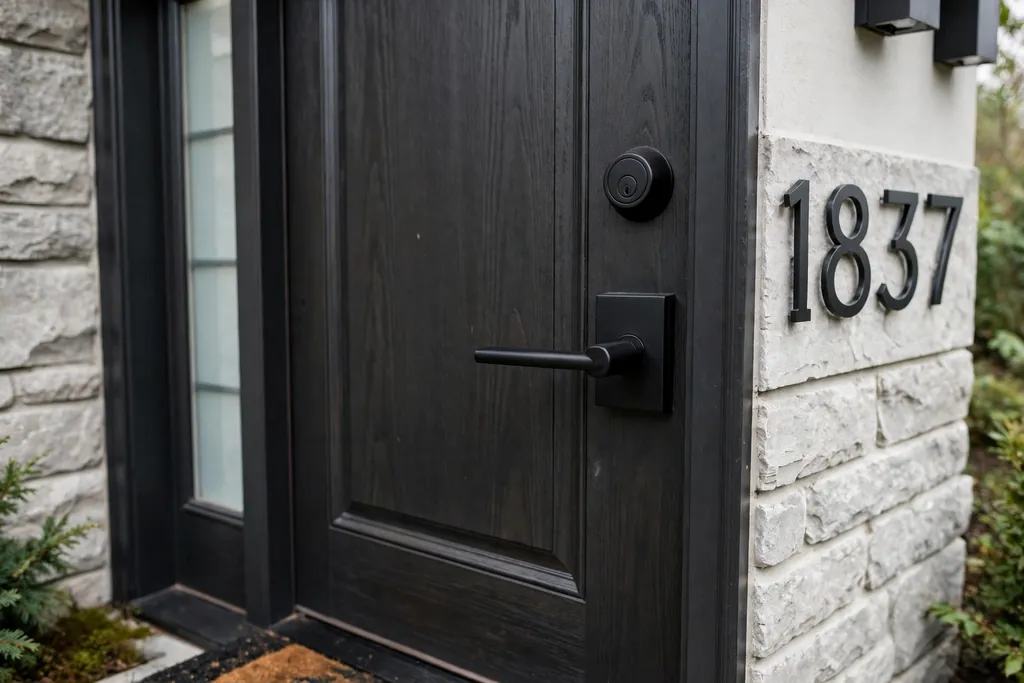
New door hardware and house numbers finish a painted door and help visitors find your home. Match the finish to the door color and to any porch light, such as matte black with a dark door or brass with a deep green door. Check the existing screw holes and lock size before ordering, so the new fittings sit cleanly.
Choose house numbers large enough to read from the street, and place them at eye level beside the door or on a porch post. Save the old hardware in a labelled bag if you rent. Wipe the new fittings often, since porch hardware collects dust and rain marks faster than indoor hardware.
9. Replace Dated Light Fixtures and Shades
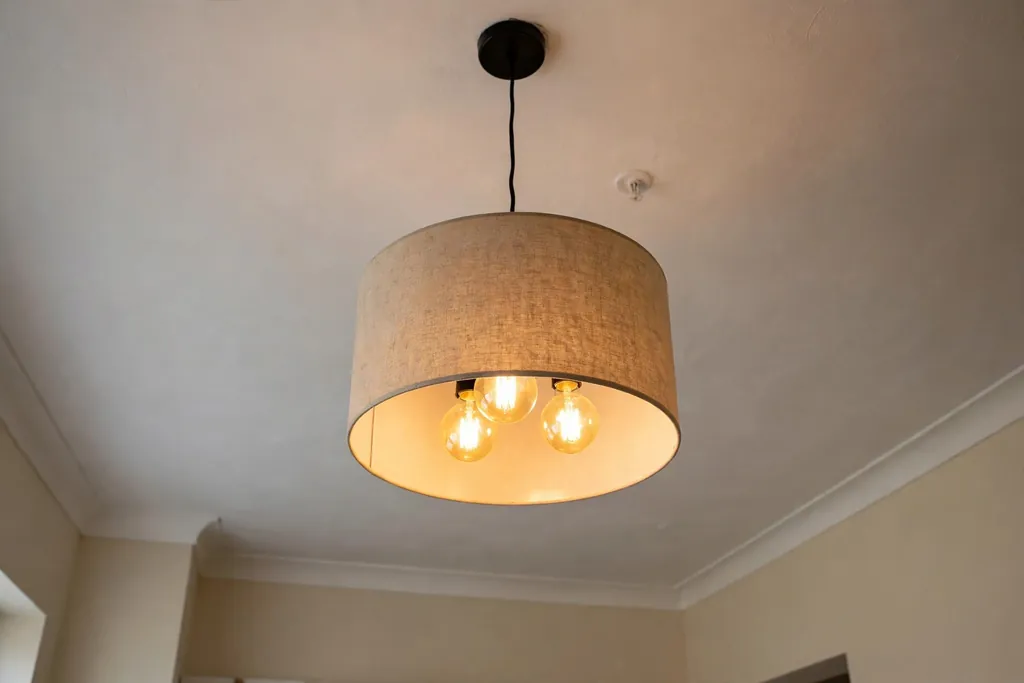
A dated ceiling fixture or lampshade can age a whole room, even when the furniture is fine. Swap one fixture at a time, starting with the room you use most, and pick a simple drum, dome, or glass shade that suits the room rather than a bold statement piece. Turn off the power at the breaker before you start, and check that the new fixture fits the existing ceiling box.
Match the new metal to taps or handles nearby, and keep other ceiling lights plain. Use warm white bulbs so the light feels soft in the evening. If you rent, save the old fixtures and their fittings in a labelled box, so the original lights can go back up later.
10. Add LED Strips Under Cabinets and Shelves
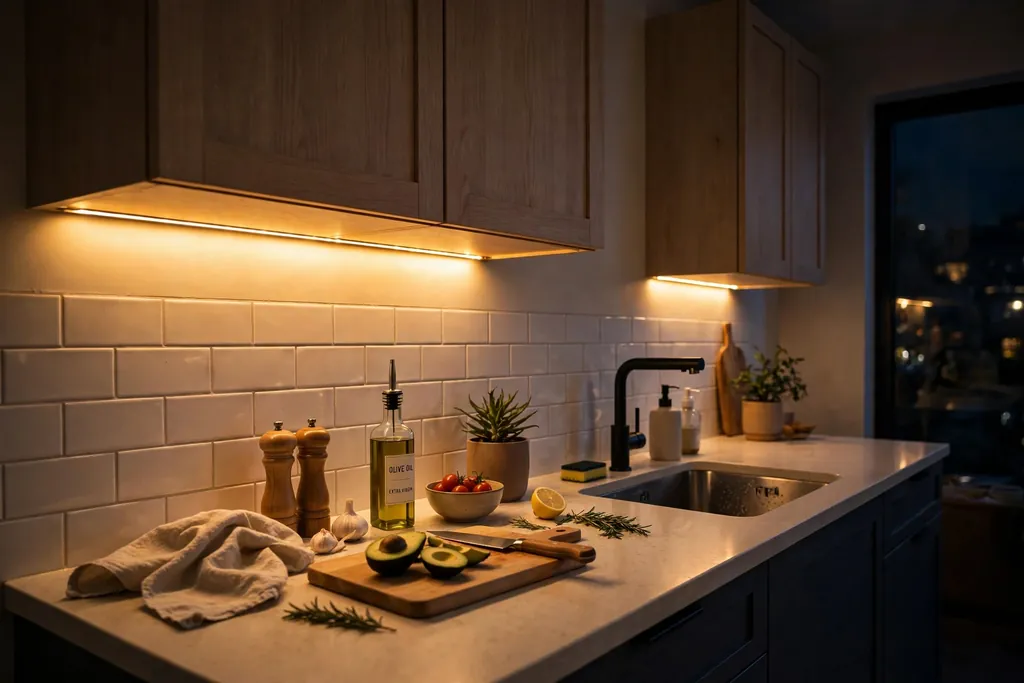
LED strips under upper cabinets light the work surface, make prep safer, and make a kitchen feel finished in the evening. Stick or clip the strips to the underside of the cabinets, hide the driver behind a cabinet, and choose warm white light so food and wood tones look natural. A dimmer, if your strip supports one, lets you lower the light for evening meals.
Keep the strips clear of the cooker and steam, and run the cable where it cannot catch on doors or drawers. Battery strips suit renters and short runs, while plug in strips suit a full run of cabinets. The same idea works under a bookshelf or a wardrobe shelf, where a soft strip makes a dark corner useful.
11. Fit Dimmer Switches and Warm Bulbs
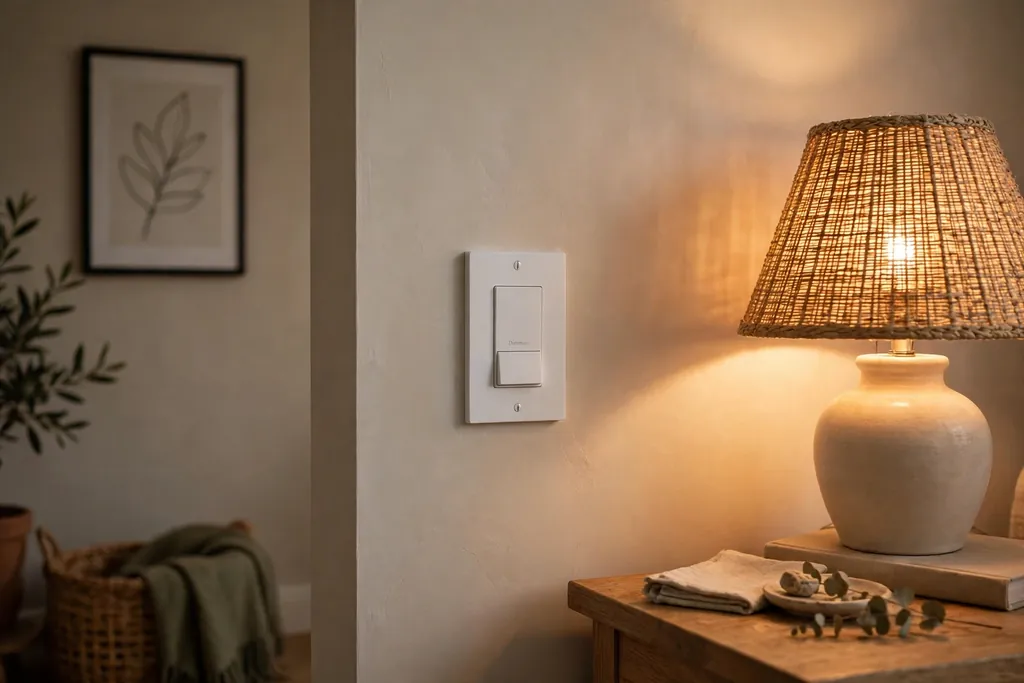
Dimmer switches change how a room feels at night for the cost of a small fitting. A dining room, living room, or bedroom with dimmed light feels calmer in the evening, and the same room can stay bright for reading or work during the day. Turn off the power at the breaker before fitting a switch, and check that your bulbs suit dimming, since not all bulbs do.
Pair the dimmer with warm white bulbs in living spaces, where cool light can feel harsh after dark. Keep one bright, non dimmed light in a work zone, such as a kitchen counter or a desk, so tasks stay safe. If wiring feels beyond a simple swap, a short visit from an electrician still costs far less than a room remodel.
12. Swap Switch Plates and Outlet Covers
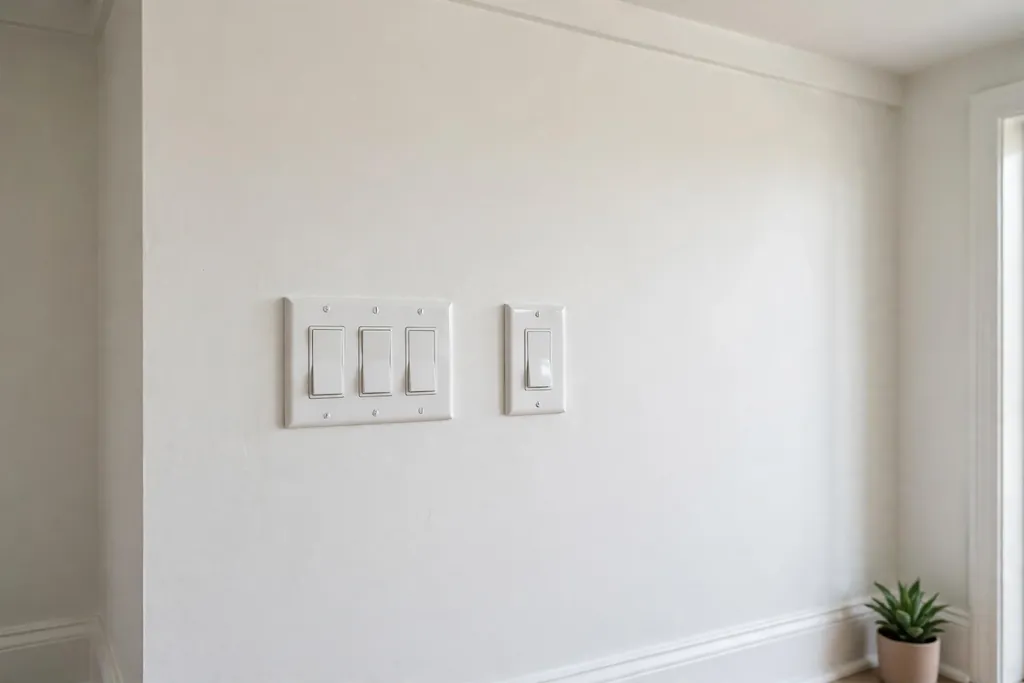
Yellowed or cracked switch plates and outlet covers are small details that make a room look tired. New plates in white, matte black, or a metal that matches your hardware give walls a clean edge for very little cost. Turn off the power before you remove a plate, and keep the screws safe, since new plates sometimes ship with screws that do not match.
Wipe the wall behind the old plate before fitting the new one, and check that the plate sits flat with no gaps. This is a good finishing job to pair with repainting, since fresh plates beside fresh paint read as one finished room. Save the old plates if you rent, so the room returns to its original state later.
13. Hang Curtains Higher and Wider
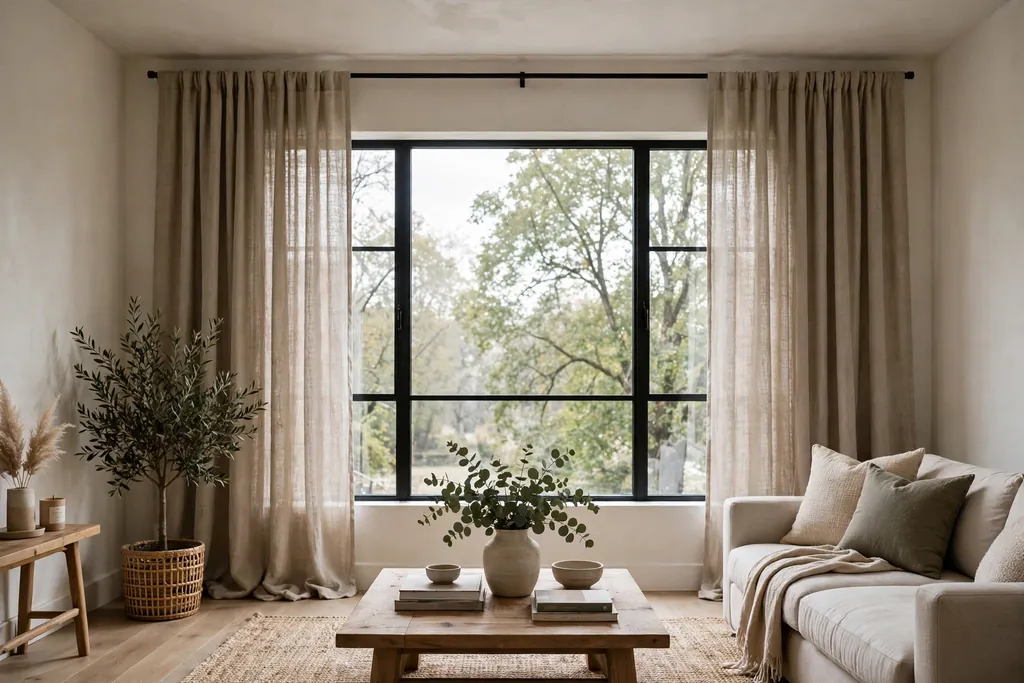
Hanging a curtain rod close to the ceiling and wider than the window makes the window look larger and the ceiling look higher, with no building work. Place the rod a few inches below the ceiling and extend it beyond the window frame on both sides, so the curtains stack on the wall rather than covering the glass. Use a rod rated for the curtain weight.
Choose a plain linen or cotton curtain in a light neutral for most rooms, since a busy pattern can fight with wall color and art. Let the curtains fall to the floor or just brush it, and keep the fabric washable where pets or children pass by. This single change suits living rooms and bedrooms best, where windows set the mood of the room.
14. Add a Gallery Wall From Frames You Own
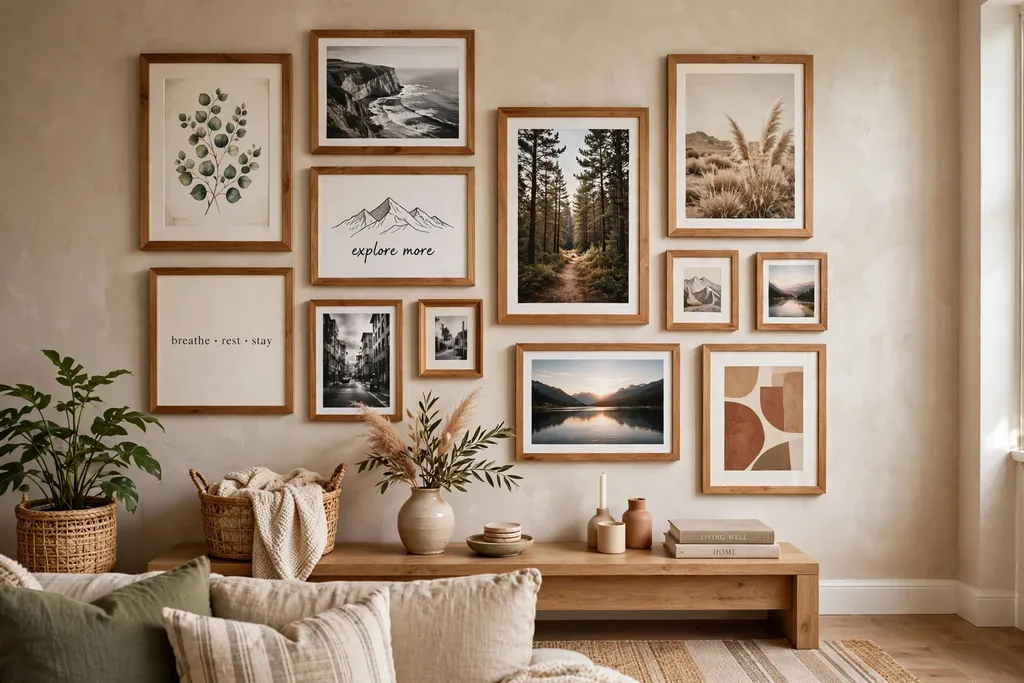
A gallery wall turns a blank wall into a personal display using frames, prints, and photos you already own. Lay the arrangement on the floor first, starting with the largest frame in the center, and keep even gaps between frames so the group reads as one display. Use paper templates on the wall to test the layout before you make holes.
Mix frame sizes but keep one finish family, such as all wood or all black, so the wall looks planned rather than random. Hang the center of the group at eye level, and leave breathing room around the edges. If you rent, use picture hanging strips rated for the frame weight, and check the wall surface suits them before you start.
15. Hang a Large Mirror to Bounce Light
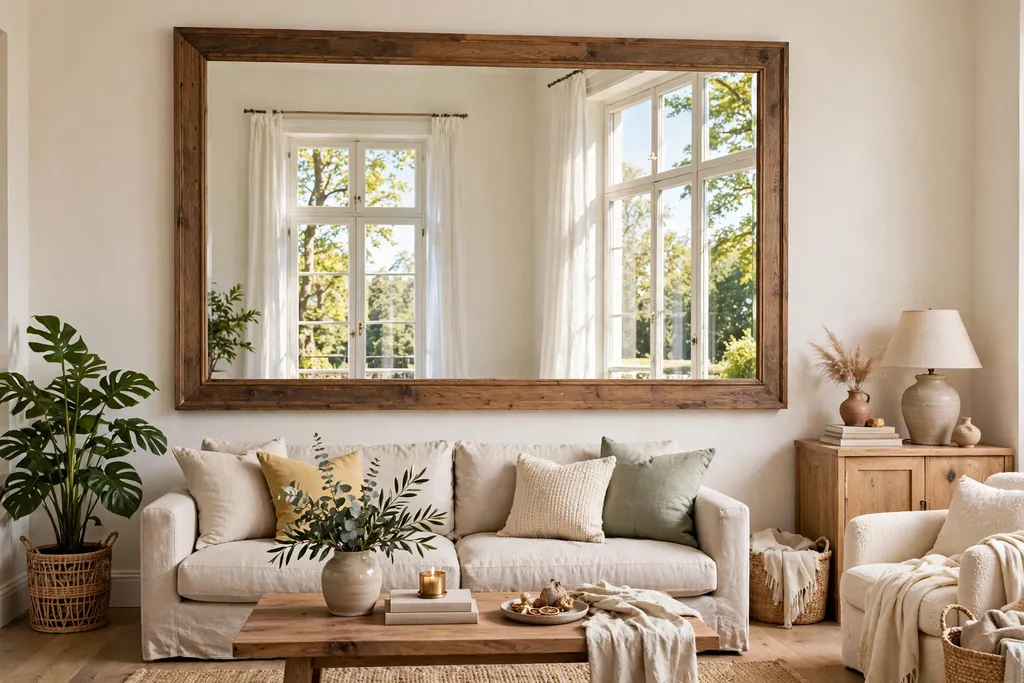
A large mirror opposite or beside a window bounces daylight deeper into a room and makes a small space feel wider. Place it where it reflects a pleasant view, such as a window, a plant, or a piece of art, rather than a cluttered corner. A simple wood or black frame suits most rooms and keeps the mirror from fighting with other details.
Hang the mirror into a stud or with fixings rated for its weight, since a large mirror is heavy and a fall can damage the wall and the floor. Keep the glass clean, since a dusty mirror dulls the light it should bounce. In a hallway or entry, a tall mirror also gives a last check before you leave the house.
16. Fit Floating Shelves on a Blank Wall
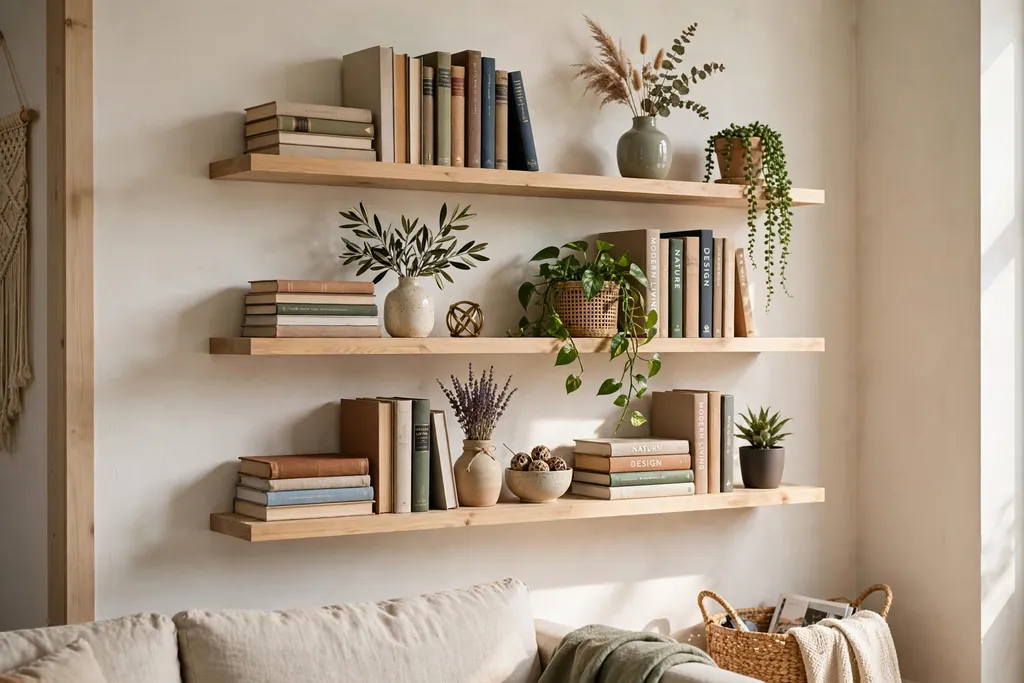
One or two floating shelves give display and storage space on a blank wall, with no cabinet work. Use them for books, plants, or daily dishes, and fix them into wall studs or with fixings rated for the load. A pale wood shelf suits white walls, while a darker wood suits a room with wood floors or a wood table.
Keep the shelf items to pieces you use or enjoy often, and leave clear space between groups so the shelf reads as tidy. Put heavy stacks low, or on a lower shelf, and keep shelves clear of direct stove steam in a kitchen. One well placed shelf beats three crowded shelves, so start with one and add a second only if the first stays tidy.
17. Add Picture Frame Moulding to Plain Walls
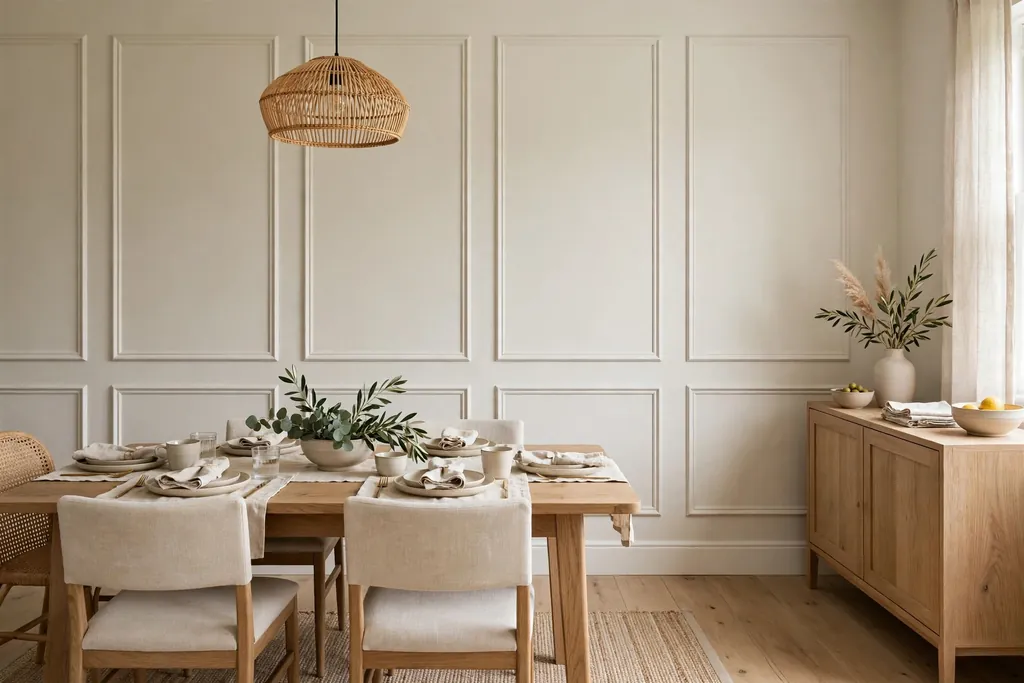
Thin wood moulding fixed to a wall in rectangle shapes gives a plain wall a framed, panelled look without new plasterwork. Cut the moulding to form even rectangles, fix it to the wall, fill small gaps, and paint the moulding and the wall the same color for a calm effect, or paint the moulding white for contrast. This suits hallways, dining rooms, and bedrooms with flat walls.
Measure carefully so each rectangle matches its neighbors, and keep the moulding slim in a small room, since wide trim can crowd a narrow wall. Sand the edges smooth before painting, and use two thin coats rather than one thick coat. If you rent, check that the moulding can be removed without heavy wall repair, or use a removable panel instead.
18. Refresh Grout Lines in Kitchens and Bathrooms
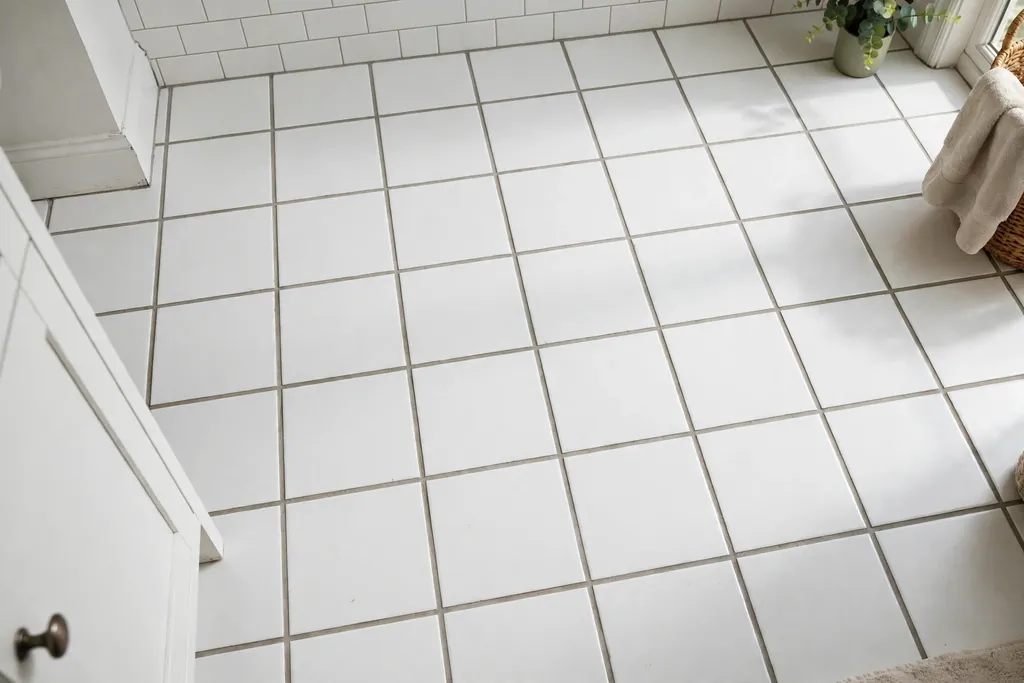
Dirty grout makes good tile look tired, and refreshed grout makes the same tile look new. Clean the grout lines first, then use a grout pen or grout colorant in a shade that matches the original grout, working one small section at a time. A light grey or warm white suits most floors and walls.
This suits grout that is stained but sound, not grout that is cracked or missing. Seal the refreshed grout once it dries, so it resists stains near sinks and showers. Wipe tiles with a soft damp cloth after the work, and keep harsh scrubbing away from fresh grout until it cures fully.
19. Reseal Caulk Around Tubs, Sinks, and Windows
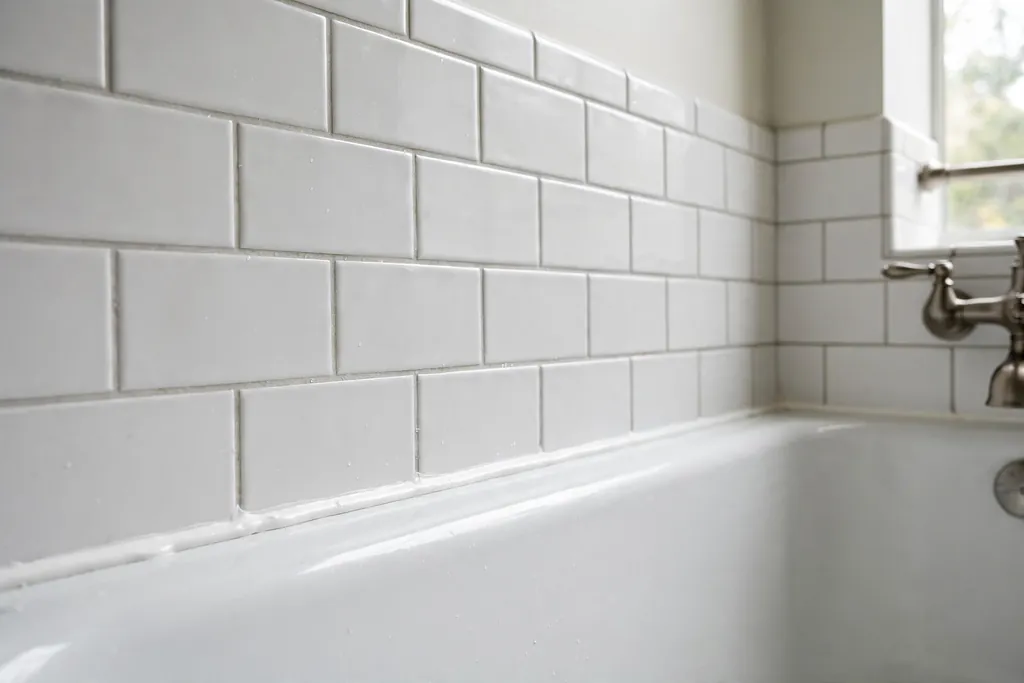
Old, cracked caulk lets water creep behind tubs and sinks, and it looks untidy even in a clean bathroom. Remove the old caulk with a scraper, clean and dry the joint fully, then apply a smooth new bead of sealant made for kitchens and bathrooms. Smooth the bead with a wet finger or a caulk tool, and wipe excess before it sets.
This suits a sound joint with a small gap, not a joint with water damage or a loose fixture behind it. Keep the new sealant dry until it cures as directed, and check the seal once a year, since bathroom sealant wears with steam and cleaning. A clean caulk line makes a bathroom feel cared for, even when nothing else changes.
20. Refresh a Bathroom With Curtain, Towels, and Mirror Frame
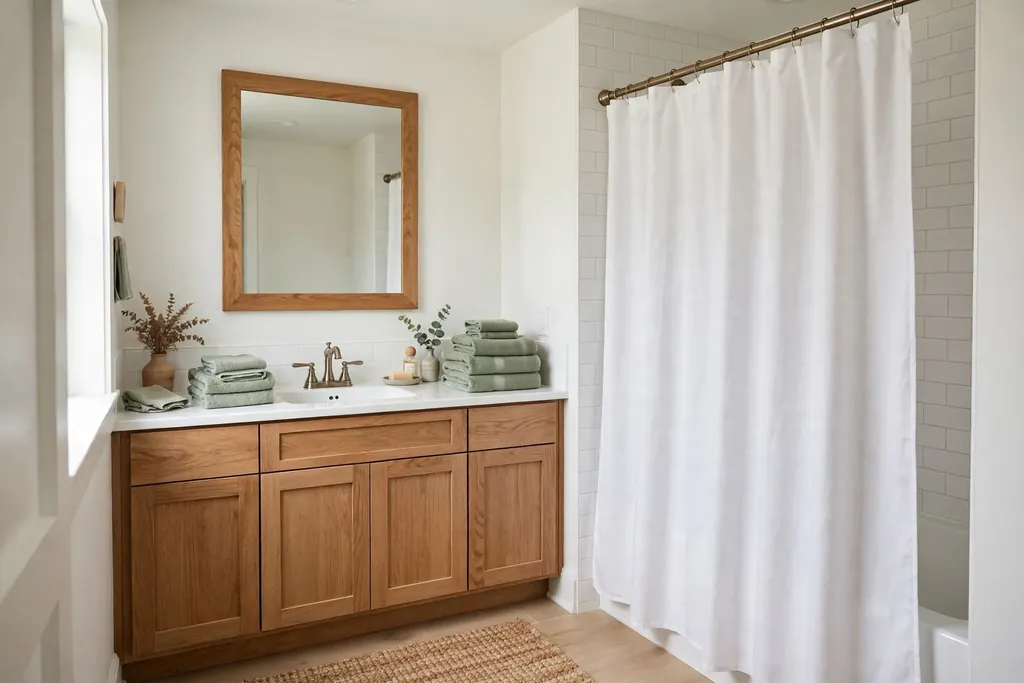
A bathroom can feel new with a fresh shower curtain, matching towels, and a simple frame around a plain mirror. Pick one color family for the curtain and towels, such as white with sage or navy, and keep the rest of the room plain so the set reads as a plan. A slim wood or painted frame stuck around a builder grade mirror hides the raw edge and gives the mirror a finished look.
Keep the shower curtain washable and the towels thick enough to dry well, since a bathroom needs practical textiles as much as pretty ones. Clear the counter to one tray for daily items, so the new textiles stay visible. This is a strong renter option, since the curtain, towels, and a stick on frame come down with little trace.
21. Paint a Tired Piece of Furniture
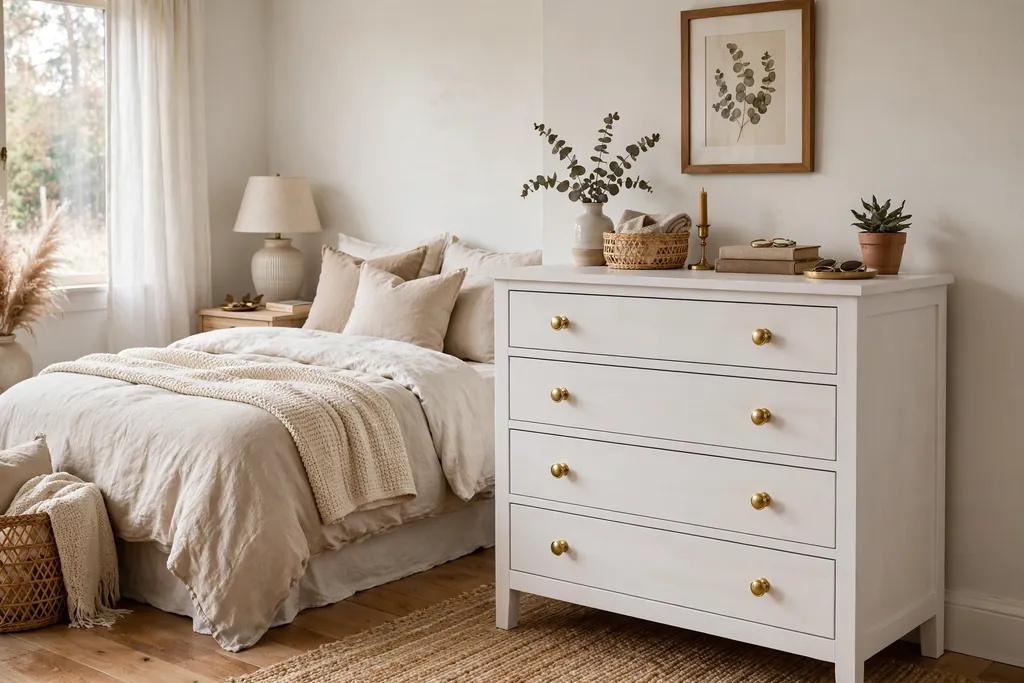
A tired side table, chair, or dresser can gain a second life with paint. Clean and sand the piece, prime it if the old finish is glossy, and apply two thin coats of furniture paint in a color that suits the room. A soft white, sage, or navy suits most pieces, and new knobs finish the change.
Work in a ventilated space and give each coat its full drying time, since rushing leaves a soft finish that marks easily. Keep the painted piece clear of hot mugs and wet glasses until the paint cures, and use coasters and trays from day one. One painted piece per room is enough, since several painted pieces can make a room feel busy.
22. Style Open Shelves With Books, Plants, and Baskets
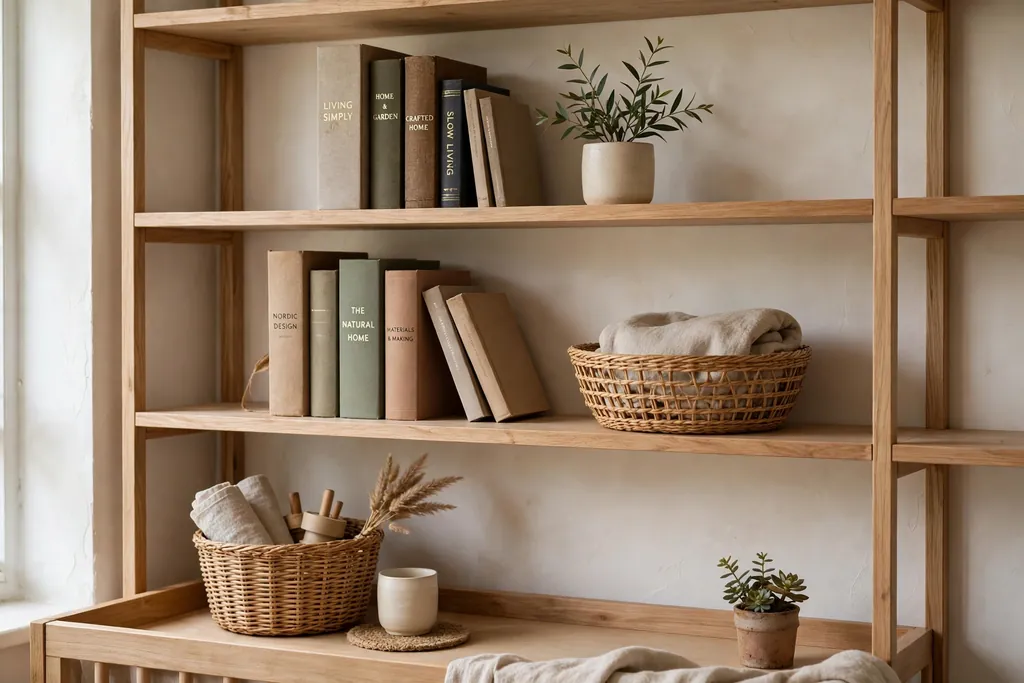
Open shelves look best when they hold a mix of books, plants, and baskets, with clear space between groups. Place books upright and flat in small stacks, add one plant per shelf for a living note, and use a basket for small items that would otherwise look messy. Keep daily items within easy reach and display pieces higher up.
Leave breathing room between groups, since a crowded shelf reads as storage rather than styling. Rotate one or two pieces with the seasons, so the shelf stays fresh without new purchases. Dust the shelves weekly, since open storage collects dust faster than closed cabinets.
23. Add an Entryway Drop Zone With Hooks and a Bench
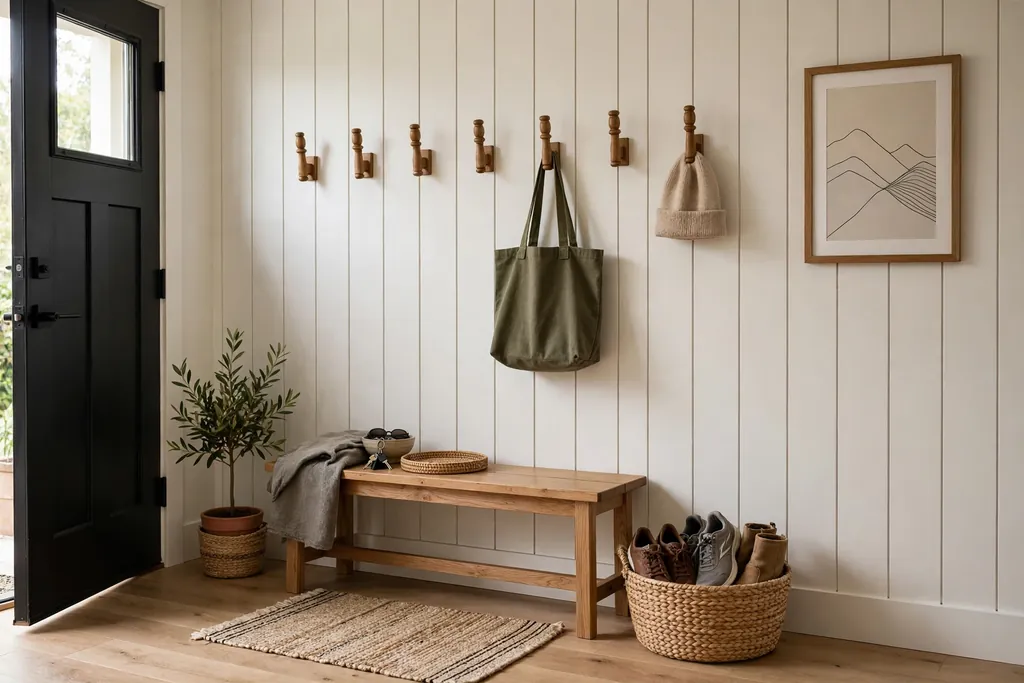
An entryway drop zone keeps coats, bags, and keys from spreading through the house. Fix a row of sturdy hooks at a height everyone in the household can reach, place a small bench or a stool below for sitting and for bags, and add a tray or a basket for keys and small items. Fix hooks into studs or with fixings rated for heavy coats and bags.
Keep the drop zone to one wall, so the entry still feels open when you walk in. Add a washable mat under the bench for wet shoes, and clear the hooks once a week, so out of season coats do not crowd the space. This change suits rented homes too, since a freestanding bench and an over door hook rail need no holes at all.
24. Lay Washable Runners and Rugs
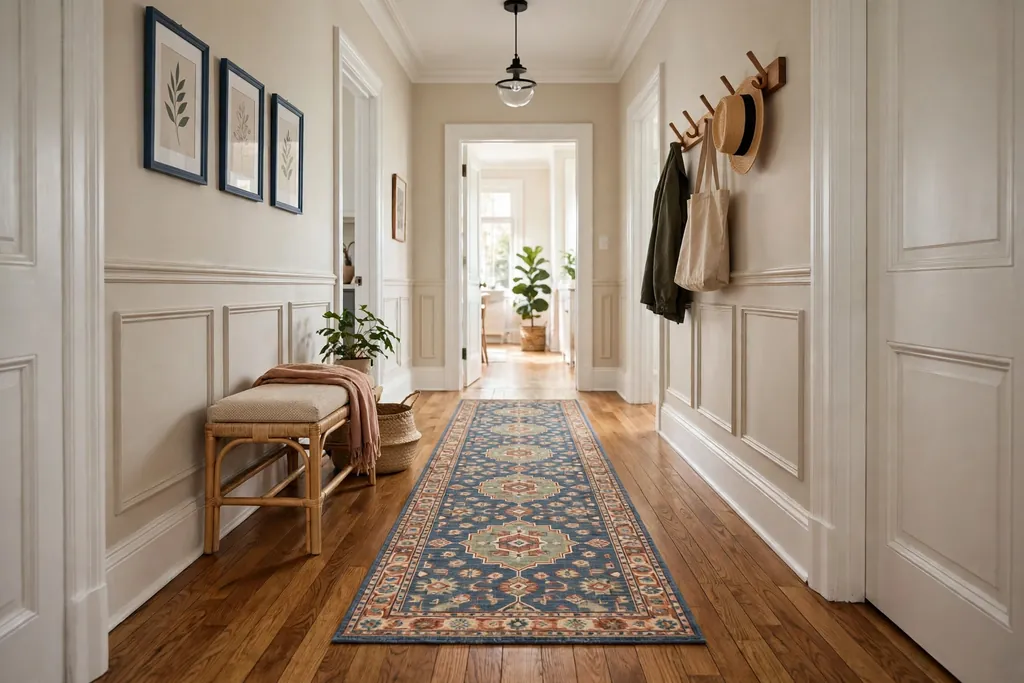
A washable runner or rug warms a hard floor, quiets footsteps, and ties furniture together, and it can go in the washing machine when it gets dirty. Place a runner in a hallway or kitchen, and a larger rug under a coffee table or a bed, with the front legs of furniture on the rug so the pieces read as one group. Choose a low pile rug in a busy zone, since thick pile trips feet and traps dirt.
Pick a pattern that hides everyday marks, such as a simple stripe or a small repeat, and keep the rug color in the same family as your cushions or art. Use a non slip pad under the rug, especially on smooth floors and stairs. Shake the rug outside often, and wash it as directed, so it stays fresh rather than flat.
25. Add Window Film for Privacy and Soft Light
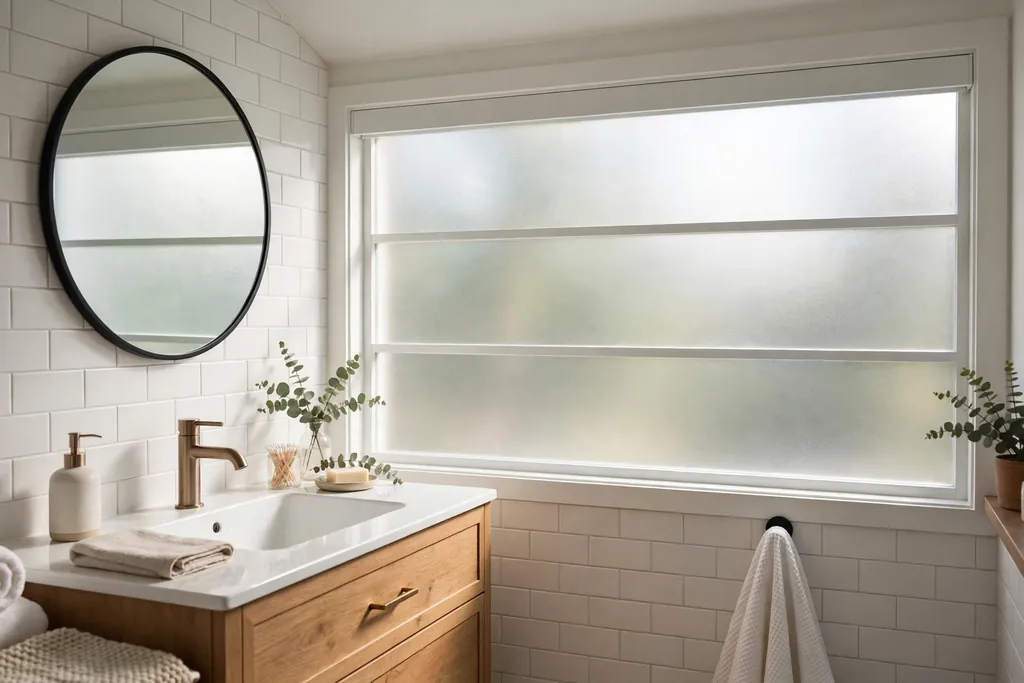
Window film gives privacy and softens harsh light without new curtains or blinds. A frosted film suits a bathroom or a street facing window, while a light filtering film suits a room where you still want a view. Clean the glass fully, cut the film to size, and smooth it on with water and a smoothing card, trimming the edges carefully.
This is a strong renter option, since most window film peels off cleanly. Keep the film clear of the window edges by a hair, so water does not lift it, and wipe it with a soft damp cloth. If a bubble stays after smoothing, lift that corner gently and reapply it, rather than pressing harder on the bubble.
26. Bring in Plants and Simple Plant Stands
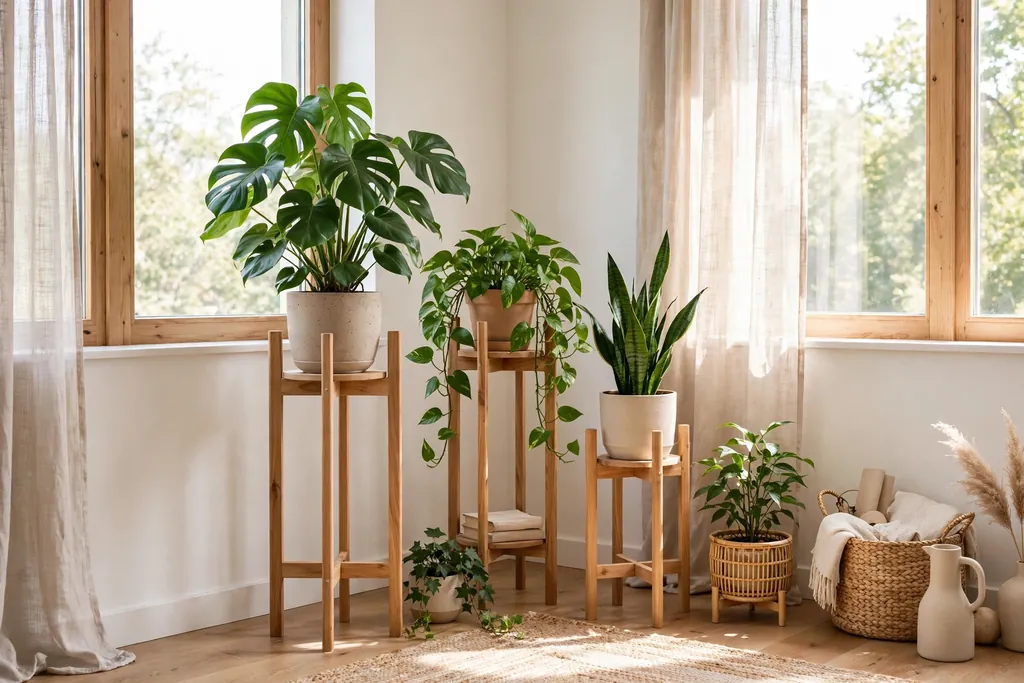
Plants add life and color to a room for very little cost, and a simple plant stand lifts them to eye level where they show best. Start with easy plants that suit your light, such as a pothos for a bright room or a snake plant for a dim corner, and place them where you will notice them daily. Use pots with drainage holes and a saucer, so water does not mark floors and shelves.
Group plants in odd numbers, such as three pots of different heights, rather than lining them up in a row. Check the light and water needs of each plant before you buy, since a plant in the wrong light fades fast. Rotate the pots each week, so growth stays even, and wipe large leaves with a damp cloth to keep them glossy.
27. Refresh the Porch With Paint, Pots, and Solar Lights
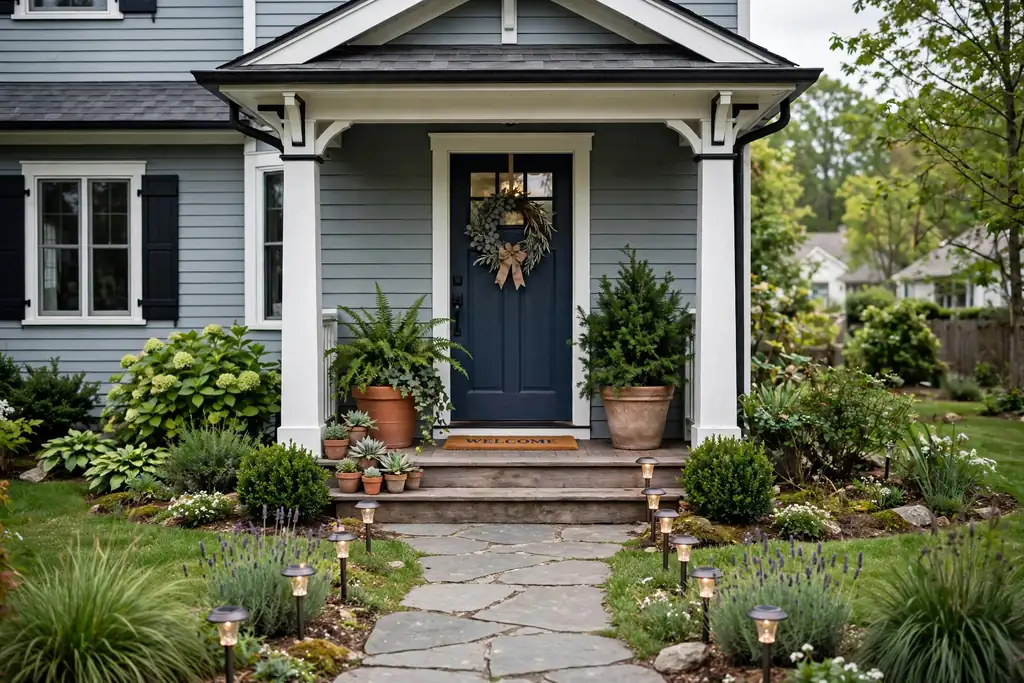
A porch refresh starts at the door and works outward: a clean door mat, two pots of plants beside the door, and solar lights along the path. Choose pots that suit the house style, such as terracotta for a cottage or simple black pots for a modern home, and plant them with hardy plants that suit your sun and shade. Place solar lights where they catch daylight, so they charge fully before evening.
Sweep the porch, clean the light fittings, and paint any peeling trim before you add plants, since fresh details show best against a clean surface. Keep the path clear and the lights low, so visitors see the way without glare. This is a weekend job that changes how the whole house feels when you arrive home.
28. Paint Interior Doors and Trim White
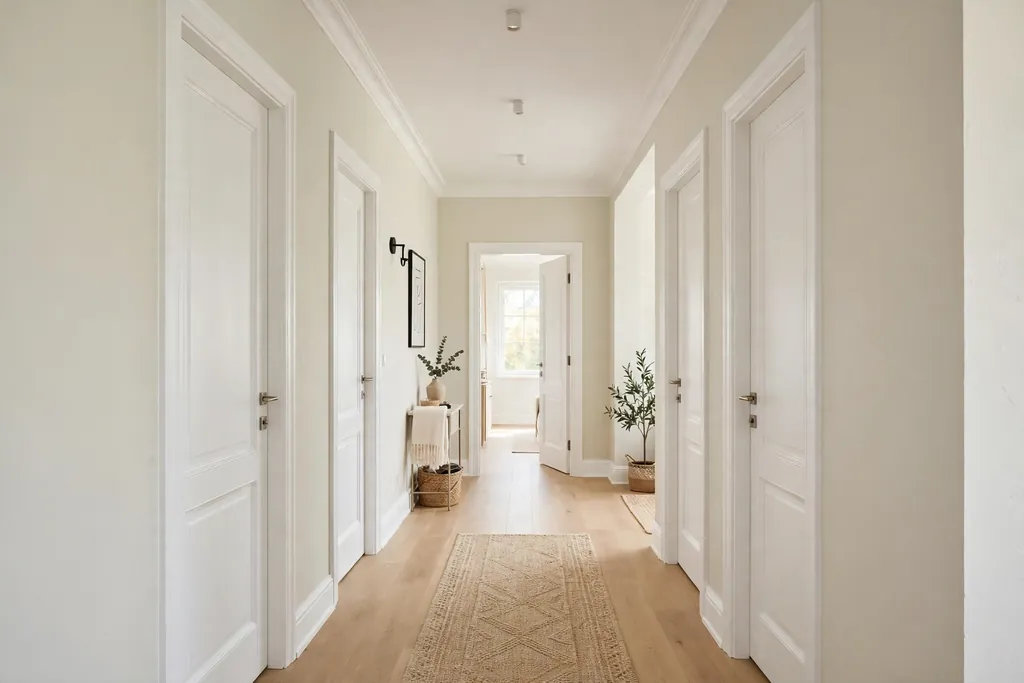
Interior doors and trim in a fresh white give a home a clean, consistent frame in every room. Clean the doors and trim, sand lightly, and use a primer made for glossy surfaces if the old paint shines. Apply two thin coats of white trim paint with a small roller for flat areas and a brush for edges, so the finish stays smooth.
Paint one door first and check the white beside your wall color in daylight and evening light, since whites range from cool to warm. Keep the same white on all doors and trim in one home, so rooms flow together when doors stand open. Save the old door hardware in a labelled bag if you swap it at the same time, and refit it carefully so the hinges sit square.
Conclusion
A fresher home rarely needs a new layout or a large budget. It needs a clear color, one metal finish, good light, and storage that keeps surfaces clear. Start with the largest change you can manage, whether that is paint, a front door, or a floor, then add one lighting fix and one storage fix. After that, the small moves, a runner, a tray, fresh towels, and a plant, will read as finishing touches rather than cover ups. Save this list, pick one idea for this weekend, and add the next change when the first one feels settled.
FAQs
What is the cheapest way to improve a home?
Start with paint and hardware. Repainting one room or one accent wall, swapping knobs and pulls for one consistent finish, and updating switch plates changes the largest surfaces and the details you touch daily for a low cost. After that, a washable runner, a gallery wall from frames you own, and a plant or two tidy and warm a room without any building work. These moves suit renters too, since hardware and decor can often be reversed.
Which home improvements are best for renters?
Renters get the best return from reversible changes: swap hardware and save the originals, lay peel-and-stick tile and floor tiles that lift cleanly, hang window film, use picture hanging strips, add a rolling cart or a freestanding bench, and refresh a bathroom with a curtain and towels. Check your lease before fixing shelves, rails, or moulding to walls, and use removable fixings rated for the weight. Keep old fittings in labelled bags, so the home returns to its original state at the end of the tenancy.
Can I improve my home in one weekend?
Yes, if you pick one room and one main change. In most homes that means painting a room or a front door, laying a peel-and-stick backsplash or floor in a small room, or building an entryway drop zone with hooks and a bench. Add a hardware swap in the same weekend, since doors and drawers are already part of the work, and finish with a runner and fresh towels. One weekend used this way gives a visible change on Monday, and the smaller ideas can follow the next weekend without rushing.
Do cheap home improvements add value to a home?
Simple, well done improvements can help a home show better, since fresh paint, clean grout, sound caulk, good lighting, and tidy storage make rooms feel cared for. They do not replace major repairs, such as a leaking roof or faulty wiring, and a buyer or a valuer will still weigh the structure, the layout, and the location first. Spend first on repairs and on changes that read as finished, such as paint and hardware, rather than on bold, personal finishes that the next owner may want to undo.
How do I choose a paint color that will not date quickly?
Choose a light neutral for most walls, such as warm white, cream, or pale greige, and add color in one place you can change easily, such as an accent wall, a front door, or a painted piece of furniture. Test a large sample beside your floor and trim in daylight and evening light before painting, since colors look stronger over a full wall. Keep the metal finish consistent, and let wood and white carry the rest of the room, so the scheme stays easy to update later.
Where should I start if my whole home feels tired?
Start with the room you use most and the change you see most. In most homes that means repainting the living room or the main bedroom, refreshing the kitchen with paint and hardware, or updating the entry with a painted door and a drop zone. Clear clutter first, so paint and new details show against a tidy room, then add one lighting fix. Once one room feels finished, the same palette and finish can carry into the next room, which keeps the whole home feeling consistent.