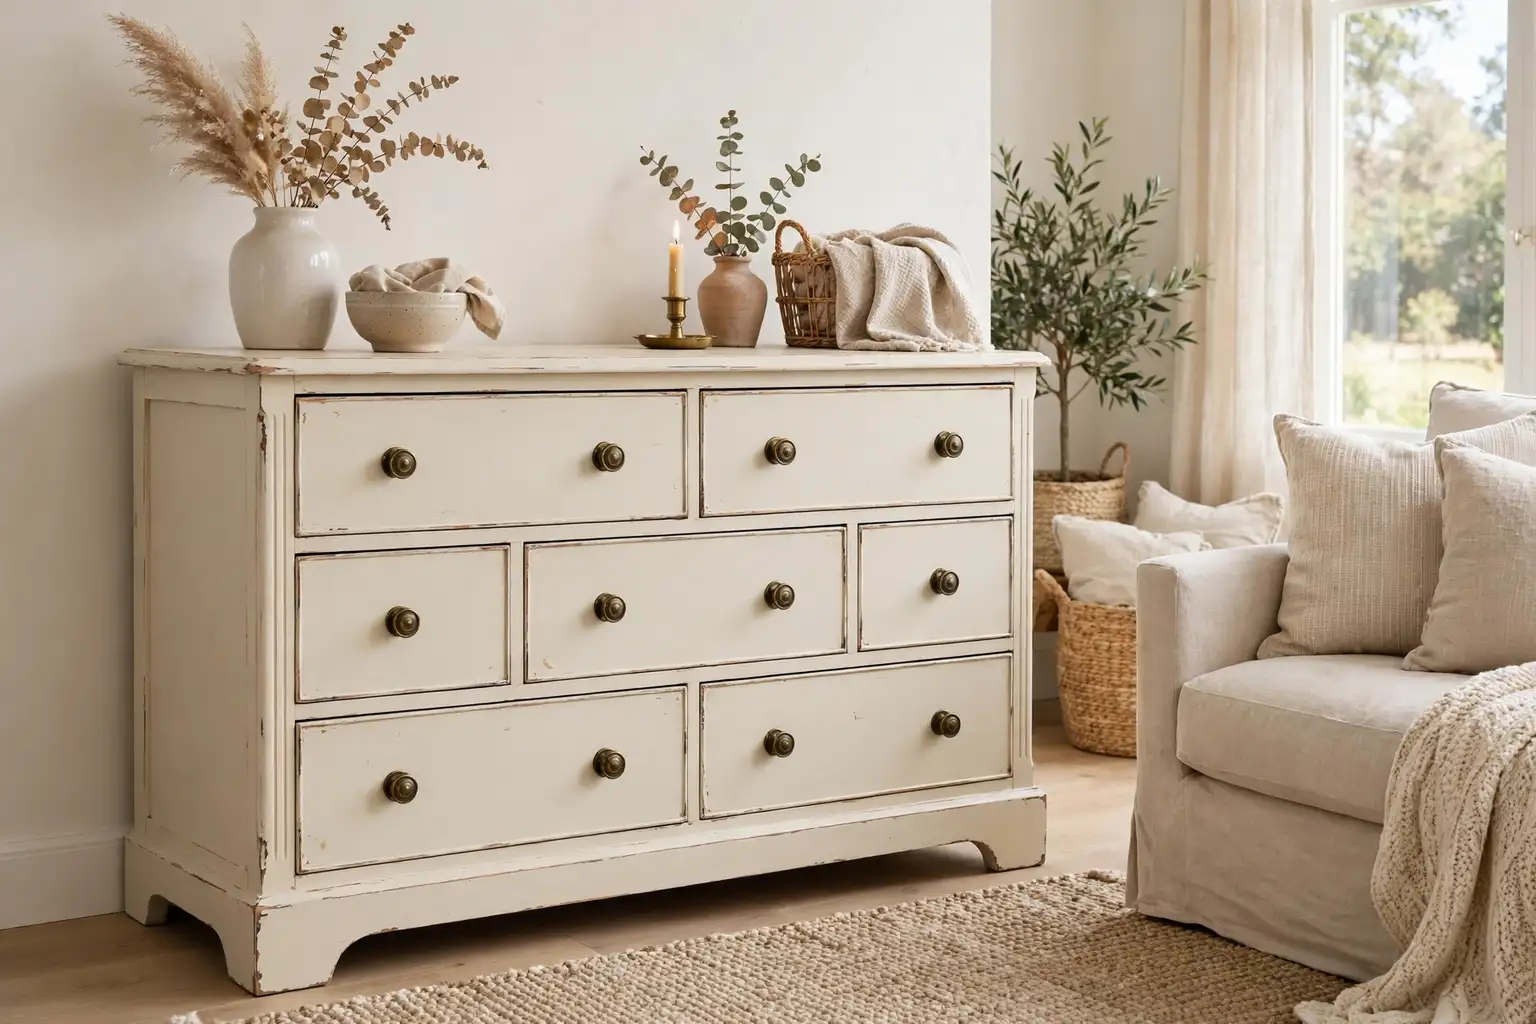
To paint furniture with milk paint, clean and lightly sand the piece, check old paint for lead before sanding, mix the powder with water to a thin cream, brush on two thin coats, let each coat dry, lightly distress edges for a soft vintage look if you like, then seal with wax or oil and let it cure before use.
That sequence is the whole method in one paragraph, and the steps below walk through it slowly so nothing is left to guess. Milk paint is a powder mixed with water, and it suits wood furniture where a matte, chalky, slightly worn finish looks right. It behaves differently from ready mixed paint: it can chip a little on glossy or sealed surfaces, it dries fast, and it needs a topcoat for daily use. Those traits are part of its appeal for a soft vintage finish, as long as you plan for them. For styling ideas once the piece is finished, see these farmhouse decor ideas and these DIY home decor projects.
Key Takeaways
- Pick a solid wood piece in good repair, and check old paint for lead before you sand or strip anything.
- Work in a ventilated area and wear protective gear, including eye protection, a dust mask, and gloves.
- Clean the piece well and sand lightly, since milk paint bonds best to a clean, dull surface.
- Mix milk paint with water to a thin cream, and test it on a hidden spot before you paint the whole piece.
- Brush on thin coats, let each coat dry fully, and avoid thick coats that dry unevenly.
- Distress lightly and only on edges and raised details if you want a worn look.
- Seal with wax or oil for daily use, and let the finish cure before heavy use.
- Keep the piece out of heavy wear and standing water while the topcoat cures.
Materials and Supplies
- A wood furniture piece in good repair, such as a dresser, side table, chair, or nightstand
- Milk paint powder and clean water for mixing, plus a bonding agent if the surface is glossy or sealed
- A clean container and a stir stick for mixing, and a strainer if the directions call for one
- Mild soap, clean water, rags, and a bucket for cleaning
- Sandpaper in medium and fine grits, and a sanding block
- Painter’s tape and drop cloths to protect floors and nearby surfaces
- Natural bristle brushes or foam brushes, plus a smaller brush for details and edges
- A screwdriver for removing knobs, pulls, and hinges
- Protective gear: eye protection, a dust mask, and gloves
- A lead test kit for old paint, if the piece may predate lead paint rules in your area
- Wax or oil topcoat, a clean lint free cloth, and a soft brush for sealing
- Wood filler and a putty knife, only if the piece has small dents or holes to repair
1. Choose the Right Piece for Milk Paint

Start with a piece that suits a matte, slightly worn finish. Solid wood dressers, side tables, chairs, and nightstands are good first choices, since milk paint bonds well to raw or lightly finished wood and the grain shows through in a pleasing way. A piece with simple lines and a few raised details gives you natural places to distress later, while a piece with heavy carving needs more brush time and care.
Check the piece for damage before you buy paint. Open every drawer, test every joint, and look for loose legs, cracked rails, and veneer that is peeling or bubbling. Small dents and loose screws are easy to fix, but a wobbly frame or large areas of missing veneer will show through a thin milk paint coat. Choose a piece you can move to a work area with room to walk around it, since painting in place makes it hard to reach the back and the undersides of rails.
Think about where the finished piece will live. Milk paint with a wax or oil topcoat suits bedrooms, living rooms, and other low moisture rooms well, while a piece that will face daily spills or outdoor weather needs a tougher topcoat plan. If you are unsure, start with a small side table rather than a large dresser, so you can learn how the paint mixes, dries, and seals on a manageable scale.
2. Check for Lead and Set Up a Safe Work Area
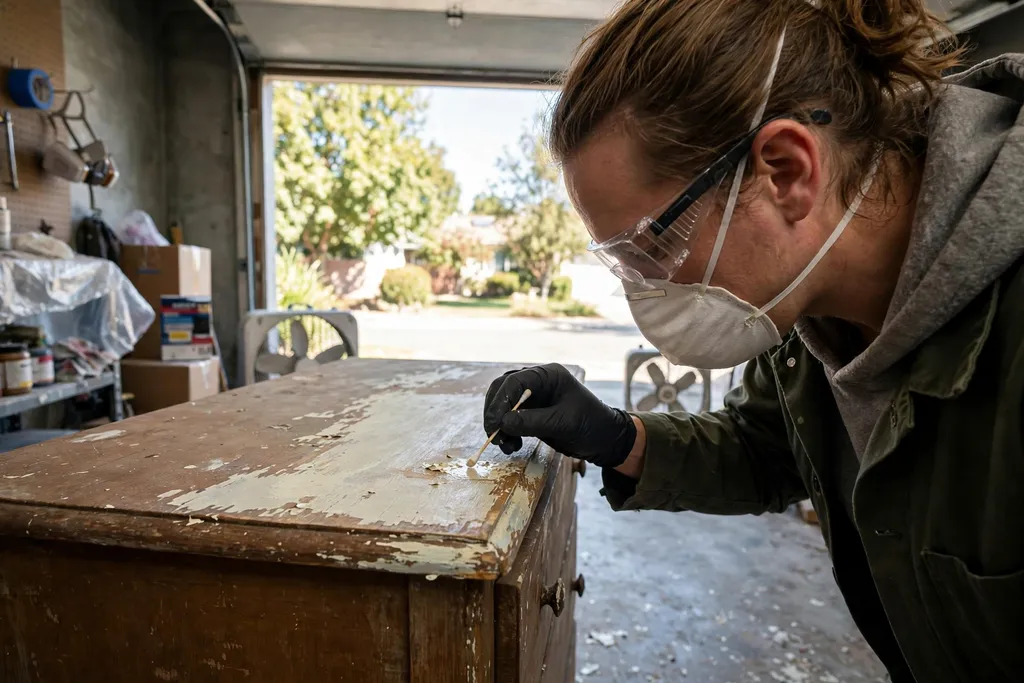
Before you sand, scrape, or strip anything, check old paint for lead if the piece could be old enough to carry lead paint. Use a lead test kit as directed on its packaging, and test several spots, including layers under chipped areas, since older pieces may hold more than one coat. If a test shows lead, or if you are unsure and the piece is very old, stop sanding and get advice from a local lead safety resource before you go further. Do not dry sand lead paint, and keep children and pets away from the work area.
Set up in a ventilated area, such as a garage with the door open, a covered porch, or a room with windows open and air moving through. Lay drop cloths under the piece and over nearby surfaces, and keep the area clear of clutter so you can move around the piece without tripping. Good light matters as much as air: a bright work light or daylight helps you see missed spots, drips, and thin areas while you paint.
Wear protective gear for every dusty or messy step. Use eye protection when sanding, a dust mask rated for sanding dust, and gloves when cleaning and painting. Keep a brush, rags, and a bin nearby for waste, and wash your hands after sanding and before eating or drinking. Safety steps take only a few minutes, and they protect the finish too, since dust and dirt in the work area can land in wet paint.
3. Remove Hardware and Clean the Piece
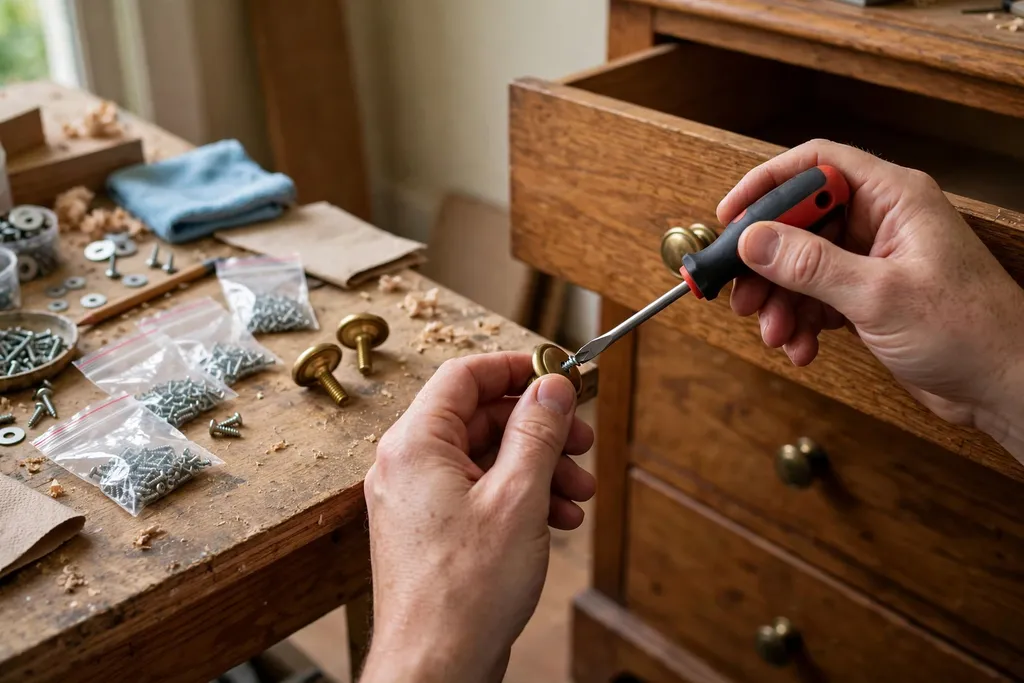
Remove knobs, pulls, hinges, and any other hardware you can take off with a screwdriver, and keep each set of screws in a labeled bag or container. Painting around hardware leaves unpainted edges that show when hardware is changed later, and paint on screw heads makes future removal harder. If a screw is stuck, stop rather than forcing it, and try a better fitting screwdriver before you strip the head.
Clean the whole piece with mild soap and clean water, using a rag wrung out well so the wood does not soak. Wipe every surface, including drawer fronts, the insides of drawer openings, legs, and rails, since grease, wax, and grime keep paint from bonding. Rinse with a clean damp rag, then let the piece dry fully before you sand. A piece that feels dry on the outside can still hold dampness in joints, so give it time in a ventilated spot.
While the piece dries, look closely for wax buildup, sticky spots, or glossy patches. A surface that still feels waxy after cleaning may need a second wash, and a very glossy sealed surface is a candidate for a bonding agent in the mixing step. Note any dents, chips, or holes now, so you can fill and sand them in the next step rather than finding them under a coat of paint.
4. Repair Small Damage and Sand Lightly
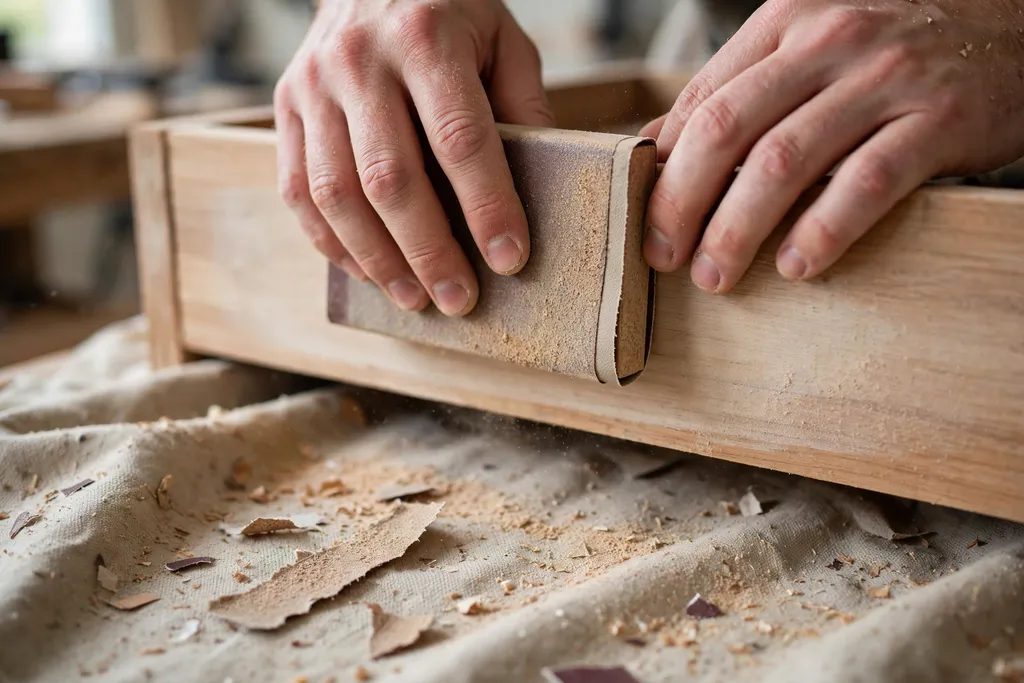
Fill small dents, nail holes, and minor chips with wood filler, pressing it in with a putty knife and leaving a slight excess so it can be sanded flat. Let the filler dry as directed on its packaging, then sand it smooth with fine sandpaper. Skip large structural repairs in this guide: a broken joint or a split leg needs proper gluing and clamping first, and paint will not hold a weak frame together.
Sand the whole piece lightly with medium sandpaper, working with the grain and paying attention to edges, drawer fronts, and any glossy areas. The goal is a dull, even surface with light scratches for the paint to grip, not bare wood everywhere. On raw wood, a light pass is enough. On a previously painted or sealed piece, sand until the shine is gone and the surface feels rough to the touch.
Wipe away all sanding dust with a dry cloth, then a slightly damp cloth, and let the piece dry again. Dust left on the surface shows as rough spots under thin milk paint, so this wipe matters more than it seems. Check the piece in good light after wiping: any shiny patch you missed is a spot where paint may chip later, and a quick extra sand there now saves a repair later.
5. Mix the Milk Paint to a Thin Cream
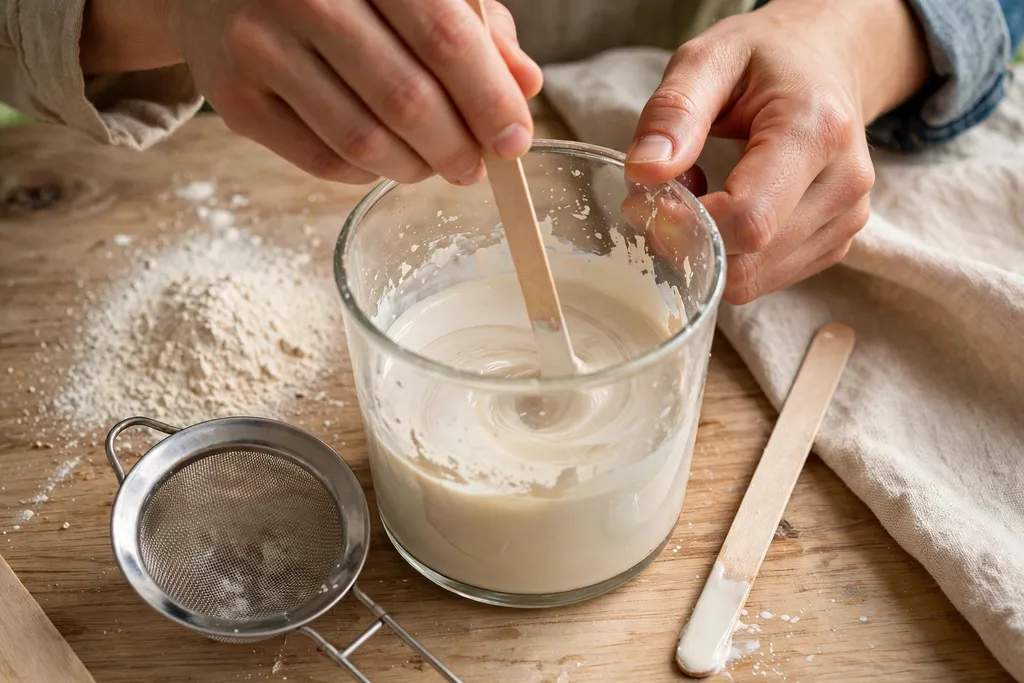
Mix milk paint just before you paint, since it is a powder that you combine with water. Follow the ratio on the packaging for the product you bought, and mix in a clean container with a stir stick, adding the powder to the water a little at a time. Stir well, let it rest for the time the directions state, then stir again. The mixed paint should look like thin cream: smooth, pourable, and free of lumps.
Strain the paint if the directions call for it, or if you can see lumps after stirring. Lumps show as bumps under a thin coat, and they are hard to brush out once they land on the piece. Mix only as much as you need for one coat at a time, since mixed milk paint does not keep the same way a sealed can of ready mixed paint does. Keep the container covered between brush loads so the surface does not skin over.
If your surface is glossy, sealed, or nonporous, mix in a bonding agent as directed on its packaging. A bonding agent helps milk paint grip surfaces where it would otherwise chip heavily, and it is a useful option for laminate edges, sealed wood, and previously varnished pieces. Test the bonded mix on a hidden spot first, as described in the next step, so you can see how it dries on your exact surface.
6. Test the Color and Finish on a Hidden Spot
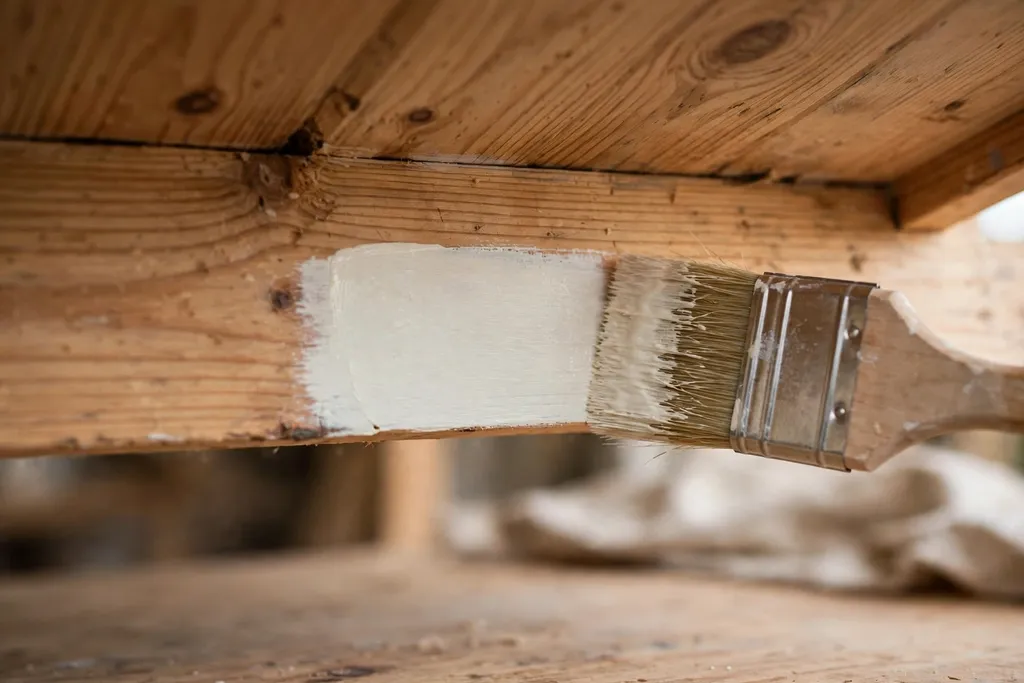
Before you paint the whole piece, brush your mixed paint onto a hidden area, such as the back of a leg, the underside of a rail, or the inside of a drawer opening. Let it dry fully, then look at it in daylight and in room light. Milk paint often dries lighter than it looks when wet, and the wood tone underneath can shift the color, so a test patch is the only reliable preview.
Check the test patch for bonding as well as color. Rub it lightly with a dry finger once it is dry: a well bonded coat stays put, while a coat that powders or flakes easily may need a bonding agent, more sanding, or a cleaner surface. If you plan to distress the piece, try a light sand on the test patch too, and see how much of the wood or base color shows through. That test tells you how hard to press in the distressing step.
Keep the test patch and your notes together. Write down the paint color, the mix ratio you used, whether you added a bonding agent, and how many coats you plan. Milk paint colors can look close on a chart and different on wood, so a short note saves guesswork if you need to mix more paint for a second coat or a touch up.
7. Brush on the First Thin Coat
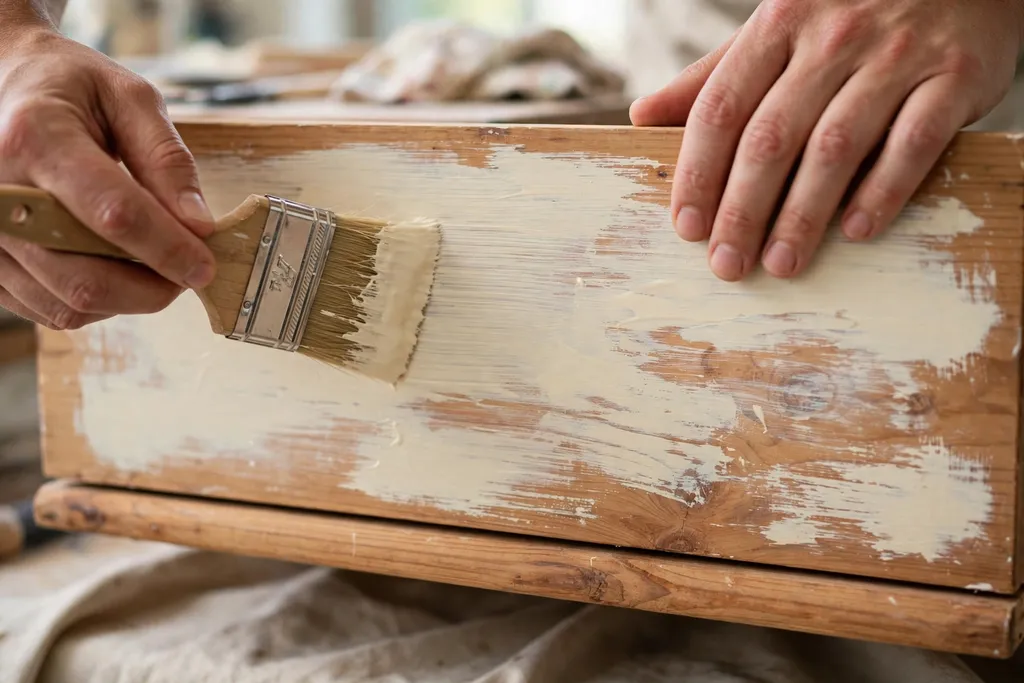
Brush on the first coat in thin, even strokes, working with the grain and starting on a large flat surface so you can find a steady rhythm. Load the brush lightly and spread the paint out, rather than laying it on thick. Thin coats dry more evenly, show less brush marking, and bond better than one heavy coat, which is the most common mistake with milk paint.
Work one section at a time: a drawer front, then a side panel, then the legs, rather than jumping around the piece. Keep a wet edge where you can, and brush back lightly over the section you just painted to even out the coat. On legs and rails, paint all sides before moving on, so you do not miss a face that shows from across the room.
Let the first coat dry fully before you judge it. A first coat of milk paint often looks patchy, streaky, or thin, and that is normal: the second coat is what builds even color. Do not try to fix patchiness by brushing more paint onto a half dry coat, since that lifts the coat underneath and creates rough patches. Step back, let it dry, and plan the second coat on a clean, dry surface.
8. Lightly Sand Between Coats
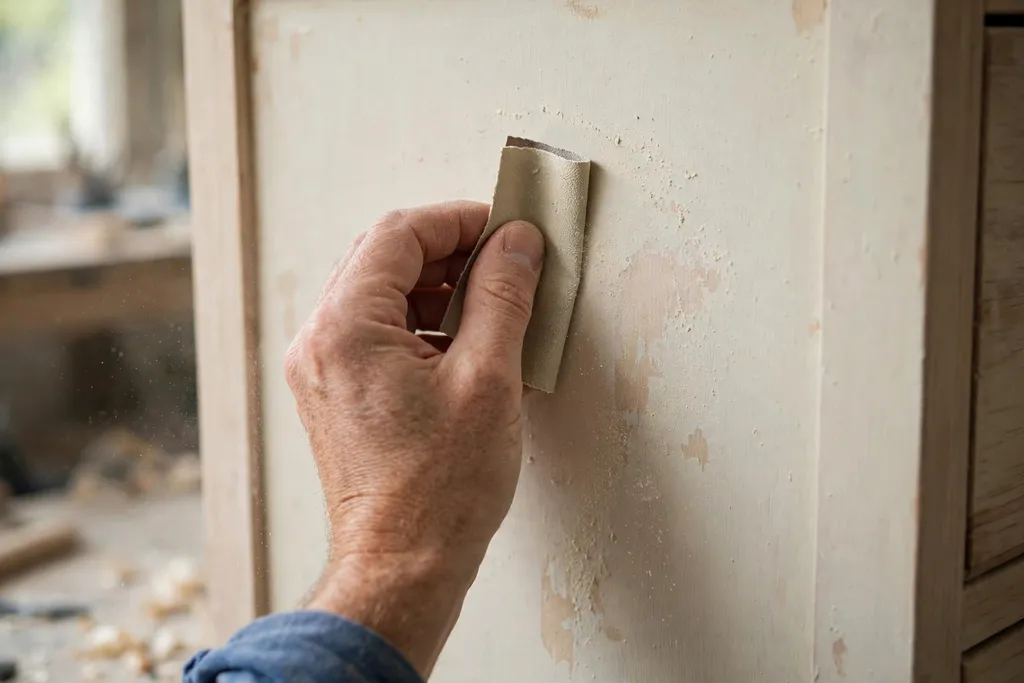
Once the first coat is dry, run your hand lightly over it to check for roughness, dust nibs, or raised grain. Sand very lightly with fine sandpaper, using almost no pressure, and work with the grain. This pass is not about removing paint: it smooths the surface so the next coat goes on evenly and bonds well.
Wipe away all sanding dust with a dry cloth before the next coat. Dust trapped under a second coat shows as a rough, gritty finish that no topcoat will hide. Check edges and corners with extra care, since dust gathers there and brush loads tend to pool there too. If you sanded through to bare wood in a small spot, note it: the next coat will cover it, but a third thin coat may be needed for even color there.
Take a short break after sanding to let any airborne dust settle. Painting straight into a dusty room puts dust in the wet coat, and a few minutes of waiting keeps the finish smooth. If the work area has a fan, point it away from the piece while the coat is wet, so dust is not blown onto the surface.
9. Apply the Second Coat for Even Color
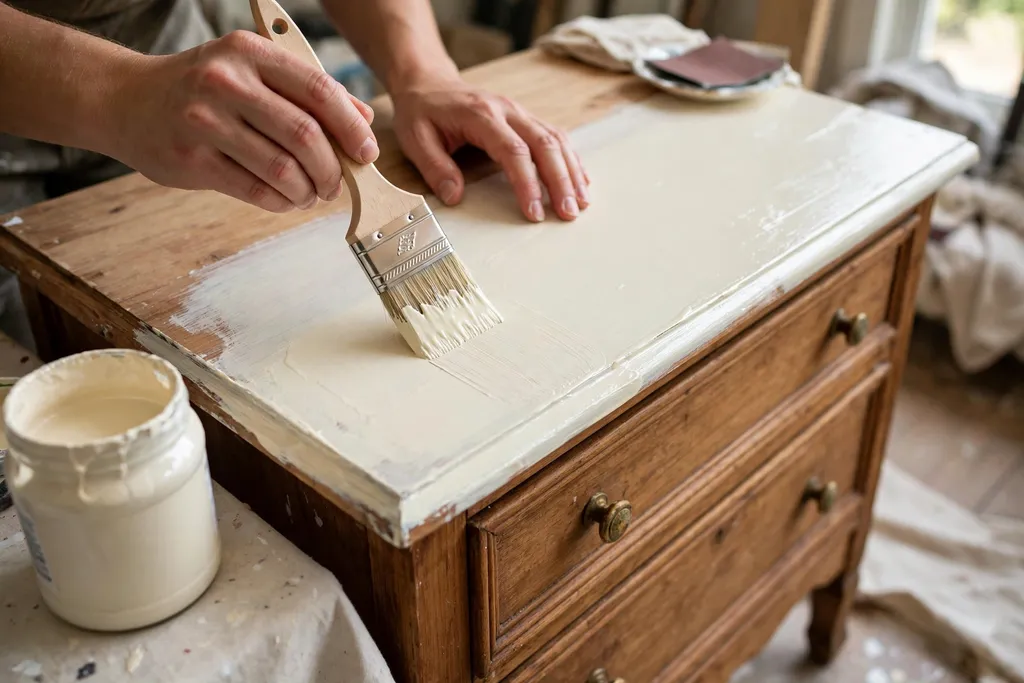
Apply the second coat the same way as the first: thin, even, and with the grain, one section at a time. Two thin coats give even color on most pieces, and the second coat usually covers the patchiness of the first. Keep the brush load light, and avoid going back over an area that has started to dry, since that can pull up the coat below.
Check your work from different angles as you go, including from a low angle in good light. Missed spots often hide on the undersides of rails, the inner edges of drawer fronts, and the backs of legs. A second coat is also the right time to even out edges where the first coat pooled, since a light brush pass on a dry edge blends better than a thick touch up later.
Let the second coat dry fully, then judge the color and coverage in daylight. If a third coat is needed for even color, apply it the same way, with a light sand and dust wipe between coats. Most pieces need two coats, and a third is a normal choice for pale colors over dark wood, rather than a sign that something went wrong.
10. Fix Drips, Missed Spots, and Rough Areas
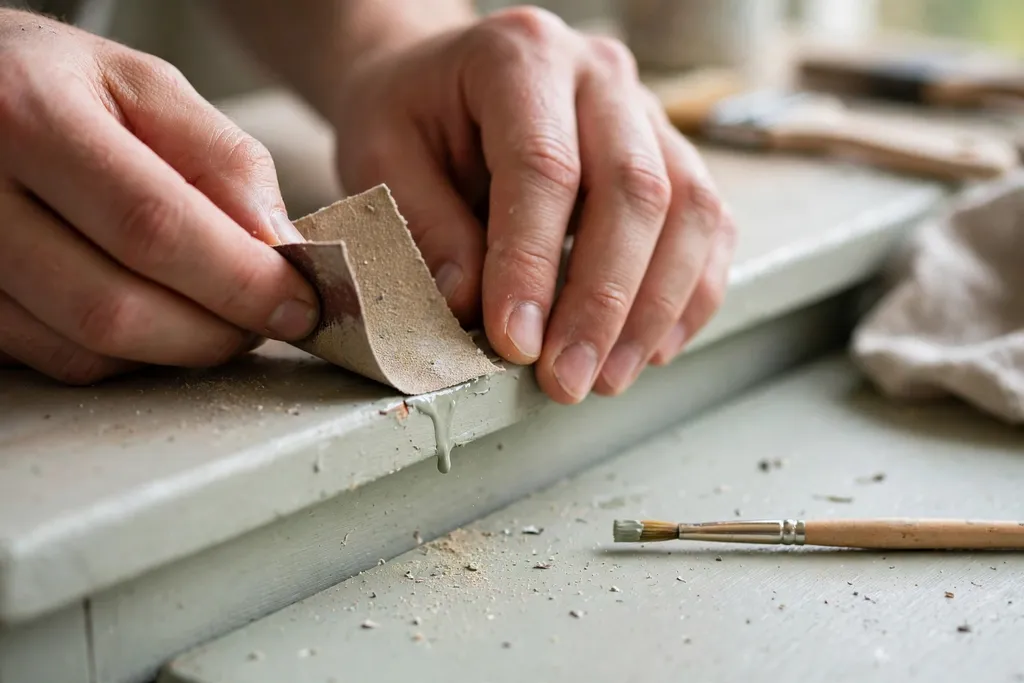
Once the final color coat is dry, inspect the whole piece in good light and mark any drips, missed spots, or rough patches. Sand a drip lightly with fine sandpaper until it is level with the surface around it, then wipe away the dust. A drip that is sanded flat and touched up with a thin coat blends far better than a drip left under a topcoat.
Touch up missed spots with a small brush and a thin coat, feathering the edges of the touch up into the surrounding paint so no hard line shows. Let each touch up dry before you judge it, since wet milk paint looks darker than the dry coat around it. If a touch up still shows after drying, a second thin touch up, feathered the same way, usually settles it.
Run your hand over the piece one last time to check for roughness. Any gritty area that remains now will still be gritty under wax or oil, so sand it lightly and touch it up while the piece is still unsealed. This inspection step is short, and it is the last easy chance to correct the finish before sealing locks it in.
11. Distress Edges Lightly for a Soft Vintage Look
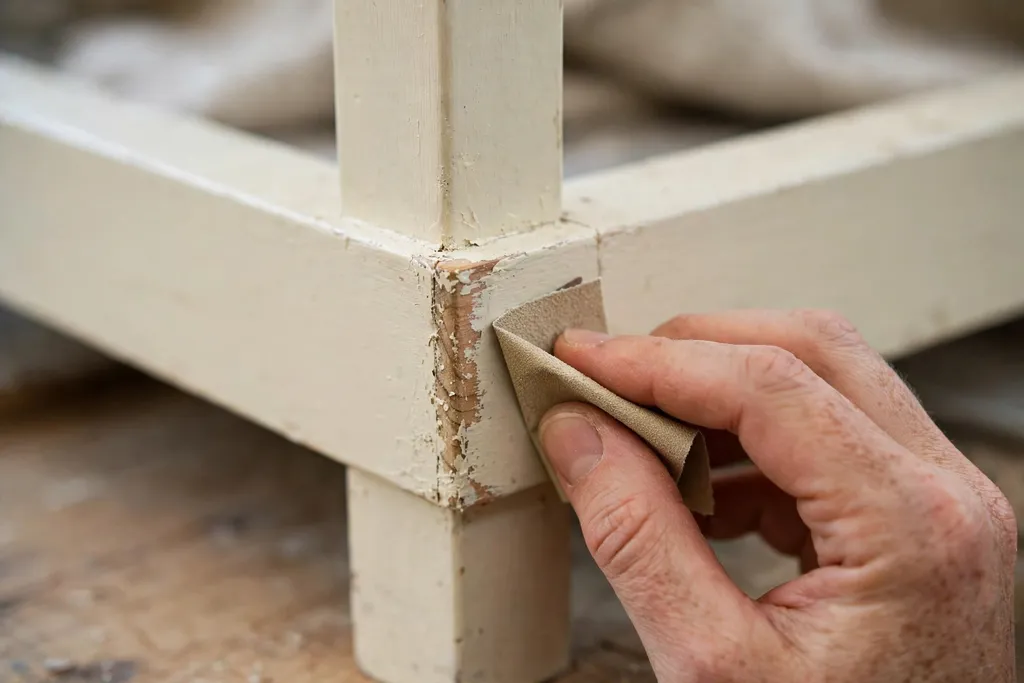
If you want a soft vintage look, distress lightly and only where wear would happen naturally: edges, corners, raised details, and the rims of drawer fronts. Use fine sandpaper and light, short strokes, and stop often to look at the result. A little distressing goes a long way, and it is easy to add more but hard to undo a heavily sanded patch.
Work in small areas and step back to check the balance across the piece. Distress the most on edges that would catch hands and use, less on flat panels, and none on areas that would stay protected in normal use. That pattern reads as natural wear, while random heavy sanding across flat panels reads as damage. Keep the distressing even from side to side, so one drawer front does not look far more worn than the next.
Wipe away all distressing dust before sealing, and look at the piece in daylight once more. If a spot looks too stark, a thin touch of paint over part of it softens the contrast while keeping some wear visible. If you prefer no distressing at all, skip this step: a clean milk paint finish with a good topcoat looks calm and finished on its own, and the guide works just as well without it.
12. Seal the Finish with Wax or Oil
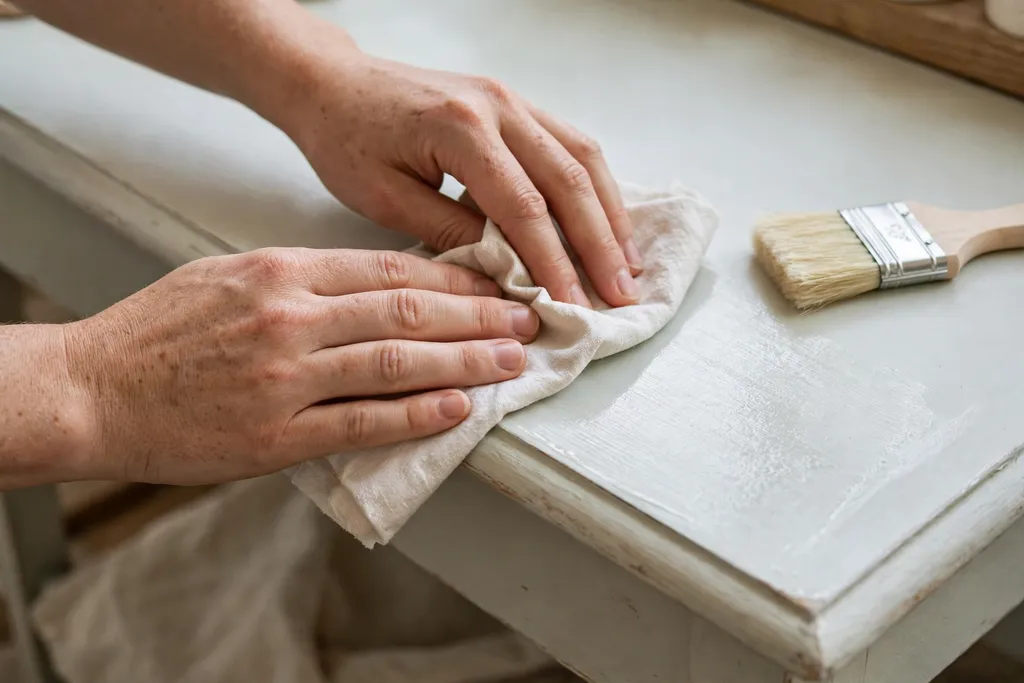
Seal the piece with wax or oil, following the directions for the topcoat you bought. Milk paint on its own is porous and marks easily, so a topcoat is what makes the finish usable on a dresser, table, or chair. Apply the topcoat in a thin, even layer with a clean cloth or a soft brush, working one section at a time and wiping away excess as you go.
Let the first topcoat layer dry or set as directed, then check for dull or dry looking patches that may need a second thin layer. Wax gives a soft, low sheen and a smooth hand feel, while oil can deepen the color a little and suit pieces that need a slightly harder wearing surface. Either choice works when applied thinly and evenly, and thick topcoat layers that pool in corners should be wiped back before they set.
Buff a wax topcoat lightly with a clean cloth once it has set, and keep the piece in a ventilated area while the topcoat dries. Avoid placing objects on the surface, stacking items on it, or cleaning it with strong cleaners until the topcoat has had time to cure. The sealing step is quiet work, and a thin, patient application gives a more even result than a rushed heavy coat.
13. Reattach Hardware and Cure Before Heavy Use
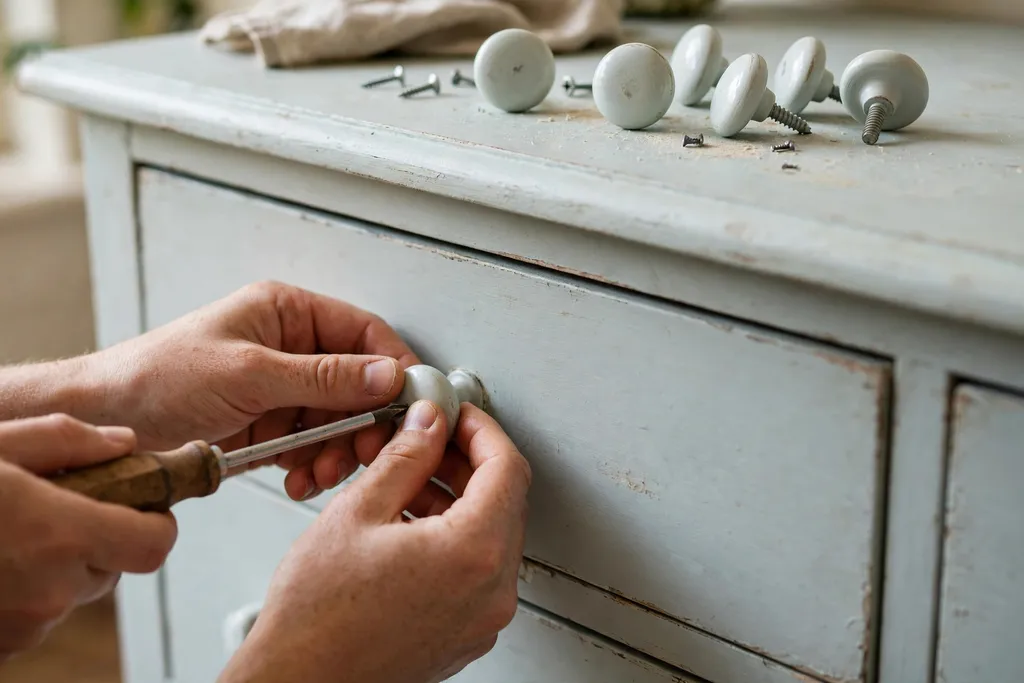
Once the topcoat is dry to the touch, reattach the hardware you removed, using the labeled screws you kept. Tighten screws snugly but do not over tighten, since a screw driven hard into a freshly painted drawer front can crack the finish around the hole. If a hole feels loose, a small wood repair before reattaching is better than forcing a screw that will work loose again.
Let the piece cure before heavy daily use, even if the surface feels dry. Curing time varies with the topcoat, the room temperature, and the humidity, so follow the directions for your topcoat and give it the full time it states. During curing, keep the piece in a ventilated room, avoid placing heavy objects on it, and avoid sliding items across the surface.
Use the curing time to check drawers, doors, and moving parts. Open and close each drawer to make sure paint has not sealed it shut, and sand any sticking edge lightly if needed. A drawer that sticks after painting usually needs only a light sand on the edge, not a repaint, and catching it now keeps the finish intact.
14. Style the Piece and Care for the Finish
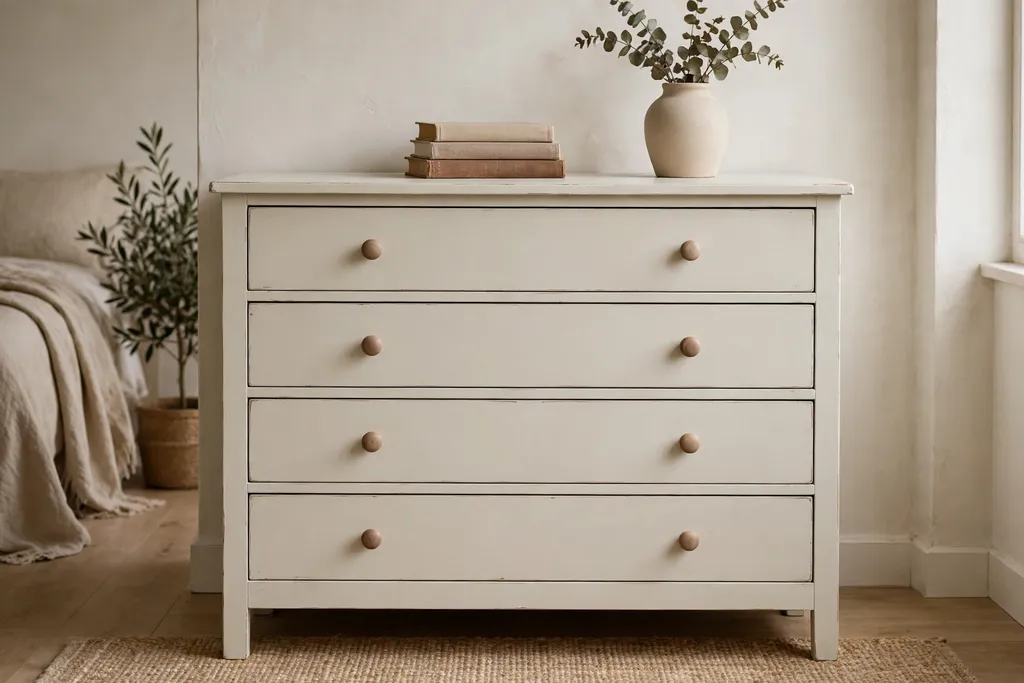
Place the finished piece where it will be used and enjoyed, and style it simply so the soft vintage finish can show. A small stack of books, a plain vase, or a folded cloth on a dresser top suits the finish, while heavy or wet items belong on a tray or a coaster. For a living room, a milk painted side table pairs well with neutral textiles and wood tones, as in the farmhouse decor ideas linked above.
Care for the finish with gentle cleaning: dust with a dry or slightly damp cloth, and wipe spills promptly rather than letting them sit. Avoid strong cleaners, abrasive pads, and standing water, all of which wear wax and oil topcoats faster. If a waxed surface starts to look dull after months of use, a fresh thin wax layer, applied as directed, usually restores the sheen without repainting.
Keep a small amount of leftover mixed paint notes, or a small touch up jar if your paint directions allow it, for future nicks. Touch up a nick by cleaning the spot, brushing on a thin coat, letting it dry, and sealing just that spot with the same topcoat. Small, prompt touch ups keep a milk painted piece looking cared for, and they are far easier than a full repaint.
Conclusion
Painting furniture with milk paint is a patient, step by step process: choose a sound piece, check for lead and work safely, clean and sand lightly, mix to a thin cream, brush on thin coats, distress only if you want the worn look, and seal well. Each step is simple on its own, and the finish rewards thin coats and full drying time more than speed. Start with a small piece, keep notes on your mix and coats, and let the piece cure before heavy use, and you will have a soft vintage finish that suits everyday rooms.
FAQs
Is milk paint good for furniture?
Yes, milk paint is good for furniture when the piece is wood, the surface is cleaned and sanded, and the finish is sealed with wax or oil. It gives a matte, slightly chalky finish that suits a soft vintage look, but unsealed milk paint marks easily, so the topcoat step matters for daily use.
Do I need to sand before painting furniture with milk paint?
Yes, you should sand lightly before painting furniture with milk paint, even on a surface that looks clean. A light sand removes shine and gives the paint something to grip, and it also reveals wax buildup or glossy patches that need extra cleaning or a bonding agent.
How do I mix milk paint for furniture?
You mix milk paint by combining the powder with water in the ratio on the packaging, stirring well, letting it rest as directed, and stirring again until it looks like thin cream. Strain it if the directions call for it, mix only what you need for one coat, and test it on a hidden spot before painting the whole piece.
Can I use milk paint on previously painted furniture?
Yes, you can use milk paint on previously painted furniture if you clean it well, sand until the shine is gone, and check for lead before sanding old paint. On glossy or sealed surfaces, add a bonding agent as directed, and test on a hidden spot, since milk paint can chip more on sealed surfaces without that help.
How do I get a vintage distressed look with milk paint?
You get a vintage distressed look by sanding lightly with fine sandpaper on edges, corners, and raised details after the color coats are dry. Use short, light strokes, stop often to check the balance, and wipe away dust before sealing, since sealing locks in whatever level of wear you created.
How do I seal milk paint on furniture?
You seal milk paint by applying a thin, even layer of wax or oil topcoat as directed on its packaging, wiping away excess, and letting it dry and cure fully before heavy use. Wax gives a soft, low sheen, oil can deepen the color a little, and either choice needs a thin application rather than a thick pooled coat.