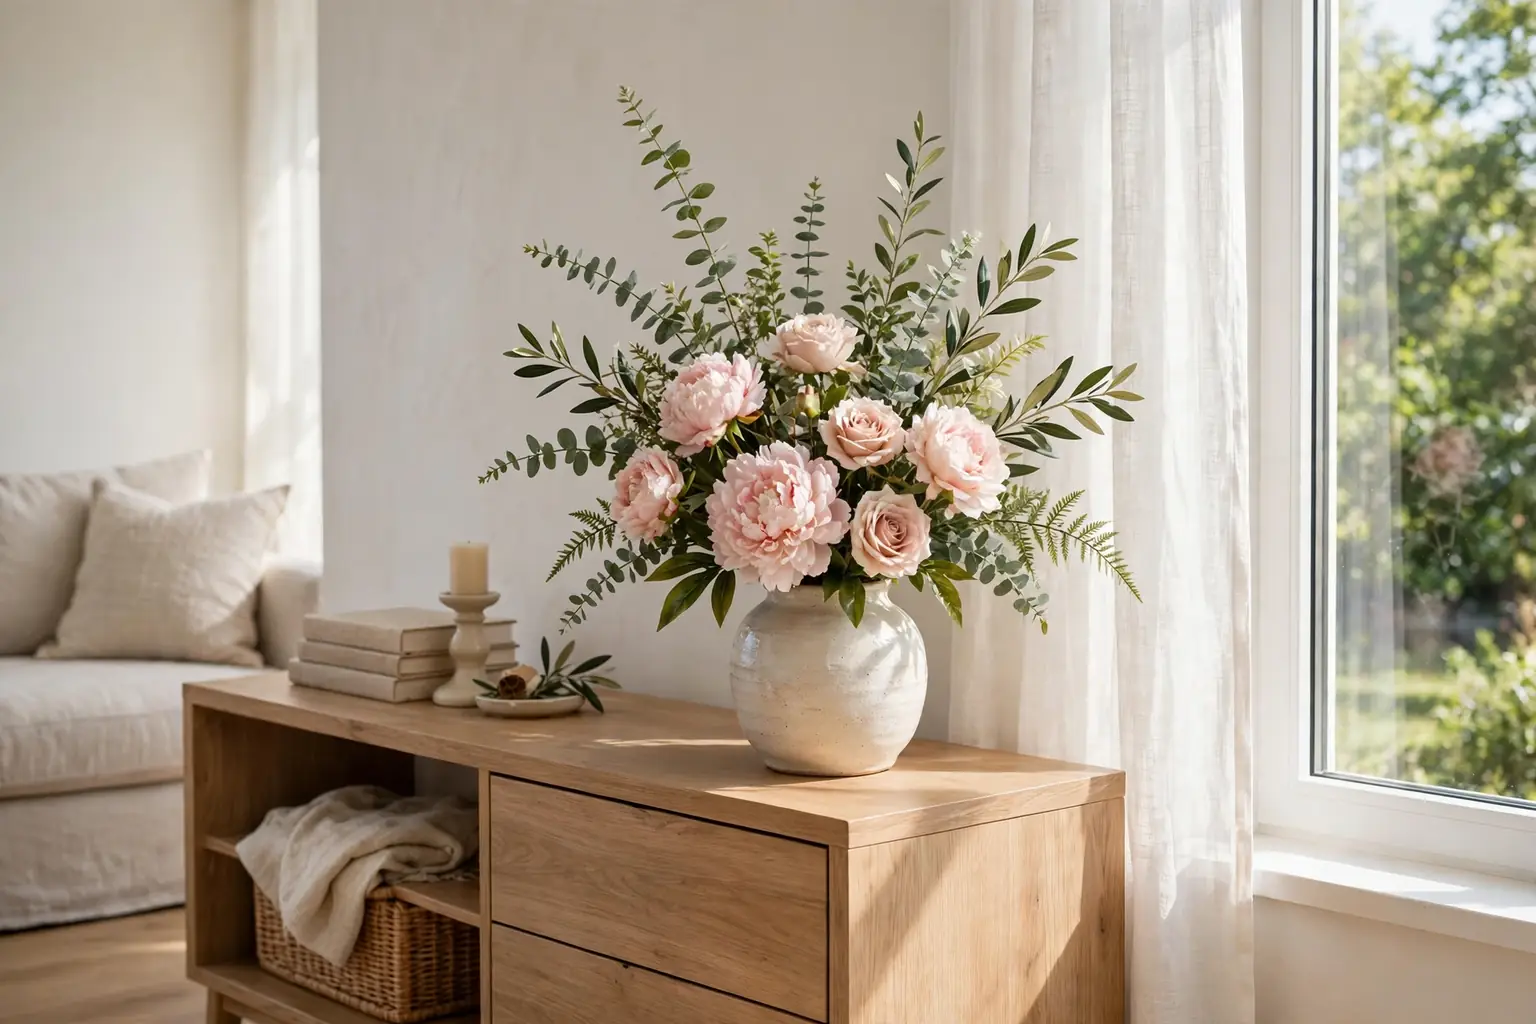
Style fake flowers in a vase for a natural look by trimming stems to varied lengths, layering greenery first, then focal blooms at different heights, and hiding the stems inside the vase. Soften stiff petals by hand, step back to check the shape from all sides, and keep the palette to two or three colors that suit the room.
Most artificial arrangements give themselves away in the same few places: every stem is the same length, every bloom faces forward, the stems show through clear glass, and the petals sit flat and stiff. Fresh flowers never grow that way. They lean, they turn, some blooms open wider than others, and a few leaves sit lower than the rest. Copy those small irregularities, and a faux arrangement starts to read as a bouquet rather than a bundle of plastic stems. For fresh flower ideas to borrow shapes from, see these fall flower arrangements.
Key Takeaways
- Start with the vase and the spot: a low wide vase suits a dining table, a tall vase suits a console or mantel.
- Vary stem lengths and bloom heights so the shape looks grown, not packed.
- Layer greenery first, then focal blooms, then fillers, so no single layer looks pasted on.
- Hide stems inside the vase with stones, moss, or a smaller inner container.
- Bend stems gently and turn some blooms sideways or down, since real blooms rarely all face forward.
- Soften petals and leaves by hand before you set the vase in place.
- Keep the palette to two or three colors and check the shape from all sides, not just the front.
Materials and Supplies
- A vase that suits the spot, plus a smaller jar or container that fits inside it if the vase is clear glass
- Faux flower stems: focal blooms, secondary blooms, greenery, and filler stems or berries
- Wire cutters or strong scissors, for trimming faux stems to length
- Floral tape, clear tape, or a small rubber band, for binding stems together
- Stones, marbles, dried moss, or sand, for hiding stems inside a clear vase
- A soft cloth and a small brush, for dusting finished arrangements
- A tray or mat, to protect tables under heavy or wide vases
- A ruler or tape measure, to check the height of the finished arrangement against its spot
1. Pick a Vase That Suits the Spot
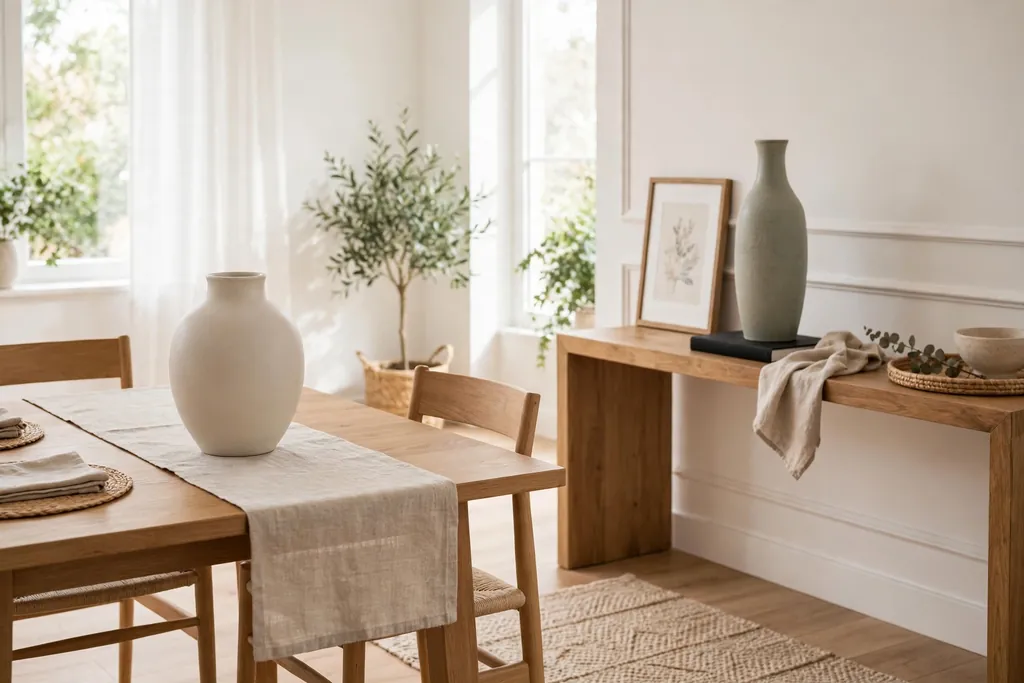
Choose the vase before you arrange a single stem, and choose it for the spot where it will live. A dining table vase should stay low and narrow enough that people can see across the table, while a console or mantel can take more height, since no one sits across from it. A small spot such as a windowsill, a bathroom shelf, or a bedside table suits a bud vase or a small jar with only a few stems.
Check the weight as well as the size. A tall bunch of faux stems can be top heavy, and a light vase tips easily when it is bumped. A heavier ceramic or stoneware vase holds a tall arrangement steady, while a clear glass vase shows the stems, so it needs a plan for hiding them, covered in step 9. Set the empty vase in its spot first and look at it from the door of the room, since that is the view most visitors will have.
2. Sort Stems by Type, Height, and Color
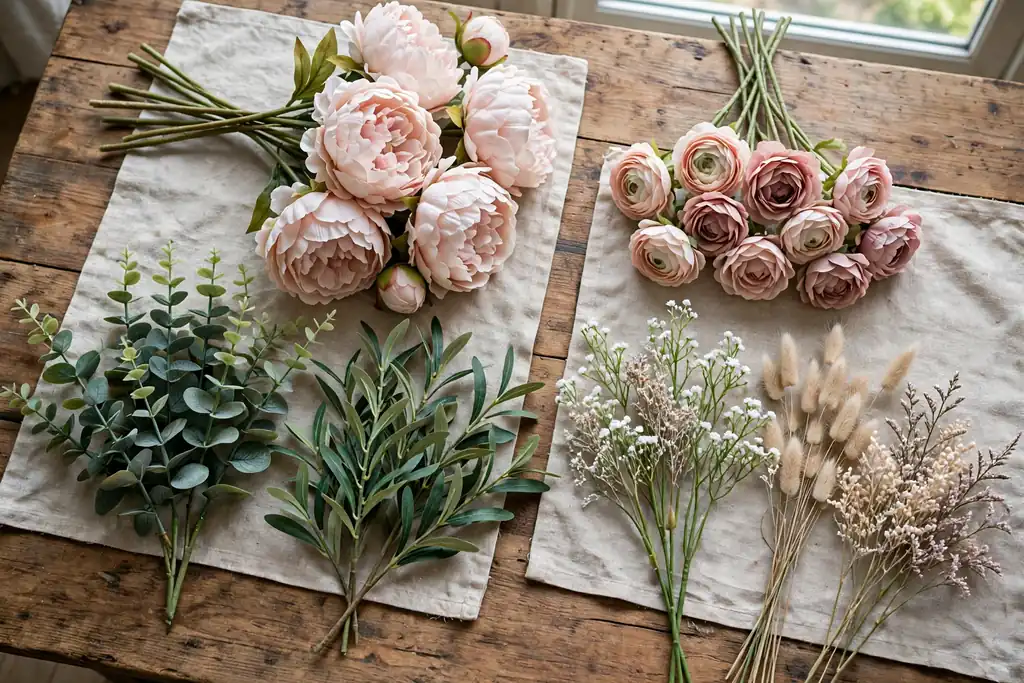
Lay every stem out on a table before you start, and sort it into groups: focal blooms, secondary blooms, greenery, and fillers. Focal blooms are the largest or most eye catching flowers, such as peonies, roses, or dahlias. Secondary blooms are smaller flowers that support them. Greenery gives the shape its outline, and fillers such as berries, buds, or small sprigs close the gaps.
Check each stem as you sort it. Straighten any stem that arrived bent in the wrong place, and set aside any bloom that looks crushed, since one damaged bloom draws the eye in a finished vase. Group colors together too, and decide on two or three main colors before you arrange. If the bunch includes a color that does not fit the room, leave those stems out rather than forcing them in, since a limited palette reads as more natural than a mix of every color in the pack.
3. Trim Stems to Varied Lengths
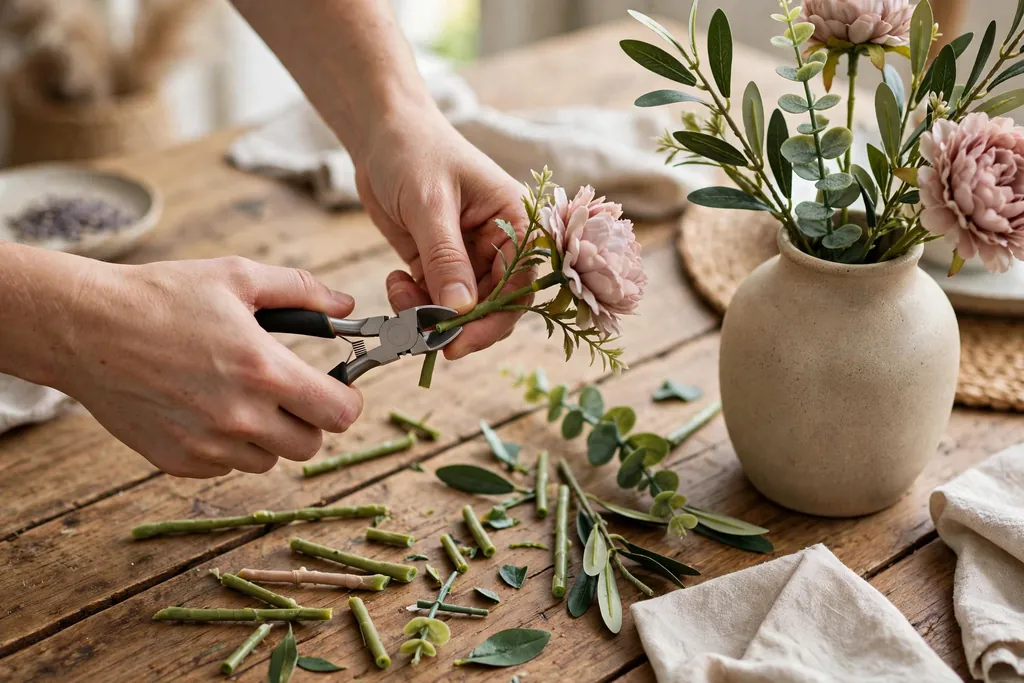
Cut stems to length with wire cutters, not household scissors, since many faux stems have a wire core that dulls a light blade. Work from the tallest stems down, and cut in small amounts, since you can always trim more but you cannot add length back. Aim for a finished height that suits the vase: the tallest blooms should rise clearly above the rim, while the shortest greenery can sit just above it or at rim level.
Do not cut every stem to the same length. Fresh bouquets have blooms at several heights, and a single flat top line is one of the clearest signs of a faux bunch. Cut focal stems longest, secondary stems a little shorter, and filler stems shorter still, with a spread of at least a few inches between the tallest and shortest stems. Keep the cut ends tidy, and save the trimmings until the arrangement is done, since a short offcut can fill a gap later.
4. Bend and Shape Each Stem Before Arranging
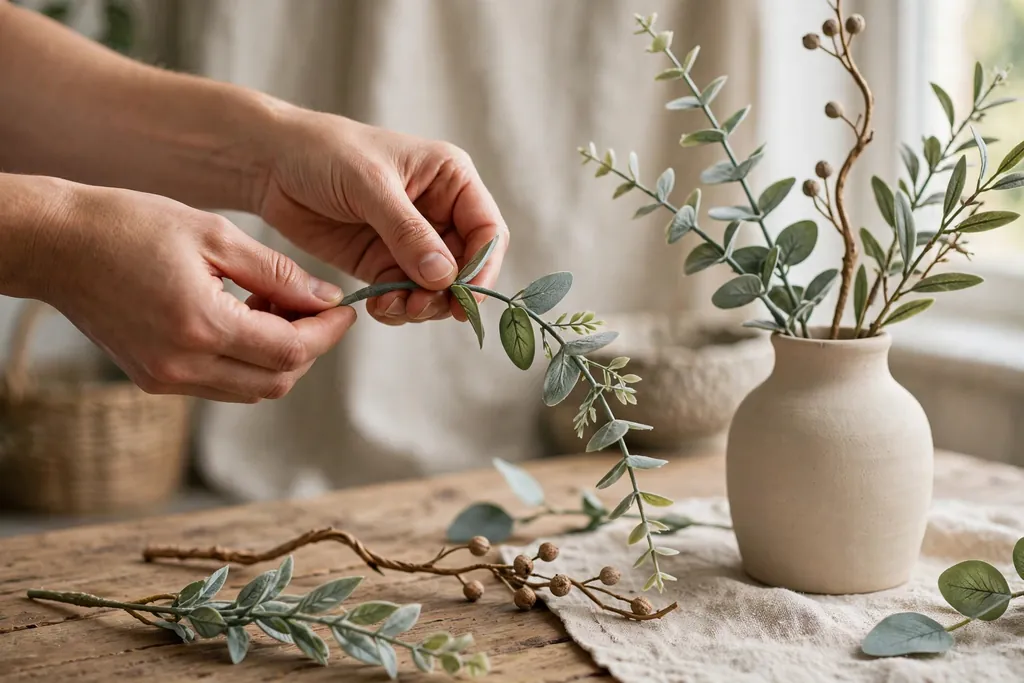
Faux stems arrive straight from the pack, and straight stems make a stiff bouquet. Bend each stem gently by hand before it goes in the vase, giving it a slight curve rather than a sharp kink. Bend greenery outward so it frames the blooms, and bend a few bloom stems so their heads tilt slightly sideways or down, the way a heavy fresh bloom nods on its stem.
Work slowly, and bend a little at a time. A wire core holds a gentle curve well, but a sharp bend can crease the stem covering and show a pale line. If a stem resists bending, warm it briefly between your hands first, then try again. Shape the stems as a group too: hold the bunch loosely in one hand, let the stems fall into a natural spread, and note which stems need more curve to fill a thin side.
5. Build a Greenery Base First
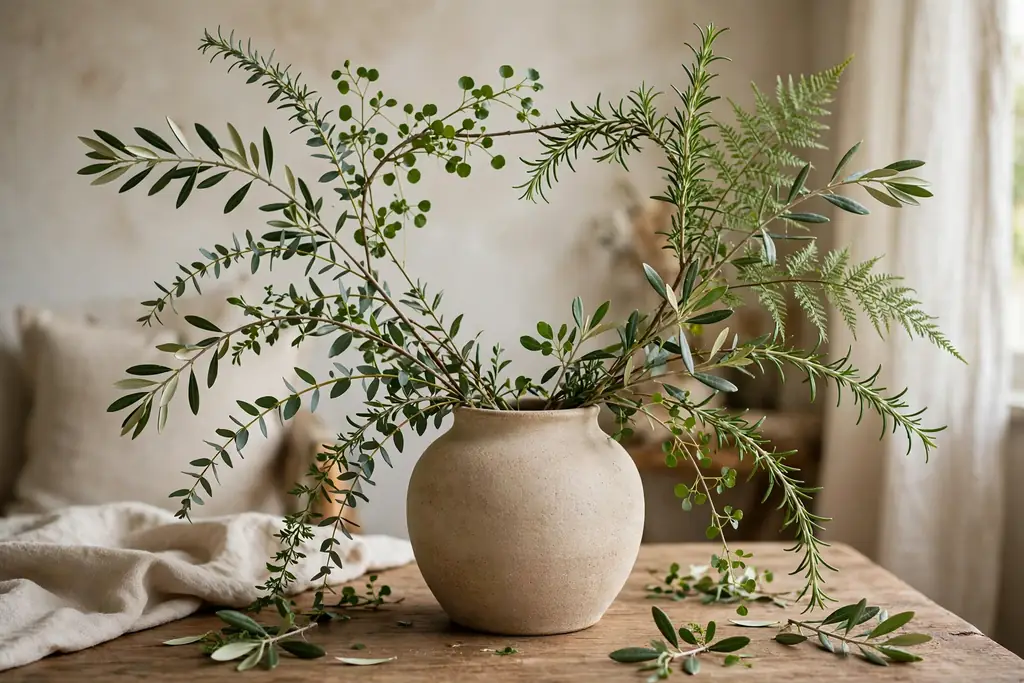
Start the arrangement with greenery, not flowers. Place three to five greenery stems in the vase first, spread around the rim so they form a loose frame. Let some greenery lean outward and some stand taller, so the outline is uneven rather than round and flat. This base does two jobs at once: it hides the mechanics of the arrangement, and it gives the blooms something to sit against, the way leaves support fresh flowers.
Use more than one kind of greenery if you have it, such as a broad leaf stem plus a finer fern or eucalyptus style stem. Mixed greenery looks more like a gathered bouquet than a single repeated leaf shape. Keep the greenery below the height of the tallest blooms, since greenery that towers over the flowers makes the arrangement look like a plant with a few blooms stuck in it. Step back after the base is in, and add one more greenery stem wherever the frame looks thin.
6. Place Focal Blooms in Odd Numbers
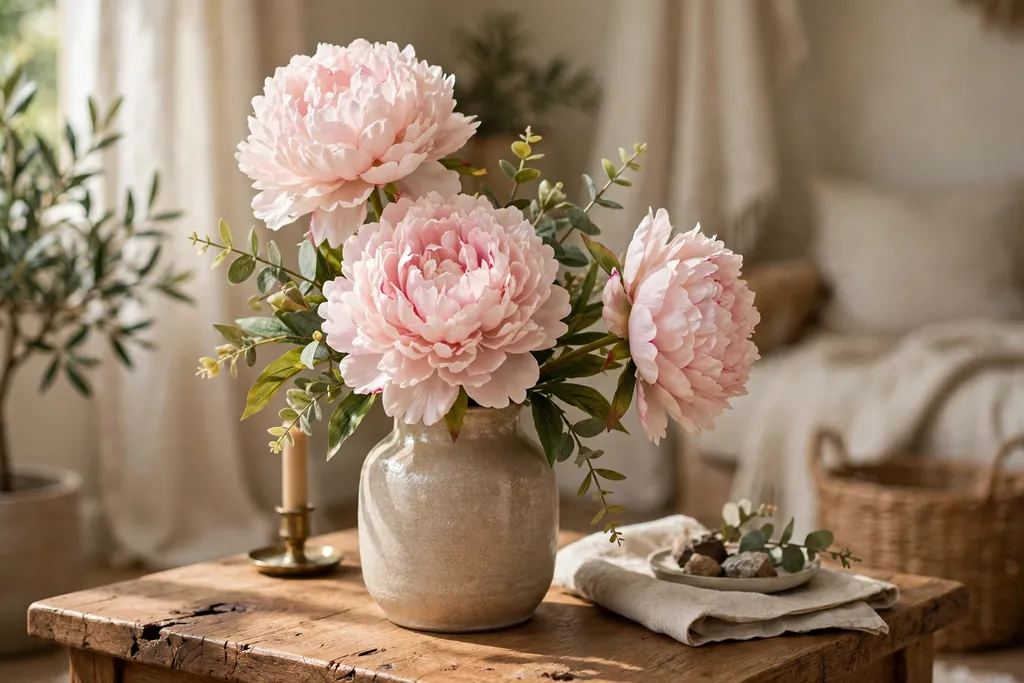
Add focal blooms next, in odd numbers such as three or five, since odd groups look less staged than even pairs. Place the first focal bloom near the center and slightly taller than the rest, then place the others around it at varied heights and angles. Turn at least one bloom partly sideways, so the arrangement does not read as a flat front row of faces.
Push each focal stem down into the vase firmly, and check that it stays where you put it. If a stem slides or spins, bind it to a greenery stem with a small piece of floral tape low down, where the tape will sit inside the vase. Leave clear space between focal blooms, since crowded focal blooms flatten each other and hide their shapes. The gaps you leave now are filled in the next steps, not by pushing more large blooms in.
7. Add Secondary Blooms at Varied Heights
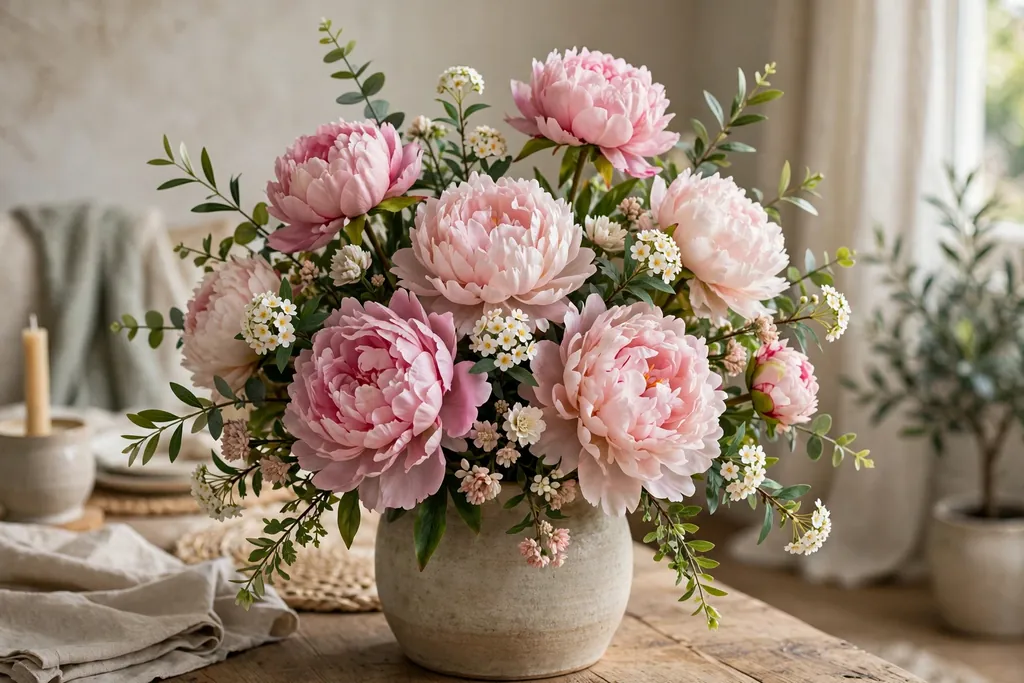
Secondary blooms fill the middle layer of the arrangement and link the focal blooms to the greenery. Add them one at a time, placing each at a different height from its neighbors. Some should sit just below a focal bloom, some should sit between two focal blooms, and one or two can sit lower, near the rim, to soften the edge of the vase.
Keep turning stems as you work, so some secondary blooms face forward, some face partly sideways, and one faces slightly down. Check the arrangement from the side as well as the front, since a bouquet seen from a sofa or a doorway is rarely seen straight on. If one side looks heavier than the other, move a secondary bloom to the thin side rather than adding a new stem, since moving a stem costs nothing and keeps the palette under control.
8. Fill Gaps With Berries, Buds, and Small Sprigs
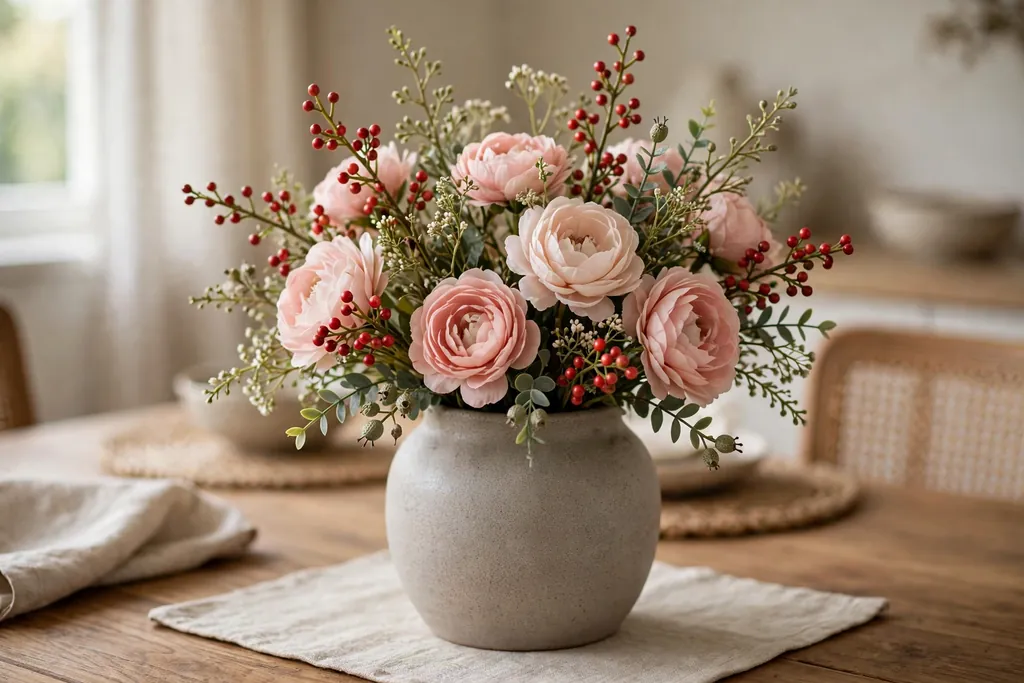
Fillers close the small gaps that make an arrangement look thin, without adding more large blooms. Tuck berry sprigs, small buds, and fine filler stems into the spaces between focal and secondary blooms, pushing each filler stem down until its tip sits just below the blooms around it. Fillers should read as texture, not as separate flowers competing for attention.
Use fillers sparingly at first, and step back after every few stems. It is easy to overfill a faux arrangement, and an overfilled vase looks packed rather than natural. Aim for a shape where you can still see some greenery and some space between blooms, the way a fresh bouquet shows leaves and air between its flowers. Save a few filler stems for the final check in step 10, when small gaps show up more clearly.
9. Hide the Stems Inside the Vase
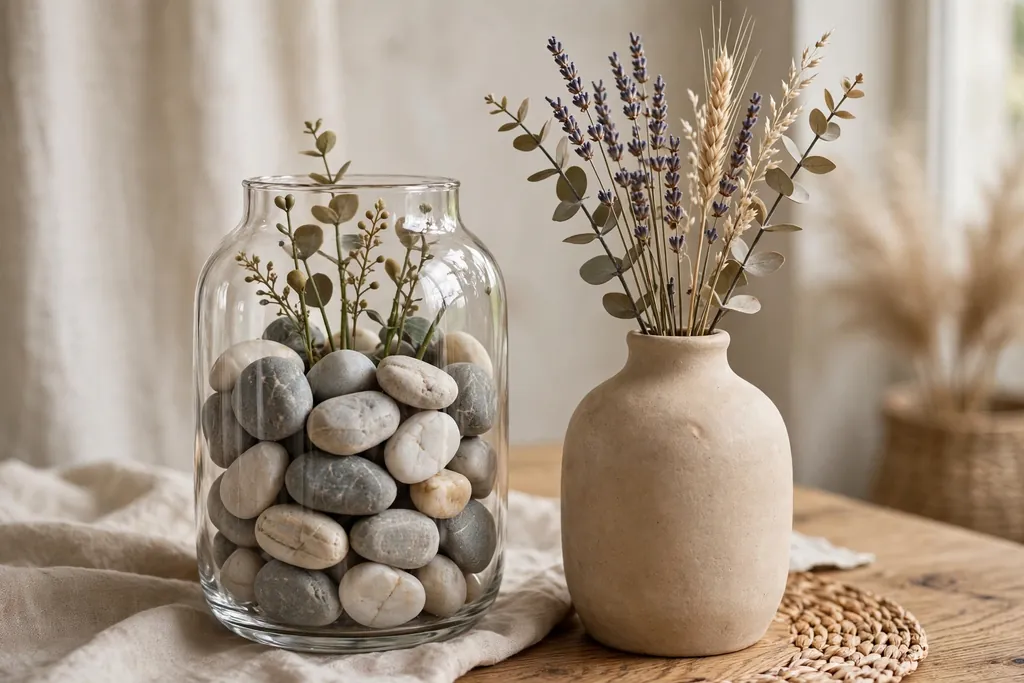
Visible faux stems are the fastest giveaway, especially in clear glass. If the vase is clear, hide the stems before the arrangement goes on display. One simple method is to set a smaller opaque jar inside the vase and arrange the stems in that jar, so only the jar, not the stems, shows through the glass. Another method is to fill the bottom of the vase with stones, marbles, or sand up to the level where the stems bunch together.
For opaque vases, the same idea still helps: wrap the gathered stems with floral tape low down, so they form one tidy bunch rather than a loose tangle, and tuck dried moss over the top of the bunch where it meets the rim. Check the vase at eye level, since stems that look hidden from above can still show from a seated view. If the vase sits on a low coffee table, this seated check matters most.
10. Soften Petals and Leaves by Hand
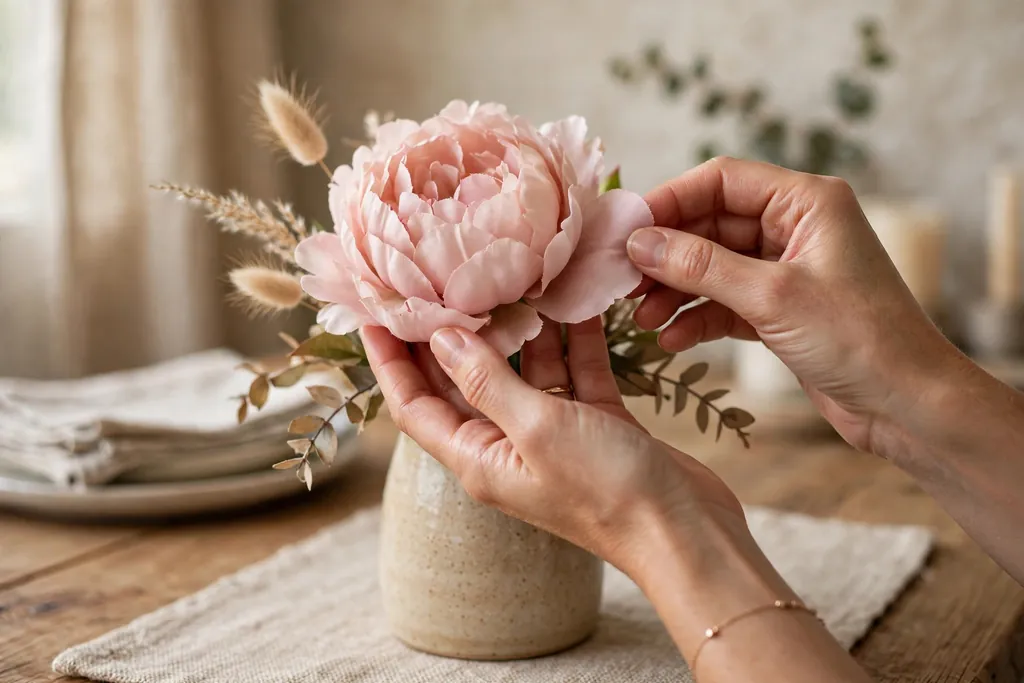
Stiff petals are a clear sign of a faux flower, so soften every bloom by hand before you finish. Gently cup each bloom and bend the outer petals slightly outward, then ruffle the inner petals a little, so no two blooms open in exactly the same way. Open one bloom a little wider than the others, and leave one bloom slightly more closed, the way buds and open flowers sit side by side in a fresh bunch.
Do the same for leaves: bend a few leaves down, curl one leaf edge slightly, and turn some leaves so their undersides show. Leaves that all point the same way look printed, while leaves at varied angles look grown. Work bloom by bloom, and check the result after each one, since overworking a petal can crease it. If a petal does crease, turn that bloom partly sideways so the crease sits out of direct view.
11. Check the Shape From Every Side
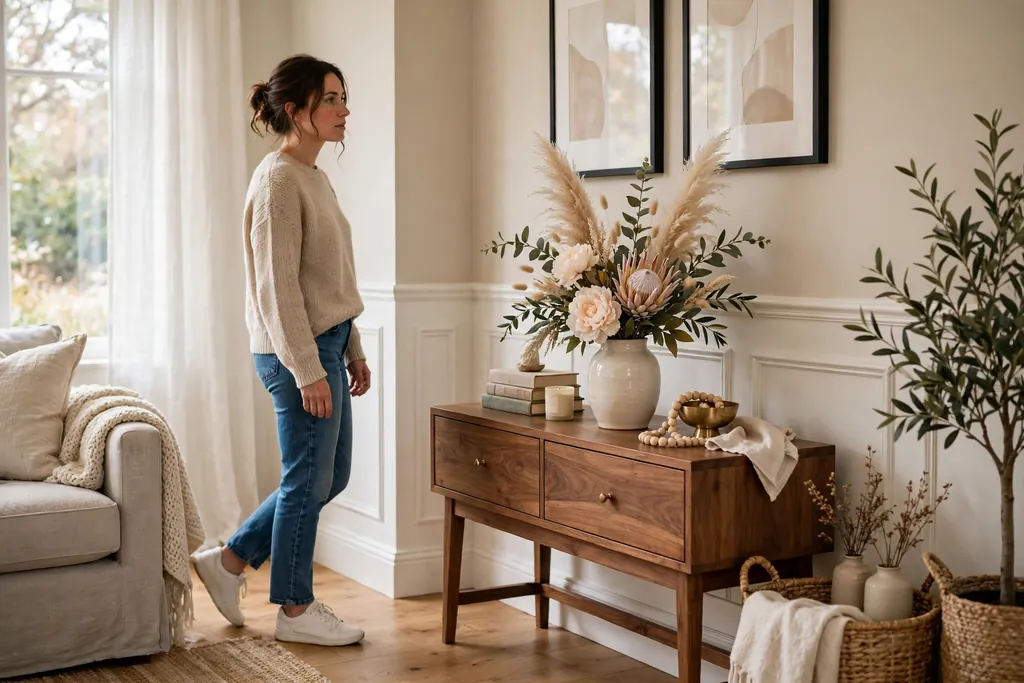
Step back and check the arrangement from the front, both sides, and above, then turn the vase slowly and look for thin spots, flat sides, or blooms that all face one way. An arrangement that will sit against a wall only needs a good front, but one that will sit on a dining table or a kitchen island will be seen from all sides, so it needs a full shape.
Fix what you find by moving stems, not by adding more. Turn a bloom that faces the wrong way, pull a greenery stem out to fill a thin side, and push a stem deeper if it sticks out too far. Set the vase in its real spot for this check, not just on the work table, since light and background change how full the shape reads. A vase that looks full in bright kitchen light can look thin in a dim corner, and a dim corner may need one extra greenery stem.
12. Match the Palette to the Room and the Season
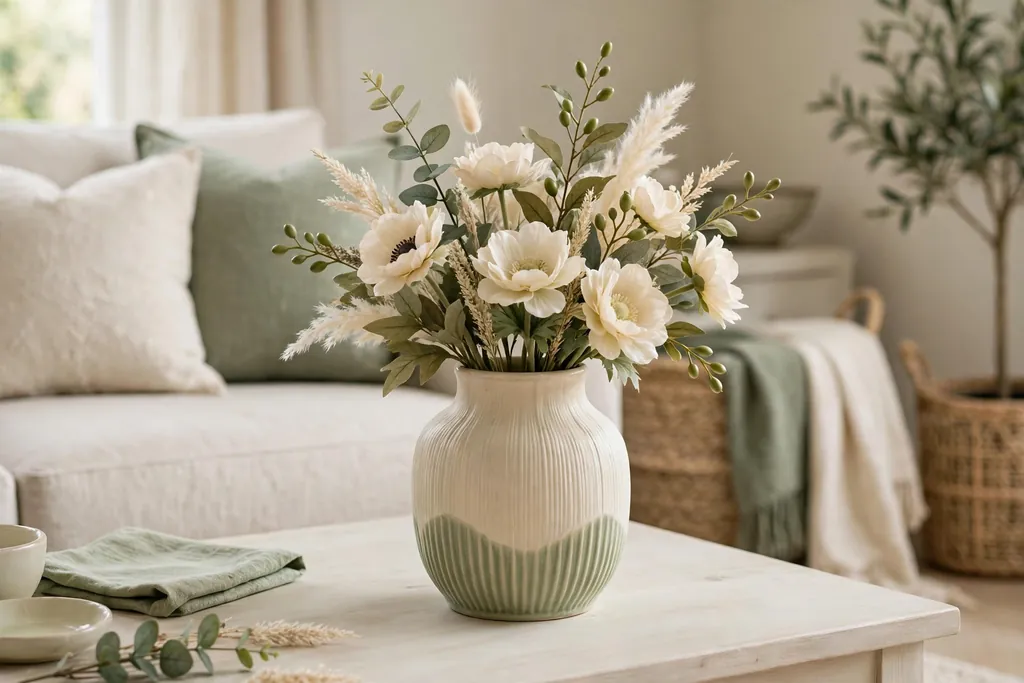
A natural looking arrangement suits the room it sits in. In a pale room, soft whites, creams, and pale greens blend in and let the shape lead. In a room with strong color, pick one color from the room, such as a cushion color or a curtain color, and repeat it in the blooms, so the vase reads as part of the room rather than a separate object. Keep the total palette to two or three colors, with greenery counted as one of them.
Seasonal swaps keep the same vase working all year. Swap warm rust and gold blooms for pale spring blooms, or swap bright summer stems for muted winter greenery, and keep the greenery base if it still suits the new blooms. For seasonal vase ideas that carry over to fresh stems as well, see these Christmas vase styling ideas. Store the out of season stems in a box, grouped by color, so the next swap takes minutes rather than a fresh search through the house.
13. Style the Surface Around the Vase
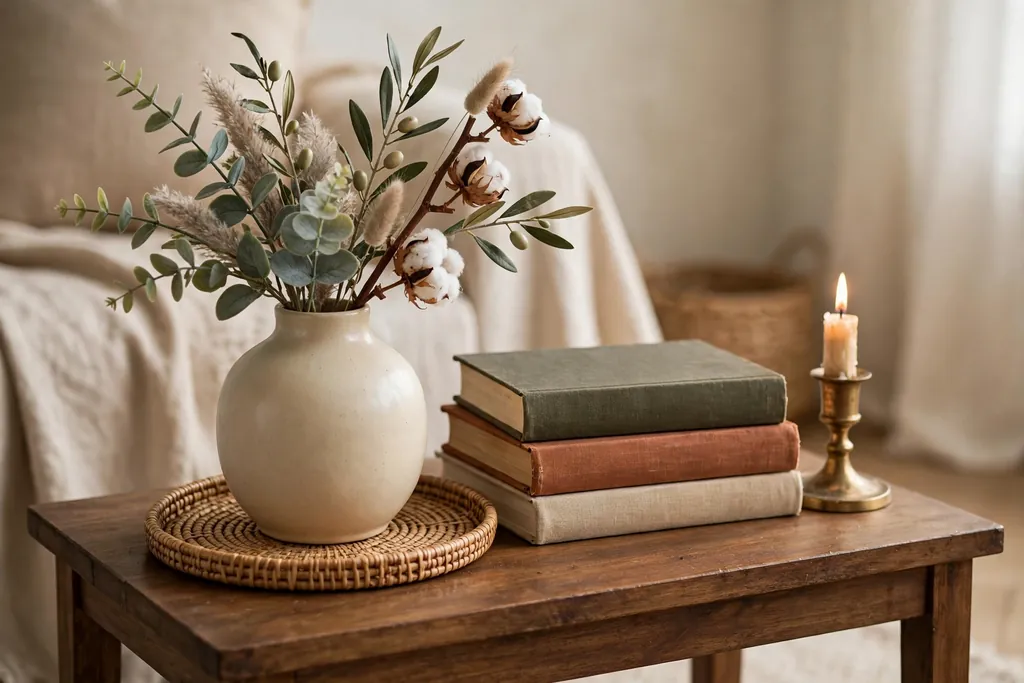
The surface around the vase is part of the display, so style it with restraint. A small tray under the vase gathers the display into one group and protects the table, and one or two quiet objects beside it, such as a small stack of books or a single candle holder, give the vase scale. Leave clear space around the group, since a crowded surface makes even a good arrangement look cluttered.
Match the scale of the neighbors to the vase. A tall vase suits a tall candle holder or a small stack of books beside it, while a low bowl suits a single small object or nothing at all. Keep flames clear of faux stems and fabric, and use flameless candles near dried material. If the vase sits on a dining table, leave room at each place setting, and choose a vase that lifts off in one move when the table needs to clear for a meal.
14. Dust, Reshape, and Refresh Over Time
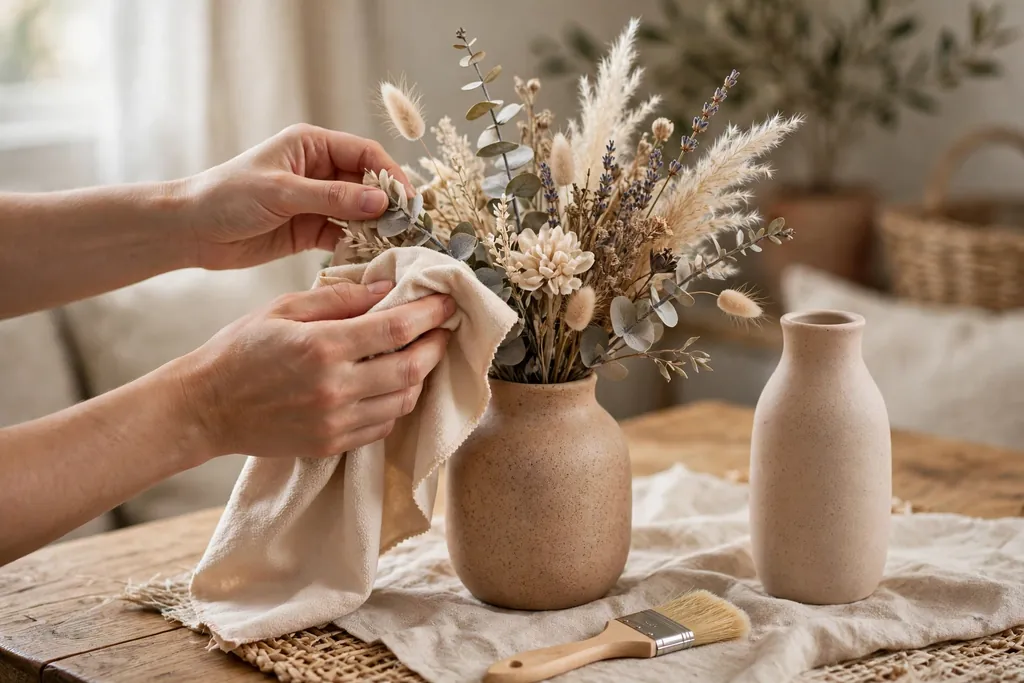
Faux flowers need little care, but they do need dusting, since dust dulls petals and greenery fast. Dust the arrangement every few weeks with a soft cloth or a small brush, working from the top down so dust falls away from the blooms. For a deeper clean, hold the vase steady and blow gently across the blooms, or wipe each large petal with a slightly damp cloth, then let the arrangement dry before it goes back in place.
Reshape as you dust. Stems settle and lean over time, especially in a warm room, so straighten any stem that has drifted, re-soften any petal that has flattened, and swap one tired bloom for a fresh stem from storage if the color has faded. Keep the arrangement out of direct sun, since sun fades faux colors faster than shade, and keep it away from heat vents. With regular dusting and small reshapes, a well styled faux vase can hold its natural look for a long time.
Conclusion
Styling fake flowers in a vase for a natural look comes down to a few steady habits: choose a vase that suits the spot, vary stem lengths and bloom heights, layer greenery, focal blooms, and fillers in that order, and hide the stems inside the vase. Soften petals and leaves by hand, turn some blooms sideways, check the shape from every side, and keep the palette to two or three colors that suit the room. Dust and reshape the arrangement now and then, swap stems with the seasons, and the vase will read as a planned bouquet rather than a bundle of stems, with no watering and no wilting to manage.
FAQs
How do you make fake flowers look real in a vase?
Start by varying stem lengths and bloom heights, bending stems into gentle curves, and turning some blooms sideways instead of facing them all forward. Hide the stems inside the vase, soften petals and leaves by hand, and keep the palette to two or three colors. These small irregularities copy how fresh flowers grow, and they do more for a natural look than any single stem choice.
What is the best vase for fake flowers?
The best vase is one that suits the spot and hides the stems well: a low wide vase for a dining table, a tall heavy vase for a console or mantel, and an opaque ceramic or stoneware vase if you want the stems fully hidden. Clear glass works well too, as long as you hide the stems with a smaller inner jar, stones, or sand. Choose a vase with a stable base, since tall faux bunches can be top heavy.
How do you hide fake flower stems in a clear vase?
Set a smaller opaque jar inside the clear vase and arrange the stems in that jar, so only the jar shows through the glass. Another option is to fill the bottom of the vase with stones, marbles, or sand up to the point where the stems bunch together. For a softer look, tuck dried moss over the top of the bunch where it meets the rim, and check the vase at eye level from a seated view.
How tall should fake flowers be in a vase?
Let the tallest blooms rise clearly above the rim, with enough stem inside the vase to keep the bunch steady, and keep the shortest greenery at or just above rim level. A useful starting point is a finished height that suits the spot: low enough to see across a dining table, taller on a console or mantel, and clear of any mirror or artwork above the vase. Trim in small amounts and test the height in the real spot before you finish.
Can you mix fake flowers with real greenery?
Yes, mixing faux blooms with real greenery can help a vase look more natural, as long as you check the real greenery often and replace it as it dries. Keep the real stems in water if the vase holds water, or use a small jar of water inside a larger vase so the faux stems stay dry. Remove real greenery promptly when it wilts, since one wilted stem draws attention to the whole arrangement.
How do you clean and care for fake flowers in a vase?
Dust the arrangement every few weeks with a soft cloth or a small brush, working from the top down, and wipe large petals with a slightly damp cloth for a deeper clean. Reshape stems and re-soften petals as you dust, and swap any faded bloom for a stored stem. Keep the vase out of direct sun and away from heat vents, since sun fades faux colors and heat can warp stems over time.