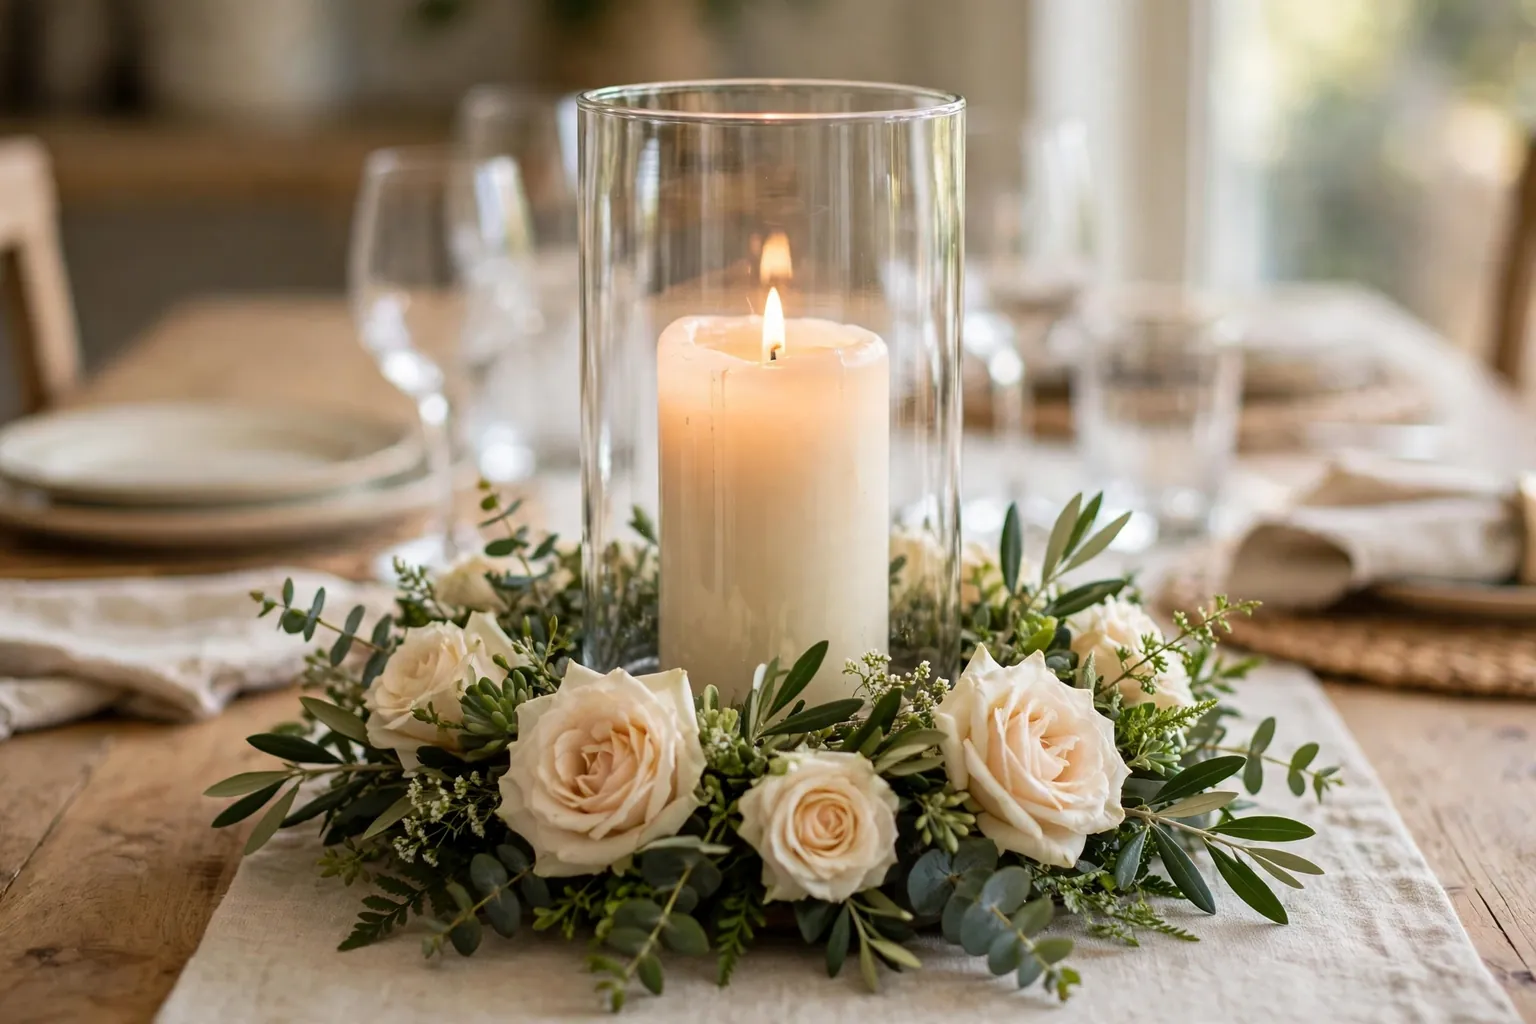
To make a floral candle holder for your table, set a candle inside a sturdy glass holder, then arrange flowers around the outside of the glass, keeping every petal and leaf clear of the flame. Use fresh or faux flowers, keep the display low, and never leave a lit candle unattended.
The key safety rule shapes the whole project: flowers stay outside the holder, never inside it beside an open flame. That way the candle glows through the glass, the flowers frame it, and nothing flammable sits near the flame. Work through the steps below in order, and choose a flameless candle if the holder will sit near dried flowers, paper, fabric, or children. For more ways to dress a table around candlelight, see these fall table decor ideas and these spring tablescapes.
Key Takeaways
- Put the candle inside a sturdy holder first, then arrange flowers around the outside of the holder, never beside an open flame.
- Keep the display low and narrow so guests can see across the table and serving dishes still fit.
- Choose one flower palette, such as cream and green or blush and white, and repeat it at least twice across the holder and the table.
- Use fresh flowers for a single meal and faux flowers for a display you want to reuse.
- Check flower and flame clearance before lighting, and never leave a lit candle unattended.
- Use a flameless candle when the holder sits near dried flowers, paper, fabric, or children.
Materials and Supplies
- A sturdy glass candle holder, such as a cylinder, a jar, or a lantern with a glass panel
- A candle that fits the holder with room to spare, such as a pillar, a votive, or a flameless candle
- A tray, a wood board, or a heat-safe plate to set under the holder
- Fresh or faux flowers in one palette, including focal blooms, supporting blooms, and greenery
- Floral wire, floral tape, and sharp scissors or floral snips
- A small block of floral foam or a low wreath ring, if you want a shaped flower base
- A ruler or tape measure, and a cloth for cleaning the glass
- Matches or a long lighter, kept away from the flowers while you work
- Optional: ribbon or twine for tying the holder, and a small pair of pliers for wire
1. Choose a Safe Holder and Candle Type
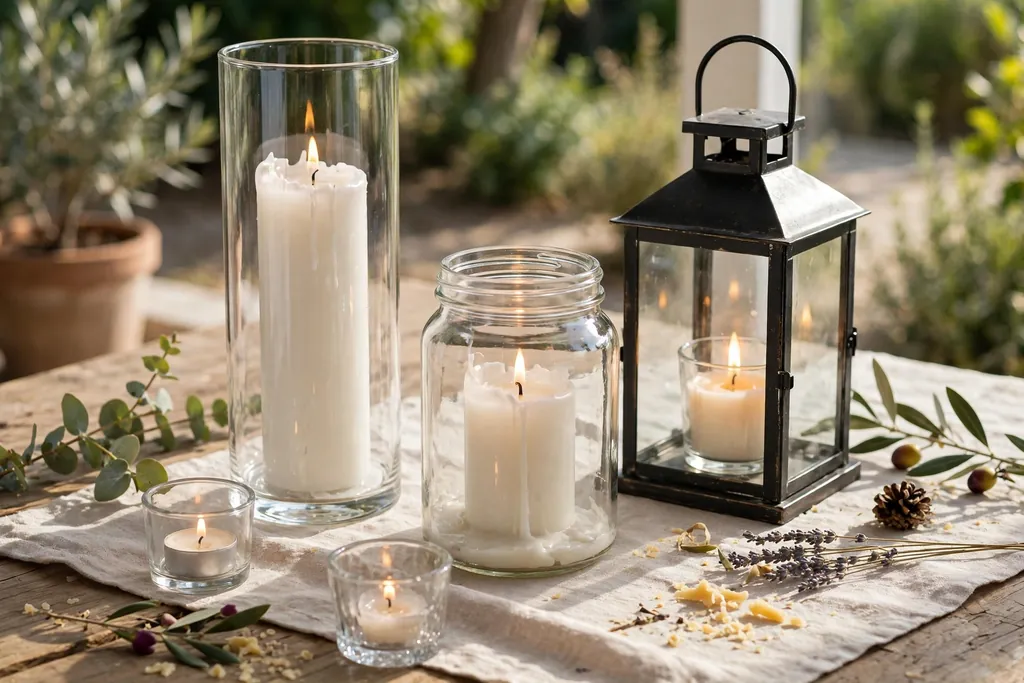
Start with the holder, not the flowers, since the holder decides how safe the finished piece will be. A glass cylinder, a wide jar, or a lantern with glass panels all work well, because the glass sits between the flame and the flowers. Avoid open holders, shallow dishes, and holders that wobble, since a candle that tips can spill wax or set nearby material alight.
Pick a candle that fits the holder with space around it. A pillar candle suits a wide cylinder, a votive suits a small jar, and a flameless candle suits any holder that will sit near dried flowers, paper, or children. Check that the candle sits level and does not lean against the glass. If the candle is too tall for the holder, choose a shorter candle rather than trimming a real candle, which can leave an uneven wick.
2. Gather Your Materials and Tools
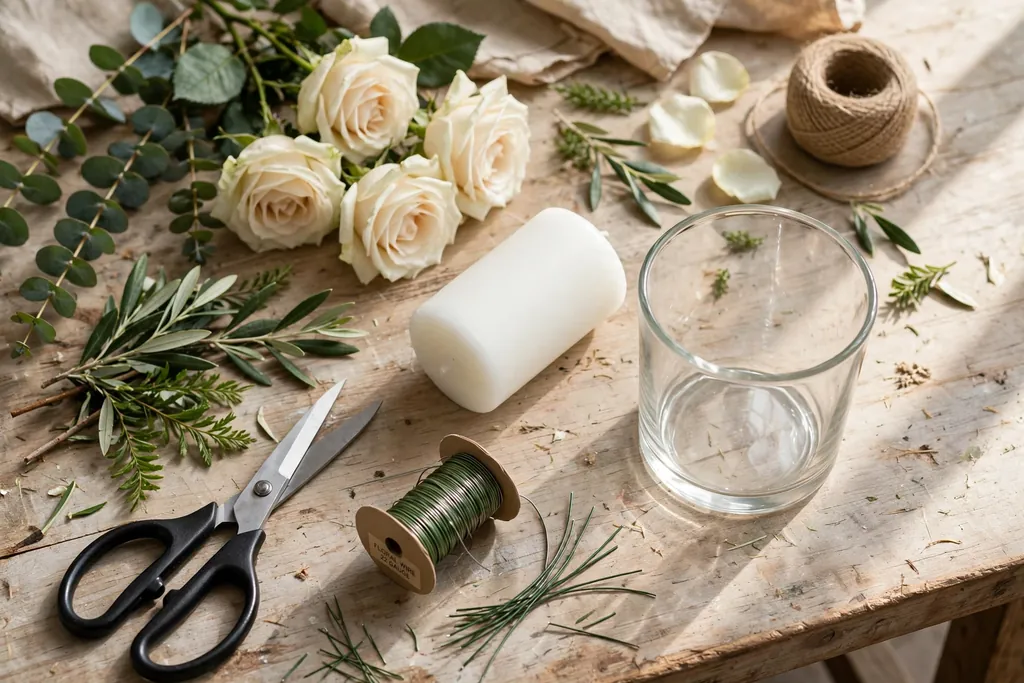
Lay out everything from the materials list before you start arranging, so you do not have to leave a half built holder to search for wire or scissors. Group the flowers by type: focal blooms in one pile, supporting blooms in another, and greenery in a third. Keep the holder, the tray, and the candle together on the work surface.
Check each item as you lay it out. The holder should be clean and free of cracks, the candle should fit inside it, and the scissors should cut stems cleanly. If you plan to use floral foam, soak it only if the foam type needs water, and set it on the tray so drips do not reach the table. A tidy work surface makes the arranging steps faster and keeps loose petals and wire off the floor.
3. Pick Flowers That Suit the Table
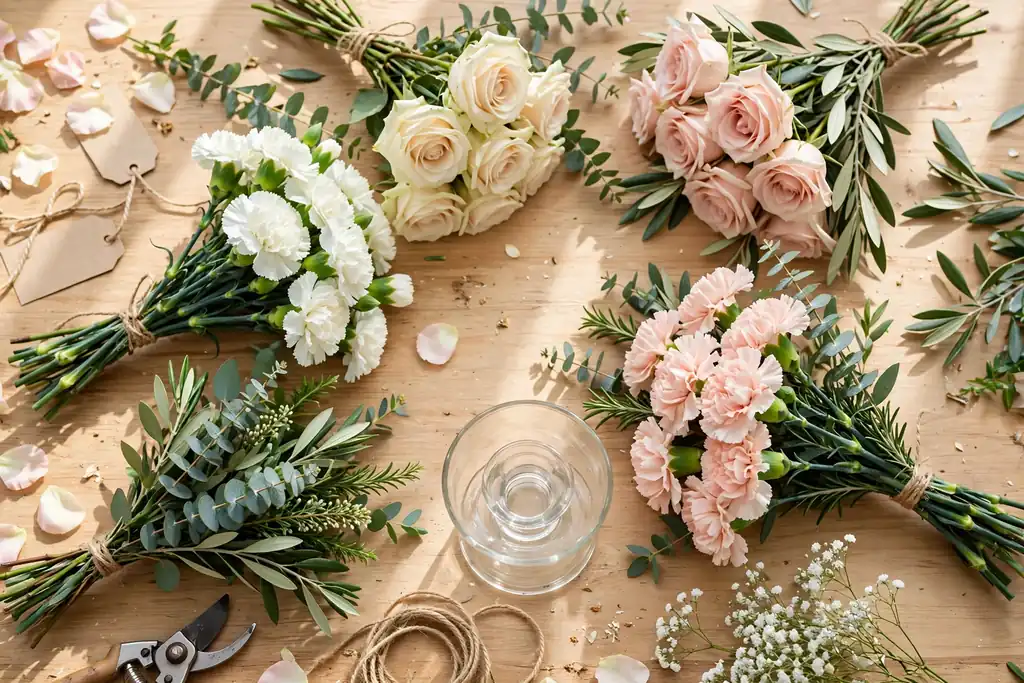
Choose flowers that fit the table, the season, and the meal. Roses, ranunculus, and peonies give a full, soft look for a gathering, while daisies, carnations, and small chrysanthemums suit an everyday table. For ideas on seasonal blooms, see these fall flower arrangements. Pick one main color, one supporting color, and green foliage, so the holder reads as one plan rather than a mixed bunch.
Think about scent and size as well as color. Strongly scented blooms can compete with food at a dinner table, so use them sparingly there and save them for a sideboard or an entry table. Keep the blooms small enough that the finished holder stays low. Large blooms that rise above the candle can block sightlines and lean toward the flame, which is the opposite of what a table centerpiece should do.
4. Prepare Fresh Stems or Faux Stems
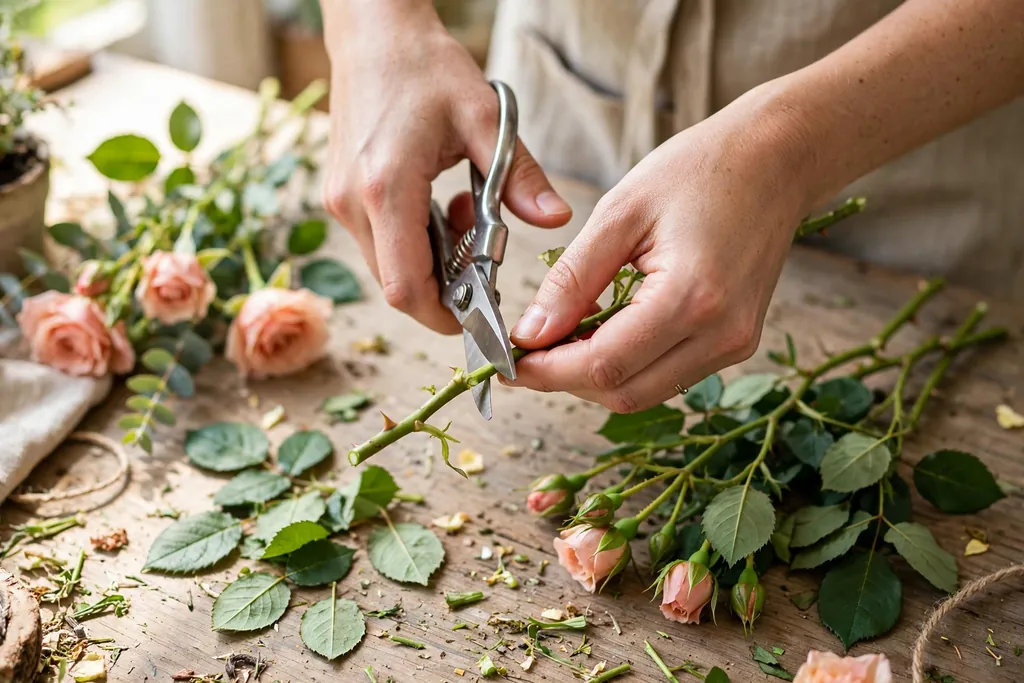
If you use fresh flowers, trim each stem at an angle with sharp scissors, and strip off any leaves that would sit below the flower ring or touch the holder glass. Short stems work best here, since the flowers will sit around a holder, not in a tall vase. Set the trimmed stems in water while you finish the holder, so they stay fresh until you arrange them.
If you use faux flowers, wipe each stem clean and bend the wire stems into the shape you want before you start. Faux flowers suit a holder you plan to reuse, and they avoid wilting during a long meal. Check faux blooms for loose petals or wire ends that could snag a cloth, and trim any sharp wire with pliers. Whether fresh or faux, sort the stems by length, with the shortest at the front of your plan.
5. Clean and Set the Holder on a Stable Base
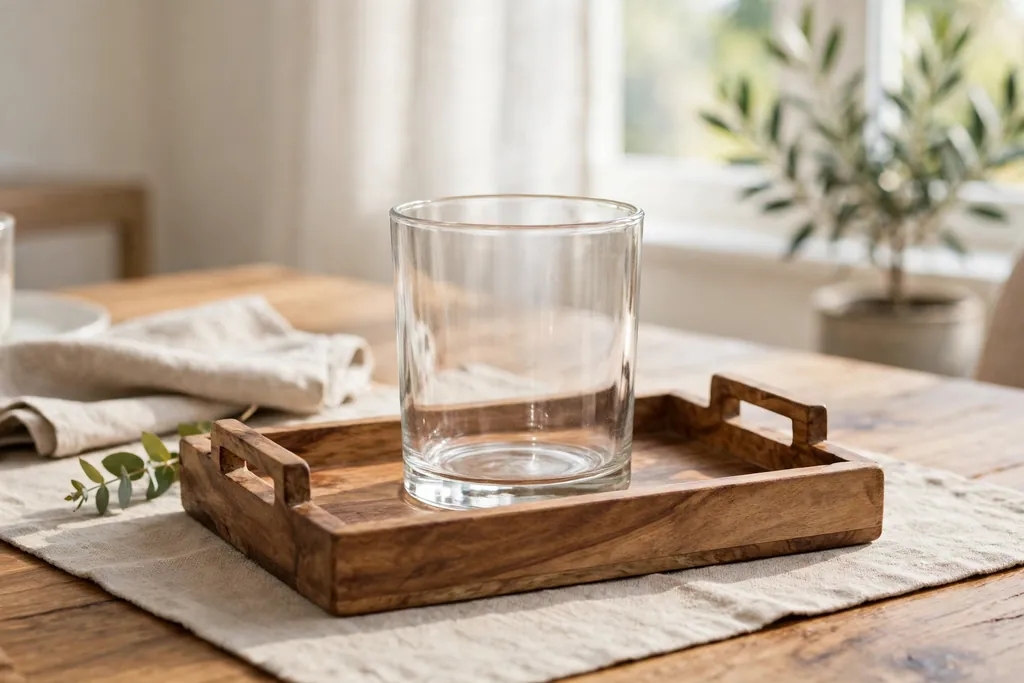
Wash the glass holder with warm soapy water, rinse it, and dry it fully, so the candlelight shows clearly through clean glass. Check the glass for cracks or chips while you clean it, and do not use a cracked holder for a real flame, since heat can worsen a crack. Set the holder on a tray, a wood board, or a heat-safe plate, which catches wax drips and makes the whole piece easy to lift off the table.
Place the base on a flat, stable part of the table, away from the table edge and from spots where elbows or serving dishes will pass. The base should be wide enough to hold the holder plus the flower ring, with a small margin around the edge. If the table surface marks easily, the tray also protects it from damp foam or fresh stems. Step back and check that the holder sits level before you add flowers.
6. Place and Secure the Candle First
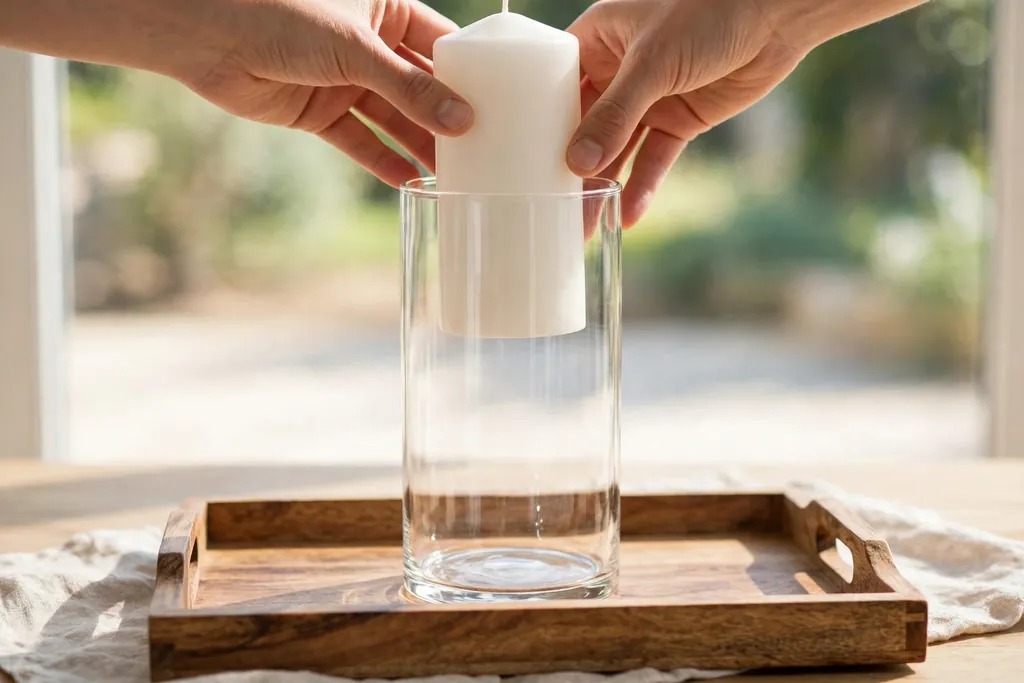
Set the candle inside the holder before you add any flowers. This order matters, because it lets you check the fit, the height, and the clearance with nothing in the way. The candle should sit in the center of the holder, on a flat base, and it should not touch the glass sides. If the candle wobbles, set it on a small heat-safe disc or choose a candle that fits the holder better.
Do not light the candle yet. Lighting comes last, after every flower is in place and every clearance has been checked. For now, note how high the flame will sit once lit, which is roughly at the top of the wick. That height is your guide for the next steps: no flower, leaf, or ribbon should reach that level near the holder opening.
7. Build a Low Greenery Ring Around the Holder
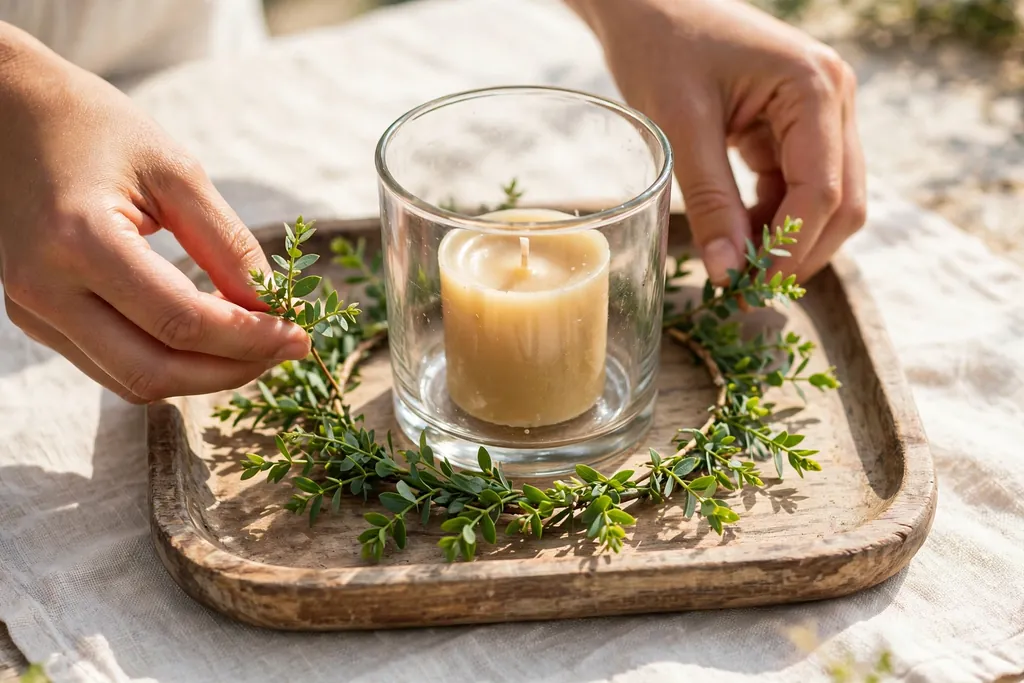
Start the flower arrangement with greenery, arranged in a ring around the outside of the holder on the tray. Lay short sprigs of eucalyptus, fern, or boxwood flat around the base, with the stems pointing outward and the leaves overlapping slightly. Keep the ring low, below the rim of the holder, so it frames the glass without rising toward the flame.
Work around the holder in one direction, adding one sprig at a time and checking the shape from above as you go. The ring should look full from every side of the table, not just from the front. If you use a foam ring or a wreath base, press the greenery stems into it at a low angle. Leave a small gap at the back if the holder will sit against a wall, so you can reach the candle later.
8. Add Focal Flowers Around the Base
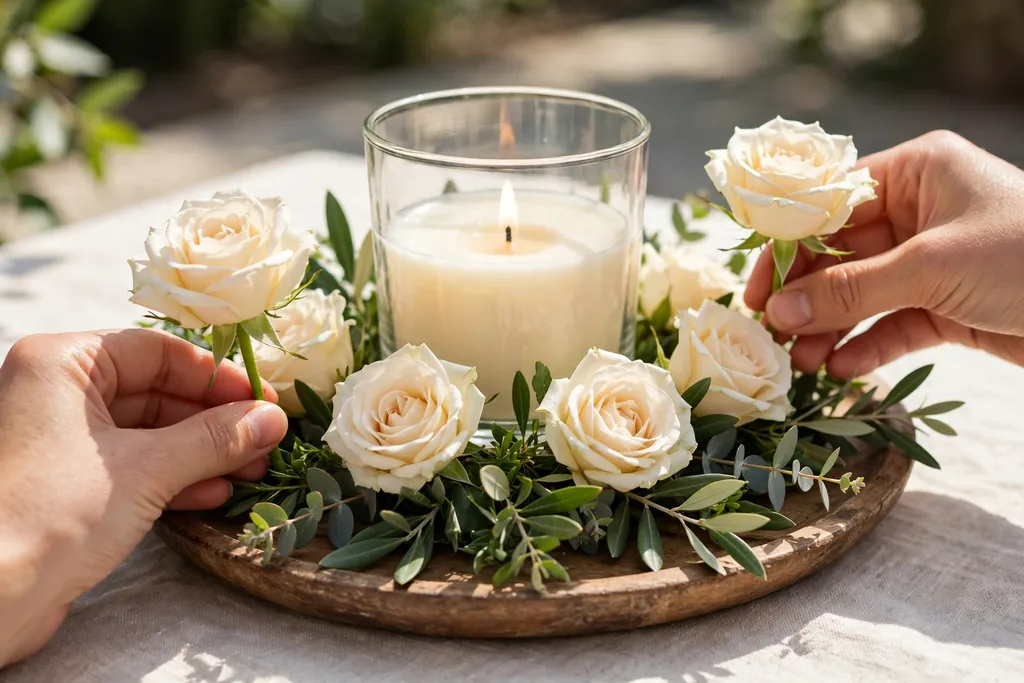
Place the focal blooms next, spaced evenly around the holder, with three to five blooms for a single holder, depending on its size. Set each bloom low, at the same height as the greenery or just above it, and angle the faces slightly outward so guests can see them from their seats. Push fresh stems into the foam base if you use one, or lay them on the tray and wire them to the greenery ring if you do not.
Step back after each bloom and check the balance. One side should not carry all the large blooms while the other side shows only leaves. If a bloom leans toward the holder, pull it outward and shorten its stem, since a bloom that touches the glass can trap heat or lean over the rim. Keep every focal bloom outside the holder and below the flame height you noted in step 6.
9. Fill Gaps with Small Blooms and Texture
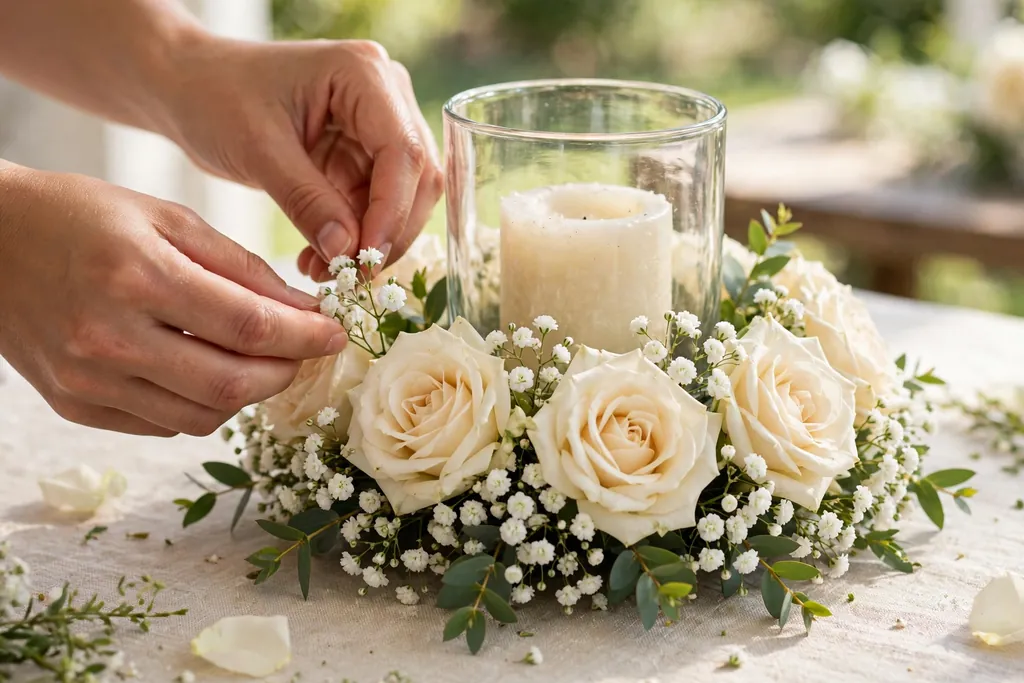
Fill the gaps between the focal blooms with smaller flowers, buds, and textured stems, such as waxflower, berries, or small chrysanthemums. These fillers make the ring look full without adding height, and they tie the focal blooms together into one arrangement. Use the same palette as the focal blooms, and repeat each filler at least twice around the ring so no single spot stands out.
Keep the fillers low and short, and trim any stem that rises above the holder rim. Check the ring from a seated height, which is how guests will see it, and add a filler where a gap shows the tray. Do not pack the ring so tightly that air cannot move around the holder, and leave the front of the candle visible through the glass. A ring that hides the candle defeats the purpose of a candle holder.
10. Check Flower and Flame Clearance
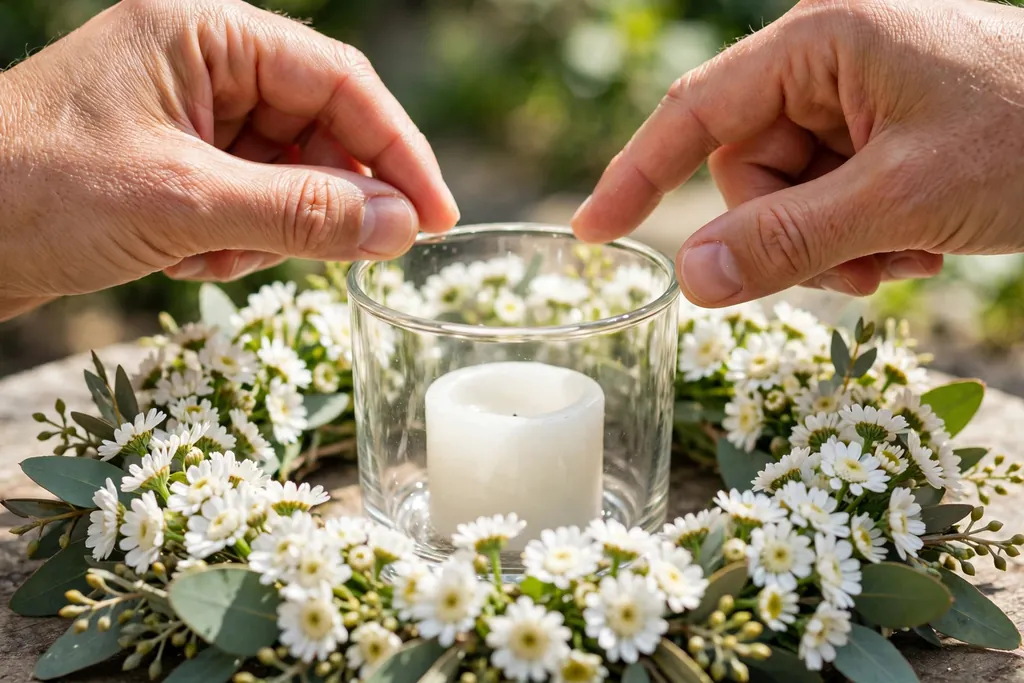
Before you light anything, run a careful clearance check. No petal, leaf, ribbon, or twine should sit inside the holder, over the holder rim, or within reach of the flame. Fresh flowers can wilt and droop toward heat, and dried or faux flowers can catch fire, so the gap between the flowers and the flame matters more than the exact look of the ring. Move any stem that leans inward, and trim it shorter if it will not stay put.
Check the holder from all sides, including from above, since a stem that looks clear from the front can lean over the rim at the back. Also check the table around the holder: napkins, paper place cards, fabric runners, and dried decor should sit clear of the holder. If you cannot get a safe gap with the flowers you chose, switch to a flameless candle, which keeps the look without the flame risk.
11. Style the Holder on the Table
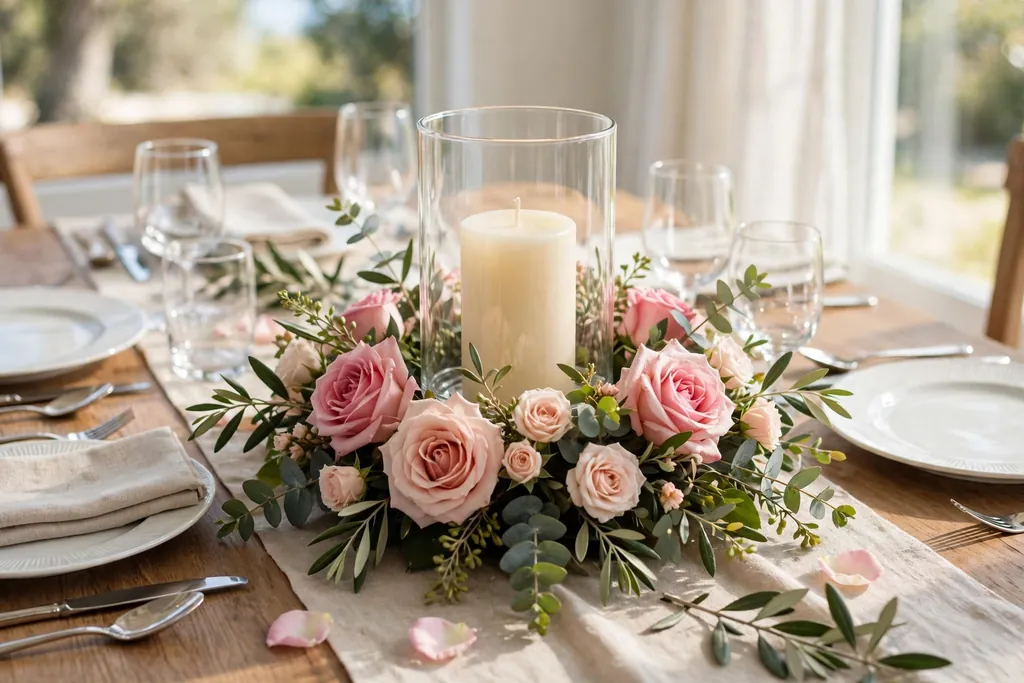
Set the finished holder in the center of the table, or at one end of a long table with a second matching holder at the other end. Keep the centerpiece low and narrow so guests can see each other across it, and leave room for plates, glasses, and serving dishes on both sides. A runner under the holder can tie it to the rest of the table, as long as the runner sits flat and stays clear of the holder opening.
Repeat one color from the flower ring elsewhere on the table, such as in the napkins or a small bud vase, so the holder looks planned rather than isolated. For a romantic table, the same low, candlelit approach works with roses and soft colors, as shown in these Valentine centerpieces. Keep the table edges clear, and make sure the holder can lift off in one move when the table needs clearing for serving.
12. Light the Candle and Test the Display
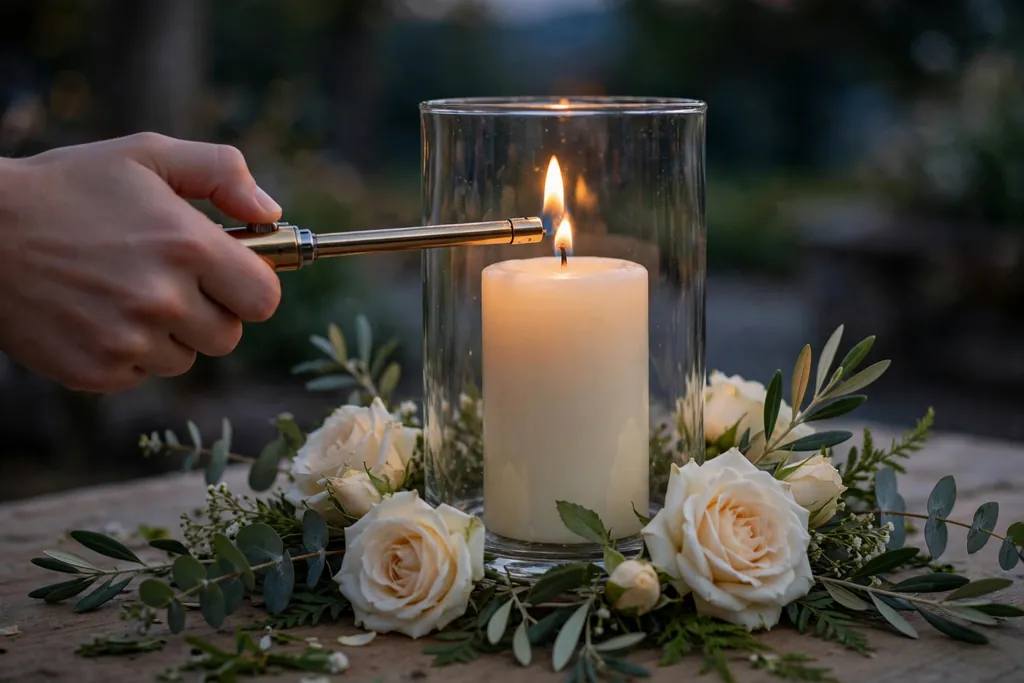
Light the candle only after the clearance check in step 10 is done, and use a long lighter or a long match so your hand stays clear of the flowers. Watch the flame for a minute: it should burn steady and upright, not flicker hard toward one side. A flame that leans hard suggests a draft from a window, a door, or an air vent, and a holder in a strong draft should move to a calmer spot.
Check the display from each seat at the table. The candlelight should glow through the glass and through the gaps in the flower ring, without a bloom blocking the light from one side. Trim the wick before lighting if it is long, following the candle maker directions, and keep matches and lighters away from the table once the candle is lit. If the flame touches or nears any flower, blow it out, move the flower, and recheck before relighting.
13. Care for the Holder During the Meal
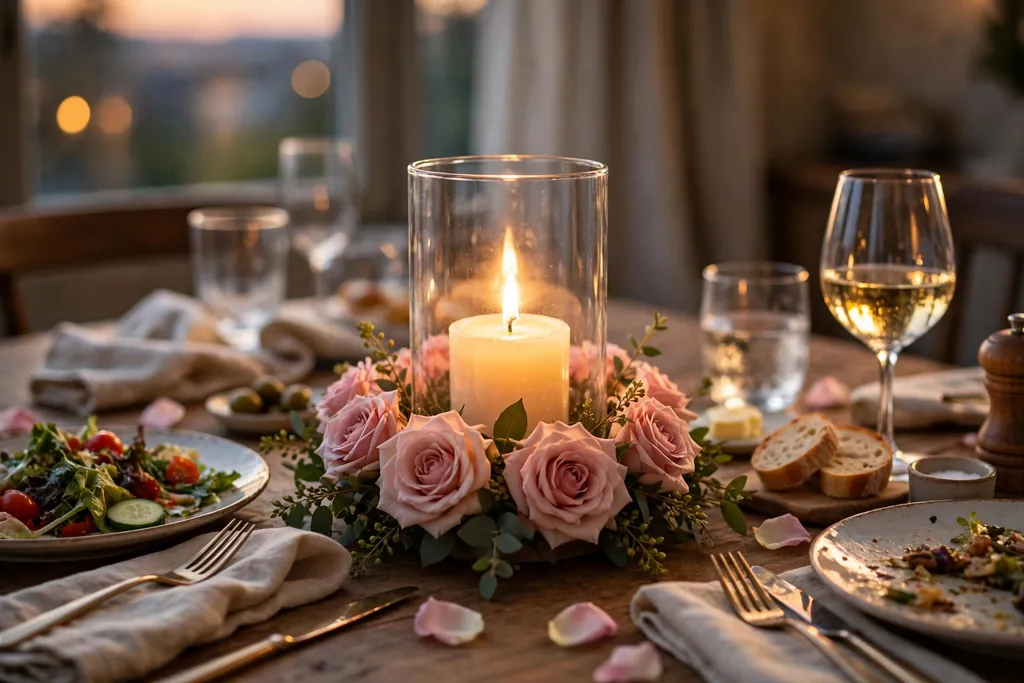
Never leave a lit candle unattended, even for a short trip to the kitchen. If everyone leaves the table, blow the candle out first and relight it on return, after a quick check that no flower has drooped toward the holder. Keep children and pets from reaching the holder, and do not let guests move it closer to plates, napkins, or paper decor during the meal.
Watch fresh flowers as the meal goes on, since heat and time can make a stem droop. If a bloom leans toward the holder, move it outward or remove it, and do not wait until it touches the glass. Keep the area around the holder free of dropped napkins, loose paper, and serving dishes that could tip into it. At the end of the meal, blow the candle out before clearing plates, so no one brushes the holder while reaching across the table.
14. Refresh, Reuse, or Store the Holder
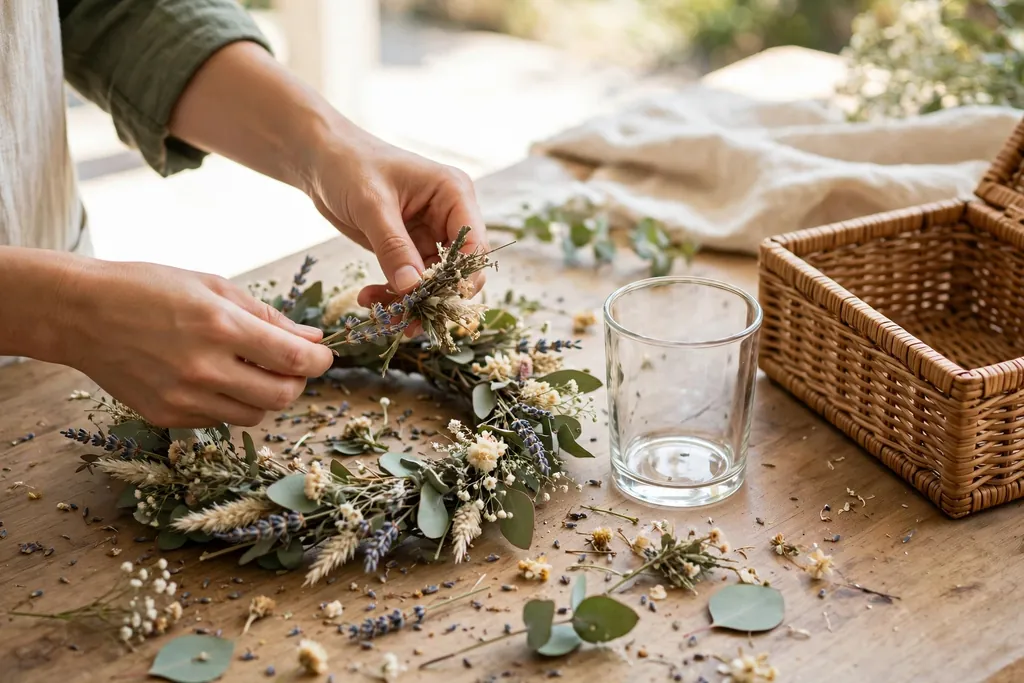
When the meal is over and the candle is out and cool, take the flower ring apart. Compost spent fresh flowers, wipe the tray, and wash the glass holder so wax and leaf marks do not set. If you used faux flowers, dust them gently and keep the ring together if you plan to reuse it, since a prebuilt ring saves time next time.
Store the holder, the candle, and the flower ring separately, with faux flowers in a box where they will not crush, and candles in a cool spot away from heat. Before the next use, check the holder for cracks, check the candle fit, and rebuild the ring with fresh stems if the old ones look tired. A holder that is cleaned and checked between uses is ready for the next table with only a short arranging session.
Conclusion
A floral candle holder works best when safety comes first and flowers stay outside the glass, framing the candlelight rather than crowding the flame. Choose a sturdy holder, set the candle inside it before arranging, build a low ring of greenery and blooms around the base, and check every clearance before lighting. With those steps done, the holder adds warmth to the table, stays low enough for conversation, and can be refreshed with new flowers or reused with faux stems for the next gathering.
Frequently Asked Questions
Can I put flowers inside a candle holder with a real candle?
No, flowers should stay outside the holder, around its base, and never inside it beside an open flame. Fresh flowers can wilt and droop toward heat, and dried or faux flowers can catch fire. If you want flowers visible through the glass, use a flameless candle, or press flowers against the outside of a closed lantern where no flame can reach them.
What candle is safest for a floral candle holder?
A flameless candle is the safest choice, especially near dried flowers, faux flowers, paper, fabric, or children. For a real flame, use a pillar or votive candle that fits its holder with space around it, set on a stable tray, and never leave it burning unattended. Keep every flower and leaf clear of the flame, and blow the candle out when you leave the room.
Should I use fresh or faux flowers for a floral candle holder?
Use fresh flowers for a single meal or gathering, since they look and smell natural and you can compost them after. Use faux flowers for a display you want to reuse, for a table near heat, or for a holder that will sit out for days. Faux flowers still need the same clearance from a real flame, so choose a flameless candle if the faux blooms sit close to the holder.
How do I keep flowers from drooping toward the candle?
Keep stems short, build the ring low, and wire stems to the greenery ring or press them into a foam base so they cannot lean inward. Check the clearance before lighting and again during the meal, since fresh stems soften as they lose water. If a bloom leans toward the holder, move it outward, shorten its stem, or remove it, and do not relight the candle until the gap is safe.
How many flowers do I need for one floral candle holder?
Three to five focal blooms plus greenery and small fillers is enough for one table holder, depending on its size. Start with a low greenery ring, add the focal blooms evenly around the base, then fill gaps with small blooms until the ring looks full from every seat. A fuller ring is not better if it rises above the holder rim or blocks the candlelight.
Can I make a floral candle holder for a wedding or a large gathering?
Yes, make one holder as a test first, then repeat the same design for each table so the room looks matched. Use the same holder, candle, and flower palette for every table, keep each holder low enough to see across, and use flameless candles if the venue requires them or if tables will sit near fabric and paper. Build the rings a day ahead with faux flowers, or on the day with fresh flowers, and check the clearance on each holder before lighting.