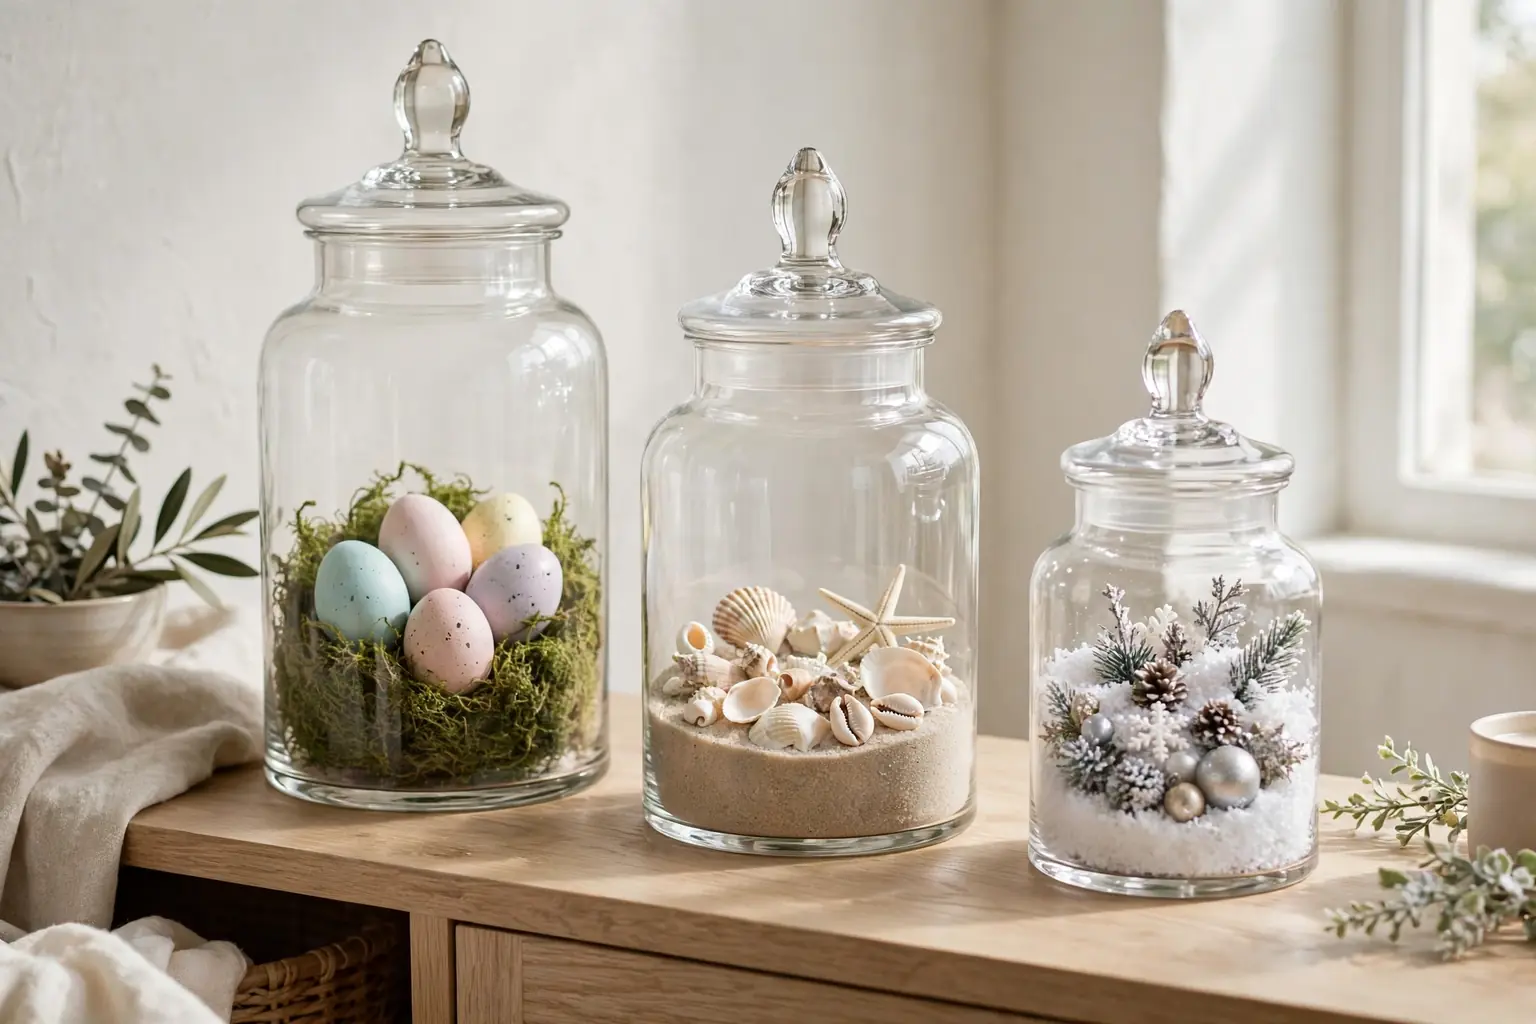
Fill apothecary jars by matching the filler to the season and keeping one clear palette per jar. Spring suits pastel eggs, fresh blooms, and moss. Summer suits shells, sand, and citrus. Fall suits pinecones, mini pumpkins, and dried leaves. Winter suits ornaments, fir, and cranberries. Year-round fillers like layered sand, herbs, and fairy lights bridge the gaps between seasons.
Start with a clean, dry jar and one base layer, such as sand, moss, or faux snow, then add the main filler and one small accent, such as a ribbon on the lid or a sprig tucked beside the jar. Keep tall fillers below the lid when the jar will stay closed, and leave room at the top so the display reads as full rather than crowded. For table styling that pairs with jar displays, see the fall table decor guide, and for a system that rotates decor through the year, see the seasonal decor swaps guide. For winter vase ideas that sit well beside apothecary jars, browse the Christmas vases guide.
Key Takeaways
- Match one palette per jar: two or three colors plus one neutral base, repeated in the filler and the accent.
- Start with a base layer, such as sand, moss, or faux snow, so smaller fillers sit level and do not sink out of sight.
- Keep table jars low and narrow enough to see across, and save tall branch fillers for consoles and mantels.
- Use battery lights inside closed jars, and keep real flames clear of dried material, fabric, and paper.
- Store each season filler in its own labeled bag or box, so the next swap takes minutes.
- Clean jars before refilling, and check dried and fresh fillers for dust, fading, or moisture before they go back on display.
1. Pastel Eggs on a Moss Base
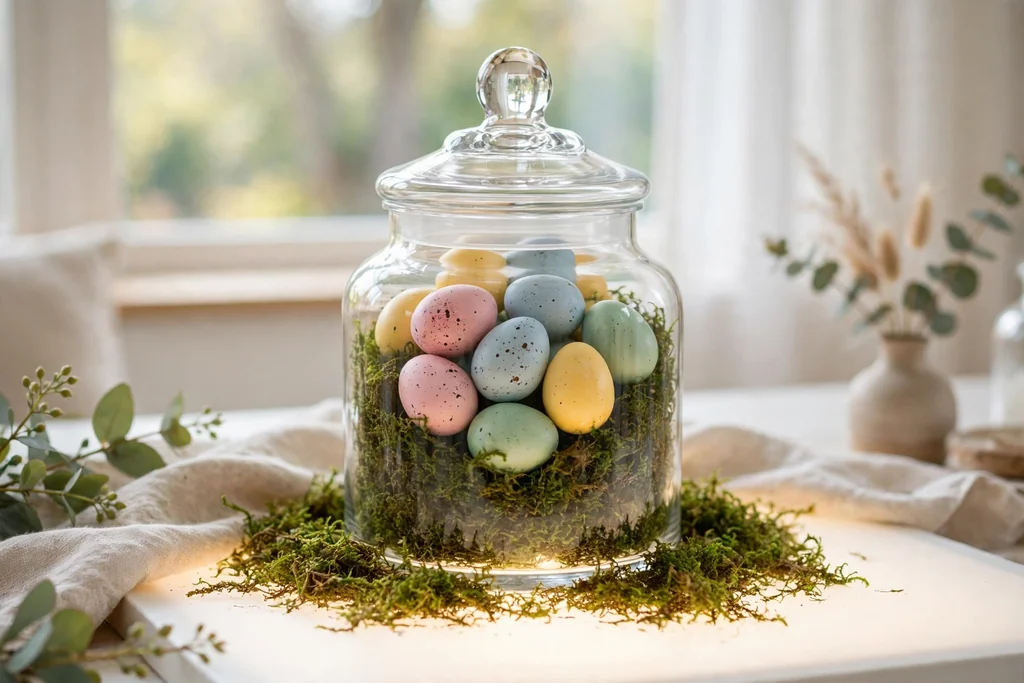
Spread a layer of green moss across the bottom of the jar, then nest pastel eggs in pink, blue, yellow, and mint on top, with the largest eggs at the back and smaller ones toward the front. The moss hides gaps between the eggs and gives the jar a fresh spring base that suits a dining table, a console, or an entry shelf. Use eggs in matte finishes rather than shiny ones, so the group reads as soft rather than loud.
Keep the lid off if the jar sits on a table where guests will see inside, or set the lid beside the jar as part of the display. Store the eggs in tissue between seasons, since painted finishes can chip when eggs knock together in a box. For a smaller jar, use only three or four eggs and let the moss show around them.
2. Fresh Tulips in Water
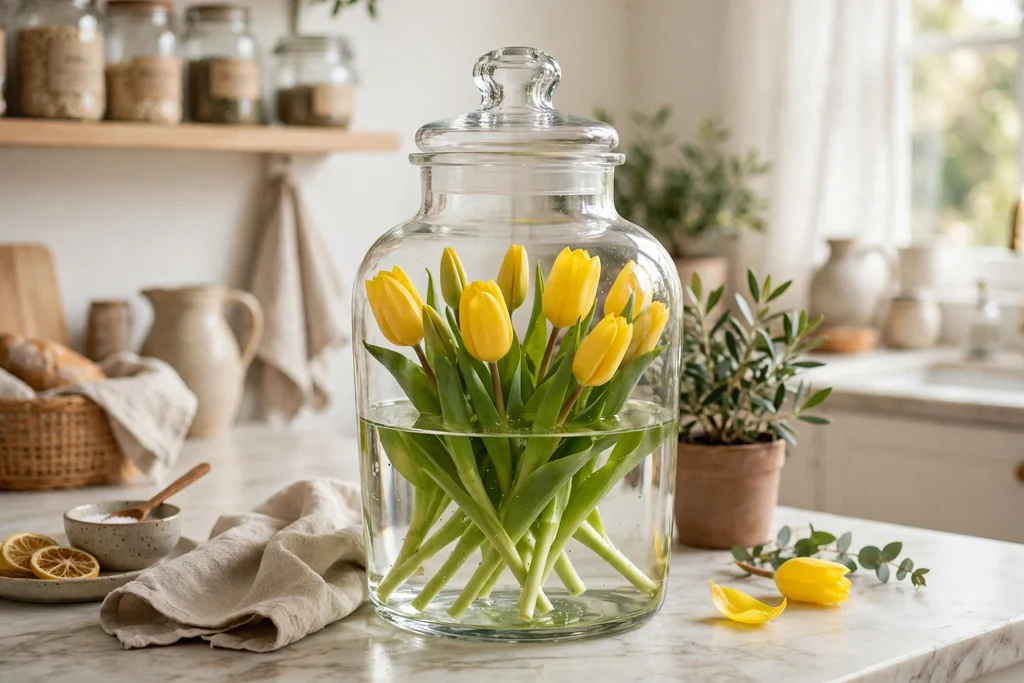
Fill the jar halfway with clean water, trim tulip stems at an angle, and stand five to seven stems inside, so the blooms sit just above the rim. The clear glass shows the stems and the water line, which suits a spring table or a kitchen counter, and the tulips give height without a wide arrangement. Choose one color, such as yellow or soft pink, so the jar reads as one clear idea.
Change the water every two days and trim the stems again if they start to droop, since tulips keep growing in water and can lean toward the light. Keep the jar away from direct sun and fruit bowls, both of which shorten bloom life. When the tulips fade, rinse the jar well before the next filler, since flower water can leave marks on glass.
3. Cherry Blossom Branches
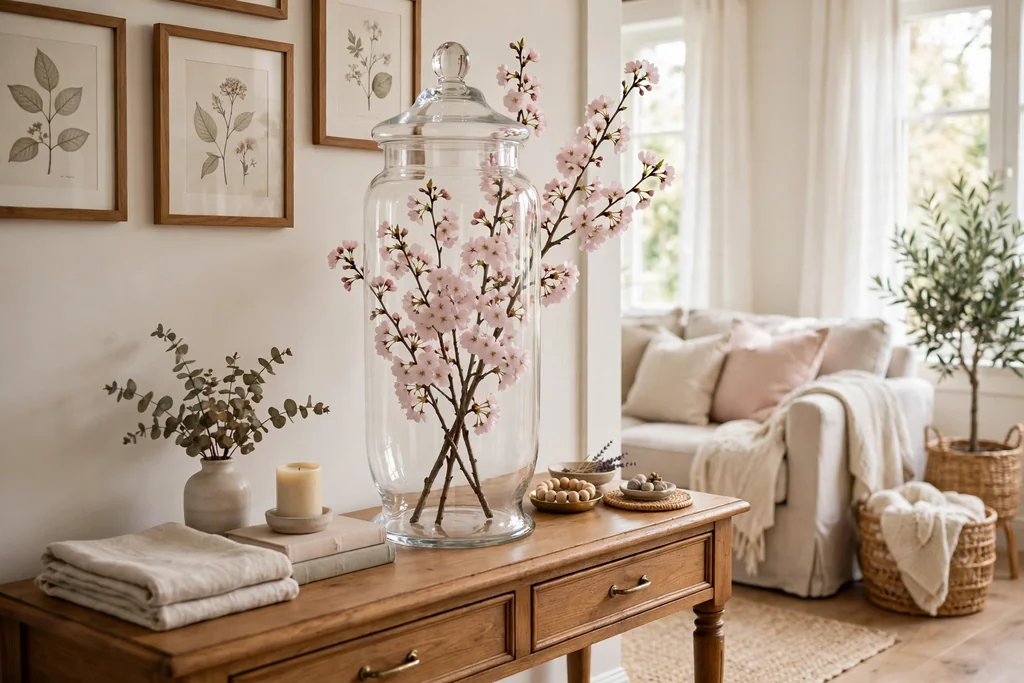
Stand two or three cherry blossom branches in an empty jar, with the tallest branch near the back and shorter ones angled toward the front. The pale pink blooms give a light spring note at height, which suits a console or a mantel where a tall jar can frame the space without blocking a view. Use faux branches if the jar will stay up for weeks, since fresh branches drop petals quickly.
Trim the branch ends so they sit flat on the jar base and do not rock, and check that the jar is heavy enough that the branches cannot tip it forward. Keep the branches clear of walkways and door swings, since tall stems catch on sleeves and bags. At the end of spring, wipe the branches and store them flat so the blooms keep their shape.
4. Lemon Slices and White Blooms
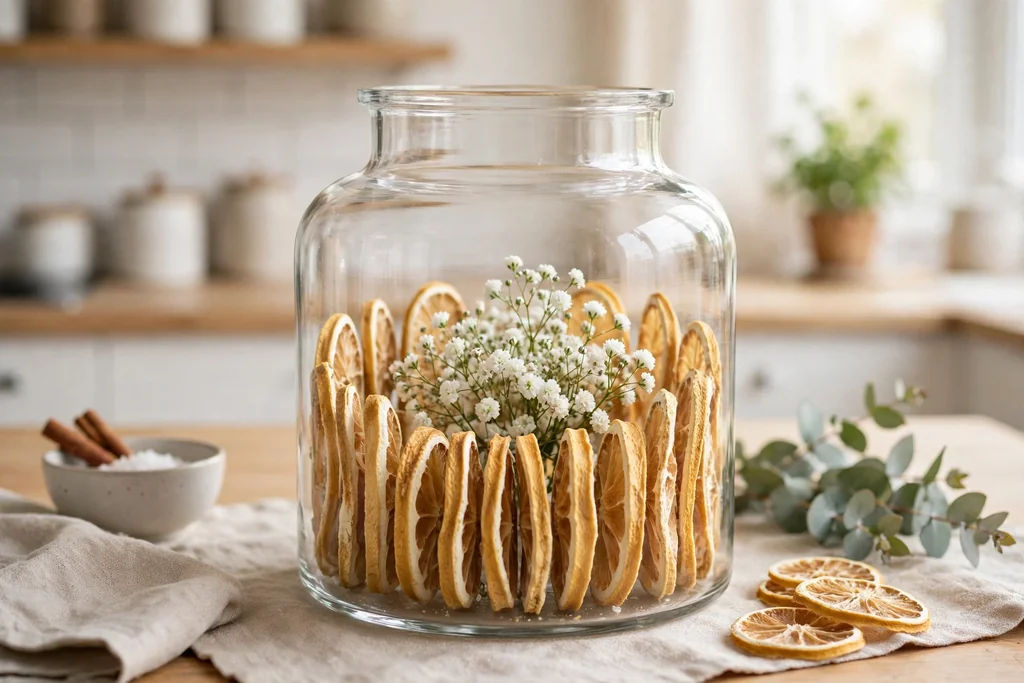
Layer dried lemon slices upright around the inside wall of the jar, then fill the center with small white blooms, such as faux daisies or white ranunculus, so the yellow ring shows through the glass. The citrus ring gives a bright summer note that suits a kitchen table or a breakfast nook, and the white blooms keep the look calm. Use fully dried slices, since soft slices bend and can mark the glass.
Set the jar on a small mat if the table marks easily, and keep it out of strong sun, which fades both dried citrus and faux blooms over time. Replace the lemon slices each season, since they darken with age and dust. For a smaller jar, use half slices along one side only and keep the blooms low.
5. Layered Sand and Seashells
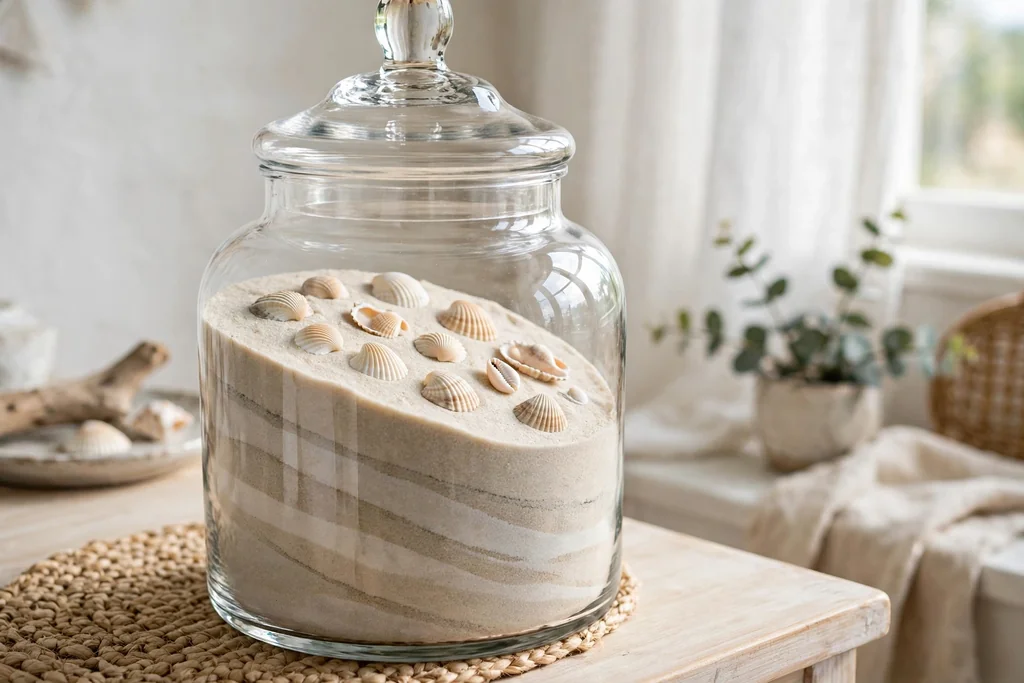
Pour fine sand into the jar in two or three layers, tipping the jar slightly as you pour so each layer slopes, then press small seashells into the top layer and lean one larger shell against the glass. The sloped layers show through the glass and give a coastal summer display that suits a bathroom shelf, a side table, or an entry console. Use shells in cream, white, and soft grey so the sand color stays the main note.
Rinse and dry shells fully before they go in, since sand and salt residue can cloud the glass over time. Keep the jar lid on if the jar sits near a walkway, so sand stays put when the jar is moved. If a shell sinks, lift it out and press it back into a fresh top layer rather than shaking the jar, which flattens the slopes.
6. Sea Glass and Driftwood Pieces
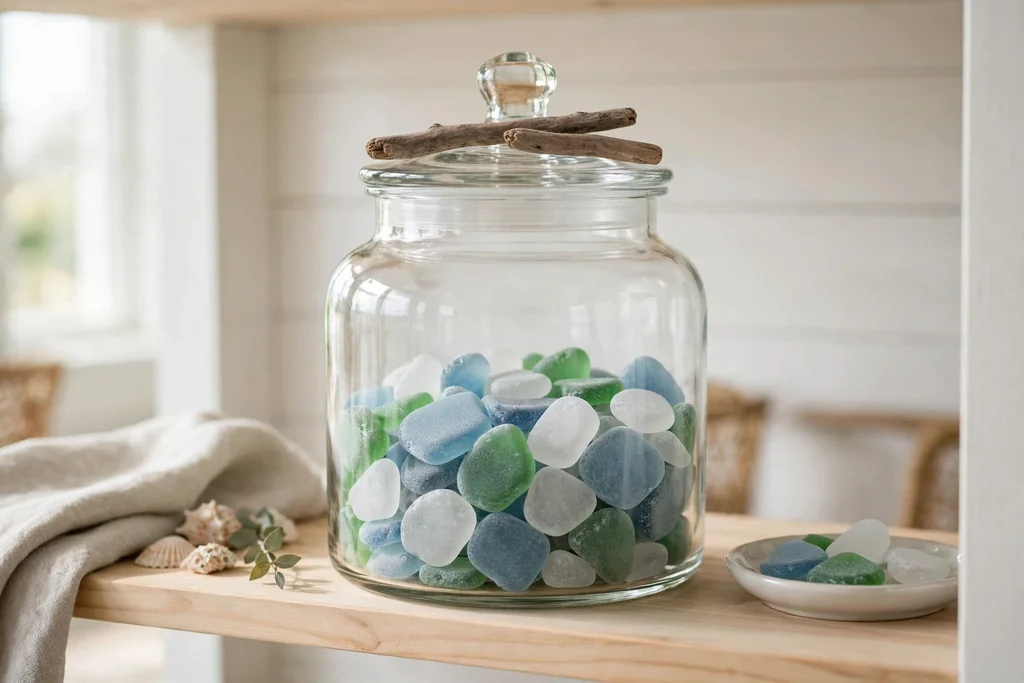
Fill the jar halfway with sea glass in soft blue, green, and white, then tuck two or three small pieces of driftwood on top, angled so they catch the light. The frosted glass pieces give a muted coastal color that suits a living room shelf or a bedroom dresser, and the driftwood adds a natural shape that breaks up the smooth glass. Keep the pieces small enough to lift out easily for cleaning.
Wash sea glass before filling, and dry it fully, since water spots show on frosted glass once it dries inside a closed jar. Use a lid to keep dust out, and wipe the outside of the jar with a dry cloth when the glass starts to look dull. If driftwood sheds bark, shake it outside first and brush loose pieces off before it goes in.
7. Sunflower Heads and Wheat Stems
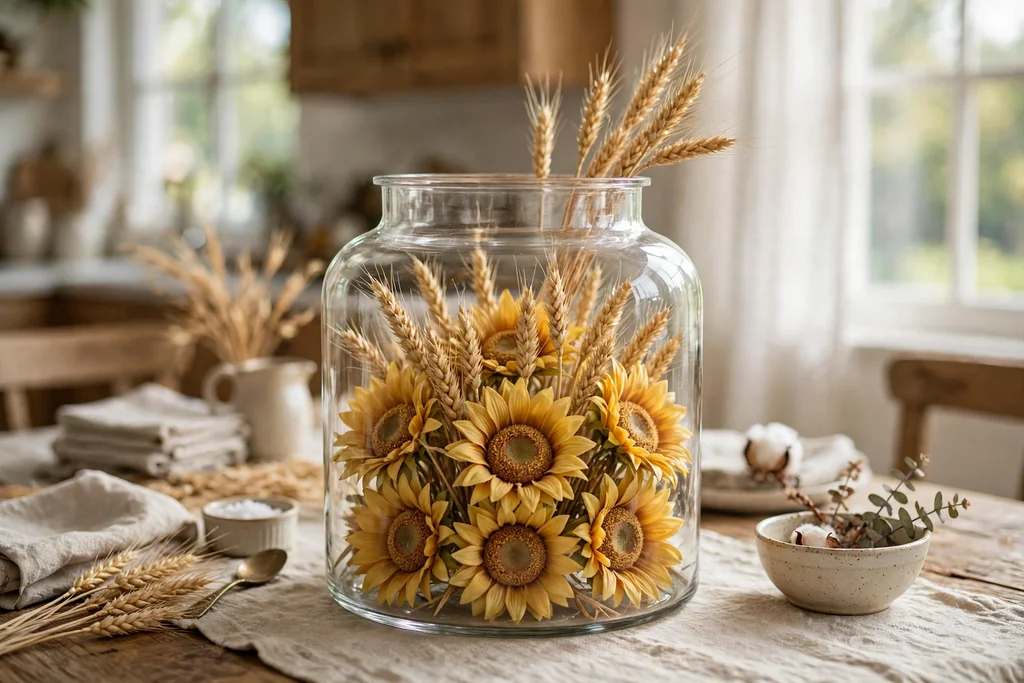
Stand three or four faux sunflower heads on short stems in the jar, with dried wheat stems tucked between them, so the yellow blooms sit just above the rim and the wheat adds height behind. The mix suits late summer and early fall, and it works on a dining table where a low, cheerful centerpiece fits better than a tall bouquet. Keep the stems short enough that guests can see across the table.
Use a jar with a wide mouth for this filler, since narrow mouths crowd the stems and bend the blooms. Dust the faux blooms with a soft cloth before display, and store them upright between seasons so the petals do not flatten. For a smaller table, use one sunflower head and two wheat stems only, and let the jar glass show around them.
8. Pinecones and Acorns
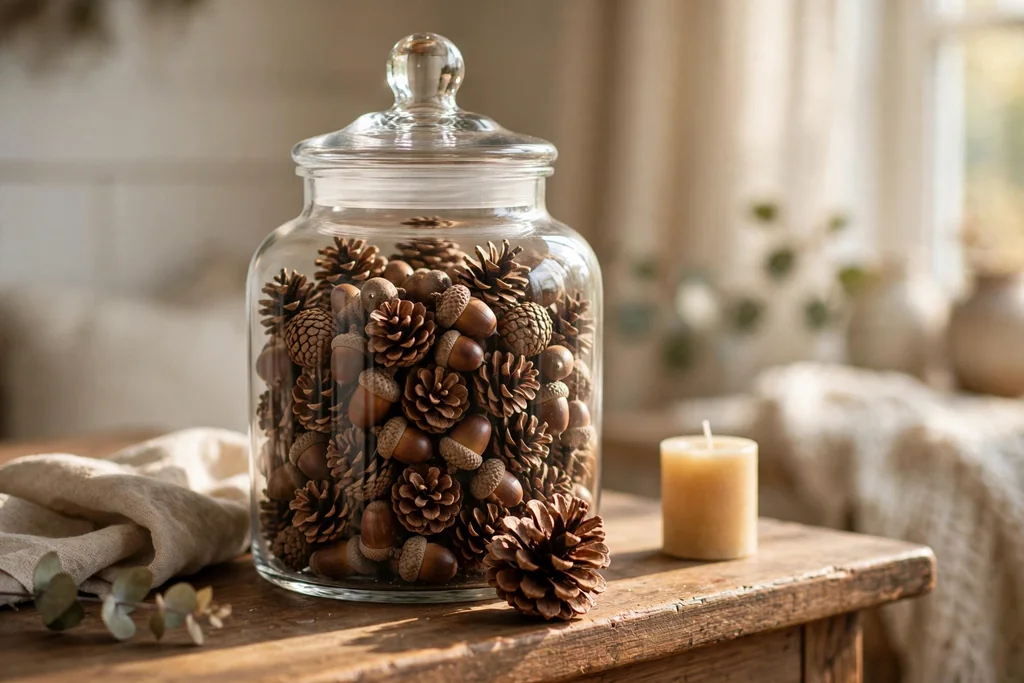
Fill the jar with small pinecones first, then tuck acorns into the gaps, with one larger pinecone near the front of the glass as a focal point. The brown tones and rough shapes give a woodland fall display that suits a mantel, a bookshelf, or a side table, and the mix of sizes keeps the jar from looking flat. Use a lid to keep dust out between cleanings.
Clean gathered pinecones fully and check them for insects before bringing them inside, and dry them well so they do not hold moisture in a closed jar. If small acorns worry you near young children, use larger pinecones only and skip the acorns. Shake the jar gently outdoors before the first display, since pinecones shed scales and dust.
9. Mini Pumpkins with Dried Leaves
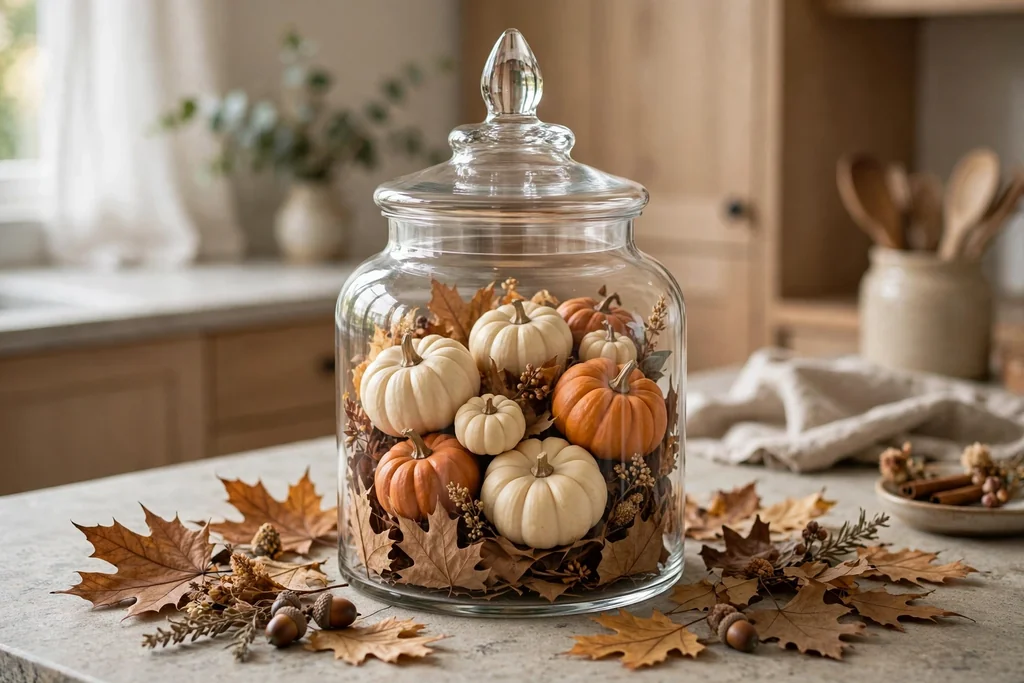
Set a layer of dried leaves across the bottom of the jar, then nest three or four mini pumpkins in cream, muted orange, and pale green on top, with a few more leaves tucked between them. The small pumpkins give a clear fall note without a large arrangement, and the jar suits a kitchen counter, a dining table, or an entry shelf through autumn. Choose pumpkins small enough to lift out through the jar mouth.
Check real mini pumpkins every few days and move any soft one to the kitchen, since one spoiling pumpkin can mark the rest. For a display that stays up all season, use faux pumpkins and dried leaves, and wipe them clean before storing. Keep the jar lid off for real pumpkins, so moisture does not build up inside.
10. Cinnamon Sticks and Dried Orange Slices
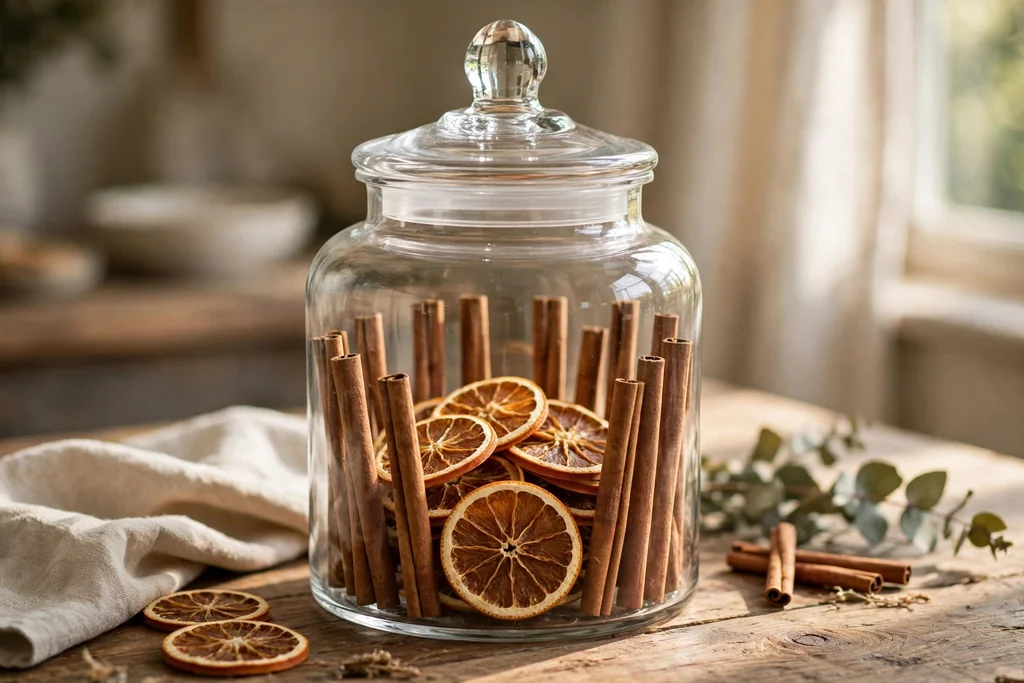
Stand cinnamon sticks upright around the inside wall of the jar, tie the bundle loosely with twine if the sticks will not stand on their own, then fill the center with dried orange slices and a few star anise pieces. The warm brown and orange tones suit fall and carry into winter, and the jar gives a gentle scent near a table or a console without a candle. Use slices that are fully dry, so they hold their shape upright.
Keep dried material clear of real flames, and use battery candles nearby instead of a lit candle inside the jar. Replace the orange slices each season, since they darken over time, and store the cinnamon bundles flat between seasons. For a narrow jar, use shorter sticks cut to fit below the lid.
11. Cranberries and Fir Sprigs in Water
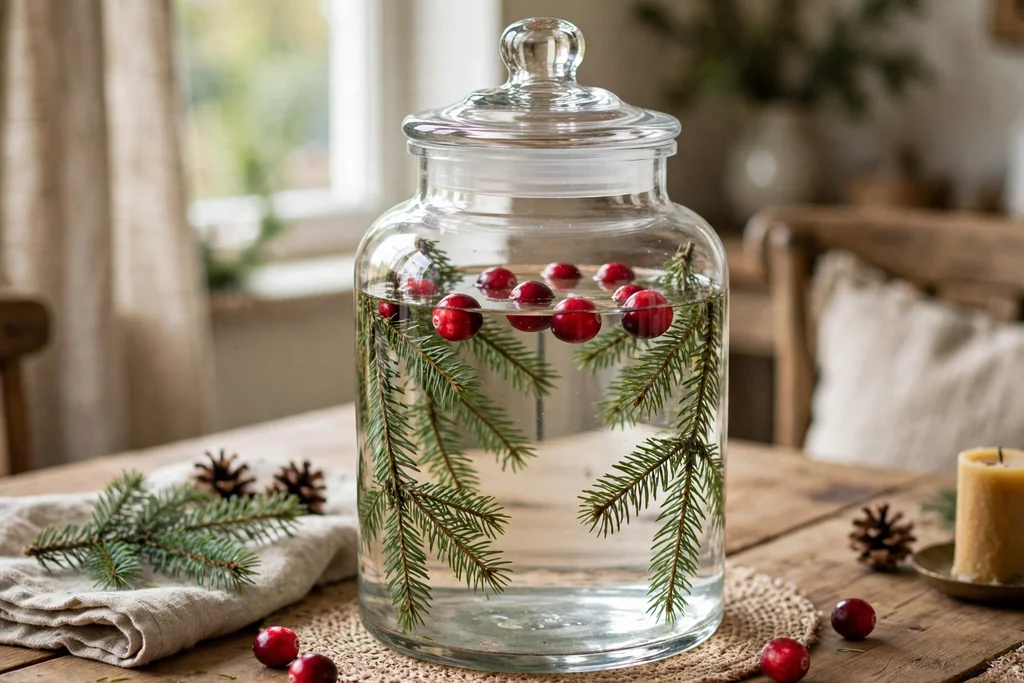
Fill the jar two thirds full with clean water, add a handful of fresh cranberries so they float, then tuck short fir sprigs down the sides so the green shows through the glass. The red berries and green fir give a classic winter note that suits a dining table or a holiday side table, and the water line adds a fresh, clear layer. Use a wide jar so the berries spread rather than stacking in one column.
Replace the water and cranberries every few days, since fresh cranberries soften over time, and rinse the jar before refilling. Keep the jar on a mat if the table marks easily, and use a battery candle beside the jar rather than a floating flame inside it. For a longer lasting version, use faux cranberries and faux fir with no water.
12. Glass Ornaments and Faux Snow
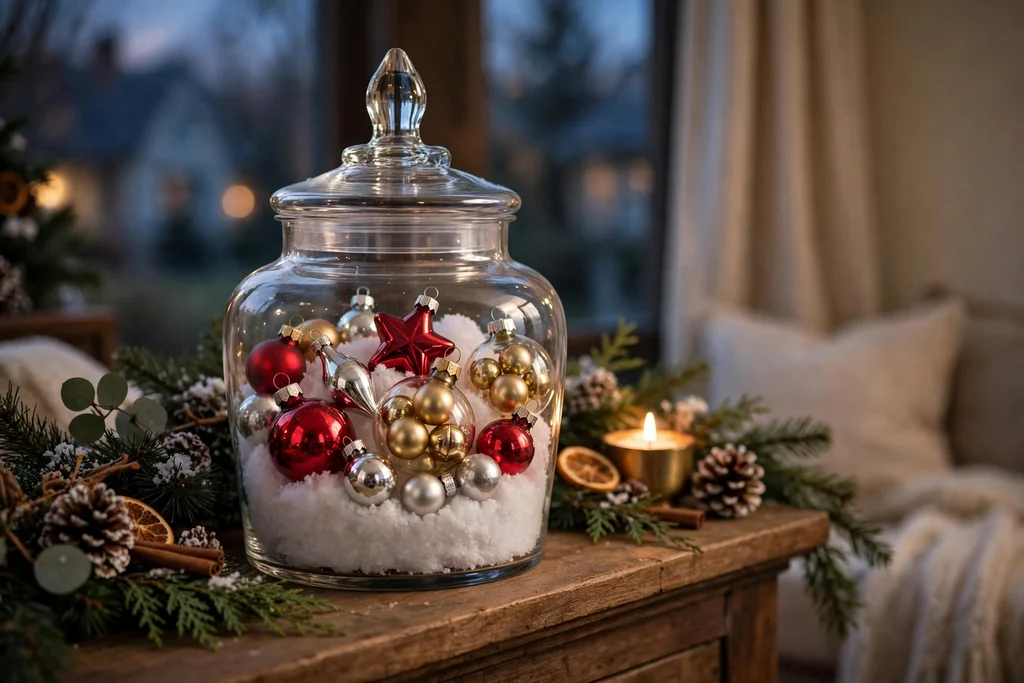
Pour a layer of faux snow across the bottom of the jar, then nest small glass ornaments in red, gold, and silver on top, with the largest ornament near the front of the glass. The snow layer lifts the ornaments into view and gives a winter display that suits a mantel, a console, or a side table through the holidays. Choose ornaments large enough to show through the glass, rather than tiny ones that sink out of sight.
Set the lid on to keep dust off the faux snow, and store the ornaments in a divided box at the end of the season so they do not chip. If the jar will sit near a walkway, keep it away from the table edge, since glass ornaments make a jar top heavy. Shake faux snow outside before the first use, since loose fibers drift onto nearby surfaces.
13. Fir Branches with Battery Fairy Lights
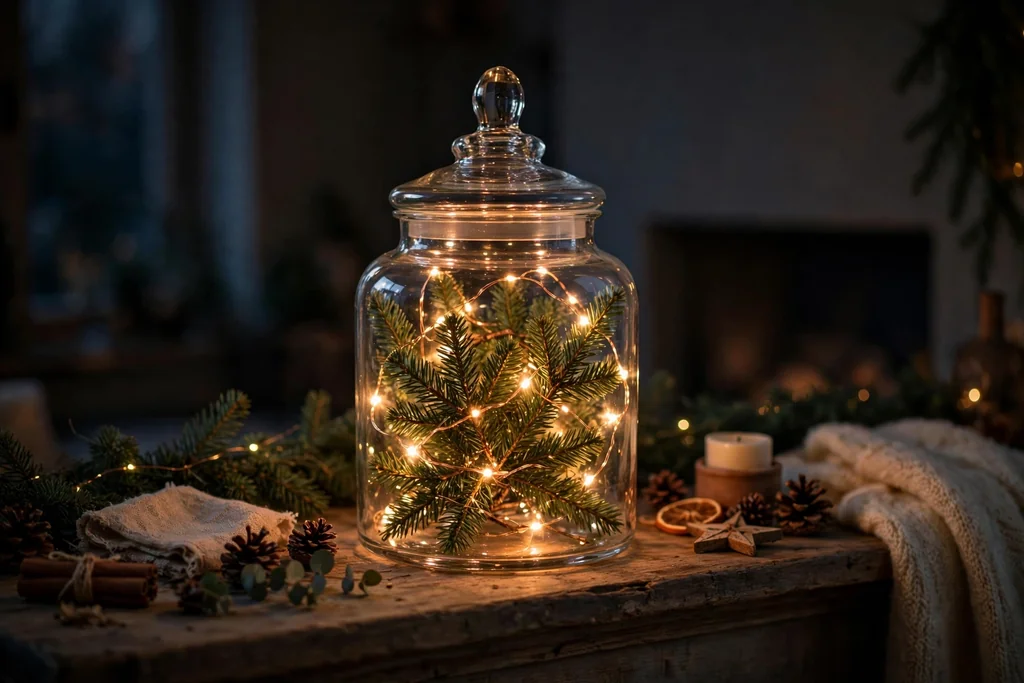
Coil a short string of battery fairy lights loosely inside the jar, then tuck short fir branches around the lights, so the branches hide the wire and the lights glow through the green. The lit jar suits a winter evening table, a mantel, or a dark hallway corner, and it works as a night light level glow in a living room. Use battery lights only inside a closed jar, since a real flame needs air and a safe holder.
Hide the battery pack behind the jar or under a small cloth, and set the lights on a timer so they switch off on their own. Keep the branches clear of the battery pack contacts, and replace the batteries before the display starts to dim unevenly. For a spring version of the same idea, swap the fir for faux blossom stems and keep the same lights.
14. Red and Pink Candy Hearts
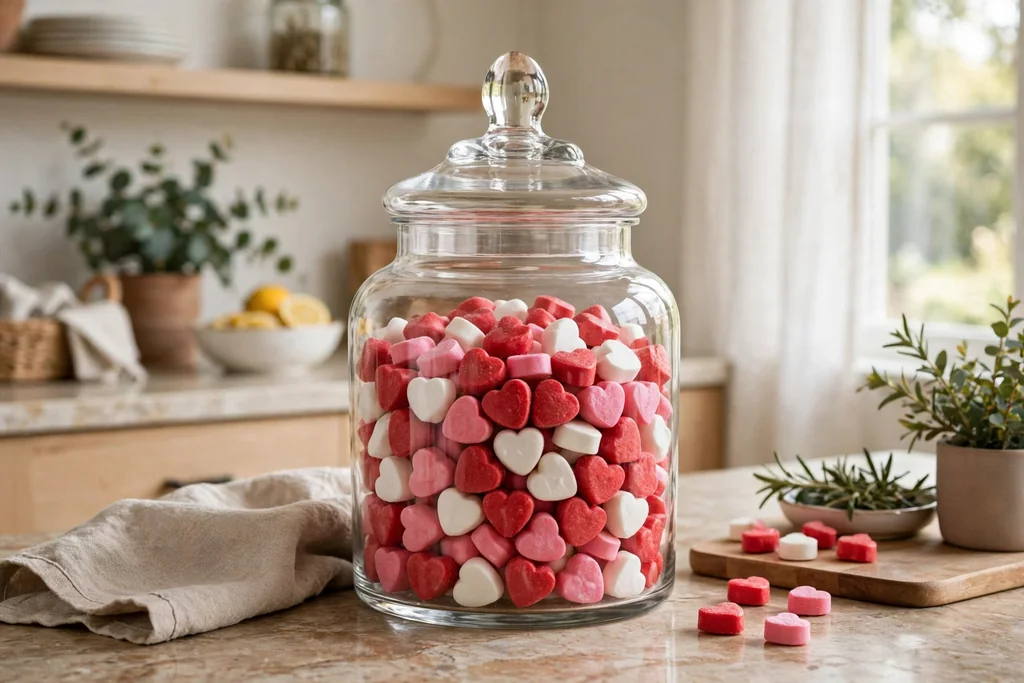
Fill the jar with red, pink, and white candy hearts, pouring them in slowly so they settle without breaking, then set one larger heart or a small paper heart on top as a focal point. The candy colors give a clear Valentine note that suits a kitchen counter, a dining table, or a bedroom dresser in February. Use wrapped candies if the jar will sit in a warm room, so the color does not transfer to the glass.
Keep the lid on to keep the candy fresh and dust free, and check the jar for moisture before filling, since damp glass can mark candy wrappers. For a display that stays up past February, swap the hearts for red and pink glass beads in the same jar. If children can reach the jar, use wrapped candy only and keep the jar back from the table edge.
15. Dried Lavender and Mixed Herbs
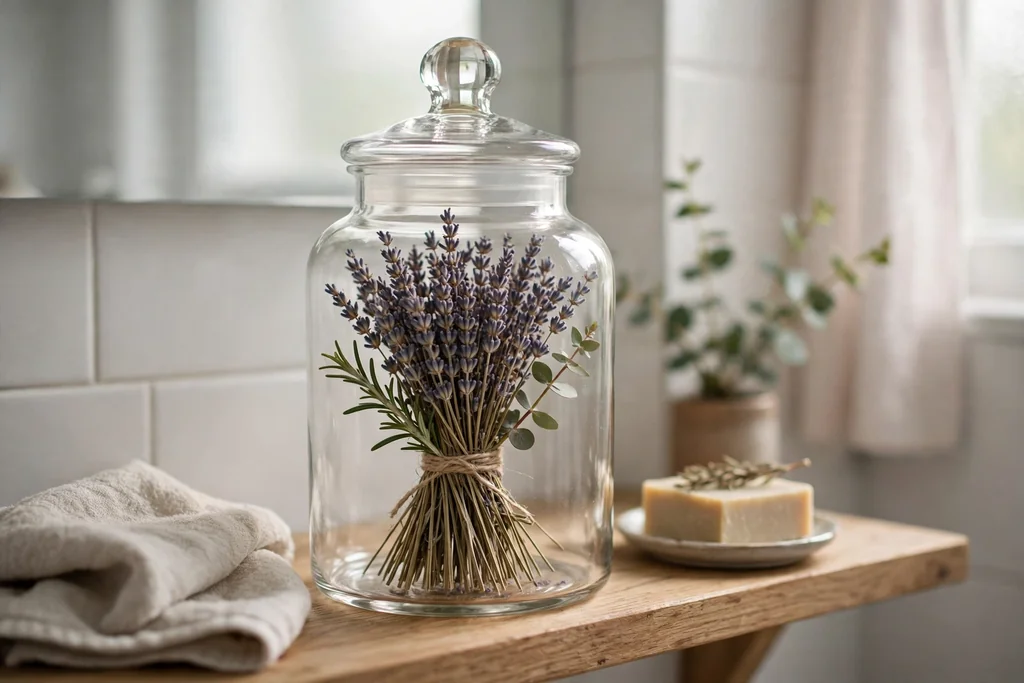
Bundle dried lavender stems with a few sprigs of rosemary and thyme, tie the bundle with twine, and stand it upright in the jar, so the purple buds sit just above the rim. The dried herbs give a calm, fragrant display that suits a bathroom shelf, a kitchen counter, or a bedroom dresser in any season. Keep the bundle loose enough that air moves between the stems.
Shake the bundle outside before it goes in, since dried herbs shed buds and leaves, and keep the jar lid off so the scent can spread. Replace the bundle when the color fades or the buds start to drop heavily, and compost the old stems. For a smaller jar, use lavender alone and skip the mixed herbs, so the purple stays the one clear note.
16. Coffee Beans with a Pillar Candle
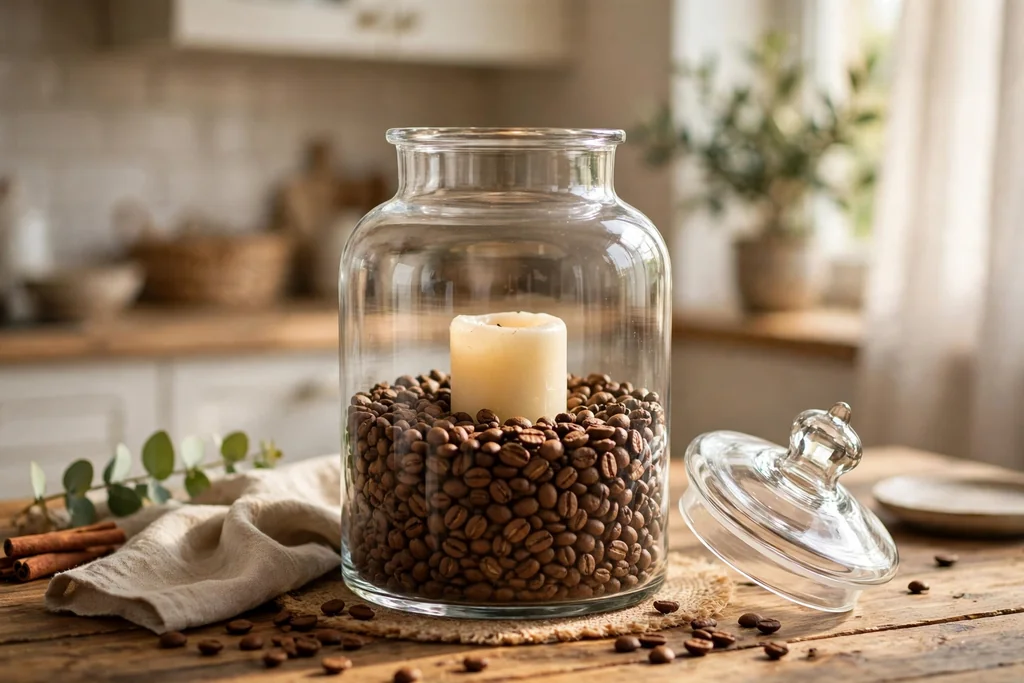
Fill the jar halfway with whole coffee beans, set a short pillar candle in the center, then fill around the candle with more beans until the candle sits steady and the beans reach just below the candle top. The brown beans give a warm, neutral display that suits a kitchen table, a coffee station, or a living room shelf in any season. Use a candle wide enough that it does not tip when the jar is moved.
Use a battery pillar candle if the jar will sit near curtains, dried material, or children, and keep any real flame clear of the beans and the jar rim. Never leave a lit candle burning unattended, and keep the flame below the jar rim so heat does not build up inside the glass. Replace beans that pick up dust with a fresh scoop from the bag.
17. Layered Colored Sand
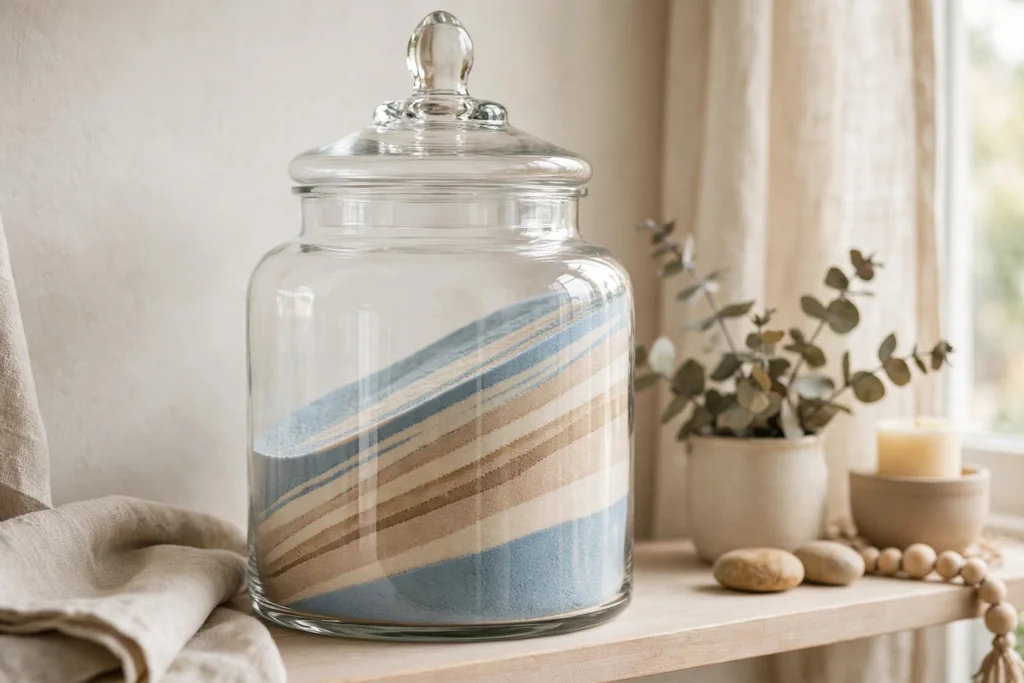
Pour colored sand into the jar in thin layers, alternating two or three colors, and tip the jar slightly with each pour so the layers slope in different directions. The striped layers show through the glass and suit any room, since the palette can match the room: soft blues for a bathroom, warm neutrals for a living room, or bright tones for a craft room. Use fine sand, since coarse grains blur the layer lines.
Pour slowly and keep the jar still between layers, so the colors do not mix at the edges. Set the lid on once the layers are done, so the pattern stays put when the jar is moved or dusted. If a layer smudges, scoop out the top layer only and repour it, rather than emptying the whole jar.
18. Fairy Lights with Sheer Fabric
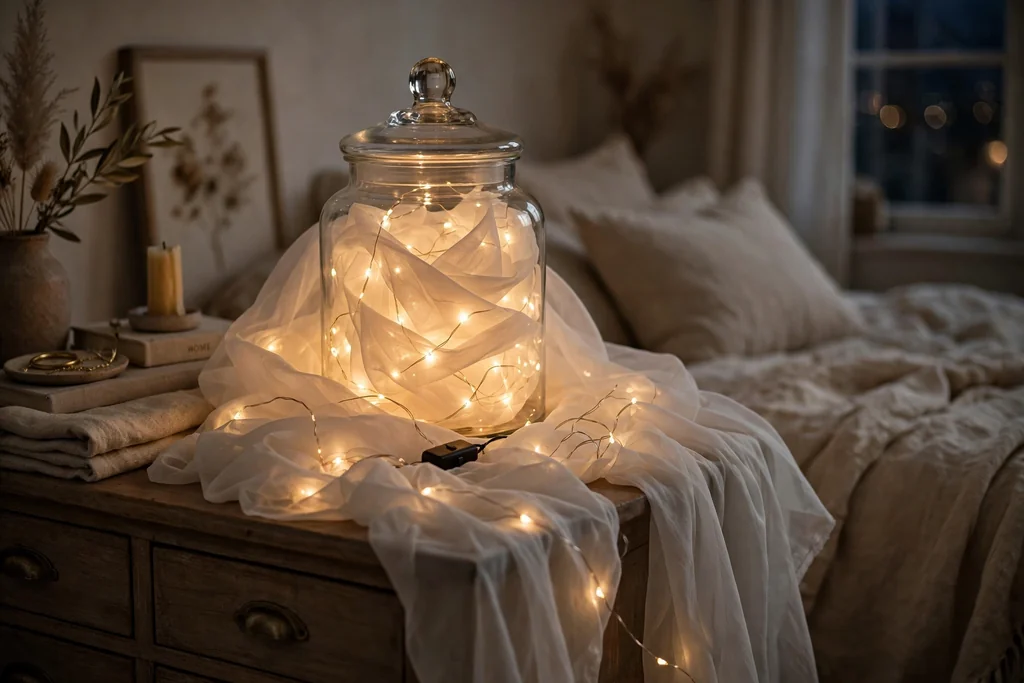
Gather a length of sheer fabric, such as white or cream tulle, loosely inside the jar, then weave a short string of battery fairy lights through the folds, so the light glows softly through the fabric. The lit jar suits a bedroom dresser, a bathroom shelf, or a dark hallway in any season, and it gives evening glow without a candle. Use battery lights only, and keep the fabric clear of any real flame.
Set the lights on a timer so they switch off on their own, and fluff the fabric after the lights are in, so no dark gaps show through the glass. Wash or replace the fabric when it starts to look grey, since sheer fabric collects dust inside a closed jar. For a seasonal change, swap the white fabric for a soft seasonal color and keep the same lights.
19. One Jar, Four Seasonal Filler Kits
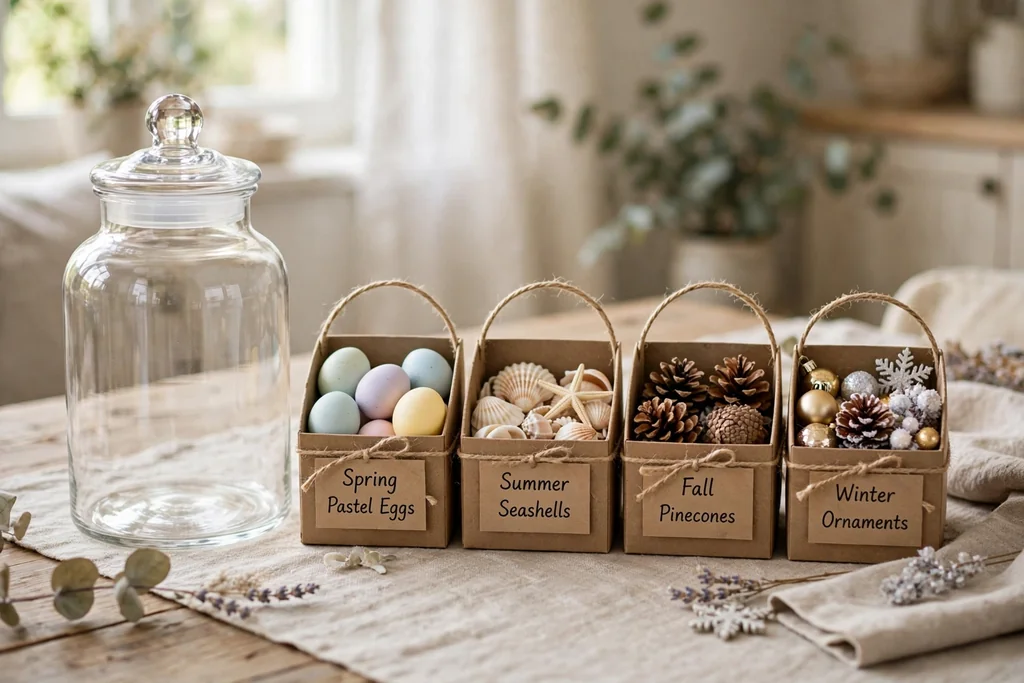
Keep one favorite jar on display all year, and build four small filler kits, one per season, each in its own labeled bag or box: spring eggs and moss, summer shells and sand, fall pinecones and leaves, winter ornaments and faux snow. At each season change, empty the jar, wipe it clean, and pour in the next kit, adding one accent from the room, such as a ribbon that matches the season palette. The kit system keeps the jar fresh without buying new pieces each season.
Label each kit with the season and a short list of what is inside, and store the kits together in one bin so the swap takes minutes. Check each kit before it goes back on display, and remove anything faded, chipped, or damp. Photograph the styled jar once per season, so next year you can repeat the arrangement without guessing at the layers.
Conclusion
Apothecary jar fillers work best when one jar holds one clear idea: a base layer, a main filler, and one small accent, in two or three colors. Start with the season, pick fillers that suit the spot, and keep table jars low and console jars a little taller. Store each season kit labeled and clean, so the next swap is quick, and reuse the same jars year after year with new fillers. One jar, changed four times a year, can carry the season in any room without a full redecoration.
FAQs
What do you put in apothecary jars for each season?
Use pastel eggs, moss, and fresh blooms for spring, shells, sand, and citrus for summer, pinecones, mini pumpkins, and dried leaves for fall, and ornaments, fir, and cranberries for winter. Year-round fillers like layered sand, dried herbs, coffee beans, and fairy lights work in any season. Pick one palette per jar, start with a base layer, and keep the filler below the lid when the jar stays closed.
How do you layer fillers in an apothecary jar?
Start with a base layer, such as sand, moss, or faux snow, then add the largest filler pieces first and tuck smaller pieces into the gaps. Pour sand slowly and tip the jar slightly so layers slope, and press shells or ornaments into the top layer so they show through the glass. Leave room at the top so the display reads as full rather than crowded, and set the lid on only when the tallest piece fits below it.
Can you put fresh flowers in an apothecary jar?
Yes, fresh flowers work in an apothecary jar when the jar holds water and the stems are trimmed at an angle. Tulips, short roses, and single stems suit wide mouth jars, and the water should be changed every two days. Keep fresh arrangements out of direct sun and away from fruit bowls, and rinse the jar well before the next filler, since flower water can leave marks on glass.
Are apothecary jars safe for candles?
Apothecary jars suit battery candles in almost every case, and battery pillars and fairy lights give the same glow without heat or flame risk. A real flame inside a closed jar needs air and a safe holder, and it should stay clear of dried material, fabric, paper, and the jar rim. Never leave a lit candle burning unattended, and use battery candles near children, curtains, and dried fillers.
How do you store apothecary jar fillers between seasons?
Store each season filler in its own labeled bag or box, with fragile pieces wrapped in tissue and dried pieces kept dry. Clean each piece before it goes back in the box, fold fabric flat, and keep all four season kits in one bin so the next swap takes minutes. Check each kit before display, and remove anything faded, chipped, damp, or shedding heavily.
What size apothecary jar works best on a dining table?
A small to medium jar with a wide mouth works best on a dining table, since it holds enough filler to read clearly without blocking sightlines. Keep the total height low enough to see across when seated, and use taller jars on consoles, mantels, and side tables instead. For a long table, use two or three small jars spaced apart rather than one large jar in the center.