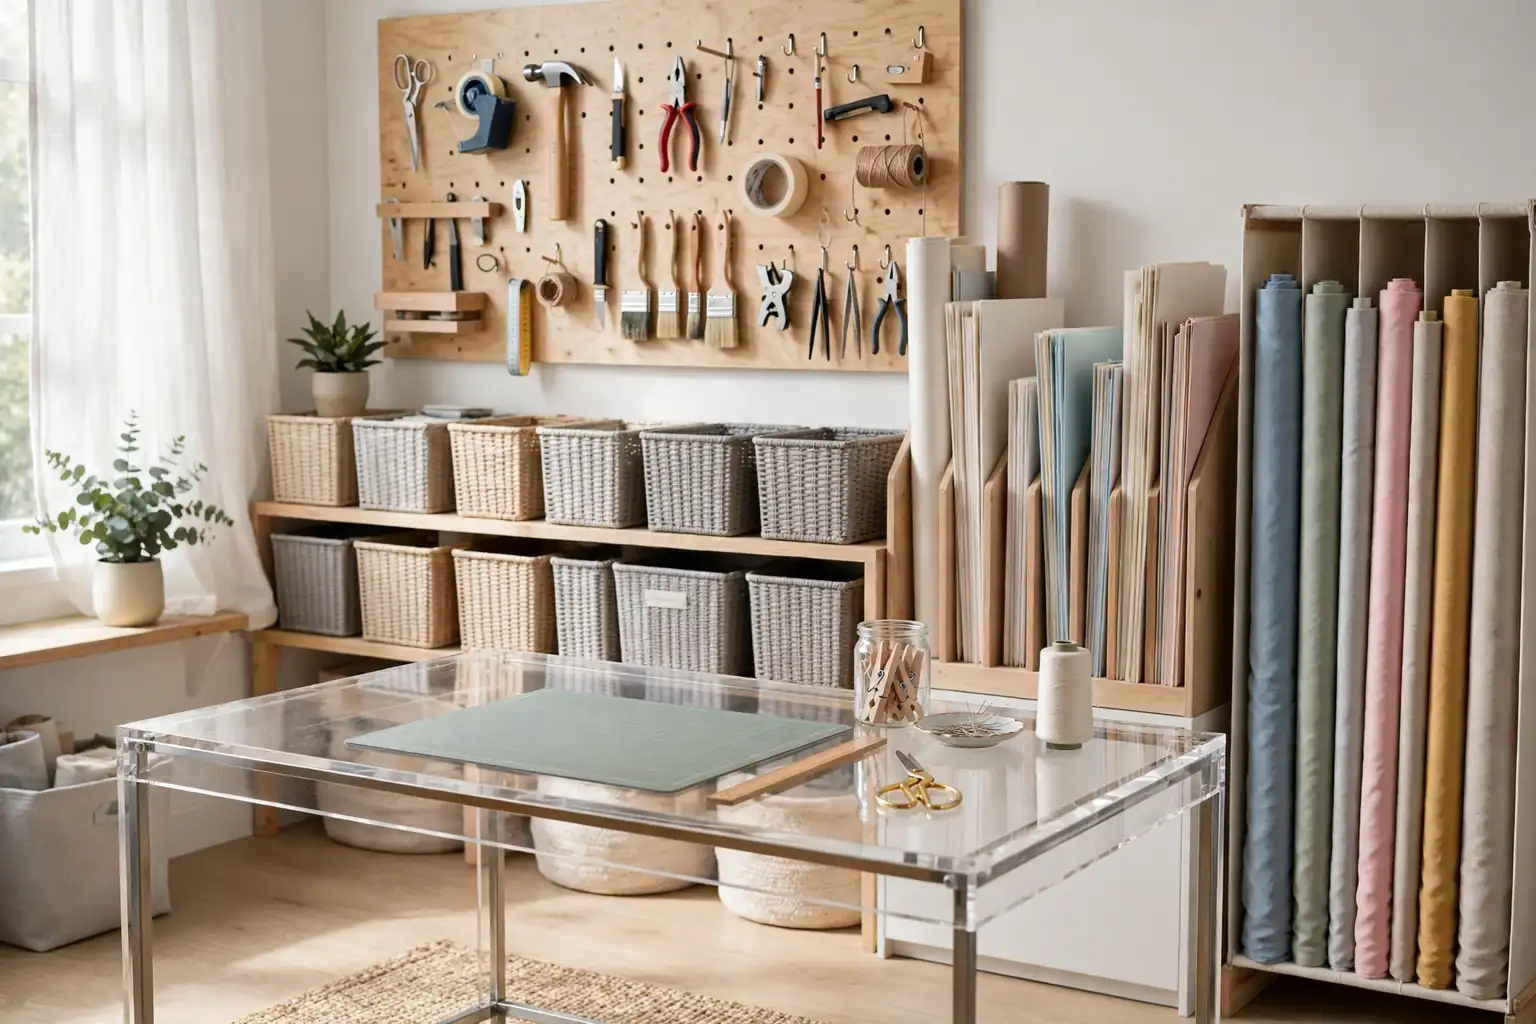
Organize a craft room by sorting supplies by type, giving each group one home, and keeping daily tools within arm’s reach of your work surface. Use wall storage for tools, labeled bins for bulky items, divided boxes for beads and buttons, and upright holders for paper and fabric, so cleanup takes minutes.
Start by pulling every supply out of its current spot and sorting it into groups: paper, fabric, yarn, paint, beads, tools, and finished pieces. Measure the largest item in each group before you buy a bin or shelf, since one roll of fabric or one long ruler can decide the size of a whole storage zone. Keep daily tools near the chair, seasonal or bulky stock higher or lower, and a clear work surface in the middle. The 23 ideas below cover tiny notions and large rolls, small rooms and shared rooms, so you can pick the ones that fit your supplies.
Key Takeaways
- Sort by supply type first, then choose a container that fits the largest item in each group.
- Give every group one home, and label it, so supplies return to the same spot after each project.
- Use walls and doors for tools and flat items, and save shelves and drawers for bulky stock.
- Store small parts in divided, lidded boxes, and store paper and fabric upright so nothing gets buried.
- Keep daily tools within arm’s reach, and move seasonal or rarely used supplies to higher or lower zones.
- End each session with a short reset: tools back on the wall, scraps in one bin, and the work surface clear.
1. Pegboard Wall for Tools and Small Supplies
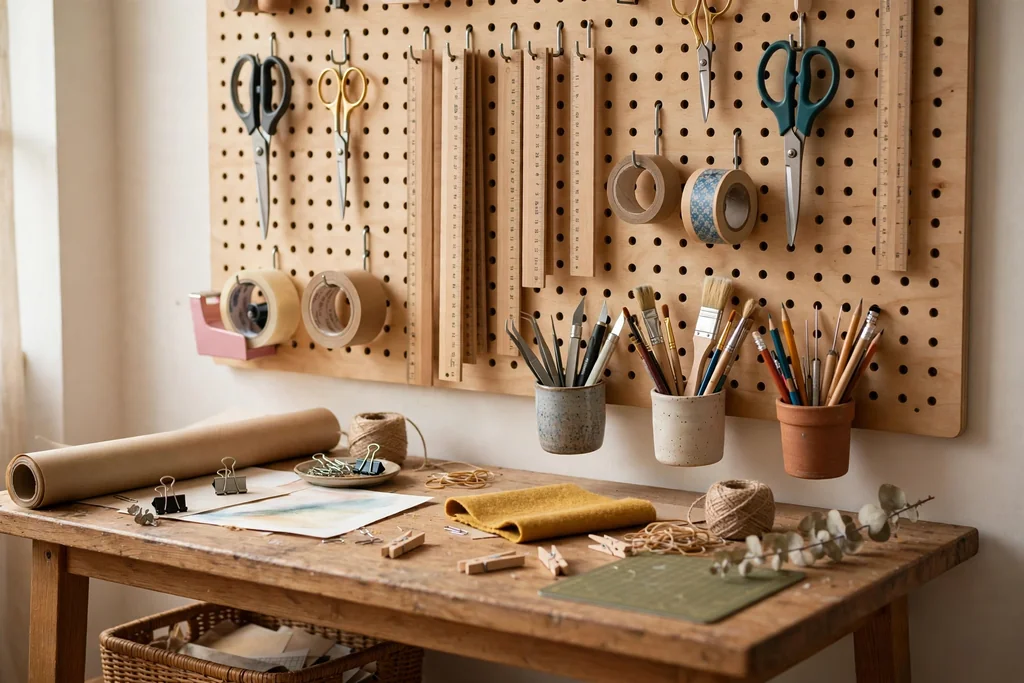
Hang a pegboard panel above the work table and fit it with hooks, small cups, and a shelf rail for scissors, rulers, pliers, tape, and glue. Tools hung on the wall stay visible, so you stop buying a second pair of scissors because the first pair is lost in a drawer. Group tools by task, with cutting tools in one area and measuring tools in another, and leave a little empty space so new tools have a hook waiting.
Outline each tool spot with a simple marker line on the board, so a missing tool shows up at a glance. Keep sharp tools on higher hooks, out of reach of small hands, and keep heavy items near the board frame, where the fixings hold best. Check the fixings once in a while, since a loaded board can loosen over time.
2. Clear Lidded Jars on Open Shelves
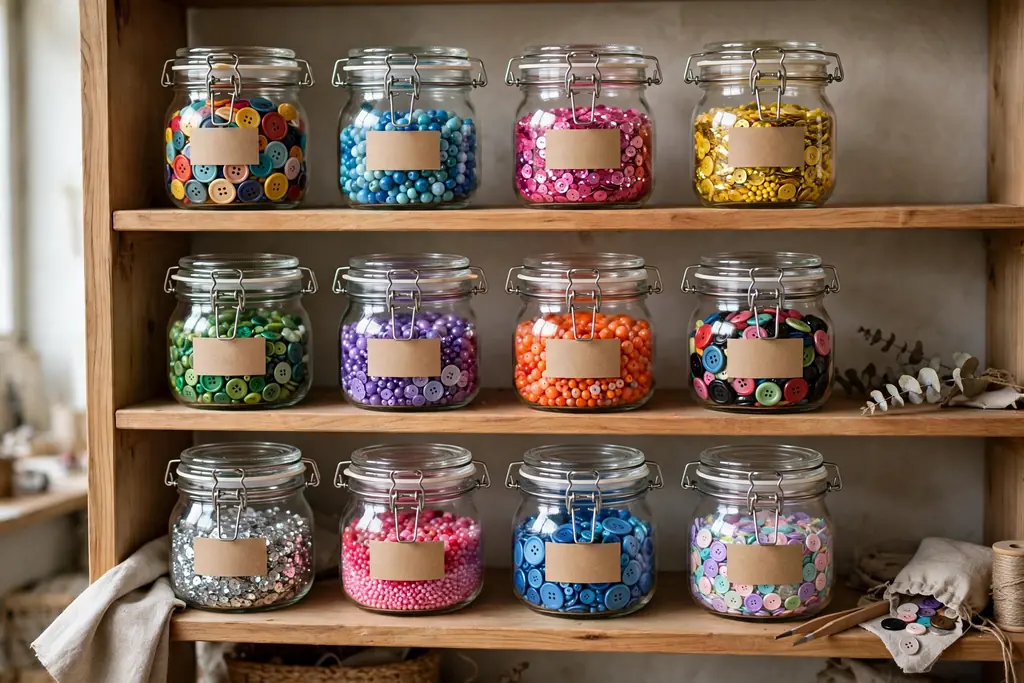
Set clear jars with lids on open shelves for buttons, beads, sequins, pom poms, and small findings, one material per jar. Clear jars show the color and amount inside, so you can judge at a glance whether you have enough for a project without opening every lid. Use jars of one size for a tidy shelf, and keep the lids tight so tiny pieces stay put.
Label each jar on the front with the material and color group, and keep a small scoop or spoon with jars that hold loose beads. Store jars at eye level for the colors you use most, and move rare colors to a higher shelf. Wash and dry jars before refilling, since dust and damp can dull beads and mark fabric findings.
3. Rolling Cart for the Current Project
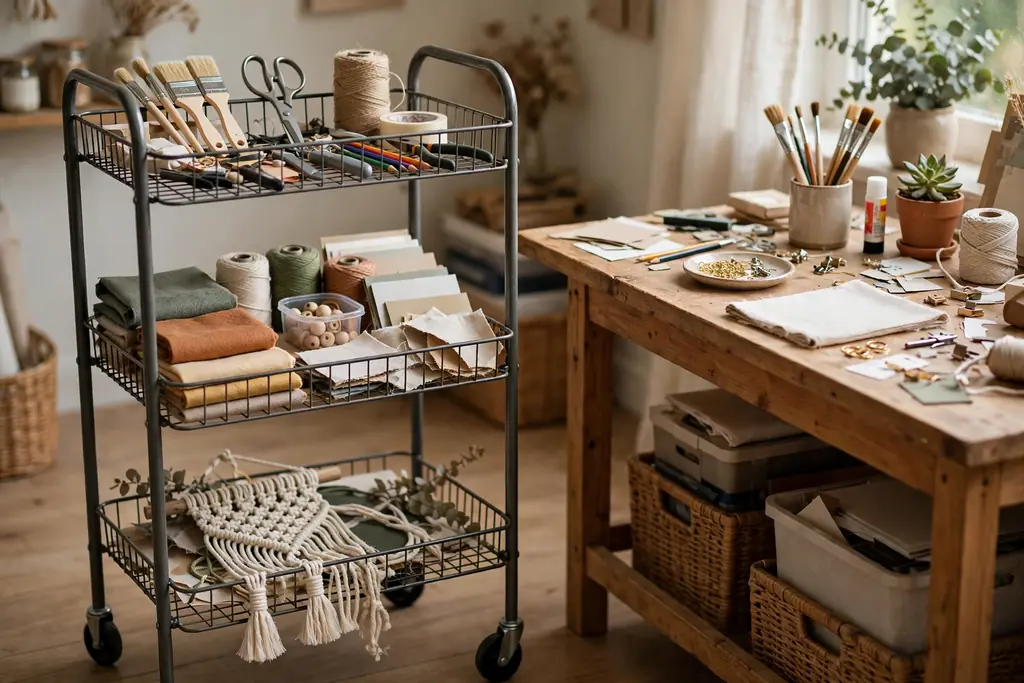
Keep a three tier rolling cart beside the work table for the project in progress, with tools on top, materials in the middle, and works in progress at the bottom. A cart moves out of the way when guests arrive and rolls back when work resumes, so a half finished project never has to live on the dining table. Choose a cart with a lip on each tier, so small items do not slide off when it moves.
Load the cart only with the current project, not with general stock, so it stays light and useful. When a project ends, empty the cart fully, wipe the tiers, and reload it for the next one. If the cart must cross a rug, pick larger wheels, since small wheels catch on thick pile.
4. Labeled Bins Sorted by Supply Type
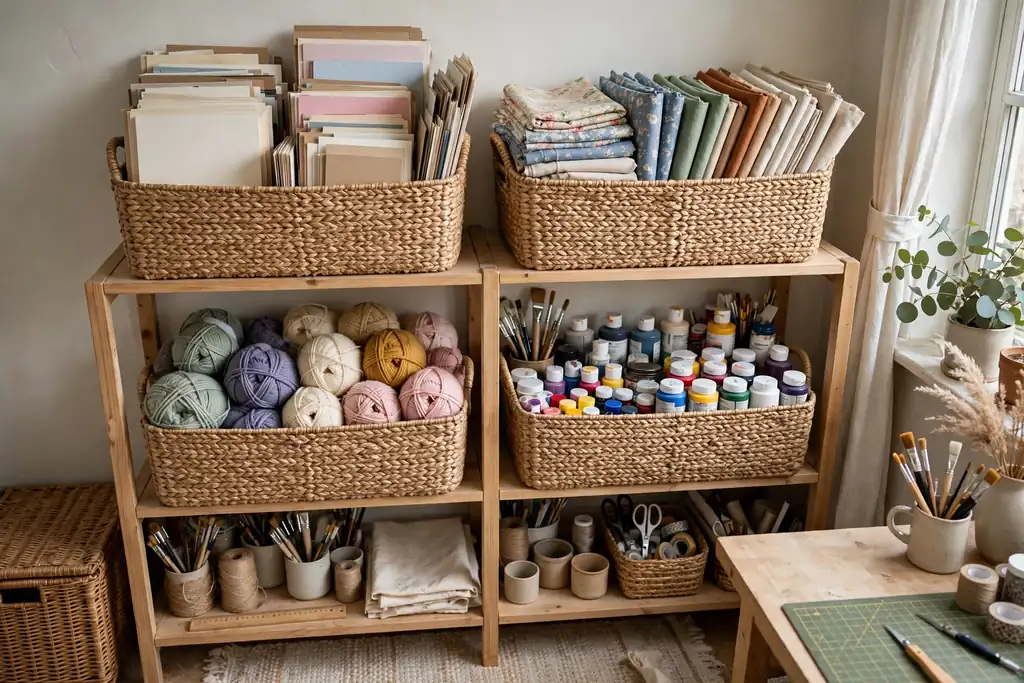
Use open or lidded bins, one per supply type, for paper, fabric, yarn, paint, and general stock, with a large plain label on the front of each bin. Sorting by type stops one mixed bin from hiding the item you need, and labels let anyone in the house put a supply back in the right place. Keep bins to a weight you can lift with one hand, so a full bin of paper does not strain a shelf.
Place the most used bins at easy reach height, and seasonal stock higher or lower. Tape a short contents list inside each lid for bins that hold several smaller bags. For a labeled bin method that also works for seasonal pieces, see Christmas decoration storage ideas.
5. Shallow Drawer Dividers for Notions
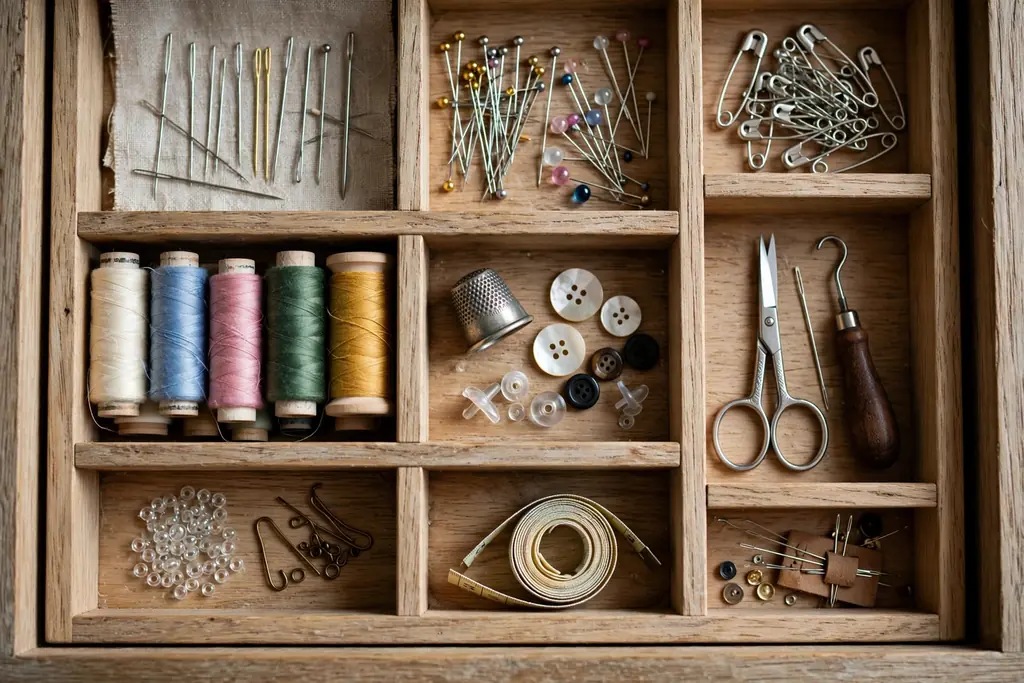
Fit shallow drawers with dividers or small trays for needles, pins, snaps, hooks, thread, and other notions that vanish in a deep drawer. One compartment per notion type stops pins from mixing with beads and thread from tangling around scissors. Use trays you can lift out, so you can carry one tray to the table and return it whole.
Label each tray on its front edge, and keep a small magnetic dish in one compartment for loose pins during a project. Empty and wipe trays when they start to collect thread ends and paper bits, since small debris hides the notion you need. Keep sharp notions in a lidded tray, and keep the drawer itself shallow so nothing sinks out of sight.
6. Dowel Rack for Ribbon, Thread, and Tape
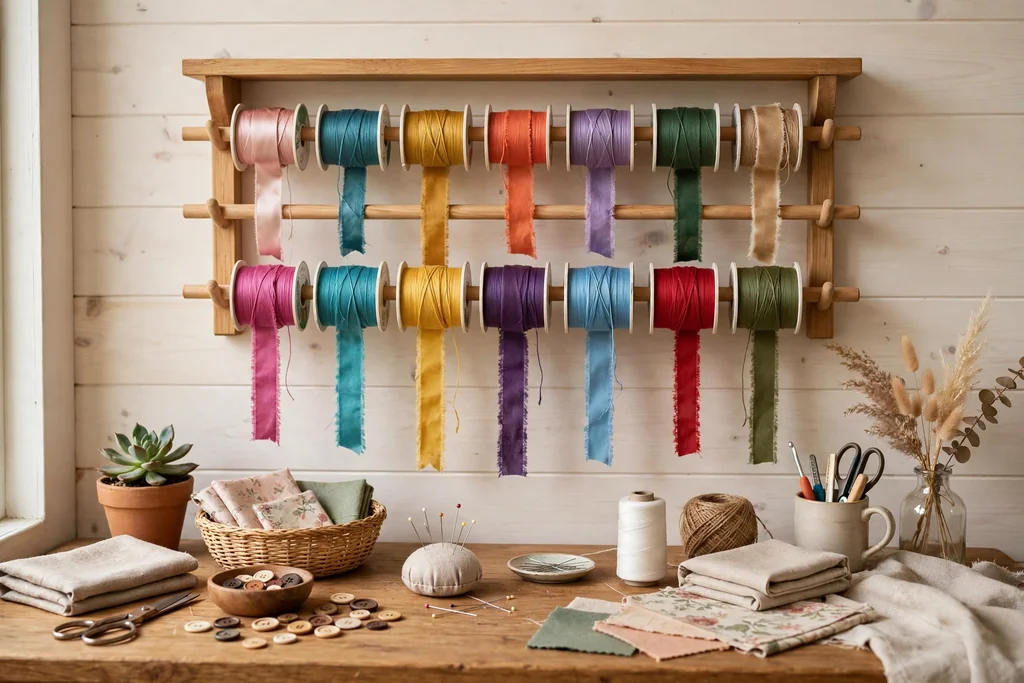
Mount a wall rack with horizontal dowels for ribbon spools, thread spools, and rolls of tape, so each spool turns freely and pulls cleanly. A dowel rack shows every color at once, which helps when matching ribbon to paper or thread to fabric, and it stops spools from unrolling into a tangled drawer. Space dowels far enough apart that a full spool clears the one below it.
Group spools by color family, and keep one empty dowel section for new spools. Cut ribbon from the spool on the rack rather than removing the spool, so the end stays threaded and tidy. For tape rolls, use a shorter dowel near the work surface, since tape is reached for more often than ribbon.
7. Upright Paper Storage in Magazine Holders
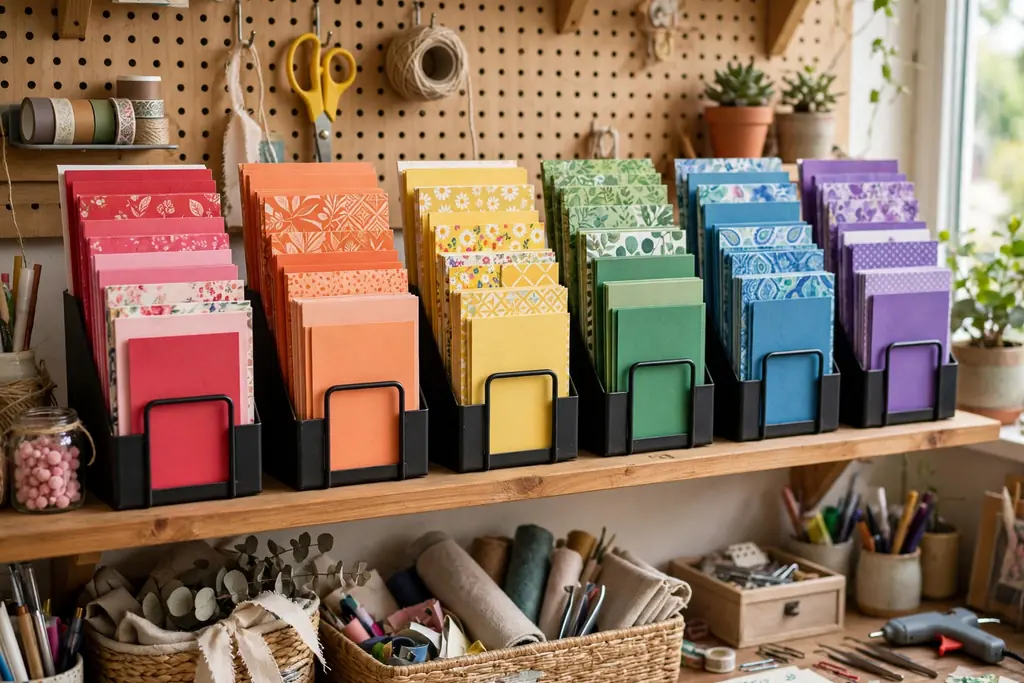
Stand cardstock, patterned paper, and scrapbook sheets upright in sturdy magazine holders, sorted by color or theme, rather than stacking them flat. Upright paper is easy to flip through, and a single sheet slides out without disturbing the rest of the pile. Label each holder on its spine, and keep the most used colors at the front of the shelf.
Trim off damaged corners before filing paper, since a bent corner catches on the sheet next to it. Keep paper away from direct sun and damp air, which can fade color and curl edges. Store very large sheets flat in a separate portfolio, since oversized paper folds and creases in a standard holder.
8. Fabric Rolls Stored Standing in Bins
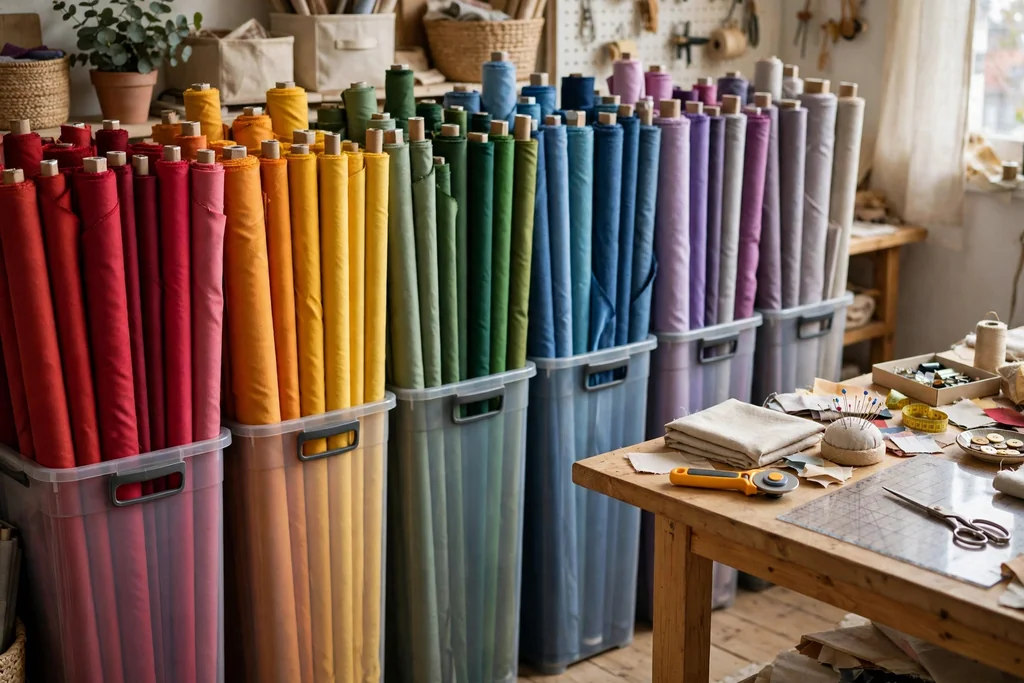
Stand fabric rolls and folded fabric bolts upright in tall bins or a small bookcase, sorted by color or project, so each roll pulls out without unrolling the rest. Upright fabric shows the pattern and color at the top edge, which makes choosing fabric faster than digging through a folded stack. Use bins deep enough that rolls stand steady, and keep heavy rolls at the bottom of the group.
Fold small fabric scraps into one labeled bin of their own, rather than mixing them with full rolls, so scraps stay usable for small projects. Air fabric now and then, and keep bins away from damp walls. When a roll runs low, move the short remainder to the scrap bin, so the roll section holds only usable lengths.
9. Divided Boxes for Beads and Buttons
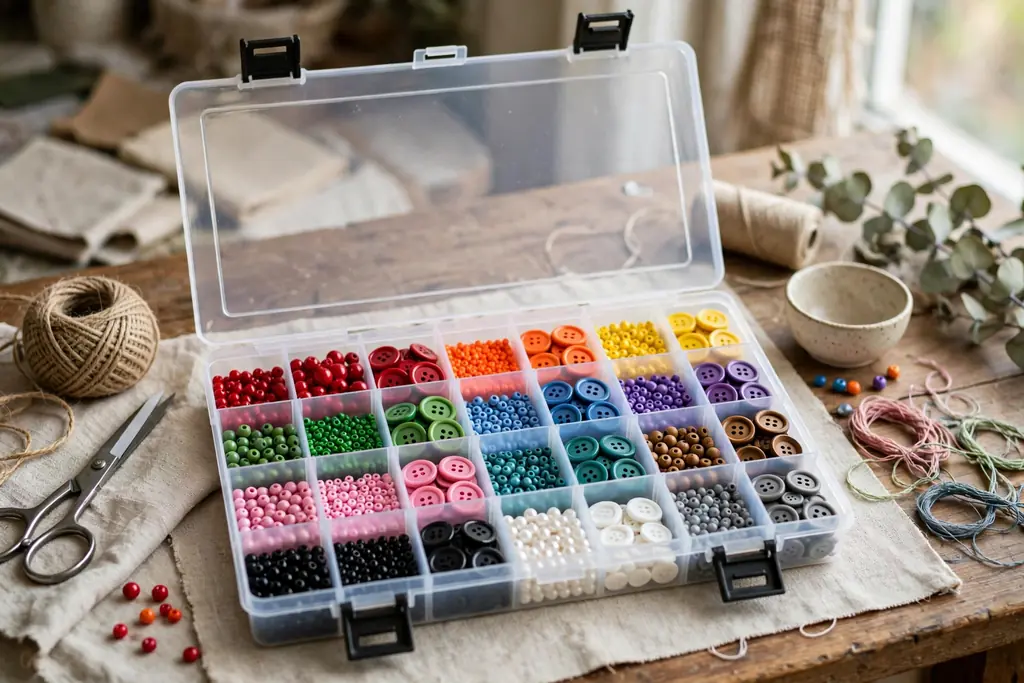
Use divided craft boxes with snap lids for beads, buttons, eyelets, and other tiny findings, one box per craft type or color family. Small compartments stop colors from mixing, and a snap lid keeps a dropped box from scattering hundreds of pieces across the floor. Choose boxes with fixed dividers for very small beads, since movable dividers can shift and let pieces slip through.
Label the outside of each box with its contents, and keep a small funnel with the bead boxes for pouring beads back after a project. Work over a tray when pouring beads, so a spill stays on the tray. Check lids and latches now and then, since a worn latch is the most common cause of a bead spill.
10. Yarn Cubbies with One Color per Cubby
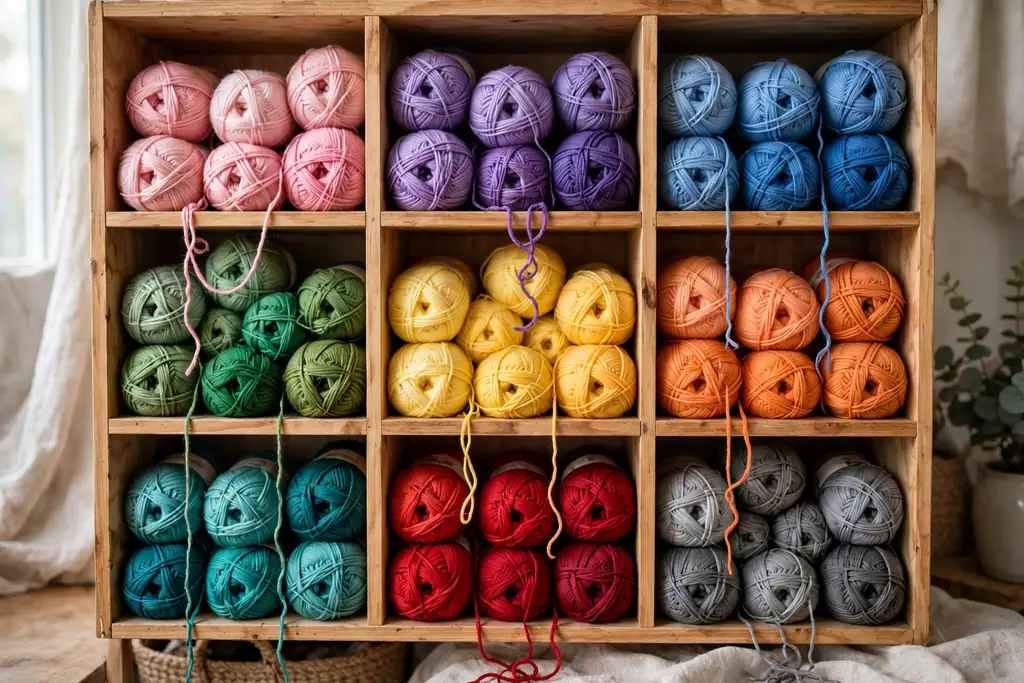
Give yarn its own cubby shelf, with one color family or one project per cubby, and a small hole or slot at the front so yarn feeds out while the ball stays in place. Cubbies keep yarn balls from rolling together into a tangled pile, and they show the full color range at a glance. Use cubbies sized to your largest ball, and keep a spare cubby empty for yarn in use.
Wind loose yarn into balls before shelving, since skeins unravel and catch on nearby yarn. Keep yarn away from direct sun, which fades color over time, and away from pets that pull loose ends. Label a cubby by project when yarn is bought for a specific piece, so it is not used for another project by mistake.
11. Paint Shelf with a Front Lip
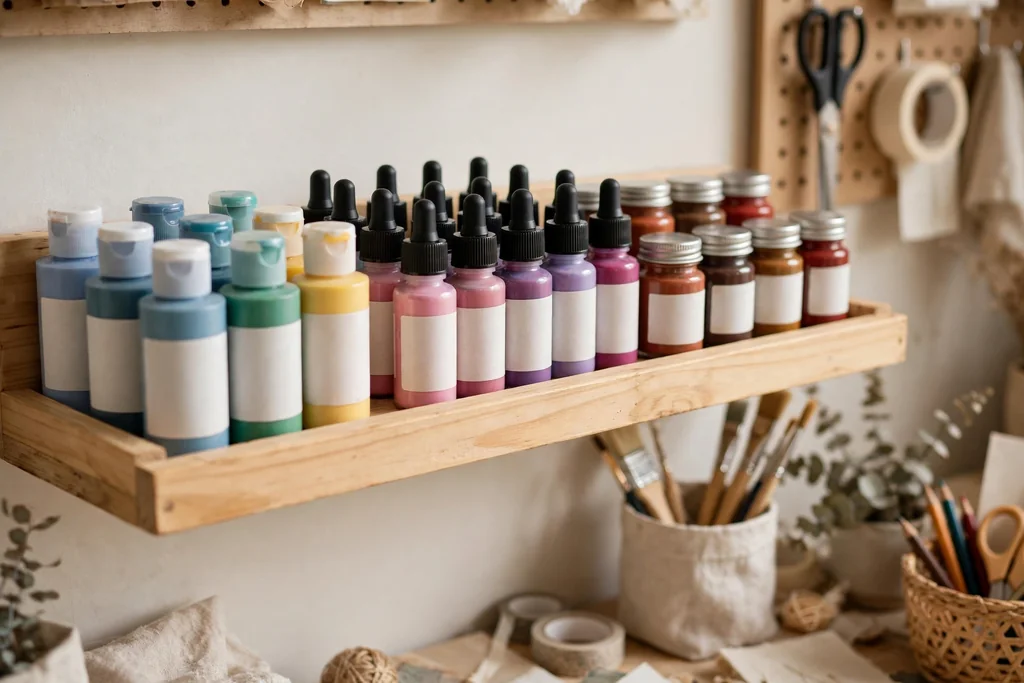
Set paints on a shallow shelf with a front lip or rail, grouped by type, with acrylics in one row, watercolors in another, and fabric paints apart from both. A front lip stops bottles from sliding off when a shelf is bumped, and grouping by type stops a watercolor set from being stained by an open acrylic bottle. Keep bottles upright with caps tight, and labels facing out.
Wipe bottle necks before closing, since dried paint glues caps shut. Store brushes separately, bristles up in a jar, rather than lying across paint bottles. Keep paint away from heat and freezing air, and check old bottles once a year, since separated or dried paint is better discarded than kept.
12. Over Door Pocket Organizer for Flat Tools
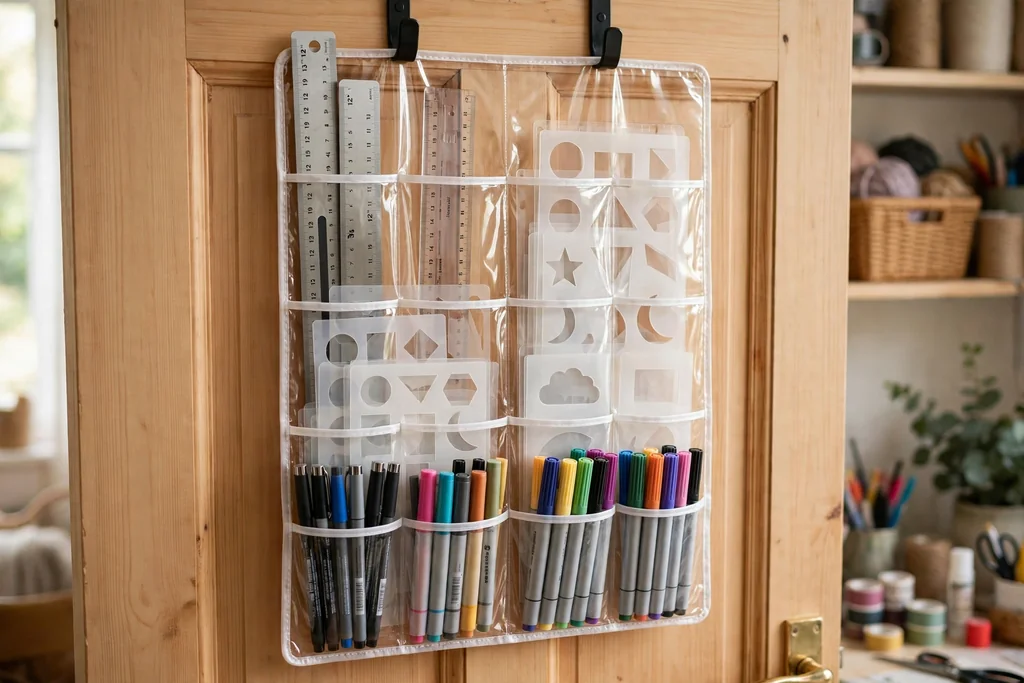
Hang a clear pocket organizer over the craft room door for flat and slim tools: rulers, stencils, cutting mats, pens, markers, and glue sticks. Door pockets use space that shelves cannot, and clear pockets show each tool without opening a drawer. Put the most used tools in the middle rows, where they are easiest to reach, and lighter items in the top rows.
Keep the total weight modest, since a heavy organizer can strain door hinges. Use the bottom pockets for soft items, such as felt sheets or small cutting mats, rather than heavy tools. Check the door hooks now and then, and move the organizer to a wall hook if the door starts to sag or catch.
13. Magnetic Strip for Metal Tools
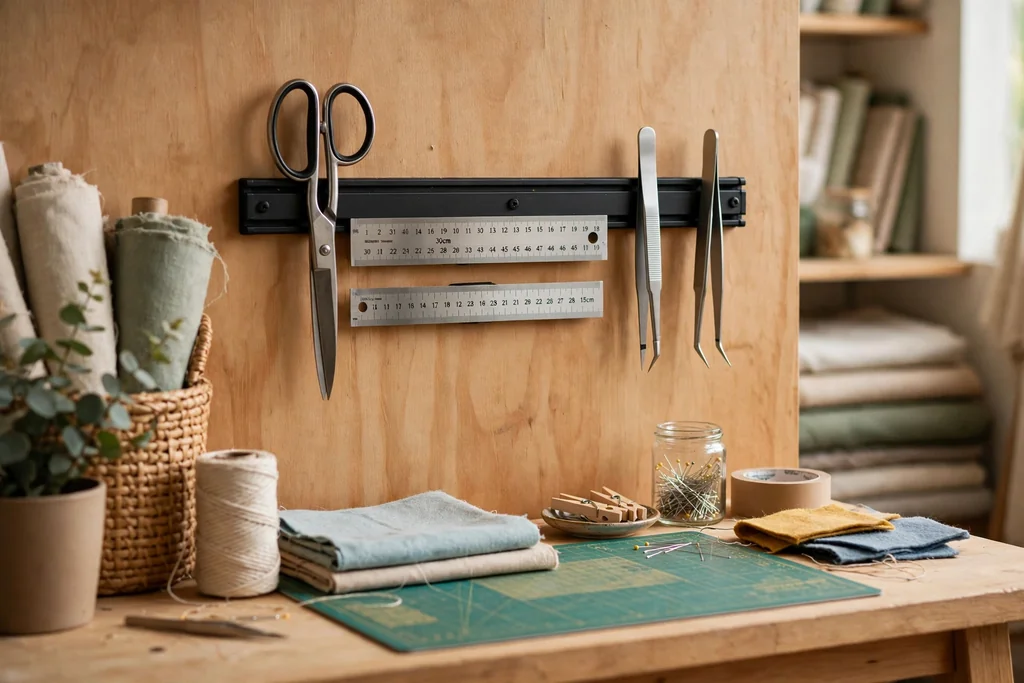
Fix a magnetic strip to the wall above the work table for metal scissors, rotary cutters, rulers, tweezers, and needle cases. A magnetic strip holds metal tools in plain sight and frees a drawer for nonmetal items, and it keeps sharp edges away from fingers searching a drawer. Mount the strip at a height where tools lift off easily, and keep it clear of paper patterns that could catch.
Keep the strip away from phones, cards, and electronic devices that magnets can affect. Wipe the strip now and then, since metal dust and pins collect along its length. Store rotary blades with their guards on, even on a magnetic strip, and keep the strip out of reach of small children.
14. Fold Down Wall Desk for a Small Room
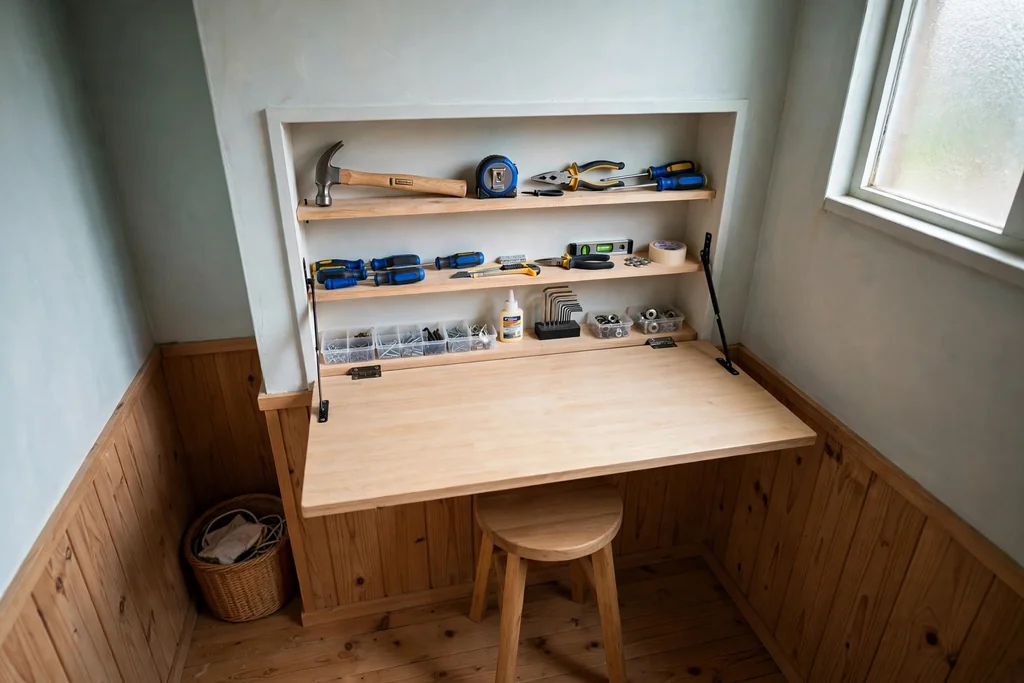
Fit a fold down wall desk in a small room or a spare corner, with shallow shelves or pockets inside for the tools used most. A fold down desk gives a full work surface when open and returns the room to normal use when closed, which suits a shared room or a small bedroom. Choose a desk with a latch that holds it flat against the wall when closed.
Store only light, flat items inside the desk, so the hinges carry no extra weight when it opens. Keep a small stool that tucks under the desk, and a single task lamp on the shelf above. Clear the desk surface before folding it up, since items left on it can fall when the desk closes.
15. Corner Workstation with Overhead Shelves
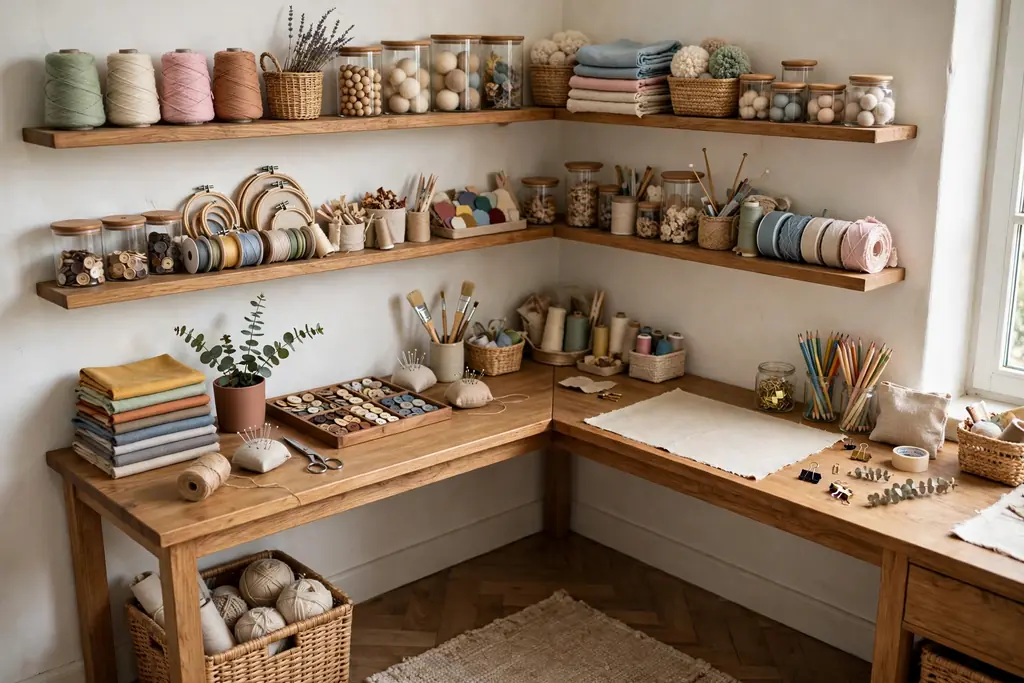
Build a corner workstation with an L shaped desk and two rows of overhead shelves, so the corner holds tools, reference books, and current projects without crowding the middle of the room. Corners often go unused, yet they give two walls of storage and a long work surface in a small footprint. Put daily tools on the lower shelf, and bulky stock on the upper shelf.
Keep the desk surface clear except for the current project, and use the shelves for everything else. Add a small task light under the lower shelf, so the work area stays bright without a lamp taking desk space. Keep cords tidy with clips along the desk edge, so they do not snag fabric or paper.
16. Rolling Bins Under the Work Table
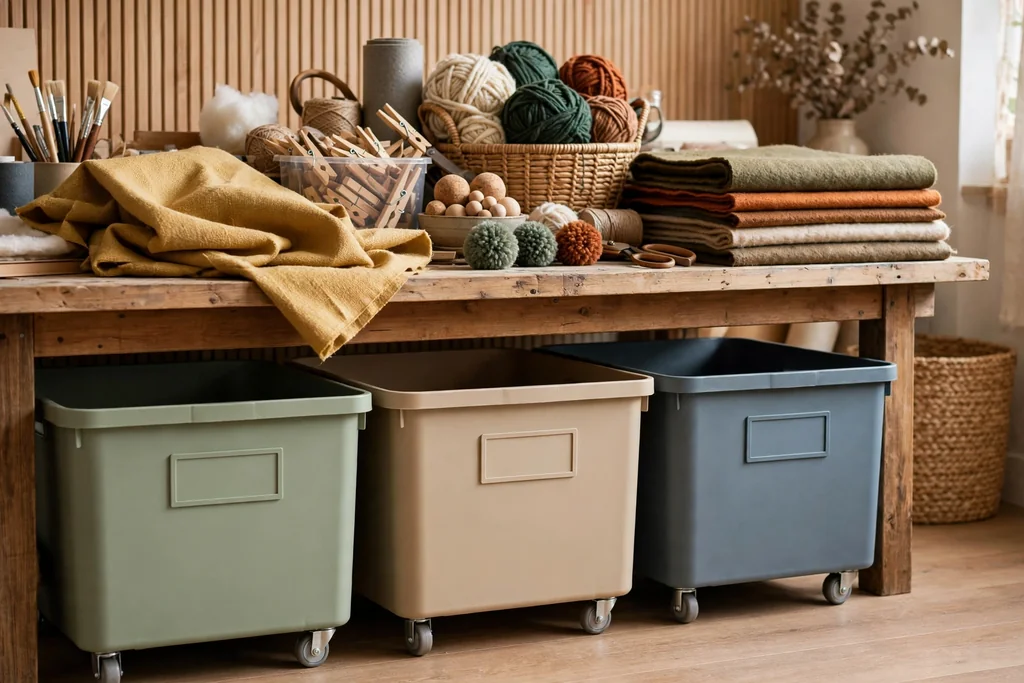
Slide low rolling bins under the work table for bulky stock, such as batting, felt sheets, large paper pads, and works in progress. Under table bins use dead space, keep bulky items close, and roll out for full access, then slide back when work ends. Label the front of each bin, since only the front edge shows when bins are tucked under a table.
Measure the clearance under the table before buying bins, and leave a little room above each bin so lids lift freely. Keep the heaviest bin in the middle, where it rolls straight out, and lighter bins at the sides. Wipe bin wheels now and then, since thread and lint wrap around small wheels and stop them turning.
17. Scrap and Offcut Bin with a Weekly Sort
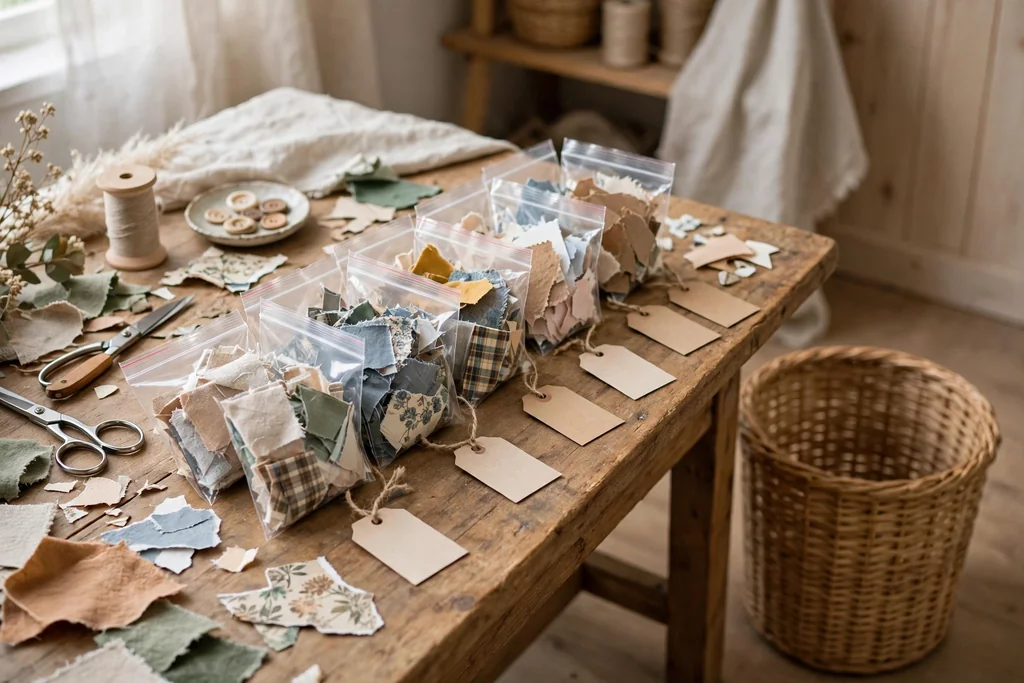
Keep one bin near the work table for scraps and offcuts, and sort it once a week into keep, use soon, and discard piles. A single scrap bin stops offcuts from spreading across the table and floor, and a weekly sort keeps it from growing into a second craft room. Set a size rule for keeps, such as pieces larger than your hand, so tiny offcuts leave the room promptly.
Store kept scraps by material in small labeled bags inside the bin, so a usable piece is easy to find. Use the use soon pile first in the next project, and discard faded, stained, or frayed pieces without guilt. Empty the bin fully during the weekly sort, wipe it, and return only the kept bags.
18. Inspiration Board for Samples and Color Swatches
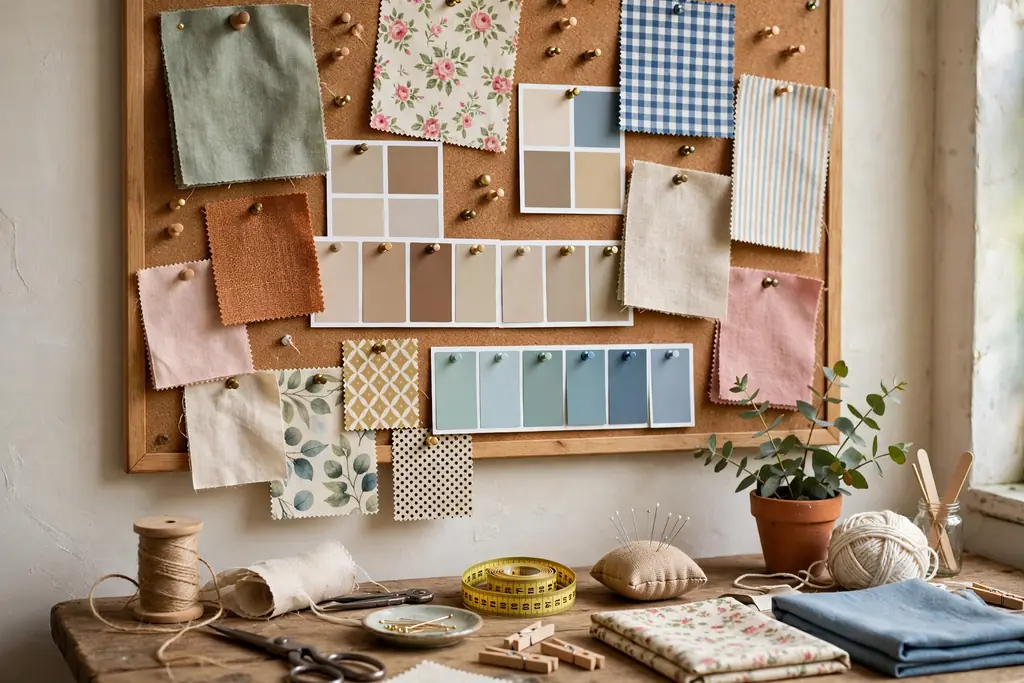
Pin an inspiration board near the work table for fabric swatches, color cards, pattern samples, and photos of finished projects. A board keeps ideas visible while you work, so colors and textures stay matched across a project, and it stops loose swatches from piling on the desk. Use pins or clips rather than glue, so samples can move and return to their bins.
Group the board by project, with one section per current piece, and clear old sections when a project ends. Photograph the board before clearing it, so the color plan survives even after samples return to storage. Keep the board away from paint and glue work, so samples stay clean.
19. Sewing Station with a Machine Table and Notions Drawer
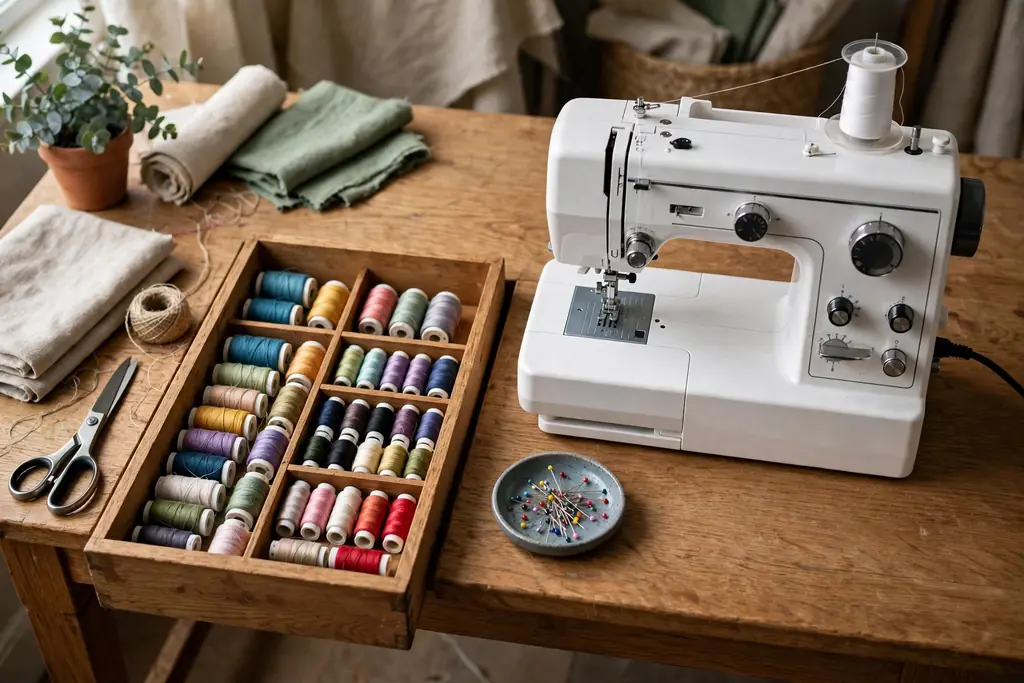
Set up a sewing station with a steady table for the machine, a drawer beside it for bobbins, feet, needles, and thread, and a small tray for pins in use. A fixed sewing spot stops the machine from being packed away after each session, which makes short sewing jobs far more likely to happen. Keep the machine covered when not in use, and keep the power cord clipped to the table leg.
Store bobbins wound with matching thread in a small case, so the right bobbin is easy to find. Keep scissors for fabric apart from scissors for paper, and label them, since paper dulls fabric scissors fast. Test the machine on a scrap piece after changing thread or feet, before starting on the real fabric.
20. Gift Wrap Station with Vertical Roll Slots
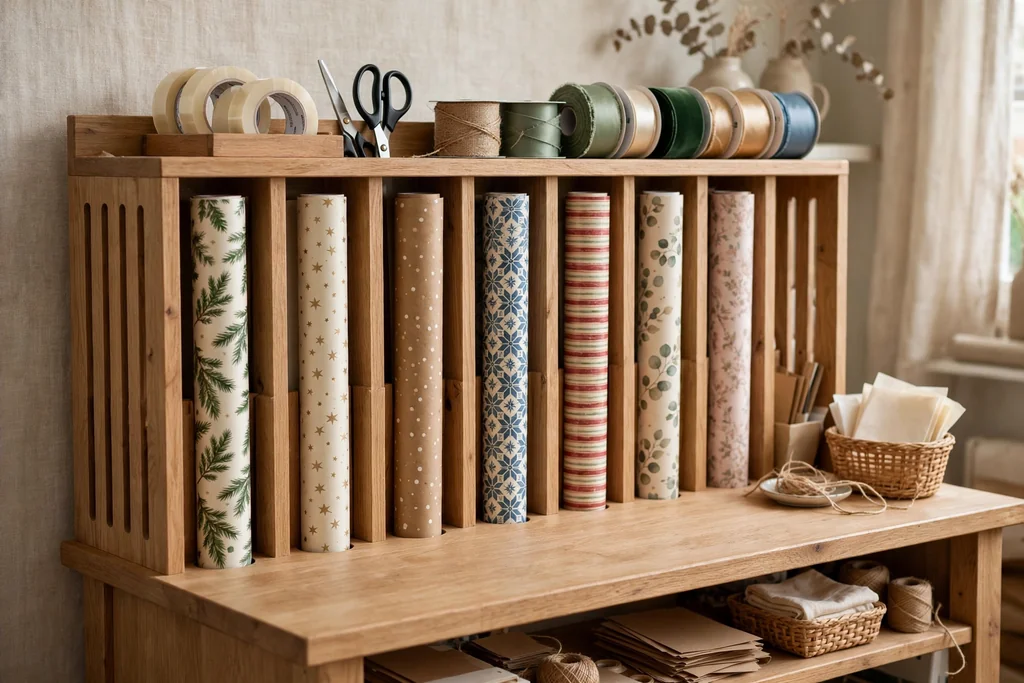
Create a gift wrap station with vertical slots for wrapping paper rolls, a small shelf for tape, scissors, tags, and ribbon, and a flat area for wrapping. Vertical rolls stay clean and uncreased, and a station in the craft room keeps wrapping supplies out of general storage. Sort rolls by occasion or color, and keep the most used rolls at the front.
Cut paper on a flat surface, not inside the slot, so rolls stay neat. Keep a small bin at the station for paper offcuts, and move short rolls to the front, so they are used before new rolls are opened. Store gift bags folded flat in a nearby bin, sorted by size.
21. Low Kids Craft Zone with Washable Bins
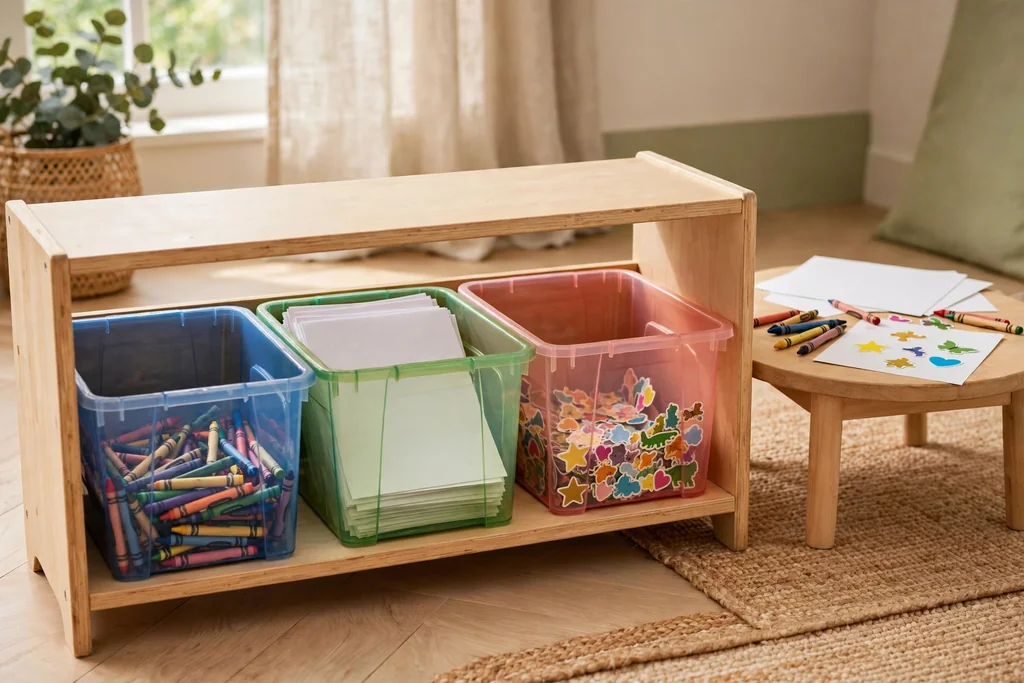
Set a low zone for children’s craft supplies, with washable bins at child height for crayons, washable markers, paper, stickers, and safe scissors. Low bins let children choose and return supplies on their own, and washable bins wipe clean after paint and glue sessions. Keep adult tools, such as rotary cutters and hot glue, on high shelves, well away from the kids zone.
Label kids bins with pictures as well as words, so younger children can return items to the right bin. Cover the kids table with a wipe clean cloth, and keep a small bin for drying artwork nearby. Sort the kids zone with children once a month, so broken crayons and dried markers leave the room.
22. Portable Project Tote for Crafting Away from Home
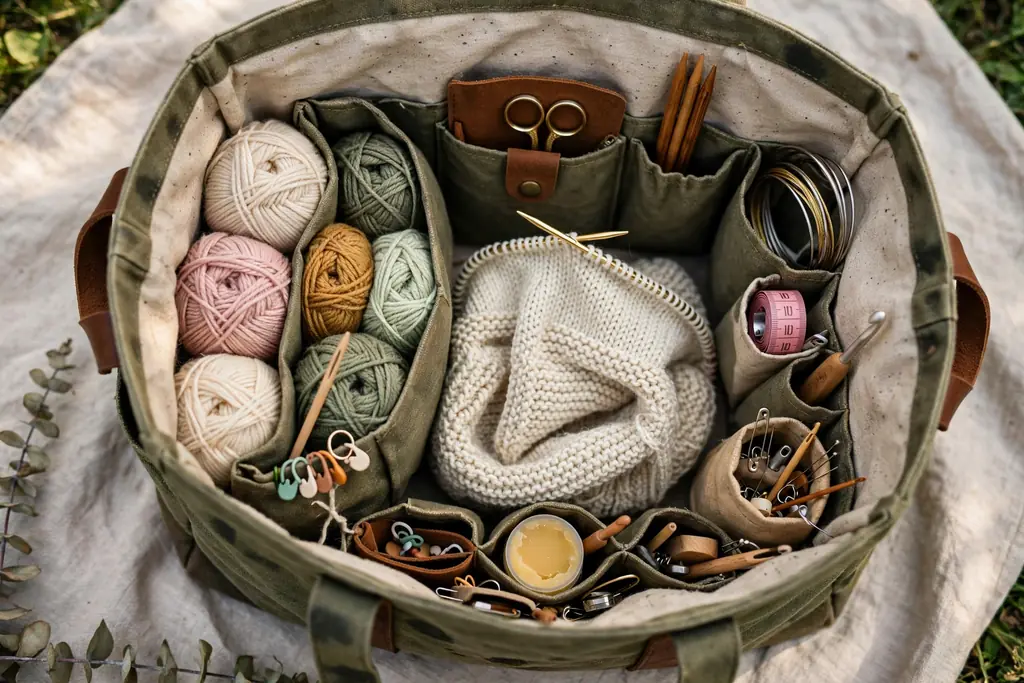
Pack a sturdy tote with the tools and materials for one portable project, such as knitting, embroidery, or hand sewing, so crafting can happen away from the craft room. A tote keeps a portable project in one place at home, and it stops small supplies from scattering across bags and pockets when you travel. Choose a tote with inside pockets for tools and a zip top to keep pieces safe.
Keep a small checklist inside the tote lid, naming the tools the project needs, and check it before leaving the house. When the project ends, empty the tote fully, return stock to its home bins, and repack it for the next portable piece. Wash the tote now and then, since it picks up lint and dust on the move.
23. Inventory List and Reset Kit for the End of Each Session
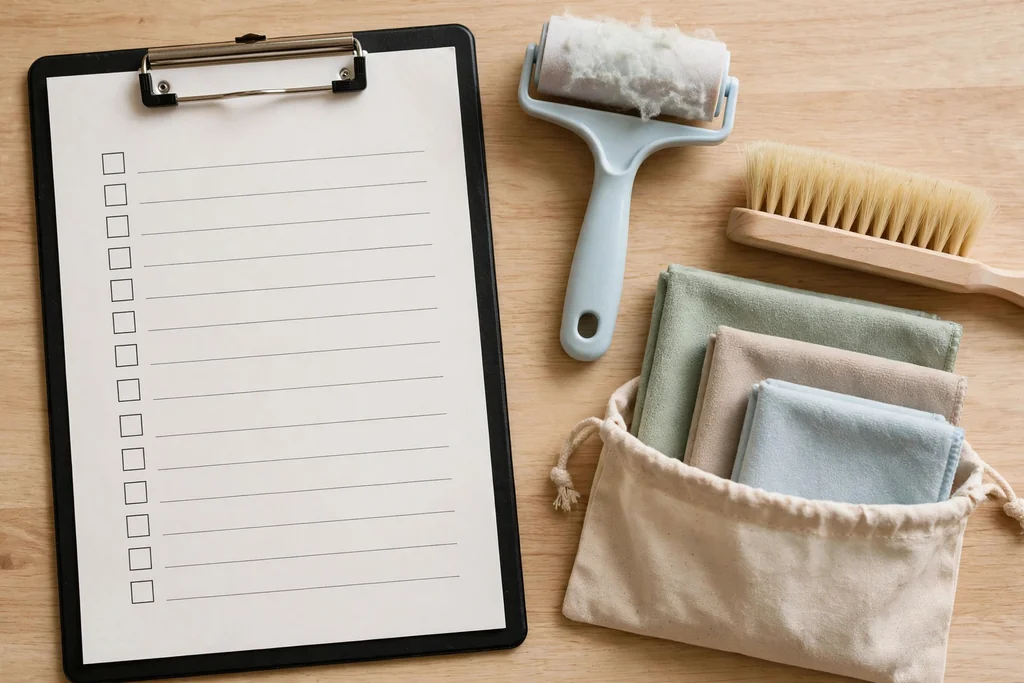
Keep a simple inventory list in a notebook or on a clipboard, naming each supply group, its home, and whether stock is low, plus a reset kit with a lint roller, a small brush, and a damp cloth. The list stops duplicate buying, since you can check it before shopping, and the reset kit makes the end of session tidy up a five minute job. Update the list when a group runs low, not when it runs out.
End each session the same way: tools back on the wall or in their drawer, scraps in the scrap bin, works in progress in their box, and the work surface wiped. Photograph the tidy room once, and use that photo as the reset target after a long project. A short reset keeps the next session starting with work, not with searching.
Conclusion
Craft room ideas and organization work best when sorting comes before shopping: group supplies by type, give each group one labeled home, and keep daily tools close to the work surface. Start with the wall and the door, add bins and divided boxes for small parts, and store paper and fabric upright so nothing hides at the bottom of a pile. A short reset at the end of each session then keeps the system working, even when projects pile up.
Pick three ideas from this list to start, such as the pegboard wall, the labeled bins, and the scrap bin, and add more only when the first three feel easy. For labeled bin ideas that work for seasonal supplies too, see Christmas decoration storage ideas, and for handmade projects to fill the room, see DIY fall home decor projects. Save this list on Pinterest, and work through it one supply group at a time.
FAQs
How do I start organizing a craft room?
Start by sorting every supply into groups by type, such as paper, fabric, yarn, paint, beads, and tools, before buying any bins or shelves. Measure the largest item in each group, then choose one labeled home per group that fits that item. Keep daily tools near the work surface, and move seasonal or bulky stock to higher or lower zones.
What is the best way to store small craft supplies?
Store small craft supplies in divided, lidded boxes, with one compartment per type or color, and keep the boxes on a shelf at eye level. Divided boxes stop beads, buttons, and findings from mixing, and a snap lid keeps a dropped box from scattering pieces. Label each box on the outside, and work over a tray when pouring small parts.
How do I organize a small craft room?
Use walls, doors, and corners in a small craft room, with a pegboard for tools, a door organizer for flat items, and a corner desk with overhead shelves. Add a fold down desk if the room is shared, and use rolling bins under the table for bulky stock. Keep only the current project on the work surface, and store the rest in labeled homes.
How should I store fabric and paper so they stay usable?
Store fabric rolls standing upright in tall bins, sorted by color or project, and store paper upright in magazine holders, sorted by color or theme. Upright storage lets one roll or sheet slide out without disturbing the rest, and it shows colors at a glance. Keep both away from direct sun and damp air, and store oversized sheets flat in a separate portfolio.
How do I keep a craft room tidy after each project?
End each session with a short reset: return tools to the wall or drawer, put scraps in the scrap bin, store works in progress in their box, and wipe the work surface. Keep a reset kit with a lint roller, a small brush, and a damp cloth near the table, so tidy up takes about five minutes. A weekly scrap sort keeps offcuts from building up.
How do I avoid buying craft supplies I already own?
Keep a simple inventory list naming each supply group, its home, and whether stock is low, and check it before shopping. Photograph each bin as you fill it, so the list matches what is on the shelf, and update the list when a group runs low rather than when it runs out. A list also helps you use up short rolls and small scraps before buying new stock.