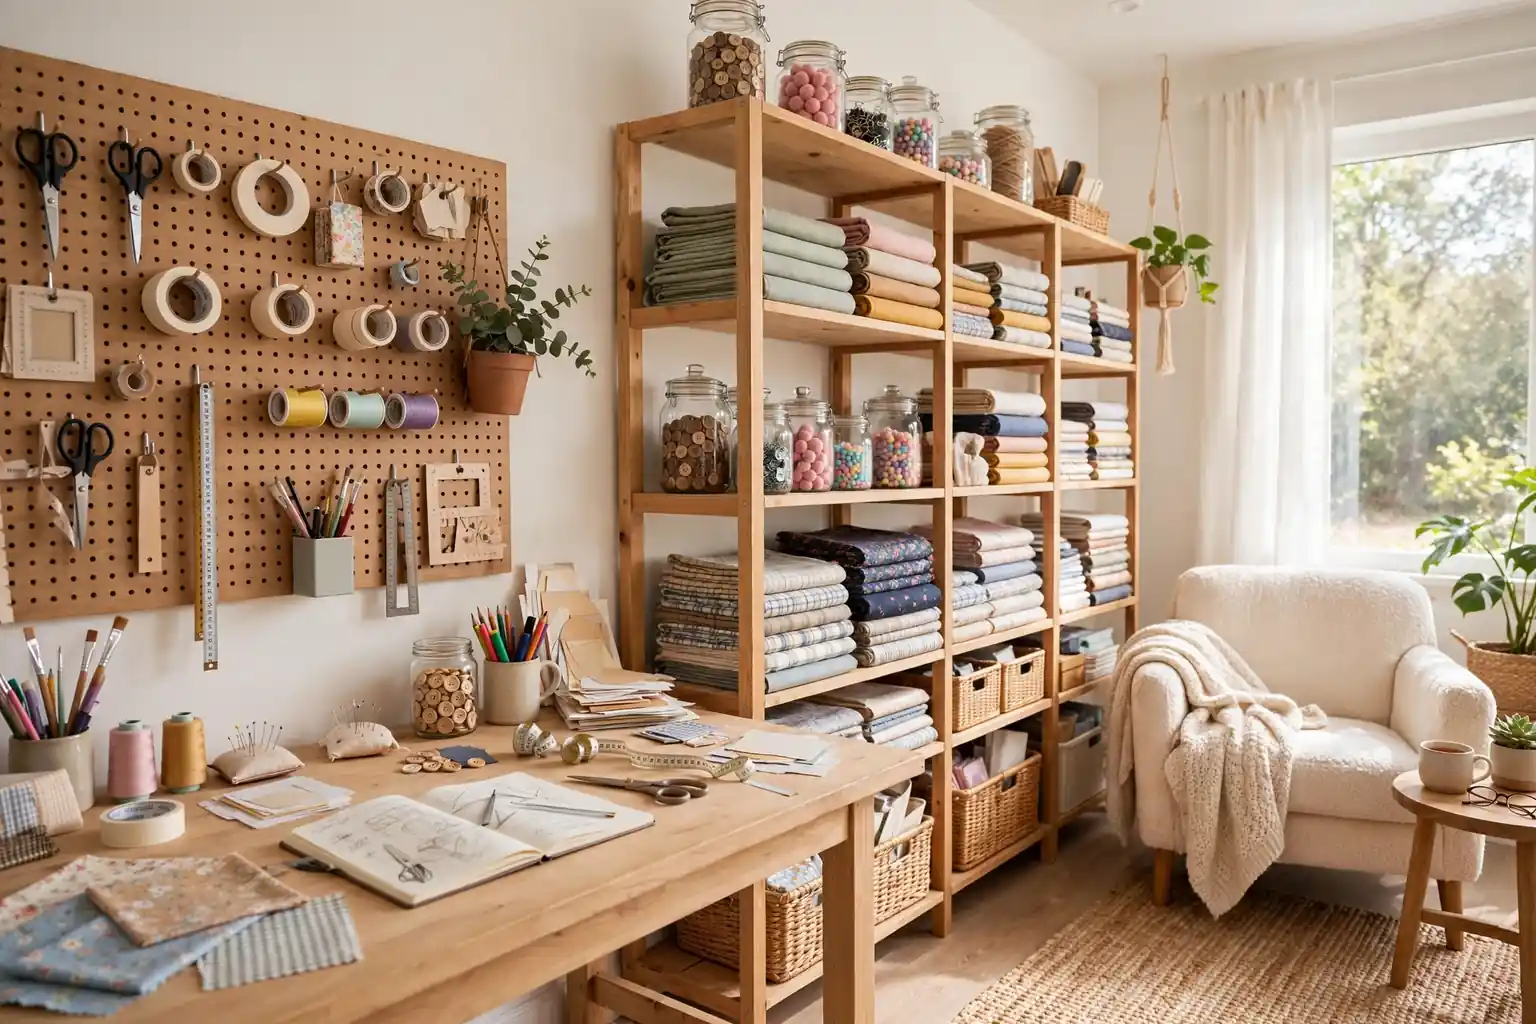
A good craft room pairs a large work surface with storage you can see and reach. Start with zones for cutting, sewing, painting, and paper, add wall storage to free the desk, and label every bin. These 25 craft room ideas show how to set up each zone in rooms of any size.
A craft room works best when it matches how you actually craft. If you sew most weeks, the machine should stay out and ready, not packed away in a closet. If you paint, you need a surface that wipes clean and a place for wet pieces to dry. Walk through your last three projects, note which supplies you reached for most, and give those items the easiest spots in the room.
Key Takeaways
- Give the room clear zones for cutting, sewing, painting, paper, and storage, even if a zone is only one shelf or one wall section.
- Use wall storage first, since pegboard, rails, and shelves free the desk for actual work.
- Store small supplies in clear or labeled containers so you can find items without opening every bin.
- Keep current projects on a rolling cart or in a tote, and return finished supplies to their fixed homes.
- Add strong task lighting and a comfortable chair, since most craft sessions run longer than planned.
- Measure your desk, shelves, and closet before buying bins, so every container fits the spot it is meant for.
1. Pegboard Wall for Tools and Supplies
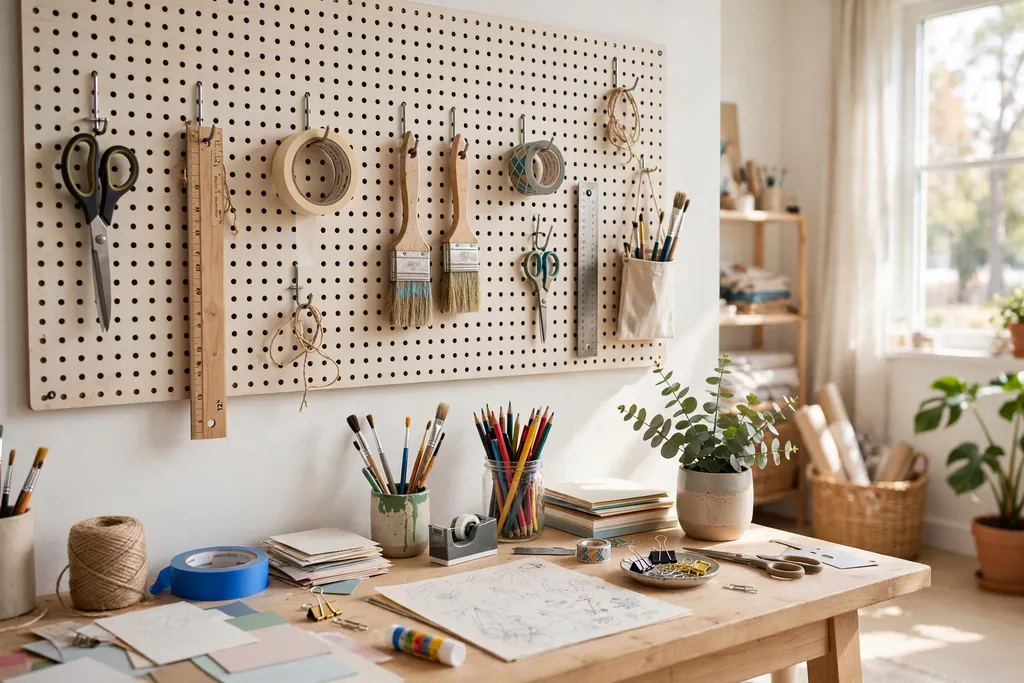
Hang a pegboard panel above the desk and fit it with hooks, small bins, and shelves for scissors, rulers, tape, glue, and paintbrushes. A pegboard keeps tools visible at eye level, so you stop buying duplicates of items you already own. Paint the board a light color or leave the wood plain, and keep the layout flexible by moving hooks as your crafts change.
Group tools by task on the board, with cutting tools in one section, adhesives in another, and measuring tools in a third. Outline each tool position lightly in pencil if you want a quick visual check when tidying up. Keep heavy items, such as a hot glue gun stand or a large rotary cutter, on lower hooks, and keep sharp items out of reach of small children.
2. Clear Jars on a Wall Shelf for Small Supplies
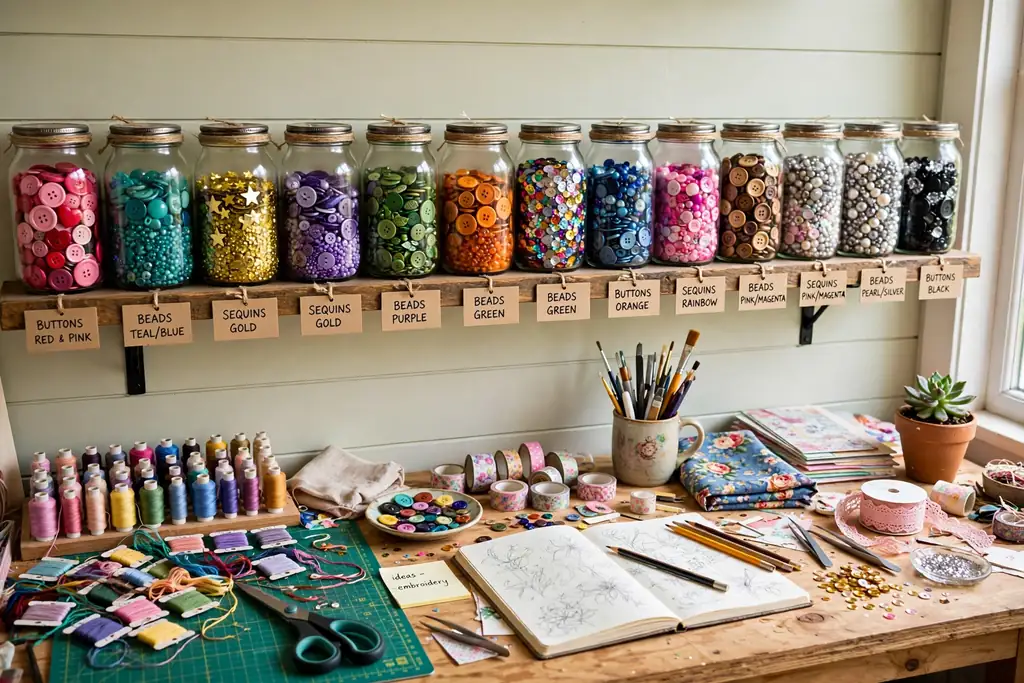
Mount a shelf at arm height and line it with clear jars for buttons, beads, eyelets, brads, and sequins. Clear jars let you see colors and quantities at a glance, which matters when you are matching a button or bead to a project in progress. Use jars of one size for a tidy row, and label each lid with the contents and color family.
Sort jar contents by material first, then by color, so a search for red glass beads does not mean opening five mixed jars. Keep a small scoop or spoon in the jars you use most, and keep lids tight on jars holding tiny items. If the shelf sits near a window, choose jars with solid lids and keep light sensitive items, such as some dyes, in a closed cupboard instead.
3. L Shaped Desk for Cutting and Sewing
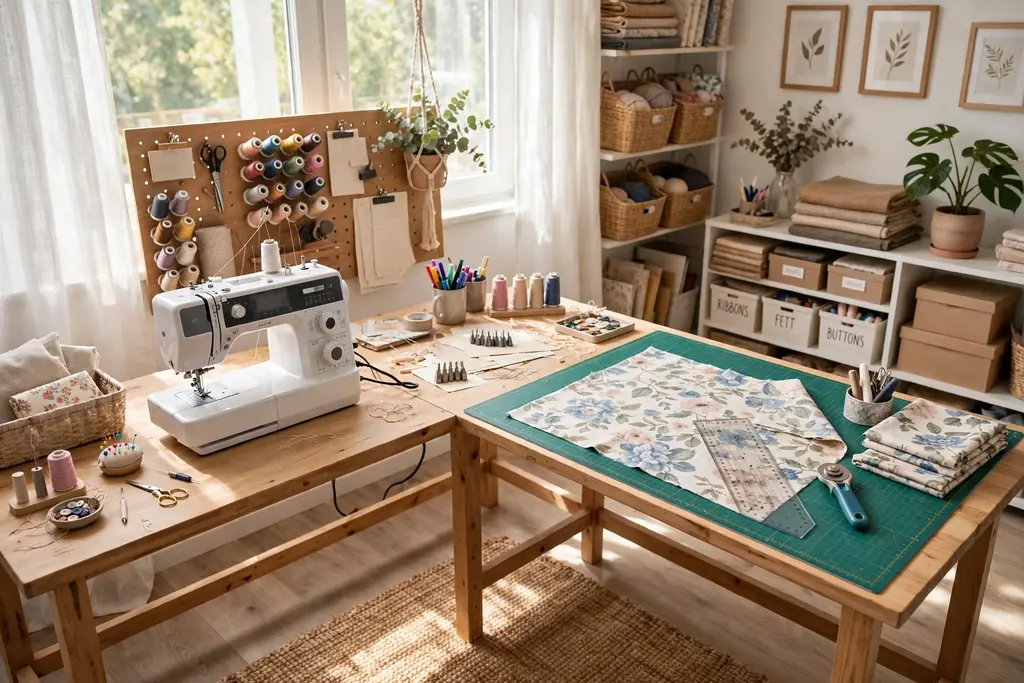
Set up an L shaped desk so one arm holds the sewing machine and the other gives a flat cutting surface. The corner shape keeps both jobs within reach without moving the machine, and it leaves the middle of the room open. A desk height of standard table height suits most sewing, while a slightly higher section helps for cutting fabric with a rotary cutter.
Place the machine arm near an outlet and a light source, and keep the cutting arm clear of storage so fabric can lie flat. Add a small drawer unit under the desk for bobbins, needles, and presser feet. If the room is shared, choose a desk with a finish that wipes clean, since glue, paint, and fabric lint all land on a craft desk sooner or later.
4. Rolling Cart for the Current Project
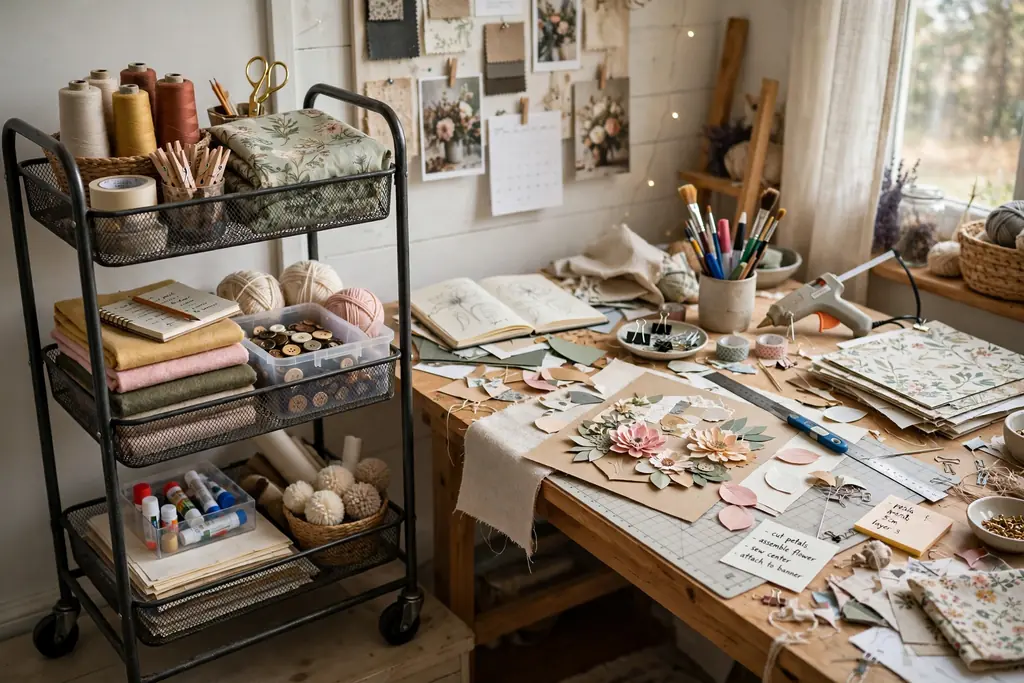
Keep a three tier rolling cart beside the desk for the project you are working on now. Load the top tier with tools, the middle tier with materials, and the bottom tier with the project itself, so you can roll the whole job to a table, a sofa, or another room. When the project ends, empty the cart and reload it for the next one.
Label nothing on the cart itself, since its contents change with each project, but keep a small tray on top for loose items such as pins and clips. Choose a cart with wheels that lock, so it stays put while you work. A cart also suits a shared room, since the project can roll into a closet at the end of the day and roll out again the next morning.
5. Fold Down Wall Table for Small Rooms
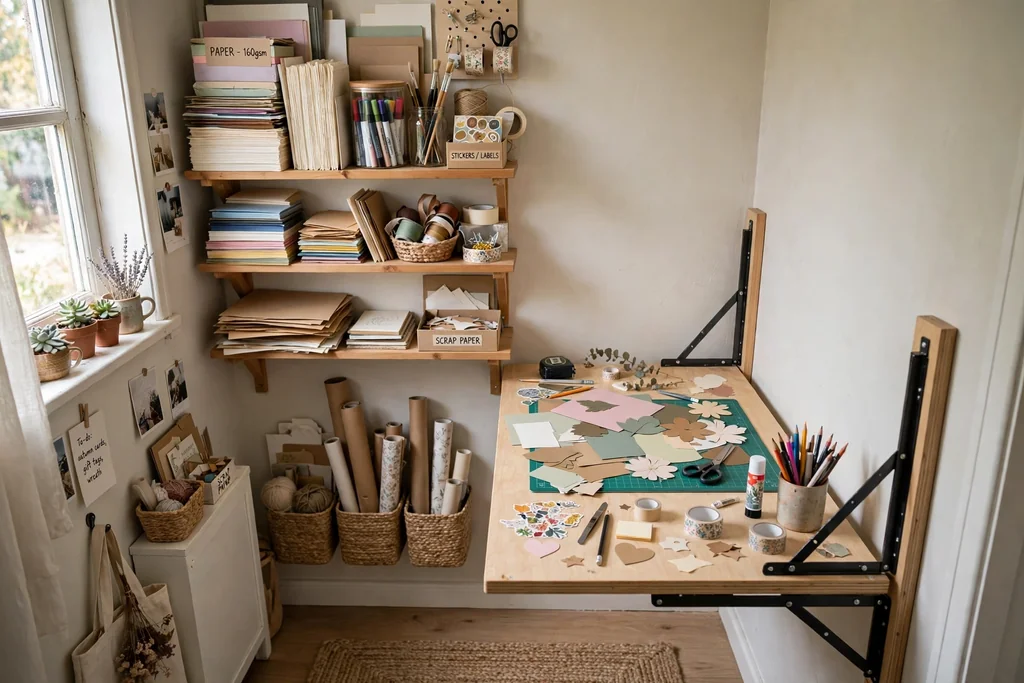
Fix a fold down table to the wall in a small room, a hallway nook, or a spare bedroom corner. Folded down, it gives a full work surface for cutting, gluing, or assembling; folded up, it frees the floor and leaves only a shallow cabinet on the wall. Add folding brackets rated for the weight of your machine or cutting mat, and test the table with your heaviest setup before relying on it.
Mount a small shelf or a magnetic strip above the folded table for scissors and rulers, so the surface stays clear when it folds away. Store the project itself in a tote on a nearby shelf, and bring it out only when the table is down. This setup suits renters too, if the brackets can be fixed into wall studs and patched later with landlord permission.
6. Labeled Bins by Craft Type
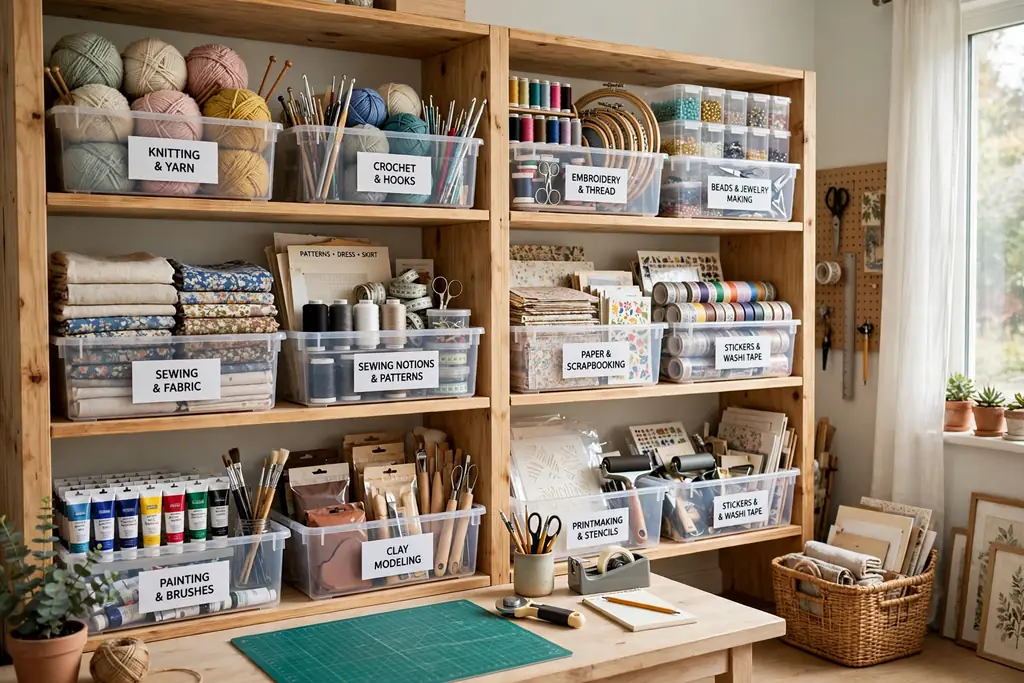
Sort supplies into bins by craft type, such as sewing, paper, painting, and jewelry, and label each bin on the front and the top. Labels matter most for bins on high shelves, where the top label is the one you see first. Use one bin size for a shelf so the row looks tidy and bins can swap places as crafts change.
Inside each bin, add smaller boxes or zip bags for sub groups, such as red thread with red thread, not mixed with blue. Keep a short list taped inside the cupboard door showing which bin holds what, and update it when a craft changes. When a bin starts to overflow, that is the signal to sort it, not to buy a bigger bin.
7. Ribbon and Tape Rods on the Wall
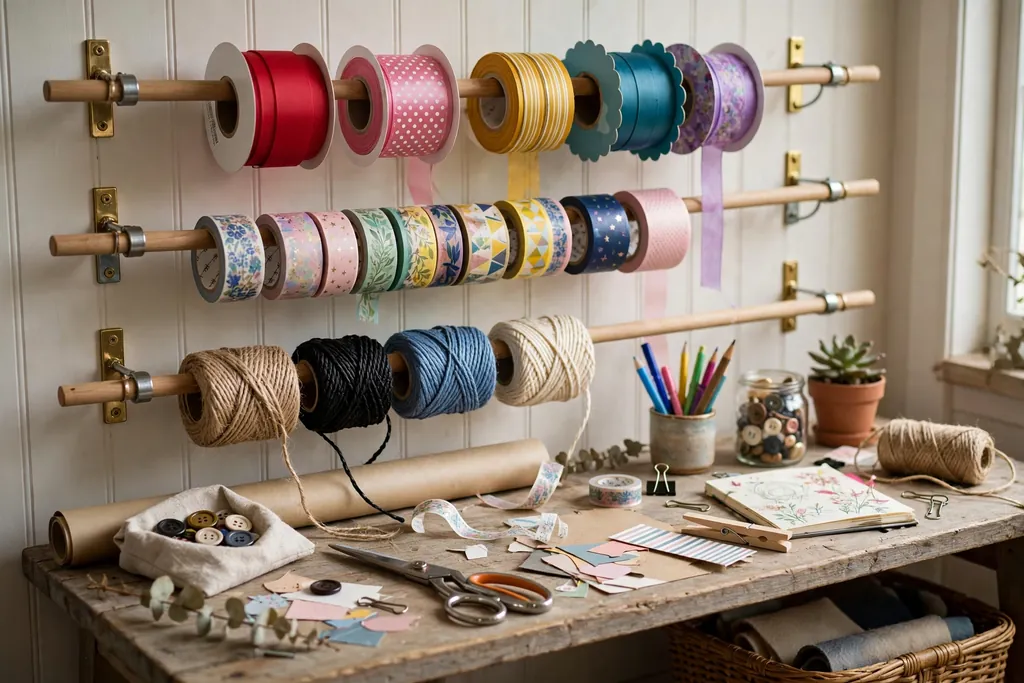
Mount two or three horizontal rods or dowels on the wall and thread ribbon spools, washi tape rolls, and twine onto them. Pulling ribbon straight off a rod is faster than digging through a drawer, and the color range stays visible, which helps when matching ribbon to wrapping paper or a card. Keep rods at arm height and leave a little slack between spools so each one turns freely.
Sort spools by width or by color family along the rod, and add a small pair of scissors on a hook at the end of the rod. For narrow tape rolls, use a shorter rod or a tension rod inside a shallow box. Replace empty spools promptly, since a rod full of empty cores looks busy and hides the spools you still need.
8. Fabric Storage Sorted by Color on Open Shelves
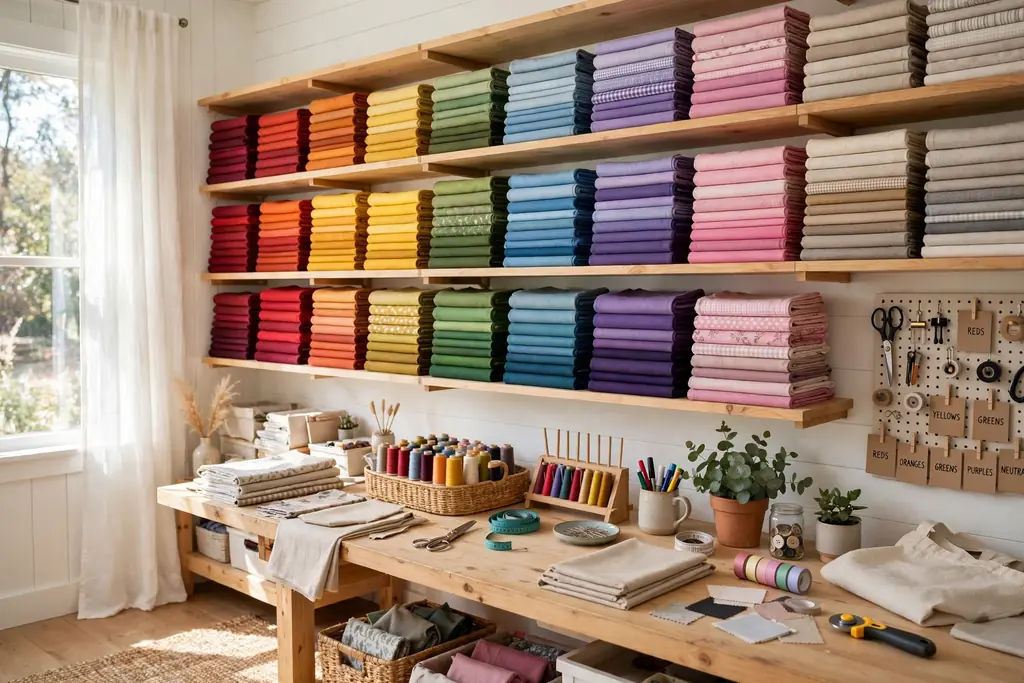
Fold fabric by color and stack it on open shelves, with warm colors on one shelf, cool colors on another, and neutrals on a third. Open shelves let you compare prints and weights without unfolding stacks, and color order makes it easy to spot the fabric you pictured for a project. Use shelf dividers or small bookends to stop tall stacks from toppling.
Fold each piece to the same width so stacks stay even, and place heavier fabrics, such as denim and canvas, on lower shelves. Keep delicate fabrics, such as silk, in closed boxes on a higher shelf to guard against dust and light. If shelf space is short, roll knit fabrics instead of folding them, since rolls take less depth and show prints at a glance.
9. Sewing Station with Pressing Space Nearby
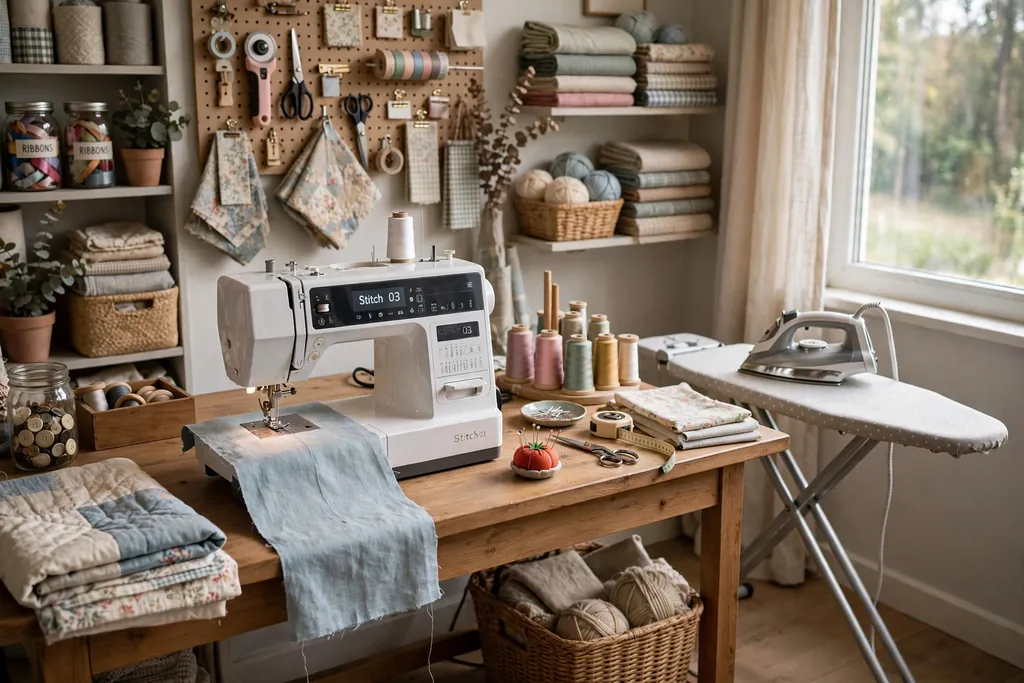
Place the sewing machine, a small ironing board, and a pressing mat in one zone, so seams can be pressed as you sew without crossing the room. Pressing each seam as it is sewn gives a neater finish than pressing a whole garment at the end, and a nearby board makes that habit easy. Keep the iron on a heat safe rest and the cord clear of the machine pedal.
Store pressing tools, such as a seam roller, a tailor ham, and a spray bottle, in a small basket beside the board. Add a scrap bin at the end of the table for fabric offcuts, and empty it when it fills. If space is tight, use a tabletop pressing mat on the desk itself and a mini iron that stores in a drawer.
10. Vertical Paper Sorters for Cardstock and Patterned Paper
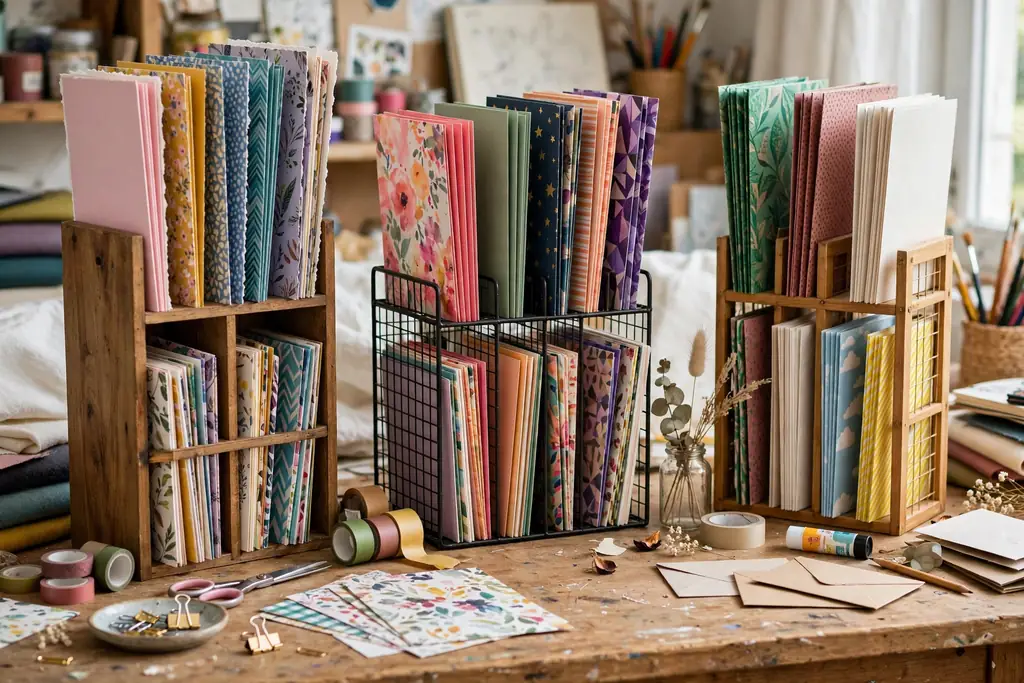
Store cardstock and patterned paper upright in vertical sorters, sorted by color or by collection, rather than stacked flat in a pile. Upright storage lets you pull one sheet without lifting a stack, and it shows the full color range at once. Use sorters sized for 12 inch paper if you scrapbook, and letter size sorters for card making.
Label each sorter slot with the color or collection name, and keep a few empty slots for new paper. Store specialty paper, such as vellum and foil, in a separate sorter or in sleeves, since those sheets mark easily. Keep the sorters near the cutting zone, so paper moves straight from sorter to trimmer without crossing the room.
11. Paint Station with a Wipe Clean Surface

Set aside one table or one end of a desk for painting, covered with a wipe clean mat or an old shower curtain liner. A fixed paint zone keeps brushes, palettes, and water jars in one place, and it guards the rest of the room from drips. Keep paints in a caddy or on a small shelf above the table, sorted by type, such as acrylic, watercolor, and fabric paint.
Place a jar of clean water, a jar for rinsing, and a rag at the edge of the table, and wash brushes before paint dries on them. Store finished paintings flat on a drying shelf or clipped to a line until dry. If the room has carpet, add a washable rug under the paint table, since even careful painters drop a brush now and then.
12. Yarn Wall with Dowels and Cubby Bins
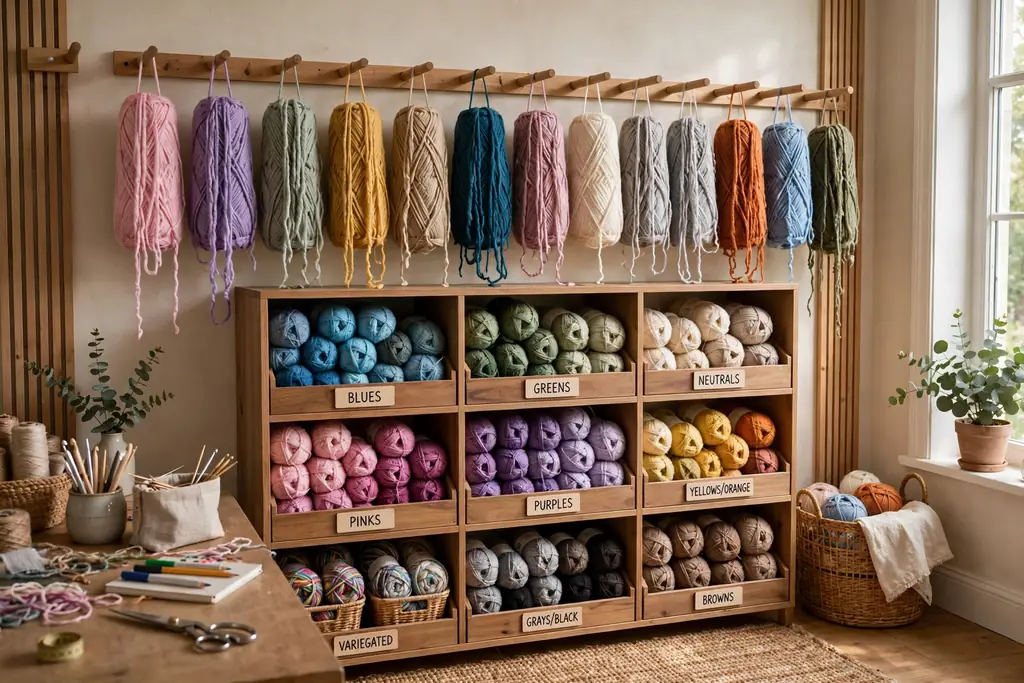
Mount dowels on the wall for yarn cakes you are using now, and store the rest of your stash in cubby bins sorted by weight and fiber. Dowels keep working yarn untangled and visible, while cubbies guard the larger stash from dust and light. Sort cubby bins by yarn weight, such as fingering, worsted, and bulky, and label each bin with the weight and the main colors inside.
Keep a small basket beside your chair for the yarn in use, with a hole or clip to feed the strand without tangling. Wind new skeins into cakes before they join the wall, since loose skeins snag on hooks. If moths are a concern in your area, store wool in closed bins with cedar blocks and check the stash when the seasons change.
13. Small Drawer Unit for Beads and Buttons
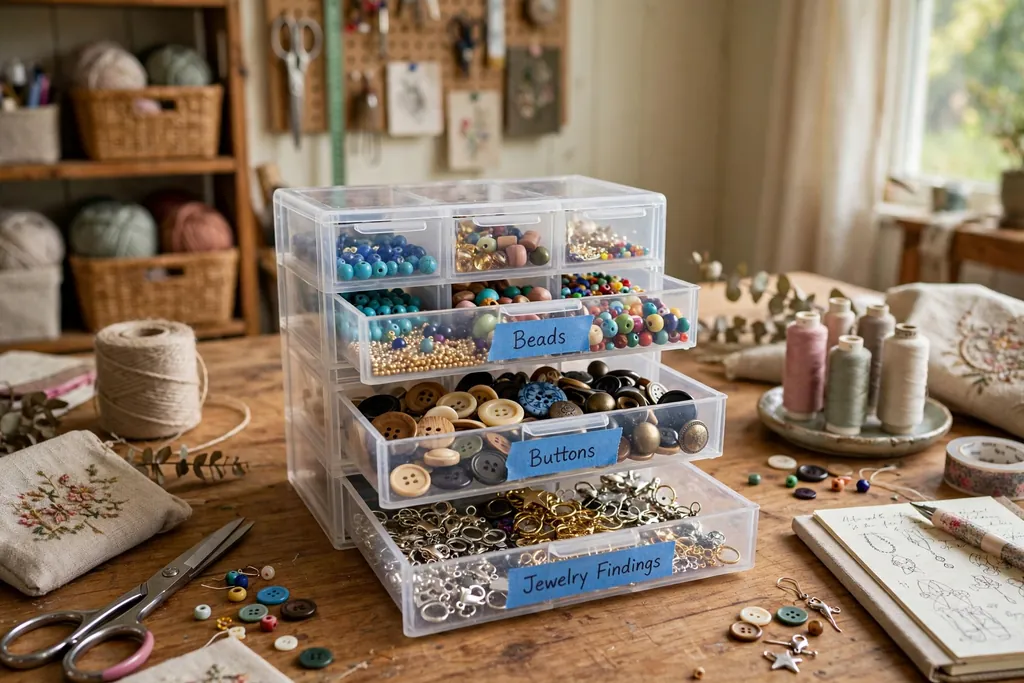
Use a small multi drawer unit, the kind with many shallow drawers, for beads, buttons, eyelets, and jewelry findings. Shallow drawers suit tiny items better than deep bins, and a drawer you can pull out and carry to the table beats a fixed shelf. Label each drawer with the item and size, such as seed beads size 11 or shirt buttons white.
Sort beads by material and size before sorting by color, since a search usually starts with the bead type a pattern calls for. Keep a bead mat on the table when working, so dropped beads do not roll onto the floor. Store sharp findings, such as pins and needles, in a drawer with a lid or a magnetic strip inside, away from drawers children can reach.
14. Flat File Drawers for Scrapbook Paper and Prints
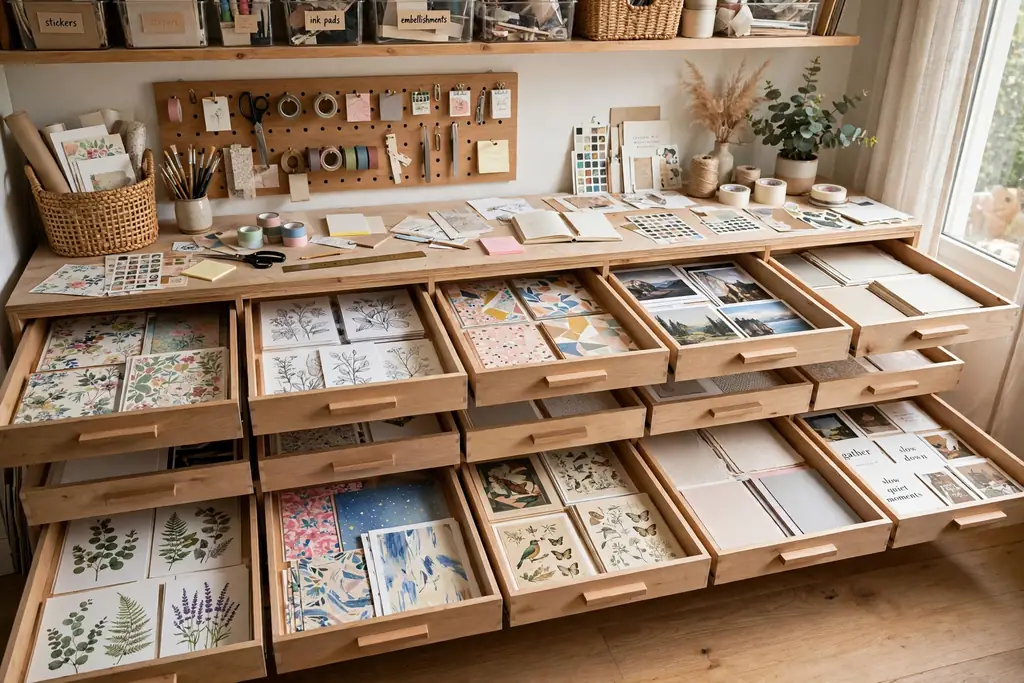
Store large paper, prints, and finished scrapbook pages flat in wide, shallow drawers, rather than rolled or stacked on a shelf. Flat storage stops paper from curling and guards finished pages from bending. Use dividers inside each drawer to separate collections, and label the drawer front with the collection or paper size it holds.
If a full flat file is too large for the room, use a shallow under bed box or a portfolio case on a shelf, and keep only current pages in it. Handle large sheets by the edges and keep them away from damp walls. For prints you plan to frame, add a sheet of plain paper between each print to guard against marks.
15. Dedicated Cutting Zone with Mat and Rotary Cutter
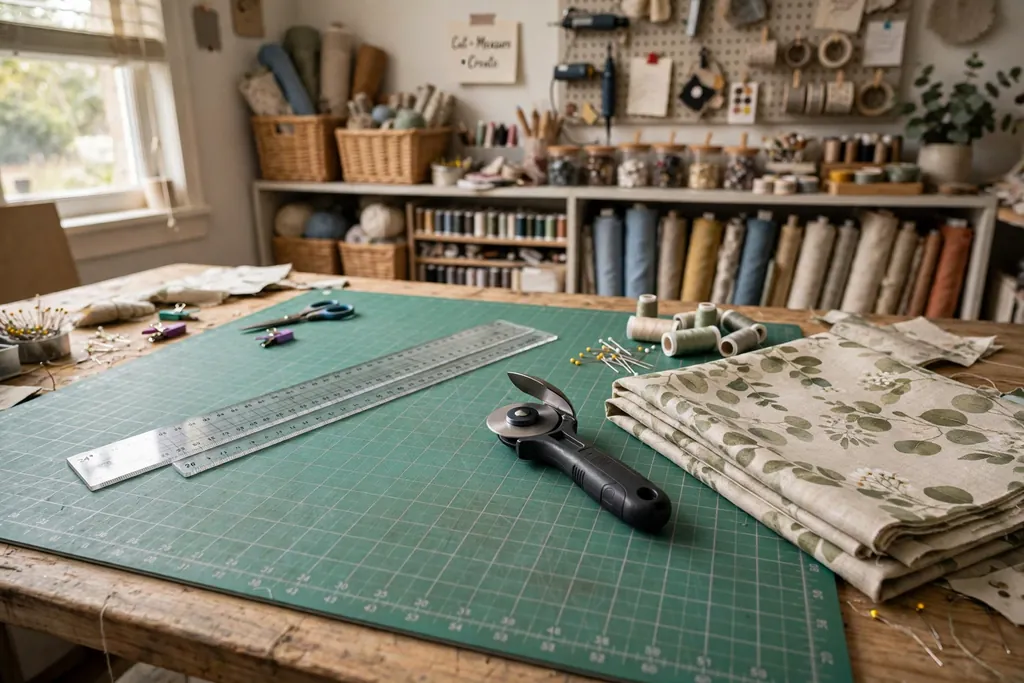
Give cutting its own zone with a self healing mat, a rotary cutter, a clear ruler, and good light, kept clear of other supplies. A fixed cutting zone means fabric or paper can stay on the mat between sessions, and the ruler and cutter stay in the same place each time. Choose a mat size that fits your largest common cut, and store the cutter with its blade guard on.
Replace a worn mat when cuts stop closing cleanly, since a grooved mat drags the blade and dulls it faster. Keep the cutting zone away from the sewing machine pedal area, so fabric does not bunch underfoot. Add a small waste bin beside the mat for trimmings, and empty it at the end of each session.
16. Thread Spool Wall Rack in Color Order
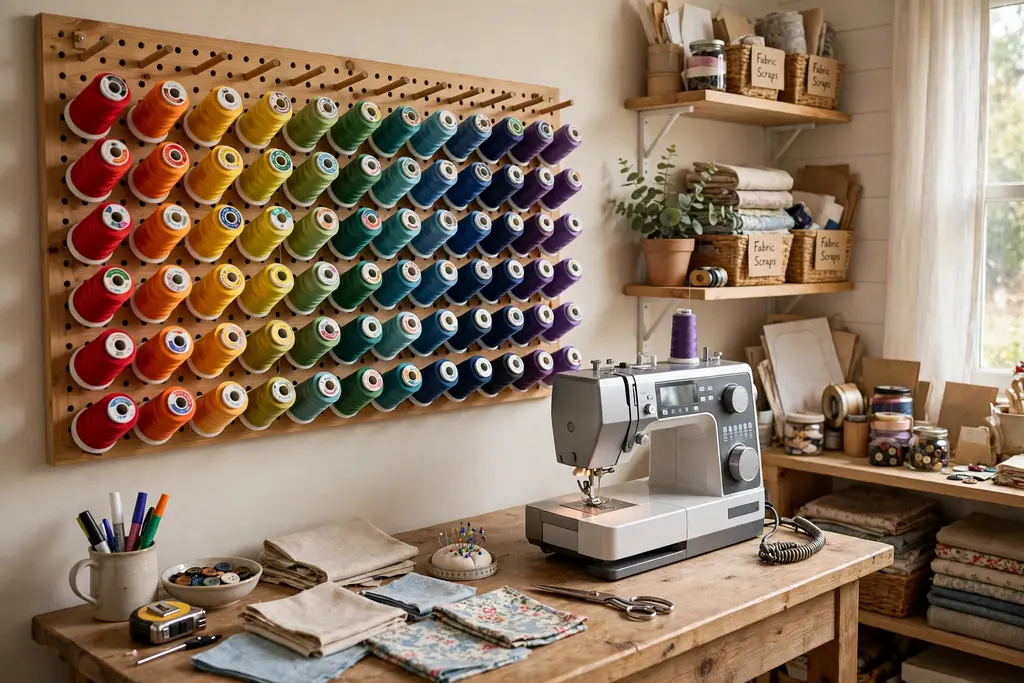
Mount a thread rack on the wall near the sewing machine, with spools arranged in color order from light to dark. A wall rack keeps thread visible and stops spools from rolling off the desk, and color order makes matching thread to fabric a quick visual job. Choose a rack with pegs sized for your spool type, and leave a few empty pegs for new colors.
Keep specialty threads, such as metallic and heavy topstitching thread, on a separate small rack or in a box, since those spools need different tension settings and are easy to mix up. Dust the rack now and then, since thread left on an open rack gathers lint. If the room gets strong sun, place the rack on a wall out of direct light, so thread colors stay true.
17. Inspiration Board for Works in Progress
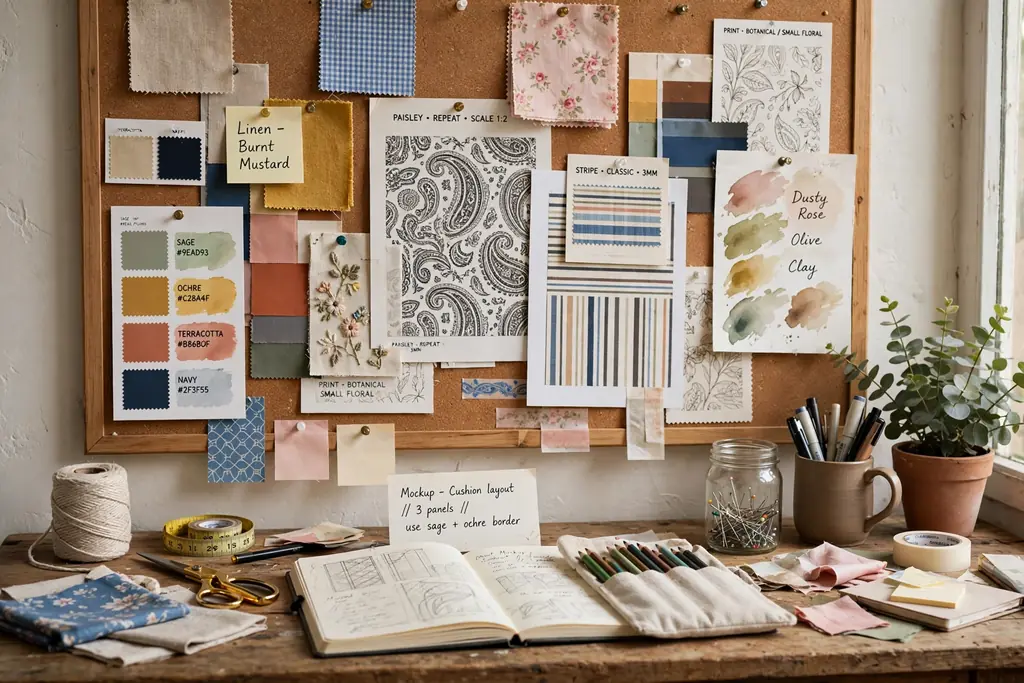
Pin a cork board, a magnetic board, or a length of wire with clips on the wall near your desk for fabric swatches, color palettes, pattern pages, and photos of finished work. An inspiration board keeps the plan for a project visible while you work, so you do not have to reopen pattern books or sample cards each time. Change the board when a project ends, and keep only the current project on it.
Add a small section of the board for notes, such as measurements, due dates, and gift lists, written on cards that can move as plans change. Keep the board at eye level from your chair, not behind you, so a glance is enough. If wall space is short, use the inside of a cupboard door for the same purpose.
18. Layered Task Lighting Over Every Work Zone
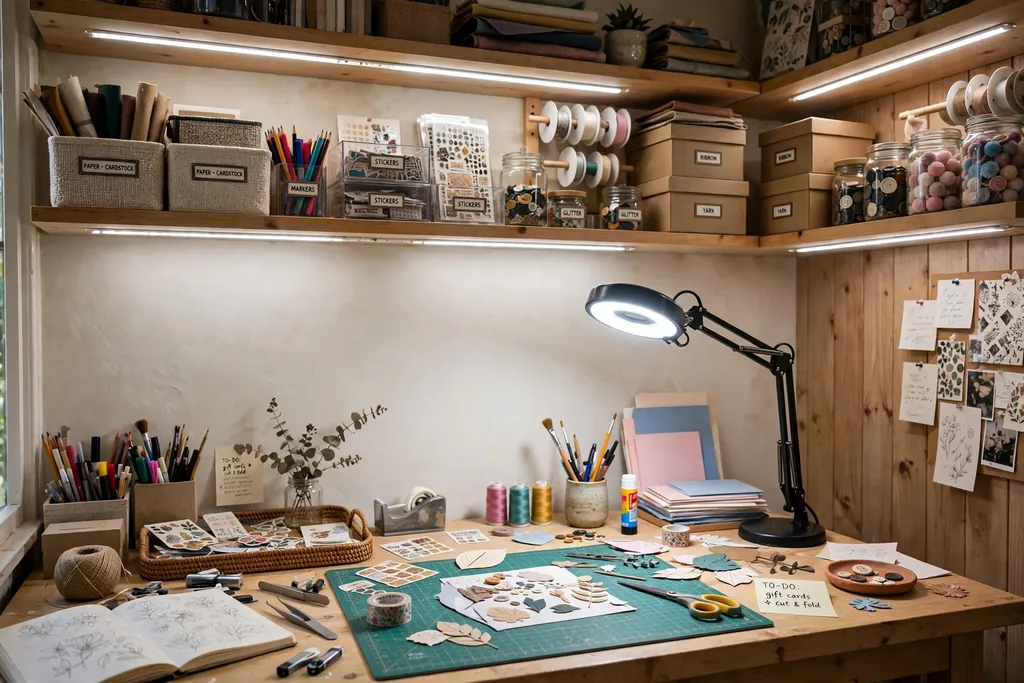
Light each work zone separately, with a bright daylight lamp over the desk, under shelf strips over storage, and a floor lamp beside a reading or hand sewing chair. Good light matters most for matching thread colors, reading small print on patterns, and seeing true fabric colors. Place the main lamp on the opposite side from your writing hand, so your hand does not cast a shadow on the work.
Choose bulbs with a daylight color temperature for the desk lamp, and keep a spare bulb in the room. Add dimmer or lower light for evening sessions if bright light strains your eyes. Clean lamp shades and strip covers now and then, since dust dims light more than most people notice.
19. Comfortable Chair and Standing Height Option
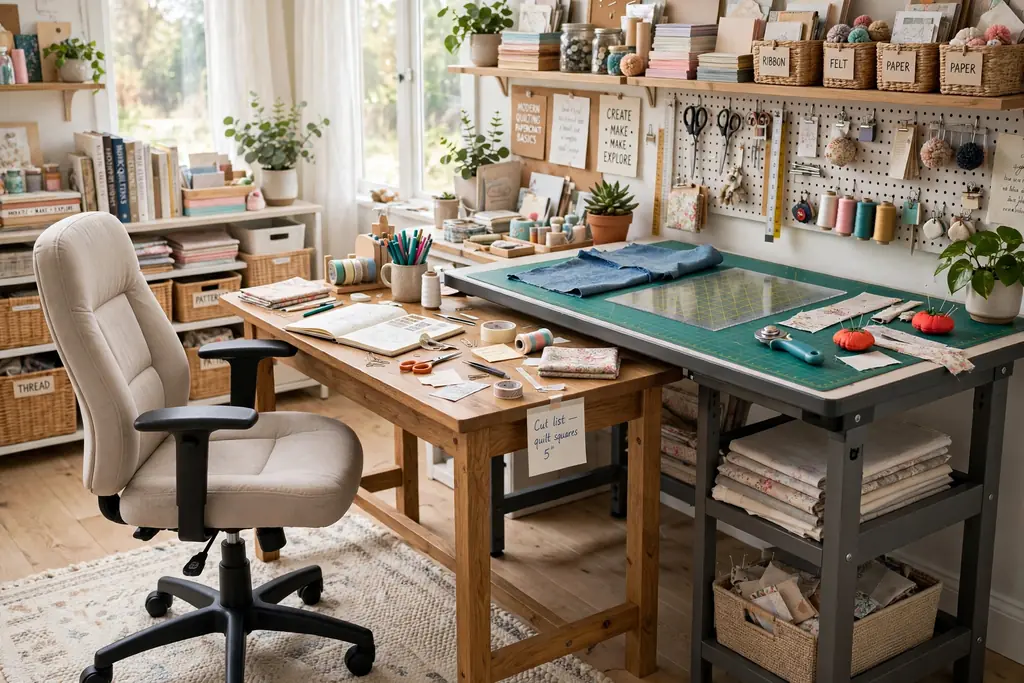
Choose a chair with adjustable height and back support for long sessions at the desk, and add a standing height table or a raised mat section for cutting. Sitting for hours strains the back and neck, and a standing option for cutting or pressing breaks up a long session. Set the chair so your feet rest flat and your elbows sit near table height.
Add a small footrest if the chair height leaves feet dangling, and place a cushioned mat under the standing section. Keep the chair wheels clear of cords and rug edges, so the chair rolls smoothly between the desk and storage. If the room doubles as a guest room, choose a chair that folds or stacks, and store it in a closet between craft sessions.
20. Kids Craft Corner with Washable Surfaces
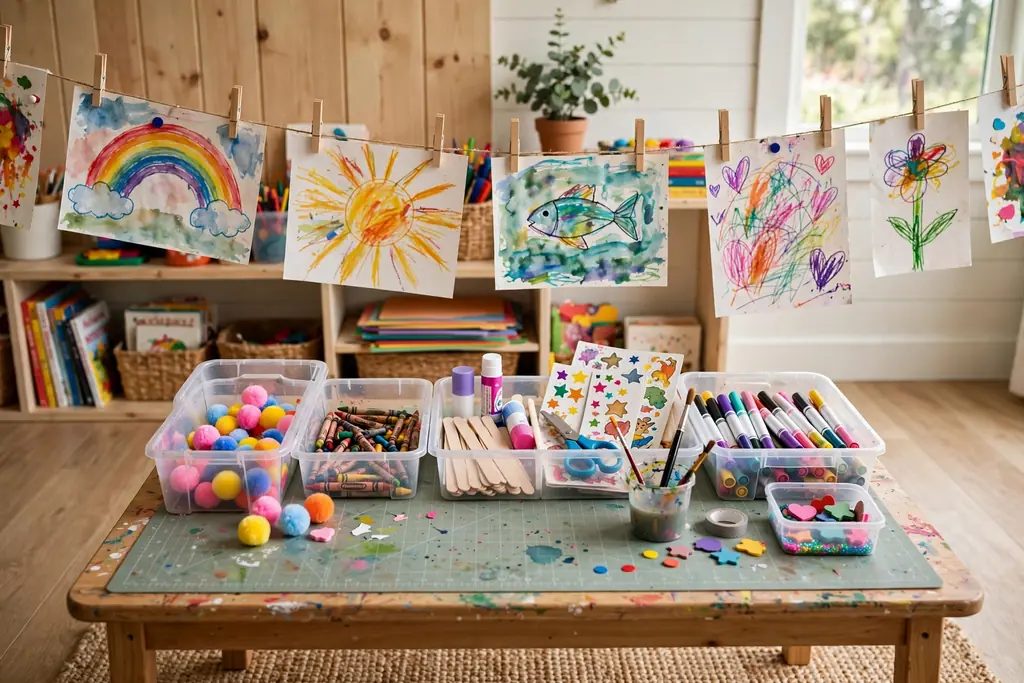
Set aside one low table and a washable mat for children crafts, with supplies in open bins they can reach and return themselves. A kids corner keeps glitter, paint, and glue in one spot, and it lets children craft without taking over the main desk. Use washable markers, paints, and smocks, and keep scissors suited to the child age in a labeled cup.
Sort kids supplies by activity, such as coloring, cutting and pasting, and building, and label bins with pictures as well as words for younger children. Add a drying line or a clip rail at child height for wet artwork. At the end of a session, have children return each bin to its marked spot, so the next session starts tidy.
21. Gift Wrap Station in One Cupboard or Cart
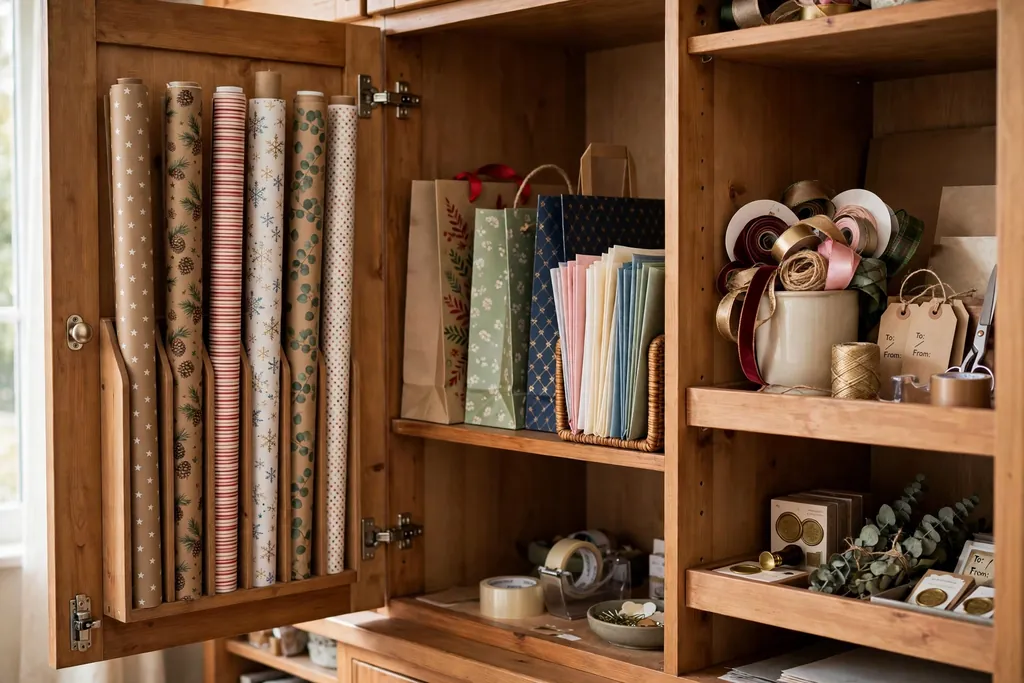
Gather wrapping paper rolls, gift bags, tissue, tape, scissors, and ribbon in one cupboard, a tall bin, or a rolling cart, so wrapping a gift does not mean hunting through several rooms. Store paper rolls upright in a tall bin to stop them from unrolling and creasing, and keep flat sheets in a large portfolio or a drawer. Sort bags by size and tissue by color.
Add a small flat surface at the top of the cupboard or beside the cart for wrapping, and keep a pen and gift tags in a cup on the same shelf. At the end of the gift season, sort leftover paper and bags back into the station and recycle torn or crumpled pieces. A fixed wrap station also suits a closet door, with rolls hung on hooks inside the door.
22. Drying Rack for Painted and Glued Pieces
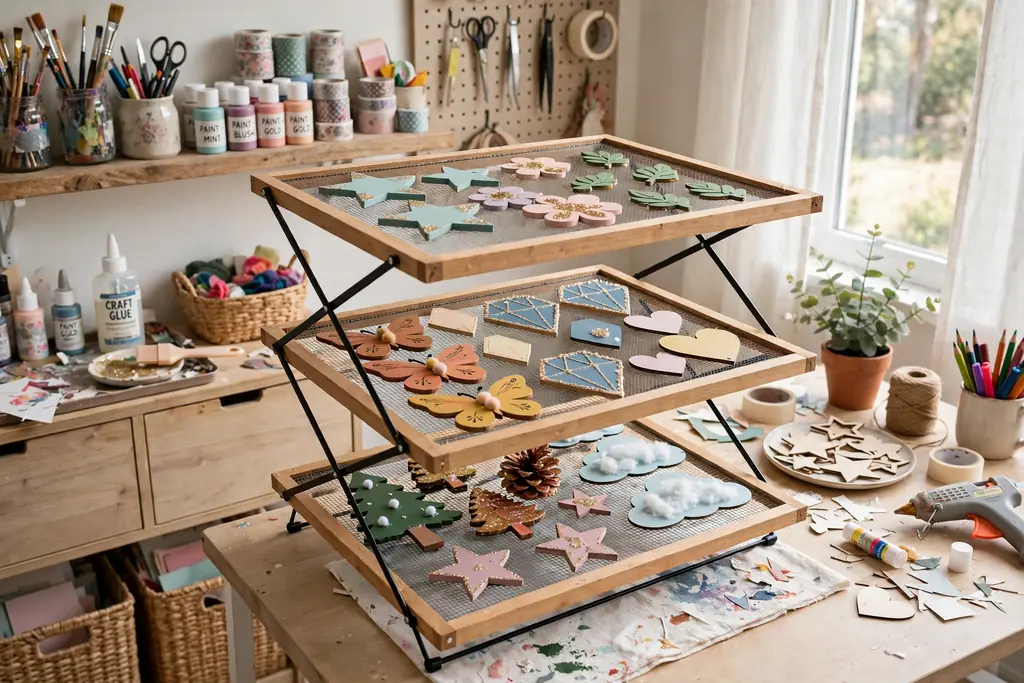
Set up a folding drying rack, a tiered shelf, or a line with clips for painted, glued, and sealed pieces, so wet work does not sit on the desk and block the next step. A rack with several levels holds more pieces in less floor space, and it keeps wet surfaces from touching each other. Place the rack near airflow but away from direct dust and pets.
Label a small card on each level with the project name and the date, if several projects dry at once. For small items, such as ornaments and cards, use a mesh rack or a tray lined with wax paper. Clean the rack after each use, since dried glue and paint build up and mark the next batch.
23. Label System for Every Bin, Drawer, and Shelf
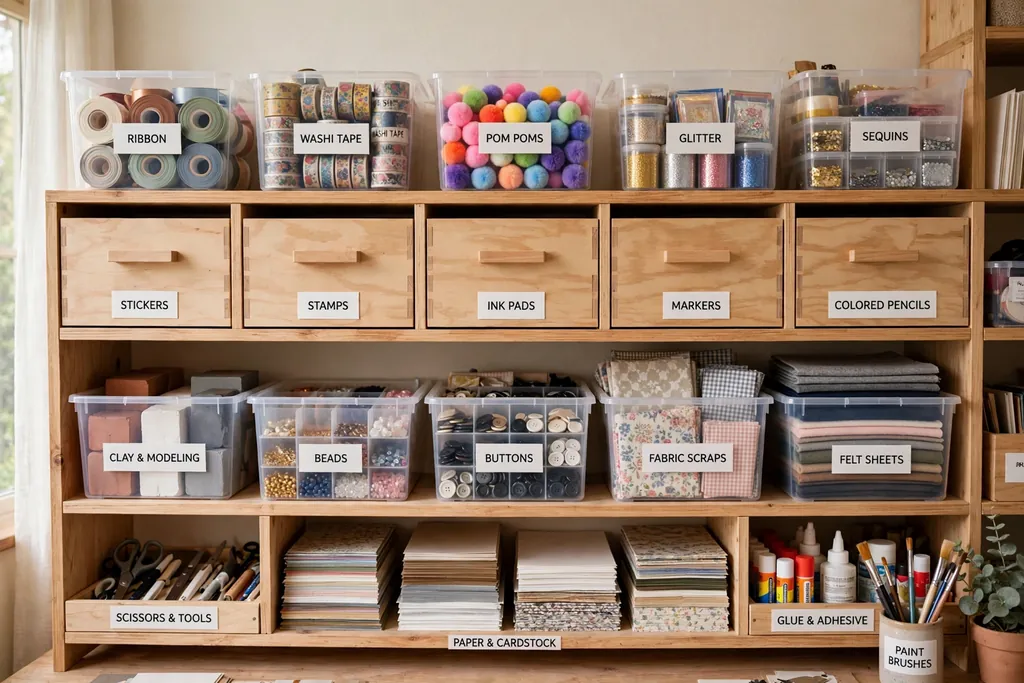
Pick one label style for the whole room, such as printed labels in one font or handwritten labels in one color, and use it on every bin, drawer, and shelf. A single style makes the room easier to scan, and it stops the label system itself from looking cluttered. Include both the item and a hint, such as “Ribbon, satin, red to pink” rather than just “Ribbon.”
Make labels easy to change, with removable label holders or tape, since craft interests change and a permanent label soon lies. Keep a label maker or a pen and blank labels in the desk drawer, so a new bin gets labeled the day it is filled. Walk the room once a season and fix labels that have faded or no longer match the contents.
24. Project Totes for Works in Progress
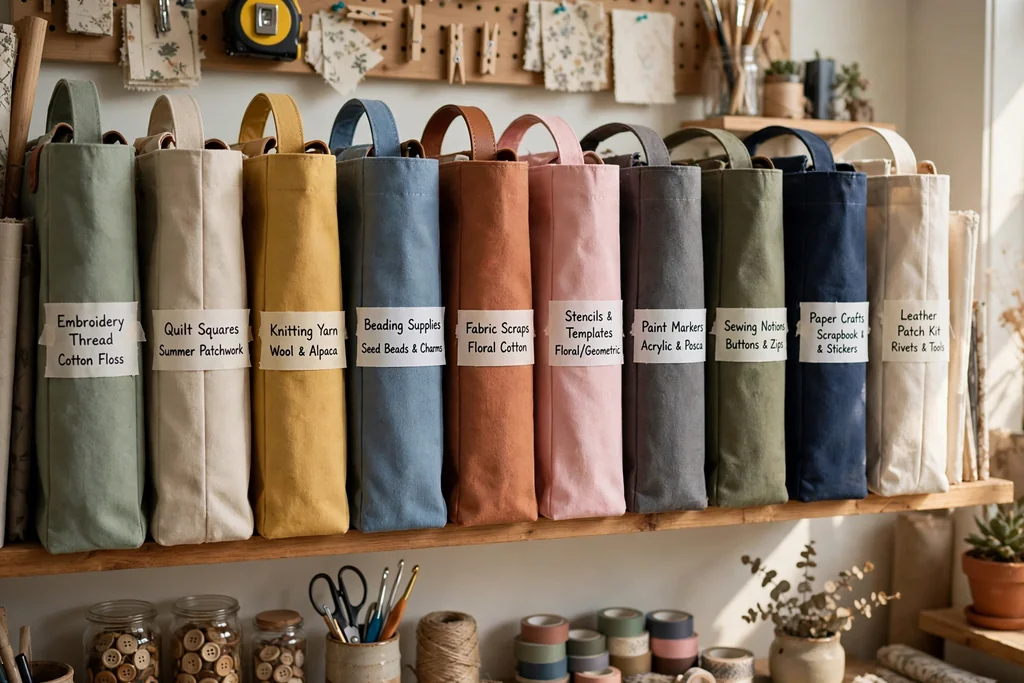
Pack each unfinished project into its own tote or zip bag, with its pattern, fabric or paper, thread, and tools together. A tote per project stops pieces from mixing, and it makes it easy to pick up a project after weeks away, since everything for that job sits in one bag. Label the tote with the project name and the next step, such as “Hem skirt” or “Glue frame.”
Store totes upright on a shelf like books, so you can pull one without moving a stack. Keep a short list on the shelf edge showing which totes are active, and move finished totes to a storage box. If a project stalls for months, open the tote, note what is missing, and decide whether to finish it, gift the supplies, or set it aside.
25. Closet Turned into a Craft Nook
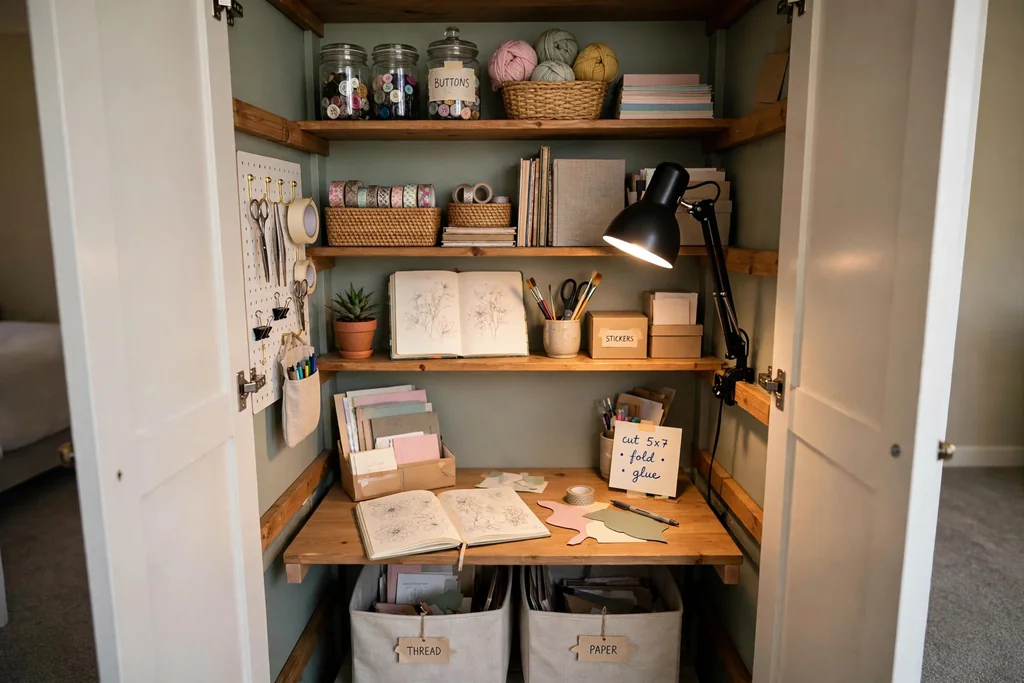
Remove the doors from a spare closet and fit it with shelves, a small desk, and task lighting to make a craft nook that closes away when guests arrive. A closet nook suits a small home, since it uses space that already exists and keeps supplies behind a curtain or doors when not in use. Measure the closet depth first, since a desk deeper than the closet will block the doors from closing.
Fit the nook with a pegboard on the back wall, shallow shelves for bins, and a power strip for the machine and lamp, keeping cords tidy with clips. Add a folding chair that hangs on the wall beside the nook, so the room still works as a bedroom or office. Keep the nook to one craft type at a time, since a closet fills fast and a crowded nook is hard to use.
Conclusion
A craft room does not need to be large or costly to work well. Start with a clear desk, wall storage for tools, labeled bins for supplies, and one zone for each craft you do most. Add light where you work, a comfortable chair, and a system for projects in progress, and the room will stay usable between sessions, not just on setup day.
Work through these ideas one zone at a time, starting with the craft you do most often. For more hands on projects, see DIY fall home decor ideas, and for the whole house, browse Dwell Ovell home decor ideas. Keep what you use often within reach, store the rest in labeled bins, and let the room return to a tidy base when each project ends.
FAQs
How do I set up a craft room in a small space?
Start with wall storage, a fold down table, and a rolling cart, so the work surface folds away and supplies stay on the walls and in one cart. Use a closet nook or one corner of a spare room, and keep only the craft you do most in that space, storing the rest elsewhere. Measure the room before buying bins, and choose shallow shelves and a folding chair to save floor space.
What is the best way to organize craft supplies?
Sort supplies by craft type first, then by color or size inside each group, and store small items in clear or labeled containers. Put daily items at arm height, seasonal items higher up, and heavy items low. Label every bin on the front and the top, and keep a list inside the cupboard door showing which bin holds what, so anyone in the house can find and return items.
How do I keep a craft room tidy between projects?
Give every supply a fixed home and return items to it at the end of each session, rather than leaving them on the desk for next time. Pack unfinished projects into labeled totes, keep a scrap bin at the desk and empty it when it fills, and run a short reset once a week to return stray items. A room stays tidy when tidying takes minutes, not a full afternoon.
What lighting works best for a craft room?
Use layered lighting, with a bright daylight lamp over the main desk, under shelf strips over storage, and a floor lamp beside a hand sewing chair. Place the desk lamp on the opposite side from your writing hand to avoid shadows, and choose daylight bulbs for true fabric and thread colors. Add lower light for evening work if bright light strains your eyes.
How much does it cost to set up a craft room?
Costs vary widely, since a basic setup can start with a table you own, a pegboard panel, clear jars, and labeled bins, while a full room adds shelving, a sewing desk, and task lighting. Start with storage and light, use furniture you already have, and add pieces one zone at a time as your crafts grow. Avoid buying bins before measuring shelves, since wrong size bins waste money and space.
Can a craft room share space with a home office or guest room?
Yes, a craft room can share space with an office or guest room if crafts stay in closed storage and the desk clears between uses. Use a rolling cart for the current project, a closet nook for supplies, and a fold down table that frees the floor when guests arrive. Keep the room to one active craft at a time, and agree on a reset routine so the desk returns to office or guest use after each session.