
An ornament dough recipe makes firm, paintable holiday ornaments from flour, salt, and water. Mix two cups of flour with one cup of salt, add water a little at a time, and knead until smooth. Roll the dough flat, cut shapes, bake at low heat until hard, then cool, paint, and seal each piece.
This is a classic salt dough recipe, and it suits beginners because the ingredients are cheap and the steps are simple. The dough is for decoration only, so do not eat the finished ornaments, and keep unbaked dough and finished pieces away from pets. Work on a covered surface, since flour and salt can dust a table, and make a small first batch to learn how thick to roll and how long your shapes need in the oven.
Key Takeaways
- Mix two cups of flour with one cup of salt, then add water a little at a time until the dough holds together.
- Knead until smooth, and roll to an even thickness so ornaments bake through without cracking.
- Poke the hanging hole before baking, since baked dough is hard to pierce cleanly.
- Bake low and slow, and let ornaments cool fully before painting or sealing.
- Seal painted ornaments so the finish lasts, and store them in a dry box between layers of tissue.
- Keep dough ornaments as decorations only, and hang heavier pieces on strong branches.
Materials and Tools
Ingredients:
- 2 cups plain flour
- 1 cup fine salt
- 3/4 to 1 cup water, added a little at a time
- Paint for decorating, such as acrylic craft paint
- A clear craft sealant, spray or brush on
Tools and supplies:
- Large mixing bowl and measuring cups
- Wooden spoon and a clean work surface
- Rolling pin and cookie cutters
- A straw or skewer for hanging holes
- Baking sheet lined with parchment paper
- Cooling rack, paintbrushes, ribbon or twine
1. Gather Your Ingredients and Tools
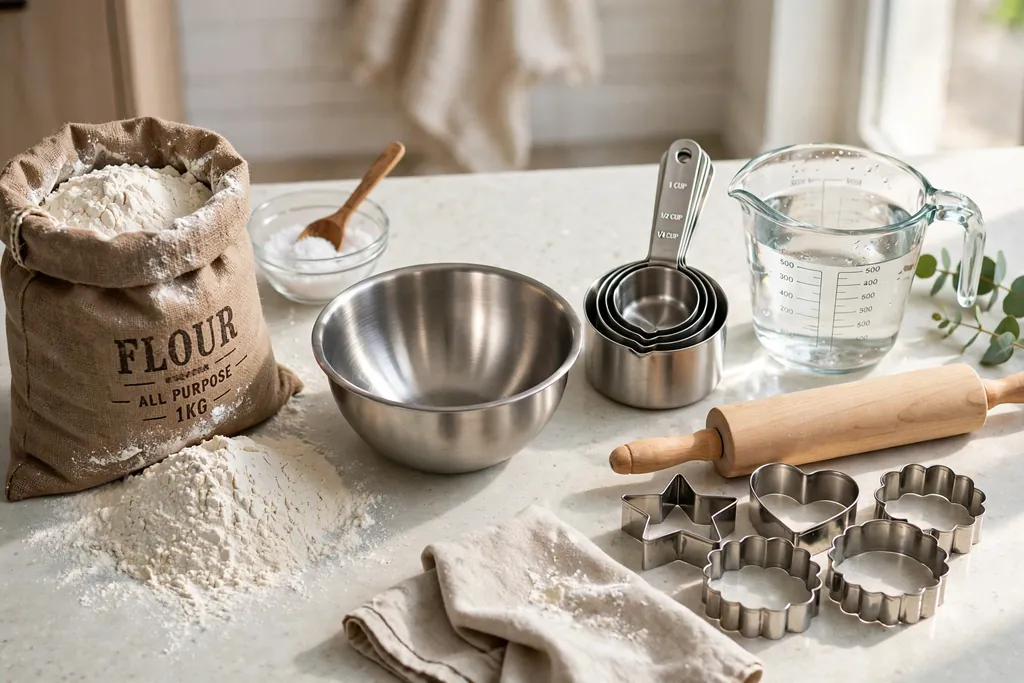
Set out the flour, salt, water, bowl, measuring cups, rolling pin, cutters, baking sheet, and parchment before you start mixing. Having everything ready keeps the dough from drying out while you search for a tool, and it keeps flour off other parts of the kitchen. Cover the work surface with parchment or a clean cloth for easy cleanup.
Check that your baking sheet fits your oven and that you have a cooling rack ready for later. If children will help, set out a small bowl of flour for dusting hands and cutters, and keep paint and sealant aside until the baking and cooling steps are done.
2. Measure the Flour and Salt
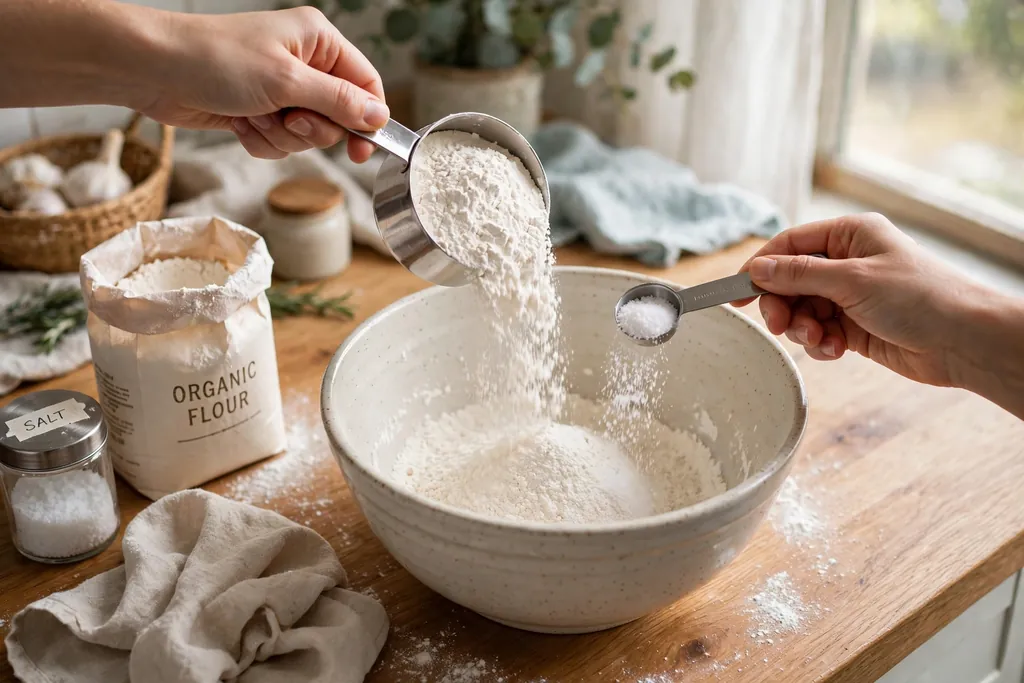
Measure two cups of plain flour and one cup of fine salt, and level each cup with the back of a knife for a consistent mix. Fine salt blends more evenly than coarse salt, and it gives a smoother surface for painting. Use plain flour rather than self raising flour, since raising agents can puff the dough and blur cut shapes.
Pour both into a large mixing bowl, and keep the water jug nearby but unmeasured for now. You will add water in small amounts in the next steps, since too much water at once makes a sticky dough that is hard to roll and slow to bake.
3. Mix the Dry Ingredients
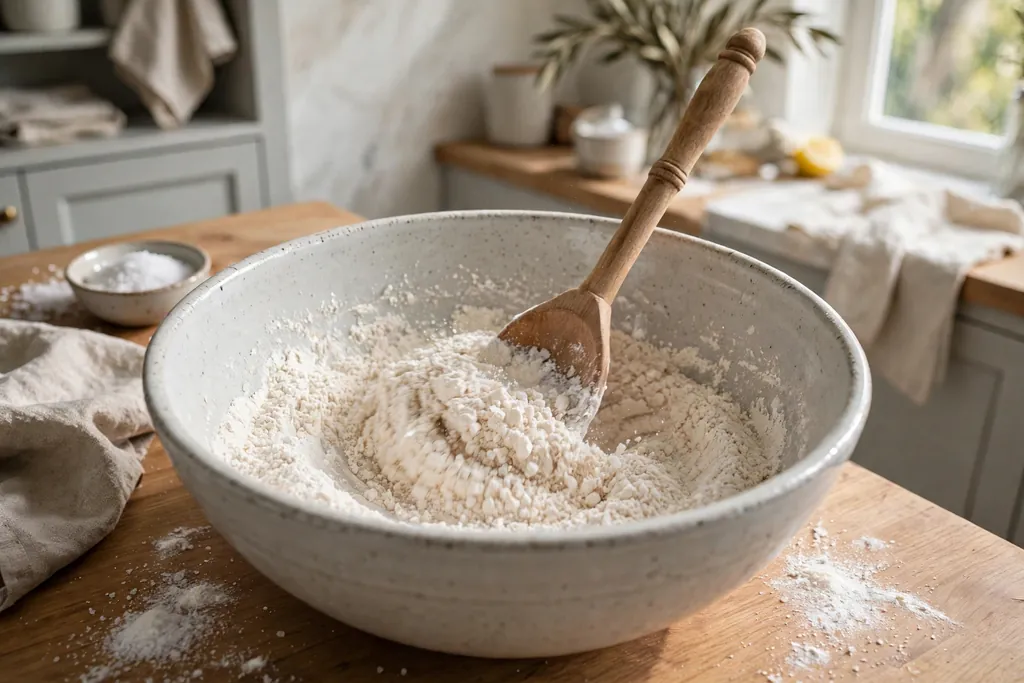
Stir the flour and salt together with a wooden spoon until the mix looks even, with no pockets of plain salt or plain flour. An even dry mix helps the dough hold together when water is added, and it helps each ornament bake at a similar rate. Break up any small lumps with the back of the spoon as you stir.
Take a few seconds to check the bottom of the bowl, where salt can settle. A quick final stir from the bottom up gives a uniform base, and that uniform base is what makes the dough smooth in the kneading step that follows.
4. Add Water a Little at a Time
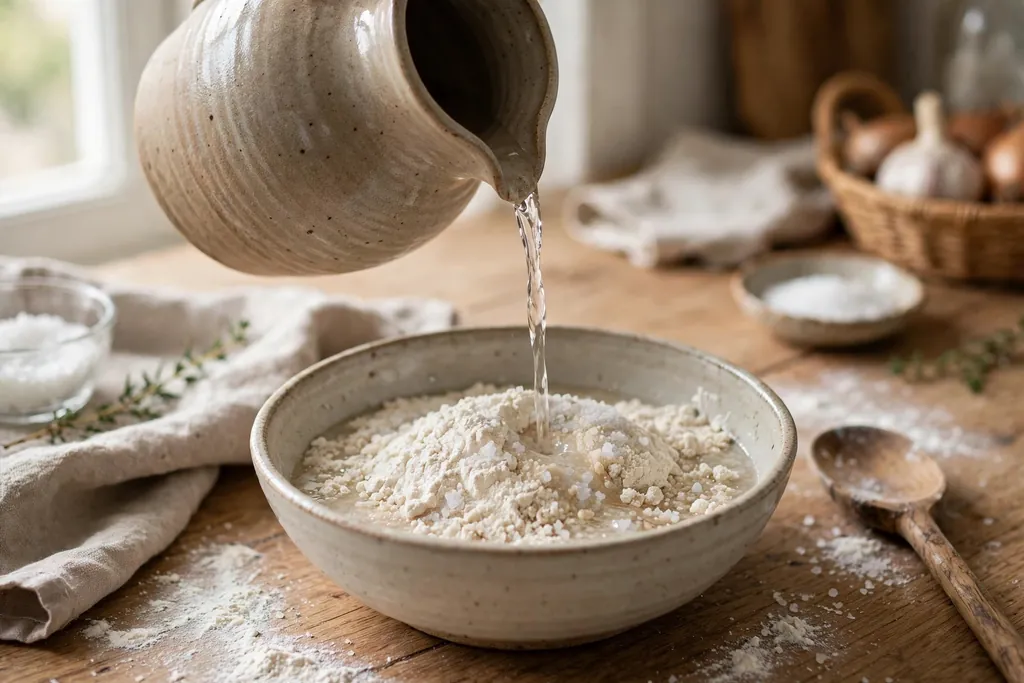
Pour in about half a cup of water first, then stir until the mix starts to clump. Add the rest of the water one tablespoon at a time, stirring after each addition, until the dough comes together in a single mass. Most batches need between three quarters of a cup and one full cup, but the exact amount varies with the flour and the humidity in the room.
Stop adding water as soon as the dough holds together and leaves the sides of the bowl fairly clean. A dough that feels soft but not sticky is right for rolling. If the dough turns sticky, knead in a little more flour, one tablespoon at a time, until it feels workable again.
5. Knead Until Smooth

Turn the dough onto a lightly floured surface and knead it for five to ten minutes, pushing it away with your palms, folding it back, and turning it. Kneading blends the flour, salt, and water into a smooth, even dough that rolls without tearing. The dough is ready when it feels firm and smooth, with no dry cracks or sticky patches.
If the dough cracks at the edges while you knead, add a few drops of water and keep kneading. If it sticks to your hands, dust the surface with a little more flour. Do not overwork the dough past the smooth stage, since extra handling can dry it out and make rolled sheets crack.
6. Roll Out to an Even Thickness

Dust the surface and the rolling pin lightly with flour, then roll the dough to about 6 mm thick, or about one quarter of an inch. An even thickness matters more than an exact number, since thin spots bake fast and can burn while thick spots stay soft inside. Roll from the center outward, and turn the sheet a quarter turn now and then to keep it even.
If the dough sticks to the pin, dust the pin again rather than pressing harder. For a large batch, roll and cut half the dough at a time, and keep the rest covered with a damp cloth so it does not dry out while you work.
7. Cut Shapes and Trim the Edges
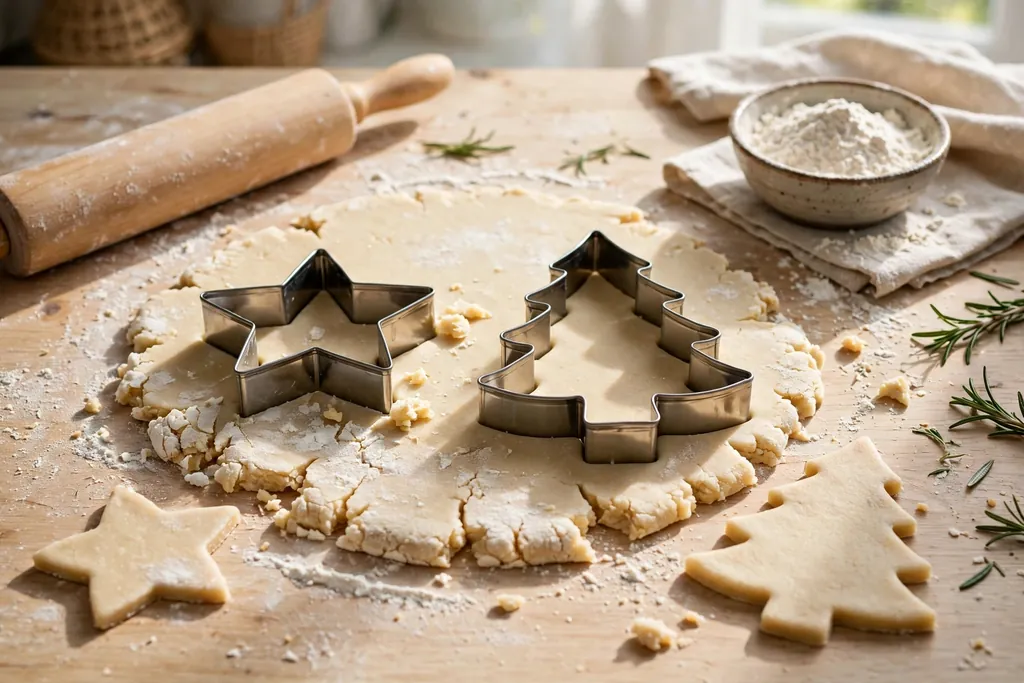
Press cookie cutters firmly through the rolled dough, then lift each shape with a flat spatula or a thin knife so the edges stay clean. Stars, trees, hearts, bells, and circles all work well, and simple shapes hold up best on the tree. Gather the scraps, knead them briefly, roll again, and cut more shapes until the dough is used up.
Trim any rough edges with your fingers or a small knife before baking, since rough edges stay rough after baking. Place the cut shapes on a parchment lined baking sheet with a small gap between them, so warm air can move around each piece in the oven.
8. Add Texture and Details
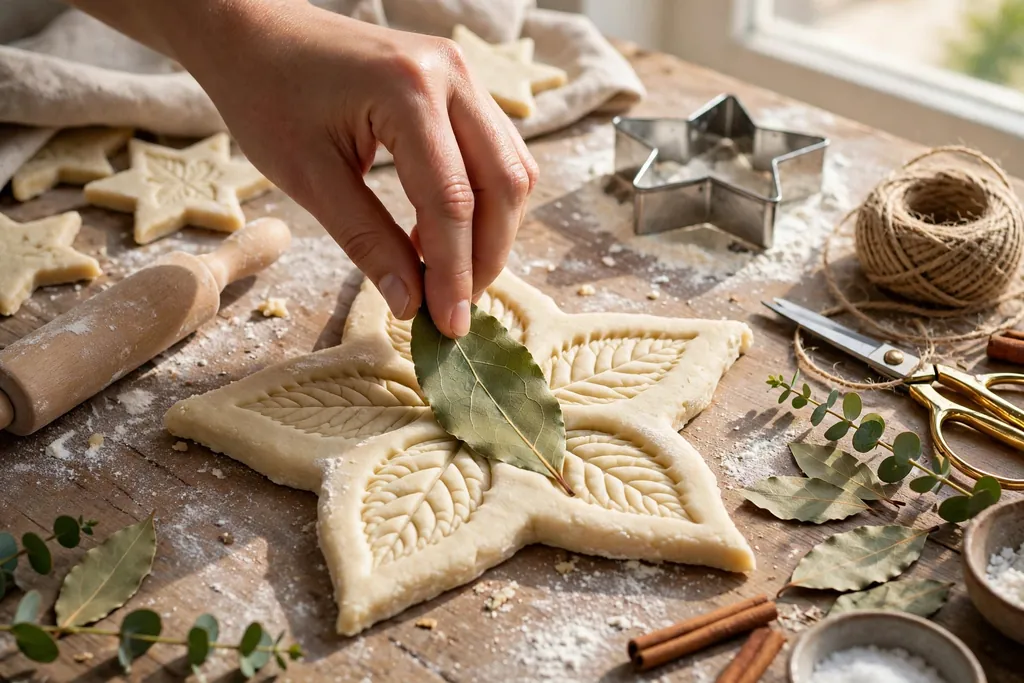
Press a stamp, a leaf, lace, or the end of a skewer lightly into the surface of each shape to add pattern before baking. Keep the marks shallow so they do not cut through the dough, and press evenly so the pattern reads clearly after painting. You can also add a name, a year, or initials with a skewer tip for a keepsake ornament.
Work on one shape at a time while the dough is still soft, and re-cut any shape that distorts while you press a pattern into it. Skip heavy or deep details on thin ornaments, since deep marks can weaken a thin piece and cause it to crack as it dries in the oven.
9. Make a Hanging Hole in Each Ornament

Push a straw or skewer through the top of each shape, about 6 mm from the edge, and wiggle it gently to make a clean hole large enough for ribbon or twine. Make the hole before baking, since baked dough is hard and can crack if you try to drill or poke it after. Check each hole from both sides, and clear out any dough plug left inside.
Place the hole so the ornament will hang straight, near the top center of the shape. For long shapes, such as a tree or a bell, test the balance by holding the shape up by the hole before baking, and move the hole slightly if the shape tilts to one side.
10. Bake Low and Slow
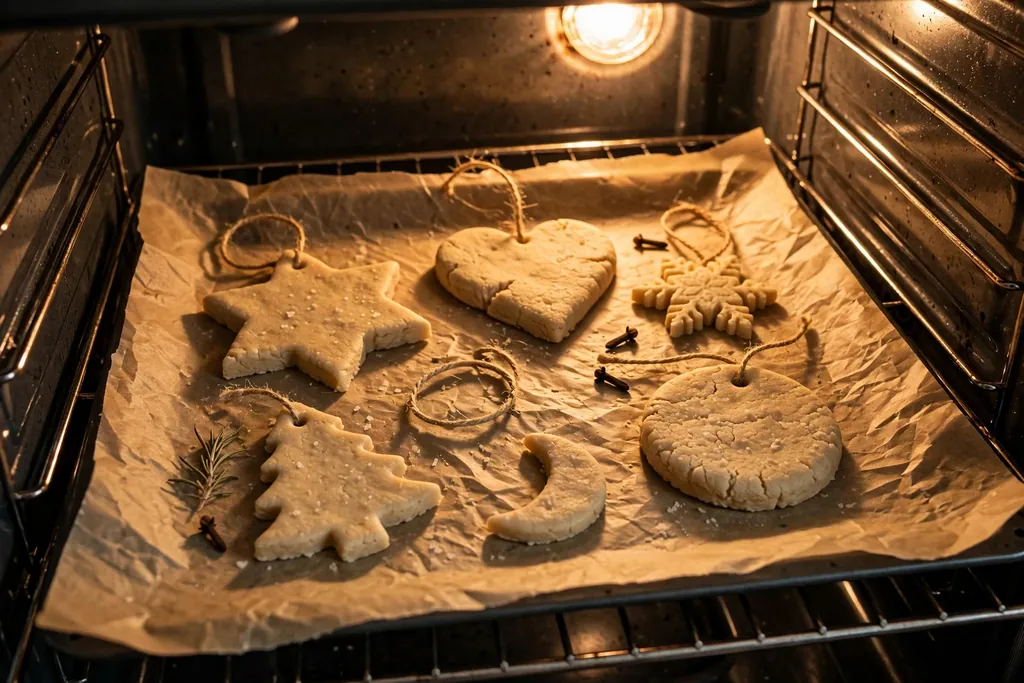
Heat the oven to about 200 degrees Fahrenheit, or about 100 degrees Celsius, and bake the ornaments for two to three hours, depending on thickness. Turn the shapes over halfway through so both sides dry evenly, and check them often near the end of the bake. The ornaments are done when they feel hard all the way through and sound solid when tapped, with no soft or cool spots in the center.
Let thicker pieces bake longer rather than raising the heat, since high heat can brown or puff the surface. If a piece still feels soft in the middle, return it to the oven for another 30 minutes and check again. Leave the baked ornaments in the cooling oven for a short while if your oven cools slowly, then move them to a rack.
11. Cool Completely Before Decorating
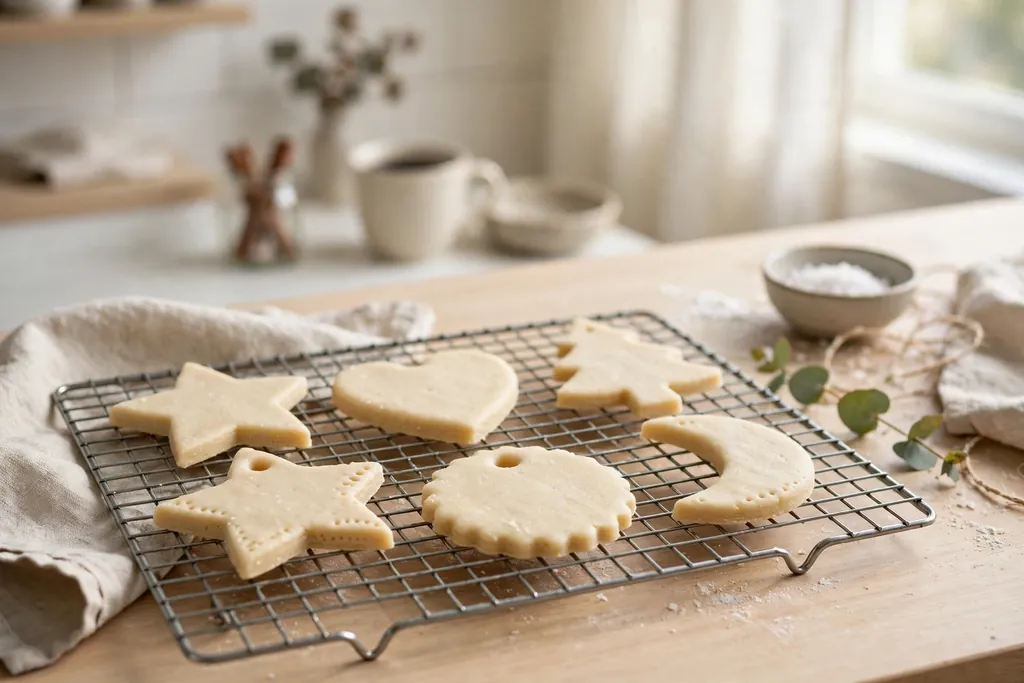
Move the baked ornaments to a cooling rack and leave them until they feel cool all the way through, not just on the surface. Paint applied to warm dough can bubble or peel, and sealant applied too soon can trap dampness inside. Cooling also lets you check each piece for cracks or soft spots before you spend time painting it.
Set aside any piece that still feels damp or soft in the center, and return it to a low oven for more drying time. Check the hanging holes again once the ornaments are cool, and clear any hole that narrowed during baking with a skewer before you thread ribbon through it.
12. Paint and Decorate the Ornaments

Paint each cool ornament with thin coats of acrylic craft paint, and let each coat dry before adding the next. Thin coats keep detail sharp, while thick coats can fill stamped patterns and take much longer to dry. Use small brushes for edges and details, and paint the back of each ornament too, so it looks finished from every angle on the tree.
Add simple details such as dots, stripes, or a name in a contrast color once the base coat is dry. Keep glitter and small glued items for ornaments that will hang high or sit on a mantel, where loose pieces are less likely to drop. Let all paint dry fully before moving on to sealing.
13. Seal, Hang, and Store the Finished Ornaments

Brush or spray a clear craft sealant over each painted ornament in a well ventilated area, and let it dry fully before handling. Sealant protects the paint from chipping and helps keep damp air out during storage, which is the main cause of softening over time. Apply a second thin coat if the first coat looks patchy, and let that coat dry fully too.
Thread ribbon or twine through each hanging hole, and hang heavier ornaments on strong inner branches close to the trunk. For storage, wrap each ornament in tissue and pack them in a dry box with heavier pieces at the bottom. Check stored ornaments each year for damp or damage, and re-seal any piece where the finish has worn thin.
Conclusion
An ornament dough recipe is a simple way to make handmade holiday decorations from flour, salt, and water. Mix and knead the dough until smooth, roll it evenly, cut clean shapes, poke hanging holes before baking, and bake low until each piece feels hard through. Cool the ornaments fully, paint in thin coats, seal the finish, and hang them where they can be seen and enjoyed. Make a small batch first, learn how your oven handles the dough, and save the shapes and colors that work best for next year.
FAQs
What is an ornament dough recipe?
An ornament dough recipe is a method for making firm, paintable holiday ornaments from flour, salt, and water. The dough is mixed, kneaded, rolled flat, cut into shapes, baked at low heat until hard, then cooled, painted, and sealed for hanging on a tree or giving as a gift.
What ingredients do I need for ornament dough?
You need two cups of plain flour, one cup of fine salt, and three quarters to one cup of water for a basic ornament dough recipe. You also need paint and a clear sealant for decorating, plus a rolling pin, cookie cutters, a baking sheet, and ribbon or twine for hanging.
How thick should I roll ornament dough?
Roll ornament dough to about 6 mm thick, or about one quarter of an inch, and keep the thickness even across the whole sheet. Even thickness helps each ornament bake through at the same rate, while thin spots can burn and thick spots can stay soft inside.
How long do I bake salt dough ornaments?
Bake salt dough ornaments at about 200 degrees Fahrenheit, or about 100 degrees Celsius, for two to three hours, depending on thickness. Turn them halfway through, and keep baking until each piece feels hard all the way through, with no soft or cool spot in the center.
Why did my salt dough ornaments crack?
Salt dough ornaments crack when the dough is rolled unevenly, baked at too high a heat, or dried too fast, or when a hanging hole is made after baking. Roll evenly, bake low and slow, let pieces cool fully, and always poke hanging holes before baking to reduce cracking.
How do I store dough ornaments so they last?
Store dough ornaments in a dry box with tissue between layers, heavier pieces at the bottom, and fragile pieces wrapped alone. Keep the box in a cool, dry place, check the ornaments each year for damp or damage, and re-seal any piece where the finish has worn thin.