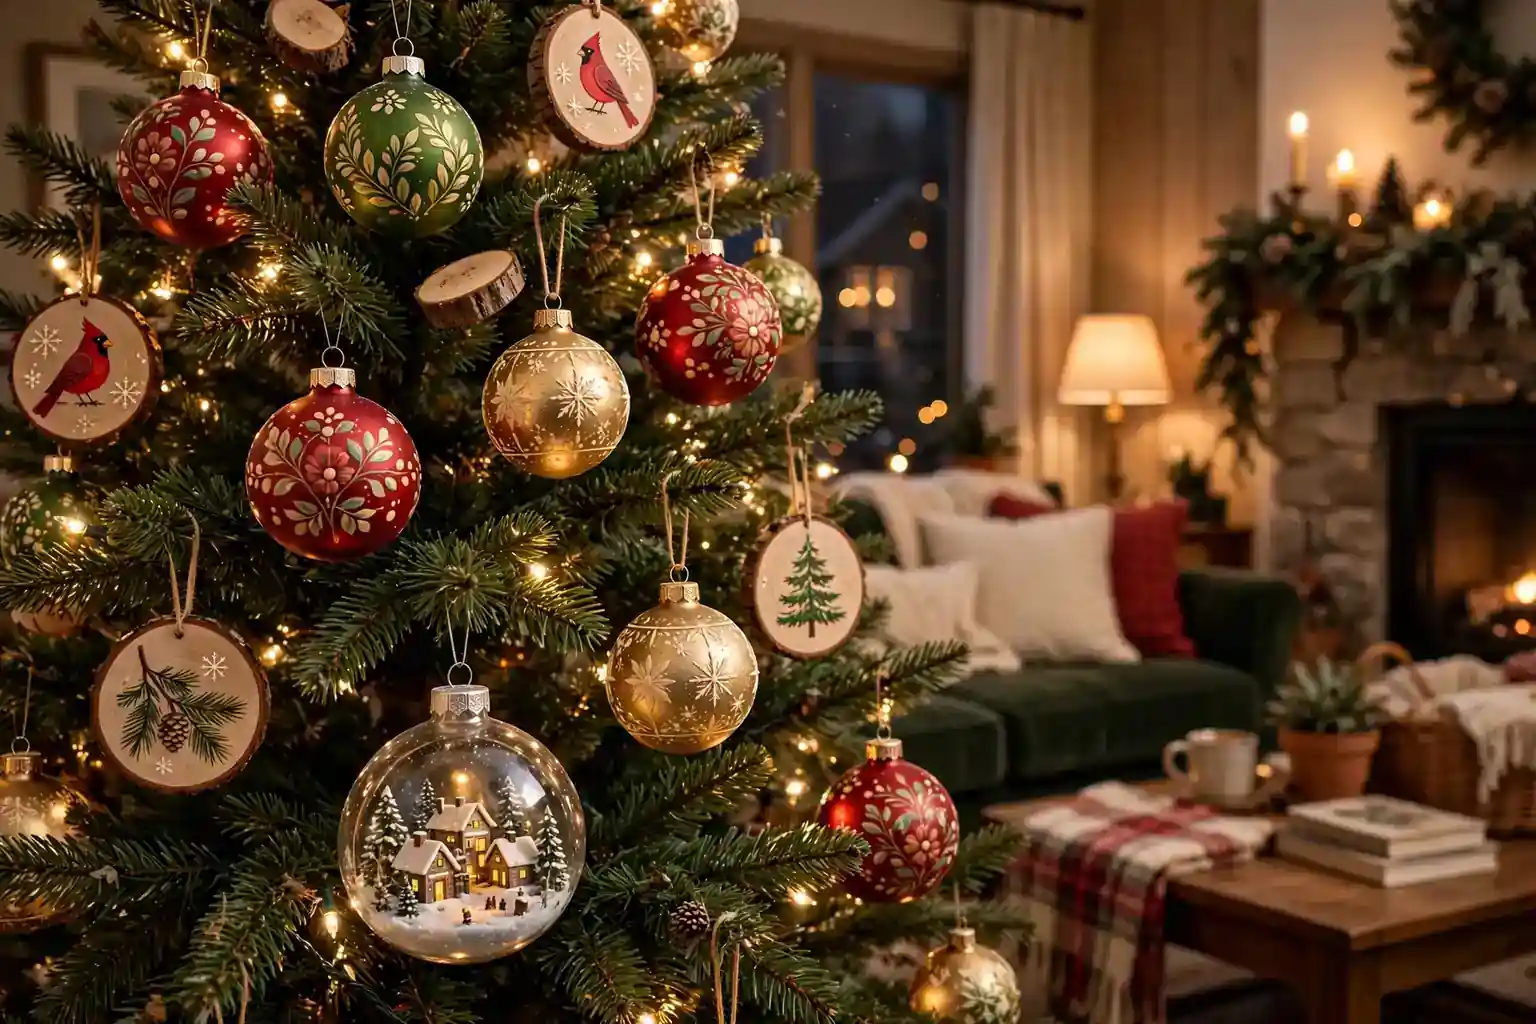
A hand painted Christmas ornament is a plain bauble, wood slice, or ceramic shape decorated by hand with paint, so each piece carries brush marks and small details no factory finish can match. Pick one surface, one paint type, and one simple motif, then seal the paint and add a loop for hanging.
Start with one easy design, such as stripes or dots, before moving to detailed pieces like village scenes or portraits. Use paint made for the surface you chose, let each coat dry fully, and work in thin layers so details stay crisp. For more seasonal ideas to pair with these handmade pieces, see the vintage Christmas decor ideas and browse the Dwell Ovell decor ideas index. Group finished ornaments by color or theme on the tree, and keep heavier ceramic and wood pieces on strong lower branches.
Key Takeaways
- Start with a simple motif and a short paint list, then build skill with each ornament.
- Match the paint to the surface: glass paint for glass, acrylic for wood and ceramic, and a clear sealer to protect the finish.
- Paint in thin layers and let each coat dry fully so details stay crisp and colors stay clean.
- Repeat one or two colors through the set for a calm, collected look on the tree.
- Date or initial keepsake ornaments so they carry family meaning from year to year.
- Store painted ornaments in divided boxes with tissue between pieces to protect the paint.
1. Classic Striped Glass Baubles
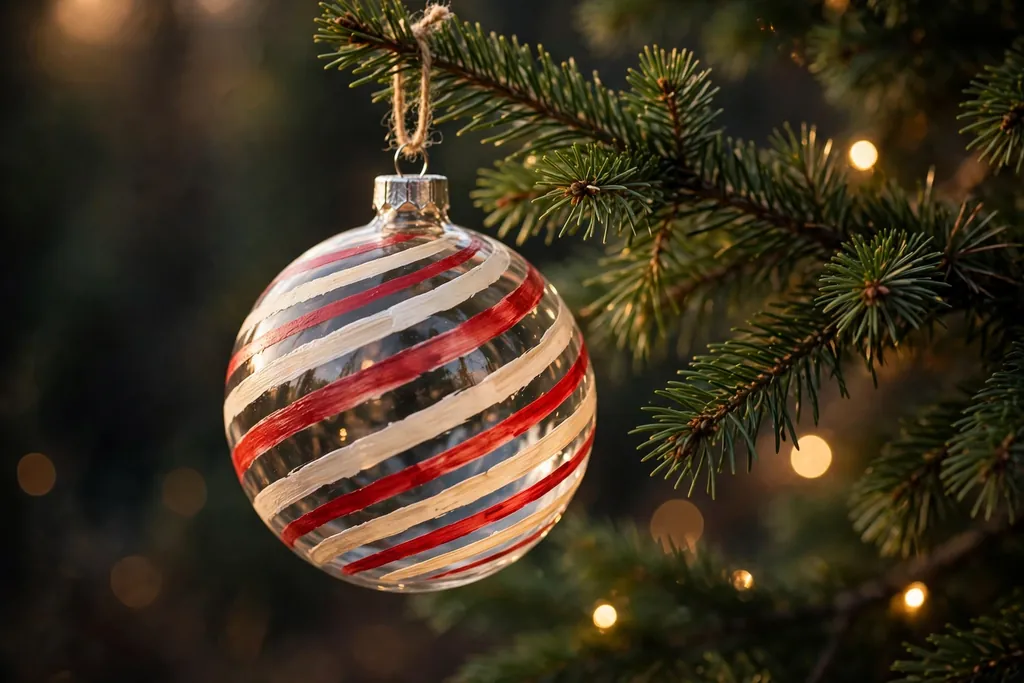
Paint clean stripes around a clear or frosted glass bauble using a fine brush or a striping brush, working from the top of the ball toward the bottom in one smooth motion. Alternate two colors, such as red and cream or green and gold, and leave even gaps of bare glass between stripes so the pattern reads clearly. Add a matching ribbon loop and hang the bauble where light can pass through the glass.
Keep the bauble steady in a cup or an egg carton while you paint, and rotate it slowly rather than moving the brush around a loose ball. If a stripe wobbles, wipe it off while the paint is still wet and repaint that stripe only. Striped baubles suit almost any tree, since their simple pattern pairs well with both plain and detailed ornaments.
2. Winter Village Scene Baubles
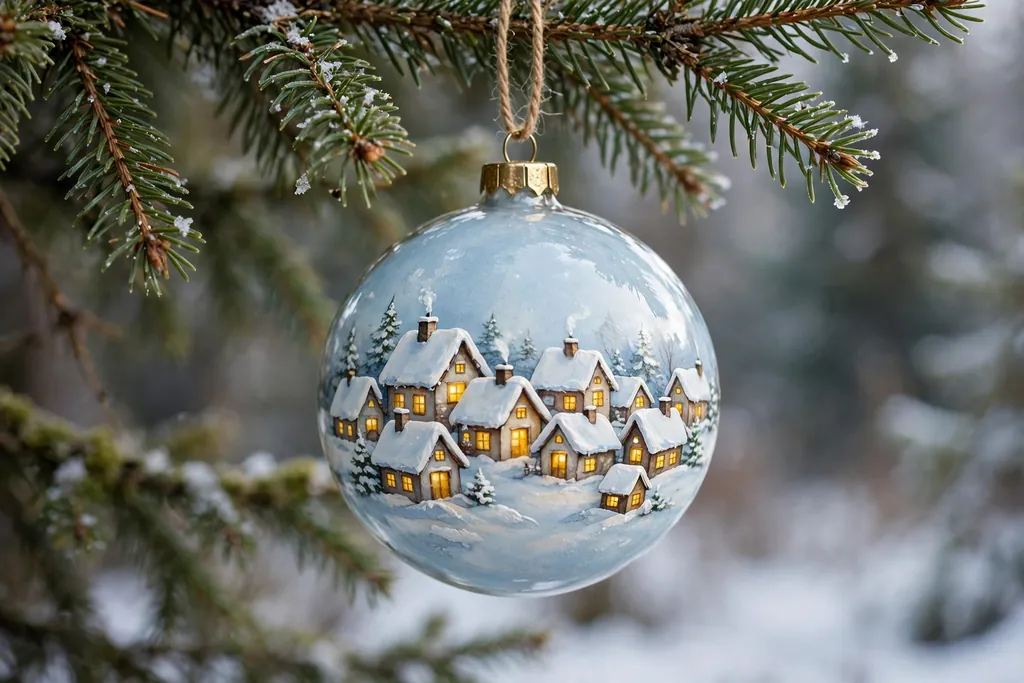
Paint a small winter village around a large round bauble, with tiny houses, snow covered roofs, bare trees, and warm yellow windows on a pale blue or deep green ground. Keep each house to a few shapes, a rectangle, a triangle roof, and a small door, so the scene stays readable at ornament size. Add a band of white dots at the base for snow, and finish with a clear sealer.
Sketch the scene lightly in pencil on the bauble first, or plan it on paper, so houses do not crowd each other. Paint the background first, then the houses, then the smallest details such as windows and smoke. Village baubles work best as focal ornaments, hung near the outer branches where the scene can be seen up close.
3. Watercolor Floral Baubles
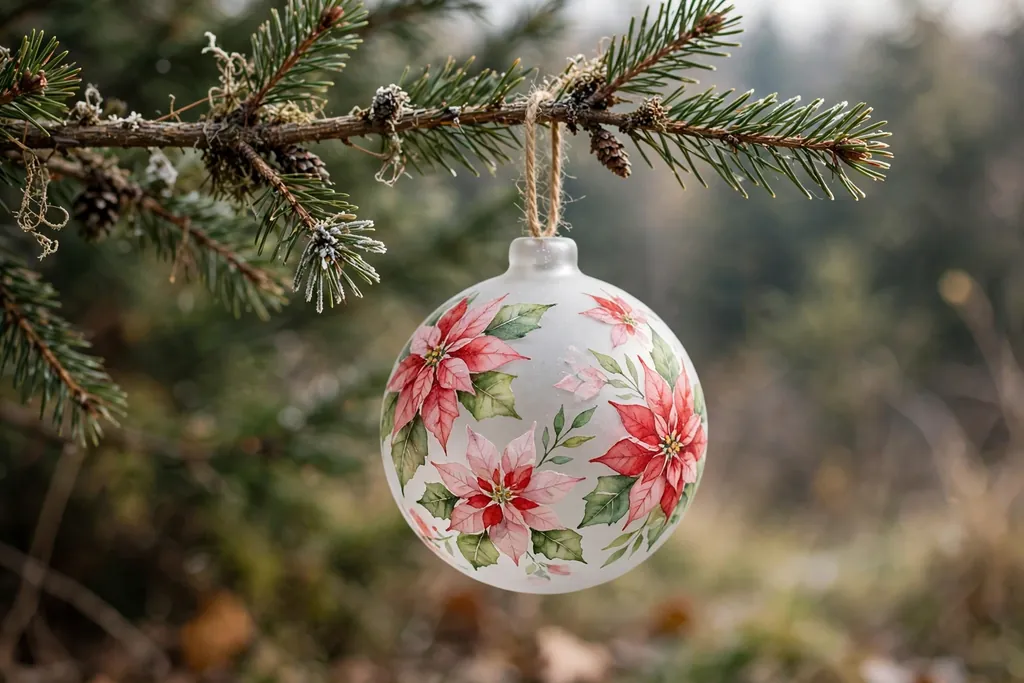
Paint soft flowers on a frosted glass or ceramic bauble using thin, watery layers of paint, letting each petal layer dry before adding the next. Use simple blooms such as poinsettias, roses, or winter berries, with loose green leaves and a few gold dots for centers. Keep the flowers to one side of the bauble so the design has breathing room, and seal it with a light clear coat.
Watercolor style painting suits a tree with pastel, cream, and gold ornaments, and it softens a tree that already holds many bold colors. Work with a small round brush and little paint on the brush, since too much water can run on a curved surface. If a petal spreads too far, blot it gently while wet and repaint once dry.
4. Hand Lettered Name Baubles
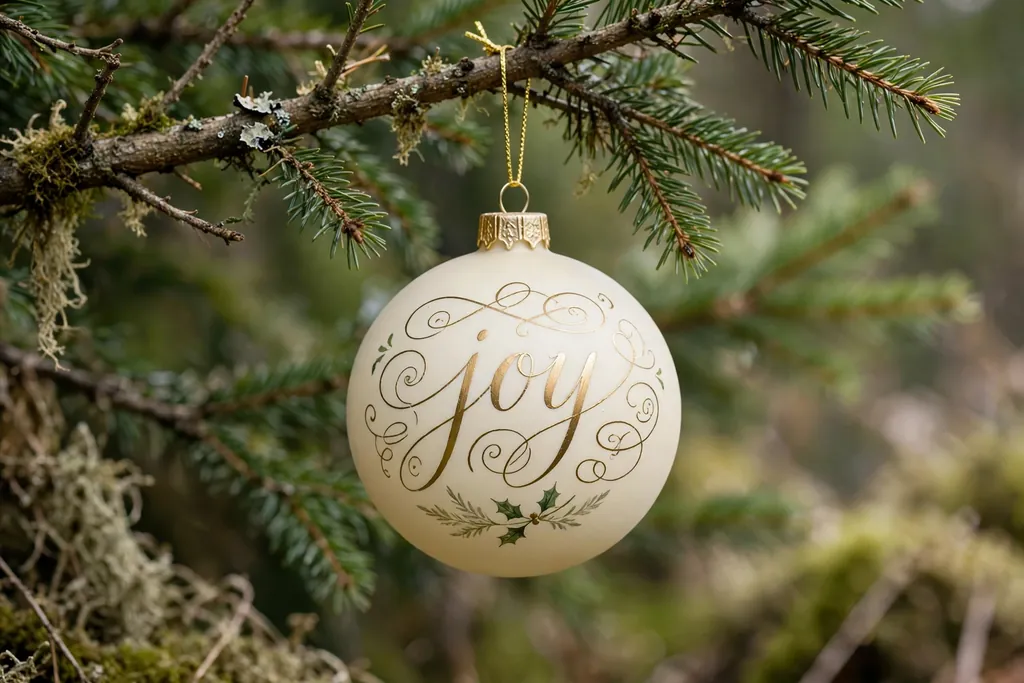
Paint a name, a short word, or a year in hand lettering on a plain bauble, using a fine liner brush or a paint pen made for glass or ceramic. Choose one clear lettering style, such as simple block letters or a relaxed script, and keep the word centered on the widest part of the ball. Add a small sprig, star, or dot motif beside the word for balance, and seal the paint well.
Practice the word on paper first, and mark light guide lines on the bauble so letters stay level. Lettering in gold on deep green, or white on red, reads well from a short distance. Name baubles make thoughtful gifts, and they also work as place markers tied to wrapped presents, then hung on the tree after the gift is opened.
5. Folk Art Wood Slice Ornaments
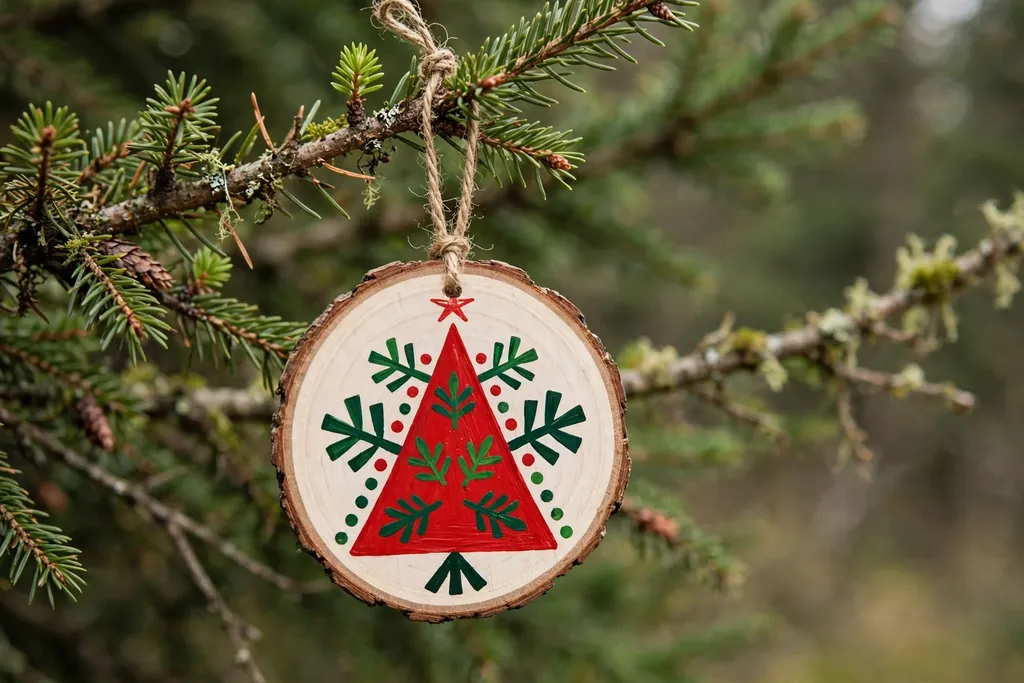
Paint a folk art design on a thin wood slice, such as a simple tree, a bird, a star, or a heart, using flat acrylic colors and bold outlines. Sand the slice lightly first, paint a cream or red background, then add the motif in two or three contrasting colors. Finish with a clear sealer and a twine loop through a small drilled hole or glued to the back.
Folk art suits a rustic tree with wooden beads, dried orange slices, and plaid ribbon. Keep shapes simple and outlines steady, since folk art relies on clear shapes rather than fine detail. Wood slices are light enough for most branches, and they make good first painting projects because acrylic grips wood well and mistakes can be sanded off and repainted.
6. Nordic Snowflake Baubles
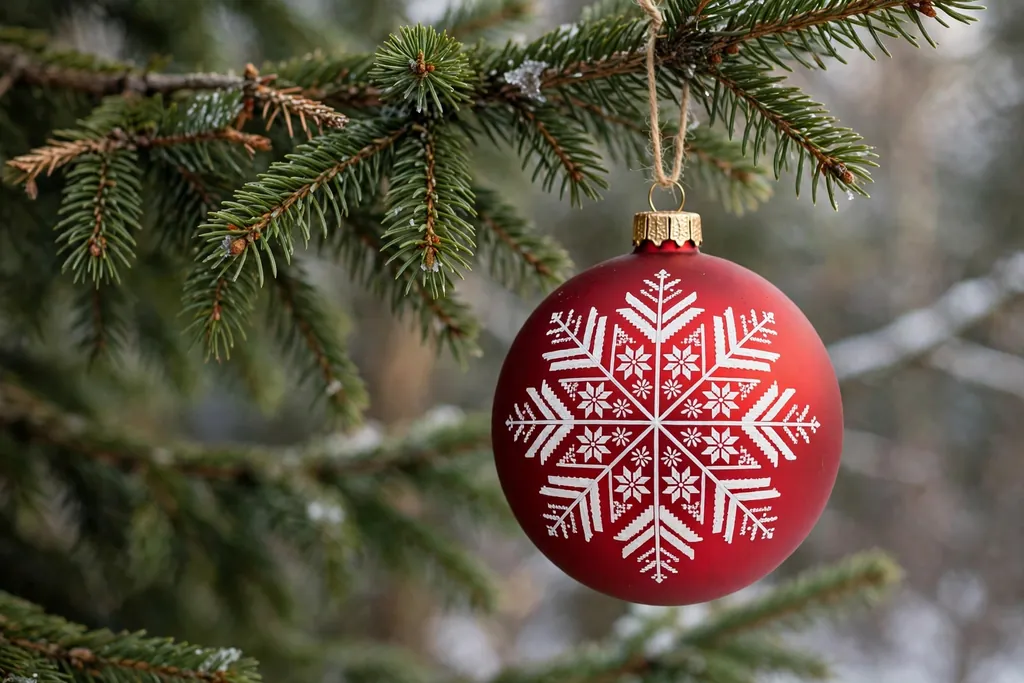
Paint a large snowflake on a matte red, green, or navy bauble using white paint and a fine brush, with six even arms and small dots or short lines at the tips. Keep each arm the same length and space the side branches evenly so the snowflake looks balanced. Add a second, smaller snowflake on the back of the bauble so the ornament looks finished from both sides.
Mark the center point and the six arm directions lightly before painting, so the snowflake stays even. Nordic snowflakes suit a tree with white, red, and natural wood ornaments, and they pair well with knit stockings and simple paper stars. If a line goes wrong, wipe it while wet, or cover it with the background color once dry and repaint.
7. Vintage Santa Portrait Baubles
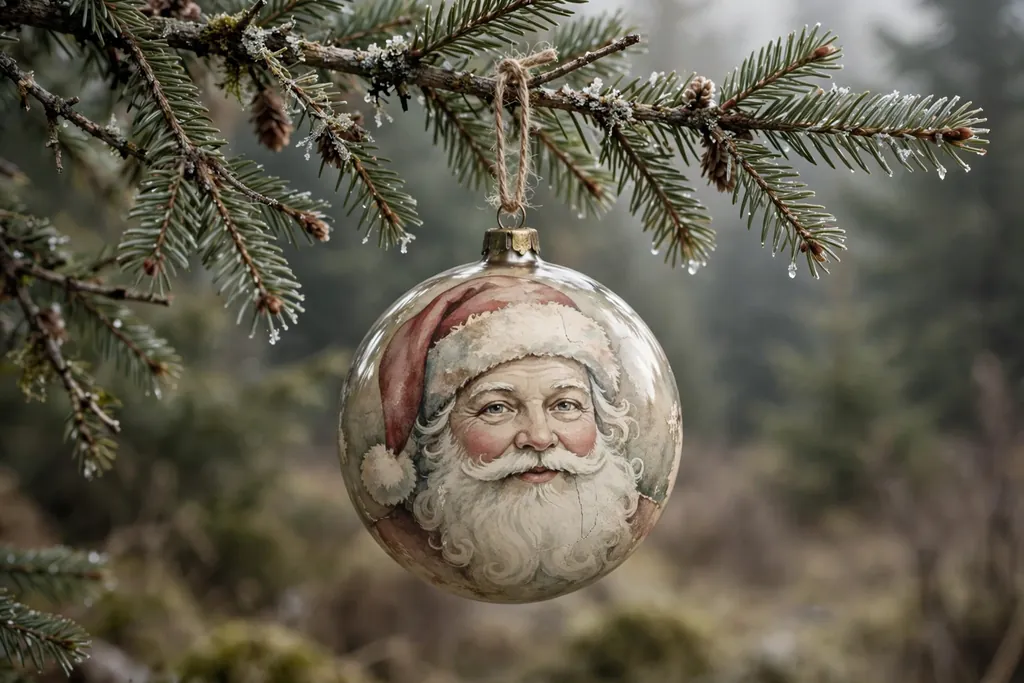
Paint a small vintage style Santa face on a round bauble, with a red hat, a round rosy face, a white beard in short brush strokes, and simple dark eyes. Keep the face large and centered, since a small face will blur at ornament size, and use soft, muted reds and creams for a vintage feel rather than bright modern colors. Seal the portrait with a clear coat to protect the fine brushwork.
Paint the hat and beard shapes first, then the face, then the smallest features last. Short, layered strokes give the beard texture without needing fine detail. Santa portrait baubles work best as statement ornaments on a tree with plain baubles around them, so the face is not lost among busy patterns.
8. Tartan Plaid Baubles
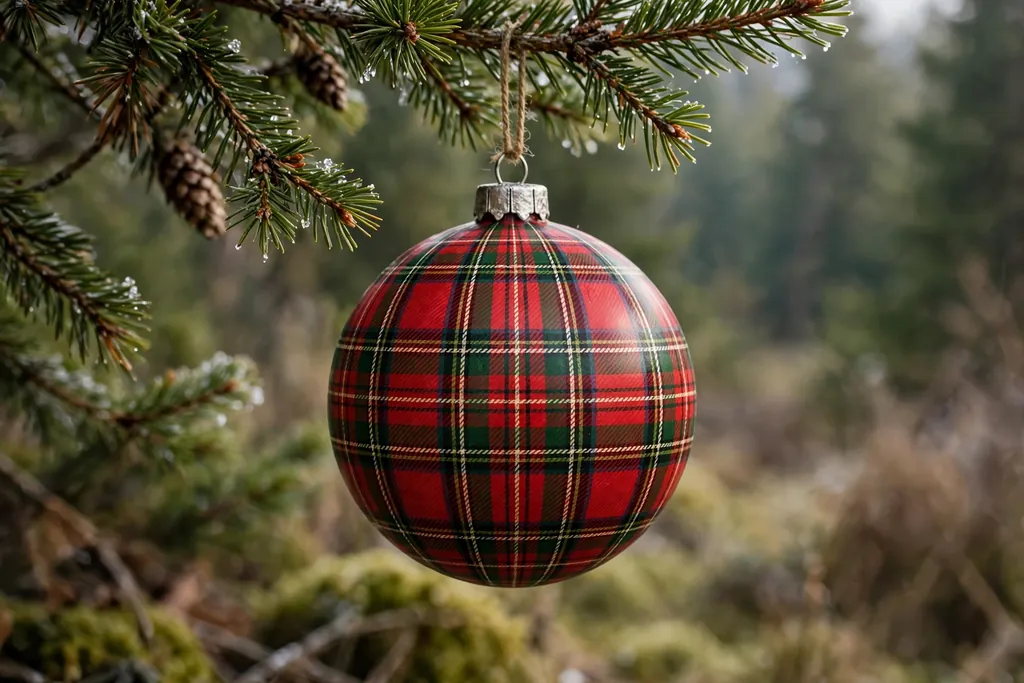
Paint a tartan plaid pattern on a round bauble by laying down wide bands of color in one direction, then crossing them with bands in a second color, and finishing with thin lines in a third color. Use classic pairings such as red and green with cream lines, or navy and green with white lines. Let each layer dry before adding the next so colors do not muddy.
Plaid suits a cozy tree with knit stockings, wooden ornaments, and plaid ribbon, and it reads well from across the room. Keep the bands even by turning the bauble slowly and painting one band at a time. If bands look uneven, step back and check the pattern as a whole, since small wobbles matter less than even spacing.
9. Gold Leaf Accent Baubles
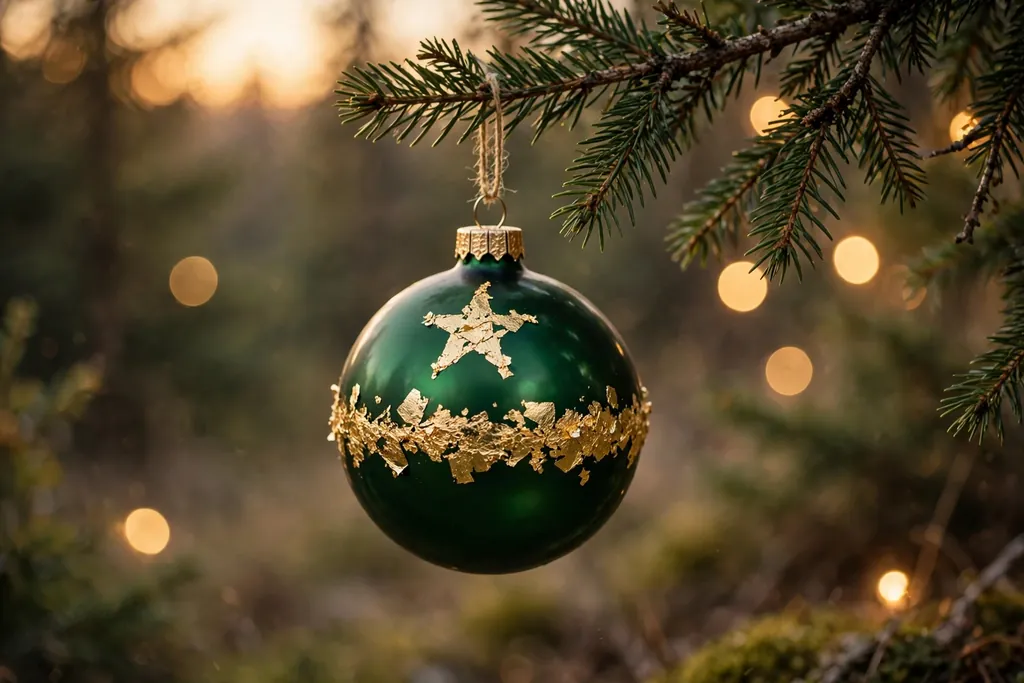
Apply gold leaf to parts of a painted bauble, such as a band around the middle, a star, a crescent, or scattered flakes over a deep green, navy, or black base. Brush on a thin layer of leaf adhesive, wait until it turns tacky, lay the leaf gently in place, and brush away loose pieces with a soft dry brush. Seal the leaf with a clear coat made for metal leaf so it does not flake.
Gold leaf gives a rich finish without needing detailed painting, so it suits painters who want a refined look with simple steps. Work on one section at a time, since adhesive dries and leaf tears easily if rushed. Hang gold leaf baubles where warm light can catch the metal, and handle them by the cap to avoid rubbing the leaf.
10. Chalkboard Style Ornaments
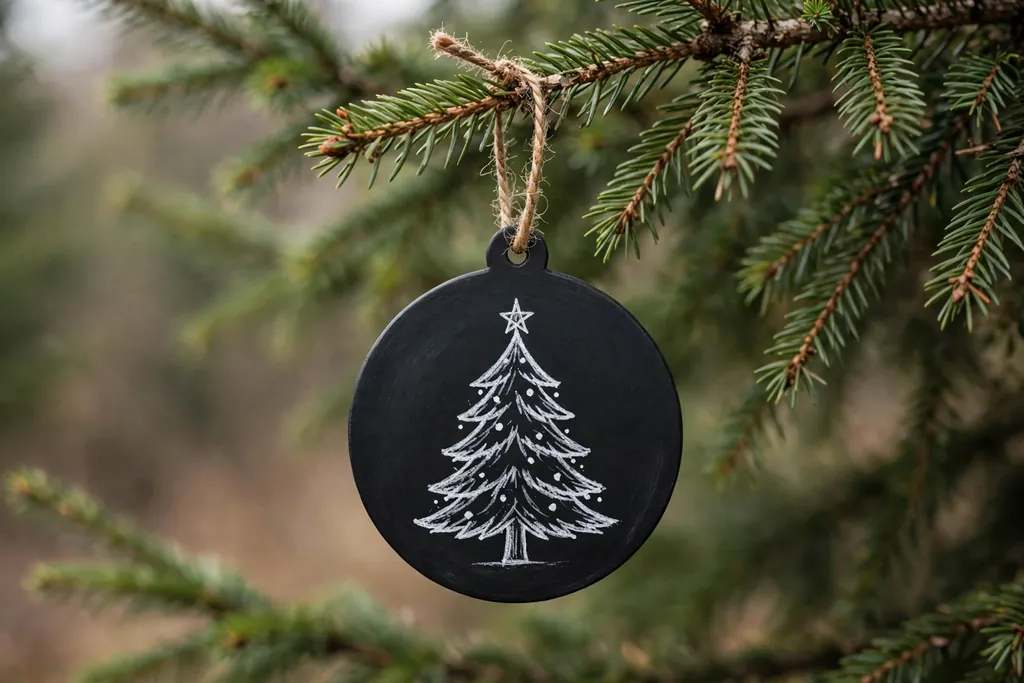
Paint a round or flat ornament with matte black chalkboard paint, then draw a Christmas design on it with white paint or a white paint pen, such as a tree, a snowflake, a star, or a short word. Keep the drawing simple, with bold lines and few details, so it reads like chalk on a board. Add a twine loop and a small sprig of greenery at the top for contrast.
Chalkboard ornaments suit a farmhouse or rustic tree, and they pair well with wood slices, kraft paper tags, and plain cream baubles. Since the white design sits on a dark ground, even simple drawings look bold. If a drawing goes wrong, repaint the black base once dry and start again, which makes this a forgiving first project.
11. Dot Painted Mandala Ornaments
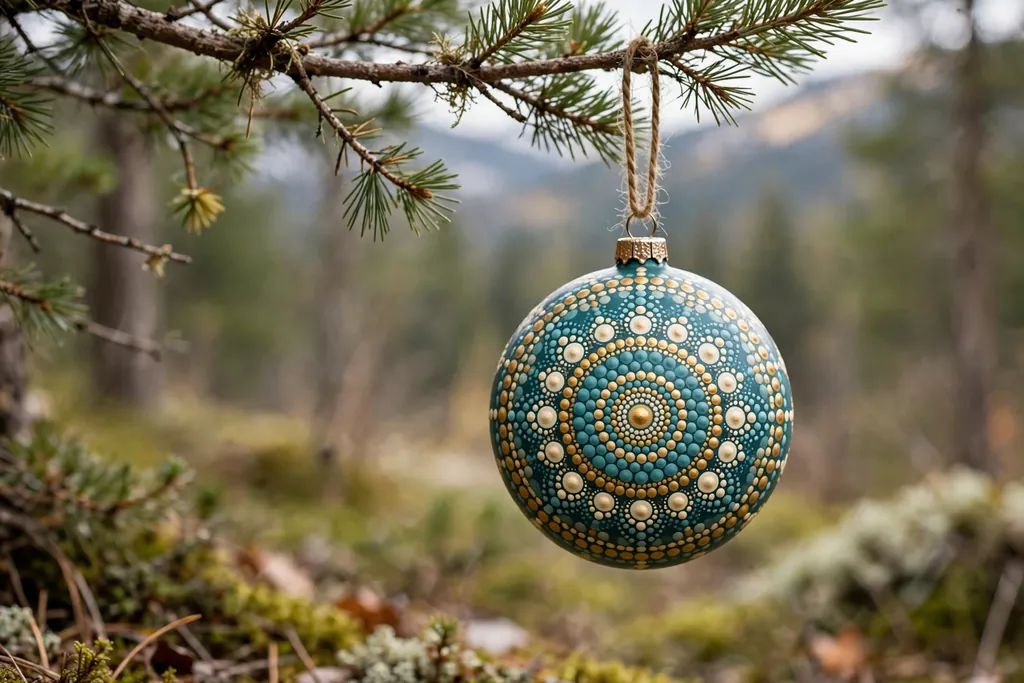
Paint a mandala on a round bauble using dots of different sizes, starting with a large dot at the center and building rings of dots outward in a repeating pattern. Use the round end of a brush handle, a dotting tool, or a toothpick for even dots, and repeat two or three colors for a calm pattern. Turn the bauble slowly as you work so each ring stays round.
Dot painting needs patience rather than drawing skill, since the pattern comes from spacing and repetition. Let each ring dry before adding the next ring close beside it, so dots do not run together. Mandala baubles suit a tree with jewel tones or pastels, and they make eye catching gifts because the pattern looks detailed while the method stays simple.
12. Painted Pinecone Ornaments
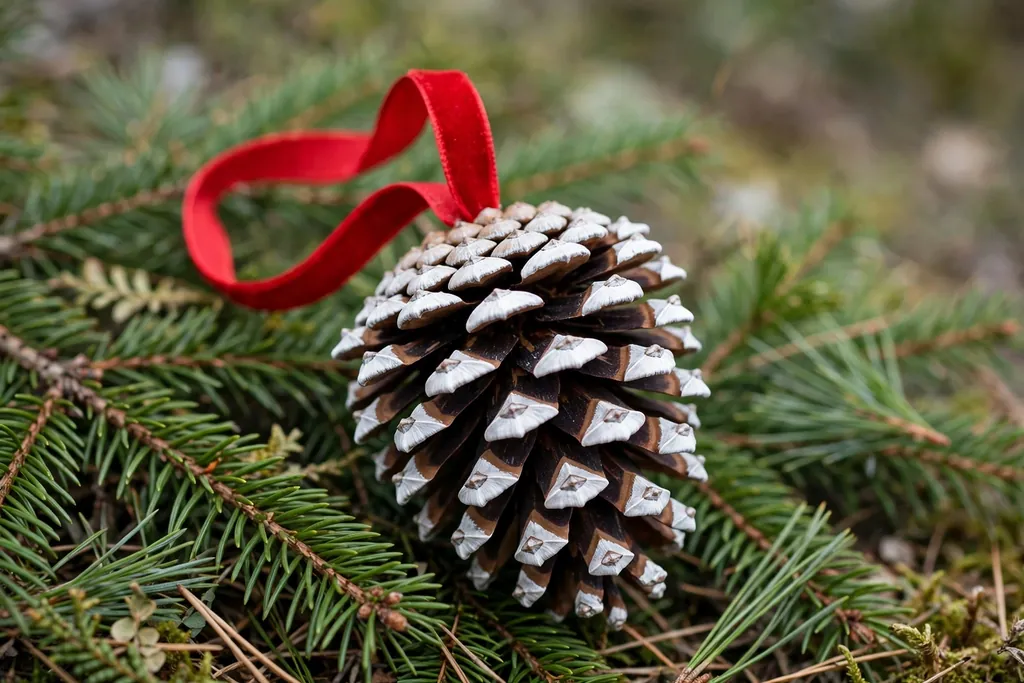
Paint the tips of pinecone scales in white, gold, red, or pastel colors, leaving the base of each scale natural so the pinecone keeps its texture. Work from the outer scales inward with a small brush, and add a light dusting of white on the tips for a snowy look. Glue a loop of ribbon or twine to the top, and seal the paint lightly so the scales do not stick together.
Painted pinecones suit a natural tree with greenery, wooden ornaments, and dried fruit slices. Choose pinecones that sit flat and open well, and clean off loose dirt before painting. Keep paint thin on the scales, since thick paint can glue scales shut and hide the pinecone shape. A group of painted pinecones in one color family looks calm, while mixed colors look playful.
13. Painted Ceramic Gingerbread Ornaments
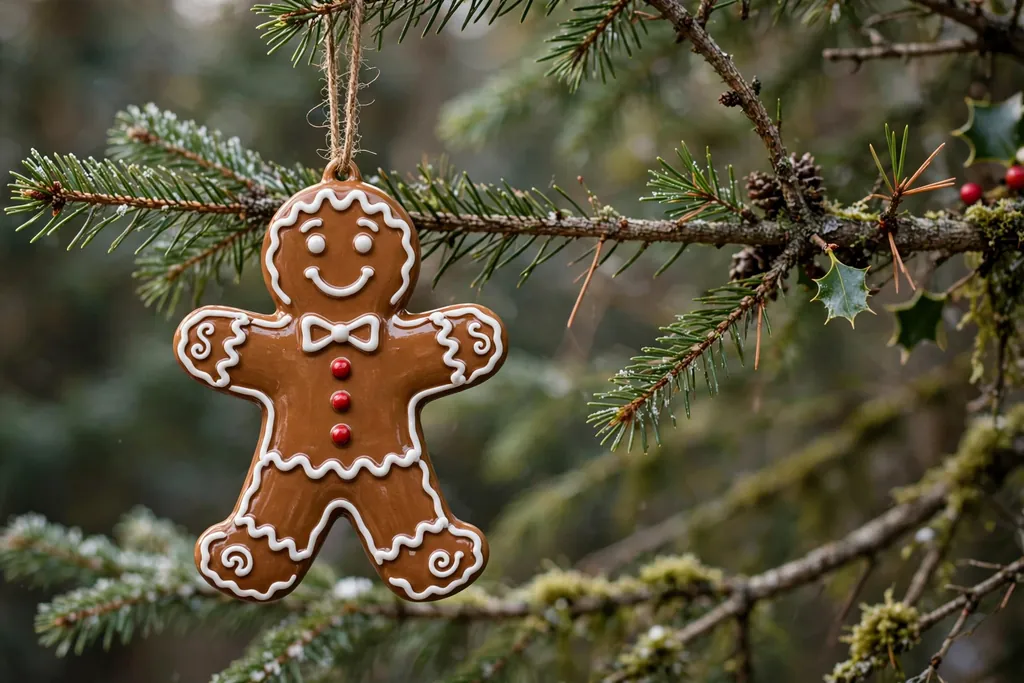
Paint a ceramic gingerbread figure, house, or star ornament in warm brown tones, then add white icing details with a fine brush or paint pen, such as dots, squiggles, and window outlines. Keep the icing lines simple and even, and add small red or green dots for buttons or roof details. Seal the ceramic piece so the paint survives handling and storage.
Ceramic gingerbread ornaments suit a kitchen tree or a tree with cookie, candy, and baking themed ornaments. Paint the brown base first and let it dry fully before adding white details, so the icing lines stay crisp. Since ceramic pieces are heavier than glass, hang them on strong branches or display them on a small stand.
14. Woodland Animal Wood Rounds
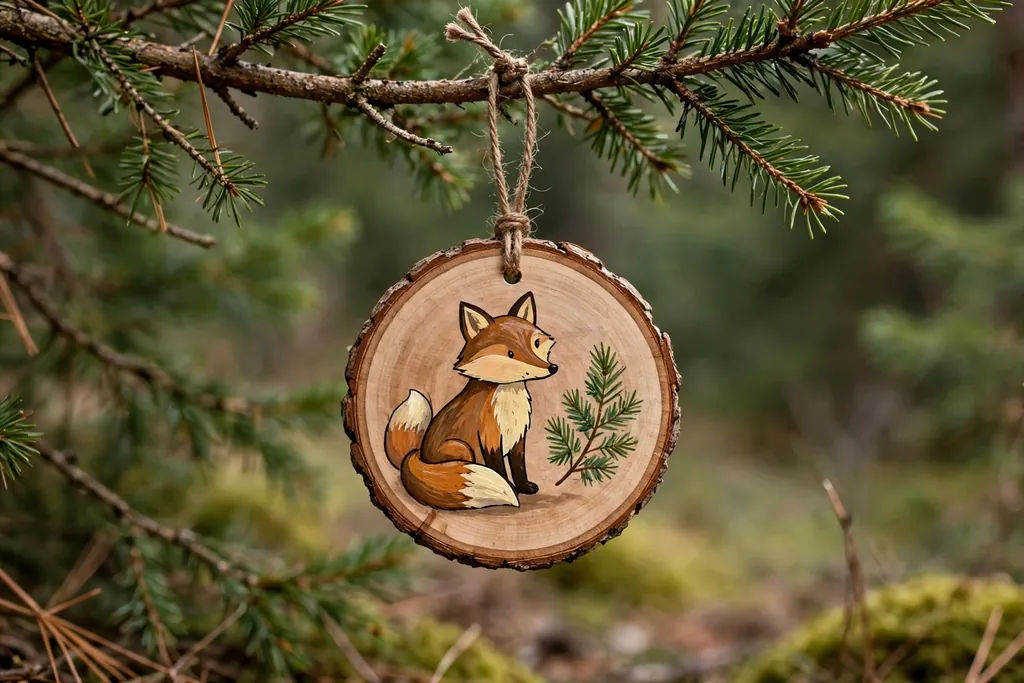
Paint a woodland animal on a round wood slice, such as a deer, a fox, an owl, or a rabbit, using simple shapes and a limited palette of browns, creams, and greens. Keep the animal large and centered, with a plain background or a single pine sprig beside it, so the animal reads clearly at ornament size. Add a twine loop and a clear sealer.
Woodland animals suit a nature themed tree with pinecones, wooden beads, and greenery. Paint the background first, then the animal body, then the face and ears last, using the smallest brush for eyes and noses. If an animal shape feels hard, start with an owl, whose round body and large eyes forgive small mistakes, before trying a deer or fox.
15. Stained Glass Effect Ornaments
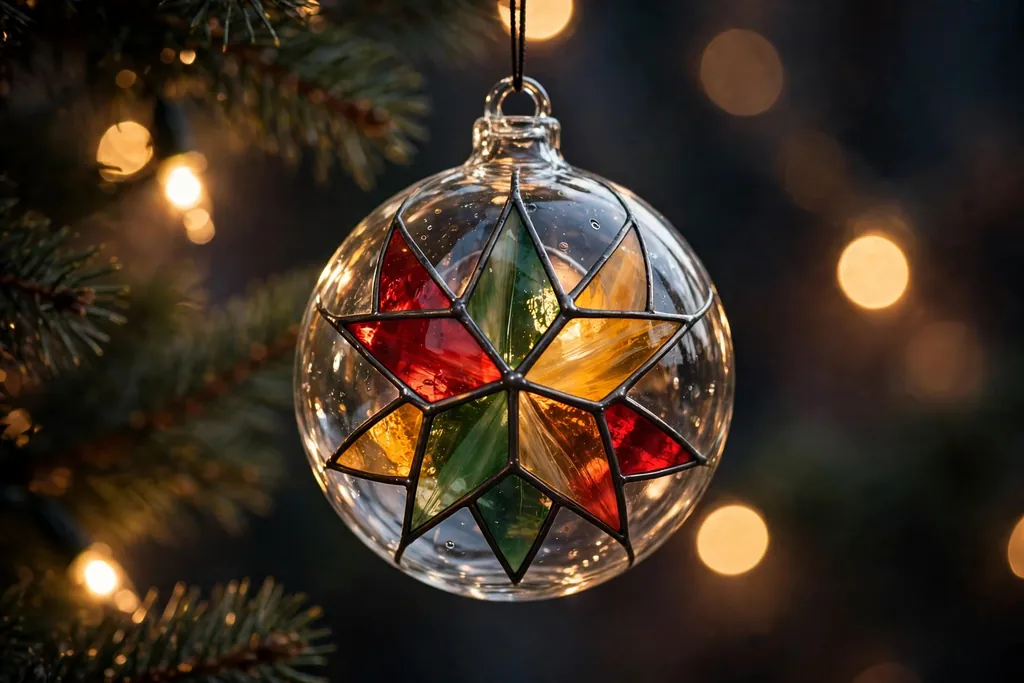
Paint a clear glass bauble with translucent glass paint in jewel colors, outlining each color section with a dark leading line to mimic stained glass. Use simple shapes such as a star, a tree, a poinsettia, or a geometric pattern, and keep color sections large enough to glow when light passes through. Let the paint cure fully before hanging.
Stained glass effect ornaments look best on a tree with warm white lights behind them, or hung in a window where daylight can shine through. Paint the dark outlines first and let them dry, then fill each section with translucent color, working one section at a time so colors do not bleed. Keep the design simple, since small sections are hard to fill neatly on a curved surface.
16. Midnight Sky Baubles

Paint a deep navy or black bauble with a night sky scene, adding a pale moon, small white and gold stars, and a few drifting clouds in soft gray. Keep the moon large and off center, scatter stars in different sizes, and add a thin band of gold dots near the bottom for a horizon glow. Seal the bauble so the dark paint stays even.
Midnight sky baubles suit a tree with gold, silver, and deep blue ornaments, and they stand out among bright red and green pieces. Paint the dark base in two thin coats for even coverage, then add stars with a dotting tool or the tip of a fine brush. Hang these baubles near lights so the stars catch the glow.
17. Fingerprint Family Keepsakes
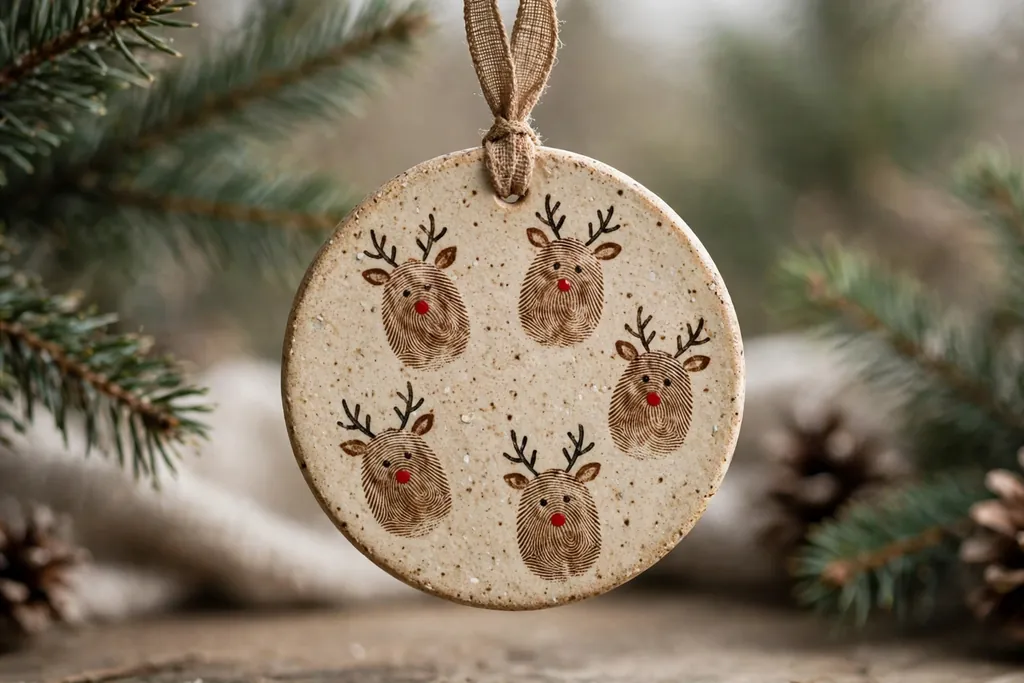
Paint a family keepsake ornament using fingerprints as the design, such as a row of fingerprint reindeer with antlers, a fingerprint snowman, or a fingerprint tree with colored dots for ornaments. Press a clean fingertip lightly into paint, stamp it on a plain bauble or ceramic disc, and add details with a fine brush once the prints dry. Write a name and year on the back with a paint pen.
Fingerprint keepsakes suit families with young children, since each print is unique and the method needs no drawing skill. Use washable paint for children’s hands and plain ceramic or wood for the base, so prints stay clear. Date each keepsake, store it in tissue, and bring it out each year so the family can see how small the prints once were.
Conclusion
Hand painted Christmas ornaments give a tree a personal layer that plain baubles cannot match, since each brushstroke shows time, choice, and care. Start with one simple design, finish it well, and add a few more each year so the collection grows with meaning. Choose colors and themes that suit your home, seal each piece before hanging, and enjoy a tree that carries your own work each December.
Frequently Asked Questions
What paint is best for hand painted Christmas ornaments?
The best paint depends on the surface: use glass paint for glass baubles, acrylic paint for wood and ceramic, and translucent glass paint for a stained glass effect. Acrylic paint is the most forgiving choice for beginners, since it dries fast, grips wood and ceramic well, and can be sealed with a clear coat. Always check that the paint suits the surface before starting, and seal the finished ornament to protect the paint.
How do you seal a hand painted Christmas ornament?
Seal a painted ornament with a clear coat made for the paint and surface, such as a spray sealer or a brush on varnish, applied in a thin, even layer once the paint is fully dry. Hold spray sealer at an even distance and use light passes rather than one heavy coat, since heavy coats can drip or cloud the paint. Let the sealer dry fully before hanging or storing the ornament.
How do you paint on a round bauble without smudging?
Rest the bauble in a cup, an egg carton, or a small ring stand while you paint, and paint one section at a time, letting it dry before turning the bauble. Work with thin paint layers and a light touch, and hold the bauble by its cap or a temporary stick through the cap loop. If a section smudges, wipe it while wet or repaint the background color once dry and start that section again.
Can beginners paint Christmas ornaments?
Beginners can paint Christmas ornaments well by starting with stripes, dots, plaid, or chalkboard designs, which rely on repetition and simple shapes rather than detailed drawing. Choose a plain surface, a small brush set, and two or three colors, and practice the motif on paper first. Many painters find their second or third ornament looks much neater than the first, so start with a simple set and build skill gradually.
How do you store hand painted ornaments so the paint lasts?
Store hand painted ornaments in divided boxes with tissue between pieces, and keep them in a dry place away from strong heat and sunlight. Wrap each ornament loosely in tissue so painted surfaces do not rub against each other, and keep heavier ceramic and wood pieces in separate compartments from glass. Label the box by theme or year so keepsakes are easy to find each season.
How long does it take to paint one Christmas ornament?
A simple painted ornament usually takes 30 minutes to one hour of painting time, plus drying time between coats, while detailed scenes or portraits can take two hours or more. Stripes, dots, and pinecones are often the quickest, since they use few colors and simple motions. Work in short sessions, let each coat dry fully, and seal the ornament on a separate day if the paint still feels soft.