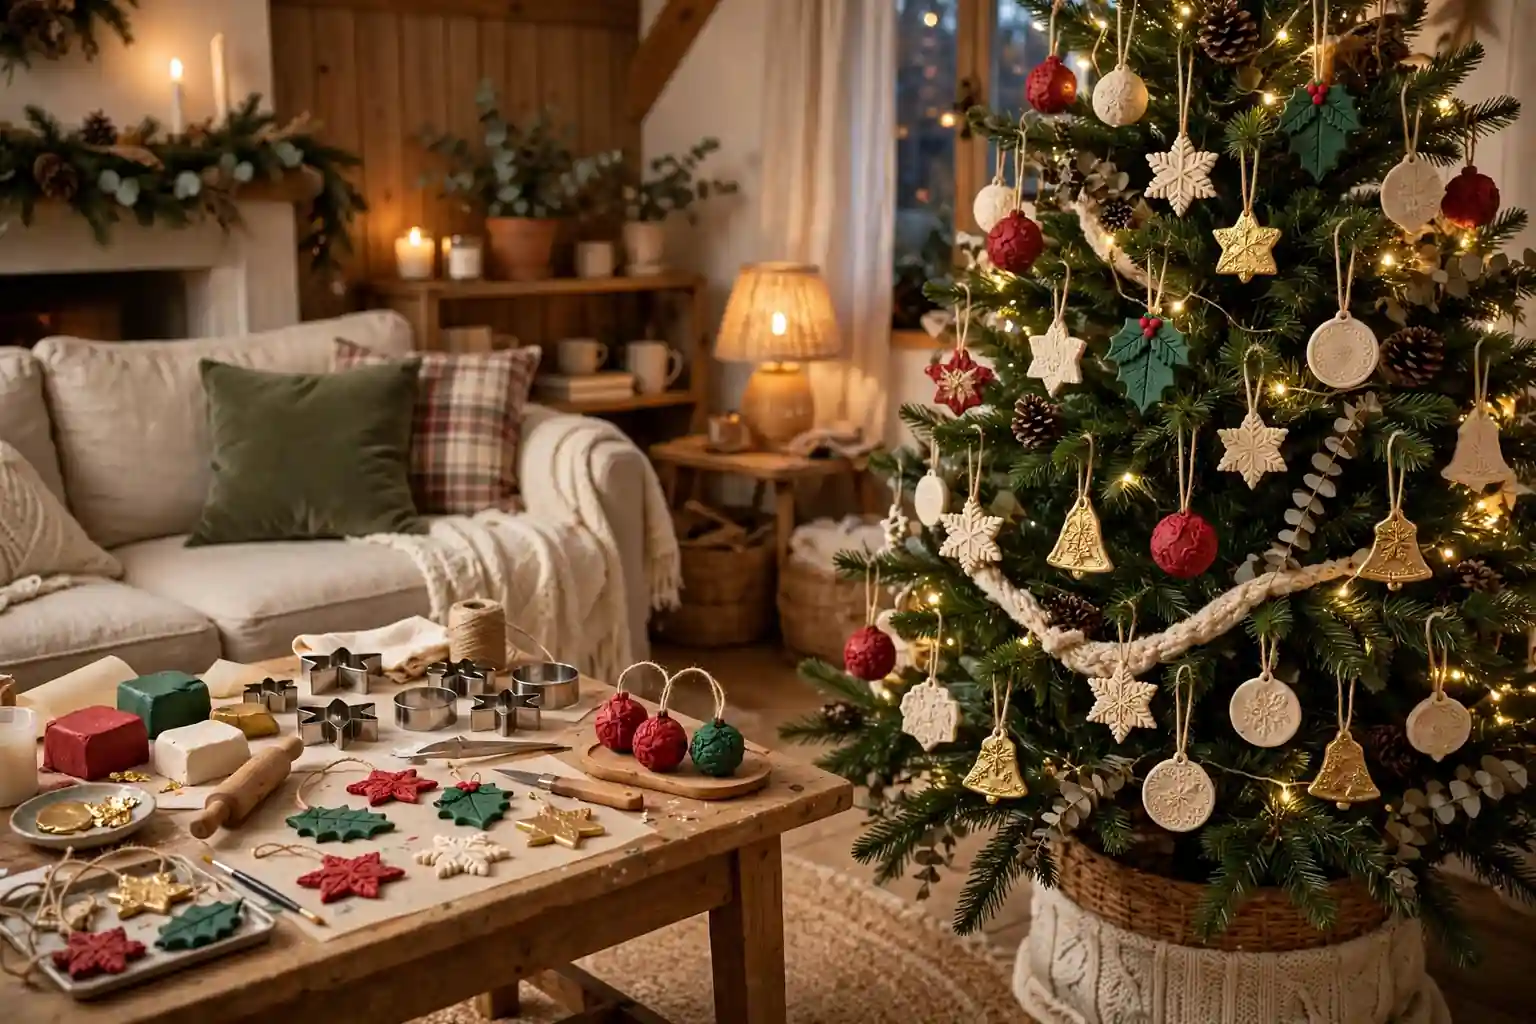
Beginners can make polymer clay Christmas ornaments by conditioning soft clay, shaping it with cutters or by hand, adding a hanging hole before baking, curing it in a home oven at the brand’s stated temperature, and sealing it for a lasting finish. Start with round baubles, flat cutouts, and small figures, using only clay, a rolling pin, cutters, and ribbon.
Work on a clean, smooth surface, and condition each color by kneading it until it bends without cracking. Keep a small set of basics nearby: a rolling pin or pasta roller for clay, a craft knife, a toothpick or skewer for holes, and a lined baking tray. For more seasonal ideas to pair with these handmade pieces, browse the Dwell Ovell decor ideas index. Hang finished ornaments on sturdy branches, or pair them with older pieces shown in 25 vintage Christmas decor ideas.
Key Takeaways
- Condition clay well before shaping, since soft, crack free clay gives cleaner edges and stronger ornaments.
- Make the hanging hole before baking, and widen it slightly, since clay can shrink a little as it cures.
- Start with flat cutouts and round baubles, then move to small figures once you are comfortable with the basics.
- Bake on a lined tray at the temperature stated on your clay brand, and let pieces cool fully before sealing or stringing.
- Seal painted or detailed pieces with a thin coat of clay safe varnish so colors and small details last through the season.
- Store clay ornaments in divided boxes with tissue between pieces, so painted surfaces and small parts do not rub together.
1. Marbled Round Baubles
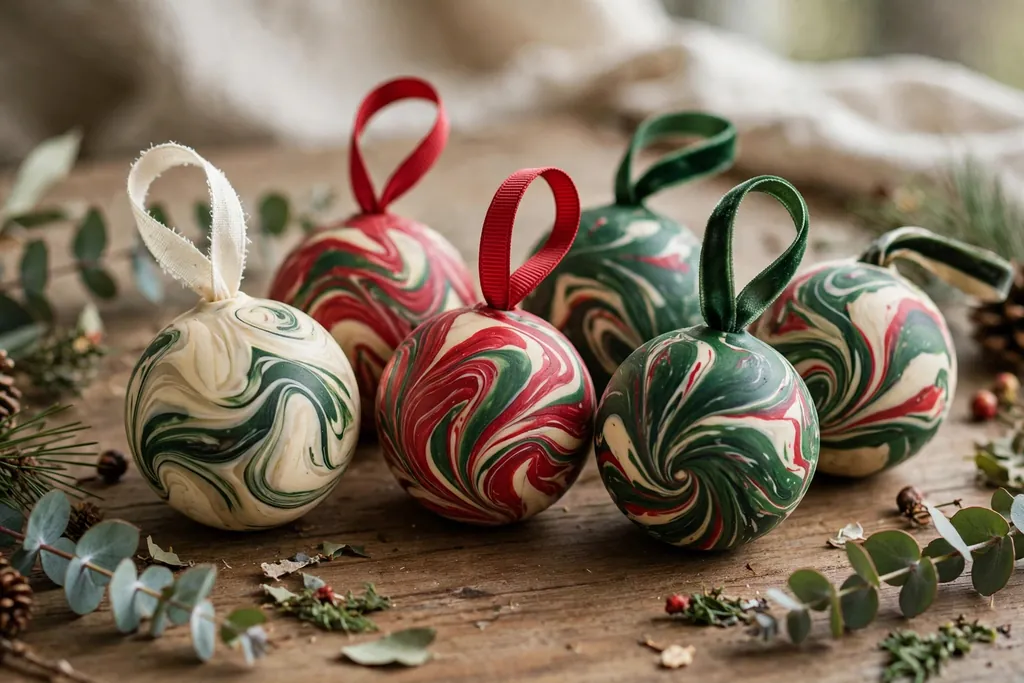
Roll two or three colors of clay into thin ropes, twist them together lightly, then roll the twist into a ball and smooth it in your palms until the marbled pattern stays visible but the surface feels even. Press a small eye pin into the top before baking, so you have a secure loop for ribbon. A set in cream, red, and deep green suits a classic tree, while cream and gold reads softer on a pale tree.
Keep the marble loose rather than overworking it, since too much rolling turns the colors into one muddy shade. Bake the balls on a lined tray, turning them once if your oven heats unevenly, and add ribbon loops only after the pieces cool. These baubles are a good first project because they need no cutter and no painting.
2. Terrazzo Speckled Flat Rounds

Roll a sheet of cream or pale gray clay, then press tiny cut pieces of red, green, gold, and dark blue clay into the surface to copy the speckled look of terrazzo stone. Smooth the sheet lightly with a roller so the chips sit flush, then cut rounds with a circle cutter and pierce a hanging hole near the top edge. The result looks modern on a tree, yet the method is simple enough for a first session.
Use small chips and leave space between them, so each color reads clearly against the base. A thin coat of varnish after baking makes the speckles look polished without changing the flat shape. Make a set of six or eight rounds in the same palette for a matched group.
3. Gingerbread People with Icing Details
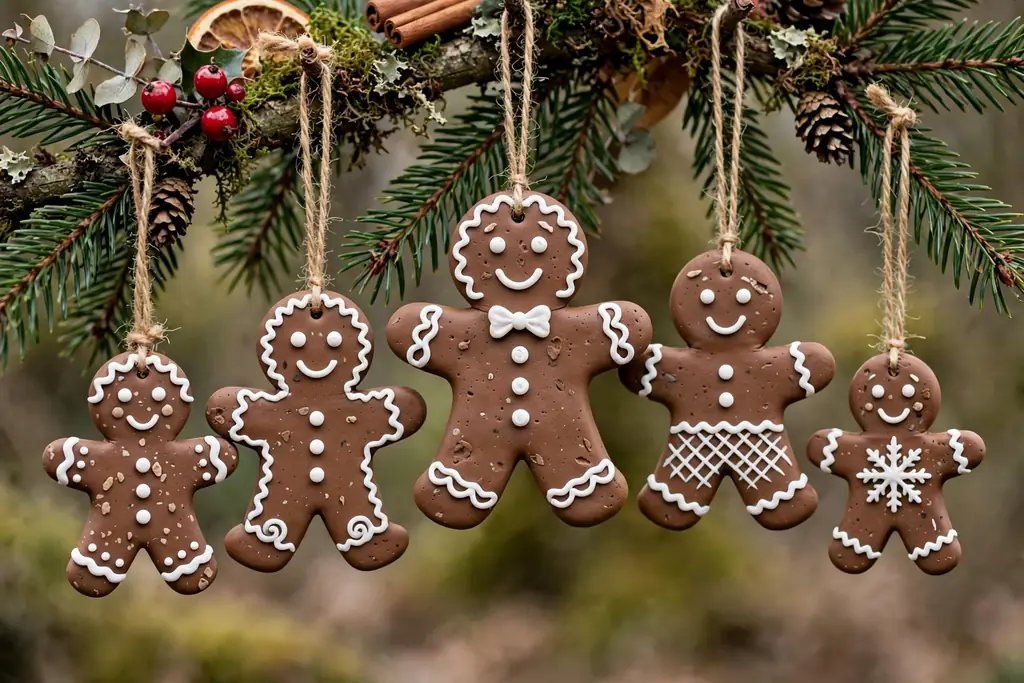
Cut gingerbread people from a sheet of warm brown clay, then use a fine tipped tool or a small piping tip to add white dots, buttons, and squiggles after baking, or press thin white clay ropes into place before baking. Keep the shapes simple, with rounded arms and legs, so they bake evenly and do not snap at thin joints. Add a hanging hole at the top of the head before the pieces go in the oven.
Painted icing detail gives the most control for beginners, since a mistake can be wiped off before it dries. Seal painted pieces lightly so the white detail does not rub off in storage. These ornaments also work as gift tags when tied to a wrapped box with twine.
4. Candy Cane Striped Discs
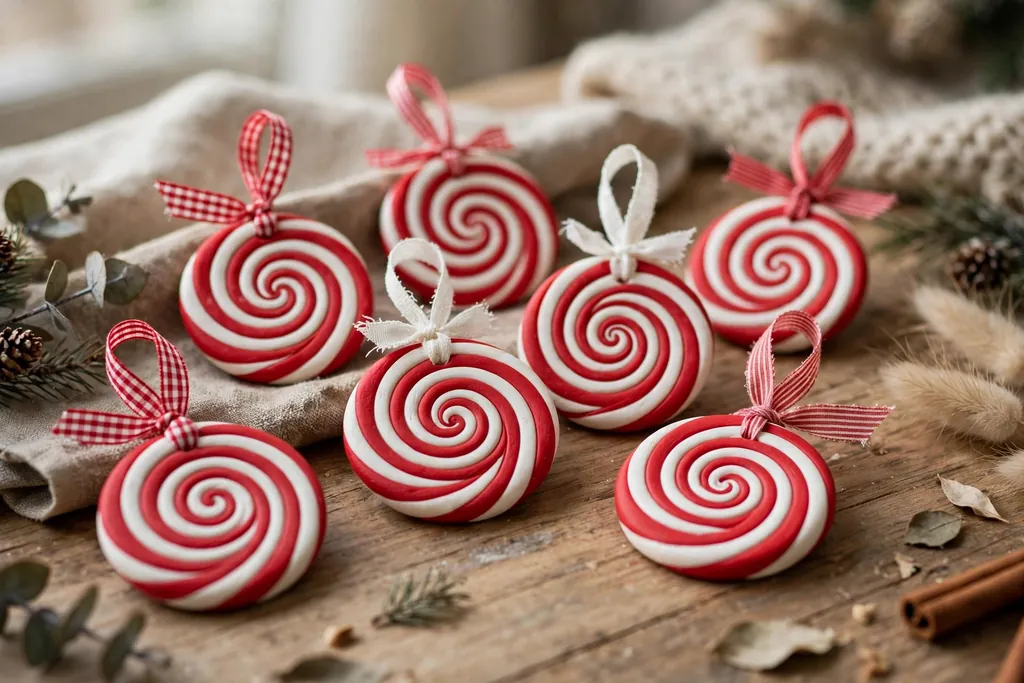
Roll red and white clay into thin ropes, lay them side by side, and roll them flat into a striped sheet, keeping the stripes even in width. Cut the sheet into round discs, then shape each disc into a candy cane hook only if you want a curved form, or leave them flat for an easier first try. Pierce a hole near the top before baking, and add a small red ribbon bow after cooling.
The key to neat stripes is rolling the sheet in one direction, from the center outward, so stripes stay straight. If a stripe breaks, patch it with a thin rope of the same color and roll again lightly. A set of striped discs looks crisp next to plain red and white baubles.
5. Pierced Snowflake Cutouts
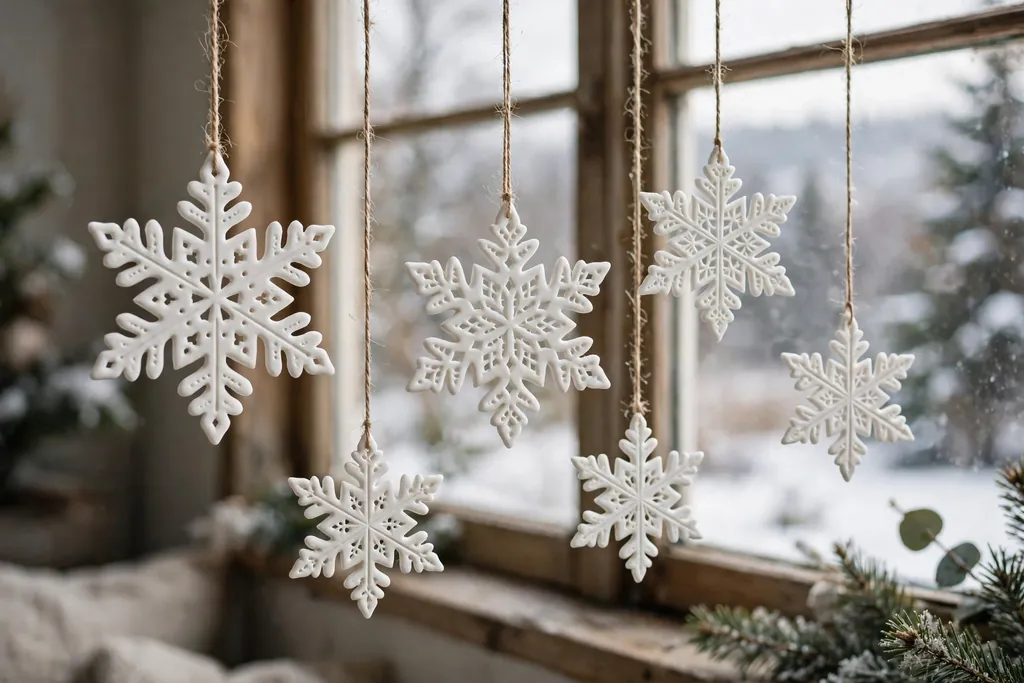
Roll white or pale blue clay to an even thickness, cut snowflake shapes with a cutter, then pierce small dots and lines into each arm with a toothpick or a fine needle tool before baking. The pierced pattern lets light through in a subtle way and gives a flat cutout more detail than paint alone. Use a thin, even sheet so the arms do not droop in the oven.
Work on parchment paper so finished snowflakes lift off without bending. If an arm tears, press the edges back together gently and smooth the join with a fingertip. Hang snowflakes near the outer tips of branches, where their pale color stands out against green.
6. Miniature Gnome Figures
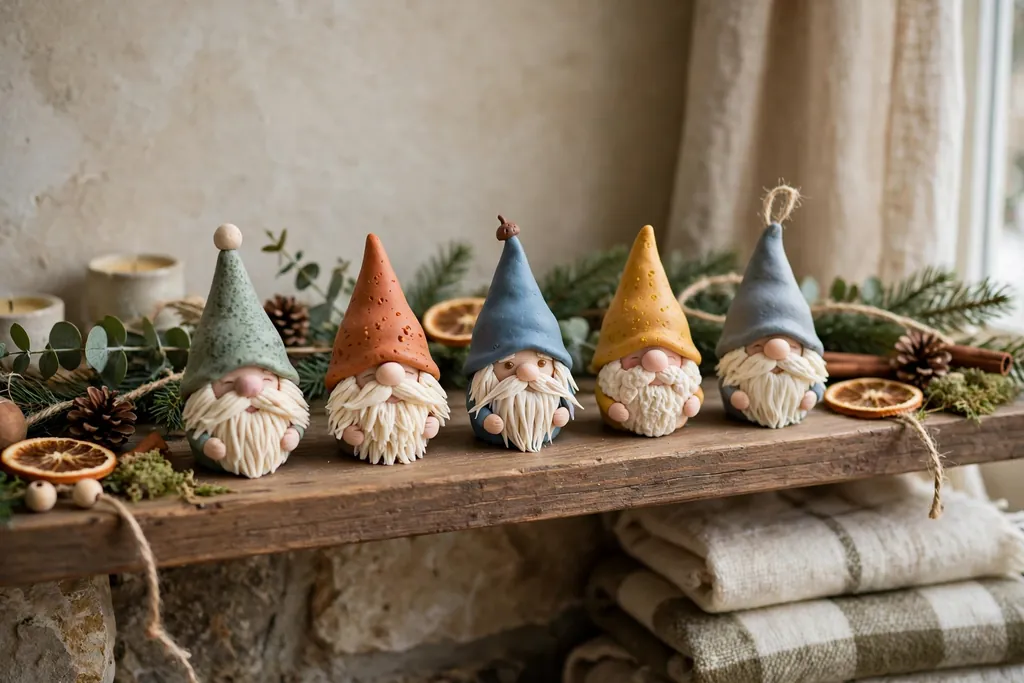
Build a small gnome from three simple parts: a round body in red or green, a pointed hat, and a small round nose, with a beard made from a flattened ball of cream clay pressed below the nose. Keep the gnome under two inches tall so it stays light on a branch, and press the parts together firmly before baking so joints hold. Add a loop at the top of the hat for hanging.
Gnomes are forgiving for beginners because the beard hides the join between the hat and the body. Use a toothpick to add a few lines to the beard for texture, and keep the nose small so the face stays balanced. A row of gnomes in different hat colors makes a playful set for a mantel garland.
7. Faux Wood Slice Ornaments
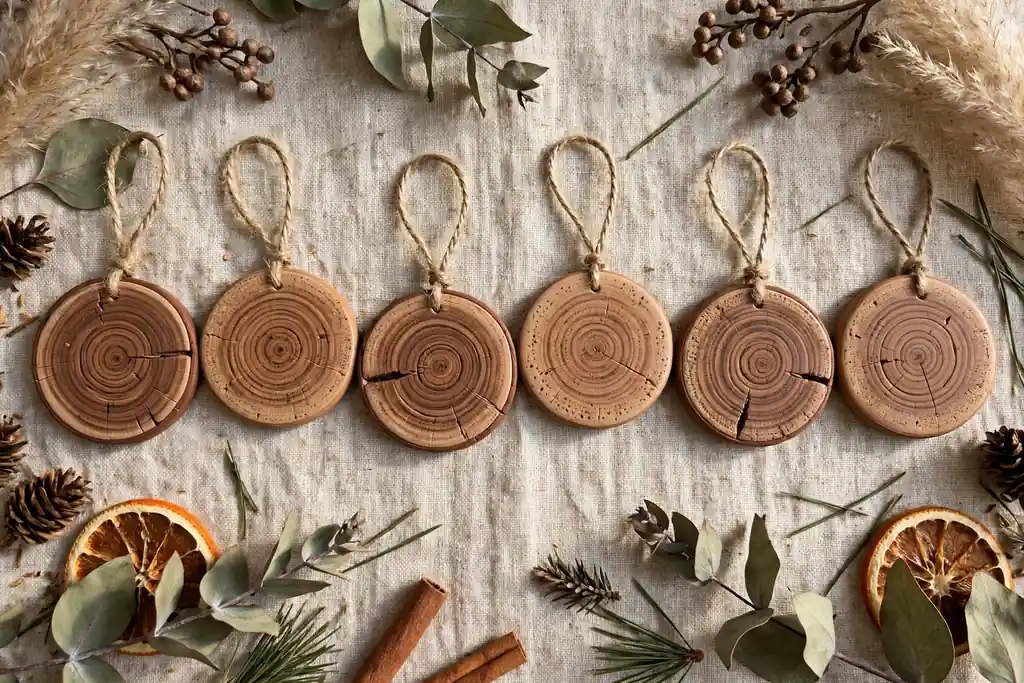
Roll a sheet of tan clay, cut rounds, then press a wood grain pattern into each round with a toothpick, drawing rings from the center outward and a few short bark marks around the edge. Add a darker brown edge by rolling a thin rope of dark clay around the rim, or paint the rim after baking for a cleaner edge. Pierce a hole near the top before baking.
This idea suits a rustic tree, since the wood look pairs well with pinecones, twine, and plain greenery. Keep the grain lines light and uneven, like real wood, rather than perfectly spaced. Hang wood slices with twine loops for a natural finish.
8. Gold Leaf Star Ornaments
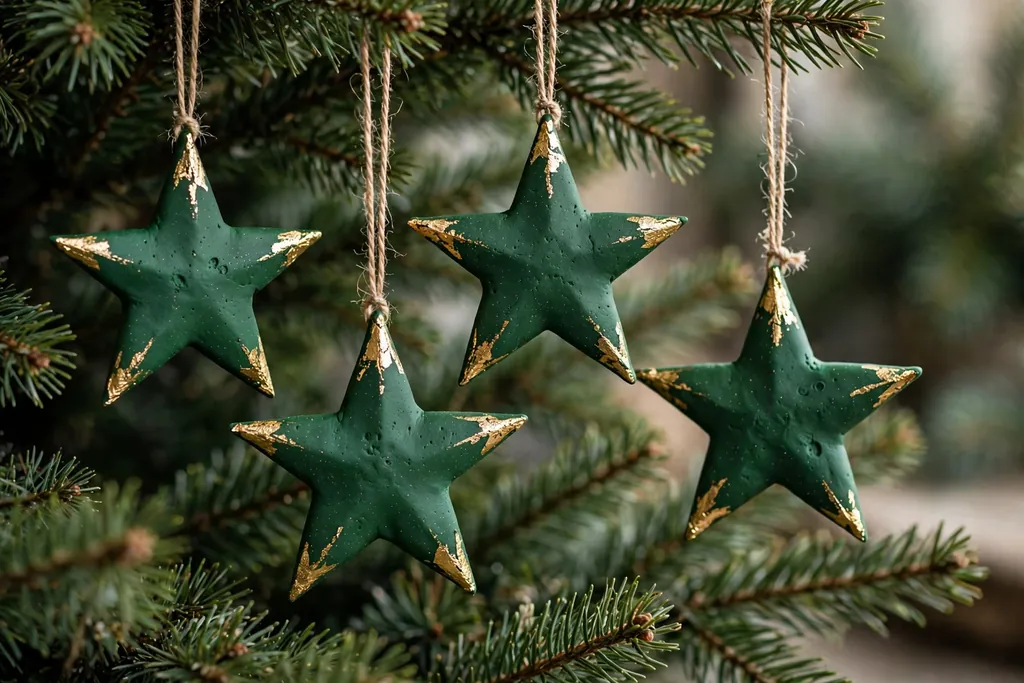
Cut stars from a sheet of deep green, navy, or cream clay, bake them, and then apply small pieces of gold leaf to the raised points with a soft brush and a thin layer of leaf adhesive, following the adhesive maker’s directions. Gold leaf adds a warm shine without painting skill, since torn edges and small overlaps still look intentional on a star shape. Add a hanging hole before baking.
Seal the leaf lightly after it sets, so it does not flake during handling. Stars in one color with gold leaf look neat mixed with plain baubles, and they also work as tree toppers on a small tabletop tree. Handle finished stars by their edges to keep the leaf intact.
9. Tiny Christmas Tree Ornaments
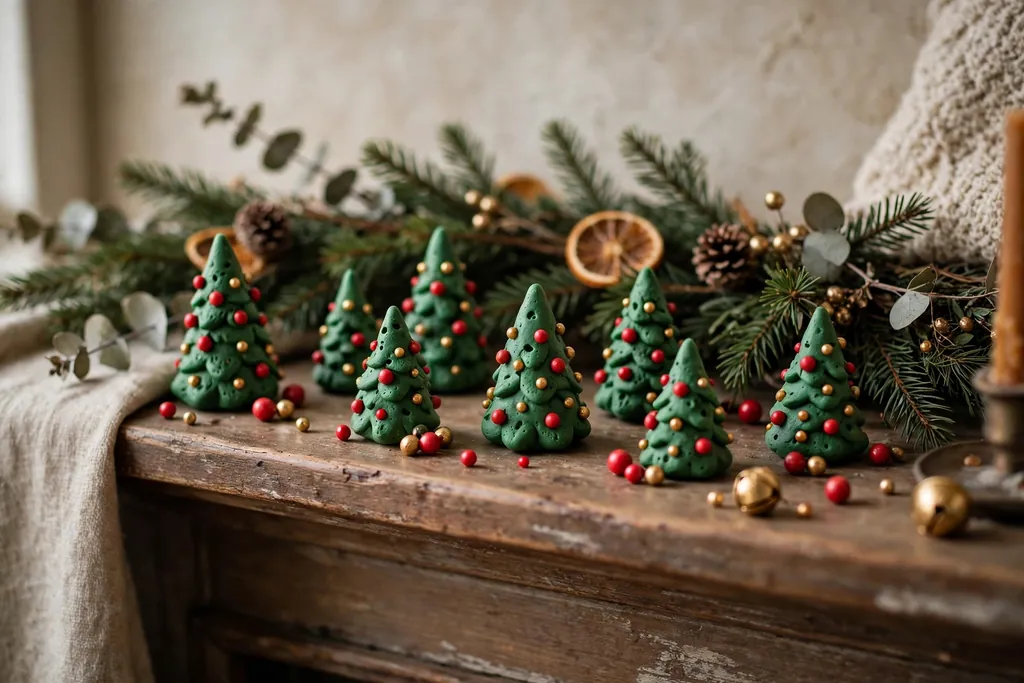
Shape a small tree from a cone of green clay, then press tiny balls of red, gold, and cream clay onto the surface as ornaments, working from the bottom up. Add a small star on top and a short trunk at the base, pressing each part firmly into the cone before baking. Keep the tree under three inches tall so it bakes evenly and hangs without pulling a branch down.
A flat backed tree is easier for beginners: press the cone gently against a flat surface so one side stays flat for hanging against a wall or window. Add a loop at the top before baking, and seal the tiny balls lightly so they stay in place. These small trees look charming grouped on a mantel as well as on a tree.
10. Angel Figures with Folded Wings
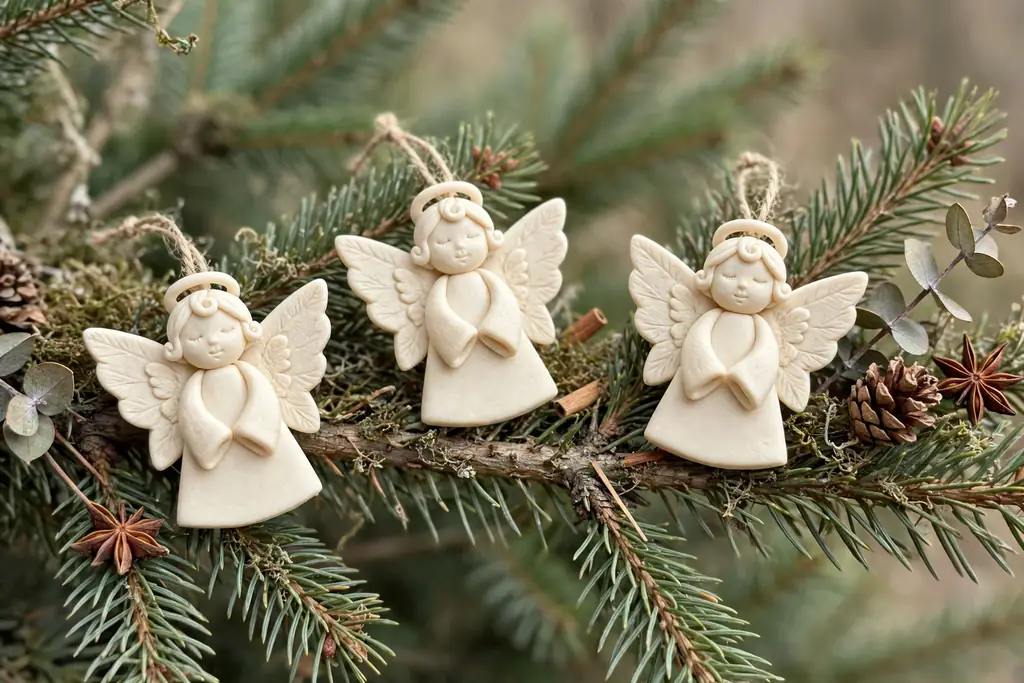
Form a simple angel from a cone shaped dress, a round head, and two flattened teardrop wings pressed onto the back. Keep the wings thick enough to hold their shape in the oven, and press them into the dress rather than resting them on top, so the join is strong. Add a small halo from a thin gold clay ring, or paint one after baking.
Angels are a good step up from flat cutouts because they teach joining parts, yet the shapes stay simple. Bake angels upright on a lined tray, and check that wings do not touch the tray edge. A set of angels in cream and gold suits a quiet, classic tree.
11. Stacked Snowman Ornaments
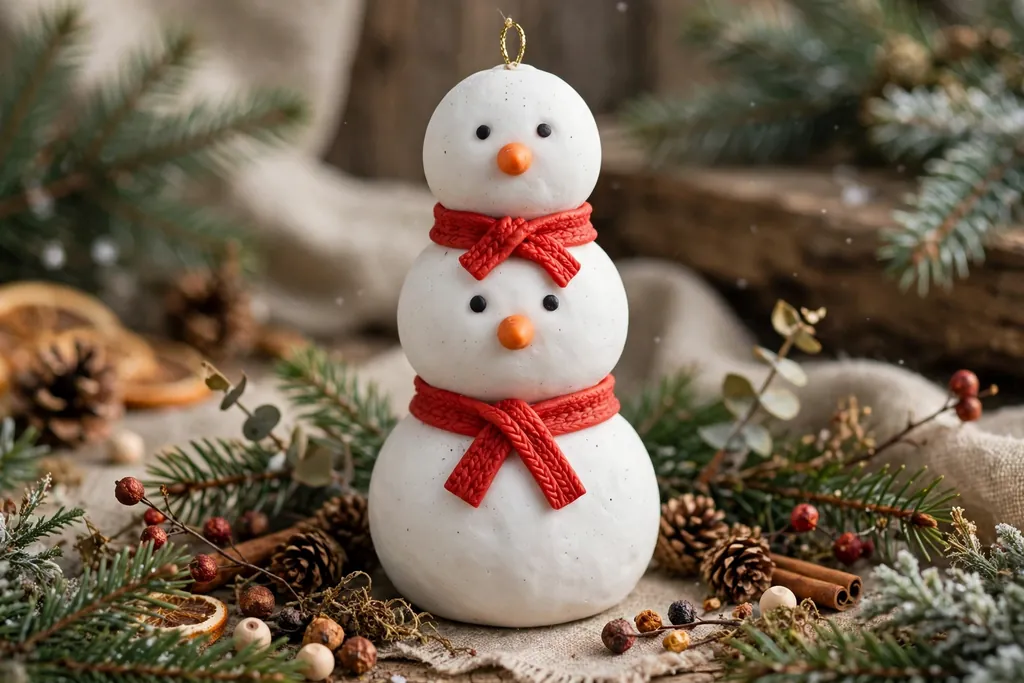
Roll three balls of white clay in decreasing sizes, press them together in a stack, and add a small orange cone nose, black dot eyes, and a thin scarf made from a flattened strip of red or green clay. Keep the bottom ball the largest and the head the smallest, and press the joints firmly so the stack holds its shape. Add a hanging loop at the top before baking.
Snowmen are easy to repeat, so they make a good set for gifts: make several at once, varying only the scarf color. If a joint cracks after baking, a drop of clay safe glue can fix it, but firm pressing before baking usually prevents the problem. Store snowmen upright so small noses do not bend.
12. Reindeer Head Ornaments
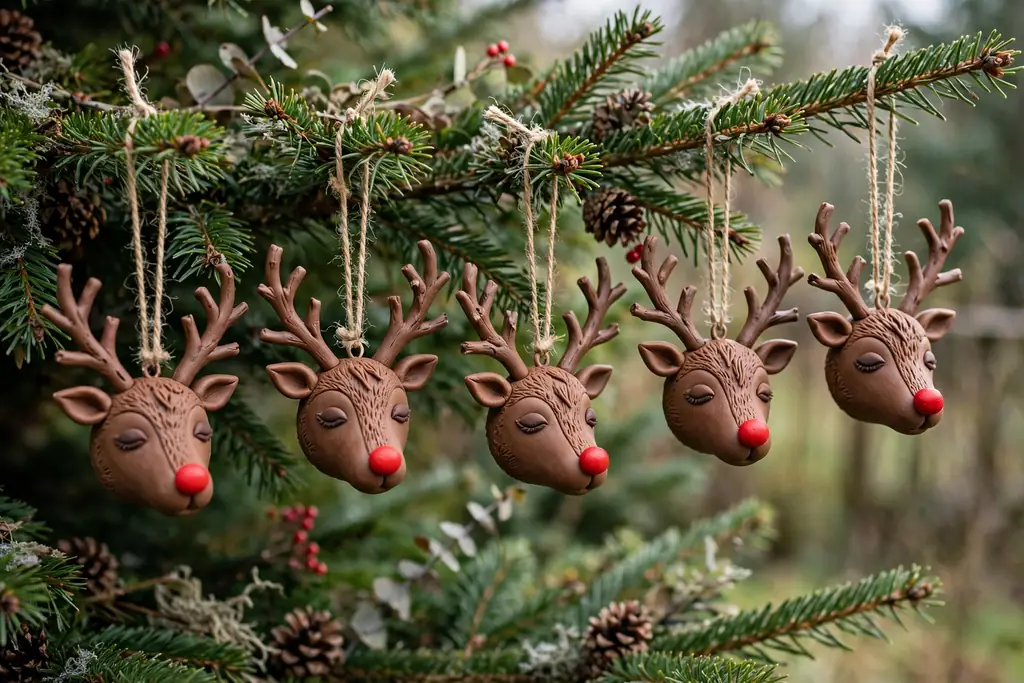
Cut a reindeer head shape from brown clay, or build one from an oval face, two small ears, and two antlers made from thin, branched clay ropes. Press the antlers firmly into the top of the head, and add a red nose ball and two small dark eyes. Keep antlers short and thick for a first try, since long thin antlers can snap.
Bake reindeer heads flat on a lined tray, with antlers supported so they do not droop. A flat reindeer head hangs well on a tree and also works on a gift or a wreath. Make a small group with different nose colors, keeping one red nosed piece as the focal point of the set.
13. Miniature Wreath Ornaments
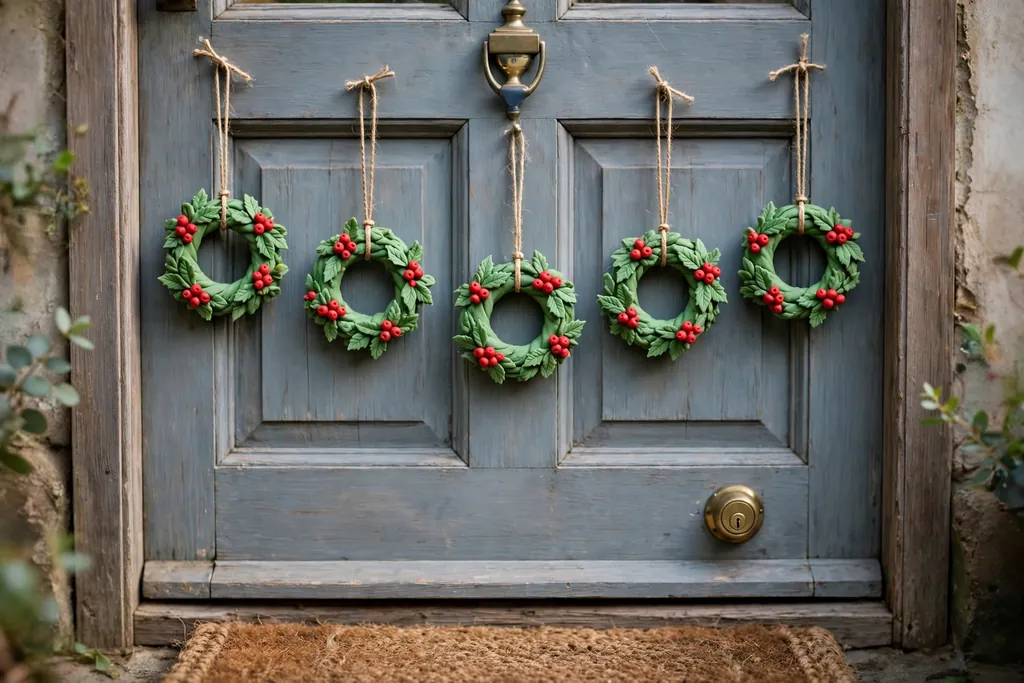
Roll green clay into a thin rope, join the ends into a ring, then press tiny red balls and small leaf shapes around the ring as berries and foliage. Keep the ring small, about two inches across, and press each berry firmly into the rope so it does not fall off after baking. Add a ribbon loop at the top before the piece goes in the oven.
A wreath ornament teaches ring shaping and small detail work in one short project. Use two shades of green for the ring and leaves to add depth without extra steps. Hang wreaths on a tree, a doorknob, or a bottle neck for a small seasonal touch.
14. Bell Shaped Ornaments with a Clapper
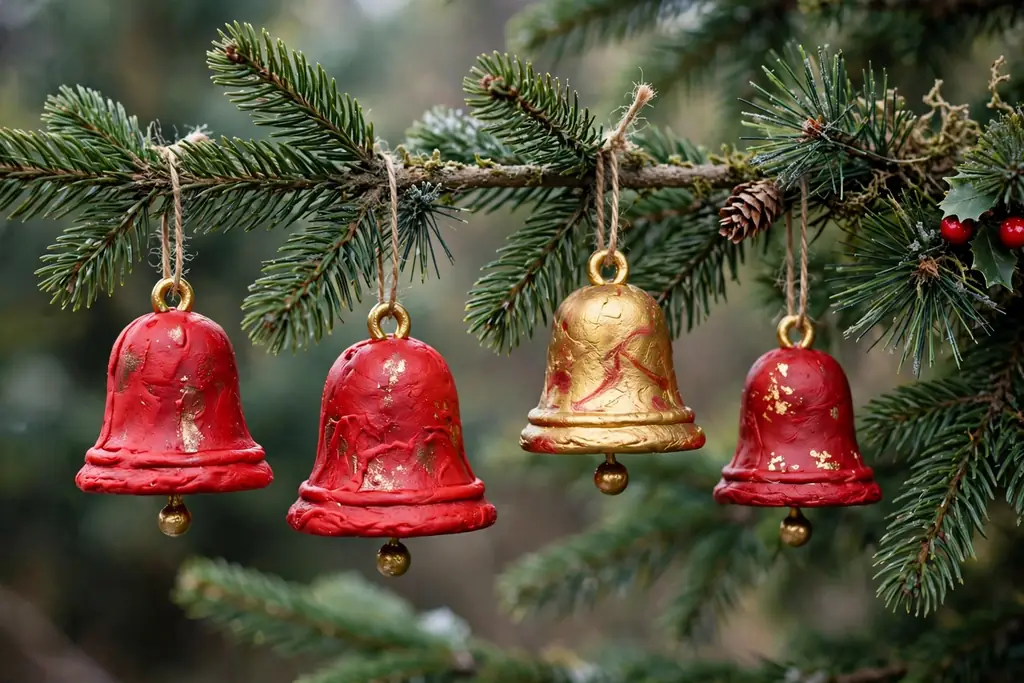
Shape a bell from a hollow cone or a solid cone with a rounded bottom edge, then add a small ball at the base as a clapper, attached with a short clay stem or a jump ring after baking. Press a loop into the top before baking, and add a simple band of gold or red clay around the rim for detail. Keep the bell small so it stays light on a branch.
Bells ring softly only if the clapper moves freely, so leave a small gap between the clapper and the bell body if you use a jump ring. For a simpler version, fix the clapper in place and let the bell read as a shape rather than a working bell. Either way, bells pair well with ribbon and greenery on a mantel.
15. Little Cottage Ornaments
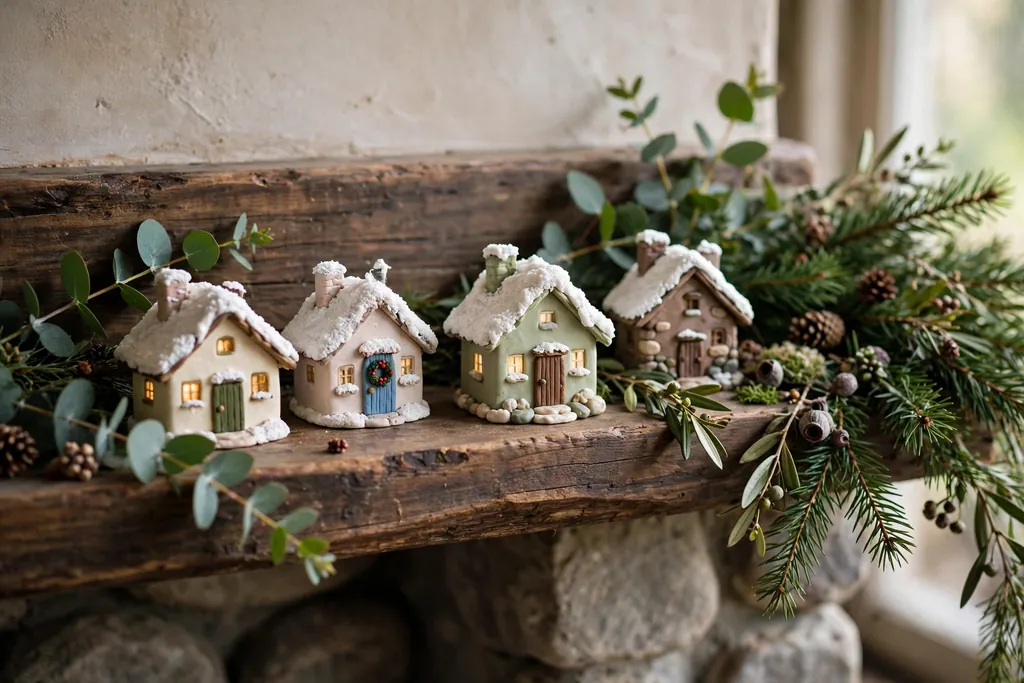
Build a small cottage from a rectangular block for the walls, a triangular prism for the roof, and tiny details such as a door, two windows, and a dusting of white clay as snow on the roof. Press the roof firmly onto the walls before baking, and keep the cottage under three inches tall so it hangs without straining a branch. Add a hanging loop at the roof peak.
Cottages suit a village style tree or a mantel display, and they pair well with a full village scene. For a simpler first cottage, skip the snow detail and paint the door and windows after baking instead. Seal painted cottages lightly so the small details last.
16. Stamped Heart Ornaments
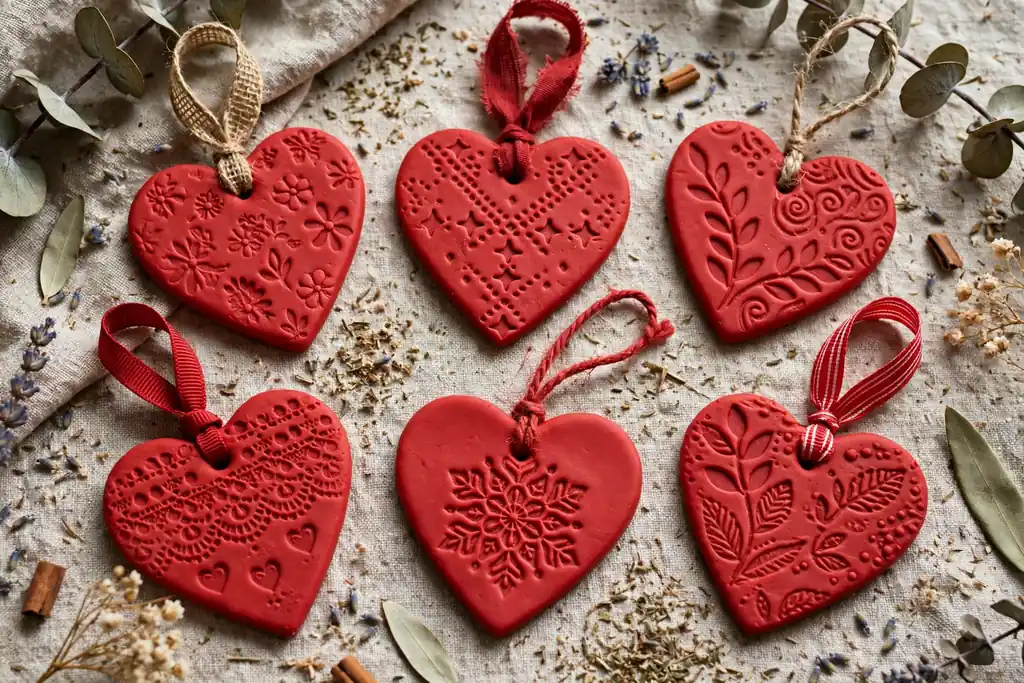
Roll a sheet of red, cream, or dusty pink clay, cut heart shapes, then press a rubber stamp, a lace scrap, or a textured button into the surface to leave a clear pattern. Press evenly and lift straight up, so the pattern stays sharp. Pierce a hanging hole near the top of the heart before baking, away from the stamped area.
Stamped hearts are quick to make in a batch, and each one can carry a different pattern. If a stamp sticks, dust it lightly with cornstarch before pressing. Hearts work on a tree, on gifts, and on a garland strung across a mantel.
17. Keepsake Handprint Ornaments
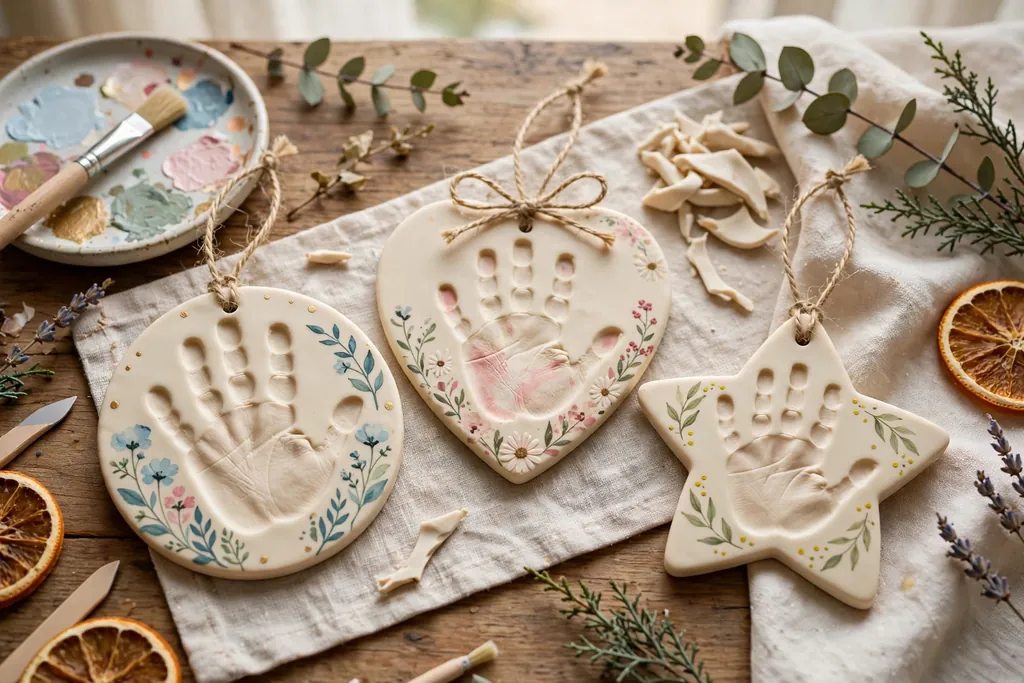
Roll a sheet of soft clay to an even thickness, press a small hand gently into the surface, then cut around the print with a round or heart shaped cutter, keeping the print centered. Smooth the edges with a fingertip, pierce a hanging hole, and bake following the clay brand’s directions. Paint the print in a contrasting color after baking, or leave it plain for a subtle keepsake.
Press the hand straight down and lift straight up, without rocking, so fingers stay clear. If a print smudges, smooth the sheet and try again before baking, since the clay stays workable until it cures. Date the back with a toothpick before baking, so the year stays part of the keepsake.
18. Botanical Leaf Imprint Ornaments
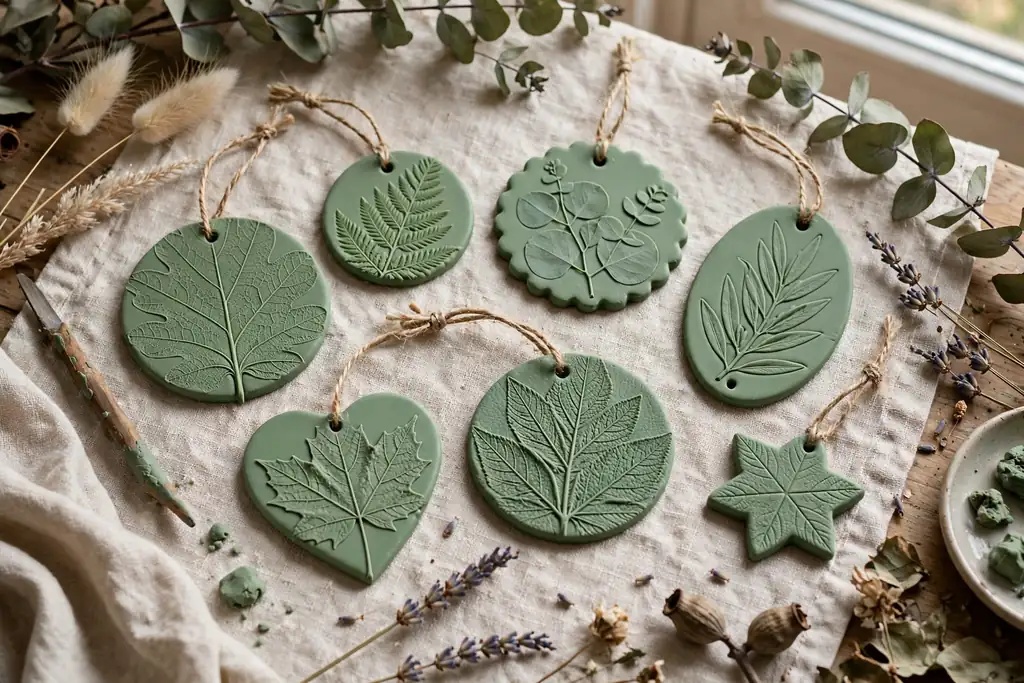
Roll a sheet of sage green or cream clay, lay a real leaf vein side down on the surface, and roll over it lightly once so the vein pattern transfers. Lift the leaf carefully, cut around the imprint with a cutter or a knife, and pierce a hanging hole before baking. The leaf veins give a detailed, natural look with almost no drawing skill needed.
Choose leaves with strong veins, such as maple or oak, and press only once, since a second roll can blur the pattern. Remove any leaf bits from the surface before baking. Leaf ornaments suit a natural tree with wood, twine, and dried orange slices.
19. Monogram Letter Ornaments
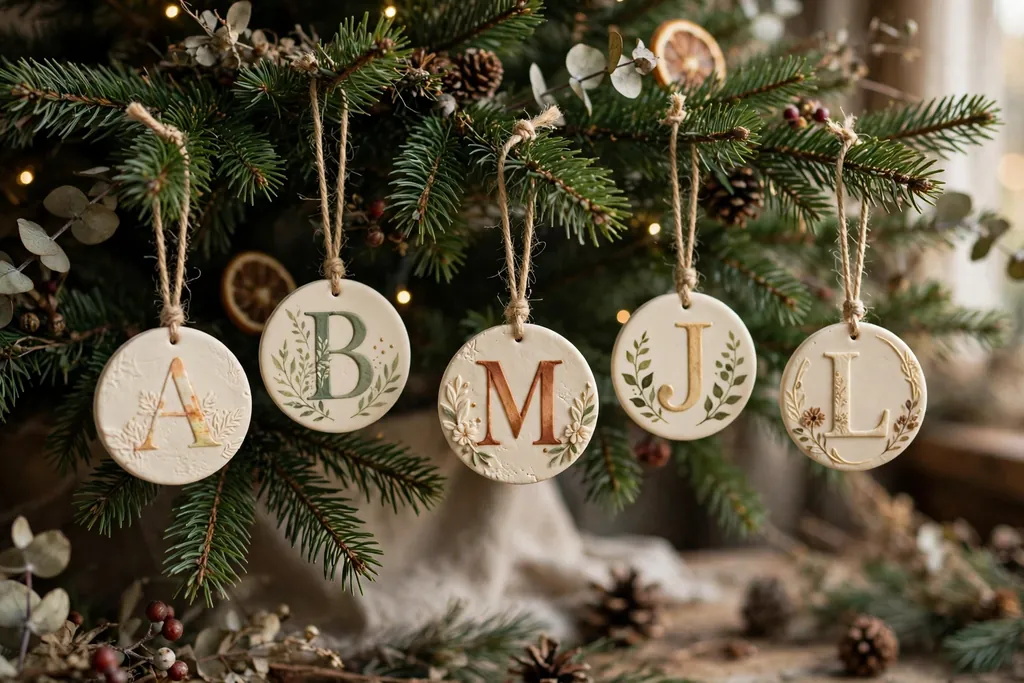
Cut a single letter from a sheet of clay using a letter cutter, or shape one by hand from rolled ropes of clay, then smooth the edges and add small dots, stars, or a thin border for detail. Pierce a hanging hole at the top of the letter before baking, and paint the letter in a contrasting color after it cools for a clear, readable finish. Keep letters at least two inches tall so thin strokes do not break.
Monogram ornaments make personal gifts, since each one carries an initial for a family member or a friend. Make a full set for a tree, using the same color and border style so the letters read as a group. Seal painted letters lightly to protect the finish in storage. For care tips that also apply to fragile older ornaments, see how to identify, display, and store antique Christmas ornaments.
Conclusion
Polymer clay Christmas ornaments are a friendly first clay project because the steps stay the same across most ideas: condition, shape, pierce a hole, bake, cool, and seal. Start with marbled baubles, flat cutouts, and stamped hearts, then try gnomes, cottages, and keepsake handprints once you trust your shaping. Make a few pieces at a time, keep a simple color palette, and let each batch cool fully before you string and hang it. With a small set of tools and one or two clay colors to start, you can build a tree full of handmade ornaments that suit your home and make thoughtful gifts.
FAQs
How do beginners start making polymer clay Christmas ornaments?
Beginners should start with conditioned clay, a rolling pin, simple cutters, and one or two colors, making flat cutouts or round baubles first. Condition the clay by kneading it until it bends without cracking, roll it to an even thickness, cut or shape the ornament, pierce a hanging hole, and bake it following the clay brand’s directions. Keep the first batch small so you can learn how your oven and clay behave together.
What tools do I need for polymer clay ornaments?
You need clay, a smooth work surface, a rolling pin or pasta roller for clay, a craft knife, cutters, a toothpick or skewer for holes, a lined baking tray, and ribbon or twine for hanging. A small set of fine tools for detail, plus paint and a clay safe varnish for finishing, covers most beginner projects. You do not need a kiln, since polymer clay cures in a home oven.
What temperature should I bake polymer clay ornaments at?
Bake polymer clay at the temperature and for the time stated on the clay brand you use, since brands differ and a single temperature does not fit every clay. Place pieces on a lined tray, keep them out of direct contact with heating elements, and let them cool fully before handling, sealing, or stringing. If pieces feel soft after cooling, check the brand’s directions before rebaking, rather than guessing a higher temperature.
How do I make a hanging hole that does not close during baking?
Make the hole before baking with a toothpick, skewer, or small drill bit, and wiggle the tool gently to widen the hole slightly, since clay can shrink a little as it cures. Keep the hole at least a short distance from the edge so the clay around it stays strong. If a hole closes after baking, a small hand drill can reopen it, but a wider hole before baking usually prevents the problem.
Can polymer clay ornaments go outside?
Polymer clay ornaments are best kept indoors, since cold, rain, and strong sun can dull finishes and weaken painted details over time. Use them on indoor trees, mantels, shelves, and gifts, and bring any ornament used on a covered porch inside during wet or freezing weather. Sealed pieces handle brief indoor display near a window better than unsealed ones, but indoor use still gives the longest life.
How do I store handmade clay ornaments after Christmas?
Store handmade clay ornaments in a divided box with tissue between pieces, in a cool, dry place away from direct sun and heavy items stacked on top. Keep painted and gold leaf pieces apart so surfaces do not rub, and keep small parts such as noses and antlers facing up. Label the box by year or set, so next season’s tree goes up with the same groups together.