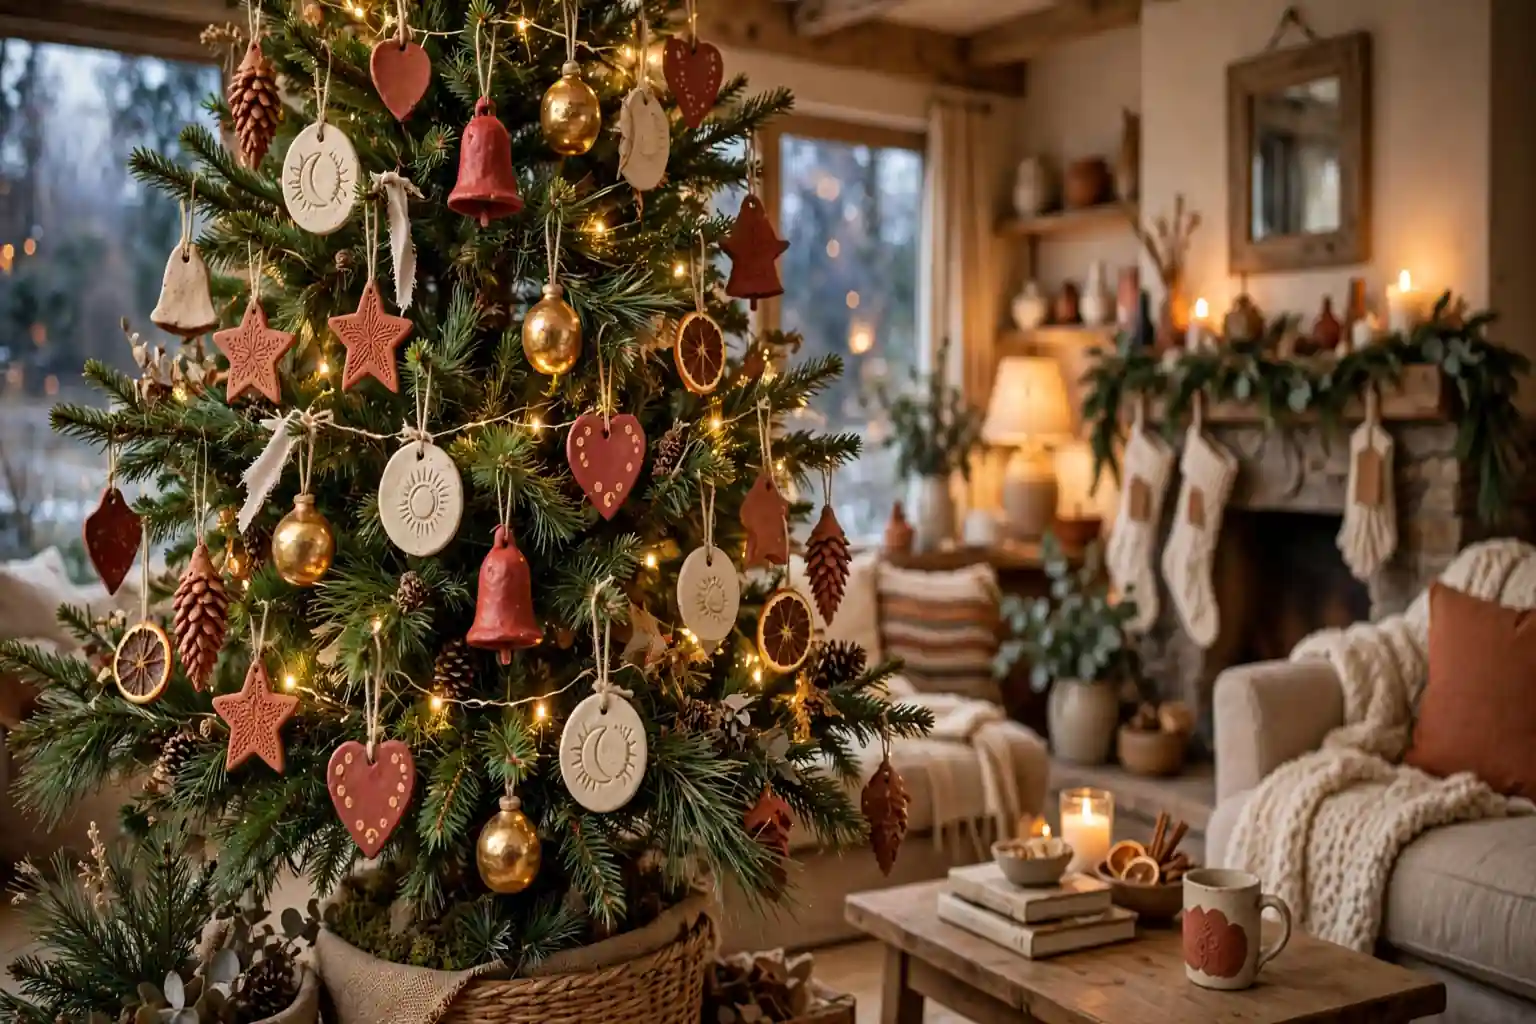
Clay Christmas ornaments are handmade decorations shaped from air dry, polymer, terracotta, or salt dough clay, then dried, baked, painted, and sealed before hanging. Start with air dry clay for simple cutouts, use polymer clay for small detailed figures, and seal every piece so paint and glitter stay put through the season.
Clay suits a handmade tree because it holds texture, keeps a crisp cut edge, and takes paint well. A flat cutout hangs lightly on thin branches, while a small sculpted figure adds weight and detail lower down. Work on a clean, flat surface, roll clay to an even thickness, and make the hanging hole before drying, since a hole drilled after drying can crack a thin piece. For more old fashioned seasonal looks to pair with these handmade pieces, see the vintage Christmas decor ideas. Make one test ornament first, check how it dries and hangs, then repeat the method for a full set.
Key Takeaways
- Start with air dry clay for simple cutouts, and use polymer clay for small, detailed figures that need baking.
- Roll clay to an even thickness and make the hanging hole before drying or baking, so pieces do not crack later.
- Dry pieces flat and fully, in the open air or by the clay maker’s baking guide, before painting.
- Paint in thin layers, let each layer dry, and seal with a clear finish to protect paint through the season.
- Hang heavy clay ornaments on strong branches, and keep flat ornaments on thinner outer branches.
- Store clay ornaments in divided boxes with tissue between pieces, since painted edges can chip if pieces rub together.
1. Stamped Air Dry Snowflake Stars
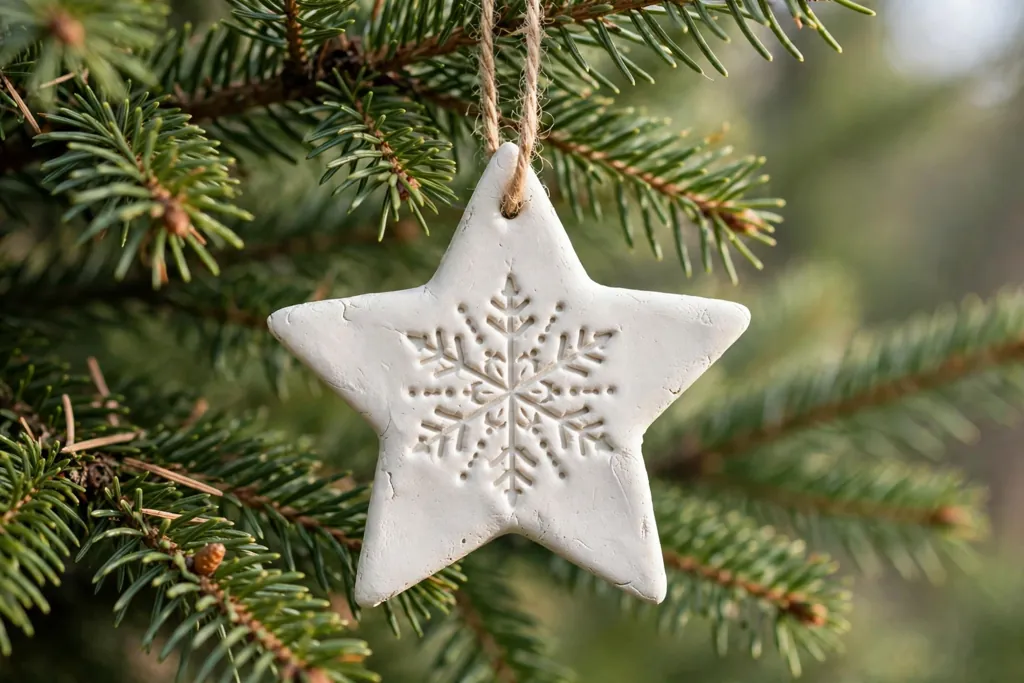
Roll air dry clay to an even thickness, cut star shapes, and stamp a snowflake pattern into the center of each star with a small stamp or the end of a pencil. The stamped lines give a crisp, frosty pattern without paint, and the star shape reads clearly from across the room. Make the hanging hole near one point, not at the very tip, so the point does not break when the ornament hangs.
Let the stars dry flat, turning them once so both sides dry evenly and edges stay straight. Paint them white, cream, or pale blue, then brush a thin layer of clear sealant over the stamped lines to protect them. Hang stamped stars near the top of the tree, where light catches the pattern, and pair them with plain round ornaments so the stamped detail stays visible.
2. Marbled Polymer Baubles
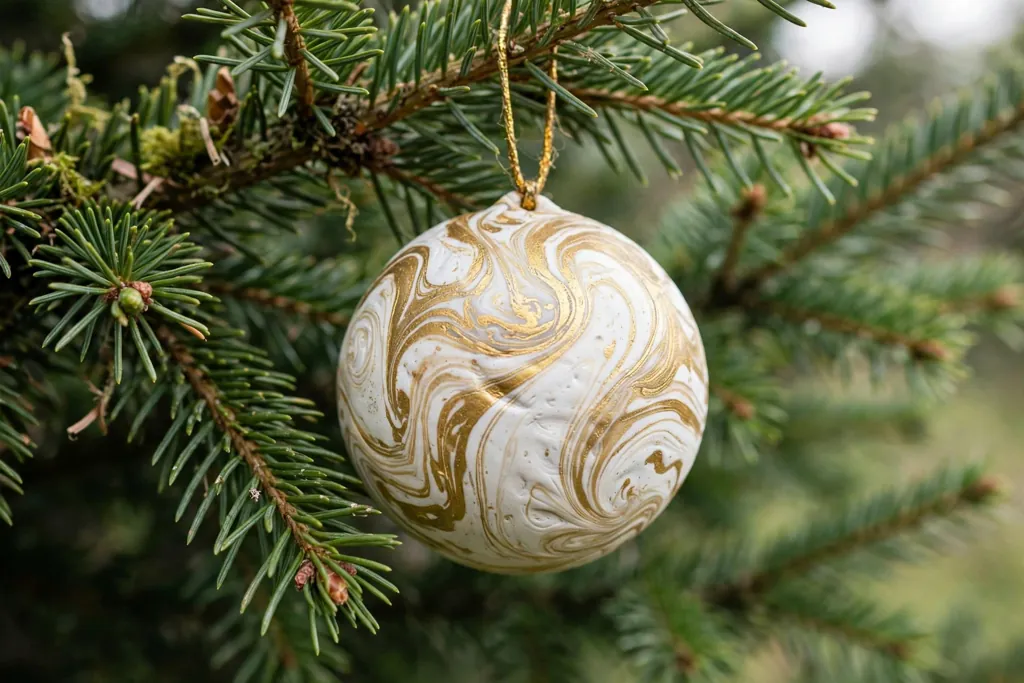
Condition two or three colors of polymer clay, twist them together lightly, and roll the mix into a ball so the colors form soft marble veins instead of blending into one flat color. Do not overwork the clay, since too much mixing will muddy the pattern. Press the ball gently into a round shape, smooth the surface, and fit a small cap and loop at the top before baking.
Bake the baubles by the clay maker’s guide, let them cool fully, then add a clear gloss finish to bring out the marble veins. White with gold, cream with sage, and dusty blue with cream all suit a calm tree palette. Hang marbled baubles on mid level branches, where their round shape fills gaps between flat ornaments, and keep them away from very thin tips, since polymer baubles carry more weight than flat clay cutouts.
3. Terracotta Clay Bells
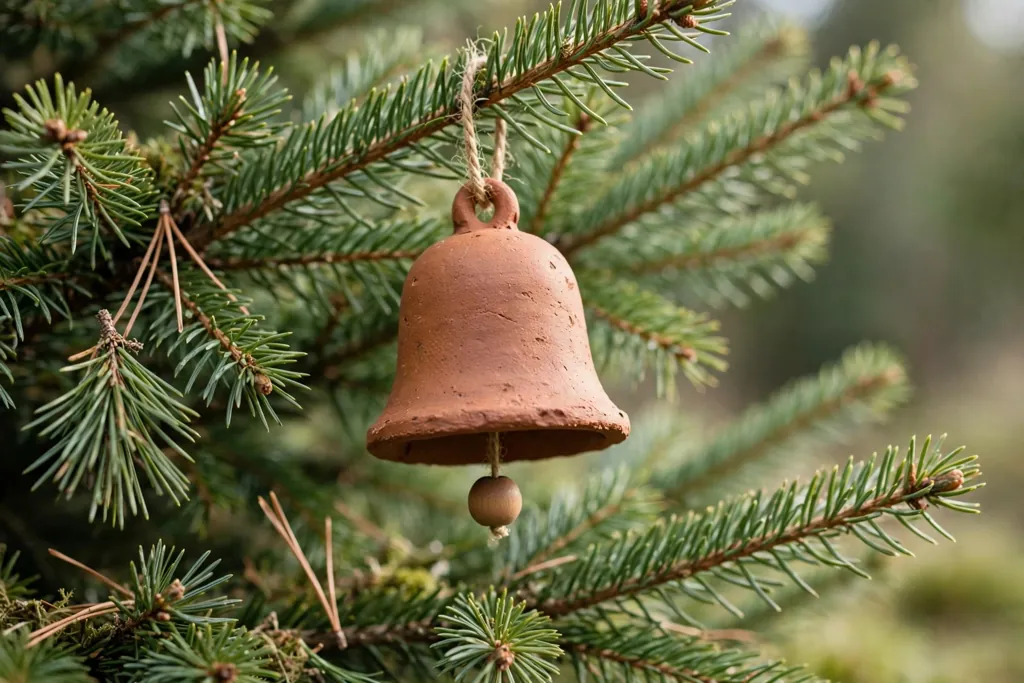
Shape terracotta clay into a simple bell by forming a hollow cone, flaring the rim, and smoothing the inside so the bell sits evenly. Terracotta gives a warm, earthy color that needs little paint, and the bell shape adds a traditional sound and silhouette to a tree. Fit a small loop at the top and a tiny clay clapper or bead inside, hung from a short cord, before drying.
Let the bells dry slowly and fully, then paint only the rim or add a thin painted band, leaving most of the terracotta color showing. A clear matte sealant protects the paint while keeping the earthy finish. Hang terracotta bells on sturdy branches, since they are heavier than flat ornaments, and group two or three bells together for a fuller sound and look.
4. Pressed Leaf Air Dry Discs
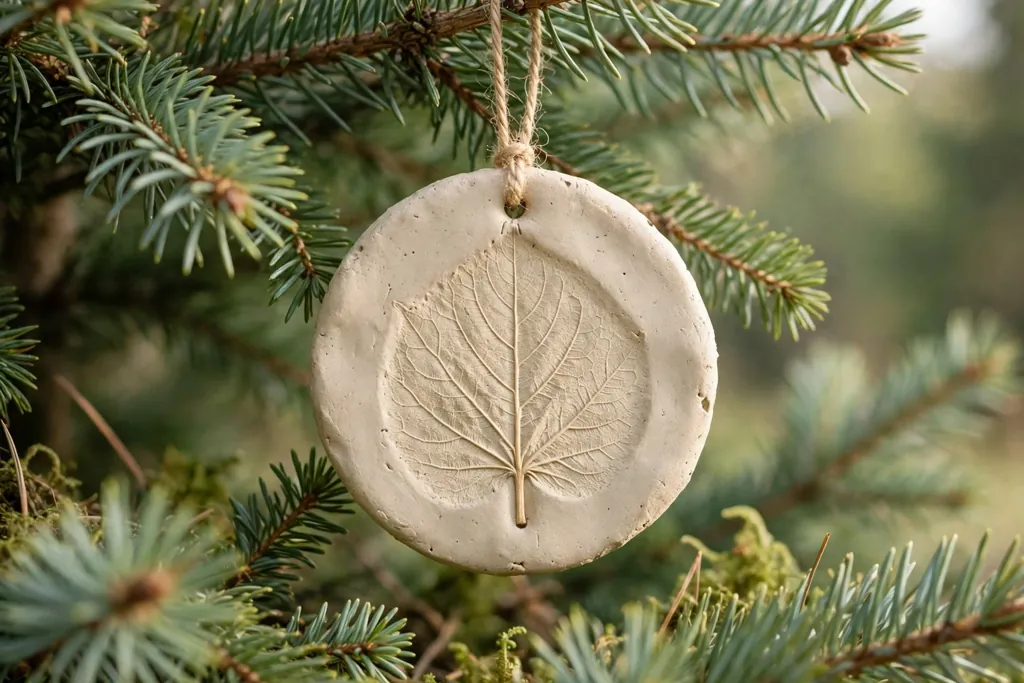
Roll air dry clay flat, press a real leaf firmly into the surface, and lift it away to leave a clear vein pattern. Cut a round disc around the leaf print, smooth the edge, and make a hanging hole at the top. Leaf prints work well with oak, fern, or holly leaves, since their veins show clearly in soft clay, and each disc carries a slightly different pattern.
Dry the discs flat so they do not curl, then paint the raised areas lightly or leave the clay in its natural cream tone with a wash of green or gold in the veins. Seal the surface so the fine vein lines do not wear away in storage. Hang leaf discs on a tree with pine branches and wood ornaments, where their natural pattern fits the rest of the display.
5. Polymer Gingerbread House Miniatures
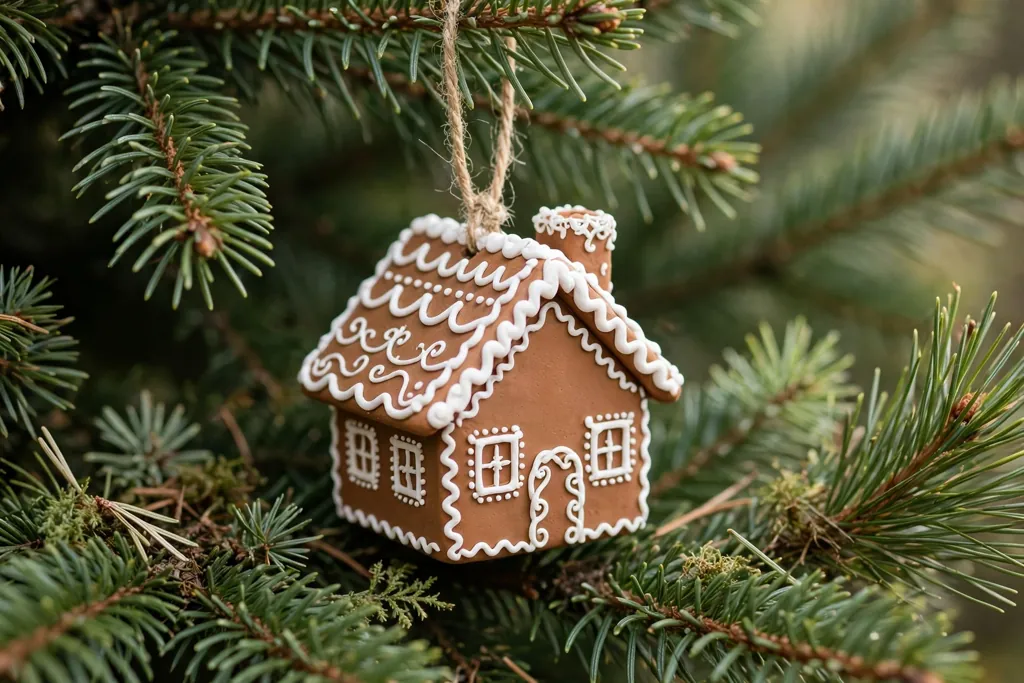
Build a tiny gingerbread house from polymer clay by cutting flat walls and a roof, joining the edges, and adding a door, windows, and a chimney before baking. Polymer clay holds small details well, so window frames, roof lines, and door panels stay sharp after baking. Keep the house small, about the size of a matchbox or smaller, so it hangs without pulling a branch down.
Bake the house by the clay maker’s guide, cool it fully, then paint it in warm brown with white icing lines along the roof edge, windows, and door. Add a tiny loop at the roof peak for hanging. Hang gingerbread houses near the front of the tree, where their details can be seen, and pair them with plain red and cream ornaments so the house stays the focus.
6. Salt Dough Handprint Keepsakes
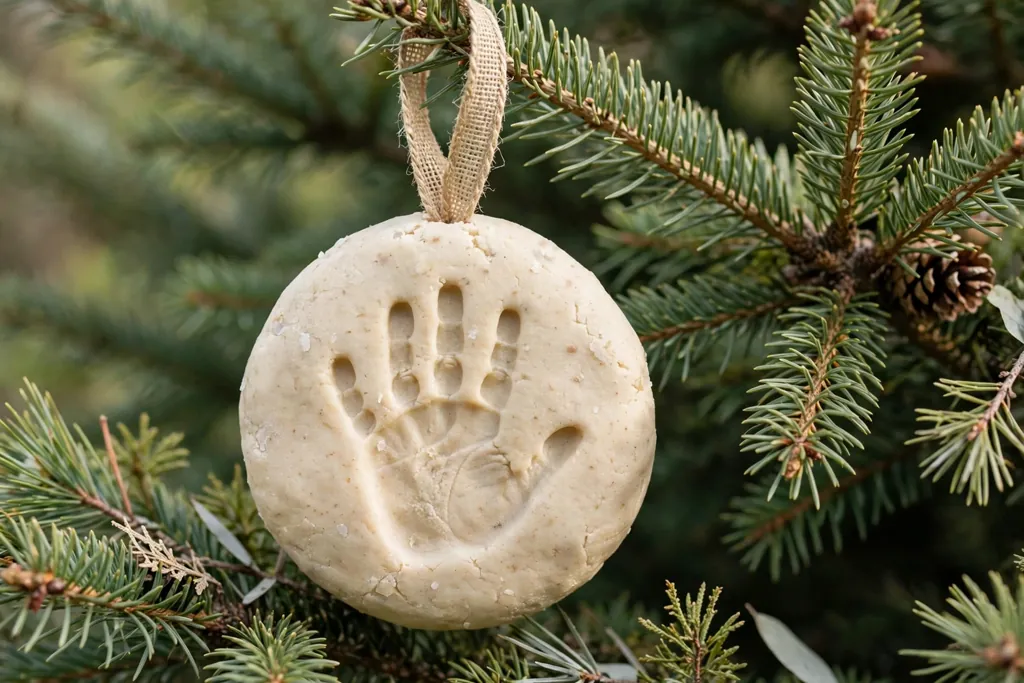
Press a child’s hand into a flat round of salt dough clay, keeping fingers spread and pressure even so each finger shows clearly. Salt dough is a simple, low cost clay for keepsakes, and the handprint gives the ornament a personal meaning that plain shapes do not carry. Cut around the print, smooth the edge, and make a hanging hole well away from the print.
Dry the keepsake slowly and fully, since a thick salt dough piece can crack if it dries too fast on one side. Paint the background in a calm color, leave the handprint in natural dough tone or paint it white, and write the name and year on the back with a fine pen after painting. Seal both sides, and hang keepsakes where they can be seen and handled with care, such as on a lower branch or a display branch in a vase.
7. Sculpted Air Dry Gnomes
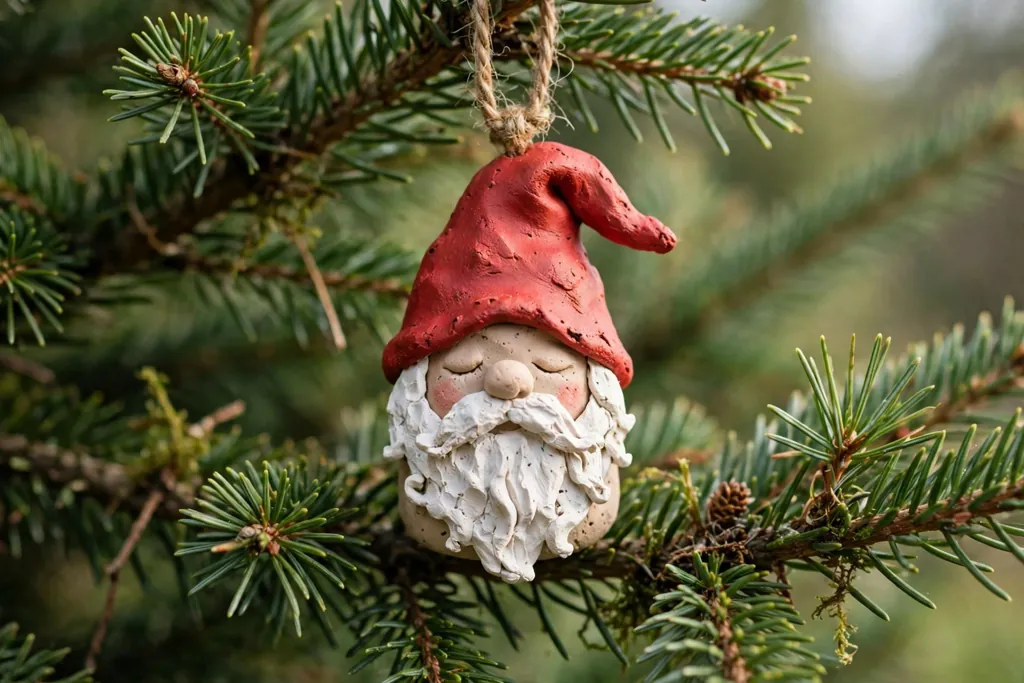
Shape a small gnome from air dry clay by forming a round body, a pointed hat, a beard made from scored or textured clay, and a small nose. Gnomes suit clay because the simple shapes need no fine detail, and the hat and beard give a clear silhouette even in plain clay. Keep the gnome compact and flat at the back, so it hangs straight against a branch.
Dry the gnome fully, standing it upright or laying it flat with support, so the hat does not bend while soft. Paint the hat red, green, or grey, the body cream or sage, and the beard white or natural clay tone, then seal with a matte finish. Hang gnomes on mid level branches with pinecones and wood ornaments, where their woodland look fits the rest of the tree.
8. Terracotta Village Houses
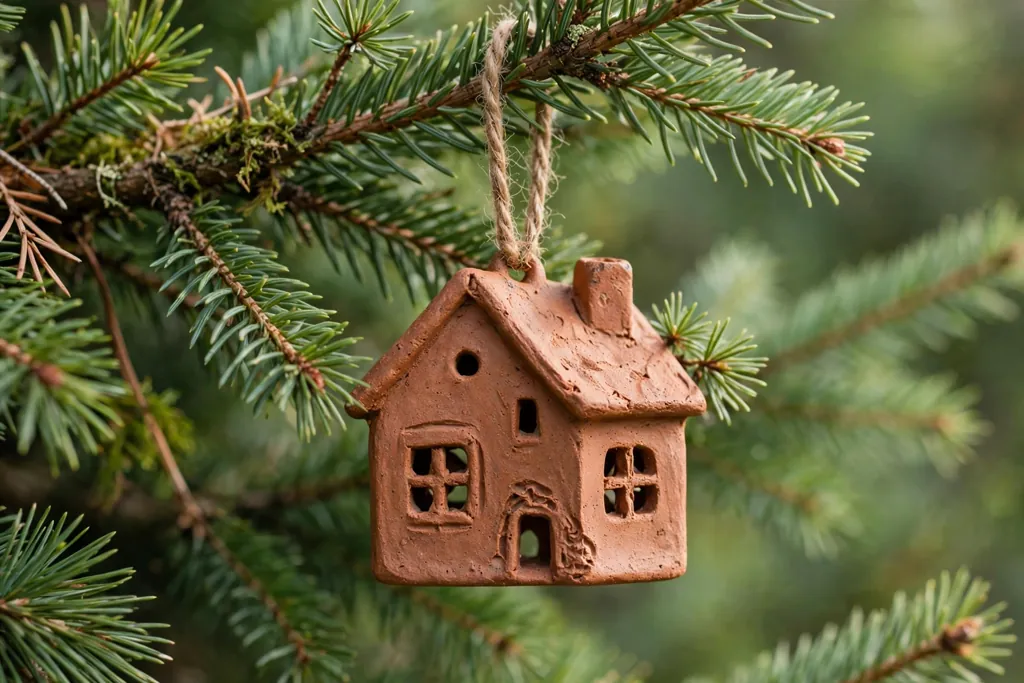
Cut terracotta clay into small house shapes with a pitched roof, cut out a door and one or two windows, and smooth the edges so light can show through the openings if the house sits near tree lights. Terracotta houses look warm and rustic, and the cut windows give them more depth than a flat painted house. Make the hanging hole in the roof peak, where the clay is thickest.
Dry the houses flat and slowly, then paint the roof cream or white and leave the walls in terracotta, or paint the whole house cream with a terracotta roof. Seal the surface, and hang village houses in a row along one side of the tree to suggest a street, or mix them with small trees and bells. Keep them on strong branches, since terracotta is heavier than air dry clay.
9. Speckled Polymer Pebble Rounds
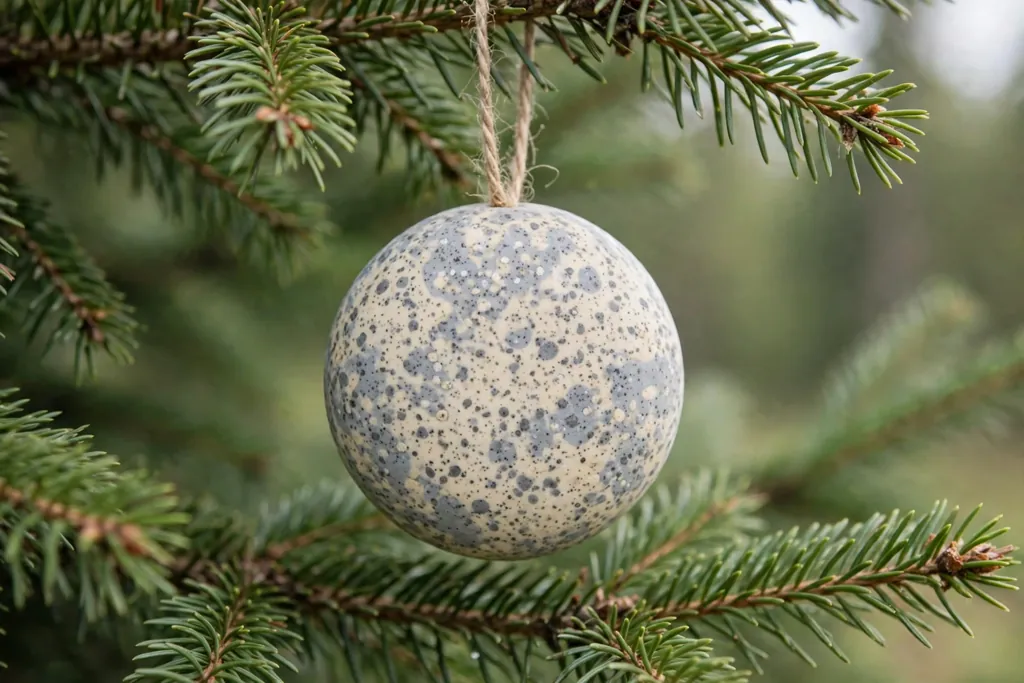
Roll polymer clay into smooth, flat rounds, then press tiny speckles of a darker clay color into the surface to mimic natural stone. Pebble rounds suit a calm, modern tree, since their quiet pattern adds texture without a strong color. Smooth the edges, make a hanging hole at the top, and keep the rounds small so they hang lightly.
Bake by the clay maker’s guide, cool fully, and finish with a matte sealant that keeps the stone look instead of a high gloss. Grey, cream, and soft taupe speckles work well together, and a set of pebble rounds in mixed tones looks collected rather than matched. Hang pebble rounds between glass ornaments, where their matte surface balances shinier pieces.
10. Air Dry Reindeer Cutouts
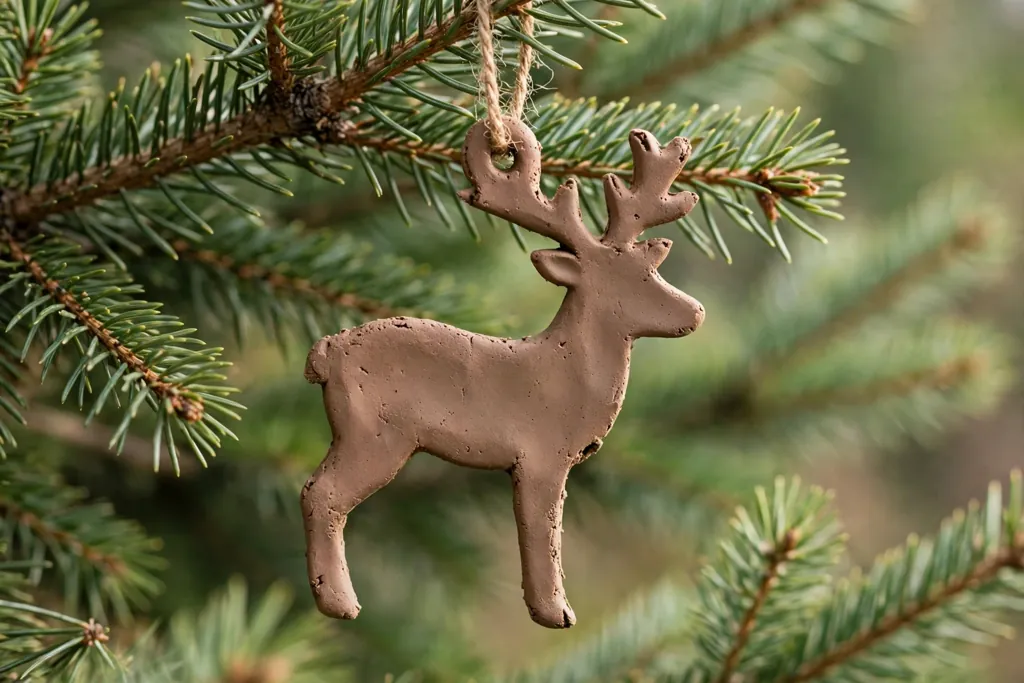
Roll air dry clay flat, cut reindeer shapes with a cutter or a paper template, and add simple details such as an eye, a nose, and antler lines with a toothpick or a fine tool. Reindeer cutouts suit air dry clay because the flat shape dries evenly and hangs well on thin branches. Make the hanging hole in the antler area or the top of the back, where the clay is wide enough to hold a cord.
Dry the reindeer flat, then paint the body in warm brown, the nose red or dark brown, and the antlers in a darker tone. Seal with a clear finish, and hang reindeer cutouts facing the same direction along a branch for a playful, storybook row. Pair them with stars and plain red ornaments so the reindeer shapes stay easy to spot.
11. Polymer Mushroom Ornaments
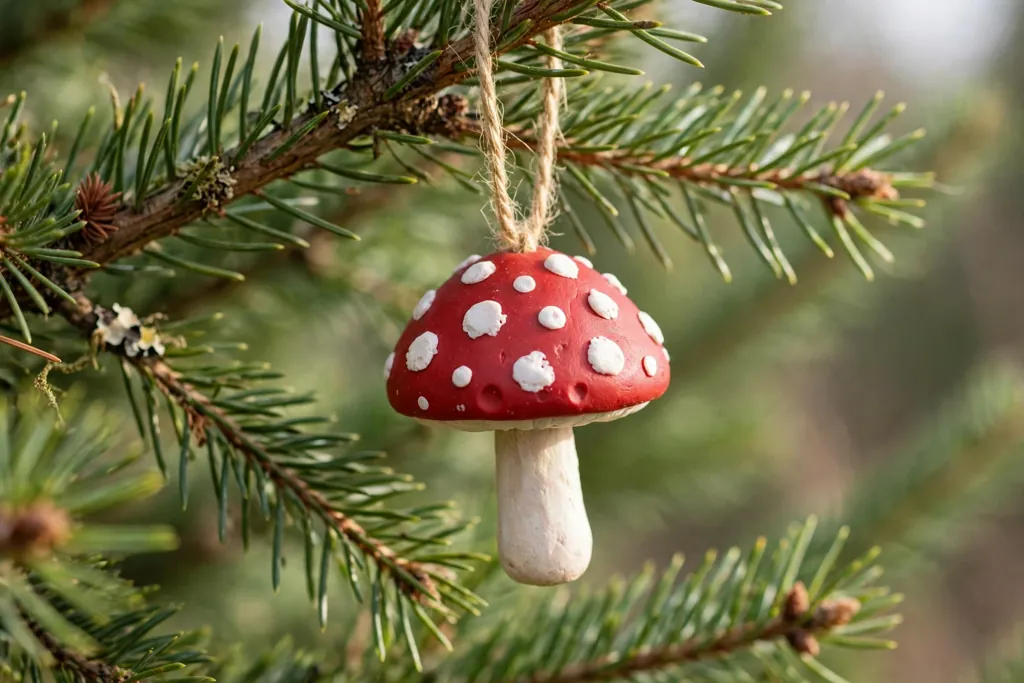
Shape a polymer mushroom by forming a rounded stem and a domed cap, joining them firmly, and adding small white dots to the cap before baking. Mushrooms suit polymer clay because the cap holds its dome shape in the oven, and the dots stay crisp after baking. Keep the mushroom small and flat at the back, or add a loop through the top of the cap for hanging.
Bake by the clay maker’s guide, cool fully, then paint the cap red, cream, or sage, with white dots and a cream stem. A matte or satin sealant keeps the woodland look. Hang mushroom ornaments on a tree with pinecones, moss, and wood details, or group them on a small tabletop tree for a woodland theme.
12. Monogram Air Dry Initials
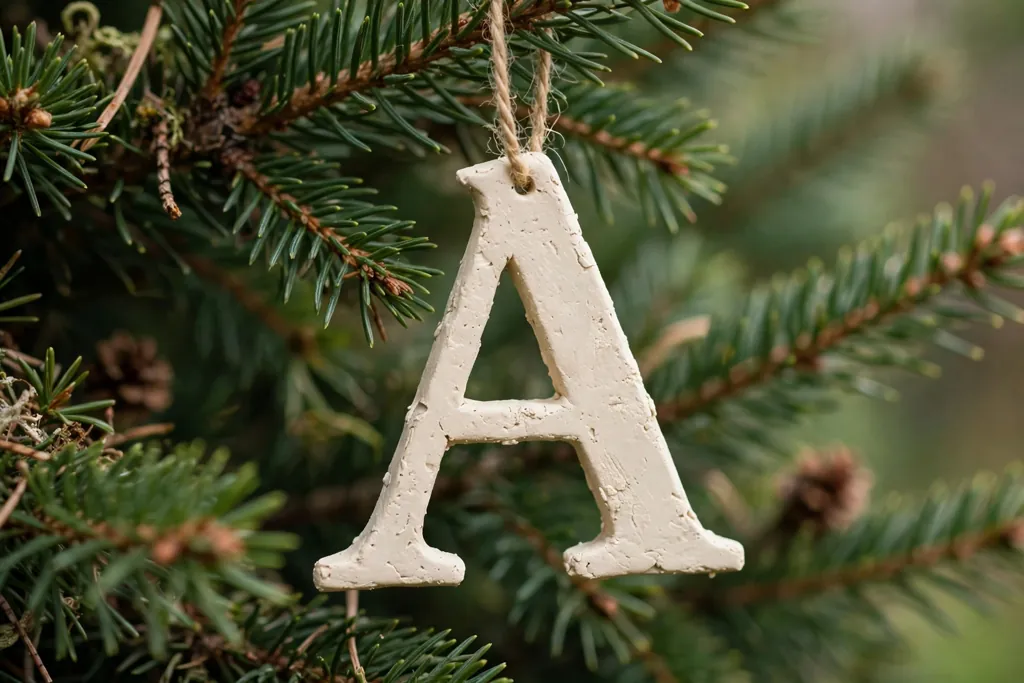
Roll air dry clay flat and cut a single large initial, or shape the initial by hand from a rolled clay coil, smoothing the joins so the letter reads clearly. Monogram ornaments suit gifts and family trees, since one letter can mark a person, a family name, or a new home. Make the hanging hole at the top of the letter, where the clay is thick, and keep the letter wide enough that thin strokes do not snap when dry.
Dry the initial flat, then paint it in a color that matches the tree palette, such as cream, gold, sage, or dusty blue, and add a small star or dot detail if the letter needs balance. Seal both sides. Hang monogram ornaments on a branch near the front of the tree, or use them as gift tags that later move to the tree.
13. Polymer Candy Canes and Wrapped Sweets

Shape polymer candy canes by rolling two thin clay ropes in red and white, twisting them together, and bending one end into a hook. For wrapped sweets, form a small oval, pinch the ends, and add a twist detail at each end. Polymer clay holds the striped pattern well, and the small size makes these ornaments light enough for outer branches.
Bake by the clay maker’s guide, cool fully, and add a clear gloss finish so the candy looks bright and smooth. Hang candy canes and sweets near the front of the tree, where children can spot them, and mix them with plain red and white ornaments so the stripes stand out. Keep a few spares, since small candy ornaments are often the first pieces children ask about.
14. Sculpted Air Dry Snowmen
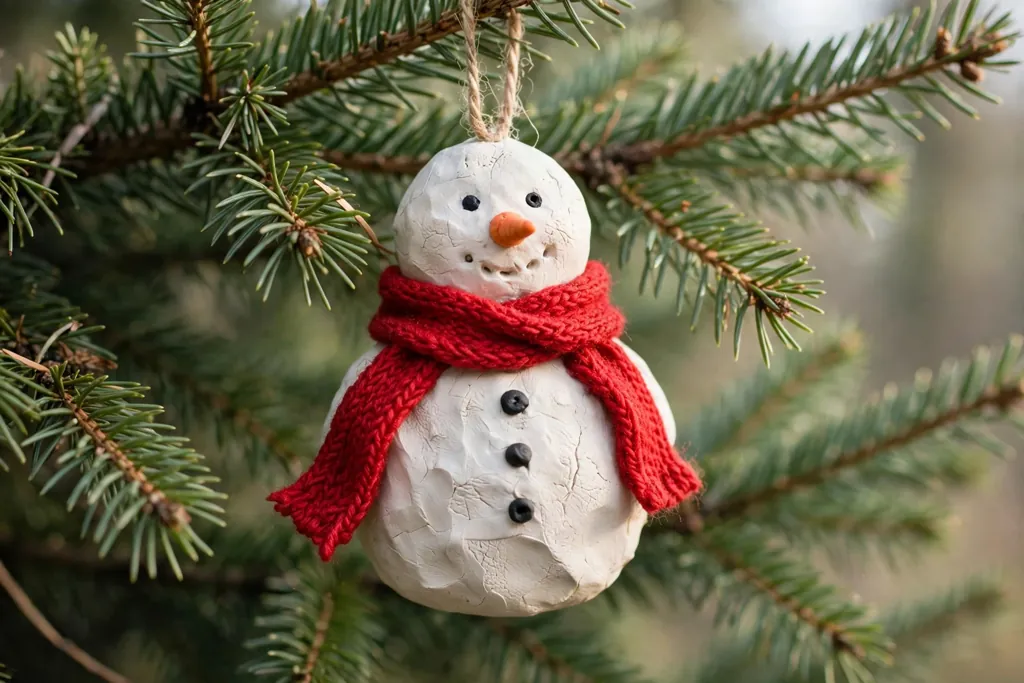
Form a snowman from air dry clay by stacking two or three rounded balls, smoothing the joins, and adding a small hat, a scarf made from a thin clay band, and tiny button dots. Snowmen suit air dry clay because the round shapes are easy to form by hand and dry well if kept small. Support the snowman while it dries so it does not lean or flatten on one side.
Paint the body white or cream, the hat dark grey or black, the scarf red or green, and the buttons dark brown. Add a small loop at the top of the hat for hanging, and seal with a matte finish. Hang snowmen on mid level branches with snowflake stars and white ornaments, where their round shape breaks up flat cutouts.
15. Terracotta Pinecone Ornaments
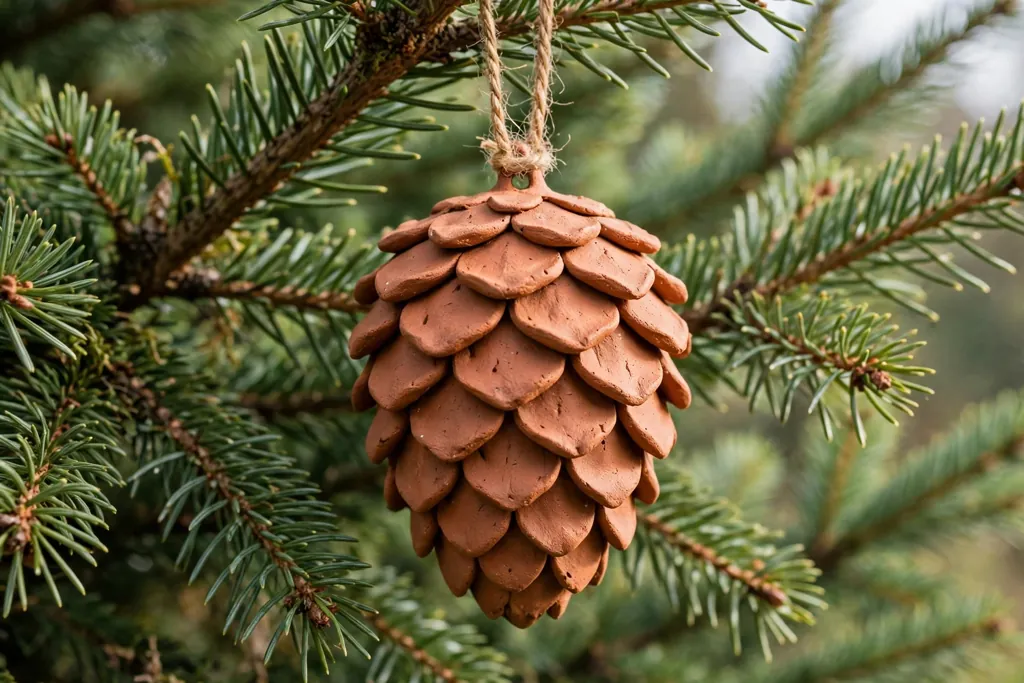
Shape a pinecone from terracotta clay by forming an oval base and pressing small, overlapping scale shapes into it, working from the bottom upward so each row overlaps the row below. Pinecones suit terracotta because the warm clay color reads as natural, and the layered scales give strong texture. Keep the pinecone small and add a loop at the top before drying.
Dry the pinecone slowly, since the scales can crack if the piece dries too fast. Paint the scales in terracotta, cream, or soft gold, or leave the clay unpainted with a clear matte sealant for a natural look. Hang pinecone ornaments with real pine branches and wood ornaments, where their texture matches the rest of the display.
16. Cold Porcelain Poinsettia Blossoms
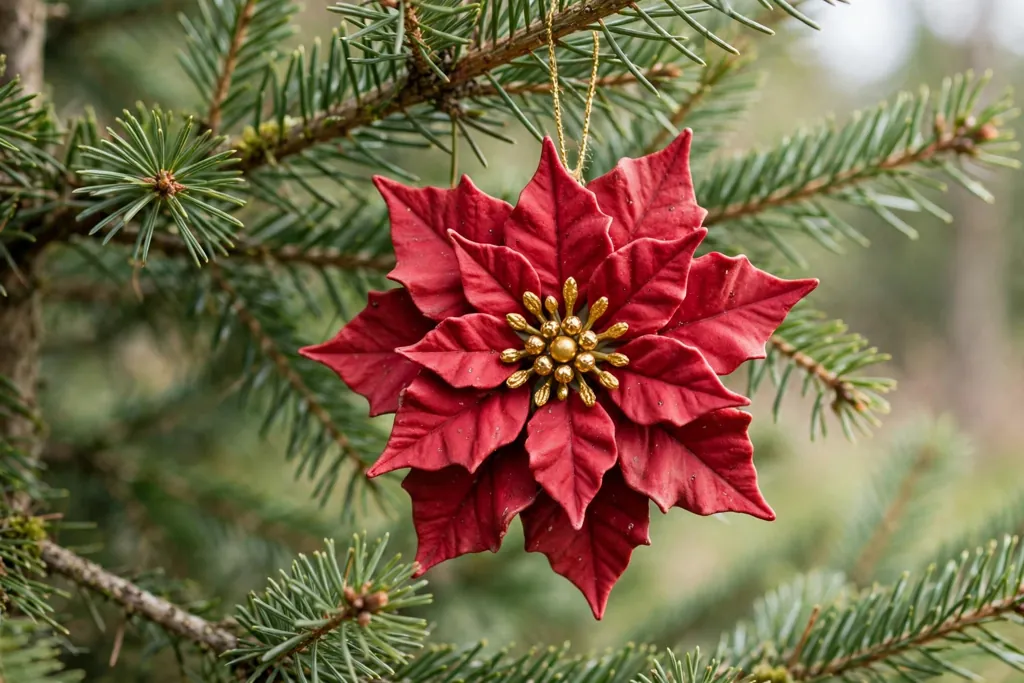
Shape poinsettia petals from cold porcelain clay by rolling thin petals, pinching the tips to a point, and layering five or six petals around a small center. Cold porcelain dries to a smooth, slightly translucent finish that suits flower ornaments, and the thin petals look lighter than flat cutout flowers. Join the petals firmly at the center, and add a loop at the back before drying.
Dry the blossom flat and fully, then paint the petals red, cream, or soft pink, with a yellow or gold center. Seal with a clear satin finish to protect the thin petals. Hang poinsettia blossoms near the front of the tree, where their flower shape stands out, and pair them with green leaf discs and plain gold ornaments.
17. Air Dry Moon and Star Sets
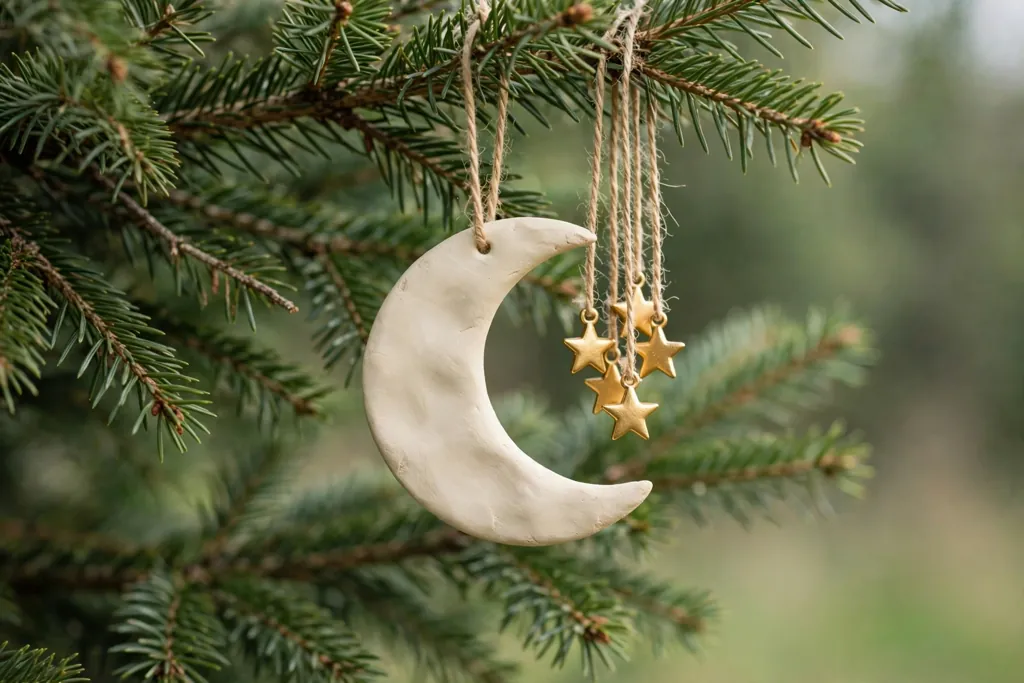
Cut a crescent moon and two or three small stars from air dry clay, using the same thickness and paint palette so the set reads as one group. Moon and star sets suit a calm, night sky theme, and the mix of one large shape with small stars gives a tree a gentle rhythm. Make a hanging hole at the top of the moon and at one point of each star.
Dry the pieces flat, then paint the moon cream or soft gold and the stars in matching gold or cream, with a small dot or line detail on the moon face if wanted. Seal all pieces, and hang the moon with its stars clustered on one branch, rather than spreading them across the tree, so the set stays together as a small scene.
18. Polymer Woodland Animal Discs
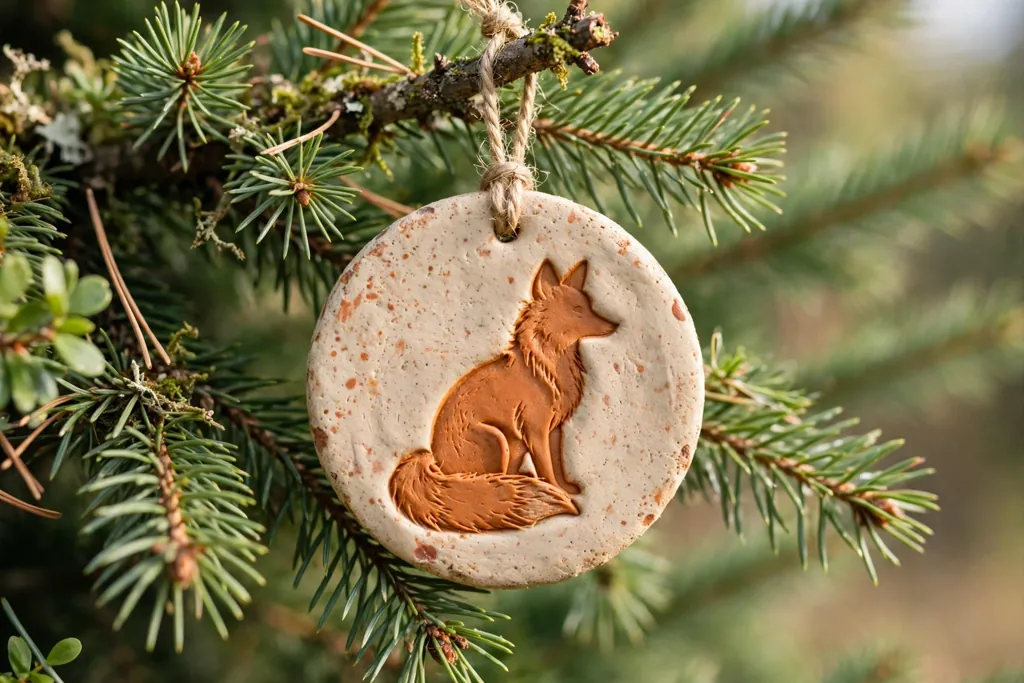
Roll polymer clay flat, cut round discs, and press a simple woodland animal shape, such as a fox, deer, or rabbit, into each disc with a stamp or a hand drawn outline. Woodland discs suit polymer clay because the pressed lines stay sharp after baking, and the round shape hangs evenly. Keep the animal design simple, with one clear silhouette per disc, so it reads from a short distance.
Bake by the clay maker’s guide, cool fully, then paint the raised animal in a warm tone and the background in cream or sage, or leave the disc in natural clay with paint only in the pressed lines. Seal with a matte finish. Hang woodland discs on a tree with mushrooms, pinecones, and leaf discs for a full woodland group.
19. Salt Dough Paw Print Keepsakes
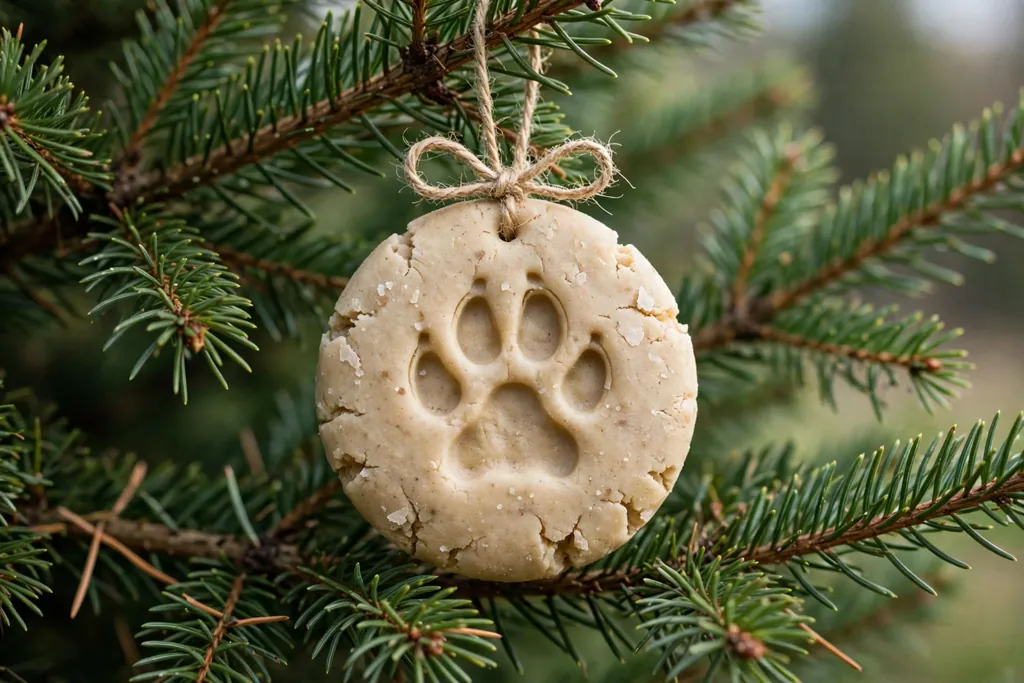
Press a pet’s paw into a flat round of salt dough clay, keeping pressure even so each toe shows clearly, and smooth the edge around the print. Paw print keepsakes suit salt dough because the dough takes a deep, clear print and dries into a sturdy round. Make the hanging hole well away from the print, and keep the round thick enough that the print does not weaken the piece.
Dry the keepsake slowly and fully, turning it once so both sides dry evenly. Paint the background in a calm color, leave the print in natural dough tone or paint it white, and write the pet’s name and year on the back. Seal both sides, and hang paw keepsakes with handprint keepsakes for a family set, or display them on a small branch in a vase.
20. Air Dry Wreath Rings with Berries
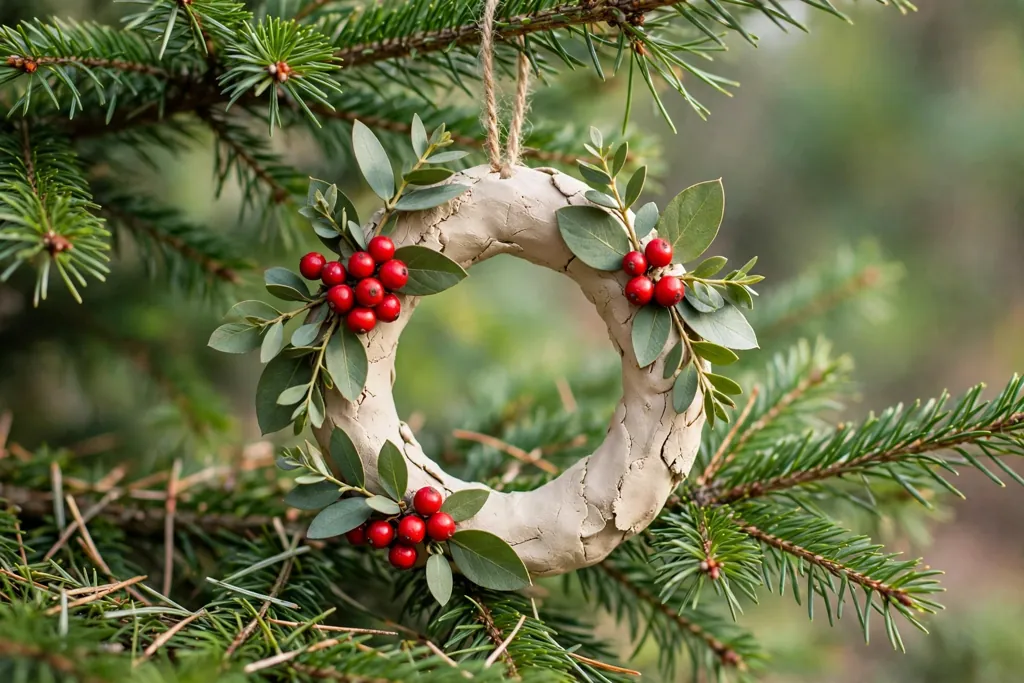
Form a wreath ring from air dry clay by rolling a coil into a circle and smoothing the join, then add small clay leaves and berry balls around the ring. Wreath rings suit air dry clay because the ring shape dries evenly if kept flat, and the leaves and berries add texture without much weight. Make a hanging hole at the top of the ring, or hang the ring from a loop tied through the top.
Dry the wreath flat, then paint the leaves green, the berries red or cream, and the ring cream or natural clay tone. Seal with a clear finish, and hang wreath rings on the tree, on a wall hook, or on a door handle for a small seasonal accent. Pair wreath rings with plain round ornaments so their ring shape stays clear.
21. Terracotta Nativity Medallions
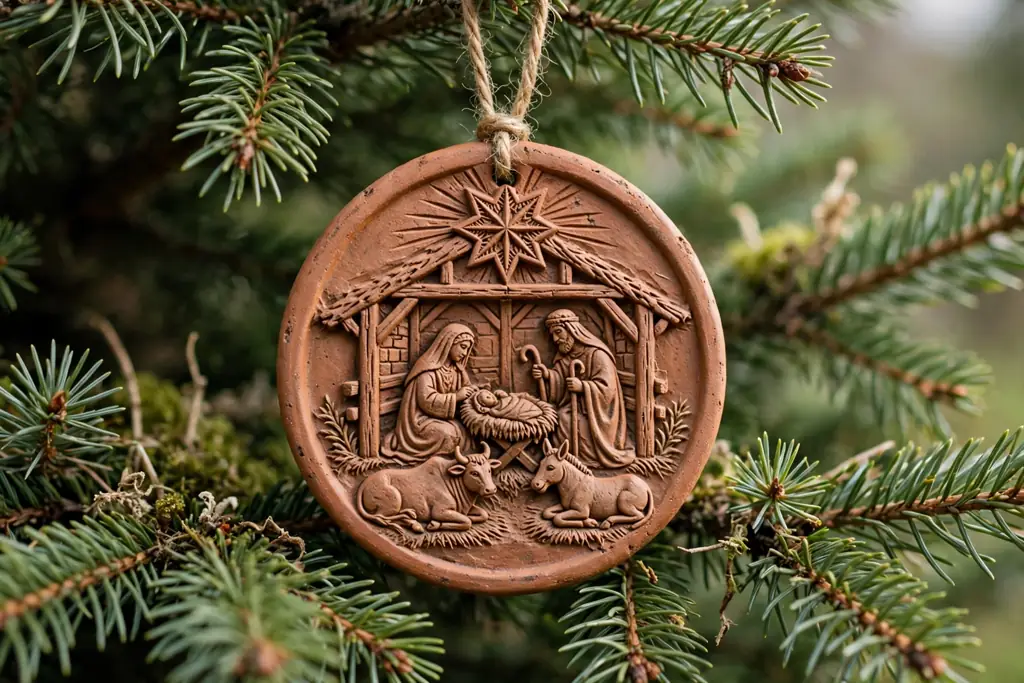
Roll terracotta clay flat, cut round medallions, and press or carve a simple nativity scene, such as a star over a stable roofline, into each medallion. Medallions suit terracotta because the warm clay gives a traditional, earthy feel, and the round shape frames a simple scene well. Keep the carving shallow and bold, so the scene reads clearly after drying and painting.
Dry the medallions flat and slowly, then paint the raised scene in cream or gold, leaving the background in terracotta, or paint the whole medallion cream with terracotta lines. Seal with a matte finish. Hang nativity medallions near the center of the tree, where their quiet, traditional design can be seen, and pair them with bells and stars for a calm, classic group.
Conclusion
Clay Christmas ornaments give a tree a handmade, personal feel that store bought sets rarely match. Start with one simple cutout, learn how your clay dries and paints, then build a set that mixes flat shapes, small figures, and keepsakes. Keep paint thin, seal every piece, and hang heavy ornaments where branches can hold them. Save this list, pick the ideas that fit your tree palette, and make a few new clay ornaments each year so the collection grows with meaning.
FAQs
What is the easiest clay for Christmas ornaments?
Air dry clay is the easiest choice for most makers, since it needs no oven, cuts cleanly with cutters, and dries in the open air. Roll it evenly, make the hanging hole before drying, and paint it once it feels fully dry and hard.
Do clay ornaments need to be sealed?
Yes, seal clay ornaments with a clear finish after painting, since sealant protects paint from chipping and keeps glitter and fine details in place. Use a matte finish for a natural look, or a gloss finish for candy, marble, and bauble styles.
How long do air dry clay ornaments take to dry?
Air dry clay ornaments usually take one to three days to dry, depending on thickness, room airflow, and humidity. Turn flat pieces once during drying, and wait until the piece feels hard and cool no longer, since painting a damp piece can trap moisture and crack the paint.
Can polymer clay ornaments go on a real tree?
Yes, polymer clay ornaments can hang on a real tree once they are baked, cooled, and sealed, since baking hardens the clay fully. Keep small, light pieces on outer branches, and hang heavier baubles and figures on strong branches so they do not pull needles down.
How do you keep clay ornaments from cracking?
Roll clay to an even thickness, dry pieces slowly and flat, and avoid very thin joins or sharp points that dry faster than the rest of the piece. Make hanging holes before drying, keep pieces out of direct heat while drying, and seal finished ornaments to protect against knocks in storage.
How should clay Christmas ornaments be stored?
Store clay ornaments in divided boxes with tissue between pieces, in a cool, dry place, so painted edges do not rub and chip. Keep heavy terracotta pieces at the bottom of the box, flat ornaments upright in dividers, and small figures wrapped in tissue so details stay intact.