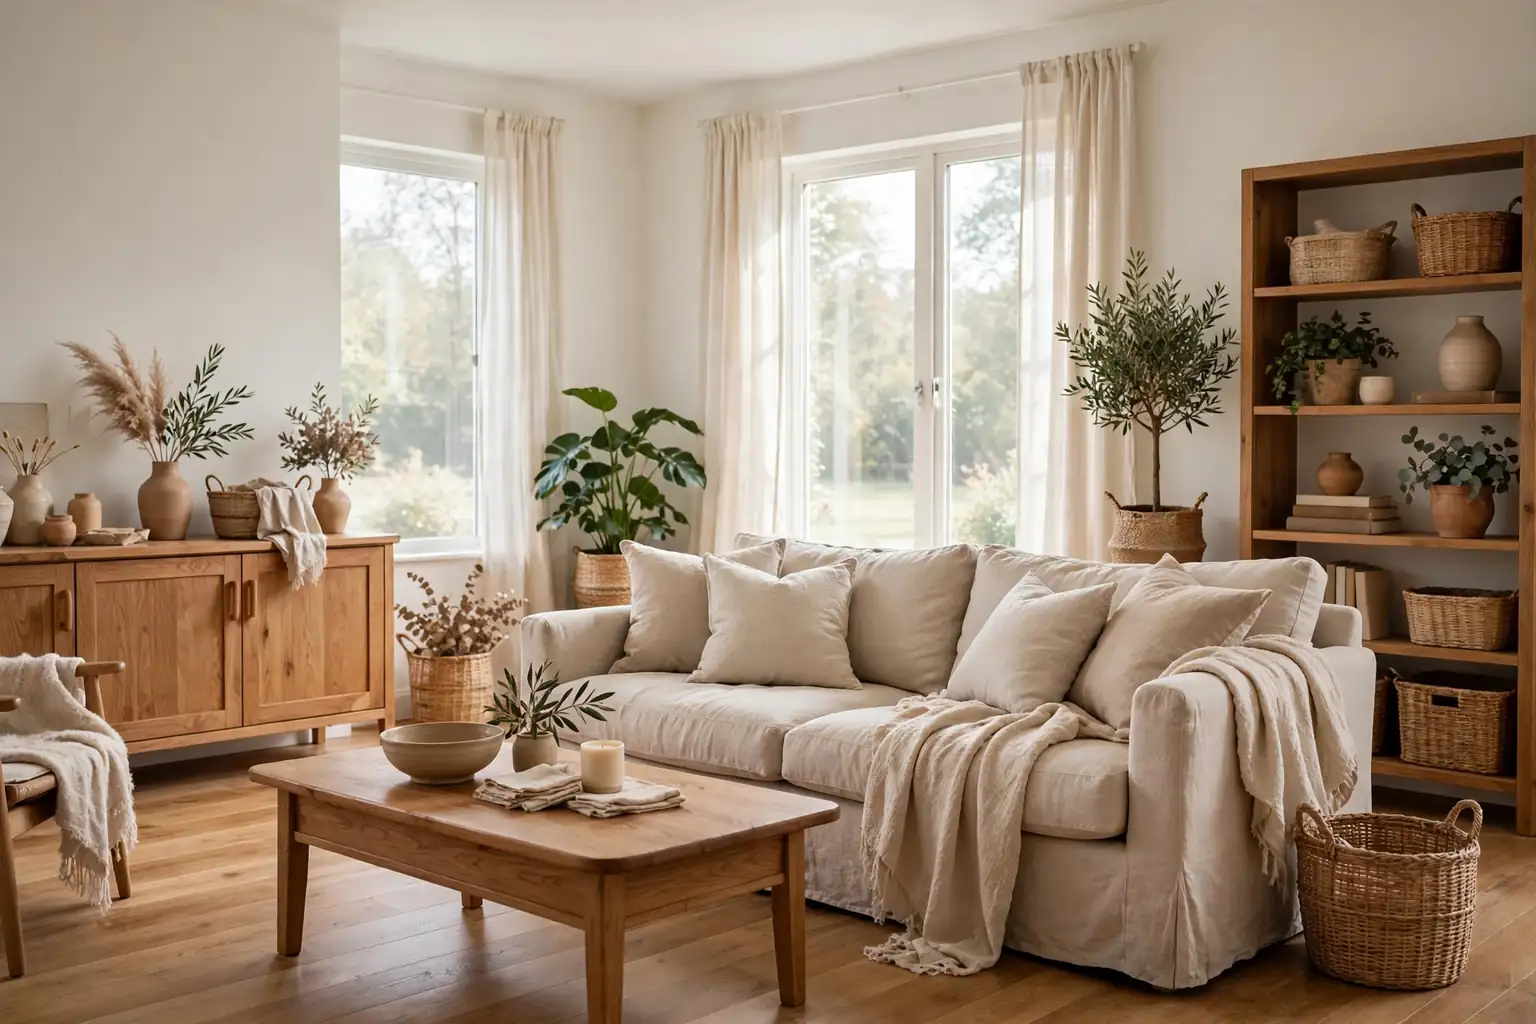
A relaxed home rarely comes from one large purchase. It comes from a calm palette, a few handmade pieces, and surfaces that stay mostly clear. These 18 DIY home decor ideas cover painting, sewing, simple woodwork, wall art, lighting, and styling, so you can start with one weekend project or work through the list room by room. Most of the projects use basic tools, leftover paint or fabric, and pieces you may already own. Pick the project that fixes what bothers you most, finish it fully, and then move on, rather than starting five projects at once.
Key Takeaways
- Start with a calm palette of warm white, one wood tone, and one muted accent, and repeat those choices in every room.
- Finish one project fully before starting the next, so each room gains one clear change instead of several half done jobs.
- Mix one handmade piece with plain bought pieces, such as painted furniture beside plain linen, so rooms feel personal but calm.
- Use simple joins, brackets, and fabric covers for most projects, and save complex woodwork for a time when you can work slowly and safely.
- Keep surfaces mostly clear after styling, with one group of three items per surface rather than a row of small objects.
- Choose washable fabrics and matte finishes for pieces that get daily use, such as cushion covers, table runners, and painted chairs.
1. Set a Calm Whole-Home Palette Before You Buy Anything
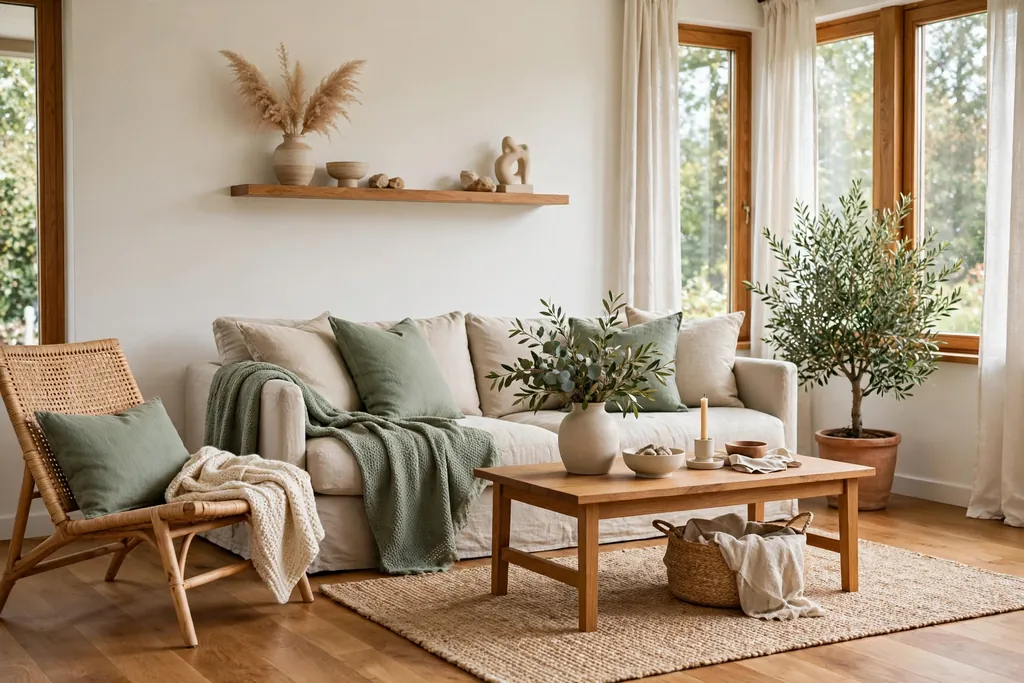
A calm palette is the cheapest DIY project in this list, and it makes every other project look more deliberate. Choose warm white for walls and large linen pieces, one wood tone such as warm oak, and one muted accent such as sage, clay, or dusty blue. Write those choices down, and check new paint, fabric, and wood against them before you buy. This step suits a home where rooms feel disconnected, since a shared palette links them without matching furniture.
Repeat each choice at least twice in a room, for example in a cushion and a throw, or in a wood frame and a wood shelf. Keep other colours to small doses, such as a plant pot or a book spine, so the palette stays calm. If a room starts to feel flat, change texture rather than colour, with linen beside wood or wool beside iron, so the room gains interest without a new hue.
2. Paint a Tired Wooden Chair or Side Table in One Calm Colour
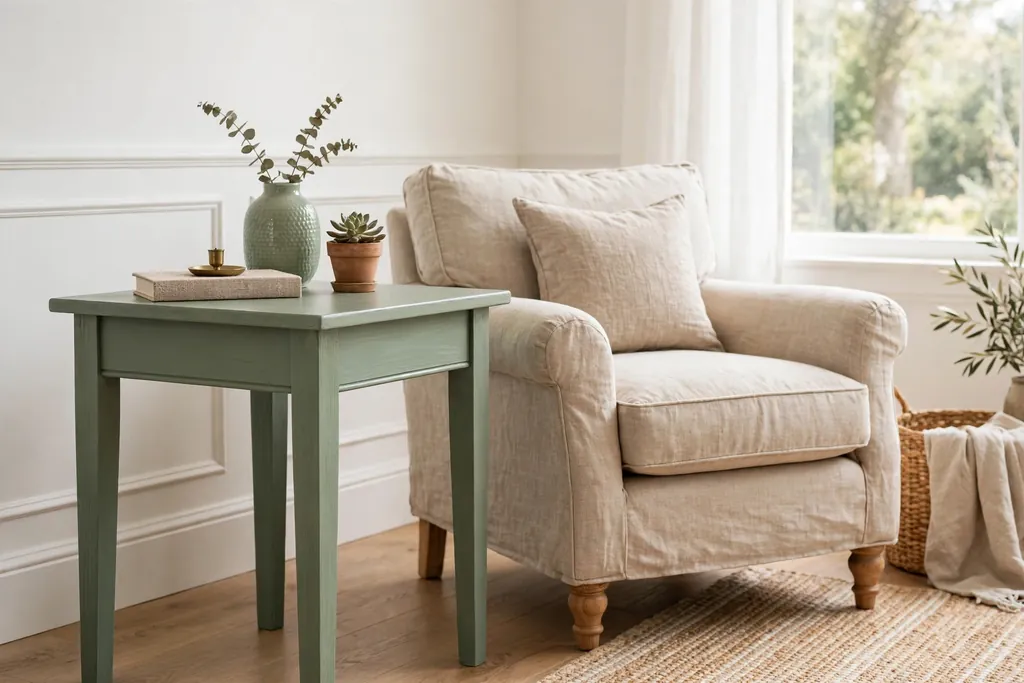
Paint gives a tired wooden chair or side table a second life in a single afternoon, and one painted piece can lift a whole corner. Choose a solid piece with good joints, and pick a colour already in your palette, such as sage, soft grey, or warm white. This suits a chair with a sound frame but a scratched finish, or a side table that clashes with the rest of the room.
Clean the piece, sand lightly, and remove dust before painting, so the paint grips well. Use thin coats, let each coat dry fully, and seal the top of a table with a clear matte finish for daily use. Keep the rest of the corner plain, with one cushion or one small plant, so the painted piece reads as a deliberate accent rather than another coloured object in a busy room.
3. Make Large Abstract Canvas Art With Leftover Paint
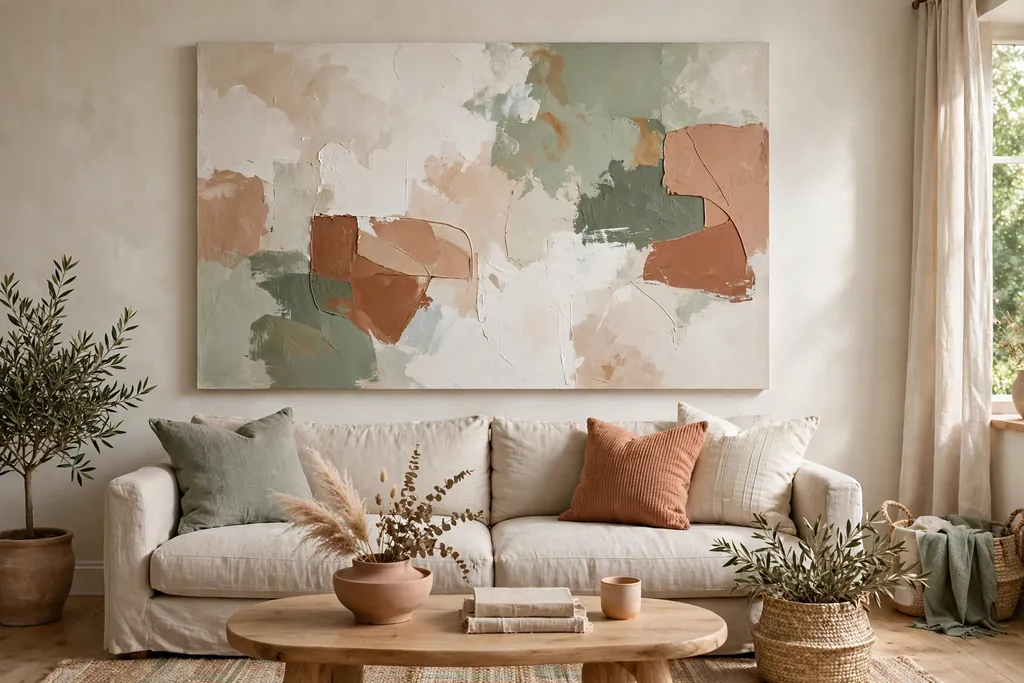
Large abstract canvas art fills an empty wall for far less than a framed print, and leftover wall paint keeps the colours tied to the room. Use a large blank canvas, two or three colours from your palette, and simple shapes such as blocks, arcs, and loose brushstrokes. This suits a sofa wall, a bed wall, or a hallway where one large piece works better than a row of small frames.
Paint in layers, let each layer dry, and step back often to check the balance from across the room. Leave some areas plain, since empty canvas gives the eye a rest and keeps the piece calm. Hang the centre of the canvas at eye level from where you see it most, and keep nearby furniture simple, so the art stays the focus of the wall.
4. Build a Wood Picture Ledge for Art and Photos
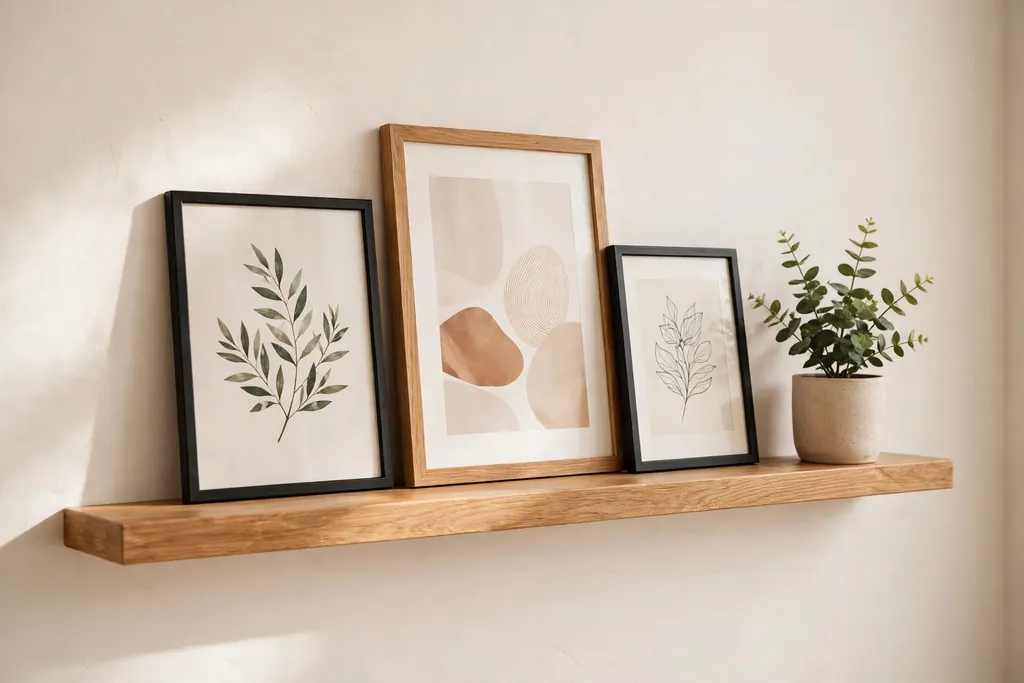
A wood picture ledge lets you change art and photos without new holes in the wall each time, which suits renters and anyone who likes to rotate prints by season. Fit one or two boards with a small front lip on a living room or bedroom wall, using fixings suited to your wall type. The ledge holds framed prints, small canvases, and one small plant, and you can swap the order in minutes.
Keep the ledge to a few frames in matching or close wood tones, with varied heights for interest and space between groups. Put heavier frames near the centre, and leave the ends mostly clear so the ledge does not look crowded. If the wall already has a large canvas, place the ledge on a different wall, so the two art displays do not compete.
5. Sew Simple Linen Cushion Covers in Your Palette
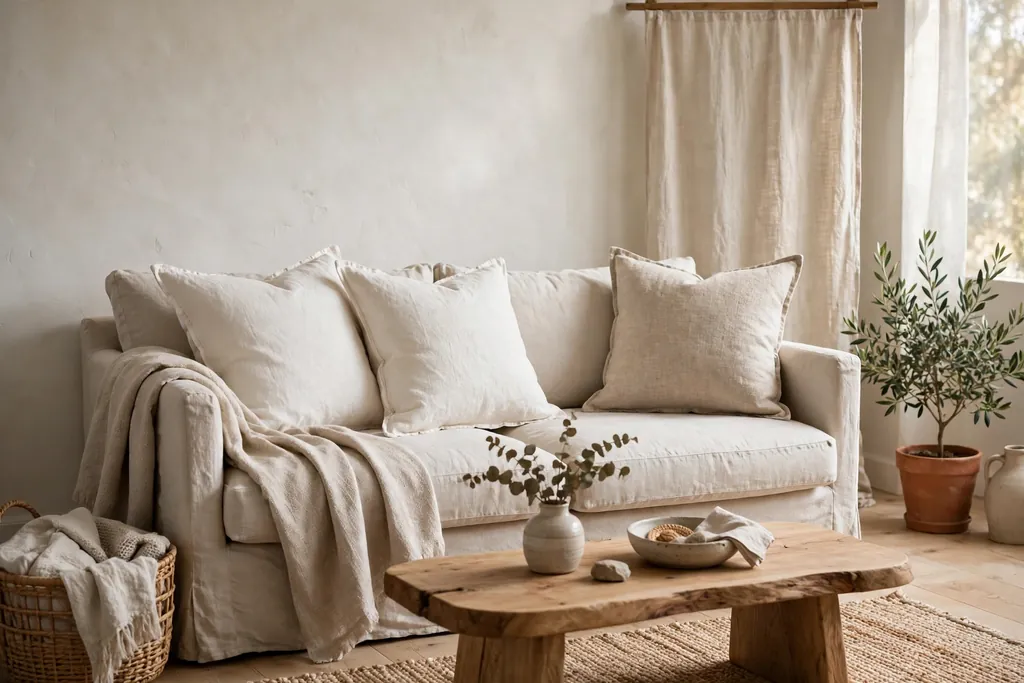
Simple linen cushion covers change a sofa or a bed faster than new furniture, and they let you test a colour before committing to larger pieces. Cut plain linen in warm white, oatmeal, or your muted accent, and sew straight seams with a simple envelope back, so no zip is needed. This suits a sofa with plain cushions that feel flat, or a bed that needs one soft layer of colour.
Make two covers in the same fabric for balance, and pair them with plain cushions you already own, rather than a full set of new patterns. Wash the fabric before sewing if the maker advises it, so the finished covers do not shrink unevenly. Keep the cushion fill plump and the covers easy to remove, since washable covers stay fresh in a home with pets, children, or frequent guests.
6. Knot a Simple Cotton Wall Hanging for a Plain Wall
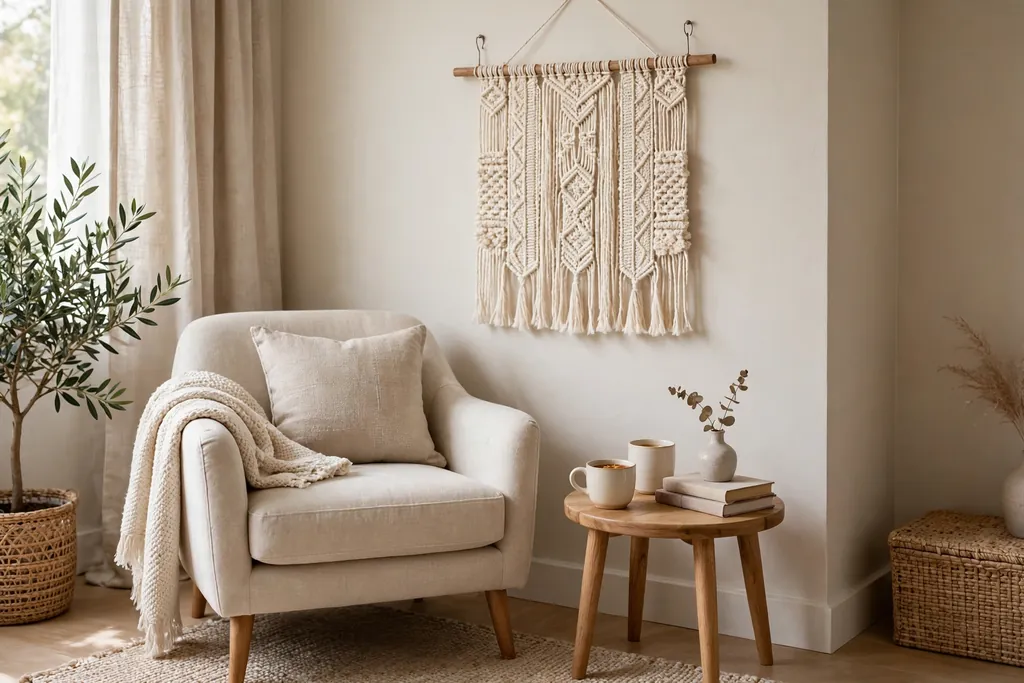
A simple cotton wall hanging adds soft texture to a plain wall without paint or heavy fixings, and it suits a bedroom, a reading corner, or a narrow hallway. Use natural cotton cord on a wood dowel, and learn two or three basic knots, such as a square knot and a lark’s head knot, before starting the full piece. Keep the design simple, with a plain top section and a fringe at the bottom, so the hanging looks calm rather than busy.
Measure the wall first, and keep the hanging narrower than the furniture below it, so it sits in proportion. Hang it from one small hook or nail rated for its weight, and keep the fringe clear of radiators and door swings. If the room already has patterned cushions or a patterned rug, choose plain cotton, so the wall hanging adds texture without adding a new pattern.
7. Fit Open Wood Shelves With Iron Brackets
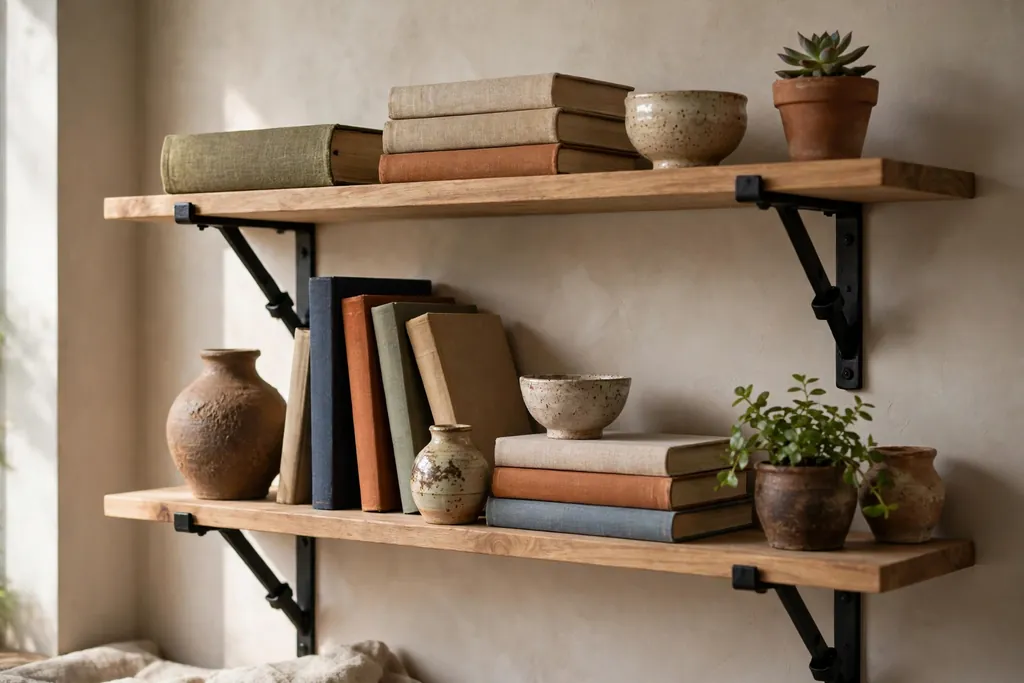
Open wood shelves give a living room or kitchen useful display space without a new cabinet, and wood planks on black iron brackets suit a relaxed home well. Fit one or two runs on a single wall, anchor the brackets into studs or with fixings suited to your wall type, and keep the shelves level. This suits a wall above a sideboard, a desk, or a kitchen counter where everyday dishes and books need a home. For more living room shelf styling, see these stylish rustic living room ideas.
Style each shelf with a mix of books, one plant, and one or two plain objects, and leave empty space on every shelf. Put heavier items low and near the brackets, and keep the shelf count low in a small room, since open shelves add visual weight. If the room already has a wood feature wall, place the shelves on a plain wall instead, so the wood does not compete with itself.
8. Limewash One Feature Wall for Soft Texture
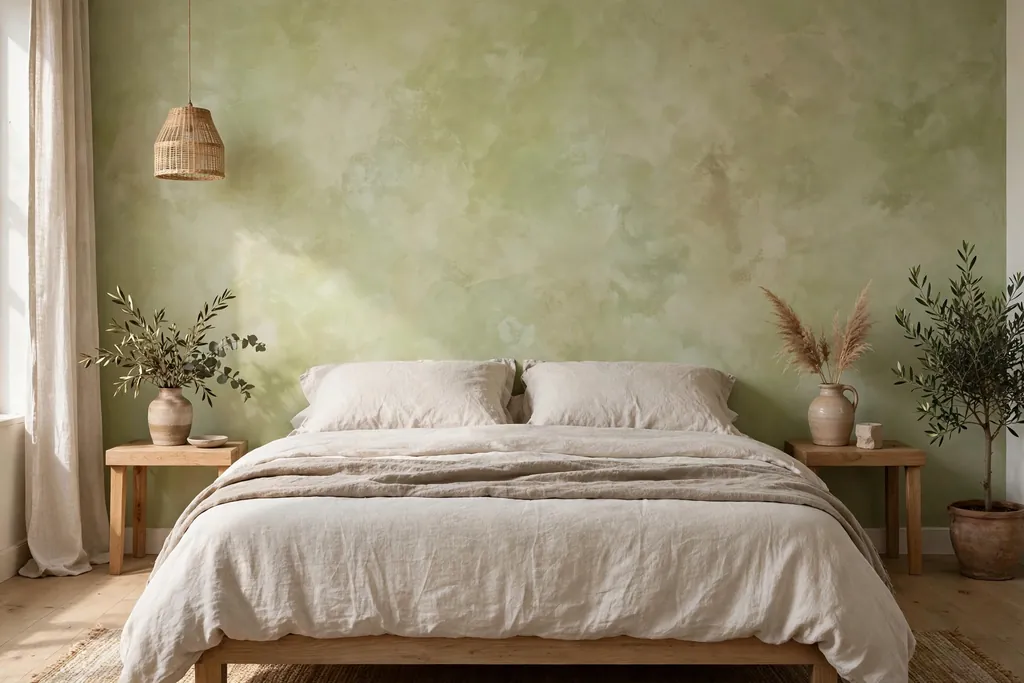
Limewash gives one wall soft, cloudy texture without a strong pattern, and it suits a bedroom or living room where flat paint feels dull. Choose one wall, usually the bed wall or the sofa wall, and test the wash on a small area first, since the final tone depends on the wall beneath and the number of coats. Use a brush in loose, crossing strokes, and let each coat dry before judging the colour.
Keep furniture against the washed wall simple, with a plain bed, a plain sofa, or a wood bench, so the texture stays easy to see. Pair the wall with plain linen and one wood tone, and keep other walls warm white. If the wash looks too strong, a thinner second coat or a lighter tone on the next wall can soften the contrast, but avoid washing every wall, since the texture works best as one feature.
9. Make Jar Lanterns for Tables and Shelves
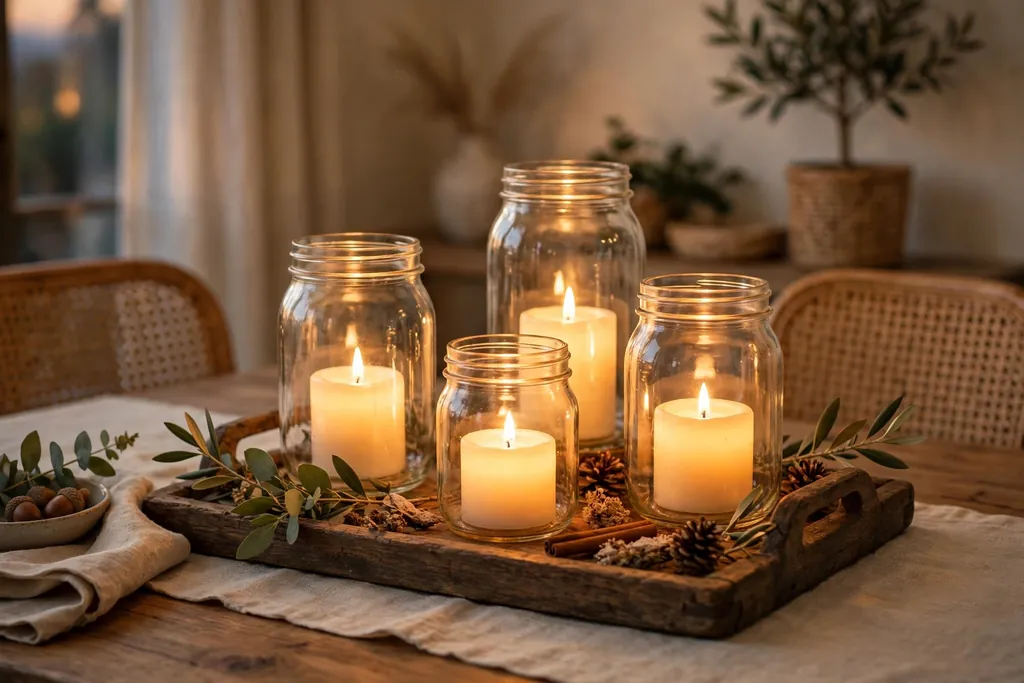
Jar lanterns give a table or a shelf a low, warm glow in the evening, and they use jars you may already have in a cupboard. Clean plain glass jars, wrap the neck with twine or a simple wire handle if you plan to hang them, and place a battery candle inside for a safe glow. This suits a dining table, a mantel, or a bathroom shelf where a real flame would be awkward.
Group one large jar or three small jars on a wood tray, with space between them, so the tray stays easy to move for cleaning. Keep battery candles away from water in a bathroom, and keep real candles, if you use them, clear of curtains, throws, and paper, and never leave them burning in an empty room. Change the tray dressing by season, with a small plant in spring or dried stems in autumn, rather than adding more jars.
10. Build an Entry Bench With Wall Hooks From Boards
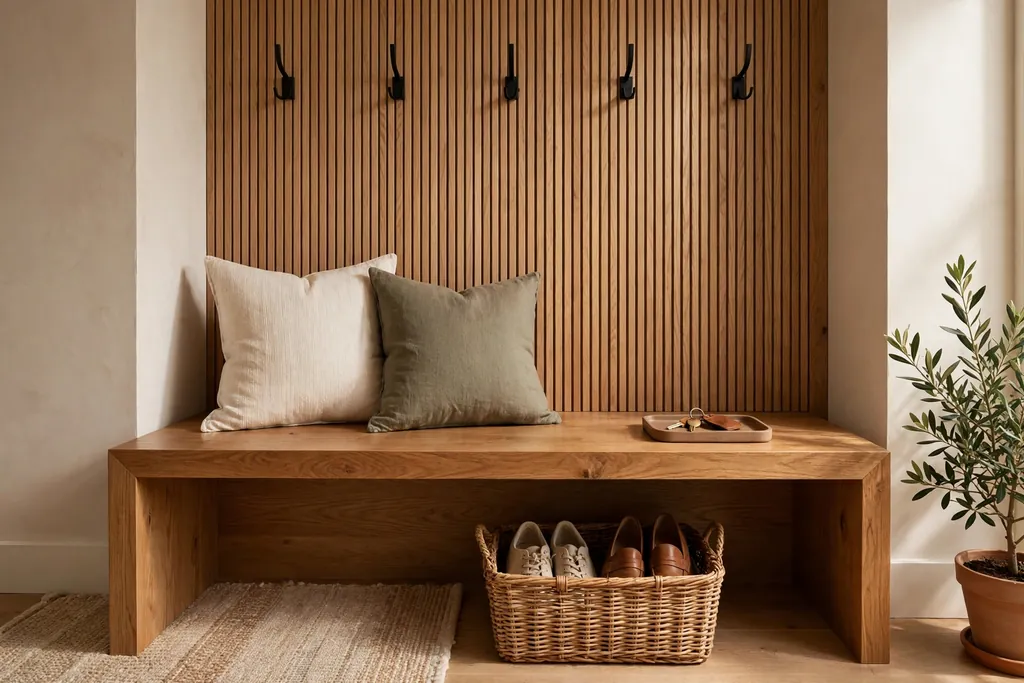
An entry bench with wall hooks turns a cluttered hallway into a place where coats, bags, and shoes have a set home. Build a simple bench from boards on sturdy legs, fit a row of hooks on a wood backboard above it, and place a basket below for shoes. This suits a narrow entry where a full cabinet would block the path, since a bench stays slim and open underneath.
Fix the backboard into studs or with fixings suited to your wall type, since hooks carry daily weight. Keep the bench top mostly clear, with one small tray for keys, and limit the hooks to one coat and one bag per person, so the entry stays tidy. If floor space is very tight, a wall mounted rail with hooks and a single low basket gives a similar result on a smaller footprint.
11. Make a Padded Headboard From Plywood and Fabric
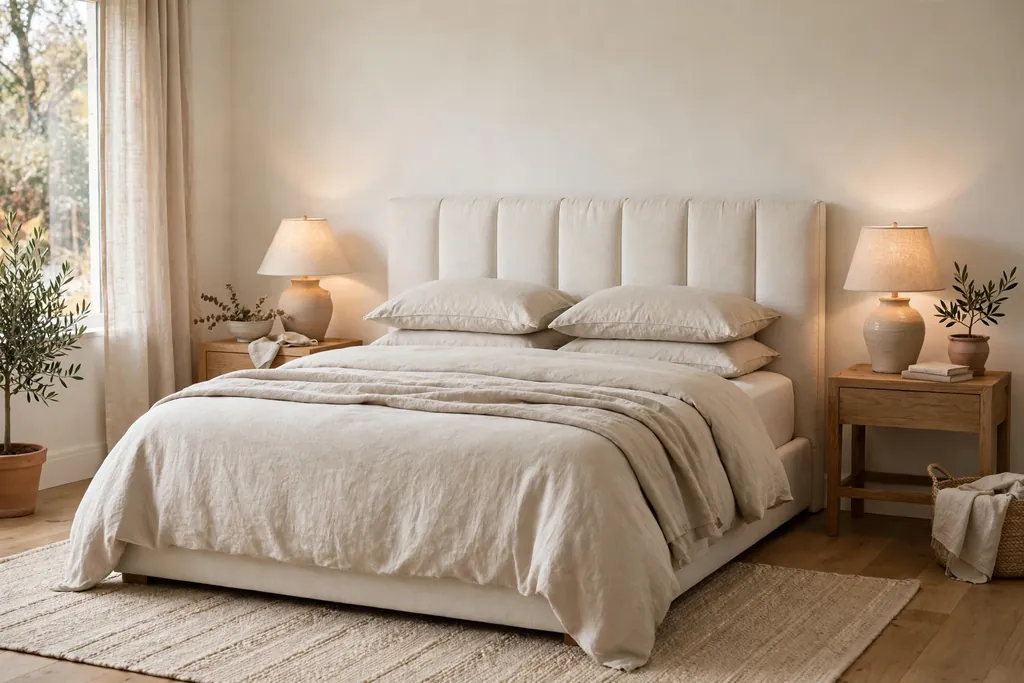
A padded headboard gives a bedroom a soft, finished centre without buying a new bed, and it suits a plain bed frame or a bed pushed against a bare wall. Cut plywood to the width of the bed, add a layer of padding, wrap it in plain linen or cotton in your palette, and fix it to the wall or the bed frame with fixings suited to the weight. Choose a simple straight or gently arched shape, so the headboard stays calm beside plain bedding.
Keep the bedding plain in warm white or oatmeal, and add one darker cushion for contrast, so the headboard stays the focus. Check that the headboard spans the bed without crowding the nightstands, and keep the fabric taut and smooth when wrapping, since wrinkles show at eye level. For more bedroom ideas in this style, see these stylish rustic bedroom decor ideas.
12. Create a Matching Gallery Wall With Printed Art
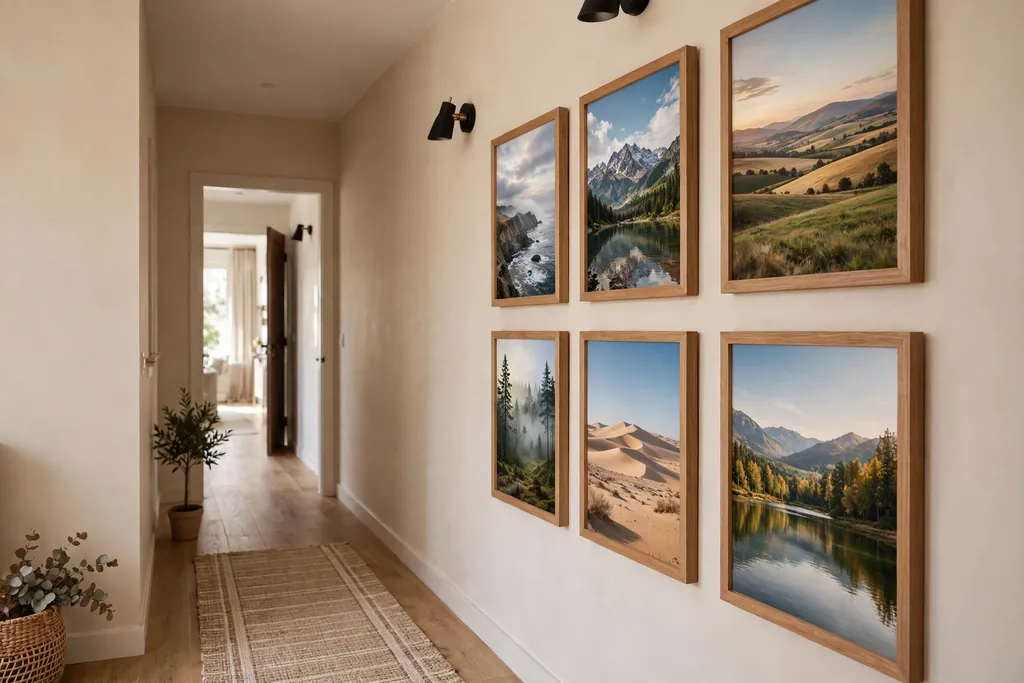
A gallery wall with matching frames and printed art gives a hallway or stair wall a collected feel, and printing art at home or locally keeps the cost low. Choose two or three landscape or abstract prints in soft tones from your palette, use matching wood or black frames, and hang them with equal gaps. This suits a long hallway, a stair wall, or a dining wall where one large piece would feel lost.
Lay the frames on the floor first, and test the layout before fixing any hooks, so spacing stays even. Hang the centre of the group at eye level from where you see it most, and check what the frames reflect before fixing them. If the wall is narrow, a vertical row of three frames works better than a wide grid, and a single row above a sideboard is often enough in a small room.
13. Refresh Kitchen Cabinets With New Hardware and One Painted Run
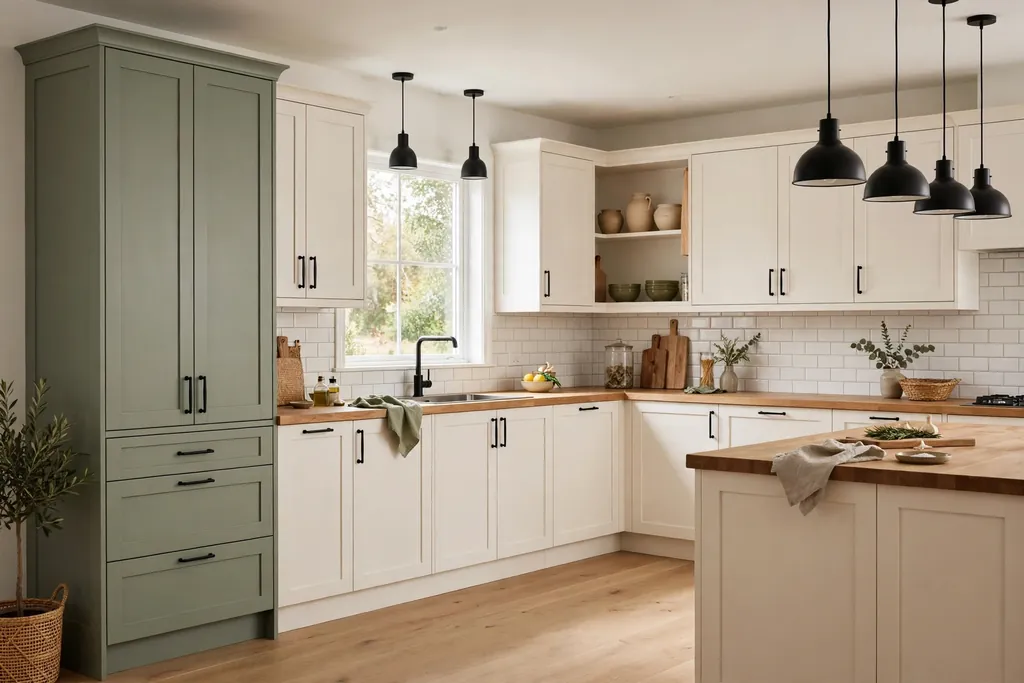
New cabinet hardware is a small change with a large effect in a kitchen, and painting one run of cabinets, rather than the whole kitchen, keeps the project manageable. Swap plain knobs and pulls for a consistent finish, such as matte black or aged brass, and use the same style on every door and drawer. Paint one run, such as the island base or the lower cabinets, in a calm colour from your palette, and keep the upper cabinets warm white. For more kitchen ideas in this style, see these chic rustic kitchen ideas.
Clean and sand the painted run first, test the colour on a door back, and use thin coats with full drying time between them. Keep counters mostly clear while you work, and store everyday items in one box per cabinet, so the kitchen stays usable. If the kitchen already has open shelves, keep the hardware simple, so the shelves, the painted run, and the hardware do not compete.
14. Build a Small Herb Shelf for the Kitchen Window
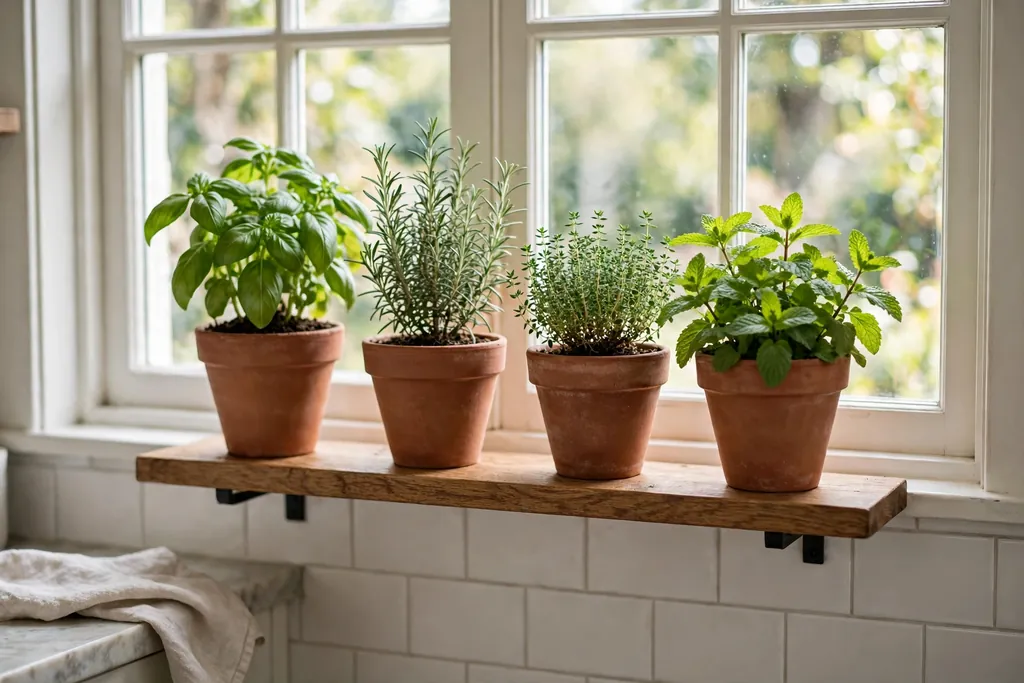
A small herb shelf by the kitchen window links cooking to the room, and it uses a single board and two brackets in an afternoon. Fit the shelf at window height, where herbs get good daylight, and place clay pots of basil, rosemary, thyme, and mint in separate pots, so each herb gets the water it needs. Set the pots on a tray to catch drips, and keep the shelf clear of the faucet splash zone.
Snip herbs from the top of each plant, so the plants stay bushy, and rotate the pots weekly so growth stays even. Keep the shelf to four or five pots, so watering stays quick, and wipe the tray during your usual clean. If the window gets strong sun, move tender herbs back a little from the glass in summer, since leaves can scorch on very hot days.
15. Wrap Plain Baskets in Cotton Rope for Storage
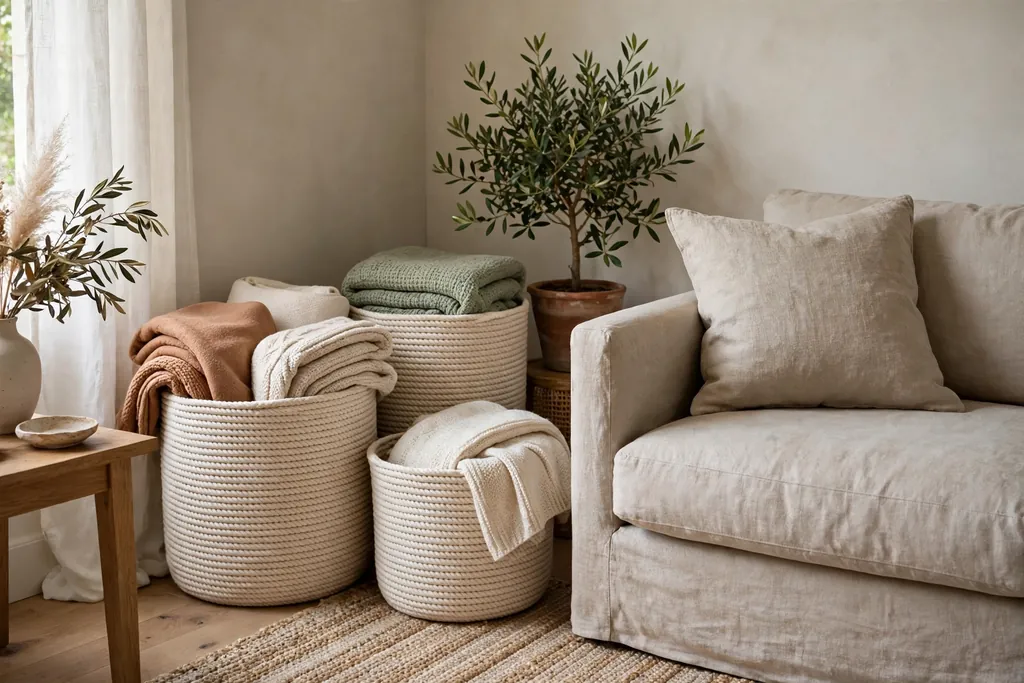
Wrapping plain baskets in cotton rope gives useful storage a handmade look, and it suits baskets for throws, toys, magazines, or bathroom towels. Start with a plain, sturdy basket, wrap rope tightly around the outside from the base up, and fix the end with a small amount of glue suited to the basket material. Keep the rope even and snug, so the wrap stays neat with daily use.
Use one wrapped basket per room at first, beside a sofa or a bed, and keep other storage plain, so the rope texture stays a deliberate accent. Choose baskets with handles, so they can be carried and tidied quickly, and line a basket used for magazines with plain cloth if the rope snags paper. Empty baskets once a month and return only what you actually use, so storage does not become another cluttered surface.
16. Sew a Linen Table Runner and Matching Napkins
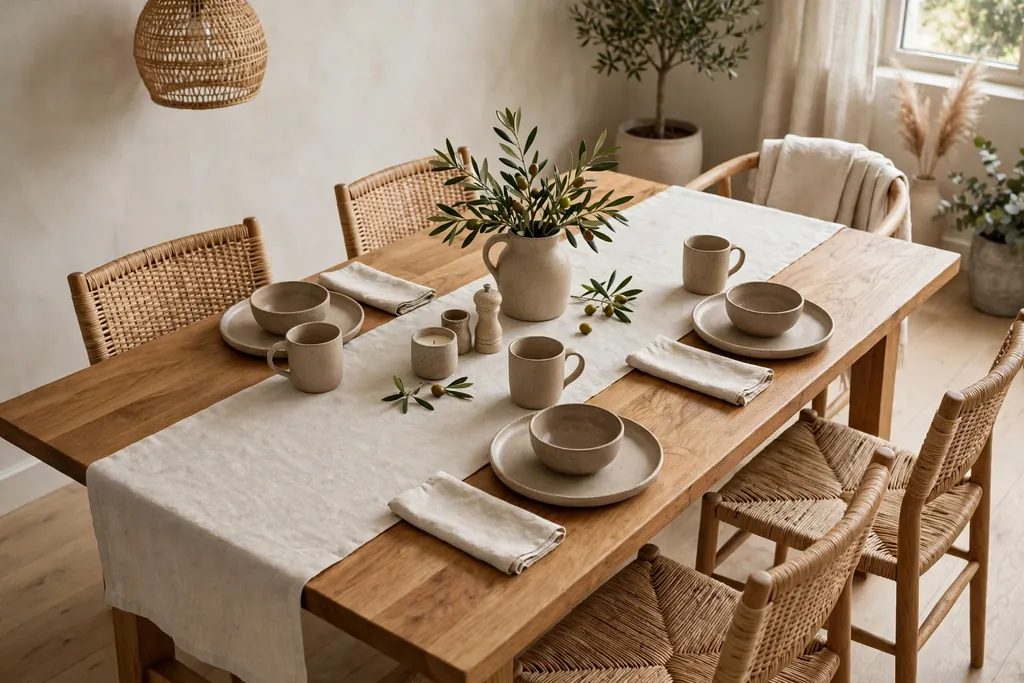
A linen table runner and matching napkins make an everyday table feel considered, without a full tablecloth or a new table. Cut natural linen to the length of the table plus a short overhang at each end, hem the edges straight, and sew simple napkins from the same fabric. This suits a wood dining table, a kitchen table used for meals and homework, or a table dressed for guests.
Keep the runner plain, and let stoneware, wood boards, and one small vase carry the detail, so the table stays calm between meals. Wash the linen as advised on the label, and iron or shake it out before use, so it falls in soft folds rather than stiff creases. If the table already has a strong wood grain, choose warm white or oatmeal linen, so the wood stays visible beneath the runner.
17. Build a Floating Nightstand Shelf From a Wood Board
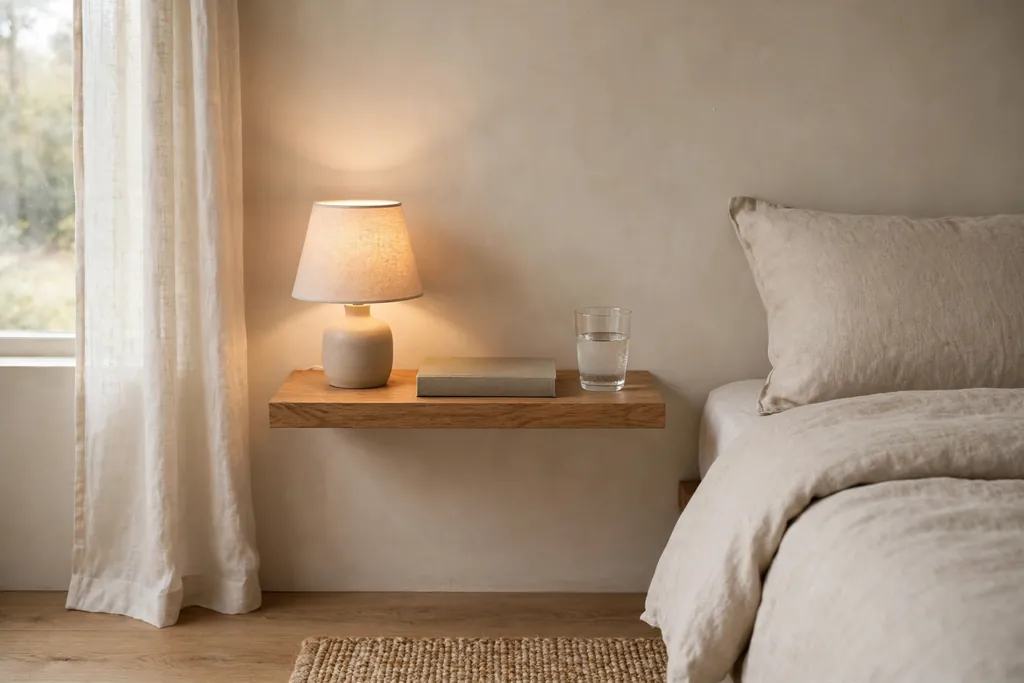
A floating nightstand shelf gives a small bedroom bedside storage without a bulky cabinet, and it suits a room where a full nightstand blocks the path to the bed. Fit a thick wood board to the wall beside the bed, using brackets or hidden fixings rated for the weight, and keep the shelf deep enough for a lamp, a book, and a glass of water. This works best in a bedroom with a clear wall beside the bed and a bedside lamp that can sit safely on the shelf.
Keep the shelf top mostly clear, with one lamp, one book, and a small tray, so the wood stays easy to see and the shelf stays useful. Fix the shelf at a height where you can reach it from bed without stretching, and check that drawers or doors nearby still open fully. If you need closed storage, place one small basket below the shelf for chargers and small items, rather than adding a second shelf.
18. Do a One-Hour Styling Pass in Each Room
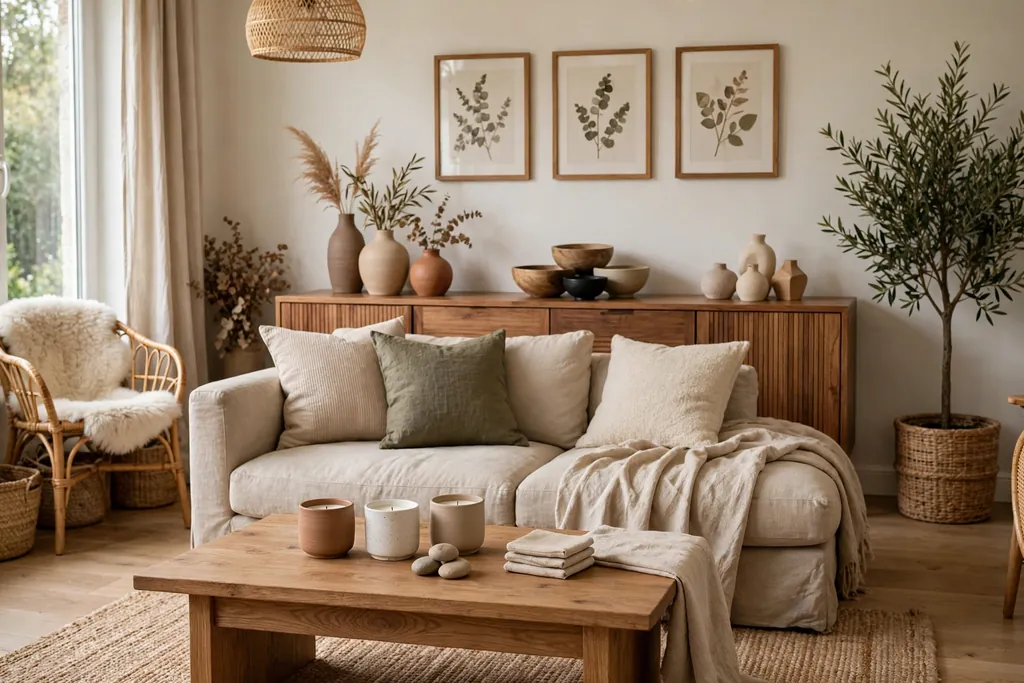
A one-hour styling pass is the final DIY step, and it costs nothing but attention. Walk through one room with a basket, remove items that do not earn their place, and group what remains in threes on each surface, with varied heights and one plant or one plain object in each group. This suits a room that feels busy after several projects, since styling edits the whole room at once.
Leave empty space on every surface, step back to check the room from the doorway, and move one group at a time until the room feels calm. Return removed items to their proper storage, rather than moving them to another room, so clutter does not simply travel. Repeat the pass once a season, after a new project, so each room stays relaxed and pulled together through the year.
Conclusion
A relaxed, pulled-together home comes from a calm palette, a few handmade pieces, and surfaces that stay mostly clear. Choose two or three projects from this list, finish each one fully, and repeat your palette and wood tone in every room, so the home looks planned rather than collected at random. Start with paint, fabric, or shelves for a quick change, and save larger woodwork for a weekend when you can work slowly and safely. With those layers in place, the home stays easy to live in, easy to tidy, and ready for the next small project.
If you found an idea here that suits your home, save this post on Pinterest so you can find it again when you are ready to start. Pin the project you like most, whether it is painted furniture, handmade art, open shelves, or a linen table runner, and use it as a guide for your next weekend project.
FAQs
What is the easiest DIY home decor project for a beginner?
Start with painted furniture, cushion covers, or jar lanterns, since each one uses basic tools and can be finished in an afternoon. Paint one chair, sew two linen cushion covers, or group three jar lanterns on a tray, and finish that project fully before starting the next. These projects also let you test a colour or fabric on a small scale before using it in a larger room.
How do I choose colours for DIY projects so rooms look pulled together?
Choose warm white for walls and large linen pieces, one wood tone, and one muted accent, and repeat those choices in every room. Check new paint, fabric, and wood against that palette before you buy, and change texture rather than colour when a room feels flat, with linen beside wood or wool beside iron. A written palette list helps, since it stops impulse buys in colours that clash with the rest of the home.
Can DIY decor work in a small home or a rental?
Yes, if the projects stay light and reversible. Use picture ledges, cushion covers, jar lanterns, wrapped baskets, and a gallery wall with a few small hooks, rather than full wall panelling or built-in woodwork. Keep furniture slim, surfaces mostly clear, and one wood tone throughout, so small rooms still feel open, and check your rental terms before fixing shelves or painting walls.
How much time should I allow for a DIY decor project?
Allow one afternoon for painting a chair, sewing cushion covers, wrapping a basket, or fitting a picture ledge, and one weekend for a padded headboard, an entry bench, or a painted cabinet run. Add drying time for paint and limewash, since thin coats with full drying time give a smoother finish than thick coats rushed in one day. Plan the project in steps, with cleaning and measuring first, so the making stage stays calm.
How do I keep DIY projects from looking unfinished?
Finish each project fully, with clean edges, even paint coats, taut fabric, and fixings suited to the weight. Keep the design simple, use one palette and one wood tone, and style the finished piece with plain neighbours, so the handmade detail stays the focus. If a project still looks rough after finishing, sand, repaint, or rewrap that one section, rather than adding more decoration to hide it.
What tools do I need for most of these DIY home decor ideas?
Most projects need only basic tools: a tape measure, a level, a drill with wall fixings, a saw for simple boards, sandpaper, brushes, and a sewing machine or a needle for straight seams. Check that wall fixings suit your wall type and the weight of shelves, ledges, and headboards, and wear eye protection when cutting or sanding. For larger woodwork, work slowly, measure twice, and ask for help with heavy boards or wall fixing.