
To make a crystal snowflake ornament, thread faceted crystal beads onto six wire arms joined at a center hub, add short side branches to each arm, then secure the wire ends and add a hanging loop. The finished snowflake catches light on a tree, in a window, or on a mantel, and one ornament takes about an hour to finish.
This guide uses faceted glass crystal beads and plain craft wire, so you need no kiln, no mold, and no special skill beyond threading beads and twisting wire. Work on a tray so beads do not roll away, and make one ornament first to test your bead pattern before cutting wire for a full batch.
Key Takeaways
- A crystal snowflake ornament needs six wire arms, one center hub, and a repeated bead pattern so the snowflake stays balanced.
- Choose two or three bead sizes and one or two colors so the snowflake reads clearly and catches light well.
- Thread one full arm first, then copy its pattern on the other five arms for a neat, even result.
- Twist wire ends neatly and check for sharp points before hanging, since rough ends can snag branches and fabric.
- Hang light snowflakes on outer branches and heavier ones closer to the trunk or in a window.
- Store finished snowflakes flat in a divided box with tissue between pieces so beads do not scratch each other.
Materials and Tools
- Faceted glass crystal beads in two or three sizes, such as 4 mm, 6 mm, and 8 mm rounds or bicones
- One larger bead or a small crystal drop for the center hub
- 26 gauge craft wire in silver or gold, plus a short length of thinner wire for side branches if needed
- Wire cutters and round nose pliers, plus flat nose pliers for pressing twists flat
- A ruler, a small tray or bead mat, and a piece of felt to work on
- Ribbon, clear thread, or thin cord for hanging
- A soft cloth for cleaning finished ornaments
1. Choose Your Snowflake Design and Bead Palette
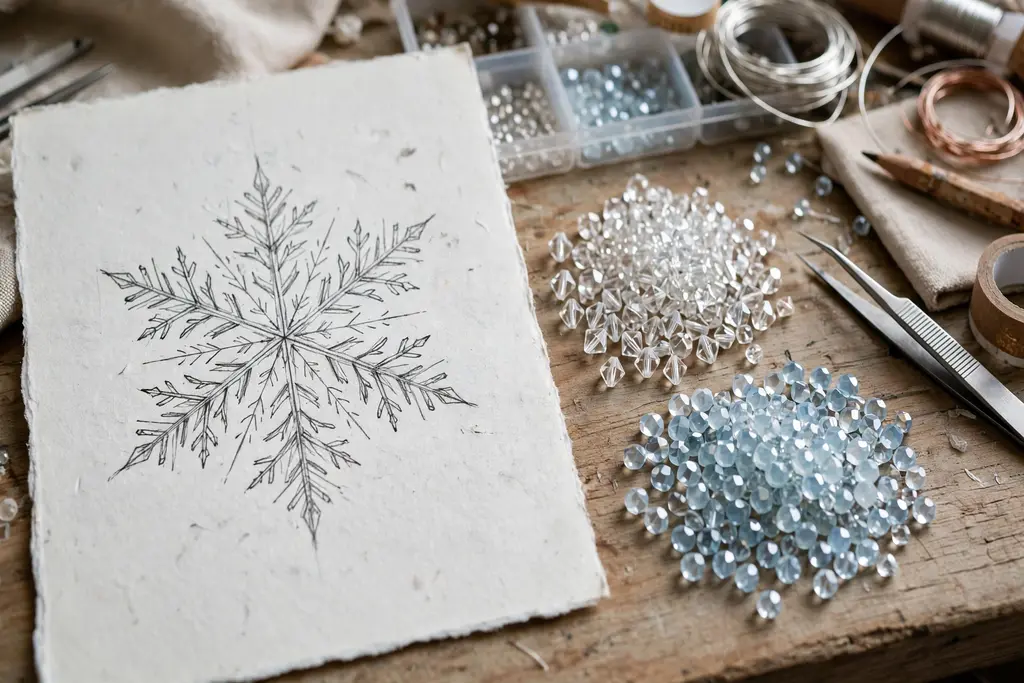
Decide on the snowflake shape before you cut any wire. A classic six point snowflake works well for a first project, with a plain beaded arm and one short side branch on each side of the arm. A simpler version uses straight arms with no side branches, while a fuller version adds a small bead cluster at each arm tip. Sketch the design on paper and mark where each bead size will sit, so you can repeat the pattern without guessing.
Pick a palette of one main bead color and one accent, such as clear crystal with silver, clear crystal with pale blue, or clear crystal with gold. Clear beads catch the most light, while a pale color adds a frosty tint without hiding the sparkle. Lay the beads out in pattern order on your tray, and count enough beads for six arms before you start, so you do not run short halfway through.
2. Cut the Wire for Six Arms
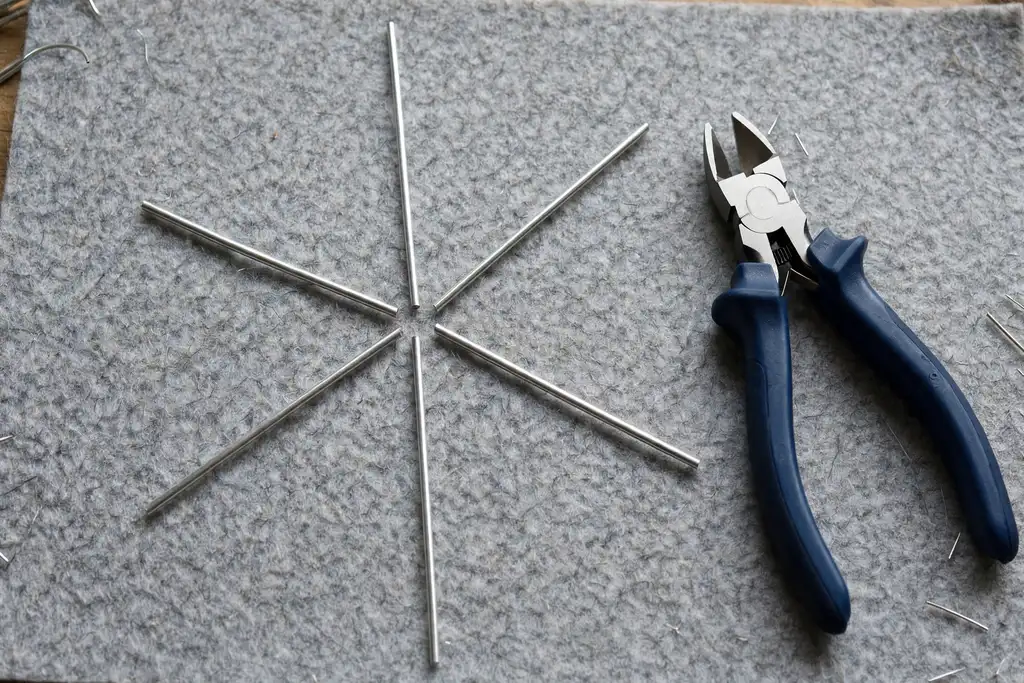
Cut six lengths of 26 gauge wire, one for each arm, plus a little extra at each end for twisting and finishing. A length of about 25 cm per arm gives room for beads, side branches, and a twisted end, and you can trim the excess later. Cut all six pieces to the same length and lay them side by side to check, since uneven arms make a lopsided snowflake.
Keep the cut pieces straight by rolling each one gently on a flat surface before you begin. If a piece has a sharp kink from the spool, straighten it with your fingers or with flat nose pliers, working slowly so the wire does not weaken. Set the six pieces on your felt work surface in a star shape, crossing at the center, to preview the snowflake before you join them.
3. Form the Center Hub

Gather the six wire pieces at their centers and hold them together so they cross in a star. Thread the center bead onto one wire piece and slide it to the middle, then wrap a short length of wire around the crossing point two or three times to bind the arms together. Pull the wrap snug but not so tight that the arms bend out of line, and check from above that the six arms sit at even angles.
Press the wrap flat with flat nose pliers and tuck the wrap end under the binding so it does not stick out. Test the hub by holding the star flat and turning it slowly: no arm should slide or droop, and the center bead should sit flat in the middle. If an arm slips, add one more wrap around the hub and press it flat again before you start beading.
4. Bead the First Arm
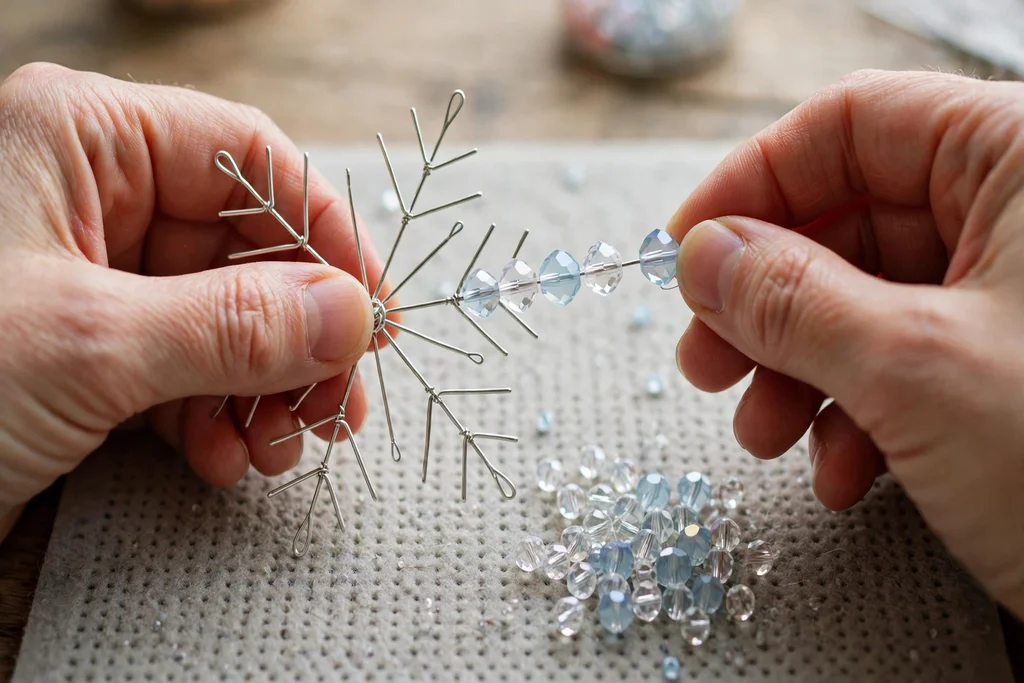
Thread beads onto the first arm in your planned pattern, starting at the hub and working outward toward the tip. A simple pattern is small bead, medium bead, large bead, medium bead, small bead, repeated as needed, with a larger bead or a drop at the tip. Slide each bead fully down to the hub or to the last bead so no bare wire shows between beads, and count the beads as you go so you can repeat the exact pattern later.
Stop beading about 2 cm before the end of the wire, leaving room to twist a finishing loop. Hold the arm up and check the pattern from a short distance: the beads should sit in a straight line with no gaps and no bead turned sideways. This first arm is your template, so write down the bead order now if you plan to make more than one snowflake.
5. Add Side Branches to the First Arm

Cut two short pieces of wire, one for each side branch, and thread a small group of beads onto each, such as three small beads with a slightly larger bead at the outer end. Attach each branch to the main arm by wrapping its inner end tightly around the main arm wire at the chosen point, about halfway along the arm. Angle both branches outward toward the tip, like the arms of a letter V, so the snowflake shape reads clearly.
Press each wrap flat with pliers and check that the branch beads sit snugly against the main arm with no loose wire showing. Both branches should match in length and bead count, and they should sit at the same height on the arm. If one branch droops, tighten its wrap with one more turn and recheck the angle before moving on to the next arm.
6. Repeat the Pattern on All Six Arms
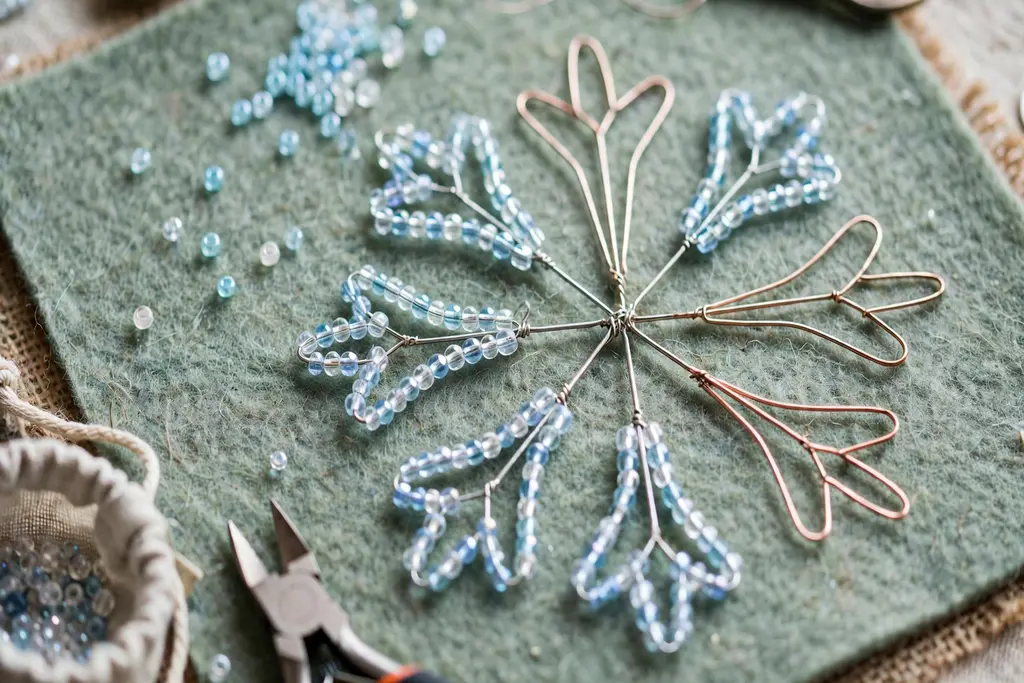
Work around the snowflake one arm at a time, copying the first arm bead for bead, including the side branches at the same point on each arm. Bead the arm opposite the first one next, then the remaining arms in turn, so any small drift in pattern stays spread around the snowflake rather than building up on one side. Count beads aloud or mark each finished arm on your sketch as you go.
After each arm, lay the snowflake flat and compare it with the first arm. The bead order, branch height, and tip beads should match, and all six arms should be the same length. If an arm ends up short, you can add one small bead or adjust the tip loop, but do not force a mismatched arm into place, since the uneven look will show once the ornament hangs.
7. Shape and Balance the Snowflake
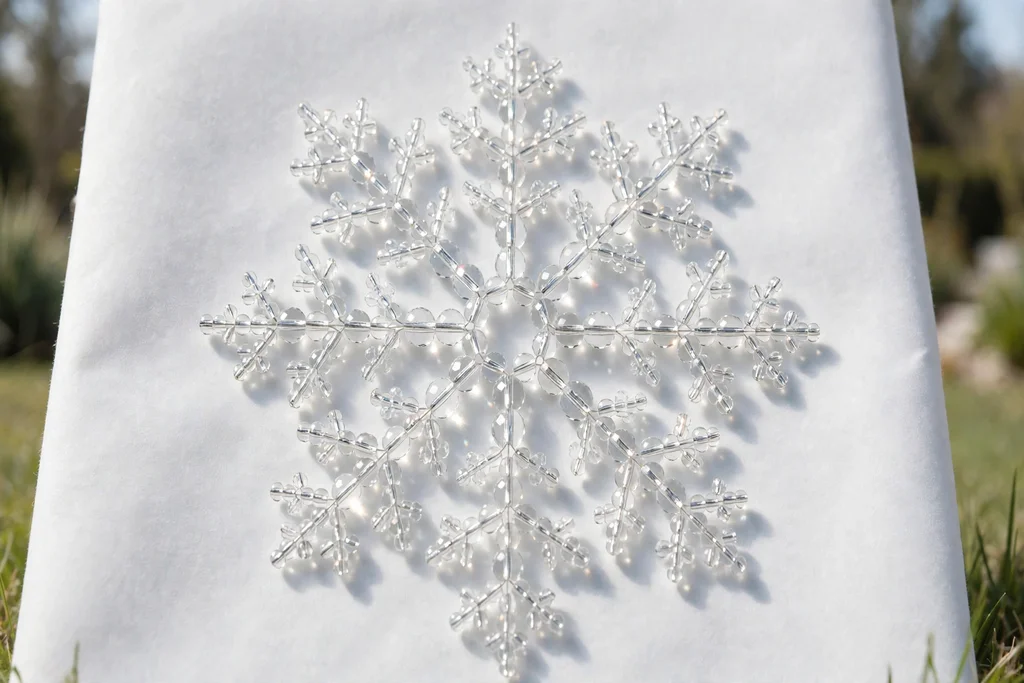
Hold the snowflake flat on your work surface and gently bend each arm straight, easing out any curve left from threading. Space the six arms evenly around the hub, with the same gap between each pair of arms, and bend the side branches so they point outward at matching angles. Turn the snowflake over and check the back as well, since a twist or bump on the back can make the ornament hang crooked.
Hang the snowflake from a finger by its top arm and watch how it settles. A balanced snowflake hangs level with no arm pulling to one side. If one side dips, check that side for extra beads or a heavier tip bead, and swap a bead or trim a branch until the snowflake hangs straight. This check takes a minute and saves a crooked ornament on the tree.
8. Secure and Tidy the Wire Ends

Finish each arm tip by bending the wire end into a small loop with round nose pliers, then wrapping the remaining wire tail tightly around the arm base just below the last bead. Press every wrap flat with flat nose pliers and trim any tail that sticks out, leaving no sharp point. Run a fingertip lightly over each tip and each side branch join to find rough ends you may have missed.
Check the center hub once more and press any loose wrap flat. If a bead still slides on an arm, add a tiny twist of wire just past the last bead to hold it in place, then press the twist flat. A tidy finish matters here: neat wire work keeps beads in place, protects tree branches and fabric, and gives the ornament a clean look up close.
9. Add a Hanging Loop and Ribbon

Choose a hanging length to suit the display spot: a short loop for a tree branch, a longer loop for a window, and a medium loop for a mantel garland. Thread ribbon, clear thread, or thin cord through the loop at the top arm tip, or tie it around the tip loop, and knot it firmly. For a tree, a loop of about 10 cm lets the snowflake hang clear of the branch, while a window snowflake often looks best on a longer drop of 20 cm or more.
Trim ribbon ends at an angle for a neat finish, and test the knot by holding the ornament by the loop and giving it a gentle shake. The snowflake should hang flat and face forward, not twist to one side. If it twists, move the loop to the exact top point of the arm or adjust the knot until the snowflake faces out, since a twisted ornament hides its bead pattern.
10. Clean and Inspect the Finished Snowflake

Wipe the beads gently with a soft, dry cloth to remove fingerprints and dust, and check each bead for chips or cracks before hanging. Look closely at the wire work one last time: wraps should sit flat, no sharp ends should catch the cloth, and no bead should slide freely along an arm. Replace any chipped bead now, since a damaged bead is easy to miss once the ornament is on the tree.
Hold the snowflake up to a light and check the sparkle across all six arms. Clear crystal beads should catch light evenly, with no dull patch where a bead sits at the wrong angle. If one arm looks flat, turn its beads slightly with your fingers until the facets catch the light, then recheck the hang. This final inspection is what separates a neat handmade ornament from a rushed one.
11. Hang and Style Your Crystal Snowflake

Hang crystal snowflakes where light can reach them, such as near a window, on outer tree branches, or along a mantel garland with small lights nearby. On a tree, space snowflakes apart rather than clustering them, so each one catches light on its own, and place heavier snowflakes on inner branches close to the trunk. In a window, hang snowflakes at different heights on clear thread for a falling snow effect.
Pair crystal snowflakes with plain glass baubles and simple greenery so the sparkle stands out, rather than crowding them with many patterned ornaments. A small group of three snowflakes in the same palette, hung together on a mantel or in a doorway, can carry a whole display. Step back after hanging and check the group from across the room, then move any snowflake that sits in shadow into better light.
12. Store and Care for Crystal Ornaments
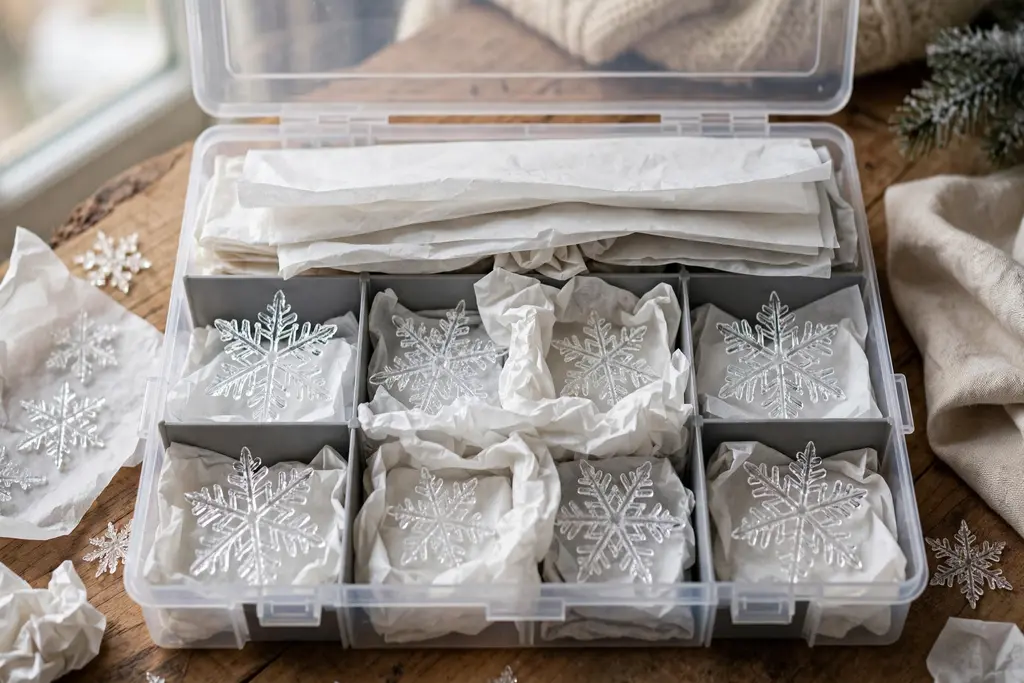
Store crystal snowflake ornaments flat in a divided box or a small tray, with tissue paper between layers so beads do not scratch each other. Keep the box in a cool, dry place, away from damp rooms and direct sun, and lay ribbon loops flat rather than tangling them around the snowflakes. Label the box so you can find the snowflakes quickly next season without digging through other ornaments.
Before hanging stored snowflakes again, check each one for loose wraps, bent arms, and chipped beads, and straighten any arm that bent in storage. Wipe beads with a soft cloth, re-tie any frayed ribbon, and retire any ornament with a cracked bead or a sharp wire end that cannot be pressed flat. With simple care, a beaded crystal snowflake can be used for many seasons.
Conclusion
A crystal snowflake ornament is a satisfying project because the steps are simple, the materials are few, and the result catches light in any room. Start with one snowflake, follow the same bead pattern on all six arms, and finish the wire neatly before you hang it. Once you are happy with the first one, a small batch in one palette makes a coordinated set for a tree, a window, or a mantel. For older glass pieces to hang beside these handmade snowflakes, the guide to vintage Christmas decor shows how to mix nostalgic ornaments with simple greenery and warm light.
FAQs
What beads work best for a crystal snowflake ornament?
Faceted glass crystal beads work best, since their cut faces catch light far better than plain round beads. Use a mix of sizes, such as 4 mm, 6 mm, and 8 mm beads, with a larger bead or drop at the center and at each arm tip, and keep to one or two colors so the snowflake pattern stays clear.
What wire should I use for a beaded snowflake ornament?
Use 26 gauge craft wire in silver or gold, since it is thin enough to pass through small crystal beads yet stiff enough to hold the snowflake shape. Thinner wire bends too easily and lets arms droop, while much thicker wire may not fit through small bead holes, so check one bead on your wire before cutting all six arms.
How long does it take to make one crystal snowflake ornament?
One ornament takes about an hour once your beads and wire are ready, including time to plan the pattern and finish the wire ends neatly. A first snowflake often takes longer while you learn the pattern, but later ones go faster, since you can repeat the same bead order on every arm without stopping to plan.
Are crystal snowflake ornaments safe to hang on a real tree?
Yes, if you keep them light, use a sturdy hanging loop, and place heavier snowflakes on inner branches close to the trunk. Check for sharp wire ends before hanging, keep beaded ornaments away from open flame and hot lights, and remove them before the tree is moved, so they do not get caught or dropped.
Can I hang a crystal snowflake ornament in a window?
Yes, a crystal snowflake works well in a window, where daylight makes the facets sparkle. Hang it on clear thread or thin cord from a suction hook, a curtain rod, or a small nail, and vary the hanging lengths if you display several snowflakes together, so they read as falling snow rather than a flat row.
How do I store crystal snowflake ornaments after the season?
Store them flat in a divided box with tissue between layers, in a cool, dry place away from damp rooms and direct sun. Lay ribbon loops flat so they do not tangle, check each ornament for loose wraps and chipped beads before packing, and repair small issues before storing so the snowflakes are ready to hang next year.