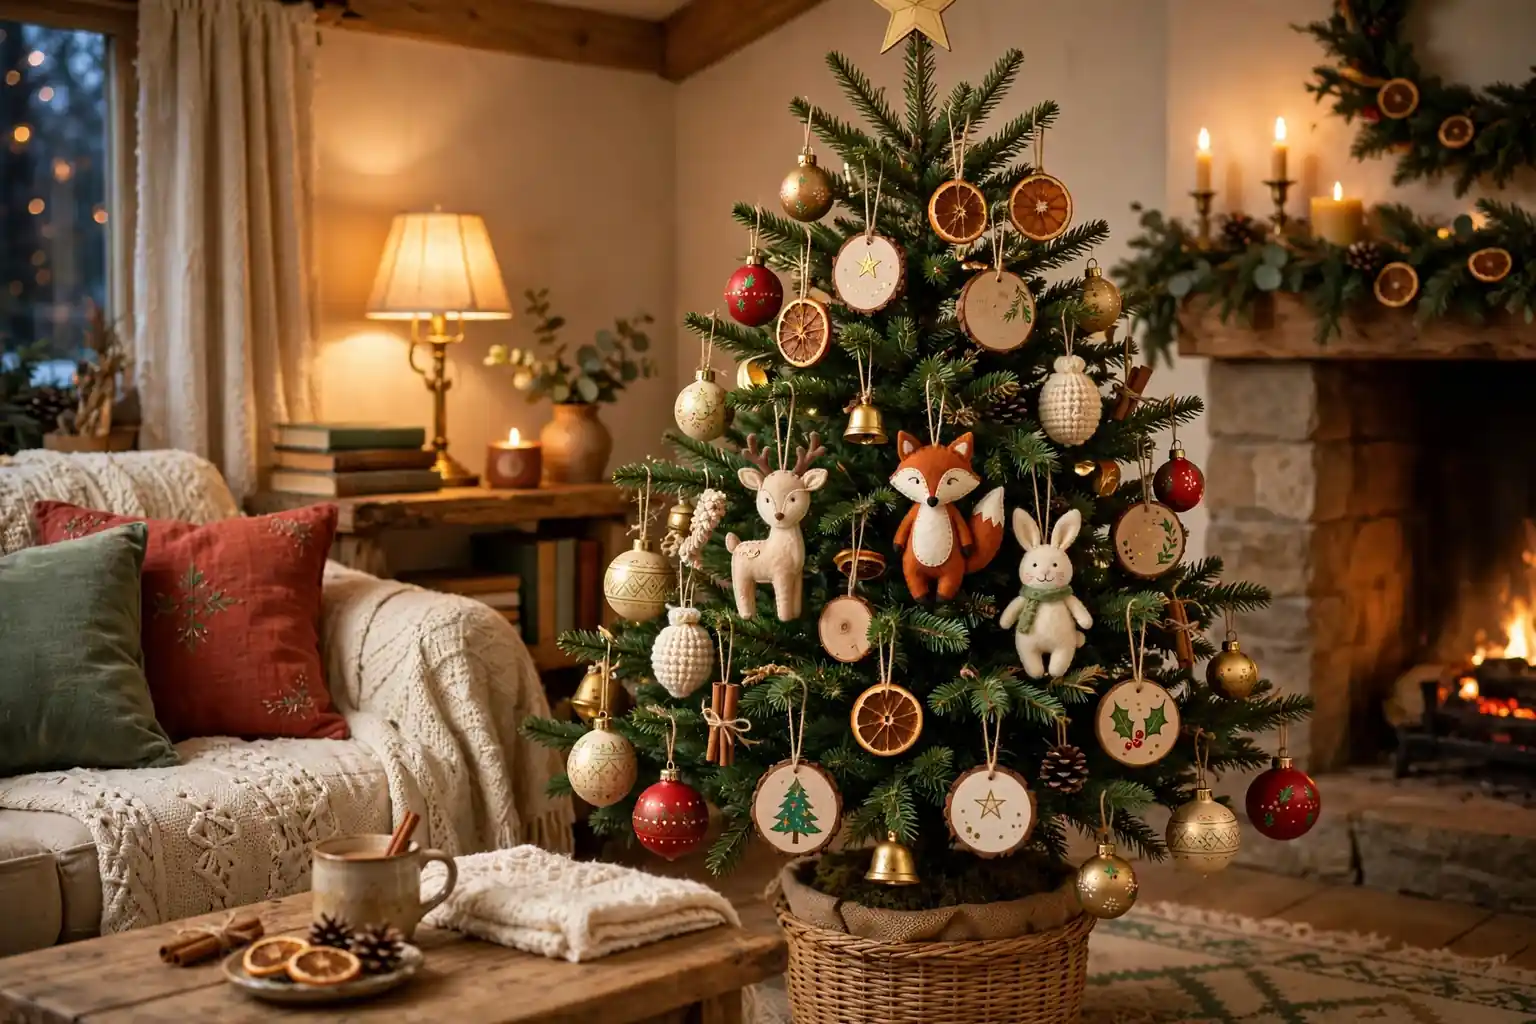
DIY Christmas ornaments for adults can be made at home with simple tools, clear steps, and materials such as wood, felt, clay, glass, paper, and dried citrus. The 23 ideas below range from painted baubles and embroidered hoops to salt dough keepsakes and pressed flower designs, so you can pick projects that match your skill level, time, and tree style.
Start with a palette of two or three colors and one main material, then repeat that palette across several ornaments so the tree looks planned rather than crowded. Make one test ornament first, check how it hangs and how heavy it feels on a branch, and then make the rest in a batch. For older pieces to pair with these handmade designs, see the vintage Christmas decor guide.
Key Takeaways
- Choose a small palette and one main material so handmade ornaments look cohesive on the tree.
- Make a test ornament first to check weight, hanging length, and finish before batching.
- Match the project to your time: painted baubles and dried citrus are quick, while embroidery and clay need drying or stitching time.
- Use sturdy hangers and place heavier ornaments on inner branches, close to the trunk.
- Keep ornaments away from heat, open flame, and damp rooms, and store them in divided boxes after the season.
- Mix textures, such as glass, felt, wood, and paper, so a handmade tree has depth without needing many colors.
1. Hand-Painted Clear Glass Baubles
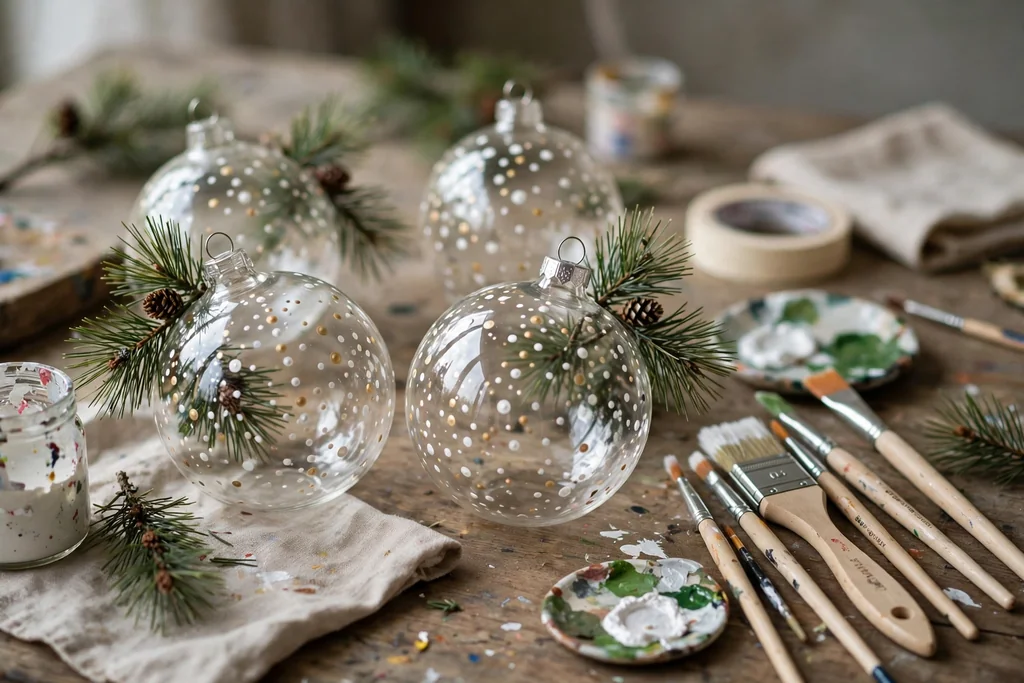
Paint the inside or outside of clear glass baubles with acrylic paint, fine brushes, and a simple motif such as dots, stripes, stars, or a sprig of pine. Painting inside the bauble gives a soft, layered look, while painting outside gives sharper detail. This project suits adults who like fine detail and want a classic ornament with a personal finish.
Remove the cap, pour or brush in a small amount of paint, and rotate the bauble slowly until the paint covers the surface. Let each coat dry fully before adding detail, and replace the cap with a ribbon loop. Work on a tray, since paint can drip, and store painted baubles in divided boxes so the finish does not chip.
2. Dried Orange Slice Ornaments
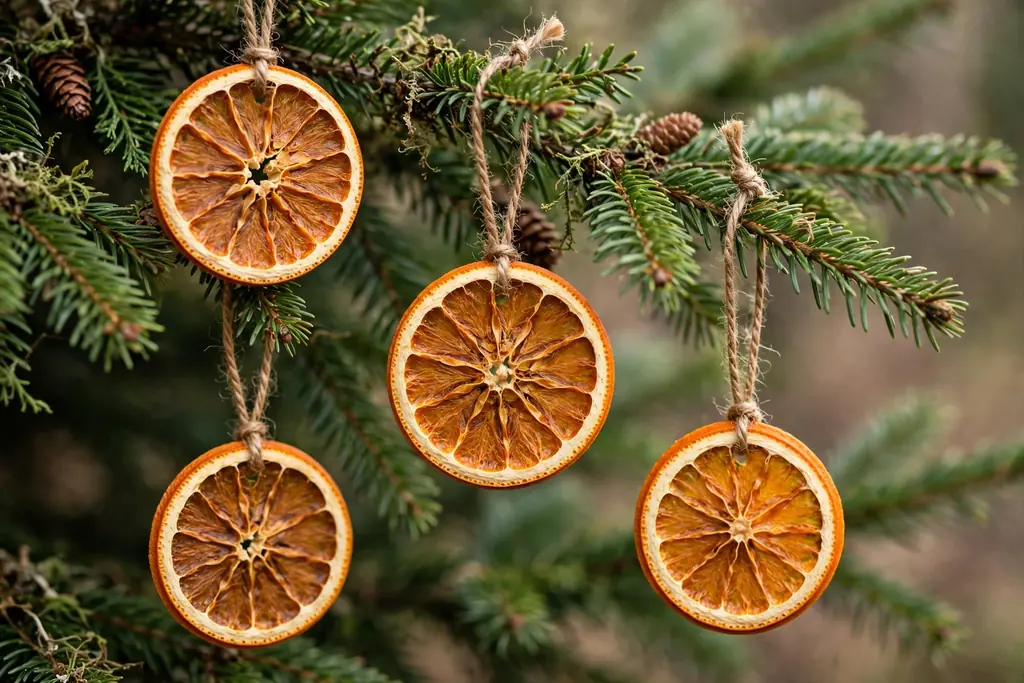
Dry thin orange slices in a low oven until firm, then thread them with twine, ribbon, or wire for a natural ornament with warm color and a light citrus scent. The translucent slices catch tree light well, and they suit a rustic, woodland, or kitchen tree. Add a small pine sprig, a cinnamon stick, or a star anise for extra detail.
Slice oranges evenly, pat them dry, and dry them slowly so they do not curl too much. Cool them fully before hanging, and keep them away from damp rooms so they do not soften. Replace slices each season, since dried citrus fades and becomes brittle over time.
3. Salt Dough Keepsake Ornaments

Mix salt dough from flour, salt, and water, roll it out, cut shapes such as stars, trees, and houses, and bake until hard for a sturdy keepsake ornament. Adults can press in texture with lace, stamps, or leaves, paint the finished shapes, and add a name or year on the back. These ornaments suit family trees and gift giving.
Roll the dough evenly, make a hanging hole with a straw before baking, and bake at a low heat until fully dry. Paint after cooling, seal with a clear coat, and thread ribbon through the hole. Store salt dough ornaments in a dry place, since damp air can soften them.
4. Embroidered Hoop Ornaments
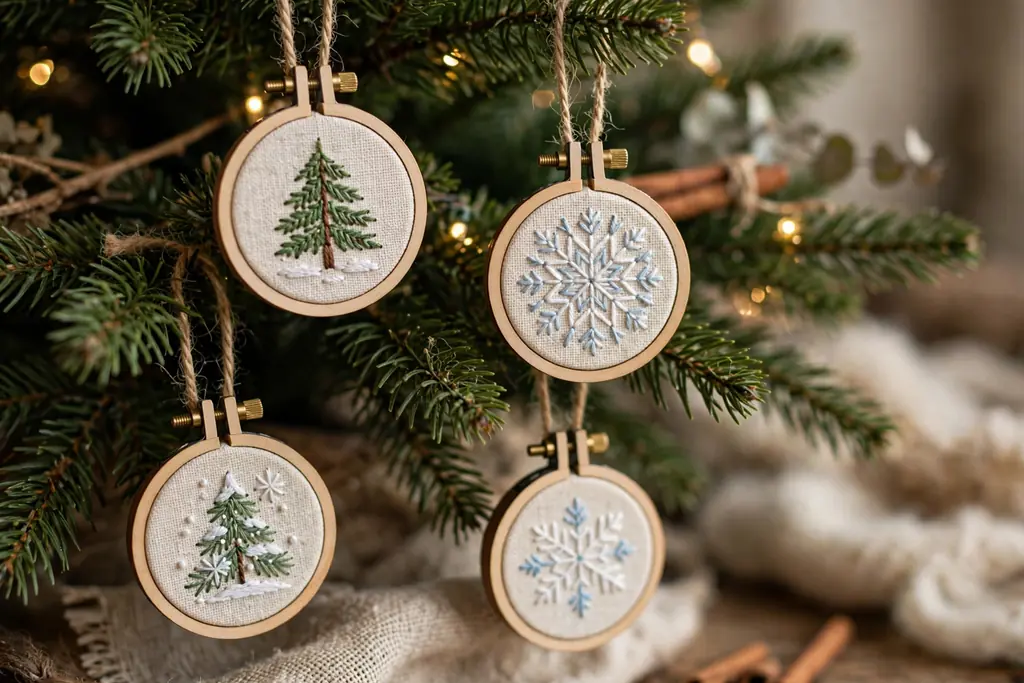
Stitch a small design, such as a tree, a snowflake, a house, or a short word, onto fabric stretched in a small wooden hoop, then finish the back with felt for a neat ornament. Embroidered hoops suit adults who enjoy slow stitching and want ornaments that also work as small wall pieces after the season.
Choose a simple pattern, use two or three thread colors, and keep stitches even so the design reads clearly from a distance. Trim the fabric at the back, glue a felt circle over it, and add a ribbon loop at the top of the hoop. Hang hoops on strong branches, since wood hoops are heavier than fabric ornaments.
5. Wood Slice Ornaments with Pyrography
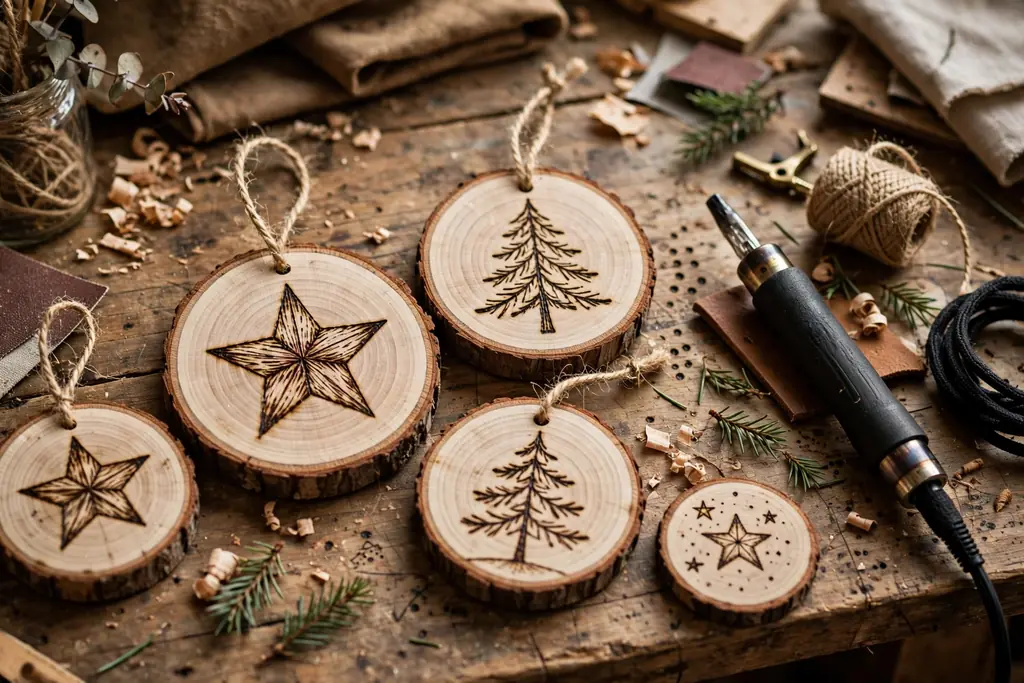
Burn a simple design, such as a star, a pine tree, a snowflake, or a name, into a thin wood slice with a pyrography pen, then finish with a light sealant. The burned lines give a warm, rustic look, and the natural wood edge keeps each ornament slightly different. This project suits a cabin, farmhouse, or woodland tree.
Sand the wood slice smooth, sketch the design lightly in pencil, and burn slowly with steady pressure. Work in a ventilated space, let the piece cool, and seal it lightly so the burned lines stay clear. Drill or use a pre-drilled hole for the hanger, and hang wood slices on inner branches because of their weight.
6. Felt Woodland Animal Ornaments
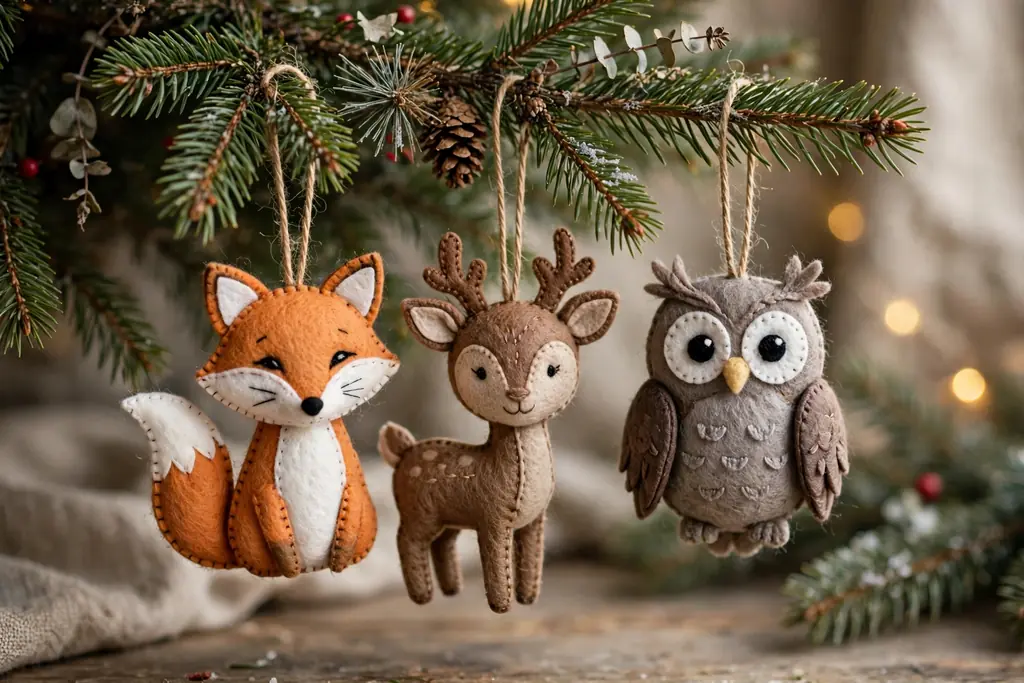
Cut felt into simple animal shapes, such as a fox, a deer, an owl, or a rabbit, stitch the edges with blanket stitch, and stuff lightly for a soft ornament. Felt animals add gentle color and texture to a tree, and they are light enough for thin branches. They suit a woodland theme, a child friendly tree, or a cozy living room.
Use a paper template for each animal, cut two matching pieces, and stitch around the edge, leaving a gap for stuffing. Add small felt details for eyes, ears, and tails, then close the gap and add a ribbon loop. Keep felt ornaments away from open flame and store them flat so they keep their shape.
7. Beaded Snowflake Ornaments
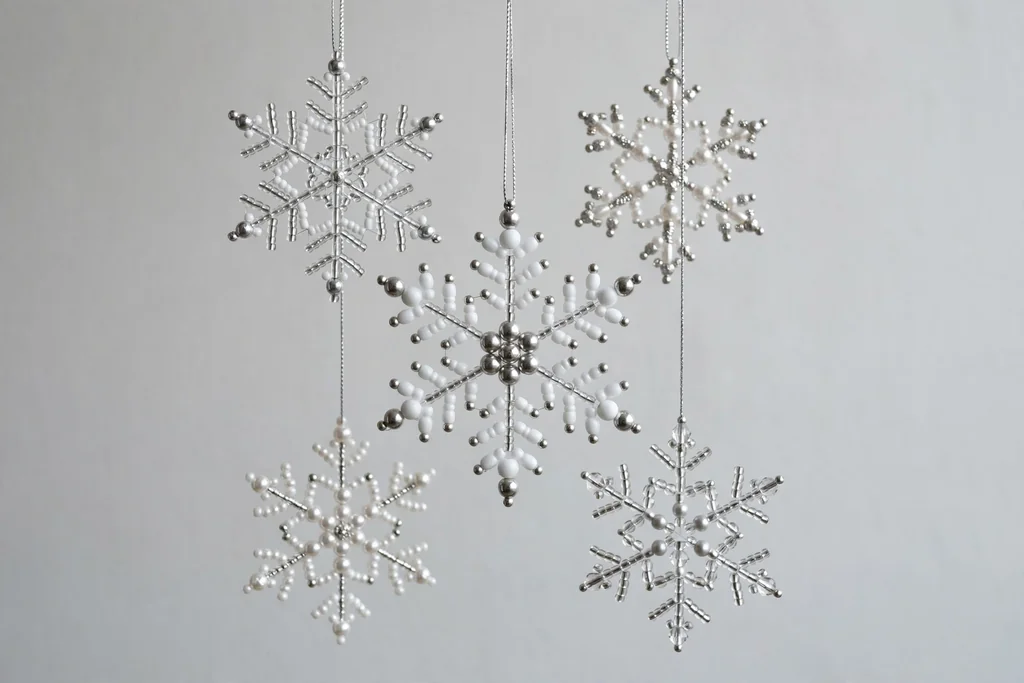
Thread beads onto wire in a six point snowflake pattern, using glass, crystal, or wooden beads in white, silver, and pale blue. Beaded snowflakes catch light and suit a winter white tree, a silver tree, or a tree with cool colors. They also work well as window ornaments when hung with a longer thread.
Cut wire to length, form a center loop, and thread beads in a repeated pattern on each arm so the snowflake stays balanced. Twist the wire ends neatly at the center and outer points, and add a hanging loop at the top point. Check each point for sharp wire ends before hanging, and store snowflakes flat in tissue.
8. Macrame Mini Ornaments
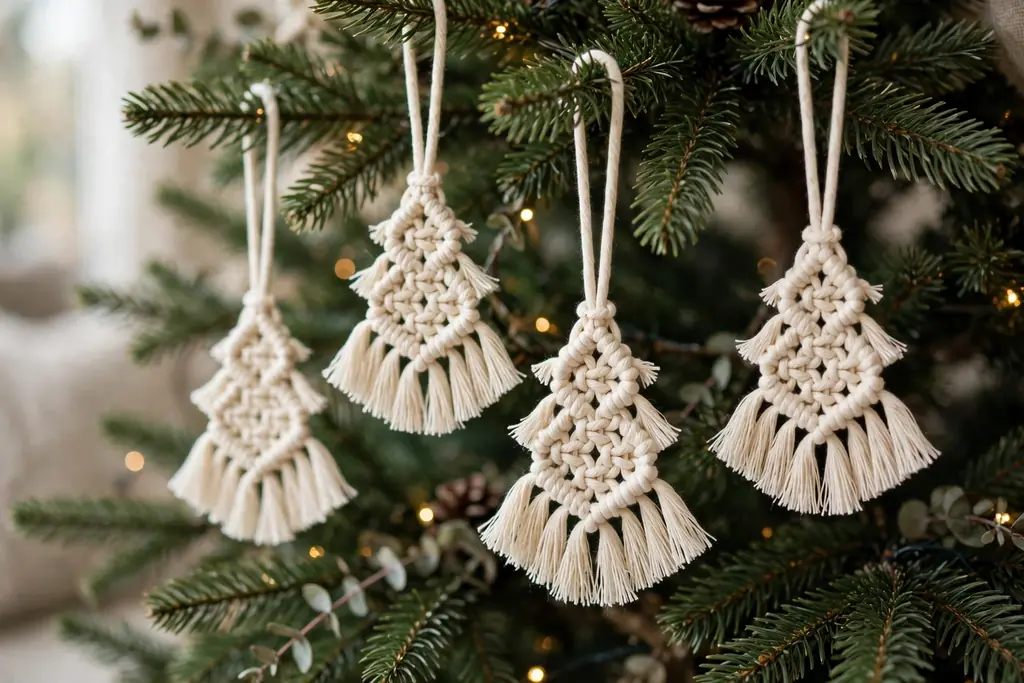
Knot cotton cord into small macrame shapes, such as a mini tree, a star, or a simple tassel, using basic knots such as square knots and lark’s head knots. Macrame ornaments suit a boho, neutral, or natural tree, and they add soft texture beside glass and wood. They also make good gifts, since they need few tools.
Cut cords to the same length, knot slowly, and comb out the ends for a soft fringe where the design calls for it. Keep tension even so the shape stays straight, and trim the fringe after the ornament is finished. Hang macrame pieces away from heat, and brush the fringe gently before storing.
9. Paper Quilled Star Ornaments
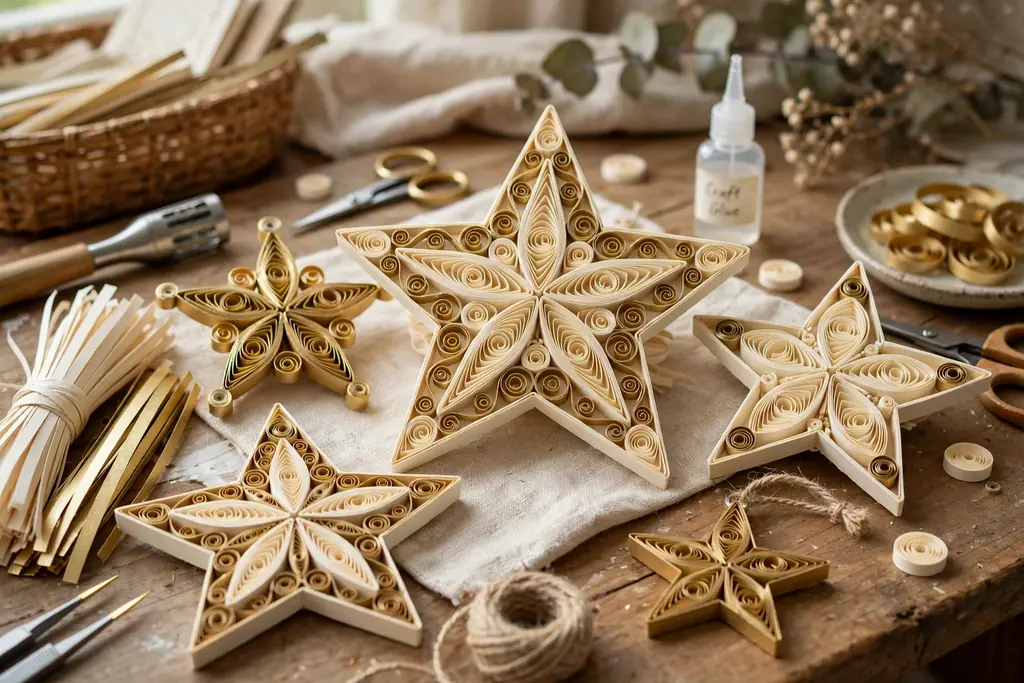
Roll narrow paper strips into coils, pinch them into teardrop and eye shapes, and glue them into a star or snowflake form for a light, detailed ornament. Quilling suits adults who like paper craft and want a delicate ornament in a chosen color, such as cream, red, gold, or deep green. A clear sealant can help the paper keep its shape.
Roll coils with a quilling tool or a toothpick, glue the ends, and let each shape dry before joining them into a star. Use a template under the work to keep the star even, and add a small hanging loop of thread at one point. Keep quilled ornaments in a dry place, away from water and heavy items.
10. Air-Dry Clay House Ornaments
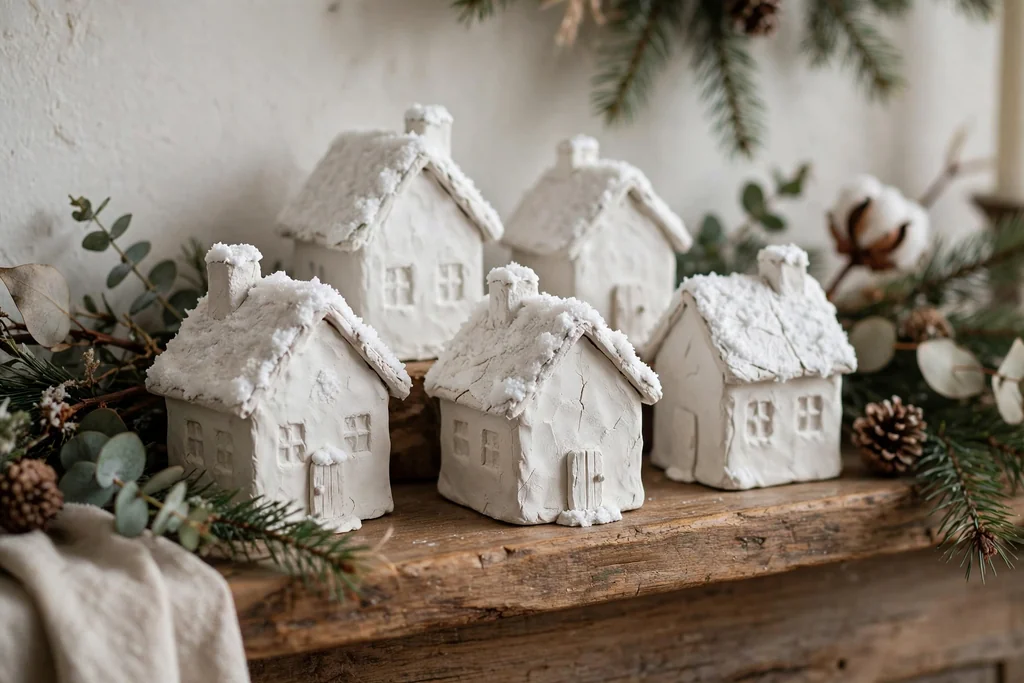
Shape air-dry clay into small houses, cottages, or cabins, cut out windows and doors, and let them dry fully before painting. Clay houses suit a village theme on a tree, a mantel display, or a windowsill group. Adults can keep the shapes simple and let paint and small details, such as a snowy roof, carry the charm.
Roll the clay evenly, build the house from flat panels or a single shaped block, and smooth the joins with a damp finger. Let the piece dry slowly, turning it so all sides dry, then paint and seal it. Add a ribbon loop through a hole made before drying, and place heavier clay houses on strong branches.
11. Pressed Flower Resin Ornaments
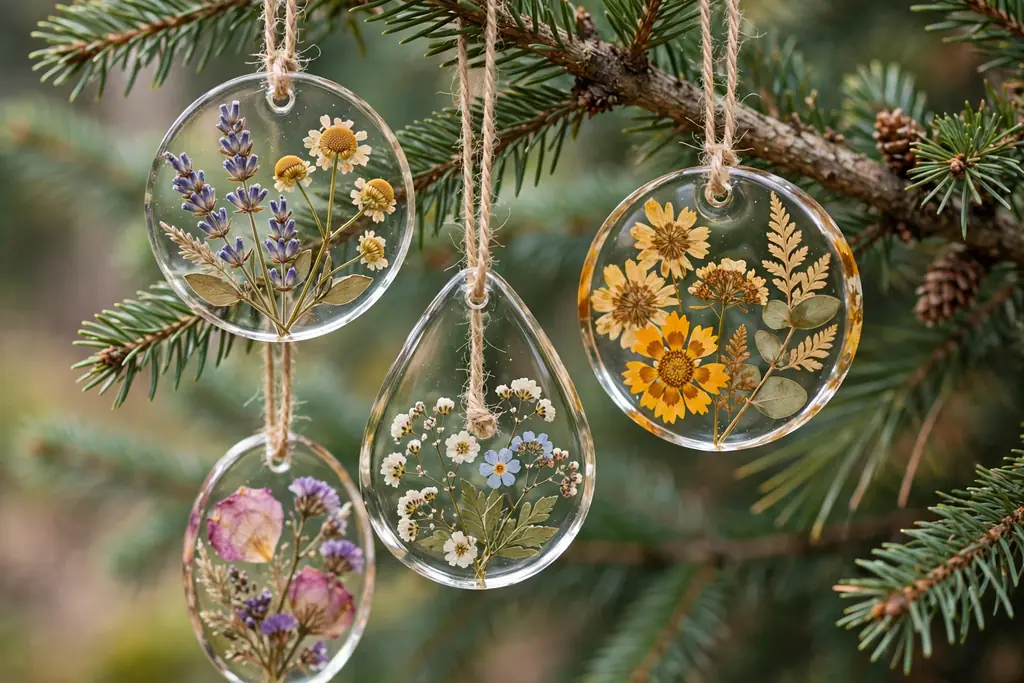
Press small flowers and leaves flat, arrange them in a round or teardrop mold, and pour clear resin over them for an ornament that holds real botanical detail. Pressed flower resin ornaments suit a garden theme, a pastel tree, or a gift for someone who loves flowers. They need curing time, so plan this project ahead.
Press flowers between paper for at least a week until fully dry, since damp flowers can cloud resin. Pour resin in thin layers, place flowers with tweezers, and remove bubbles before curing. Follow the resin instructions for ventilation and curing time, and add a ribbon loop once the piece is fully set.
12. Cinnamon Stick Bundle Ornaments
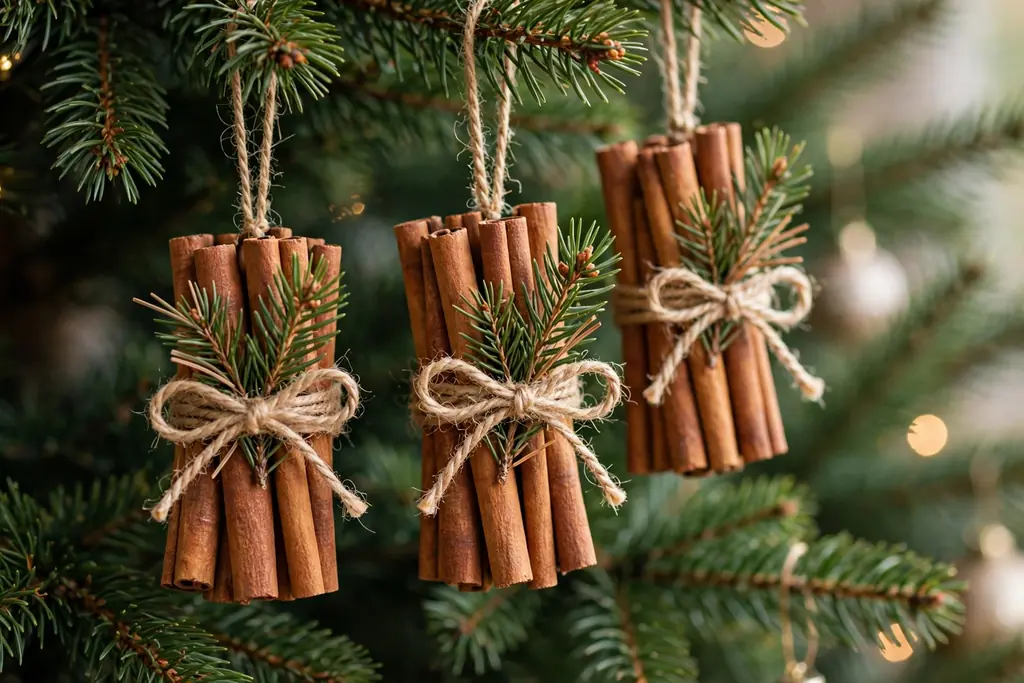
Tie three or four cinnamon sticks together with twine, add a small pine sprig, a dried orange slice, or a tiny bell, and hang the bundle as a scented ornament. Cinnamon bundles suit a rustic tree, a kitchen tree, or a doorway display, and they add scent as well as color. They are quick to make in a batch for gifts.
Choose sticks of similar length, tie them tightly at the center, and trim the twine ends neatly. Add the pine sprig and bell on top of the tie so the bundle looks finished from the front. Keep cinnamon bundles away from open flame and damp rooms, and replace them each season if the scent fades.
13. Fabric Scrap Patchwork Balls
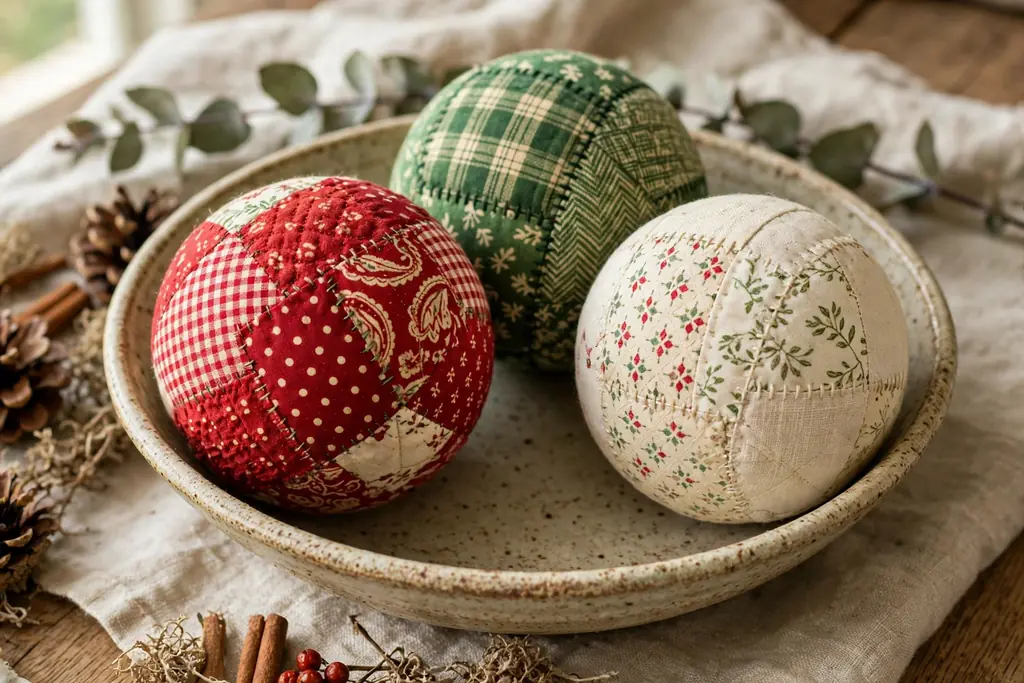
Cover a foam or polystyrene ball with small fabric scraps, folding and pinning each piece into place to form a patchwork ball ornament. Patchwork balls suit a cozy, colorful tree and are a good use for fabric scraps from other projects. They also work well in a bowl display when not on the tree.
Cut fabric into even squares, fold the edges under, and pin each piece in place, overlapping slightly so no foam shows. Work in rows around the ball, add a ribbon loop at the top with a pin and glue, and finish with a small bow if you like. Store patchwork balls in a box with tissue so the pins do not catch other ornaments.
14. Calligraphy Wood Tag Ornaments
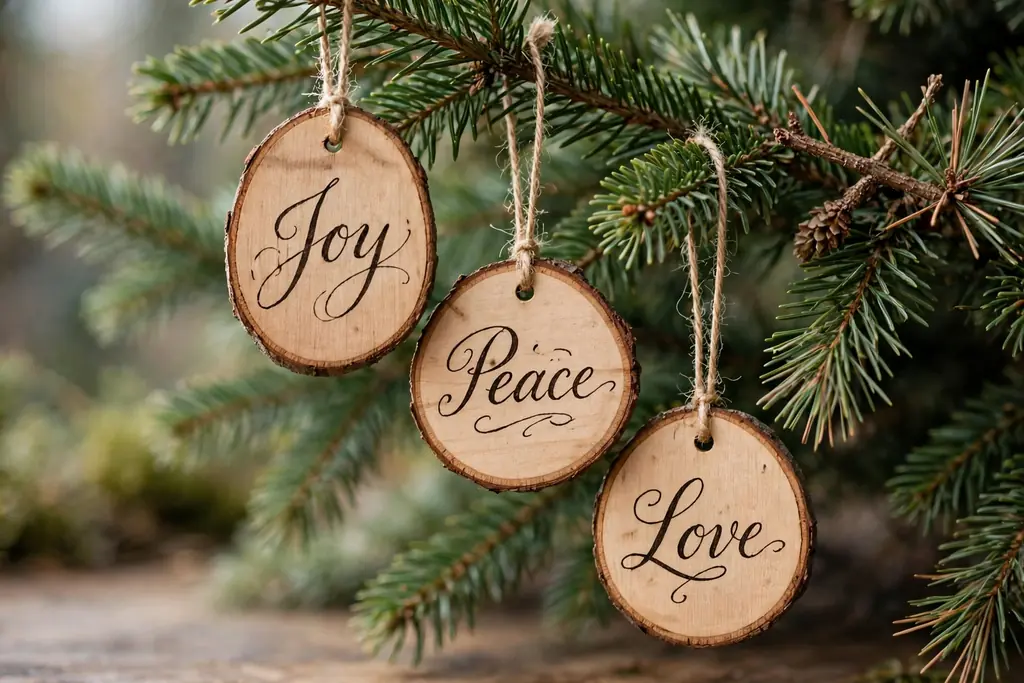
Write a word, a name, or a short phrase on a small wood tag with a calligraphy pen or a fine paint pen, then add a simple border or a small painted sprig. Calligraphy tags suit a minimal tree, a gift tag that doubles as an ornament, or a tree where each family member has a named ornament.
Sand the tag smooth, practice the wording on paper first, and write slowly so letter spacing stays even. Let the ink dry fully, seal lightly, and thread ribbon through the hole. Keep tags away from water, since ink and paint can smudge if they get wet.
15. Miniature Wreath Ornaments
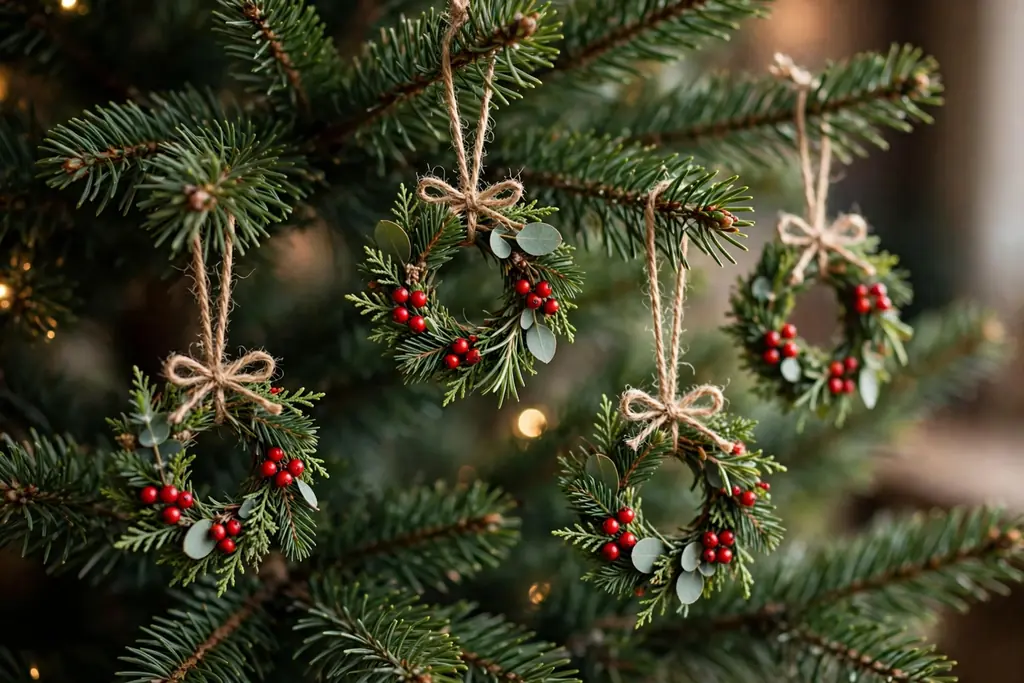
Form a small wreath from wire, a grapevine ring, or a foam ring, then wrap it with faux greenery, berries, and a tiny bow for a miniature wreath ornament. Mini wreaths suit a classic tree, a front door display in miniature, or a set of matching ornaments in one color. They also look good hung on cabinet knobs.
Wrap the base evenly, glue greenery in one direction, and add berries and a bow at the bottom or top. Keep the wreath small enough to hang without hiding nearby ornaments, and add a short hanging loop at the back. Store mini wreaths in a box so the greenery does not get crushed.
16. Beaded Icicle Drop Ornaments
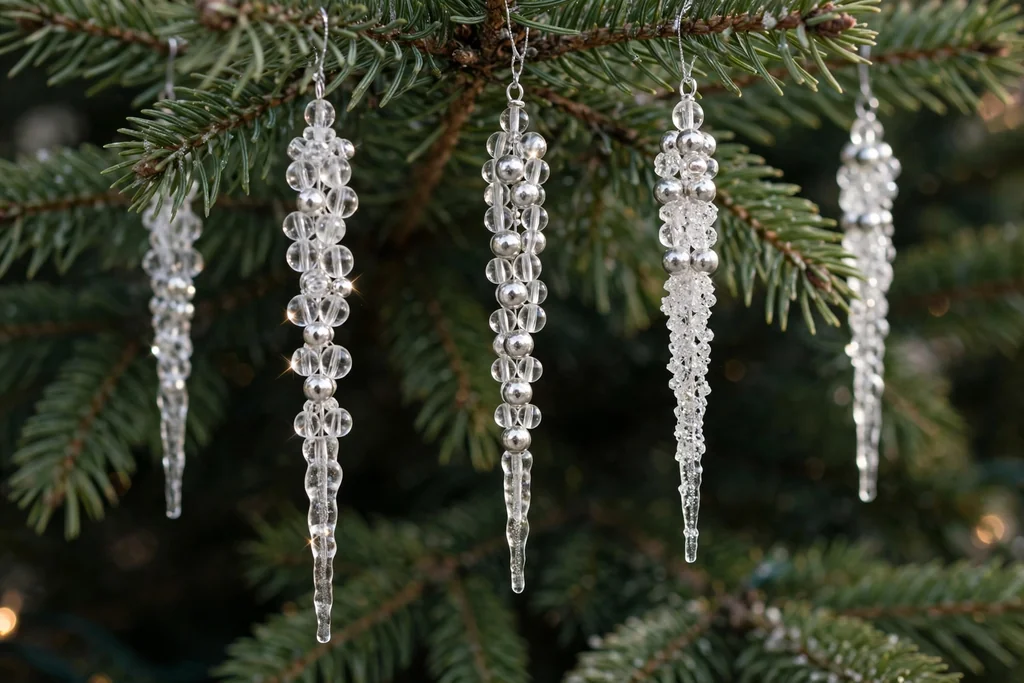
String beads in a tapered pattern onto wire or thread to form a long icicle drop, using clear, silver, and pale blue beads. Beaded icicles suit a winter white tree, an icy blue tree, or a tree with glass ornaments, since they add length and sparkle. They also suit a window display in winter light.
Start with a small bead at the tip and increase bead size toward the top, or use a repeated pattern that tapers by spacing. Secure the ends well, add a loop at the top, and check that the drop hangs straight. Hang icicles near branch tips where they can catch light, and store them flat or hanging so the wire does not bend.
17. Painted Pinecone Ornaments
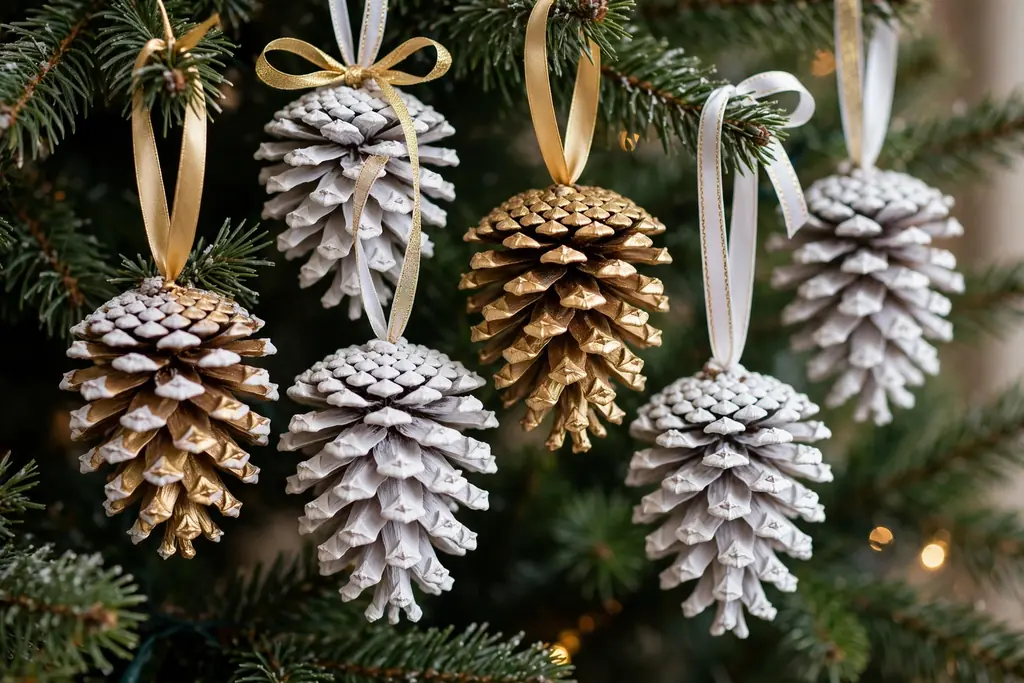
Paint pinecone tips, or the whole pinecone, in white, gold, silver, or a tree color, add a dusting of glitter if you like, and attach a ribbon loop. Painted pinecones suit a woodland tree, a rustic mantel, or a natural tree with dried citrus and wood slices. They are light, cheap to make, and easy to batch.
Clean pinecones and let them dry fully before painting, since damp cones close up. Paint the tips first for a frosted look, or paint the whole cone for a bold color, and let each coat dry. Glue a ribbon loop to the base of the cone, and shake off loose glitter outdoors before hanging.
18. Faux Stained Glass Ornaments
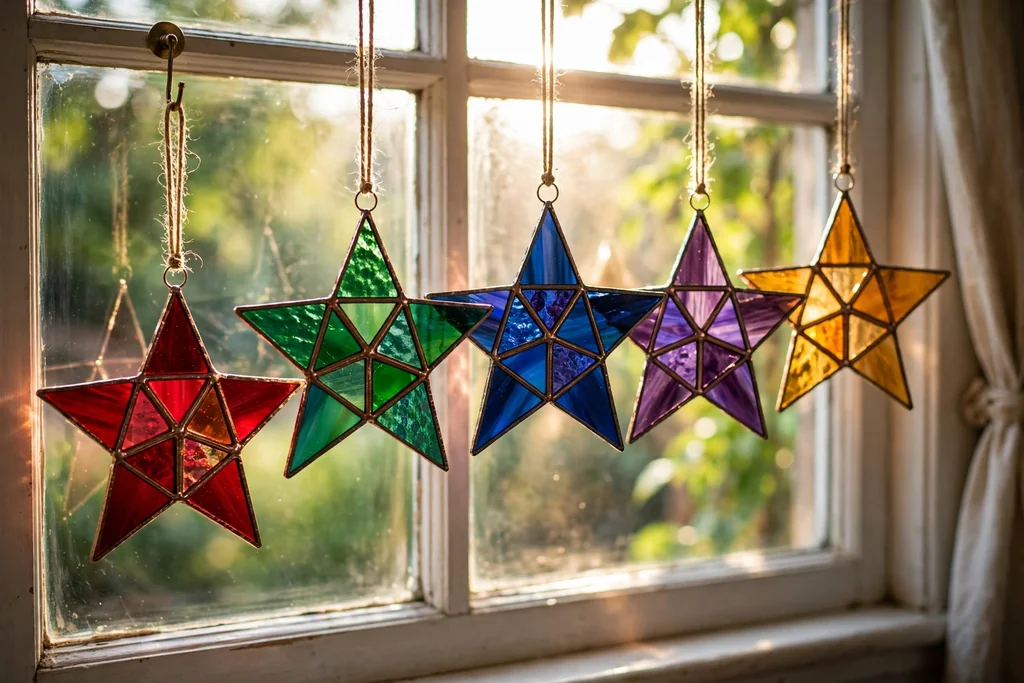
Paint clear plastic or glass shapes with translucent glass paint in jewel colors, outline the shapes with a dark leading paint, and hang them where light passes through. Faux stained glass ornaments suit a window, a tree near a lamp, or a colorful tree, since light brings out the color. Simple shapes, such as stars, trees, and bells, work best.
Draw the design on paper first, transfer the outline to the shape, and fill each section with one color, letting it dry before adding the next. Keep paint layers thin so light still passes through, and add a hanging loop at the top. Handle painted glass with care, and store pieces flat with tissue between them.
19. Needle Felted Bauble Ornaments
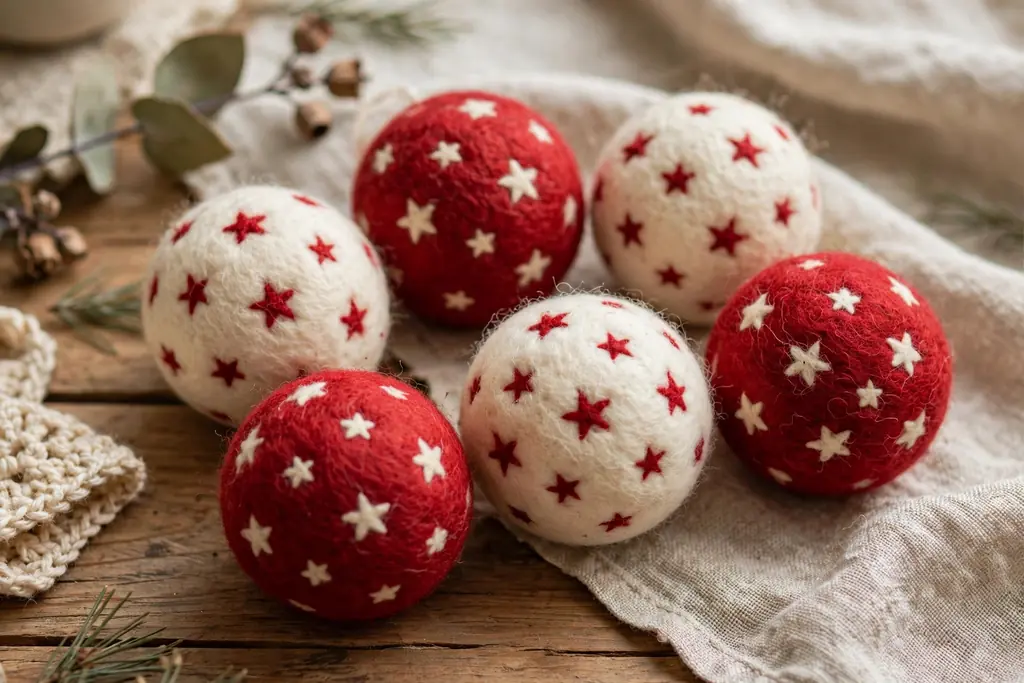
Wrap a foam ball with wool roving, then needle felt the wool into place and add small felted motifs, such as dots, stars, or a simple tree. Needle felted baubles suit a soft, cozy tree and add a handmade texture that contrasts with glass and metal. They are light and safe for thin branches.
Work on a foam pad, use a felting needle with care, and build the wool layer evenly so no foam shows. Add motifs by placing small wool pieces on the surface and felting them in place. Finish with a ribbon loop pushed into the top and secured with glue, and store felted baubles away from moths and damp air.
20. Decoupage Map Ornaments

Tear or cut old maps, sheet music, or patterned paper into small pieces, glue them onto a plain bauble or wood shape, and seal with decoupage medium. Map ornaments suit a travel themed tree, a vintage style tree, or a gift for someone who loves a particular place. Choose paper with clear place names or notes for the best effect.
Apply a thin layer of decoupage medium, place each paper piece smooth, and brush over it to remove bubbles. Let each layer dry before adding the next, and finish with two or three sealing coats. Add a ribbon loop that matches the paper colors, and store decoupage ornaments in divided boxes so the sealed surface does not stick to other pieces.
21. Velvet and Pearl Cluster Ornaments
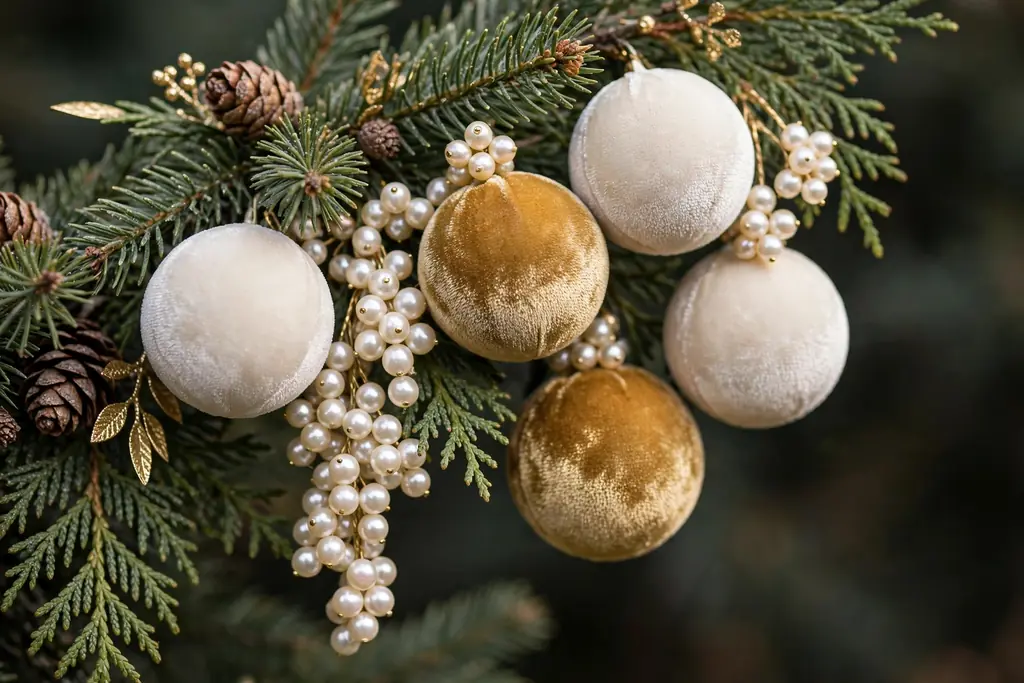
Gather small velvet balls, pearl beads, and tiny fabric leaves into a cluster, wire them together, and add a ribbon loop for a soft, dressy ornament. Velvet and pearl clusters suit an elegant tree, a gold and cream tree, or a mantel display. They also work as a gift topper that can later hang on a tree.
Choose velvet in one or two colors, mix pearl sizes for depth, and wire the cluster tightly so no piece slips. Add a small bow or a fabric leaf at the top to hide the wire join, and check the cluster weight before hanging. Store clusters in tissue so velvet does not crush and pearls do not scratch other ornaments.
22. Geometric Brass Ornaments
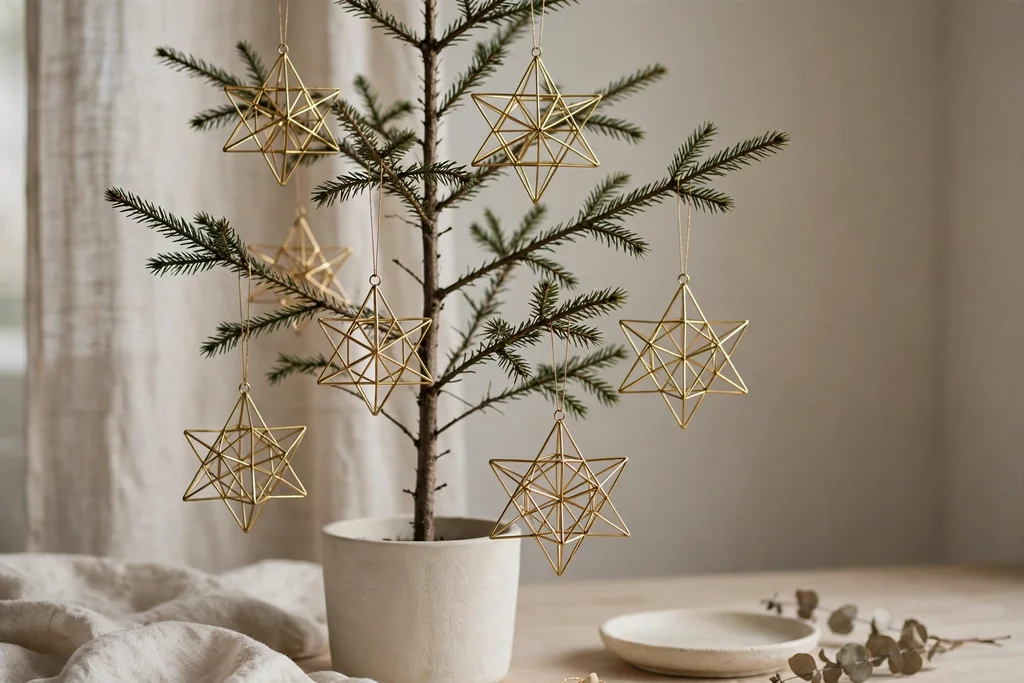
Bend thin brass wire or use brass tubes and beads to form geometric shapes, such as a star, a diamond, or a small hanging mobile. Geometric brass ornaments suit a modern tree, a minimal tree, or a tree with black, white, and gold pieces. They add structure and shine without needing color.
Plan the shape on paper, cut wire to length, and bend it with pliers, keeping angles even. Join the ends neatly, add a hanging loop at the top point, and check for sharp ends before hanging. Hang brass shapes where they will not knock against glass ornaments, and polish lightly if they dull over time.
23. Photo Transfer Wooden Ornaments
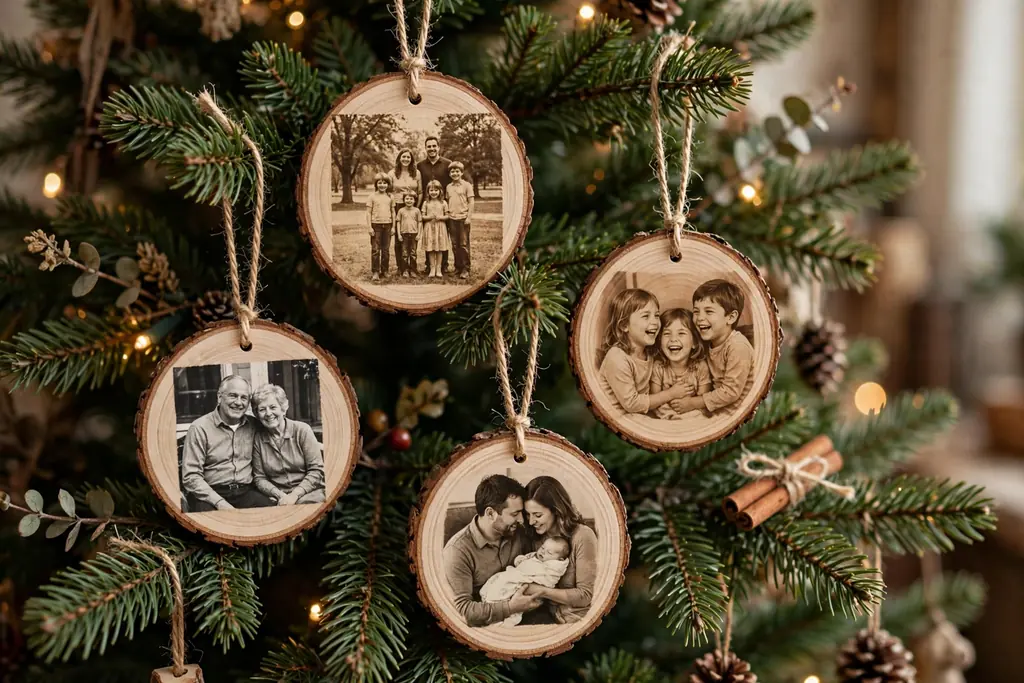
Transfer a printed photo onto a wood slice or a flat wood shape using photo transfer medium, seal it, and add a ribbon loop for a personal ornament. Photo transfer ornaments suit a family tree, an anniversary gift, or a tree where each year adds one new photo. Choose clear, simple photos with a strong focal point.
Print the photo in reverse if the transfer method needs it, apply transfer medium evenly, and press the photo firmly onto the wood. Let it dry fully, rub off the paper backing gently, and seal with a clear coat. Add a ribbon loop through a pre-drilled hole, and keep photo ornaments away from water and direct sun so the image does not fade.
Conclusion
Handmade ornaments give a tree a personal look that bought sets cannot match, since each piece carries a choice of color, material, and detail. Start with one or two projects from this list, make a small batch, and see how they sit on your tree before adding more. If you also display older pieces, the guide to antique Christmas ornaments explains how to identify, display, and store them safely. Save the ideas you like, gather materials in one box, and set aside an evening or a weekend afternoon for making, so the work stays relaxed and enjoyable.
FAQs
What are the easiest DIY Christmas ornaments for adults to make?
Dried orange slices, cinnamon stick bundles, and painted pinecones are among the easiest, since they need few tools and can be finished in one sitting. Start with one of these if you are new to ornament making, then try felt, paper, or clay projects once you are comfortable with basic steps.
What materials work best for handmade Christmas ornaments?
Wood, felt, clay, glass, paper, and dried citrus all work well, and the best choice depends on the look you want and the time you have. Wood and clay give weight and structure, felt and paper give soft texture, and glass and resin give shine. Choose one main material per tree palette so the ornaments look cohesive.
How do I make DIY ornaments last from year to year?
Let paint, glue, resin, and sealant dry fully before storing, and pack ornaments in divided boxes with tissue between pieces. Keep boxes in a cool, dry place, away from damp rooms and direct sun. Check ornaments each year for loose hangers, chipped paint, or soft spots, and repair small issues before hanging.
Are handmade ornaments safe to hang on a real tree?
Yes, if you keep them light, use sturdy hangers, and place heavier pieces on inner branches close to the trunk. Keep paper, felt, and dried materials away from open flame and hot lights, and use battery lights near delicate ornaments. Remove ornaments before the tree is moved or taken down, so they do not get caught or dropped.
How many handmade ornaments do I need for a tree?
A small tree often needs 20 to 30 ornaments, while a full size tree may need 60 or more, depending on tree size and how full you want it to look. Start with a batch of 10 to 15 handmade pieces, mix them with plain baubles in your palette, and add more handmade ornaments each year rather than making a full set at once.
Can I sell DIY Christmas ornaments I make at home?
You can sell handmade ornaments if you follow local rules for small sellers, use safe materials, and describe each piece accurately, including its size, weight, and care needs. Price the work to cover materials and time, photograph each ornament in good light, and pack fragile pieces in divided boxes or padded mailers for shipping.