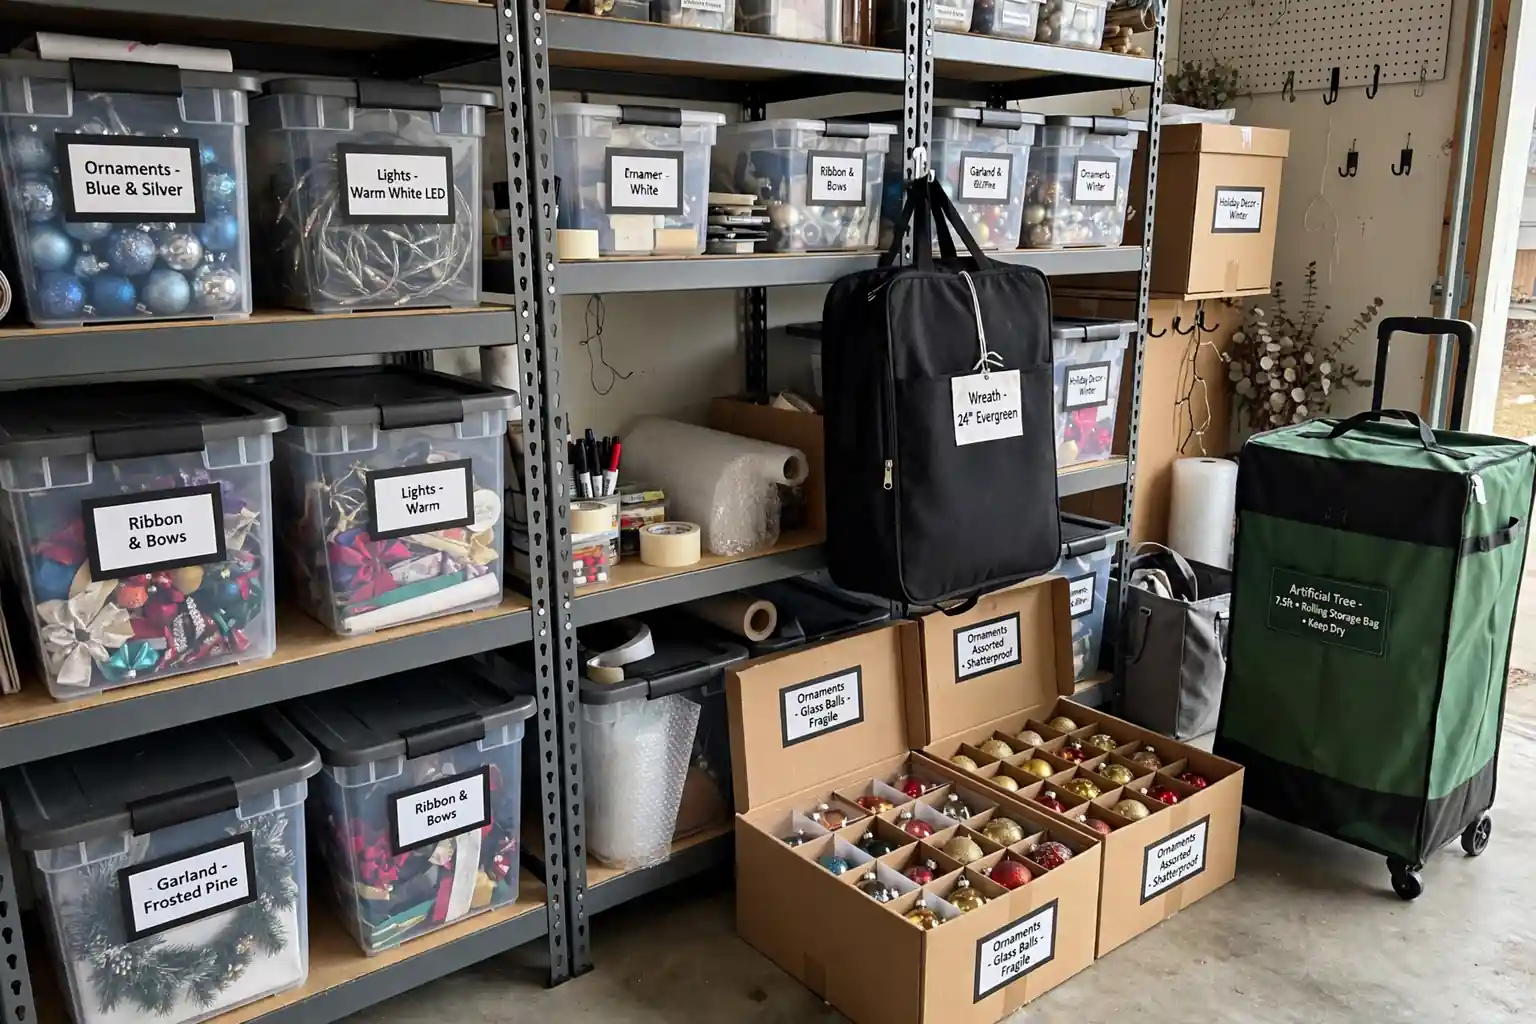
Store Christmas decorations by sorting pieces by type, wrapping fragile items alone, and packing them in labeled, stackable bins in a cool, dry place. Use divided boxes for ornaments, bags for wreaths and trees, and reels for lights, so every piece stays safe, easy to find, and ready to use next December.
Start with a clear table and one empty bin for each group: ornaments, lights, wreaths, tree parts, linens, and small pieces. Work through one group at a time, and label each bin before it goes on a shelf. For fragile older pieces, see the antique Christmas ornaments guide for careful wrapping and packing steps.
Key Takeaways
- Sort decorations by type before packing, and keep each group in its own labeled bin or bag.
- Wrap fragile ornaments alone, and keep heavier pieces at the bottom of a box.
- Use divided boxes, reels, and rolls to stop tangles, chips, and crushed shapes.
- Label every bin on two sides with the contents and the room where the pieces belong.
- Store bins in a cool, dry place, off the floor, and away from heat and damp air.
- Photograph each bin as you pack it, so next December starts with a clear list.
1. Divided Ornament Boxes
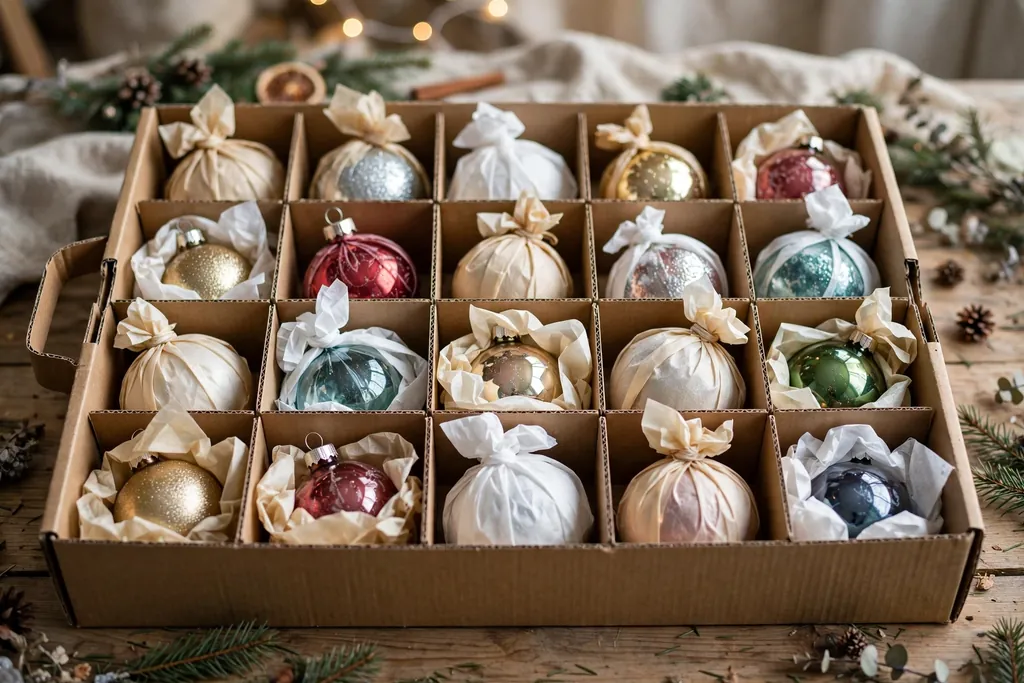
Use a divided ornament box with one cell per ornament, and wrap each glass or painted piece in tissue before it goes in its cell. Divided boxes stop ornaments from knocking together, and the grid makes it easy to see a gap where a piece is missing. Keep heavier ornaments low in the box and lighter pieces near the top.
Label the box with the ornament type and color group, such as red glass balls or wood ornaments. Store the box upright, with a light tissue layer over the top before the lid closes. Do not stack a heavy bin on top of an ornament box, since pressure can crack glass and bend thin caps.
2. Clear Bins Labeled by Room
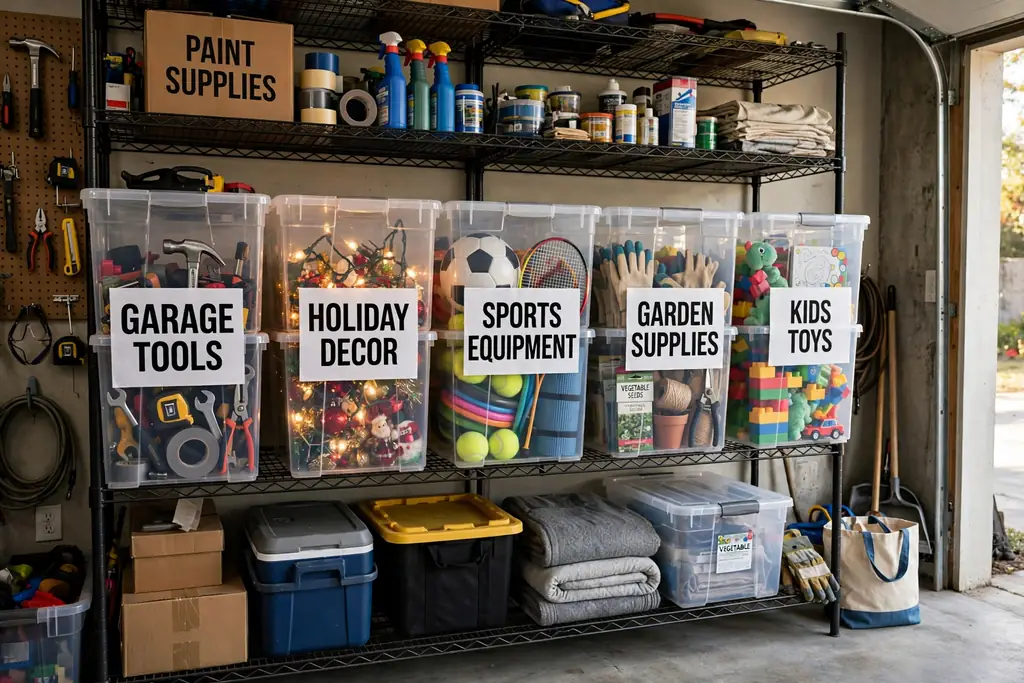
Pack decorations in clear, stackable bins, one bin per room or area, and label each bin with large, plain text. Clear bins let you spot the right box without opening every lid, and room labels stop living room pieces from mixing with kitchen or porch pieces. Choose bins with lids that latch, so dust and pests stay out.
Add a short list taped inside the lid, naming the main items in that bin. Keep bins to a weight you can lift safely, and place the most used bin on top of the stack. Store bins off the floor on a shelf or pallet, so a small leak or damp floor does not reach the contents.
3. Wreath Storage Bags
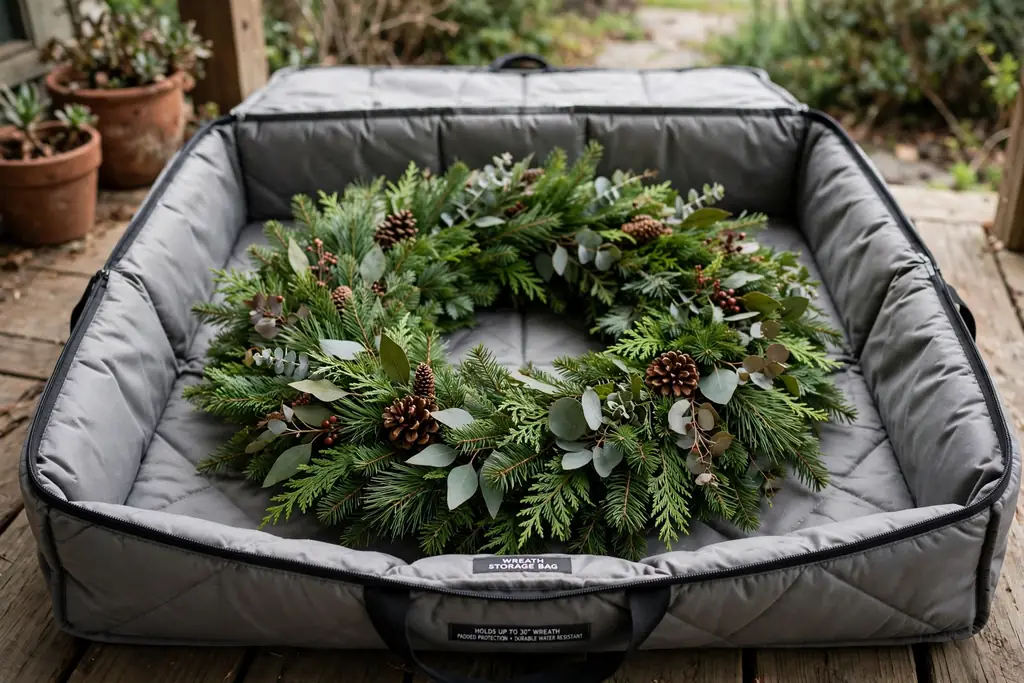
Place each wreath in its own padded wreath bag, with the wreath lying flat and its bow or berries facing up. A bag keeps dust off branches, stops a wreath from snagging on nearby bins, and holds its round shape through the year. Hard wreath cases give extra shape support for thick or heavy wreaths.
Hang wreath bags from a sturdy hook if shelf space is tight, and keep them away from heavy boxes that could press branches flat. Label each bag with the wreath style and door or room, so the right wreath comes out first next season. Check clasps and zippers before hanging, so a bag does not slip off its hook.
4. A Rolling Tree Storage Bag
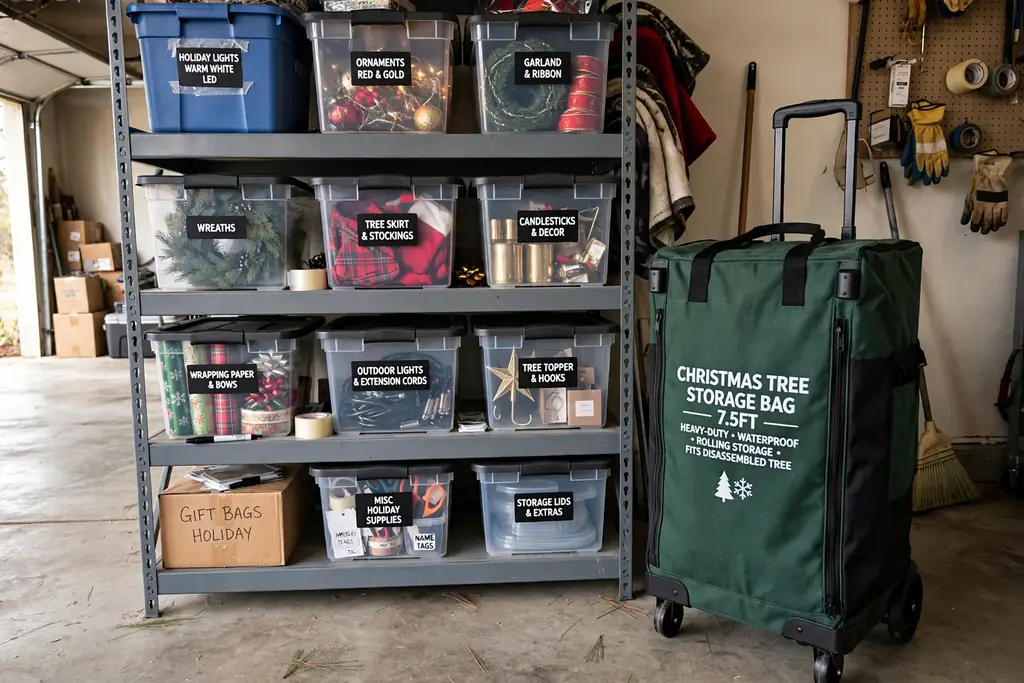
Pack an artificial tree in a rolling tree storage bag, with branches compressed gently and the stand packed in its own sleeve. A rolling bag moves a heavy tree without dragging, and its long shape fits along a wall or under a shelf. Wheels also help when the tree must move from an attic or garage to the living room.
Keep the bag label facing out, and note the tree height and color on the label. Store the bag flat or upright as its design allows, and do not stack heavy bins on top of it. Before packing, remove lights and ornaments from branches, and shake out loose needles outdoors.
5. Light and Garland Reels
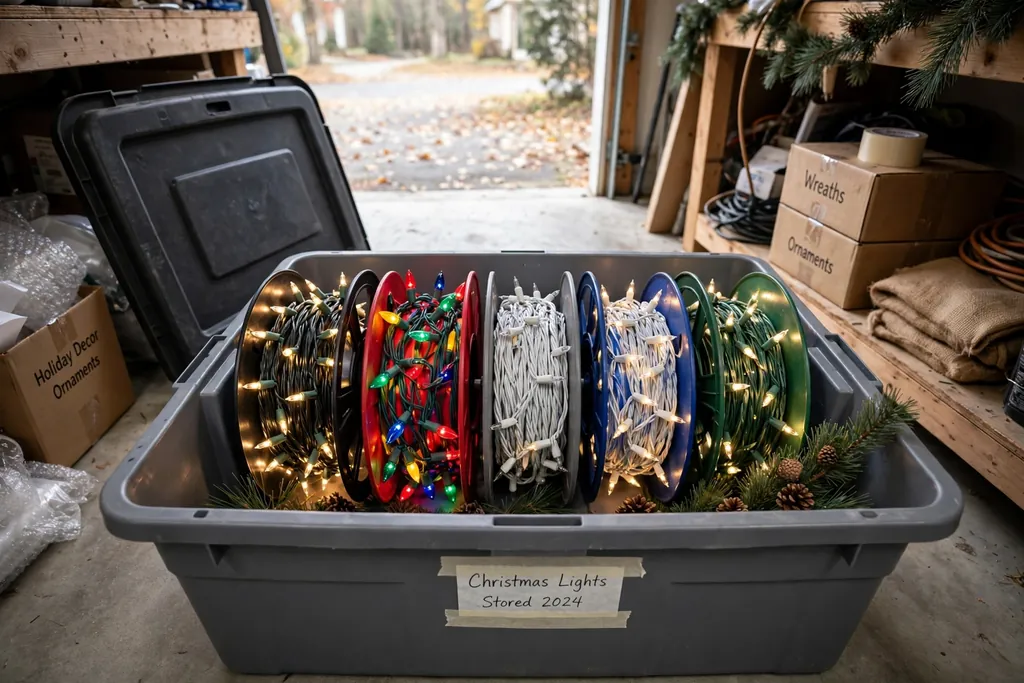
Wind each string of lights onto its own reel or a flat cord winder, and secure the plug end with a small tie. Reels stop the tangled knot that forms when lights go into a bag loose, and they make testing lights faster next season. Wrap garland in a loose coil inside a large zip bag, rather than folding it tight.
Label each reel with the light length, color, and room, such as porch white lights or tree warm lights. Store reels upright in a bin, with plugs facing the same way, so no reel crushes another. Test lights before packing, and set aside any strand with frayed wire for repair or safe disposal.
6. A Vertical Wrapping Paper Organizer
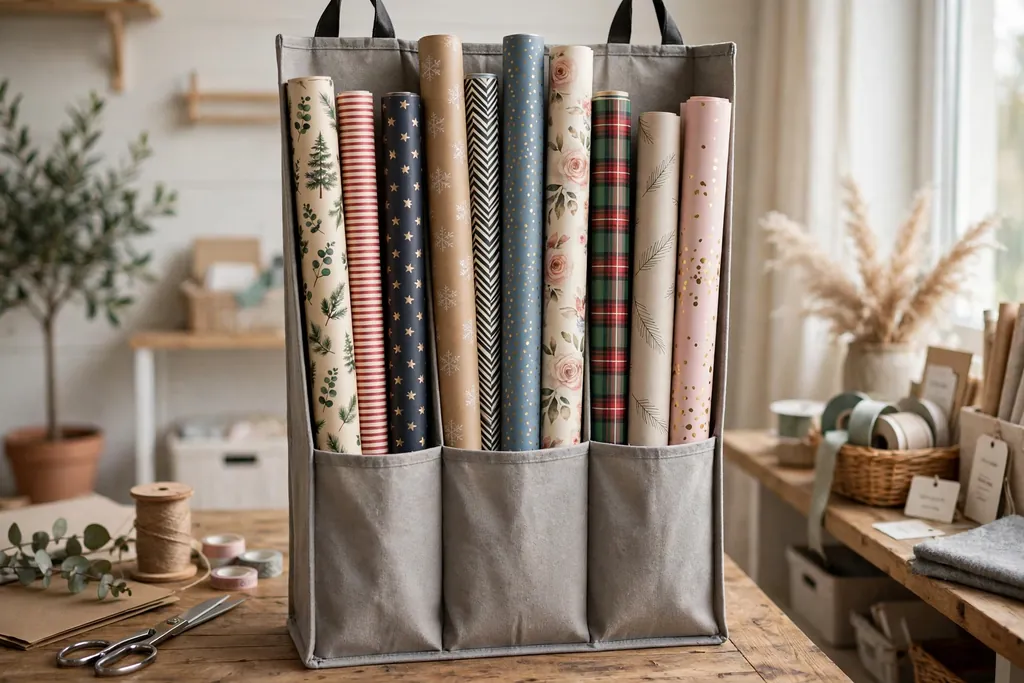
Stand wrapping paper rolls upright in a tall, narrow organizer, with each roll in its own slot or section. Vertical storage stops rolls from getting crushed under other boxes, and it keeps paper ends clean and ready to unroll. A hanging organizer on a closet door works well in a small home.
Group rolls by color or pattern, and keep scissors, tape, and tags in a side pocket of the same organizer. Store the organizer where rolls cannot bend against a low ceiling or shelf. At the end of the season, remove short rolls and move them to the front, so they get used before new rolls are bought.
7. A Ribbon and Bow Organizer
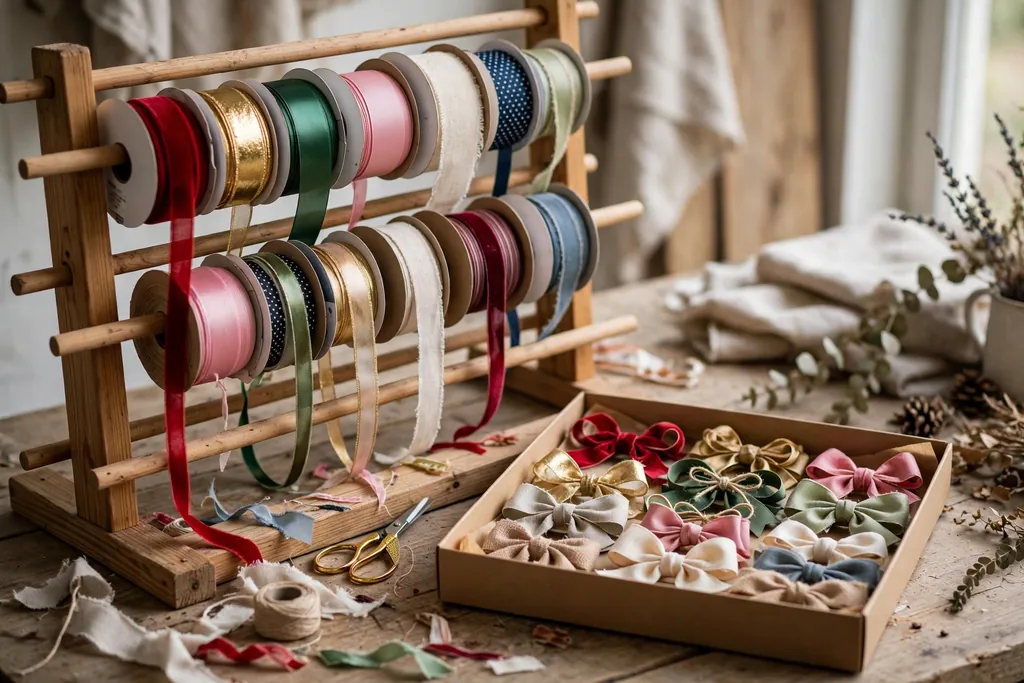
Keep ribbon spools on a dowel rack or in a divided box, with each spool able to turn freely. A rack stops ribbon from unspooling into a tangle, and it shows colors at a glance when wrapping starts. Store finished bows in a shallow box with tissue between layers, so loops keep their shape.
Label ribbon by width and color, and keep curling ribbon apart from wired ribbon, since they handle in different ways. Place the organizer in the same bin or closet as wrapping paper, so wrapping supplies stay in one place. Replace ribbon that is crushed or damp, since it will not curl or tie cleanly.
8. Padded Boxes for Village Figurines
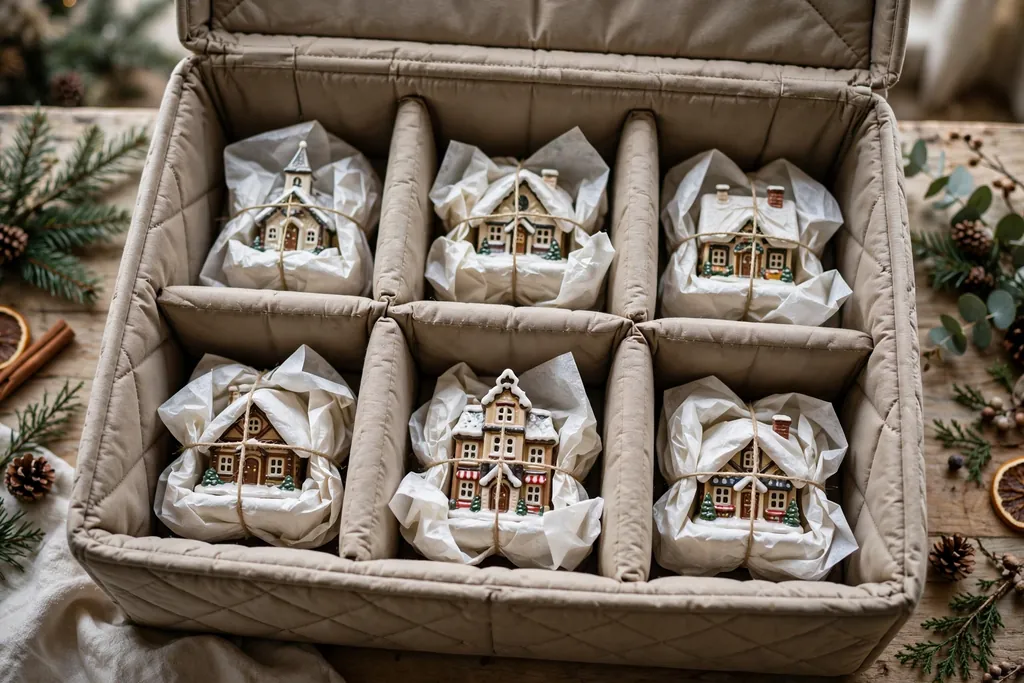
Pack village houses and figurines in padded boxes with one piece per compartment, wrapped in tissue and cushioned on all sides. Small houses, trees, and figures chip easily, and a padded box stops them from shifting during a move or a shelf change. Keep roofs, chimneys, and small trees in their own cells, not loose in a shared bin.
Label each box with the village set name and the number of pieces inside, and add a photo of the set layout to the lid. Store village boxes on a middle shelf, where they are easy to reach and safe from a fall. Handle each piece with dry hands, and keep cords and lights in a separate labeled pouch.
9. Stocking Storage Pouches
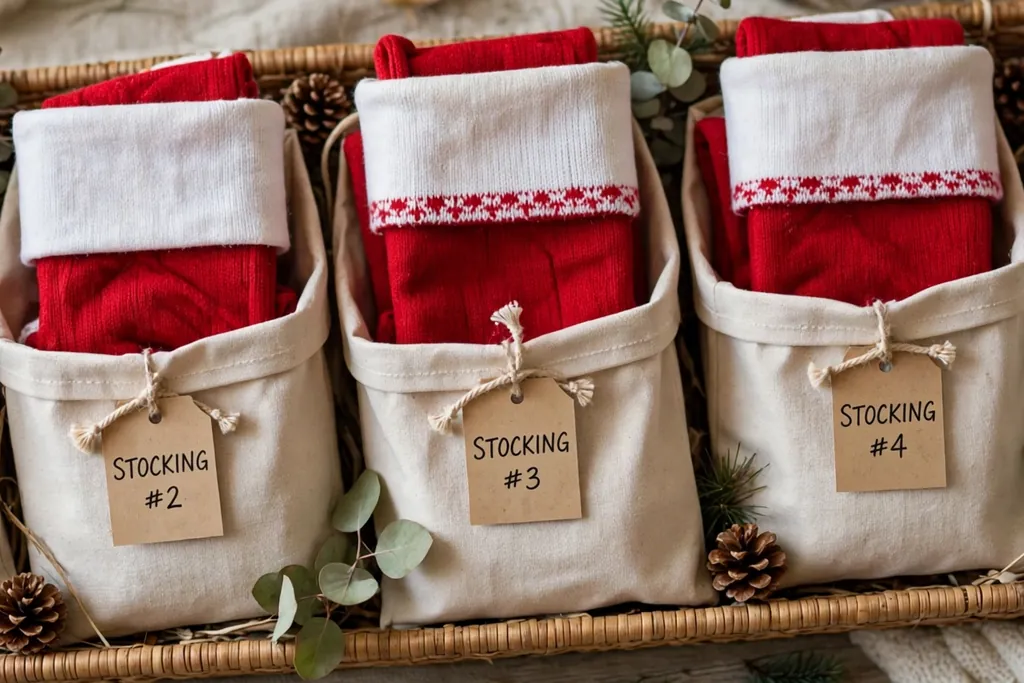
Place each stocking in its own cloth pouch or zip bag, folded flat with its cuff on top. Pouches keep stockings clean, stop hooks and clips from snagging fabric, and keep pairs or sets together. For stockings with names or embroidery, add tissue between folded layers to protect the stitching.
Label each pouch with the stocking owner or room, and store pouches flat in a shallow bin. Do not pack heavy ornaments on top of stocking pouches, since pressure can crease fabric and flatten applique. Wash or air stockings before packing, so they stay fresh through the year.
10. Table Linen Rolls
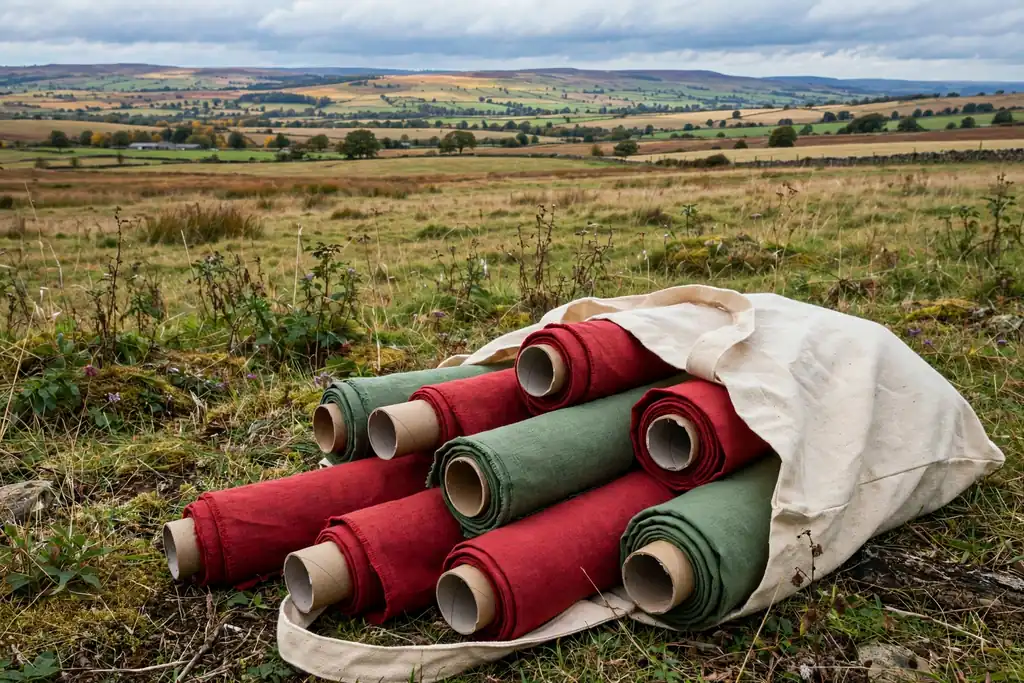
Roll tablecloths and runners around a cardboard tube, rather than folding them into sharp creases. Rolling keeps fabric smooth, stops deep fold lines, and makes linens easy to unroll and check next season. Place each roll in a clean cloth bag, and add a label with the linen size and pattern.
Store rolls on a shelf or in a long bin, away from damp air and strong light, which can fade color. Keep linen rolls apart from candle wax and ornament boxes, so fabric stays clean. Wash or clean linens before rolling, and note any stain or repair on the label for next year.
11. Candle Boxes with Dividers
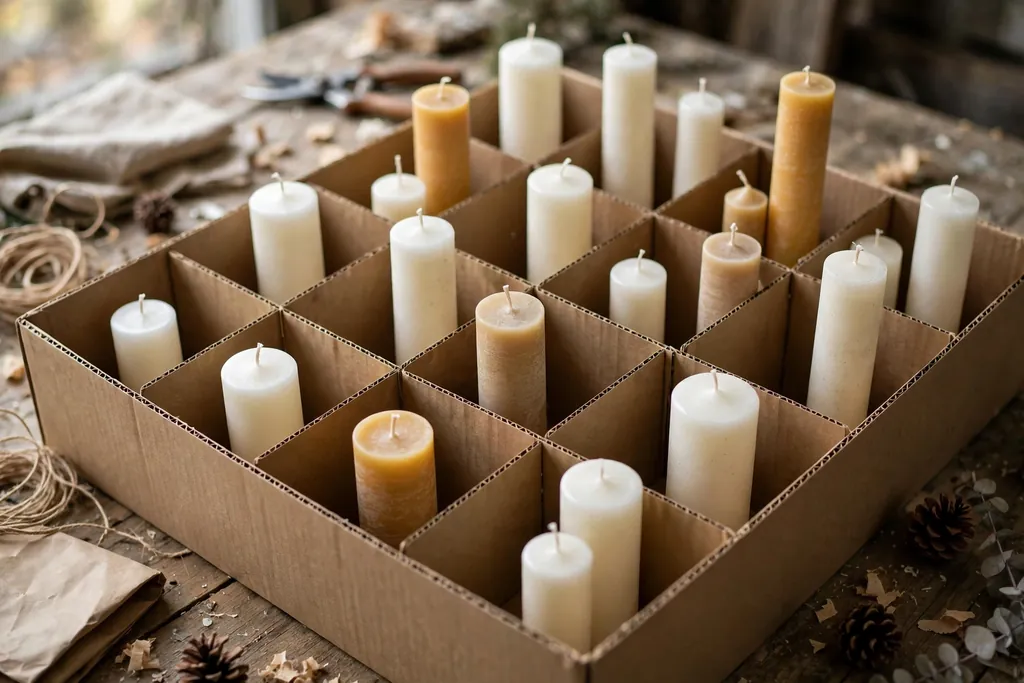
Store candles upright in a divided box, with tissue or cardboard dividers between pieces, in a cool place away from heat. Dividers stop candles from rubbing together and picking up color or scent from each other. Keep taper candles in a long, narrow box, and pillar candles in a box sized to their height.
Label the box with candle sizes and colors, and keep matches and lighters in a separate pouch, not loose with candles. Check candles before packing, and set aside any candle with a cracked surface or bent wick. Never store candles in an attic that gets very hot, since heat can warp wax and melt scented pieces.
12. Inflatable Decor Storage Bags
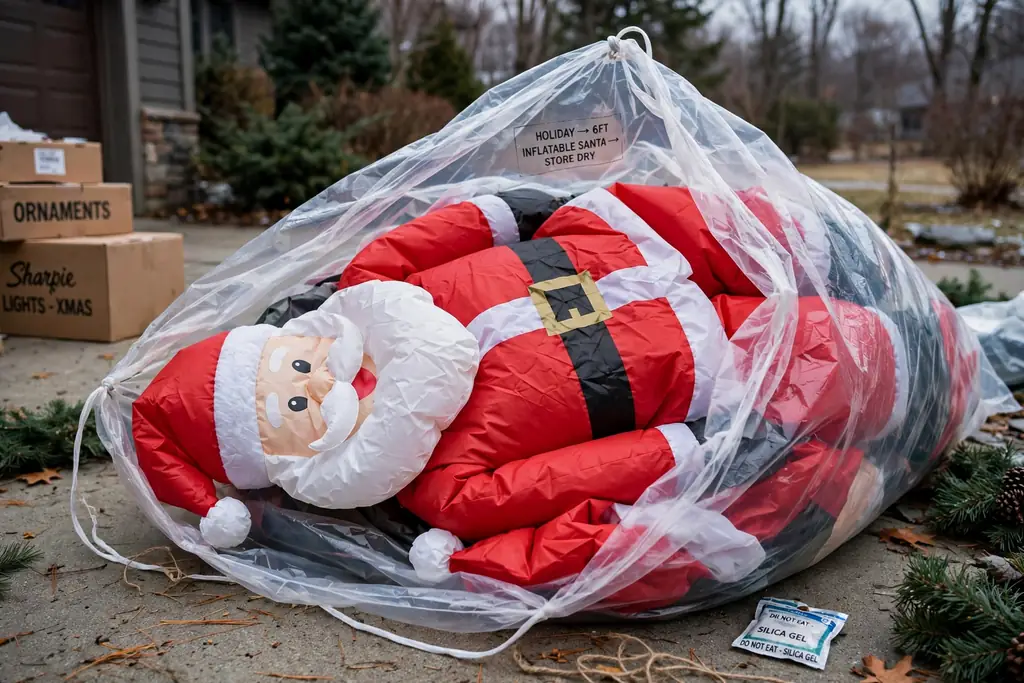
Dry inflatable decorations fully before packing, then fold them loosely into a large breathable bag with their blower and stakes in a separate pouch. Drying first stops damp fabric from marking or smelling in storage, and a loose fold stops seams from creasing in the same place each year. Keep the bag label facing out, with the inflatable size and theme noted.
Store inflatable bags on a shelf, not under heavy bins, so fabric and seams stay intact. Coil cords loosely and tie them with a soft tie, rather than wrapping them tight around the blower. Before packing, check seams and zippers, and note any repair needed on the label for next season.
13. Weatherproof Totes for Outdoor Decor
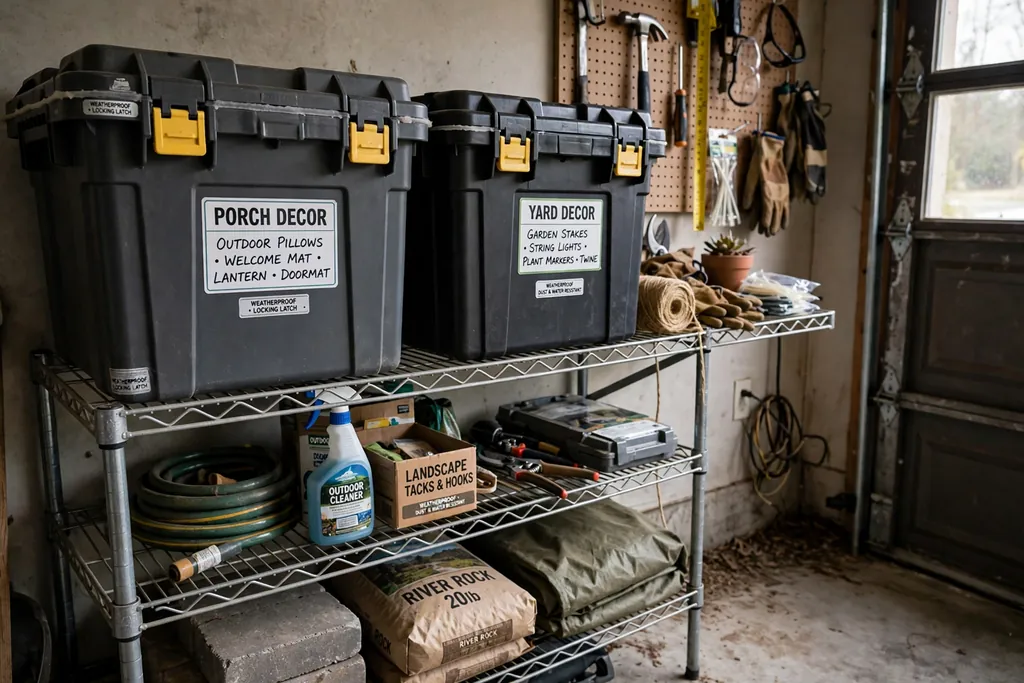
Use weatherproof totes with latched lids for porch, yard, and patio decorations, and keep them in a garage or shed where rain cannot reach them. A latched tote keeps dust, pests, and damp air away from outdoor pieces, and it stacks neatly on a garage shelf. Choose totes with handles that hold when the tote is full.
Label outdoor totes by area, such as front porch or backyard, and keep stakes, clips, and extension cords in a small pouch inside the tote lid. Clean outdoor pieces before packing, and dry them fully so soil and damp do not stay in the tote. Place heavier totes low on a shelf, and lighter totes on top.
14. Garland Bags Hung on Hooks
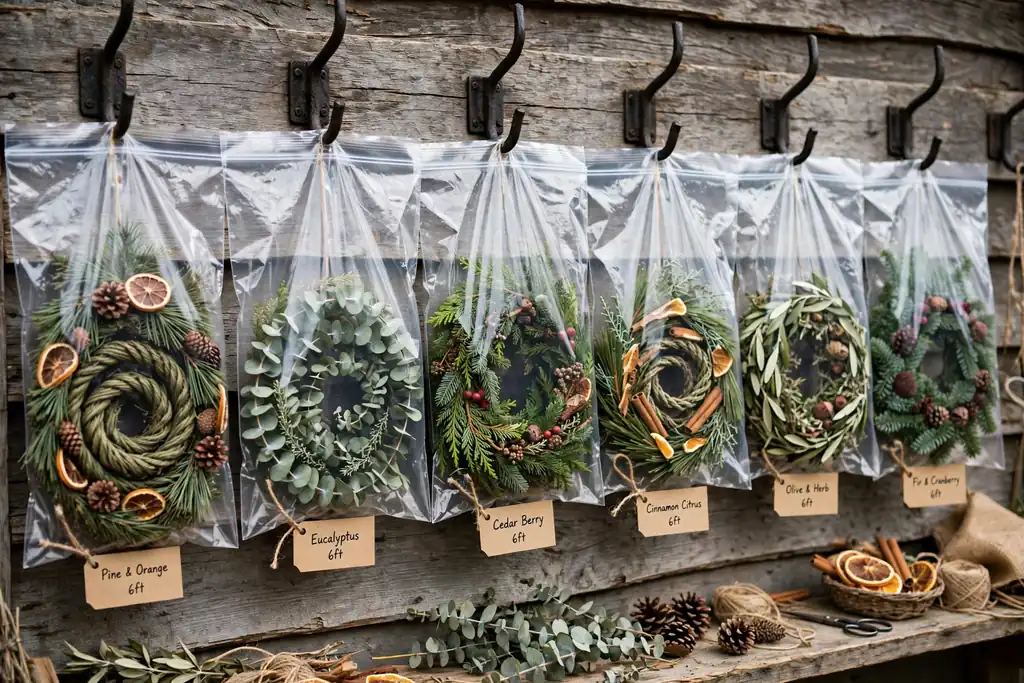
Place each garland in a large zip bag, coiled loosely, and hang the bag from a sturdy hook on a wall or closet rod. Hanging bags use wall space that bins cannot use, and they keep garlands from getting crushed under other boxes. A clear bag also shows the garland color and length at a glance.
Label each bag with the garland length and material, such as pine garland or bead garland. Keep bags away from heat sources and sharp hooks that could snag branches. Do not hang more than one heavy garland per hook, and check hooks each season for loosening in drywall or wood.
15. A Small Parts Kit Box
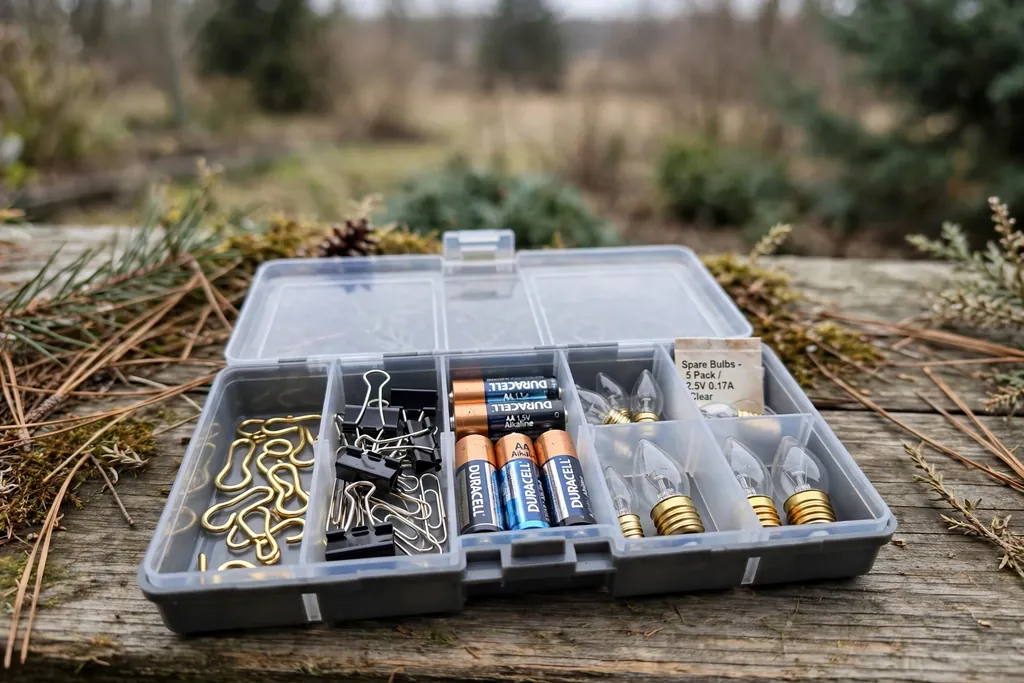
Keep ornament hooks, clips, batteries, timers, and spare bulbs in one small divided kit box, with each part type in its own section. A kit box stops small pieces from scattering across several bins, and it saves time when a hook bends or a timer battery runs out. Add a few spare ornament caps and ribbon loops to the kit as well.
Label the kit box clearly, and store it with the ornament bins, so it comes out with the first decorations each season. Check the kit before packing, and replace bent hooks and dead batteries. Keep the kit box shallow, so small parts stay visible and easy to reach.
16. A Photo Label and Inventory System
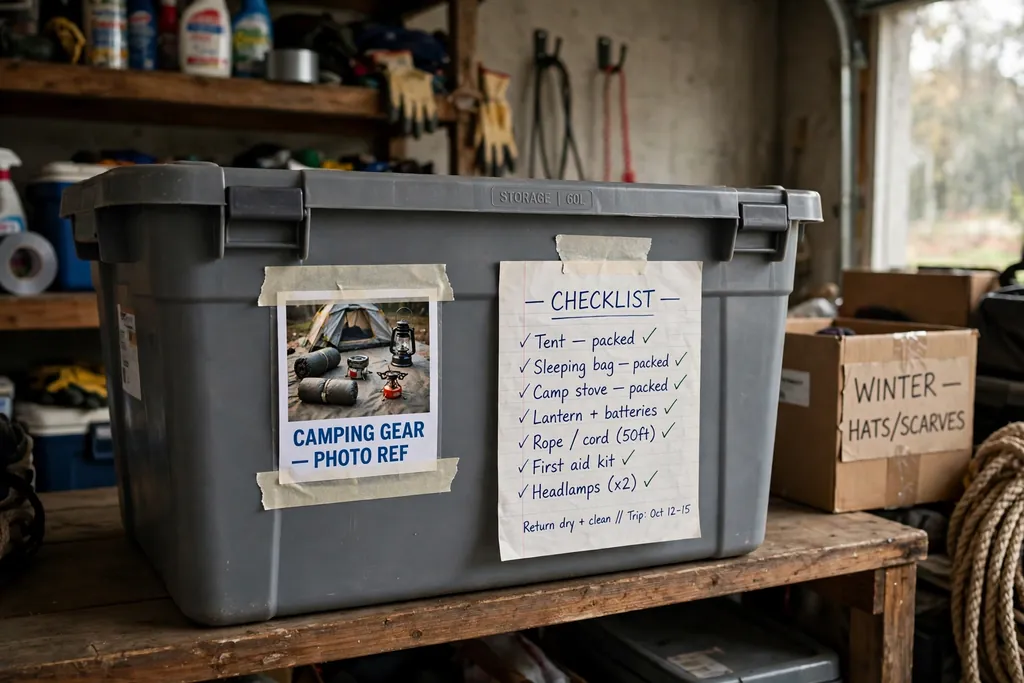
Photograph each bin as you pack it, and tape a small photo to the outside of the bin or keep the photos in a folder on your phone. A photo label shows contents faster than a written list alone, and it helps other family members find the right bin without opening every lid. Number each bin, and match the number to a short written list.
Keep the list simple: bin number, room, and main items. Update the list when a piece moves to a new bin, and keep one copy with the bins and one copy in the house. At the end of each season, check the list against the bins on the shelf, so a missing bin shows up before next December.
17. Shelf Zones for Each Decoration Group
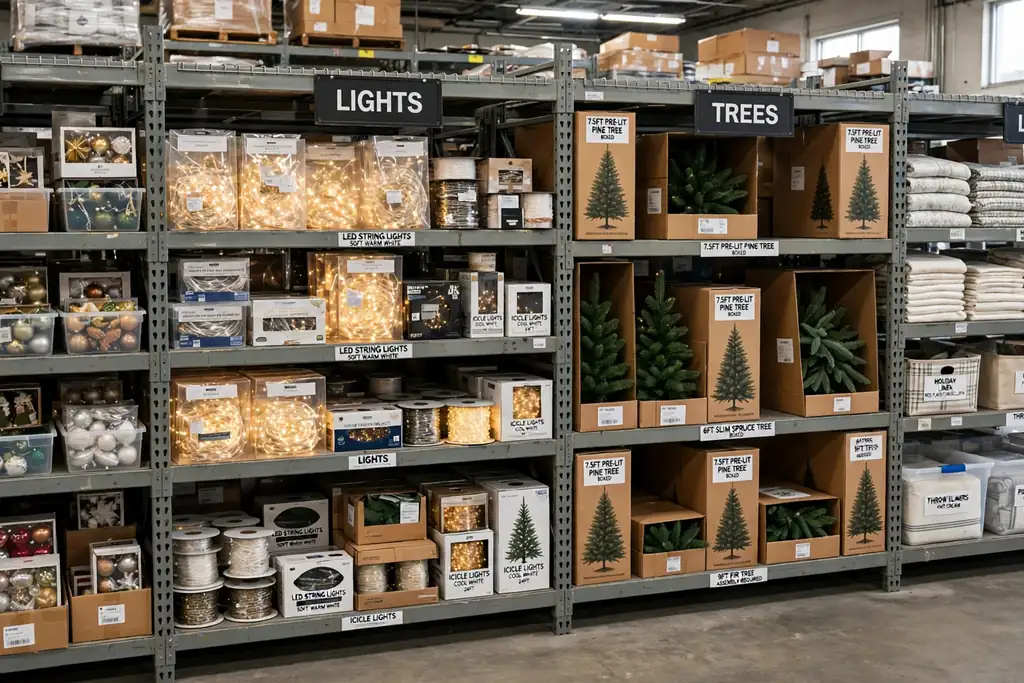
Set up shelf zones in the attic, garage, or closet, with one zone for ornaments, one for lights, one for trees and wreaths, and one for linens and paper. Zones stop bins from drifting across shelves during the year, and they make unpacking faster, since each group has a set place to return to. Use shelf labels or colored tape to mark each zone edge.
Place the most used zones at easy reach height, and less used zones higher or lower. Keep a clear path to each zone, and leave a small empty space on each shelf for a new bin. Review zones once a year, and move a zone if its bins no longer fit the shelf depth or height.
18. Under Bed Flat Bins for Skirts and Flat Pieces
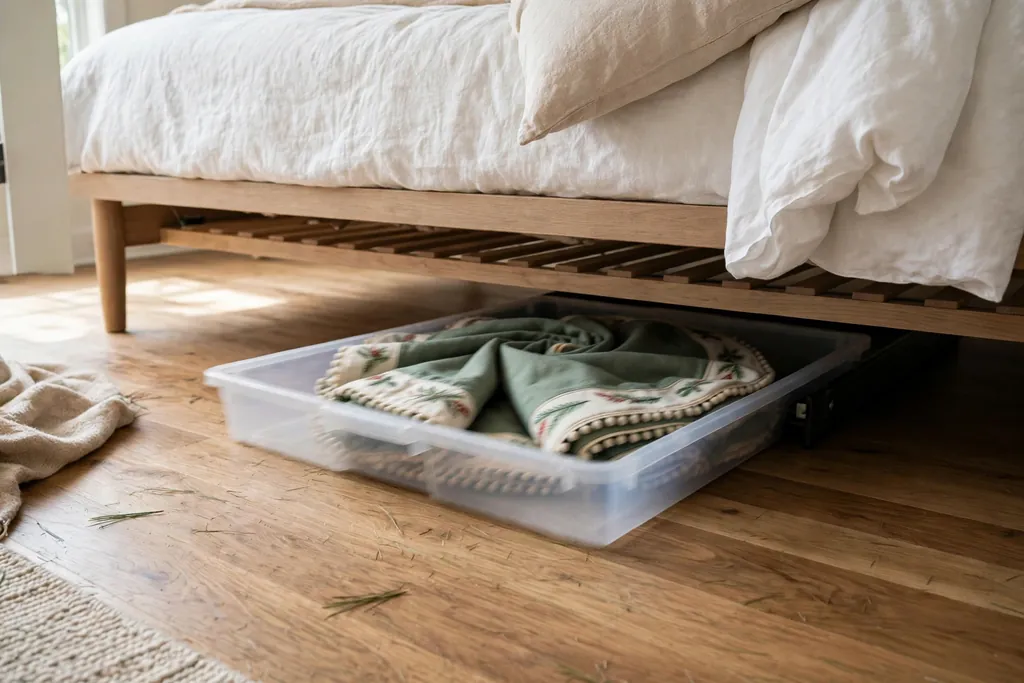
Use low, flat bins under a bed for tree skirts, wall hangings, and other flat decorations that crease in a tall bin. Flat bins keep skirts smooth, use space that often goes unused, and keep flat pieces apart from heavy ornament boxes. Choose bins with wheels or handles, so they slide out without lifting.
Label each flat bin on its front edge, with the skirt size or hanging type noted. Fold flat pieces loosely with tissue between layers, and keep the bin lid closed to stop dust. Check under bed bins once a year for damp air, and move them to a shelf if the floor area stays damp.
19. A Keepsake Box for Handmade and Heirloom Pieces
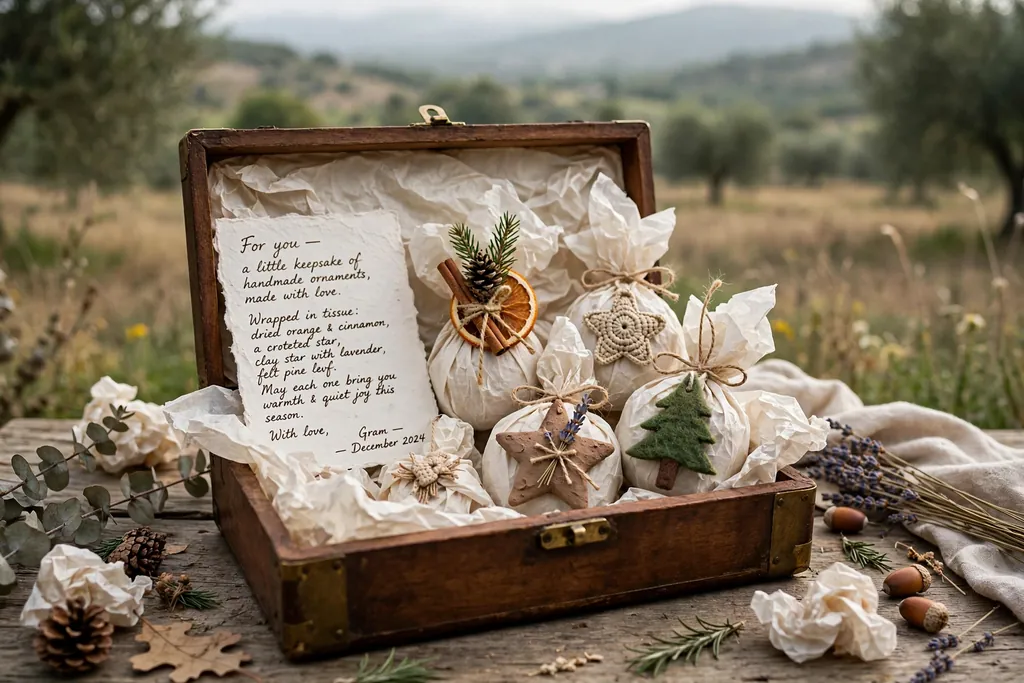
Keep handmade ornaments, family heirlooms, and pieces with a personal story in one clearly marked keepsake box, with each piece wrapped alone in tissue. A separate keepsake box stops fragile, valued pieces from mixing with everyday decorations, and it tells family members to handle that box with extra care. For more ideas on caring for older pieces, see the vintage Christmas decor guide.
Label the keepsake box on all sides, and add a short note inside naming each piece and who made or gave it. Store the keepsake box at easy reach height, not at the top of a tall stack, so it never falls during unpacking. Check the box once a year, and update the note when a new keepsake joins the collection.
Conclusion
Christmas decoration storage works best when each group has its own container, its own label, and its own place on a shelf. Divided boxes protect ornaments, bags protect wreaths and trees, reels stop light tangles, and rolls keep linens smooth. Start with one group at a time, photograph each bin as you pack it, and store bins in a cool, dry place off the floor. With a clear system in place, next December starts with decorations that are safe, easy to find, and ready to use.
FAQs
How should I store Christmas ornaments so they do not break?
Store Christmas ornaments so they do not break by wrapping each piece alone in tissue and placing it in its own cell in a divided box. Keep heavier ornaments at the bottom, store the box upright, and do not stack heavy bins on top of ornament boxes.
What is the best way to store Christmas lights?
The best way to store Christmas lights is to wind each strand onto its own reel or cord winder and label it with length, color, and room. Reels stop tangles, make testing faster next season, and keep plugs and strands from crushing each other in a shared bin.
How do I store a wreath without crushing it?
Store a wreath without crushing it by placing it flat in its own padded wreath bag or hard case, with its bow and berries facing up. Hang the bag from a sturdy hook or place it on a shelf where no heavy box presses on it, and label the bag with the wreath style and room.
Where should I store Christmas decorations?
Store Christmas decorations in a cool, dry place, such as a closet shelf, a garage shelf, or an attic with steady temperature, with bins off the floor. Avoid damp basements, very hot attics, and spots near heat sources, since damp air and heat can damage fabric, wax, and painted pieces.
How do I label Christmas storage bins so they are easy to find?
Label Christmas storage bins so they are easy to find by writing large, plain labels on two sides of each bin, with the room and main contents named. Add a photo of the bin contents or a short list inside the lid, and number bins to match a simple inventory list kept with the bins.
What should I do with Christmas decorations I no longer use?
For Christmas decorations you no longer use, sort them into a keep box, a gift box, and a donation box at the end of the season. Keep pieces in good shape for donation, pass family pieces to relatives who want them, and recycle or discard broken pieces safely, so storage space stays clear for pieces you still use.