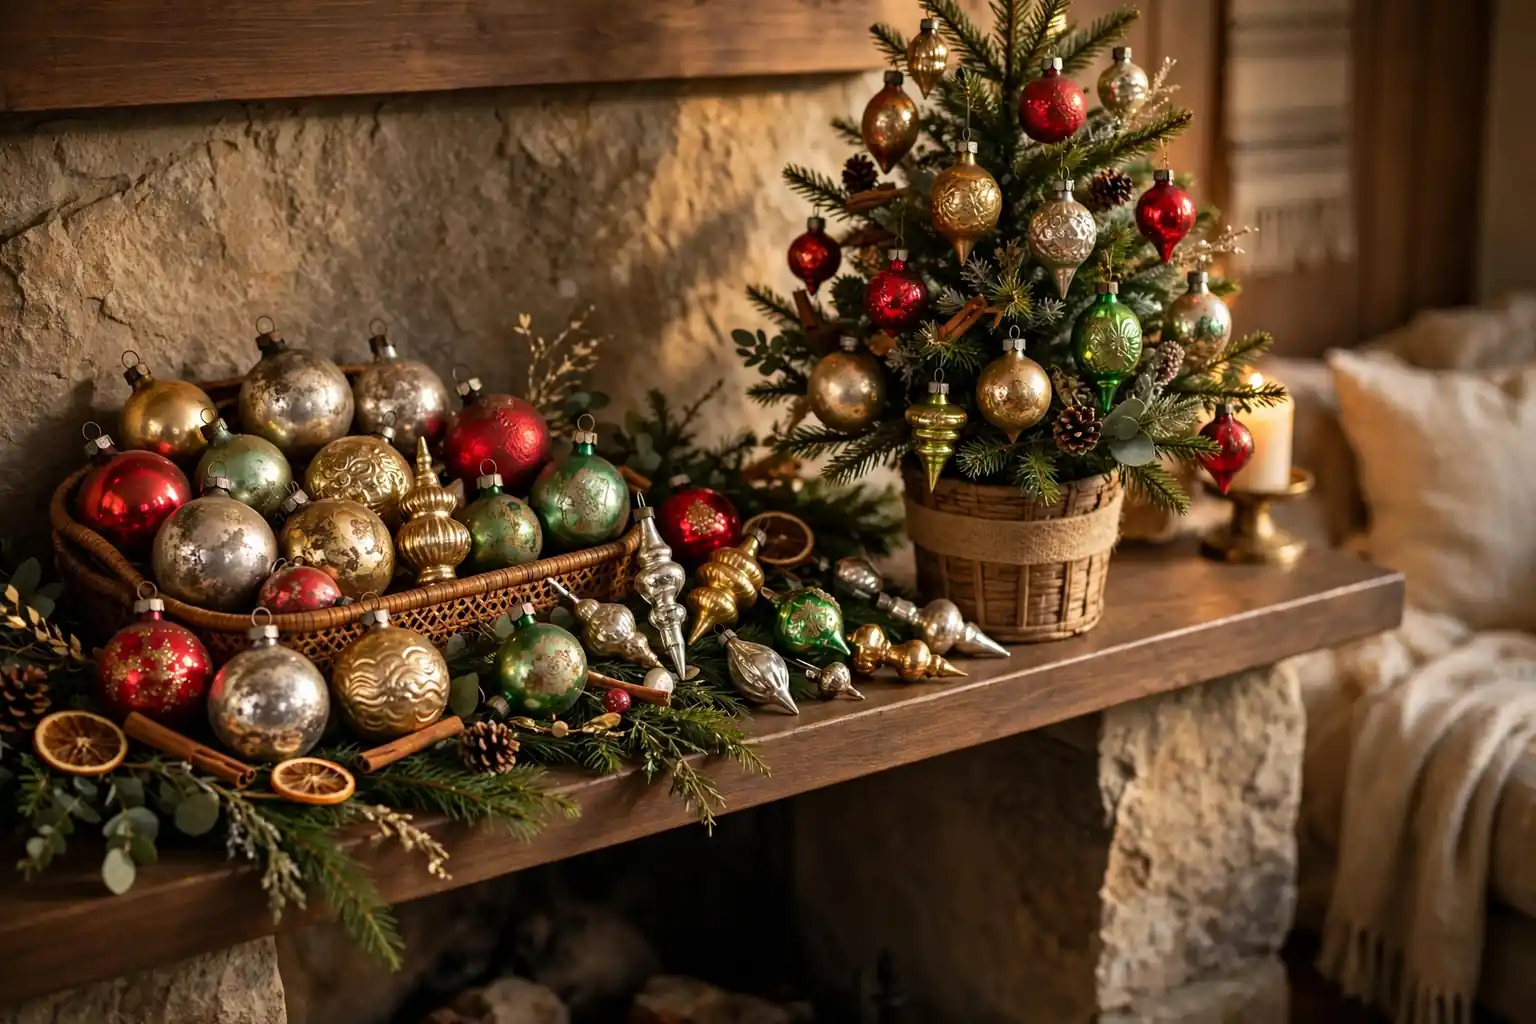
Identify antique Christmas ornaments by their glass weight, hand painted detail, metal caps, and maker marks, then display them on strong branches or stable shelves away from heat and direct sun. For storage, wrap each ornament alone in acid free tissue, pack it upright in a divided box, and keep the box in a cool, dry place.
Old ornaments reward a slow, careful approach. A piece that looks plain in a box can show fine hand painting, a rare cap style, or a maker mark once it is held in good light. At the same time, thin glass, flaking paint, and brittle hanging loops break easily, so every check, display choice, and packing step should protect the piece first. For more seasonal ideas to pair with these displays, browse the Dwell Ovell decor ideas index. Work on a soft surface, handle one ornament at a time, and keep notes as you go so identification clues are not lost between seasons.
Key Takeaways
- Start with material and construction: thin blown glass, hand painting, and old metal caps point toward age, while thick molded plastic and printed labels usually point to later copies.
- Check maker marks, cap styles, and paint wear together, since no single clue proves age on its own.
- Record what you find with photos and notes before you hang or pack anything away.
- Hang antique ornaments only on branches and hooks that can hold their weight, with space around each piece.
- Keep displays away from heat, direct sun, and high traffic spots where pieces can be knocked.
- Store each ornament wrapped alone in acid free tissue, upright in a divided box, in a cool, dry place, and inspect the box once a year.
Supplies You Will Need
- A soft towel or felt pad for a work surface
- Cotton gloves or clean, dry hands
- A magnifying glass or a phone camera with zoom
- Acid free tissue paper, unprinted and undyed
- Small divided ornament boxes or sturdy boxes with cardboard dividers
- Soft ribbon or ornament hooks rated for the weight of each piece
- Small labels, a notebook, and a pen for inventory notes
- A soft, dry brush and a dry microfiber cloth for gentle dusting
- Silica gel packets for storage boxes, used only where they will not touch ornaments directly
1. Set Up a Safe Work Surface
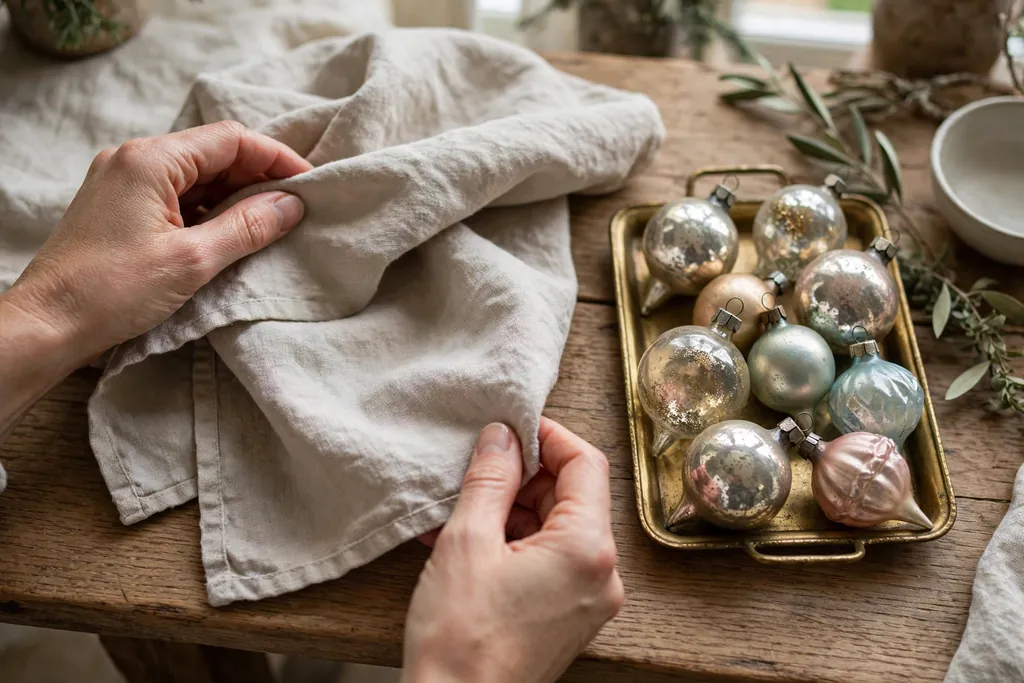
Lay a soft towel or felt pad on a table before you open any ornament box. Work away from the edge of the table, keep drinks and sharp tools out of reach, and handle one ornament at a time. A padded surface catches a piece if it slips, and a clear table keeps small caps, hooks, and loose glitter from being lost or mixed between ornaments.
Work in daylight or bright, even indoor light so paint detail, glass color, and cap marks show clearly. Keep a small tray or bowl nearby for caps and hooks that come loose during inspection. If you are working with a full collection, sort boxes one at a time rather than emptying several boxes at once, since mixed pieces are harder to identify and easier to damage.
2. Sort Ornaments by Material and Fragility
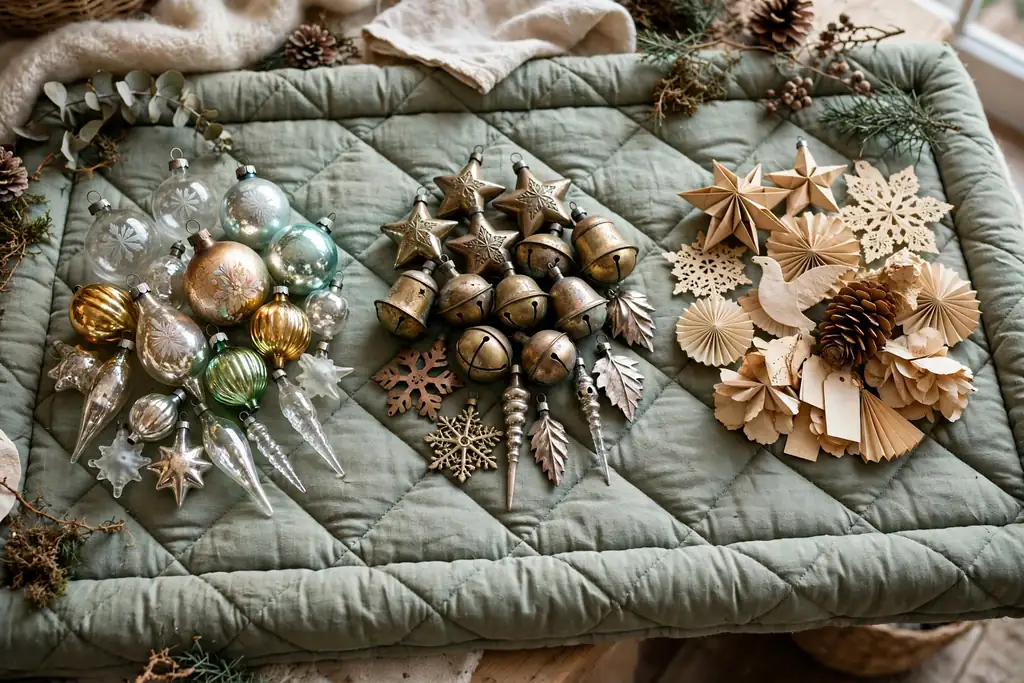
Group ornaments first by material: blown glass, molded glass, metal, paper, cotton, or wood. Then separate the most fragile pieces, such as thin glass balls, ornaments with long points, and pieces with flaking paint, from sturdier items such as solid metal bells or thick glass drops. Sorting this way sets the handling rules for the rest of the process, since fragile pieces need gloves, two hand support, and individual wrapping.
Within each material group, set aside any ornament that rattles, feels loose at the cap, or shows a crack. Those pieces need a condition check before they are hung or packed, and some may be display only pieces that should stay on a shelf rather than on a tree. Label each group with a small paper tag so sorting notes carry through to the inventory step.
3. Read Age Markers in Glass, Paint, and Weight
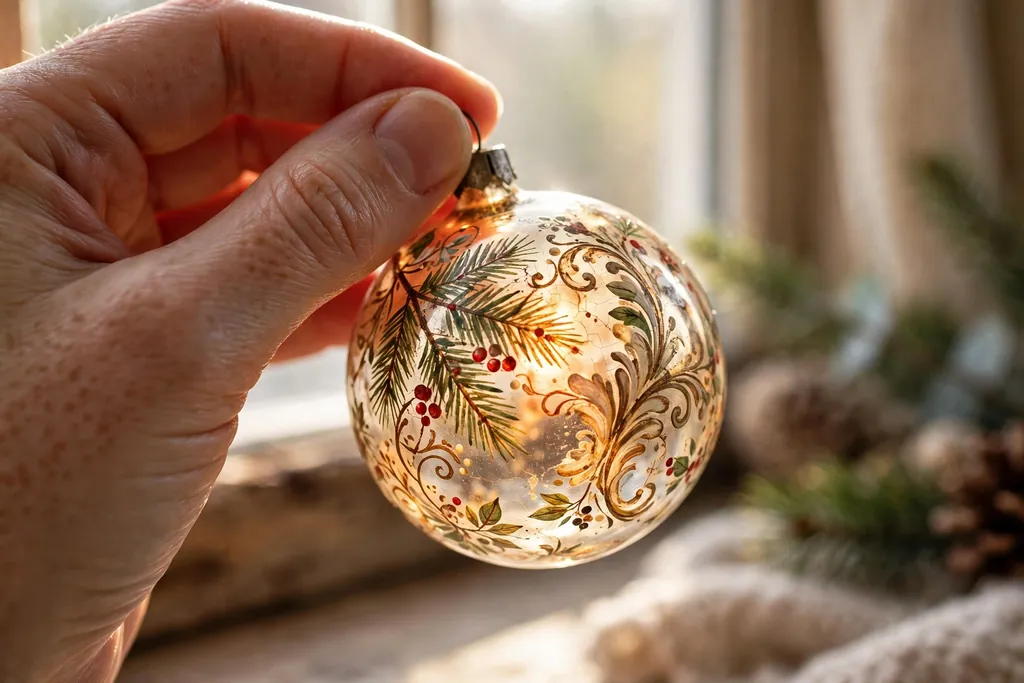
Hold each glass ornament in good light and look for signs of hand work: slight unevenness in shape, thin walls, hand painted lines that vary in width, and small paint wear at raised points. Early blown glass ornaments often feel light for their size and show soft, muted color under the paint, while later machine made pieces tend to feel heavier, more uniform, and glossier. Compare pieces side by side when you can, since differences in weight and finish are easier to spot in a group.
Check the paint surface for age related wear, such as fine cracks in the paint layer, gentle fading on one side, and small chips at the hanging neck. Wear alone does not prove age, since new pieces can be made to look worn, but wear that matches how a piece would have been handled, hung, and stored over many seasons is a useful clue when it lines up with other markers. Note anything unusual in your inventory, such as repairs, repainting, or a replaced cap.
4. Identify Maker Marks and Cap Styles
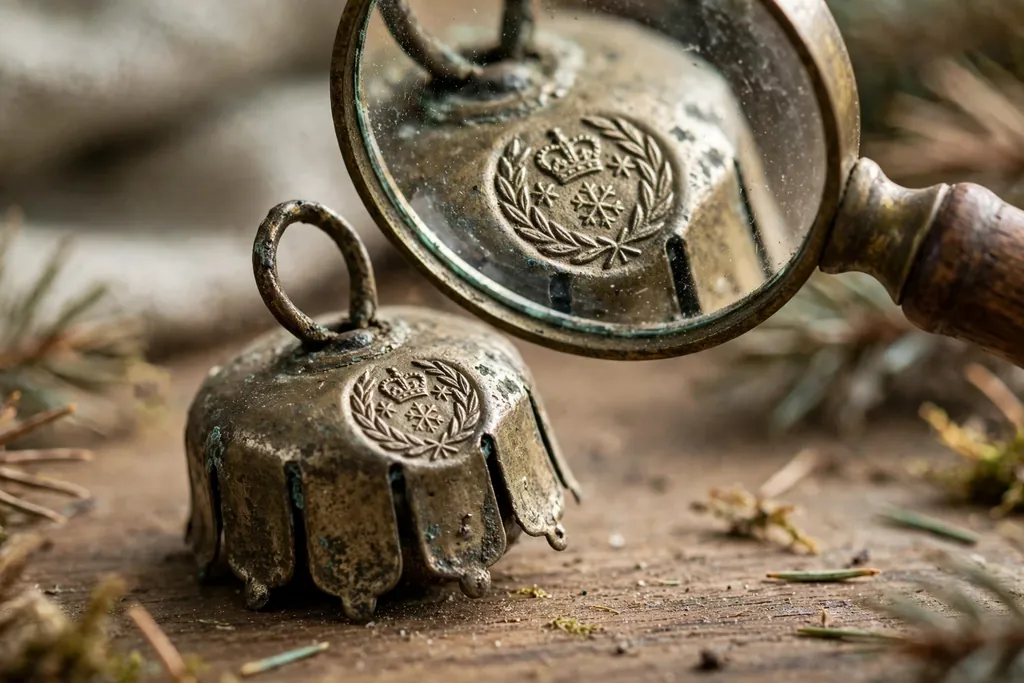
Look closely at the metal cap, the hanging loop, and any mark stamped or printed on the cap, the neck, or the base of the ornament. Early German glass ornaments often have simple wire caps with a small loop, while mid century American ornaments, including many Shiny Brite pieces, often carry caps marked with the maker name or “Made in USA” style wording. Dresden ornaments, made from pressed cardboard and foil, have a flat, embossed look that sets them apart from blown glass. Record the exact wording of any mark, since a close copy can differ by one word.
Use a magnifying glass for small print and photograph each mark before you move on. If a cap is missing or clearly replaced, note that too, since a replacement cap changes both the look and the value clues of a piece. Do not force a stuck cap or scrape a mark clean, since cleaning can remove the very detail you are trying to read.
5. Check Condition Before You Hang or Store Anything

Inspect each ornament slowly, turning it in your hands to check for cracks, chips, loose glitter, flaking paint, and tarnish on metal parts. Tap a glass ornament very lightly near your ear only if it is sturdy enough to handle, and stop at once if you hear loose material inside or feel a weak point. Check that hanging loops sit firm, that caps fit snugly, and that paper or cotton parts are dry and free of mold spots or insect damage.
Set aside damaged pieces in their own padded tray and decide whether each one is safe to display on a shelf, needs a repair by a careful hand, or should stay packed and handled only rarely. Never hang a cracked glass ornament on a tree branch, since heat, movement, and weight can widen the crack. A short written condition note for each damaged piece saves time next season and keeps fragile pieces from being hung by mistake.
6. Photograph and Record Your Inventory
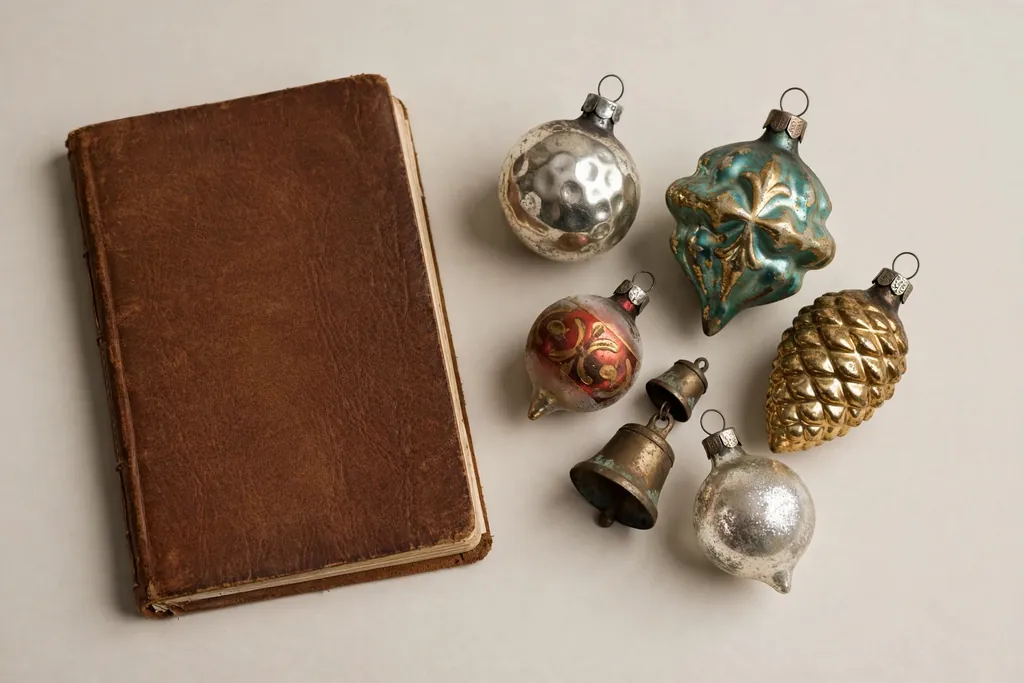
Photograph each ornament on a plain background, including one overall photo and one close photo of any maker mark, cap, or unusual detail. Keep the light even and avoid flash, which can wash out paint color and hide fine lines. Photograph groups only after single pieces are recorded, so each record stays tied to one ornament rather than to a mixed group shot.
Write a short inventory line for each piece: a brief description, material, color, cap style, any maker mark, condition notes, and where it will be stored. Number the inventory lines to match numbered labels in the storage boxes. This record helps with insurance notes, helps family members handle pieces correctly, and makes it easy to spot a missing ornament at the end of a season.
7. Choose Safe Hanging Hardware for Each Piece
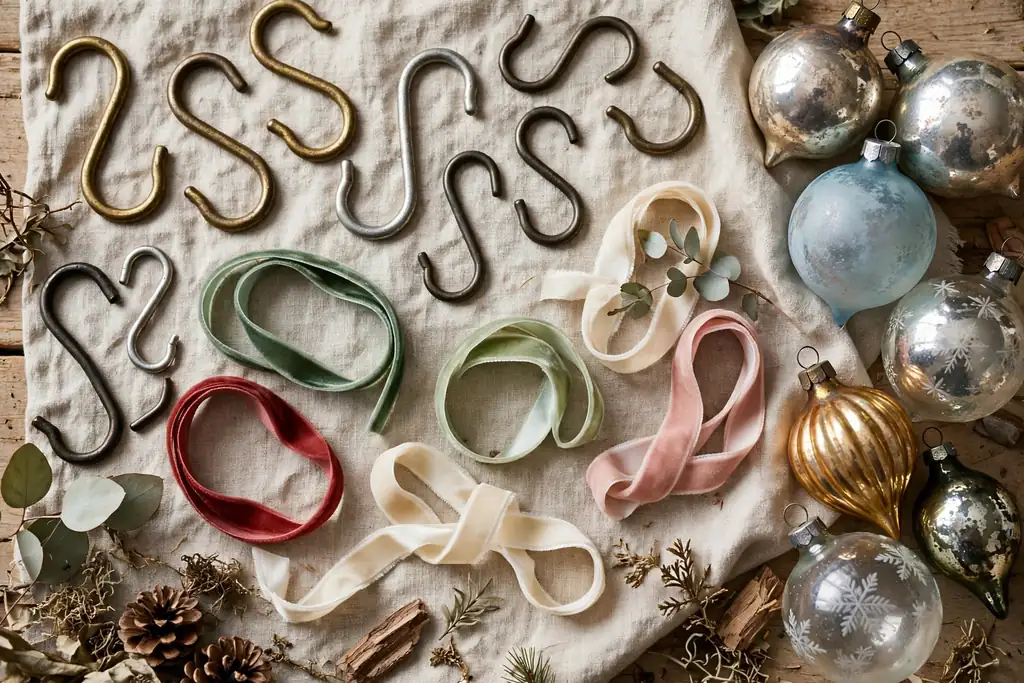
Match the hook or ribbon to the weight and neck size of each ornament. Use short, sturdy ornament hooks for light glass balls, and use ribbon loops tied through the cap for heavier or wide necked pieces that slip off thin hooks. Test each hook on a branch or display stand before the ornament goes on, and check that the hook closes enough that a light bump will not drop the piece.
Avoid string, wire, and adhesive hooks for antique glass, since thin wire can cut into old caps and adhesive can fail without warning. Replace rusted or bent hooks rather than straightening them, since weakened metal can break under weight. Keep a small set of spare hooks and ribbons in the display kit so a weak hook can be swapped at once, without moving a fragile ornament more than needed.
8. Hang Antique Ornaments Safely on the Tree
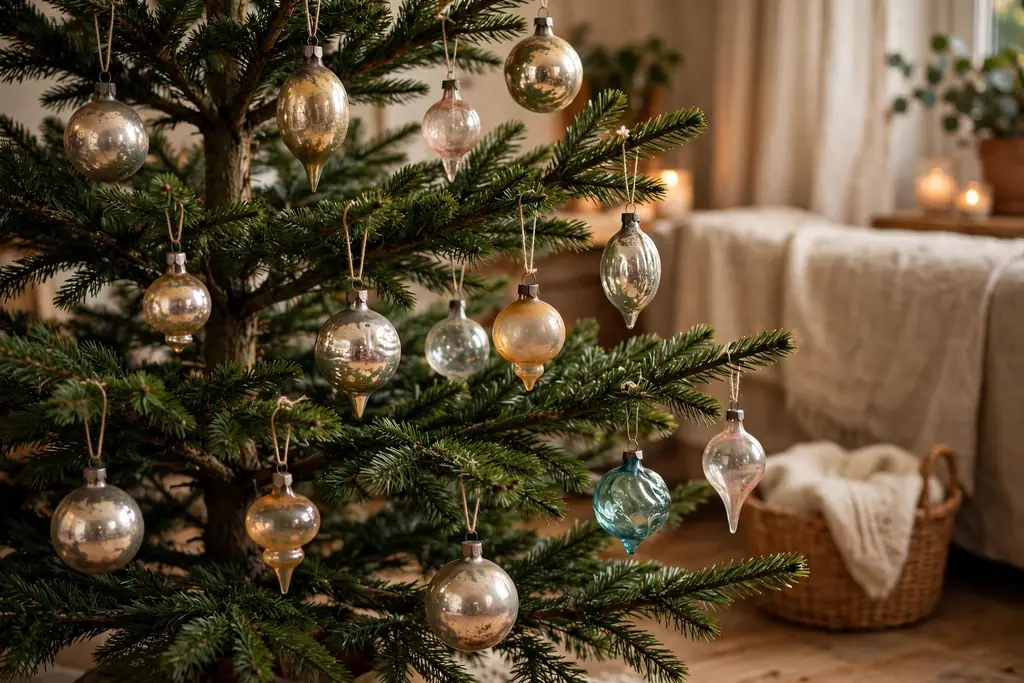
Place antique ornaments on strong, inner branches rather than on thin outer tips, and hang heavier pieces low and close to the trunk where branches bend least. Leave space around each ornament so glass pieces do not knock together when the tree is brushed or when a door closes nearby. Put the most fragile pieces at eye level or above the reach of small children and pets, and keep them away from the tree base where gifts and feet can bump them.
Hang a few pieces at a time, then step back and check balance and spacing before adding more. If a branch droops under an ornament, move that ornament to a stronger branch rather than adding support wire, which can scratch bark and hide a weak branch. At the end of the season, remove antique ornaments first, before lights and garlands are pulled off, so they are never caught in a tangle.
9. Display Ornaments on Mantels, Shelves, and Tables
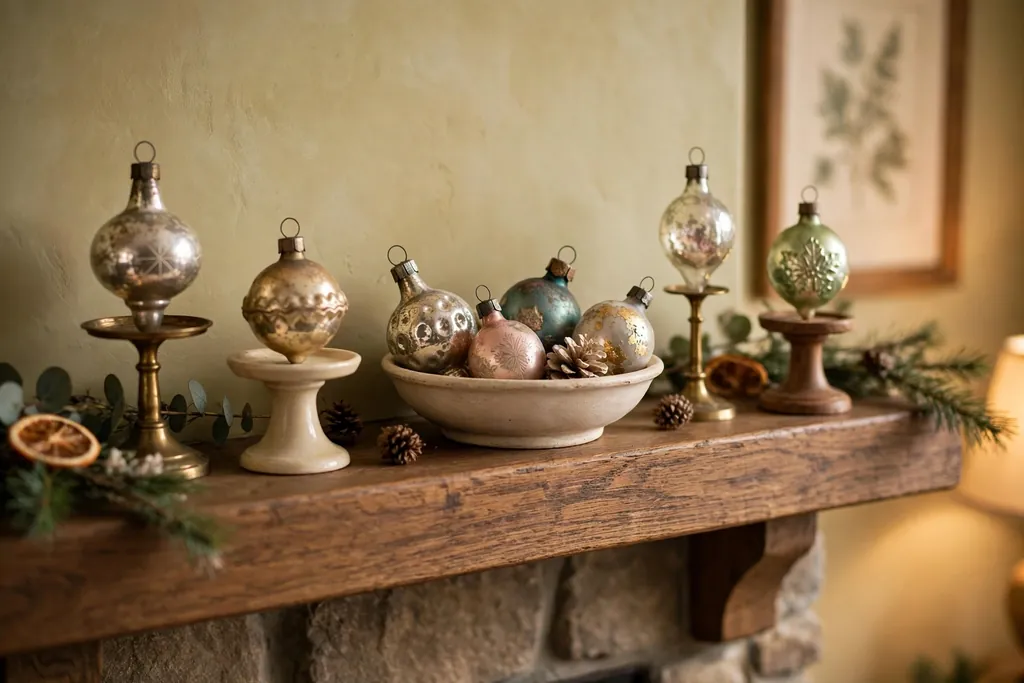
For pieces too fragile for a tree, use a stable shelf, mantel, or table display. Set ornaments in shallow bowls, on small stands, or in a row on a padded runner, with space between pieces so none touches its neighbor. Use museum putty or a small, soft pad under stands on a mantel, and keep displays back from the edge so a bump does not send a piece to the floor.
Group displays by color, material, or maker so the arrangement reads as a collection rather than a random pile. A small number of pieces with breathing room shows hand painting and glass color better than a crowded shelf, and it lowers the chance of chips during dusting. Keep display ornaments out of direct paths, away from door swings, and off surfaces that hold drinks or hot dishes.
10. Protect Displays from Light, Heat, and Handling
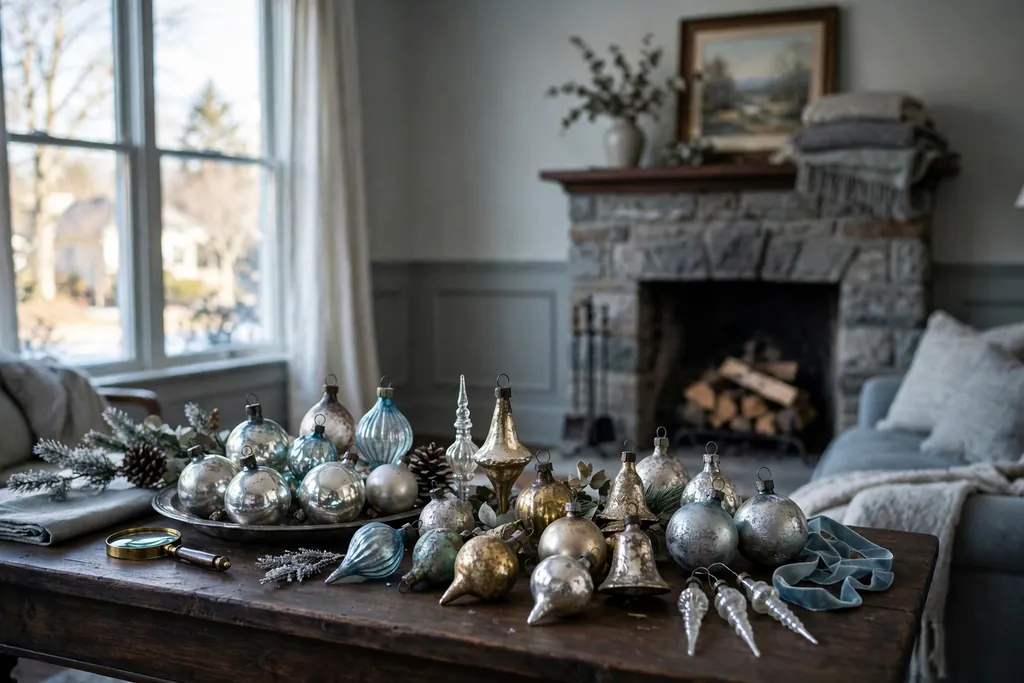
Keep antique ornaments out of direct sunlight, since sun fades paint and heats glass unevenly, and keep them away from fireplaces, radiators, and heat vents. Use cool, steady room light for display, and avoid old incandescent mini lights draped close to glass, since heat can stress old paint and caps. If a display sits near a window, move it back a few feet or use a sheer curtain during the brightest hours.
Limit handling during the display season by choosing the arrangement once and leaving it in place. When dusting is needed, use a soft, dry brush with a light touch and support the ornament with your other hand. Ask guests, especially children, to look without touching, and place a small sign or a gentle verbal note near a fragile display if the room will be busy.
11. Clean Antique Ornaments Gently and Rarely
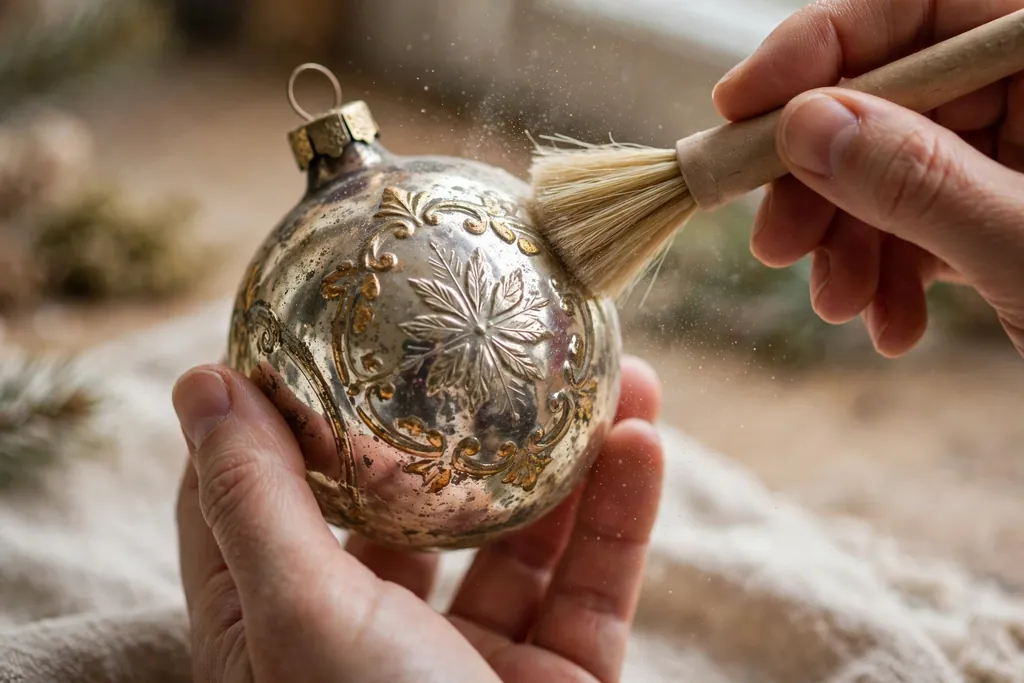
Clean only when dust or grime hides detail, and clean as little as possible. Dust with a soft, dry brush or a dry microfiber cloth, working in one direction and supporting thin points with your fingers. For sturdy glass with no flaking paint, a barely damp cloth can lift surface dust, but dry the piece at once and never soak an ornament, since water can enter through the cap, lift paint, and damage paper, cotton, or foil parts.
Do not use household cleaners, polish, or abrasive cloths on antique ornaments, and never polish a patina off metal caps unless you are certain the piece is not valued for its aged finish. Leave flaking paint, loose glitter, and cracked glass alone, since cleaning can make the damage worse. If a piece has mold, heavy grime, or a broken part, set it aside for advice from a conservator or an experienced collector rather than trying a home repair.
12. Wrap Each Ornament Alone in Acid Free Tissue
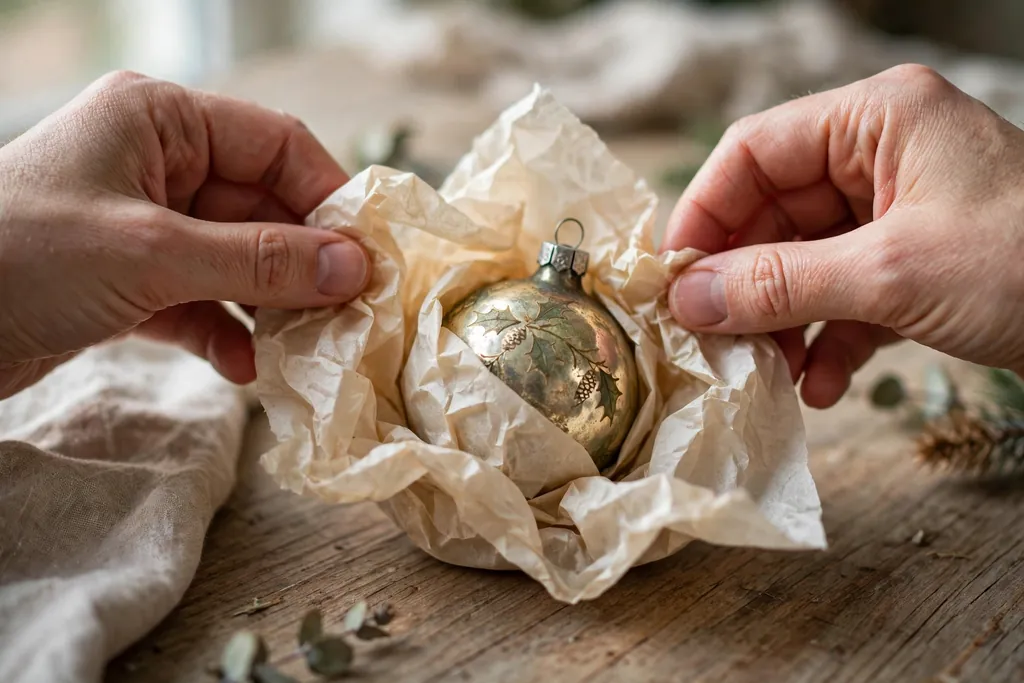
Wrap each ornament separately in a sheet of acid free tissue, folding the tissue loosely around the piece so points and thin necks are cushioned without pressure. Avoid newspaper, colored tissue, and bubble wrap pressed directly against painted glass, since newsprint can transfer ink, dyes can stain, and bubble wrap can leave marks on soft paint over time. For ornaments with long points or delicate protrusions, add a small extra tissue pad around the fragile area before the outer wrap.
Place the wrapped ornament in its own compartment or cell, never two to a cell, and keep the wrap with the ornament so the pair stays together at unpacking time. If an ornament has a loose cap, wrap the cap with the ornament in the same tissue bundle and note it on the inventory line. A wrapped piece should sit snug enough not to roll, but loose enough that unwrapping does not pull paint.
13. Pack Boxes Upright with Dividers and Padding
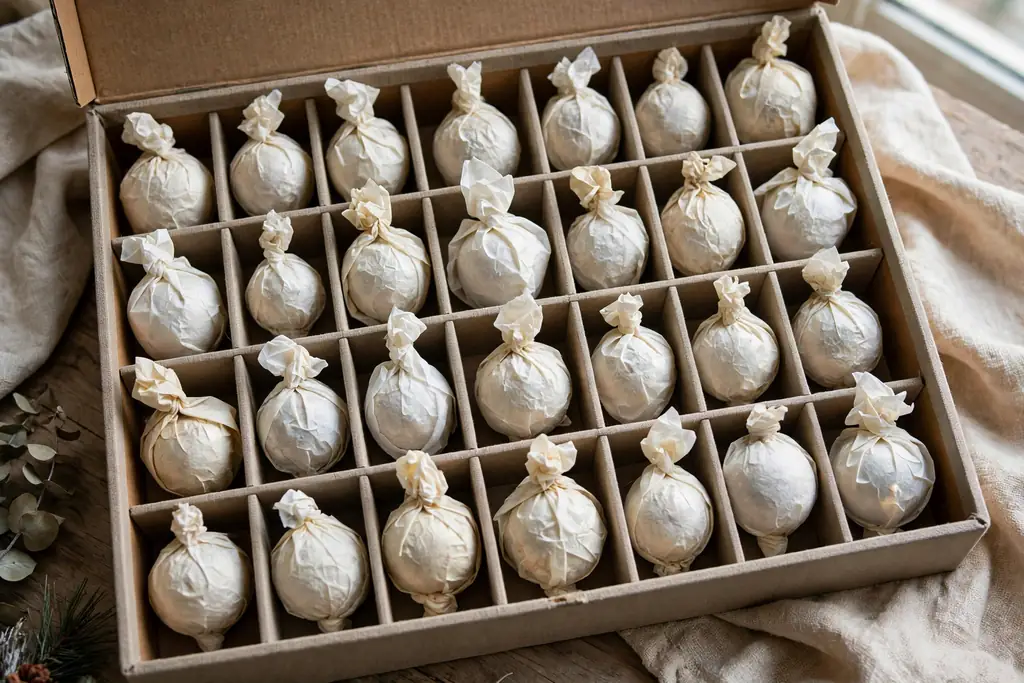
Use sturdy boxes with cardboard dividers sized to the ornaments, or use individual ornament boxes with fitted cells. Pack glass ornaments upright where their shape allows, with tissue padding at the bottom of each cell and a light tissue layer over the top before the lid closes. Fill empty space in a box with crumpled acid free tissue so compartments do not shift in transit, but do not overfill a box until the lid presses down on the contents.
Keep heavier ornaments at the bottom of a box and lighter, fragile pieces at the top, and mark the box “fragile” and “this side up” on more than one side. Carry boxes with two hands and set them down gently, since a dropped box can chip several pieces at once even when each one is wrapped. Avoid stacking heavy boxes on top of ornament boxes in storage.
14. Store in a Cool, Dry Place and Inspect Once a Year
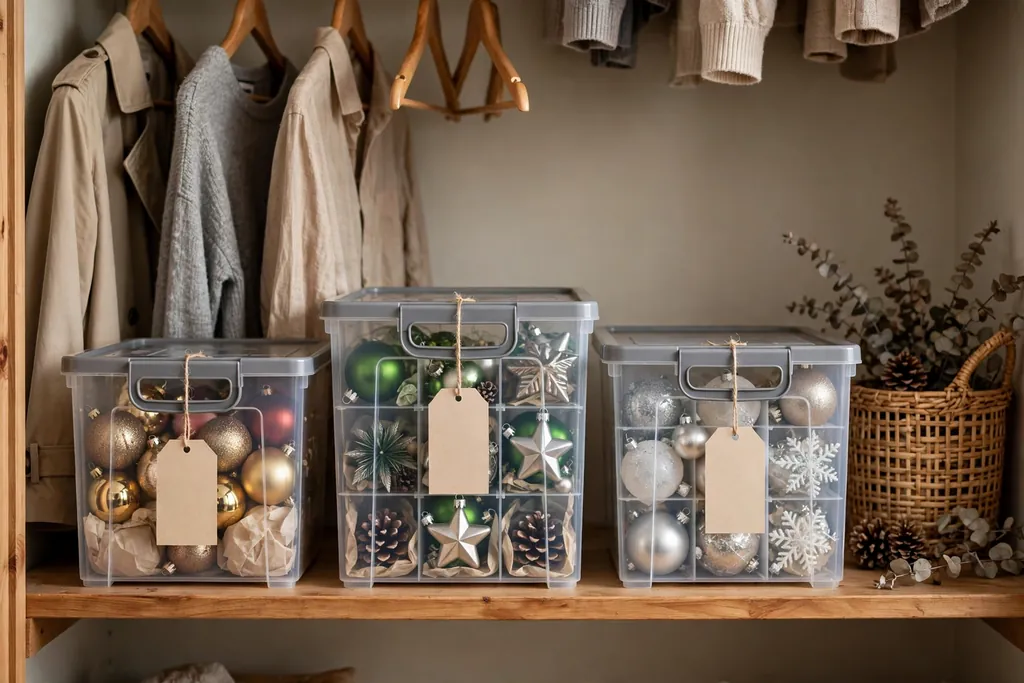
Store ornament boxes in a cool, dry indoor space with steady temperature, such as a bedroom closet or a dry interior storage room, rather than an attic or a damp basement. Heat, cold swings, and damp air can crack glass, lift paint, tarnish caps, and encourage mold on paper and cotton pieces. Keep boxes off the floor on a shelf or pallet, away from exterior walls, pipes, and sources of leaks.
Label each box with its contents, such as material, color group, or display location, and keep the inventory list with the boxes or in a known file. Once a year, outside the busy holiday season, open each box, check for damp, pests, or new damage, replace worn tissue, and update the inventory. A short annual check catches small problems, such as a damp box or a loose cap, before they become lost or broken pieces.
Conclusion
Antique Christmas ornaments last when identification, display, and storage are treated as one careful routine. Learn the age markers and maker marks, record what you find, hang each piece where its weight and fragility are respected, and pack it alone in tissue in a cool, dry box. The extra time spent on sorting, wrapping, and labeling pays back every season, when pieces come out unchipped, colors stay clear, and the collection can be enjoyed without worry. Start with the most fragile pieces, work through the steps in order, and keep the inventory close so next Christmas begins with pieces you already know and trust.
FAQs
How can I tell if a Christmas ornament is truly antique?
A truly antique ornament usually shows a mix of age clues, including thin blown glass, hand painted detail, an early cap style, and period maker marks or wording, with wear that matches long use. No single clue proves age, so compare material, weight, paint, caps, and marks together, and treat a piece as unproven if its clues point in different directions.
What are the most common maker marks on antique Christmas ornaments?
Common marks include simple wire caps on early German glass ornaments, caps marked with American maker names such as Shiny Brite on mid century pieces, and country of origin wording that changed over time. Record the exact wording and cap style, since small differences in spelling, font, or cap shape can separate an original piece from a later copy.
Are antique glass ornaments safe to hang on a Christmas tree?
Antique glass ornaments are safe on a tree when they are in good condition, hung on strong inner branches with sturdy hooks, and given space so they do not knock together. Keep cracked, loose capped, or very fragile pieces on a shelf display instead, place heavy pieces low and close to the trunk, and remove antique ornaments first at takedown time.
How should I clean antique Christmas ornaments?
Clean antique ornaments rarely and gently, using a soft, dry brush or dry microfiber cloth, and supporting thin points while you work. Avoid water soaking, household cleaners, and polish, since water can lift paint and damage paper or foil parts, and leave flaking paint, loose glitter, and cracks alone unless a conservator advises a repair.
What is the best way to store antique Christmas ornaments?
The best way to store antique Christmas ornaments is to wrap each piece alone in acid free tissue, pack it upright in its own divided cell, and keep the box in a cool, dry indoor space with steady temperature. Keep boxes off the floor, label each box by contents, and inspect the collection once a year for damp, pests, or new damage.
Do antique Christmas ornaments have value, and should I get them appraised?
Some antique Christmas ornaments carry collector value based on rarity, maker, condition, and demand, while many others carry mainly family or decorative value. If a piece has a rare maker mark, unusual form, or a full matching set, consider a written appraisal from a qualified appraiser or a reputable dealer, and keep that record with your inventory and photos.